
ES300 Coilover install Worklog
 07-29-07, 06:32 PM
#1
Pole Position
Thread Starter
iTrader: (1)
Join Date: Oct 2004
Location: MD Smitty runs da City
Posts: 3,002
Likes: 0
Received 5 Likes
on
5 Posts
Ok so I got my coilovers in early last week. I was busy all week and Saturday and today I finally got a chance to start. I decided to do a worklog for anyone going to coils. Hope it helps.  I'm trying to go picture by picture. I think its something that could definitely be helpful to others doing this install in the future. There are going to be a lot of pictures for this so bear with me. Oh yeah 56K take a nap
Now first off I stared with the rear cuz the rears suspension on the ES sucks to do. I figured I'd do the hardest part first.
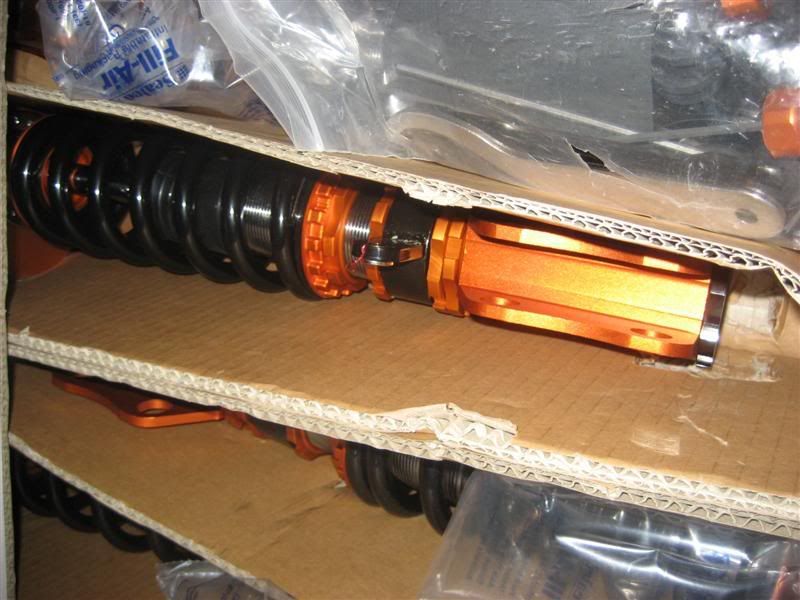
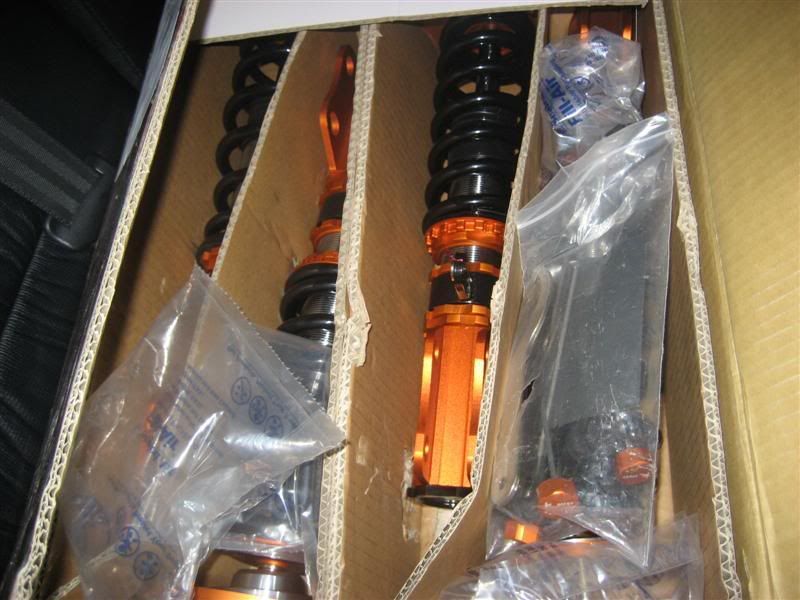
The coils. Ksport Kontrol Pro.
I'm trying to go picture by picture. I think its something that could definitely be helpful to others doing this install in the future. There are going to be a lot of pictures for this so bear with me. Oh yeah 56K take a nap Now first off I stared with the rear cuz the rears suspension on the ES sucks to do.
I figured I'd do the hardest part first. The coils. Ksport Kontrol Pro.

 07-29-07, 06:37 PM
#3
Pole Position
Thread Starter
iTrader: (1)
Join Date: Oct 2004
Location: MD Smitty runs da City
Posts: 3,002
Likes: 0
Received 5 Likes
on
5 Posts
Remove the bottom of the back seat by pulling up.
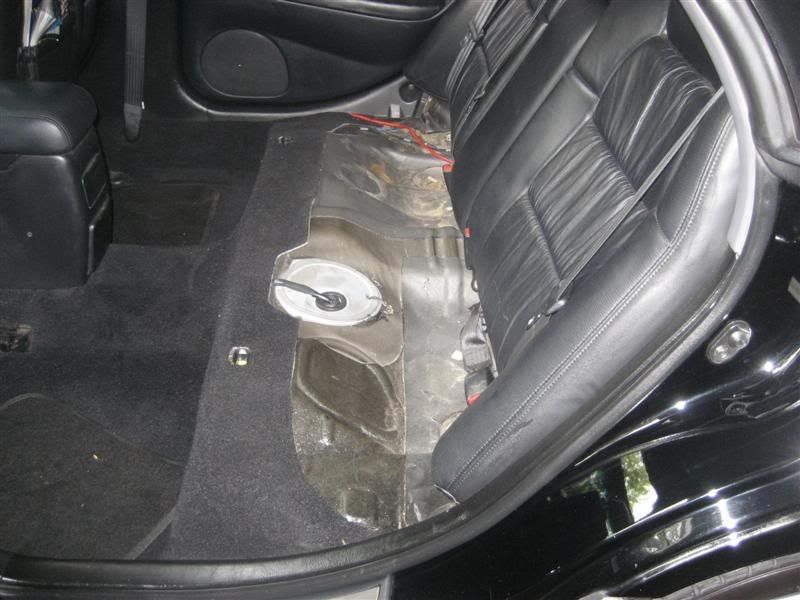
Next remove the bolts for the seat belts and the bolts connected to the top half off the back seat.
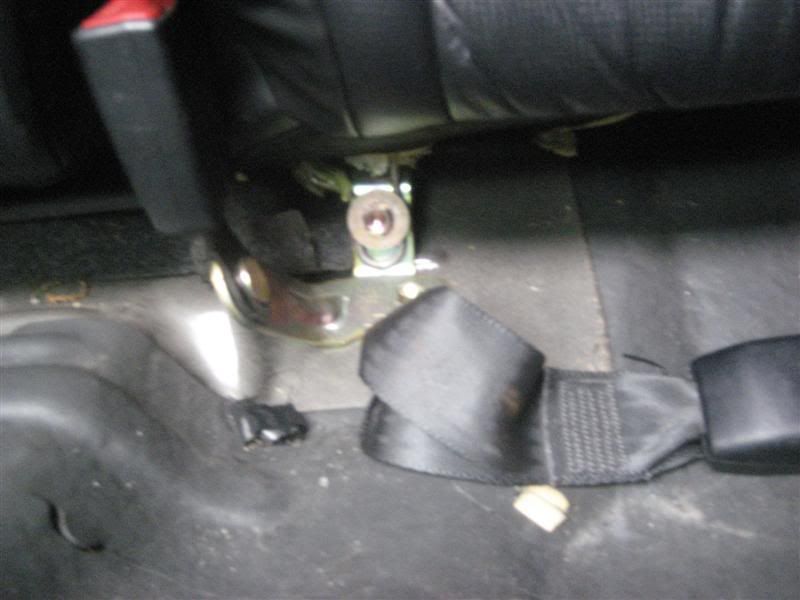
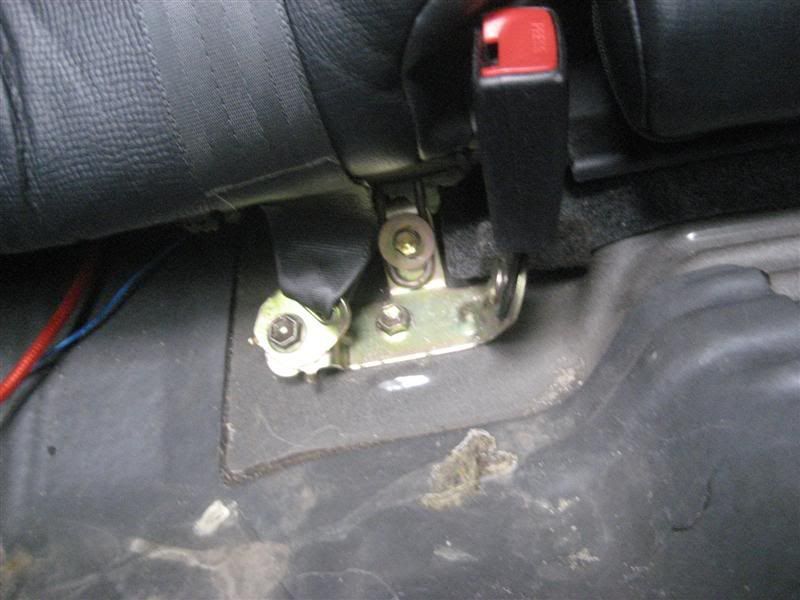
You may need the help of a friend for the next part. Pull up on the seat and then towards the front of the car. The seat hooks into a slot so you have to pull up on the seat pretty far.
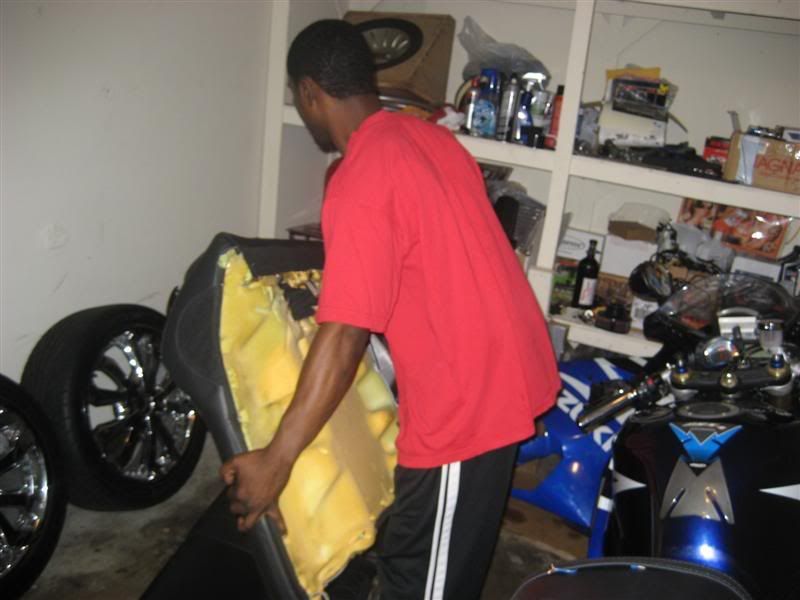
My boy Cappo carrying the seat. Putting my friends to work
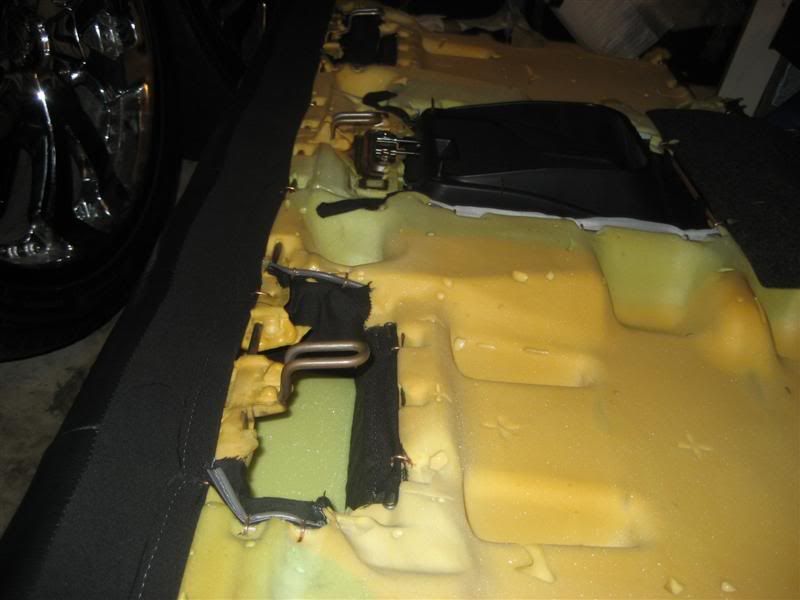
Back of the seat.
Next remove the bolts for the seat belts and the bolts connected to the top half off the back seat.
You may need the help of a friend for the next part. Pull up on the seat and then towards the front of the car. The seat hooks into a slot so you have to pull up on the seat pretty far.
My boy Cappo carrying the seat. Putting my friends to work
Back of the seat.
07-29-07, 06:40 PM
#4
Pole Position
Thread Starter
iTrader: (1)
Join Date: Oct 2004
Location: MD Smitty runs da City
Posts: 3,002
Likes: 0
Received 5 Likes
on
5 Posts
Back seat with everything removed.
Now remove the plastic over off these car seat tie downs off the back deck lid.
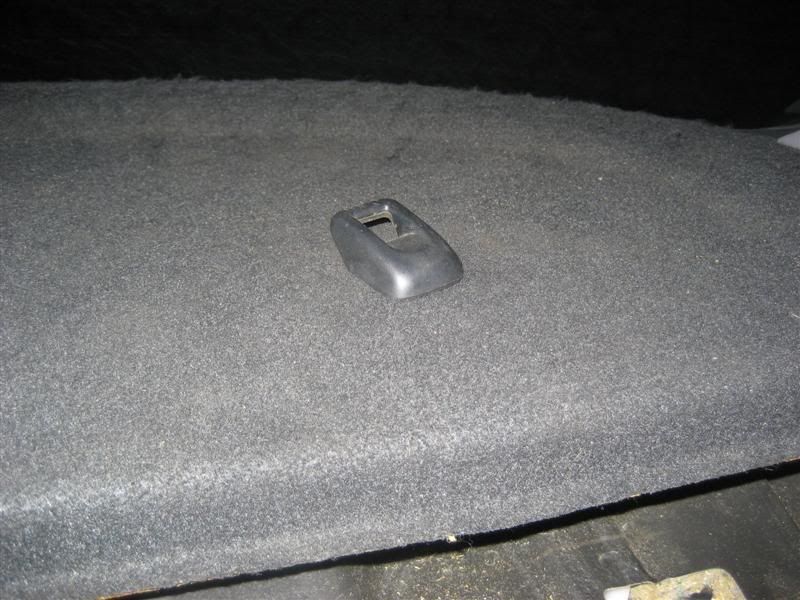
My paw:
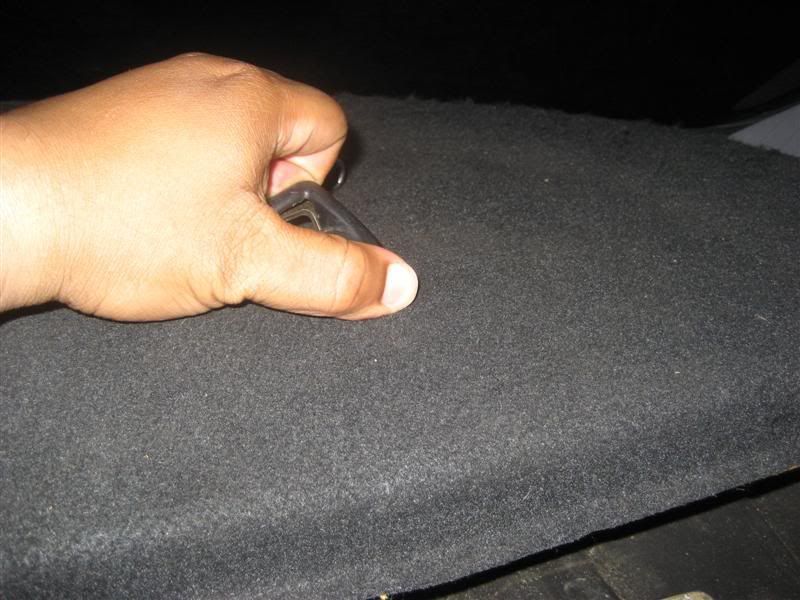
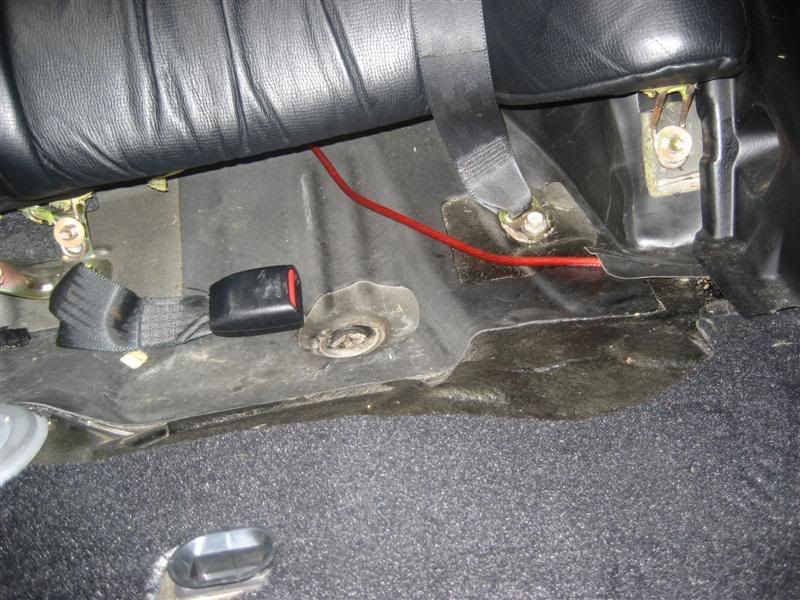
Remove the bolt and the stopper. Put in safe place
Remove the seat belt stopper things.
Remove the stopper from the seatbelt

Now remove the plastic over off these car seat tie downs off the back deck lid.
My paw:
Remove the bolt and the stopper. Put in safe place
Remove the seat belt stopper things.
Remove the stopper from the seatbelt
Last edited by Smitty; 07-29-07 at 06:55 PM.
07-29-07, 06:56 PM
#5
Pole Position
Thread Starter
iTrader: (1)
Join Date: Oct 2004
Location: MD Smitty runs da City
Posts: 3,002
Likes: 0
Received 5 Likes
on
5 Posts
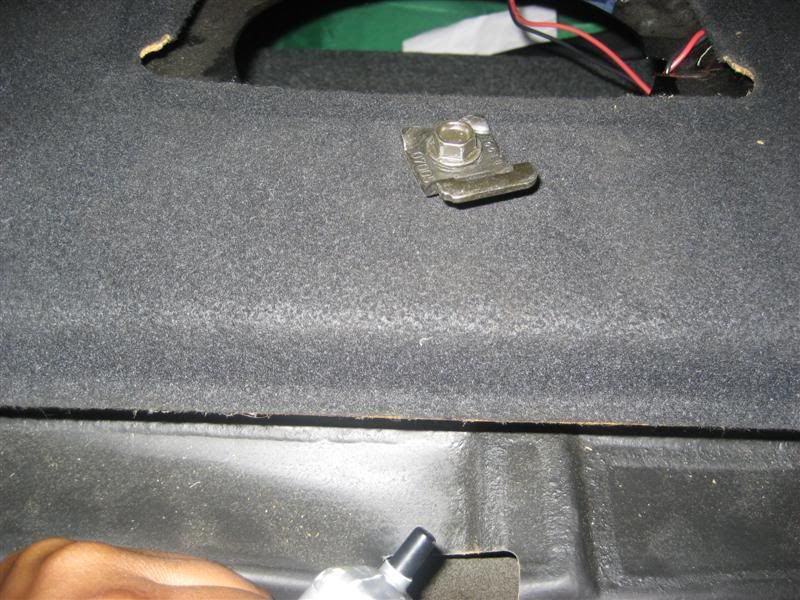
Remove the rear door pillar plastics. They pretty much just snap right off.

What it looks like with out the plastic
Now the deck pretty much just snaps off. But be careful cuz it is fragile.
What it looks like with out the plastic
Now the deck pretty much just snaps off. But be careful cuz it is fragile.
 07-29-07, 07:01 PM
#7
Pole Position
Thread Starter
iTrader: (1)
Join Date: Oct 2004
Location: MD Smitty runs da City
Posts: 3,002
Likes: 0
Received 5 Likes
on
5 Posts
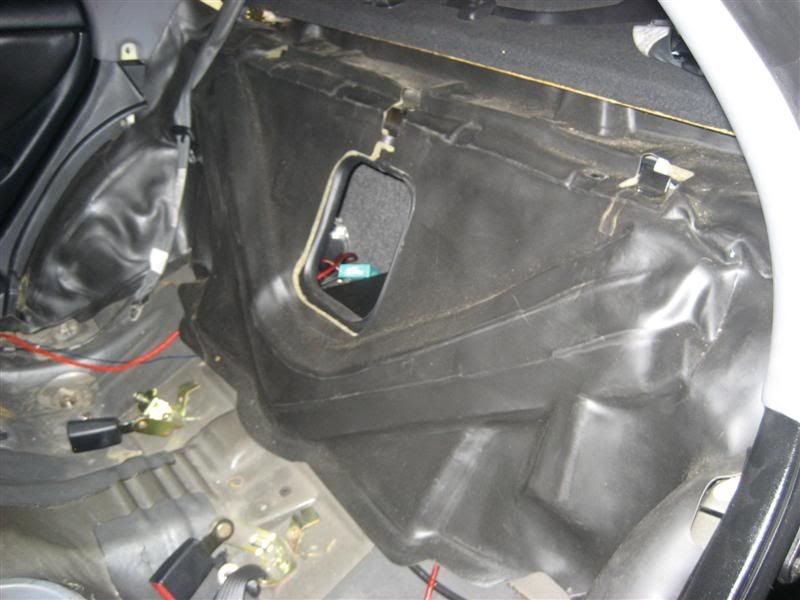
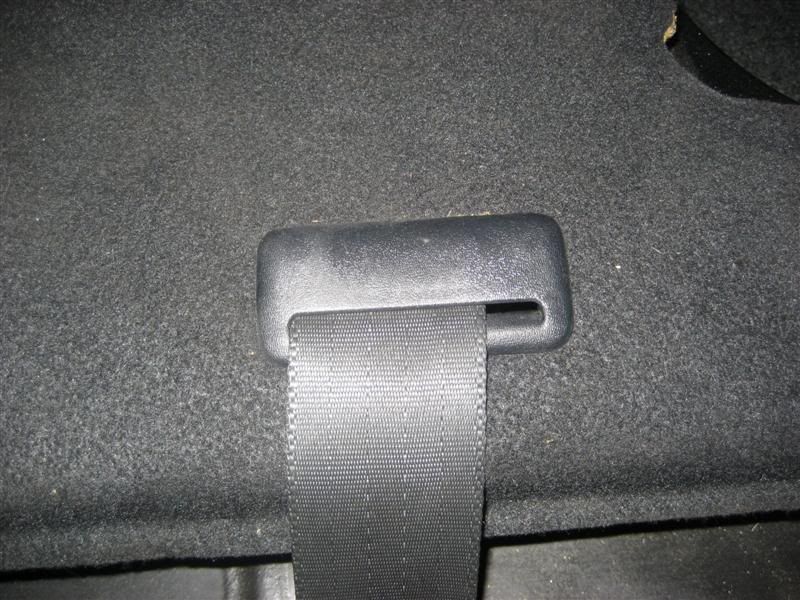
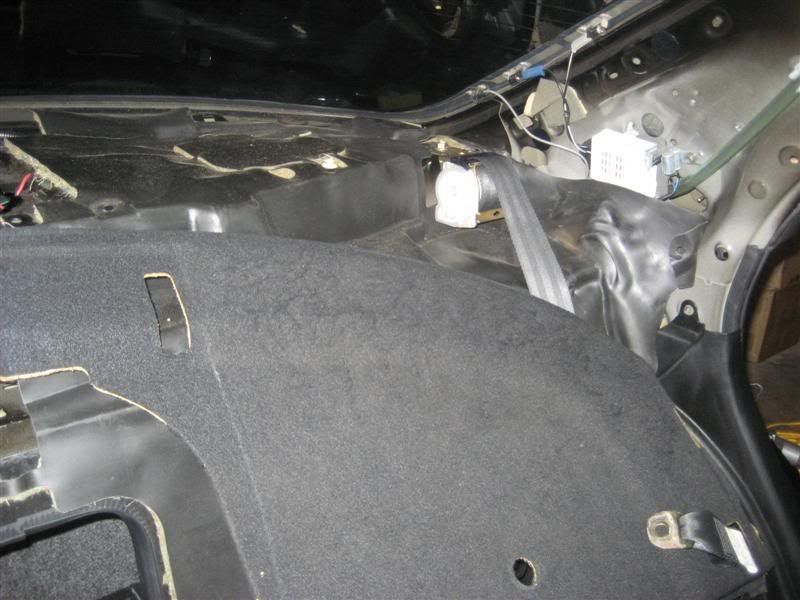
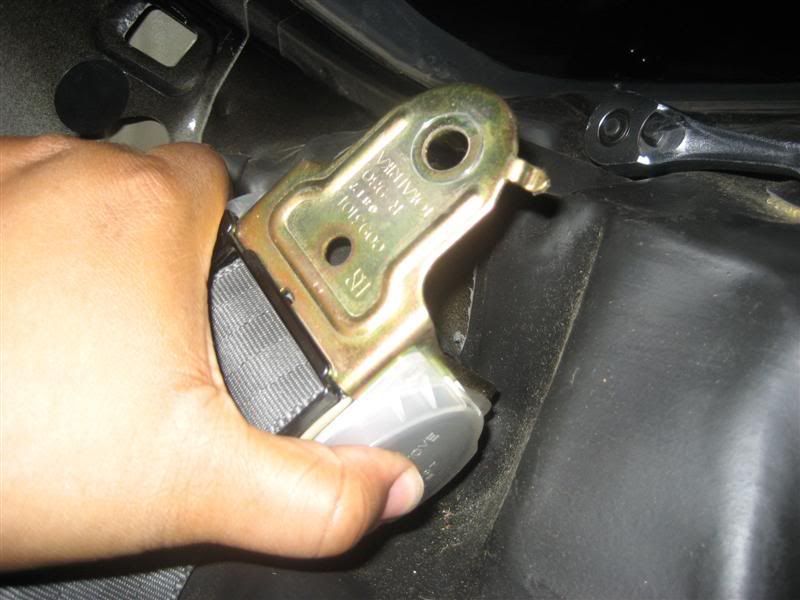
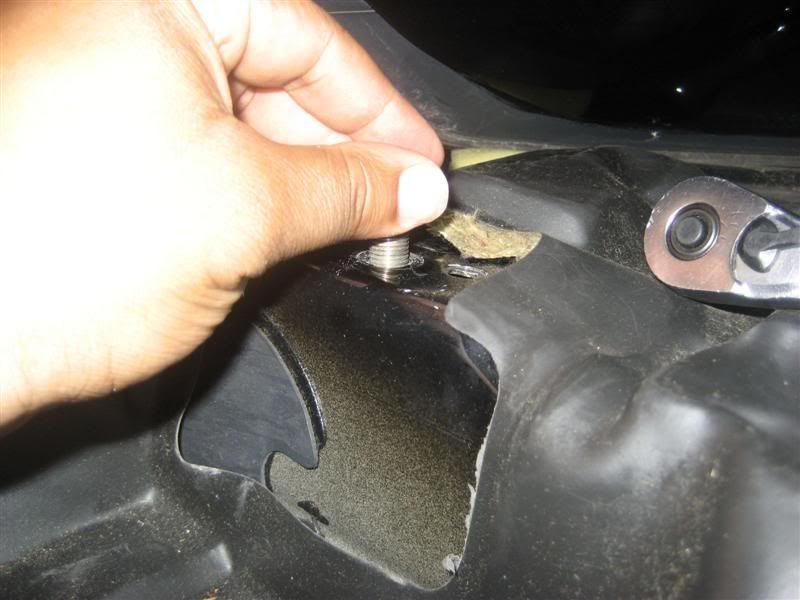
Remove the seat belt holders for seat belts on the far left and far right of the car. You could leave them on but it makes it easier to access the top of the strut mount. Besides its easy to remove and put them back on.
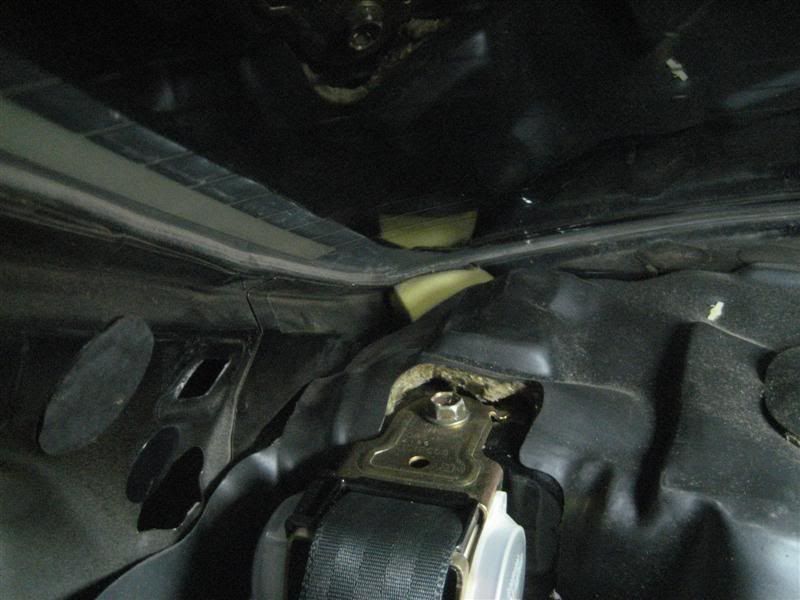
Remove bolt and take them off.
Smitty Tip:
When I remove bolts I put them back in the hole where I got them from. It makes it easy to keep up them and to know where they go.
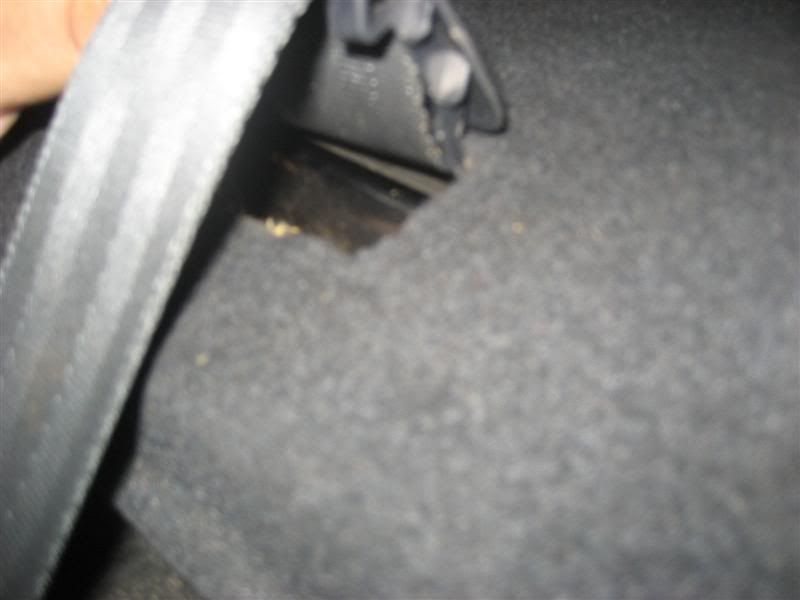
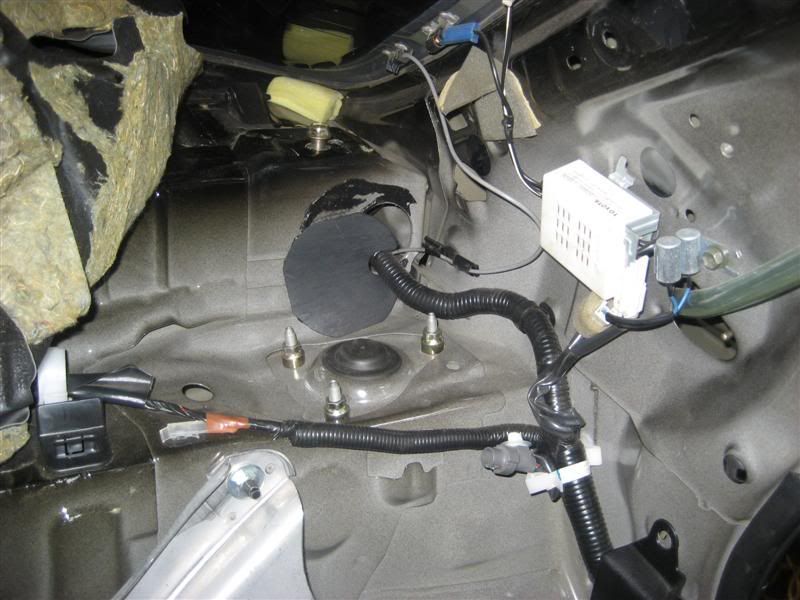
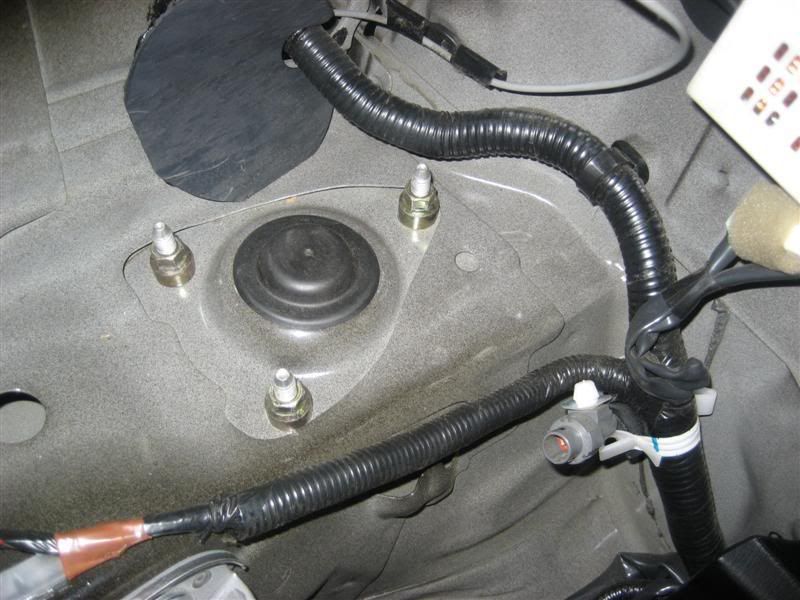
Now pull back the rubber covering
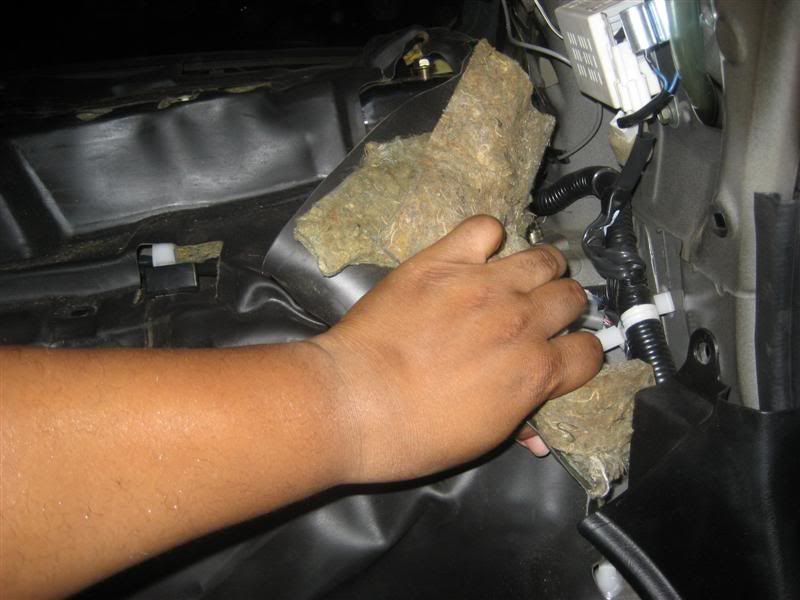
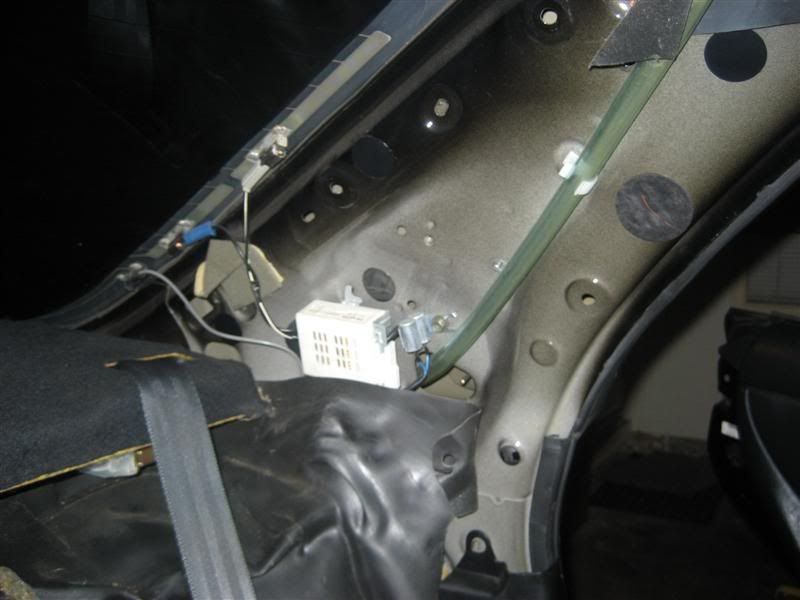
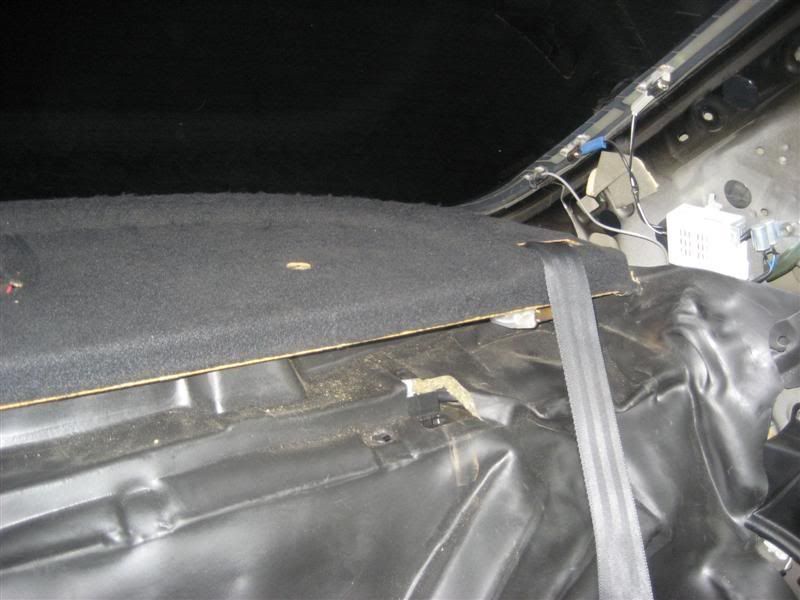
Finally we have access to the top of the rear strut mounts.
Remove bolt and take them off.
Smitty Tip:
When I remove bolts I put them back in the hole where I got them from. It makes it easy to keep up them and to know where they go.
Now pull back the rubber covering
Finally we have access to the top of the rear strut mounts.
Trending Topics
07-29-07, 07:06 PM
#8
Pole Position
Thread Starter
iTrader: (1)
Join Date: Oct 2004
Location: MD Smitty runs da City
Posts: 3,002
Likes: 0
Received 5 Likes
on
5 Posts
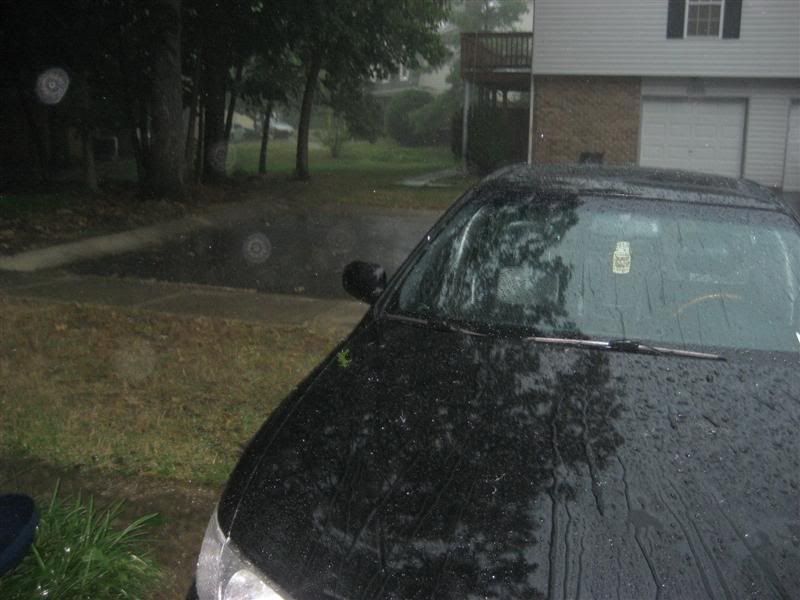
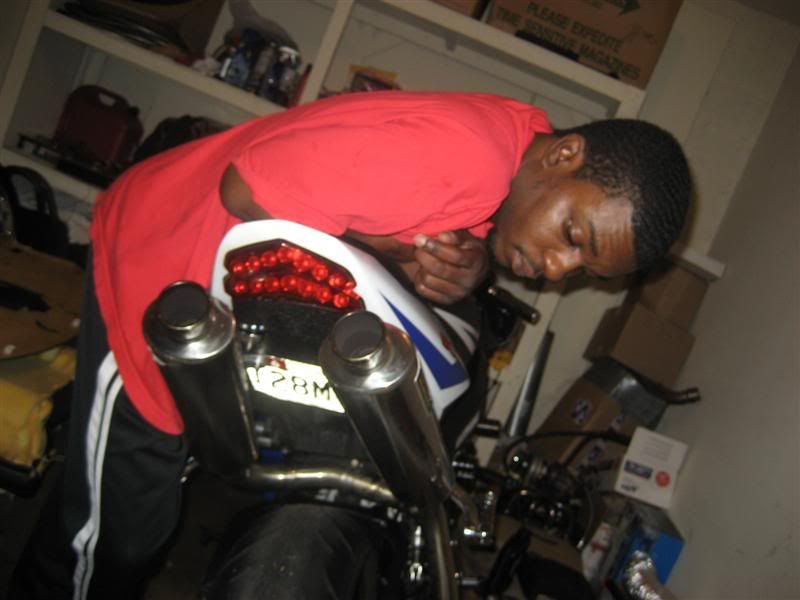
Now unfortunately here's where I had to stop. Now it dosent rain all week and it was calling for rain and the day I finally start getting some work done it rains and I have to stop. I couldnt use the whole garage because we started taking the bike back apart to do some things and had parts lying around so had to shut it down.
And dont think Cappo was doing all the work he was basically chillin and acting as my tool monkey
Dosent like to be photographed
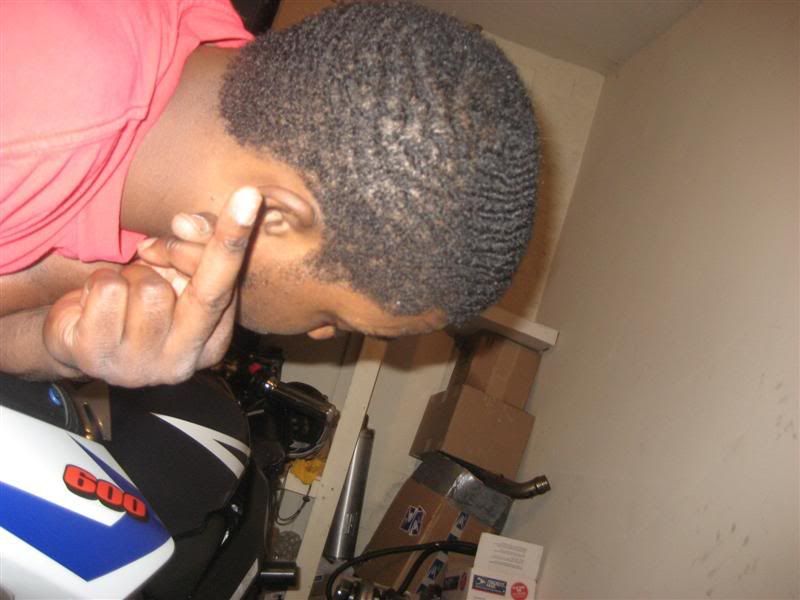
And dont think Cappo was doing all the work he was basically chillin and acting as my tool monkey
Dosent like to be photographed
07-29-07, 07:11 PM
#9
Pole Position
Thread Starter
iTrader: (1)
Join Date: Oct 2004
Location: MD Smitty runs da City
Posts: 3,002
Likes: 0
Received 5 Likes
on
5 Posts
Well that was it for today. I'm hoping to get the rest of it knocked out tomorrow. I must say the rear sucks sooooooooo bad. But the fronts will be a breeze. Getting to the top of the strut mounts of the rear is the worst part. Everything else is pretty straight forward and fairly easy.
-Smitty
-Smitty

 07-30-07, 06:26 AM
#15
Pole Position
Thread Starter
iTrader: (1)
Join Date: Oct 2004
Location: MD Smitty runs da City
Posts: 3,002
Likes: 0
Received 5 Likes
on
5 Posts
Dont worry I wont do anything too crazy but it will be nice. I saw your boy with the FX the other day. Its funny seeing peoples face when they see what you have to go through to get the rears out. -Smitty