DIY intake heat shield (1MZ-FE specific)
 06-15-12, 08:18 PM
#1
Ok guys, some of you may recognize that I've been a member of the CL community for a while now. I've asked alot of questions and gotten alot of help from the experienced members here, and this is my attempt to give back a little. In this thread I will explain (with pictures) how to make your own intake heat shield that will fit any short-ram intake installed on a Toyota 1MZ-FE engine. I will warn you ahead of time that this is hardly a performance mod and will add almost no power, if any, to your engine. But it looks hella cool 
I was looking around on the internet and found some pics of highly modded engine bays. Lo and behold, I noticed that some of them had heat shields on the intakes. I thought, "I would like to have one of those." So I looked around online and OF COURSE nobody makes one for our cars. So I decided, "I'll just make one myself. Doesn't seem that hard." Well it isn't and here's what you'll need:
- Cardboard
- Scissors
- Sharpie
- Sheet metal (approx. 20"x20" square will work, preferably aluminum)
- Any tool that can make clean, detailed cuts in metal (I used the metal cutting attachment on my Dremel)
- Sandpaper (I used the sanding attachment on my Dremel)
- Epoxy (Gorilla Glue will work)
- Thermal insulating material, such as a tape or spray application (this is optional, but helps)
- Weather stripping (can be picked up at any home improvement store)
The hardest part is the first step, which is taking the measurements. You need to cut a template out of the cardboard in roughly the shape you think will fit, based on your judgment of how much room you have around the cone filter and what orientation it should be in. You pretty much have to do trial and error from this point, and adjust the shape little by little until you get it the way you like it.
Once you have the template perfect, trace it onto your sheet metal with a Sharpie, then cut it out using your power tool of choice. Here's the "sheet metal" I used:

It looks like a panel that used to be part of a refrigerator or something. It's made of stainless steel, so it was heavy and hard to cut. That's why I recommended using aluminum. But the guy at the scrap metal place gave it to me for free so I can't complain.
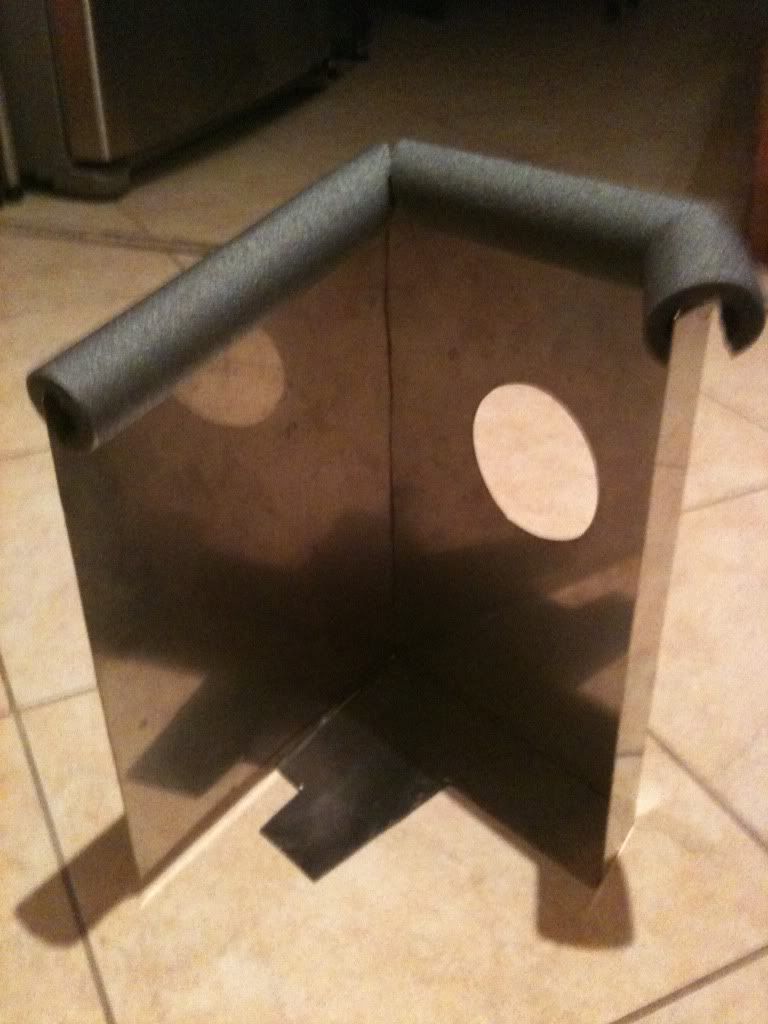
The next step is to sand down the edges so they aren't all jagged and dangerous. After that, you need to make your bends in the metal. This is tricky because you have to draw a line where you want it to bend at, and you have to cut along that line but only cut halfway through so it will bend. I used my Dremel for this part and I can't really think of any other tool that would work. Then you just bend it along those lines until you get the shape you need. Here�s what mine looked like after cutting and bending it:

You can see that I added a bottom to it also, which was very carefully shaped to fit around everything. I secured the two pieces by the tabs I left on the larger piece. They are bent inward and the bottom piece is epoxied to each one. Then I put a strip of epoxy along the seam create a seal between the pieces.
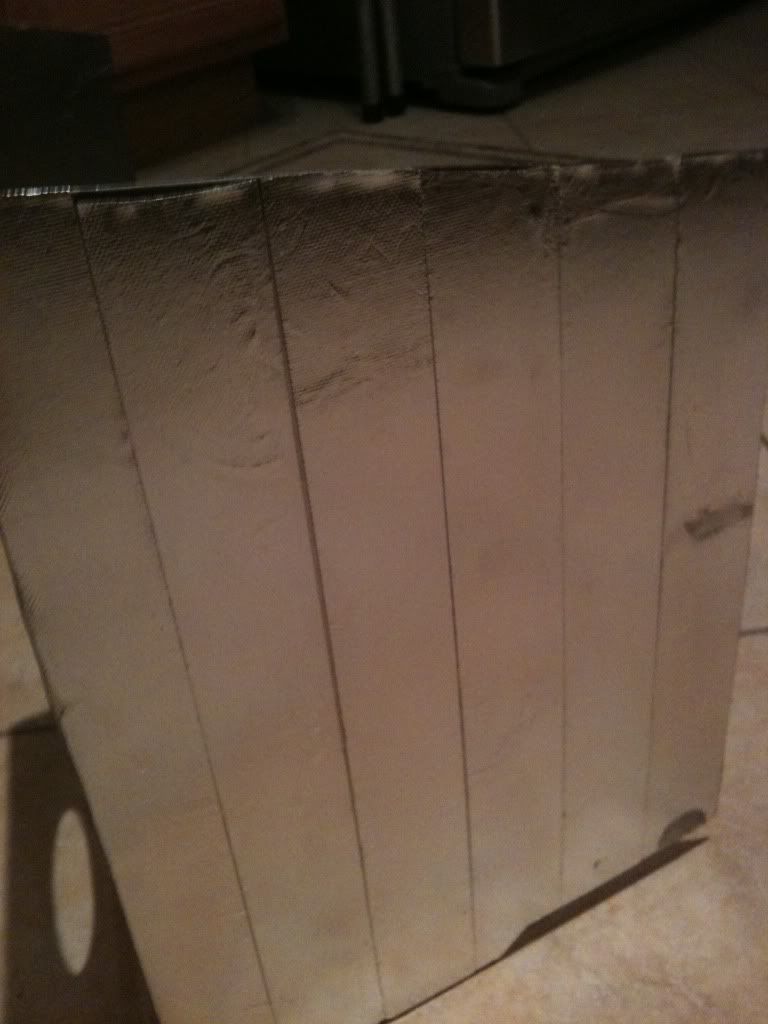
Next (and remember this is optional, but still helps), I put a layer of thermal insulating tape over the outside of the shield. That�s to help keep the heat out even better. Here�s what I used:

I found it new on eBay for like 15 bucks, and it�s specifically meant for automotive applications. Pretty pricey for a small amount of tape, so I really hope it�s working. Here�s a picture of the layer of tape I put on it:
The last step is to create a seal against the underside of the hood when it closes, because heat rises so the main way the heat will try to pass your shield is by going over it. This is probably the hardest part to get right, since you can�t actually see how it looks when the hood is closed. So, you just have to keep making minor changes until it comes out right. The material that should be used for this is weather stripping, but I couldn�t find a type that I thought would work well. So instead I had to use this:

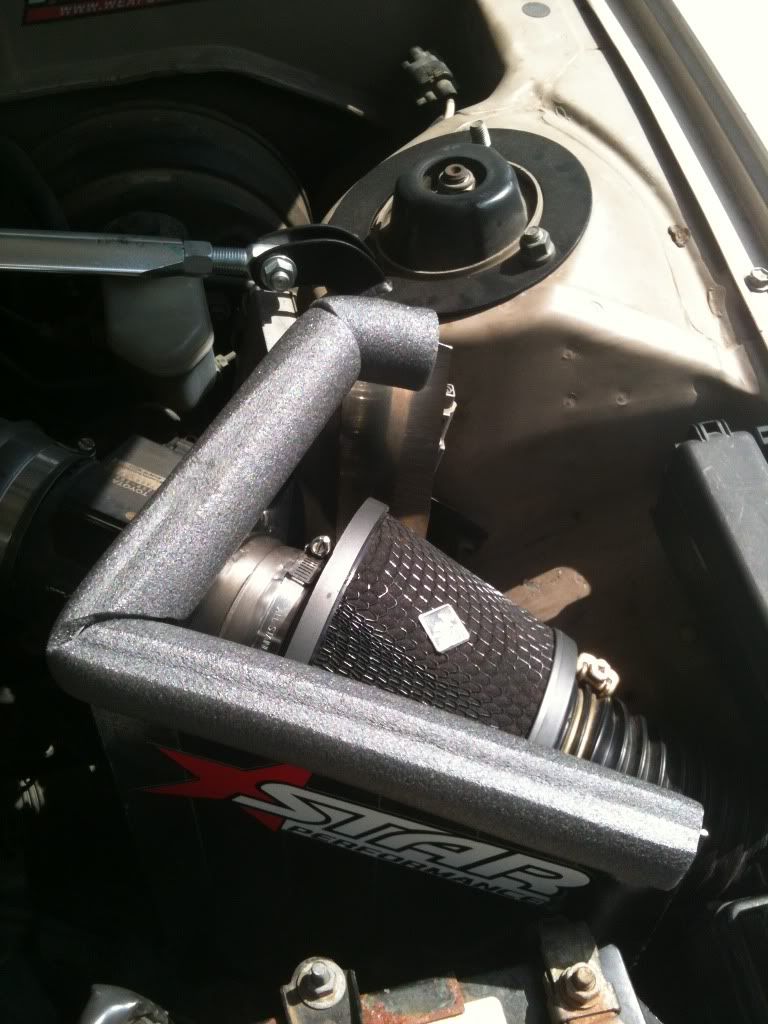
It�s called foam pipe insulation (for plumbing, I guess) and I found it at Home Depot for literally one dollar. Get the smallest size they have, because even then it will still be a little too big. You just cut it to size and line the top of the shield with it, like so:
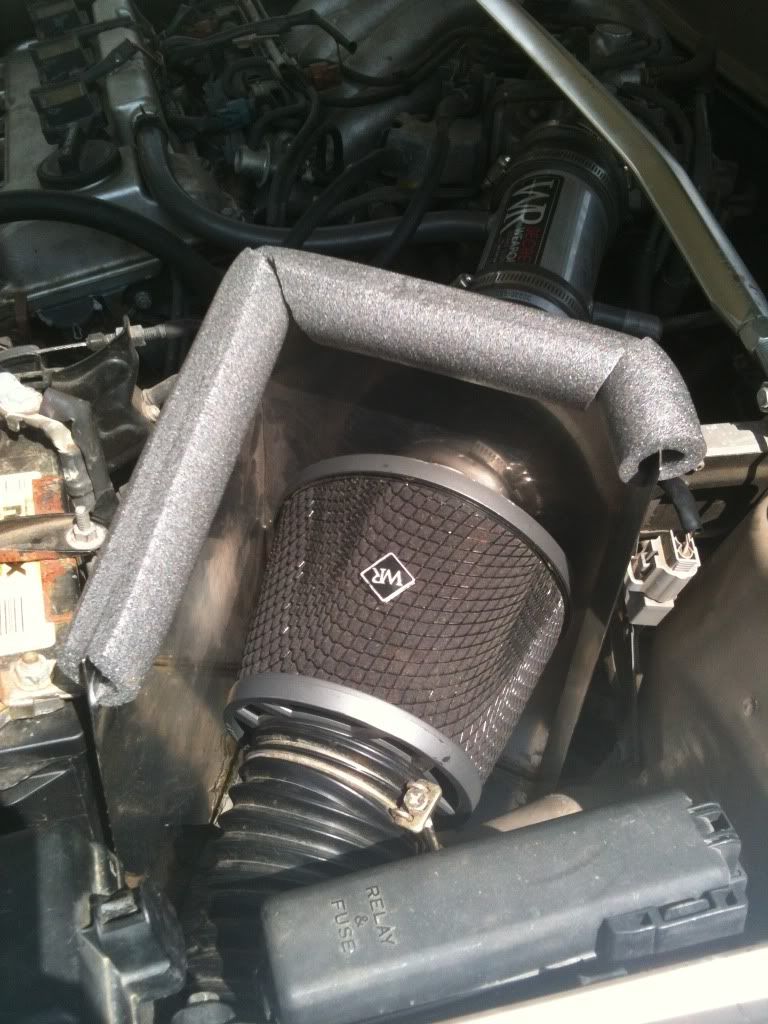
This is about the best you can do to seal off the top. The heat can still get around the sides, but it would be ALOT harder to create a perfect seal along the sides considering the weird shapes they would have to be in, but if you want to seal the sides too then go for it. Also, if the circle doesn�t create an airtight seal around your intake on its own, you should line that with pipe insulation as well. The picture you see above is my finished product. This is what it looks like installed on my car:
So that�s it. I still have the template I used for this, so I�ll convert it to a computer-friendly format and post it here ASAP. This is a very easy mod to do and can keep you busy for an afternoon.
I was looking around on the internet and found some pics of highly modded engine bays. Lo and behold, I noticed that some of them had heat shields on the intakes. I thought, "I would like to have one of those." So I looked around online and OF COURSE nobody makes one for our cars. So I decided, "I'll just make one myself. Doesn't seem that hard." Well it isn't and here's what you'll need:
- Cardboard
- Scissors
- Sharpie
- Sheet metal (approx. 20"x20" square will work, preferably aluminum)
- Any tool that can make clean, detailed cuts in metal (I used the metal cutting attachment on my Dremel)
- Sandpaper (I used the sanding attachment on my Dremel)
- Epoxy (Gorilla Glue will work)
- Thermal insulating material, such as a tape or spray application (this is optional, but helps)
- Weather stripping (can be picked up at any home improvement store)
The hardest part is the first step, which is taking the measurements. You need to cut a template out of the cardboard in roughly the shape you think will fit, based on your judgment of how much room you have around the cone filter and what orientation it should be in. You pretty much have to do trial and error from this point, and adjust the shape little by little until you get it the way you like it.
Once you have the template perfect, trace it onto your sheet metal with a Sharpie, then cut it out using your power tool of choice. Here's the "sheet metal" I used:
It looks like a panel that used to be part of a refrigerator or something. It's made of stainless steel, so it was heavy and hard to cut. That's why I recommended using aluminum. But the guy at the scrap metal place gave it to me for free so I can't complain.
The next step is to sand down the edges so they aren't all jagged and dangerous. After that, you need to make your bends in the metal. This is tricky because you have to draw a line where you want it to bend at, and you have to cut along that line but only cut halfway through so it will bend. I used my Dremel for this part and I can't really think of any other tool that would work. Then you just bend it along those lines until you get the shape you need. Here�s what mine looked like after cutting and bending it:
You can see that I added a bottom to it also, which was very carefully shaped to fit around everything. I secured the two pieces by the tabs I left on the larger piece. They are bent inward and the bottom piece is epoxied to each one. Then I put a strip of epoxy along the seam create a seal between the pieces.
Next (and remember this is optional, but still helps), I put a layer of thermal insulating tape over the outside of the shield. That�s to help keep the heat out even better. Here�s what I used:
I found it new on eBay for like 15 bucks, and it�s specifically meant for automotive applications. Pretty pricey for a small amount of tape, so I really hope it�s working. Here�s a picture of the layer of tape I put on it:
The last step is to create a seal against the underside of the hood when it closes, because heat rises so the main way the heat will try to pass your shield is by going over it. This is probably the hardest part to get right, since you can�t actually see how it looks when the hood is closed. So, you just have to keep making minor changes until it comes out right. The material that should be used for this is weather stripping, but I couldn�t find a type that I thought would work well. So instead I had to use this:
It�s called foam pipe insulation (for plumbing, I guess) and I found it at Home Depot for literally one dollar. Get the smallest size they have, because even then it will still be a little too big. You just cut it to size and line the top of the shield with it, like so:
This is about the best you can do to seal off the top. The heat can still get around the sides, but it would be ALOT harder to create a perfect seal along the sides considering the weird shapes they would have to be in, but if you want to seal the sides too then go for it. Also, if the circle doesn�t create an airtight seal around your intake on its own, you should line that with pipe insulation as well. The picture you see above is my finished product. This is what it looks like installed on my car:
So that�s it. I still have the template I used for this, so I�ll convert it to a computer-friendly format and post it here ASAP. This is a very easy mod to do and can keep you busy for an afternoon.


Thread
Thread Starter
Forum
Replies
Last Post