When you click on links to various merchants on this site and make a purchase, this can result in this site earning a commission. Affiliate programs and affiliations include, but are not limited to, the eBay Partner Network.
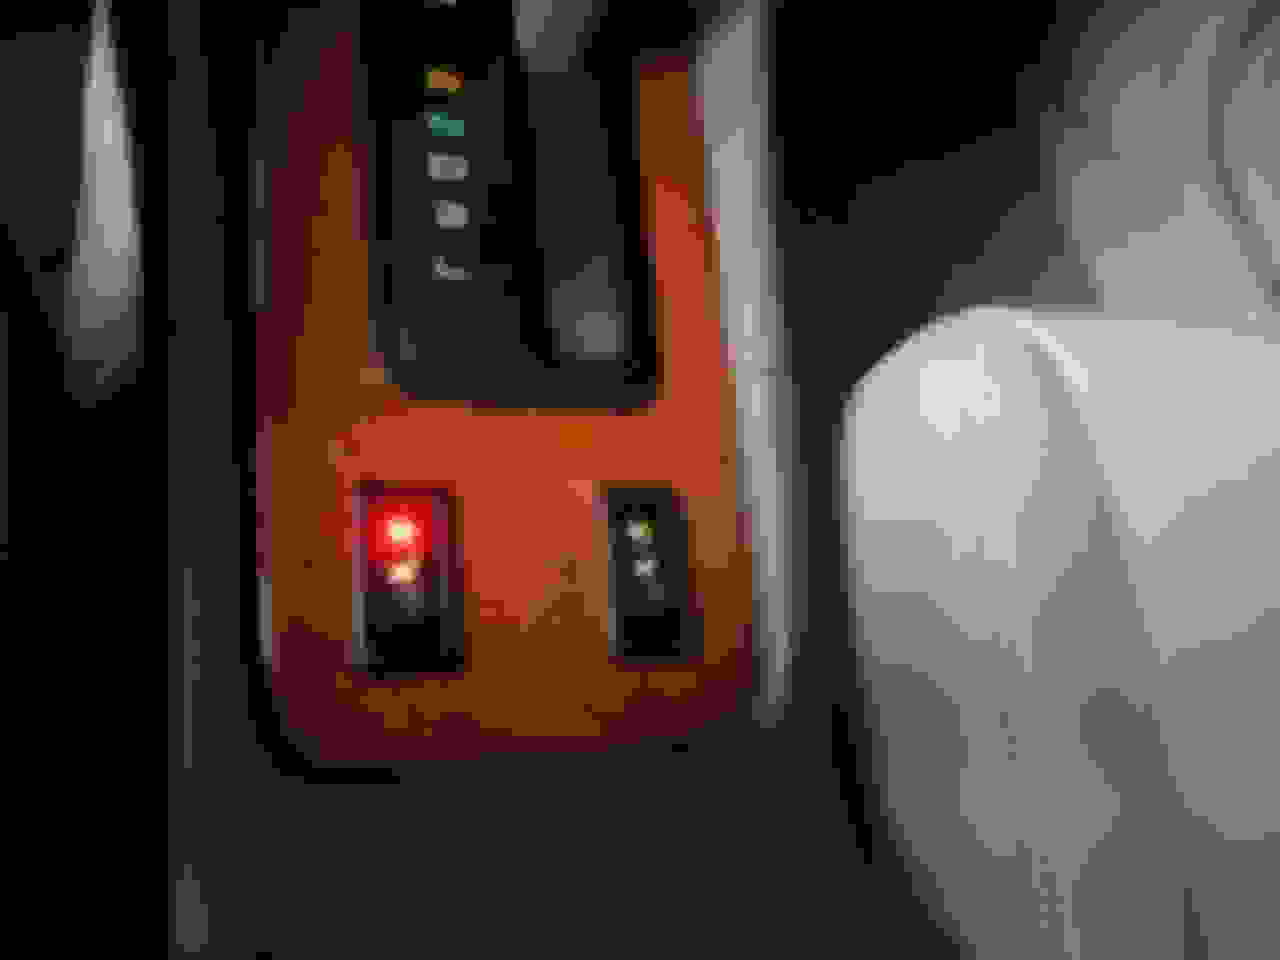
This is for the dual mode high/low switch not sure how many ES300's have this style part# 84751-33021 but what the heck here's a DIY for bringing it back to life. The switch commonly starts to stick or stops working altogether usually due to dried out grease and generally getting dirty but sometimes it has an electrical failure which we'll see. I snagged a pair of these awhile back so I did not have to mess with the originals they are easy to remove push the top of the switch towards the back of the car then lift it up. You'll need a small screwdriver to release the connector.
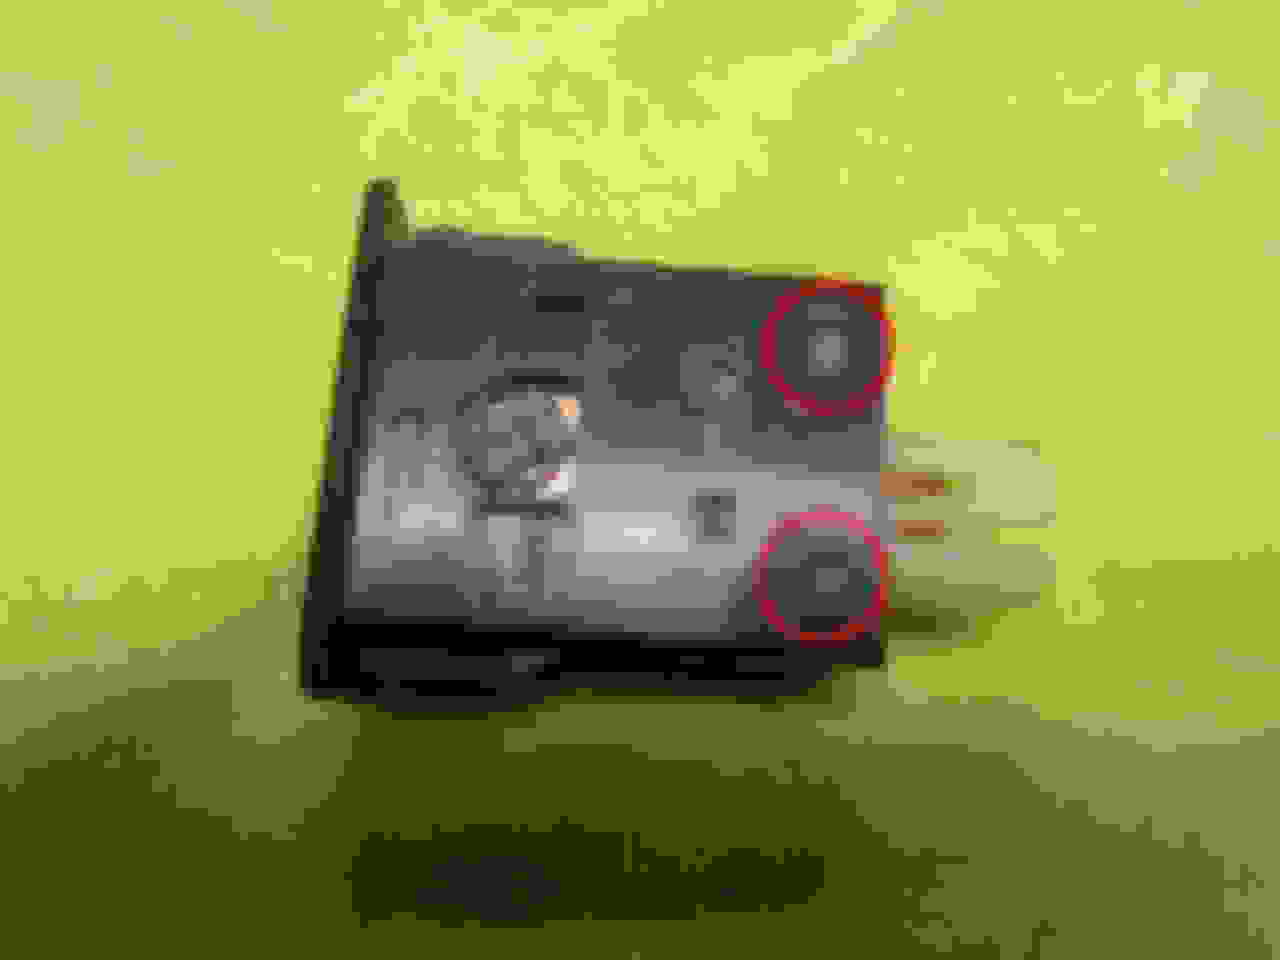
Here's the switch
The switch is disassembled in two steps the tabs shown need to get past the plastic housing
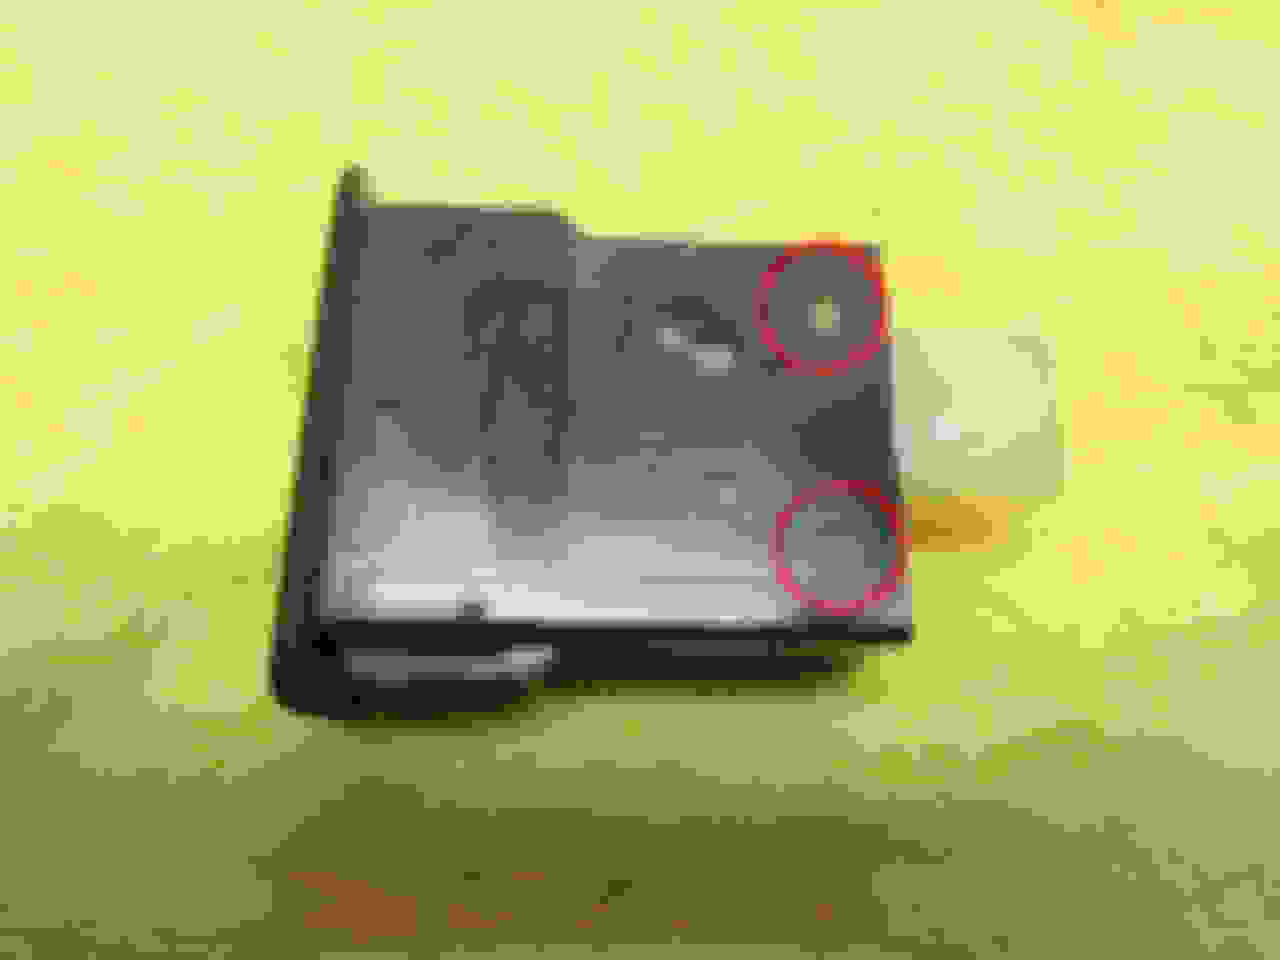
Other side of switch
I used a variety of jewelers screwdrivers it takes some patience as the housing is easy to crack. Carefully lift the housing past the tabs while prying on the side as shown. You do this on both sides of the switch get the tabs past the housing one side at a time
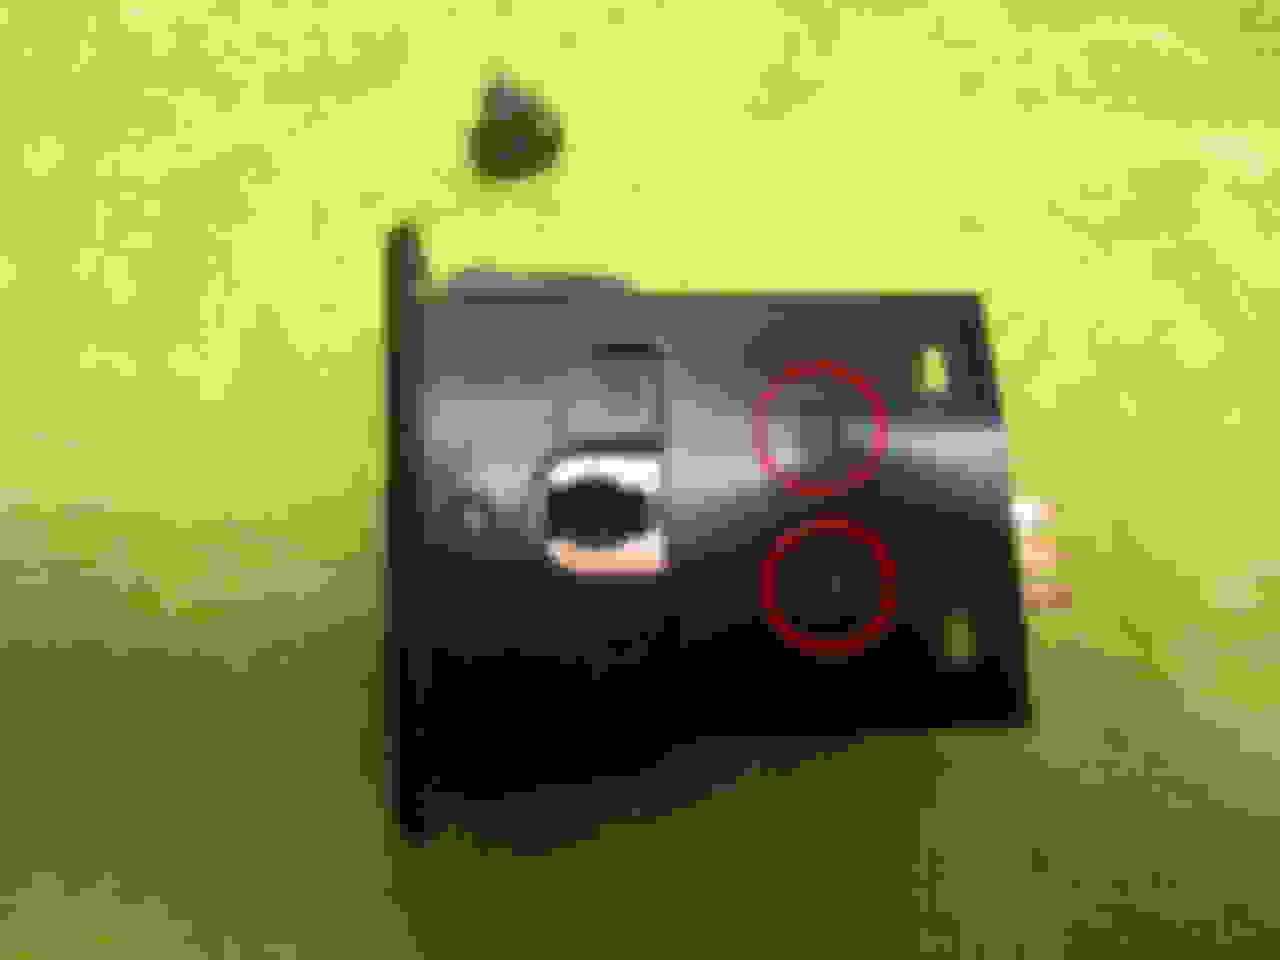
Back part of the switch removed
Repeat the same deal on the rest of the tabs (both sides) again be gentle the plastic housing is thin and cracks easily make sure you remove the bulb first
Internals removed the one contact has been baked and damaged luckily I had another style switch that uses the same internals although the housing is different
Inside of the housing here we see the sliding contacts
Here's the switch completely disassembled I pulled the center arm (bottom center with the "2" on it) out to remove the green diffuser because I will be going with orange lighting if you are staying with green then you don't have to do this
Clean all traces of the old grease on the various parts I used rubbing alcohol. Be careful not to lose the springs there are two in the slide and one in the center arm. The ball bearing goes on top of the spring in the arm. I cleaned the contacts with a grey Scotch-Brite pad. The housing I washed with water and dish soap.
Cleaned and ready to be assembled. Lube everything with silicone based grease, anything that moves. I replaced the green and orange power indicator LEDs as well (more on this later)
To assembly push the switch lever (top) to the high position and snap in the electrical portion, if you don't have the switch lever this way it won't go together properly. Snap in the connector housing.
Assembled, the smearing you see is Meguiar's Natural Shine I buffed it out. I also put some where the top of the switch levers in the body
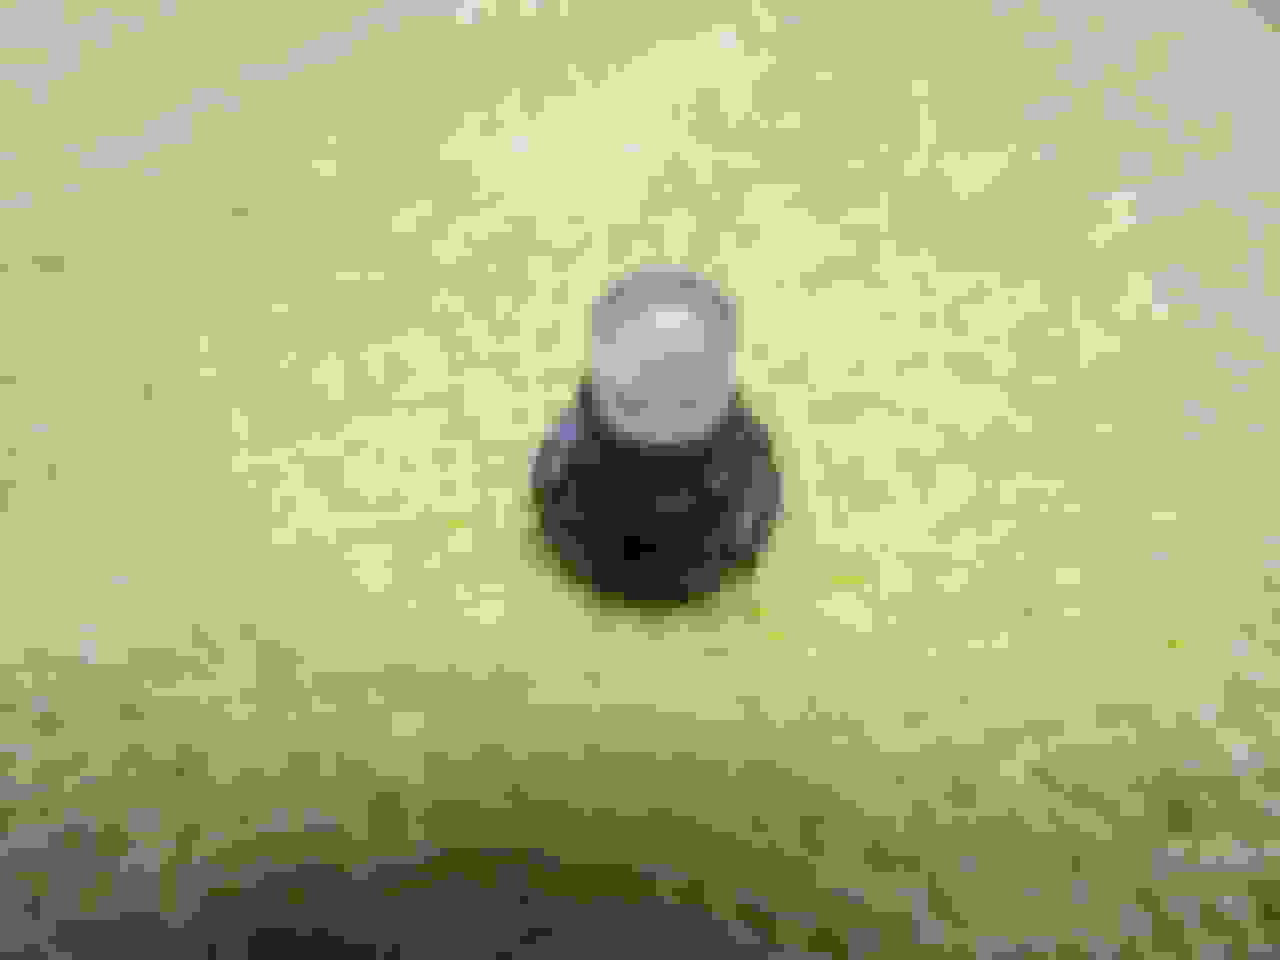
I replaced the incandescent lamp by putting a T5 orange LED into the neo wedge holder
I eventually plan to go with an orange LED scheme in the car plus I didn't really like the green and orange indicators on the switch so I swapped the LEDs with pink and red. Original switch on the right
Here's both switches completed
I replaced the 470Ω resistor in the switch with a 2.2KΩ otherwise they were way too bright. They are still quite bright I may swap in a higher resistance.
 12-07-18, 05:29 PM