When you click on links to various merchants on this site and make a purchase, this can result in this site earning a commission. Affiliate programs and affiliations include, but are not limited to, the eBay Partner Network.
Last night I replaced the rear ones with Monroe OESpectrums + the bumpers/boots. They are a lot firmer and the car drives much better. I just ordered the front ones together with the bumper/boot.
the 2010 strut assemblies have arrived. took various measurement to ensure the fit will be identical and haven't found anything different. there are some noticeable changes but nothing to do with mounting. the bottom mount seems a little beefier in the welds and the drain holes on the spring perch a bit different, that was about it. will post some photos of the differences when I can.
Thanks for doing this. I was planning on just waiting until the KYB front assemblies became available for my 2007 but if the ones you bought bolt up just fine, I may use them instead.
Do the KYB springs have the same number of coils as the original Lexus and are they progressive or equally spaced apart?
KYB confirmed the coil springs are same between 2008 and 2010. Here are some photos of the 2008 strut - vs- 2010 strut assembly. One thing I forgot to compare yesterday was width of bottom mount. Will be doing that soon.
Rebuilt the rear suspension yesterday by replacing all 6 control arms and sway bar bushings/links and installed new KYB strut assembles. Had to detach rear exhaust, drop subframe and remove sway bar to get to bolts. Leave the control arms attached so the subframe has something to help hold it up. Also used several bungee cords to hold exhaust up. The trick to the struts is to set it in its spot, but dont bolt it down, then using a jack raise up the wheel carrier and align the strut to the upper mounting holes, push it thru, and secure the upper mounts first, then secure bottom. I reused the factory upper mount bolts, because they are designed to be tall bolts, unlike what KYB provides. will post a few photos of the new KYB -vs- Factory KYB when I can - they are nearly identical.
Will be doing front hopefully this Friday. Set all the rear arms identical to what they were, but now steering wheel is cocked about 25 degrees left when driving straight. I'm guessing this causes steering angle sensor to go haywire, because I'm getting the slippery conditions sign on the dash. Need an alignment bad!
Started on front yesterday. wasted a lot of time chasing down parts and tools, so it continues today. Lessons learned:
To replace ball-joint, needed to remove CV axle from wheel hub in order to remove ball-joint nut. Need 30mm 12pt socket for this, which I didn't have. Also need new axle nuts, which I didn't have. Also need a tool to unbend the axle nut security bend. Didn't have anything for that either. Bought a punch and that did the trick. Be sure to get any metal residue out of the hole, or it will end up in the axle threads. So off to fight Friday Austin traffic when I should have been under the car. A really good impact wrench is also handy. Have a battery powered Milwaukee that is awesome. expensive, but has totally paid for itself. Makes loosening the axle nut childs play. Be sure to get the axle spline partially separated from the hub, so it is ready to come out before taking anything off. This will give the most leverage in getting it out. Ended up needing to remove the brake caliper assembly and use a 3 jaw gear puller tool and some WD-40 to push it out. It was stuck in there pretty good. Get it started, so you know it will come out, then remove bottom bolts from strut to provide the room you will need to remove it all the way. I've done this job on a 99 Toyota Solara before and it just came out, no tools needed. Having the brake caliper, rotor, wheel hub out of your way is a mixed blessing. Gives more room to work, but the caliper hanging there is a nuisance. To separate the ball joint, I used a fork. Don't have a ball joint separator, you will need one or the other. I'm thinking the specific tool to separate may be better.
To replace control-arm, need to remove engine mount. This was a shock that I wasn't expecting. Should have read my Haynes manual before doing this job! For right side, can hold engine up with jack and big block of wood between jack and oil pan. Be sure to unbolt top bolt of both sides of engine mounts so the engine can be jacked up in order to remove engine mount. For right side, had to remove the bracket that attaches to engine. It was stuck to the mount, so a pry bar and some convincing was needed to separate it from the mount. then pull it out of the way, so the mount has clearance to come out. Your results may vary. Looks like left side should be easier. (not even close to easier, see below)
To get control-arm back in place, started with rear most bolt, and worked forward. The most forward bolt was tricky, had to push hard to align bolt hole due to tension from other 2 bolts being in place. Took most of my strength. May not be able to do this job in another 10 years. Maybe there is a better way, like starting at the front bolt. (found easier way, see below)
Had a hard time cutting off the tie-rod inner boot clamp, didn't have a tool that could fit in there and cut, finally grabbed a long screw driver and set it in the ears of the clamp and smacked it with a hammer a few times and it popped loose. Glad I decided to replace this, the boot was torn, but couldn't tell until I got in there.
The right side sway bar bushing was tight, but was able to manage replacing it without removing the other side. Hopefully the converse is true, not interested in removing those bolts again. It was helpful to have the tie-rod assembly removed and out of the way.
Motor mount torque specs - have no idea what they are, but considering the bolts that go into the aluminum block are 14mm, I'm assuming not over 50 ft lbs, and probably less, and the larger bolts somewhere in that range.
Will edit this post as more is learned, and will post photos once the car is back on all fours. Wife needs working car on Monday!
my favorite order to know ahead of time what issues you may run into before tearing the whole mess apart
remove axle nut
try to push out axle spline a little ways to find out if stuck
loosen tie rod
remove caliper and rotor - if axle spline stuck, now is time to use 3 jaw puller or equivalent
remove speed sensor from wheel bearing
remove tie rod
remove bottom strut bolts
pull strut back and continue removing axle shaft
now you have access to ball joint - remove it, after that, the coast is clear
ENGINE MOUNT TORQUES:
From Alldata: for a 2011 Camry, 6 cyl. 2GR-FE
Engine mounting bracket RH x Cylinder block sub-assembly - 40 ft.lb (3 bolts)
Engine mounting bracket front No. 1 LH x Chain cover - 40 ft.lb. (6 bolts)
Here's a couple extra for free:
Engine mounting control bracket x Engine mounting bracket front No. 1 LH - Bolt A is 32 ft.lb and Bolt B is 28 ft.lb.
Engine mounting stay No. 2 RH x Intake manifold - 15 ft.lb. https://www.toyotanation.com/threads...#post-14314420
TRICK TO getting control arm in:
1. put rear bushing into slot, but dont put bolt in yet
2. put front bolts in and just get thread started, barely so there is lots of slack
3. now put rear bolt in, thru the hole and get nut started just a bit - a pry bar helps to get some leverage with the rear bushing hole alignment
4. now proceed to tighten everything
update on left side. Motor mount on this side won't come out.
So far I've tried: loosing all motor mounts bolts on left, removing motor mount bracket on right and all bolts, and removing middle motor mount lower bolts. all combinations, still not giving enough clearance to get mount out. Also tried lowing front left sub-frame a bit, not all the way. still no go. Tried jacking from trans pan and oil pan, nothing worked. today I'm going to try lowering the sub-frame while supporting the engine from above. Don't see any other way. Hoping this will do the trick.
Got'er done! Had to drop the subframe and lift the motor up to get the driver side motor mount out to access the control arm. will cover what I did later. As far as the ride, I think I like it. Too early to tell. Definitely stiffer, which is what I wanted. Keep in mind, this car has 145K miles on it and everthing was factory, and it has not yet been aligned.
All parts are new, the rear control arm bushings were all loose and front control arms I could see small surface cracks in the bushing, ball joints and tie-rods not too bad, but everthing was replaced. So this is my reference. All of the new suspension parts are going to add to some of the stiffness that is felt.
previously, the car felt disconnected from the road, as if it was riding on a cloud, leaned too much going into corners. nothing close to my BMW 545 with sport suspension handling package, and I didn't like it. Now I think it will be closer towards that realm. They are obviously 2, very different cars. I can feel the road, the suspension is taut, and shock dynamics/rebound is what I want. It needs some break-in and alignment to be certain and I need more time behind the wheel.
so in the end, I used all 2008 parts, and 2010 KYB front strut assemblys and 2010 Beck Arnley front sway bar links. Will update ride in a few weeks and will get some photos going soon as possible along with how I managed to remove driver side motor mount, that really slowed this whole thing down. took me 3 - 12 hour days, and probably wasted 8 hours figuring out how to get the motor mount out, coudnt find one person document it on the web.
if you want to feel like you are sitting in your living room, and dont care about feeling connected to the road, then this may not be for you. I just don't know what a brand new 2008 ES350 felt like, I bought it with 60K miles on it, and even then it more or less felt like it did at 145K. Taking trips from Austin to Houston, at highway speeds around curves, just never felt comfortable in it, the handling was off. I think it will be much better now.
I do not see any noticable change in ride-height, and forgot to measure before and after. (But I did take a visual.)
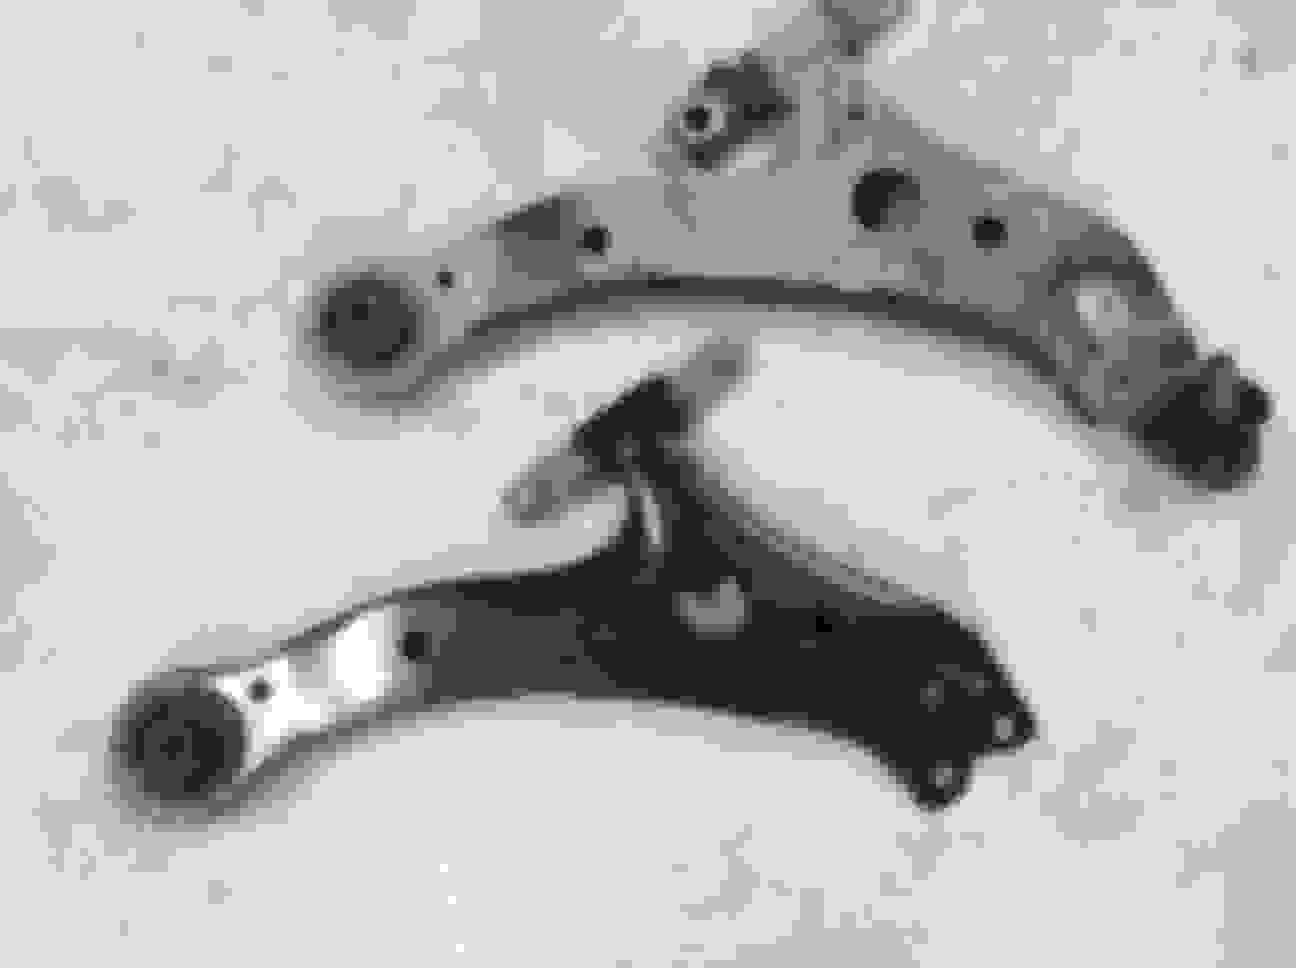
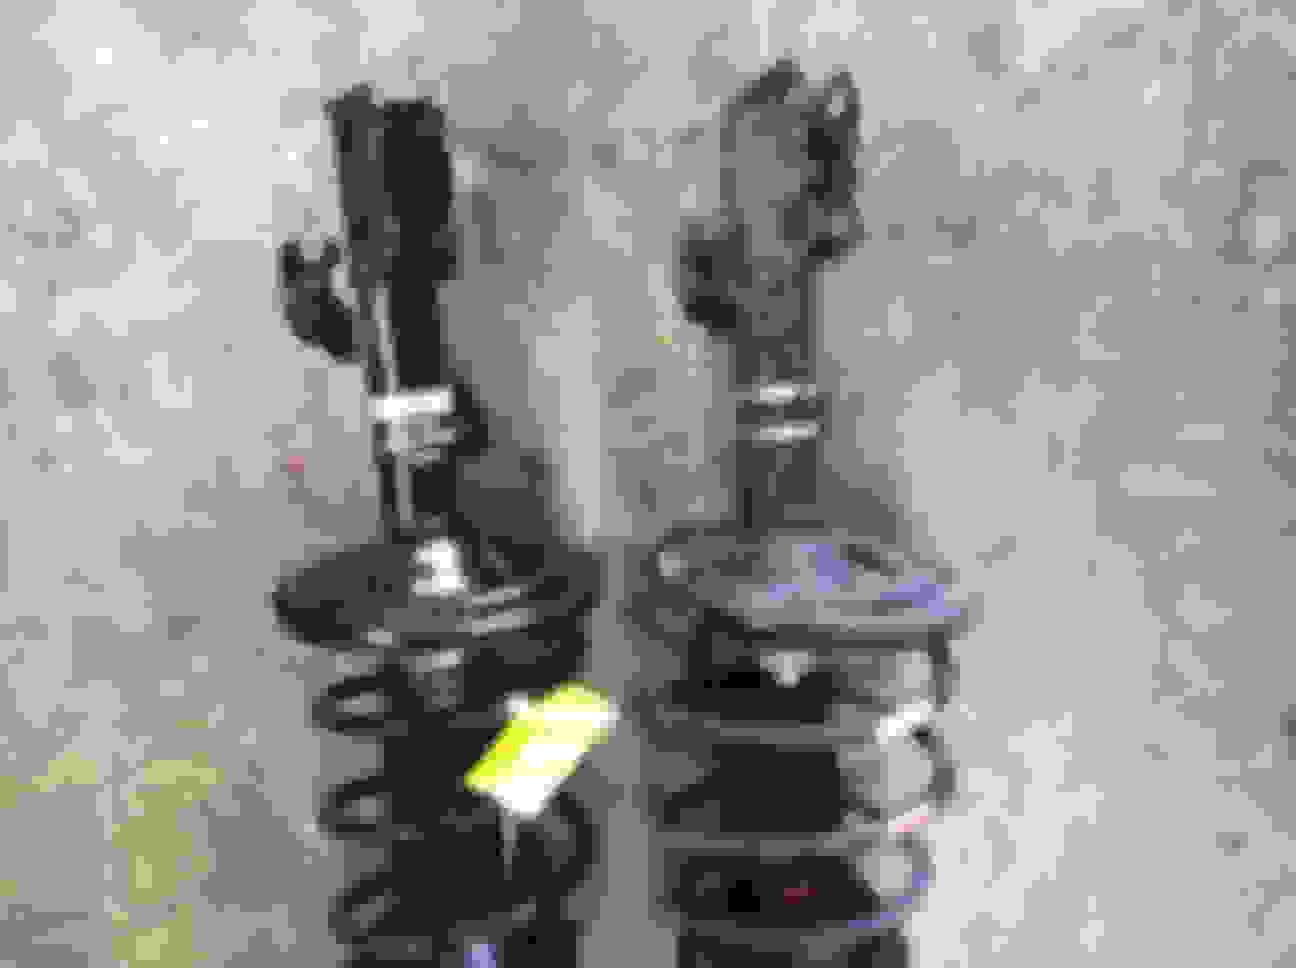
Factory control arm -vs- Moog. And below that, Factory front strut (pre July 2009) -vs- KYB strut for 2010 and up. Cant really put my finger on it, but the springs look slightly different. The 2010 seems a hair shorter, but that may just be my eyes playing tricks on me.
Looks good. Curious how it will soften up over the next few weeks, which is what I've heard will happen. I'm okay with that, YMMV. Were the newer links longer? I just replaced mine with B/A units when I did the CV shafts, I'd hate to have to replace them again. Thanks again for all the info.
Looks good. Curious how it will soften up over the next few weeks, which is what I've heard will happen. I'm okay with that, YMMV. Were the newer links longer? I just replaced mine with B/A units when I did the CV shafts, I'd hate to have to replace them again. Thanks again for all the info.
they are longer, but the bolt length end to end is about the same length due to the 20 degree angle on them. I was up in the air on what to do, but decided on the 2010 version because I'm guessing they engage the sway bar a little differently. probably wont hurt to try with the version you have now.
Got the car aligned yesterday, no issues popped up. was a little concerned the 2010 front sway bar links might cause issues, but turns out to be a non-worry. Haven't drove it yet, but all the traction control lights are now off. wife says ride is firmer, but also said if I hadn't asked her to compare, she probably wouldn't have noticed.
...wife says ride is firmer, but also said if I hadn't asked her to compare, she probably wouldn't have noticed.
All that work and she wouldn't have noticed? Ouch! lol. I'm probably not going to go all out as you did unless I notice some real issues as I get in there. Just looking to replace the strut assemblies at this time. I've put eyes on the bushings when I was working the CV axles, and nothing jumped out at me. But your write-up provides a great future reference. Thanks!
All that work and she wouldn't have noticed? Ouch! lol. I'm probably not going to go all out as you did unless I notice some real issues as I get in there. Just looking to replace the strut assemblies at this time. I've put eyes on the bushings when I was working the CV axles, and nothing jumped out at me. But your write-up provides a great future reference. Thanks!
Bought car at 60K, now has 145K - mostly trips on highway 25 miles or more.
Condition was:
Front Good: outer tie-rods ends, ball joints. Front Bad: Control arms and sway bar links(torn boots). Front SoSo: inner-tie rods OK, but not firm, also, one boot torn.
Back Good: trailing links and swaybar links. Back Bad: All other bushings I could wiggle by hand, although they looked good on the car.
swaybar bushings all the way around were OK but not new, but cheap enough to replace anyway. I always say these give you the biggest bang for the buck (on a performance handling car.)

 09-26-20, 02:23 PM