When you click on links to various merchants on this site and make a purchase, this can result in this site earning a commission. Affiliate programs and affiliations include, but are not limited to, the eBay Partner Network.
I doubt the wiring harness exists in the North American cars since they're made in factories that don't even offer the option, but it's something I would consider trying to get working. I'd like to see the wiring diagram to see what each of these wires do. ...
It might be worth a $25 two standard subscription to the Toyota Technical Information Service (TIS) which gives you access the service support information which amongst other things includes wiring diagrams for most 1990 and later Toyota products (Toyota, Scion, and Lexus).
I'm not sure if wiring diagrams for non available to the North American market features are included but you may be able to determine if there's any unused connectors and wires in the North American sold ES model and what their intended purpose is.
Also, in the engine compartment's type A (the one on the left/passenger side) fuse box, there are two empty fuse positions which are labeled "15A" "S/HTR R/R" and "15A" "S/HTR R/L" (on the fuse box lid) which I think may be the fuse positions for Seat Heater Rear Right and Seat Heater Rear Left. Given ESh's comment about a couple of empty plugs under the rear seat that may mean the North American sold ESs were built with wiring harnesses that include the wiring for at least the rear seat heaters functionality.
I attempted to install the armrest today and it did not go as smoothly as I originally thought.
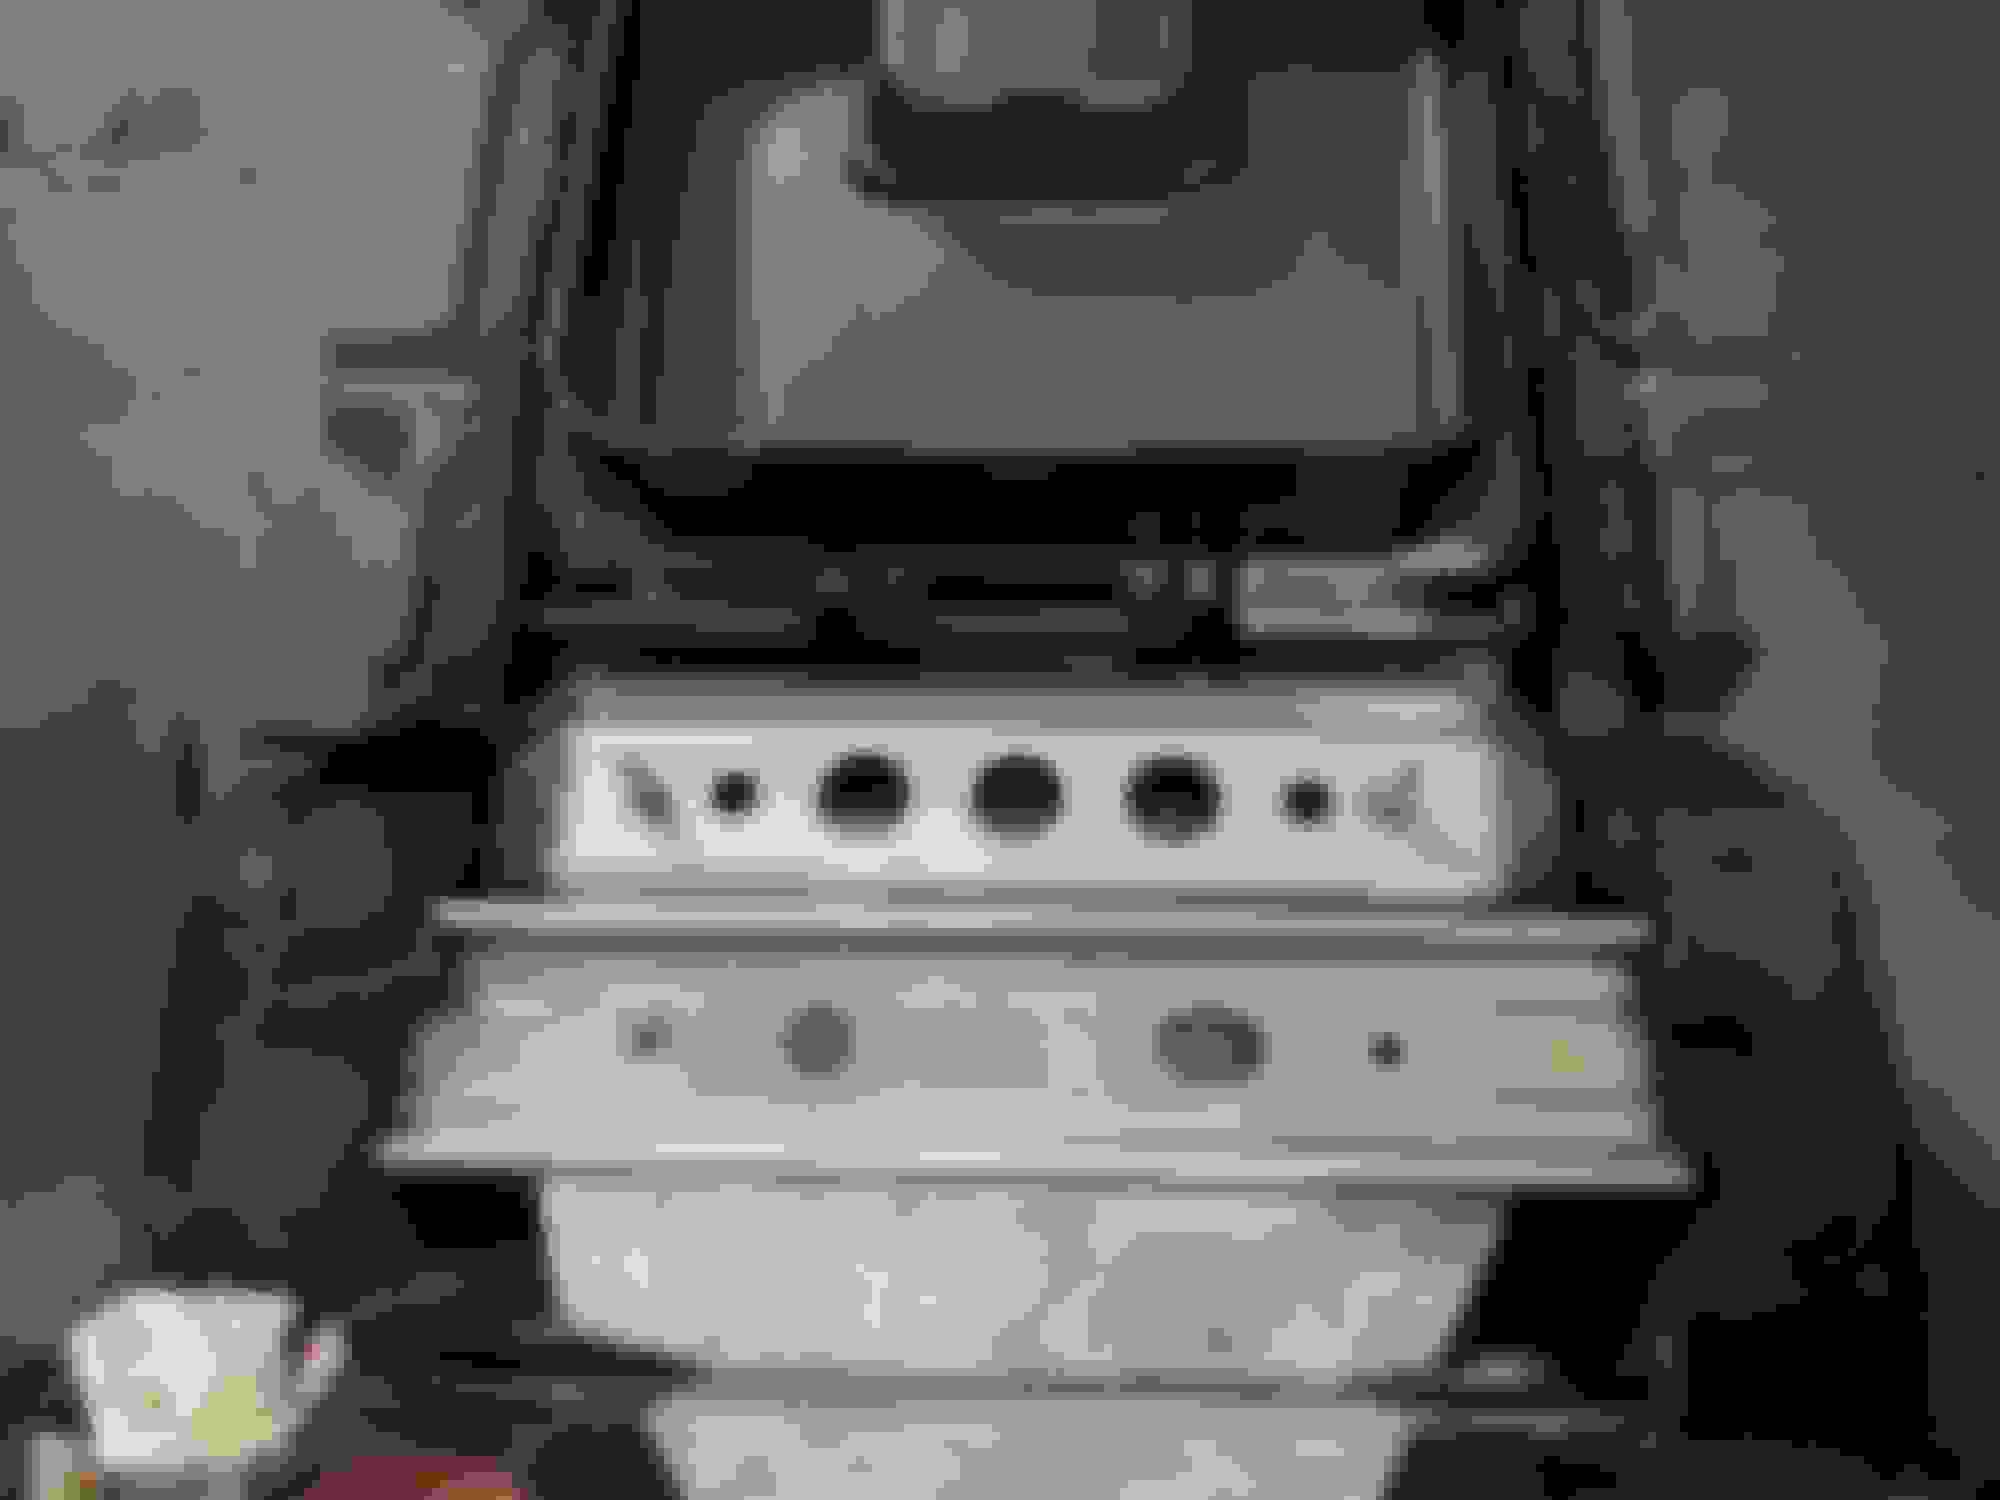
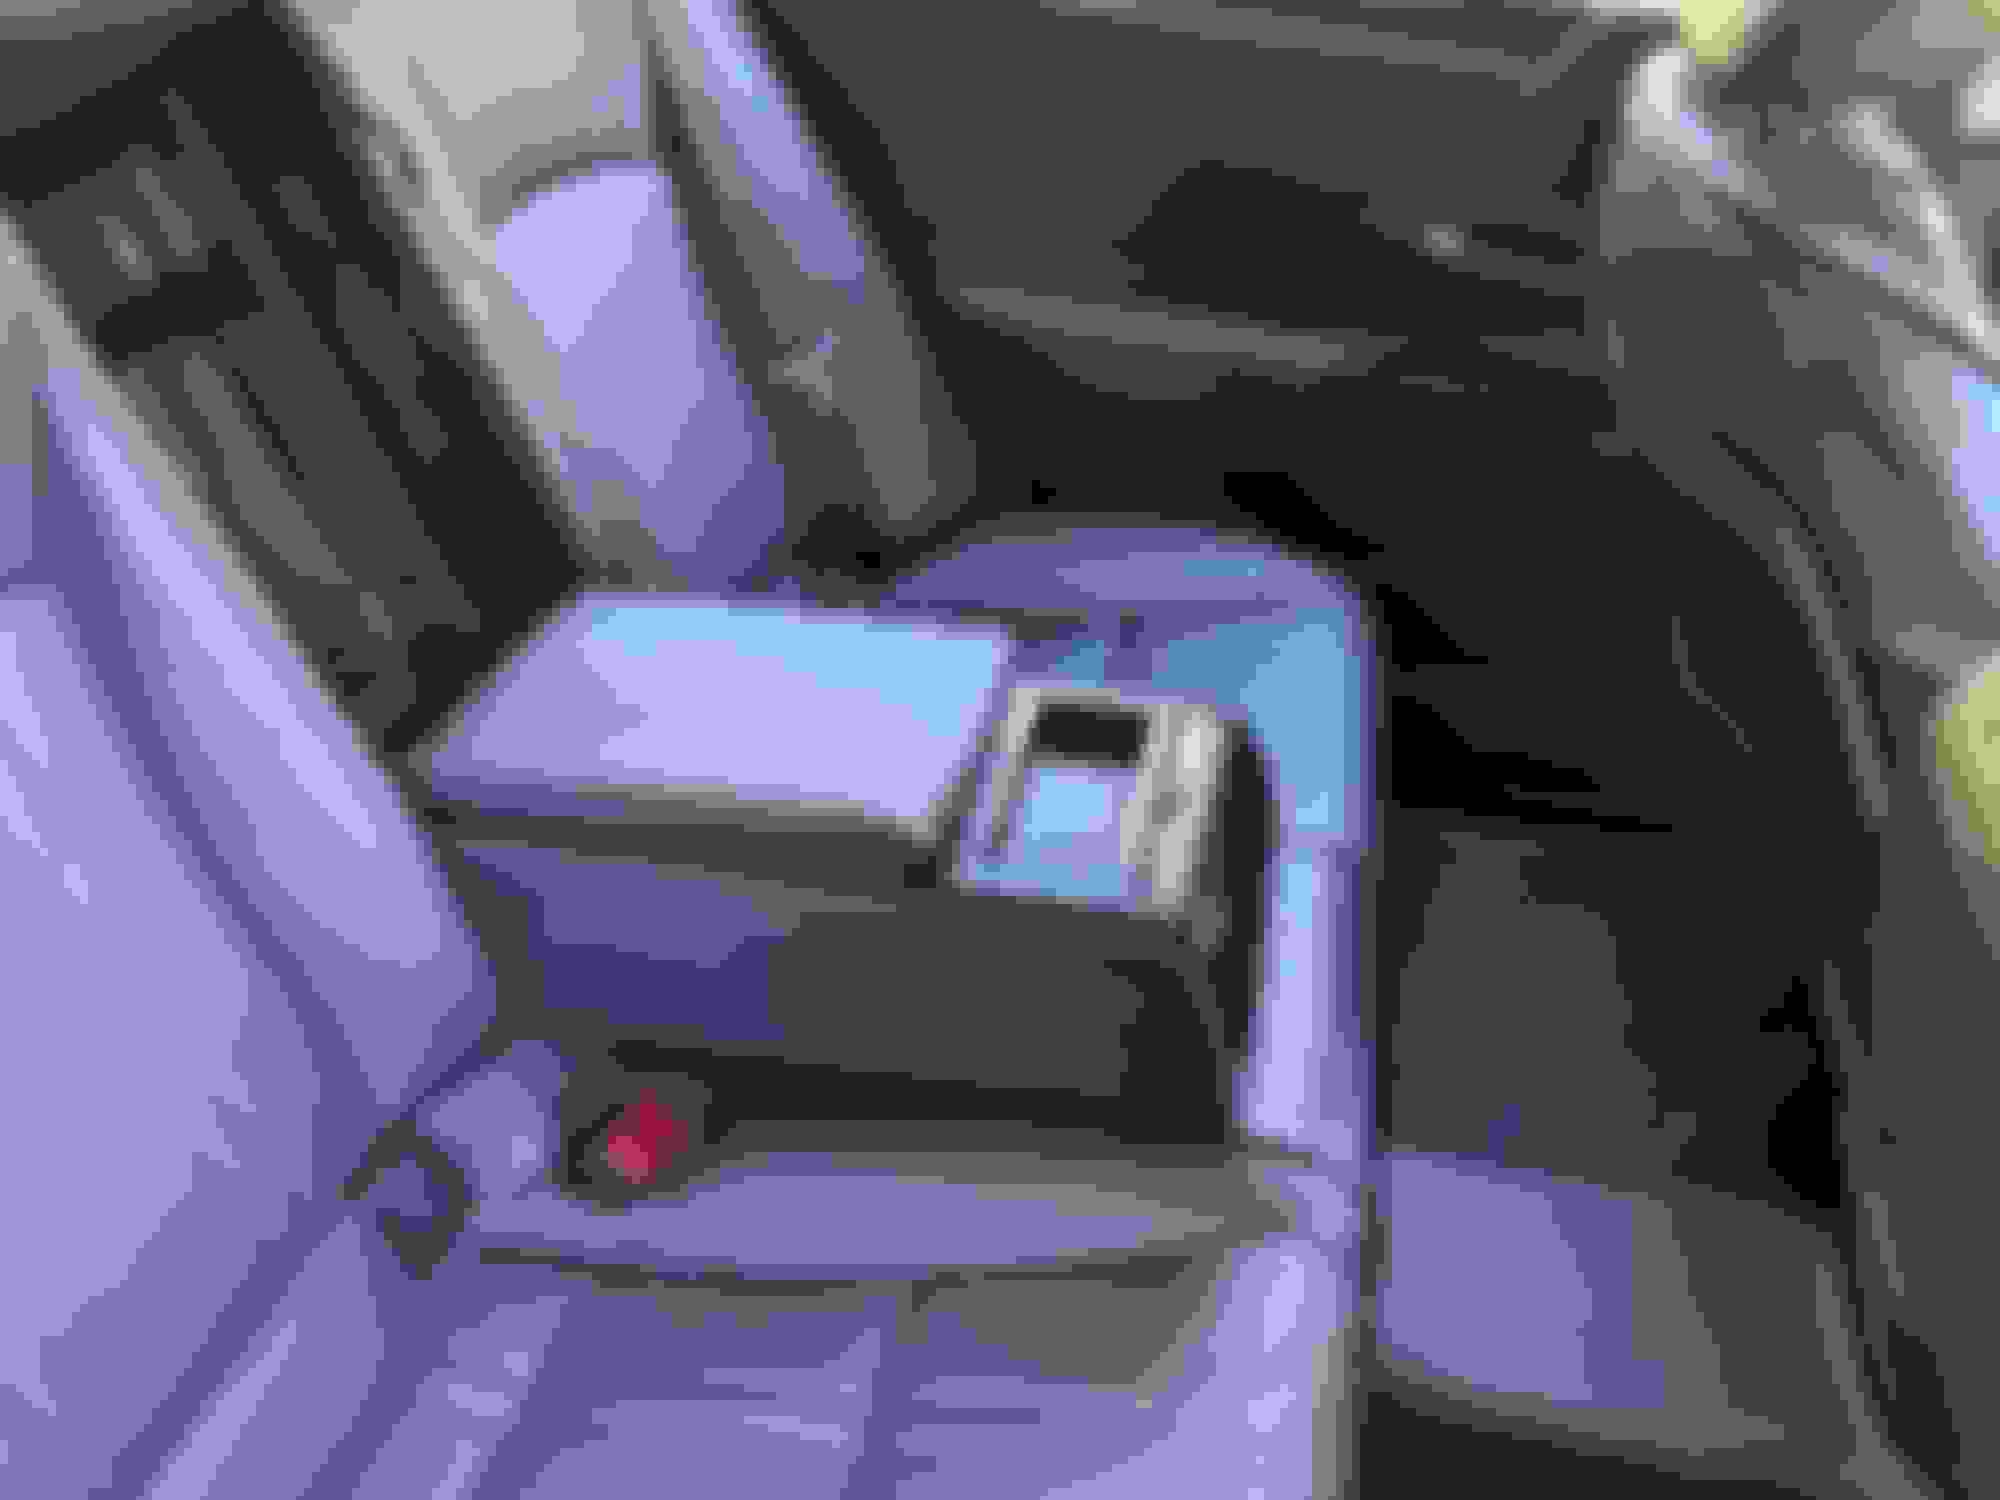
Disassembly was straightforward, in fact getting the airbag wires unclipped was one of the more difficult parts. The seats are held in with a few clips and 4 bolts. Bottom comes up by pulling up near the clips and lifting out. The back rest is similar but has 4 bolts and an extra clip in the middle. Some photos attached below.
The armrest is attached to the seat back so it all came out as one unit. This is where problems start. The TMMK built ESs like the one I have appear to have a very different rear seat than the TMC made seats. In North America the arm rest is removed by unbolting 2 screws and sliding out towards the front. The European / Japanese armrest appears to slide in the back because the wiring bracket is in the way. The hinge bracket also appears to be an inch and a half higher than the old armrest which means some modification to the seat back brackets would be required. The final nail in the coffin was the trunk hatch door. My plan was to swap them to bring the lock from my old hatch to the new armrest but even that doesn't fit. The TMMK door is slightly bigger than the TMC hatch.
I did not see any extra wires routed to the back seat for the controls or seat heaters, only the wires for airbags and seat belt sensors were there.
The primary blocker here is the placement of the bracket and the wiring harness protruding out to the side. The hatch lock can probably be forced out and reused on the new hatch door. I don't really know what I'm going to do from here. For now my rear seat has been reassembled with the original arm rest back in place. Maybe one day I'll remove it all and try again with a plan to move that mounting bracket.
I think I might have a solution. I'll need to disassemble the rear seat again for some measurements but I might be able to use one of those online metal cutting services to cut and bend a bracket extension. I'll need to measure for clearance to confirm.
I spent the week coming up with a plan and I'm happy to say the upgrade is mostly complete. My goal coming into this project was an arm rest replacement without any modifications to he vehicle. That goal was reached but I did need to do some minor modifications to the new armrest.
First of all I was sent the incorrect mounting bracket, but I wouldn't say this is the fault of the supplier. If you look at the parts diagram there are 2 options for the hinge bracket. One says for fixed type back seat which is what we have here in North America. I requested that part when ordering but when they were unable to verify part fitment using my VIN I guess they just sent me whatever the default part for the assembly was. This is was was limiting me last week, the extra wire bracket was sticking out and preventing the new armrest from sliding into place. The bracket is spot welded on and was fairly easy to remove by drilling out the welded area. This allowed the armrest to slide into place.
The next issue was caused by a misalignment of the mounting bolts. I gave it some thought and decided a bracket to bridge the gap would be suitable for mounting the armrest. I designed the part and made a few plastic test prints to verify fitment. The plastic version is comparatively weak so I'm going to get the final bracket made out of steel. I have no idea if this part would be useful for anyone else and I don't know if the mounting holes will align for anyone else's vehicle, but I will provide the CAD file once I get my final bracket made and I can verify it works for me and anyone can use an online sheet metal service to get it made.
The new arm rest also had white retaining straps around the trunk hatch hinge and at the top. These weren't on the old armrest and they were in the way of my mounting bracket so I ended up cutting them off to make more room.
With all of that said, the armrest is successfully installed and I'm fairly happy with the result. There is a slight offset at the top and bottom when folded up but its not bad and I'm really happy with the way it looks. Right now it's still using the plastic bracket but I'll replace that when the new part arrives in a few weeks. I also need to figure out how to swap over my trunk hatch lock.
No, I didn't order that module since it wouldn't have been compatible anyways. I opted for the filler tray which is right behind the cup holders in my photos


 08-27-24, 09:04 PM