When you click on links to various merchants on this site and make a purchase, this can result in this site earning a commission. Affiliate programs and affiliations include, but are not limited to, the eBay Partner Network.
hey were twins! I love it !! How do you like the carbon shifter cover?
Originally Posted by evan2k
Installed my carbon fiber steering wheel and paddle shifters, and the first person with the Carbon Fiber Shifter ( he said he can no longer make another ) all tanks to elvin_6188
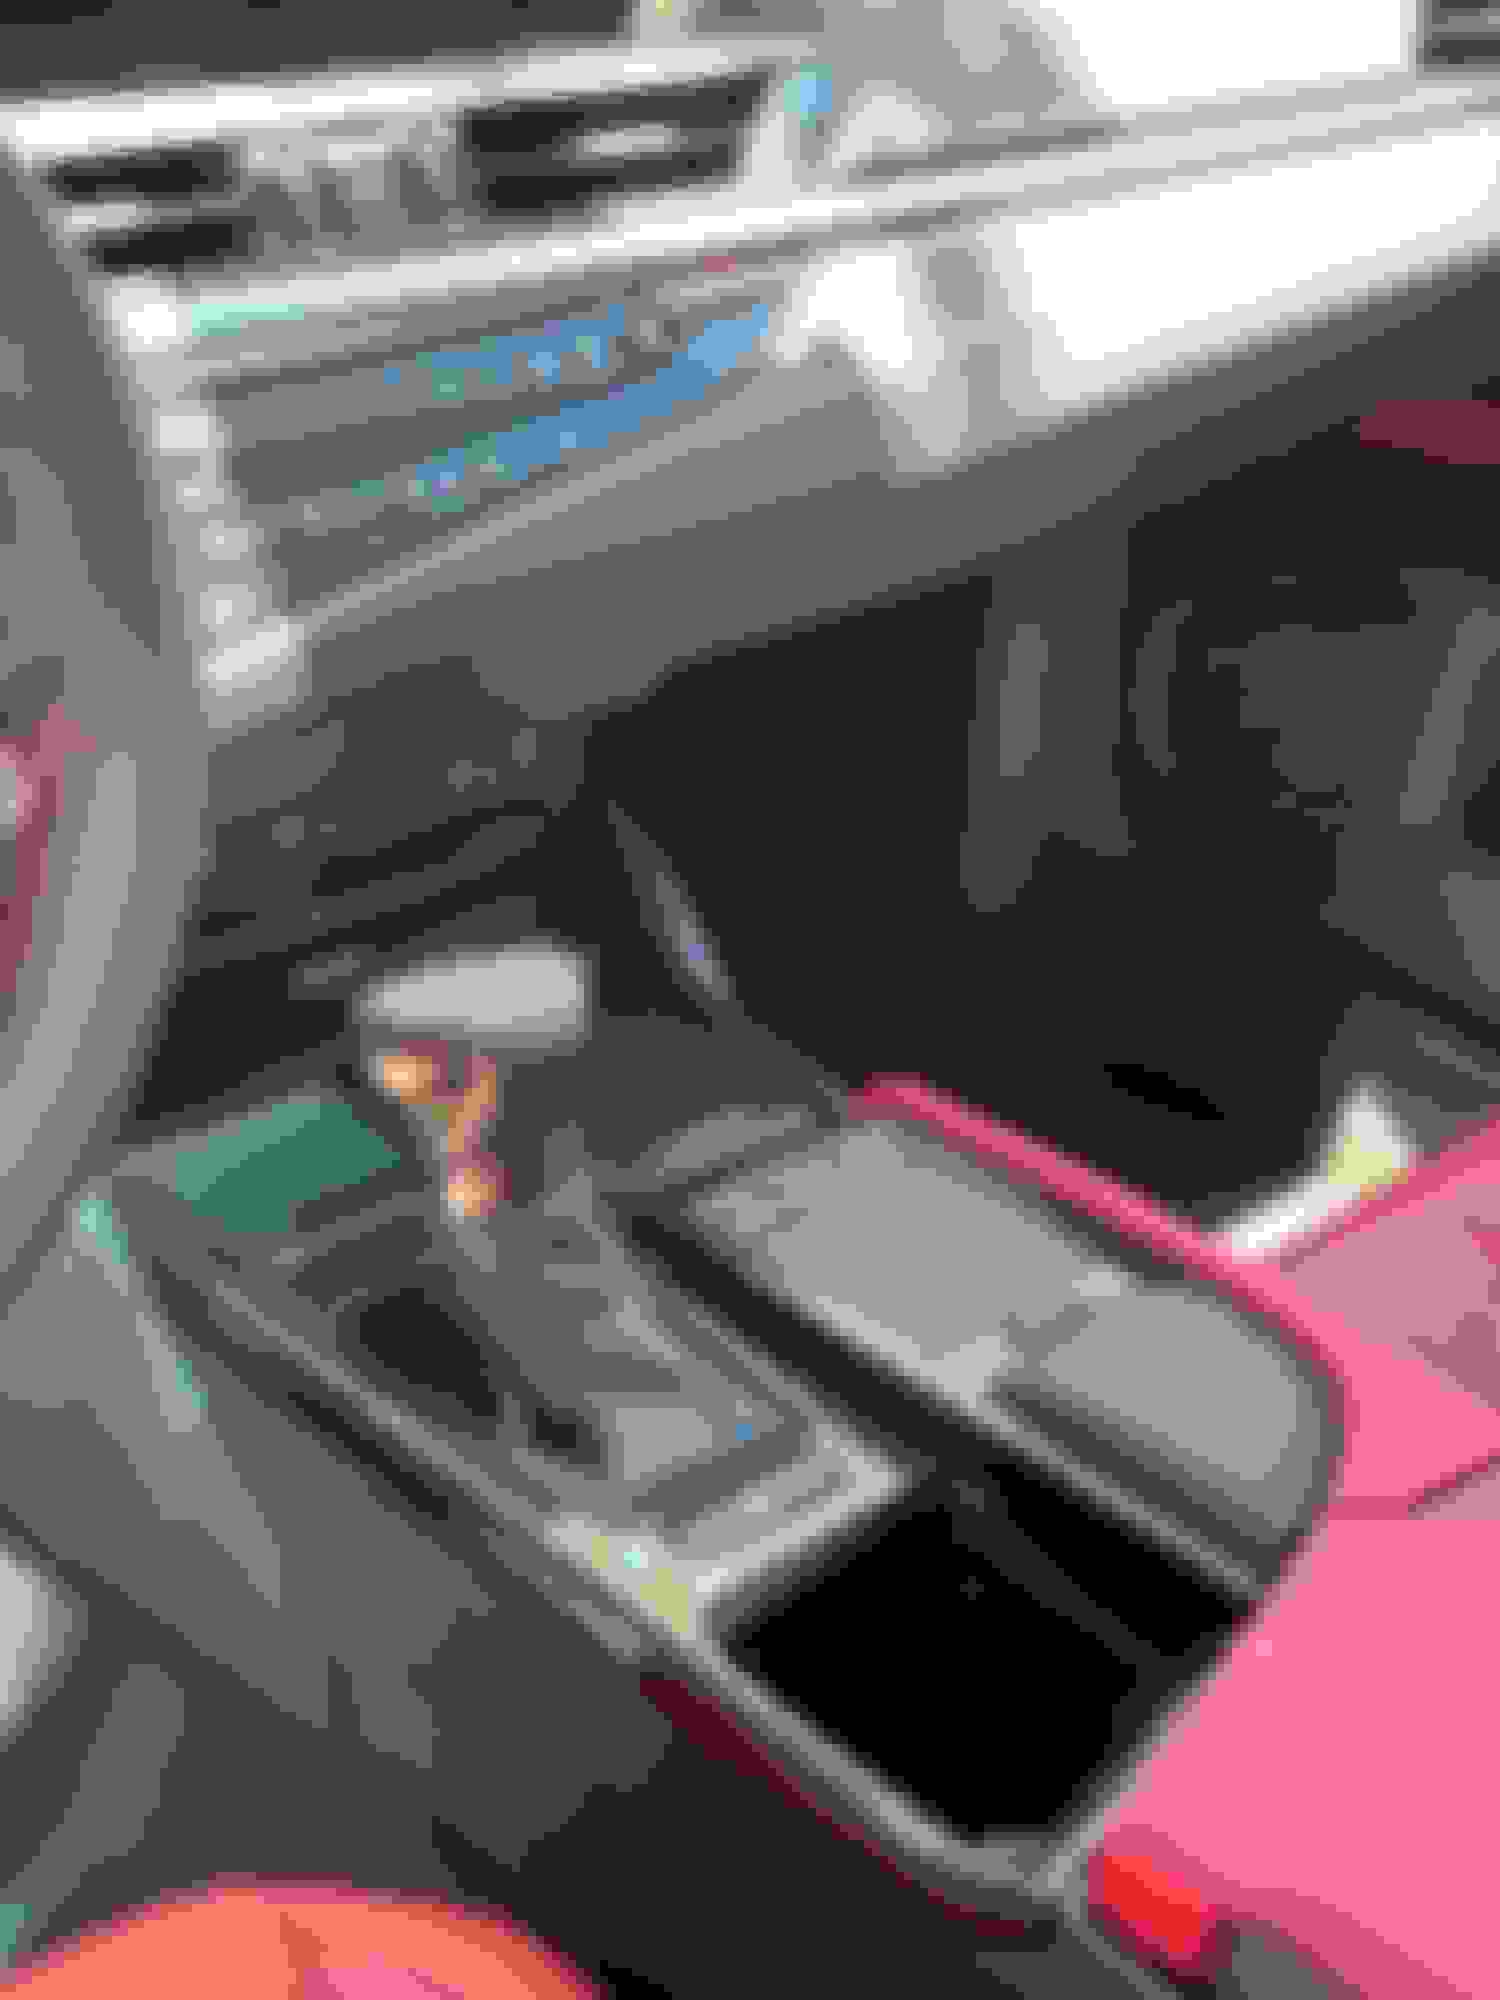
Got some of my carbon-esque trim bits in and installed over the weekend. Still waiting on a few minor pieces but relatively pleased with the quality and speed at which they arrived. I did use a very mild compound to buff out a tiny bit of orange-peel in the top coat but I think that gloss aspect of these pieces alone really up-scales the interior. Everyone has their own tastes, of course.
Im not sure how everyone else has been going about their install, but leaning back to my show bike hobby days I became a bit of a crazy person when it comes to gaps, fitments and such that I have to look at every day. I chose not to use the tape method, as I didn't want the added trim-ride height on top of the already increased thickness because of the overlay trim itself. So I chose to make a quick cure silicon blended adhesive I used to use for certain show parts (think of it like something in between a silicon adhesive you'd get a marine store and silicon sealant you'd get at a hardware store) and used that to adhere all the trim pieces.
I first removed all of that double sided tape and cleaned everything with solvent. I then took my heat gun (particularly on the center console trim) and really made sure everything sat flush and exactly how I wanted it. You can probably accomplish the same with a hairdryer as the pieces responded really well to heat, and while its tedious and you have to be very careful it does make enough of a difference in fitment vs how it arrived (your own mileage with this can vary). I then applied a light coat of the adhesive to the surface I was attaching the trim to as well as the trim piece I was affixing. I had to get creative with various methods of applying pressure during the setting process which was about 1 hour for large pieces, 30 minutes for small pieces. I found that going heavier with adhesive in corners and joints and thin in wider surface areas and switch areas worked best. You have to be very careful you also don't have overflow into the various buttons/rockers or you will regret going down this path, so take your time and only apply extra adhesive in areas you need it, go gradually and methodically. Cut blue tape for the buttons/rockers with lettering so that if you do have some overflow, you can use solvent to pull it out without ruining the button before it cures. Its not a bad idea to have a pick set on hand for detailed cleanup after it sets as well. Everything was fully cured in 12 hours and if you ever have to remove it the silicon base gives you that option.
Personally, I feel like the extra work was worth it, although it transformed this from a 20 minute job to about a 4 hour job plus the overnight curing. I definitely appreciate the extra amount of "flush" I achieved vs using the tape and my trim pieces are locked in there with no give whatsoever. That being said, every install I've seen pictures of looks great regardless of method so if you are after this look in your car but my approach is giving you second thoughts, don't worry about it. I wouldn't deem this level of install as absolutely necessary, the look and fit was pretty good straight from the supplier.
Looking forward to getting the rest of my pieces in to complete the look but here's some teasers on the progress so far:
I was wondering the same thing. But then I looked back in this thread to okami's posting I saw it was the same shape and form as a ES 350 engine cover.
I was wondering the same thing. But then I looked back in this thread to okami's posting I saw it was the same shape and form as a ES 350 engine cover.
That was my thought, but it seems like a waste of time and money to me.
 06-15-20, 06:13 AM

 ) all tanks to elvin_6188