When you click on links to various merchants on this site and make a purchase, this can result in this site earning a commission. Affiliate programs and affiliations include, but are not limited to, the eBay Partner Network.
Yeah I dunno my "OEM" wipers were streaking pretty badly (saw stains my windshield where it wasn't wiping) and only has 12,500 miles/1.5 years. anyway replaced with some "OEM quality" replacements and they're perfect. i posted about it on my blog link below.
LMAO! You do know you are supposed to replace wipers every six to twelve months???
Yeah I posted the 6 to 12 mos thing in other threads. my car is pretty much garaged full time and it rarely rains in SoCal. so there's not much of an urgency.
Yeah, I thought the same.....that ALL the chrome trim on the F-Sport model should have matched the smoke front and rear or a minimum a black-out option around the windows.
So I did all mine to match!
I like that Alot! It's got a Great, Subtle contrast that's not in your face and plays well with the wheels.
Nicely done and it looks Great!
Can you Please tell us where you got the vinyl from to do it or is it painted?
had some 5 yr old red vinyl laying around. so made some cut outs. all red tail lights. looks good in person. i'll roll with it a while. maybe get a day time pic
Finally got around to installing Kilmat in my driver door. Super easy and it�s been posted enough that I didn�t take any pics other than this one mistake I made:
All finished, buttoned up, pulled the car out of the garage, turned it off, pulled the door handle to get out, aaand nothing. I was stuck in the car🤣
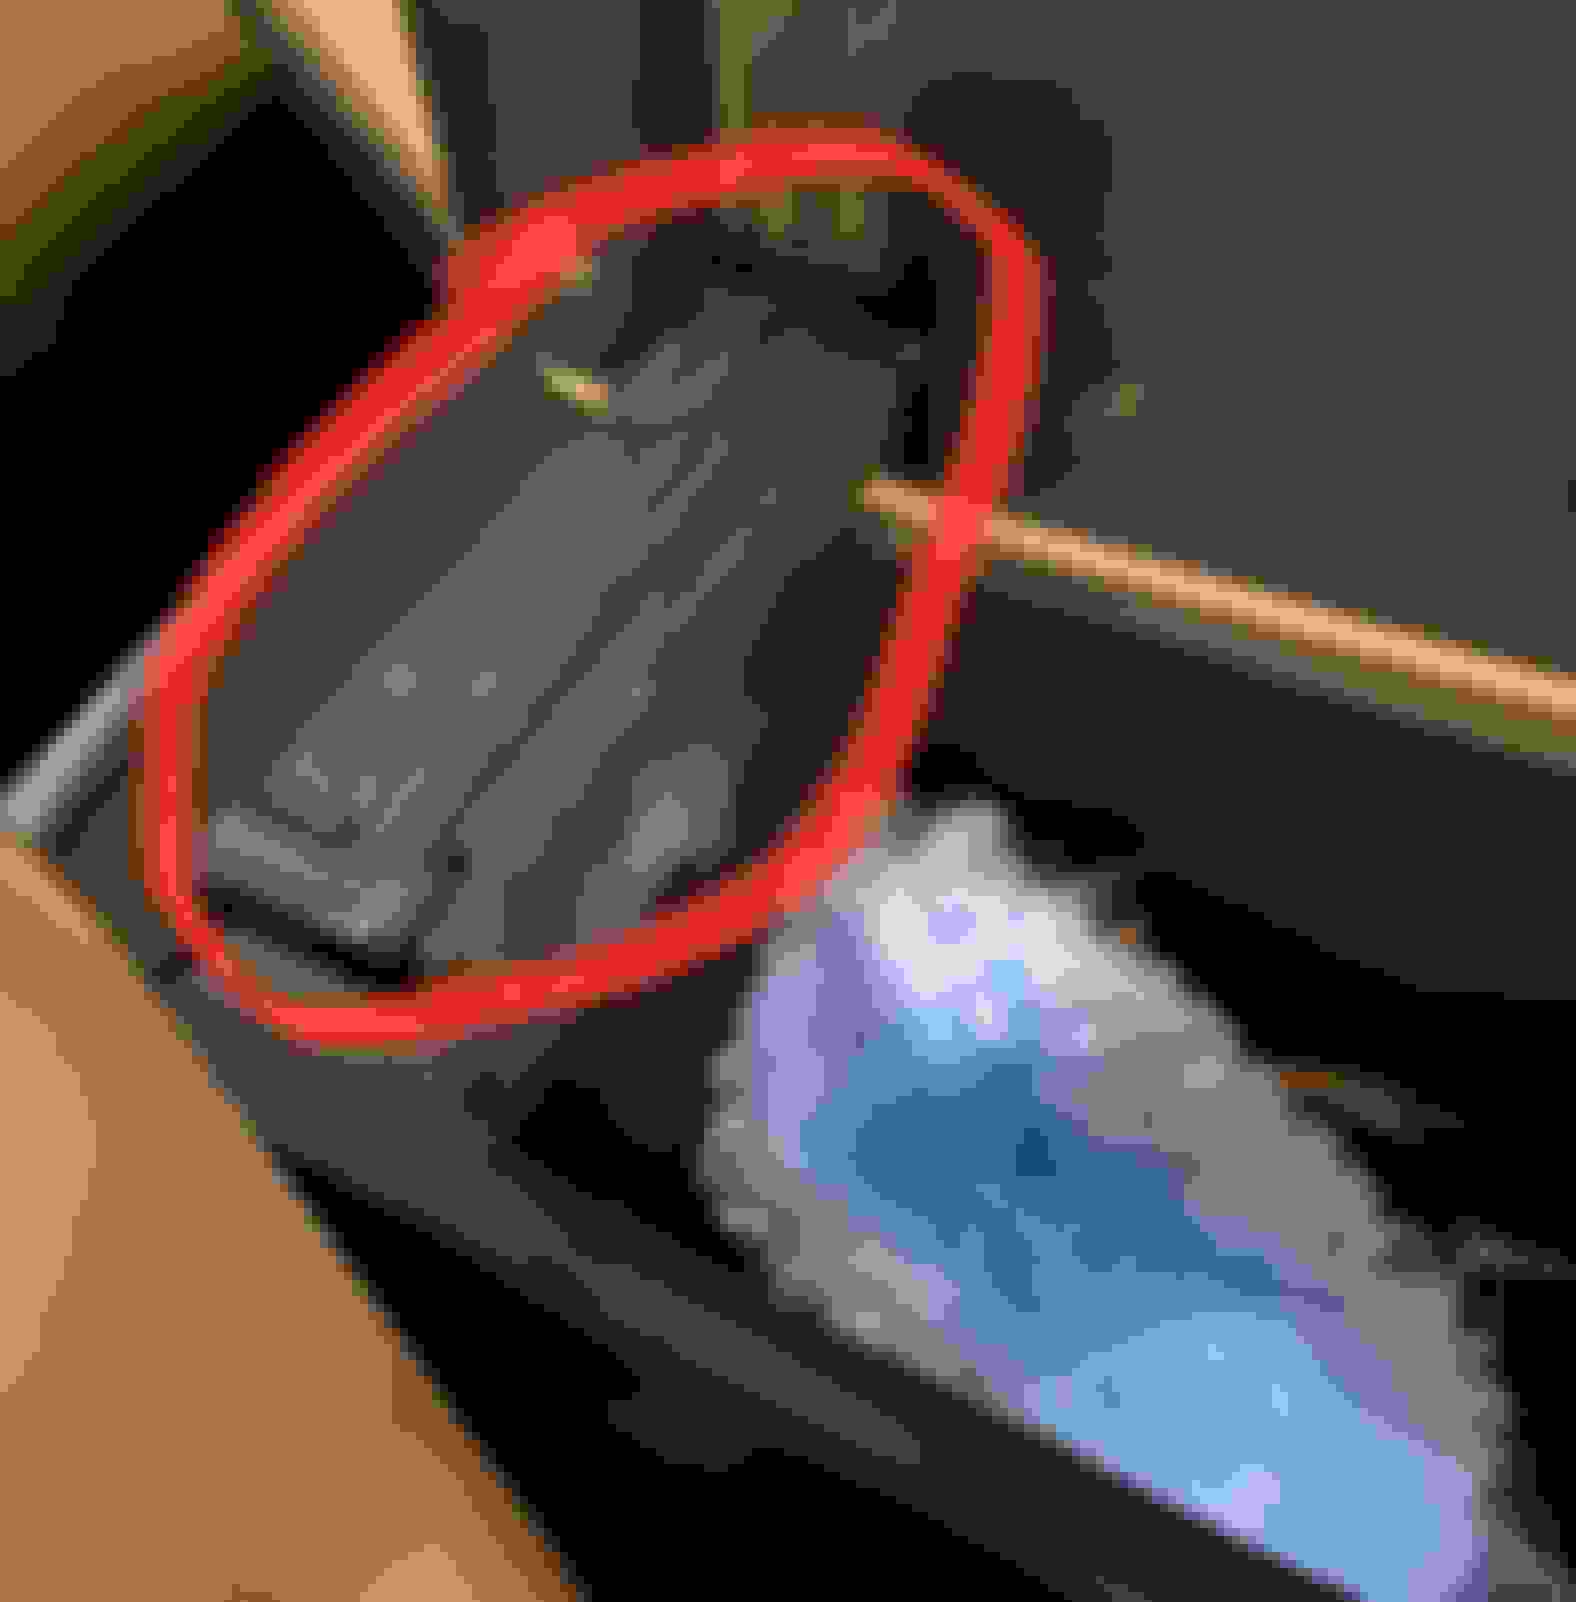
After my wife let me out I removed the panel again to realize this green sleeve on the opener cable wasn�t seated in place. Here�s a pic of what is should look like, for anyone else fiddling around inside the door:
Also added Kilmat to my trunk lid, and this made the sound and feel of shutting it much more solid and satisfying - gave it the luxury feel that it should.
Next I did @E46CT �s creaky armrest project, using gaffer tape on contact points. A big improvement, so thank you, Friend, for posting it.
I did add a couple more areas where I thought may have some creakiness, here:
Then I remembered that I occasionally have a rattling glove box door, so I took a stab at that and added more gaffer tape to these contact points:
It doesn�t happen often, so time will tell if this was effective.
Finally got around to installing Kilmat in my driver door. Super easy and it�s been posted enough that I didn�t take any pics other than this one mistake I made:
All finished, buttoned up, pulled the car out of the garage, turned it off, pulled the door handle to get out, aaand nothing. I was stuck in the car🤣
After my wife let me out I removed the panel again to realize this green sleeve on the opener cable wasn�t seated in place.
I�m ashamed to admit I didn�t do this once, nor twice, or even thrice, but FOUR times� so you�re not alone
11447974]Wow I don't have any noticeable rattles, I can't believe how much tape you guys are DIY'ing.
The armrest is a creaking sound when leaning on it, but I have several rattles around the cabin. It�s like whack-a-mole, though, they come and go sporadically and don�t last long enough to investigate. 🤷♂️
Finally cleared the leaves from the grill. Very easy, just removed the plastic cover and reached a shop vac wand down there. Plenty of room, just take care not to damage the radiator fins!
But again I have a lesson learned for any other dimwits like me.
Today�s lesson: Proper removal and reinstall of the plastic fasteners.
Like the neanderthal that I am, I tried
prying the first one up. DO NOT DO THIS. It will shatter to bits.
It�s a much gentler process. To remove, simply press DOWN on the button. This will release the anchor below and allow you to pull the fastener out very easily.
It�ll look like this:
Step Two, you need to �reset� the button before reinstalling it. Do this by pushing the button back up, so that it pops out the top, like a turkey timer. Like this:
Now you can wiggle the fastener back into its hole, like so:
 01-12-23, 02:36 PM