When you click on links to various merchants on this site and make a purchase, this can result in this site earning a commission. Affiliate programs and affiliations include, but are not limited to, the eBay Partner Network.
Does anyone know how to remove the rocker panel clips?
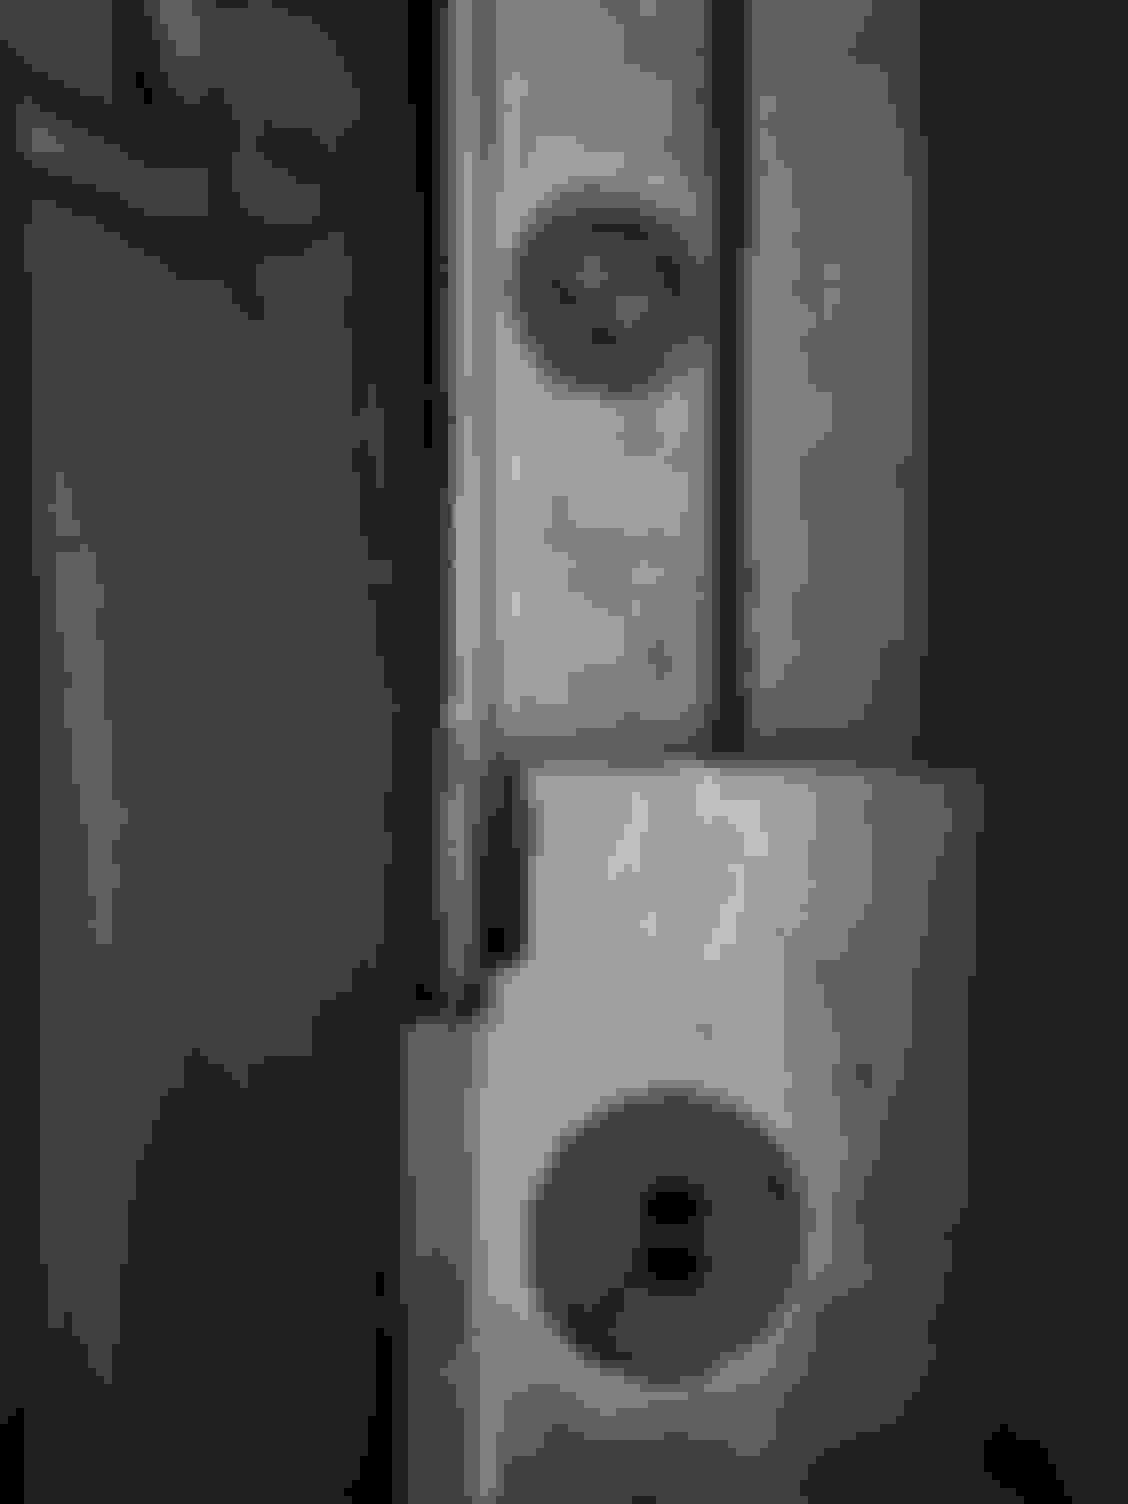
These look like big rubber grommets.
I think I've found examples of the clips you're dealing with along with photos showing what the hidden under surface part looks like but even with that still no clue as to how to remove them. In case it helps the example are:
Thanks so much grp52.
This is actually really helpful.
At least I know how they look at the ends. I might need to break them off and replace with new ones.
I would just take long needle nose pliers and pull straight down. If they need to come off they need to come off. And no sense in spending $100 for a special tool. So just yank.
Thanks so much grp52.
This is actually really helpful.
At least I know how they look at the ends. I might need to break them off and replace with new ones.
Depending upon where you get the replacements they aren't very expensive. So, suggest you just buy some replacements and then you'll have some physical examples that you can examine closely to see if there's some (hopefully) easy and obvious means of removing them without damaging things. The 22570 version looks to be pretty sturdy and I wonder whether the latching tangs will break off before the metal structure they are clipped on to gets damage in some way (e.g.m dented, dimpled, distorted, warped, hole elongated).
To add to my previous posting, I have found the Toyota/Lexus part numbers for those retainer clips. They are
Toyota/Lexus 90467-22014 (correspond to the 22569 item)
Toyota/Lexus 90467-22015 (correspond to the 22570 item)
Searching on the official part numbers will yield more numerous sources for the parts ranging from the most expensive Lexus OEM parts, slightly less expensive Toyota OEM parts, and the usually cheapest third party sources parts.
FYI, where I found the part numbers was on the Lexus ES 350 part figure for the [Rocker] SIDE MOULDING.
I actually tried needle-nose pliers, but they would not budge. After seeing the pics that grp52 provided, I tried to rotate the clips in different directions and pull on them. Having the little arrows line up with the rocker panel worked. The big ones finally popped off.
The little ones are still a challenge that I'm trying to figure out. There is no hole for me to get a grip on them with the pliers.
The little one's also have little arrows (or at least some of the replacement examples do). They are on/next to the two little bars that bridge the gap between the center and the outer rim. In some of the example pictures you can see the underneath bigger locking tabs line up with those little arrows/little bars so rotating the clips to align with the rocker panel is worth a try. Then for removal - instead of trying to grip and pull, treat it something like a push pin clip. Try to put a trim clip pry tool (or something that will make do as a pry tool) underneath the retainer clip head and then pry up un the clip head like you would with a push pin clip head. You may need to start with something with a fine tip to initially get under the head to create a bigger gap to insert a more sturdy tool for serious prying.
Thats a pic from eBay. the clips are likely just one time use only by virtue of the fact they destruct upon removal. cheap to replace anyway so go to your dealer and request. probably a shared toyota part.
just yank it out and get new ones. (assuming they cant be reused)
also of course there are front facing clips as well. and that little square cover you have to remove
...
I tried using a pry tool but the edges were too flexible to get a good grip.
In looking at the little retainer clips [the 22569 ones] on my ES, the outer ring appears to be a pliable rubber like material [probably used to form a first barrier seal against water penetration]. In order to reach material strong enough to pry on you're going to have to get far enough in to reach the portion of the head where there is the more rigid plastic material. It is the outer ring structure on the retainer head where the change to the more rigid plastic occurs.
I'm thinking two of those crowbar looking plastic trim removal tools might do the trick. Pound them in as far as you can to really engage the rigid plastic part of the head and then really apply prying force with both at the same time. I'm speculating/hoping the clip's lock tabs will give way in some form before the trim tools do.
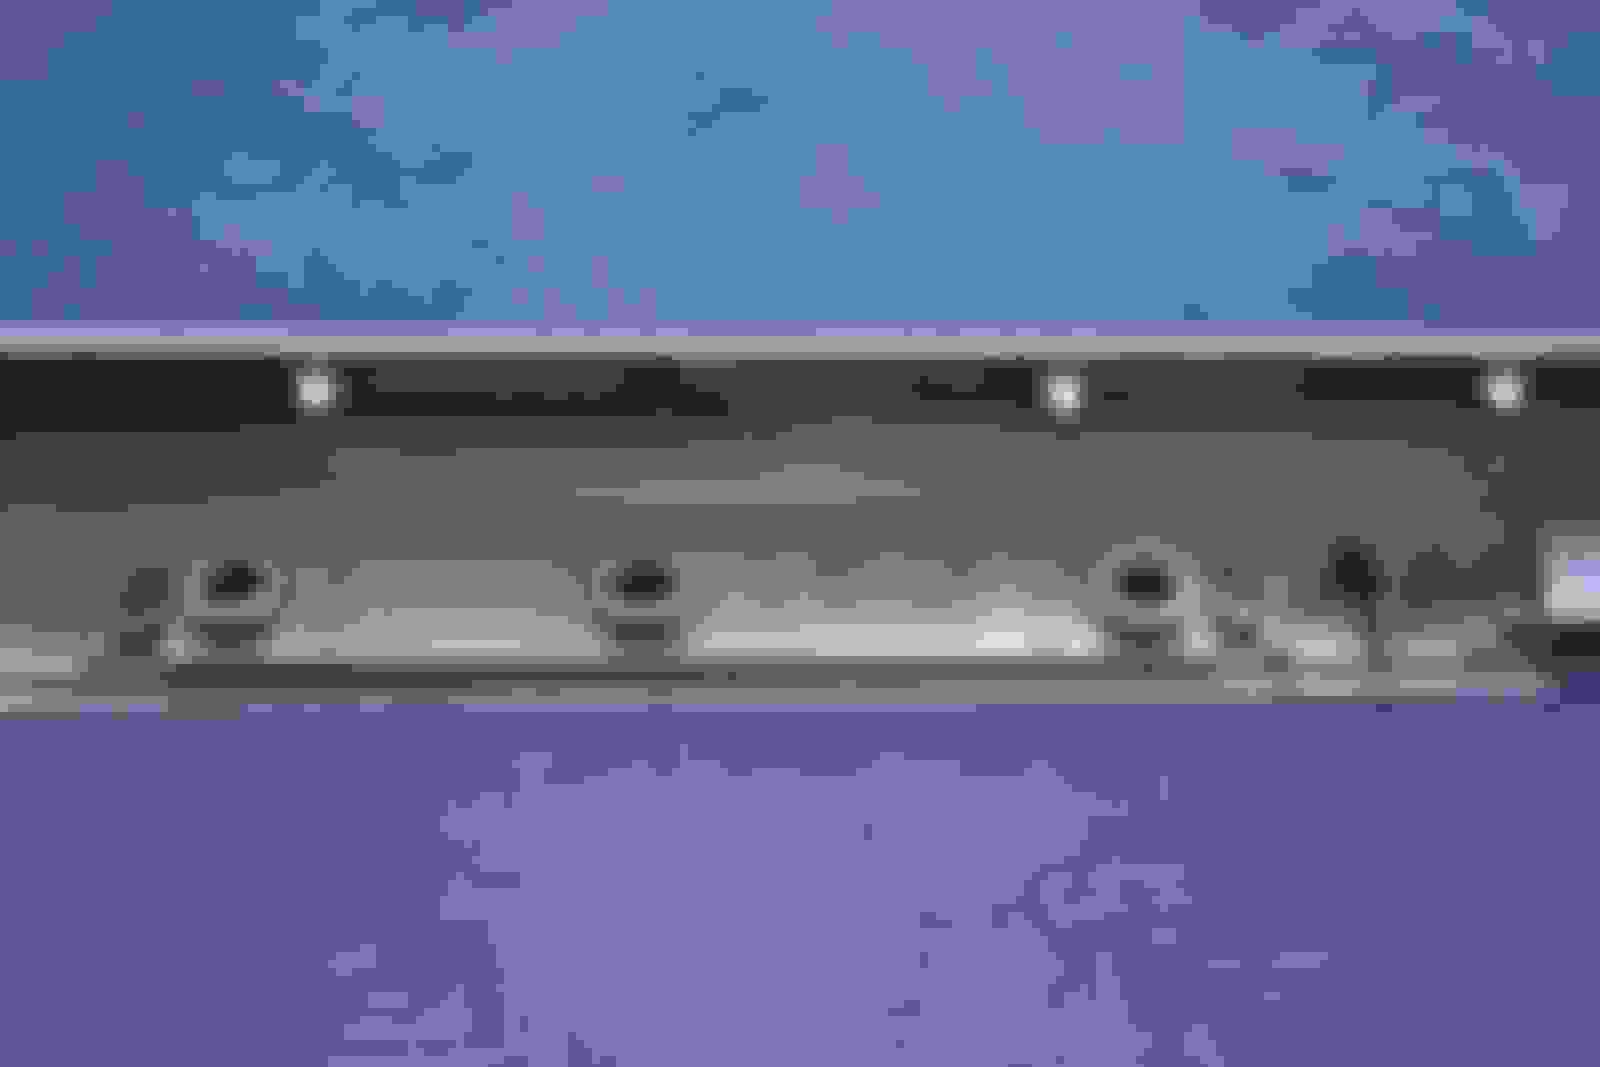
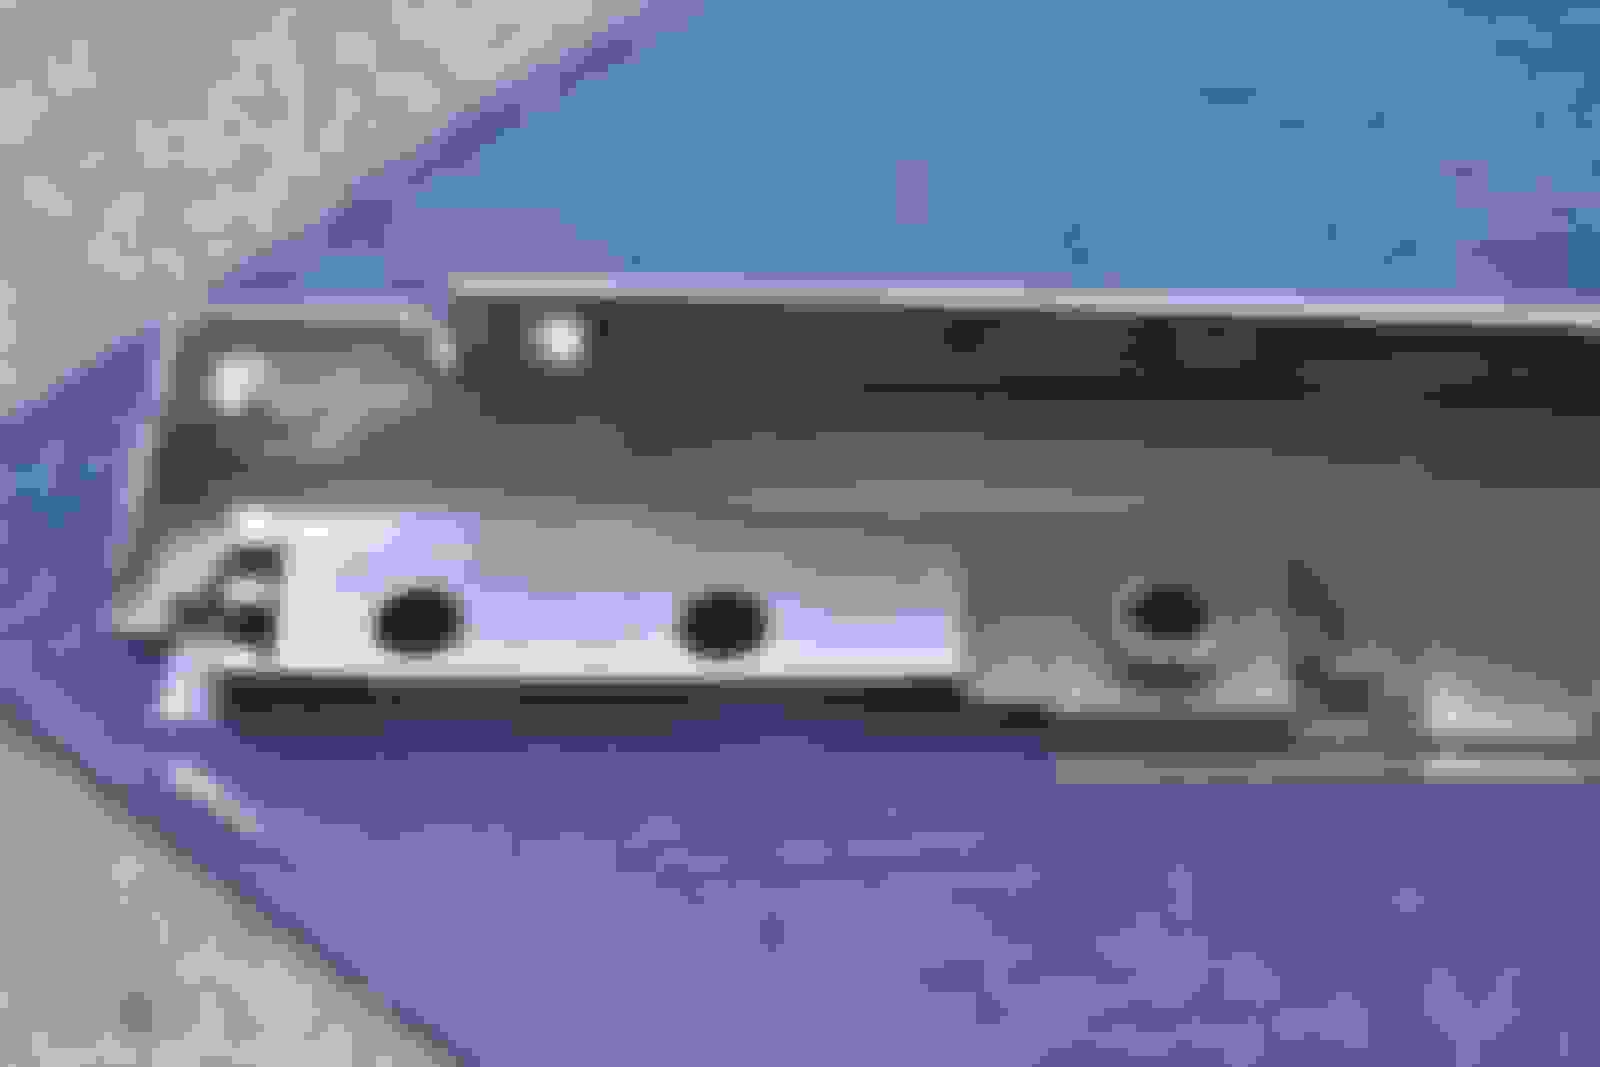
In looking at the pics E46CT posted it is evident that rotating the littler retainer clips isn't going to work like it did for the larger retainer clips.
If you closely examine the holes where the larger clips go, the hole is slightly oval in shape and the longer axis of the oval is on the longitudinal axis of the panel. You can see that by looking at the side with the ramp/wedge structure. As you rotate away from the longitudinal axis of the panel the ramp material gets thinker in width as well as height until you reach the 90 degree angle where you encounter a tab (which is probably there to prevent over rotation of the clip when installing and rotating to tighten the connection). So, when you rotated the clips so the clip's locking tabs aligned with the longitudinal axis the hole was wider and little, if any, of the tabs's material was engaging the surrounding material.
In contrast, the holes where the the littler retainer clips go appears to be perfectly circular so no matter how you rotate the clips the hole dimension where the locking tabs are doesn't change.
Originally Posted by veeinc
I think I'll go get a few of these from my local dealer.
While you're there ask them what they do to get the little buggers out. They may not know, but if you don't ask you'll never know if they know of the "WAY" to get the buggers out.
 07-04-21, 12:29 AM