When you click on links to various merchants on this site and make a purchase, this can result in this site earning a commission. Affiliate programs and affiliations include, but are not limited to, the eBay Partner Network.
7th Gen Lexus ES Ambient Lighting Kit Installation
I started installing my ambient lighting kit on my 2019 Lexus ES 350 Ultra Luxury over the weekend and decided to make a thread documenting my experience for those who may be interested in such a mod for their own cars. Feel free to give any input or criticism in order to refine this for anyone who may find it useful. __________________
10mm Socket Wrench Flat-Head Screwdriver Phillips Head Screwdriver __________________
Level of difficulty:
3/10
If you can change a flat tire, you can install this yourself just fine. It's pretty easy, just takes some basic ingenuity.
__________________
Things to know:
- The lights only come on when the headlights are on. So if your headlights are set to "Auto", and it's bright enough outside that your headlights aren't coming on, turn your headlights on manually in order to turn on the ambient lights. The only issue is your car doesn't like you leaving the lights on when you turn the car off. I'm considering seeing if it's possible to turn that alert off via Cariasta, but not in the mood to spend $10 right now just to find out it doesn't work.
- My kit has the option for 2 zone colors, by happy accident when I did the 2 front doors and both the dash lights, I "messed up" so the driver's side and passenger side were 2 different colors. Was great since it allowed my girlfriend to have her green side, and I get to have my blue side. But the intended effect is to have the top of the car be one color, and the footwell and door bin lights be another. So I'd advise before you put everything back together to test which zone it is by plugging it in first, and making some kind of indication for which zone is which. I personally just cut the tags off the cables that were the color I wanted, since I have no desire to add the handle, door bin, or speaker lights.
- The lights are pretty poor in the daylight. Which is fine, but I ended up setting my headlight sensitivity to -2 since even at 0 or -1 it's pretty washed out looking. But at night, they're very beautiful and vibrant.
- I believe there's an issue with the 2019 models. If you do this mod and your experience reflects the following statements, please share your experience to help either prove of disprove my theories:
In order to power on the driver's side door, you'll need to get a different connector as I believe the connector provided (at least in my kit) connects to the cable for the power folding side mirrors which wasn't a feature until the 2020 MY. I have contacted my seller in hopes of them sending me a proper cable. I'll update in the future on the status of this issue.
- I am unable to control the lights from the steering wheel. It may be an error on my end, a defective control module, or it's due to, again, it being 2019 MY. My seller provided me with an app that I can use to change the lights which works for me as I usually just set and forget and don't feel the need to constantly change them.
They sent me this QR code for the app:
If you don't want to download an app by a QR code posted by a random stranger on the internet claiming to get it from some random person across the globe in China, I found this app works just as well:
1. Put your car into drive mode, and move your steering wheel out the farthest it'll go
2. Remove the screw from the very bottom of your steering wheel column cover with your Phillips Head Screwdriver
3. Rotate your steering wheel accordingly in order to remove the 2 screws from behind it with your Phillips Head Screwdriver
4. Use your fingernails or Flat-Head Screwdriver to pry off the steering wheel column cover. Should come off very easily if you removed the 3 screws
5. Go ahead and disconnect your car battery with your 10mm Socket Wrench. It may not be necessary, but I don't like taking risks when it comes to my $50k Lexus. Plus, it silences the door open alarm. Remember, remove the negative cable first!
6. Head back to your steering column, disconnect the black square cable that's right behind the yellow square one, and plug that into your control module. The module acts as an interceptor and comes with an identical cable, but white. So after you've plugged your black cable into the control module, go ahead and plug in the white square cable from the control module into its place.
7. Read your control module, but mine says to have 1 & 2 down to control the lights via the steering wheel, and 3 & 4 down via the controls by the touchpad. So reflect that on your switches accordingly
1. Pry off the window/lock switch panel with a flathead, preferably in a place you wouldn't notice just in case you make an indent into the plastic
2. Do the same with the trim piece next to it. Doesn't need much pressure, but enough so it unhooks so you can slide it down to reveal the screw
3. Same thing with the trim piece behind the door handle
4. Now that all the screws are exposed, go ahead and unscrew them all off, and start prying off the door panel. Start very slowly at an edge where you can stick your fingers into, and it'll just pop right out without much effort
5. Remove all the cables that connect to the door panel and place the door panel down on a flat surface
6. Remove the screws attaching the window covers to the door panel (if you have an Ultra Luxury) and remove said trim piece
7. Remove the screws for the top leather trim piece and remove said trim piece
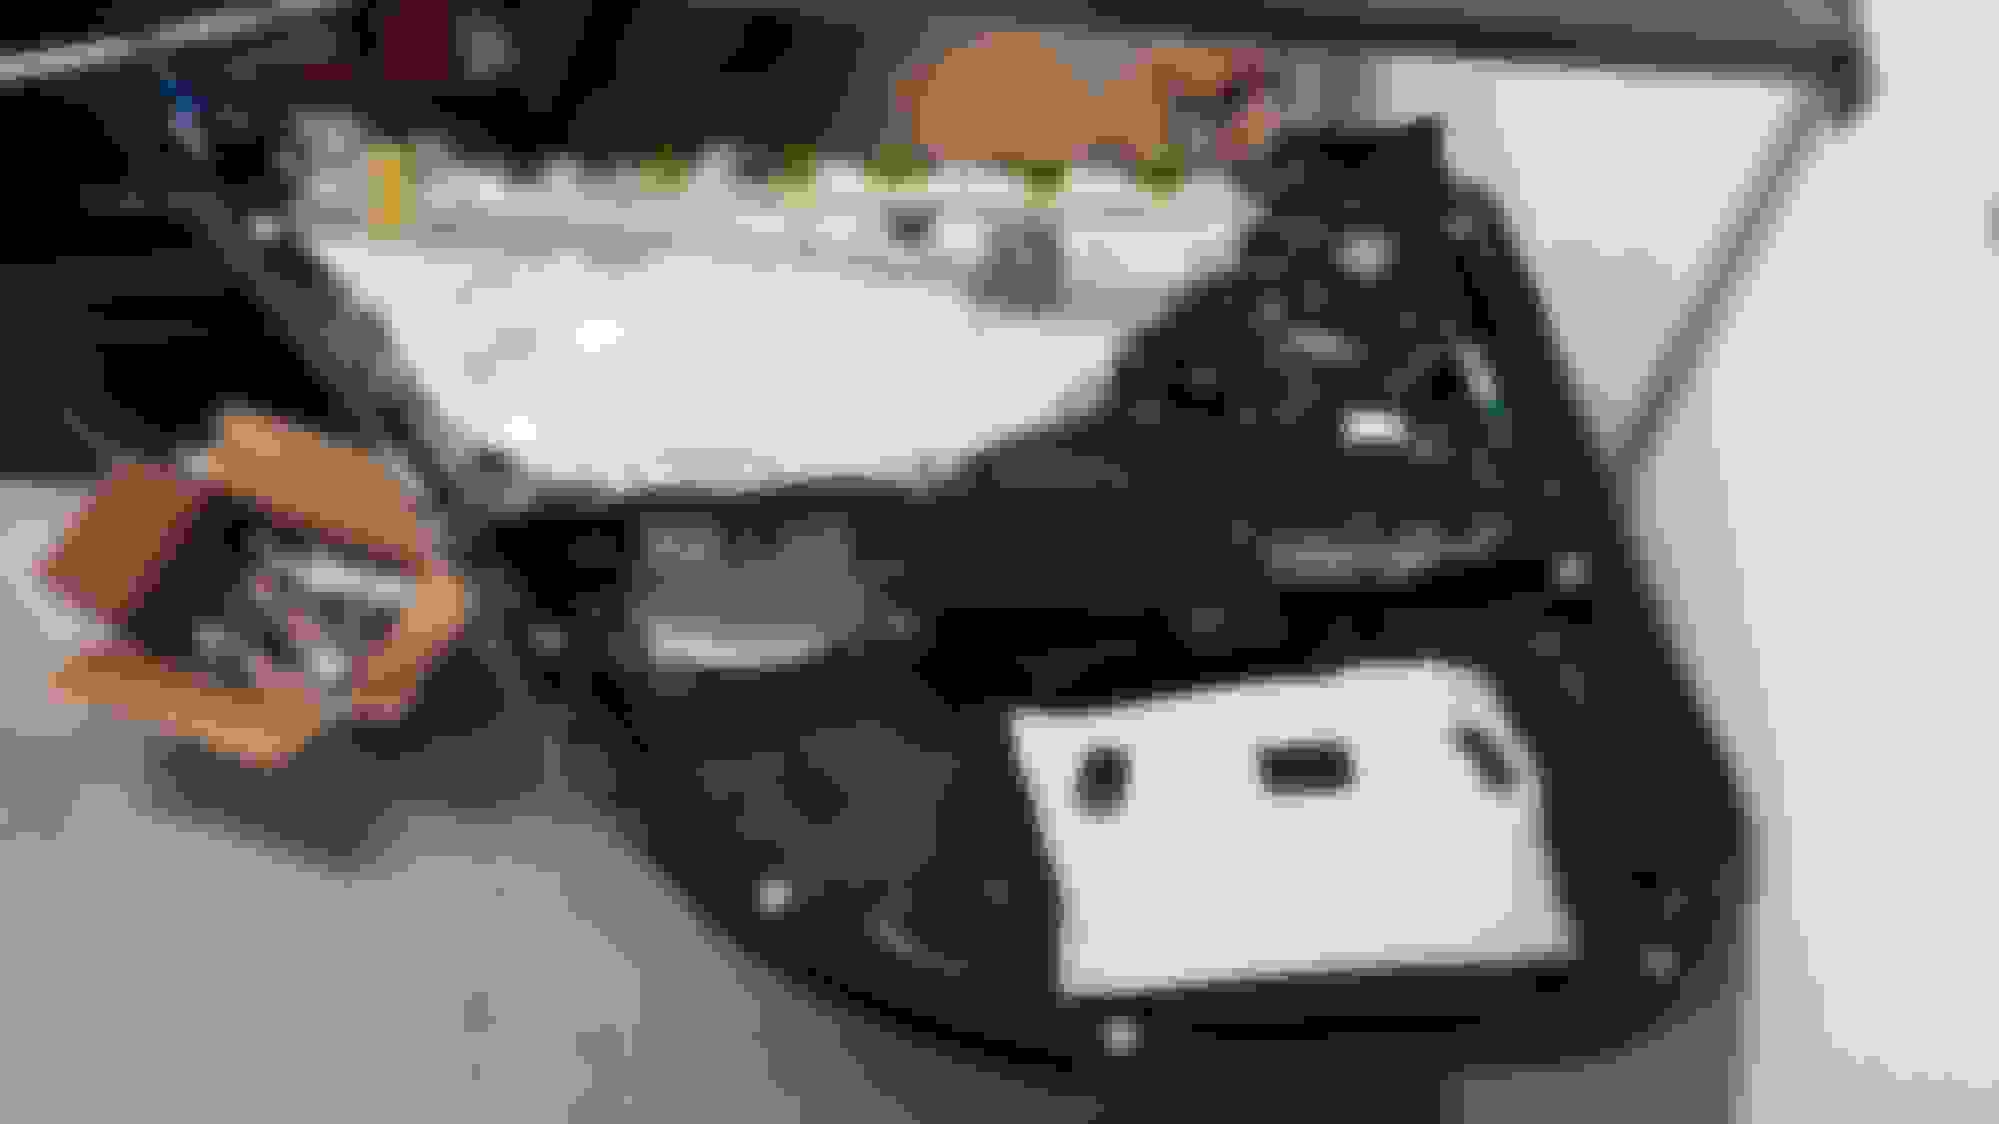
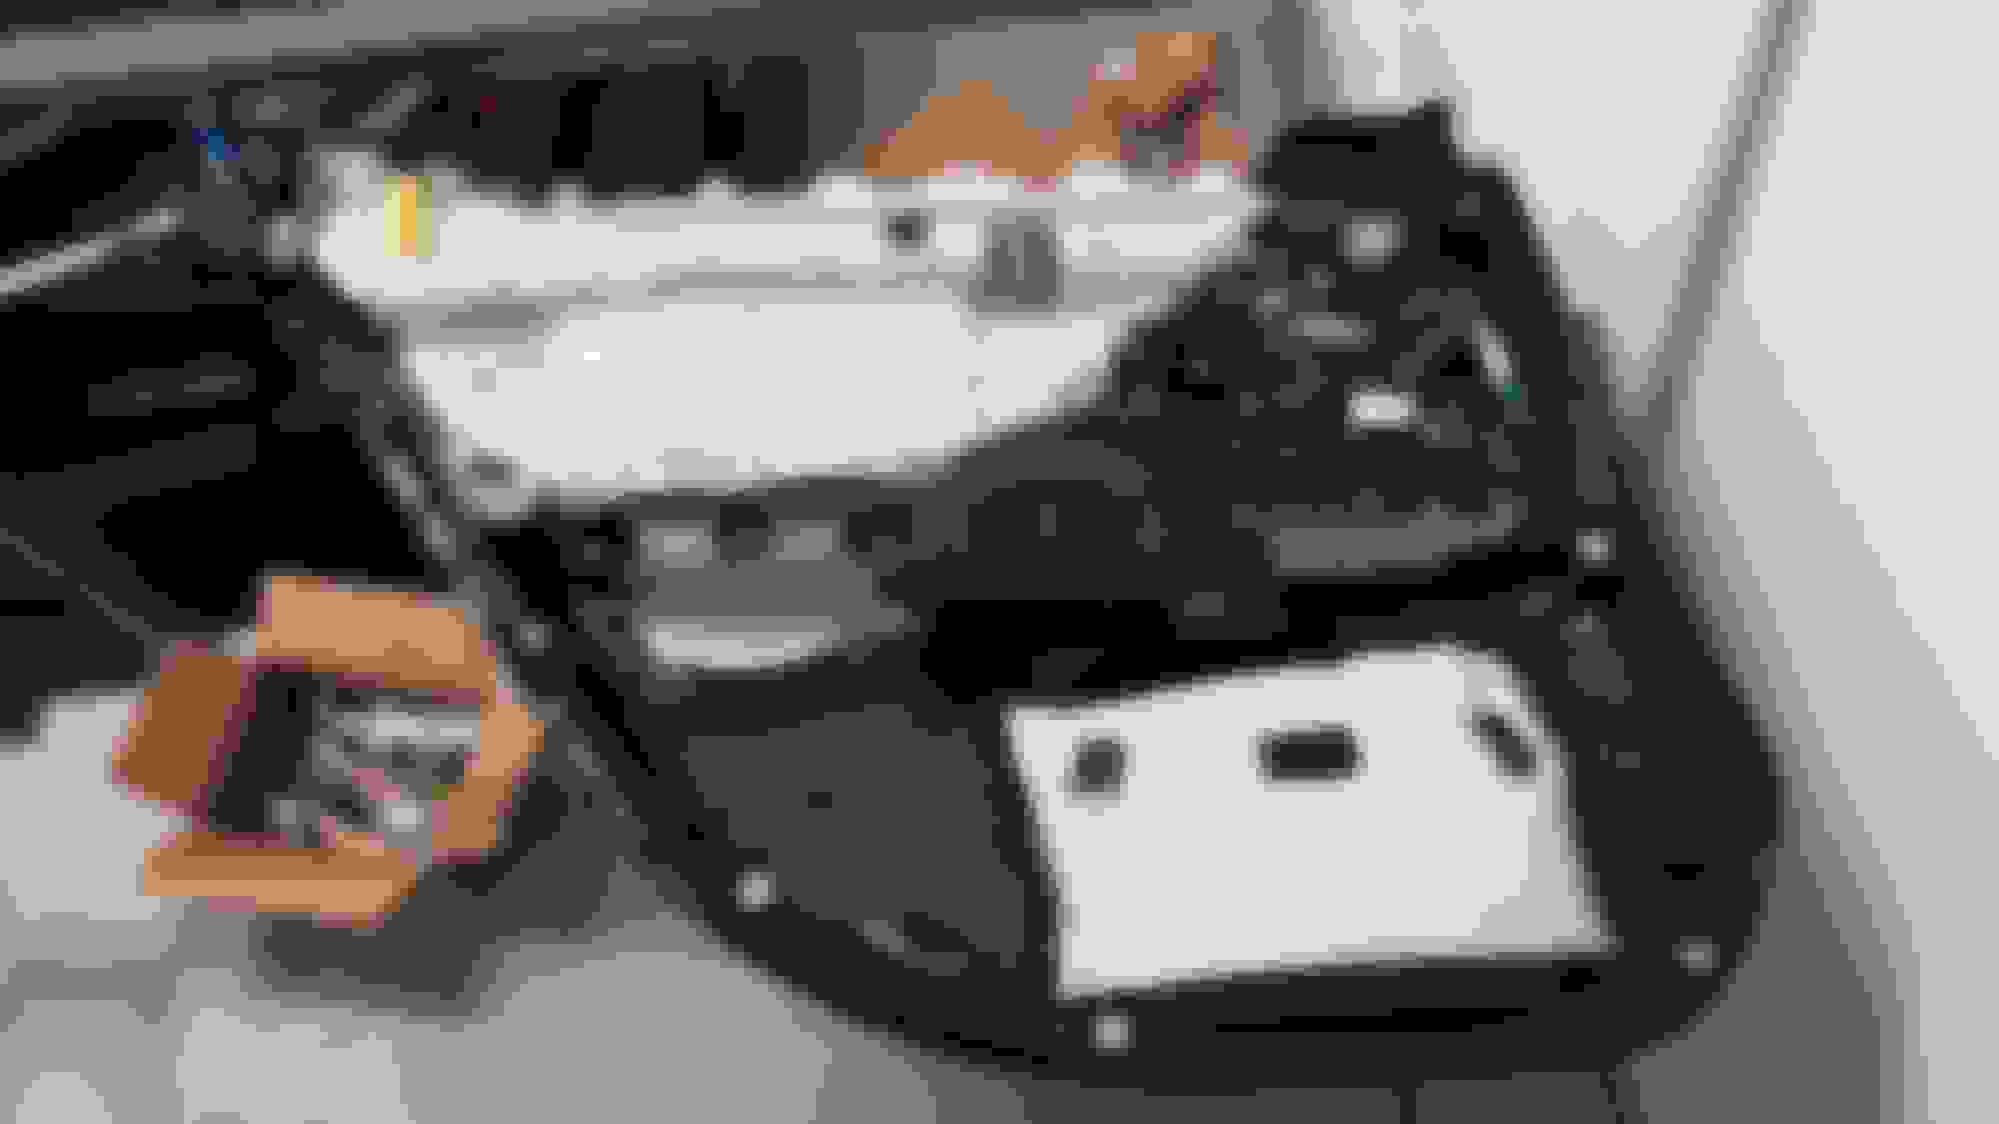
8. Remove screws from the piece you'll be replacing with the ambient lights. You'll have to maneuver it out a bit, but it's not too difficult
9. Do the reverse order to put it all back together again and you're all done!
1. Pull out the trim piece. Should come out pretty easily with not much effort
2. Remove the scuff plate. Start with either of the edges, pretty easy to remove. There are a few clips in the middle that you need to be careful with, but don't stress over it too much
3. Next remove this trim piece
But first, you'll need to remove this screw which easily comes off by using your fingers
4. Then remove the thin strip that runs alongside the edge. Easily comes off with just your fingers
5. Now pry off the side panel. This one is a bit difficult, but still not too bad
6. The first time I installed this trim piece it didn't quite "click". It was in there fine, didn't squeak or rattle, but something felt... off... So when I redid this for this walkthrough, I noticed it was missing the clips on the inserts
Compared to the stock trim piece inserts
So I just took my flathead, popped them off the stock trim piece, and put them on the new ones and that fixed the issue
7. Fish the cable through one of the insert ports
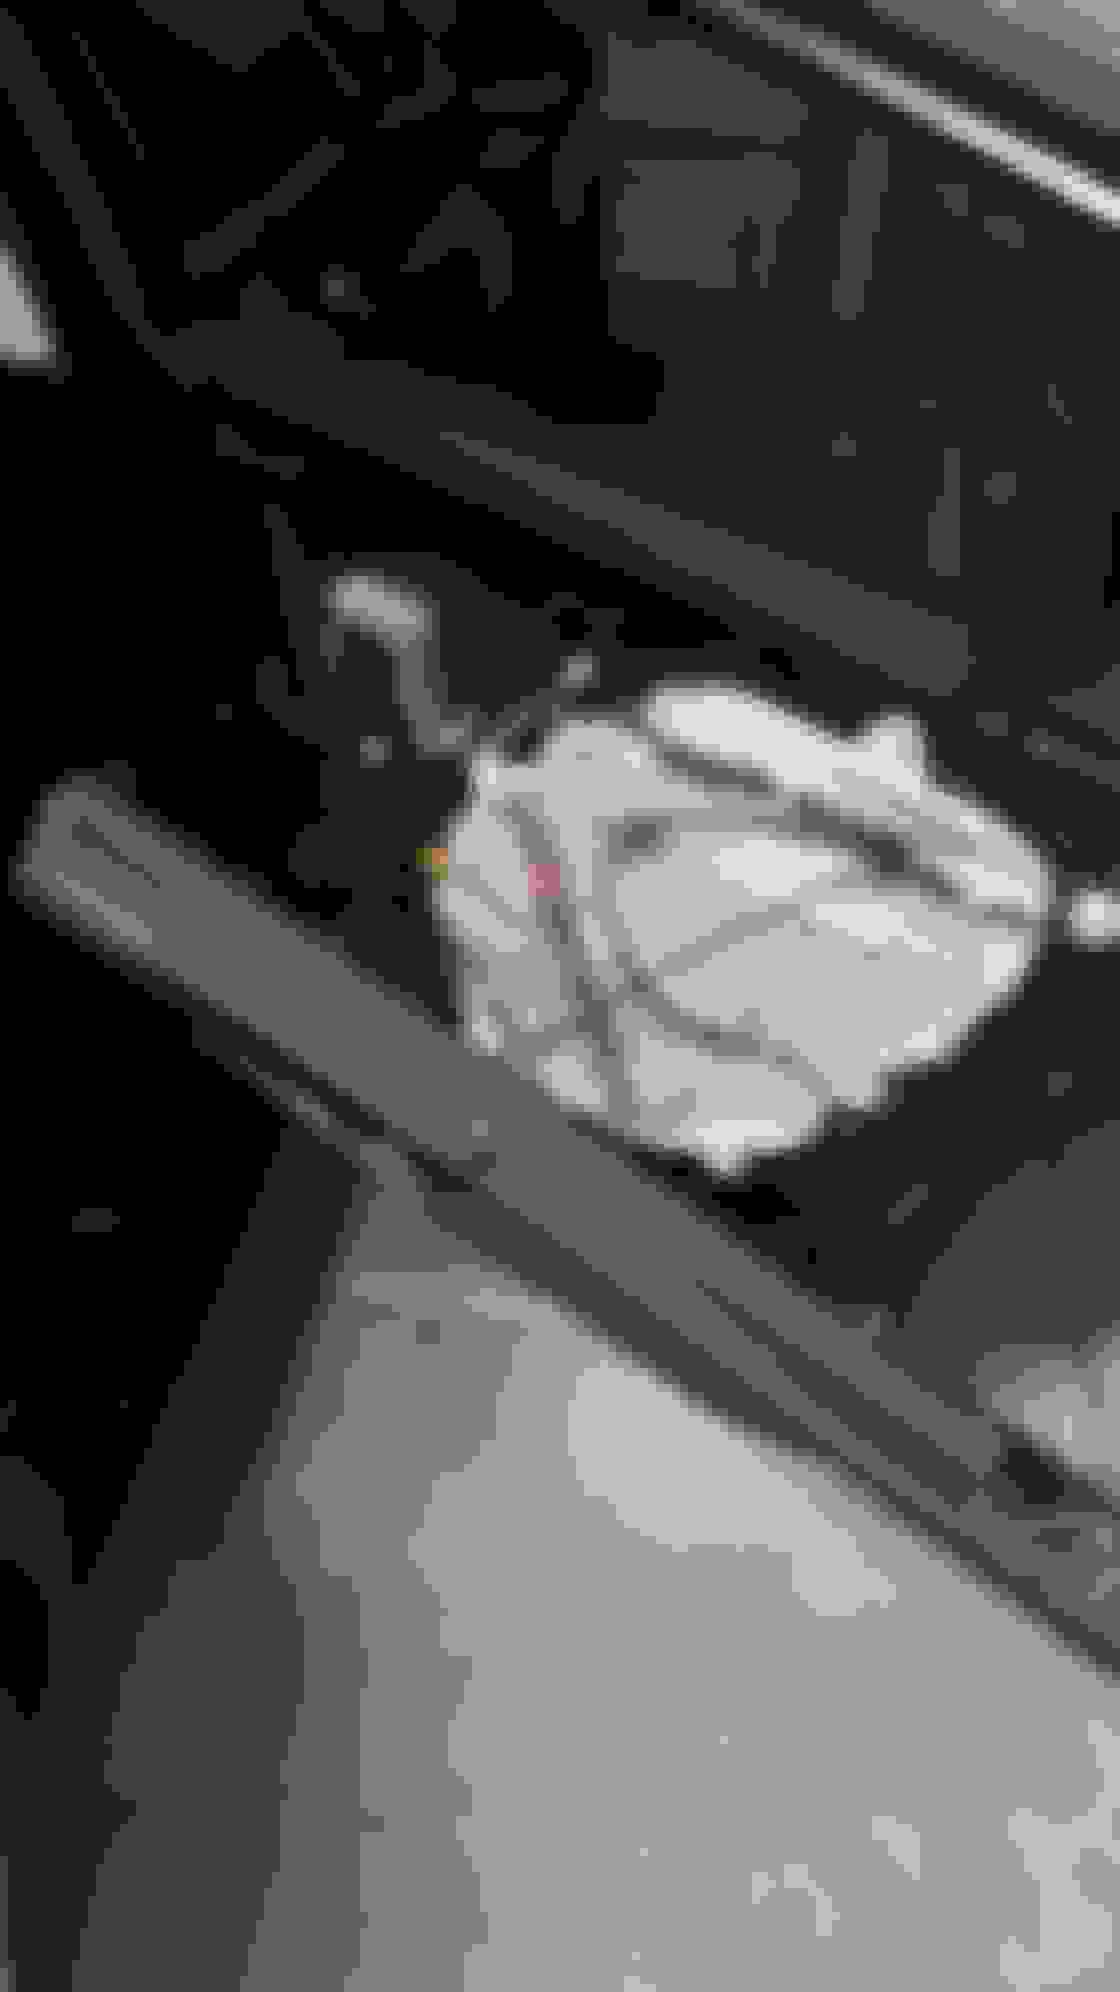
8. I apologize that I don't have any more photos, but I simply took the control module box from the steering wheel and snaked it to the area behind the coin holder, and connected the cables to it back there. I don't hear it rattling or anything so I haven't felt the need to tape or tie it down.
Nice writeup! Could you post a close up for the connector for the door side of what you got and what its supposed to be? Just so I can contact the vendor directly before ordering.
Great write up and I'm sure many members will appreciate it.
To answer your question about Carista, I found this on the website. I also have Carista and don't recall seeing any options in regards to chimes when the lights are left on, but don't have access to it right now to check/confirm.
Nice writeup! Could you post a close up for the connector for the door side of what you got and what its supposed to be? Just so I can contact the vendor directly before ordering.
There's a handful of kits out there. I just wanted the surrounding strips across the cabin, so this kit does the trick. I personally feel the ambient lighting found on Mercedes is a bit excessive. I like the fact that this setup will add a nice touch of atmosphere as opposed to turning my car into a rave party.
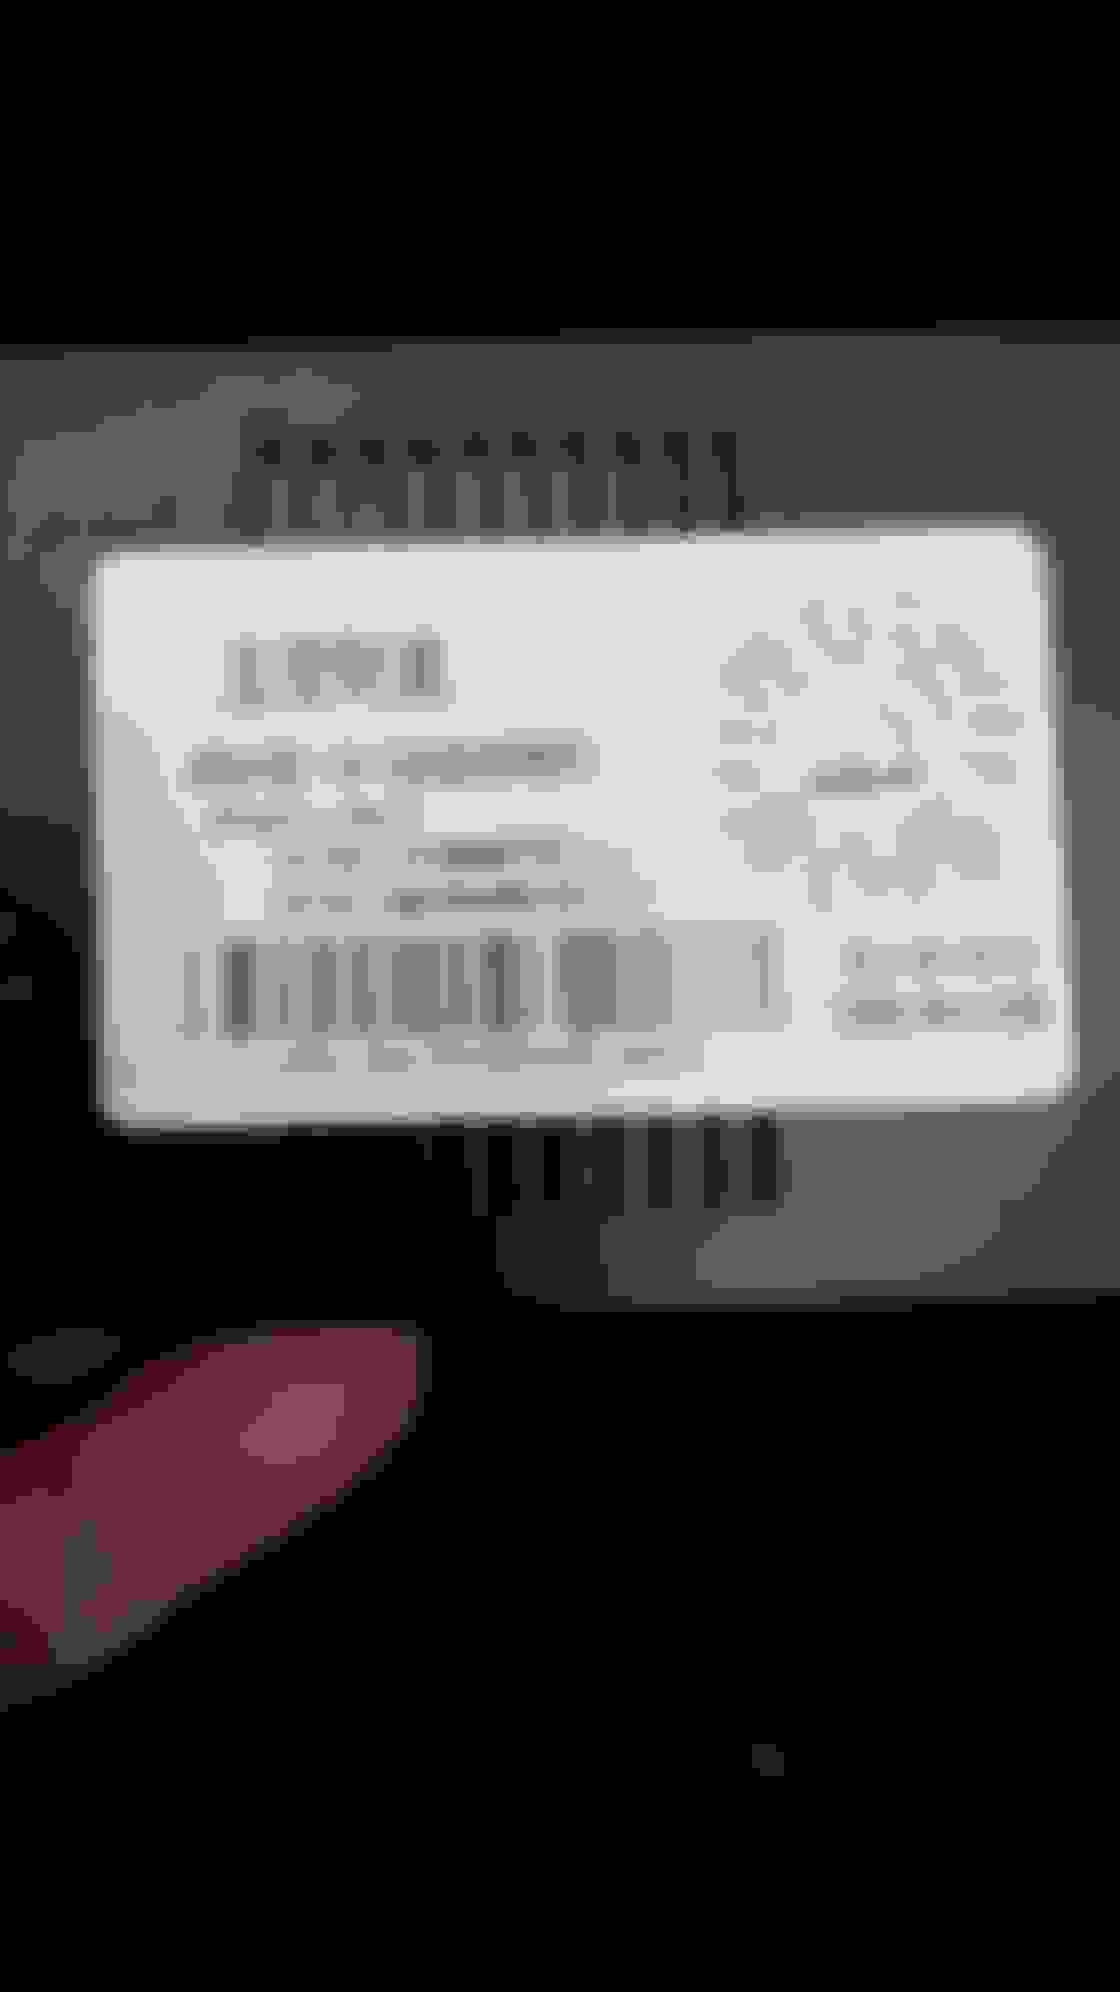
But as for the cable connector, this is the cable that came with it:
The one I'm holding is the one that comes with the kit that I assume connects to the cable for the power folding mirrors. There are 3 other identical rectangle ones that are for the bottom cable pictured above that go to all the other doors. The driver's side connector is slightly bigger than the other 3's though to accommodate for the extra window switches, so I can't temporarily use one of those in the meantime either. I had a very similar kit on my Camry that I should have just stolen the connector from since they look like they would have fit, but oh well, the car is already sold and gone lol.
Originally Posted by dezymond
Great write up and I'm sure many members will appreciate it.
To answer your question about Carista, I found this on the website. I also have Carista and don't recall seeing any options in regards to chimes when the lights are left on, but don't have access to it right now to check/confirm.
----Ding when headlights are left on----
Yes / No
I recall seeing that feature when I was going through my settings but didn't think anything of it at the time since I figured I didn't need to turn it off. I'll probably test it out in a few weeks if no one confirms or denies that it'll fix the issue. Not a big deal for now, but in the long term, I would definitely want the lights to always be on.
Added the "Driver's side dash" section. Hopefully will have the door portion up this weekend, but my Resonix stuff hasn't even shipped yet, so it all depends on when those arrive. I'm wanting to wait until I'm doing the 4th door when I've refined the process since there are honestly A LOT of screws, and when I did the driver's side I honestly just started unscrewing everything until I got the result I wanted and I don't feel that's very useful information.
As for the "Passenger's side dash", it's easily the most difficult part, so I'm wanting to refine the process before I recommend people rip out their entire dash as I did. I'm pretty sure I found a very simple solution, but it's still a bit of work and I want to dedicate a proper amount of time to it.
Can we buy the ambient lighting kit from the factory set itself vs. putting in an aftermarket edition? The factory quality will be better. Does anyone have those part numbers?
Can we buy the ambient lighting kit from the factory set itself vs. putting in an aftermarket edition? The factory quality will be better. Does anyone have those part numbers?
I feel the quality of these aftermarket parts are pretty damn close to the stock's quality. But as for installing the stock lights, you can't unless you rewire your car for it.
I feel the quality of these aftermarket parts are pretty damn close to the stock's quality. But as for installing the stock lights, you can't unless you rewire your car for it.
I believe if there are additional things that are needed to be done to install the stock kit, then that would be preferred. We technically void a lot of warranty by performing aftermarket upgrades. I faced it with my Audi where I installed a carplay module and that stopped working and my battery died and was not covered under warranty. What is missing with the stock hardware installation, would anyone know? I believe the same insert ports would exist in the same way?
I believe if there are additional things that are needed to be done to install the stock kit, then that would be preferred. We technically void a lot of warranty by performing aftermarket upgrades. I faced it with my Audi where I installed a carplay module and that stopped working and my battery died and was not covered under warranty. What is missing with the stock hardware installation, would anyone know? I believe the same insert ports would exist in the same way?
You'll have to get the wiring harness that goes from the car's main computer to the doors. To summarize, it ain't worth it lol
Can we buy the ambient lighting kit from the factory set itself vs. putting in an aftermarket edition? The factory quality will be better. Does anyone have those part numbers?
The stock ambient lighting is beyond pathetic and not really even noticeable even at night. It's absolutely a waste, it does not put out enough light and it's white.
 10-31-22, 04:03 PM