DIY- 4ES- Grom USB Adapter + Bluetooth Dongle Installation– Picture Intensive
 11-10-12, 05:05 AM
#1
Lexus Test Driver
Thread Starter
Hey, guys I recently installed a GROM USB Adapter in my ES300, with a Bluetooth dongle. The entire process is very simple. No wire cutting is necessary; it is all plug & play.
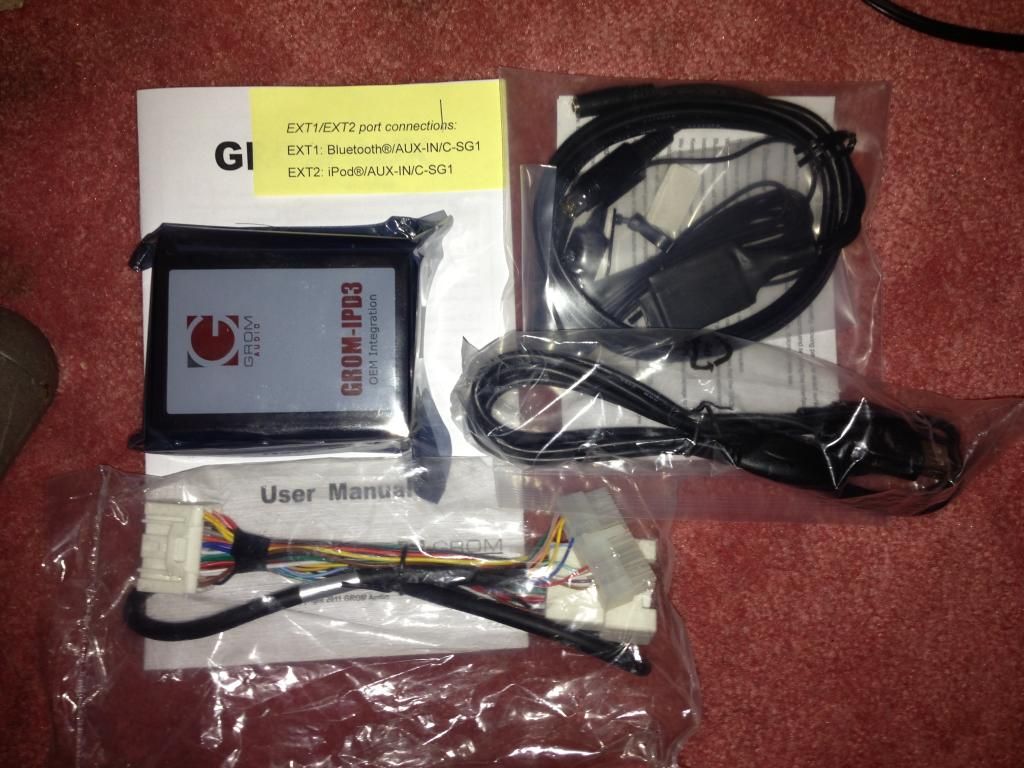
Included is the GROM Adapter (TOYA3), “LEX” Harness Cable, 3.5mm input cable w/ USB female, (optional – Bluetooth Dongle ($50), iPod Cable with Charge & Control ($24.99), and I believe they sell a flush mount for the AUX ($10).
I only purchased the Bluetooth Dongle, didn’t need the iPod Cable, as I don’t believe it’s compatible with the iPhone 5 yet.
 11-10-12, 05:06 AM
#2
Lexus Test Driver
Thread Starter
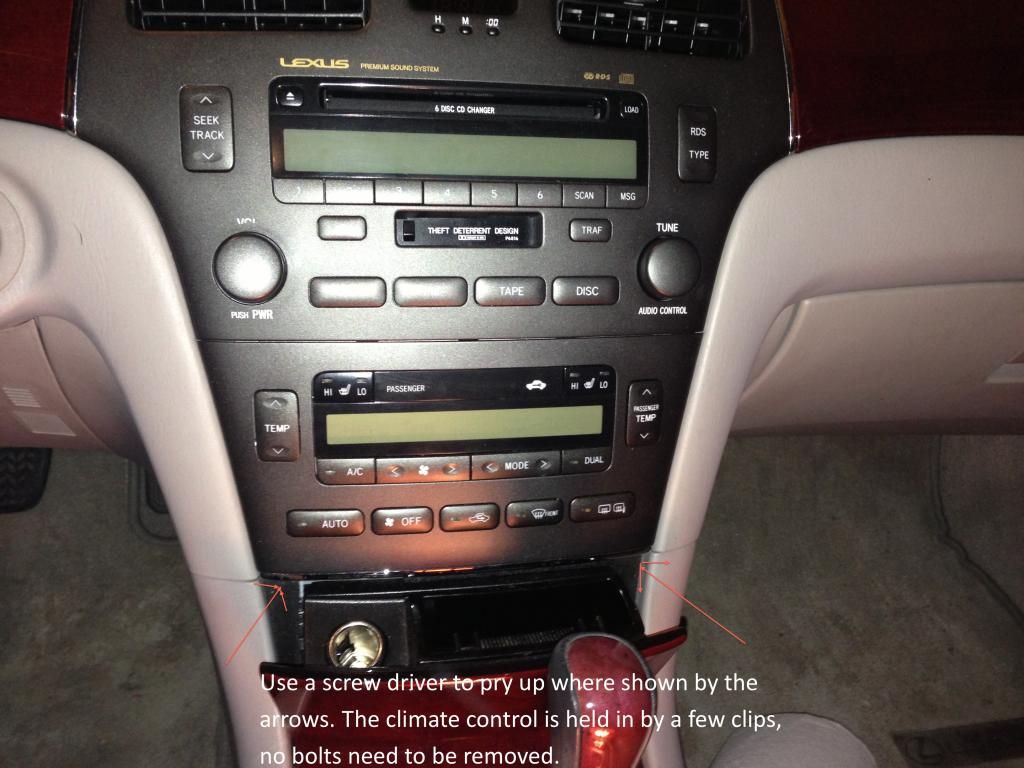
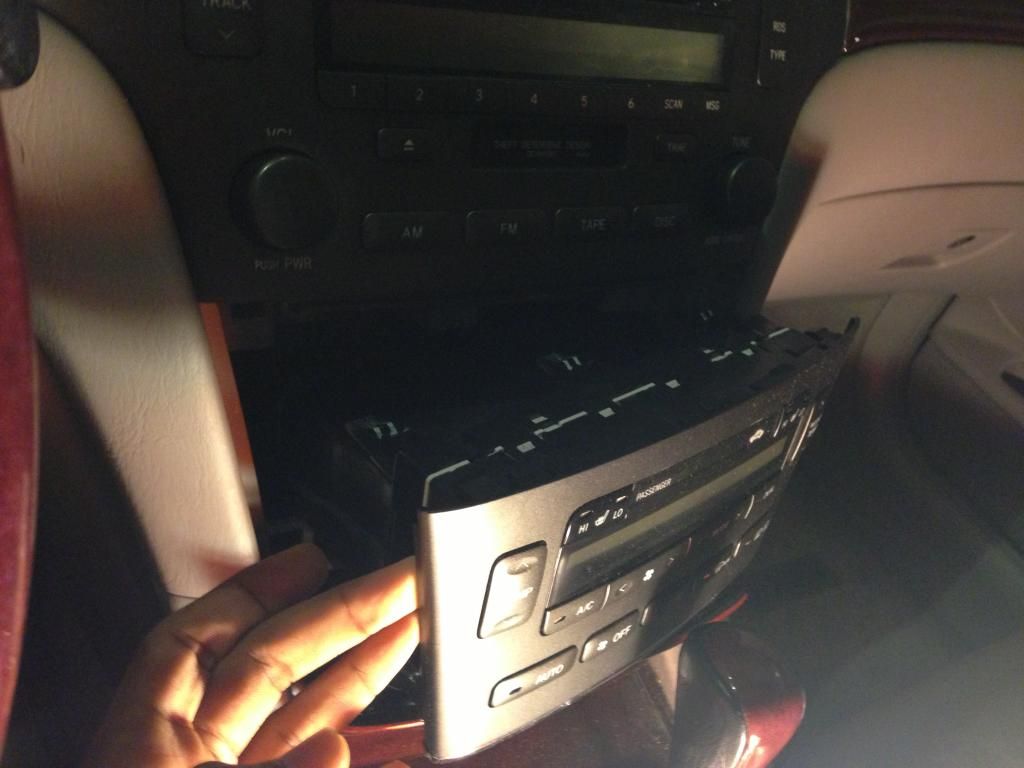
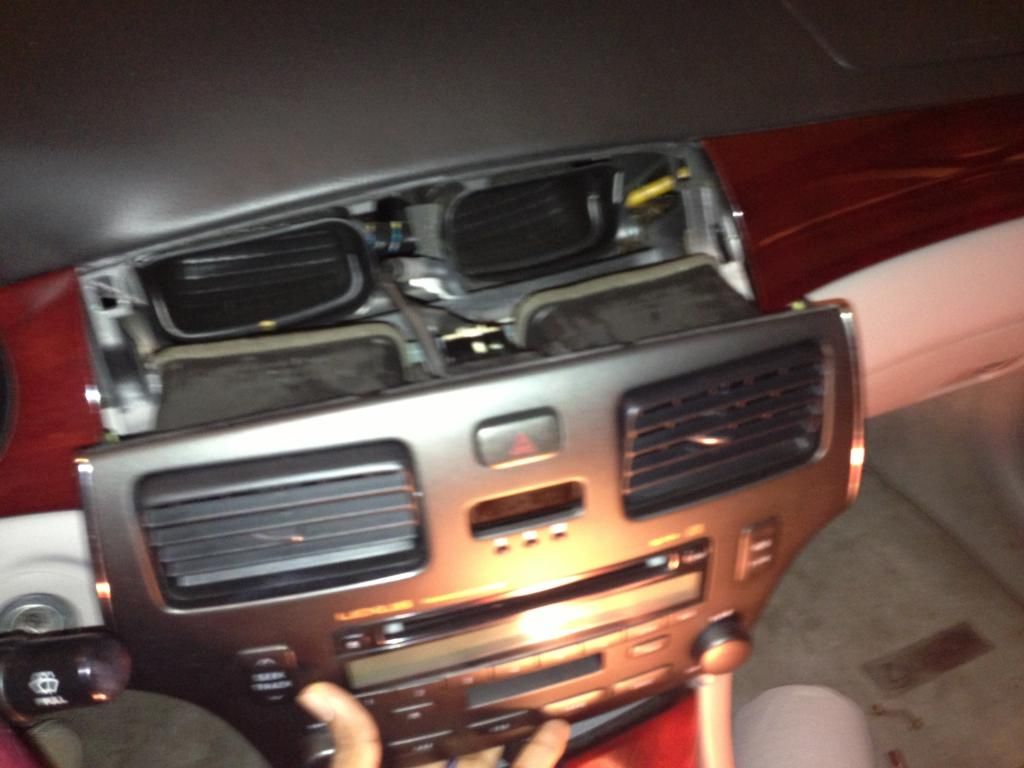
First step is to remove the climate control unit; a few clips hold it in. Pry at the bottom on both sides. It will pop out. Be careful not to scratch anything while prying.
11-10-12, 05:07 AM
#3
Lexus Test Driver
Thread Starter
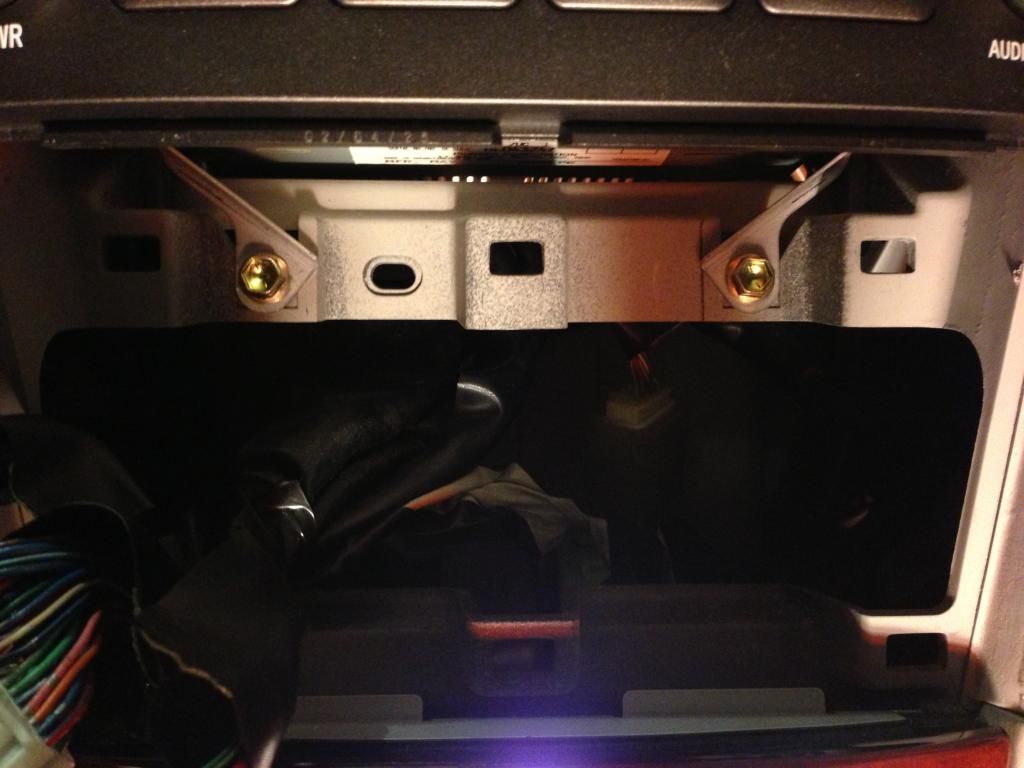
Now, remove the 4 bolts holding in the radio. In the picture below you only see 2 bolts, but if you look further up you will see an additional bolt on each side. I wasn’t able to get a good picture of them, but trust me you will see them.
11-10-12, 05:08 AM
#4
Lexus Test Driver
Thread Starter
Once you remove the 4 bolts holding the radio, you can pull on it and it will pop out. It is held in by a few clips as well, as seen in the picture below. (sorry the picture didn’t focus)
 11-10-12, 05:10 AM
#7
Lexus Test Driver
Thread Starter
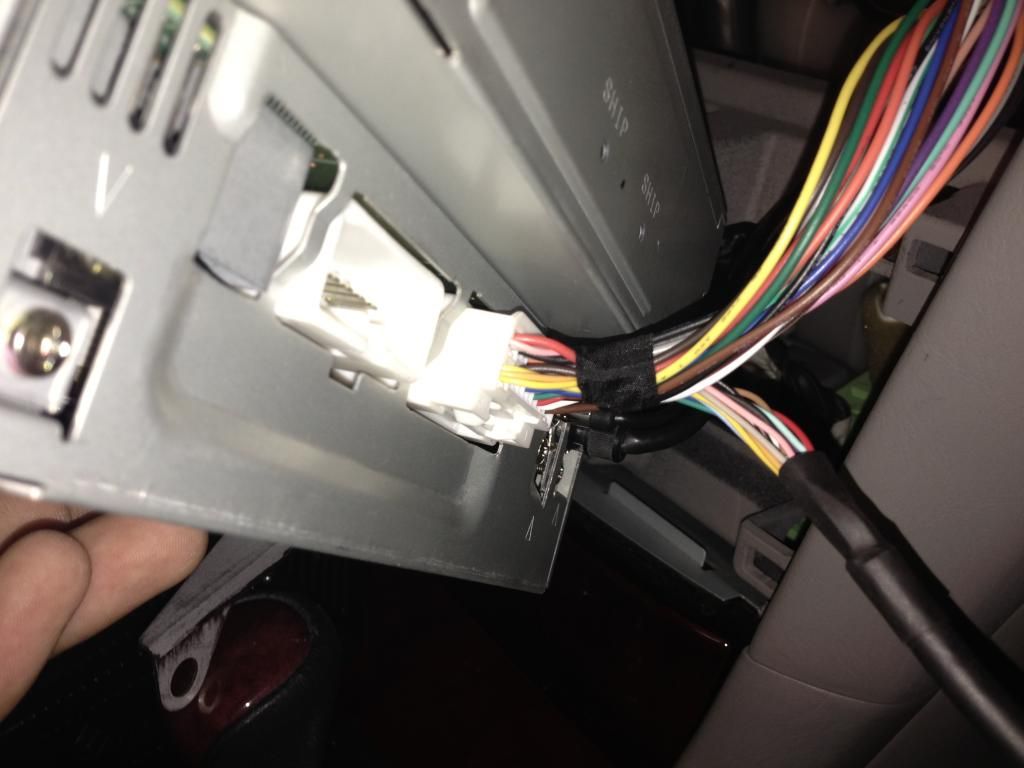
Take the smaller Male end of the “LEX” cable, and plug it into the back of the radio where you first disconnected the original cable that was there.
I forgot to snap a picture of it, but just refer to two post #5.
I forgot to snap a picture of it, but just refer to two post #5.
Trending Topics
11-10-12, 05:11 AM
#8
Lexus Test Driver
Thread Starter
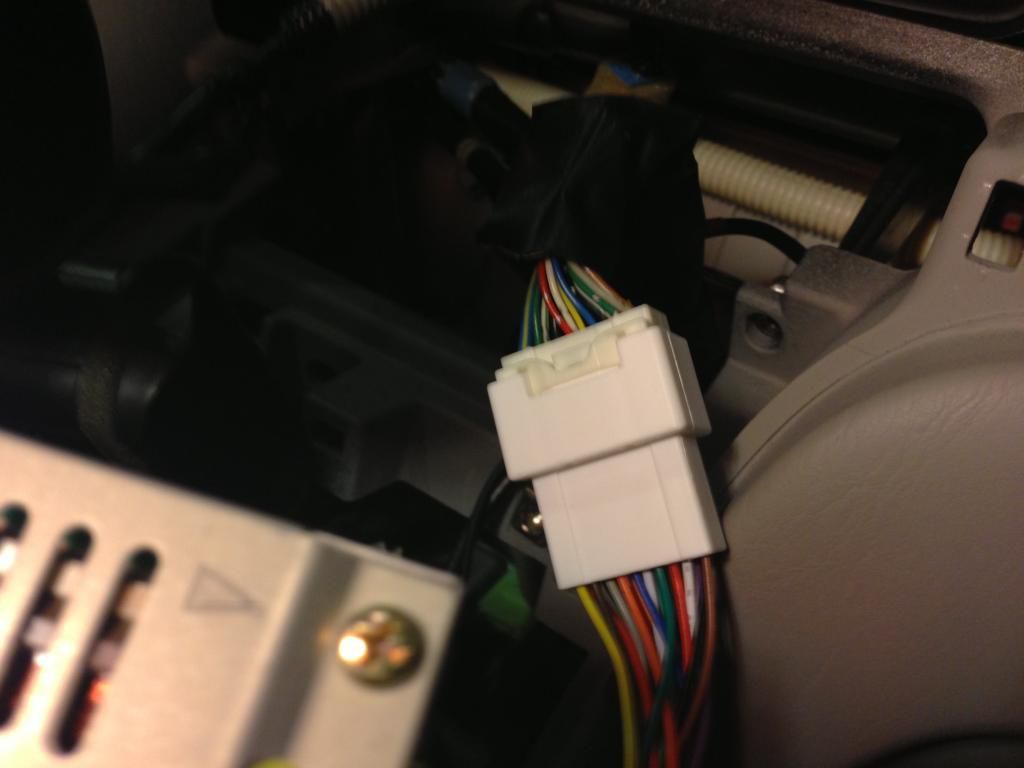
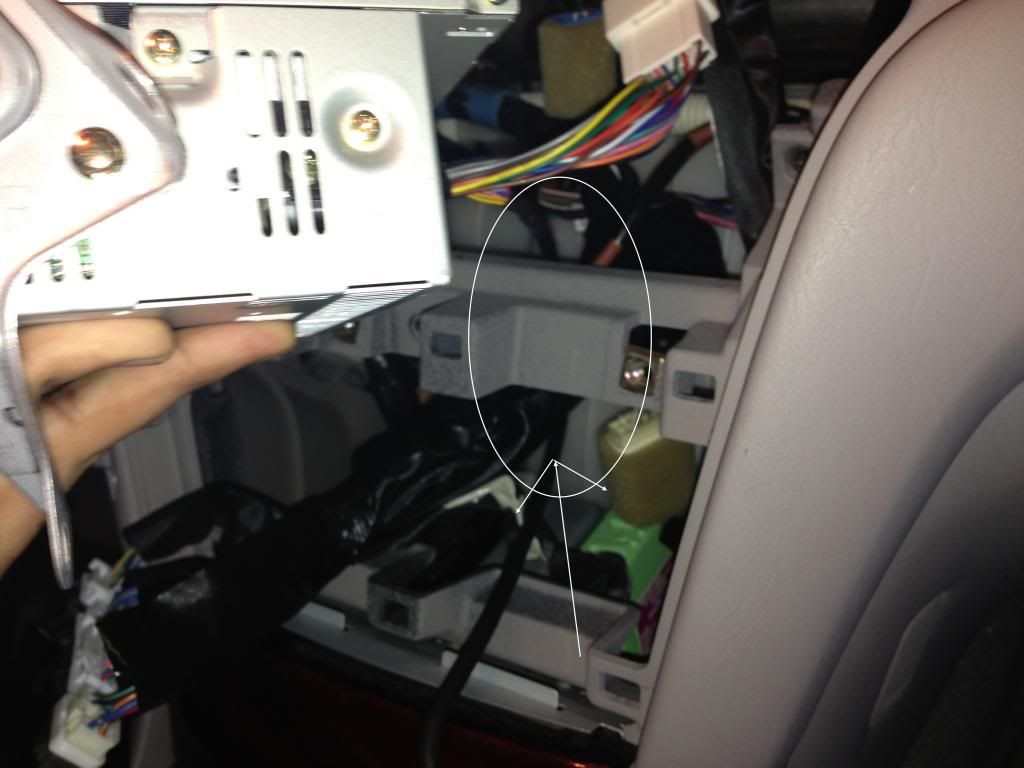
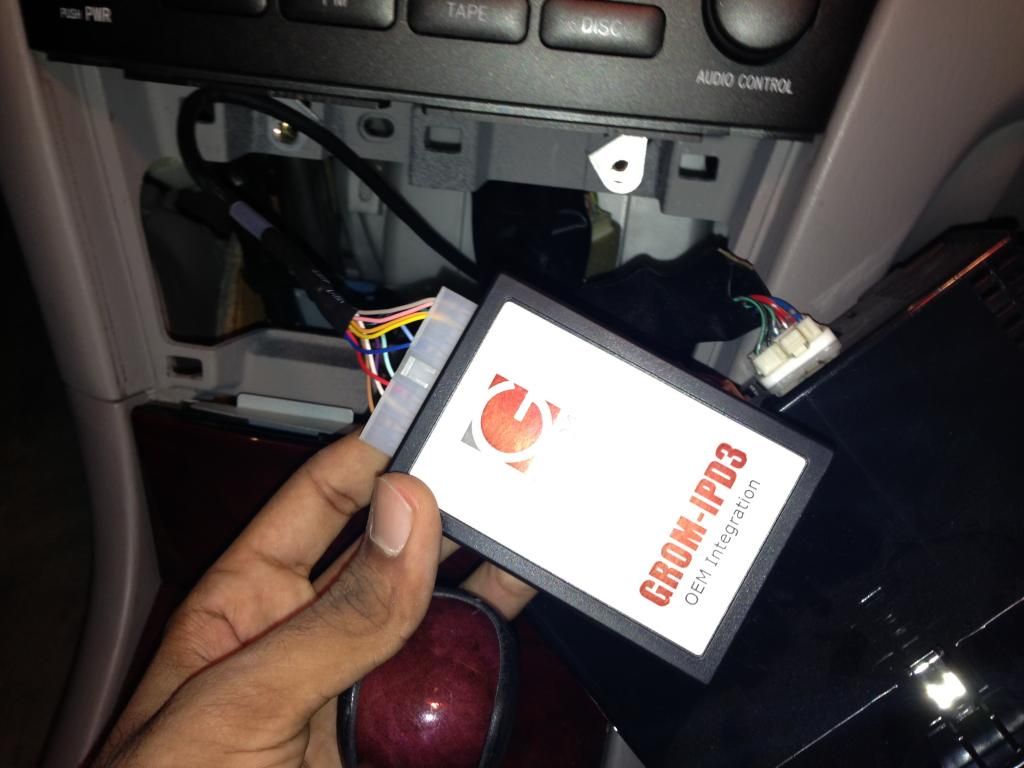
Now, take the larger Male end of the “Lex” cable that plugs into the GROM unit and bring it underneath that divider in the center console (circled in white).
 11-10-12, 05:14 AM
#10
Lexus Test Driver
Thread Starter
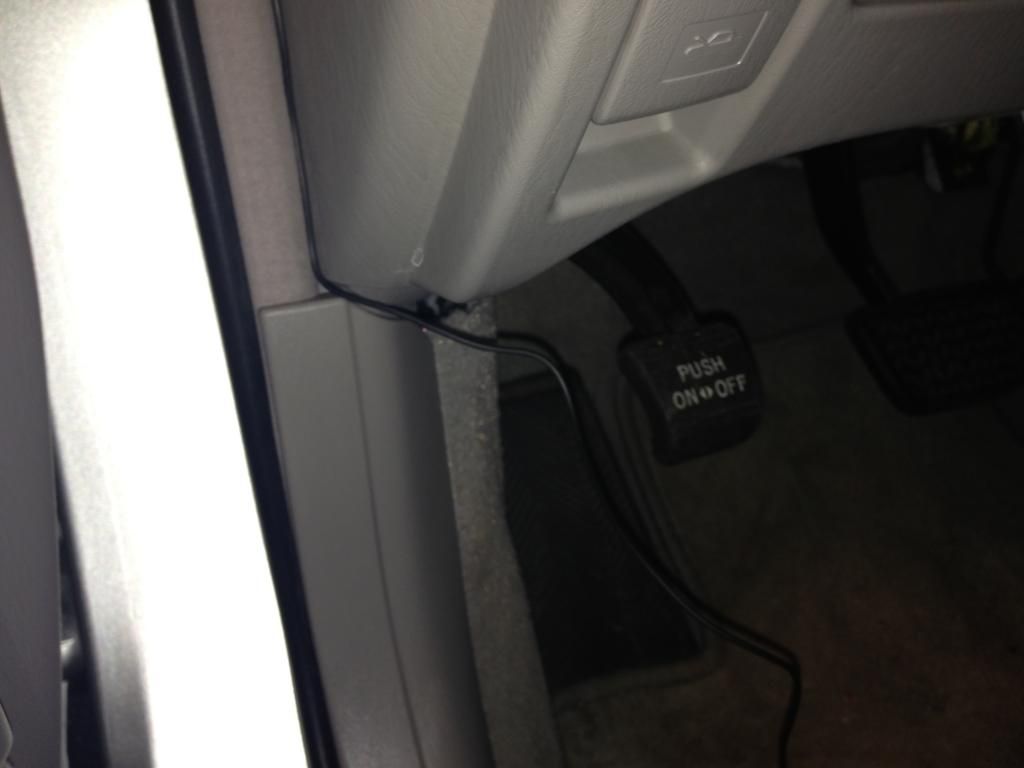
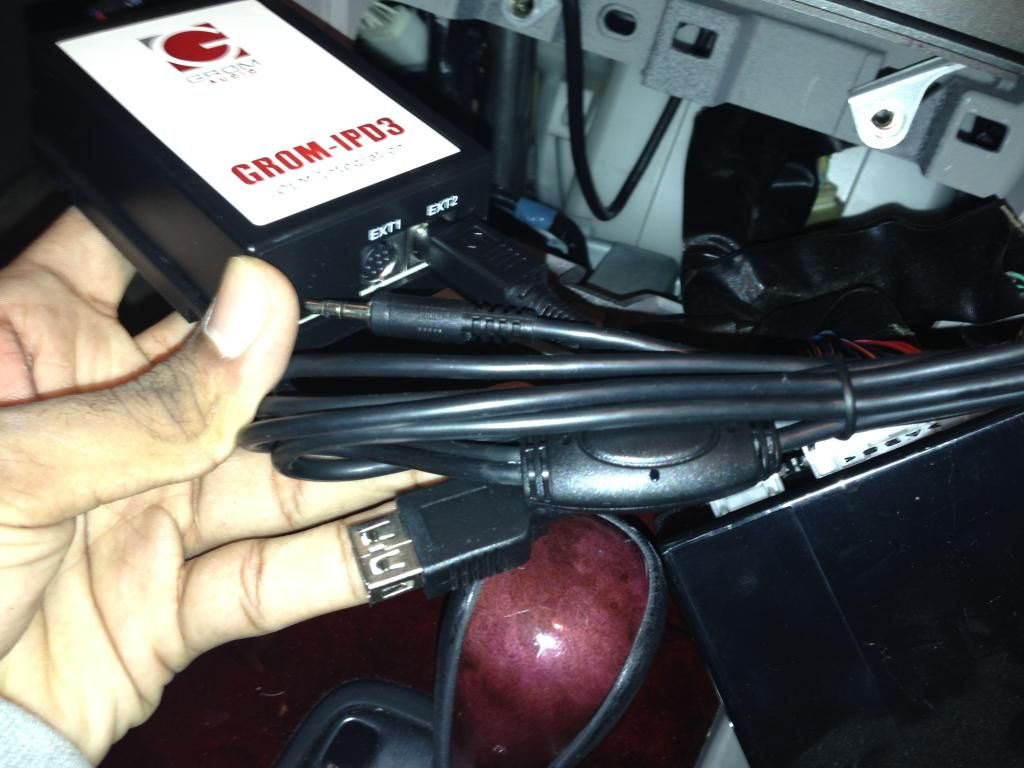
In this step, I plugged in the 3.5mm/usb cable into the GROM adapter. It should get plugged into EXT2. I only did this step for demonstration purposes; I then disconnected it, as I don’t need it. So, once you connect it, route the wire to wherever you feel comfortable. It’s a personal preference. The glove box will be the easiest.
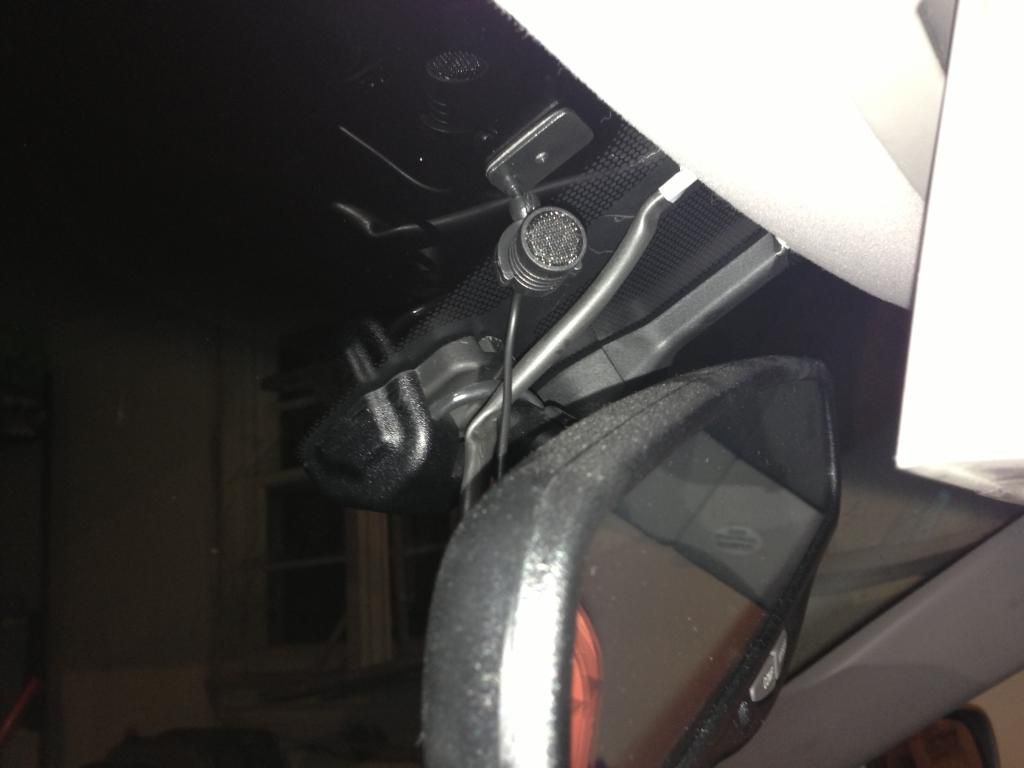 11-10-12, 05:18 AM
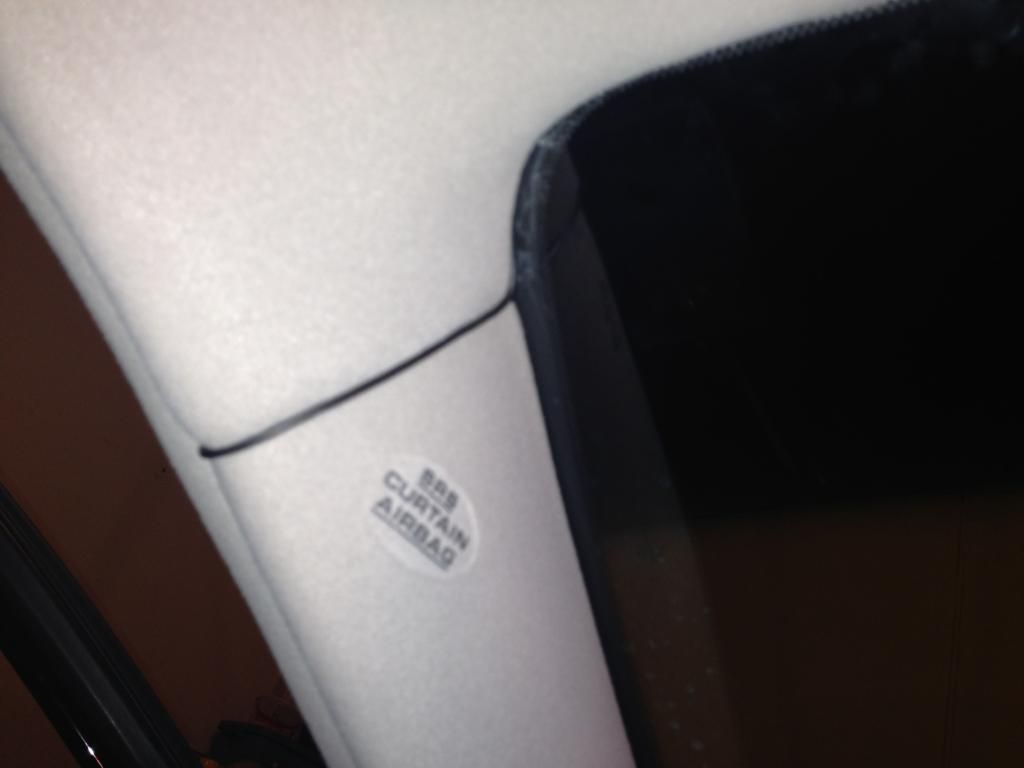
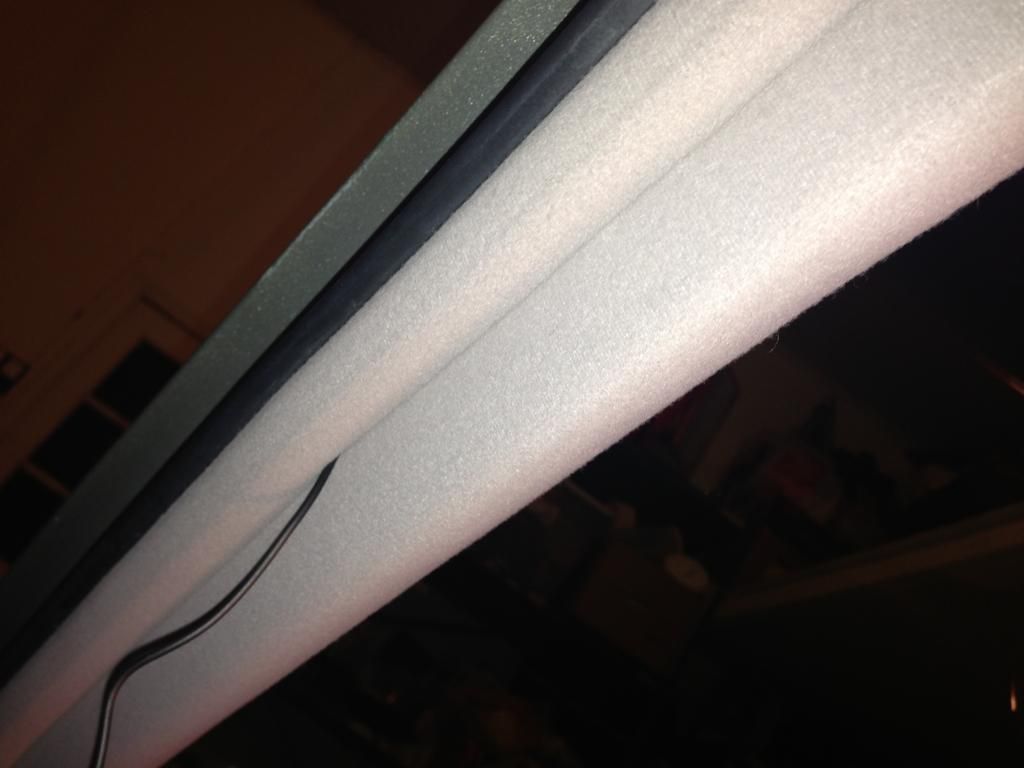
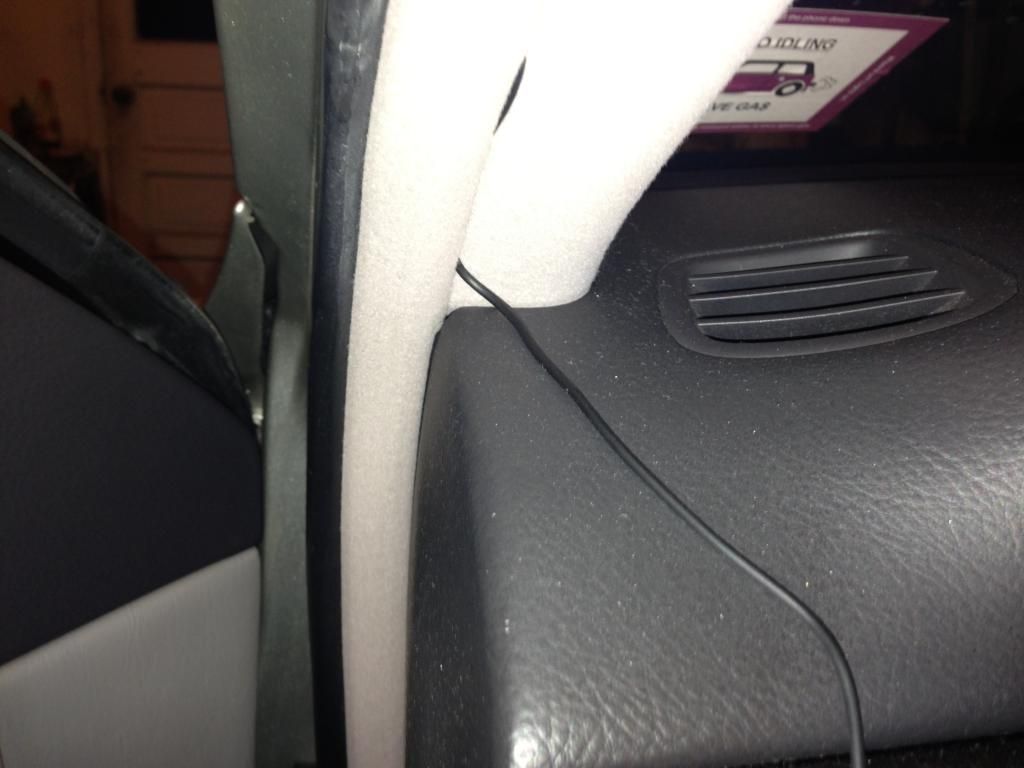
#14
Lexus Test Driver
Thread Starter
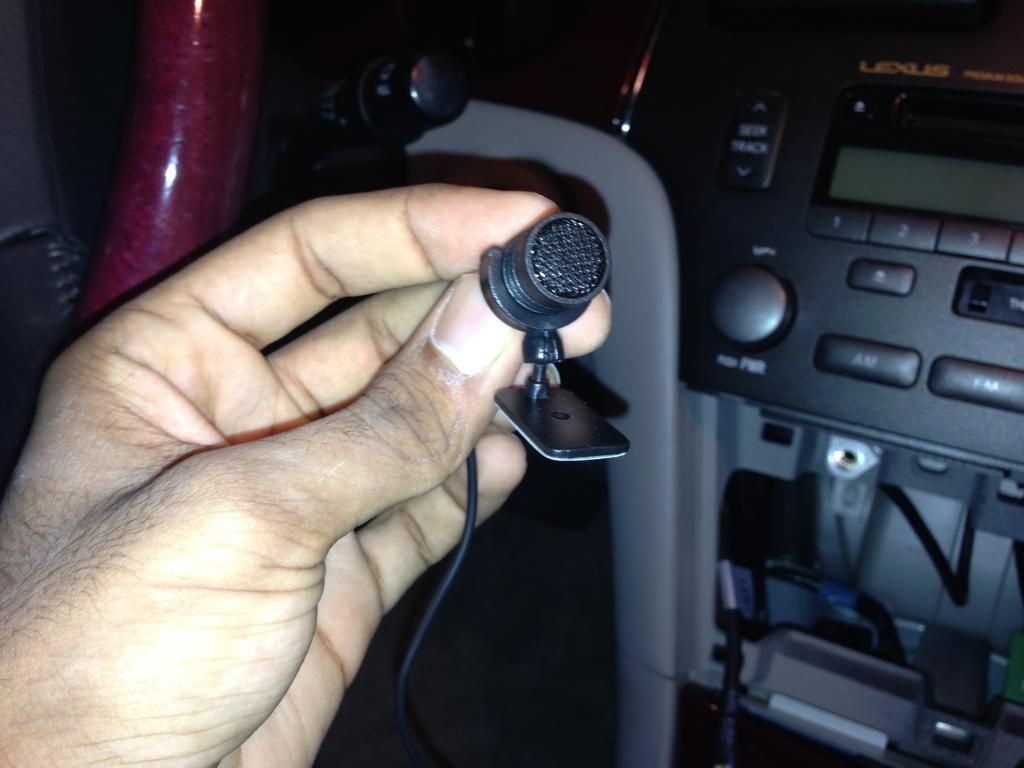
Tuck the wire under the headliner. And bring it around the pillar. I had a tough time trying to fit this wire in between the gap shown in the picture. I eventually got it in, just be careful not to damage the wire.