When you click on links to various merchants on this site and make a purchase, this can result in this site earning a commission. Affiliate programs and affiliations include, but are not limited to, the eBay Partner Network.
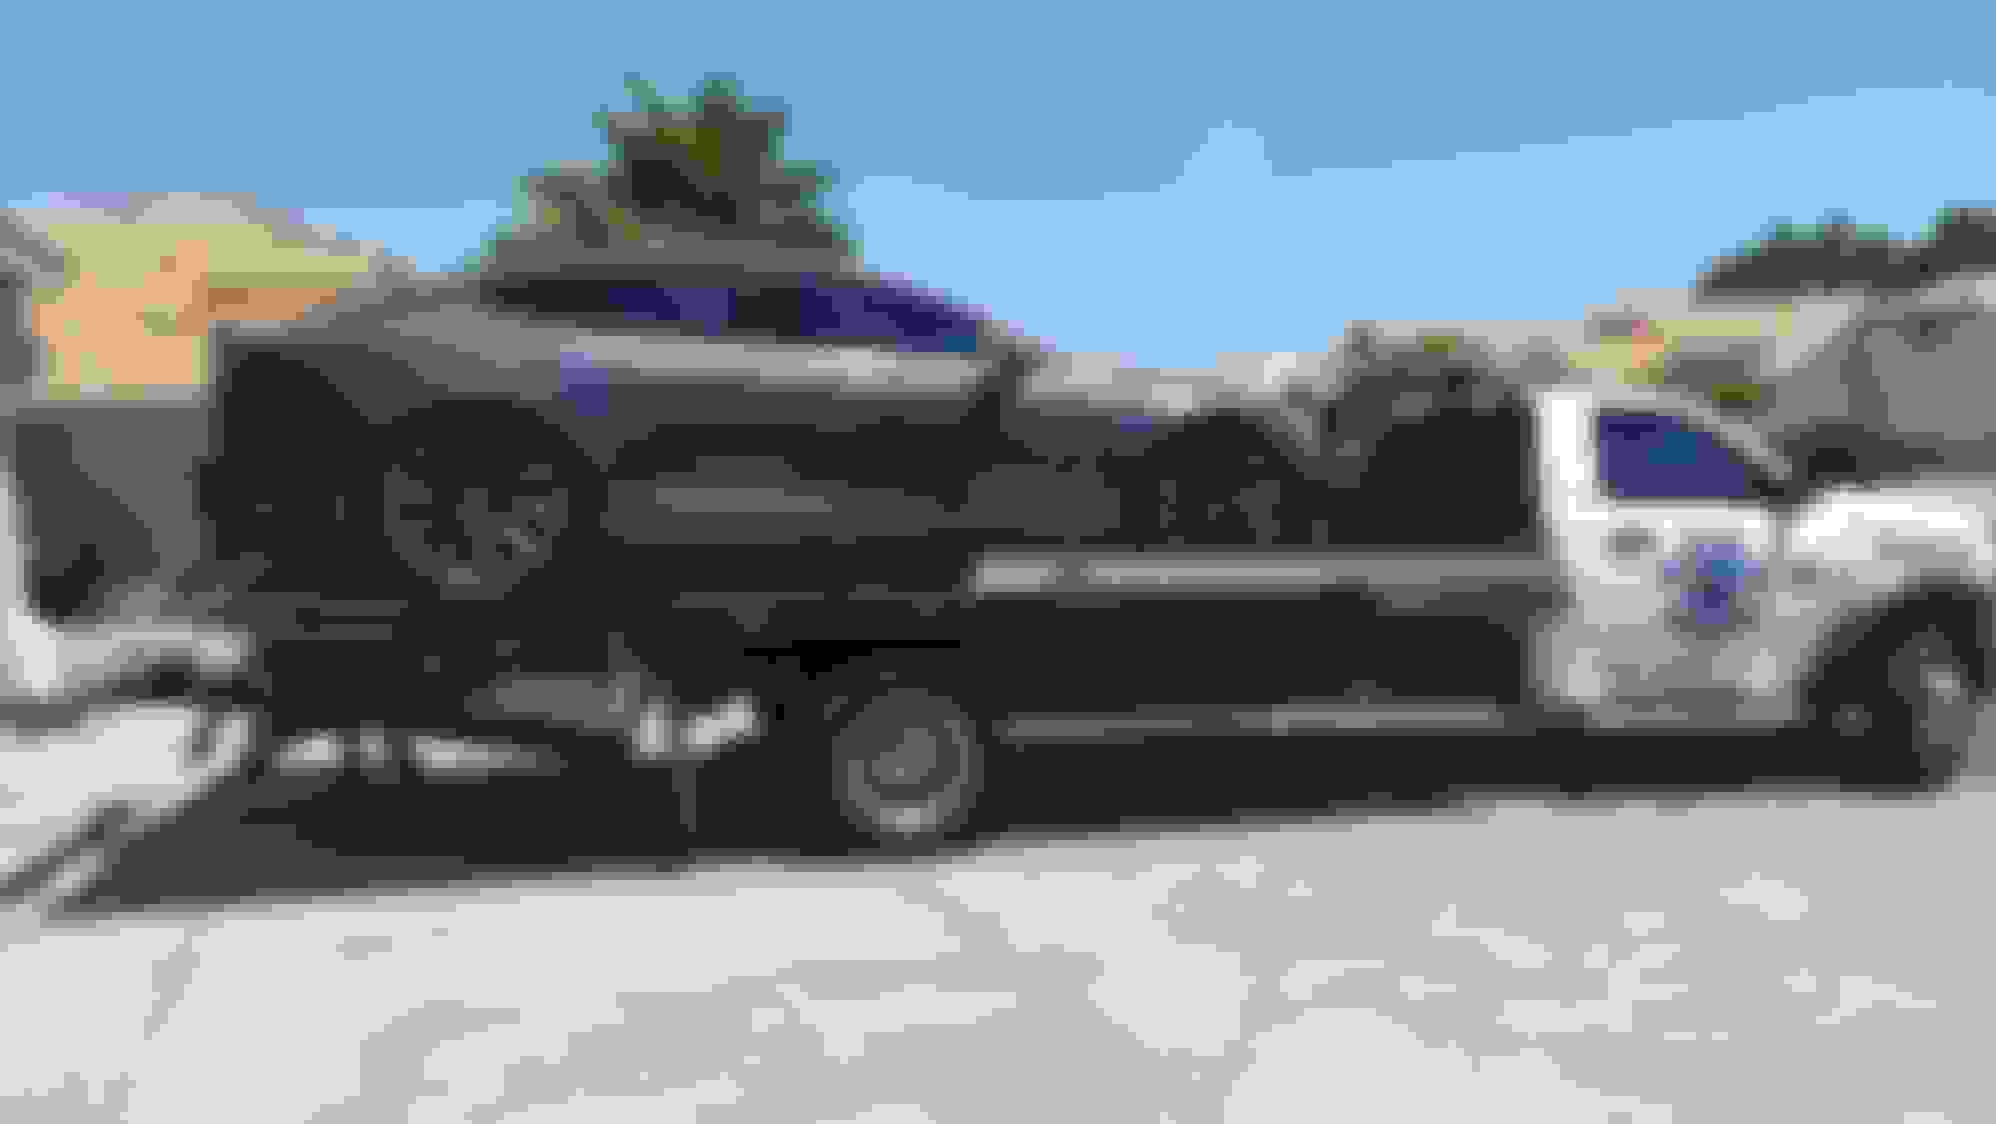
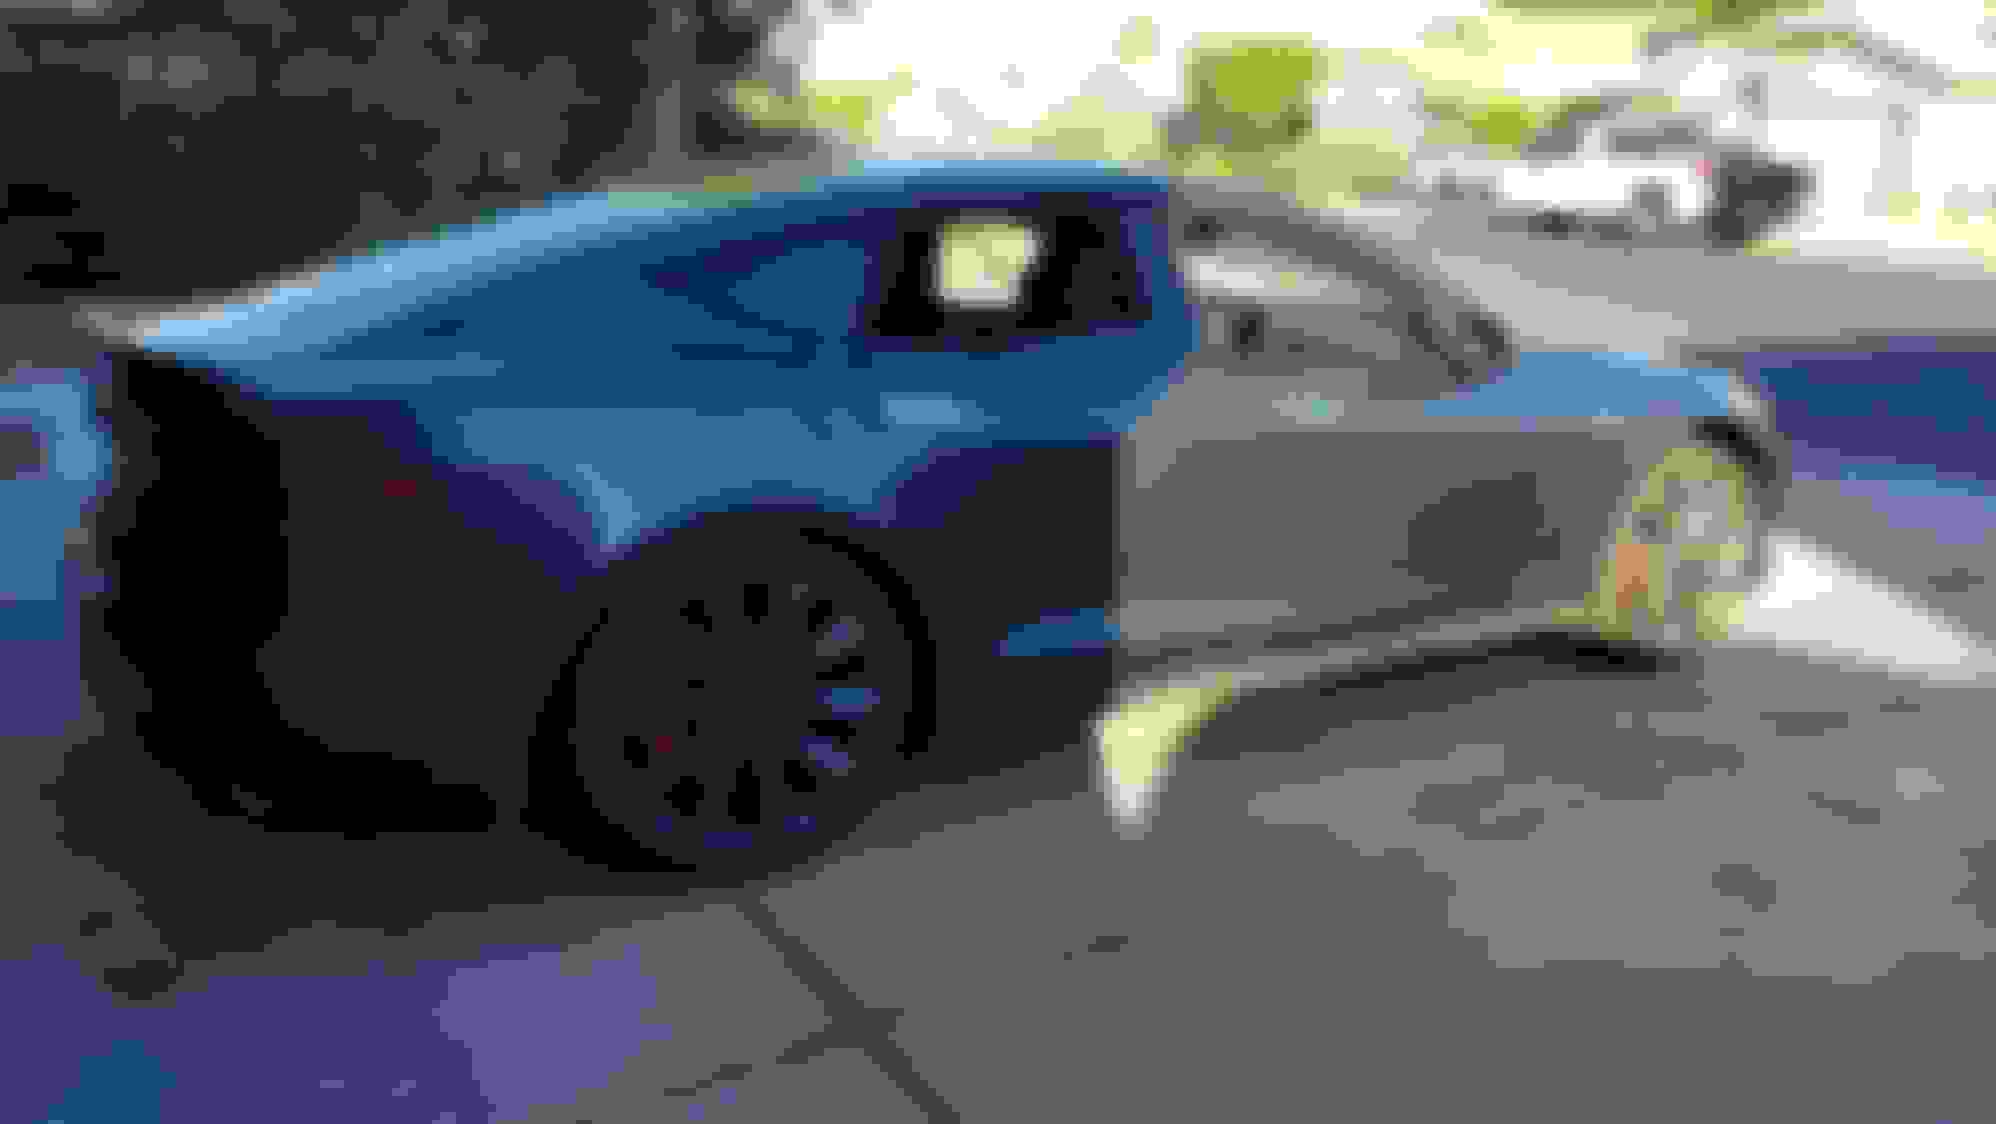
This probably qualifies as a bit more than a fixer upper. I've been watching local listings and bidding on these at auctions for the past couple of years. This one popped up a few months ago at iaai.
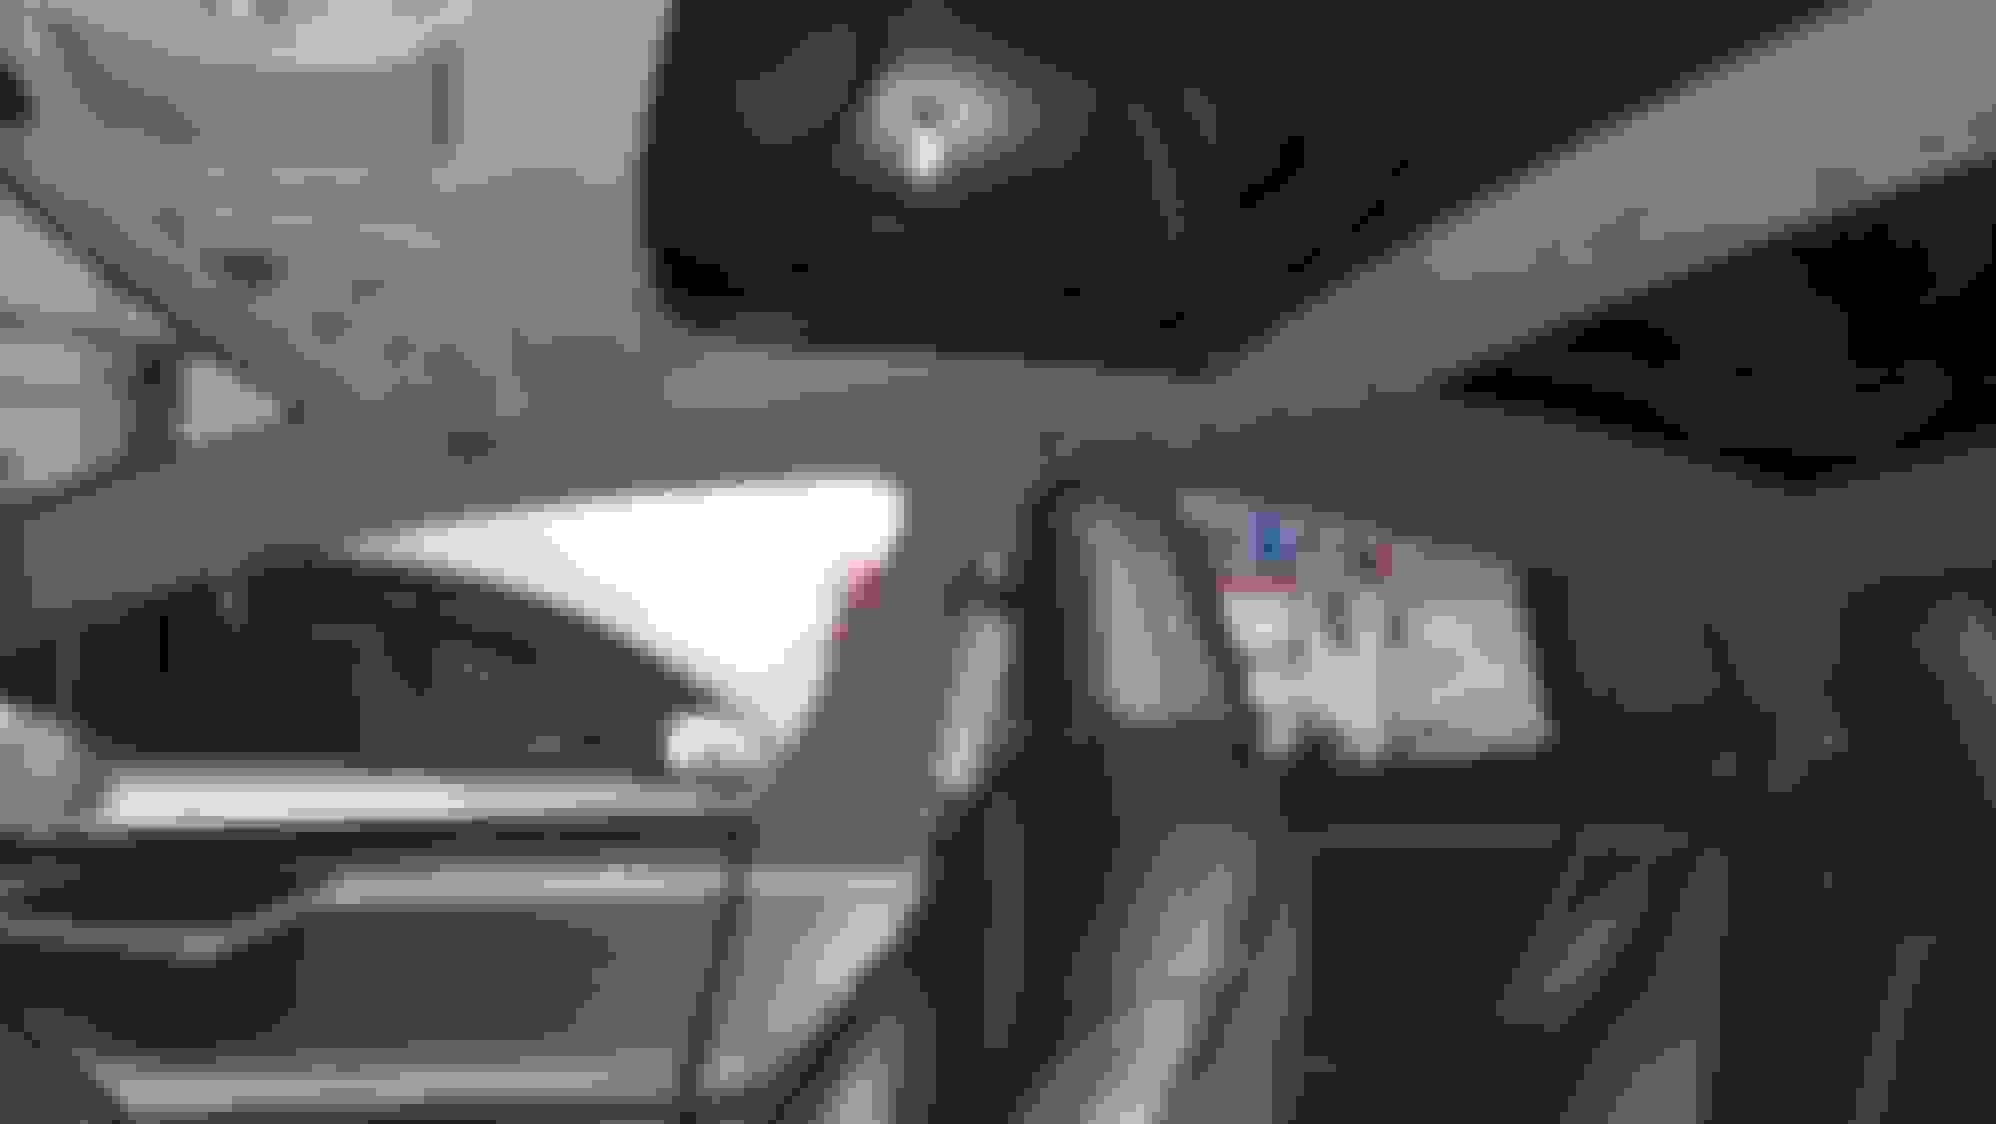
I spend way more time on the internet researching items than I should admit. This Tesla was no exception. What initially caught my attention was the auction site listed it as a dual motor. There were no emblems on the car to designate which model it was. Since it had a dead 12v battery there were no pictures of the displays powered up. Most of the time they provide pictures of the car displays by using a jump pack on the 12v battery. In this case, the auction house wasn't able to open the hood, to put a jump pack on.
Start the googling...
Sometimes auction sites post a picture of the vin plate. On this car luckily there was a picture of the vin with the car weight listed. After surfing through 10 or 20 cars comparing vin weights I came to the conclusion this particular tesla was probably a P90D. The P ( Performance) back in 2016 was a $40k option. I was excited at this point. P90D's are fairly quick 0-60 in 3.5 seconds. I also found a vin decoder online that confirmed it was likely a p something d ( dual motor).
After doing a free vin check online the mileage on the car seemed to be around 73k miles. Progressive insurance was the owner of the car. I'm no expert but I've read it's always a safer bet to bid on an insurance owned car. The likelihood of someone stealing the $10k main battery before it gets auctioned off is reduced. When initially up for auction progressive put a $9k buy it now on the car. After a few weeks of lower bids they reduced it to $7700. The third or fourth week was the only week I bid. I ended up winning it for $7400 before auction fees.
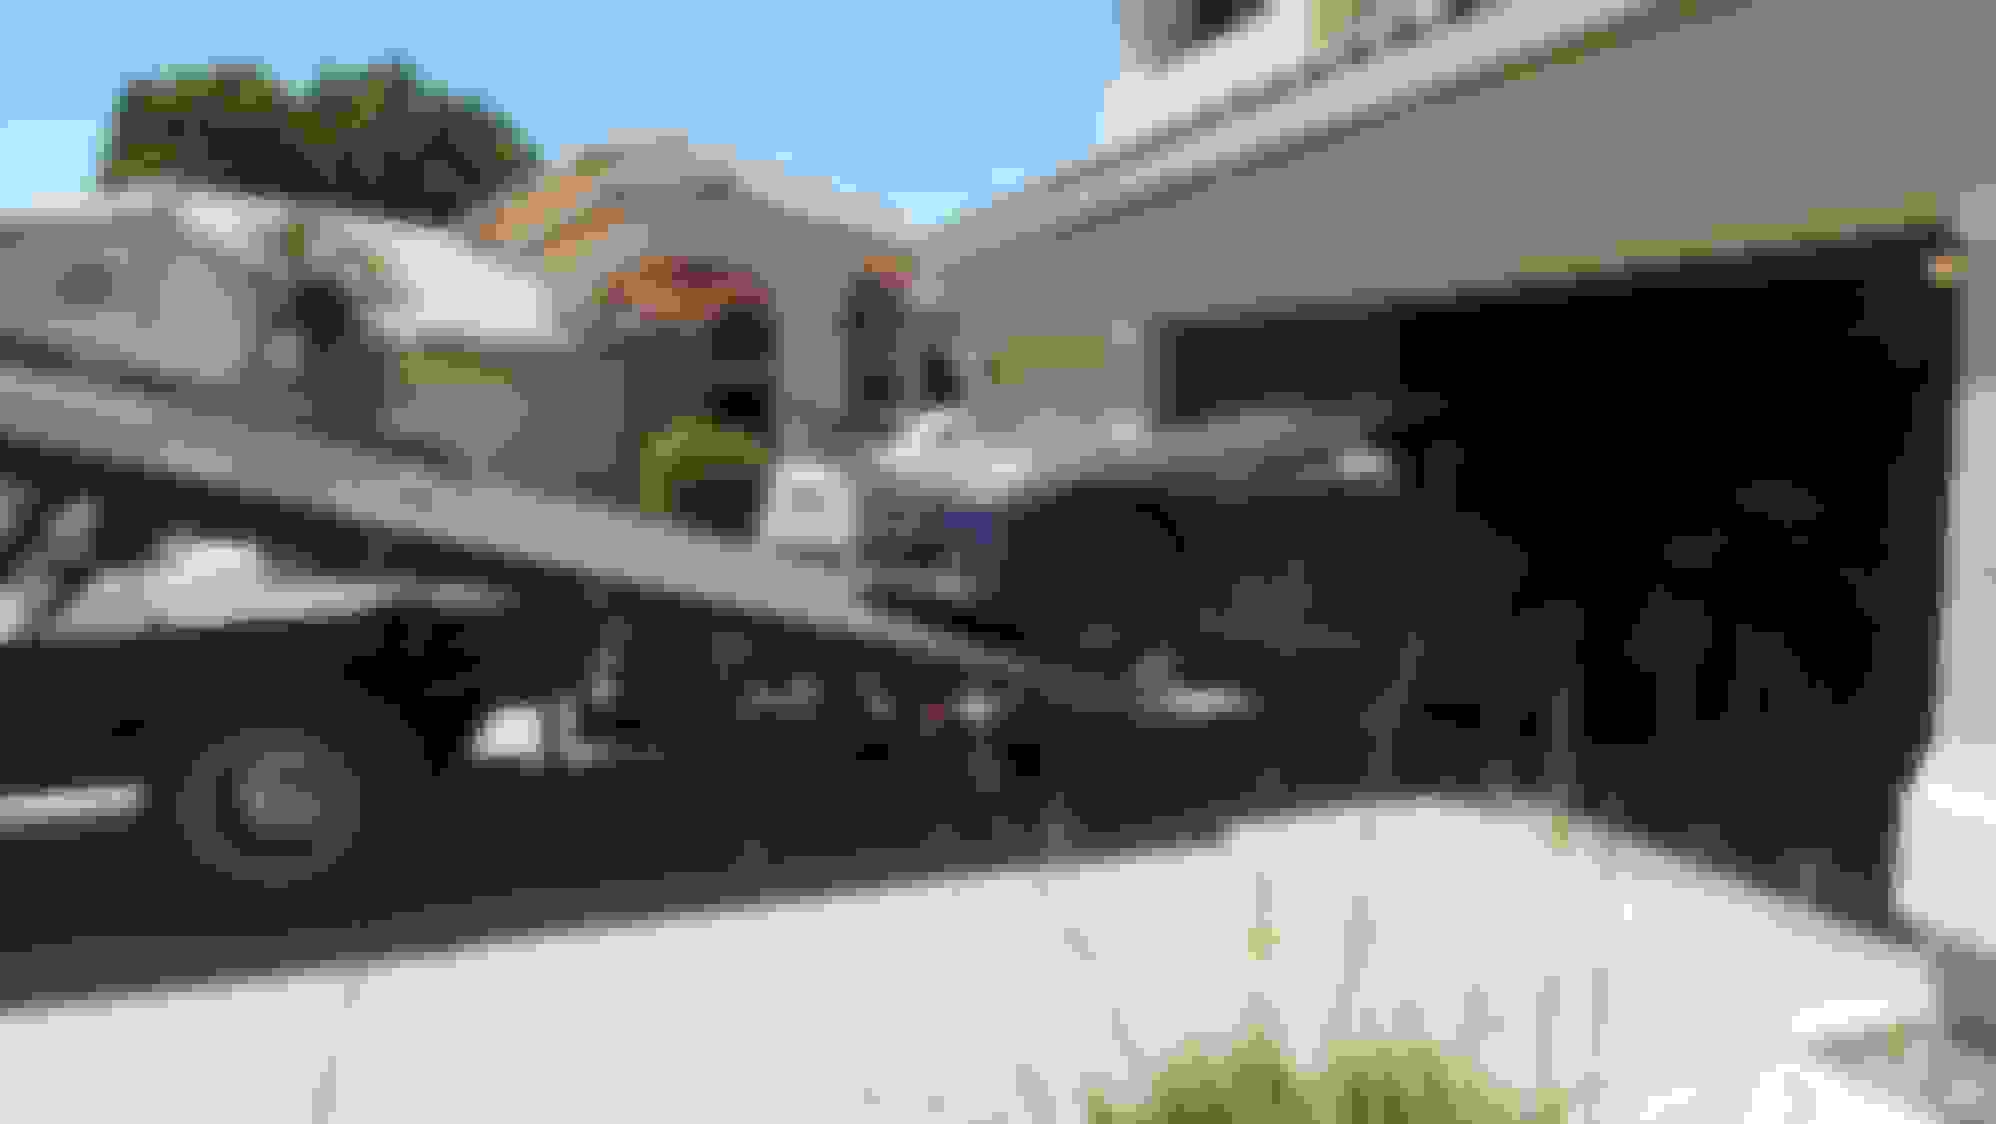
Since the auction was local to me having it delivered, on a flatbed, only cost me about a tank of gas.
Delivery day.
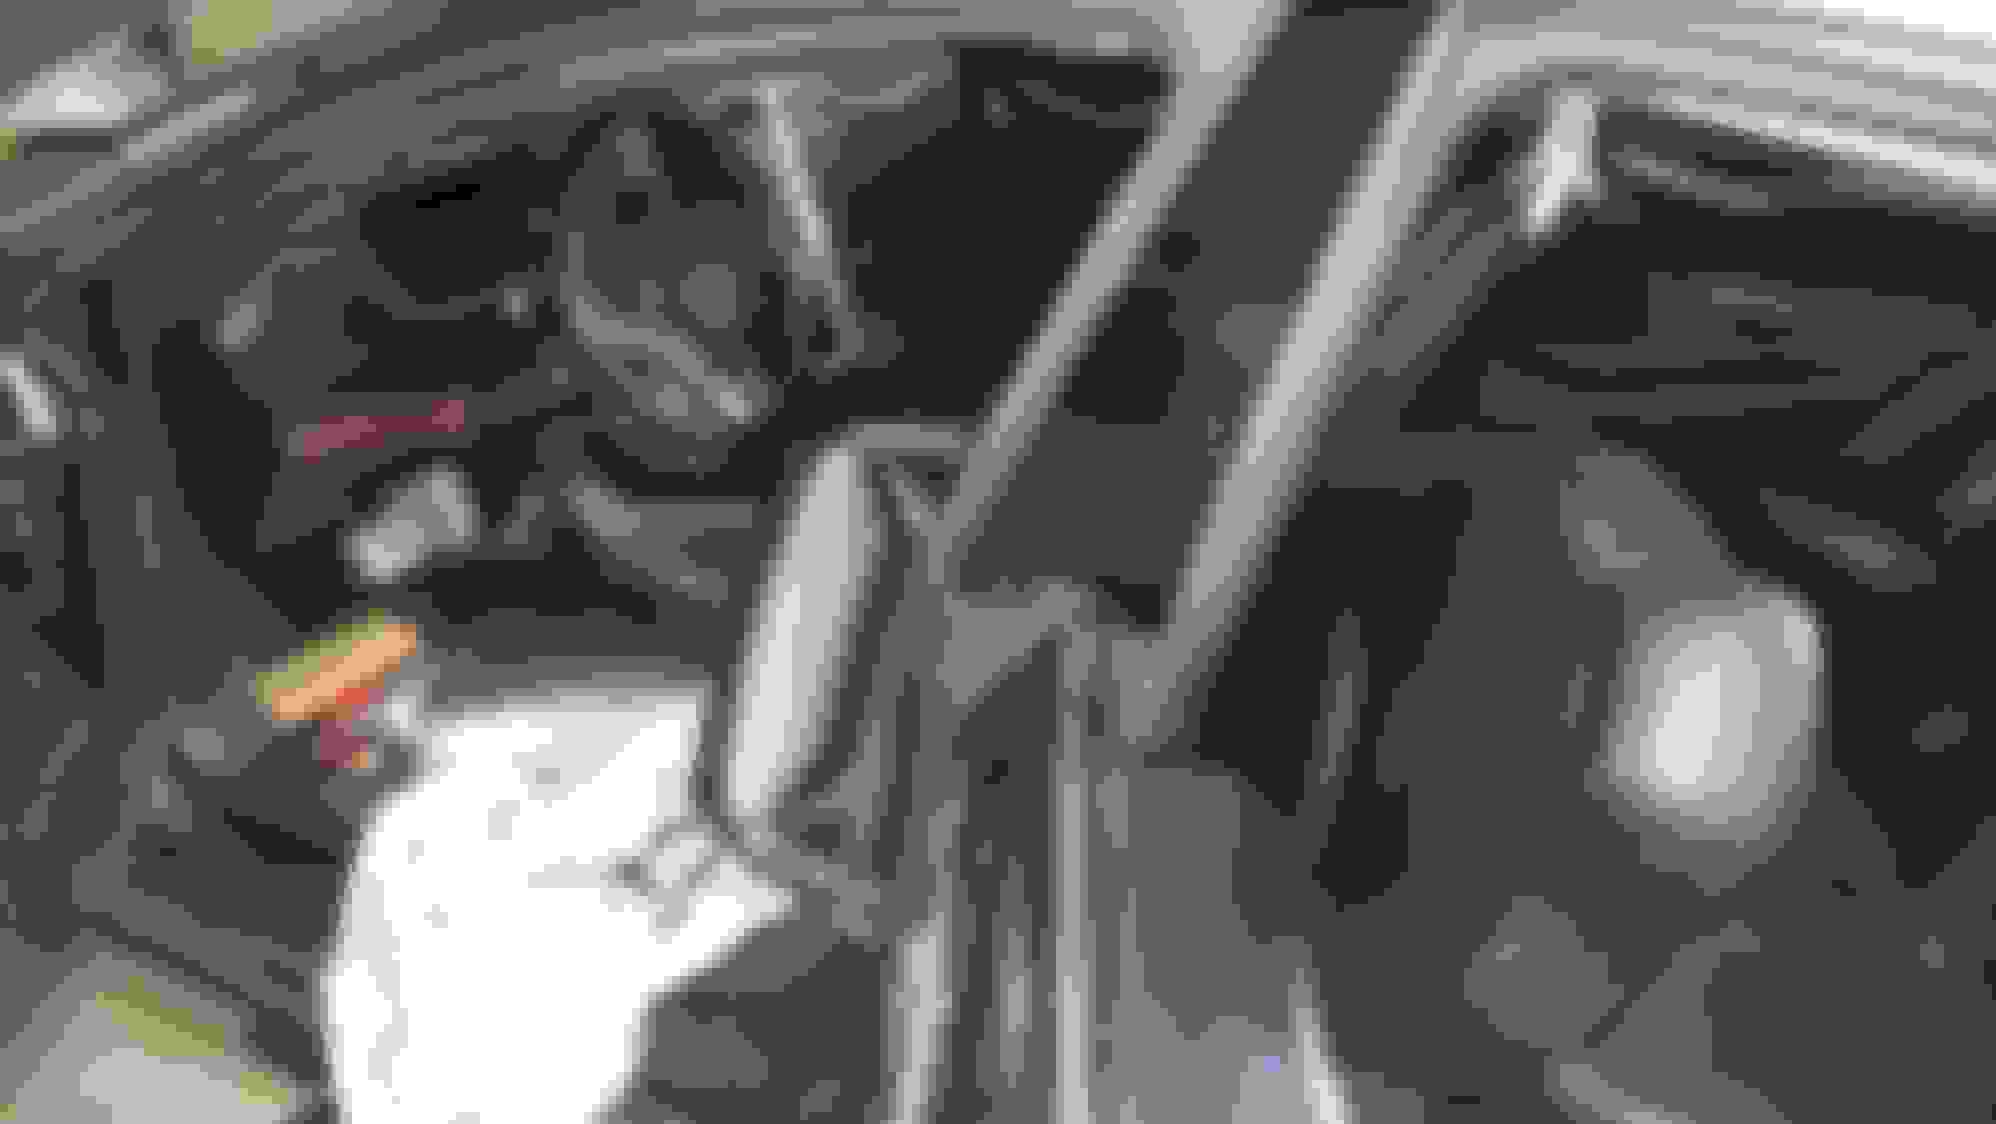
First off, I was impressed the tow truck driver was able to drop it off inside our garage. This saved me some confusion on where to park it. My first challenge was getting the hood open. I watched a few youtube videos of people cutting a hole in the bumper to release the hood latch. I really didn't like this option. After 2 days of trying to find another way I did start to consider it. Later that evening my wife helped me push the bumper in 1/4" or so just under the hood. I was able to squeeze a borescope in the 1/4" gap. After a minute I located the release cable. Using some 12 gauge electrical wire shaped with a hook I was able to pull on the cable and release the hood ( sounds easier than it was) . Looking at a 5" borescope screen, while feeding a wire into a hole, then trying to hook it around a 1/16" cable is challenging.
It turns out there are many different methods to open Tesla's frunks. Some have manual release cables in the front wheel fenders. Others have a manual release under the glove box. Once my hood was open I discovered mine has neither, go figure. Instead I have 2 latches that are only released electronically. Most cars with this setup have a jumper post by the front bumper which is able to be accessed through a premade hole in the bumper. I either have an aftermarket front bumper or what they call a refresh front bumper that newer models have. I thought my bumper was blocking the positive jump post. It turns out I don't have a positive jump post behind the bumper anyway.... Welcome to Tesla lol.
On an upbeat note, once I got a jump pack on the car I discovered.
1. It is a P90D with 76k miles
2. It has the $10k Ludicrous upgrade 0-60 in 2.8 seconds. Nice!
3. Both of the screens work without any bubbling or delamination defects.
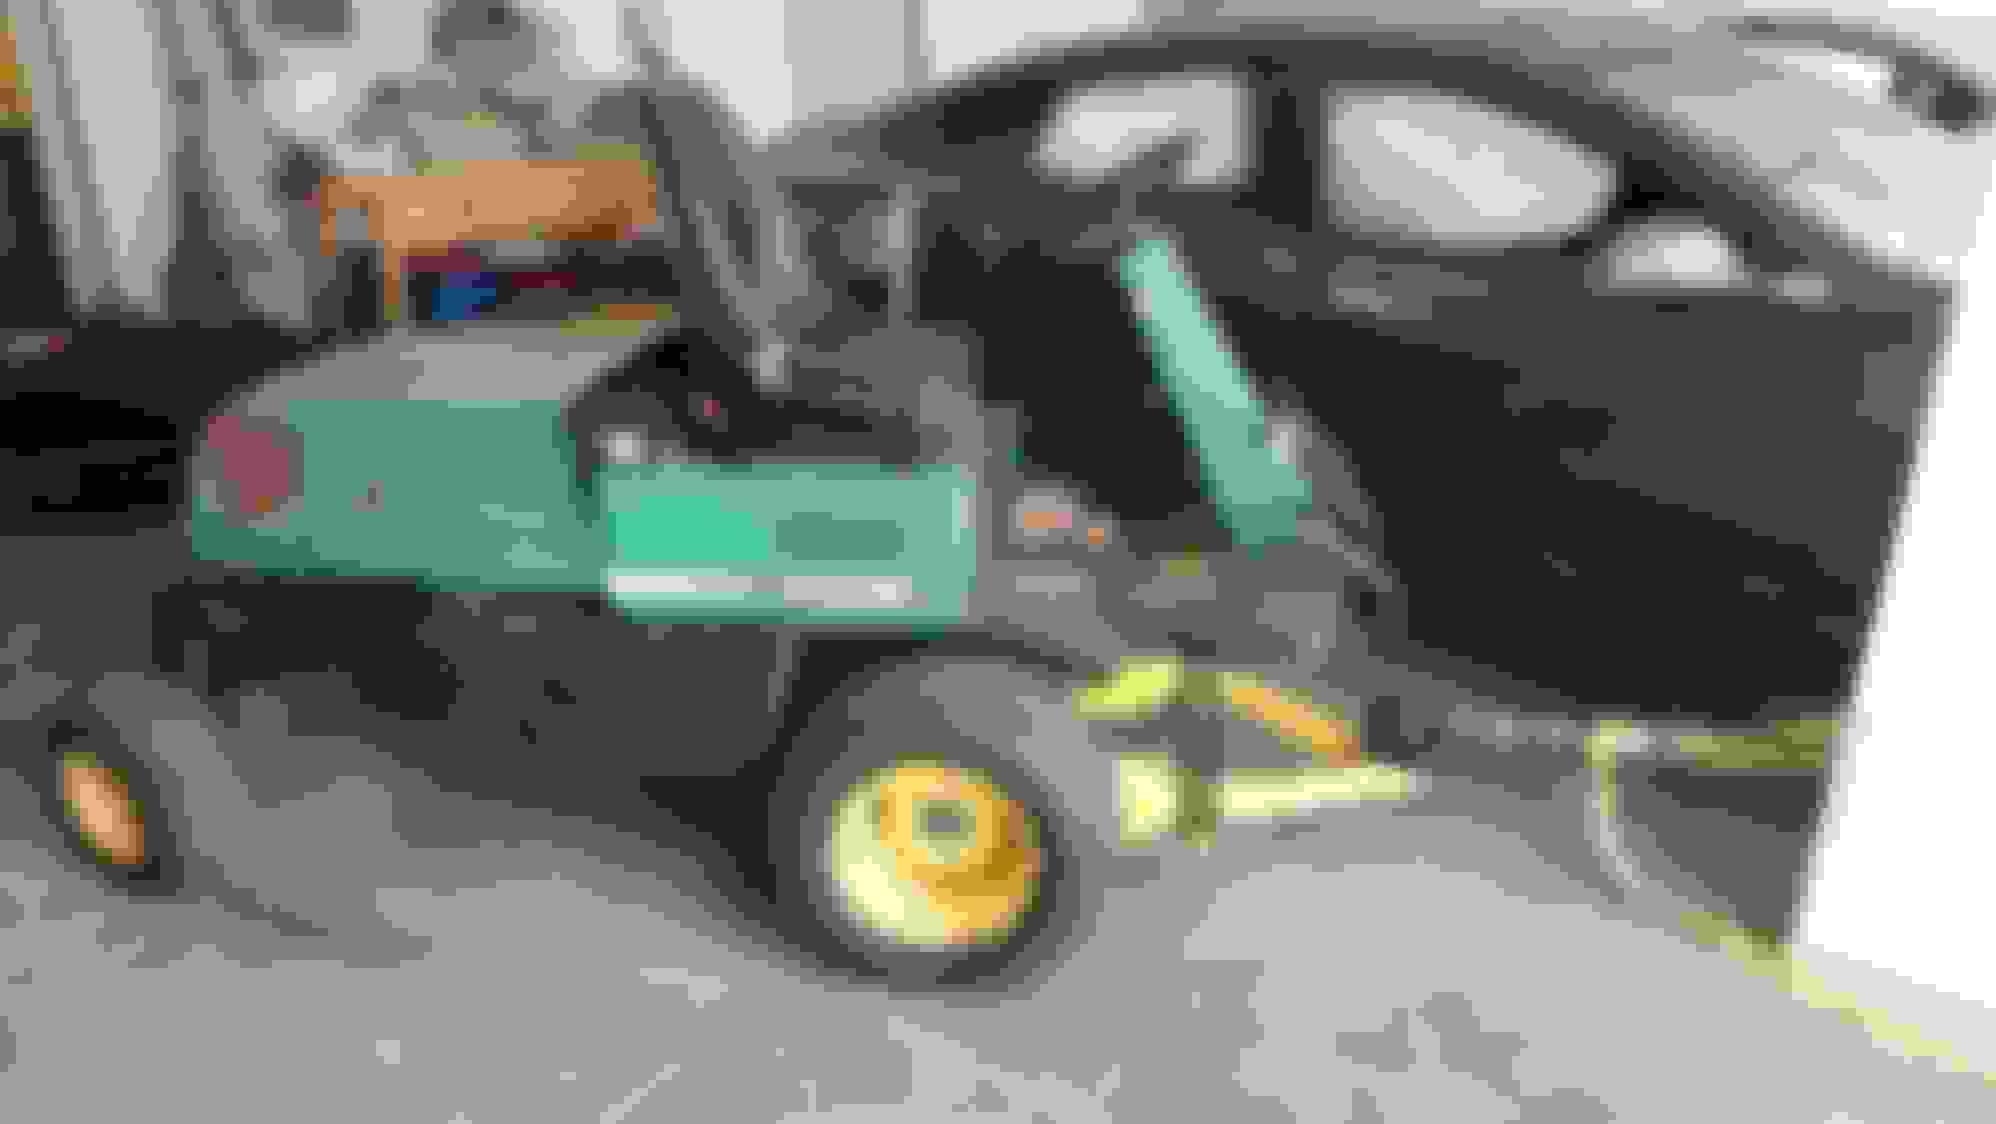
The next order of business was getting this thing to one side of our garage. I was able to muscle the rear end over using a pair of vehicle dollies. The front was a bit to heavy to move by brute force. I ended up using my John deer to pull it over a bit. It sat this way a few days with the rear jacked up so I could inspect the crash damage. Unfortunately when I set it down off the jack the car ended up moving forward a few inches into our garage door. This didn't cause any damage but it did prevent me from using the garage door. While jacking the front left to install the dollies again the right front exploded all of it's guts lol. At this point I gave up on the dollies.
Moving this over using muscle wasn't all that easy.
I didn't pull it backwards. I was only sliding the front to the right.
The front was on dollies so it didn't take much effort to pull it.
This happened a day later. It failed when I jacked the opposite side of the car up. Note all the ball bearings. Weeks later I'm still finding them lol. I did get a refund from harbor freight.
More googling, how to move a disabled Tesla...
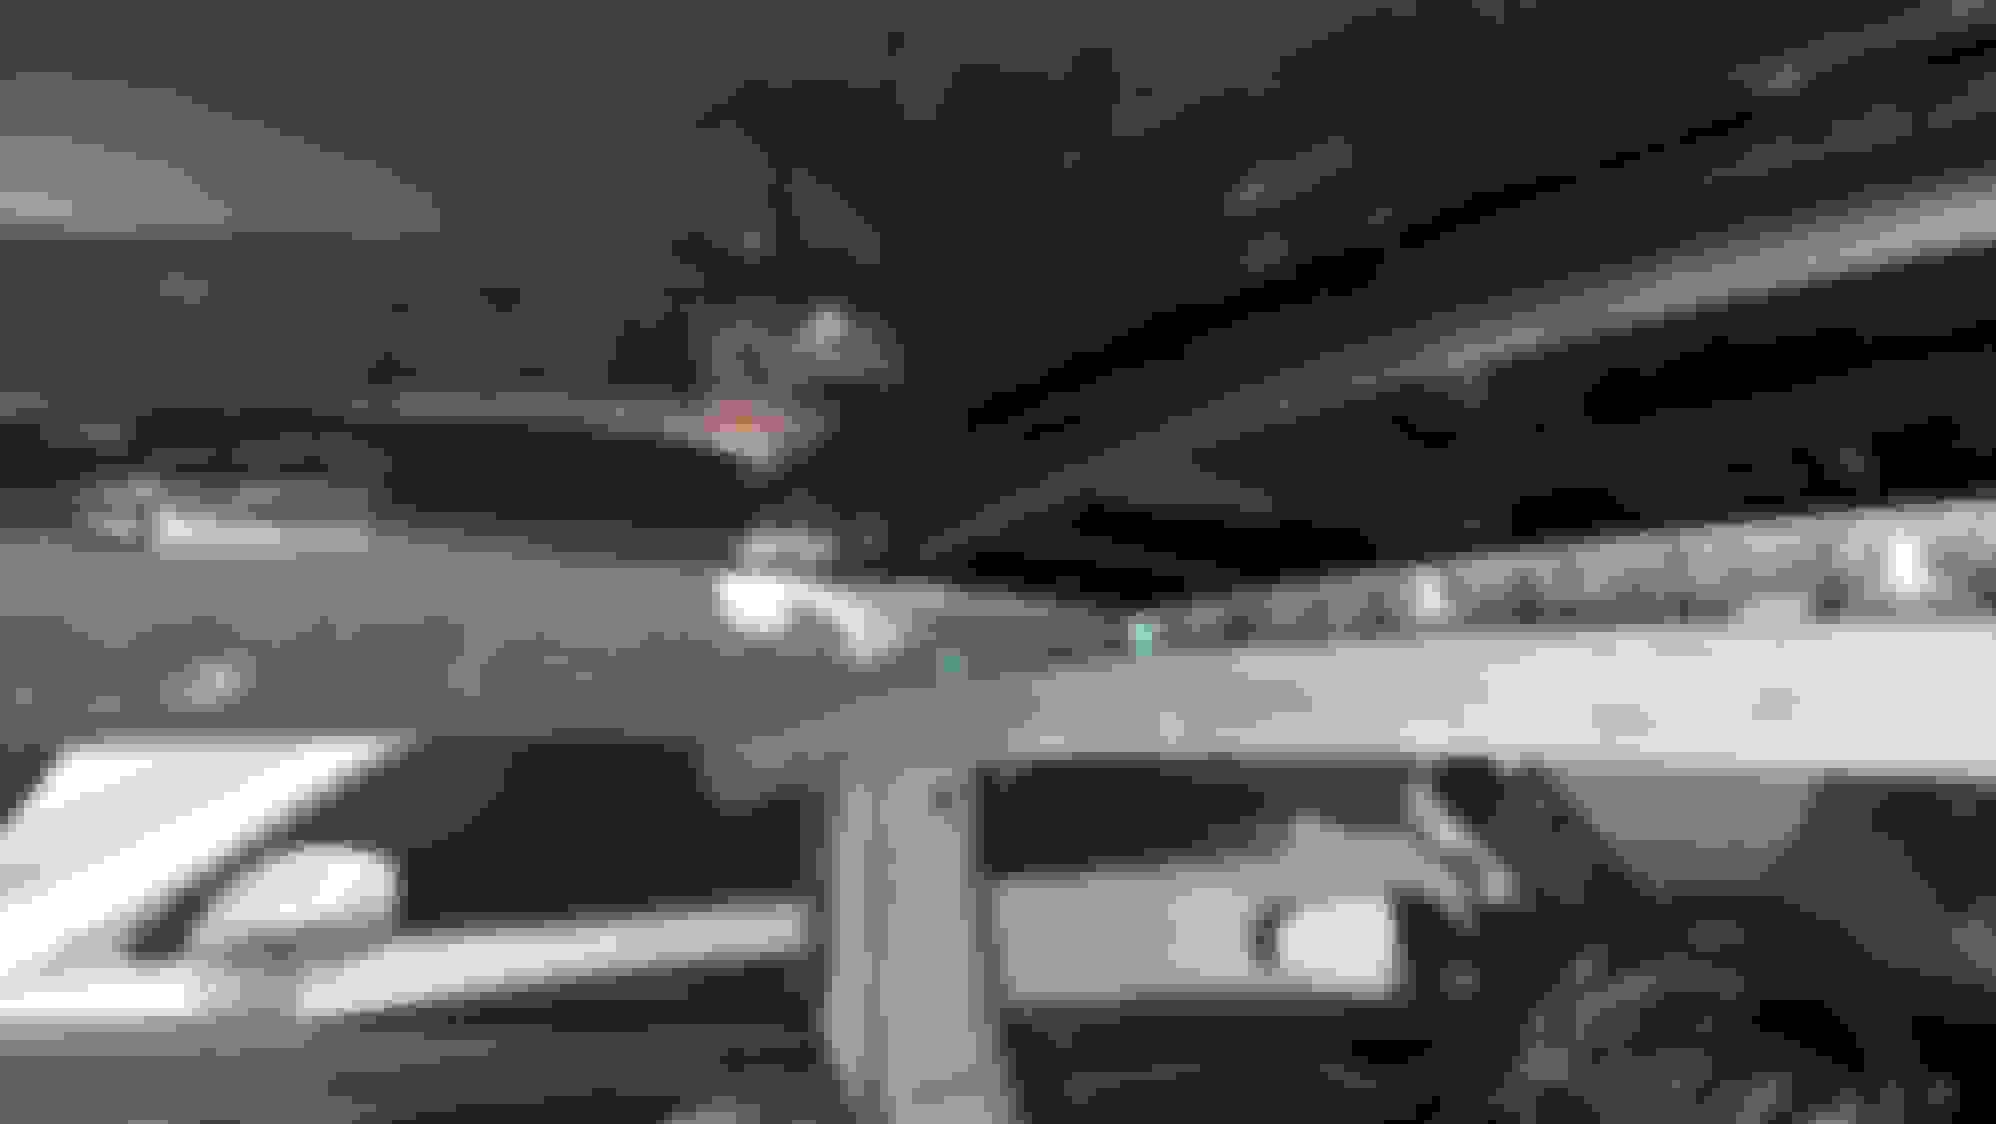
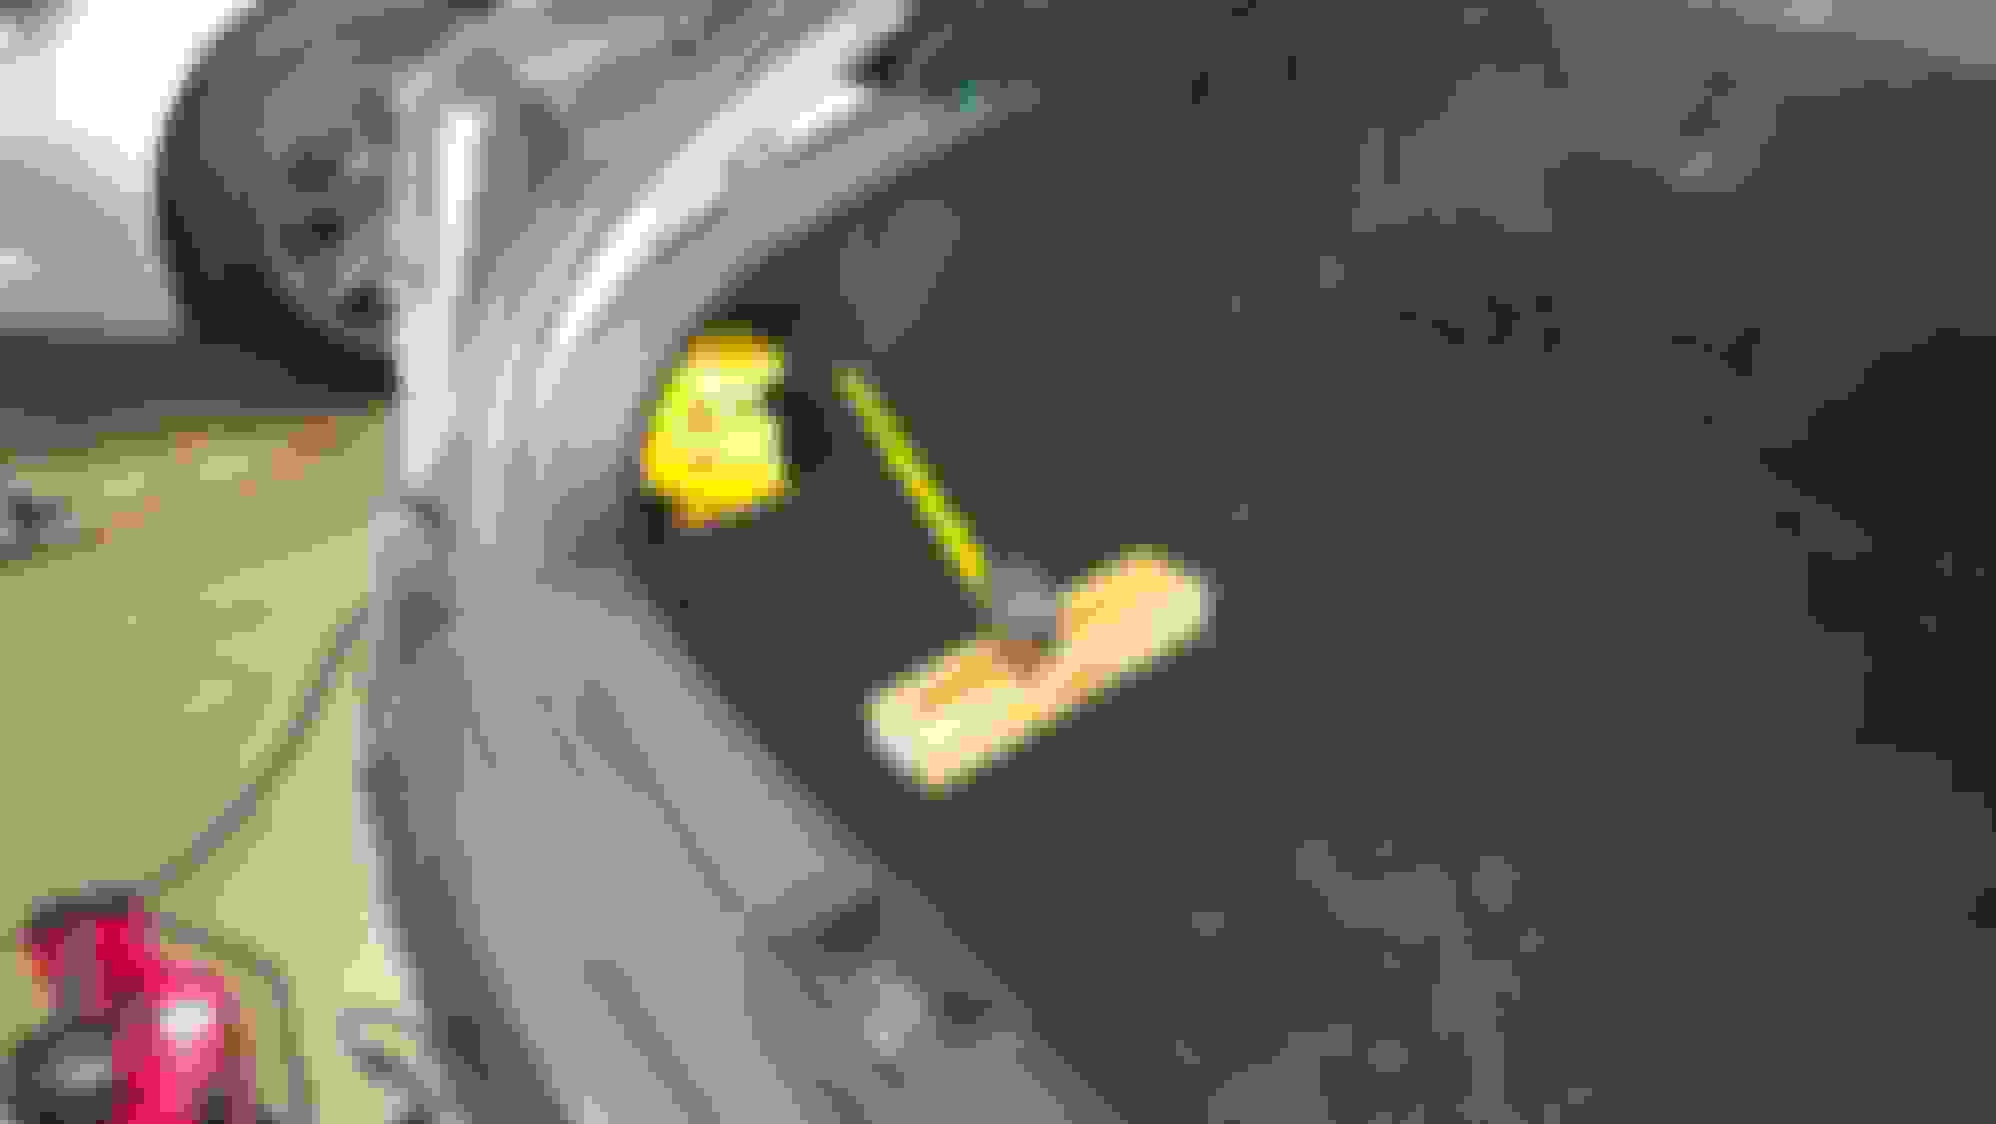
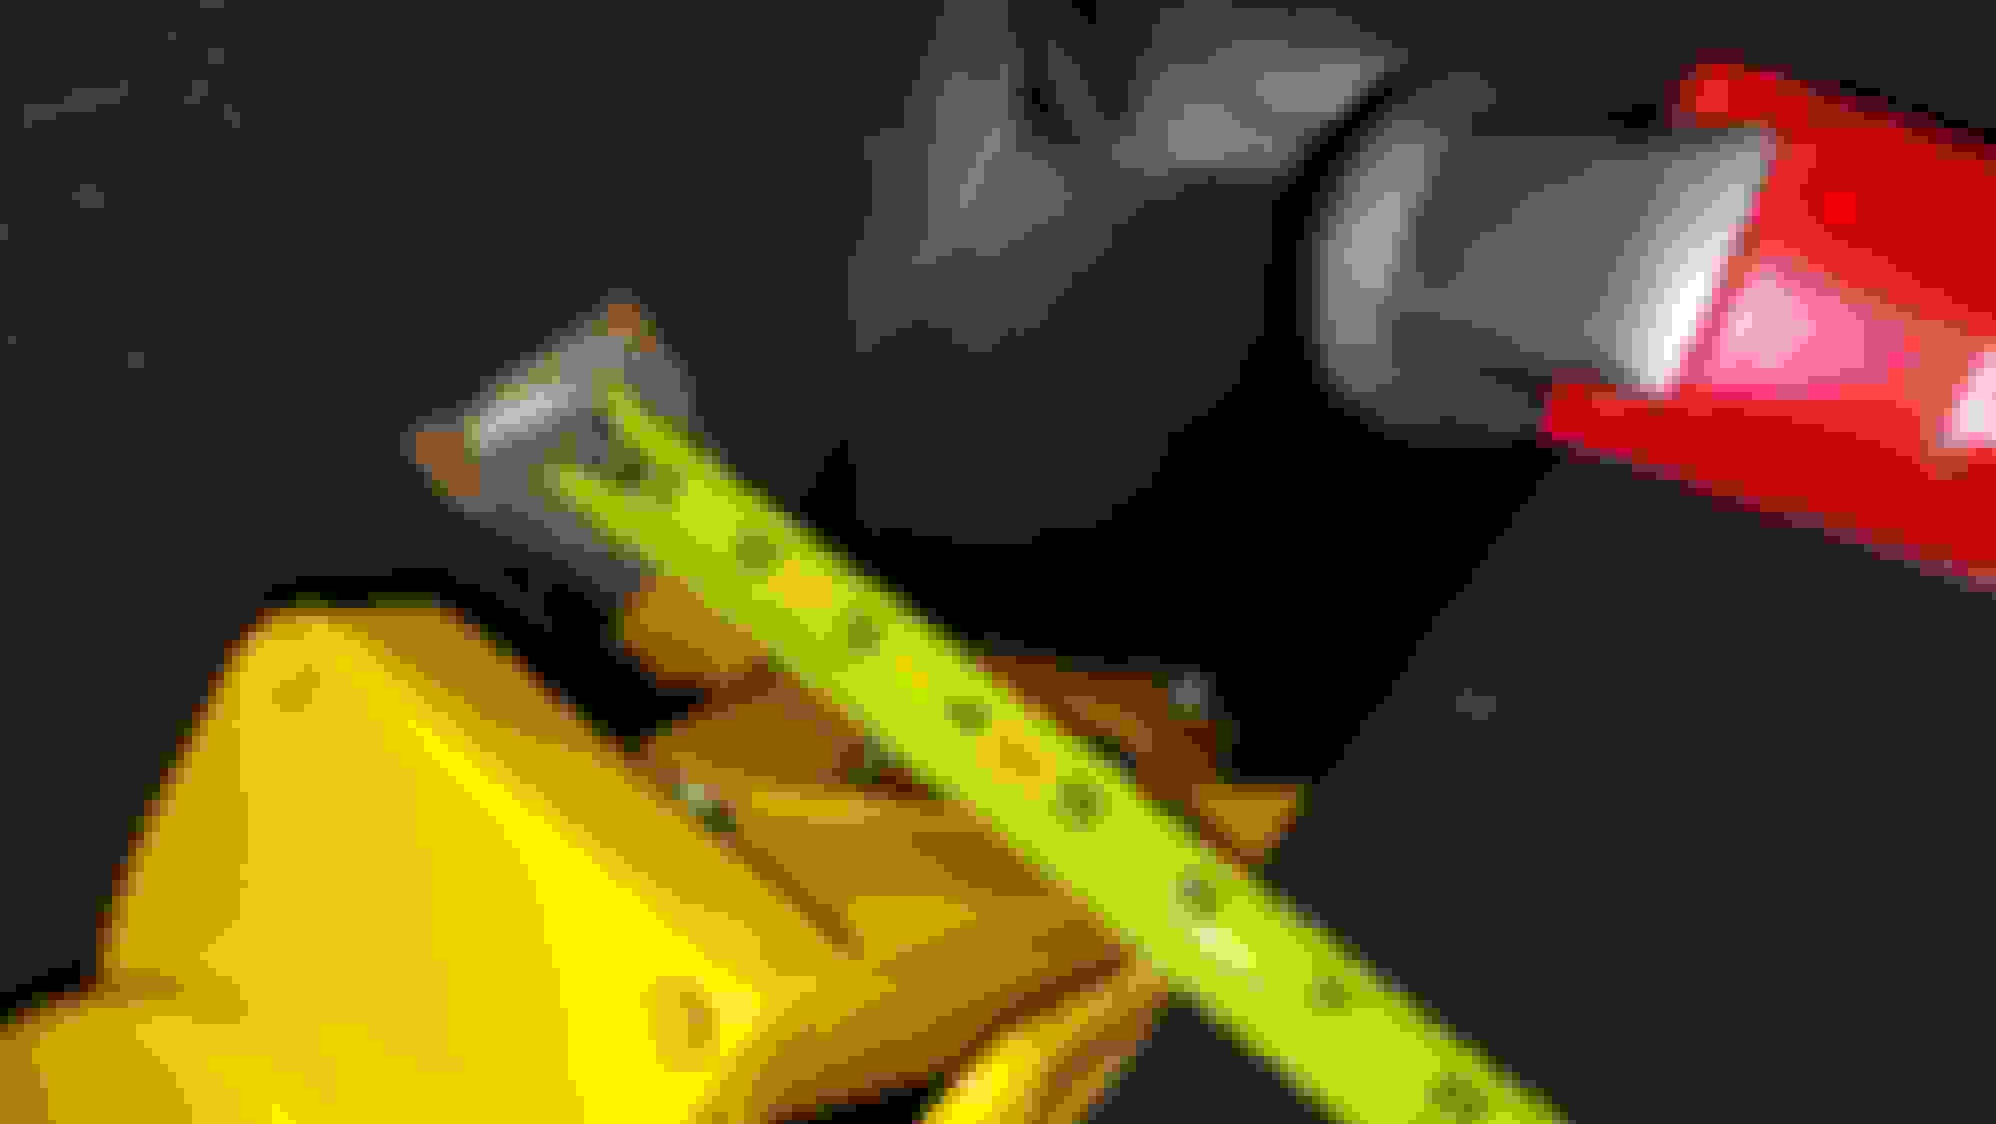
It turns out on this model when the airbags are deployed a safety low voltage pyro fuse blows which disables the high voltage side of the car. This low voltage fuse can be jumpered with a small gauge wire to enable the car to move under its own power. This is deceiving when looking at the large contact points on the fuse. The contact points have a ~14mm threaded nut. The fuse itself only costs $15.
I'd like to point out I have been asking for advice on another forum . Once receiving said advice I try to back it up by some other document. In this case I found a youtube video. At the 3 minute mark he is handling the low voltage fuse. I used a jumper wire between both nuts to reposition the car inside my garage. By reposition I mean I put it into reverse and almost hit the desk in our garage.. The car has absolutely no brakes. Well, with the car powered off the brake pedal feels like a normal cars brakes, nice and firm. With the car on the brake pedal can be pushed to the floor by breathing on it.
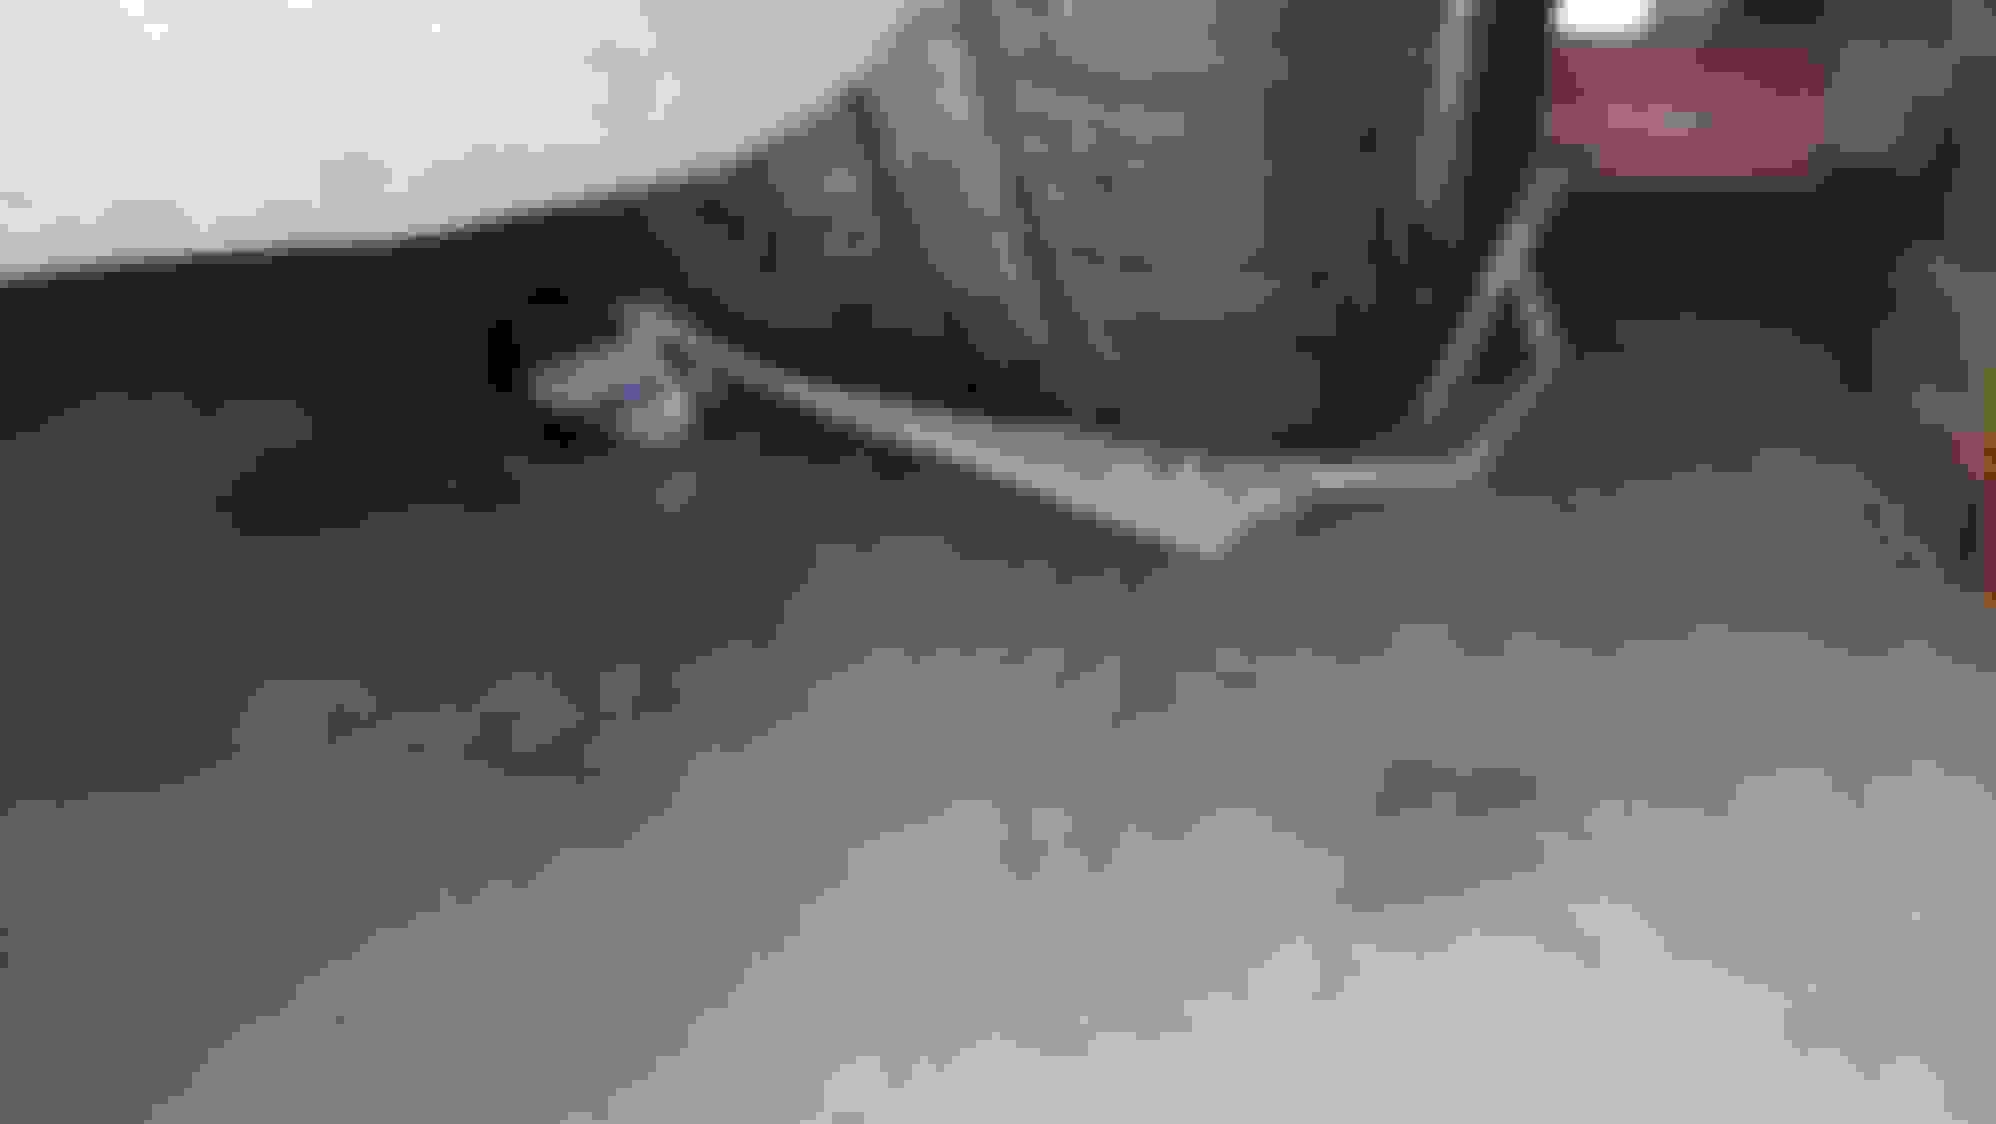
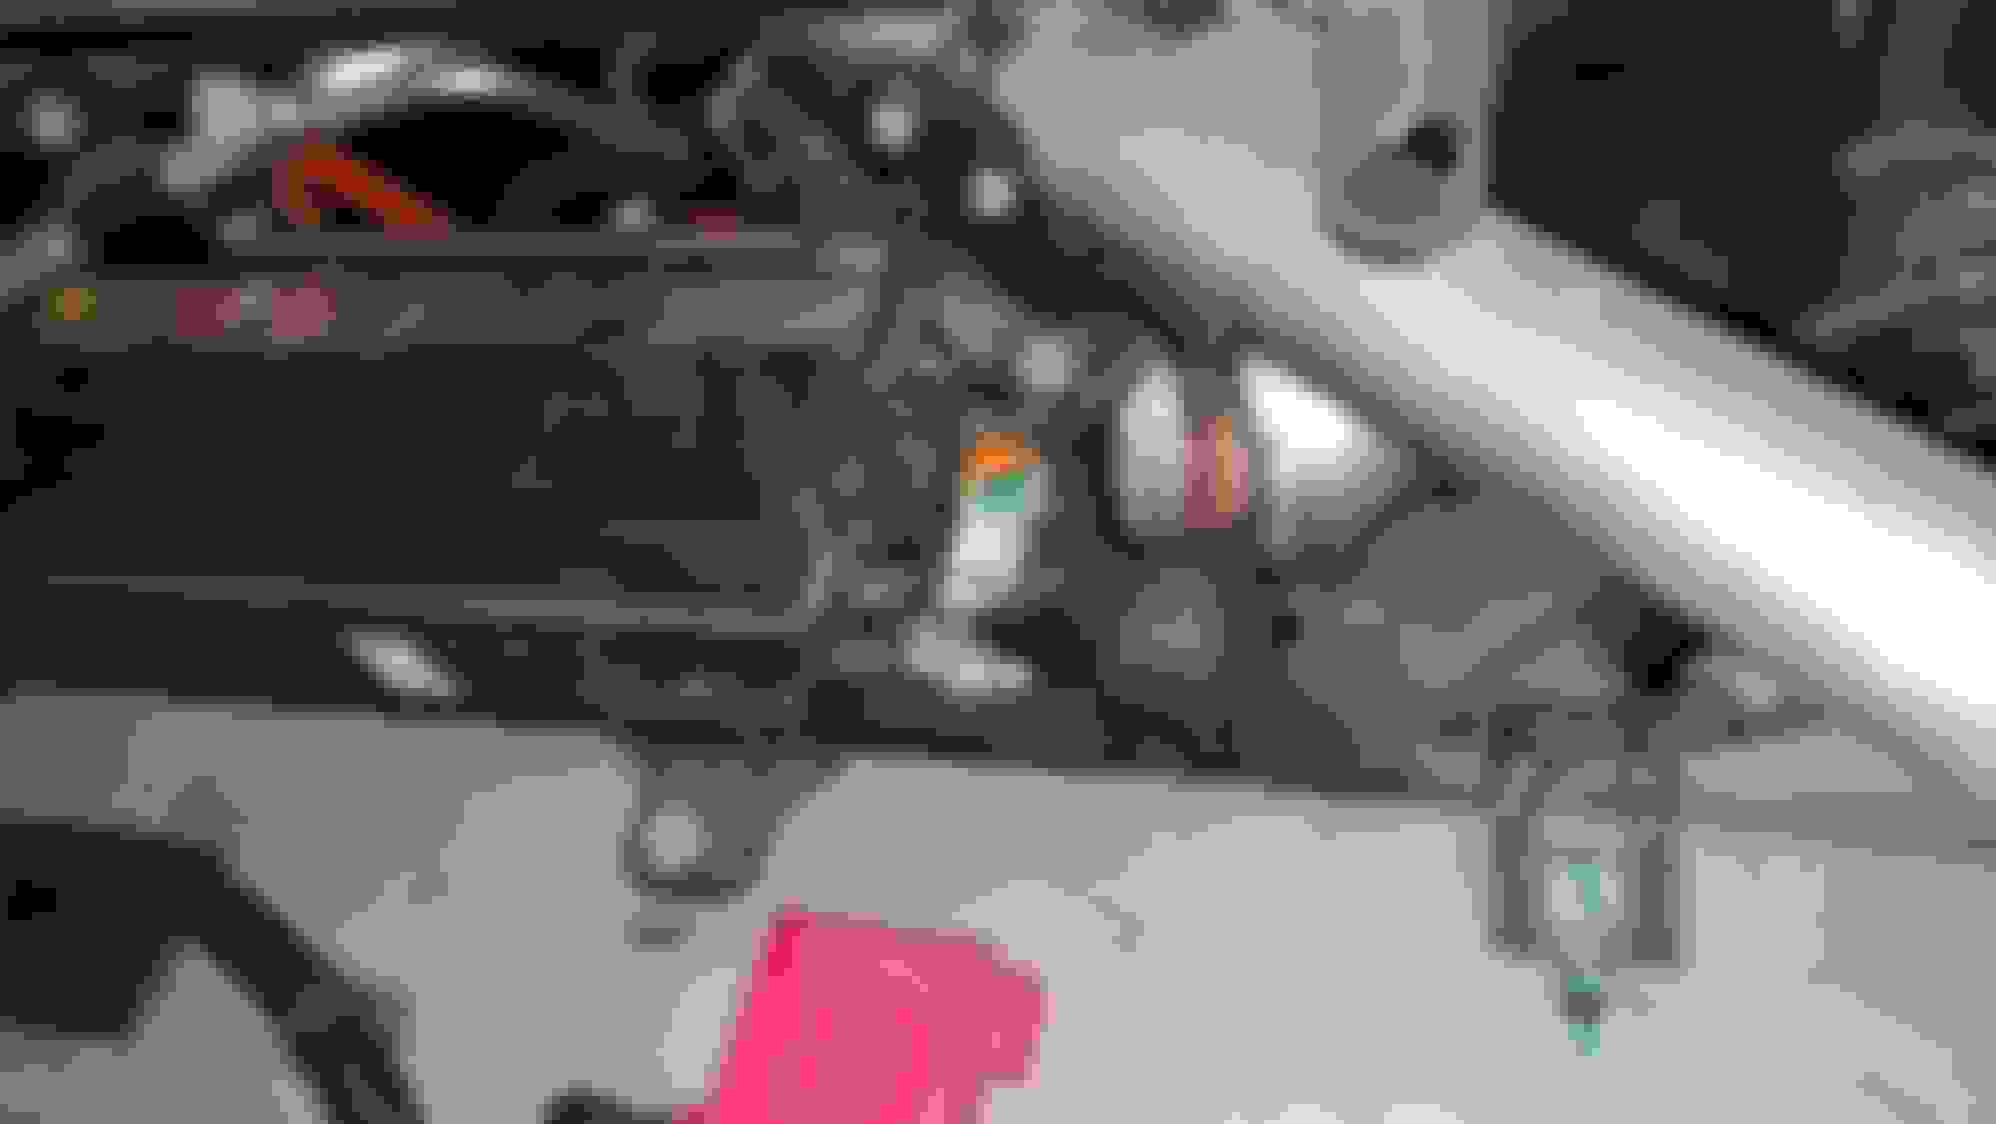
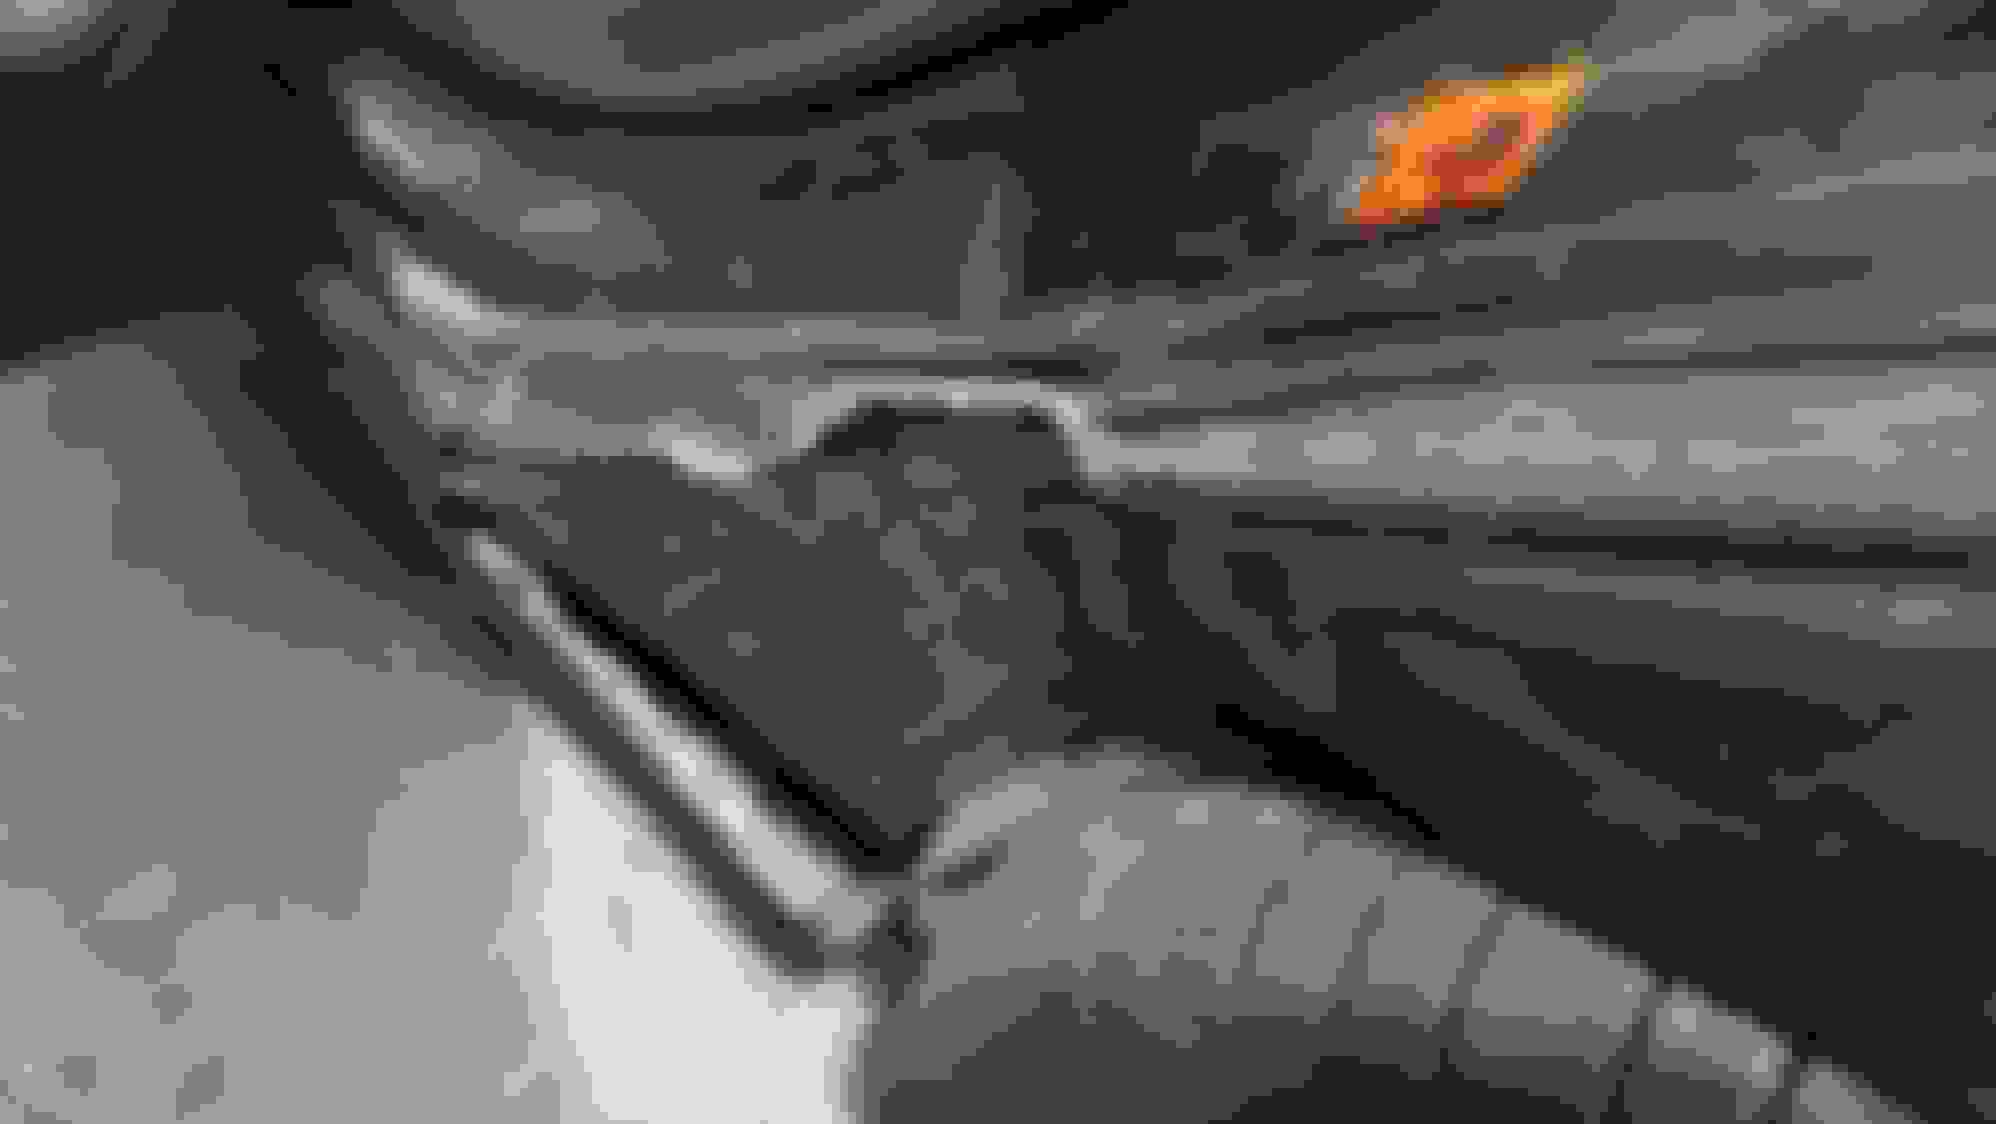
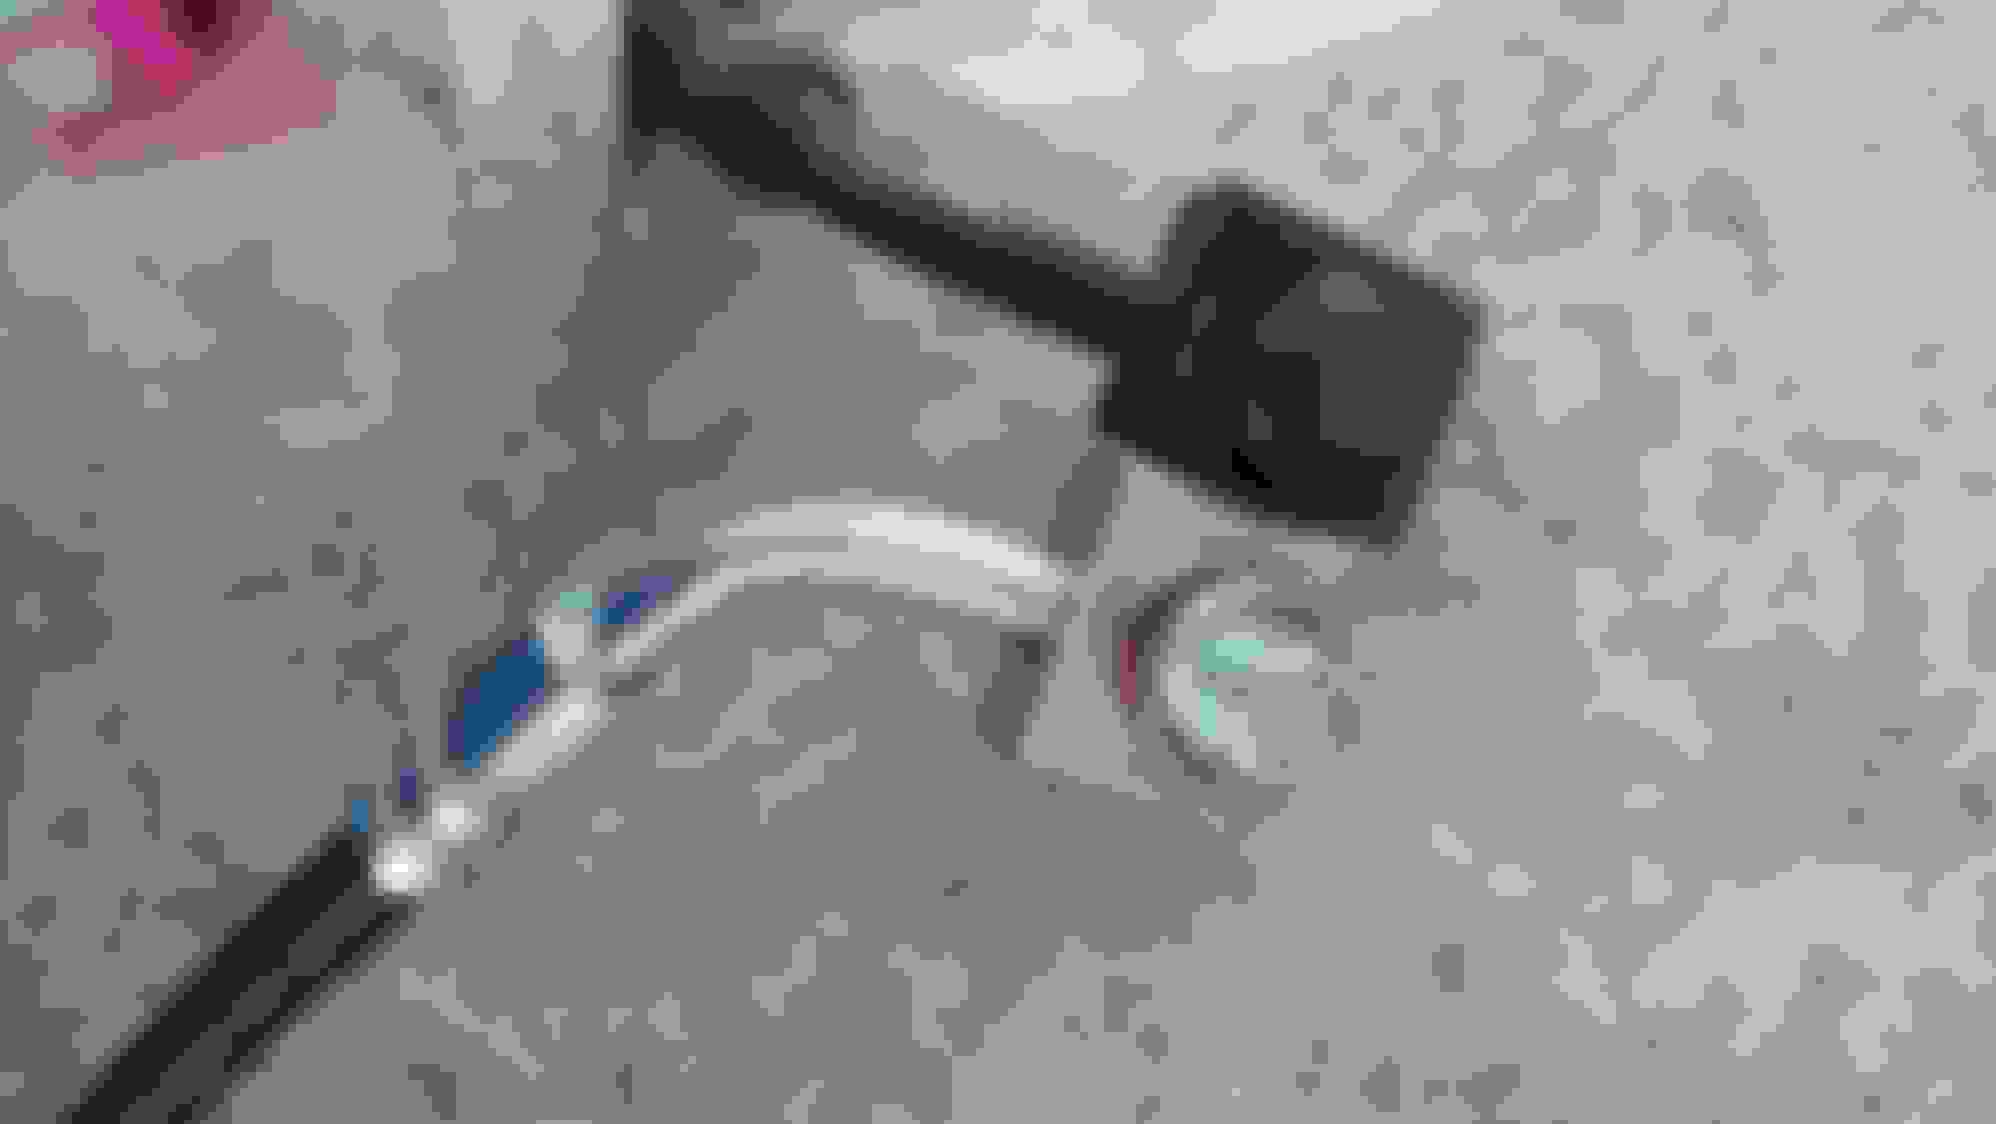
The thing with the orange and green color is the low voltage pyro fuse. The orange and green indicates it is part of the safety restraint system ( airbags). The airbag computer is called a RCM ( restraint control module) it will blow this fuse during airbag deployment. If you use a jumper wire between the nuts the high voltage contacts for the main battery will engage. Then the car will move under its own power. ( only 1 nut is visible in this picture)
This cover is located on the bottom of the car mounted to the main high voltage battery pack. The fuse behind this cover is also a pyrotechnic fuse. - This fuse does not get replaced after an accident. - When you google tesla pyro fuse this is the one that tends to get results. It is not the one to replace after an accident.
This is the RCM. ( airbag computer). This thing is a mother lover to access. It is mounted to the floor between the center console. On older Tesla's after an accident these need to be shipped out to have their crash data cleared. It is mounted with 3 bolts. I used a hex bit shaved down to about half height to access the nuts. Only those that have removed this know how difficult it is. The large electrical connectors with safety locks have to be released and removed using a long screw driver. One from the passenger side the other from the drivers side. You have about a 1" opening to see what's going on, screw driver takes up most of that space lol.
The air suspension module is mounted about 1/2" above which just adds to the fun. Apparently if you unhook the air suspension module it will also require a reset so your forced to work with it mounted in place. I didn't confirm this but I couldn't see how to remove it without tearing the entire dash apart.
I shipped the RCM and drivers seat belt to safetyrestore.com to have them reset. There is a mechanism that locks the ratcheting portion of the seat belt in an accident. The lower part of the seat belt has another mechanism that tightens the lap portion of the belt instantly, pulls it in 3 or 4 inches. They charged roughly $200 to reset the rcm and the seat belt. In total I had 3 airbag's deploy and the drivers seat belt mechanism.
I was genuinely surprised only 3 airbags deployed. The auction pictures were so poor I was under the impression a number of forward airbags had deployed as well. There is one side curtain airbag on each side of the car. You can see them through the window openings. The third airbag was the drivers seat airbag. I was able to purchase replacement air bags from ebay for $100 each, ~$300 total.
I removed the drivers seat. Then dropped it off at a local upholstery shop. They charged $250 to install the replacement seat airbag and sew the seat back together. This is a good time to mention with the RCM removed you can still apply power to the car to move items powered by the 12v battery such as the seats and door locks. However the with the RCM removed the jumper wire trick on the low voltage pyro fuse will not engage the high voltage contactors so the car can't be driven.
Drivers seat removed for repair.
This is the seat belt mechanism before I sent it out for repair.
I'm reinstalling the repaired seat belt in this picture. One of the airbag crash sensors is mounted toward the top of this picture with the gray connector.
Another view
Getting the seat back into the car was tricky. I was concerned it wouldn't fit. The upholstery shop had to disassemble the back rest from the recline motor to do their work. When they reassembled it the chair was in a more reclined position.
I had to sneak the seat around the b pillar in order to get it back in the car. I didn't scratch the steering wheel or the door sill plate. Woot!
Next up I replaced the side curtain airbags. Tesla has a nice step by step procedure to replace these which involves removing the headliner. My car has the moon roof option. The headliner on my car only is only around the outside ceiling structure. When the side curtain bags deployed my headliner dropped down about 4 inches. I was able to use those 4 inches to replace the airbags without removing my headliner. The side curtain airbags I installed were a bit challenging to bolt in place. There are around 6 bolts that hold each airbag in place. I had to stretch the airbags tight for each bolt to line up. Once again this was easier said than done with only a few inches to work with. I got frustrated and had to walk away. This took me a few days.
This is only a partial picture of the curtain airbags after removal. It's really difficult to see the bolts after deployment. I sliced it up with a razor blade to make life a bit easier.
These are the replacement side curtain airbags. They stretch out to about 5 feet long.
This is after I installed the new side curtain airbag. The headliner hasn't been attached yet.
Headliner also had a piece that crossed from b pillar to b pillar. It snapped in place fairly easily. I probably left an imprint of my ear on the moonroof while trying to line up those clips.
This is an auction picture. I almost didn't bid on this car because I noticed these wires dangling by the passenger headrest. It looked like some sort of sabotage to me.
Those wires ended up to be a pressure sensor for the moonroof. The airbag deployment shattered the connector. I stopped at a local salvage yard for a replacement door. While I was there I took a look at the wiring. The car at the salvage yard also had a missing sunroof connector. Unable to find this on a wire diagram I took a chance and guessed. My sunroof functions so I call this a win. I think the pressure sensor they used is not polarity sensitive.
The headliner had a number of velcro pieces used to hold it up but the main support for the headliner were the upper B pillar trim pieces. The headliner gets sandwiched between the top of the b pillar trim and the roof structure. It popped out during airbag deployment. I did the opposite and forced it back in place. This was way easier than I thought it would be.
Installed headliner
Safety restraint items: ( airbags, seat belt, seat, pyro fuse, ect)
Once all the safety restraint items were reinstalled I was ready to mount the RCM. If you plug in the RCM but have missed something in the system you may need to mail it out again to have it cleared. Or worst case you may blow your newly installed airbags. I was concerned about this so i took a bit more apart in the car to locate the crash sensors mounted on the left side of the car. Luckily they appeared undamaged. I reinstalled my RCM and powered up the car. No airbags deployed and no airbag faults. I did read on another forum someone managed to deploy all their airbags during this process. I was relieved everything seemed to check out.
I apologize, some of these pictures are a bit out of order. Here are some pictures of the accident damage.
The rear door took me weeks to get open. It didn't want to budge.
Eventually with the help of a crow bar I was able to open it.
This part of the door jam had folded into part of the door. Essentially it was locked in place but blocked from view by the door panel. I've since hammered this section flat. The door now opens and closes.
Once I got the door to open / close the air suspension also started to function. Due to the damage the wheel was rubbing on the fender. Now if I raise the suspension up the tire clears the fender.
I wonder what kind of collision caused this. The damage up so high seems odd to me.
Luckily the tail gate isn't damaged.
This picture was taken the day I reinstalled the RCM. I was excited to test out the charger. Once again everything seems to function correctly.
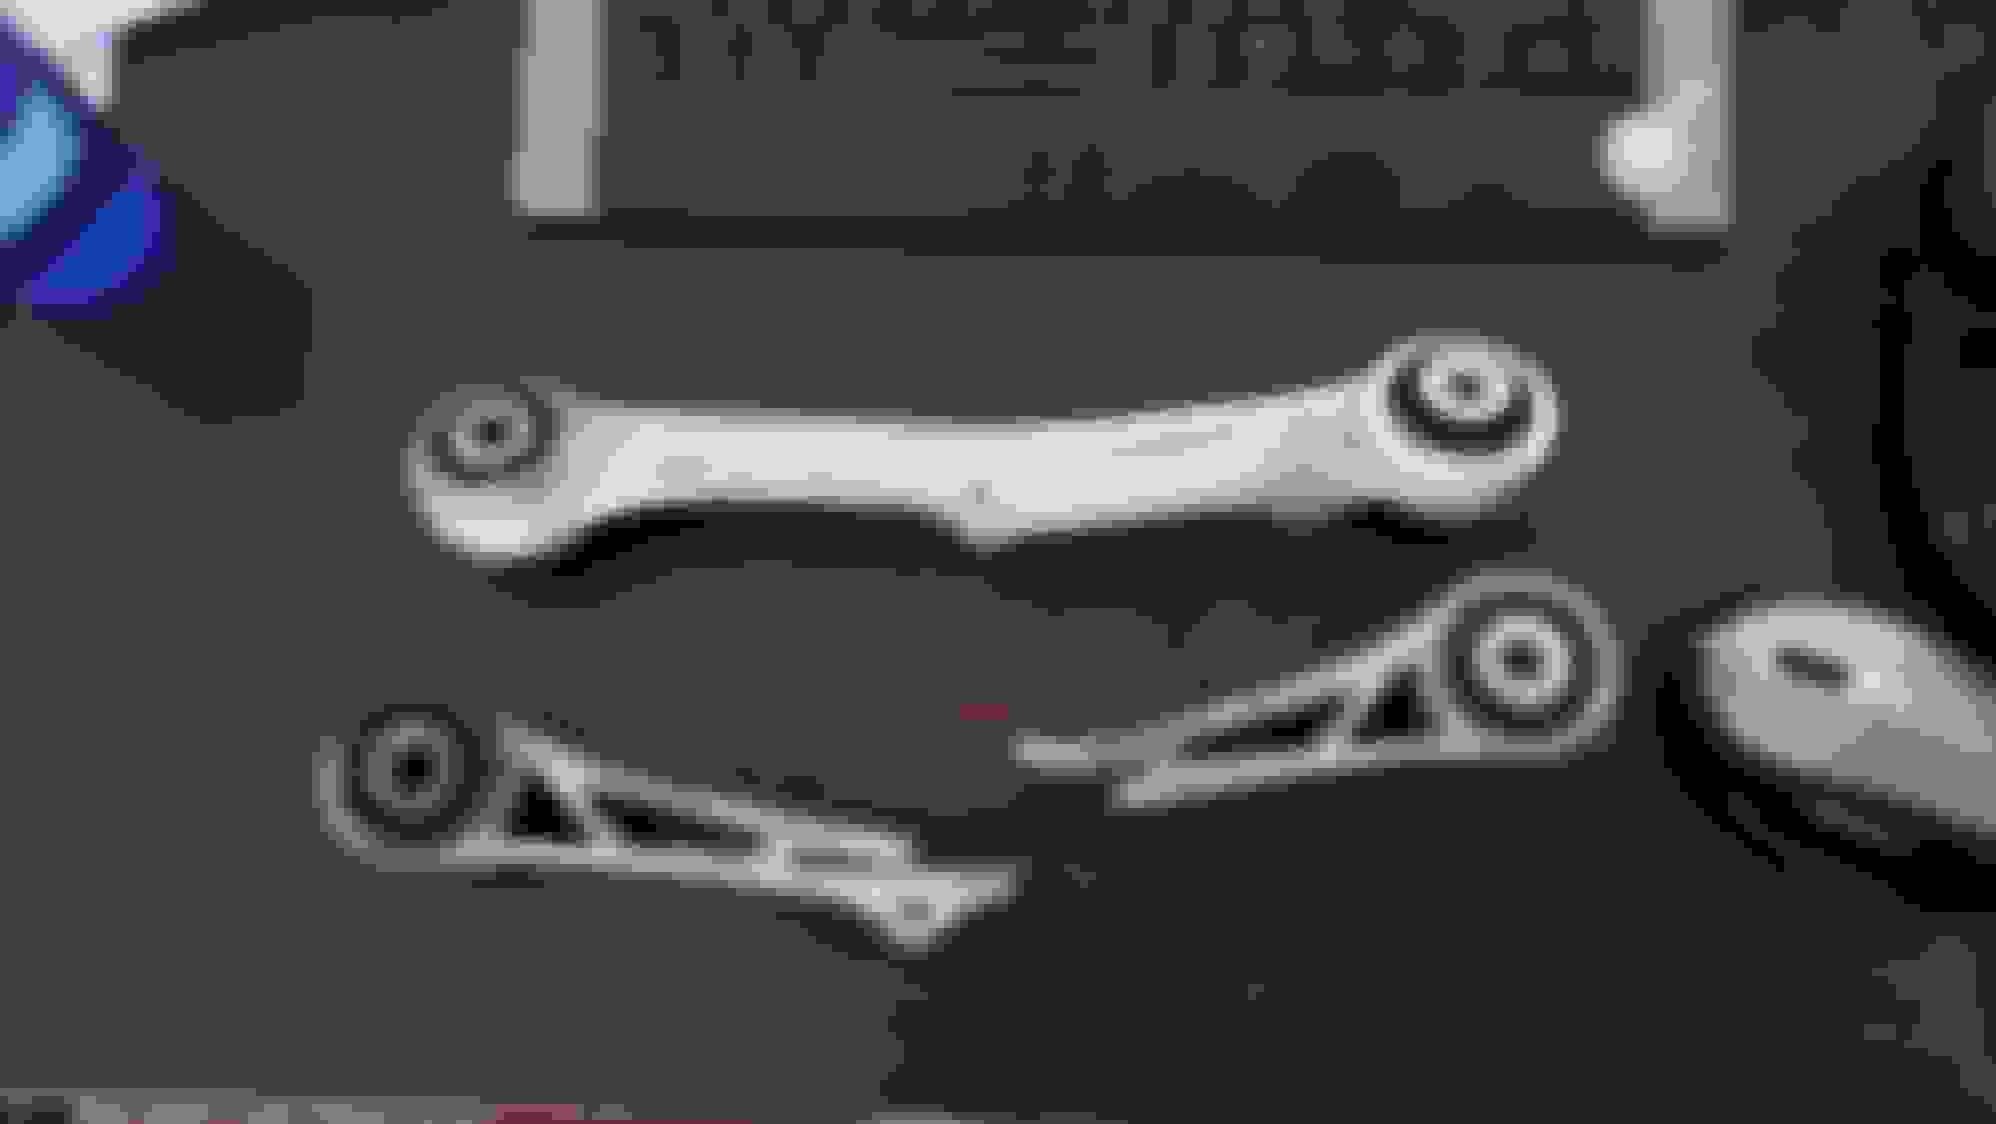
This snapped rear control arm was one of the first parts I replaced. I'm thankful the stronger revised control arm was not installed during the crash. I have a feeling there would have been more damage. Possibly a broken rear subframe. From what I can tell the subframe looks intact. I poked around in there with my borescope, nothing stood out.
I have 2 other control arms to replace just to be on the safe side. They aren't broken but for $30 each it was an easy choice.
I'm currently waiting for a replacement rear quarter panel skin. I was told by someone that has replaced one of these that the entire quarter panel doesn't get replaced for my amount of damage. I have no doubt some shops would replace the entire quarter especially if it was an insurance job. My plan is to cut a replacement door sill plate out of a local salvage yard car then weld it in place. This is a full quarter panel. It mounts into the roof structure. It's not visible in the pic but it also includes what I call the trunk side sealing area. I think it is a considerable amount more labor to install this piece.
This is a quarter panel skin. It doesn't include the door jam. Any sections of the door jam that need replacement will need to be welded in. The trunk side sealing area is not part of this panel. It also does not extend into the roof structure.
I also ordered a pressure brake bleeding kit. I suspect when I pressurize the brakes a cracked brake line will be visible. I'll admit the way the brakes feel I suspect there is an issue with another component.
This video comes to mind. I think his brake pedal fell to the floor too. In a following video they conclude it was a failure of the fluid. I have my doubts there was enough left of the car to determine the real cause. If you google model s brake failure there is a surprising amount to read. I know some Lexus have brake issues. The LS brake actuator issues comes to mind. But the brakes generally don't completely fail unless you ignore all the warnings and continue driving for weeks. I'm probably overthinking this. Stopping Flintstone style in a 5000lb car scares me.
My initial plan for this car was to replace the airbags then send the car to a body shop to replace the rear quarter panel. Once / if I can fix the brakes I'd still like to get a quote for the body work.
Currently I plan on replacing the quarter panel skin myself. It looks like a fun challenge.
Parts list so far:
1. left rear complete door $350
2. RCM and seat belt reset $250
3. Airbags $300
4. Tesla diagnostic cable $33 ( not used yet)
5. 110v home charger adapter $45
6. Brake bleeder kit $80
7. Parking sensor $15
8. Control arms $80
9. Tail light assembly $100
10. Rubber front under hood shock cover $20
11. Pyro fuses $30 ( I ordered a spare)
12. Quarter panel skin $830
My main concern is getting it to pass the rebuilt title inspection. I asked in person what they require. Apparently the car simply needs to drive with no errors. They also need a list of major components replaced, with vin from donor, such as battery pack or motors. Seems to good to be true. The inside area of the fender has a few dents. Plus the air strut has a minor dent from the wheel smacking it ( 1\8" deep maybe 1/4" in diameter). With the tire on this damage is not visible so I suspect it'll pass. But never having been through this process I still wonder.
Looking forward to reading your progress! My favorite color on a Model S👍.
Thanks. I like the color too.
I wish the p o didn't put a wrap over all the chrome. I've picked some of it off to confirm it is removable. The emblems on the back seem to have the same wrap. I think the factory chrome around the car adds some class to the cars look.
That was easy to find. I'm guessing road debris caused the brake line failure. This is on the front right of the car where there is no other damage. Perhaps the lack of brakes caused the accident.
That'll cause issues.
I was looking for leaks near the crash damage when I heard a waterfall near the front of the car lol.
Last week I installed a temporary brake line. The first trip around the block was a nailbiter but all went well. The steering wheel was 40 degrees off. Plus the fender rubs the rear tire in normal height mode.
Temporary brake line vs busted line. The angle on the ridged part of the line isn't correct but it didn't hit when making a stop to stop turn (1/8" clearance). I did attempt to order the correct one in person at the service center. Trying to order one direct from Tesla is a joke. I spent about 30 minutes there, with no one else in front of me. Every question I asked the service guy had to type via instant message to a parts employee working in the next room. It reminded me of The Wizard of Oz. Parts guy is "the man behind the curtain". Judging by the customer service attitude I doubt they actually ordered it. Luckily I did find a local ev store that I can order tesla parts from. I have one on order from them too.
I went ahead and bled all the brakes. Only the front right had air in the line. The inner quarter structure is quite crushed in there. It's only the sheet metal that is crushed. All of the castings are intact.
I used my air compressor hooked to another regulator to supply air to the brake reservoir. I set it at 20 psi.
Original fluid was a bit dirty.
New clear fluid coming through.
Any guesses what's going on here?
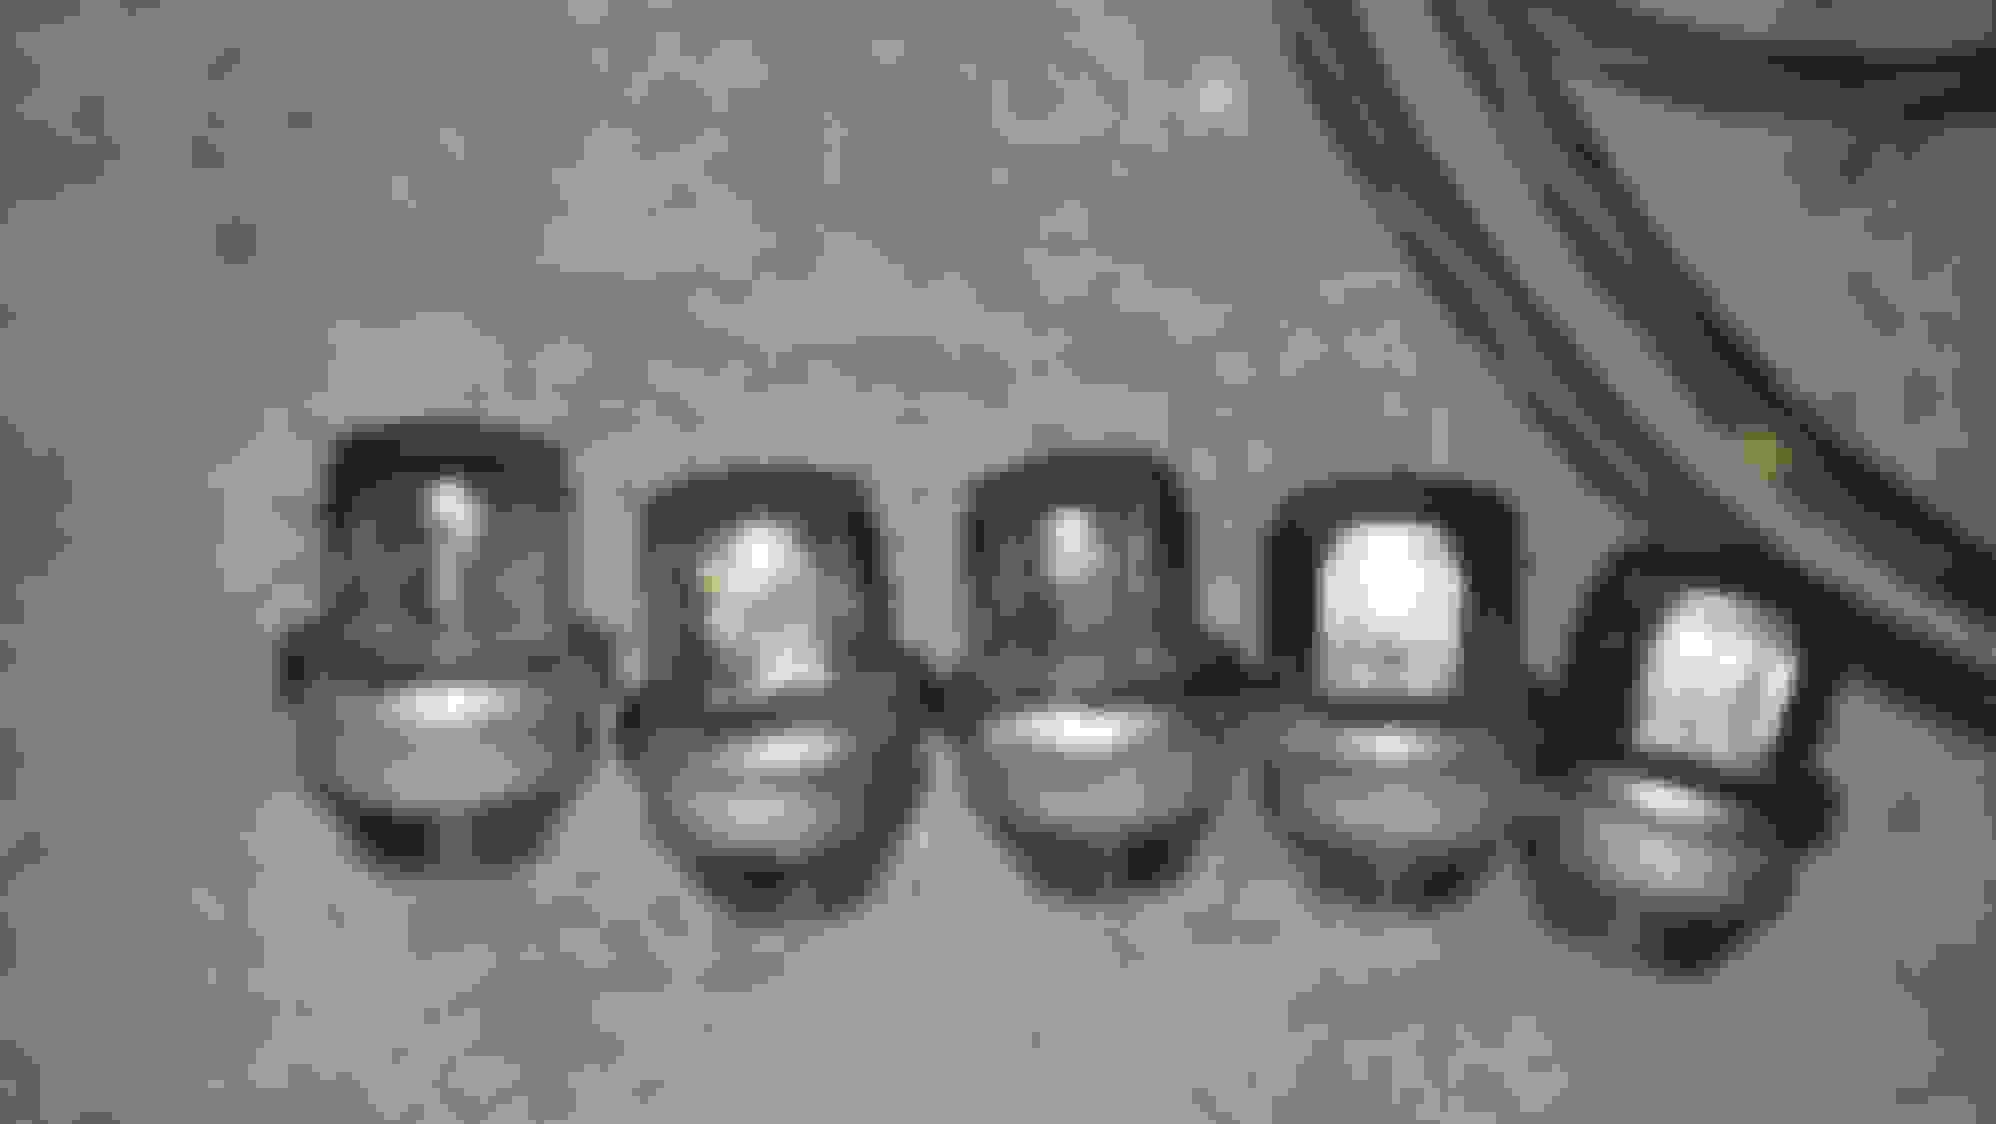
Apparently Tesla uses some kind of playdough steel for lug nuts.
I ordered 20 new lug nuts. I had to hammer my socket onto 3 of these. I'm very thankful all of them came out.
I used one of my 3 day temporary permits to drive it around. I have 2 permits left. One of them will be for driving it to the state required inspection.
I've since put 40 or 50 miles on the car. Mostly under 35mph. Anything over 35mph and the suspension drops down to normal ride height, super annoying. The miles I put on were to get an estimate for the body work. With me supplying the door and fender the shop still wanted $5900. Tempting, but I think I'll have a go at repairing it first. Hopefully you guys can give me some body work advice.
After my first ride around the block. The good side
During the few days of driving it I also dropped it off for an alignment. I was concerned they were going to call back and say the subframe was bent. Luckily they called to report it aligned without any issues. Normally the alignment would be done after the body damage is repaired. I was too curious to wait. If the subframe had been bent my timeline for fixing the car would have been extended quite a bit.
I first dropped the car off at firestone. 4 hours later they called and said the mechanics refused to align it. They claimed for safety issues ( I listed all the issues when I dropped the car off). I'm fairly certain during the 4 hours they had the car it was driven around. The ride height was at a different setting when I picked it up. The second shop had no problem doing what I asked, in and out in 45 minutes.
The rear left toe was out of spec because I replaced the control arm. Front camber is a hair out of spec. I think they sell aftermarket camber bolts to correct this. It's not far enough out to be a concern for me.
The new quarter panel has arrived!
Hopefully this is the correct panel. It was an ebay special. The one I received is the one that was pictured in the ad. The listing p/n in the ad was for a different quarter panel which included more of the door frame and roof structure. I wouldn't have gambled on it but the price was $600 cheaper than others. I probably won't know if it fits until I'm able to set it in place. So far it looks like it could fit.
My dent pusher. This thing sucks at jacking vehicles. I bought it for $20 many years ago. Finally found a use for it. It had no problem pushing some aluminum out lol.
Note the big gap between fender and bumper. Yes I unplugged the charger during this exercise. Once I get closer to removing the quarter I will disconnect the fireman's loop.
There is cubby hole in which the dent pusher ( jack) fits right in.
I pushed this out about 4 inches. I repositioned the jack a number of times using steel and 2x4's to spread out the load. It's currently sitting with a ~10 inch opening.
There is hardly any gap now. The fender is getting replaced but the inner structure needed to be pushed out. I may end up cutting the inner structure out and welding in a replacement from a local salvage yard. I'm waiting for some auto body pulling tools to arrive. My goal is to straighten / pull the rest of the fender inner structure before removing the quarter panel.
Currently I'm trying to remove the rear quarter glass. It's not going well. I'm starting to consider leaving the window in place. I think there is enough space under the window trim to weld the new quarter panel to the existing quarter panel. It would only be welded for 6 inches or so. There is about a 1" wide gap under the trim to weld the new quarter panel to the old if needed. If I continue to work at removing the glass I feel like there is a good possibility of shattering it. The quarter panel is just cosmetic. I don't see an issue with welding it but I'm no expert.
Body techs always pull out any damage as much as possible before removing/replacing panels. I've removed rear glass without damage but it takes patience one wrong move and you're covered in glass.
 05-26-24, 09:20 PM