
How to change the door courtesy lights
 07-13-08, 04:53 PM
#1
Lead Lap
Thread Starter

Join Date: Jul 2008
Location: Canada
Posts: 797
Likes: 0
Received 0 Likes
on
0 Posts
WARNING: DO NOT have your keys in the ignition while changing any lights, you'll run a risk of setting off the airbag itself, and the dreaded lame airbag light.
NOTE #1: keep in mind none of the bulbs pictured are the stock ones, except for where noted, I already had my whole interior done in blue LED's remember, so you won't see the EXACT thing that i show, but it'll be a little green GLASS bulb that you need to be carefull removing cause they break EASILY, trust me.
NOTE #2: Once the LED's are installed, if they don't work, simply take it out, flip it around, and install it the other way, since LED's have + and - and only work one way, so if it doesn't work, pull it out, twist it 180 degrees, and push it back in, simple as that
with that out of the way....
To change the lights in the doors to LED's:
I have decided to show this method, cause the filament bulbs get hot after a short period, so by the time you unplug it, and get access at it, it should have cooled down a bit. After the first couple bulbs, you could get used to just prying off the plastic cover, and not have to unplug it and such
BE CAREFUL, THE BULB MIGHT BE HOT
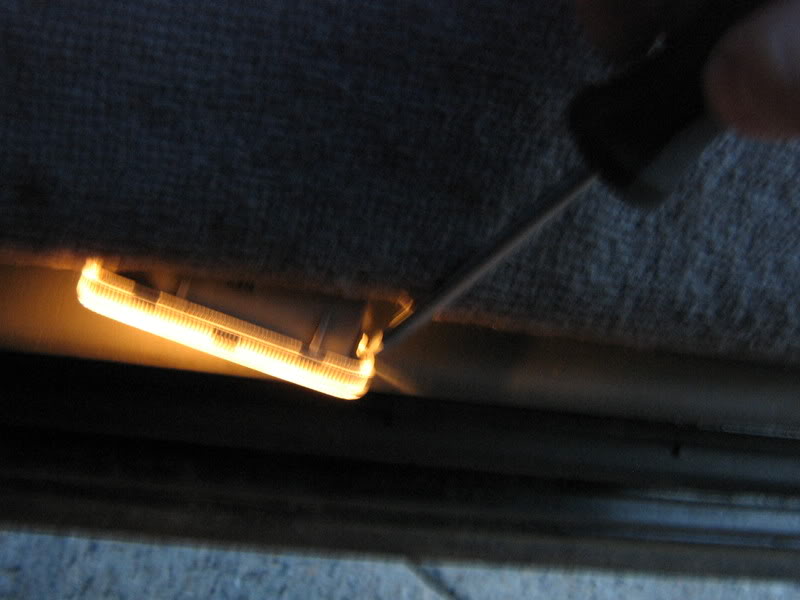
1. Obvuisly open the door, and locate the light (if you can't do this, it might not be the best task for you )
)
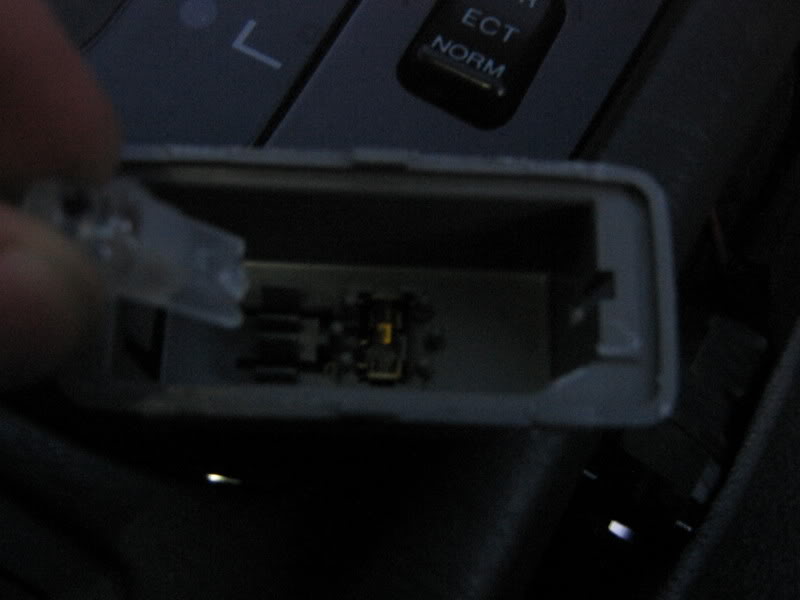
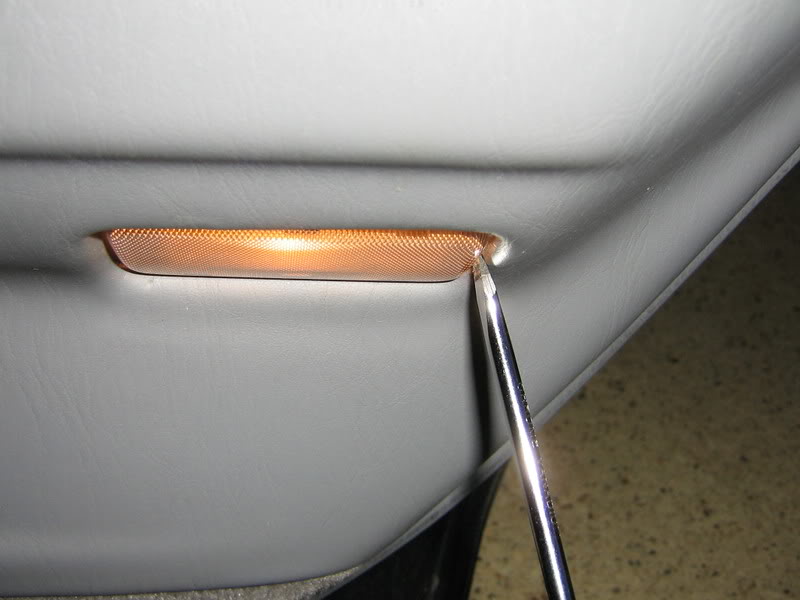
2. Take a flathead screwdriver and pry the whole unit(not just the plastic cover) off, like so:

then....
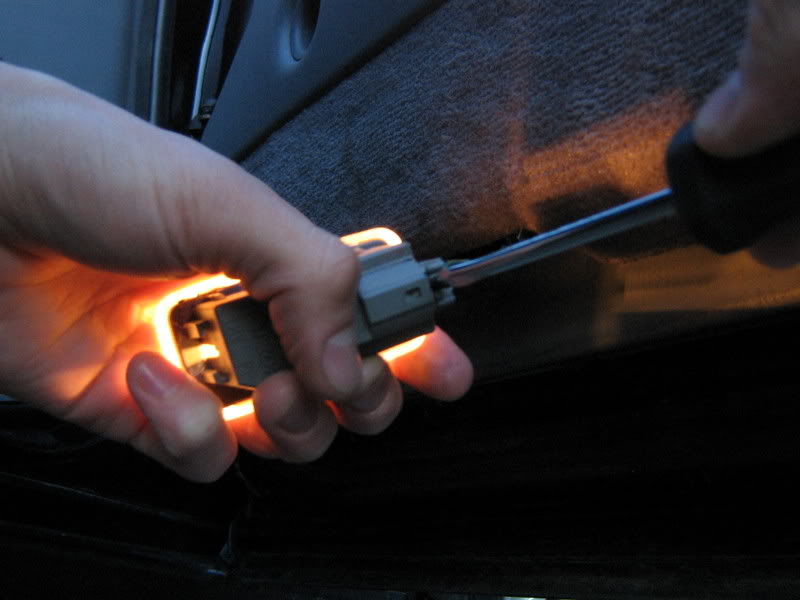
3. Do that to the other side, in order to pop it out of the door panel.

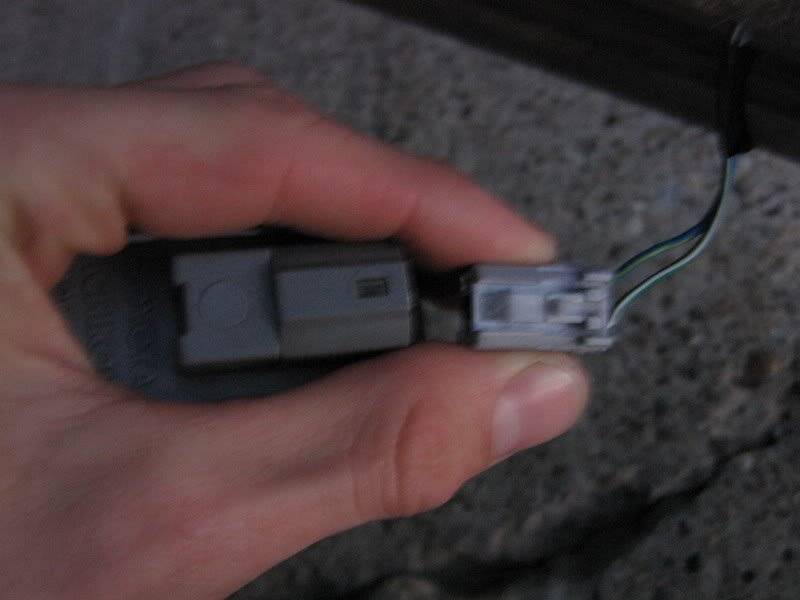
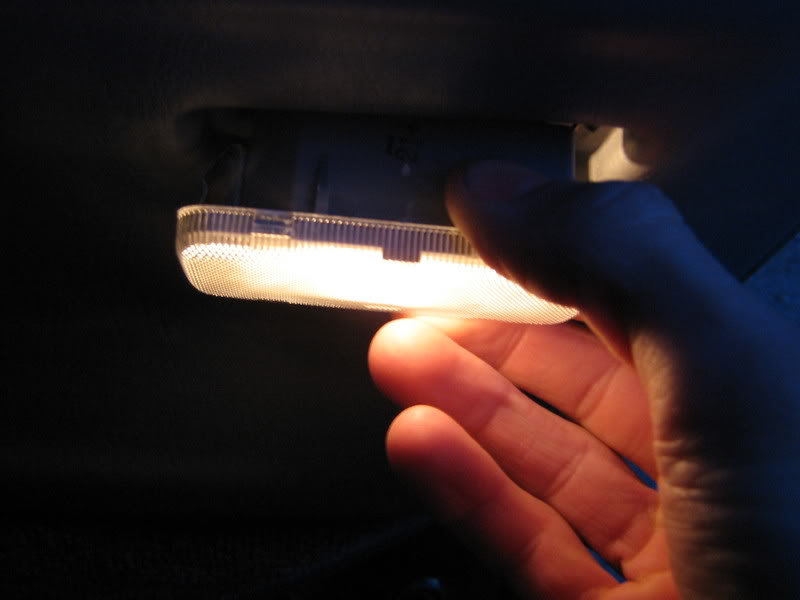
4. Using your thumb or the screwdriver, unplug the unit like so:
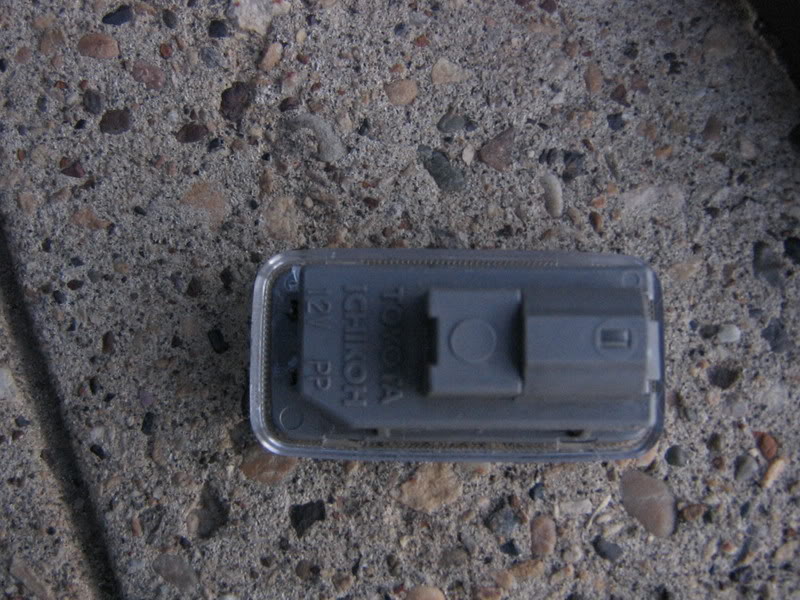
5. You will be left with so:
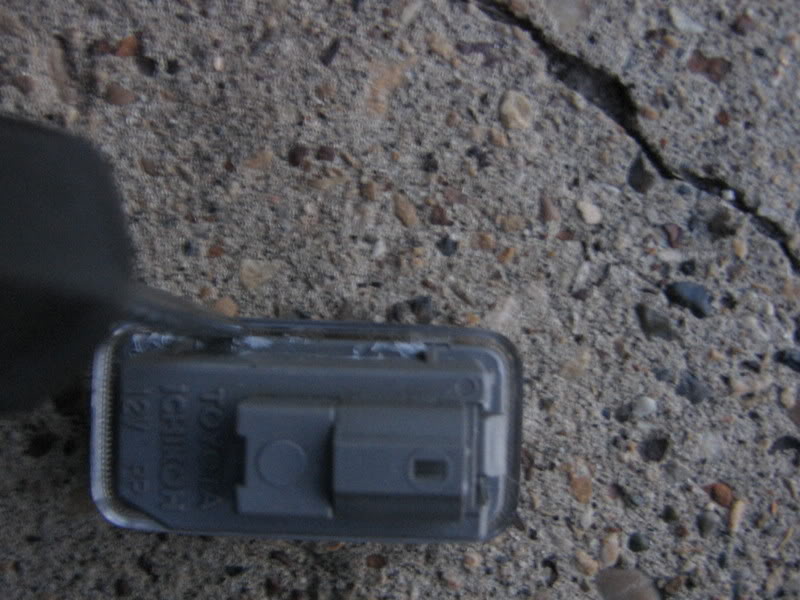
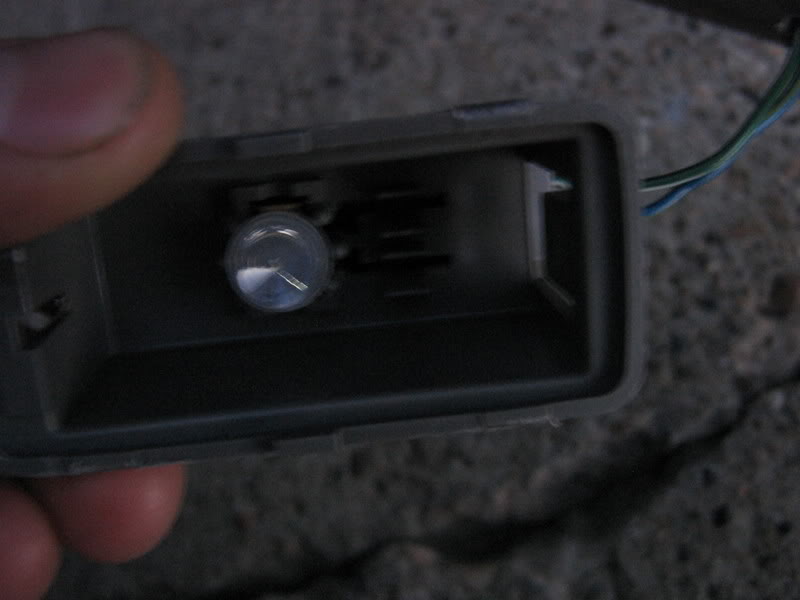
6. Using the screwdriver, pry off the plastic cover to get access to the bulb:


NOTE #1: keep in mind none of the bulbs pictured are the stock ones, except for where noted, I already had my whole interior done in blue LED's remember, so you won't see the EXACT thing that i show, but it'll be a little green GLASS bulb that you need to be carefull removing cause they break EASILY, trust me.
NOTE #2: Once the LED's are installed, if they don't work, simply take it out, flip it around, and install it the other way, since LED's have + and - and only work one way, so if it doesn't work, pull it out, twist it 180 degrees, and push it back in, simple as that
with that out of the way....
To change the lights in the doors to LED's:
I have decided to show this method, cause the filament bulbs get hot after a short period, so by the time you unplug it, and get access at it, it should have cooled down a bit. After the first couple bulbs, you could get used to just prying off the plastic cover, and not have to unplug it and such
BE CAREFUL, THE BULB MIGHT BE HOT
1. Obvuisly open the door, and locate the light (if you can't do this, it might not be the best task for you
)2. Take a flathead screwdriver and pry the whole unit(not just the plastic cover) off, like so:
then....
3. Do that to the other side, in order to pop it out of the door panel.
4. Using your thumb or the screwdriver, unplug the unit like so:
5. You will be left with so:
6. Using the screwdriver, pry off the plastic cover to get access to the bulb:
 07-13-08, 04:54 PM
#2
Lead Lap
Thread Starter
Join Date: Jul 2008
Location: Canada
Posts: 797
Likes: 0
Received 0 Likes
on
0 Posts
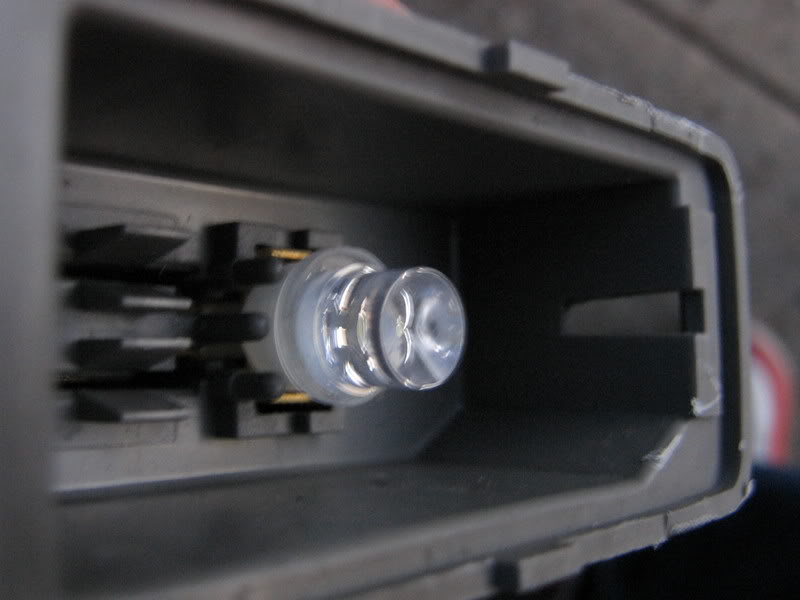
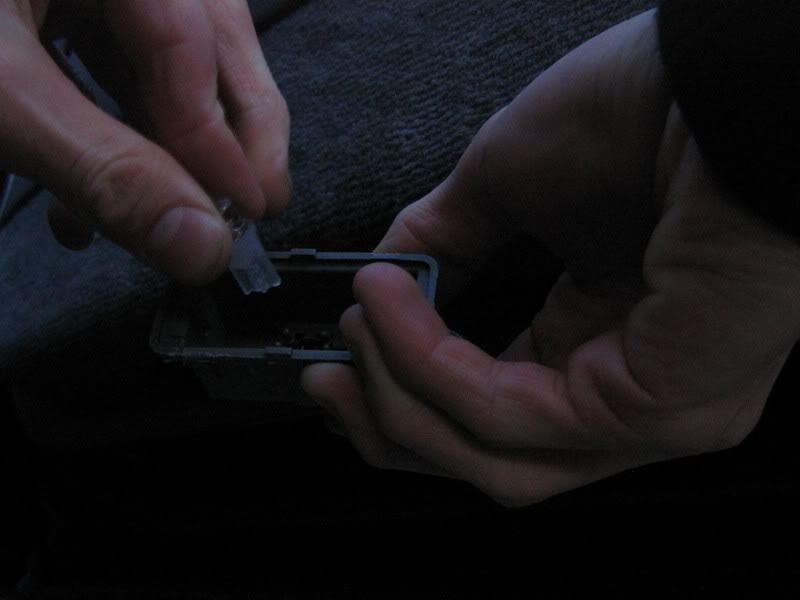
7. When you see the bulb (i used a stock bulb, so you will see exactly that), simply pull up on it, you might have to wiggle it side to side to get it out


8. Taking the LED, insert it into the slot that you just pulled the bulb out of:
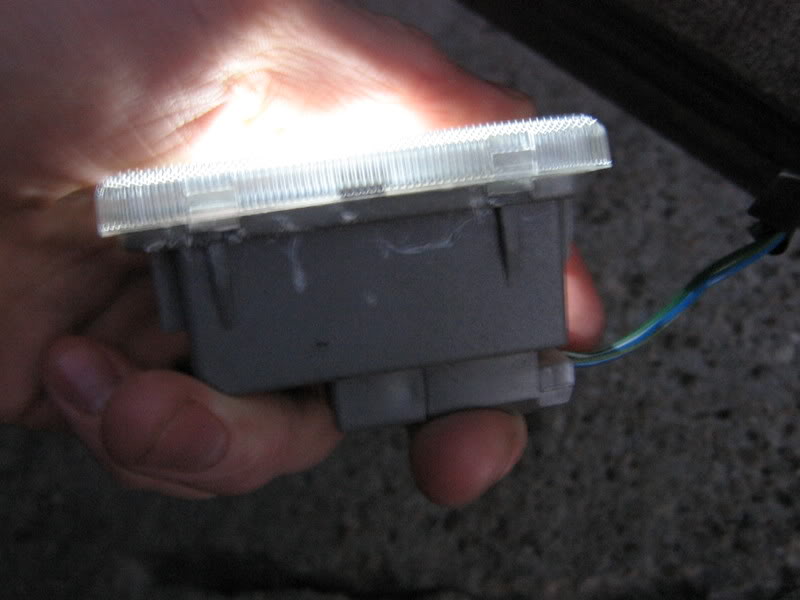
9. Without putting on the plastic cover, plug the unit back into the harness and see if it works:

10. The bulb didn't work when i plugged it in, so pull on it, turn it 180 degress, and reinsert it:

8. Taking the LED, insert it into the slot that you just pulled the bulb out of:
9. Without putting on the plastic cover, plug the unit back into the harness and see if it works:
10. The bulb didn't work when i plugged it in, so pull on it, turn it 180 degress, and reinsert it:
07-13-08, 04:54 PM
#3
Lead Lap
Thread Starter
Join Date: Jul 2008
Location: Canada
Posts: 797
Likes: 0
Received 0 Likes
on
0 Posts
11. Take the plastic cover, and press it back on:

12. Reinsert it back into the door panel, the opposite way you took it out:
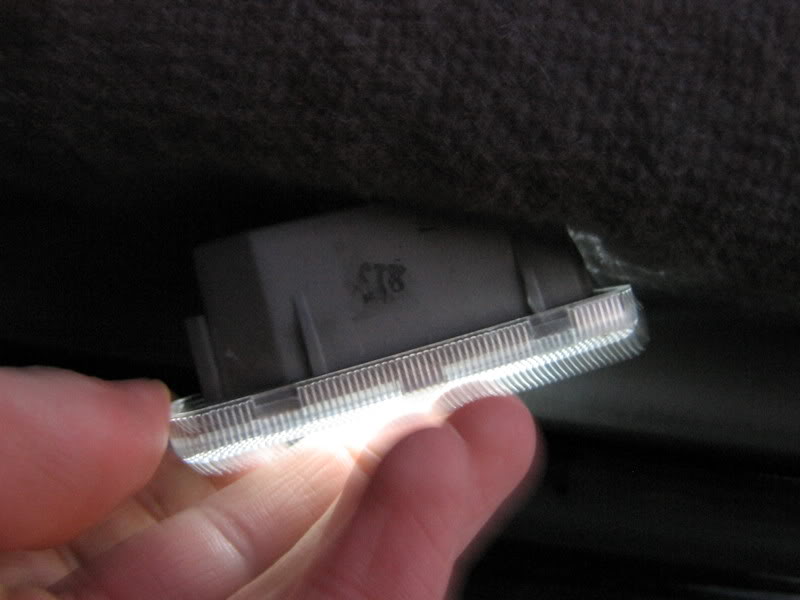
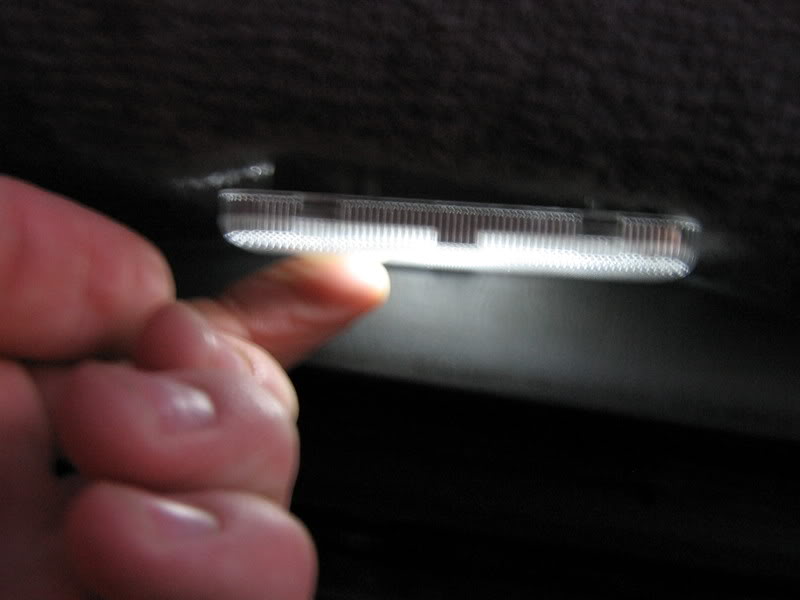
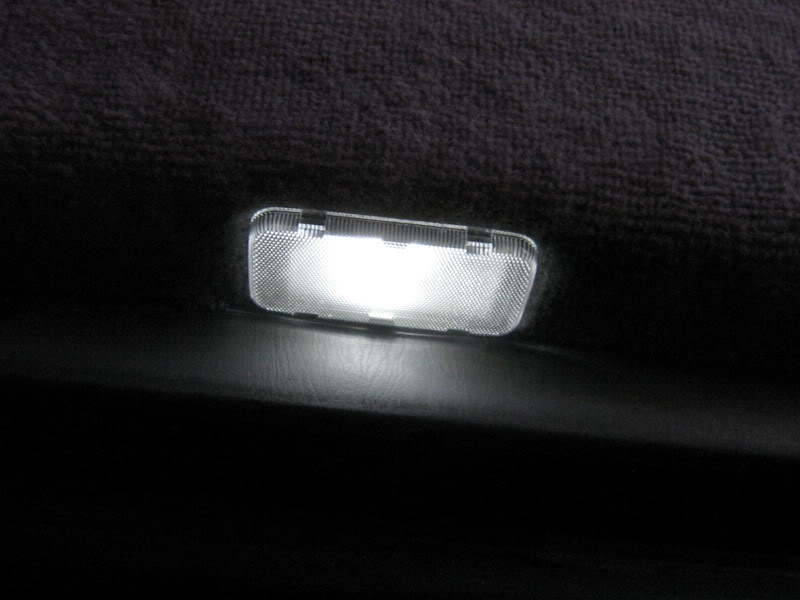
13. Enjoy your new modern courtesy lights:

move onto the back, the only difference is how you pop the unit out of the door:
14. start with the side this time:

15. Pull on the unit down, to get it out of the door:
16. refer to previous post on how to change the bulb, and insert it.
once again, ENJOY!
12. Reinsert it back into the door panel, the opposite way you took it out:
13. Enjoy your new modern courtesy lights:
move onto the back, the only difference is how you pop the unit out of the door:
14. start with the side this time:
15. Pull on the unit down, to get it out of the door:
16. refer to previous post on how to change the bulb, and insert it.
once again, ENJOY!
07-13-08, 05:04 PM
#4
Lead Lap
Thread Starter
Join Date: Jul 2008
Location: Canada
Posts: 797
Likes: 0
Received 0 Likes
on
0 Posts
I should mention, that all of these DIY guides i made up, were ment for a Toyota Aristo from Japan, hence the RHD steering. As far as i'm aware everything should be the same, except for the front dome light, as the cars with sunroofs vary from the ones without sunroofs, the gauges i'm not to sure about if they are the same or not, cause i fitted all the LED's in an Aristo, not a GS300. I have a guy that bought a kit off me, with a GS300, and i'm just waiting on him to install them.
I have taken the time to gather some plug and play LED bulbs together, and assemble a kit that I am selling. I am not sure if it breaks any rules or not, but I have assembled a kit together to replace the lights in pretty much everything in the interior.
thanks guys, and hope these guides can help ya out a bit
Last edited by deknick; 10-30-09 at 07:14 PM.

Trending Topics
11-04-09, 11:00 PM
#8
O.C. Lucky Strike Fanatic
iTrader: (1)
Join Date: Dec 2002
Location: So.Cal.
Posts: 8,675
Likes: 0
Received 0 Likes
on
0 Posts
I ordered bulbs for the dome and map lights, however only the dome lights matched the led bulbs I got. Do you know what bulb number the map lights are? thanks

Thread
Thread Starter
Forum
Replies
Last Post
jbrittmart
LS - 4th Gen (2007-2017)
6
10-27-11 11:44 PM