My GS Then to Now
 03-19-11, 04:07 AM
#451
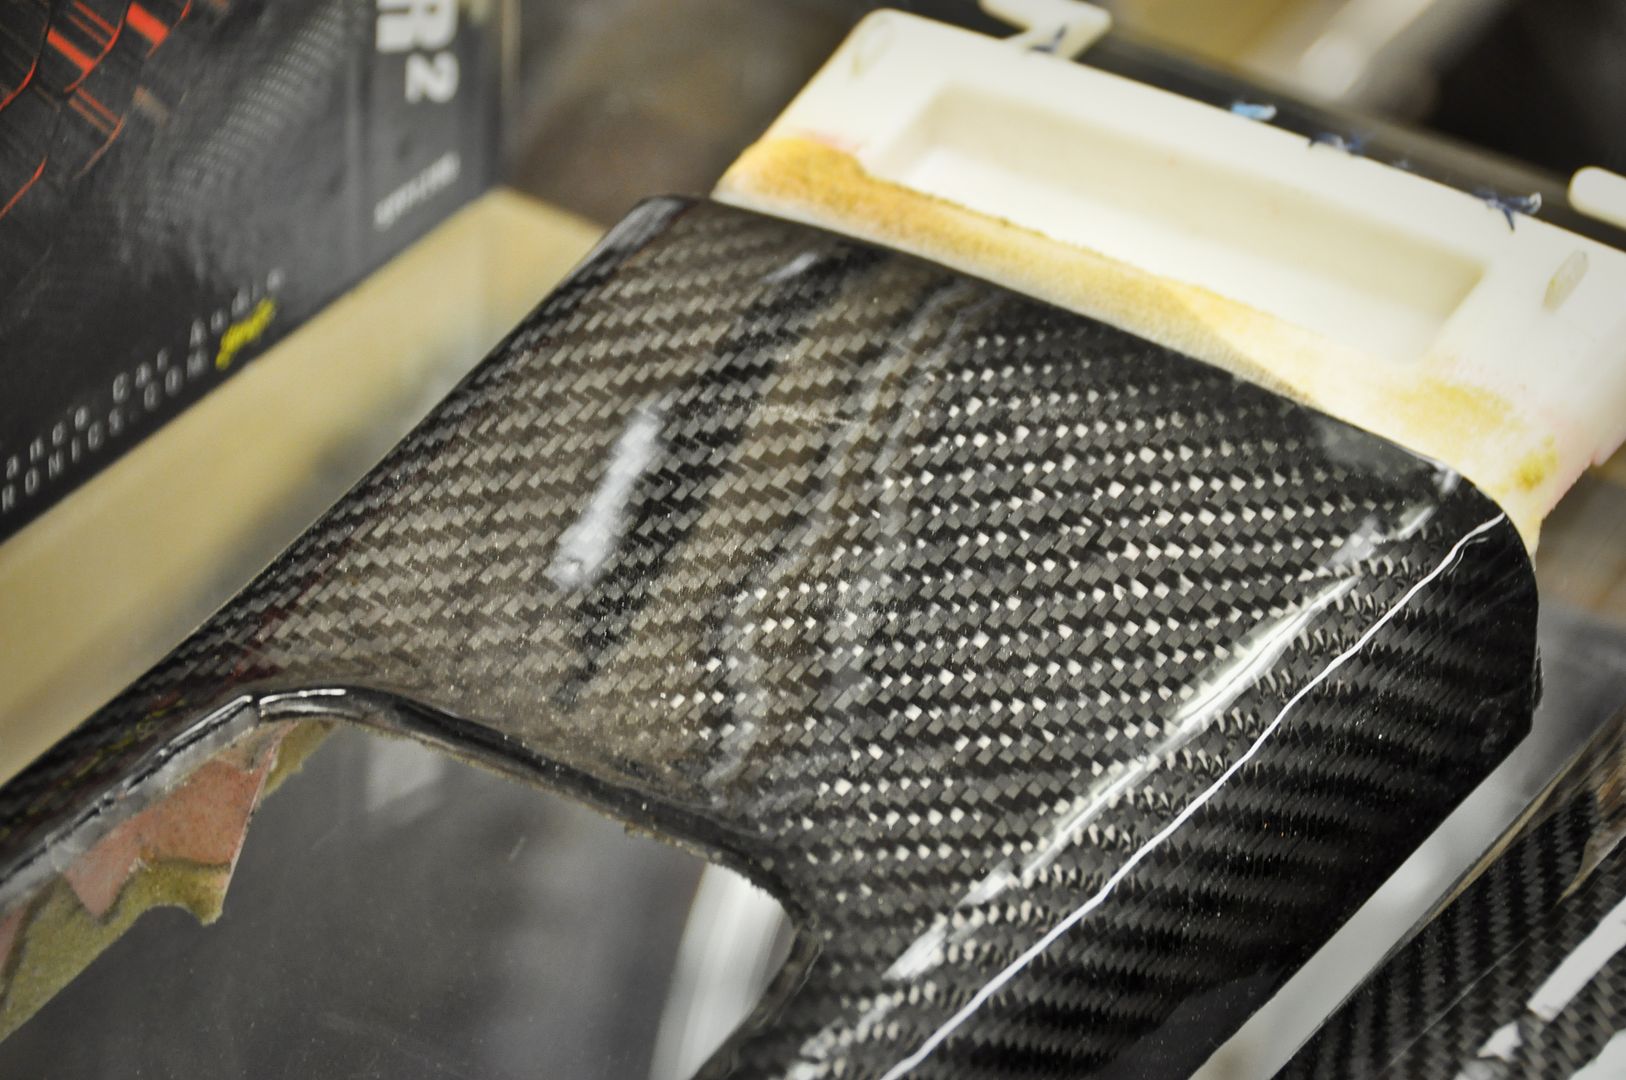
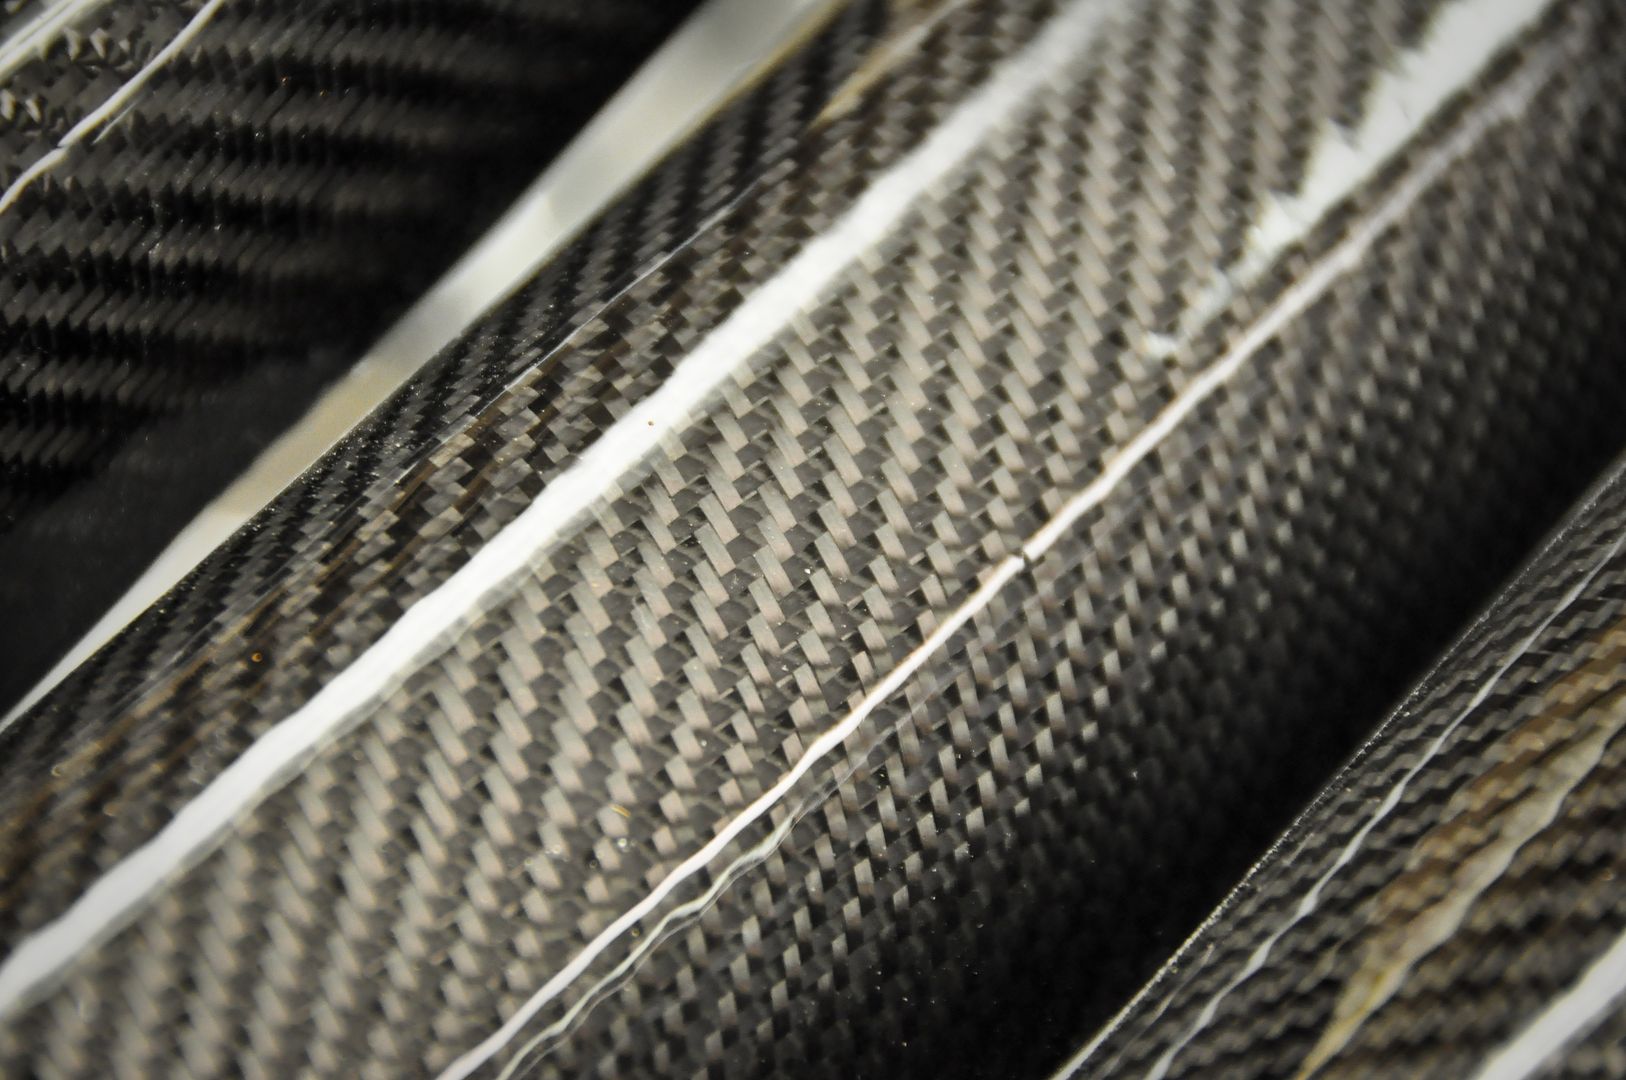
My buddy Bucky wrapped my A, B, and C pillars in carbon fiber for me
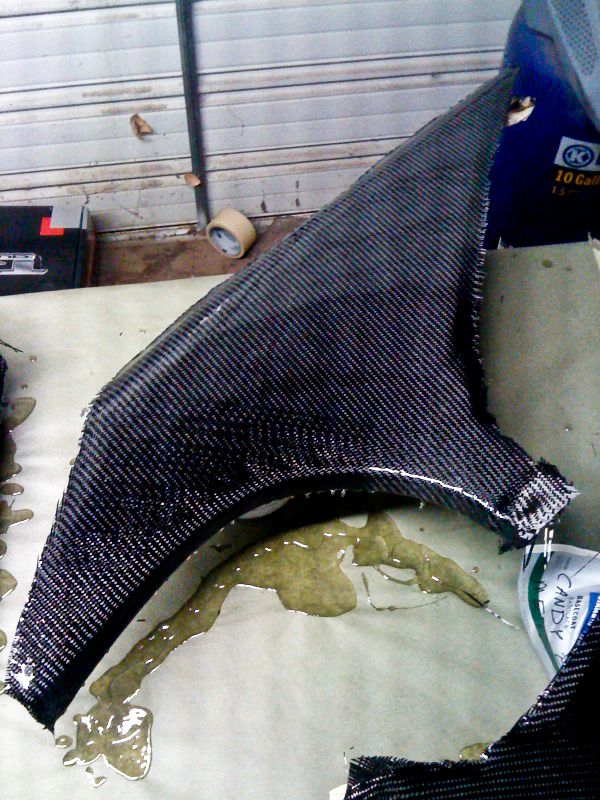
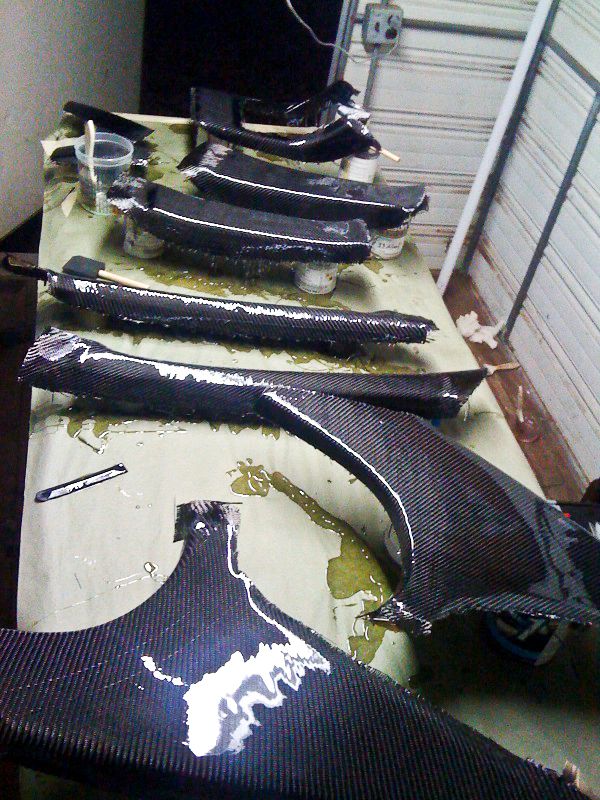
Got them back
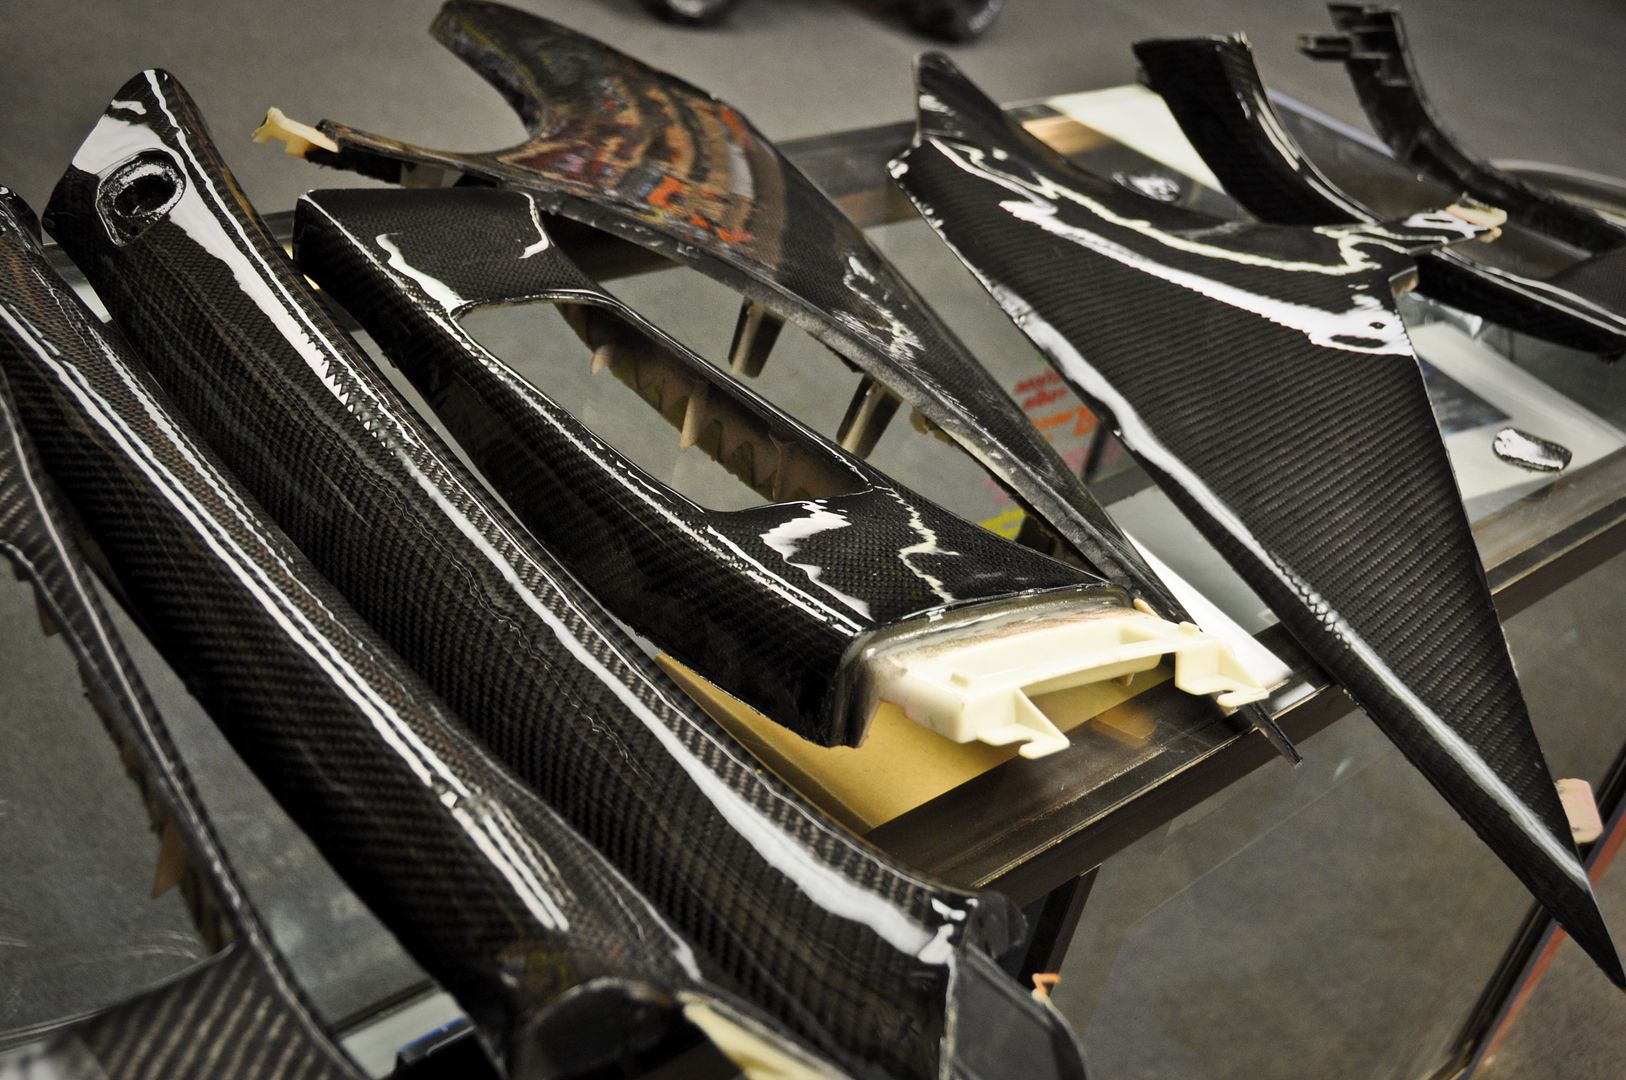
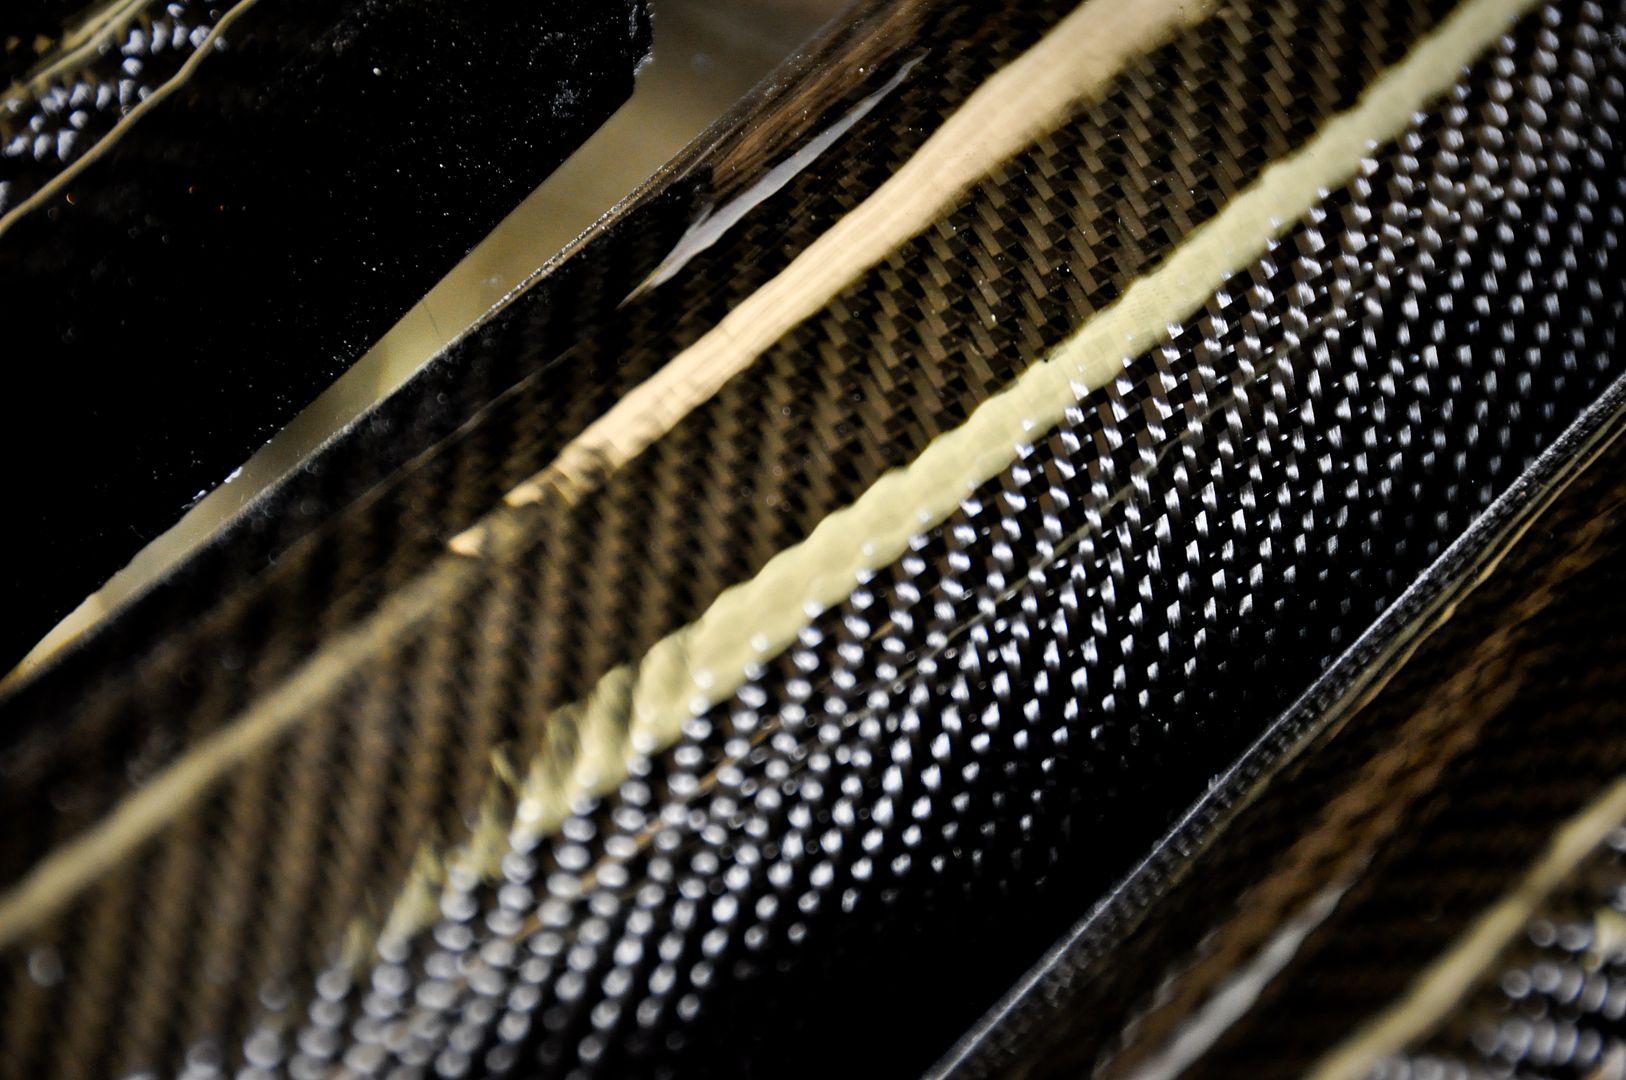
Love the depth
Steering Wheel Swap
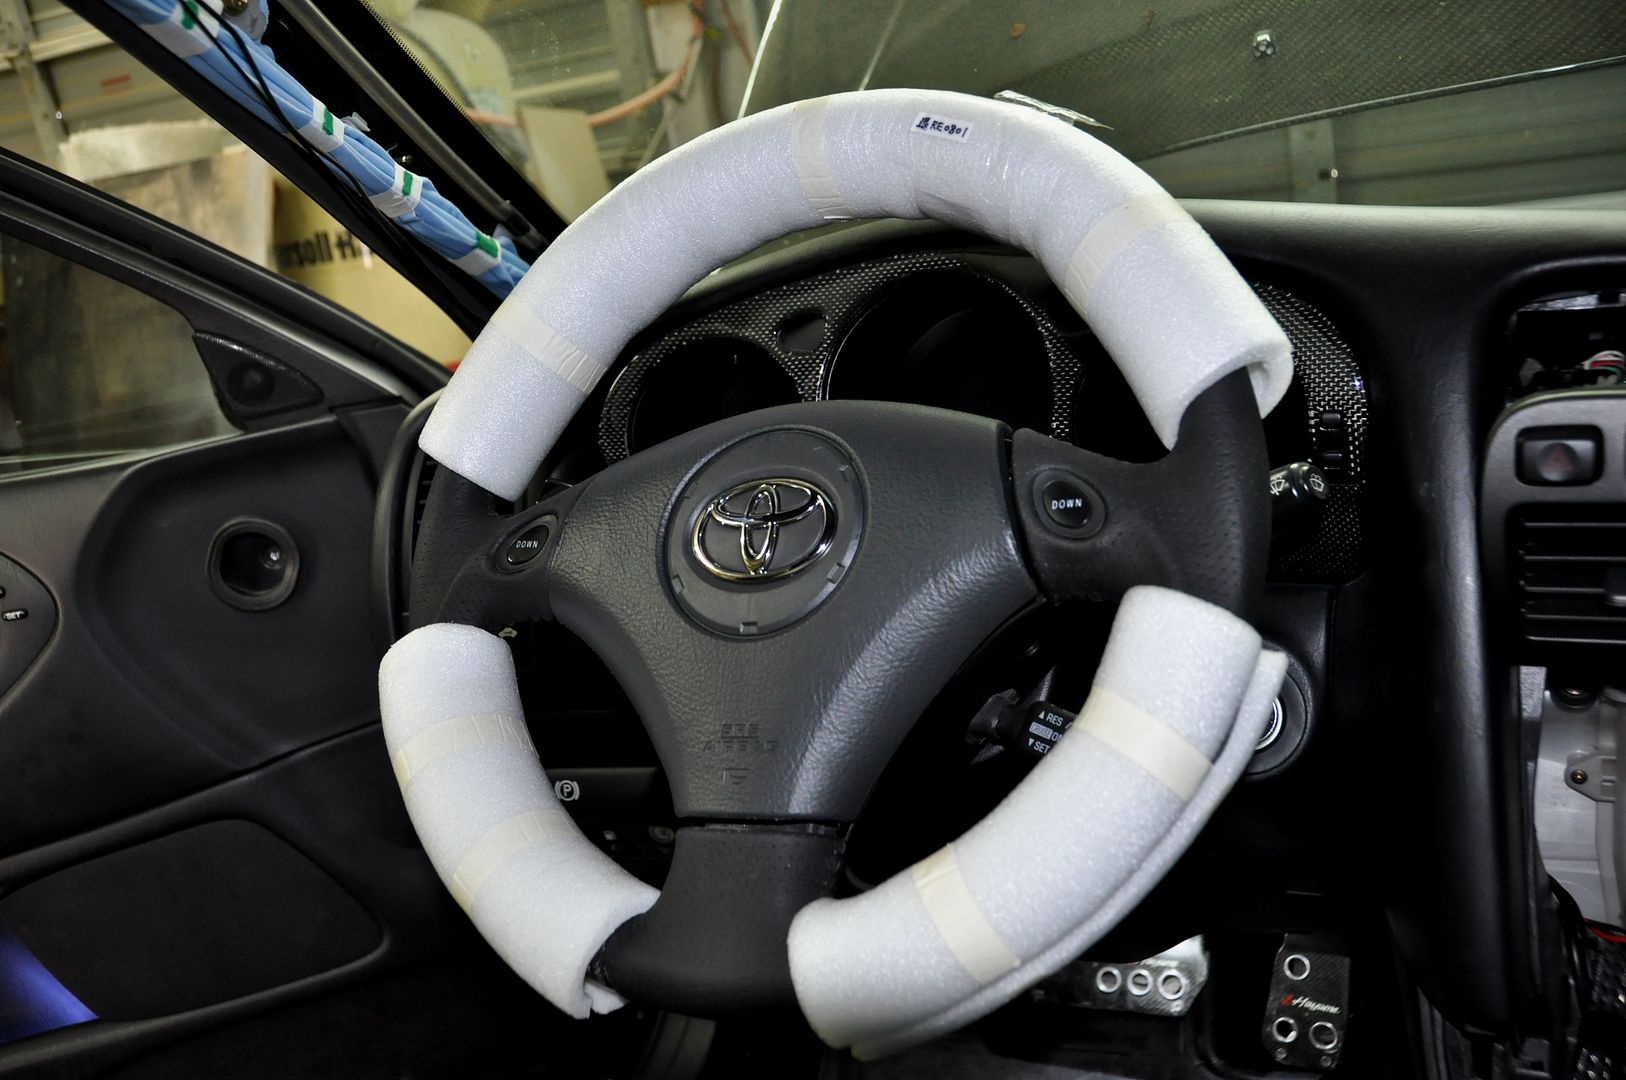
Got this baby from JDM land
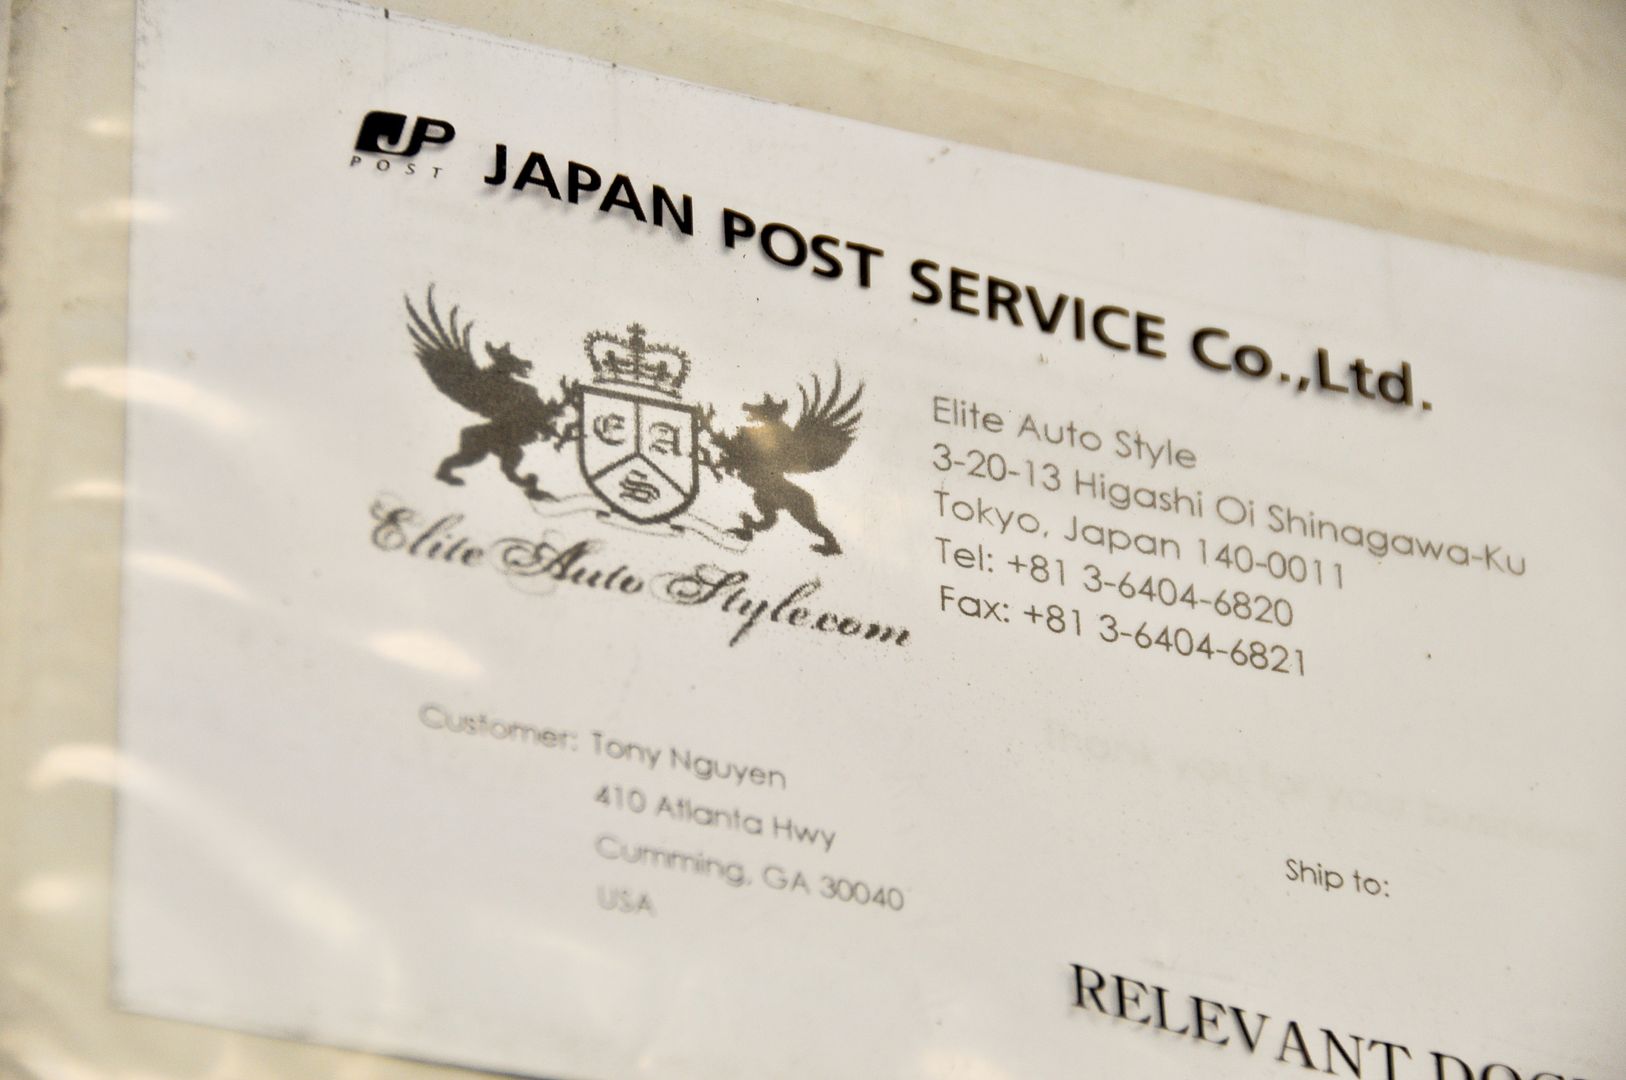
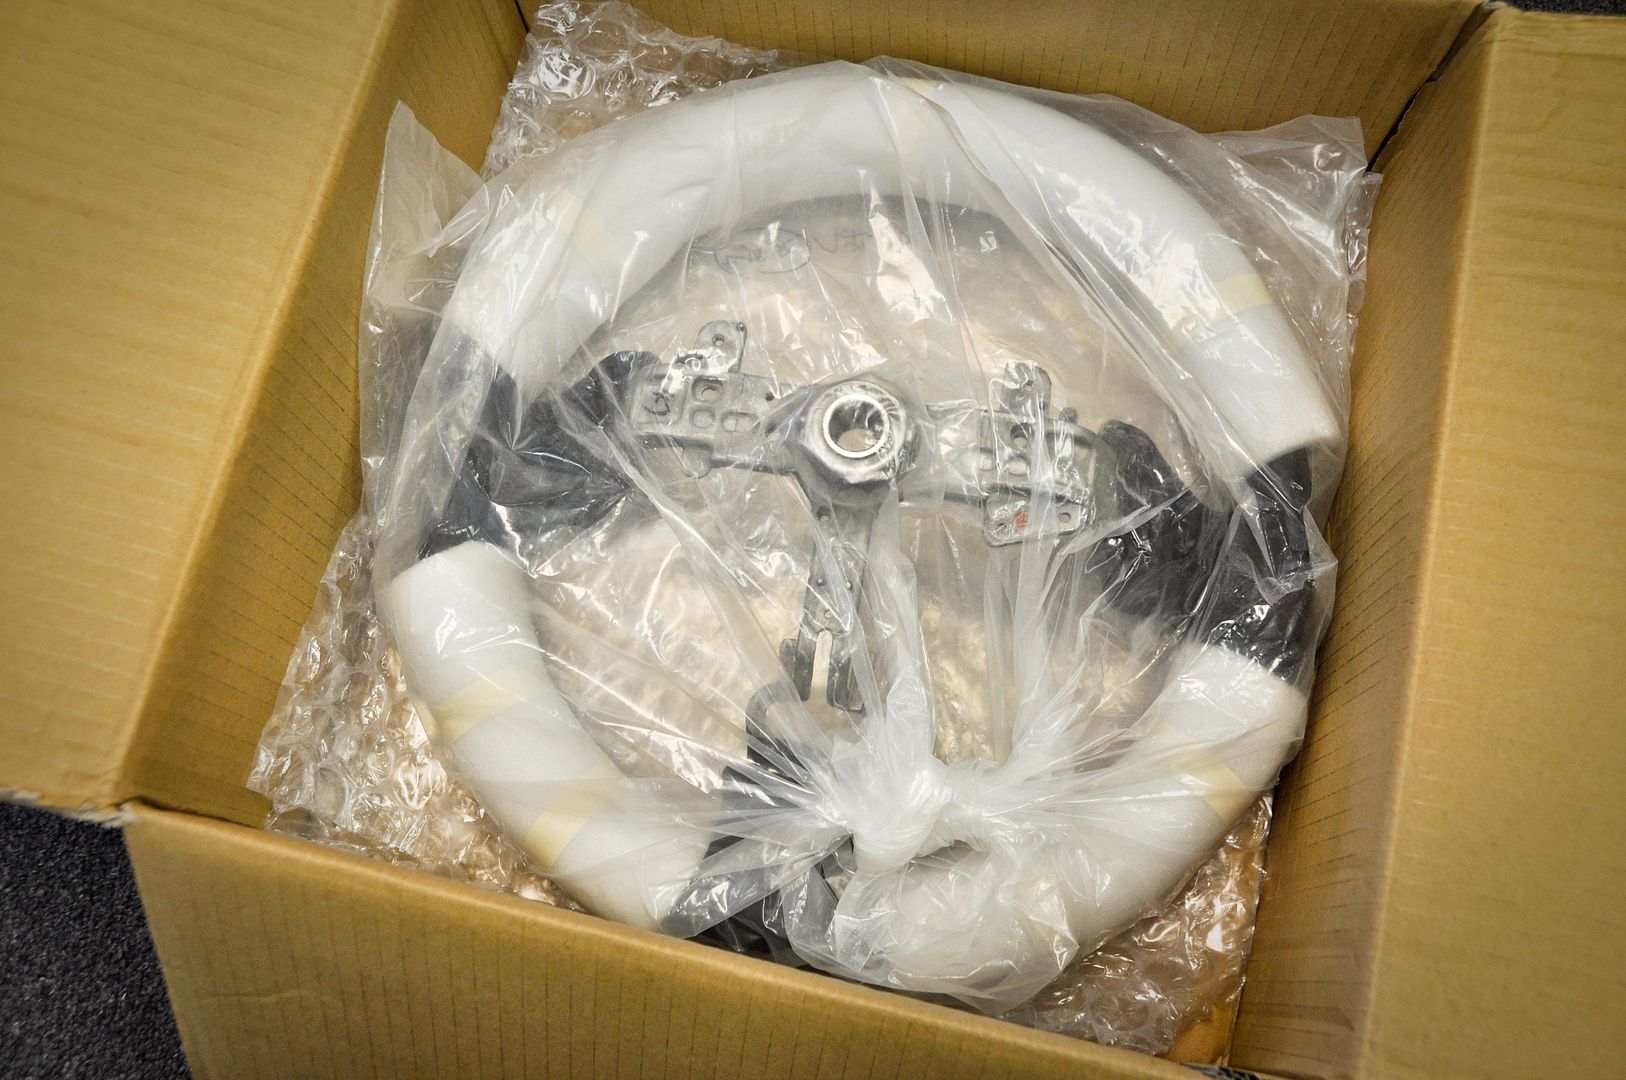
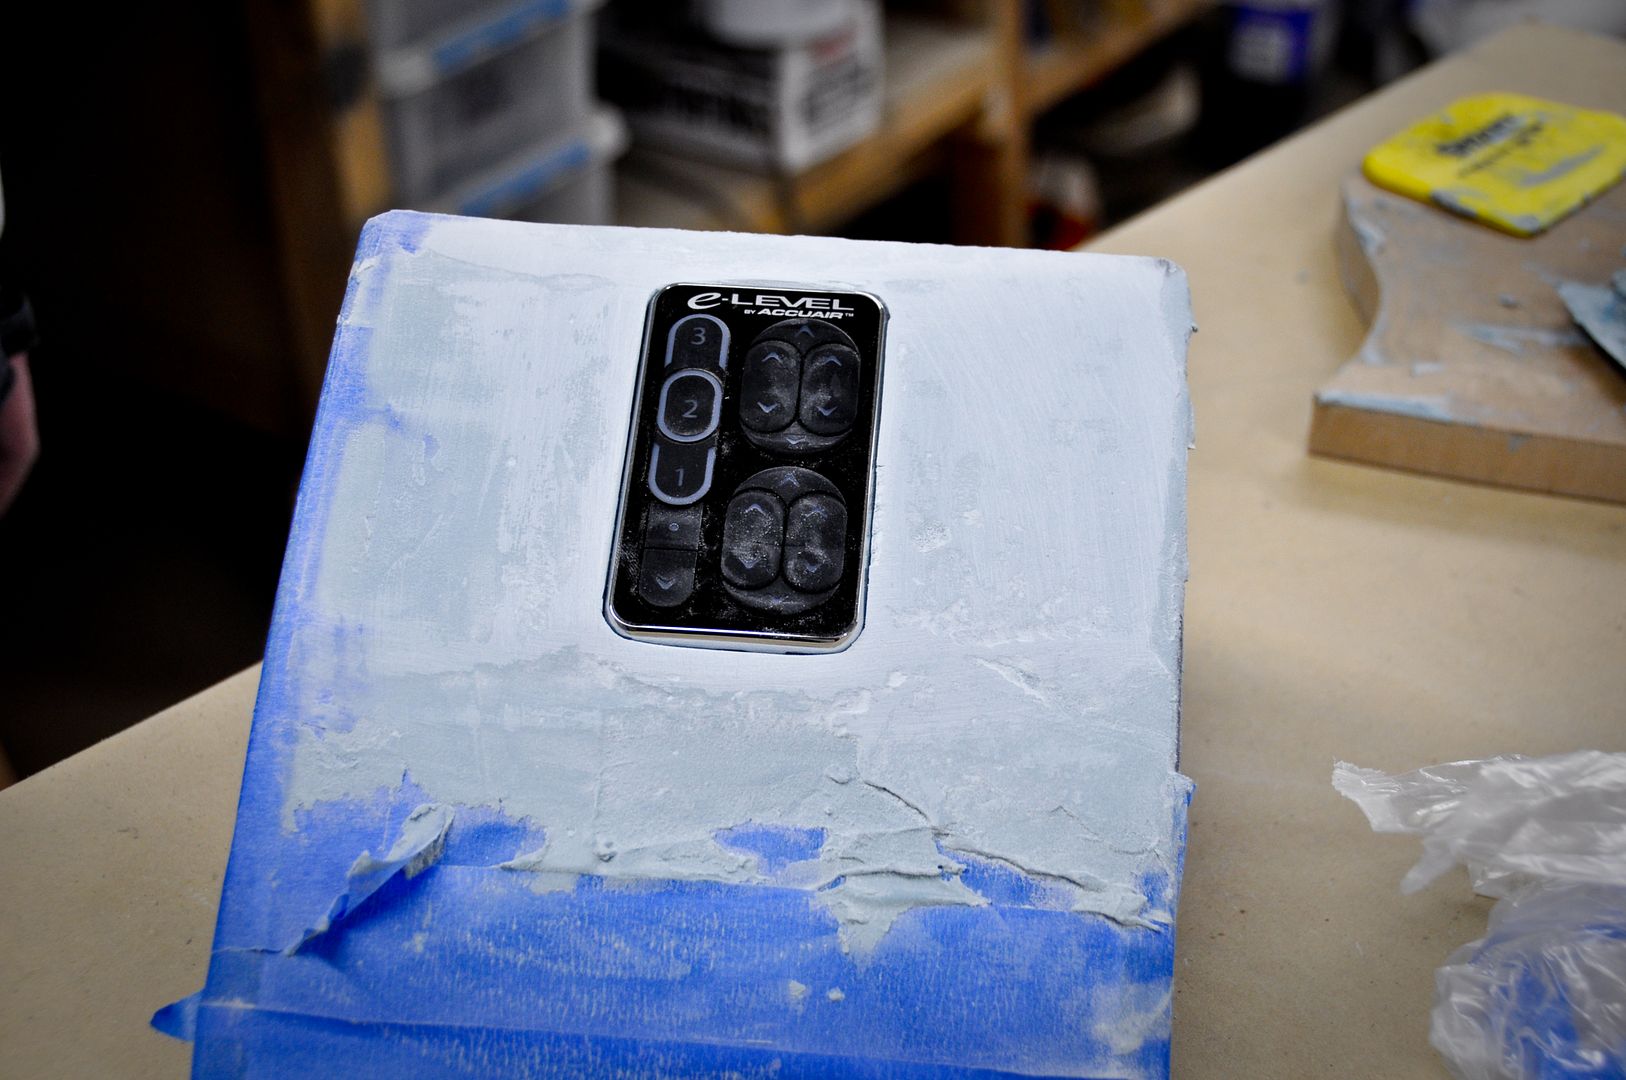
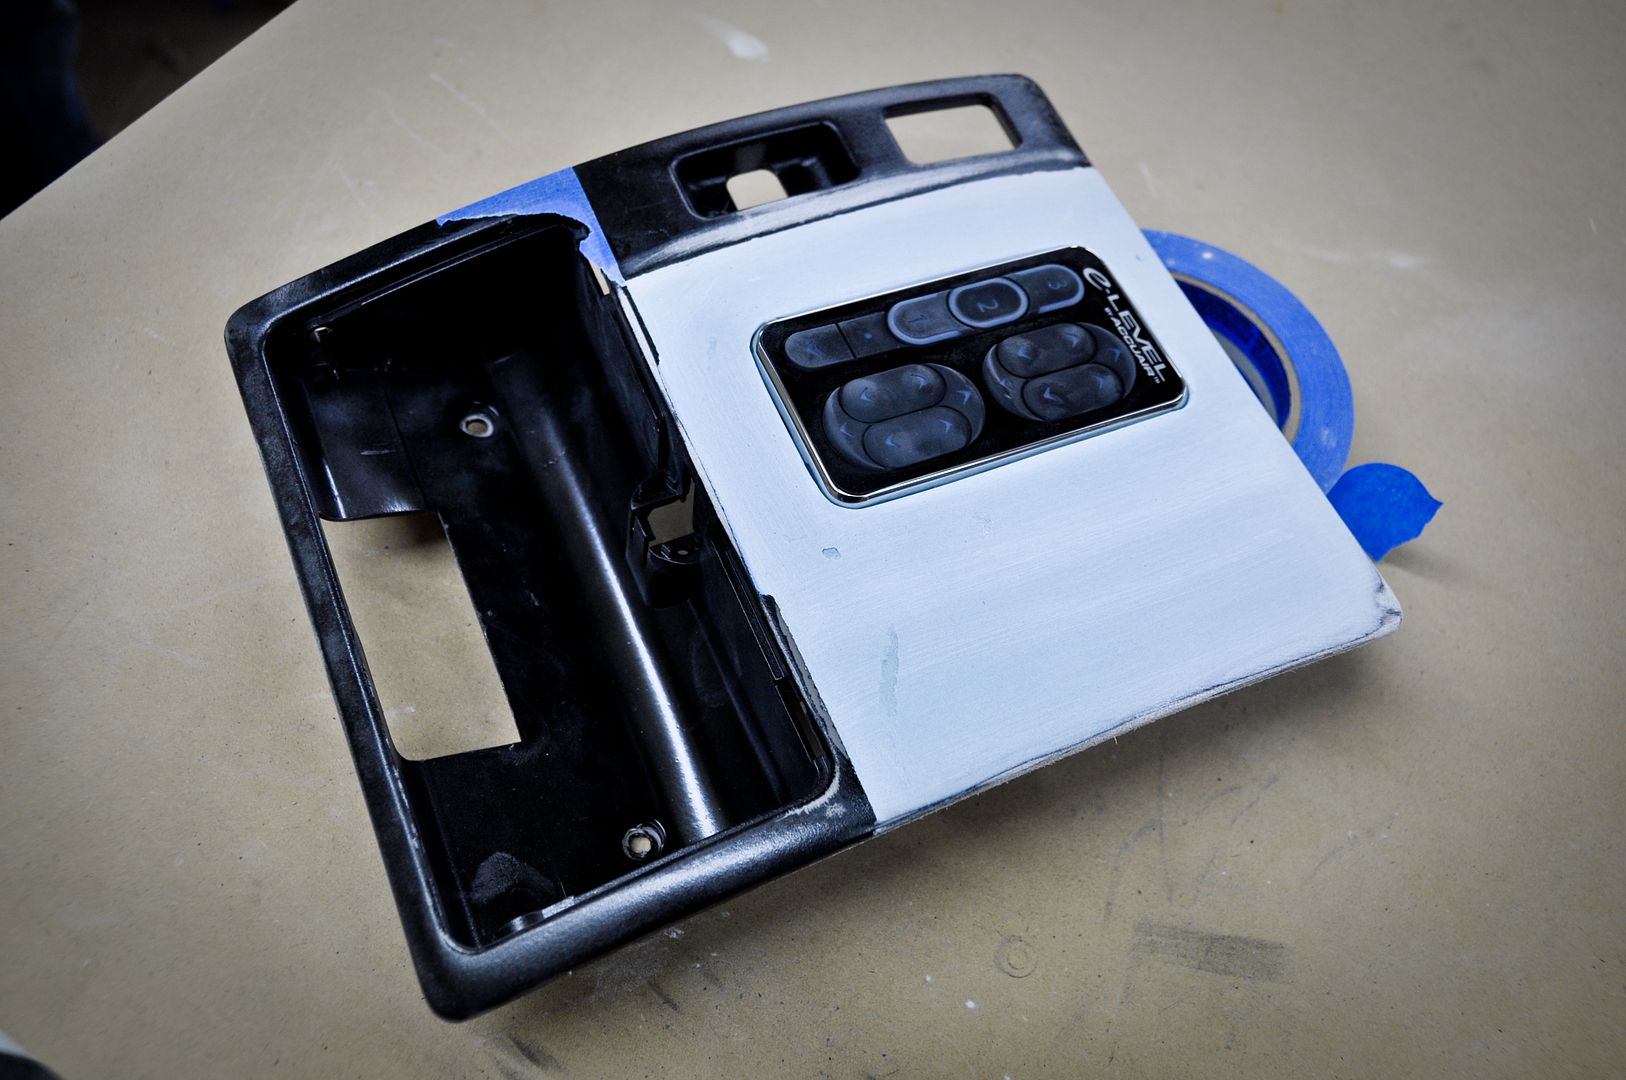
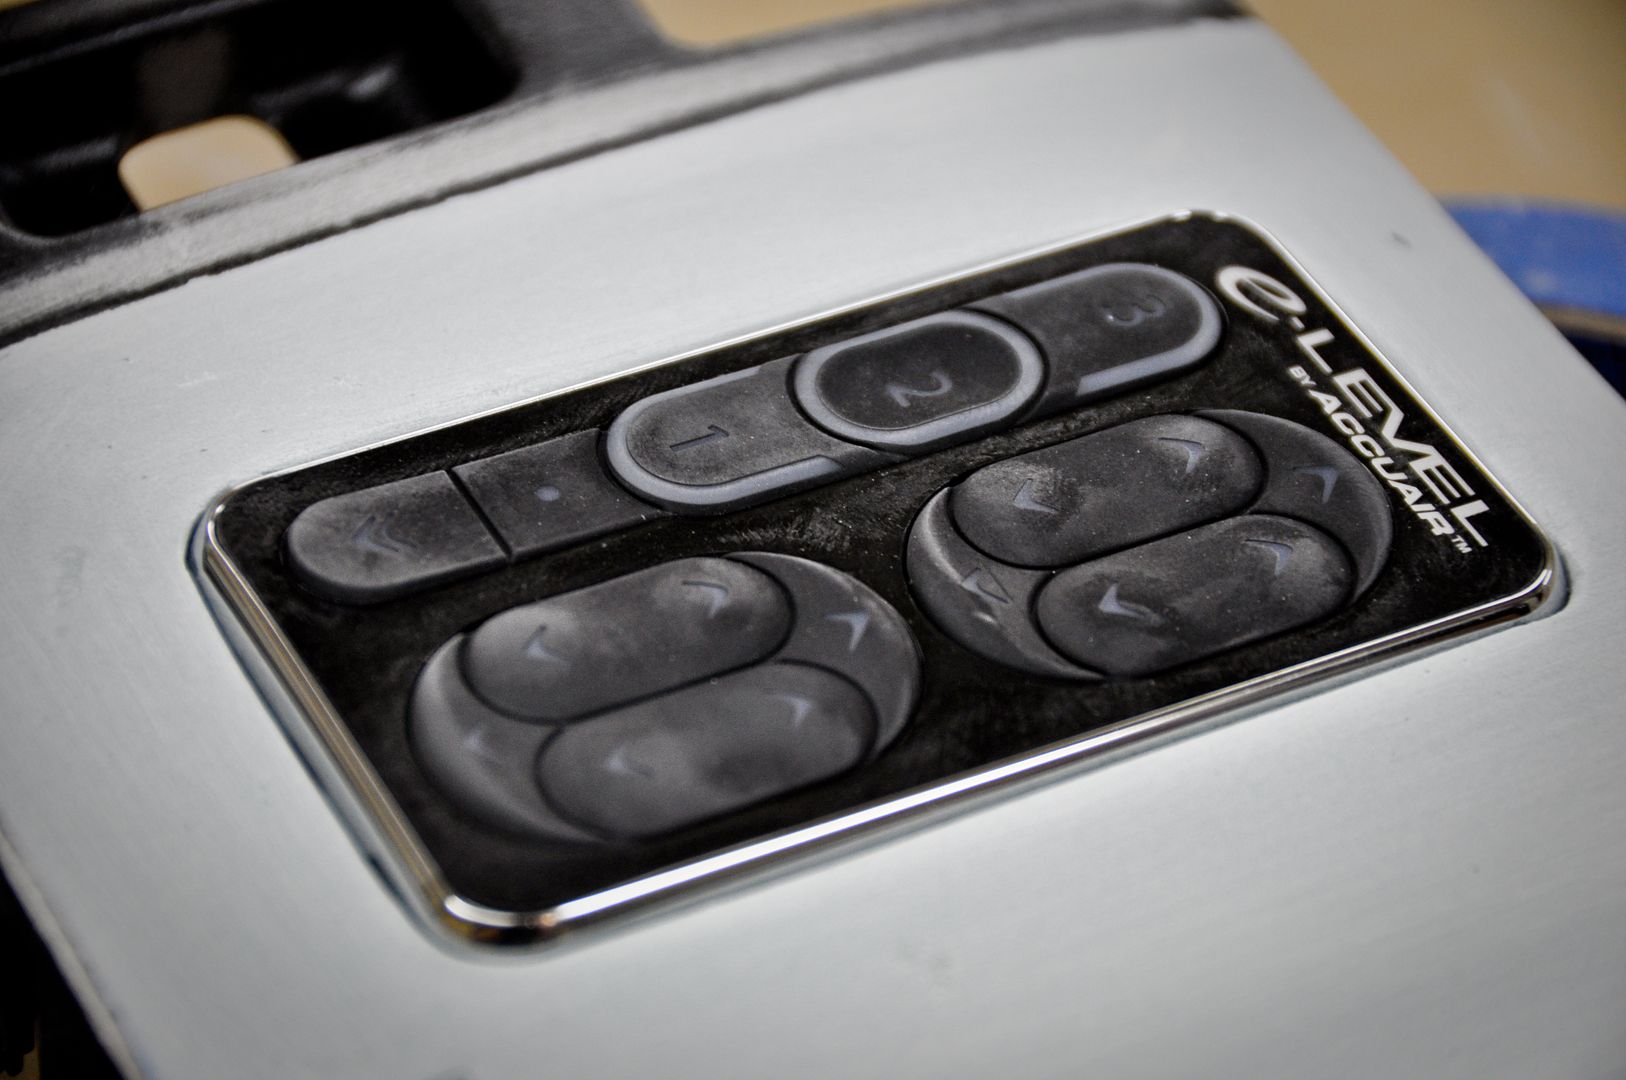
Complete with E-Shift button locations
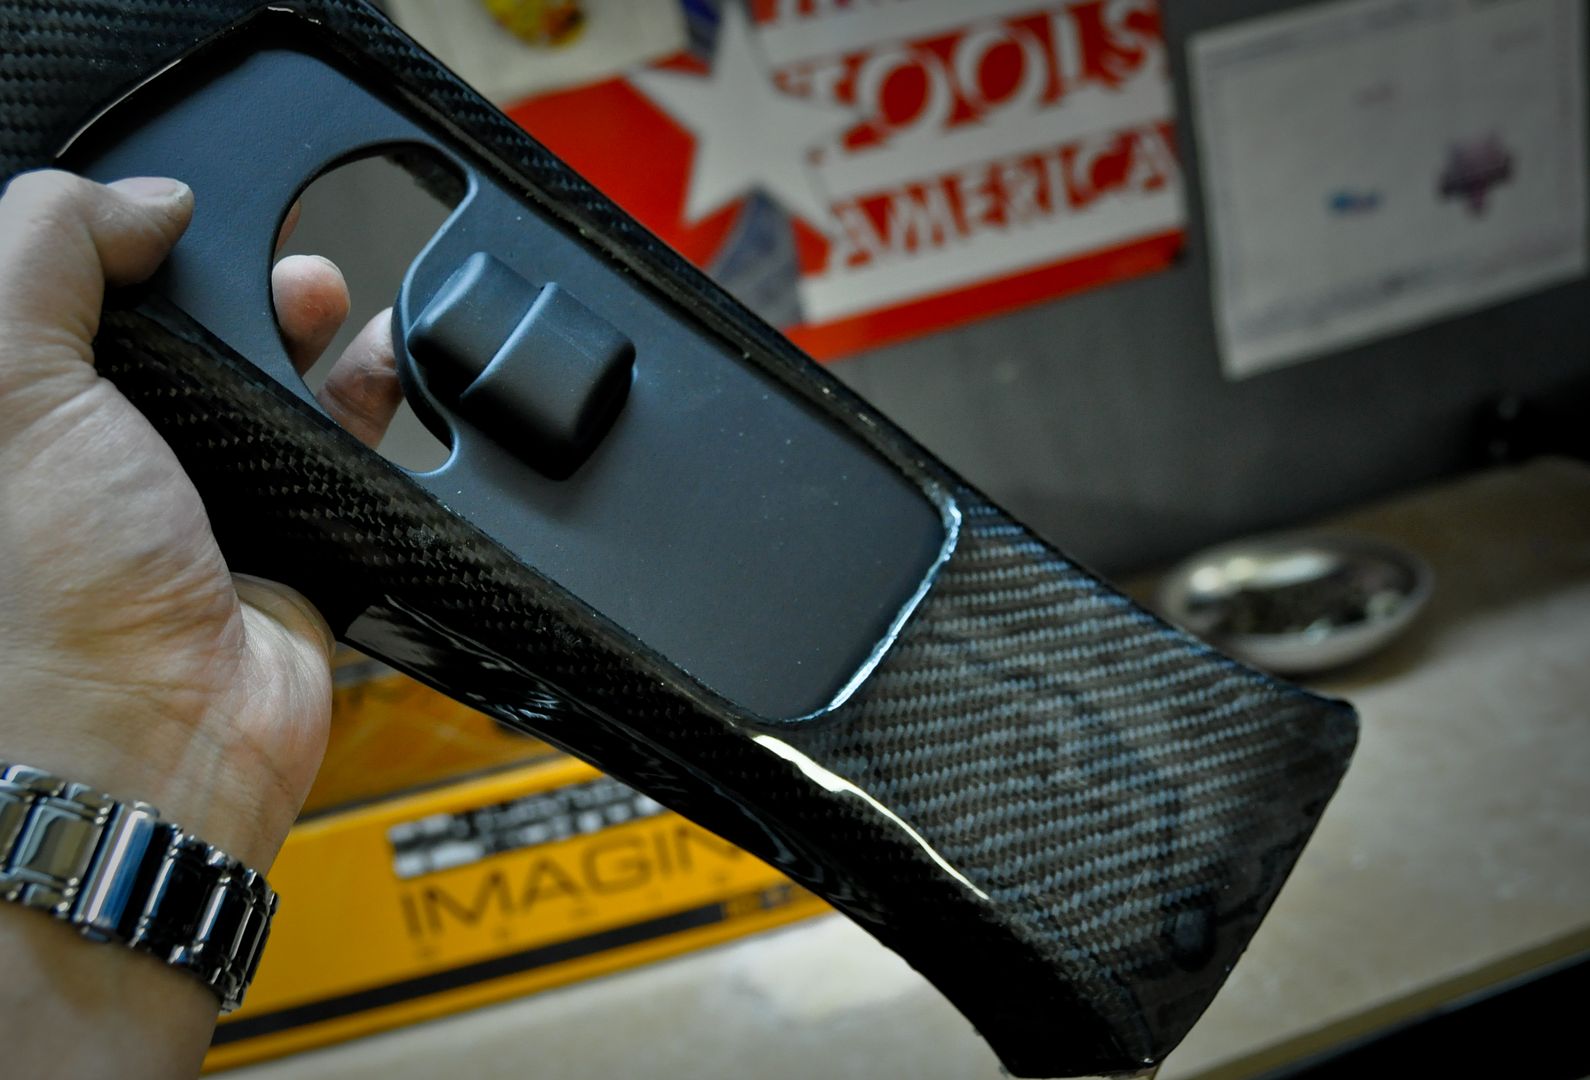
I got this Aristo airbag cover awhile back on the classifieds and it is a perfect fit. Just need to get it color matched and we’re all set.
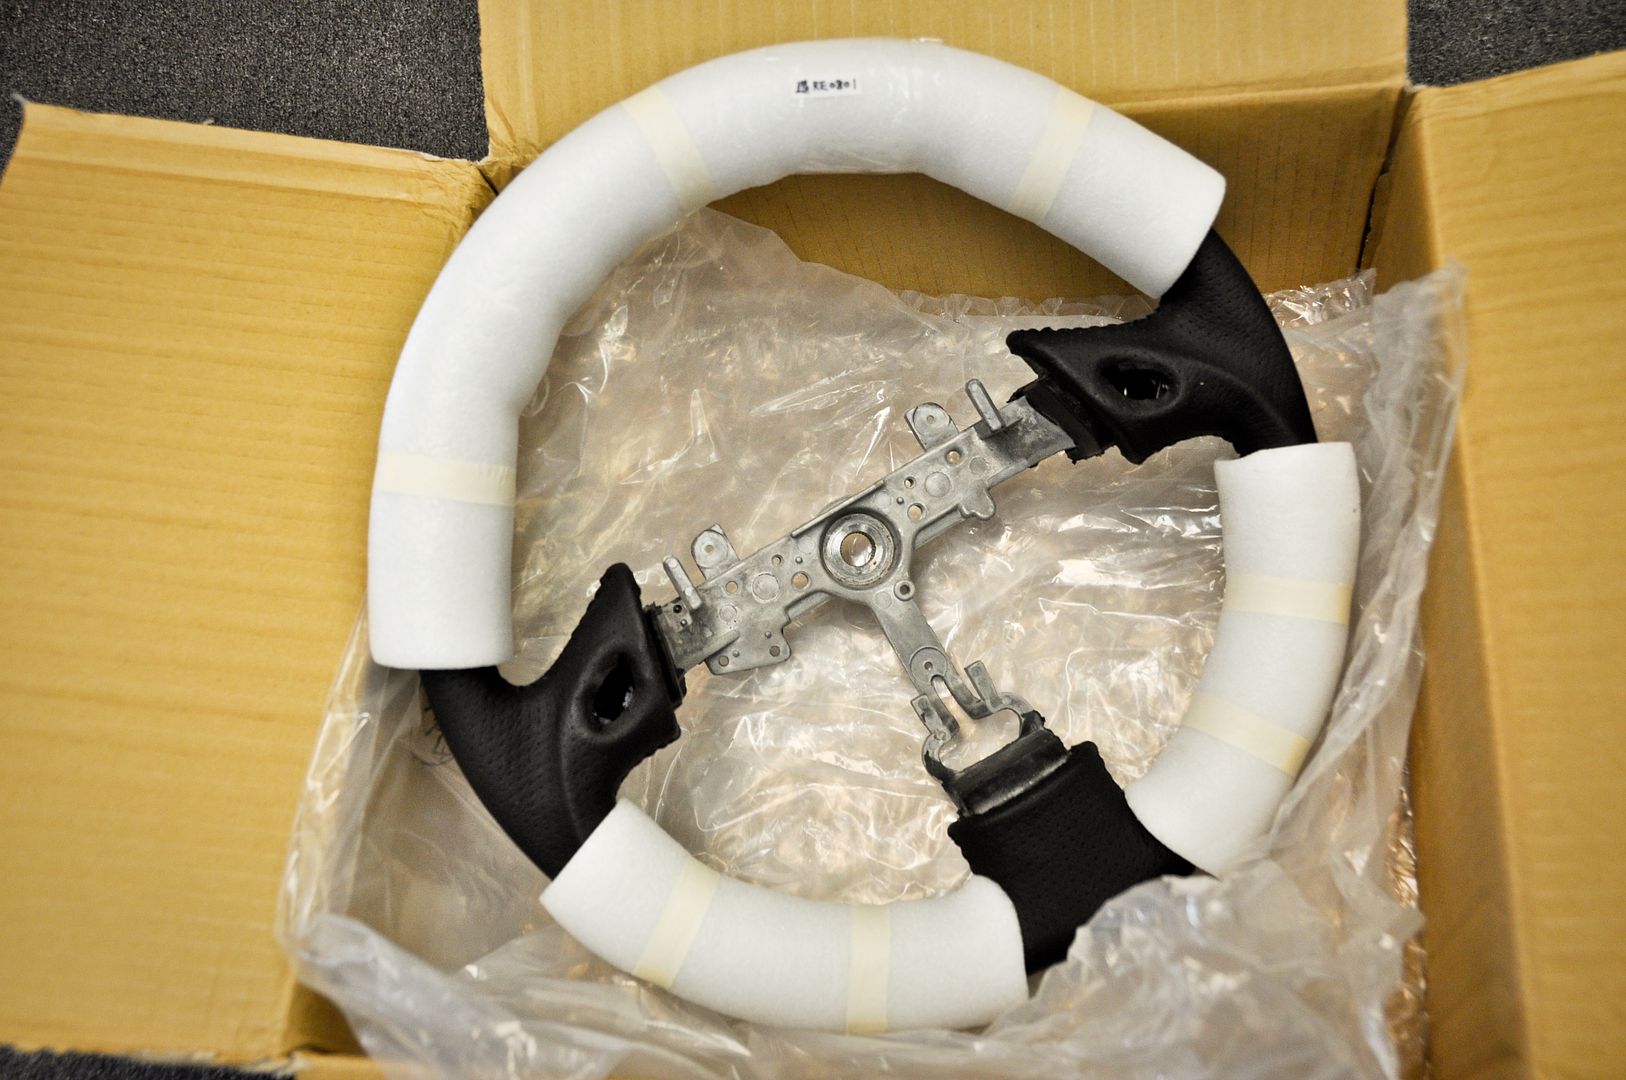
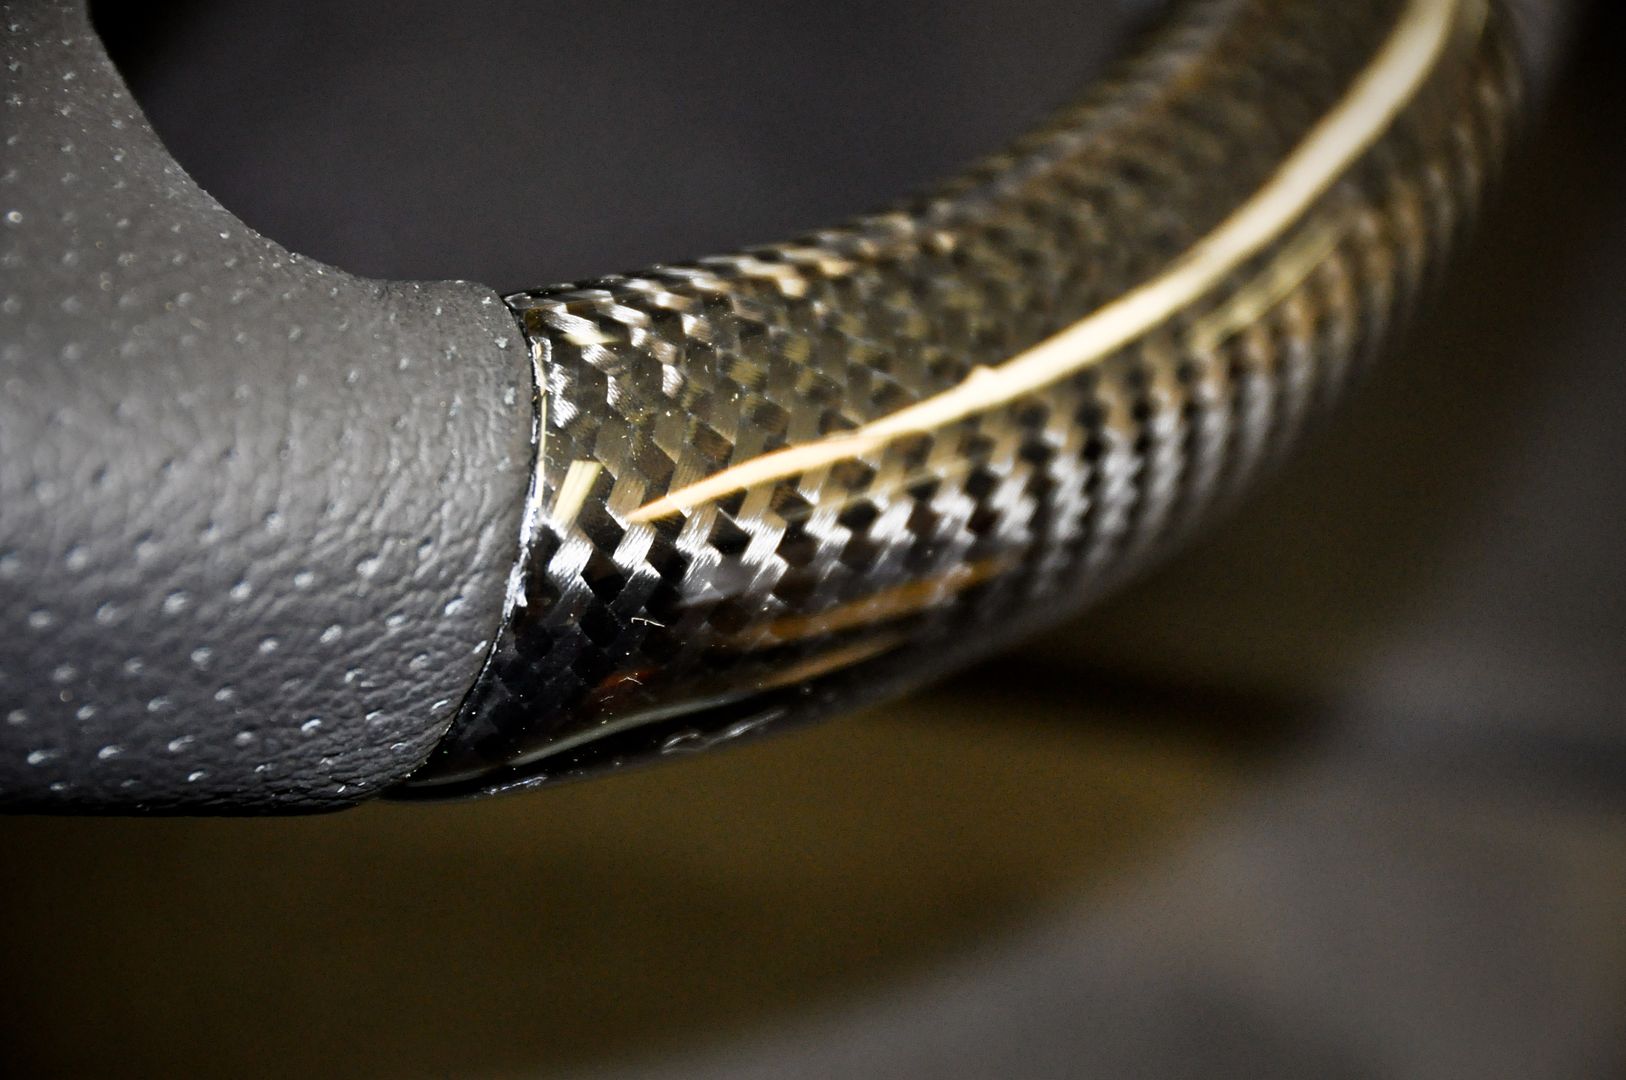
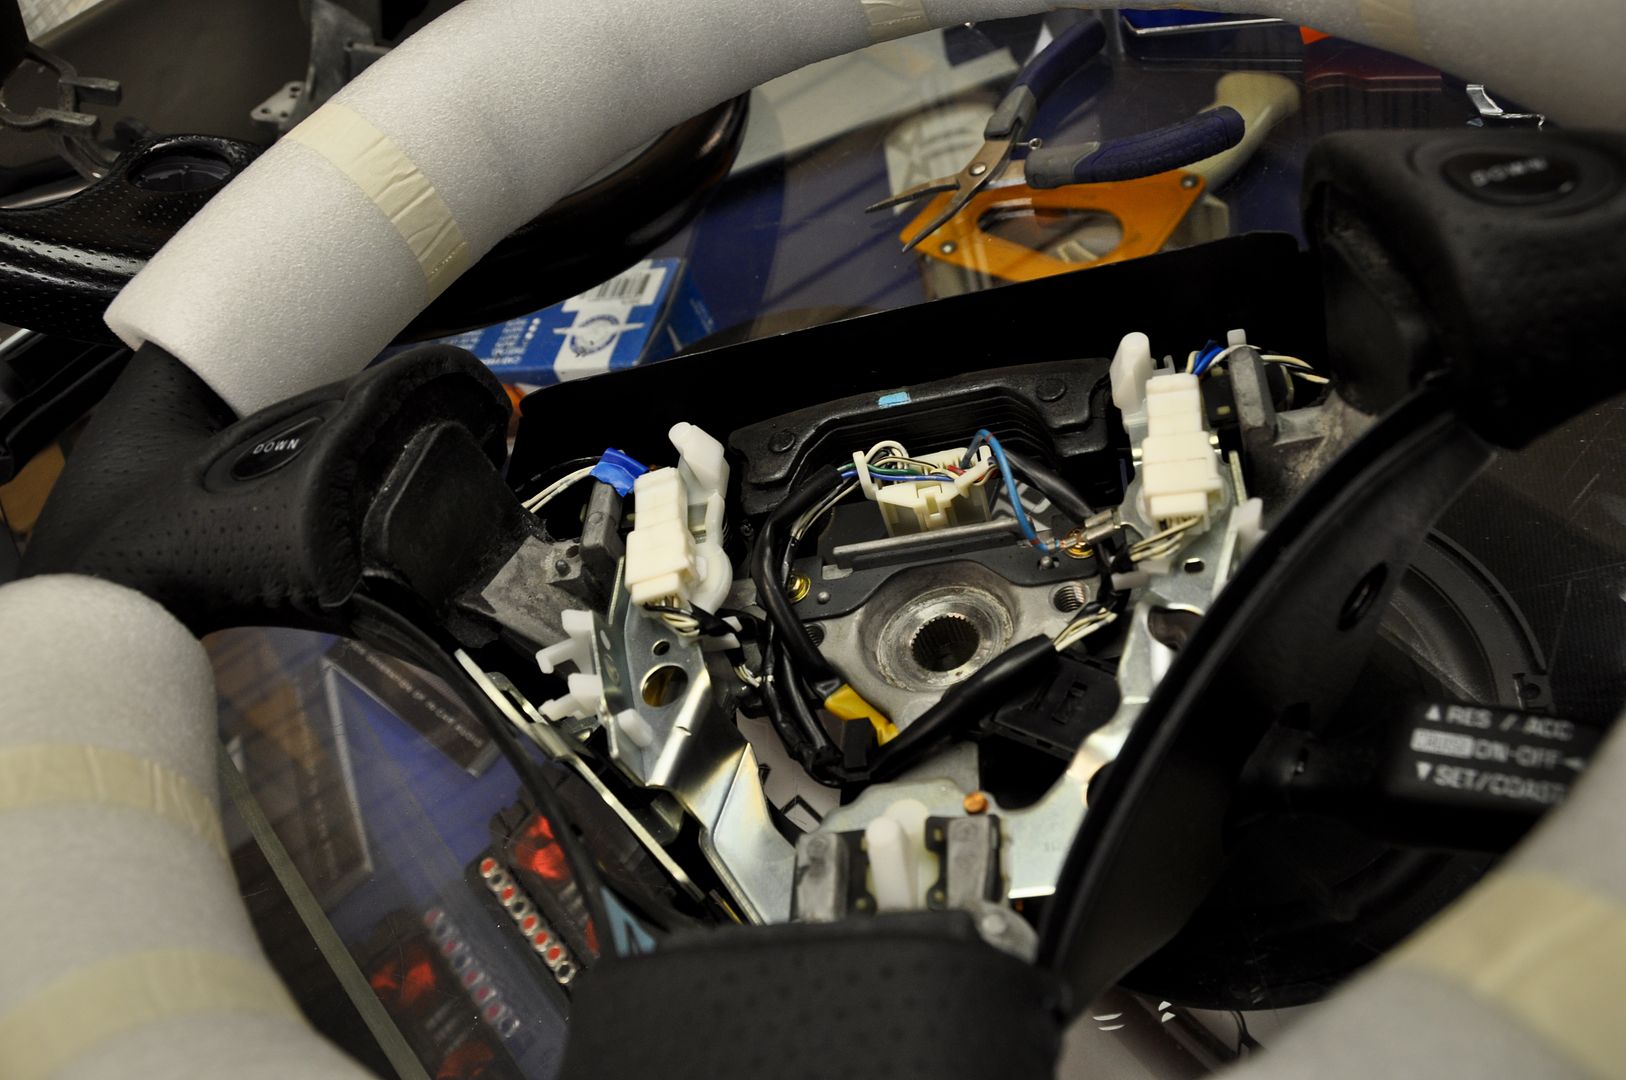
Unwrapped some of the foam to see what’s inside
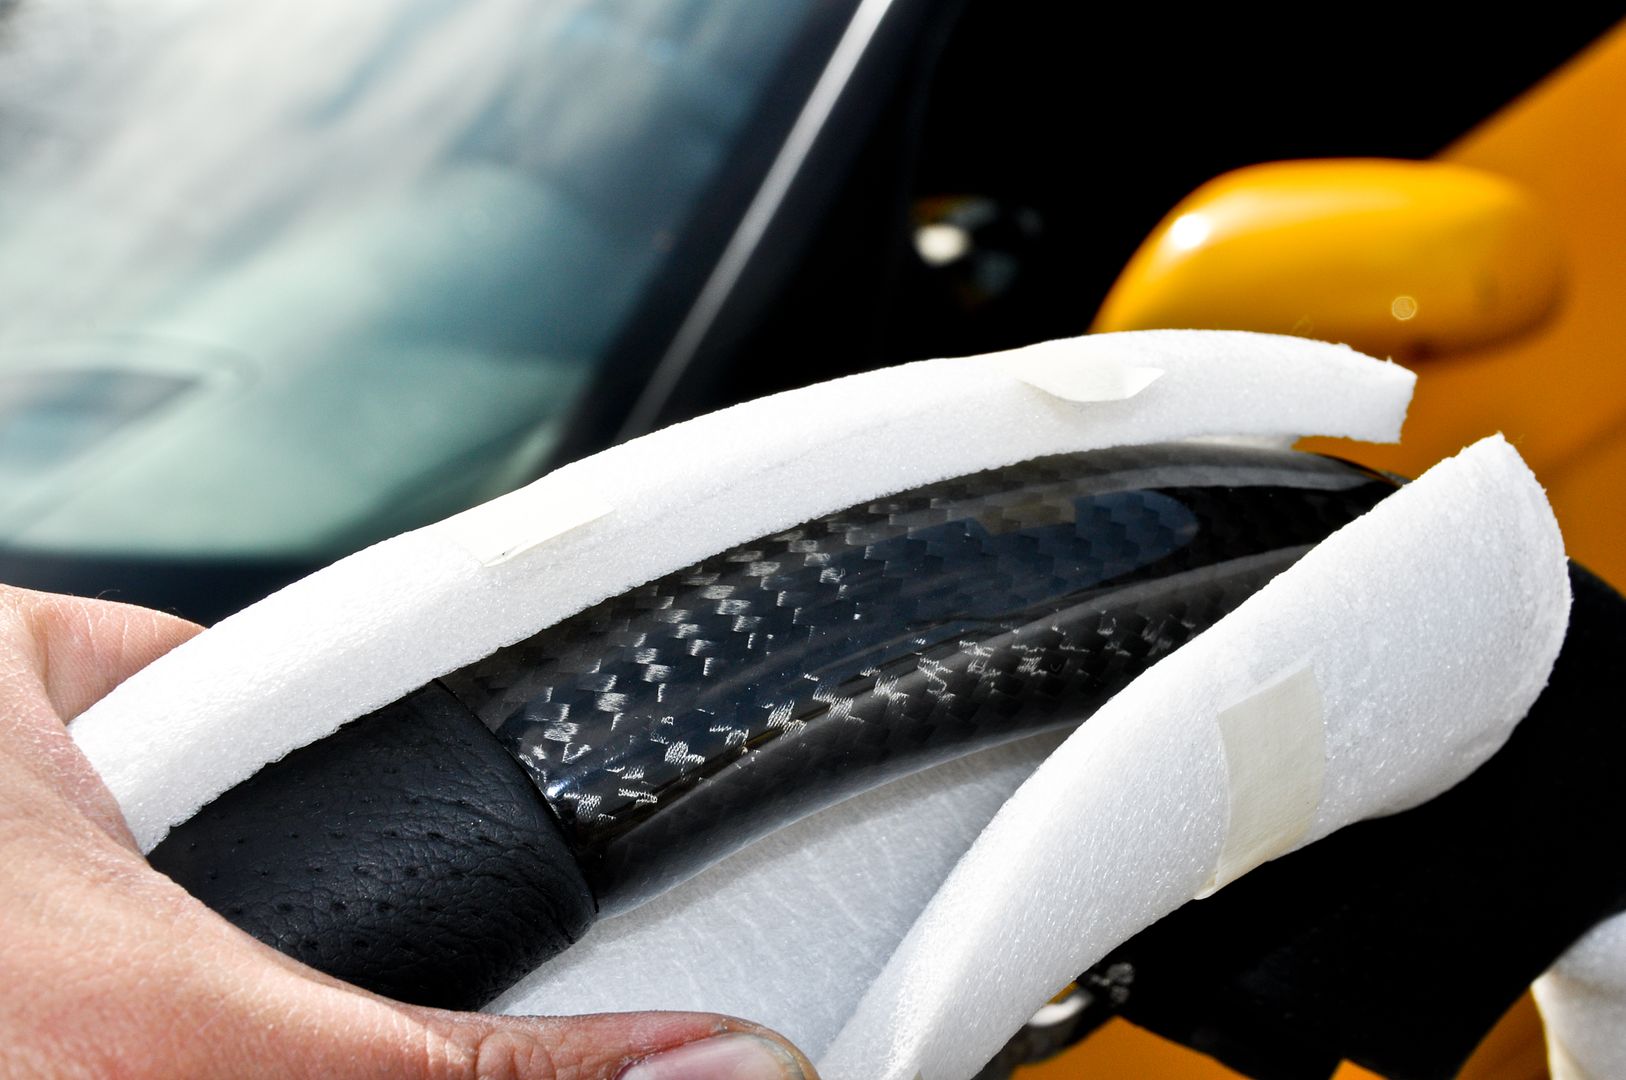

I can’t wait to get the airbag cover color-matched and install this new steering wheel setup in the car
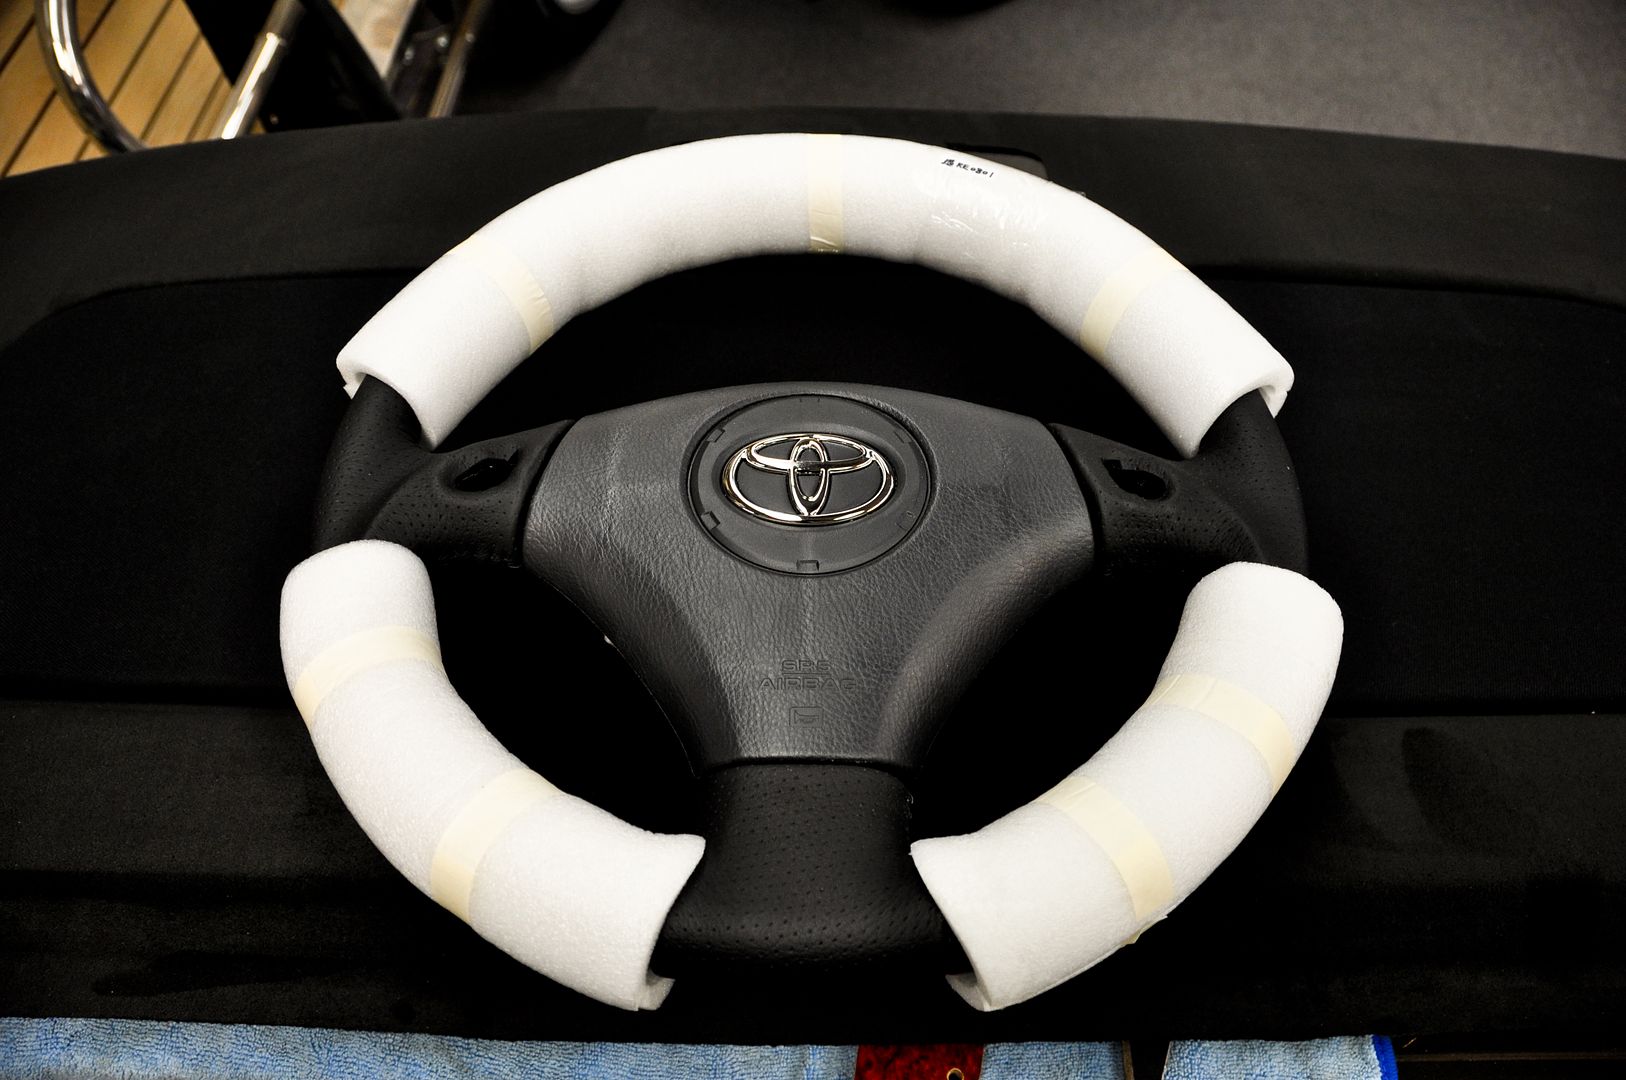
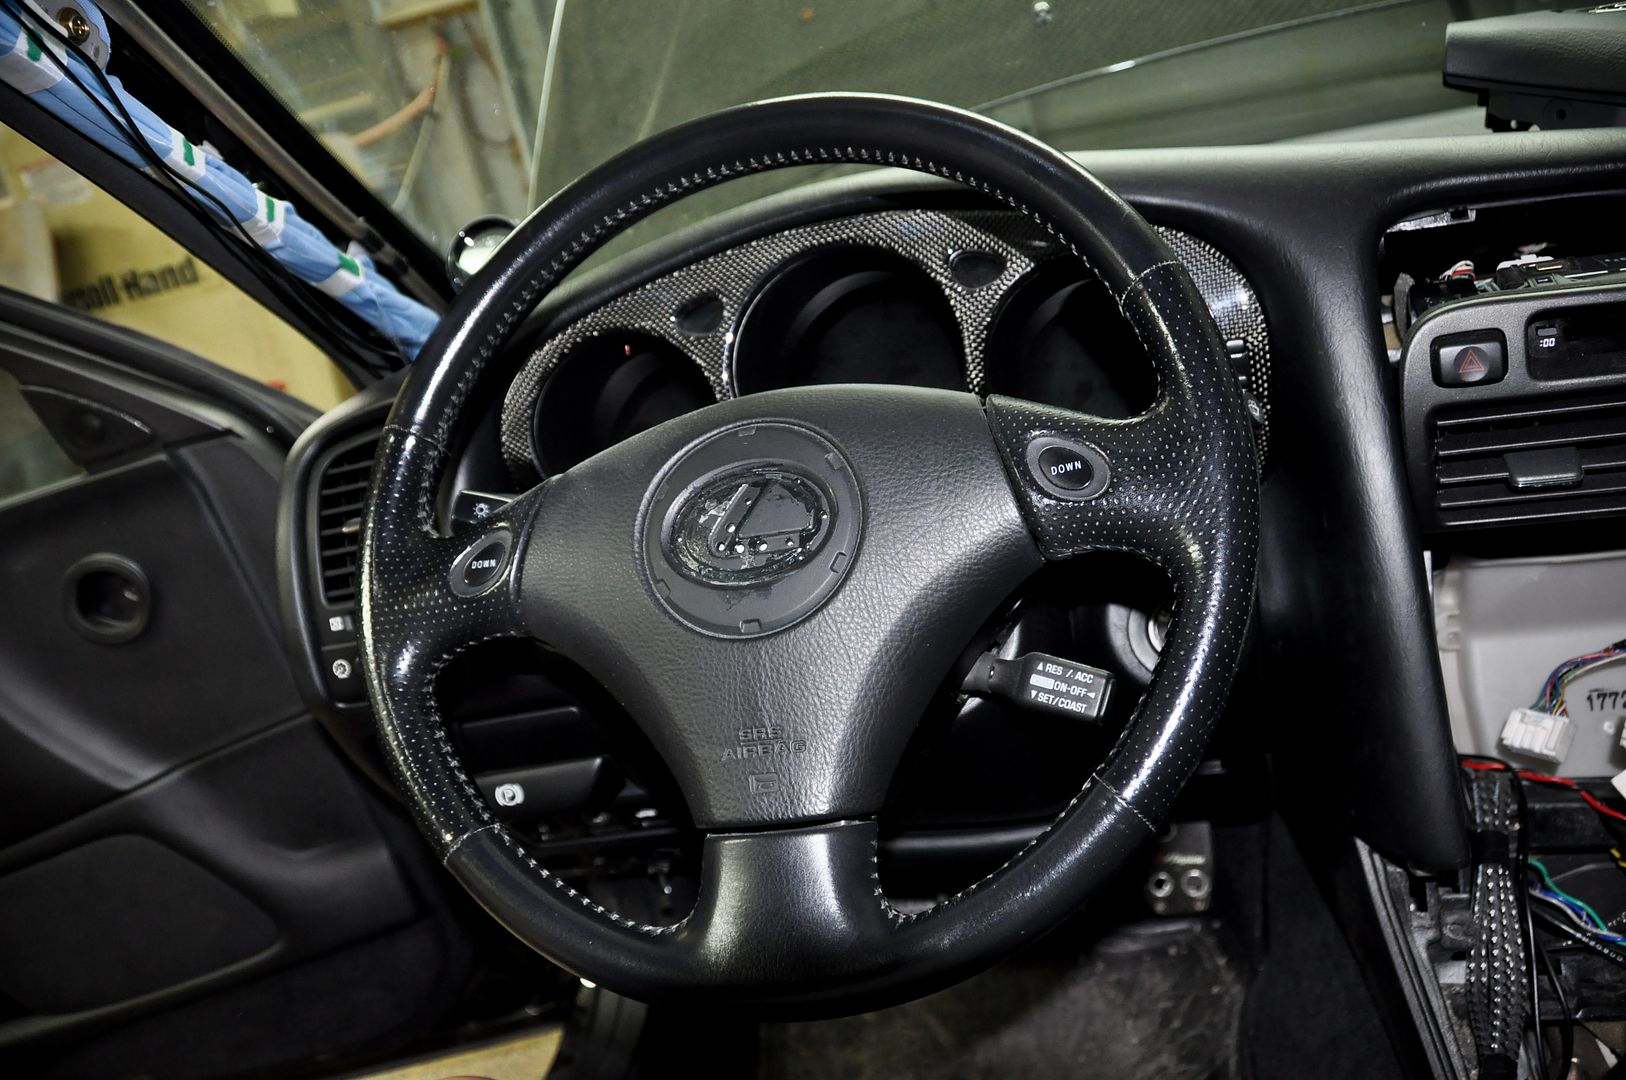
Here’s the OEM wheel (The “L” emblem was taken off awhile ago. I made a small carbon insert to cover that up.
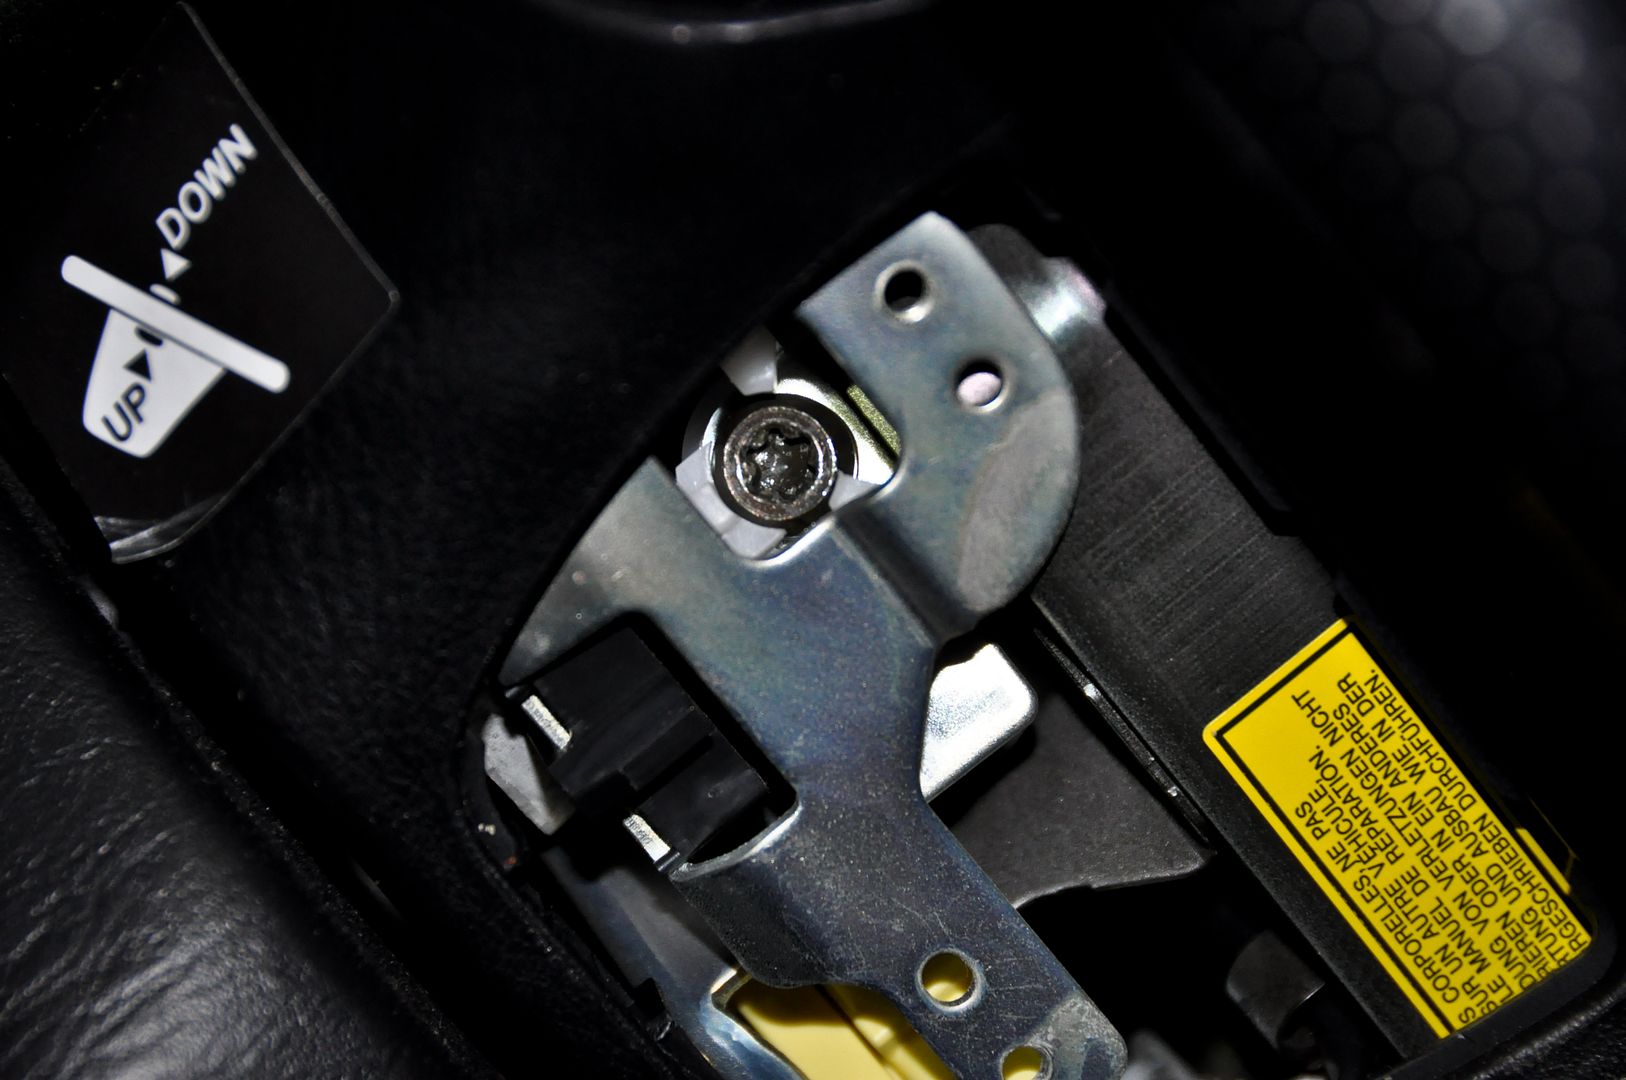
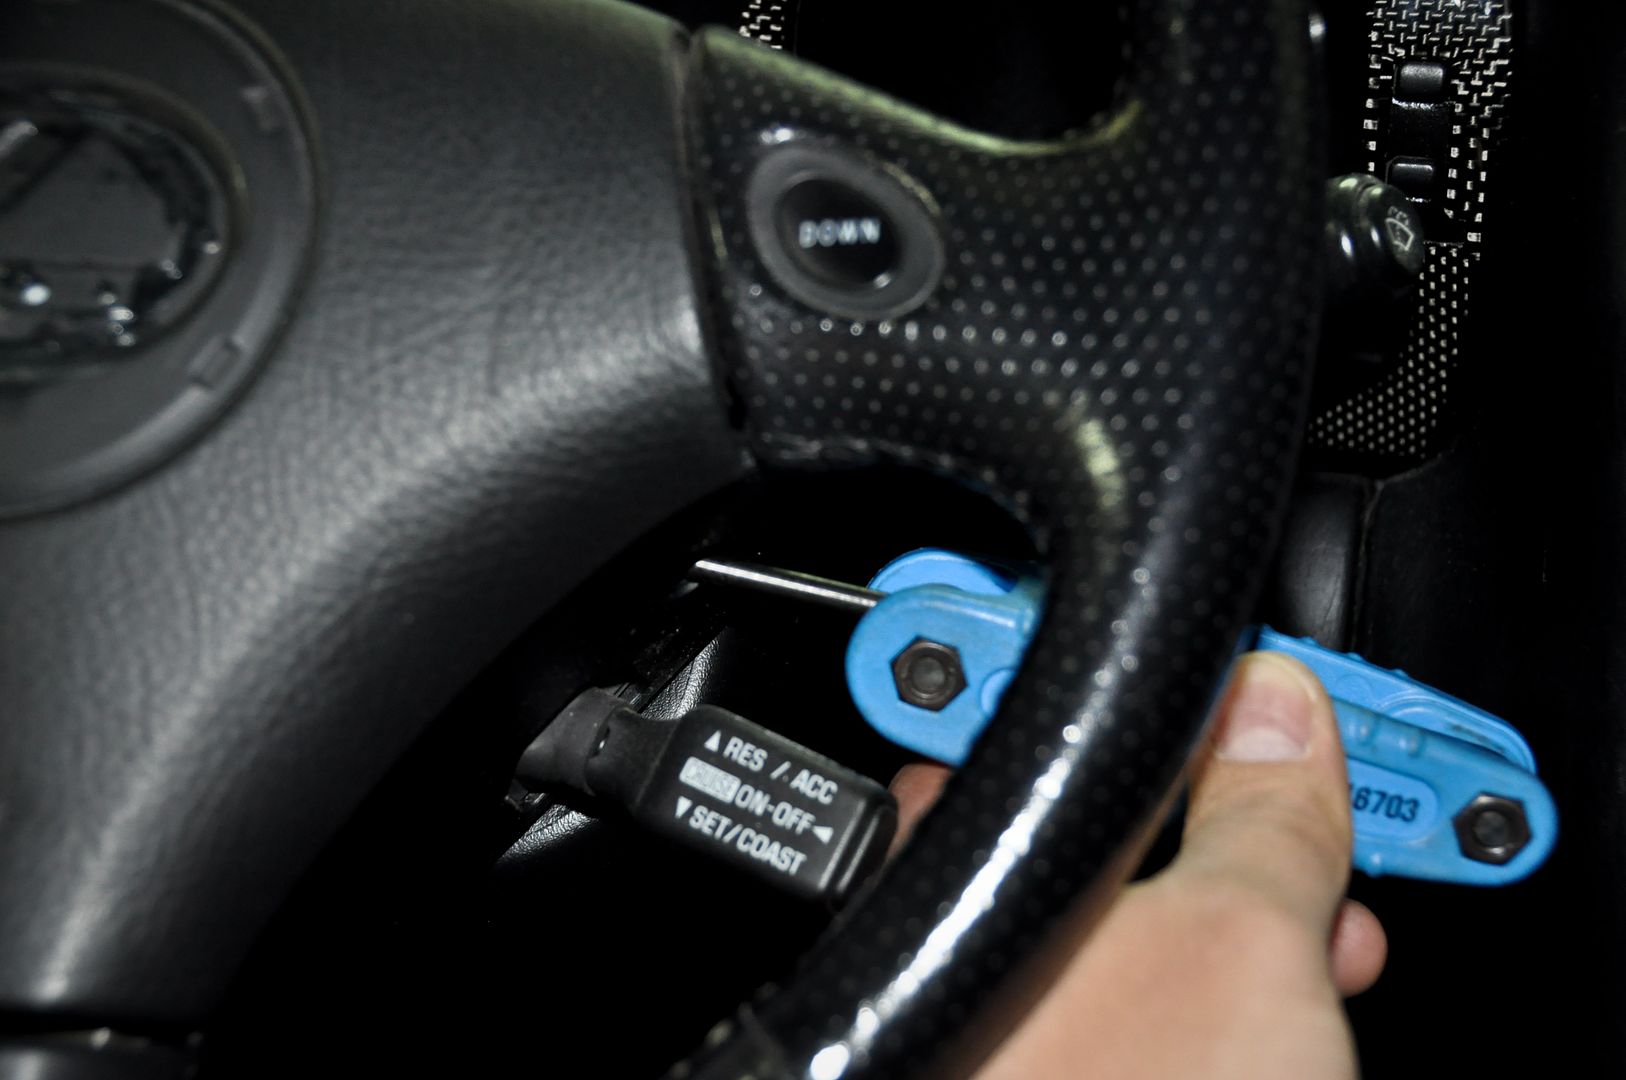
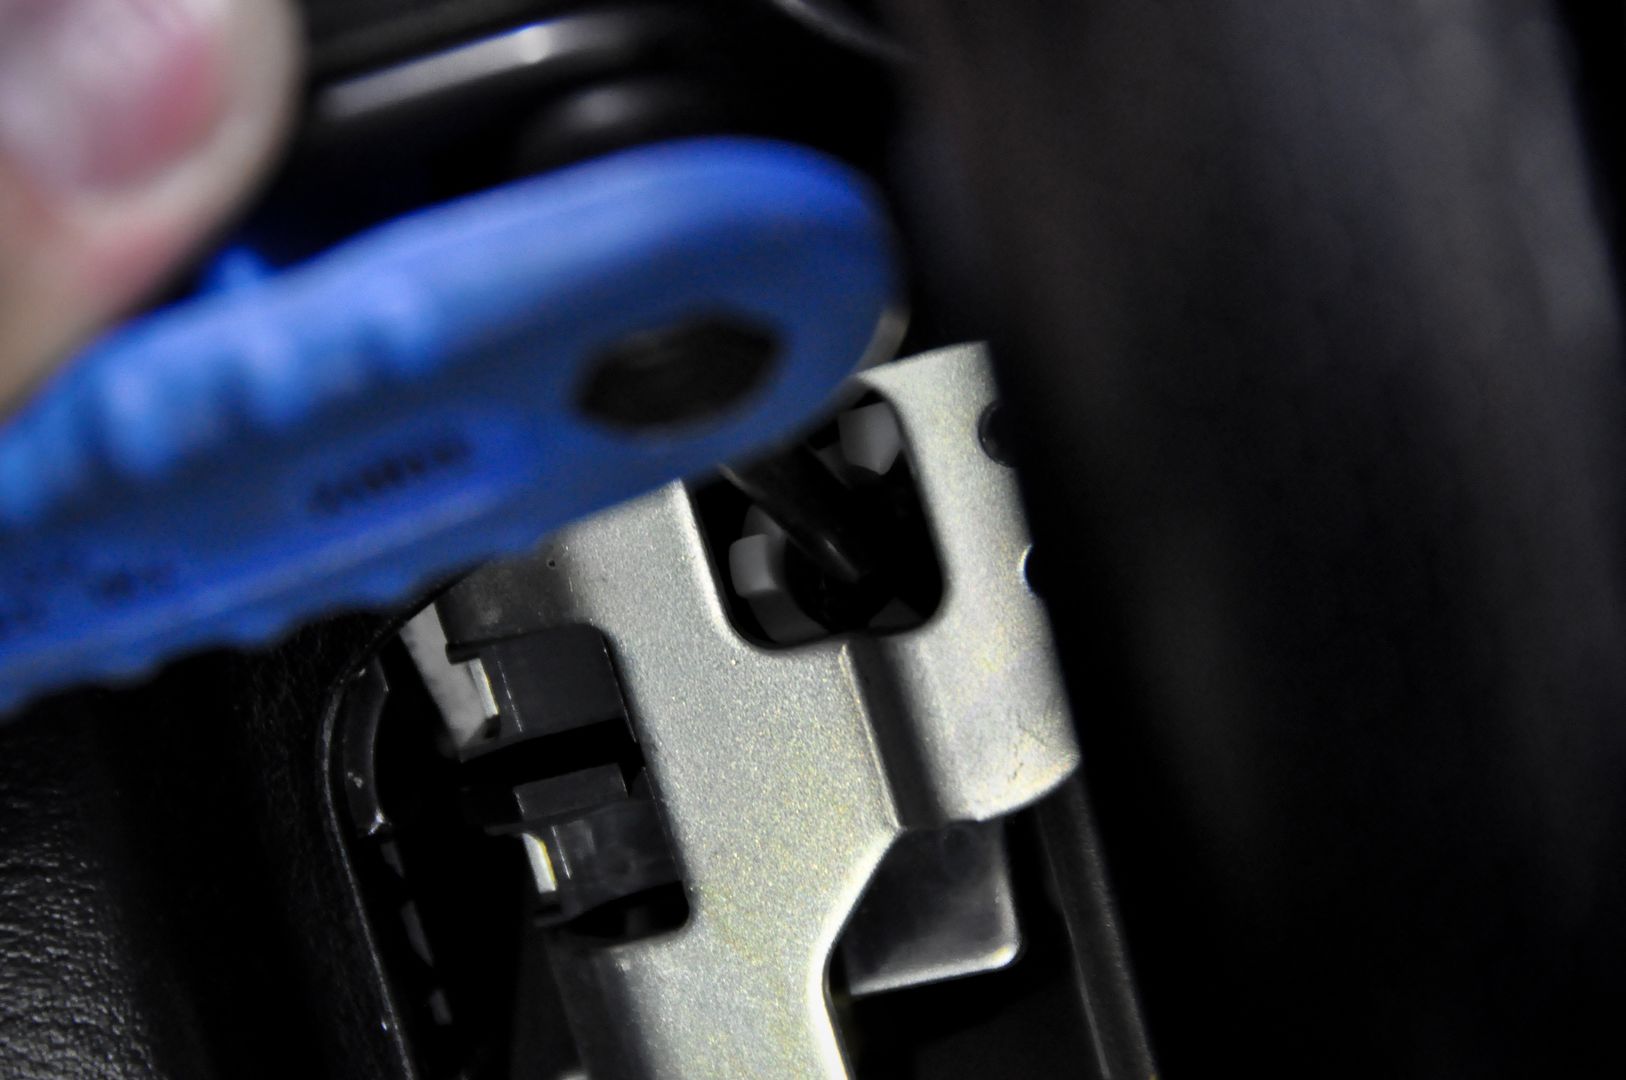
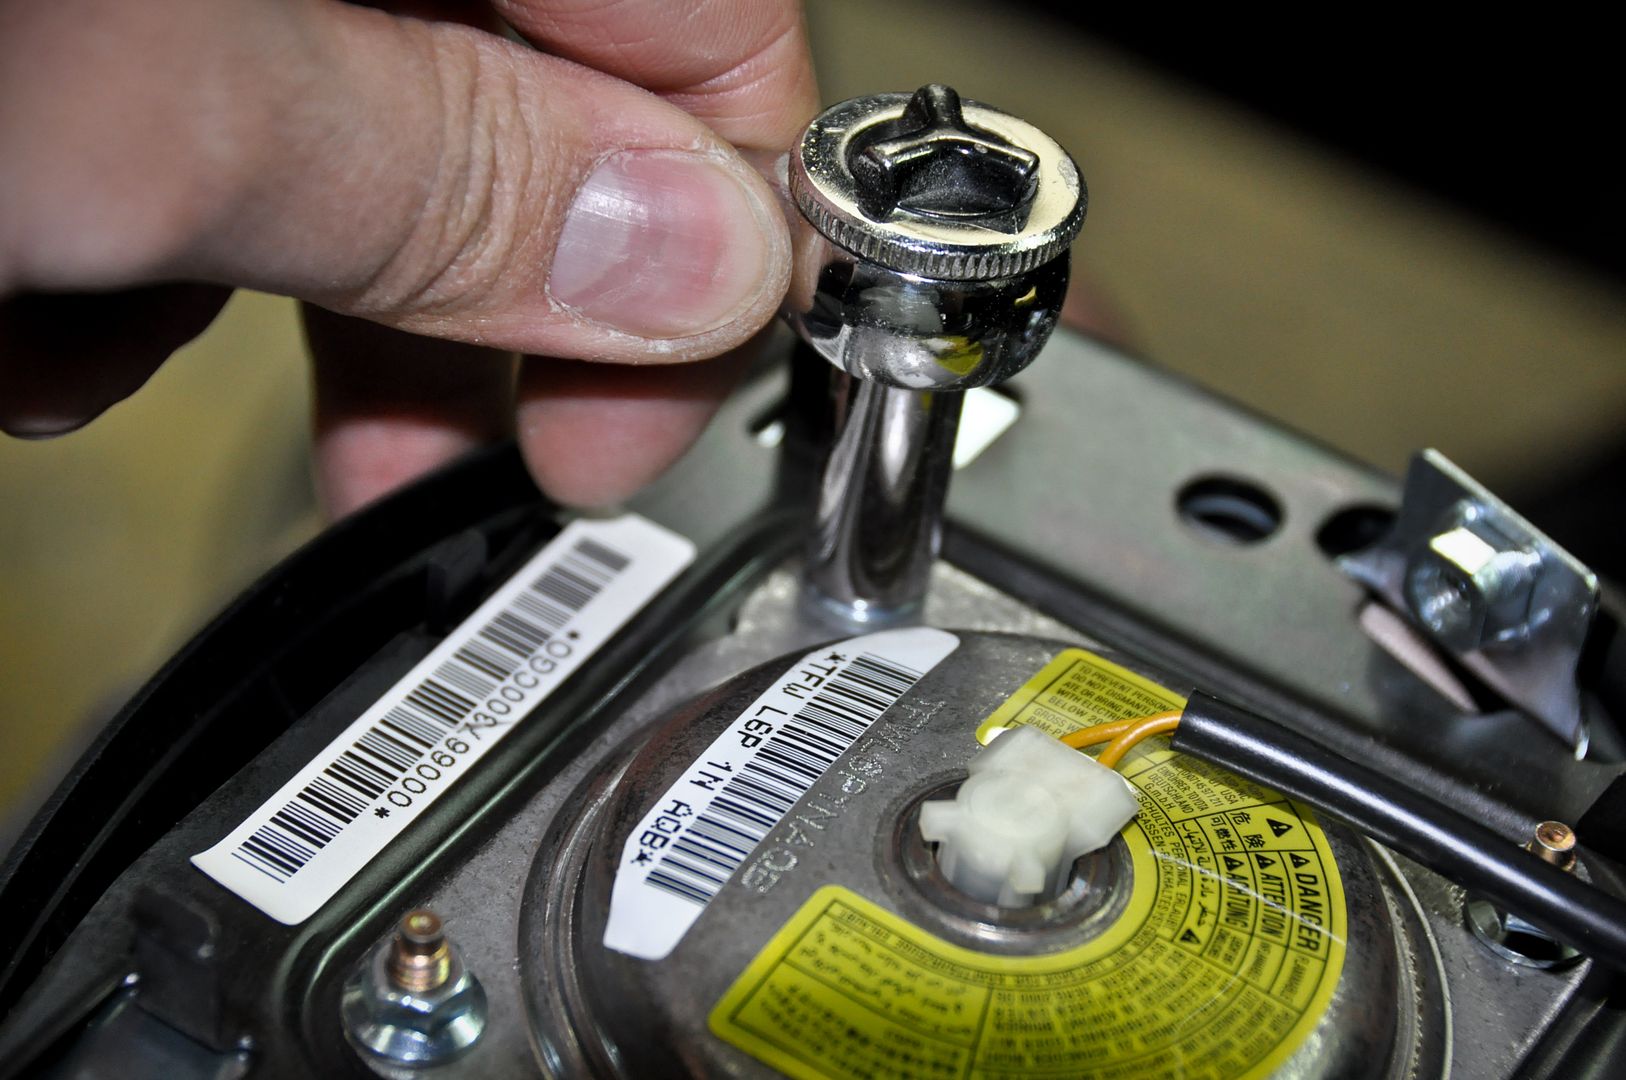
Took the two screws out from the sides (1 on each side of the airbag behind the wheel)
Got them back
Love the depth
Steering Wheel Swap
Got this baby from JDM land
Complete with E-Shift button locations
I got this Aristo airbag cover awhile back on the classifieds and it is a perfect fit. Just need to get it color matched and we’re all set.
Unwrapped some of the foam to see what’s inside
I can’t wait to get the airbag cover color-matched and install this new steering wheel setup in the car
Here’s the OEM wheel (The “L” emblem was taken off awhile ago. I made a small carbon insert to cover that up.
Took the two screws out from the sides (1 on each side of the airbag behind the wheel)
 03-19-11, 04:08 AM
#452
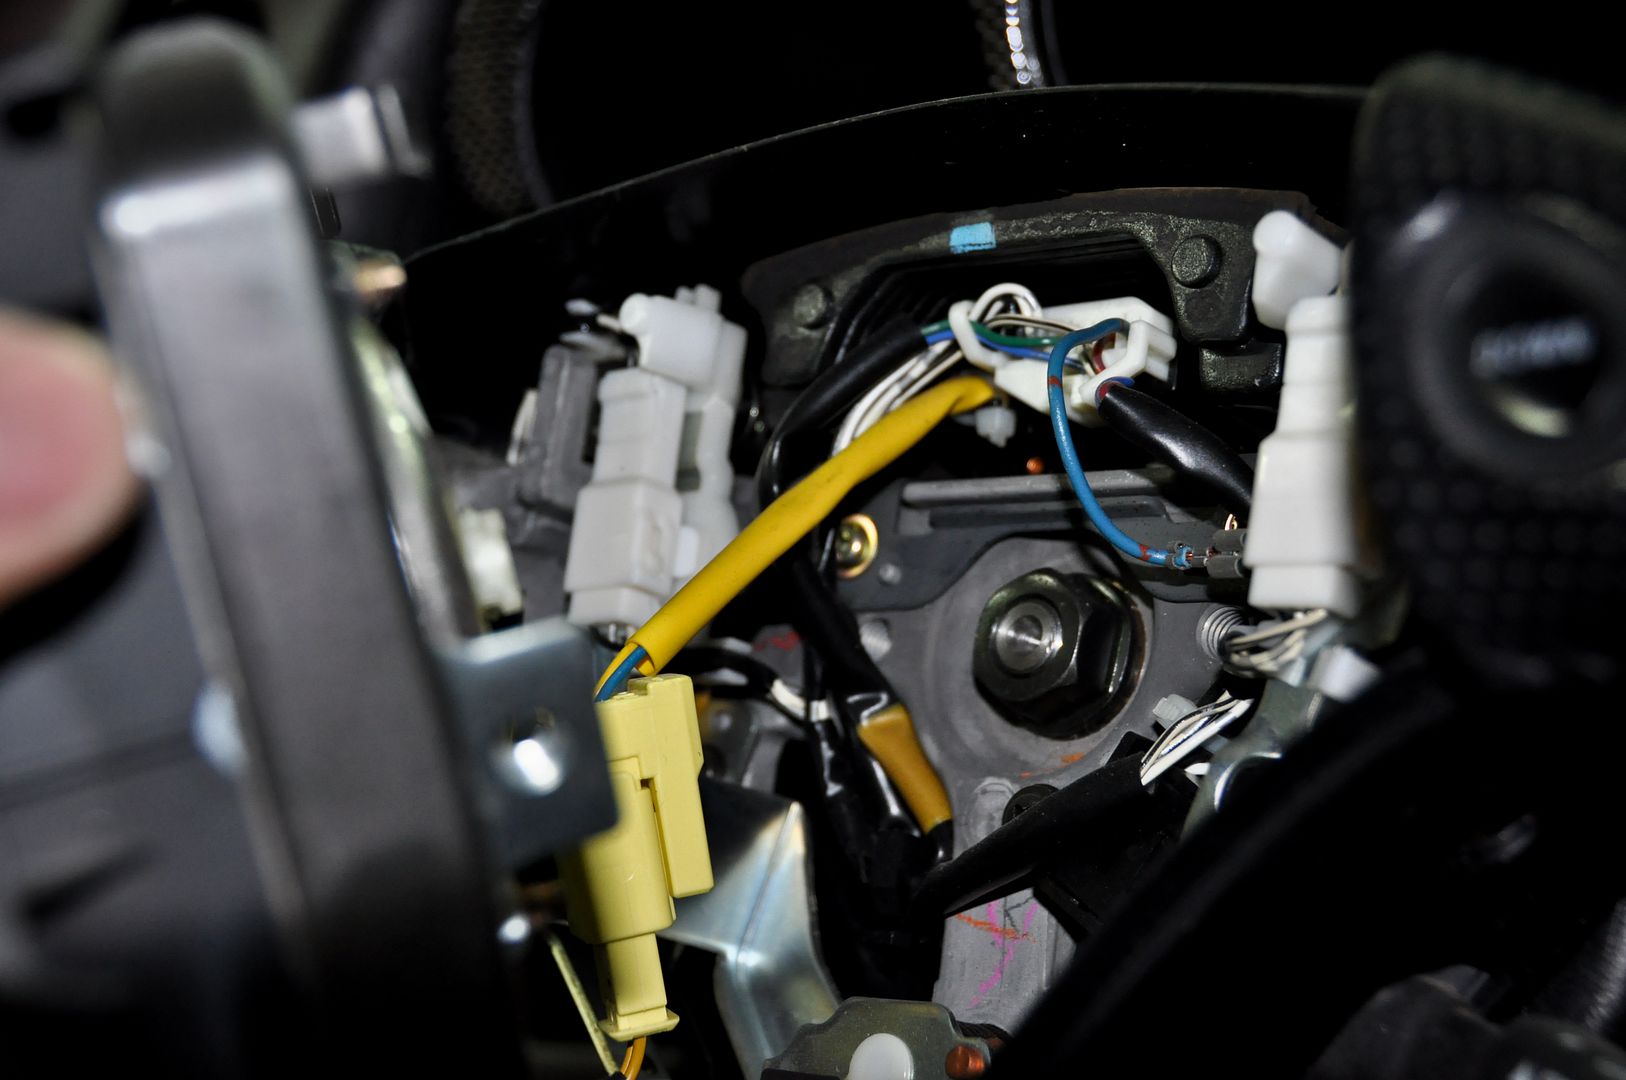
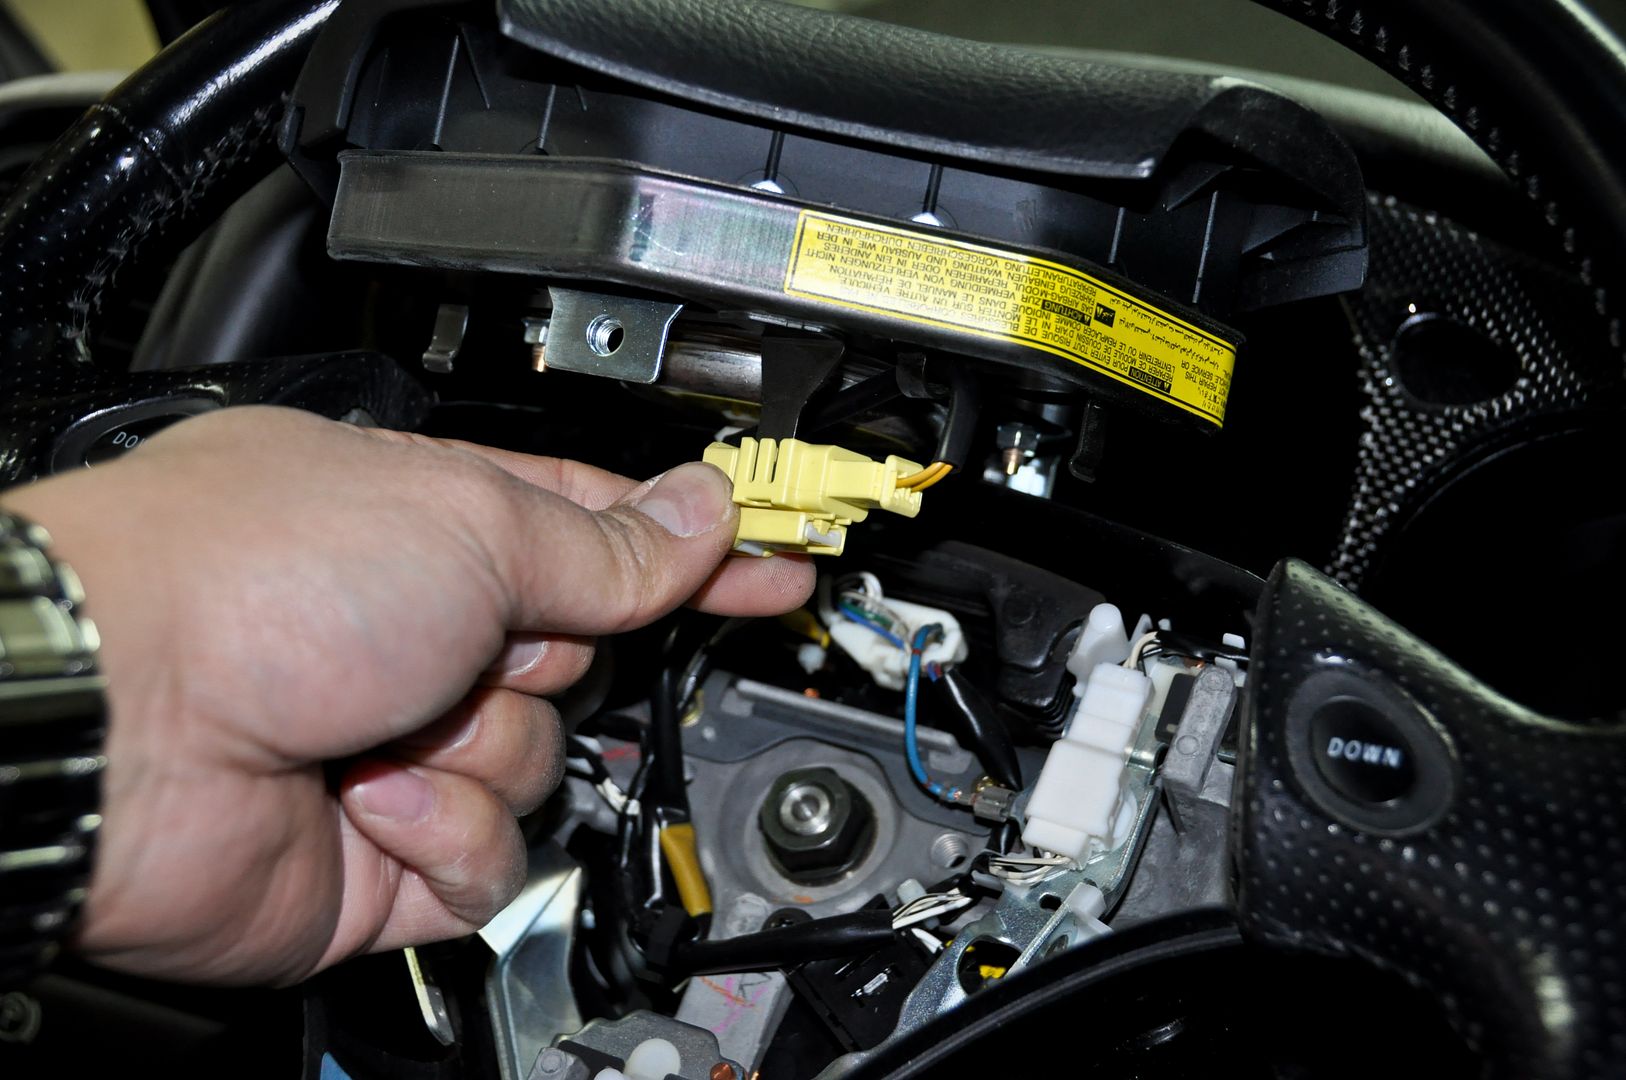
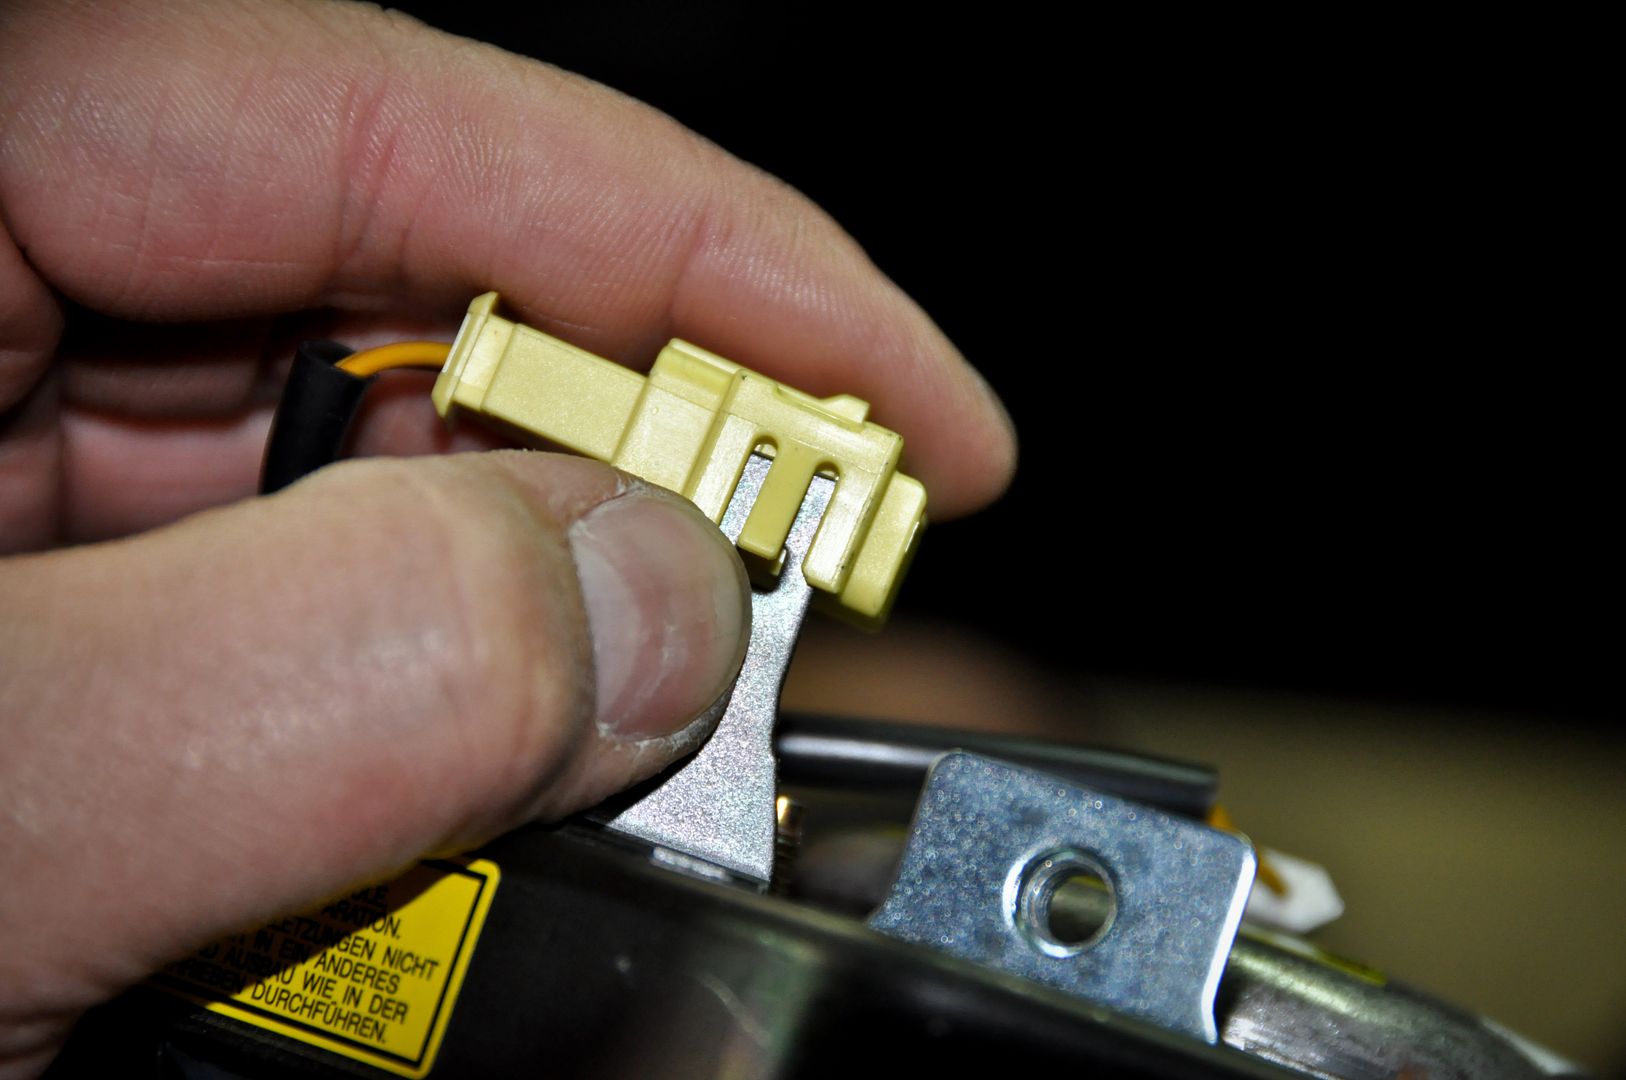
Removed the yellow airbag clip. Battery was disconnected before doing this
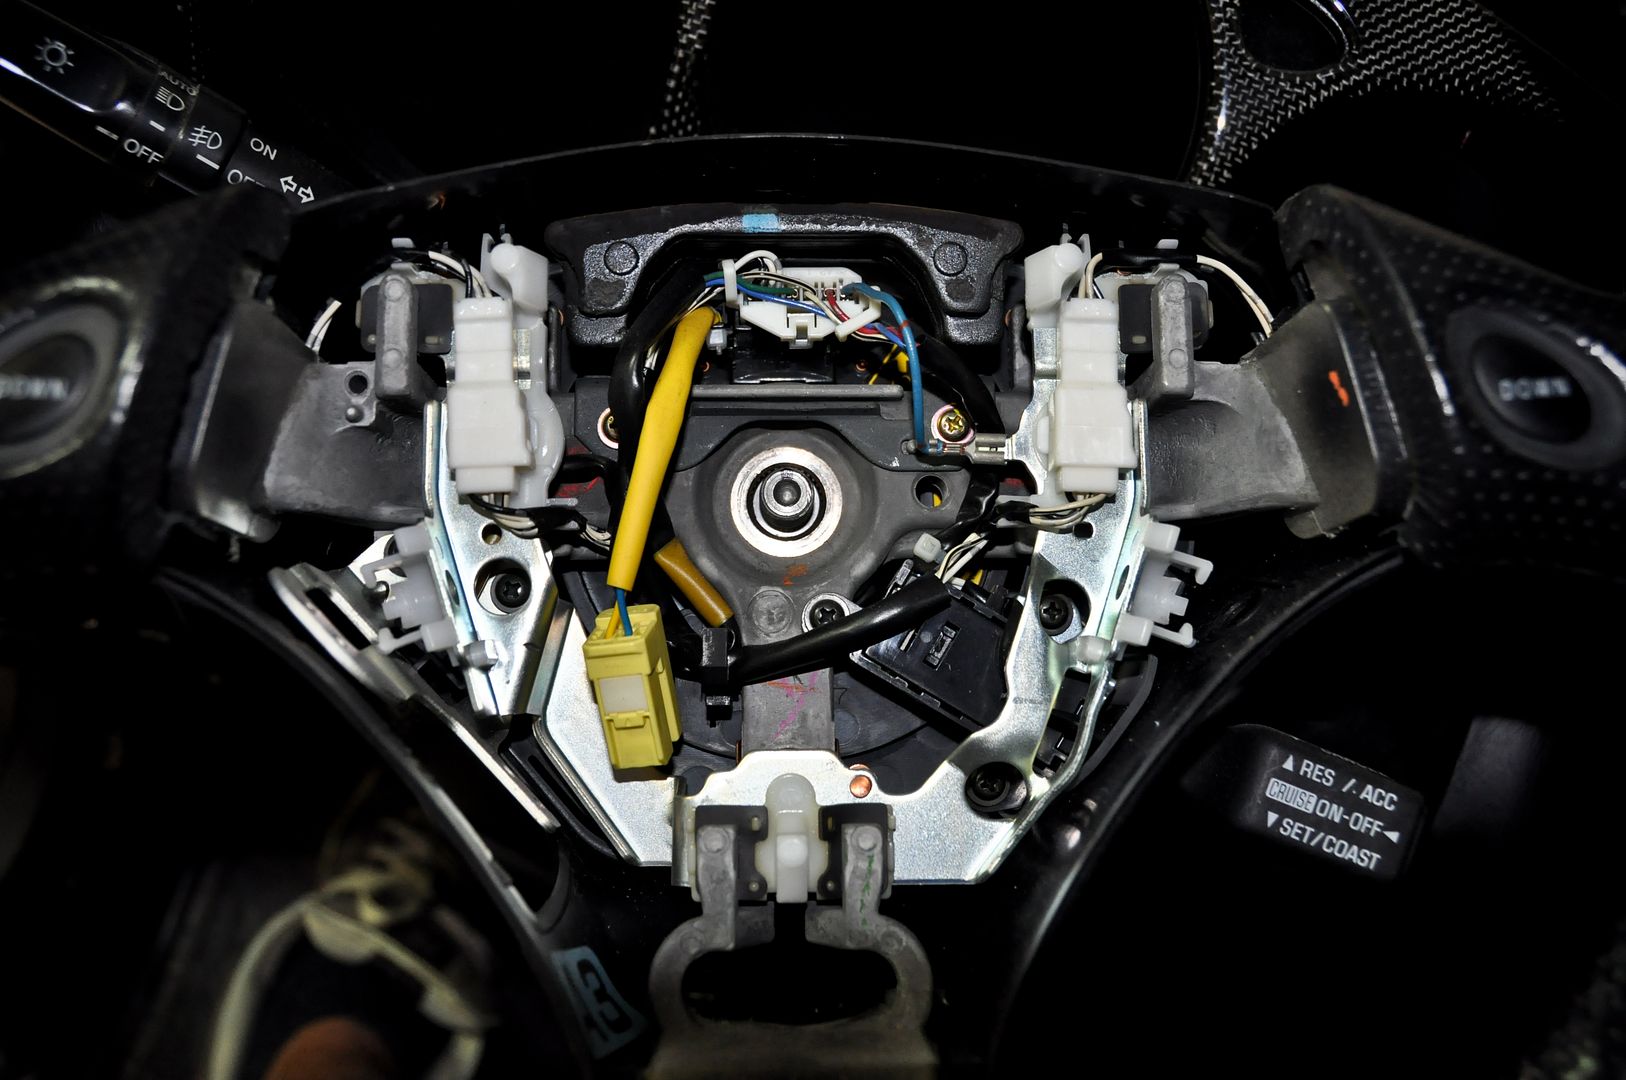
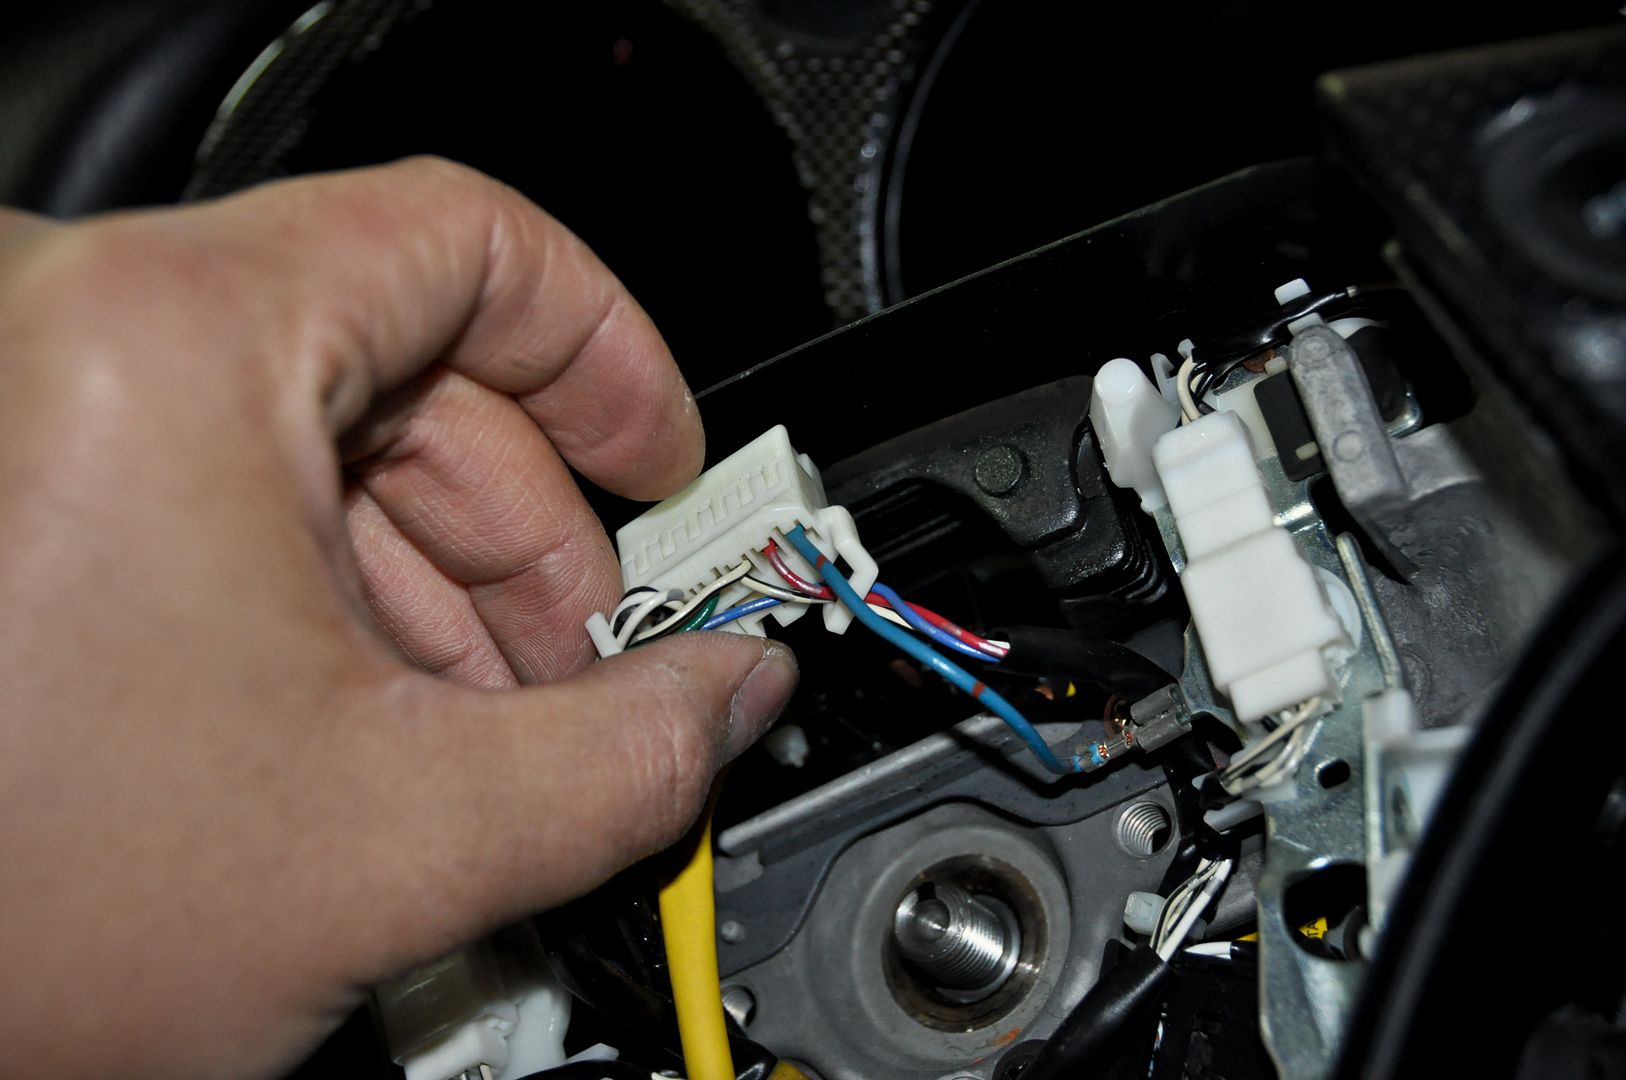
Removed the white clip connected to the hub and gave the wheel a few jerks and it came right off
Swapping the airbag from one housing to another
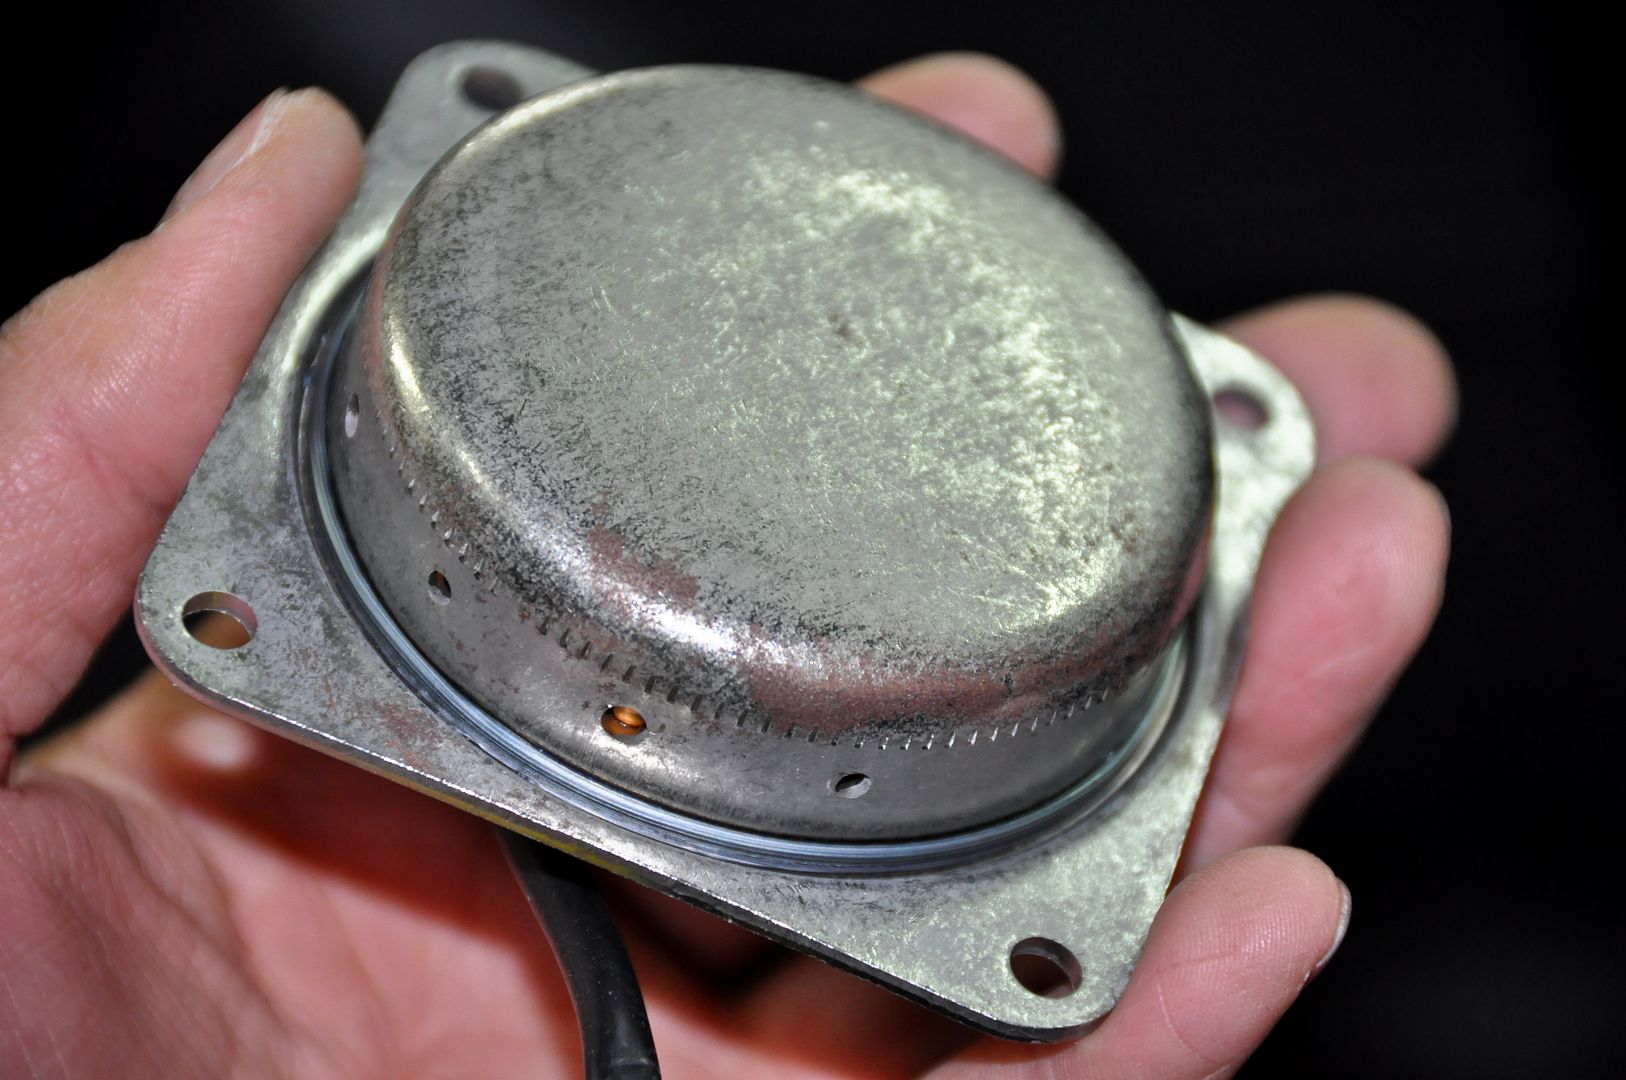
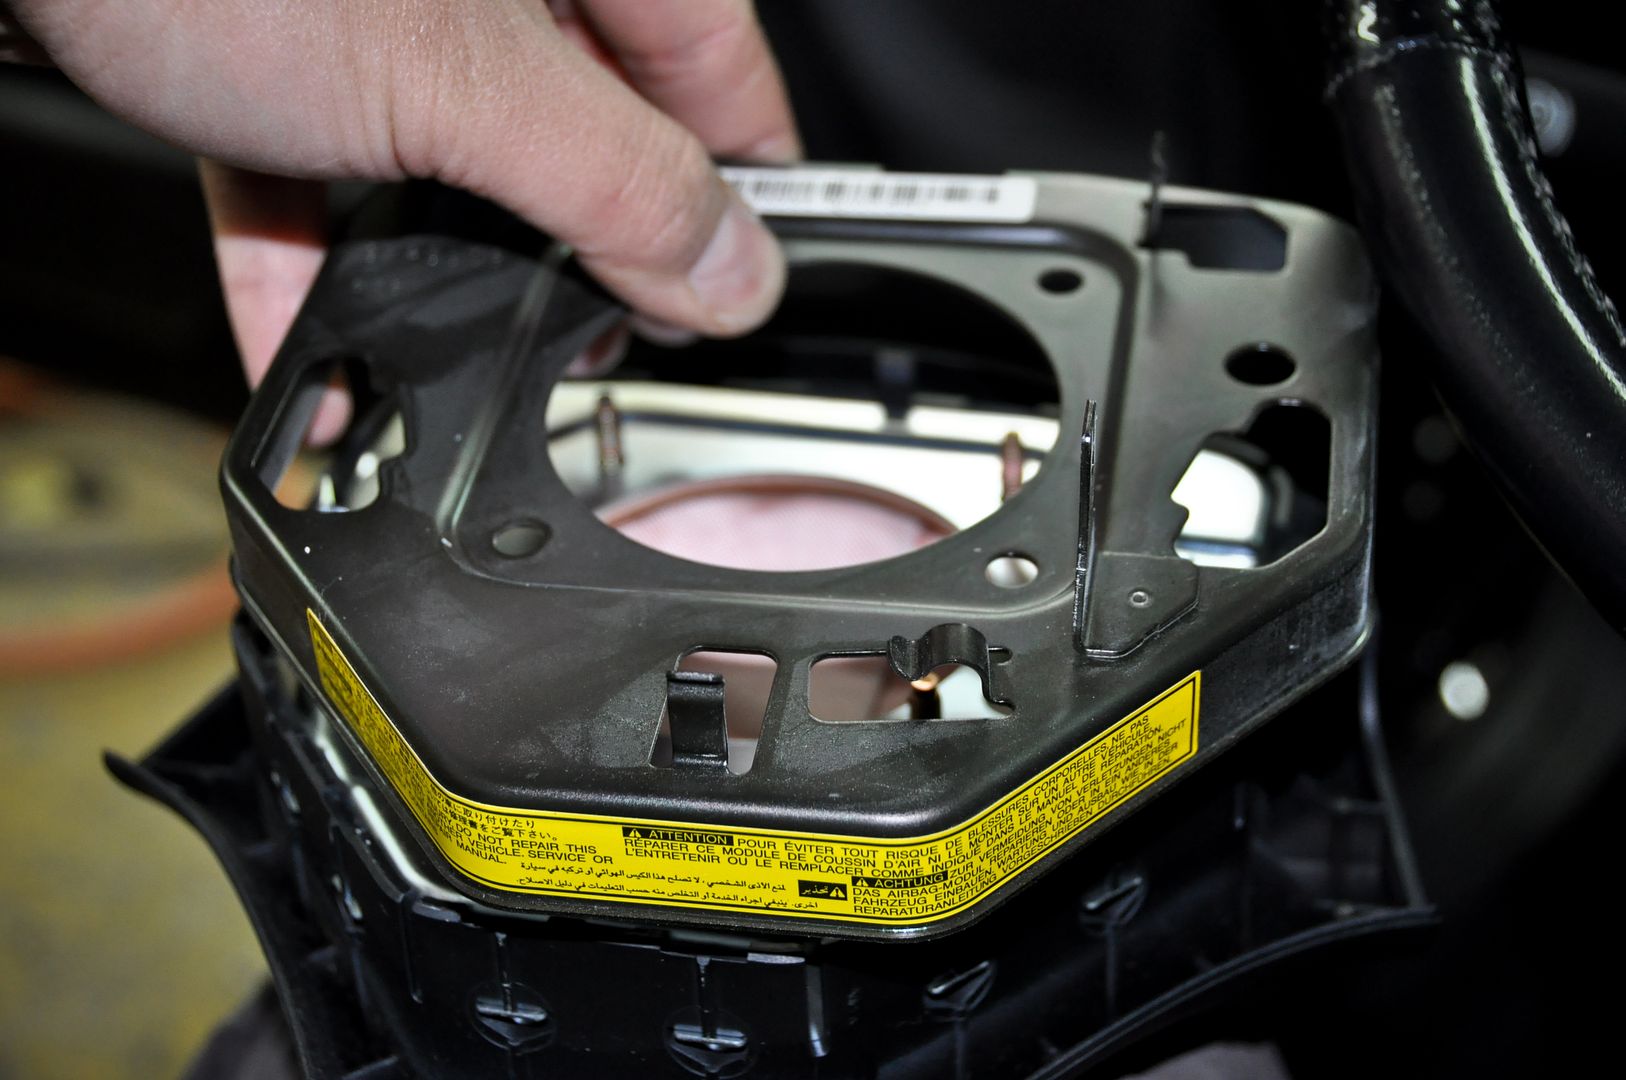


Transplanted all the internals from one wheel to the other
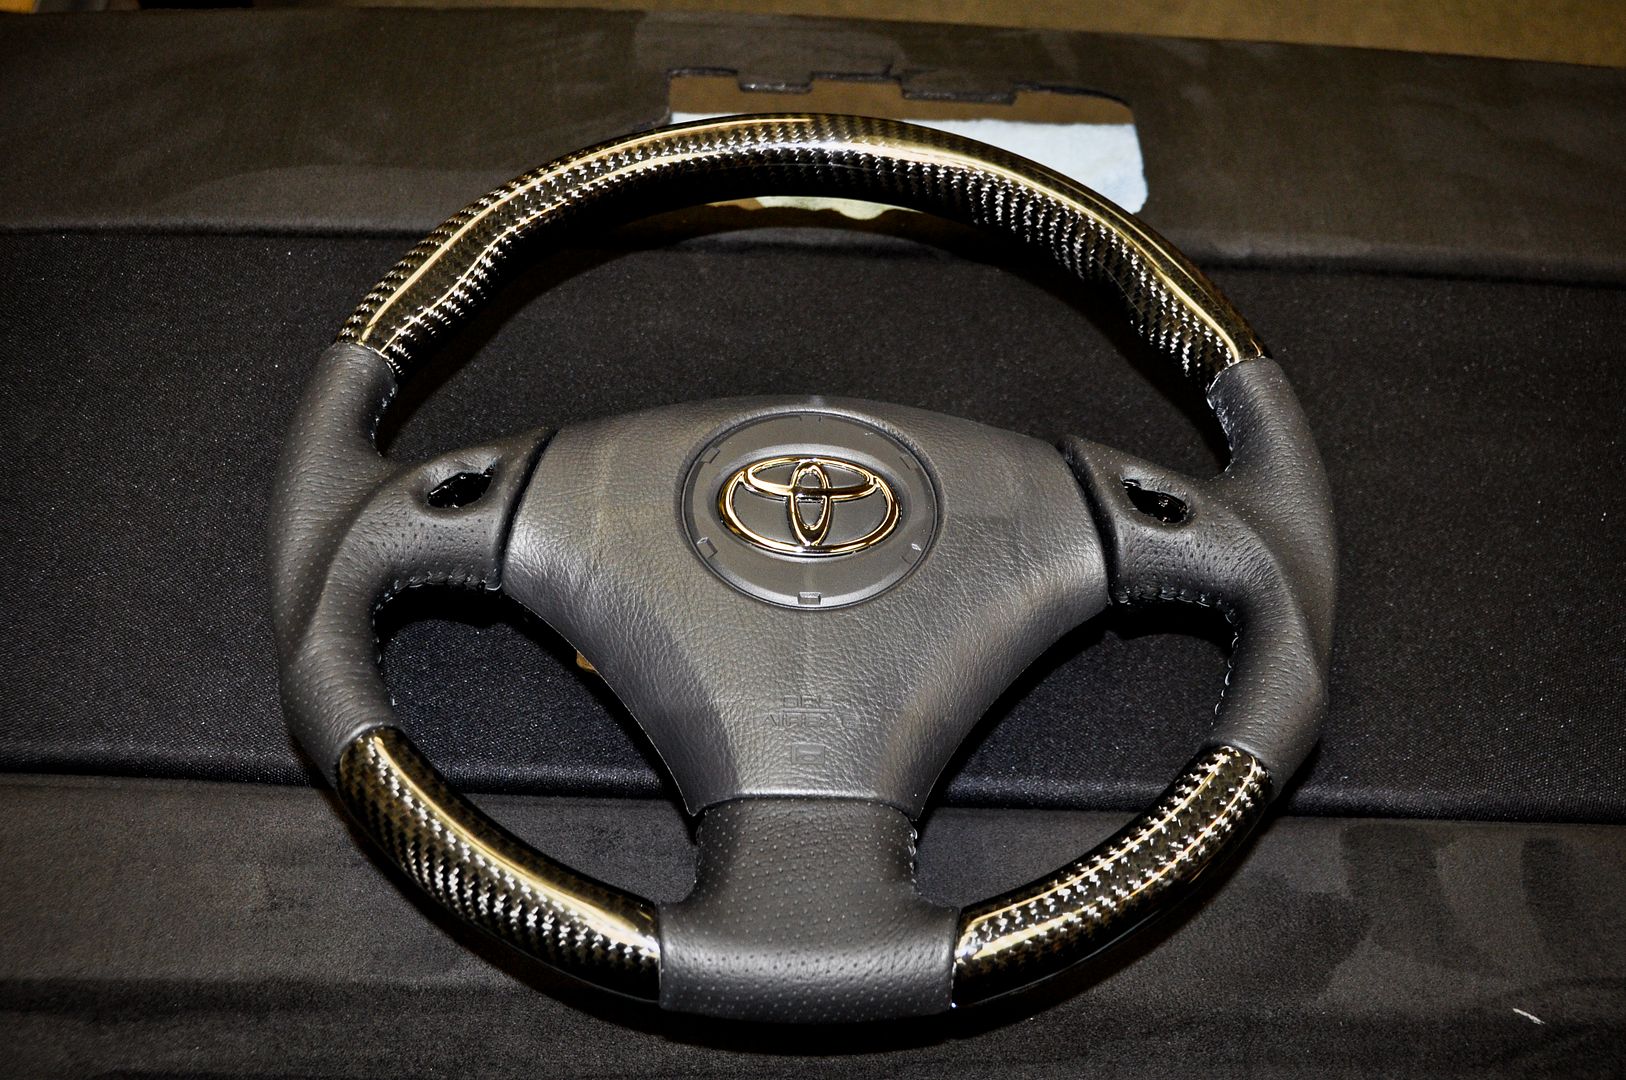
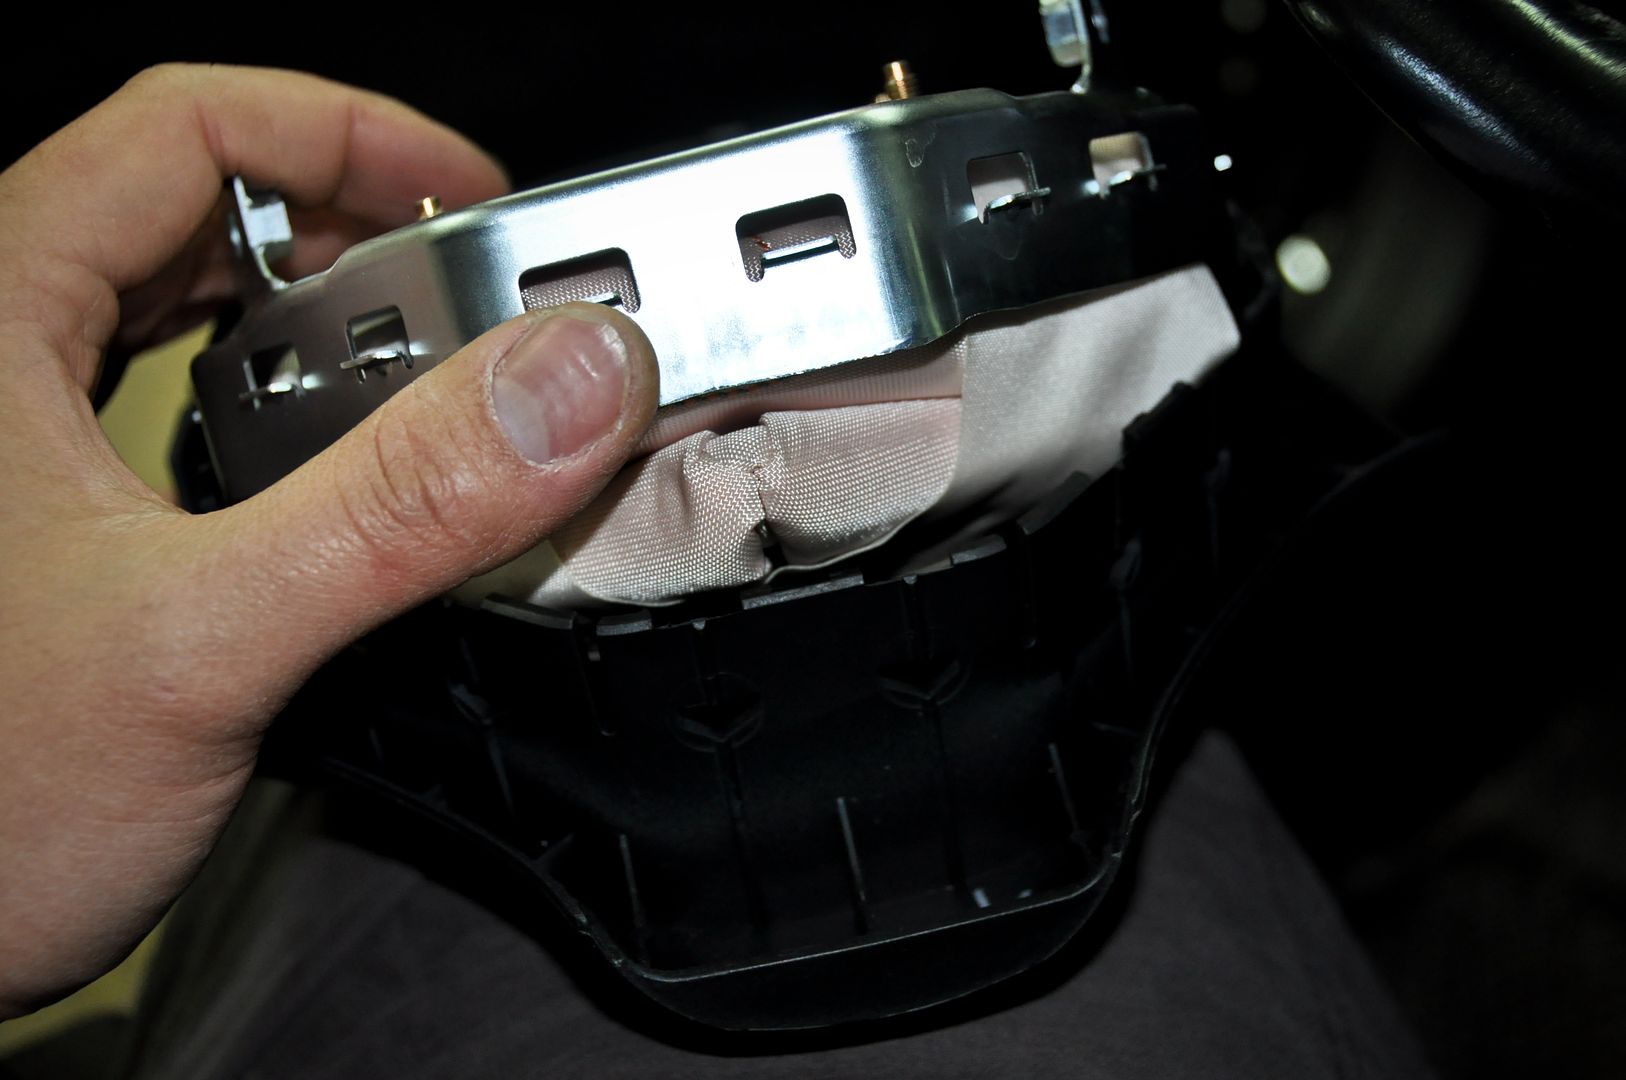
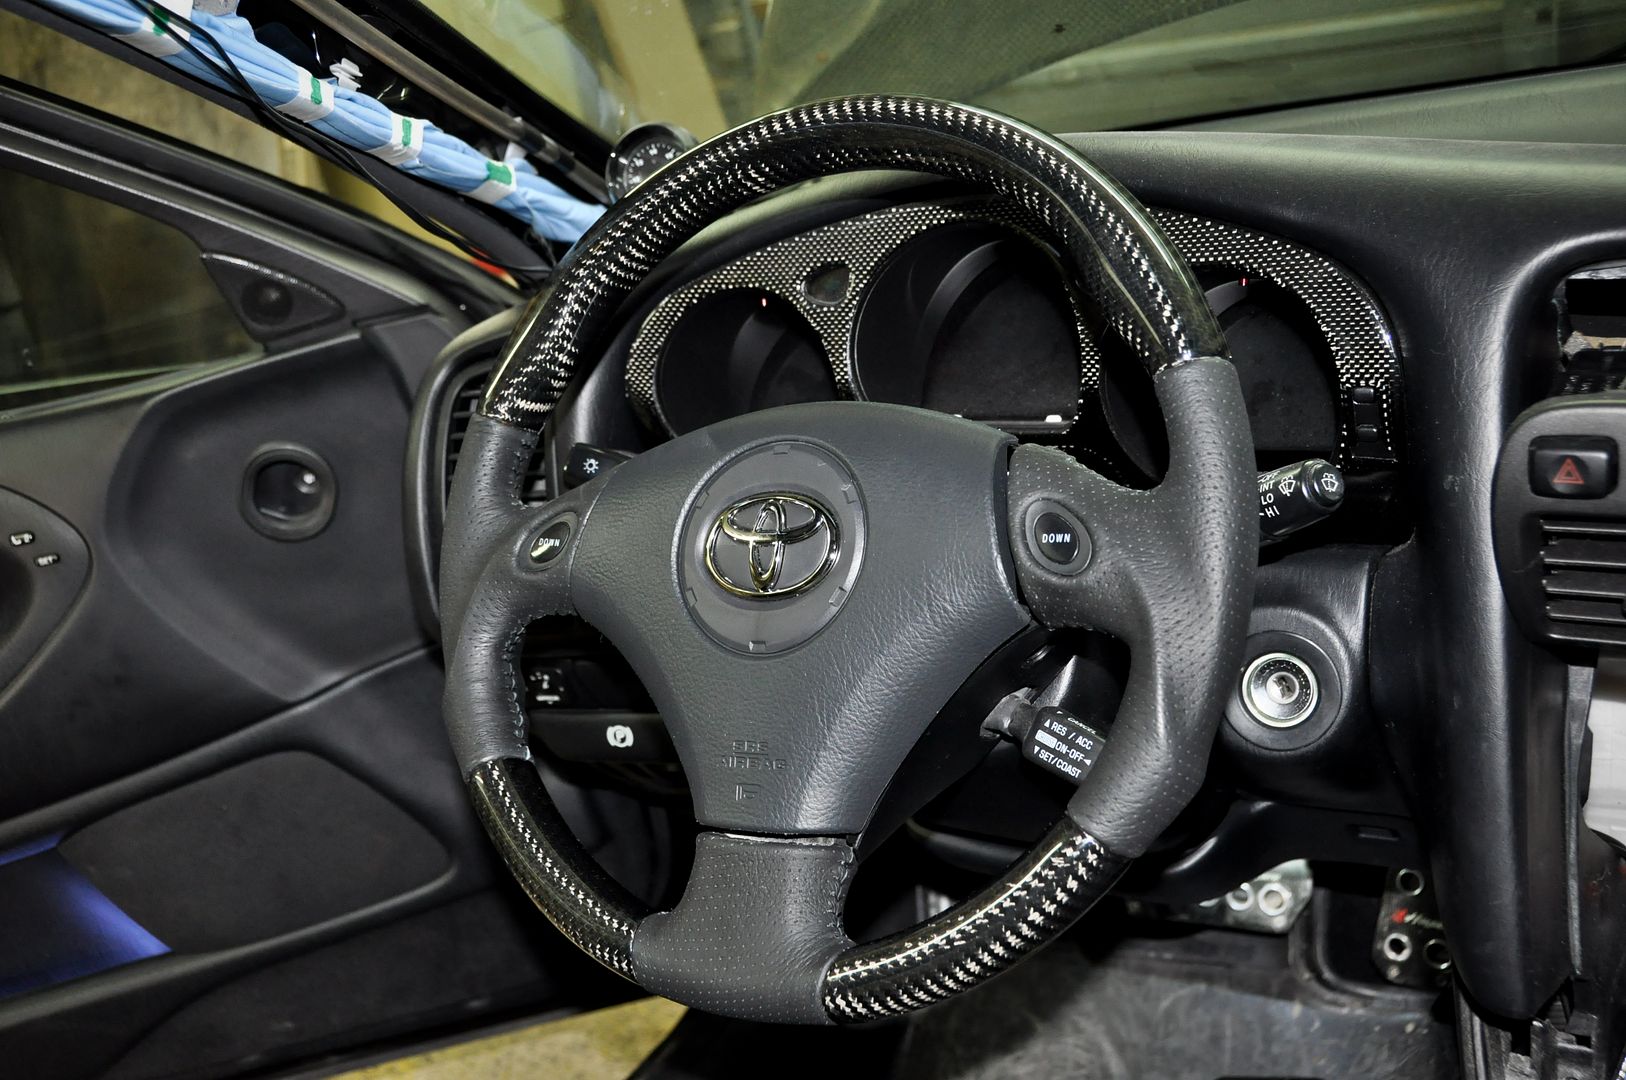
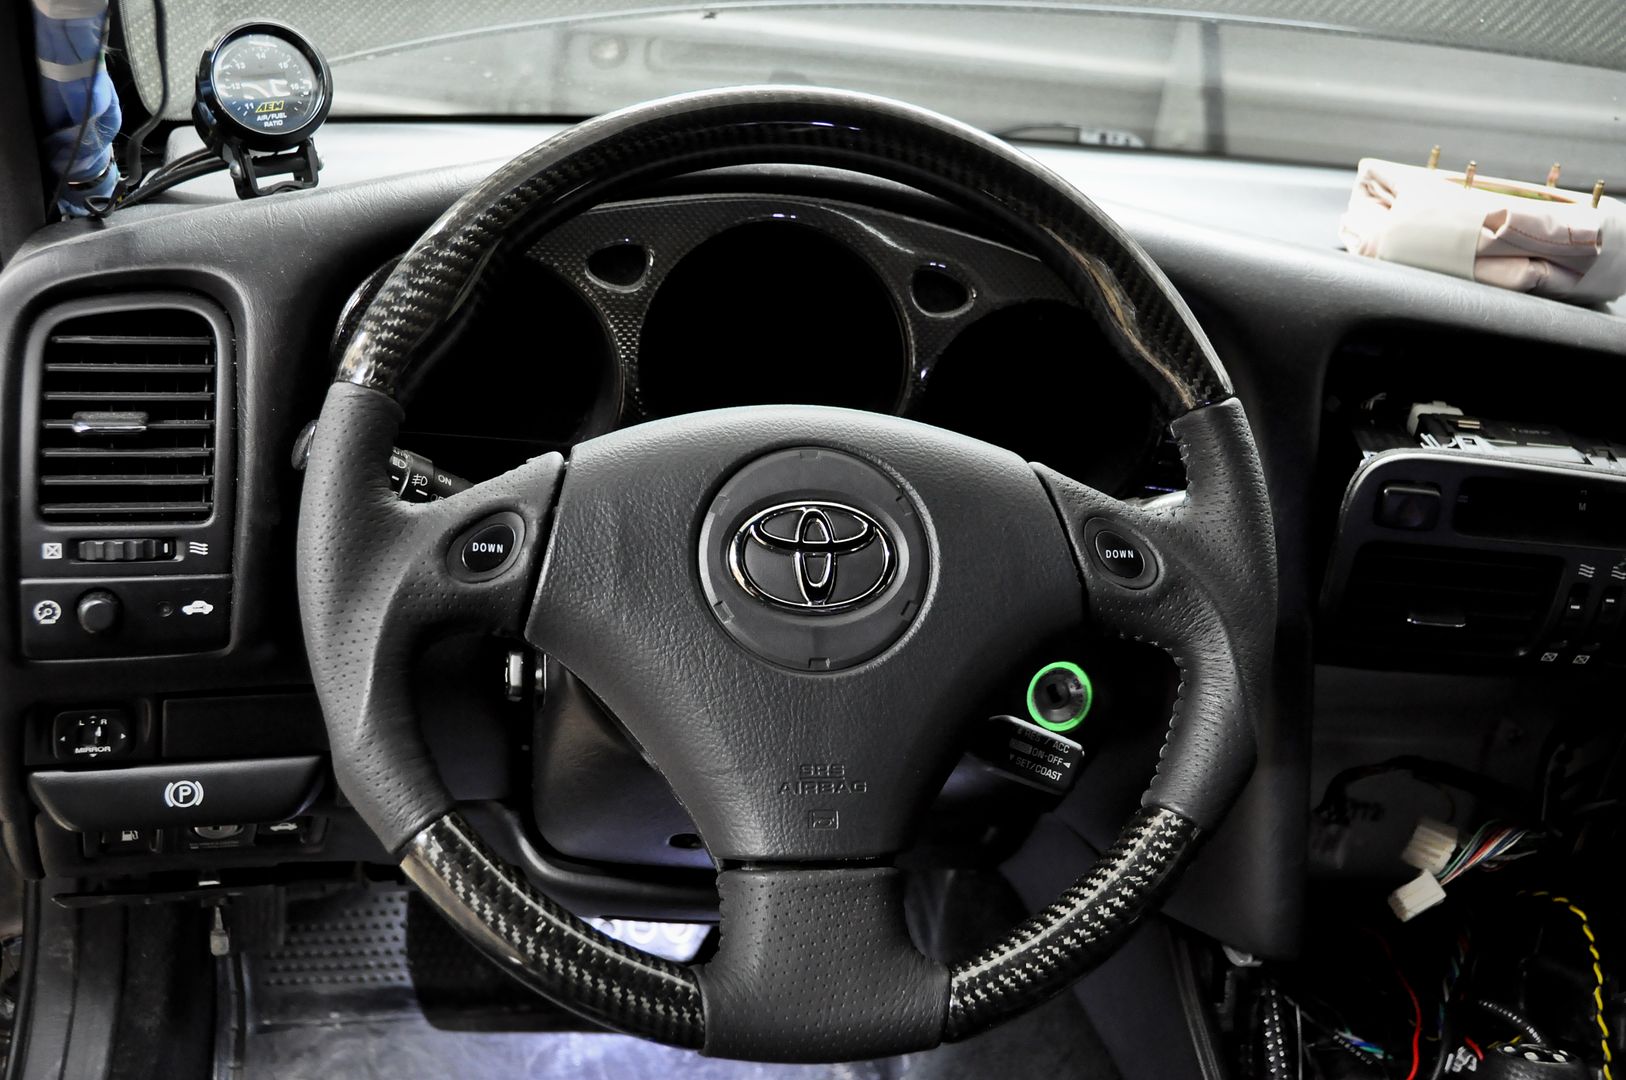
All ready to go here’s the before unwrapped
And unwrapped!
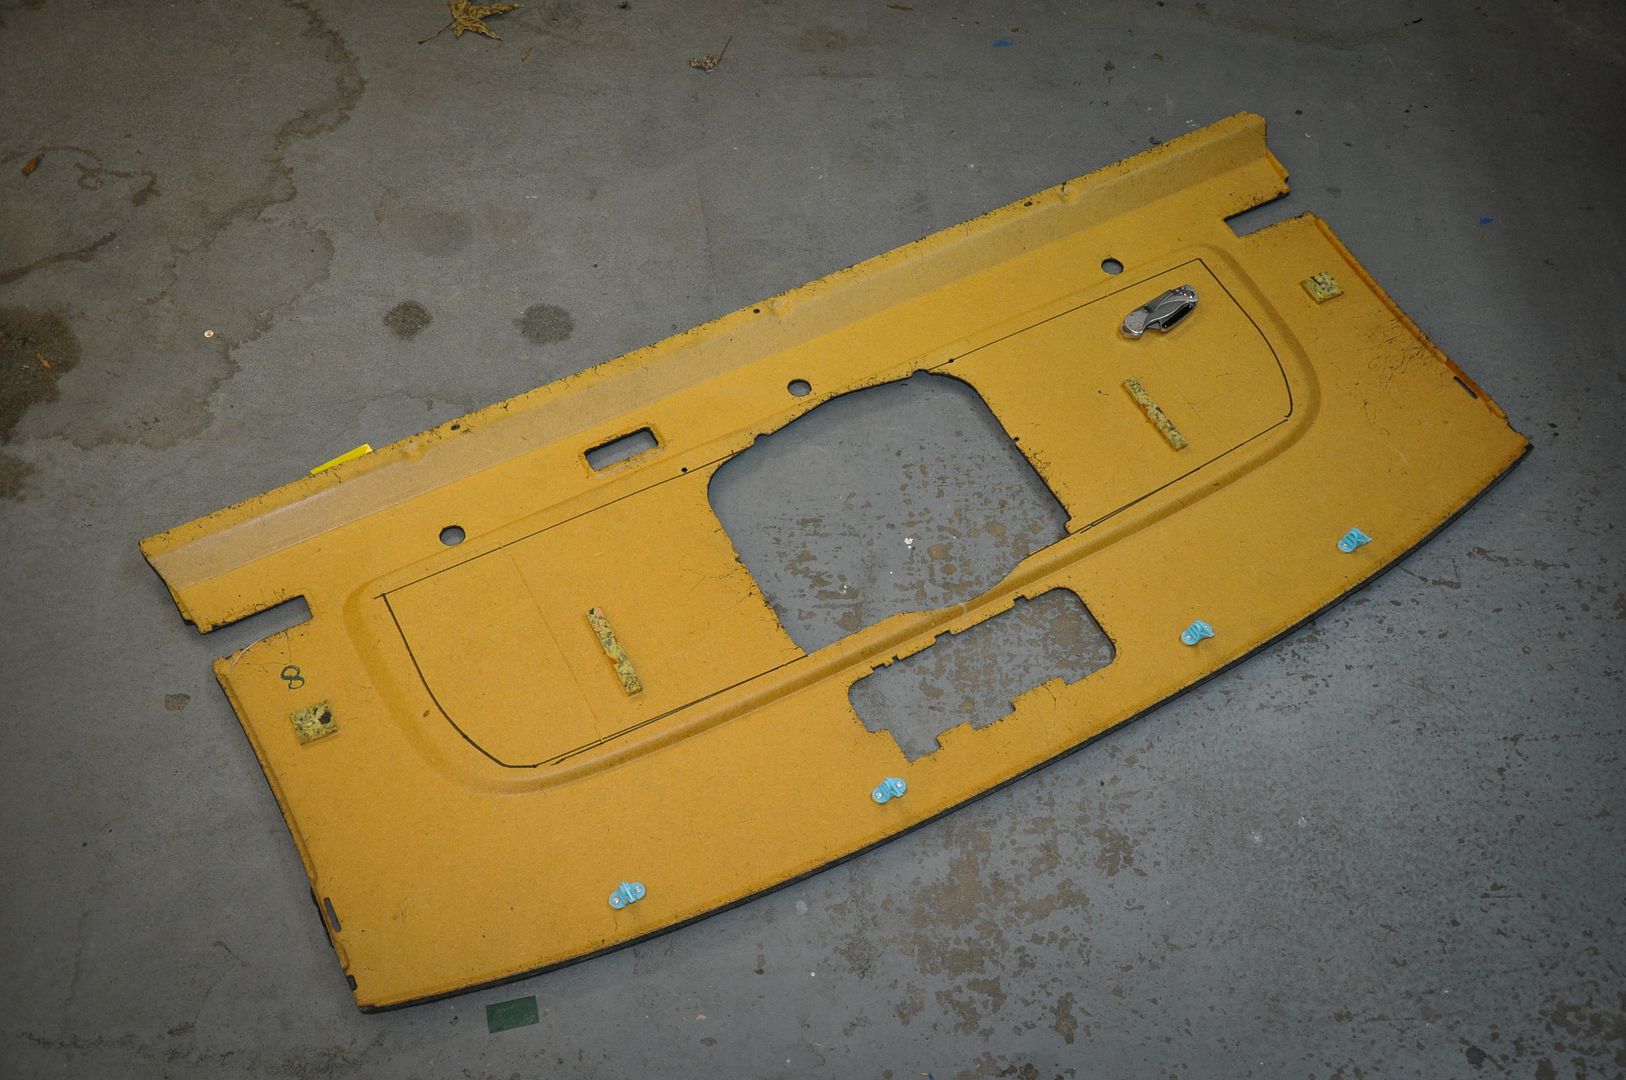
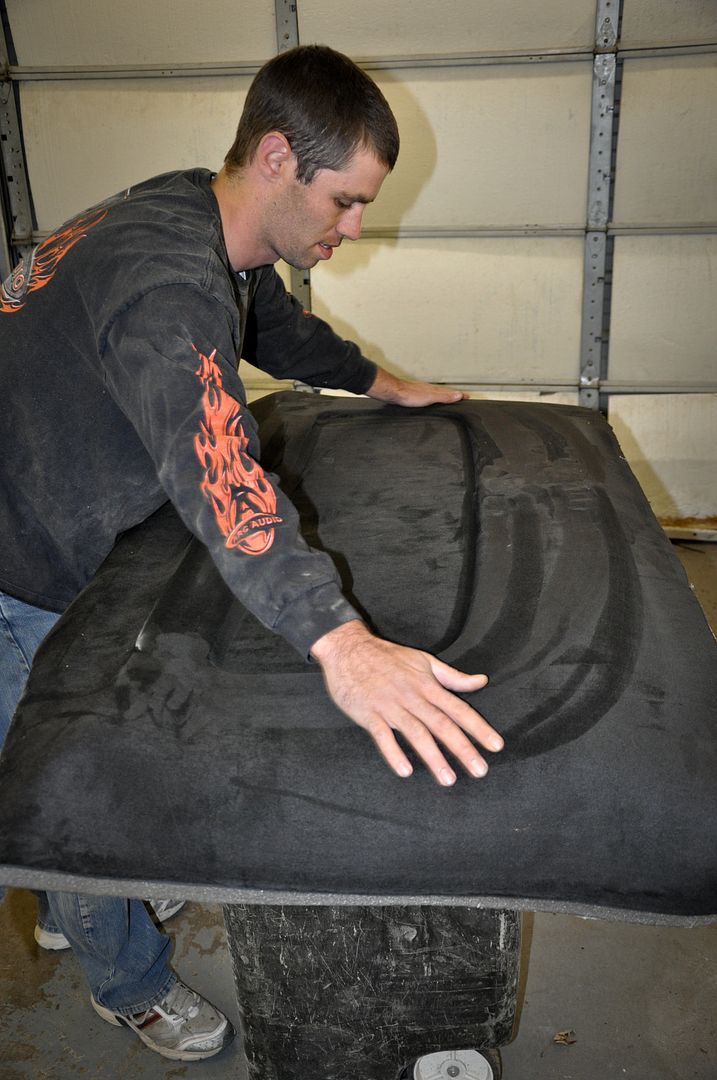
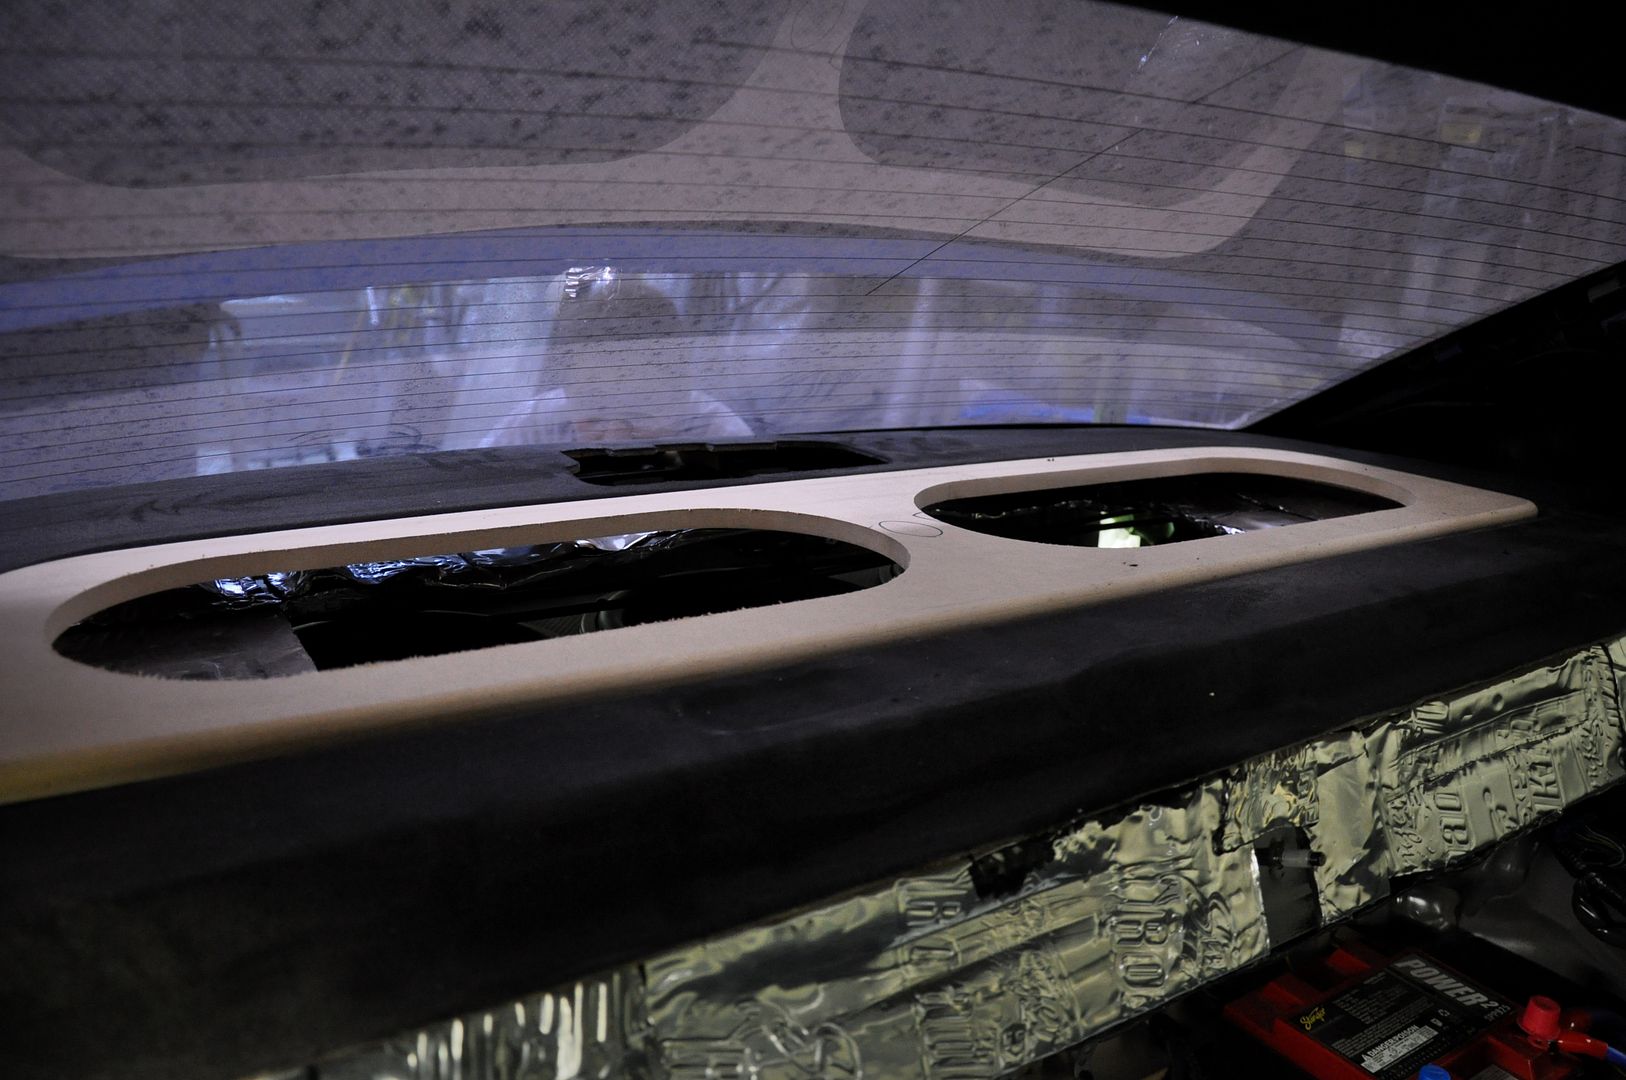
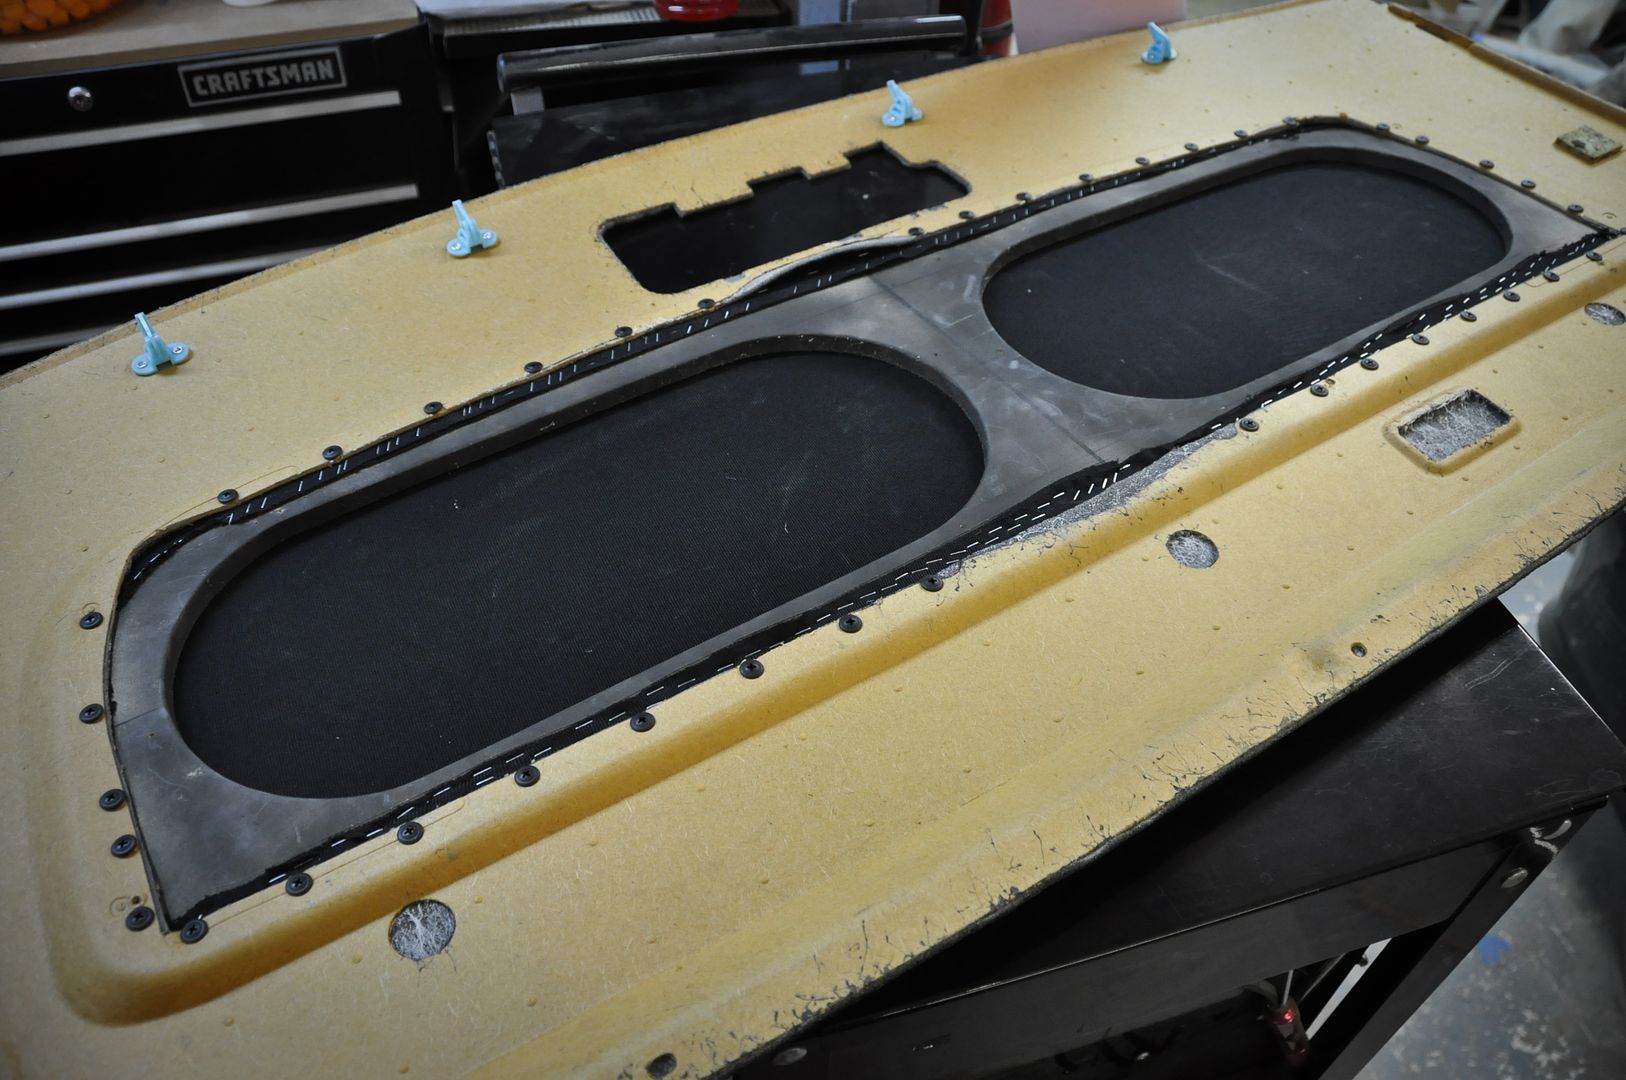
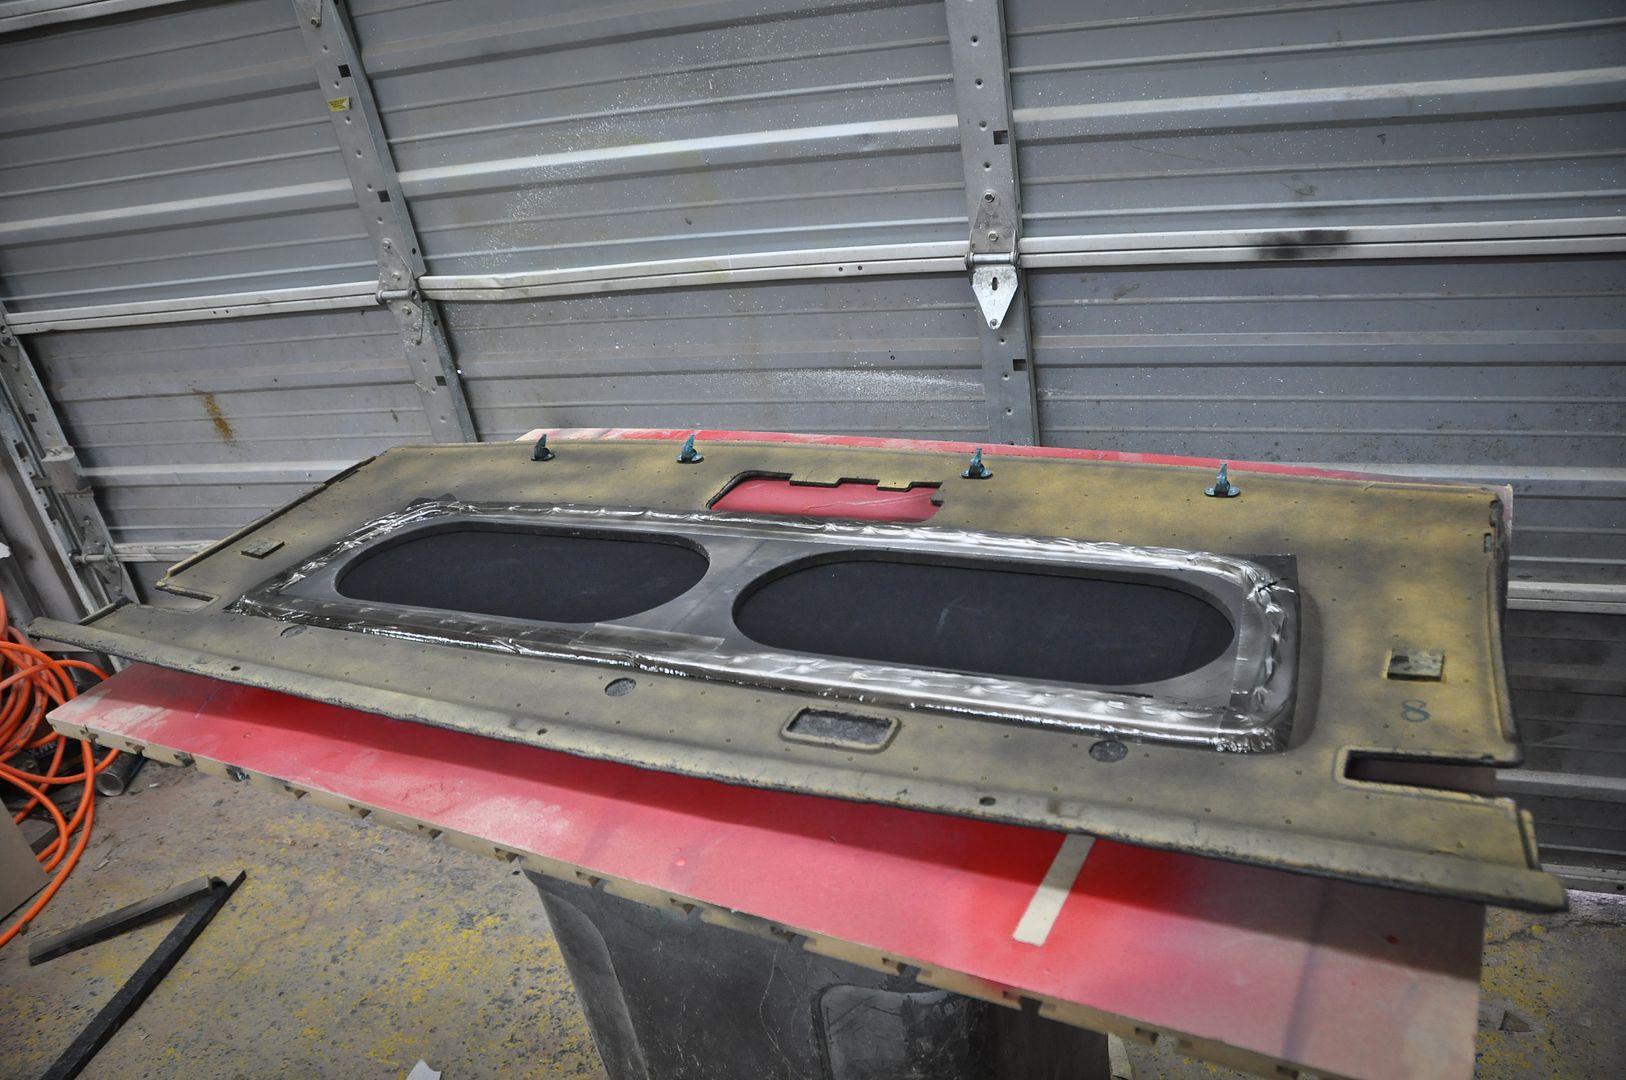
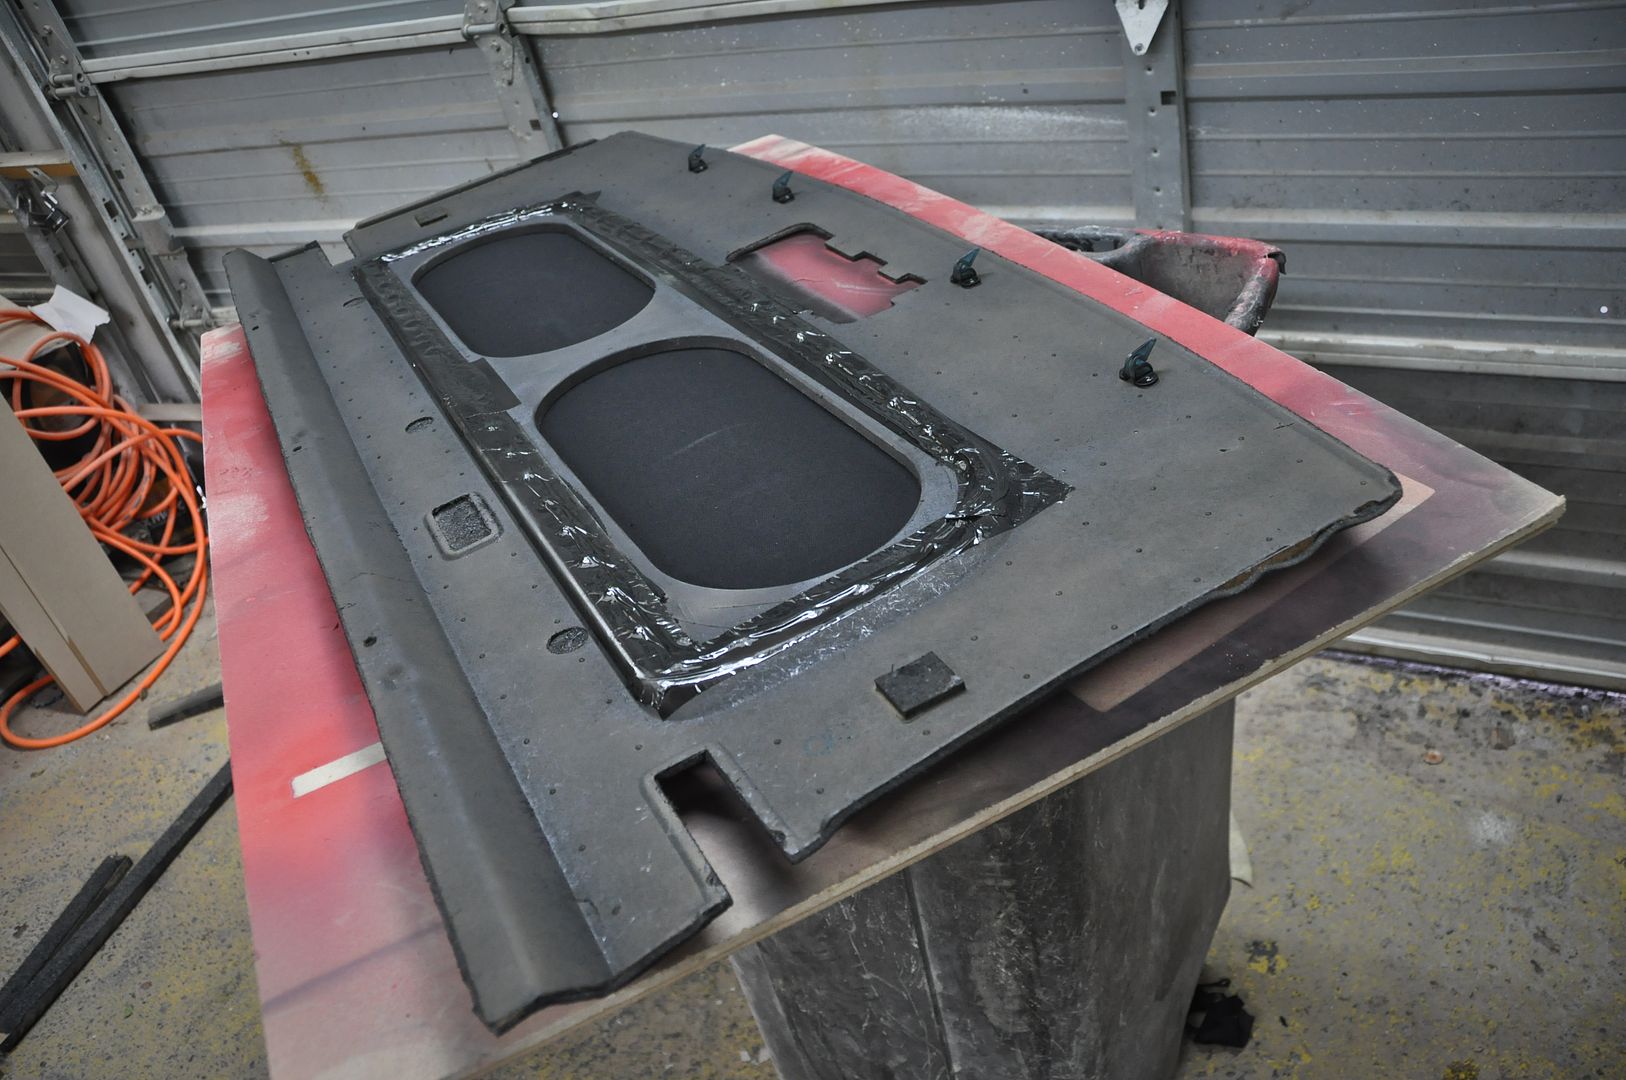
Rear Deck Lid
Starting to make the rear deck lid. Took the original fabric material off and started sketching the design.
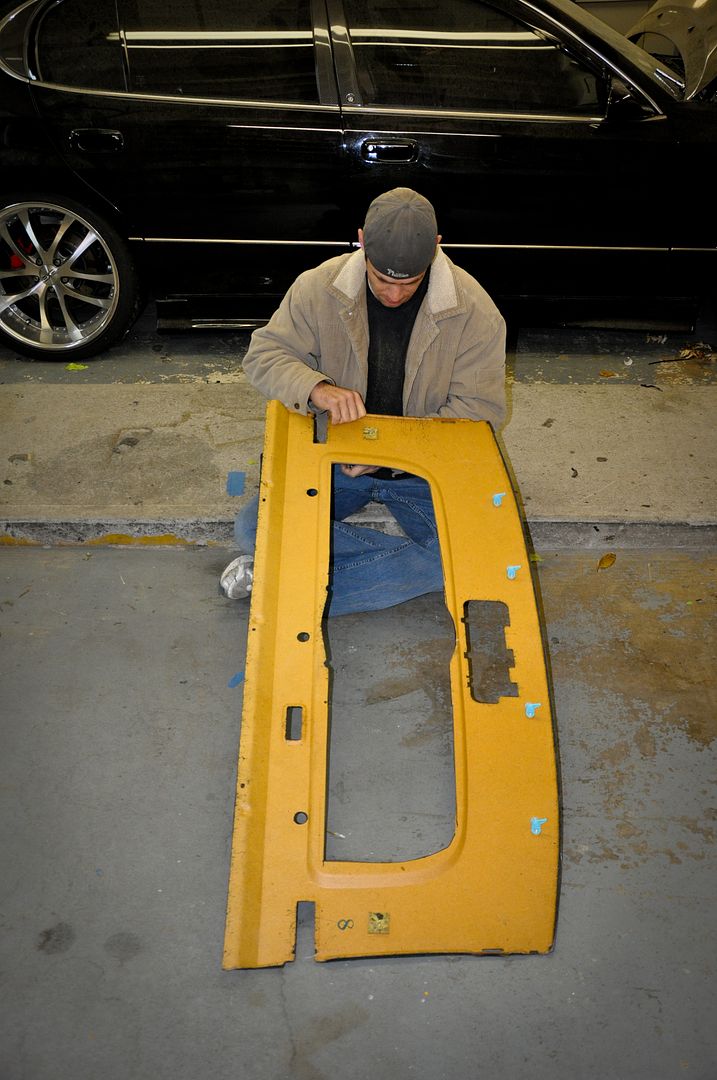
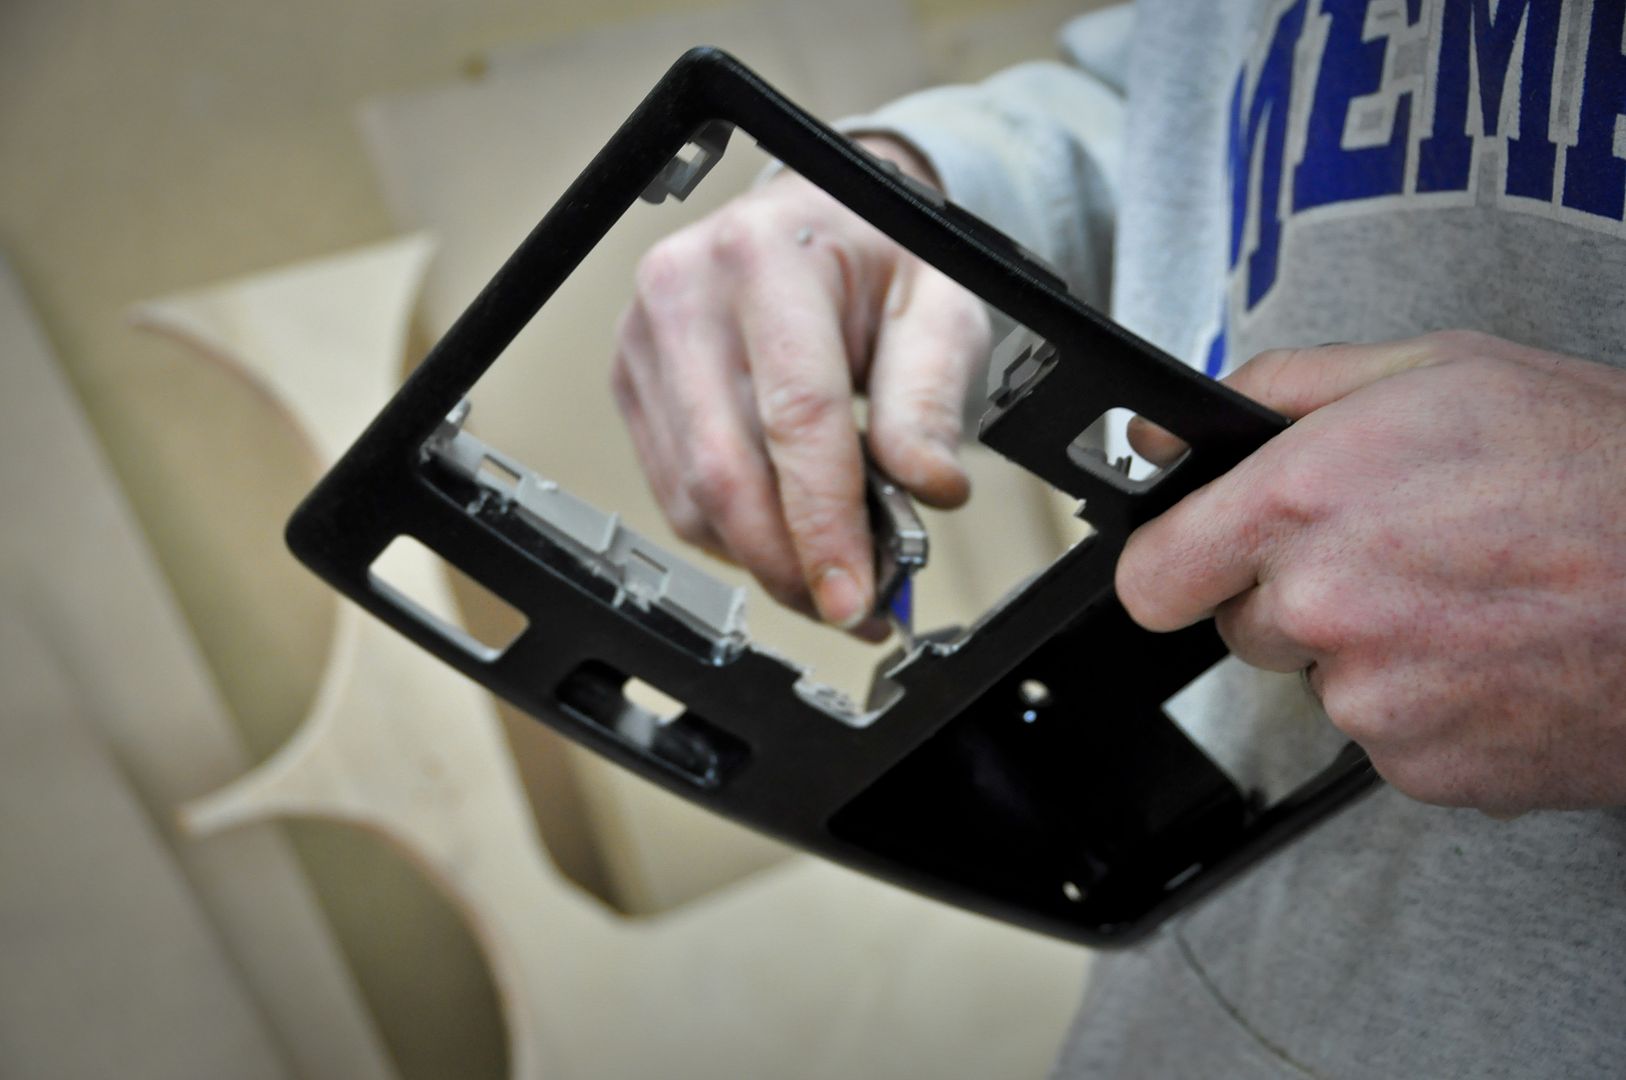
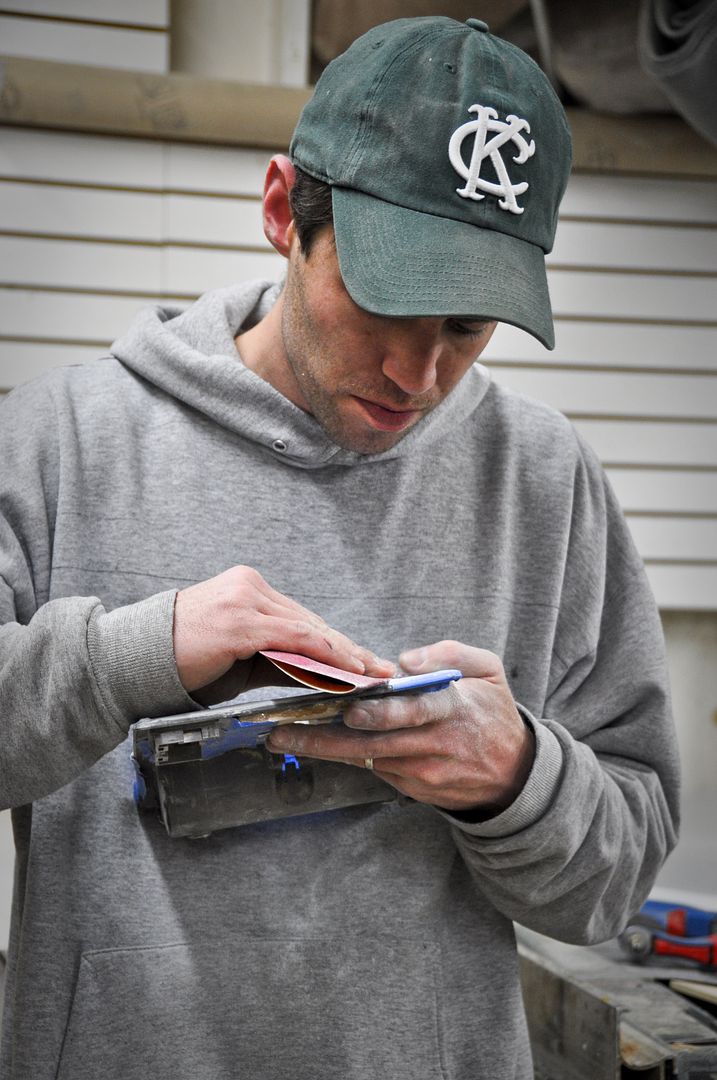
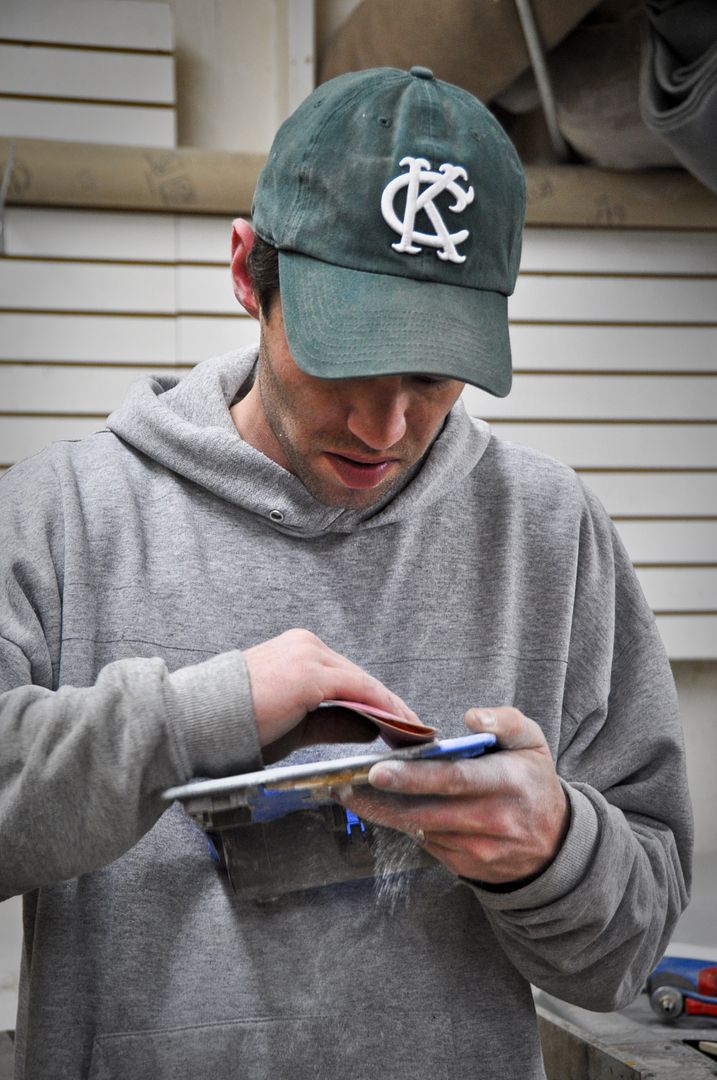
Scott trimming away

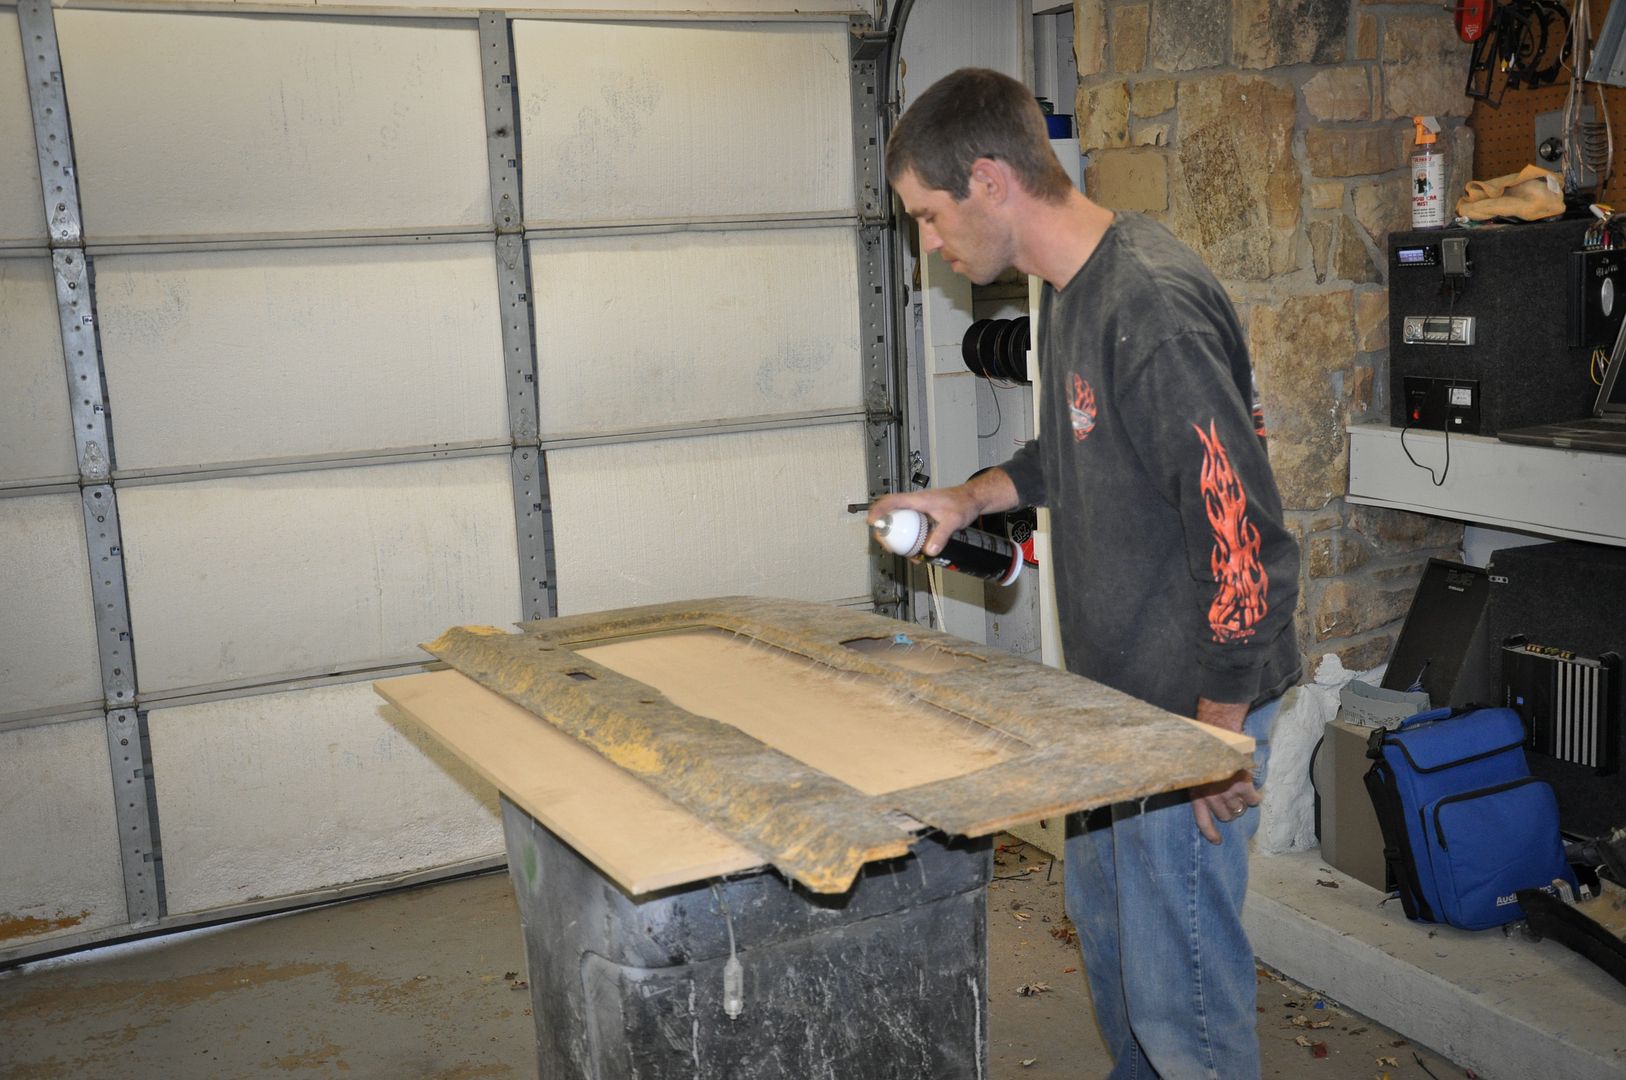
Time for some glue
 03-19-11, 04:09 AM
#453
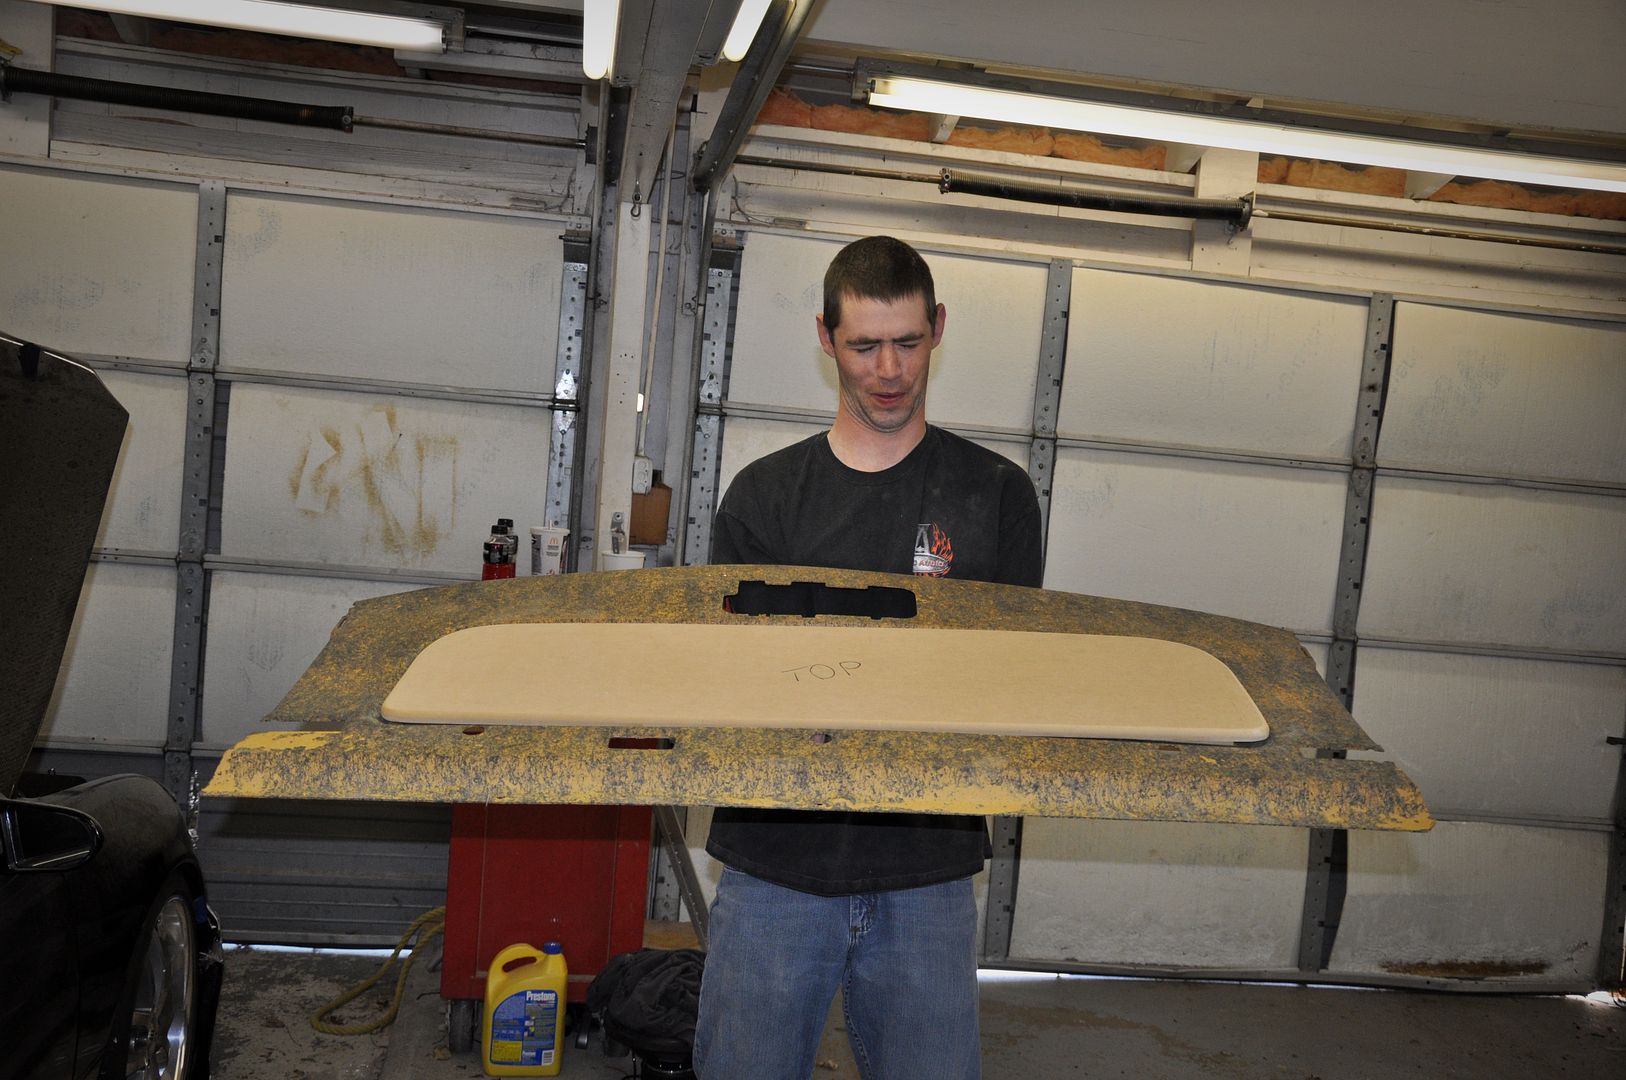
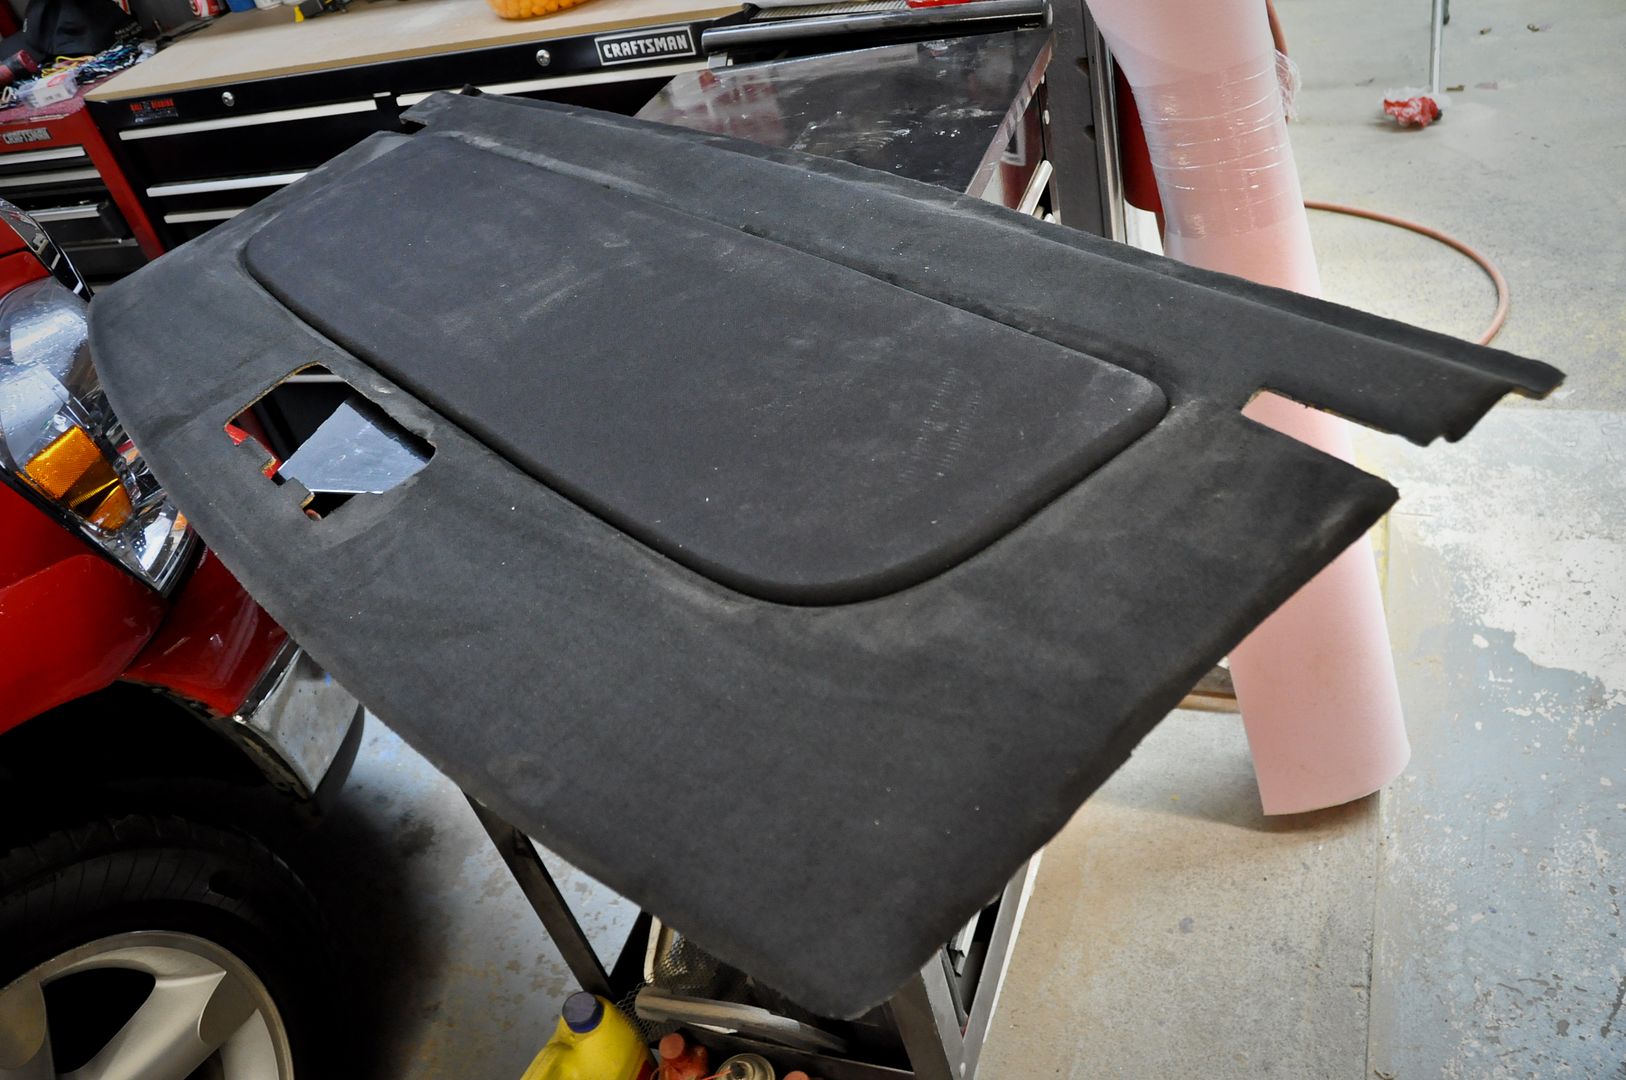
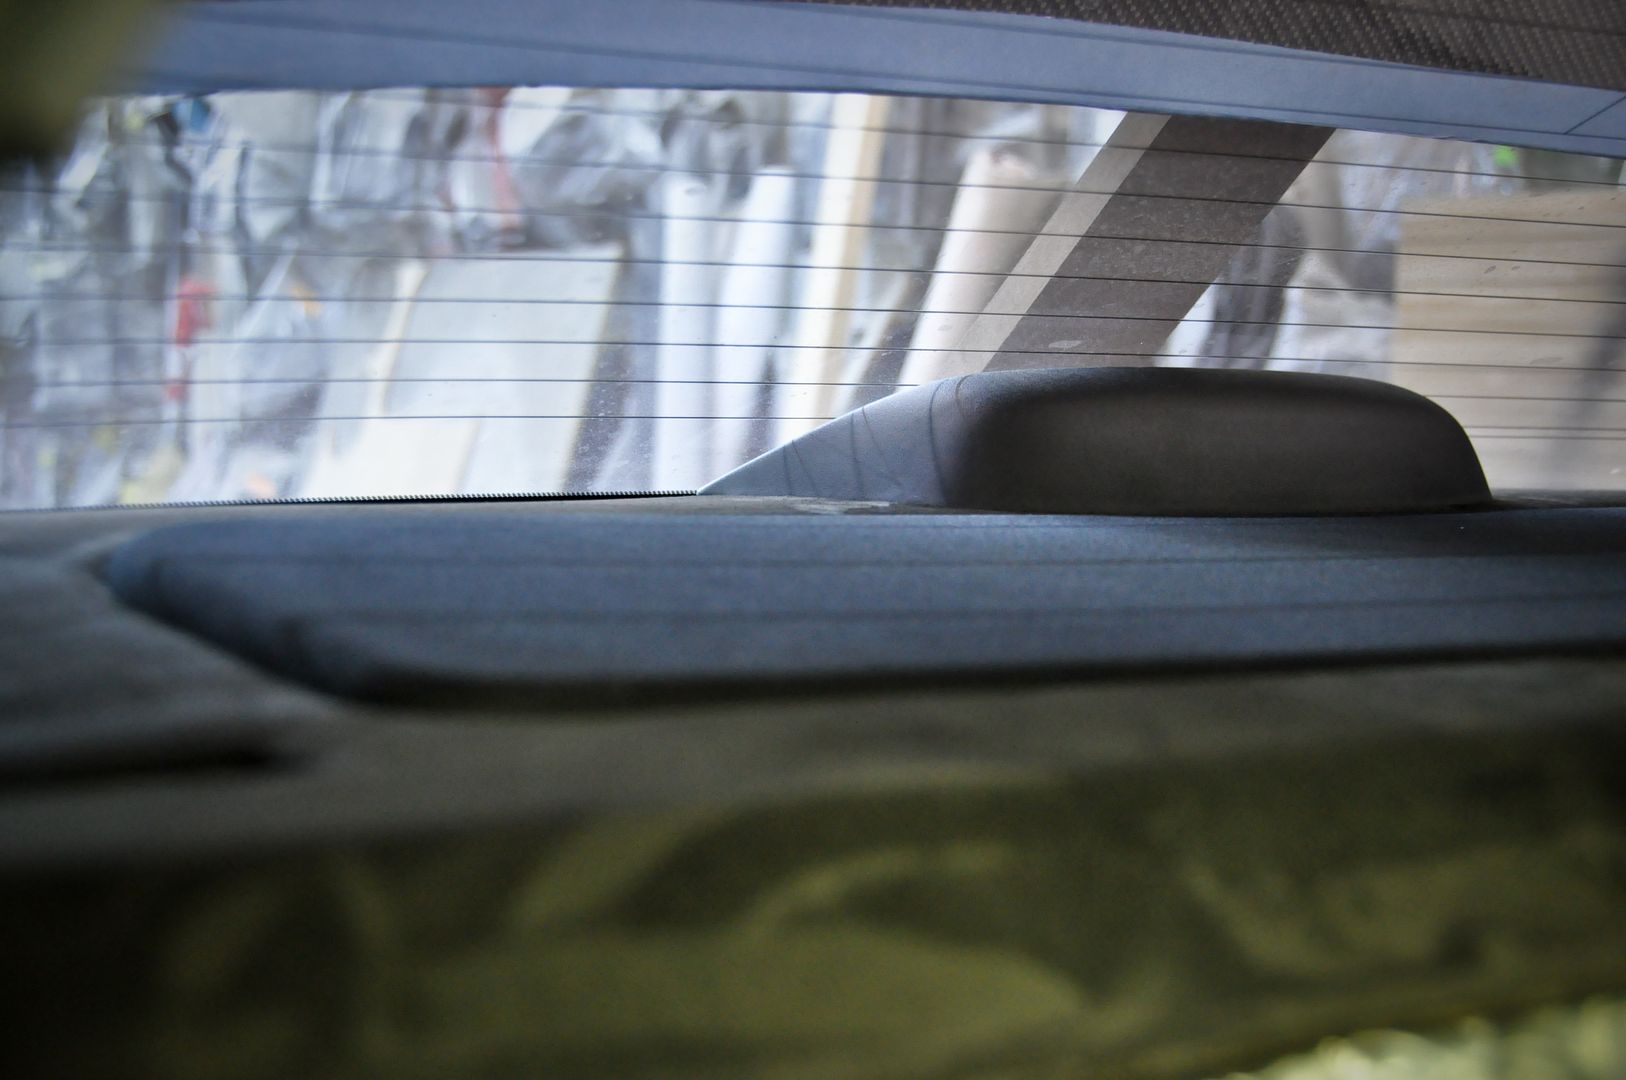
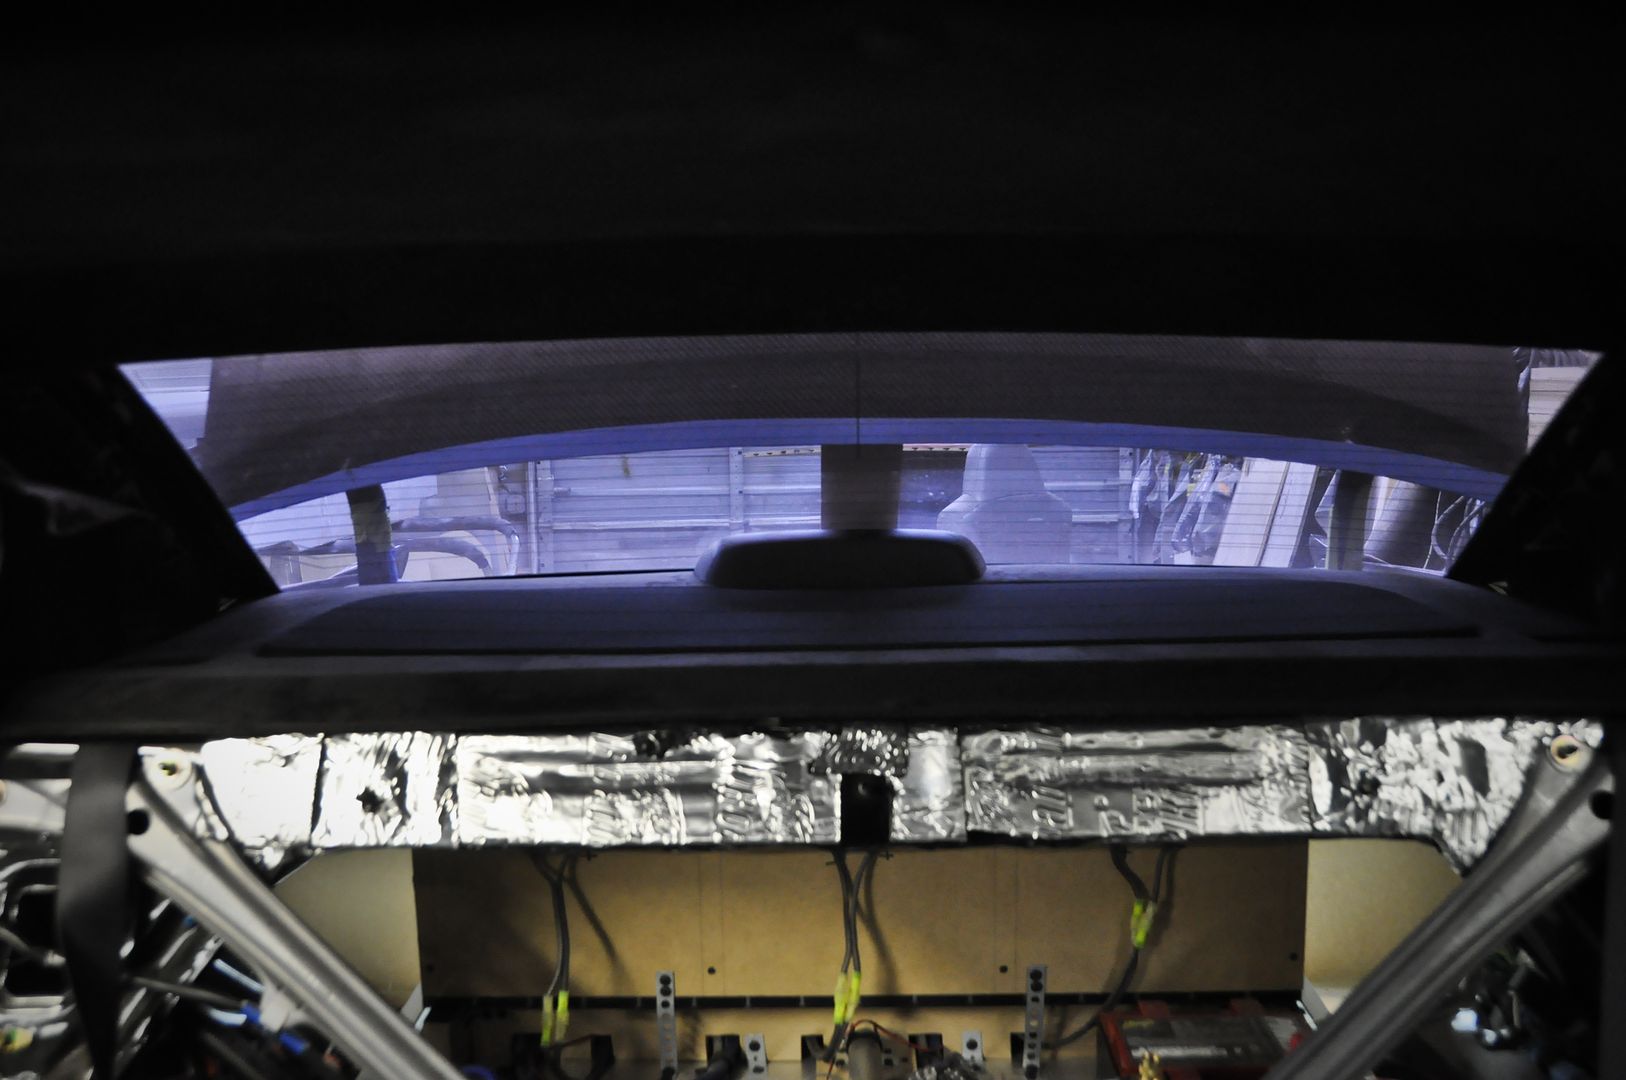
Used the same suede as the headliner material
Rough look at what is to come
Custom table inspired by Junction Produce
Bought this Junction Produce table from my buddy Dan
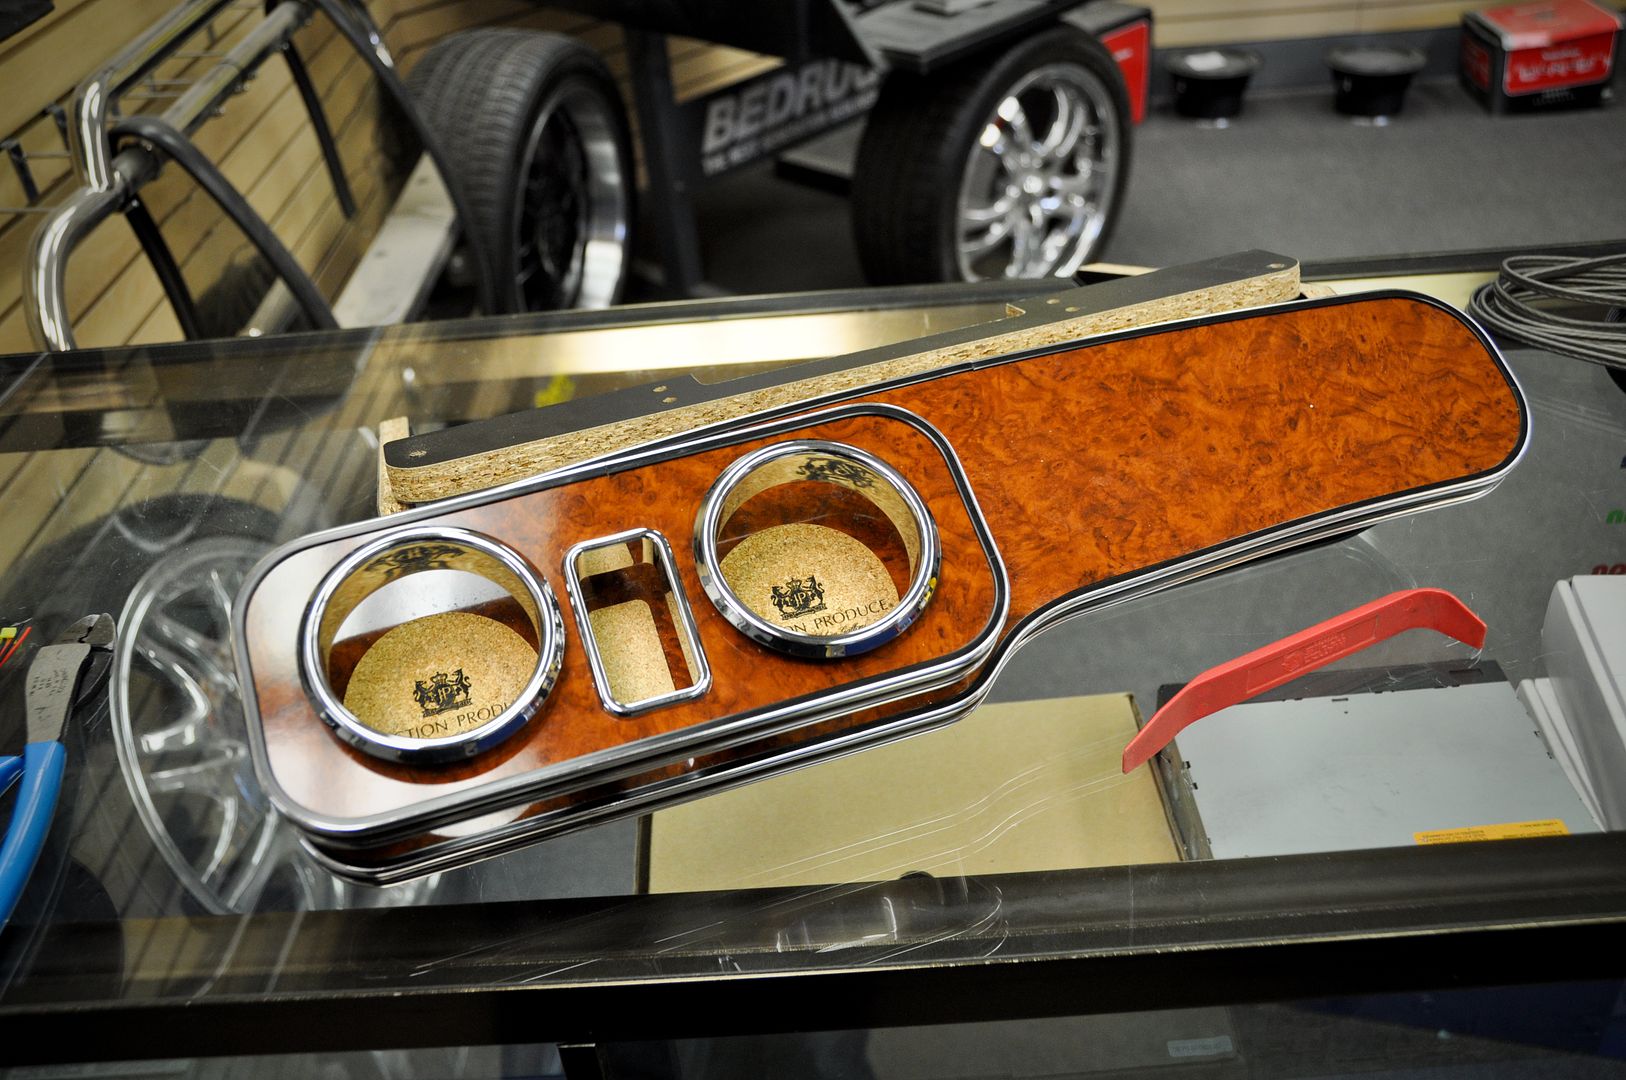
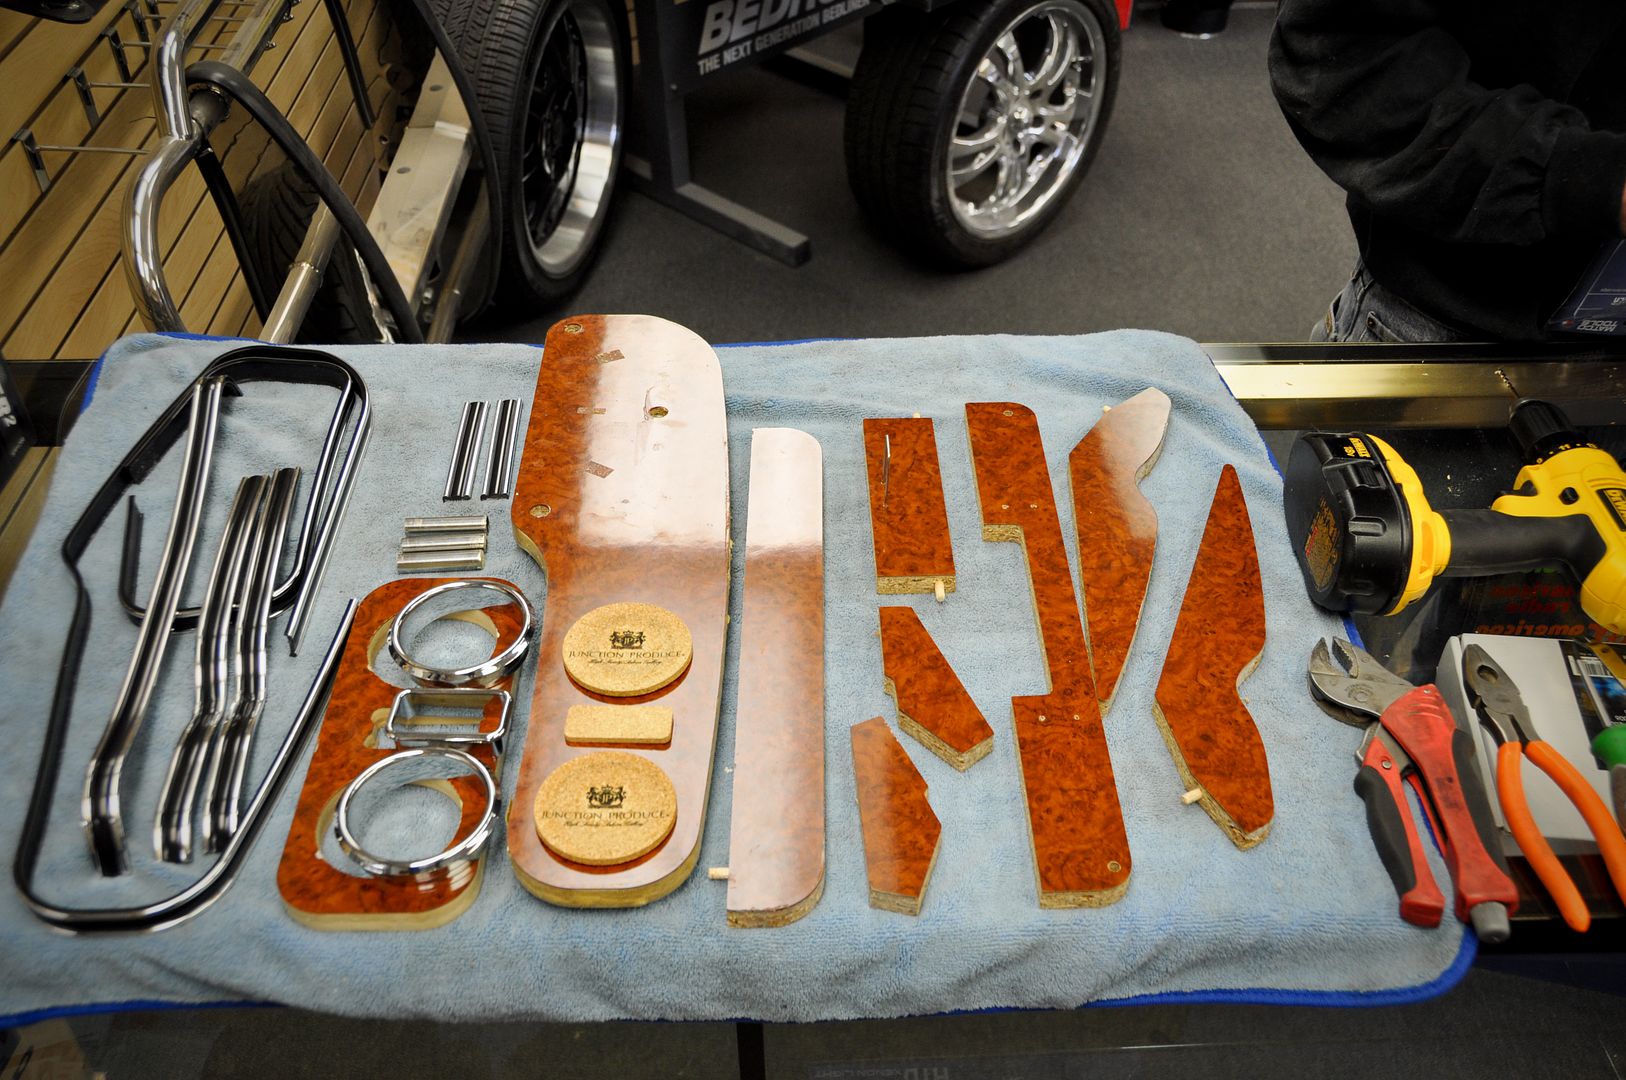
Got the idea to make my own table but with a carbon look so….. deconstruction time
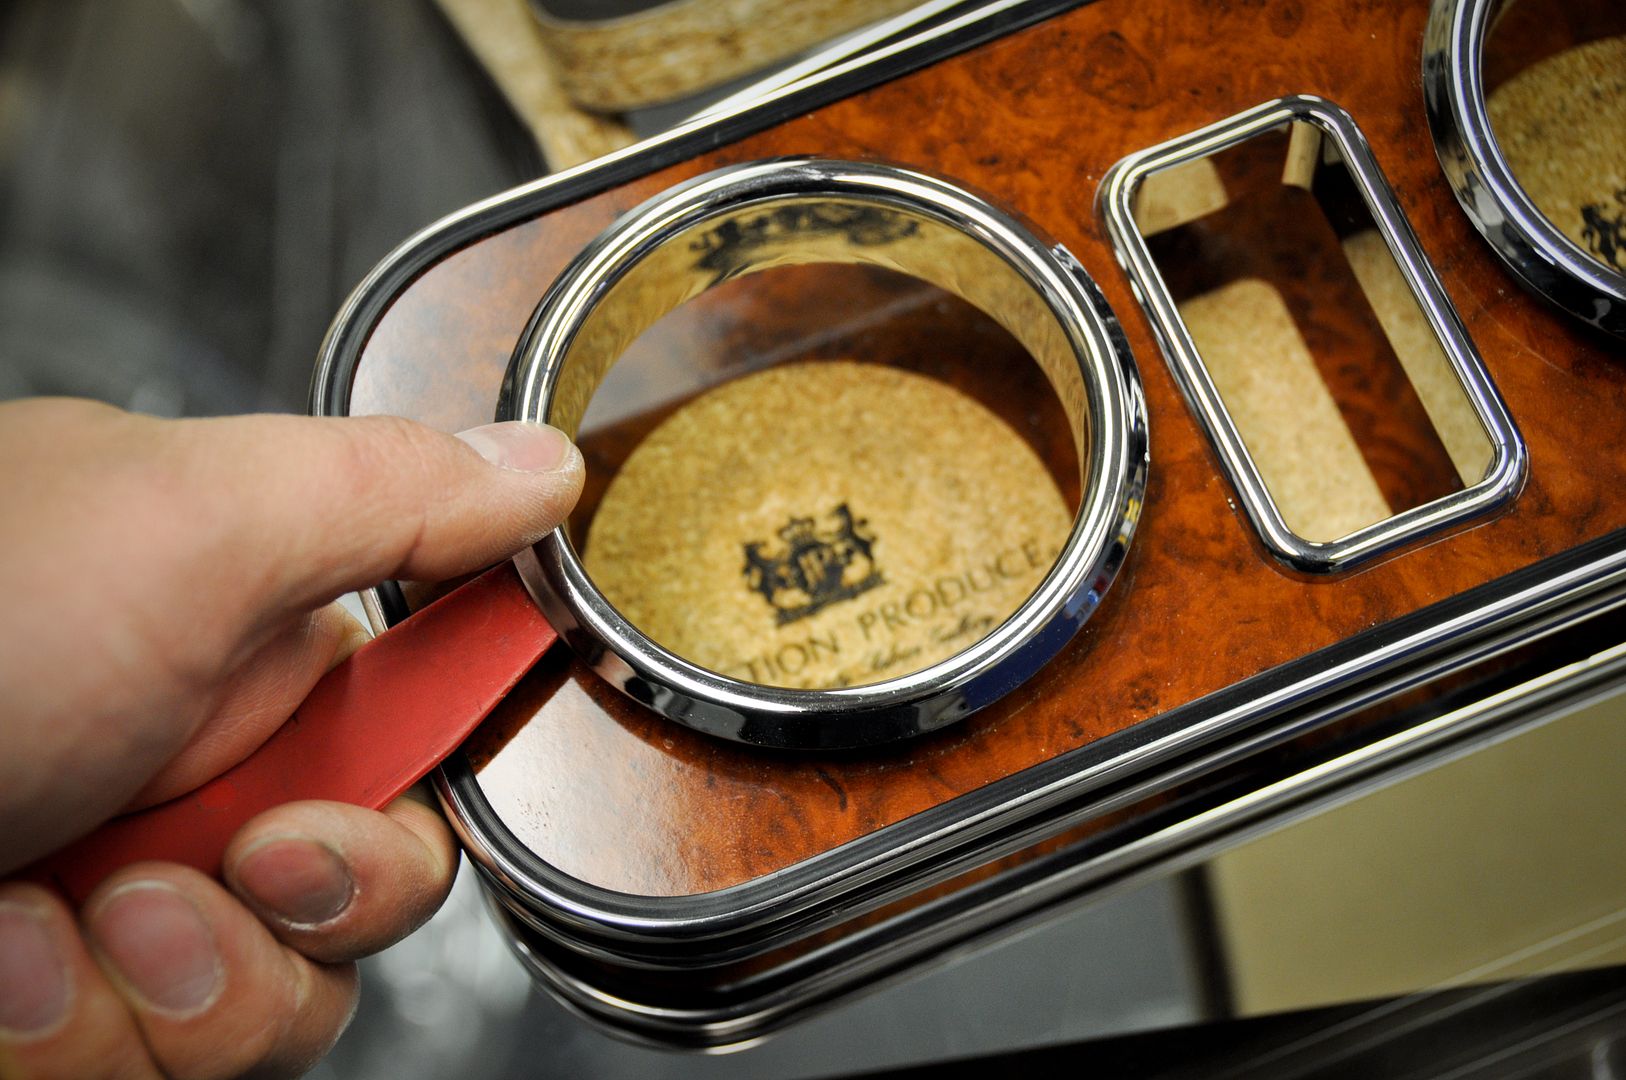
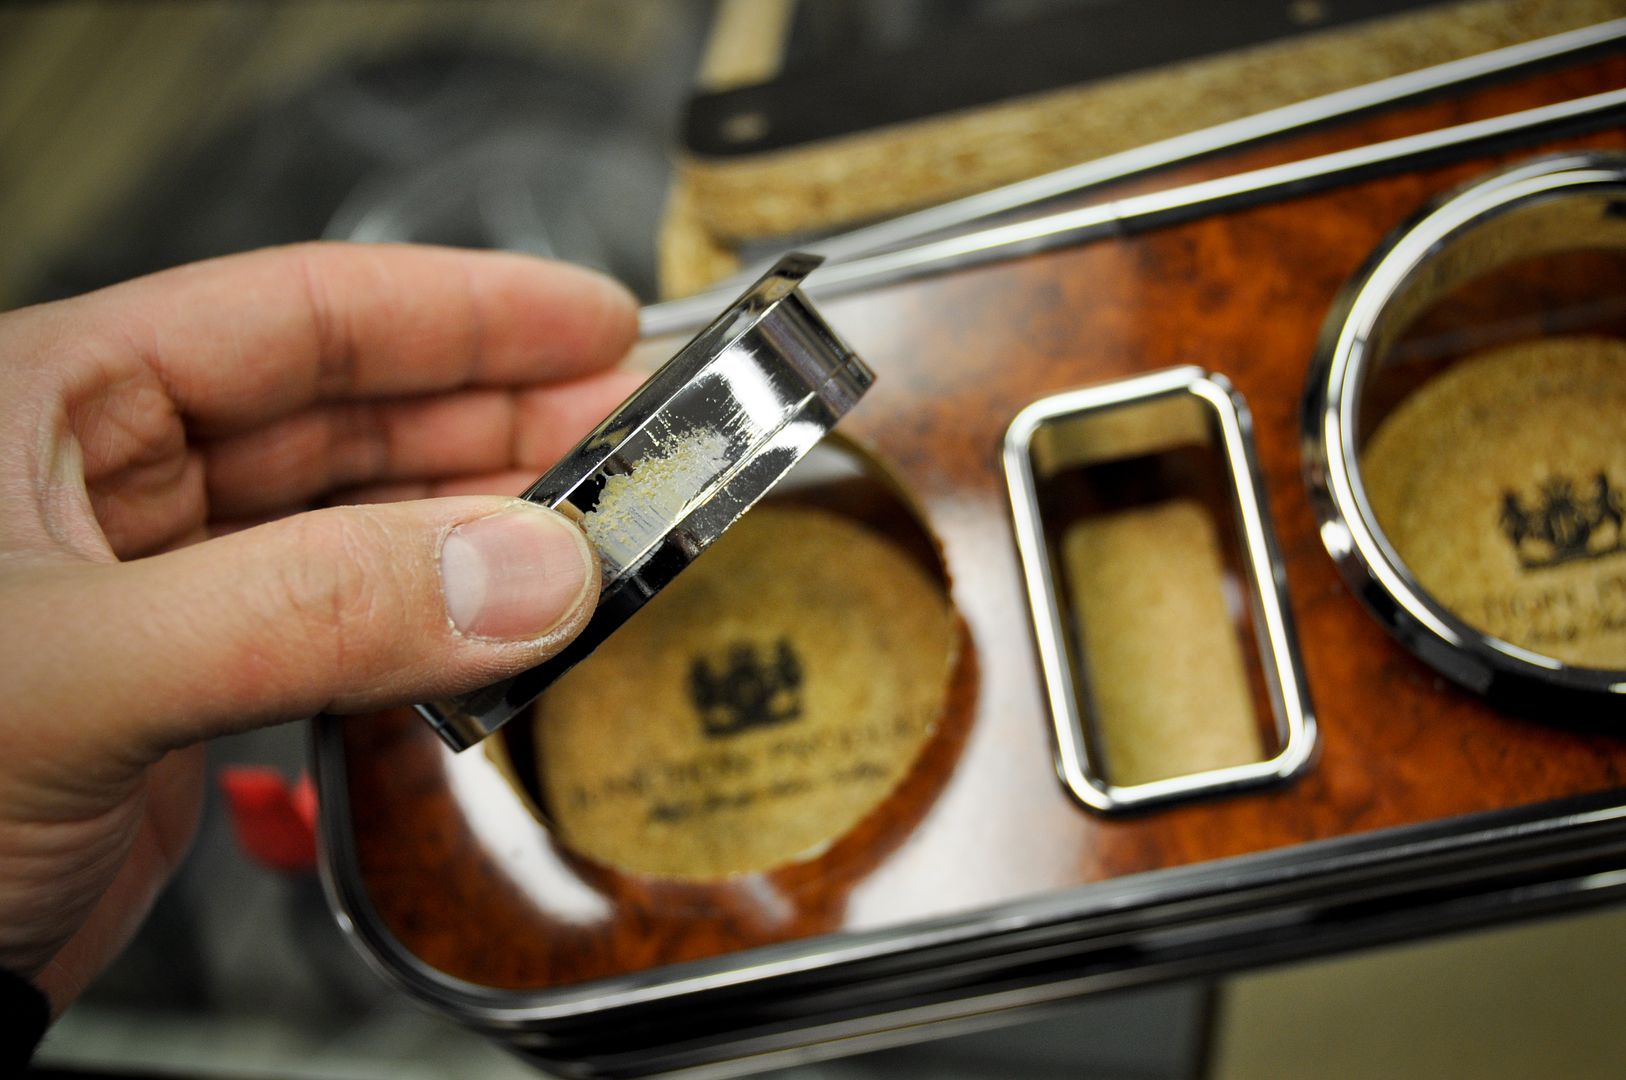
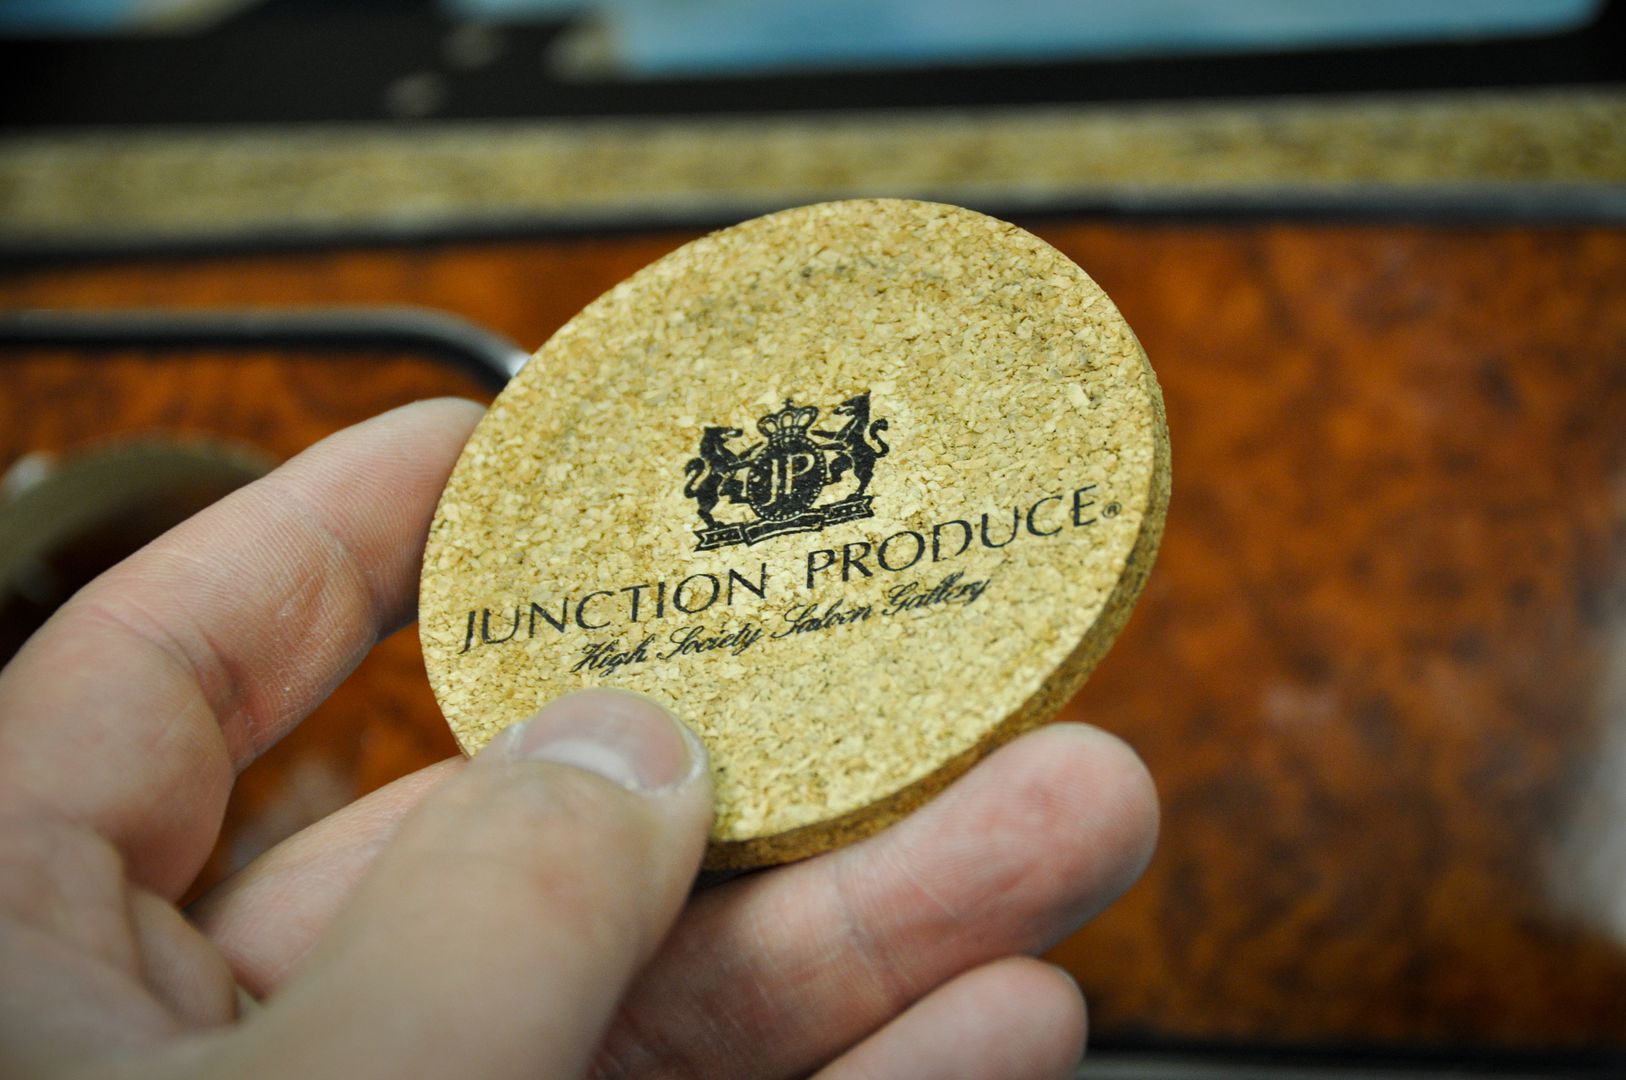
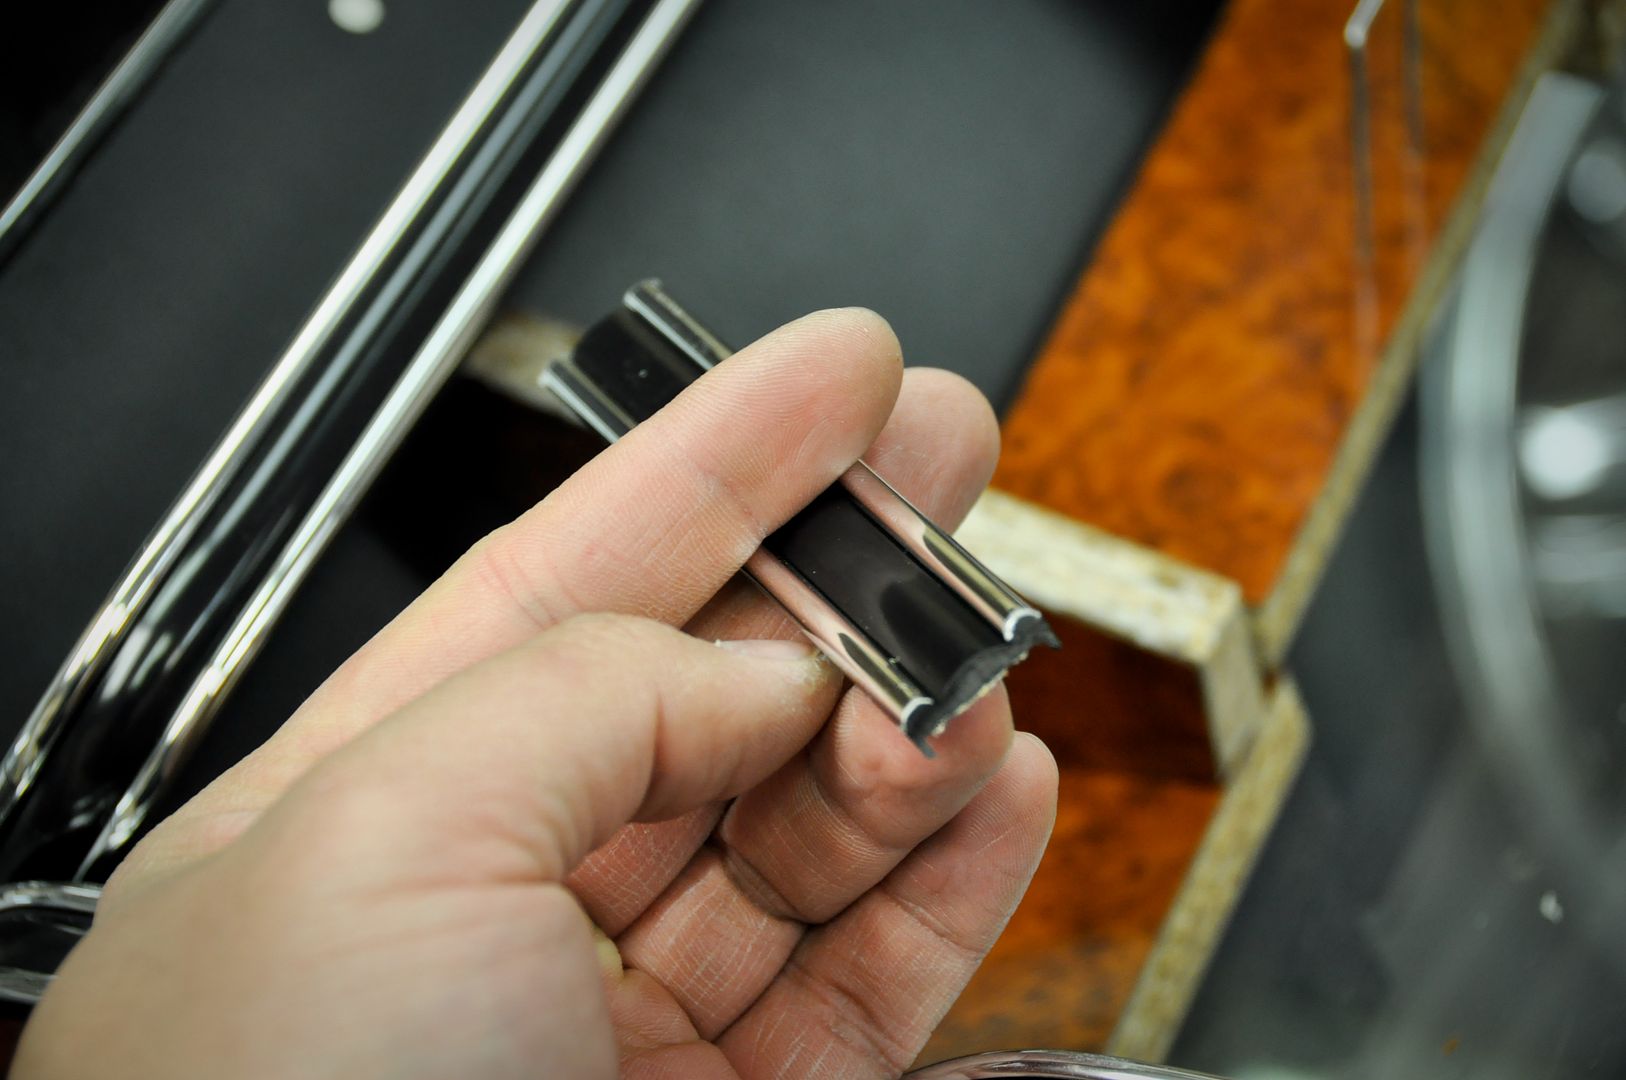
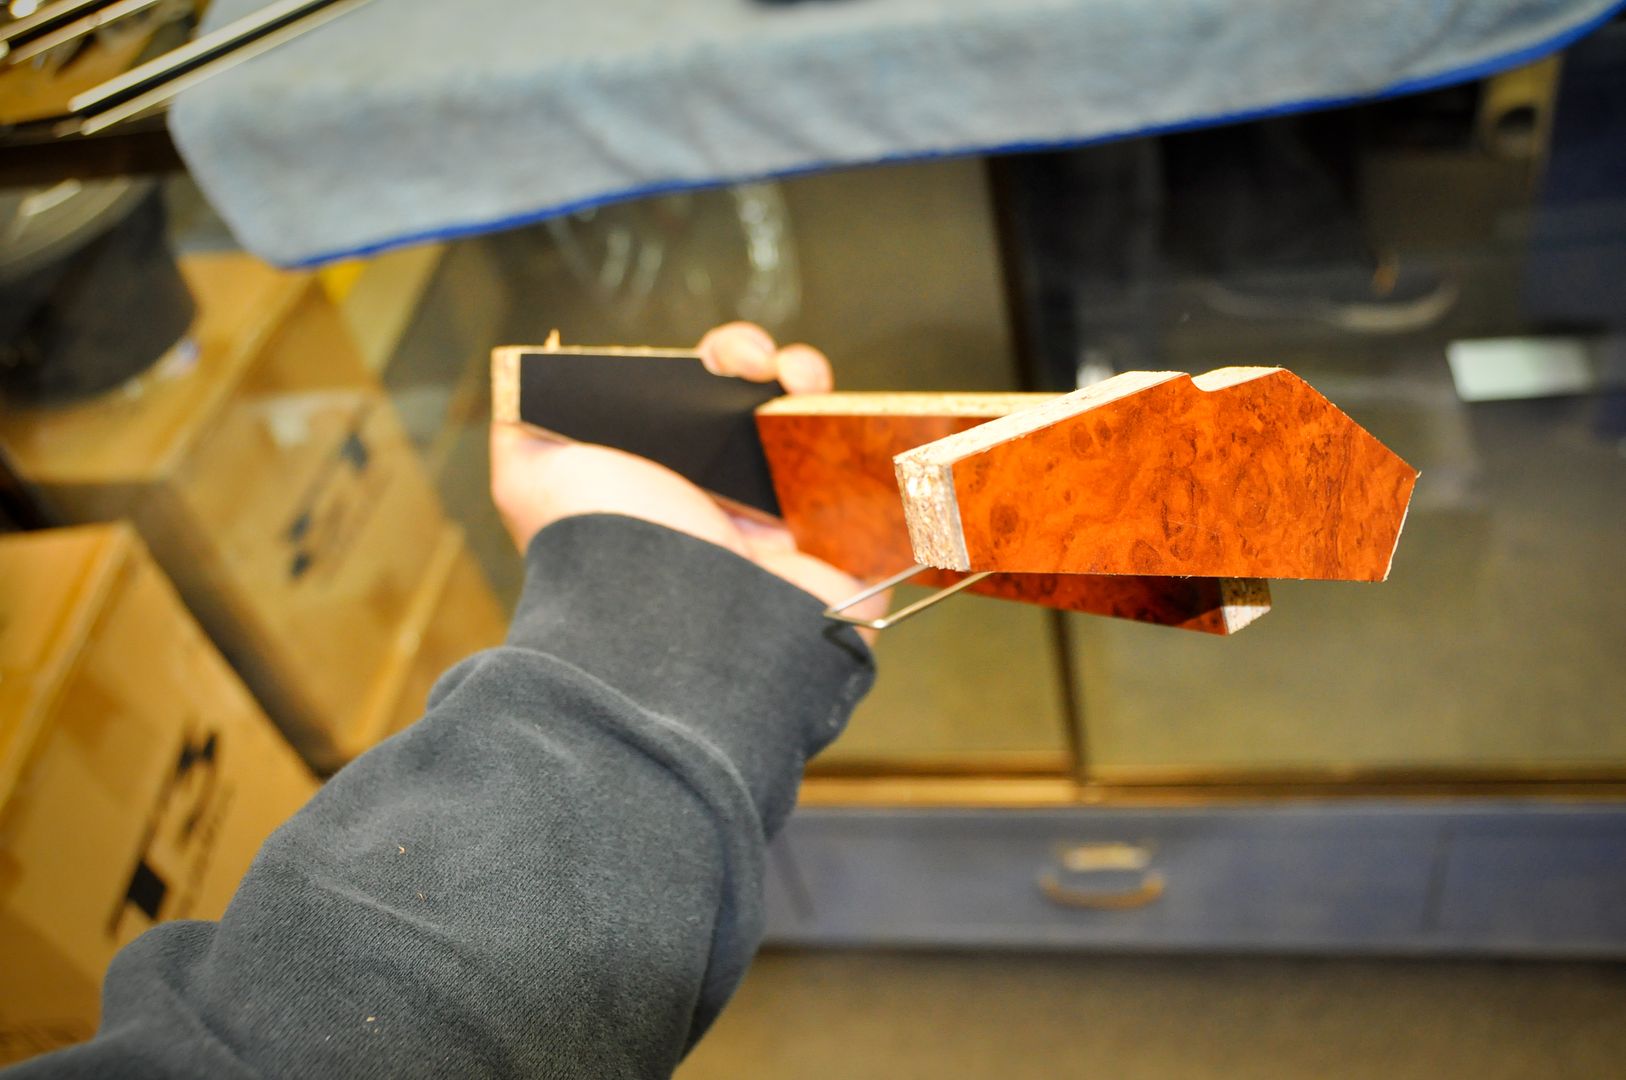
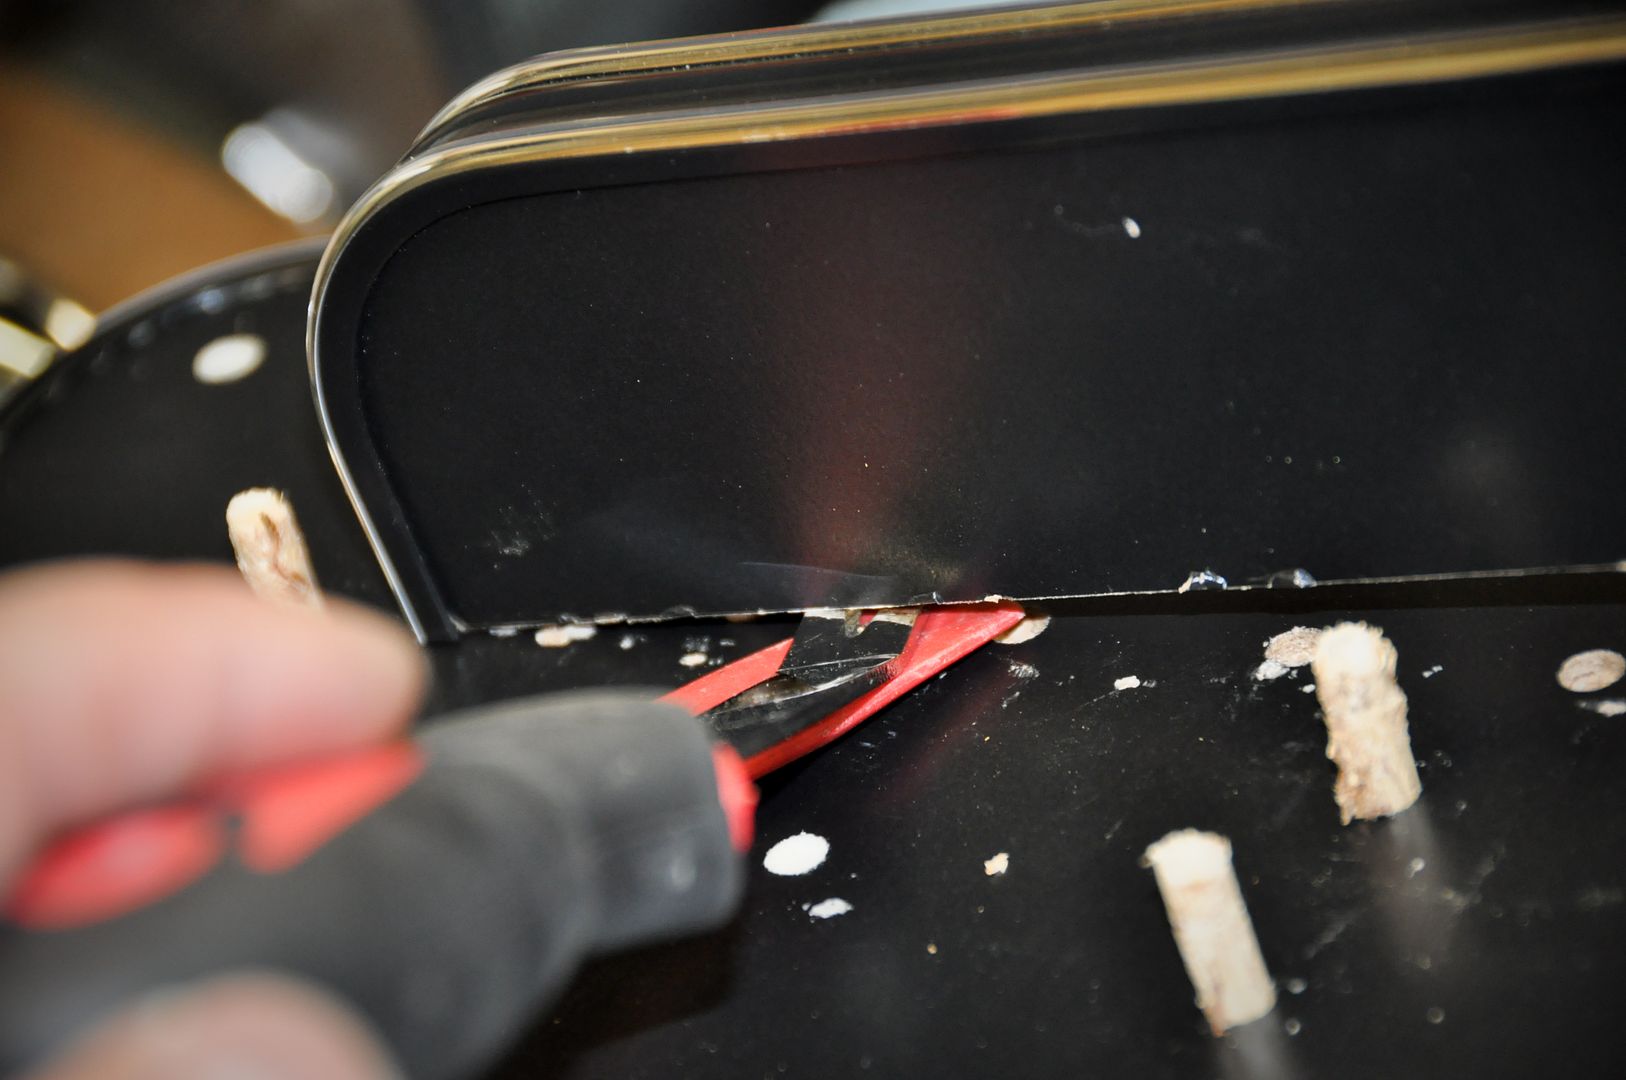
Here is it all apart
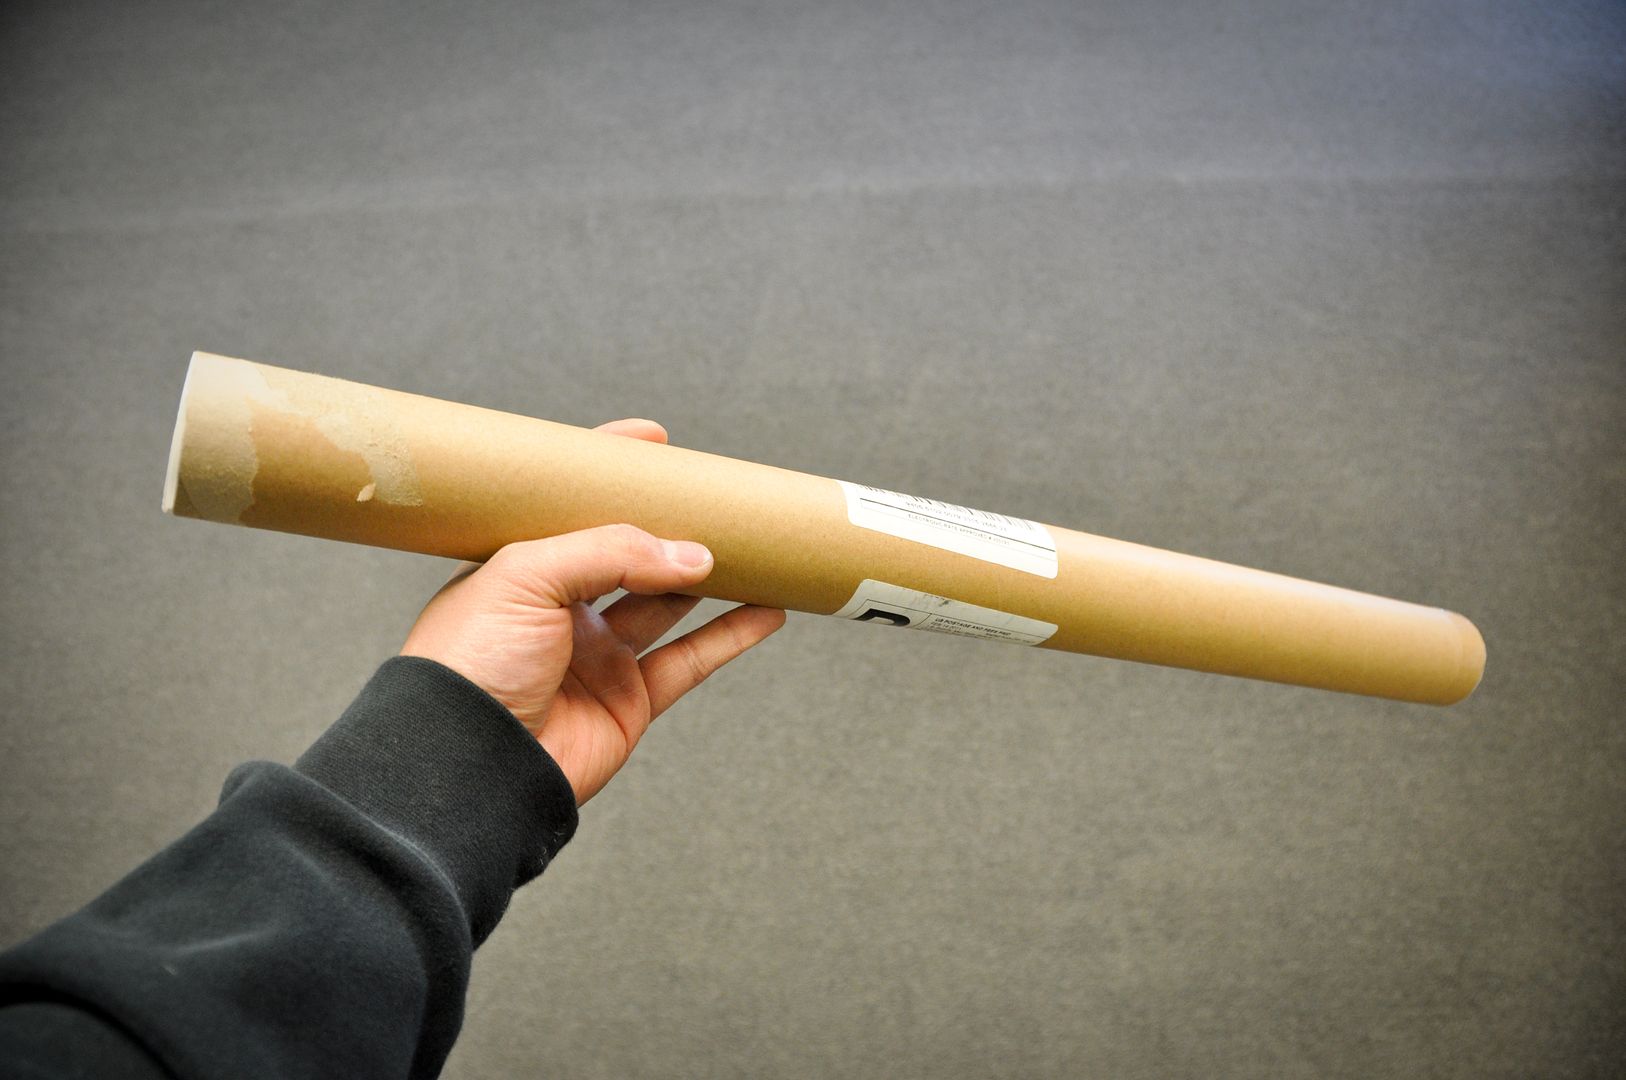
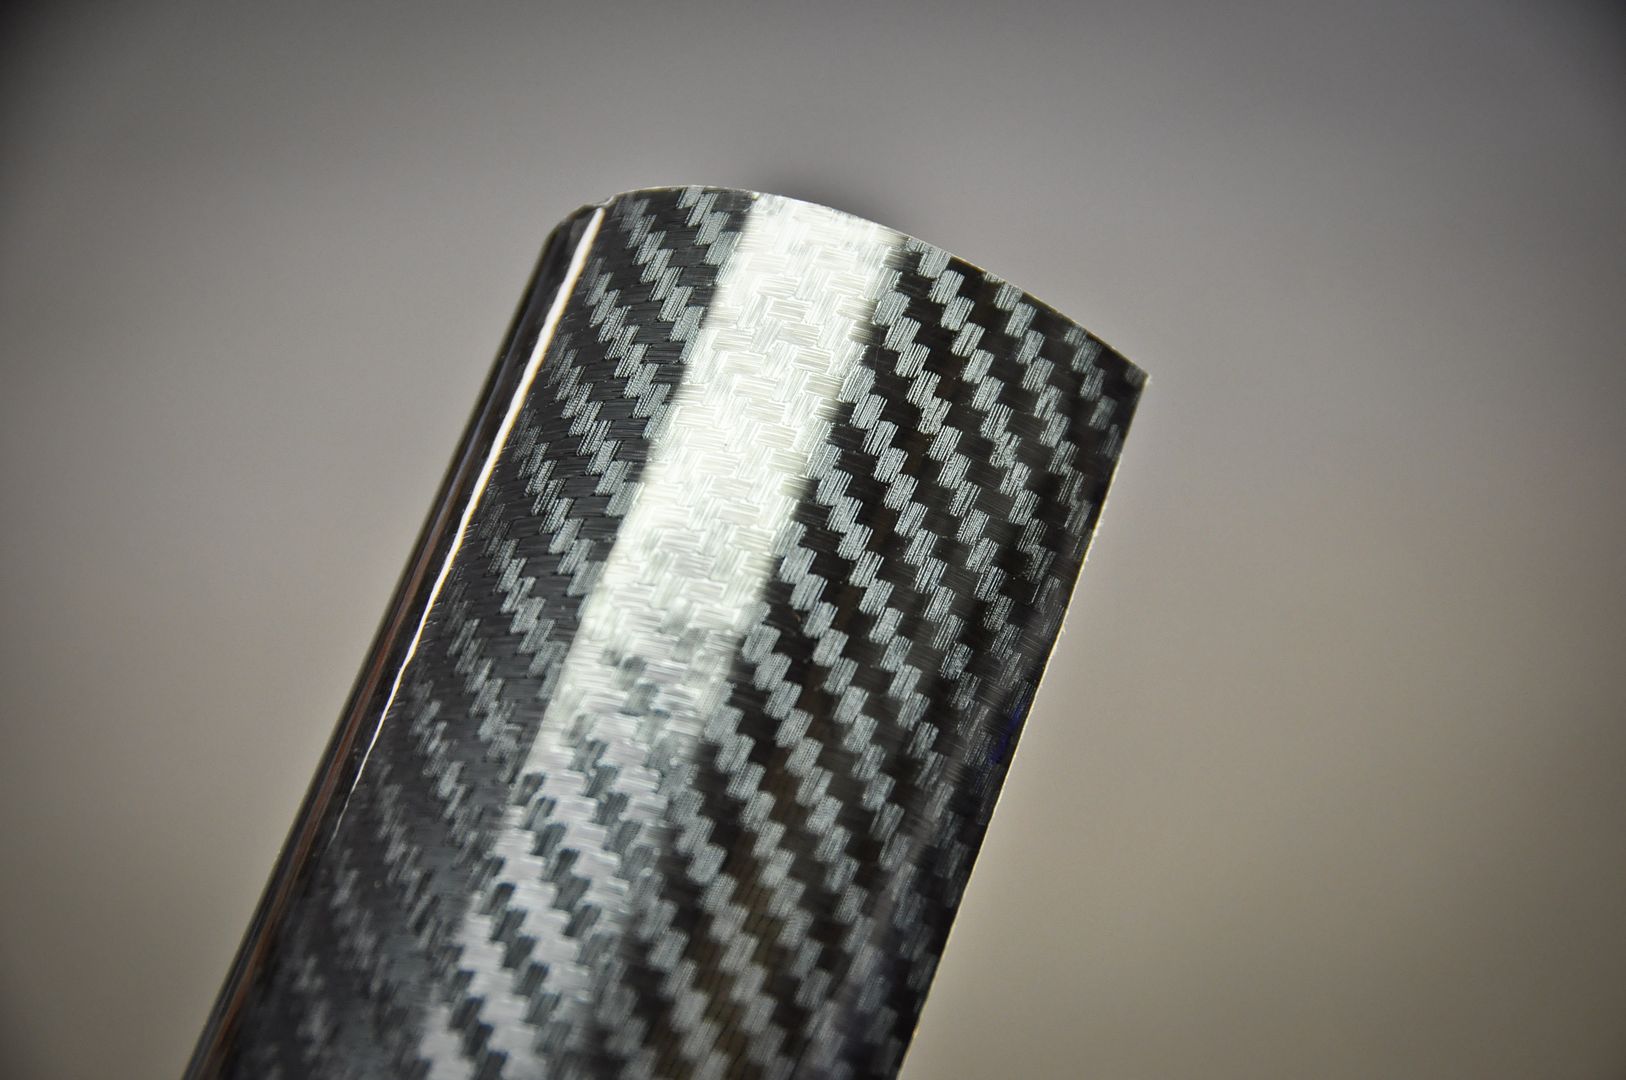
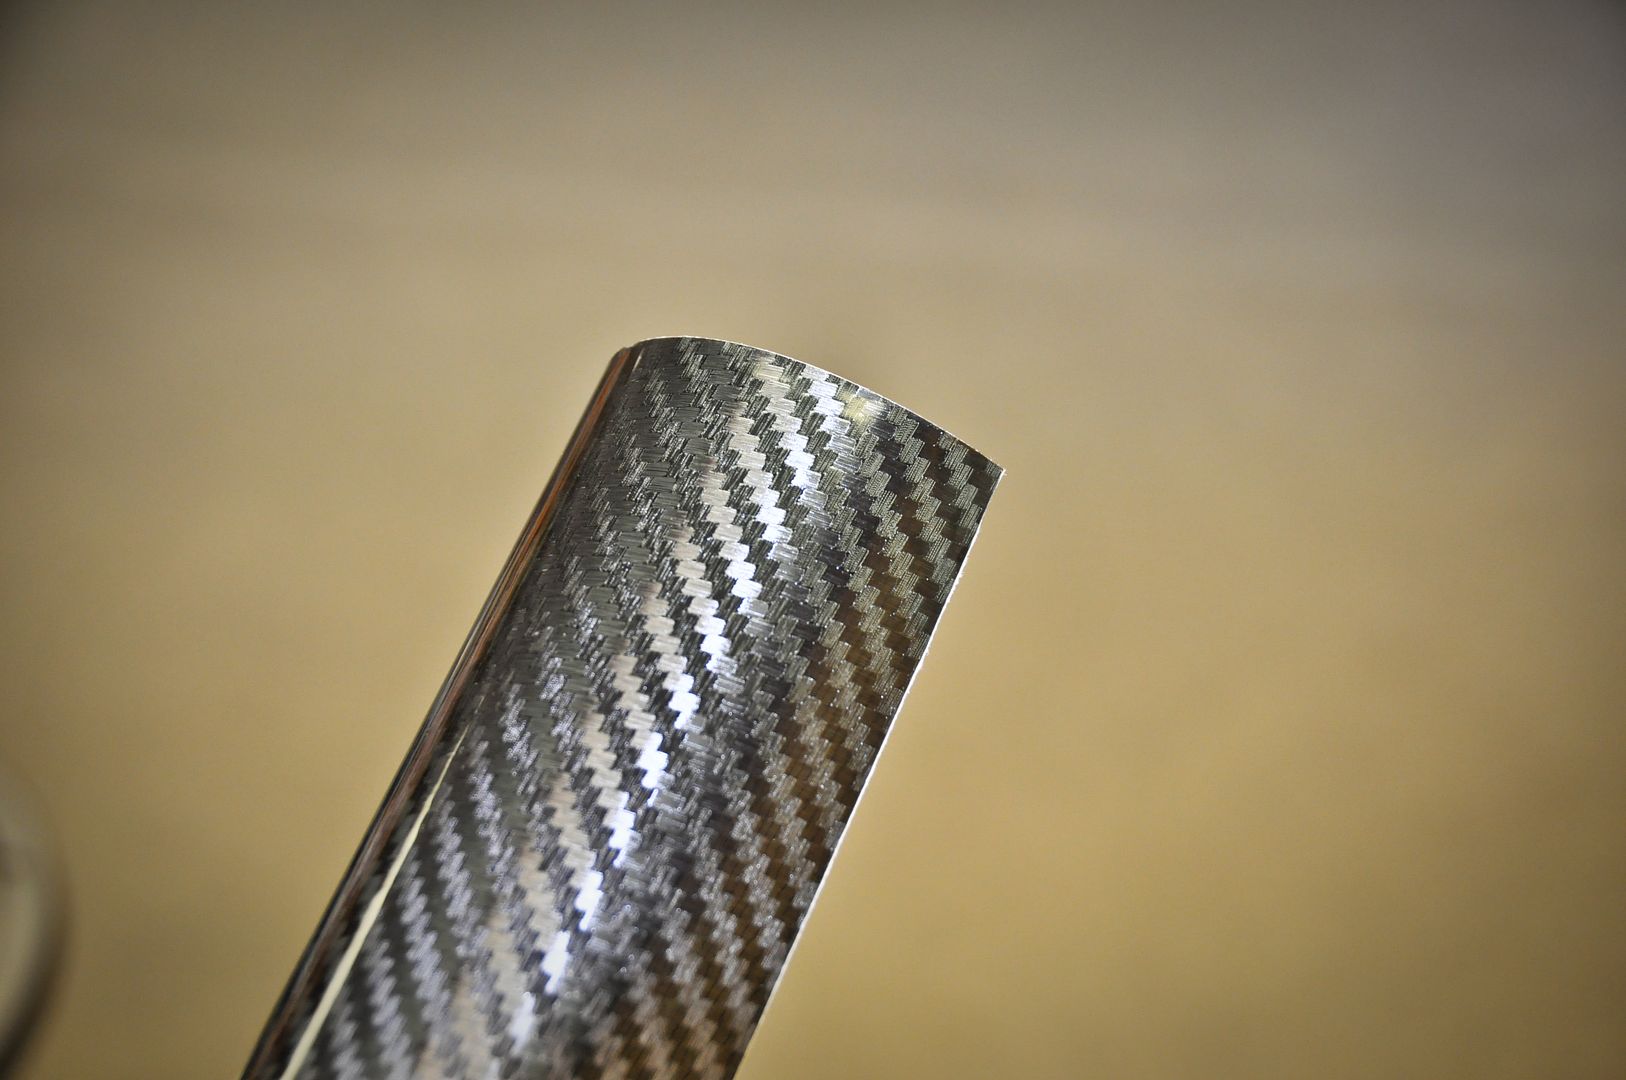
Got this carbon vinyl material
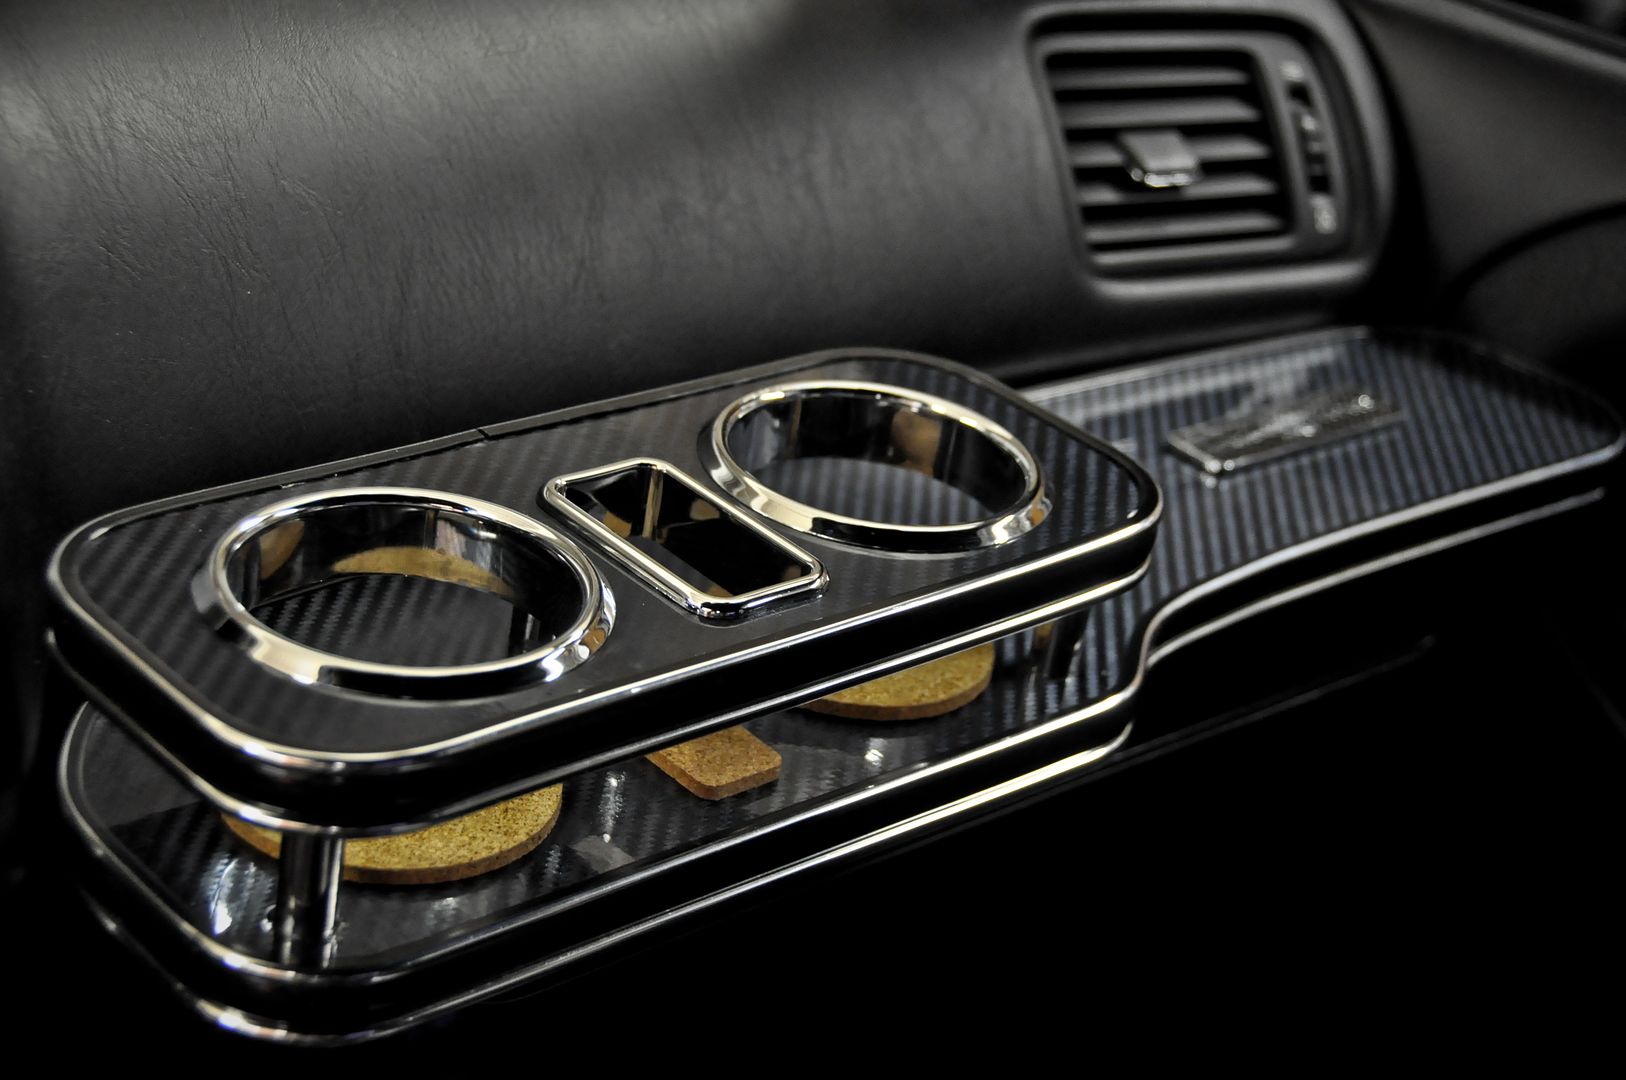
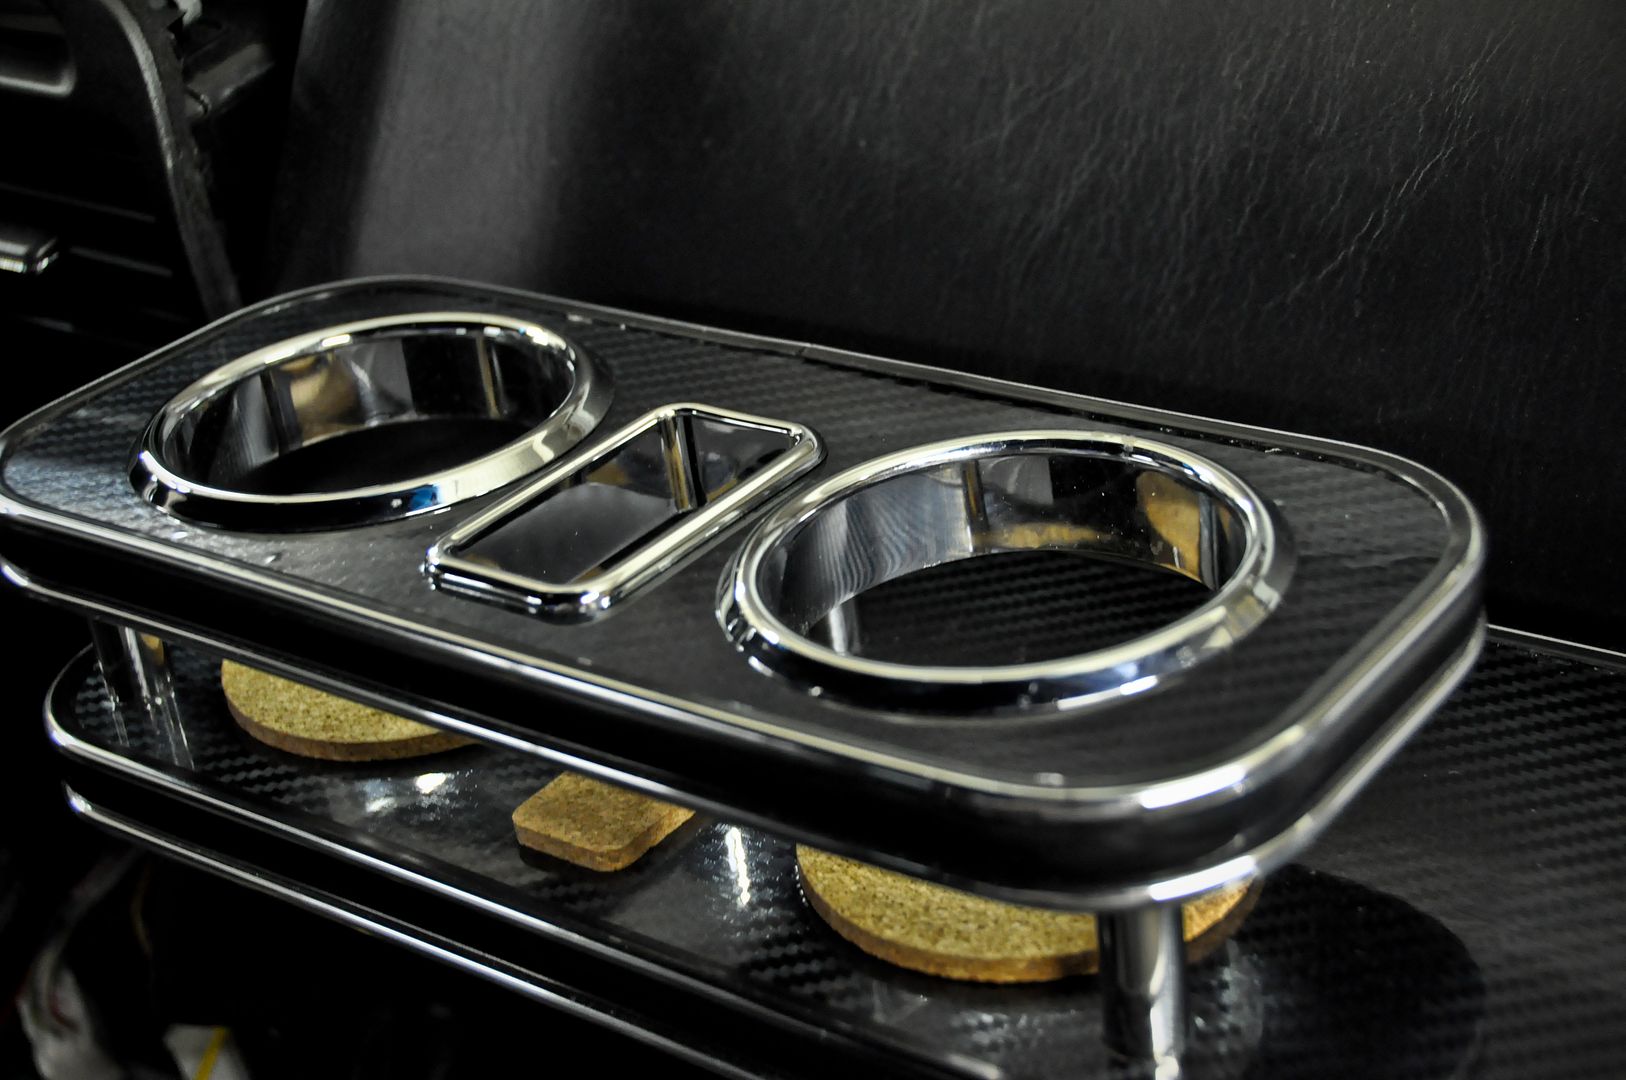
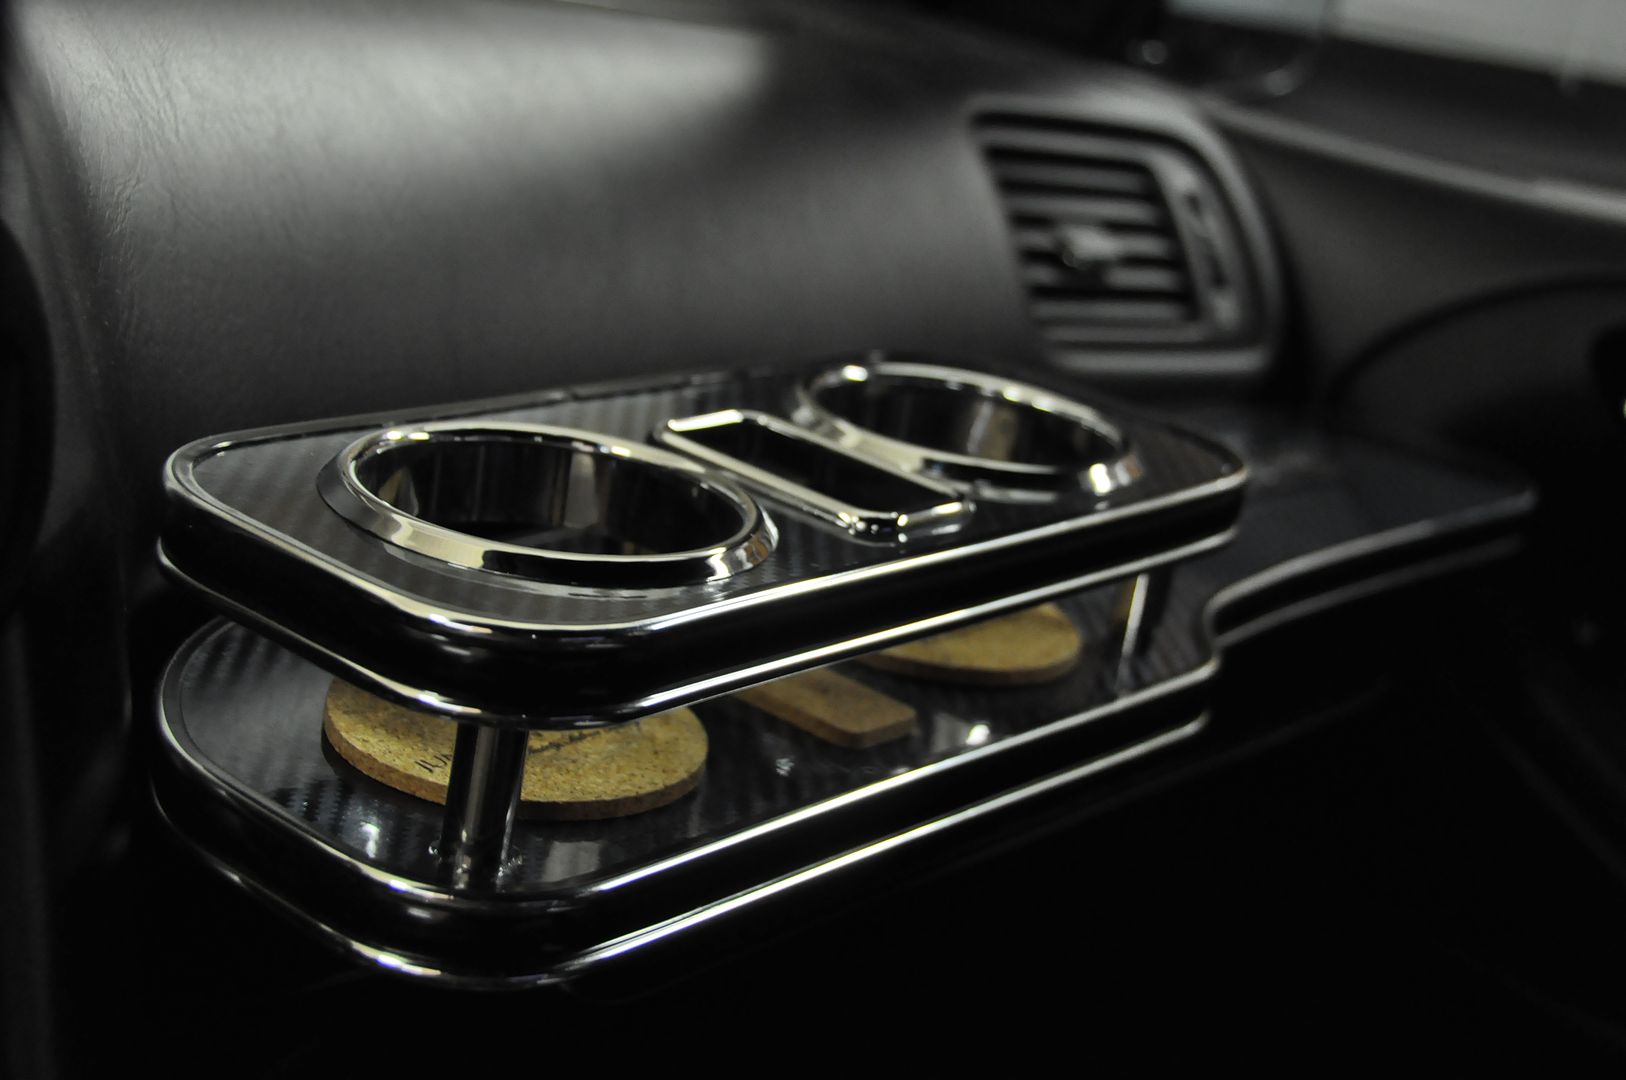
Finished up the table with some carbon fiber material (Excuse the mess)
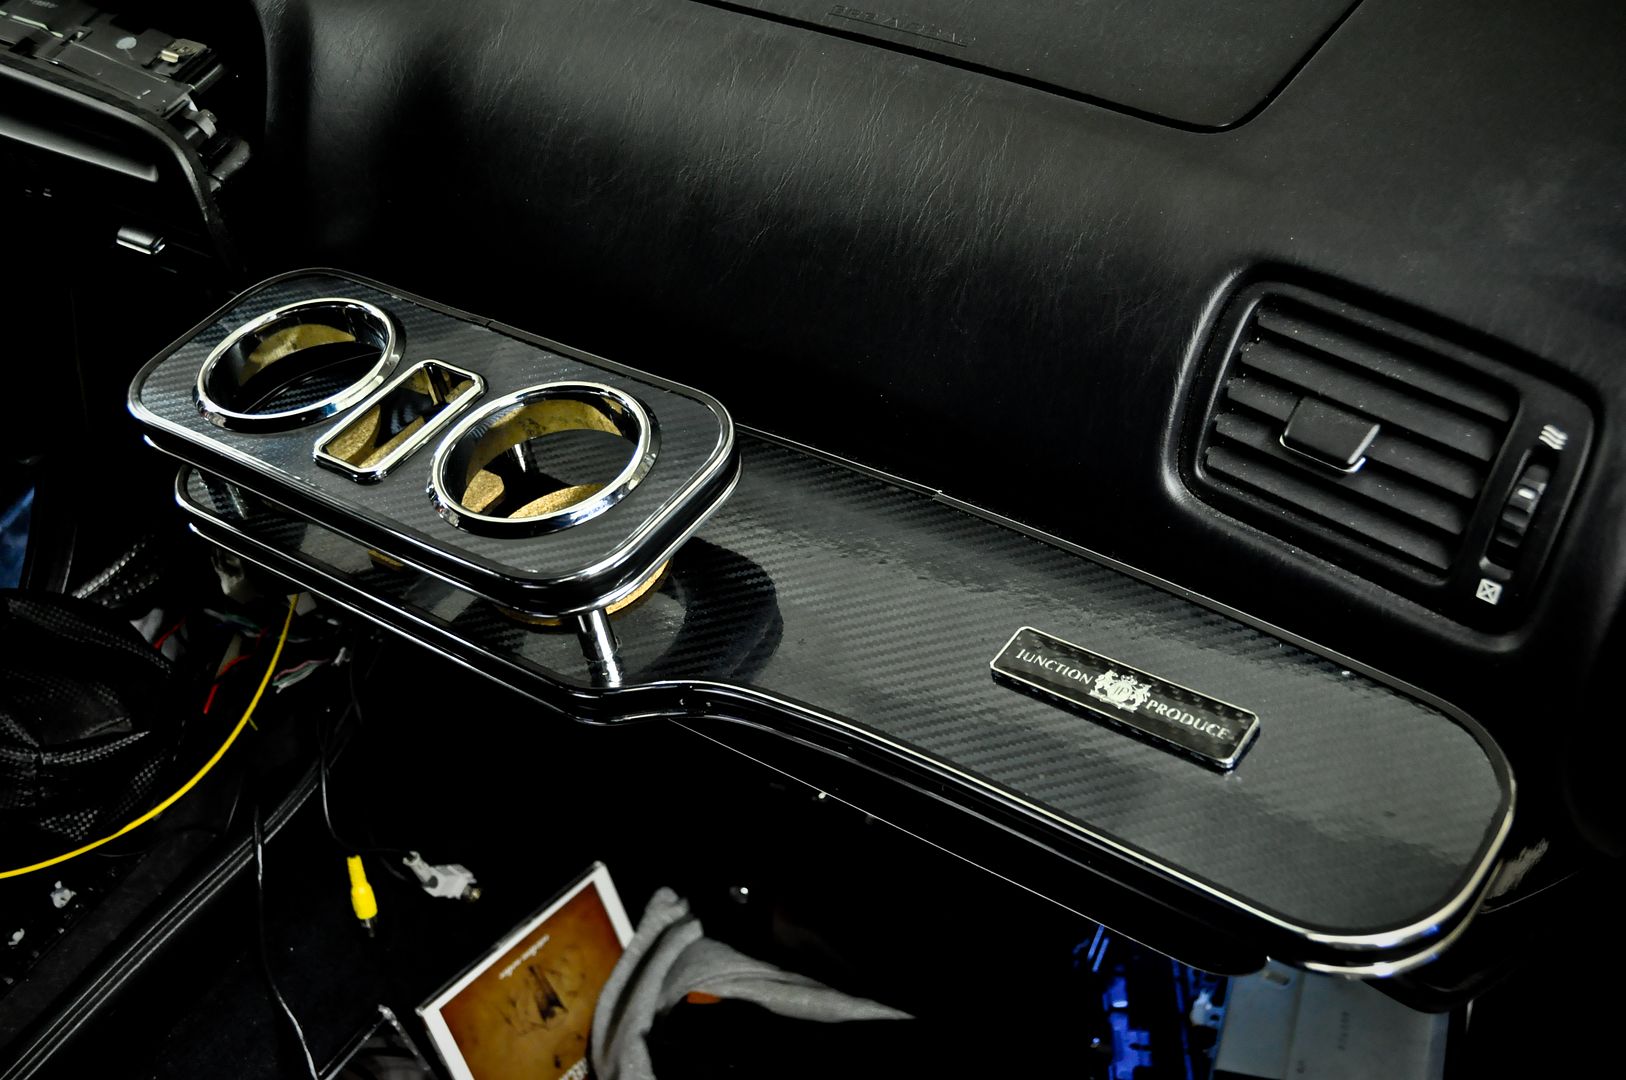
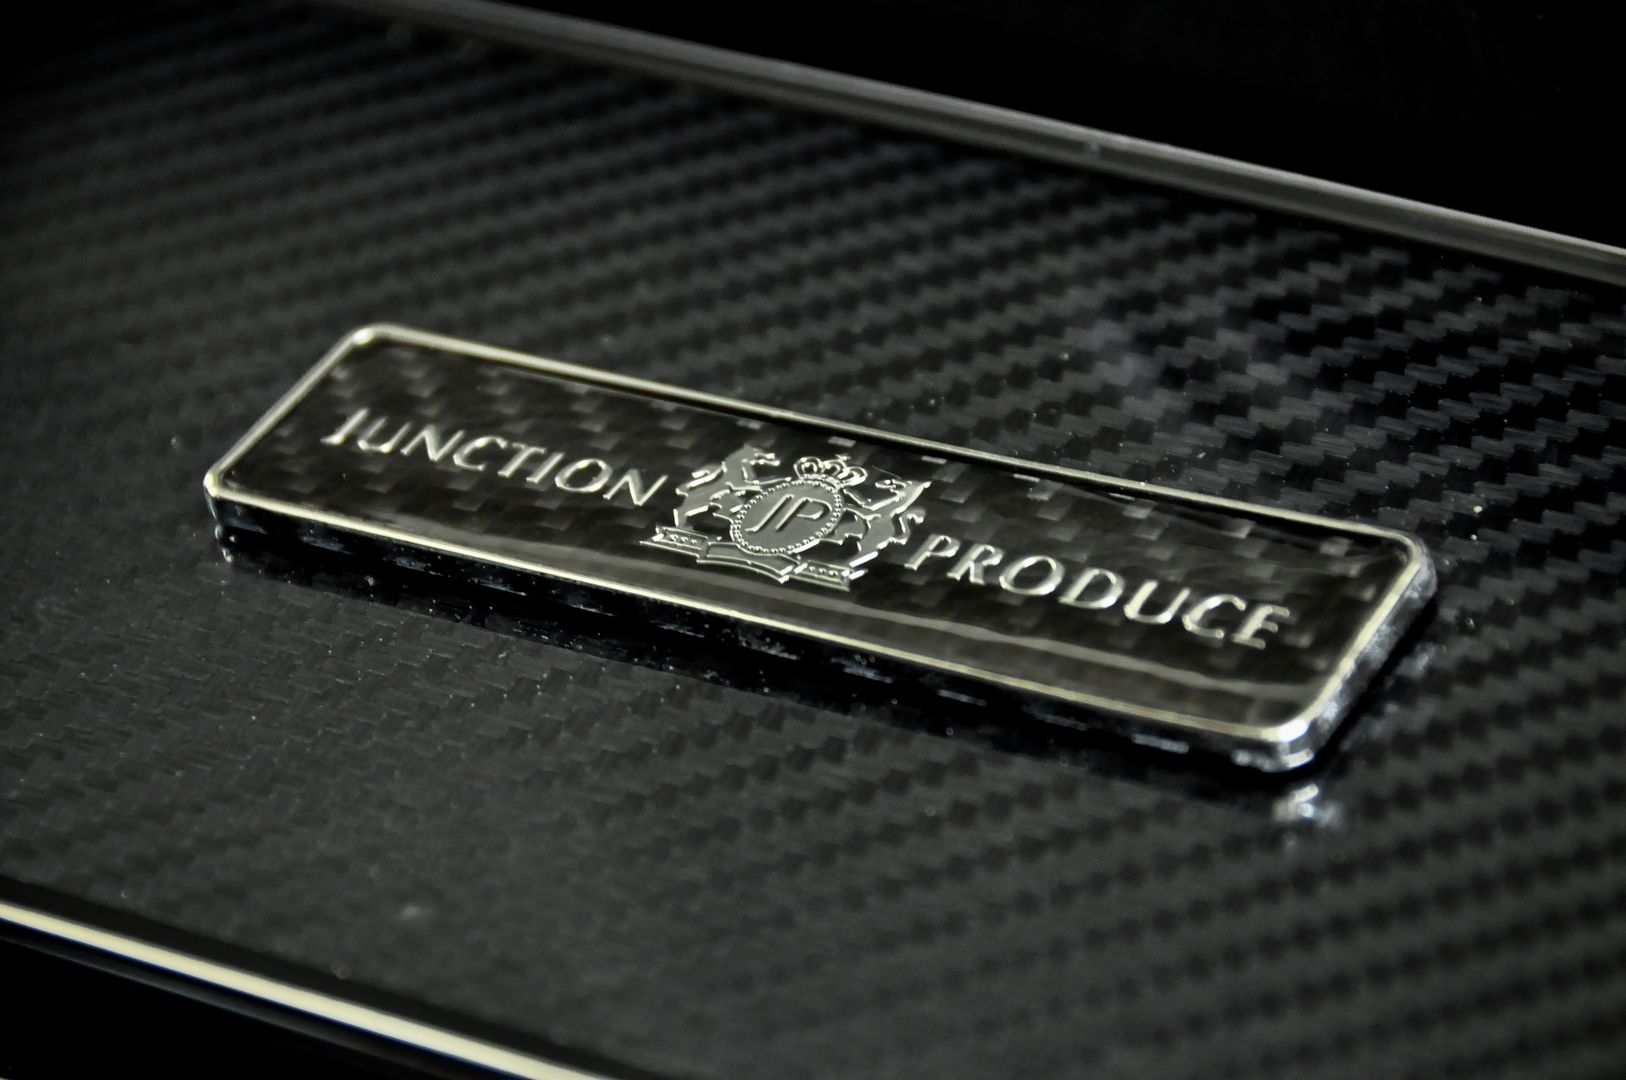
Got this carbon fiber Junction Produce Emblem
Rough look at what is to come
Custom table inspired by Junction Produce
Bought this Junction Produce table from my buddy Dan
Got the idea to make my own table but with a carbon look so….. deconstruction time
Here is it all apart
Got this carbon vinyl material
Finished up the table with some carbon fiber material (Excuse the mess)
Got this carbon fiber Junction Produce Emblem

 03-19-11, 04:12 AM
#456
Exterior Cameras
Decided that I wanted to have not only a rear camera but a front one as well. This is so that I can see speed bumps more clearly, parking humps, etc…
The car is a little dirty but that’s how she’s gonna stay till it is done lol.
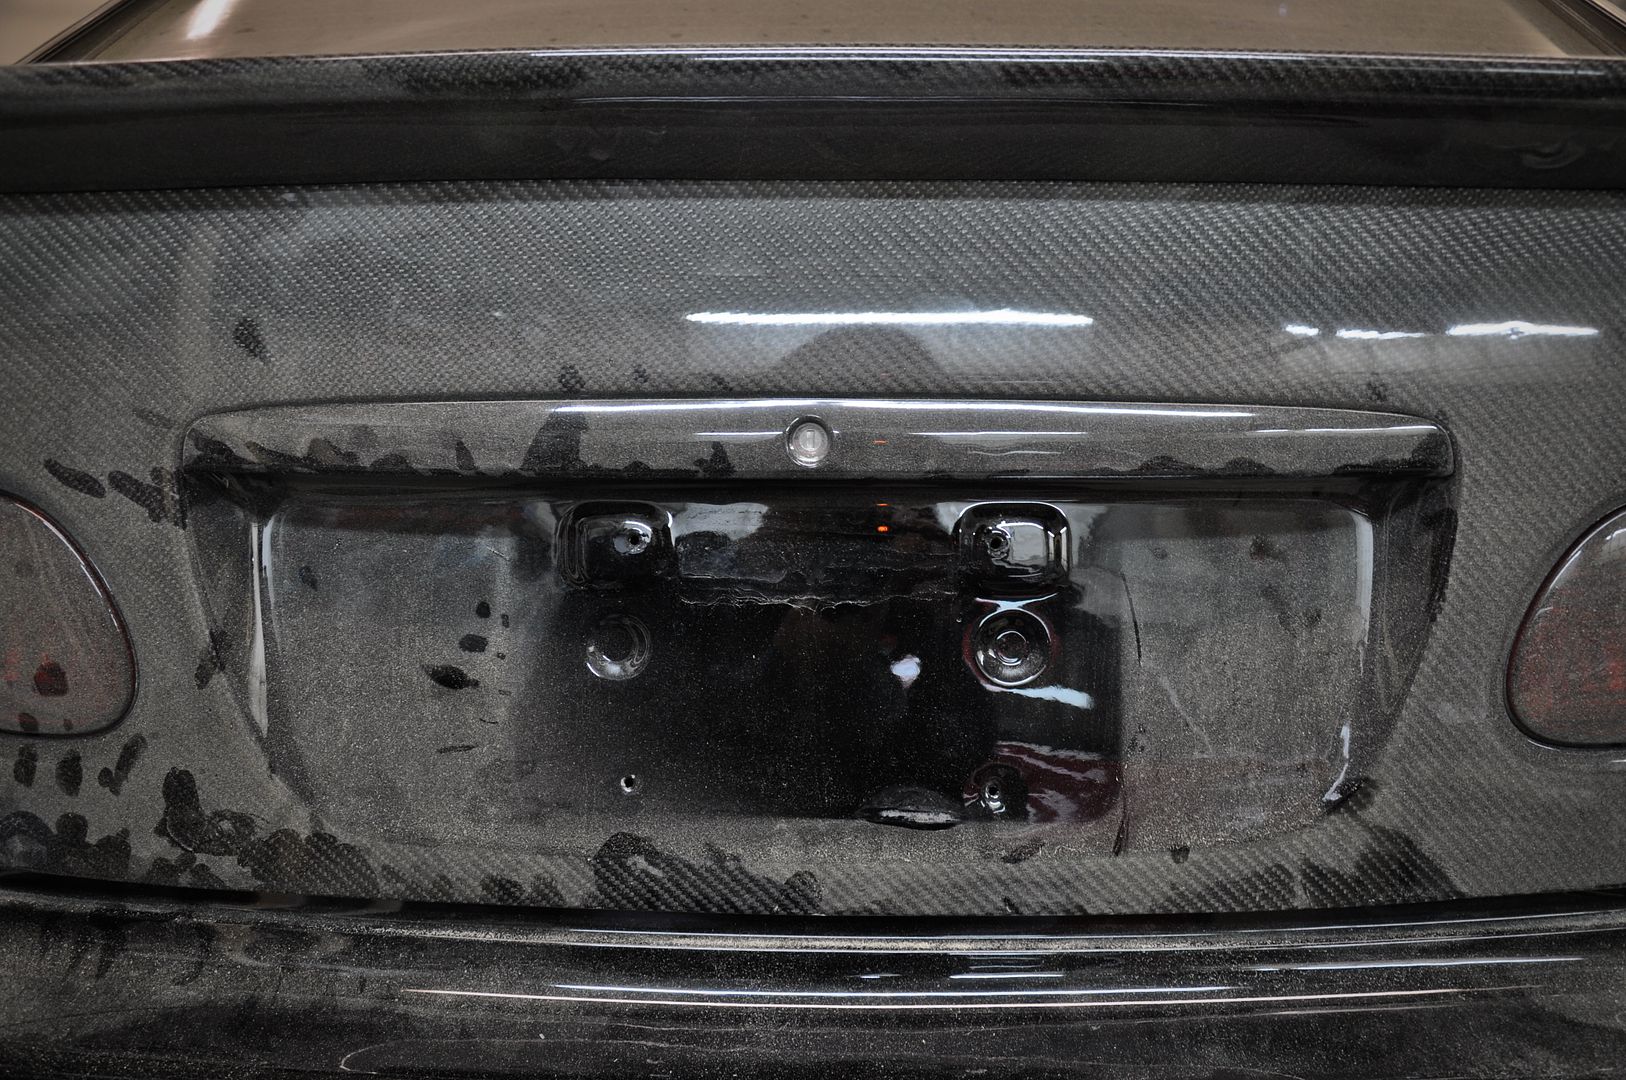
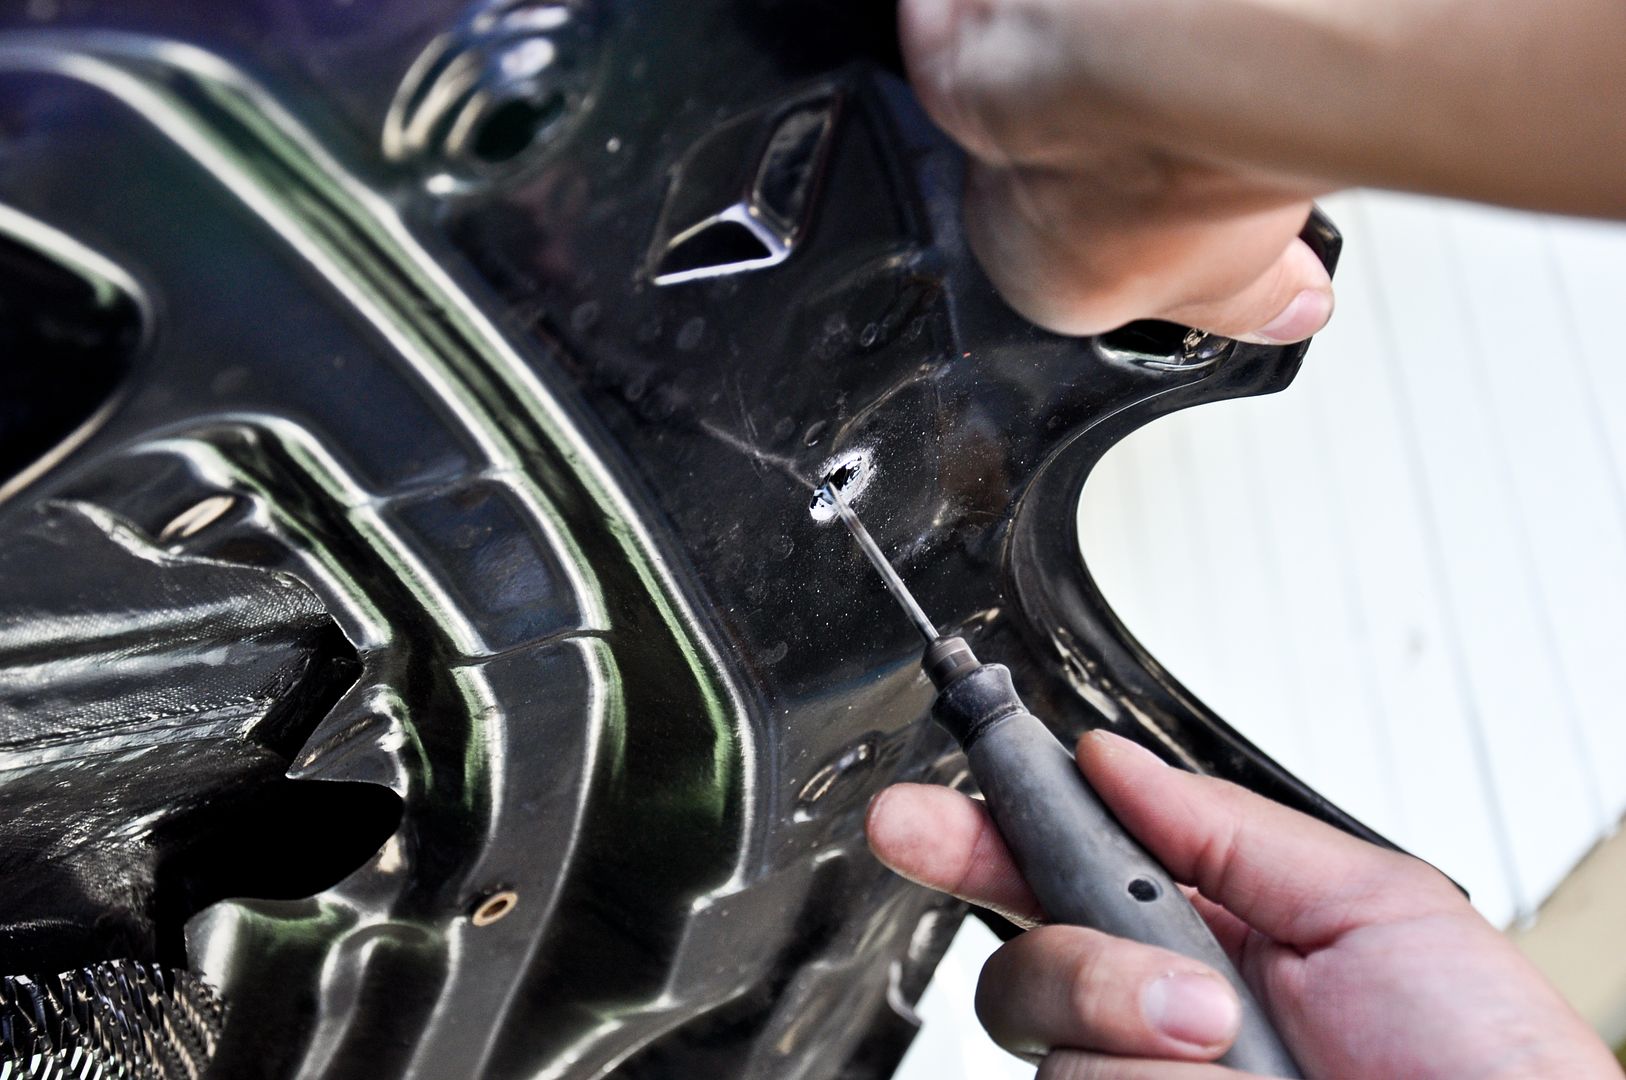
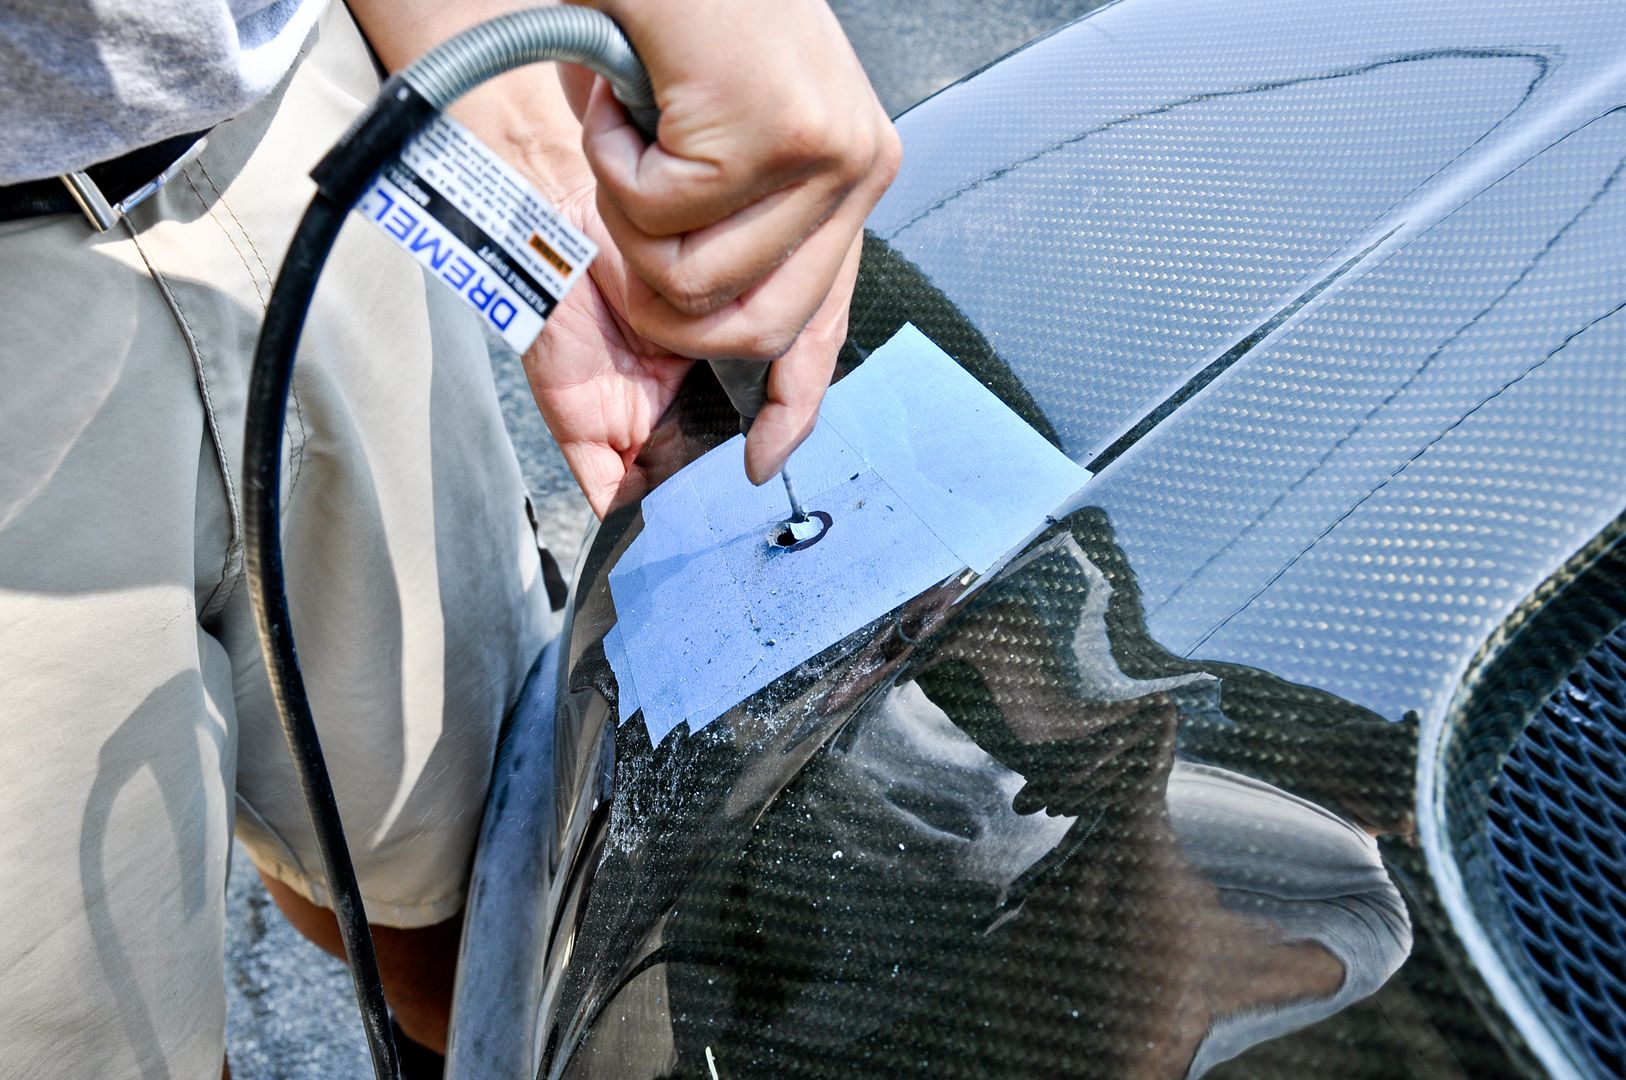
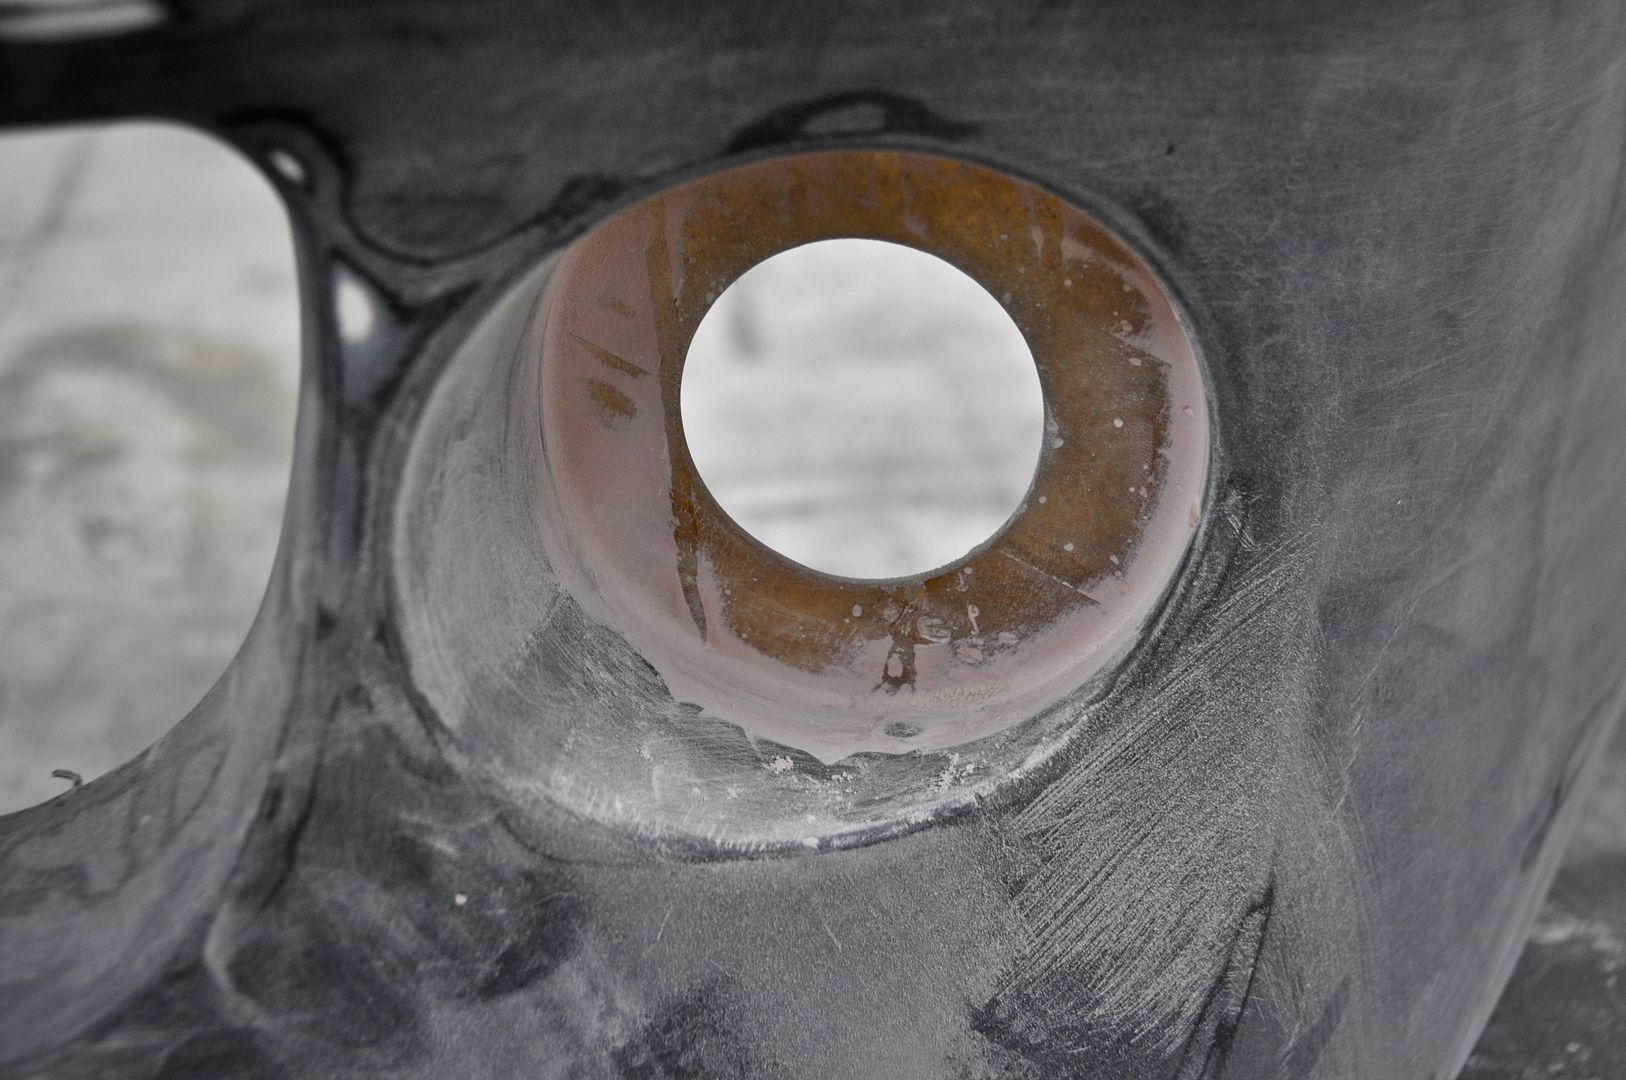
Started by taking off the license plate
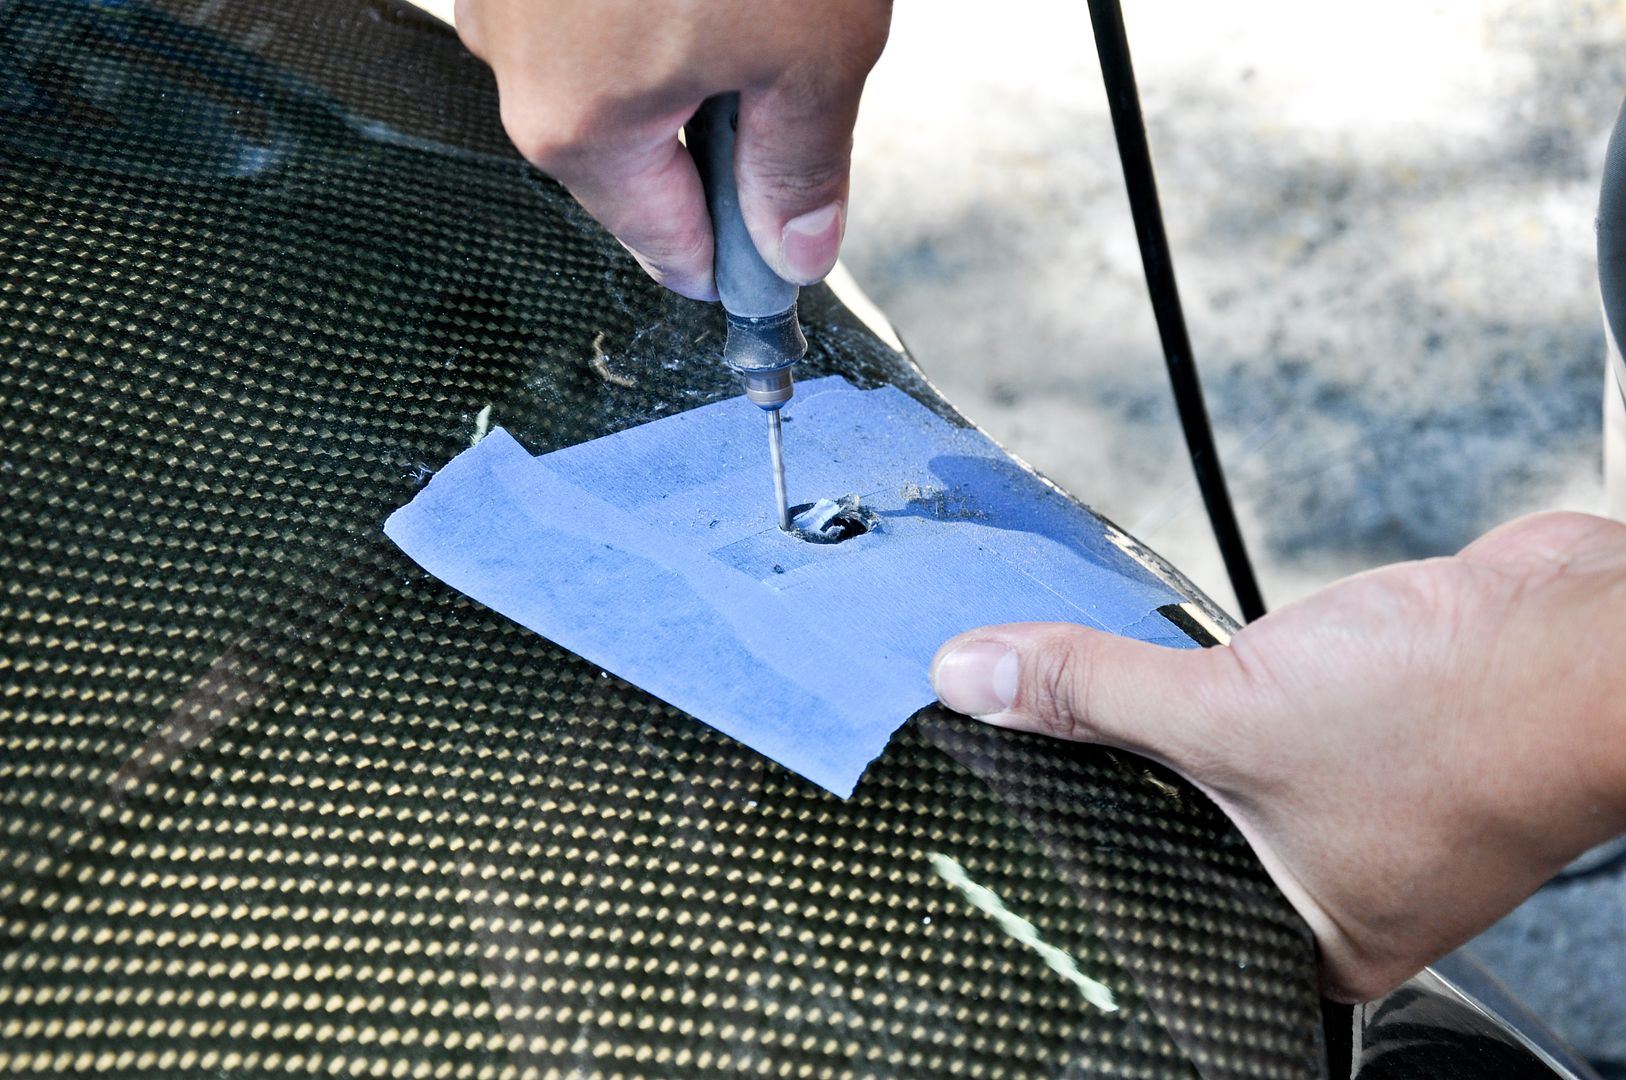
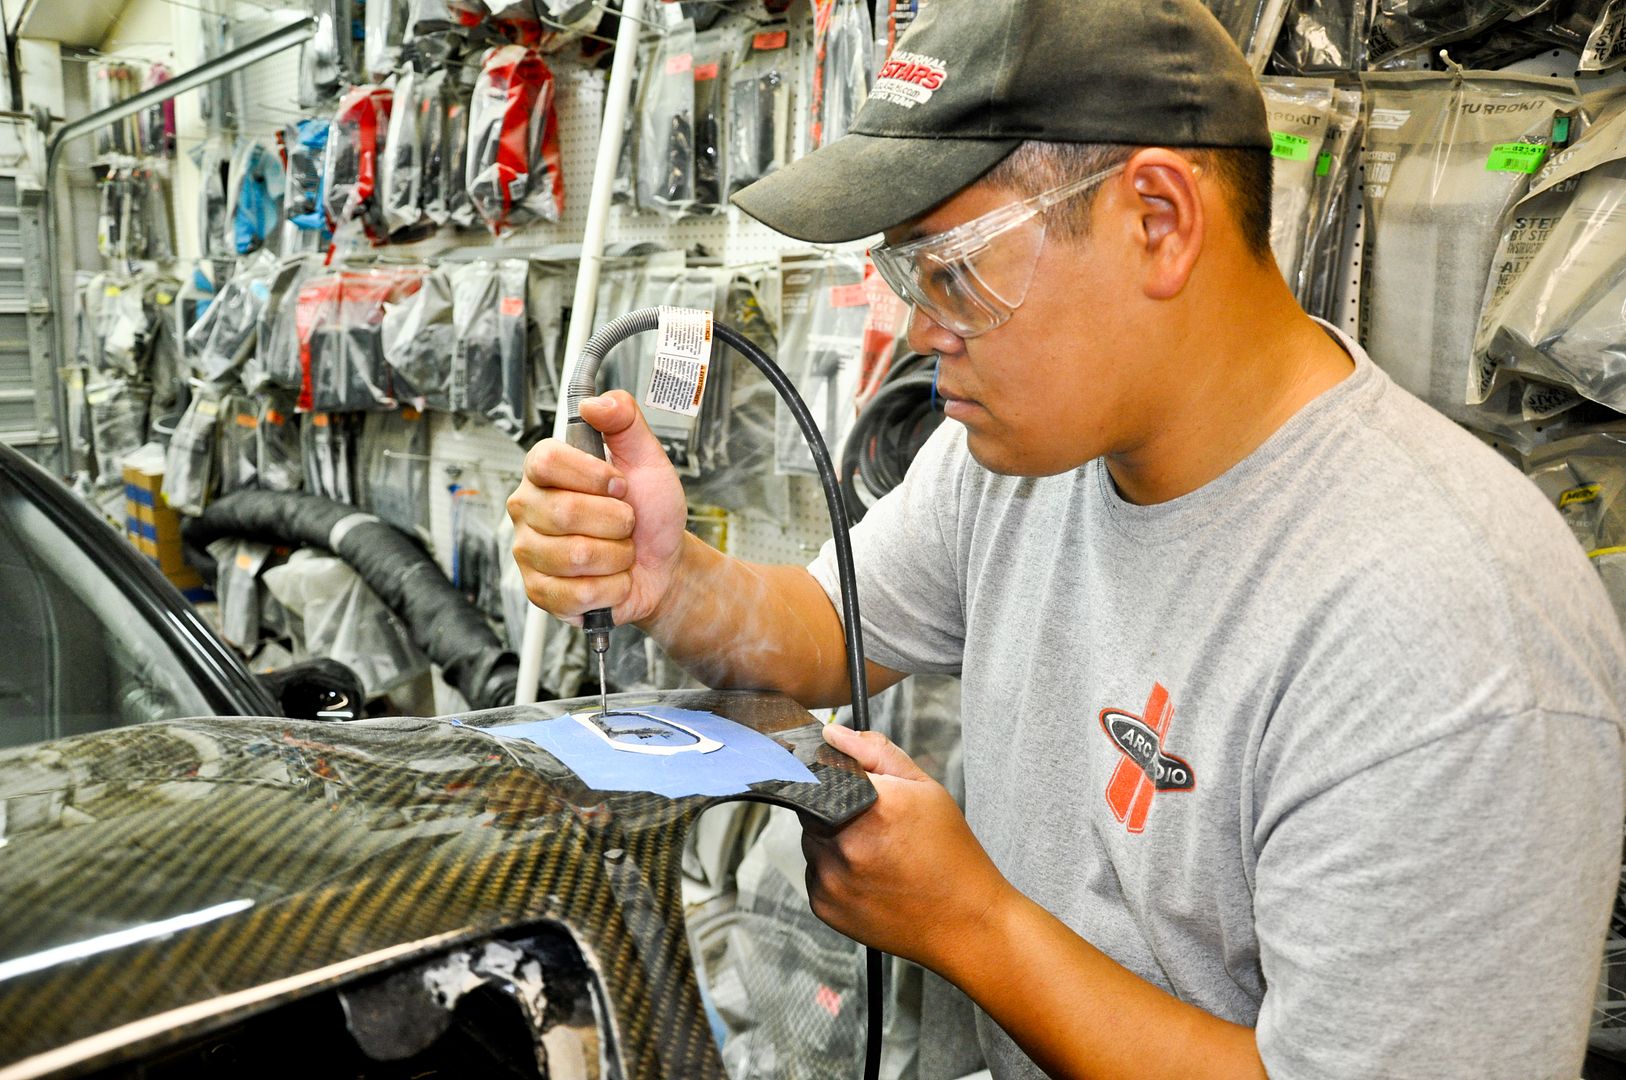
Used a uni-bit to get a hole big enough for the wiring to pass through
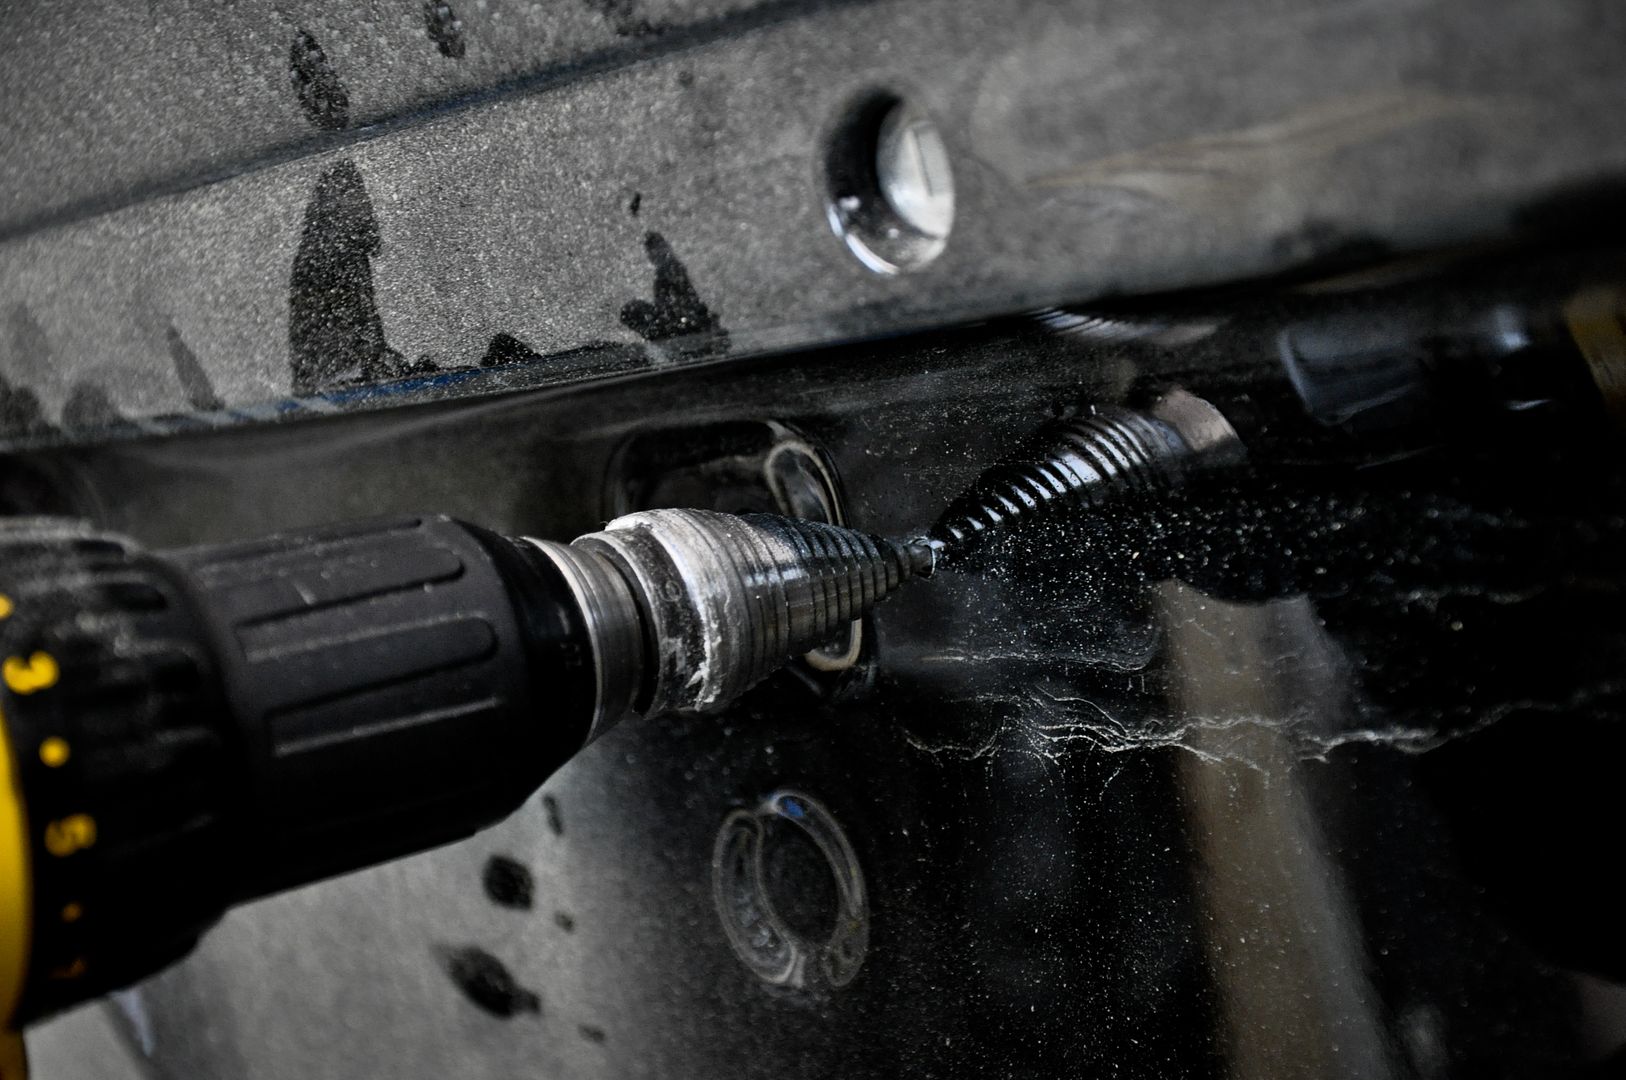
Hole is cut
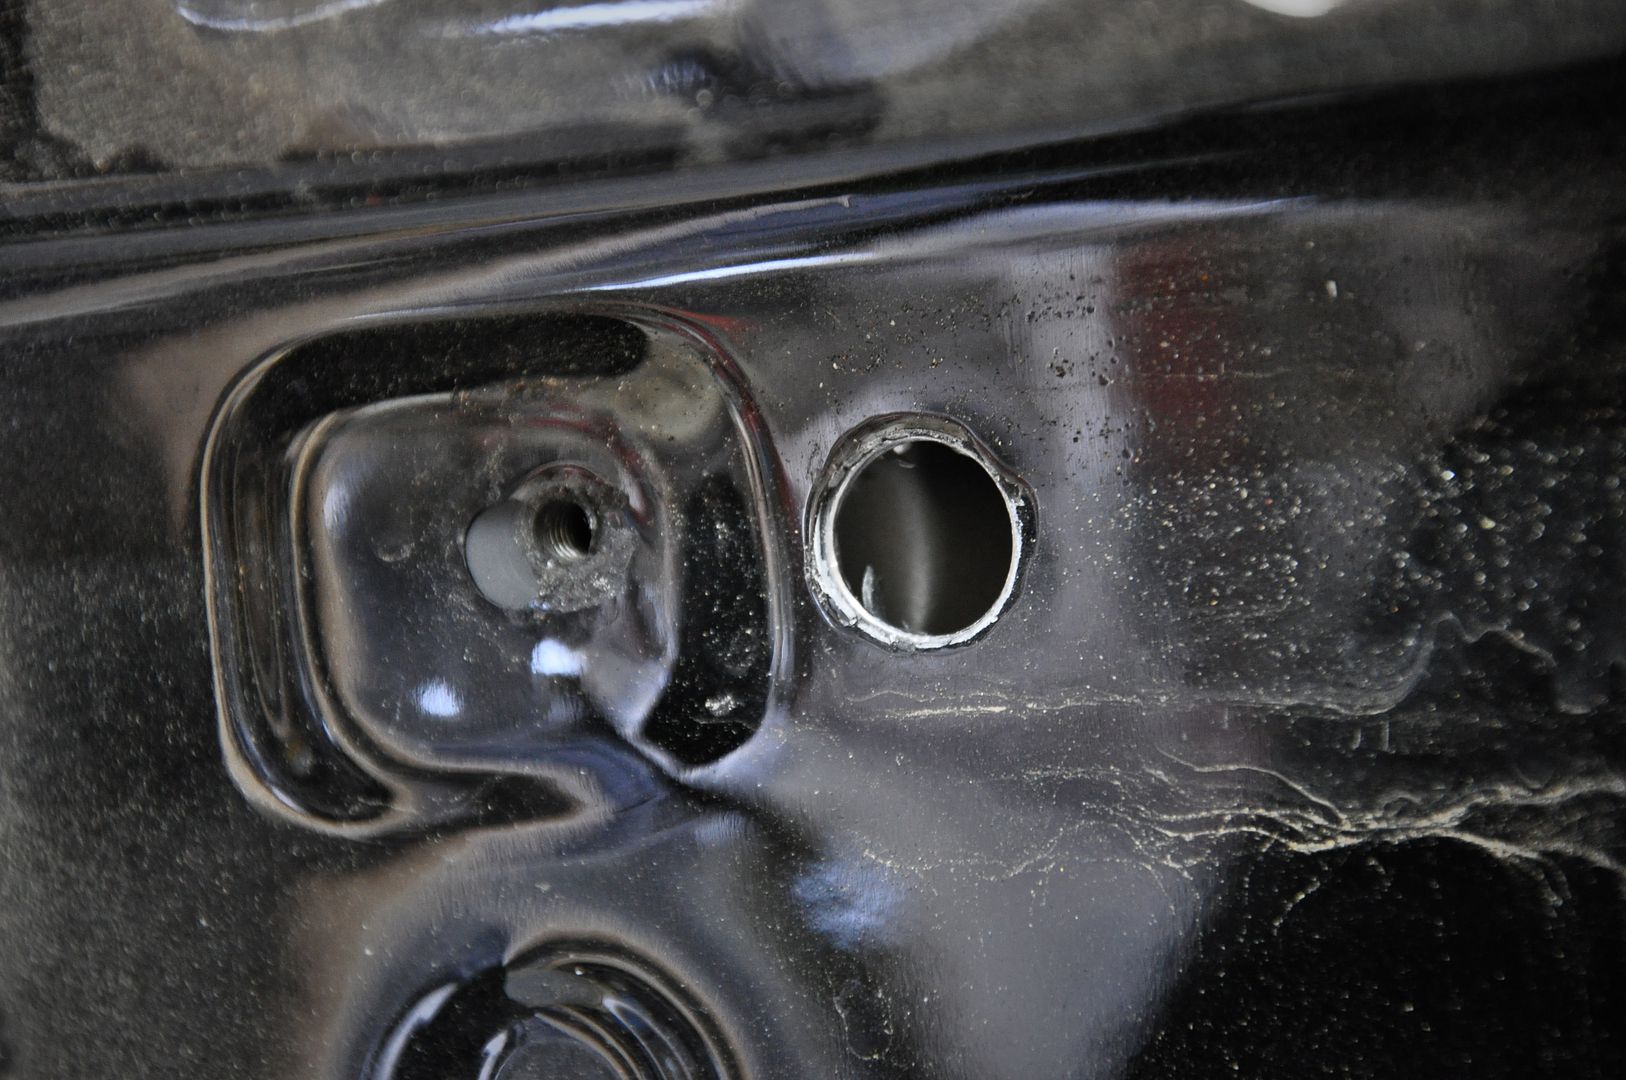
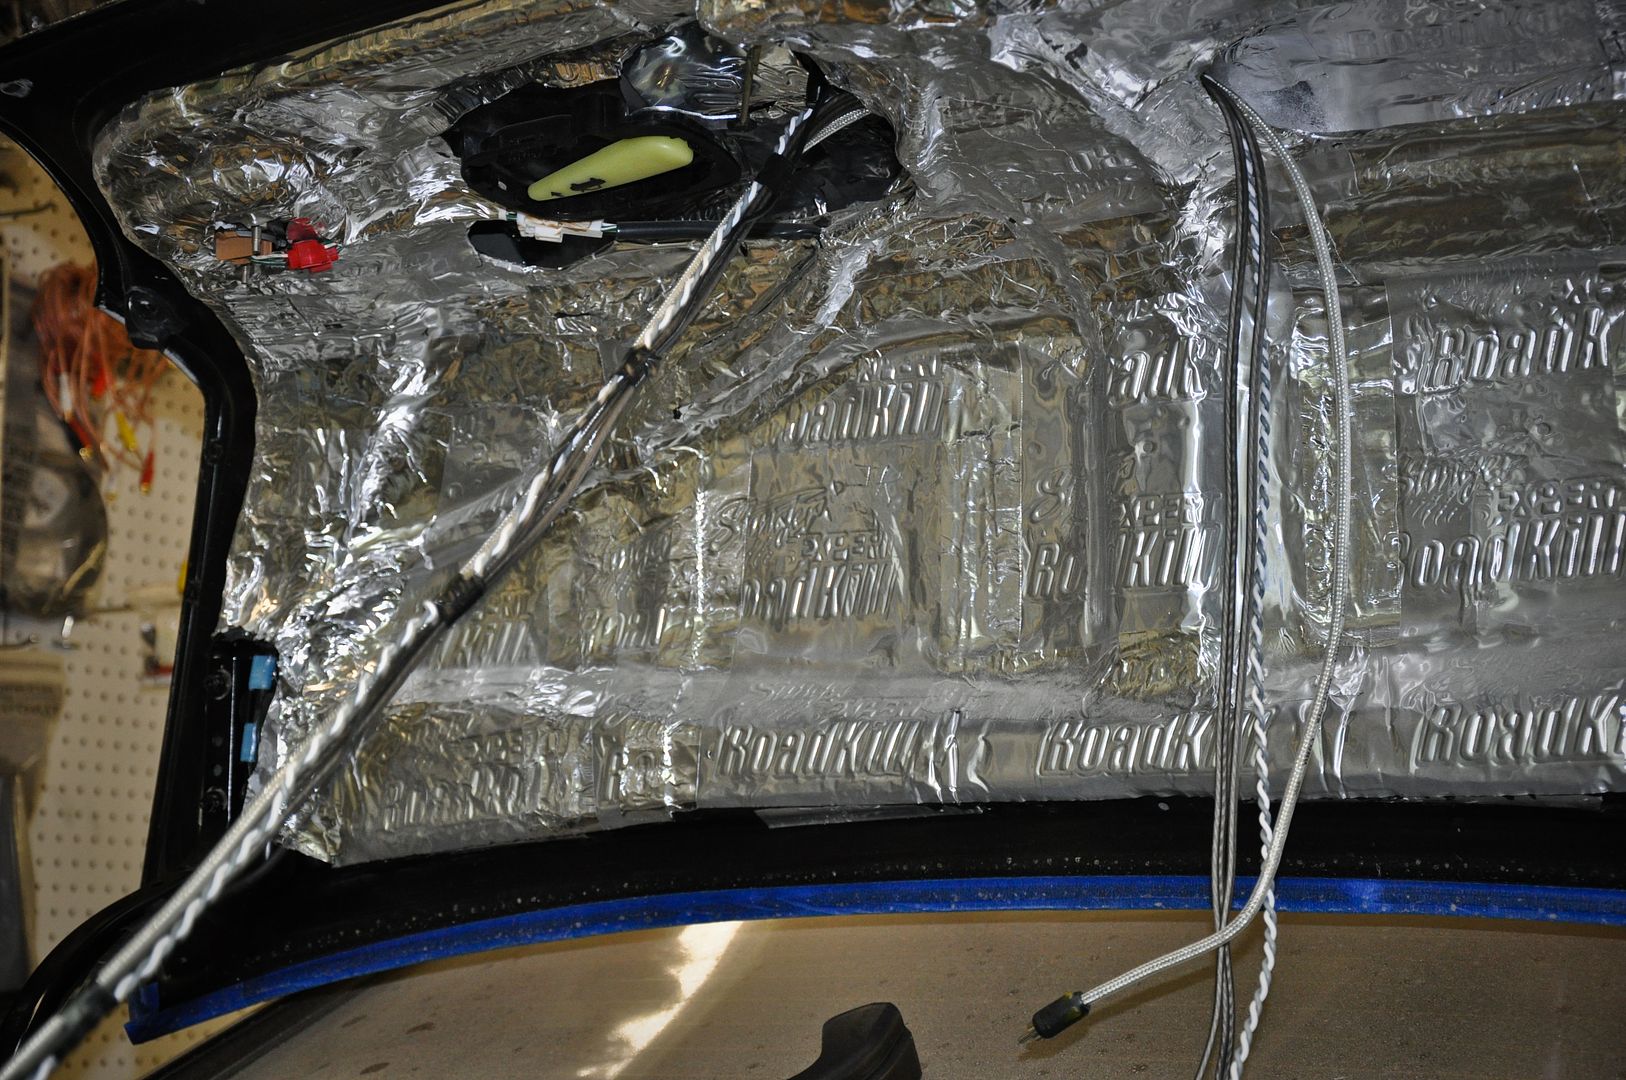
After smoothing out the cut I then dampened both sides of the hole to seal it off from the elements
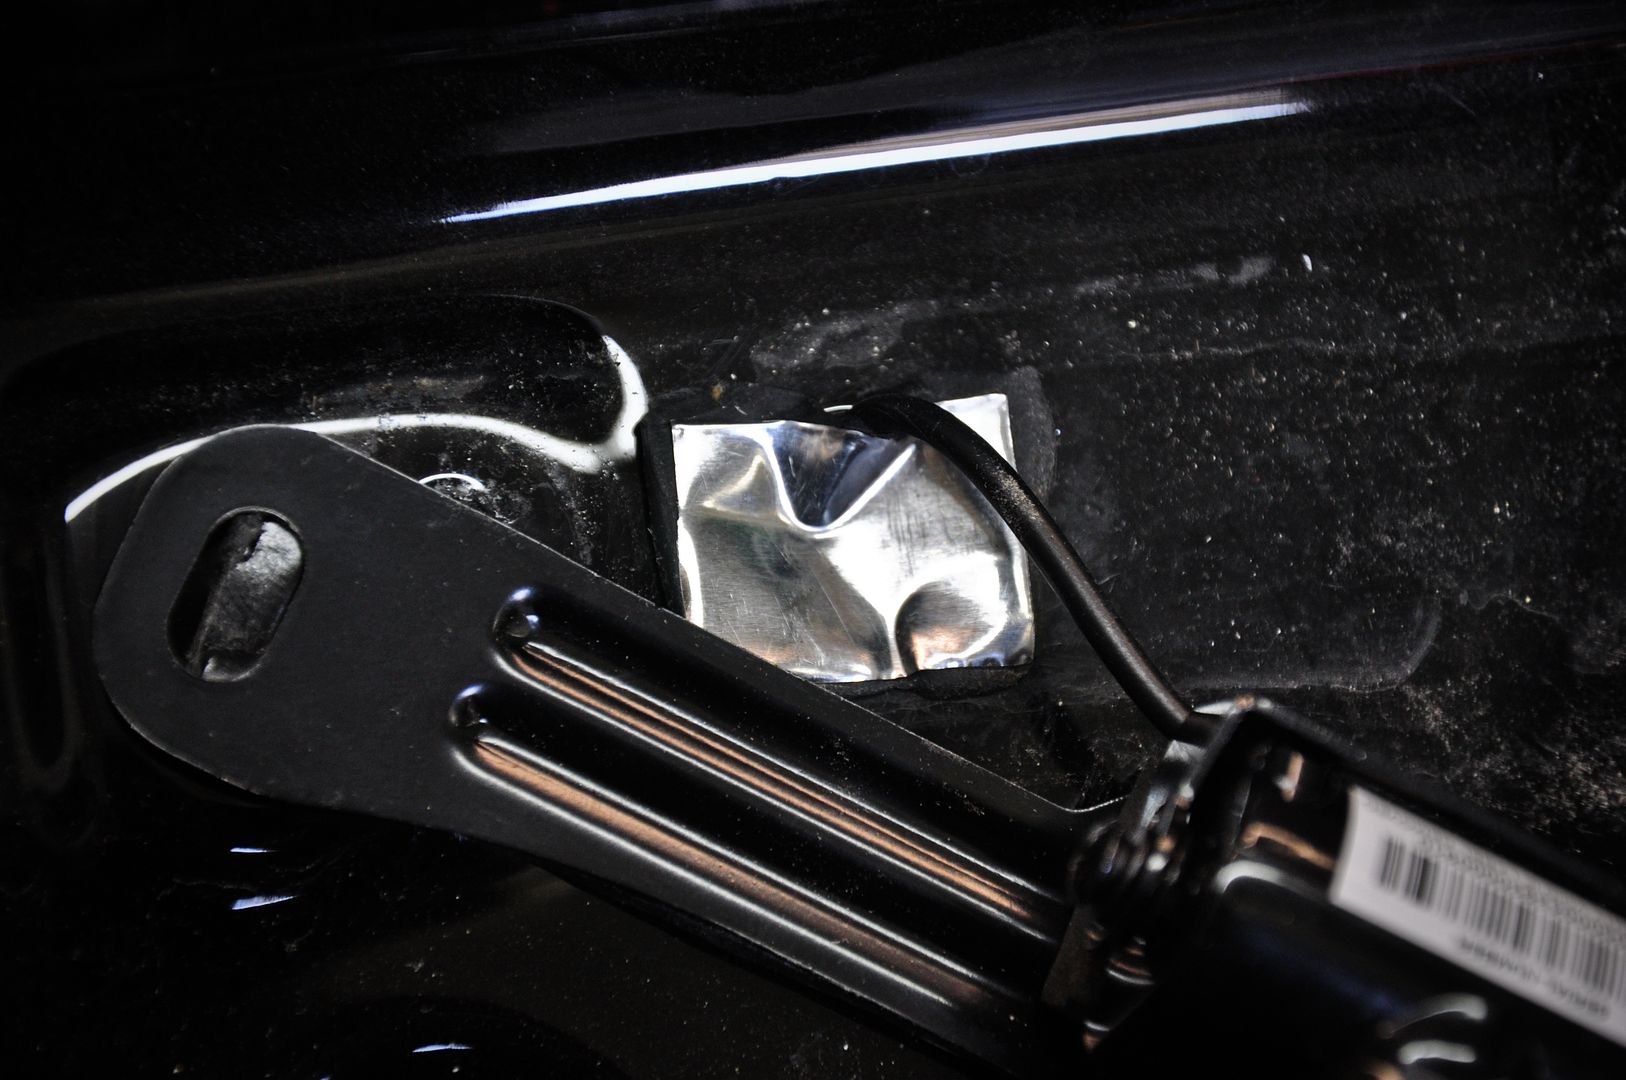
Dampened the rear of the camera mount for vibrations
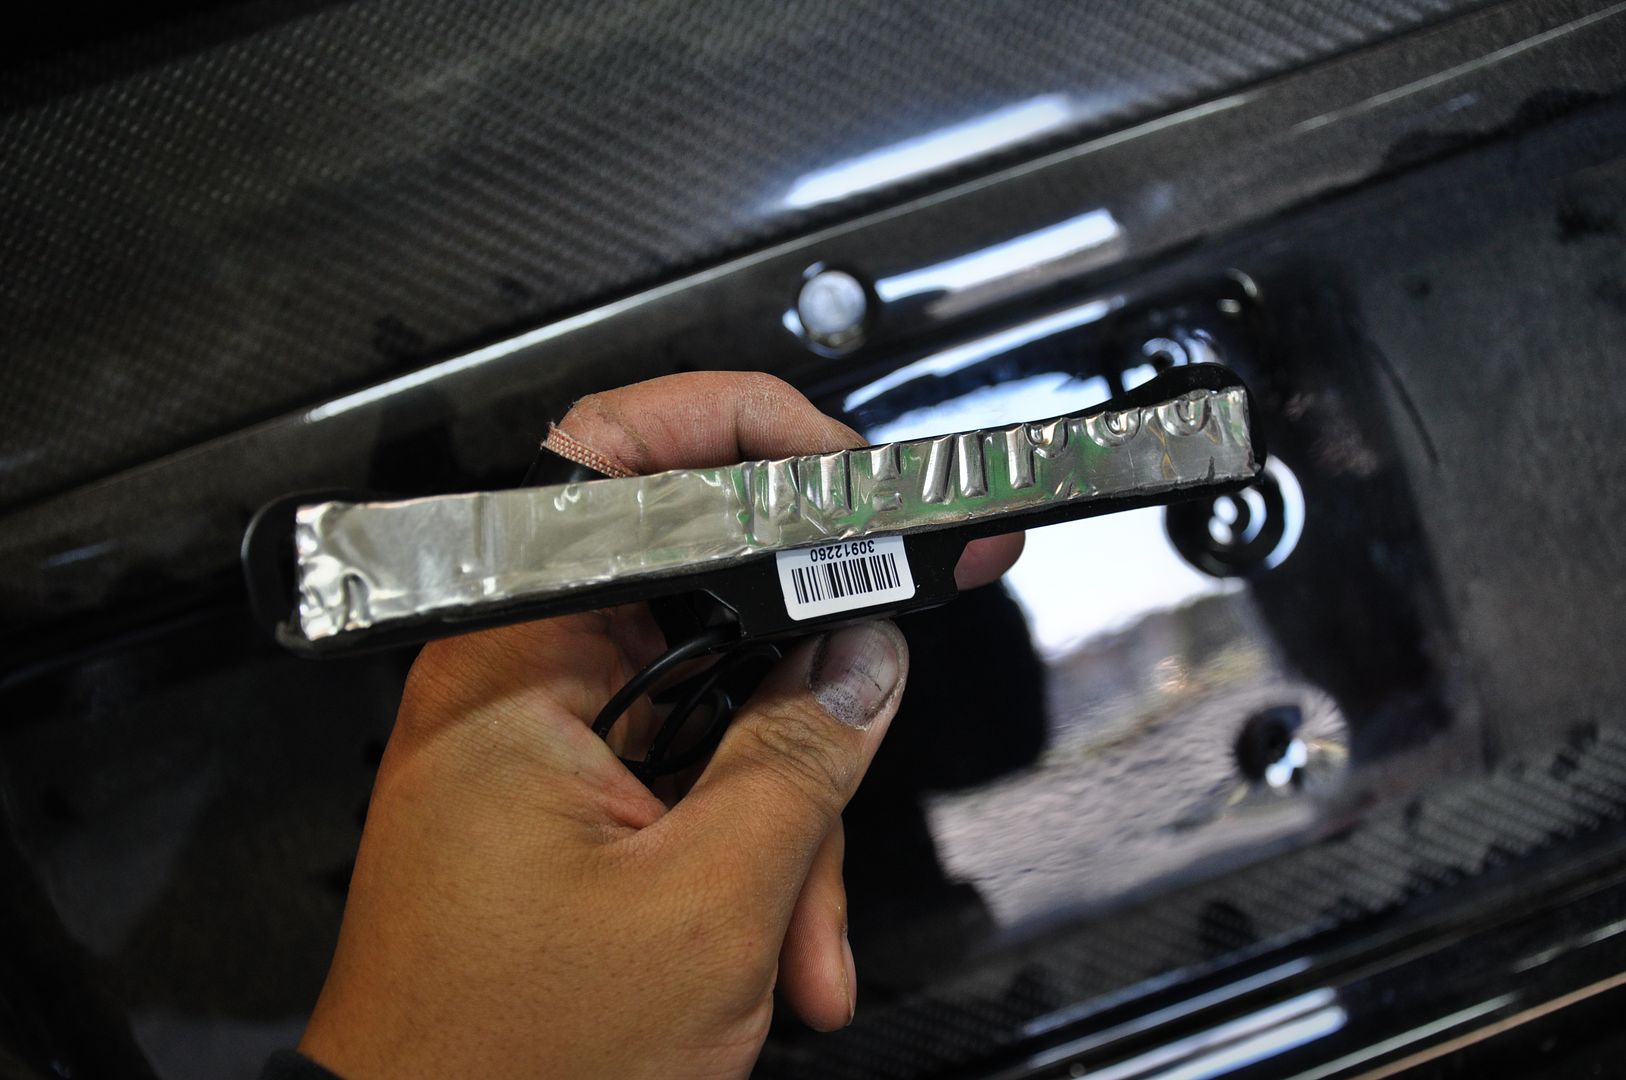
I opted to go with the license plate style camera due to its versatility, adjustability, and ease of access, plus it was what we had available to us at the shop for an awesome price lol

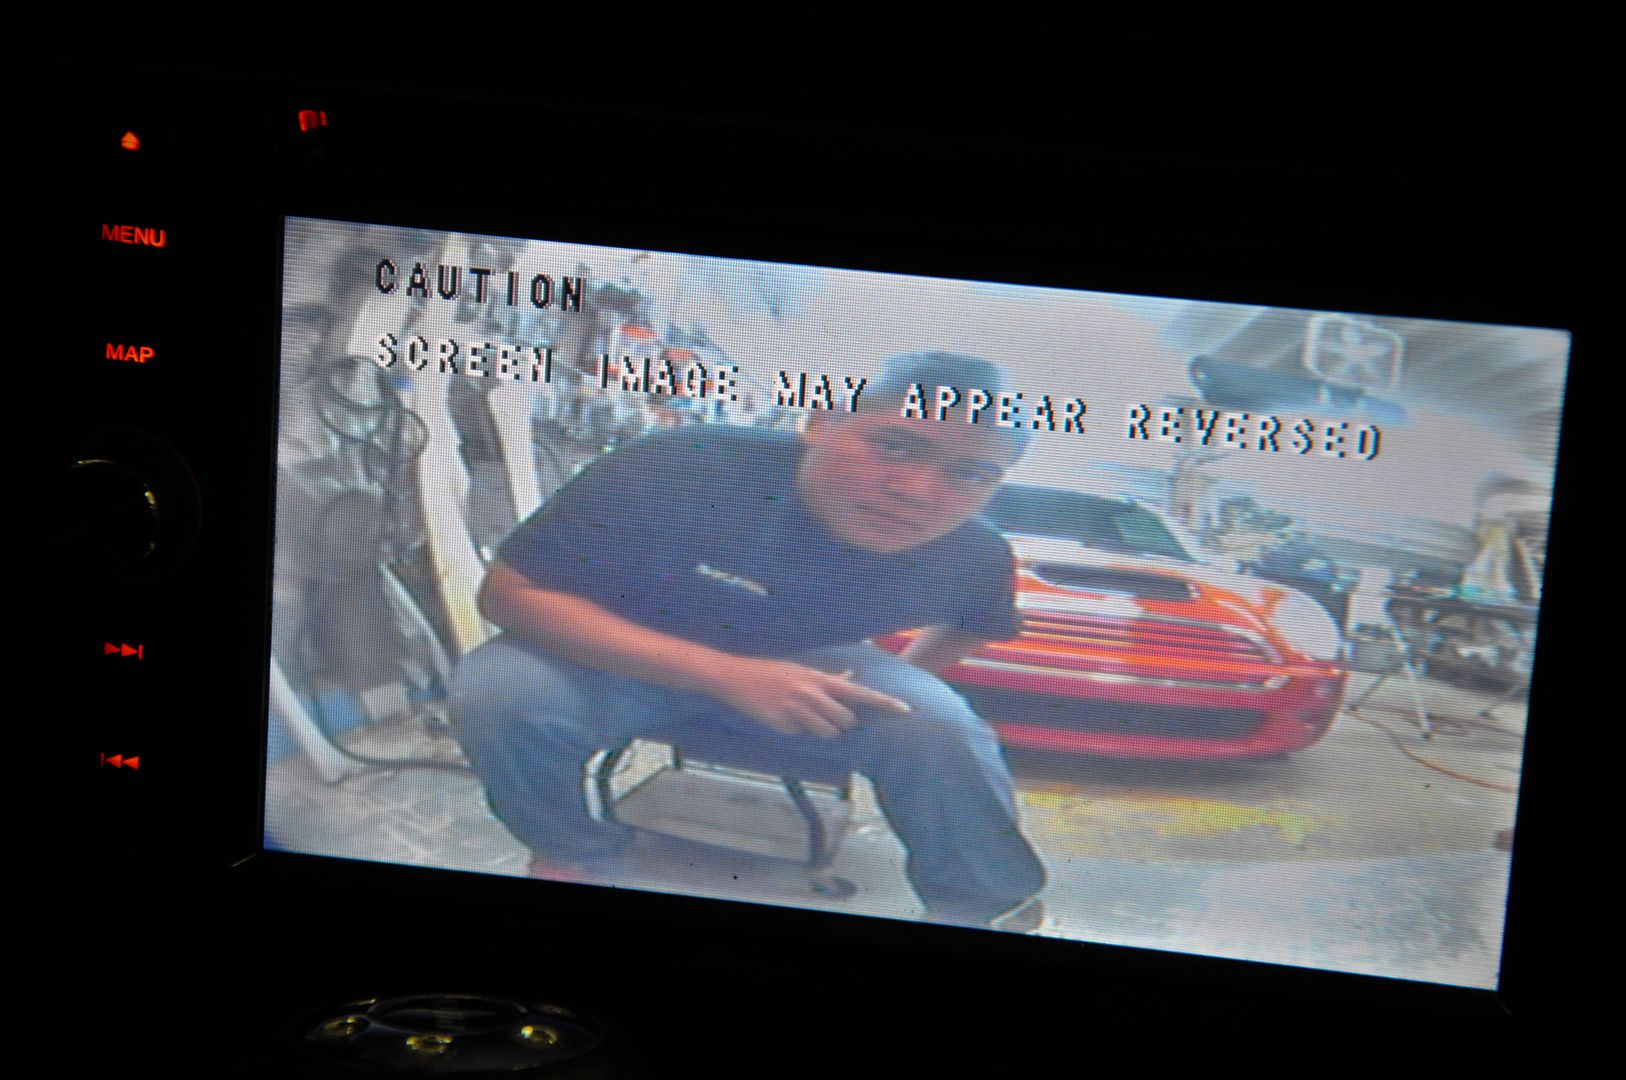
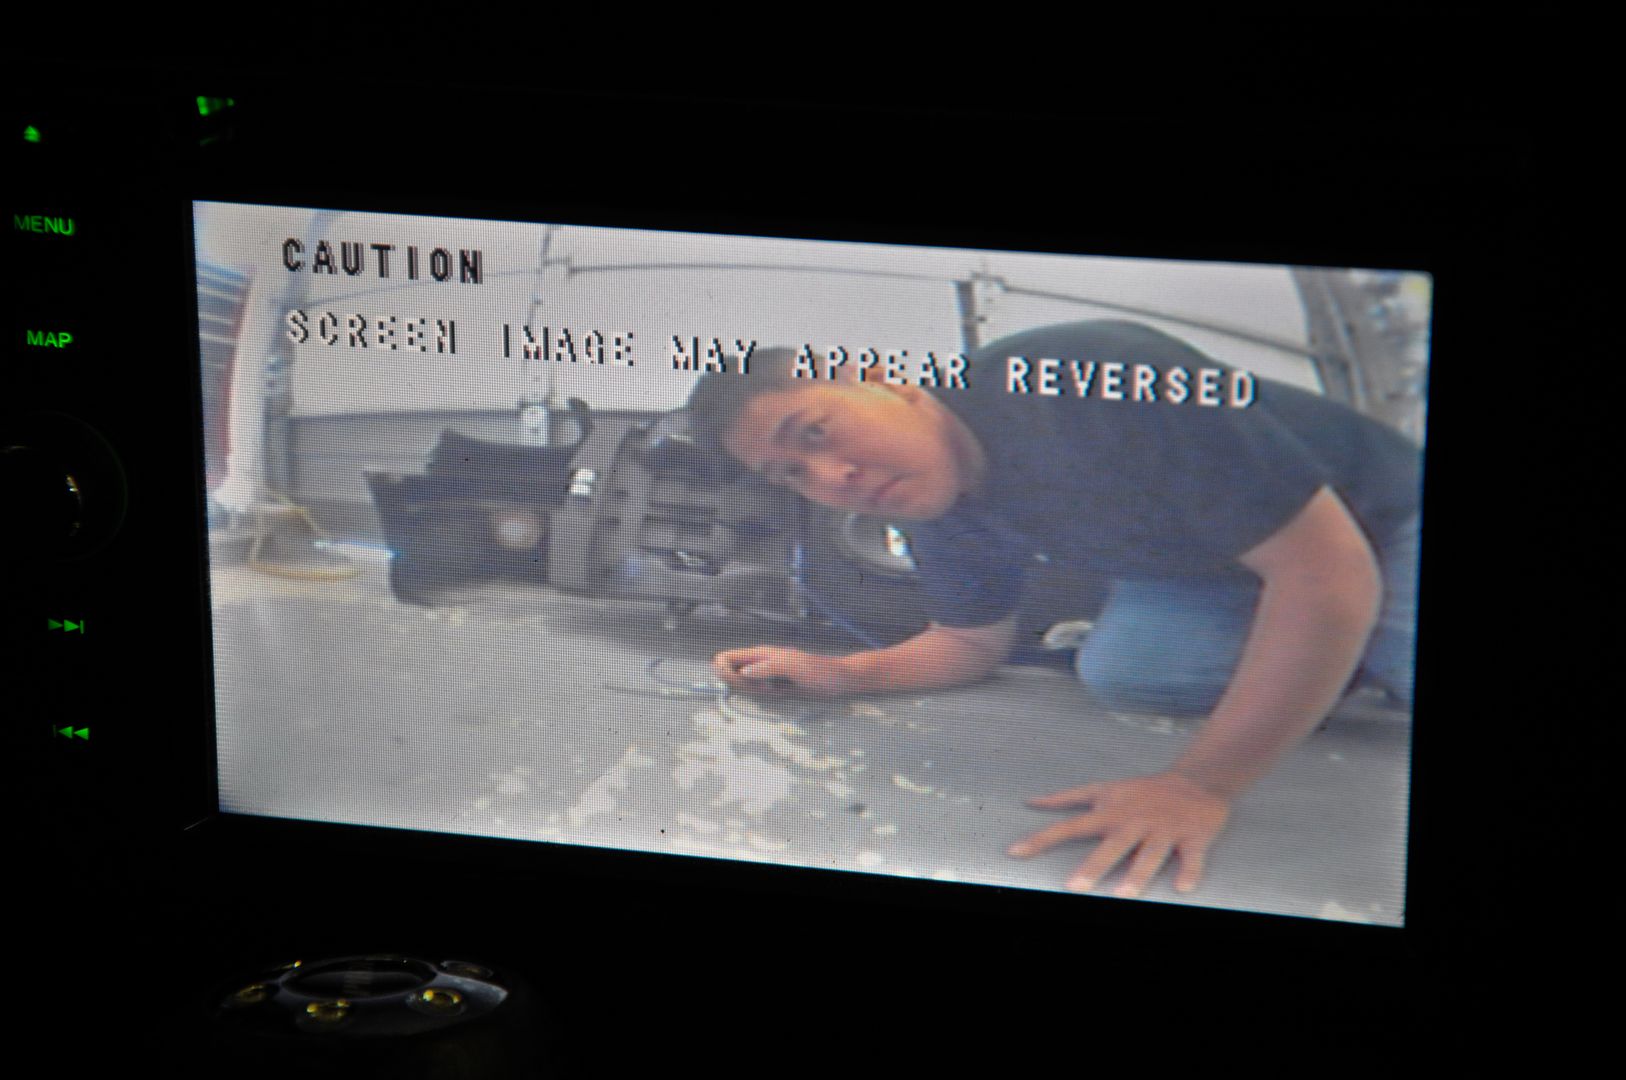
Tested out the rear view, lol I know I look like a dork. The image is a little blurry too because the protective film on the cameras is still on
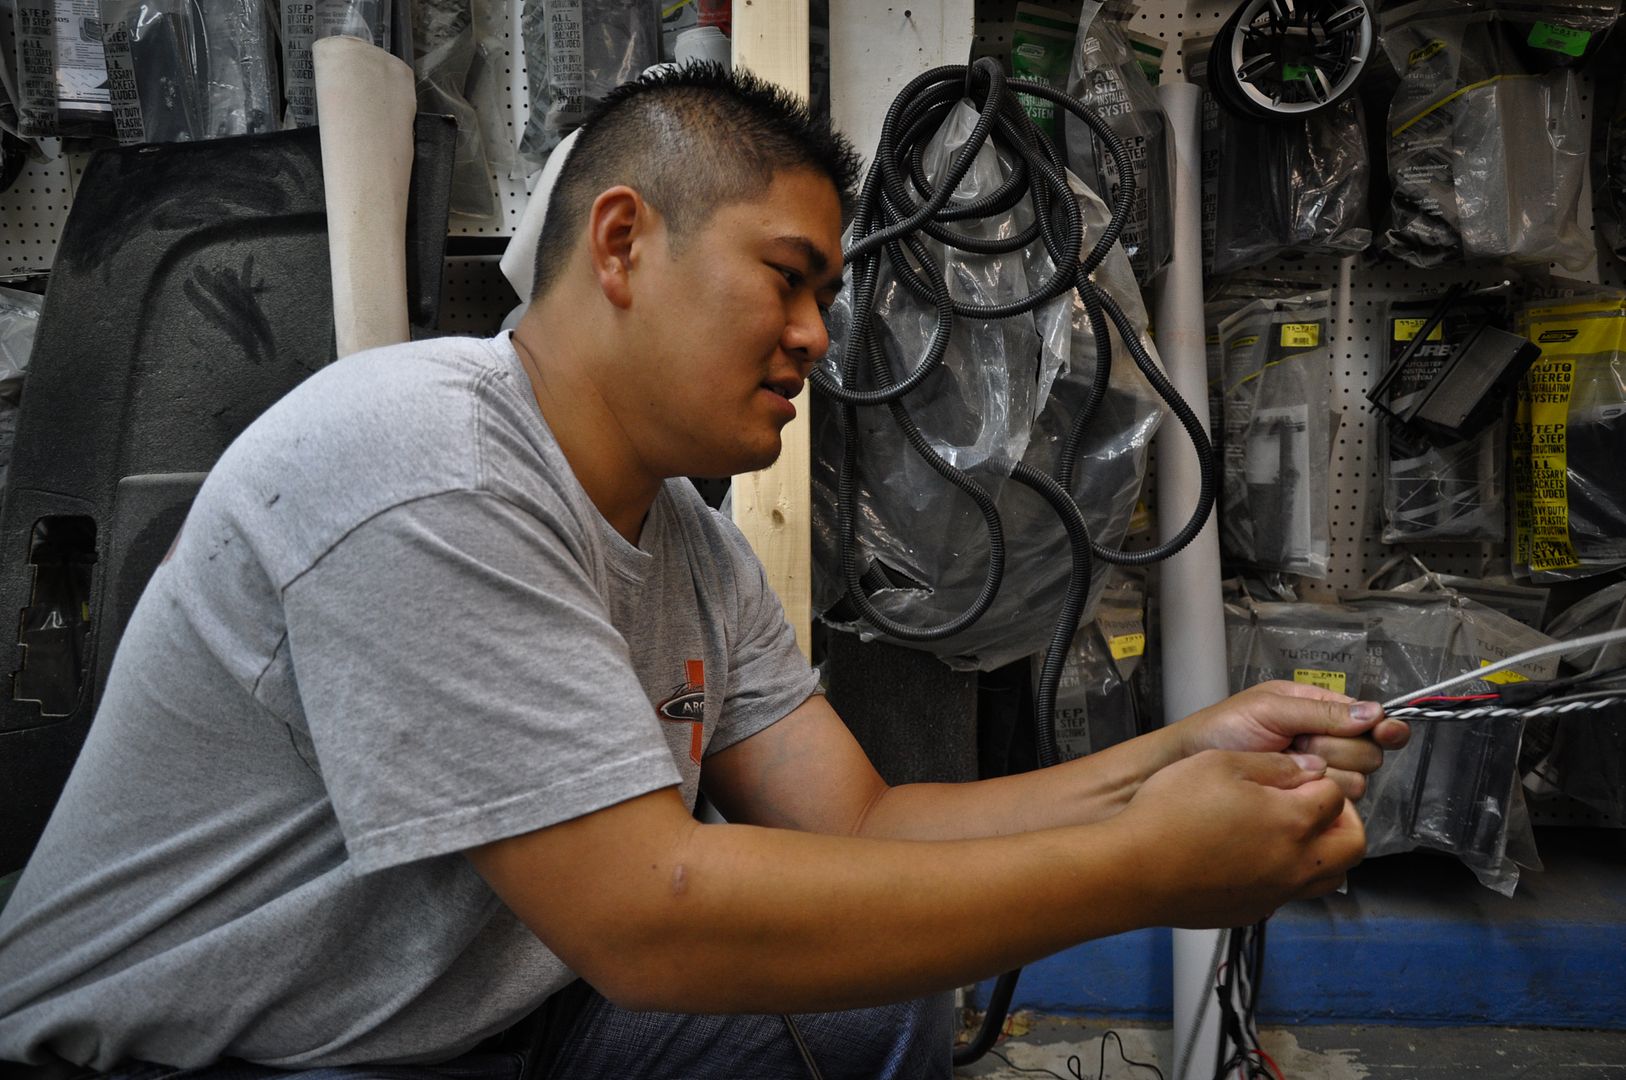
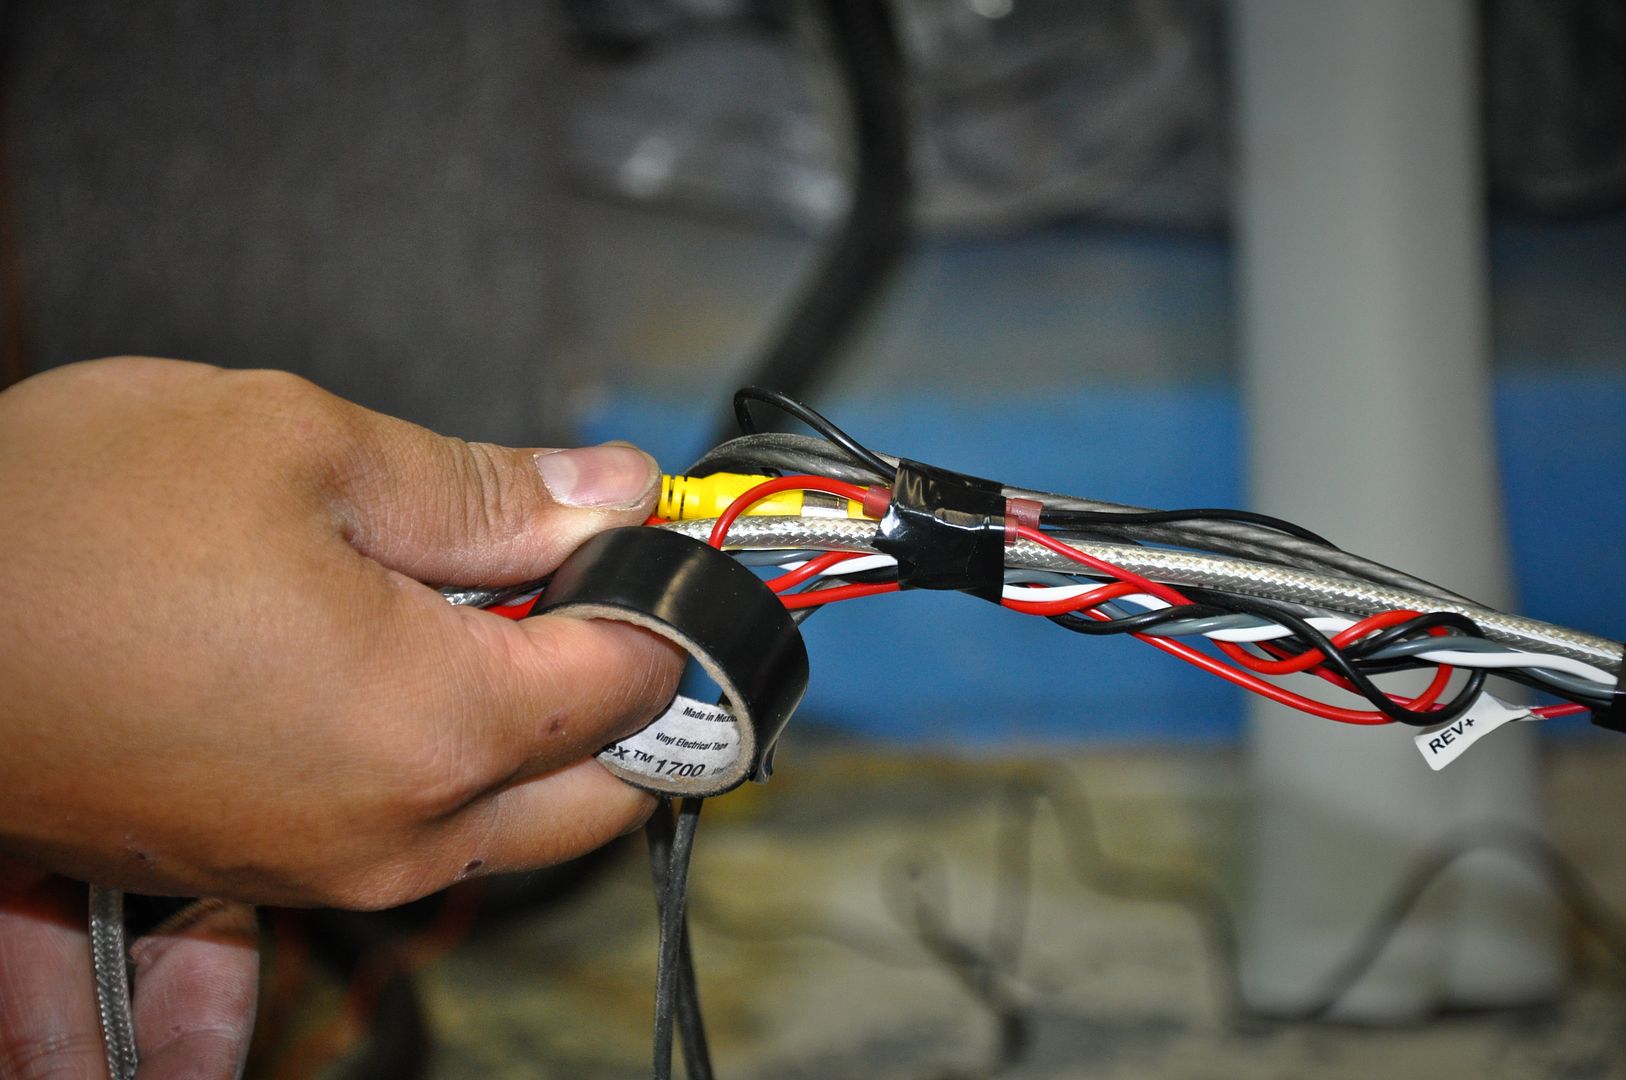
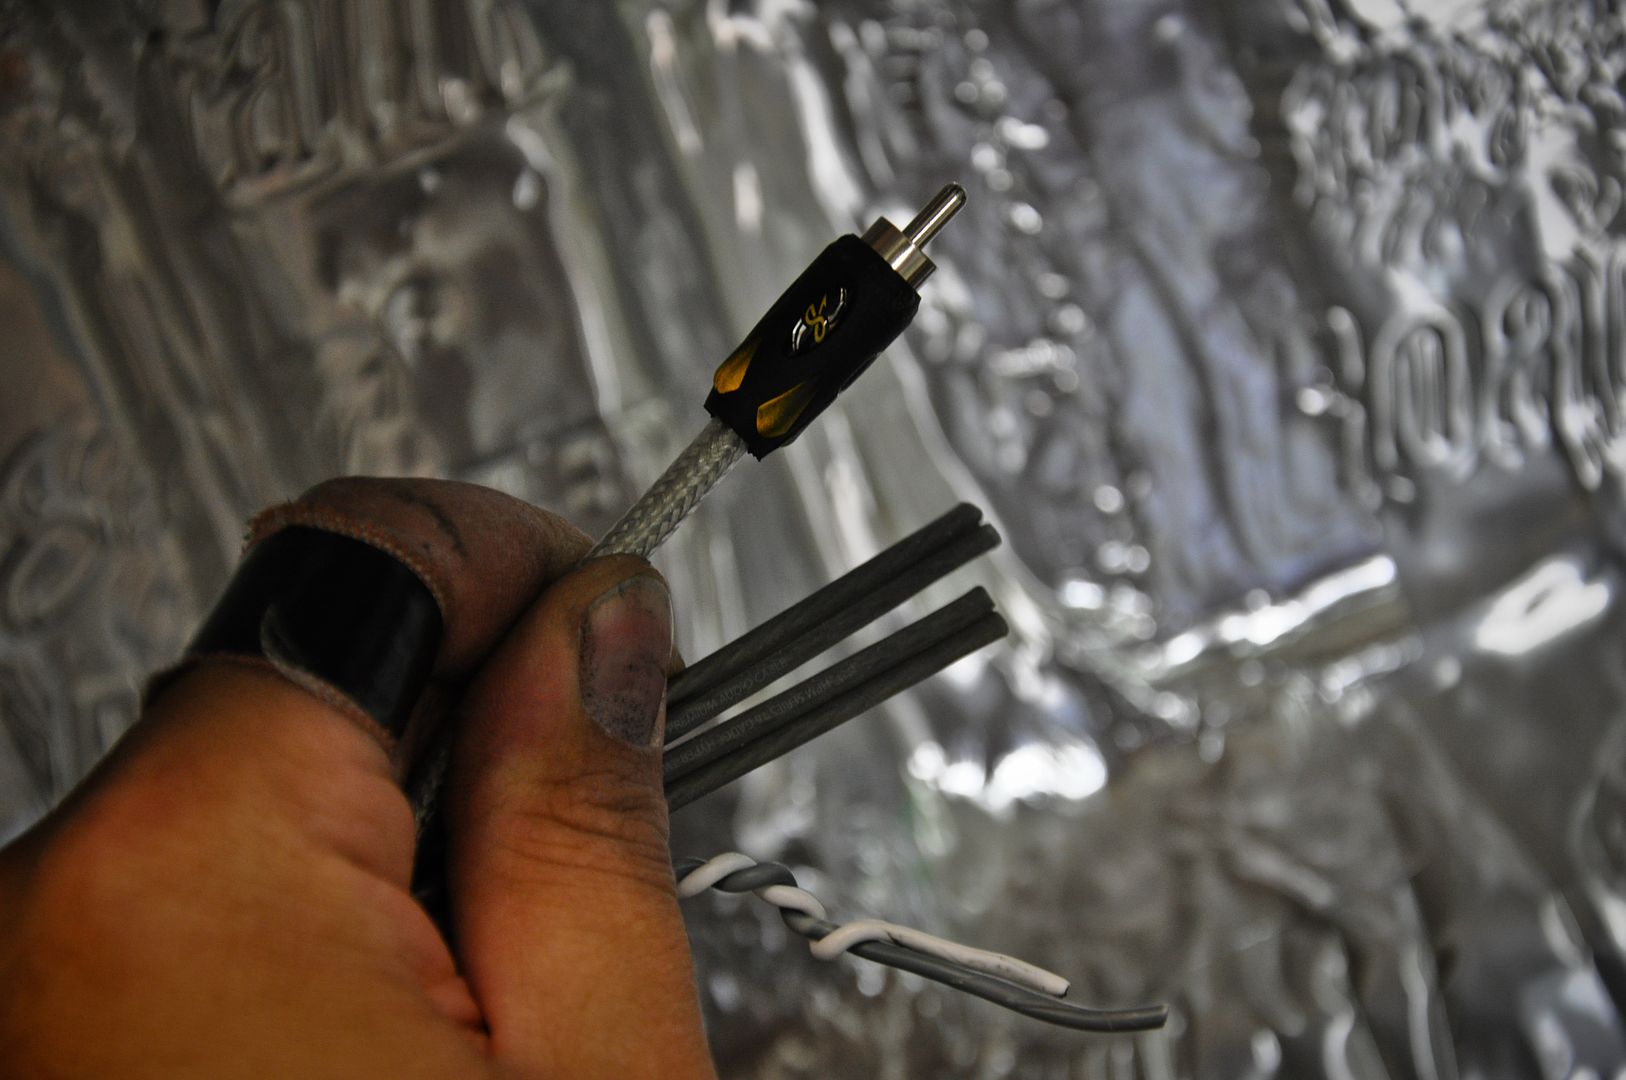
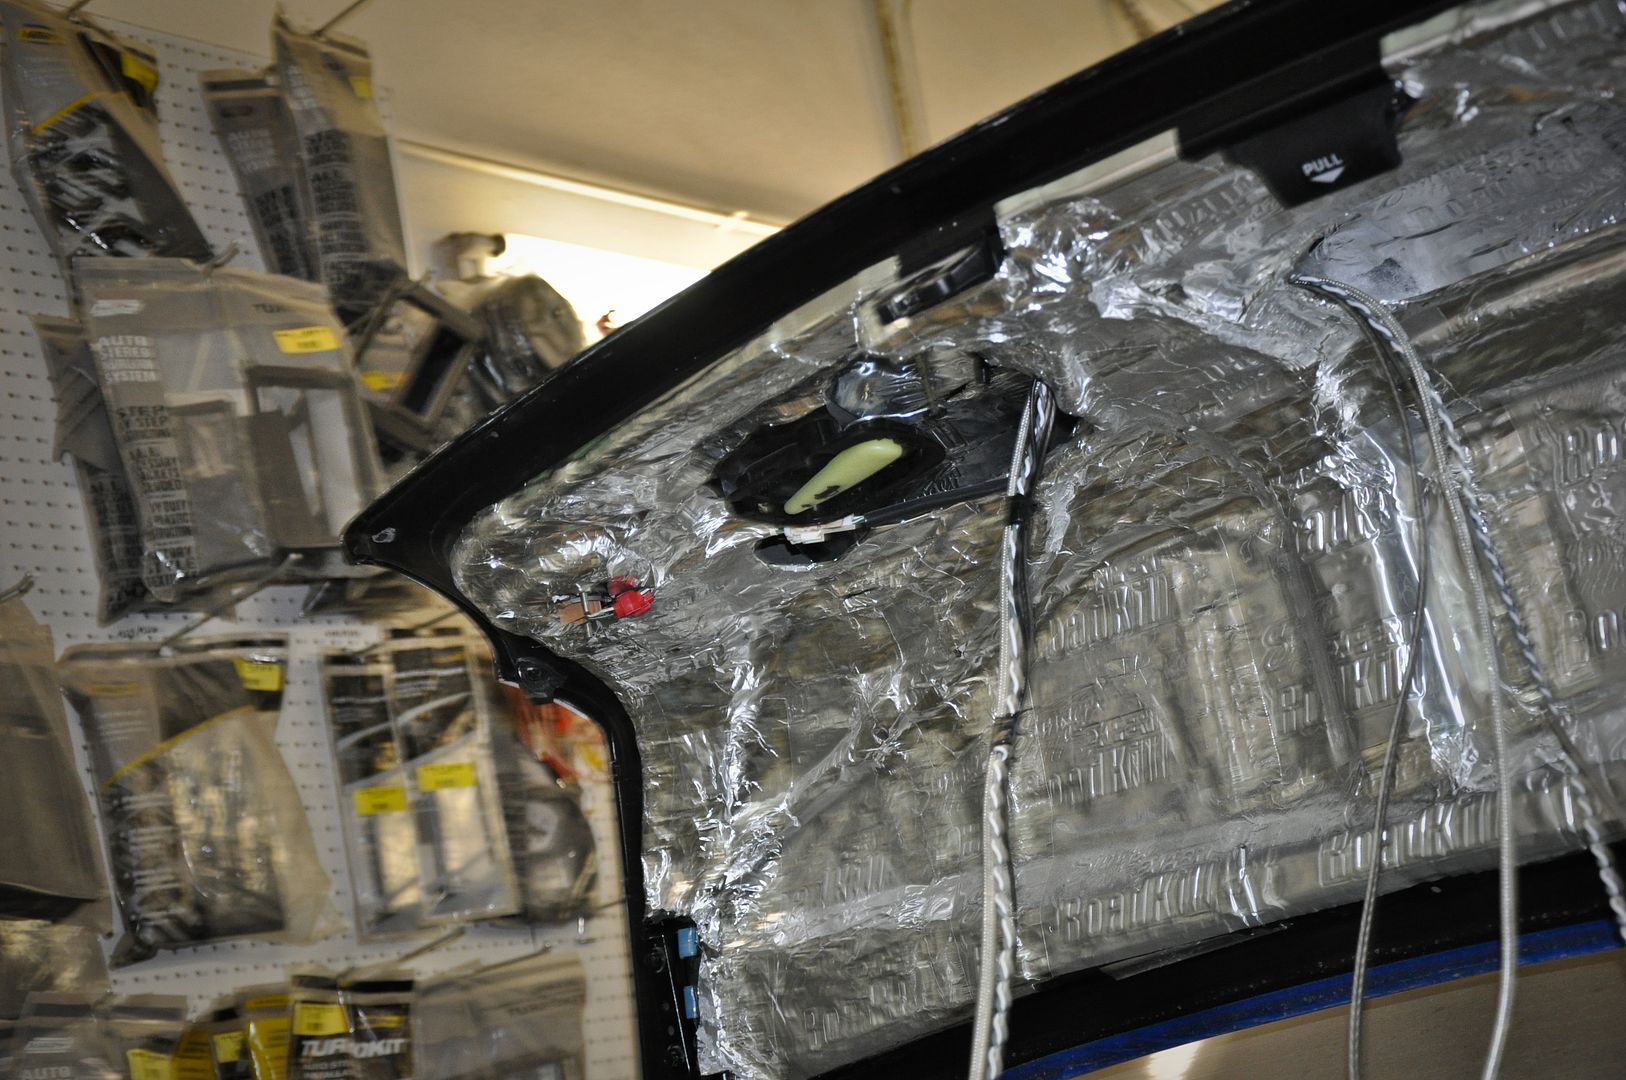
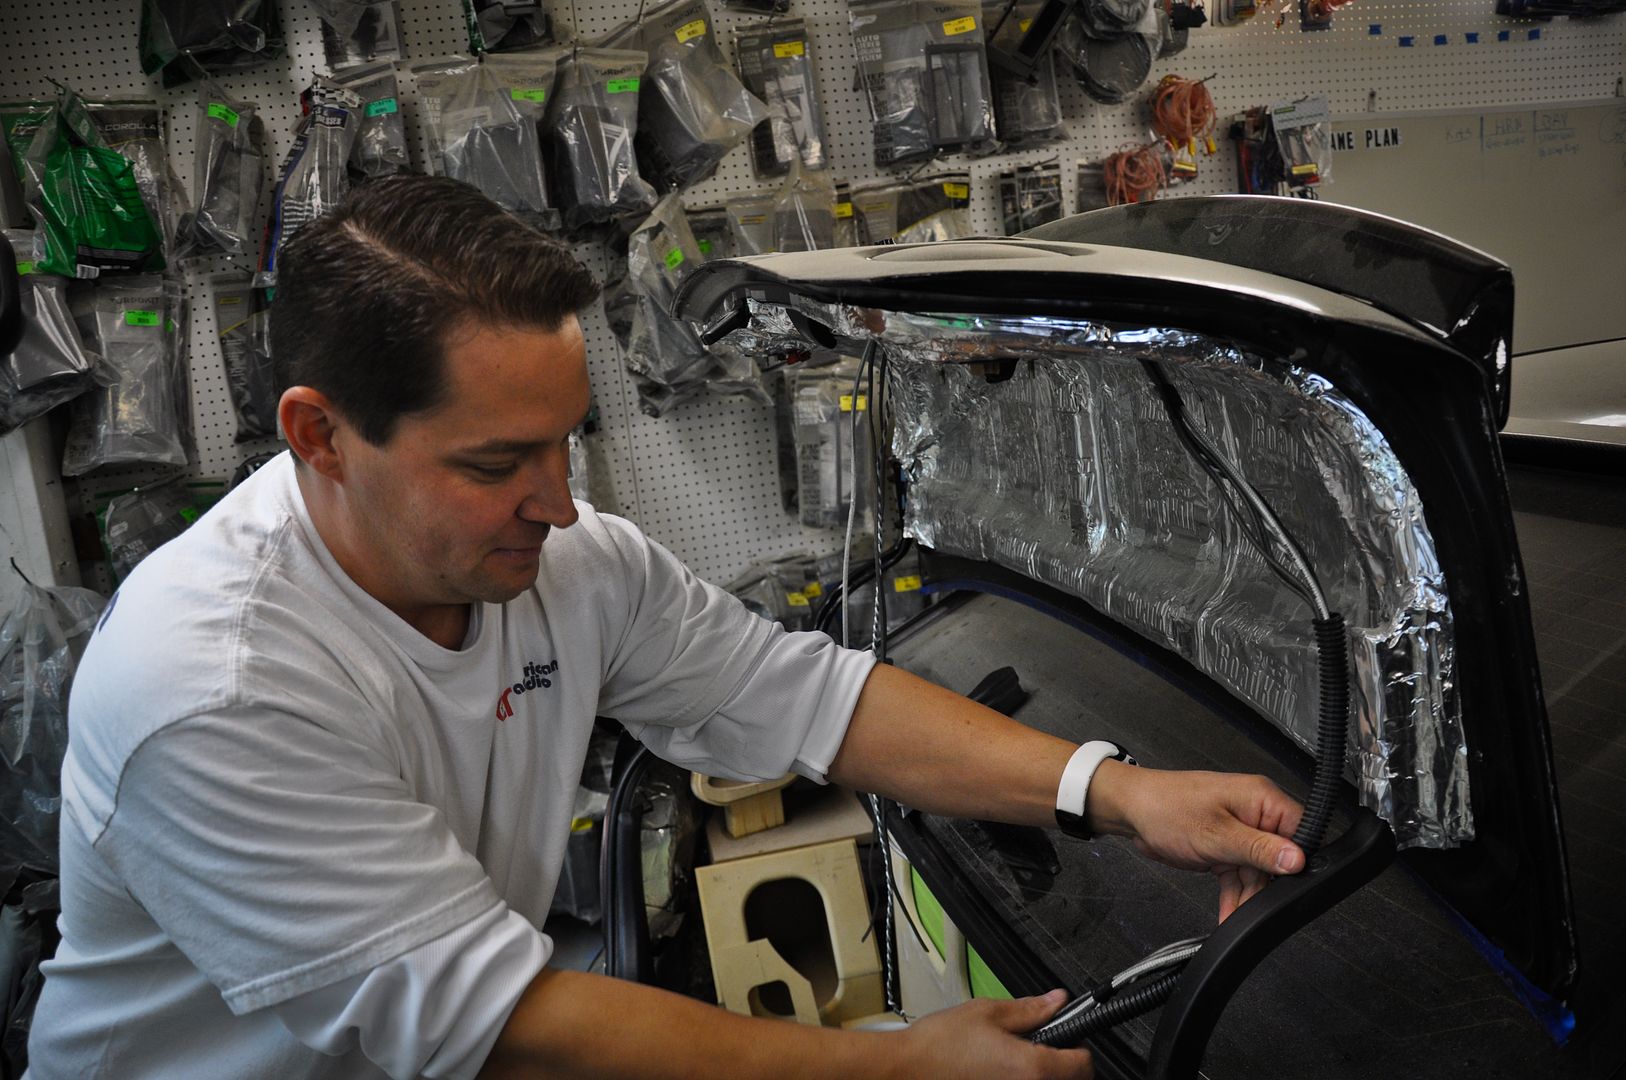
Wiring up the wires for the camera and also the rear monitor for the trunk. Might as well do it all at once
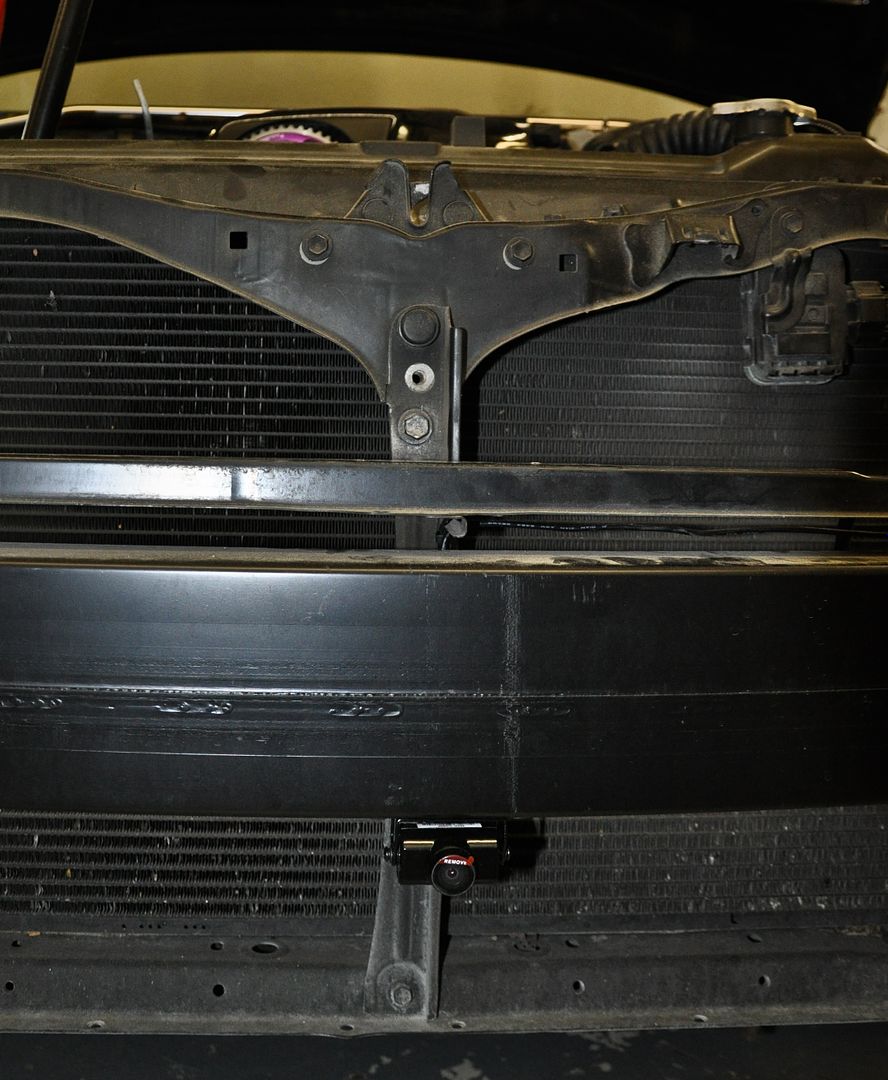
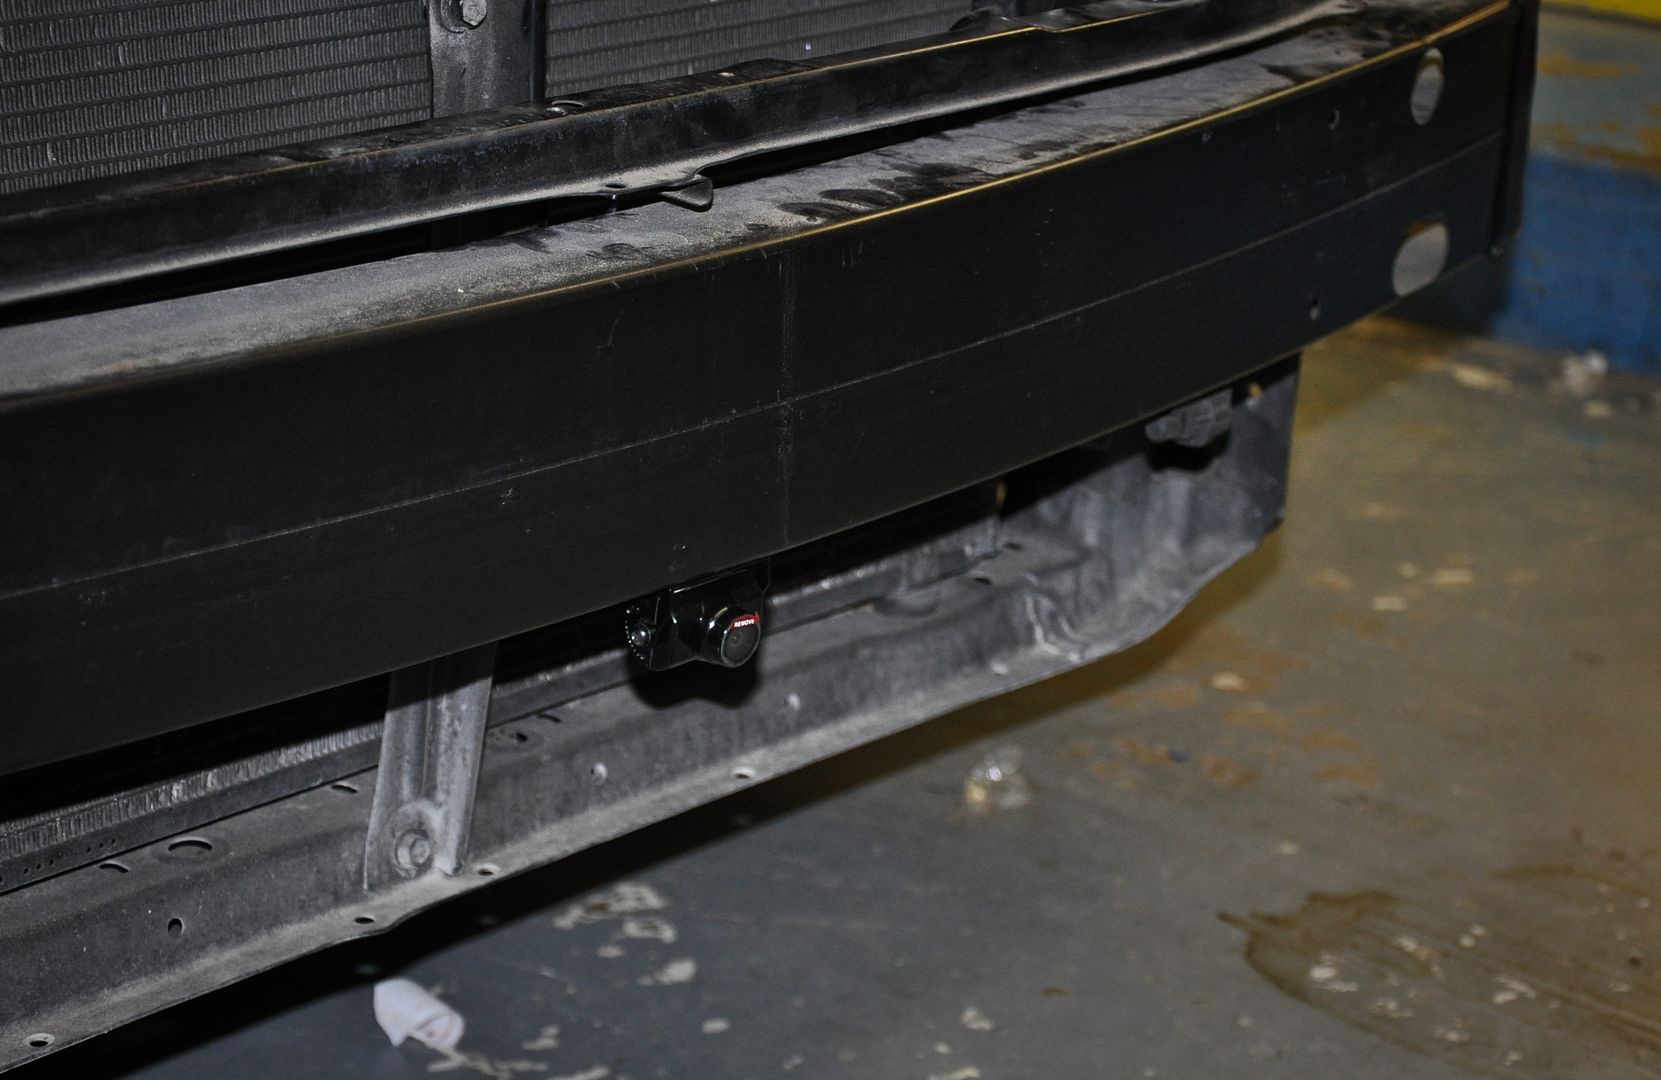
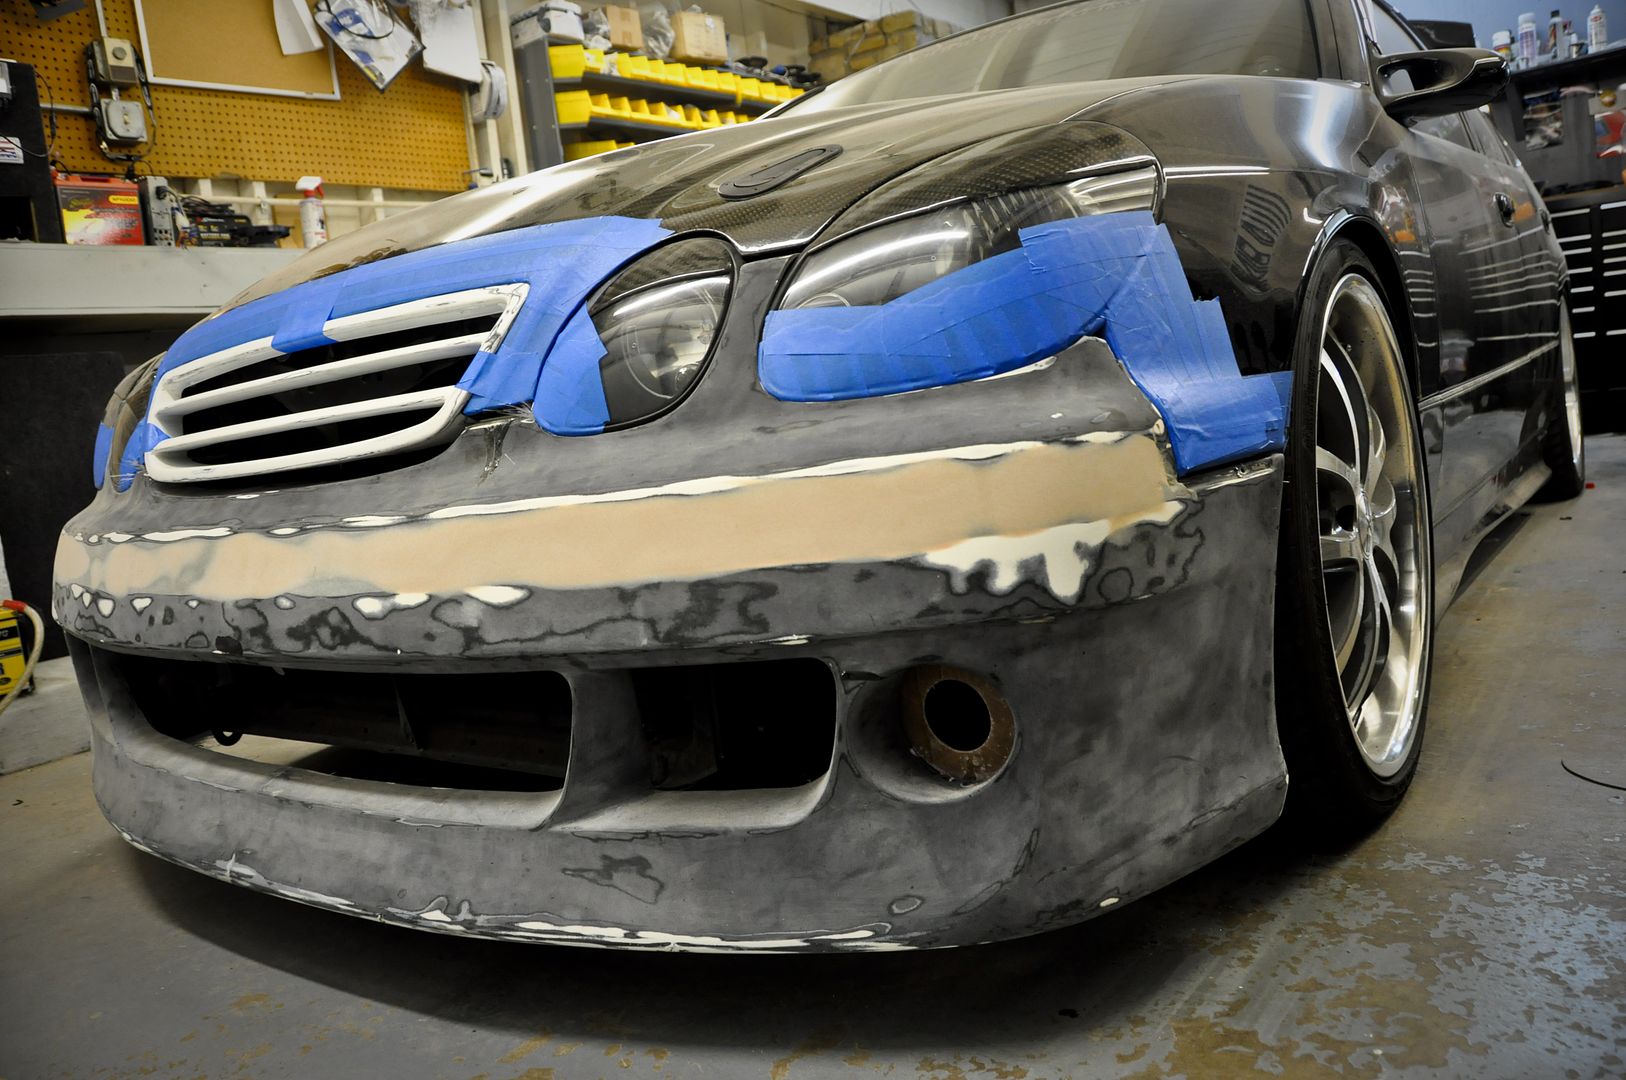
Front camera is mounted. This sits right where I want it. Center and all I’ll have to do is cut out the grill material on the bumper in the bottom central opening to have full view

Testing out the front view. Again the image is a little blurry too because the protective film on the cameras is still on.
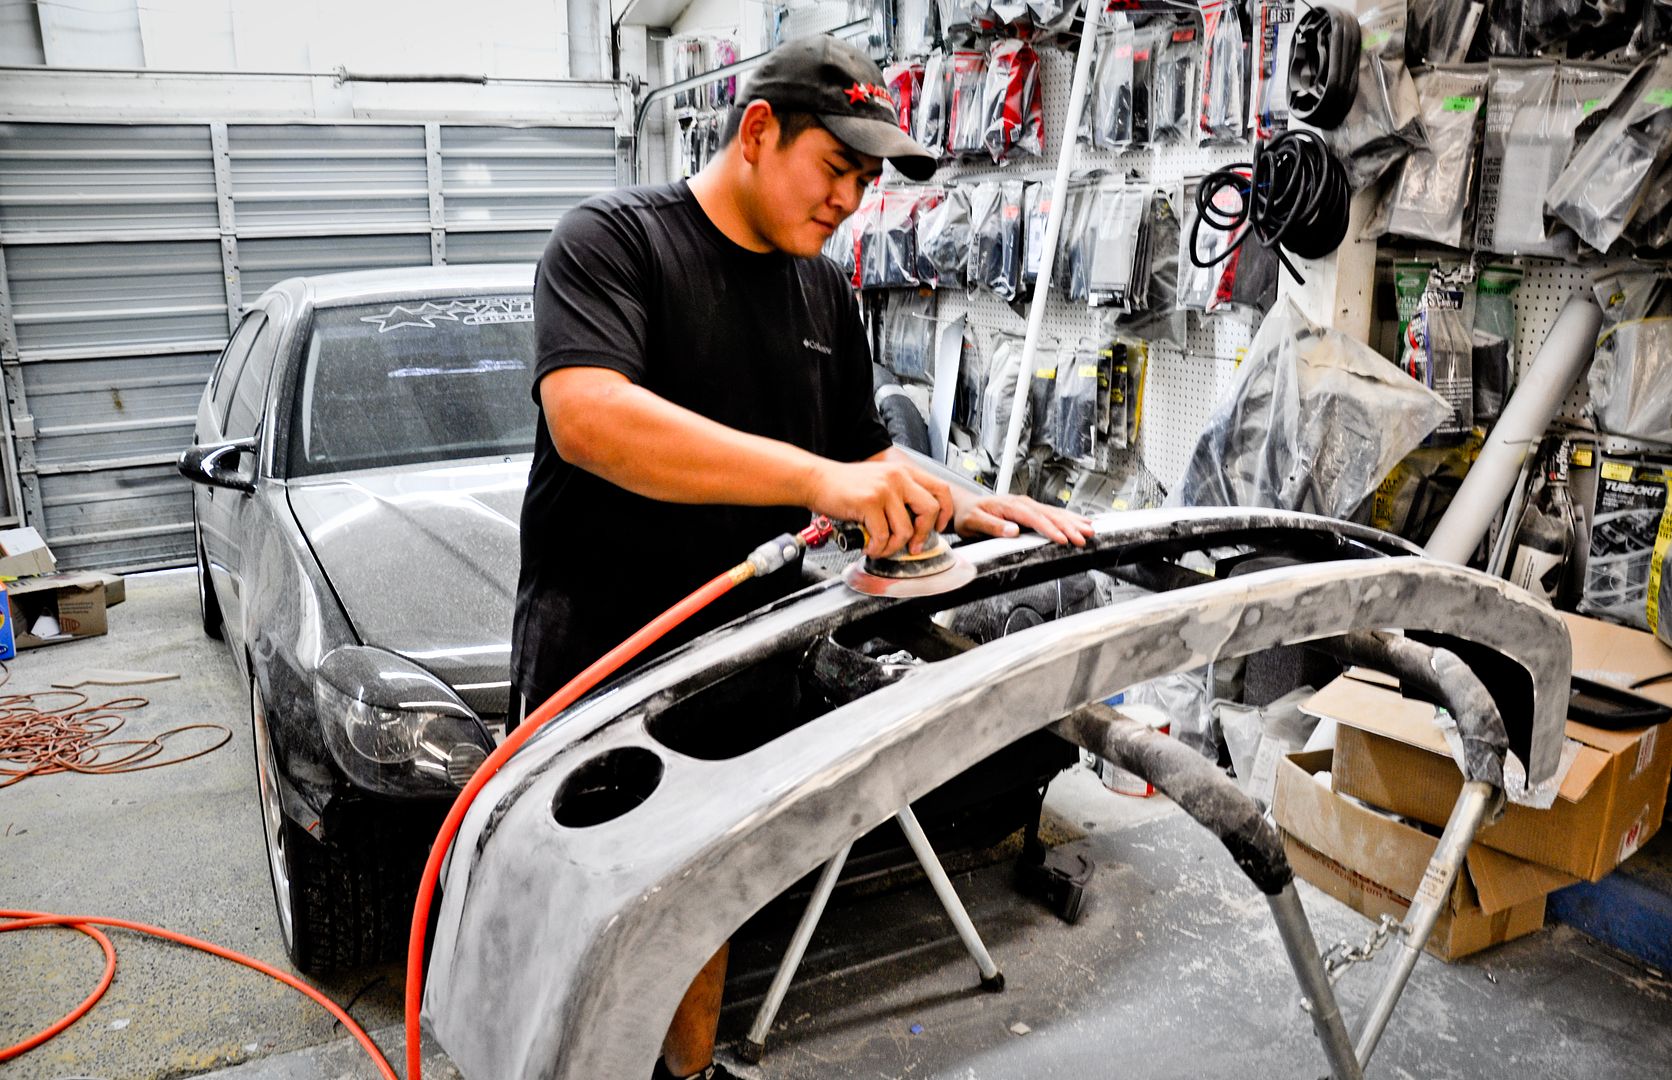
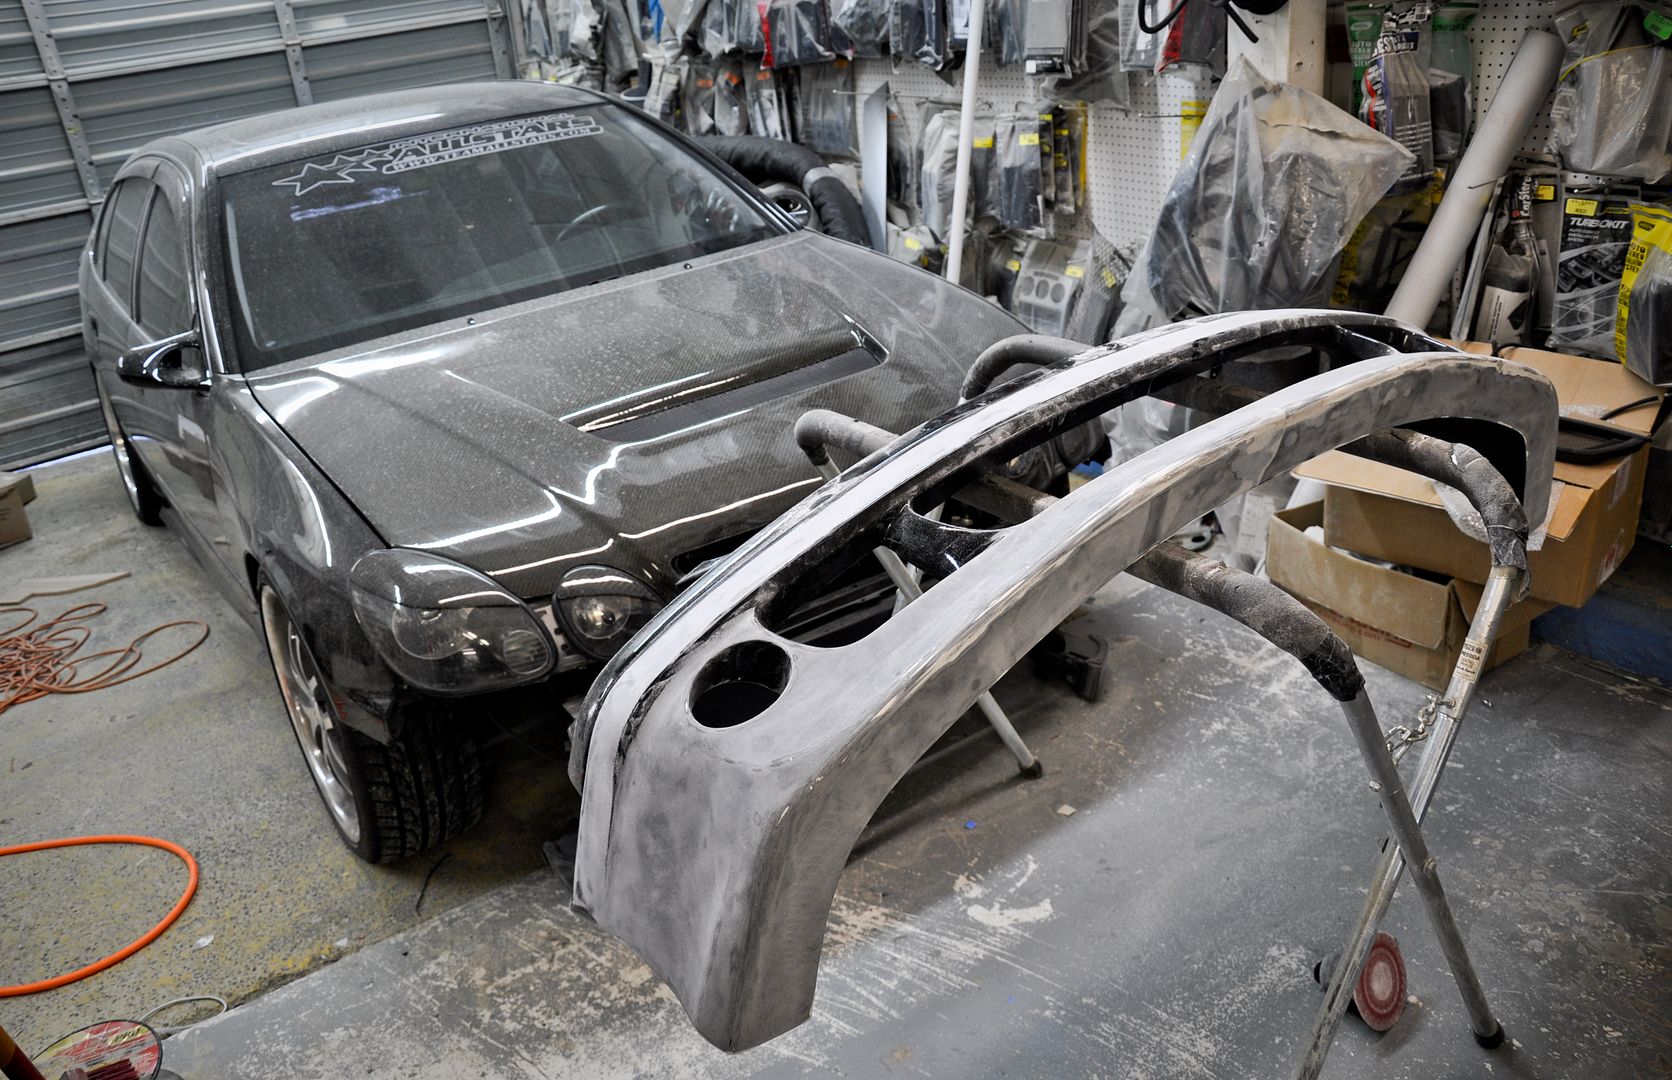
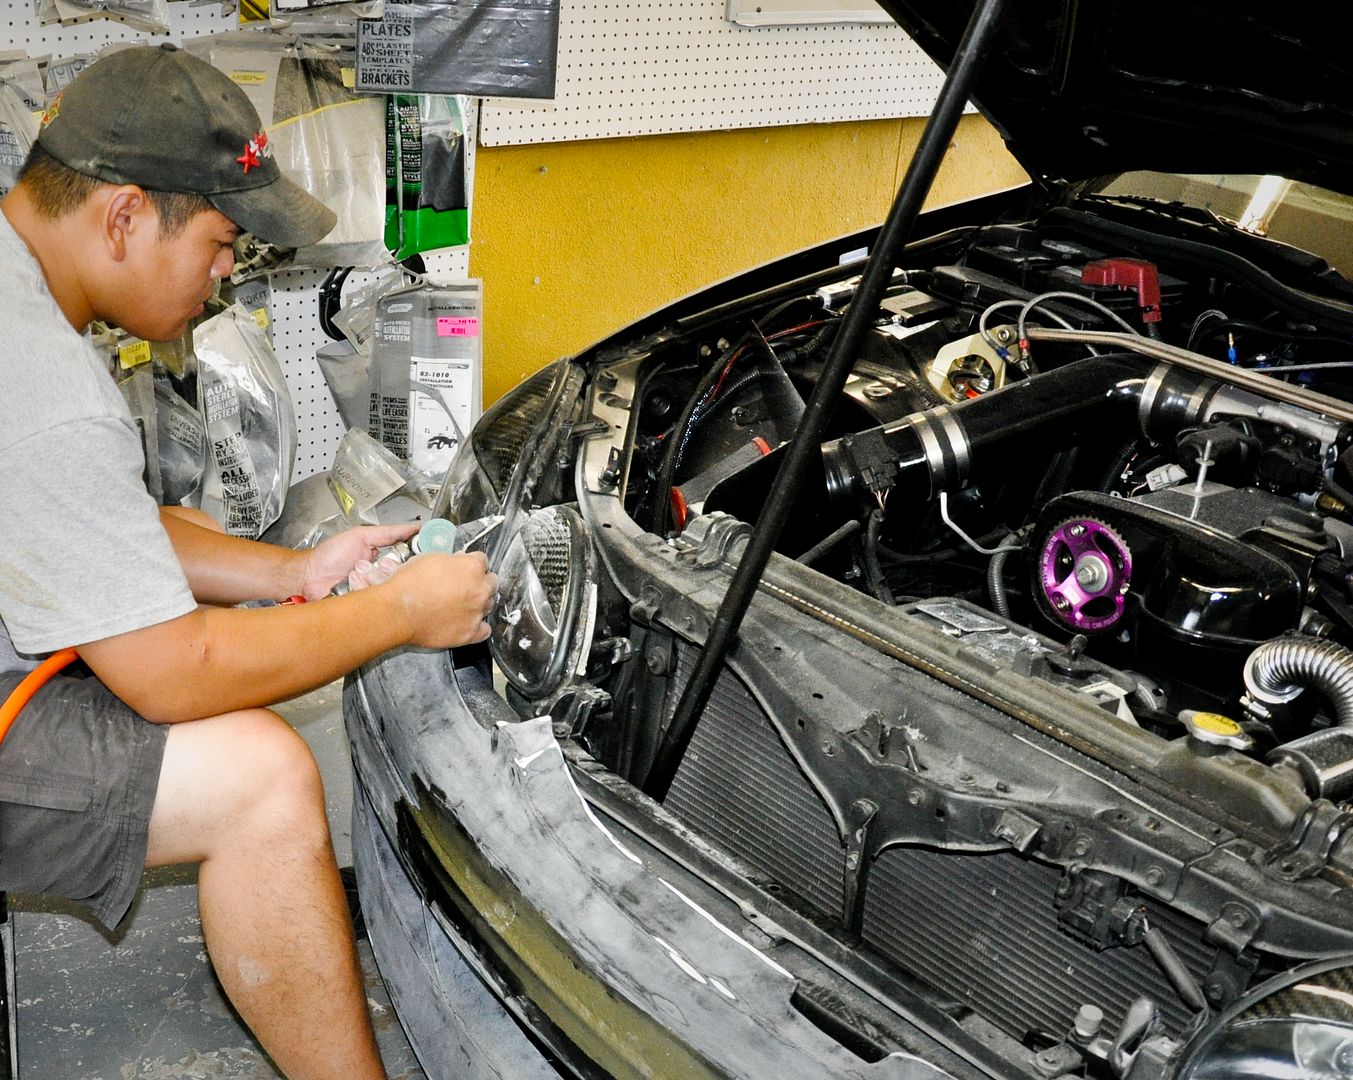
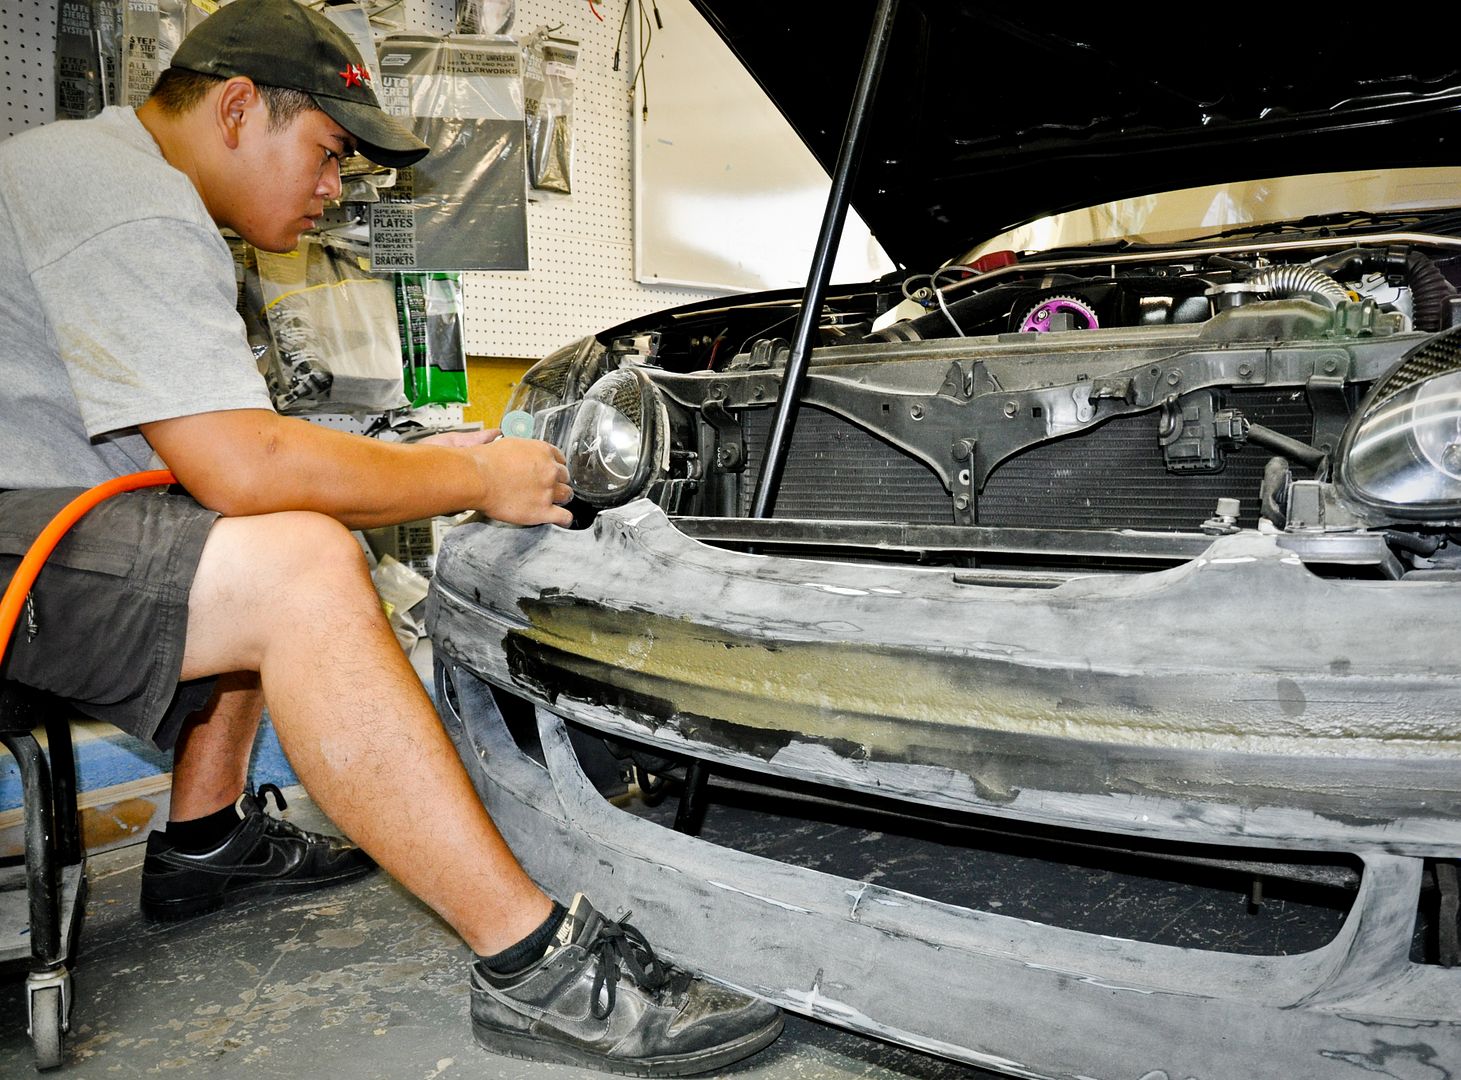
Project facelift
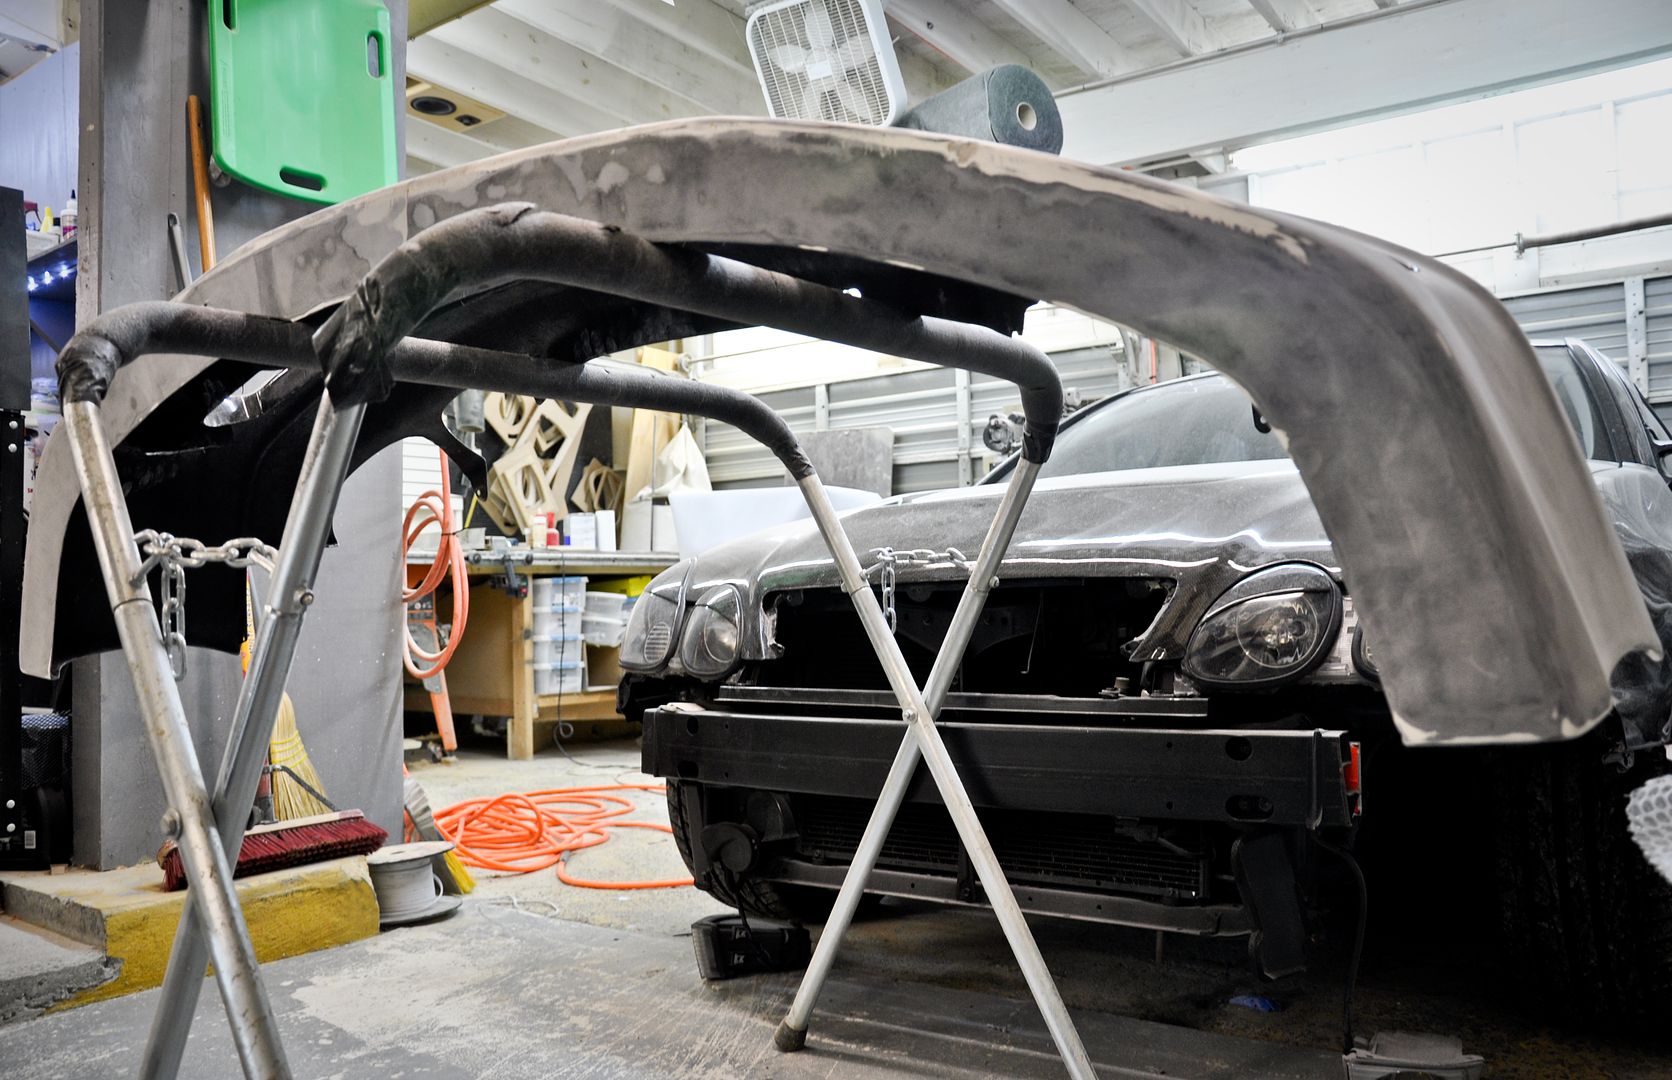
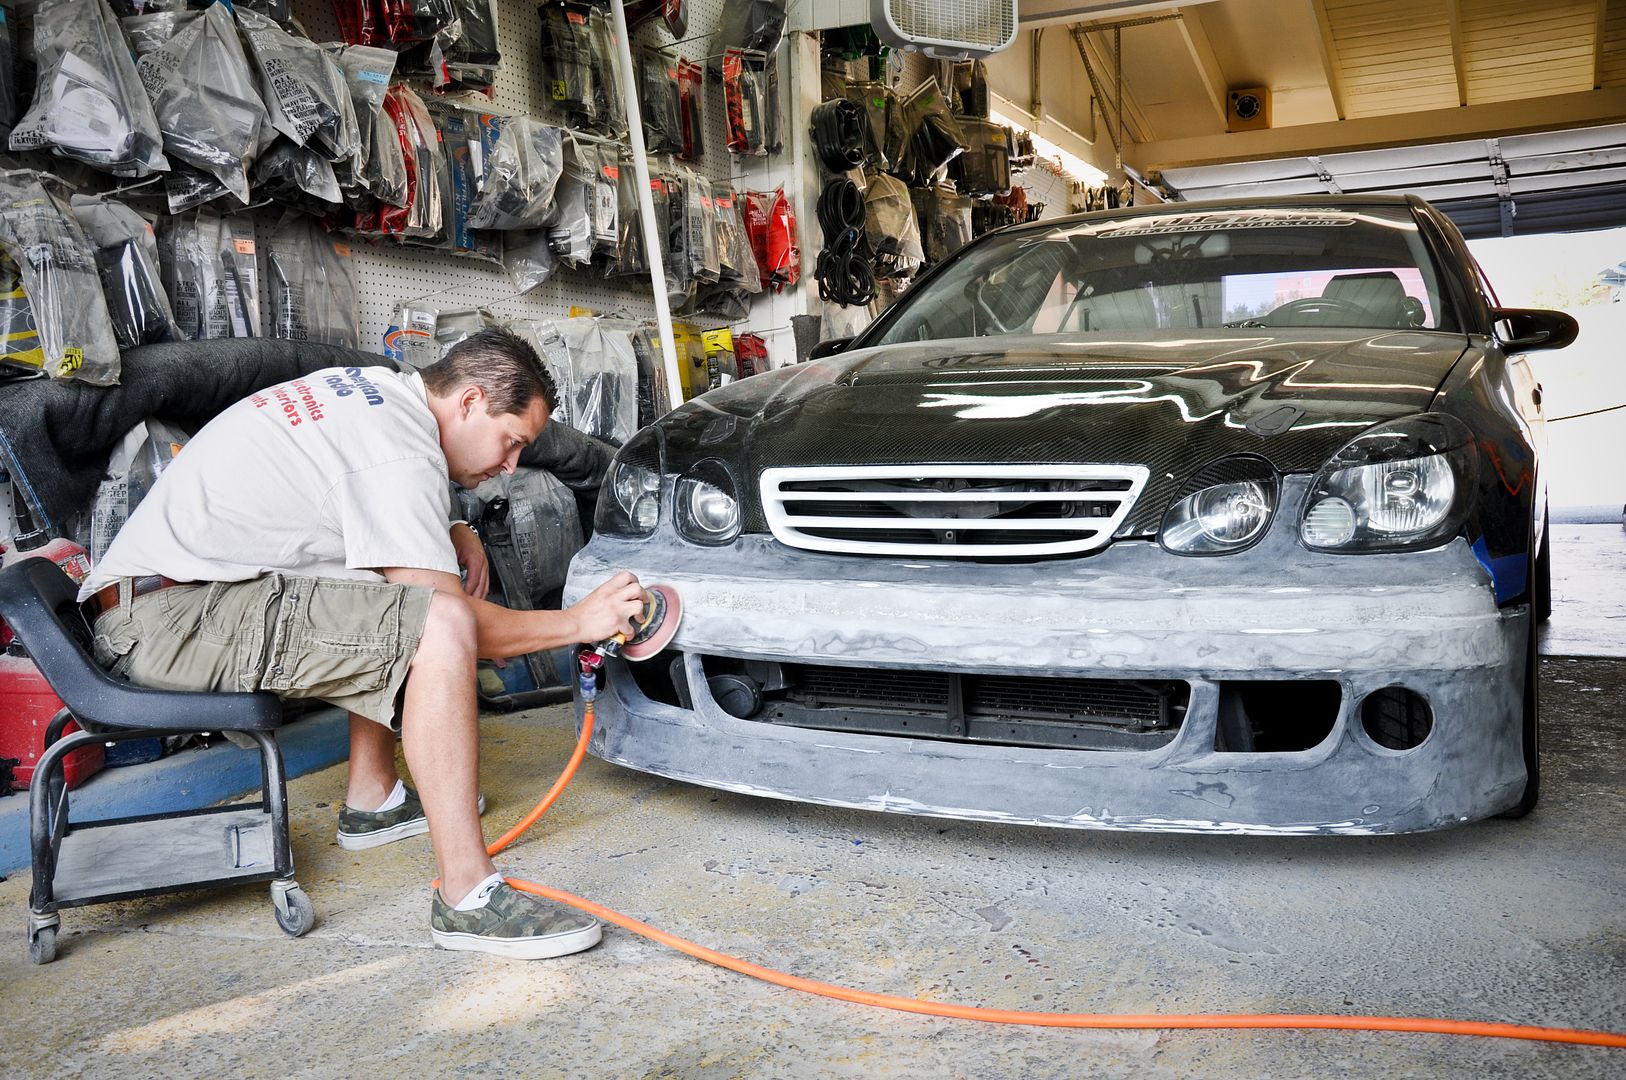
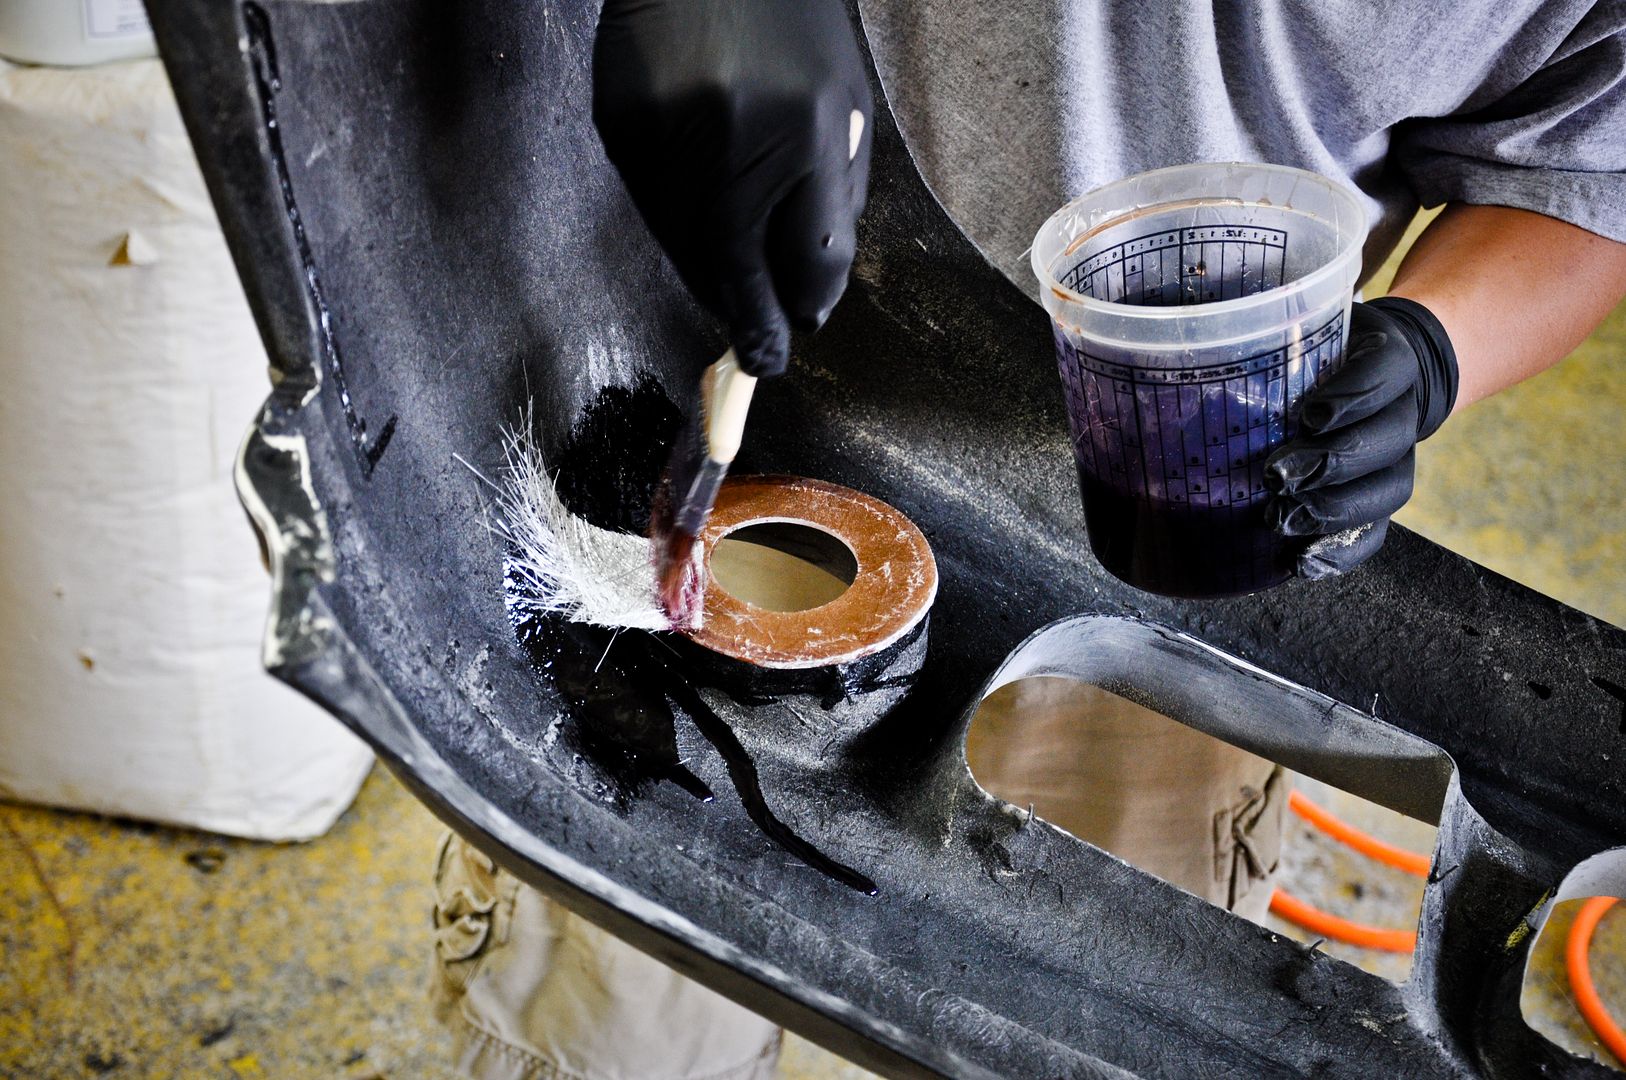
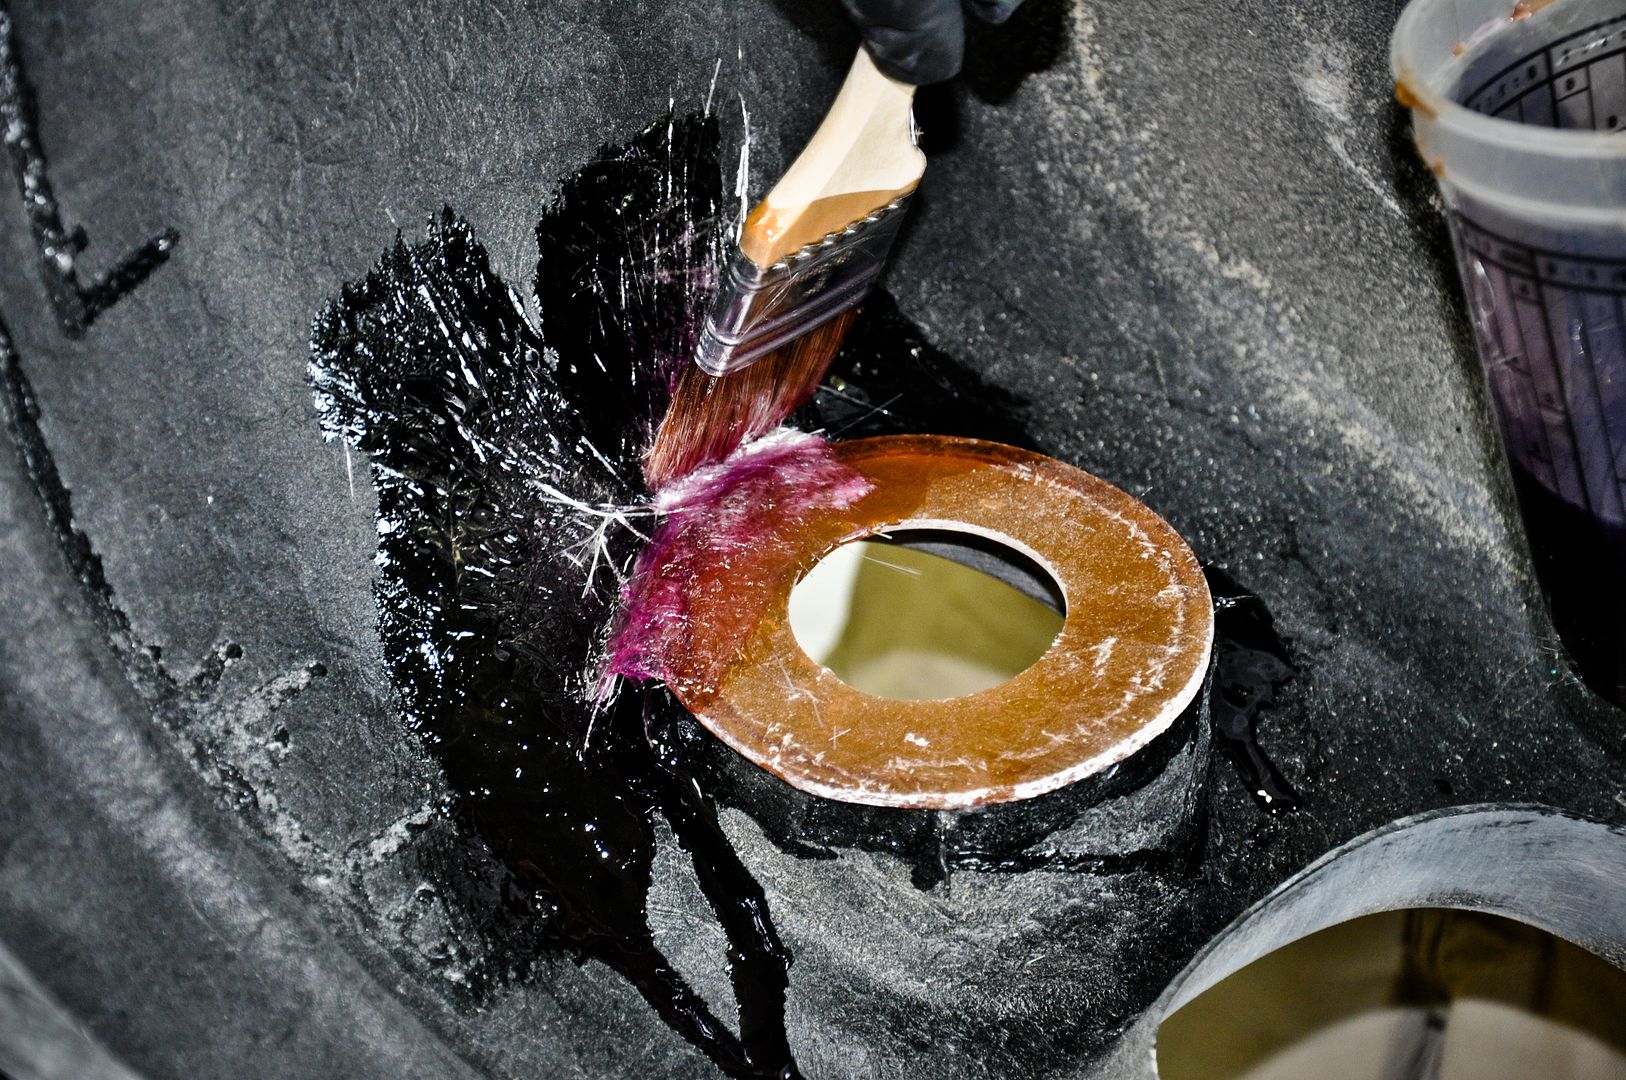
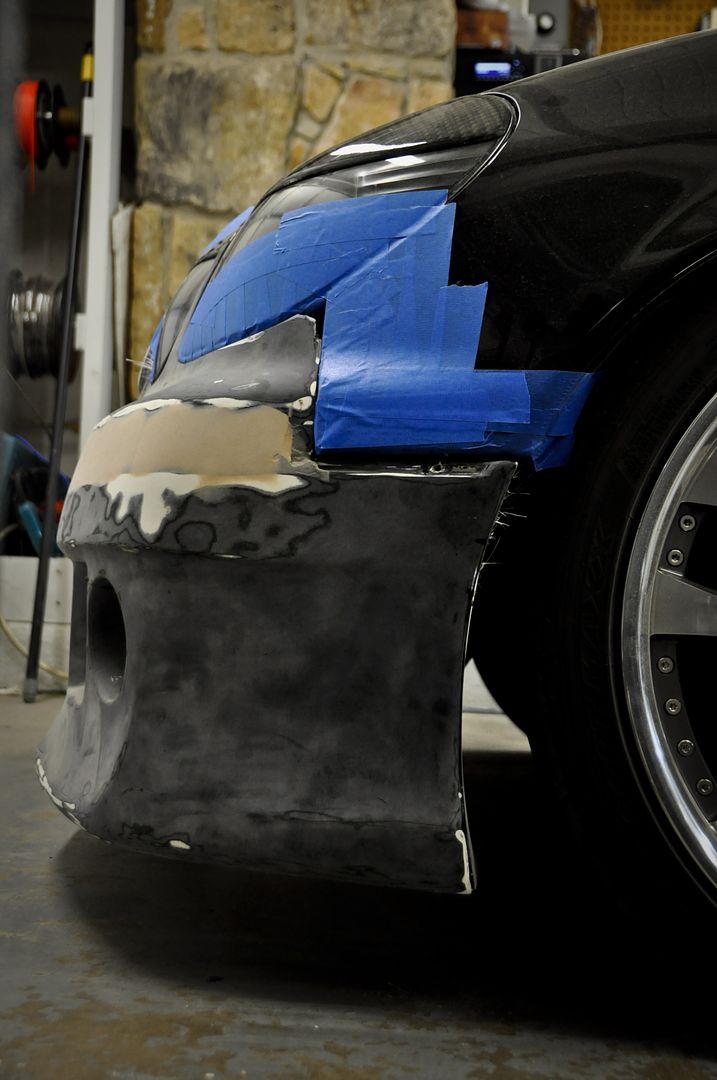
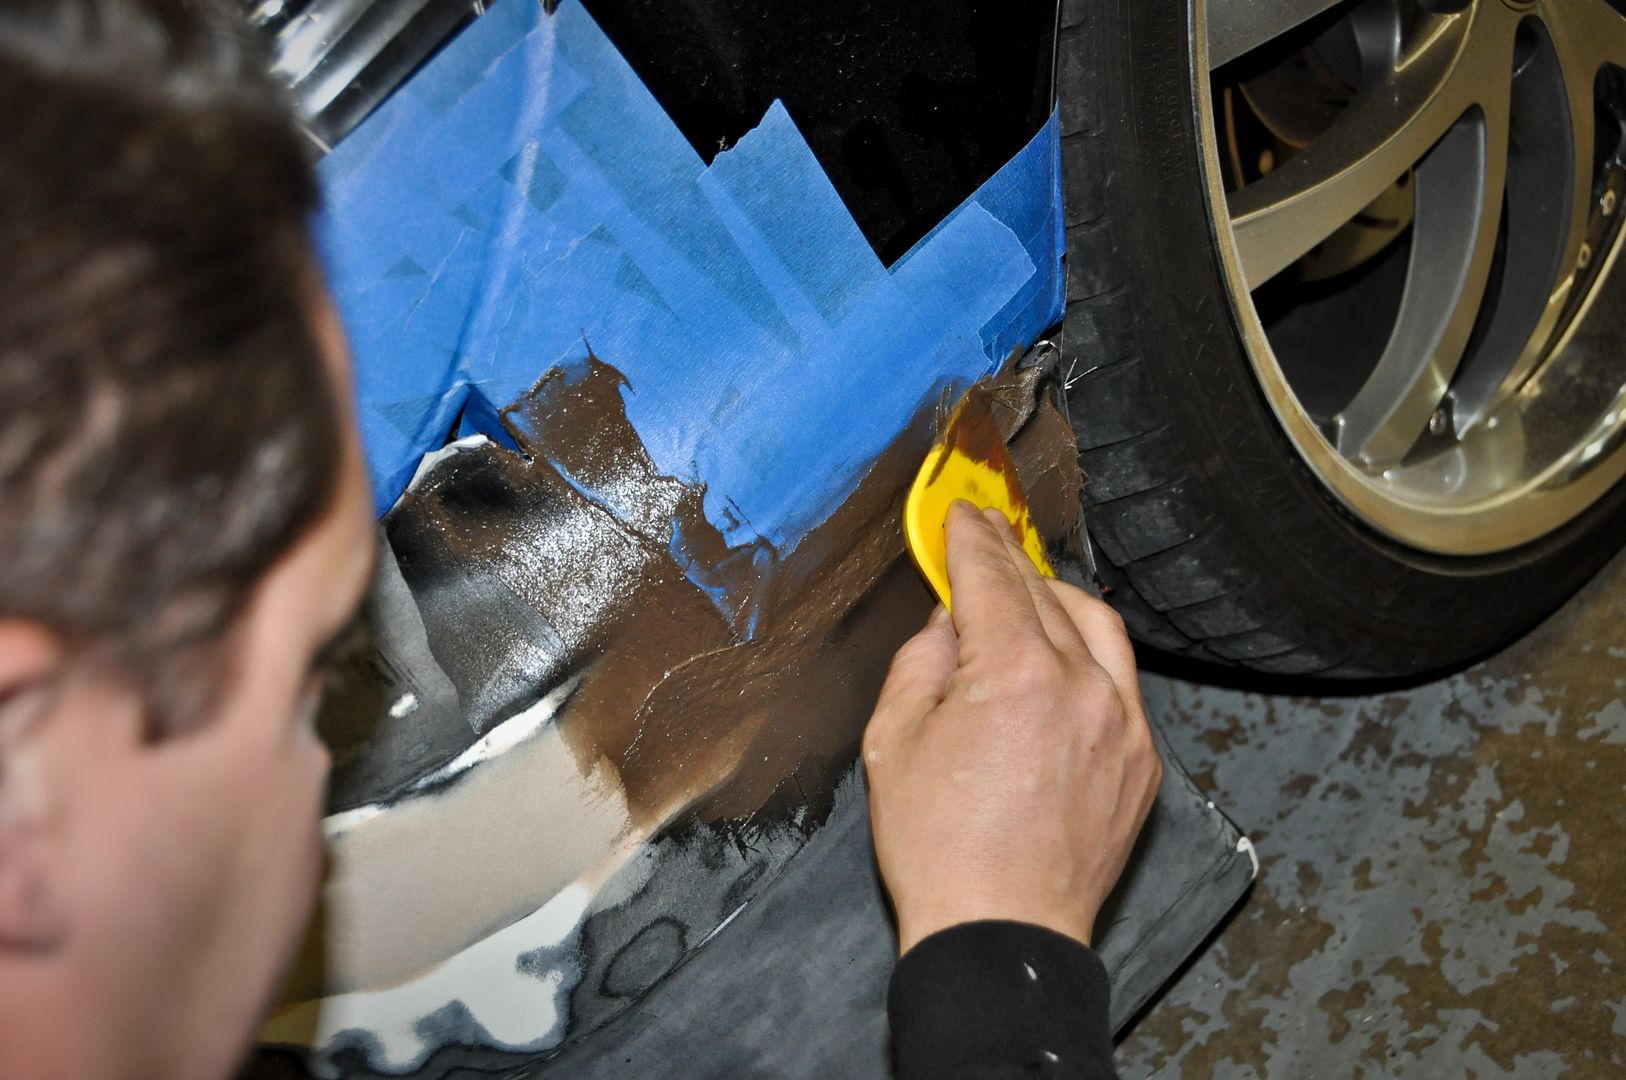
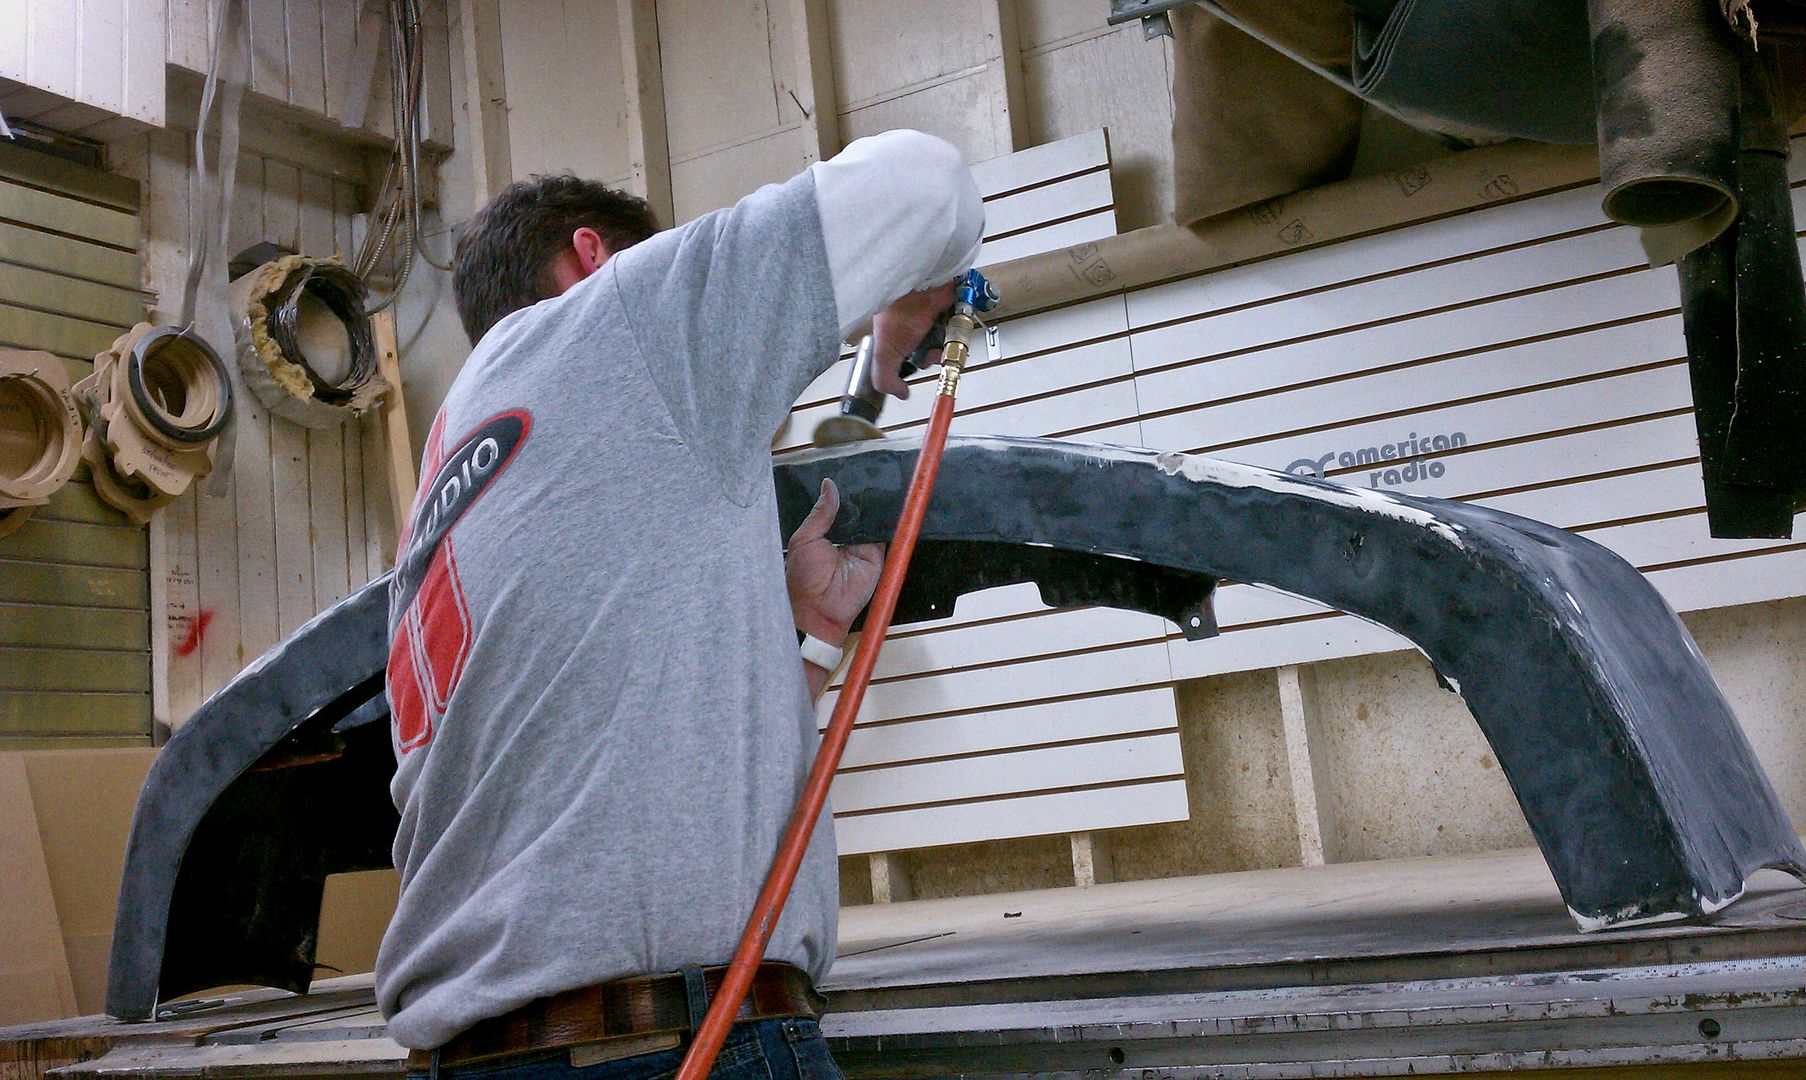
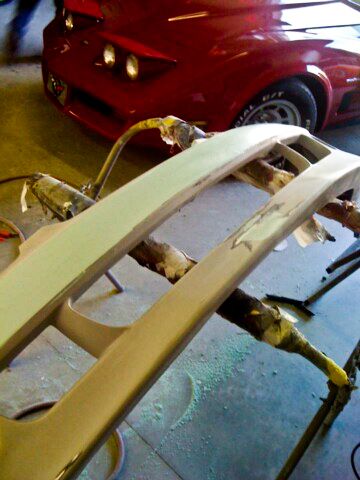
Got this bumper from Alexus300 as a birthday present and it was time for a facelift so we decided to pull the trigger and start the installation process and see what needed to be re-fiberglassed as well as what areas on the bumper we needed to address. Thanks again Vu! I especially love that it gives me an extra inch of ground clearance now but don’t worry everyone we’ll be getting the air ride on soon so it won’t look too high for too long
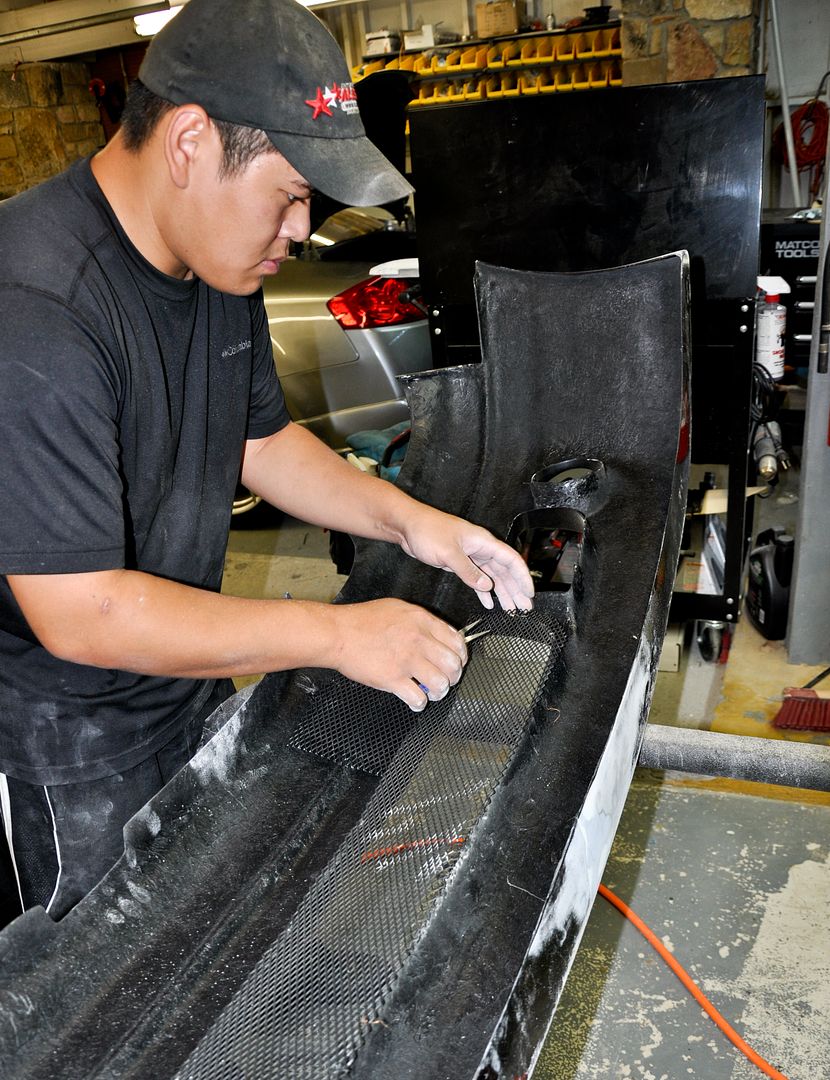
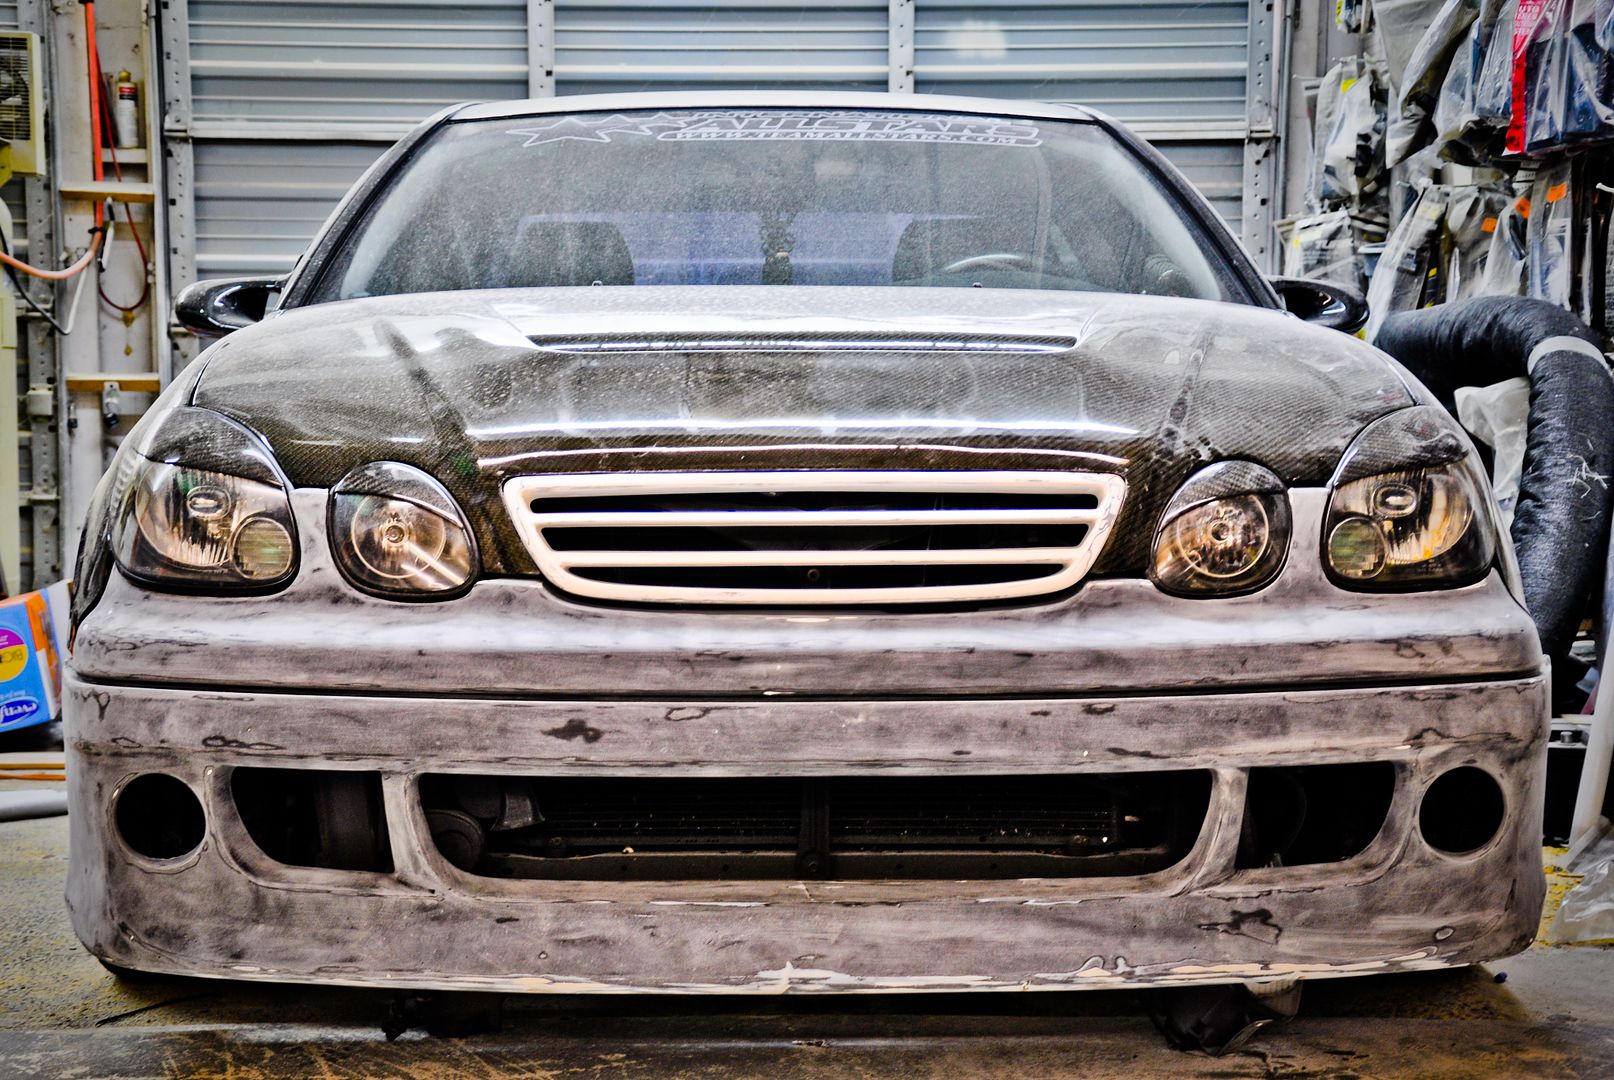
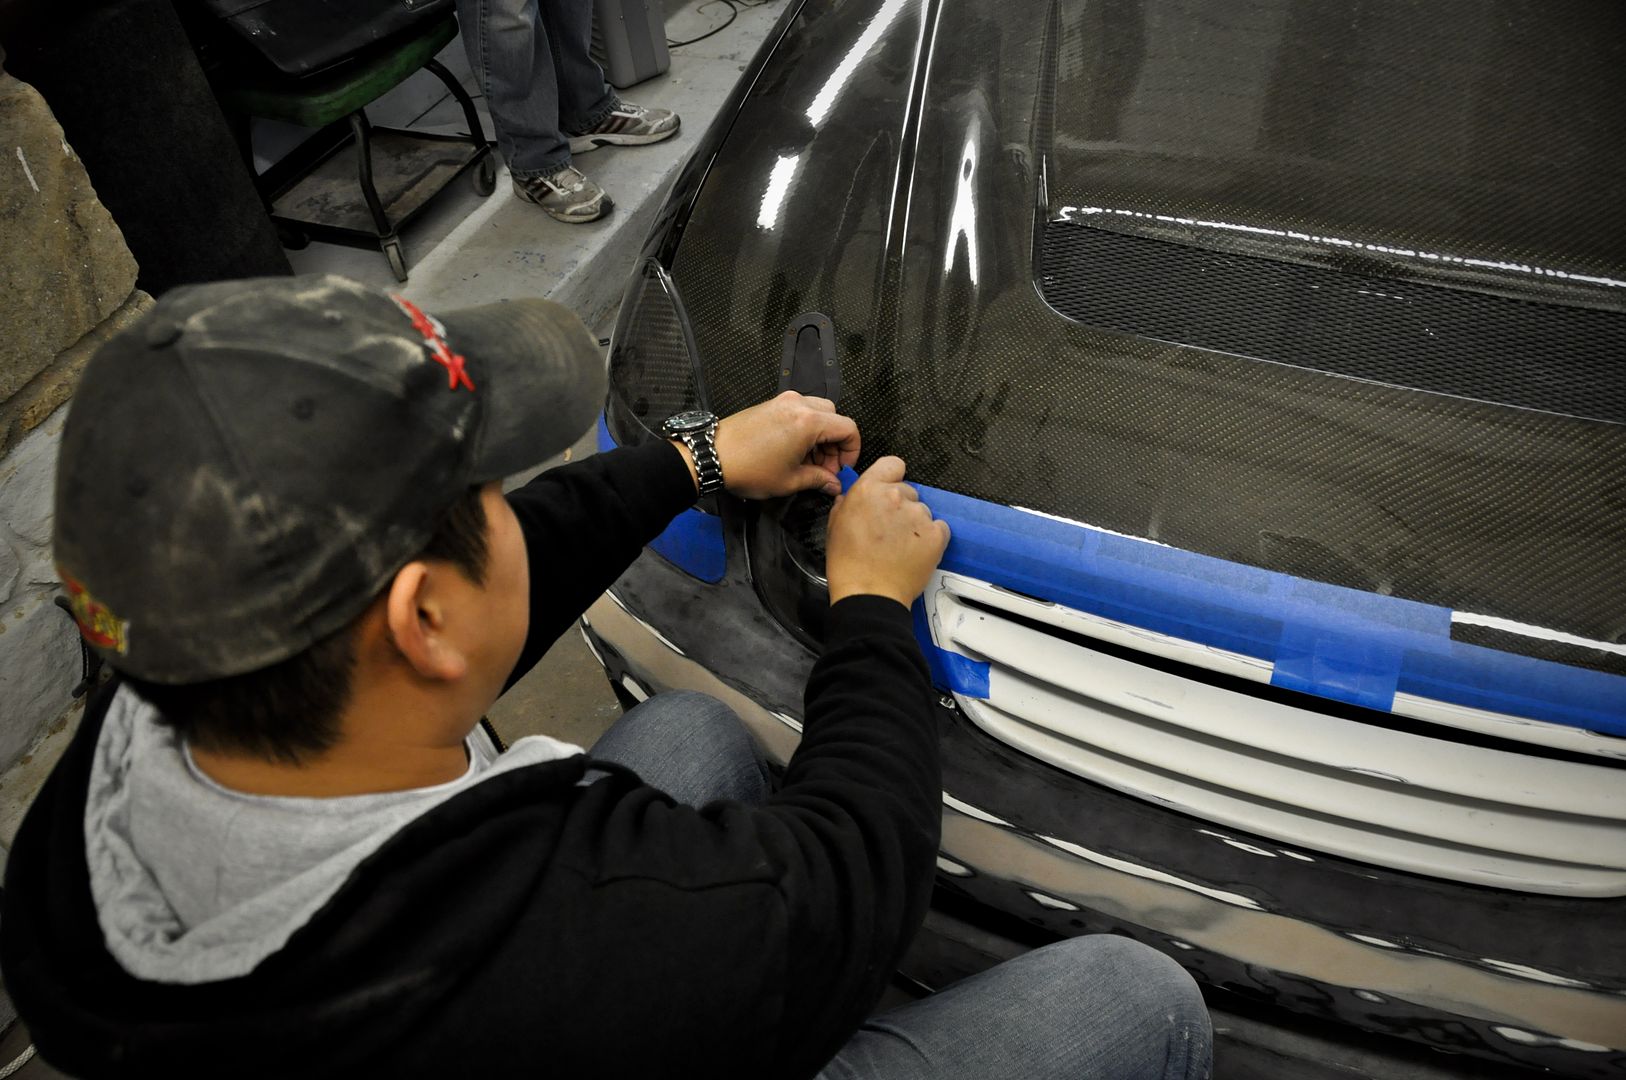
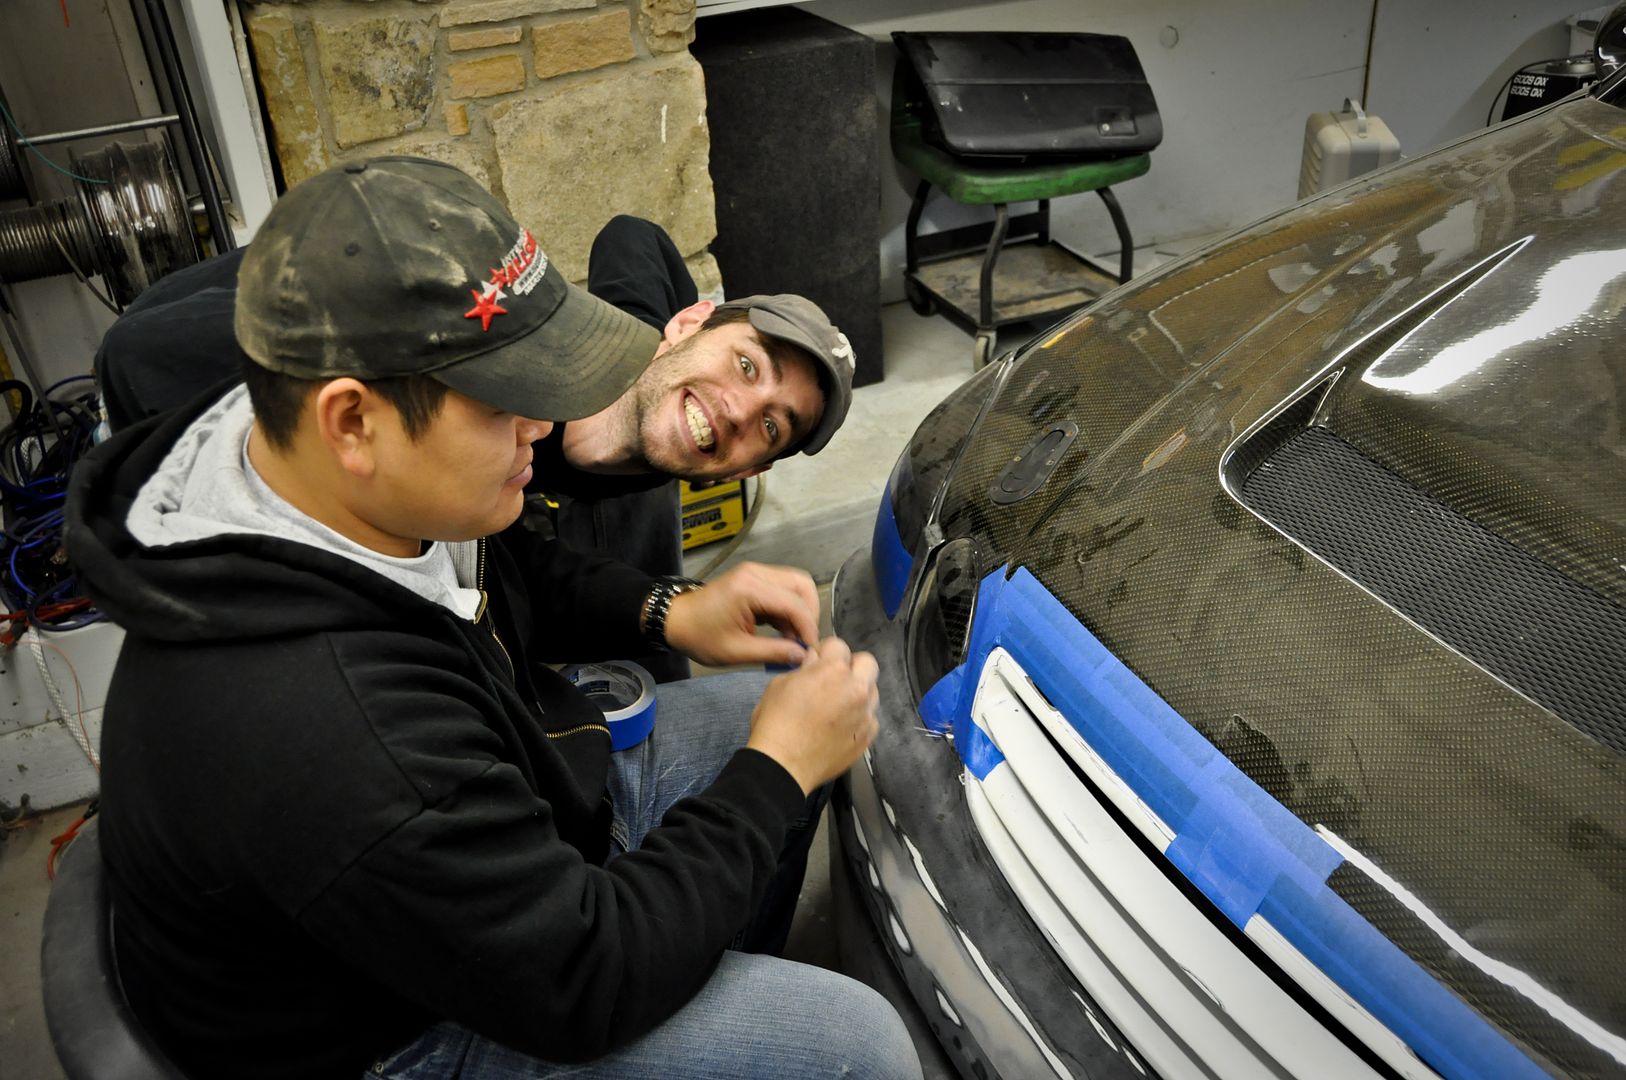
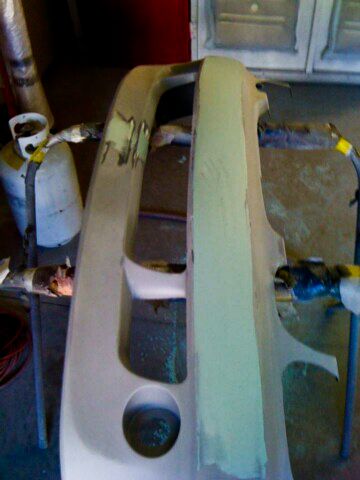
Purchased this Veilside grill from Batmobile for my car. Took a little work to make it fit but nothing a little fiberglass won’t fix haha. Cut off the tabs and sanded down the grill for some custom fitment
Almost there
Decided that I wanted to have not only a rear camera but a front one as well. This is so that I can see speed bumps more clearly, parking humps, etc…
The car is a little dirty but that’s how she’s gonna stay till it is done lol.
Started by taking off the license plate
Used a uni-bit to get a hole big enough for the wiring to pass through
Hole is cut
After smoothing out the cut I then dampened both sides of the hole to seal it off from the elements
Dampened the rear of the camera mount for vibrations
I opted to go with the license plate style camera due to its versatility, adjustability, and ease of access, plus it was what we had available to us at the shop for an awesome price lol
Tested out the rear view, lol I know I look like a dork. The image is a little blurry too because the protective film on the cameras is still on
Wiring up the wires for the camera and also the rear monitor for the trunk. Might as well do it all at once
Front camera is mounted. This sits right where I want it. Center and all I’ll have to do is cut out the grill material on the bumper in the bottom central opening to have full view
Testing out the front view. Again the image is a little blurry too because the protective film on the cameras is still on.
Project facelift
Got this bumper from Alexus300 as a birthday present and it was time for a facelift so we decided to pull the trigger and start the installation process and see what needed to be re-fiberglassed as well as what areas on the bumper we needed to address. Thanks again Vu! I especially love that it gives me an extra inch of ground clearance now but don’t worry everyone we’ll be getting the air ride on soon so it won’t look too high for too long
Purchased this Veilside grill from Batmobile for my car. Took a little work to make it fit but nothing a little fiberglass won’t fix haha. Cut off the tabs and sanded down the grill for some custom fitment
Almost there
03-19-11, 04:13 AM
#457
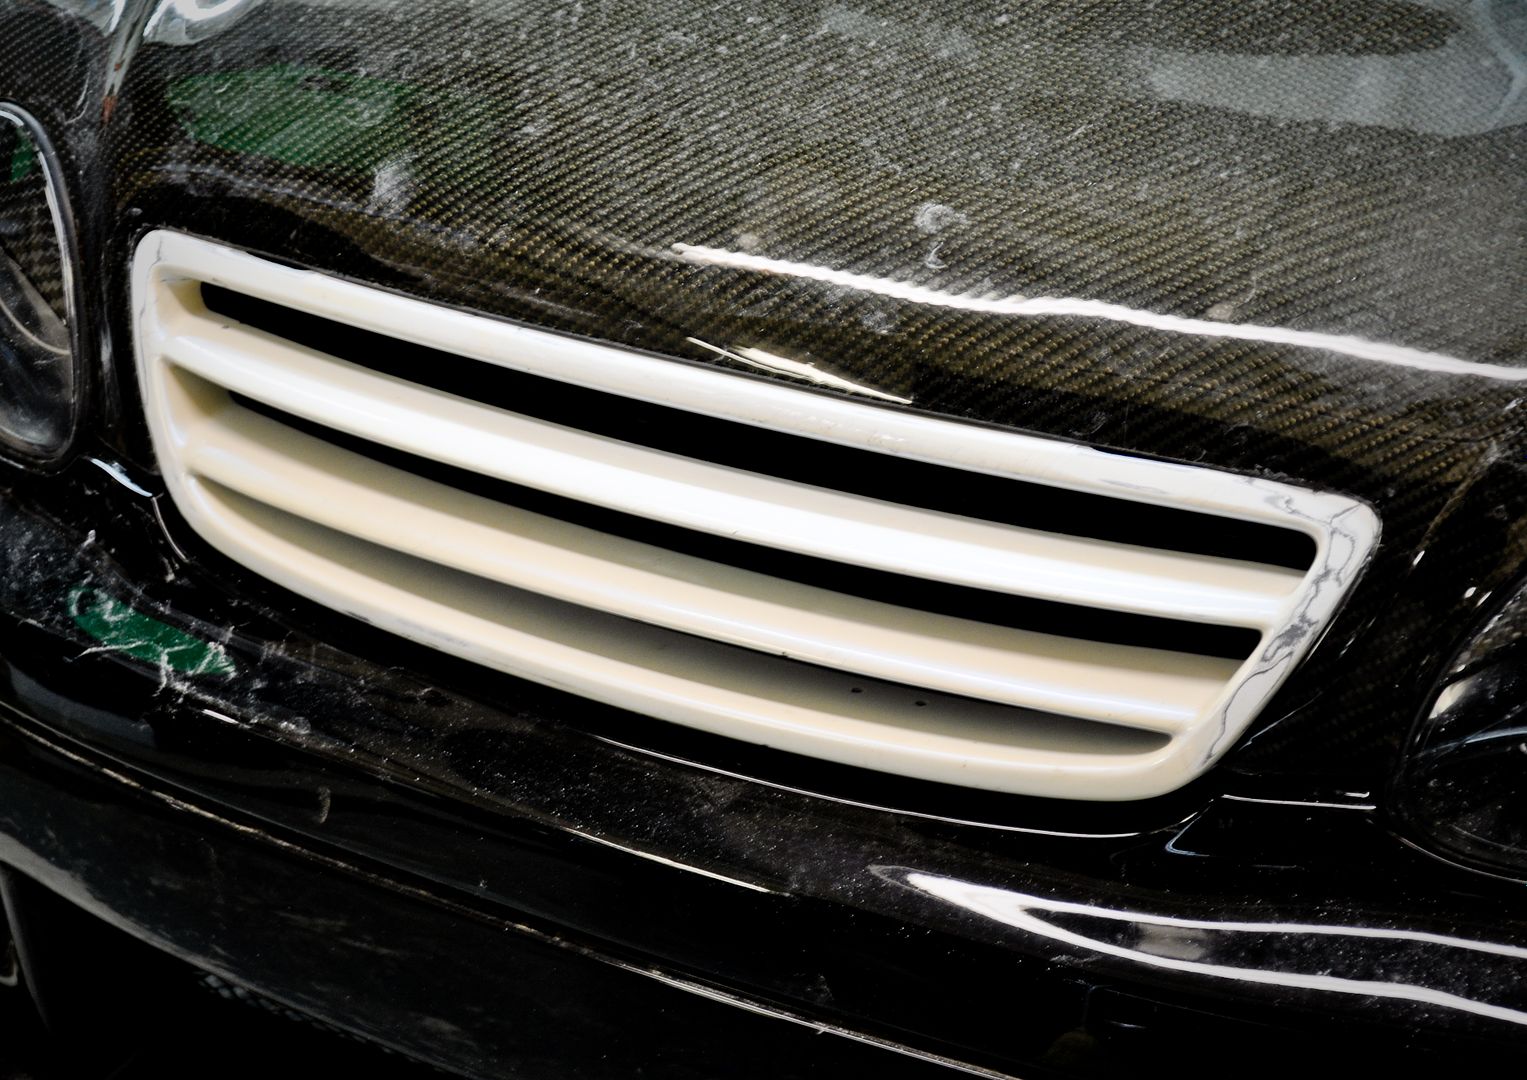
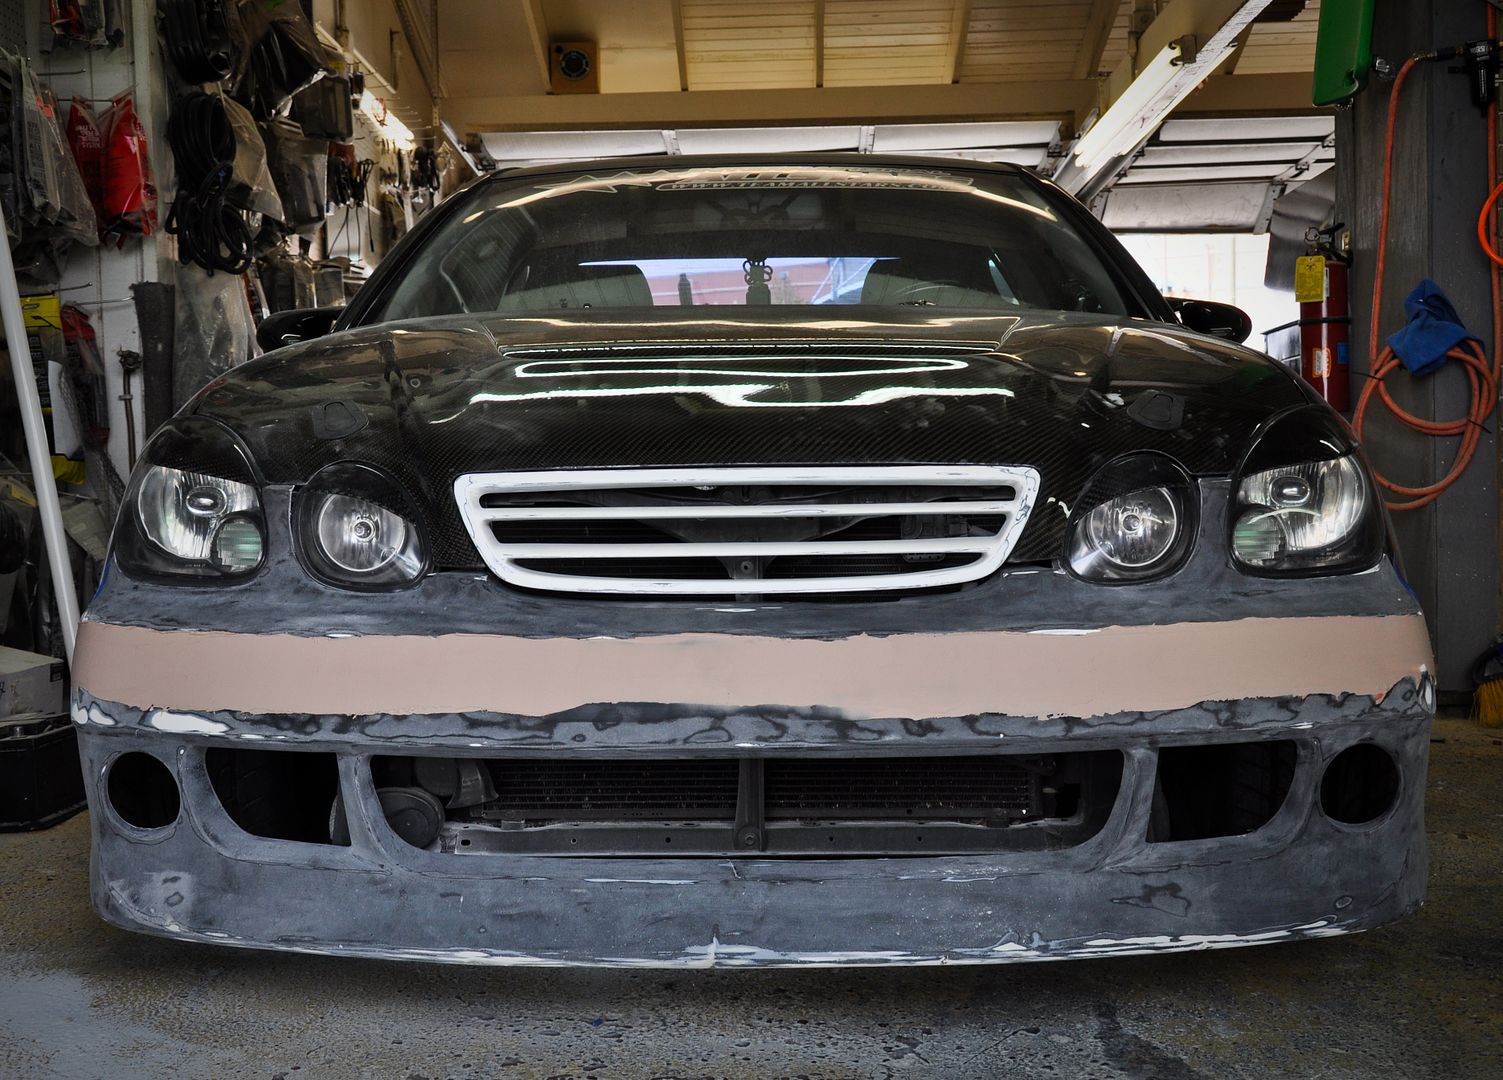
Closer
Pretty good for a grill that wasn’t supposed to go on this hood and for it to fit an aftermarket VIS Racing carbon fiber hood lol
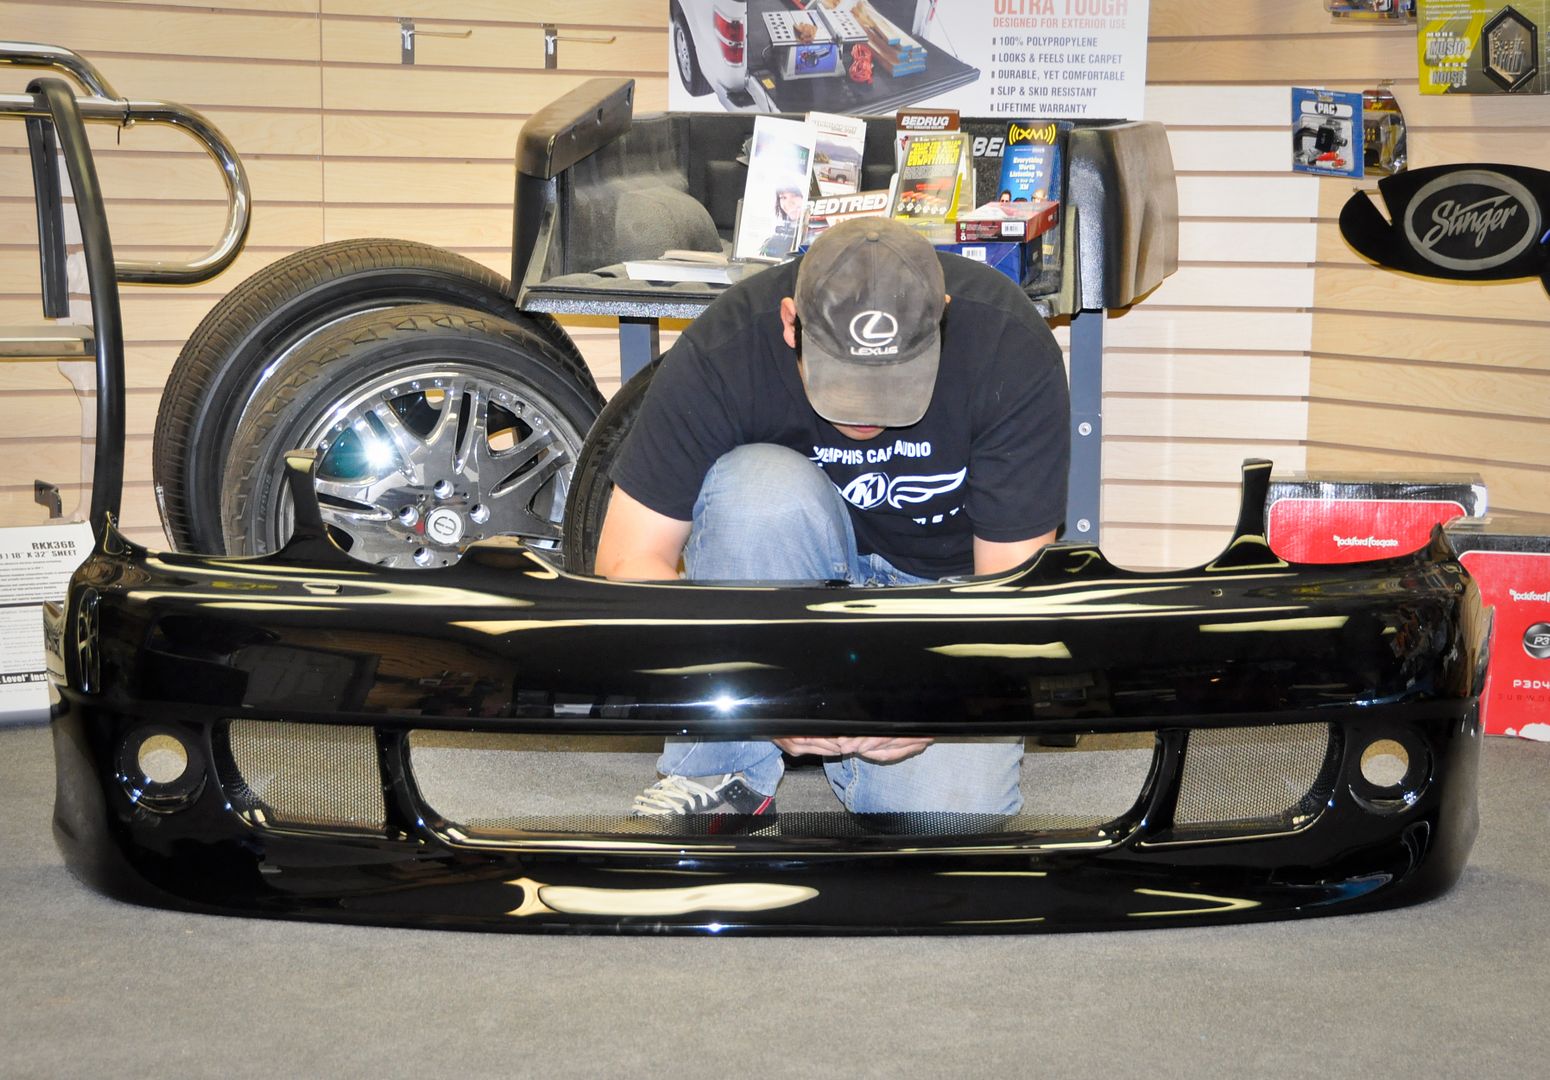
Bumper and grill ready for test fit #1
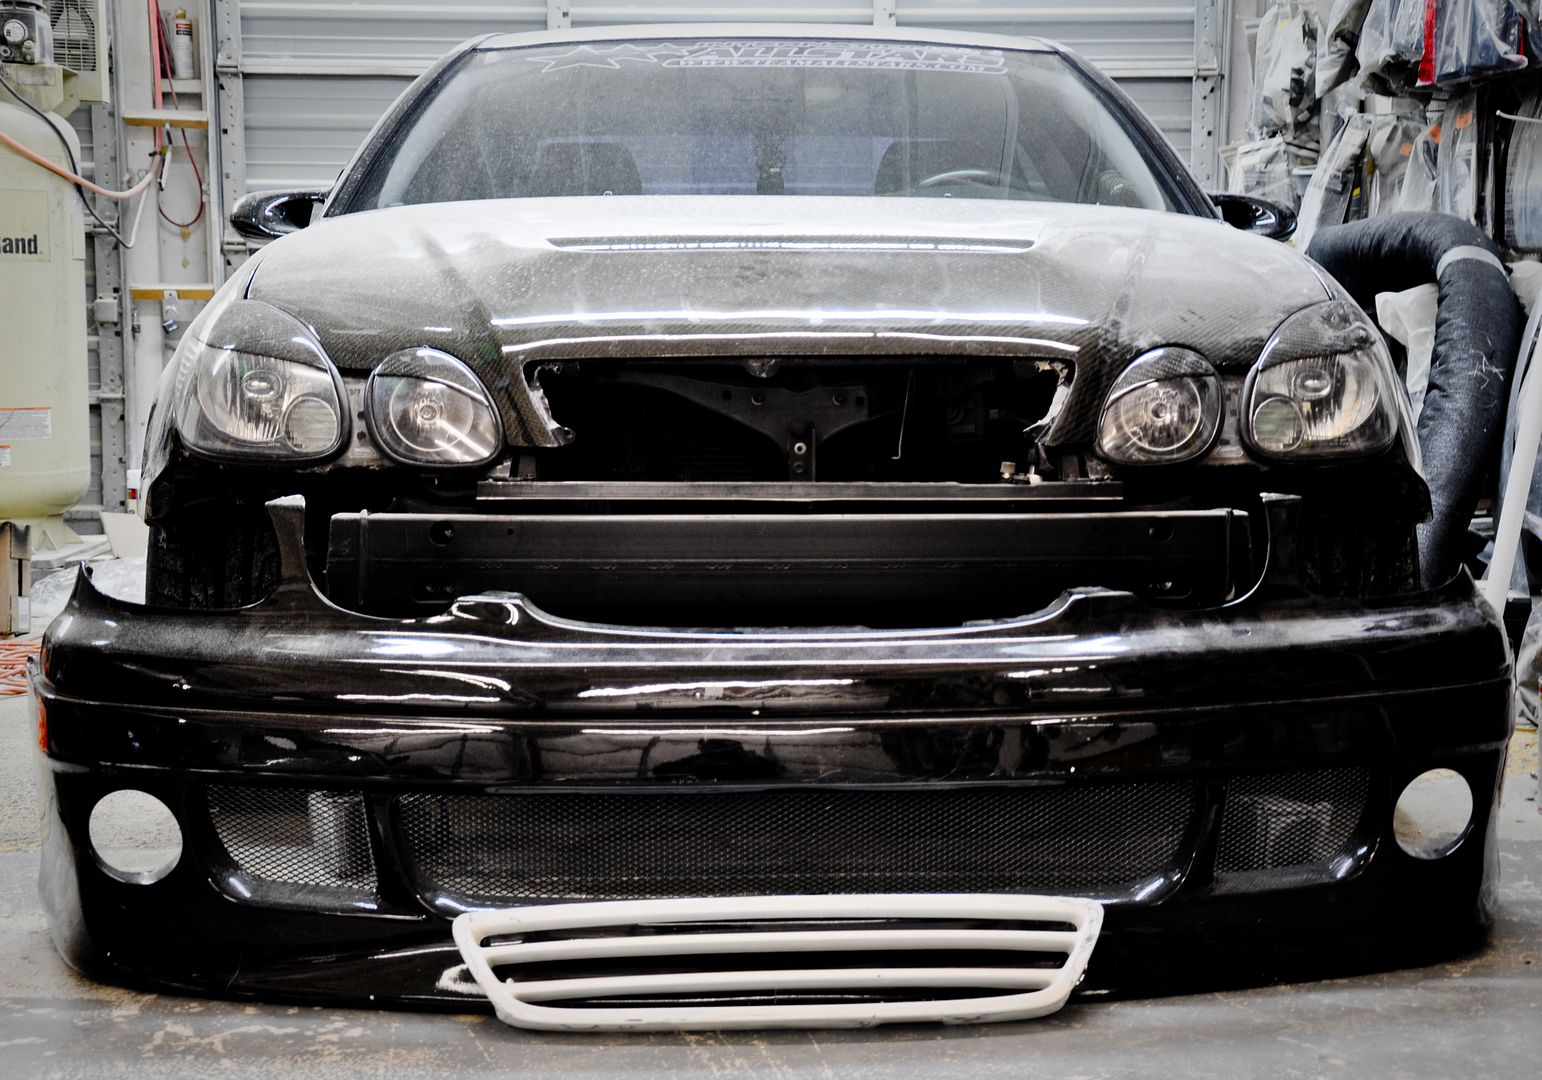
On the car
So, the bumper will clear the fog lamps lol
I think I am in love lol
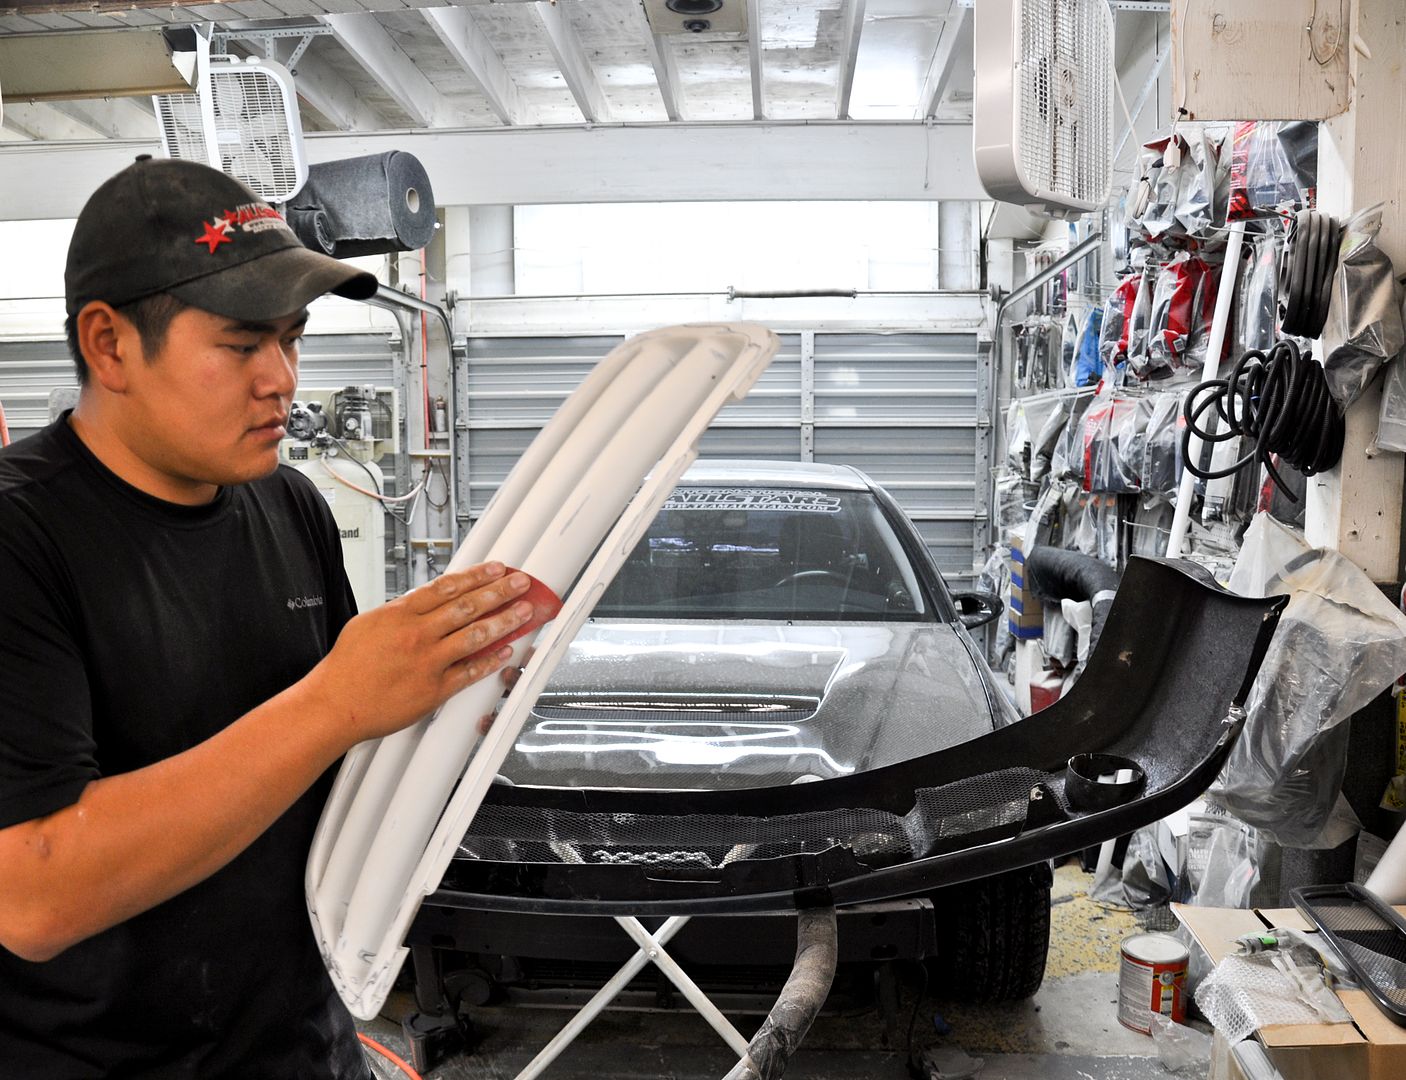
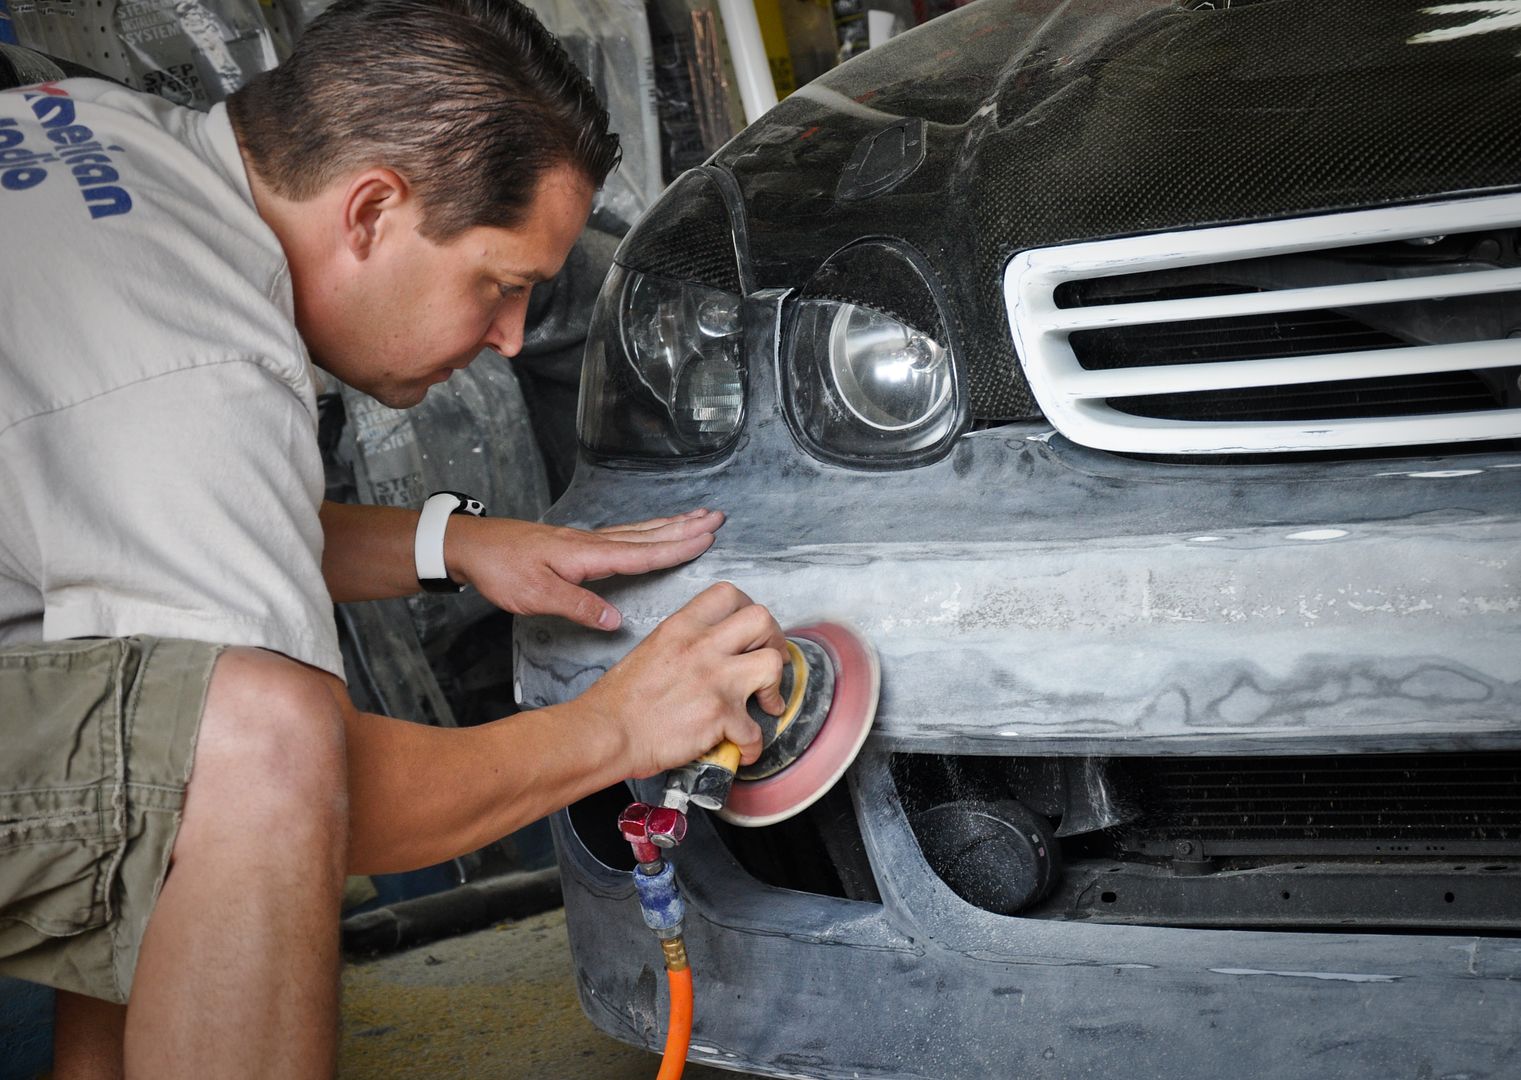
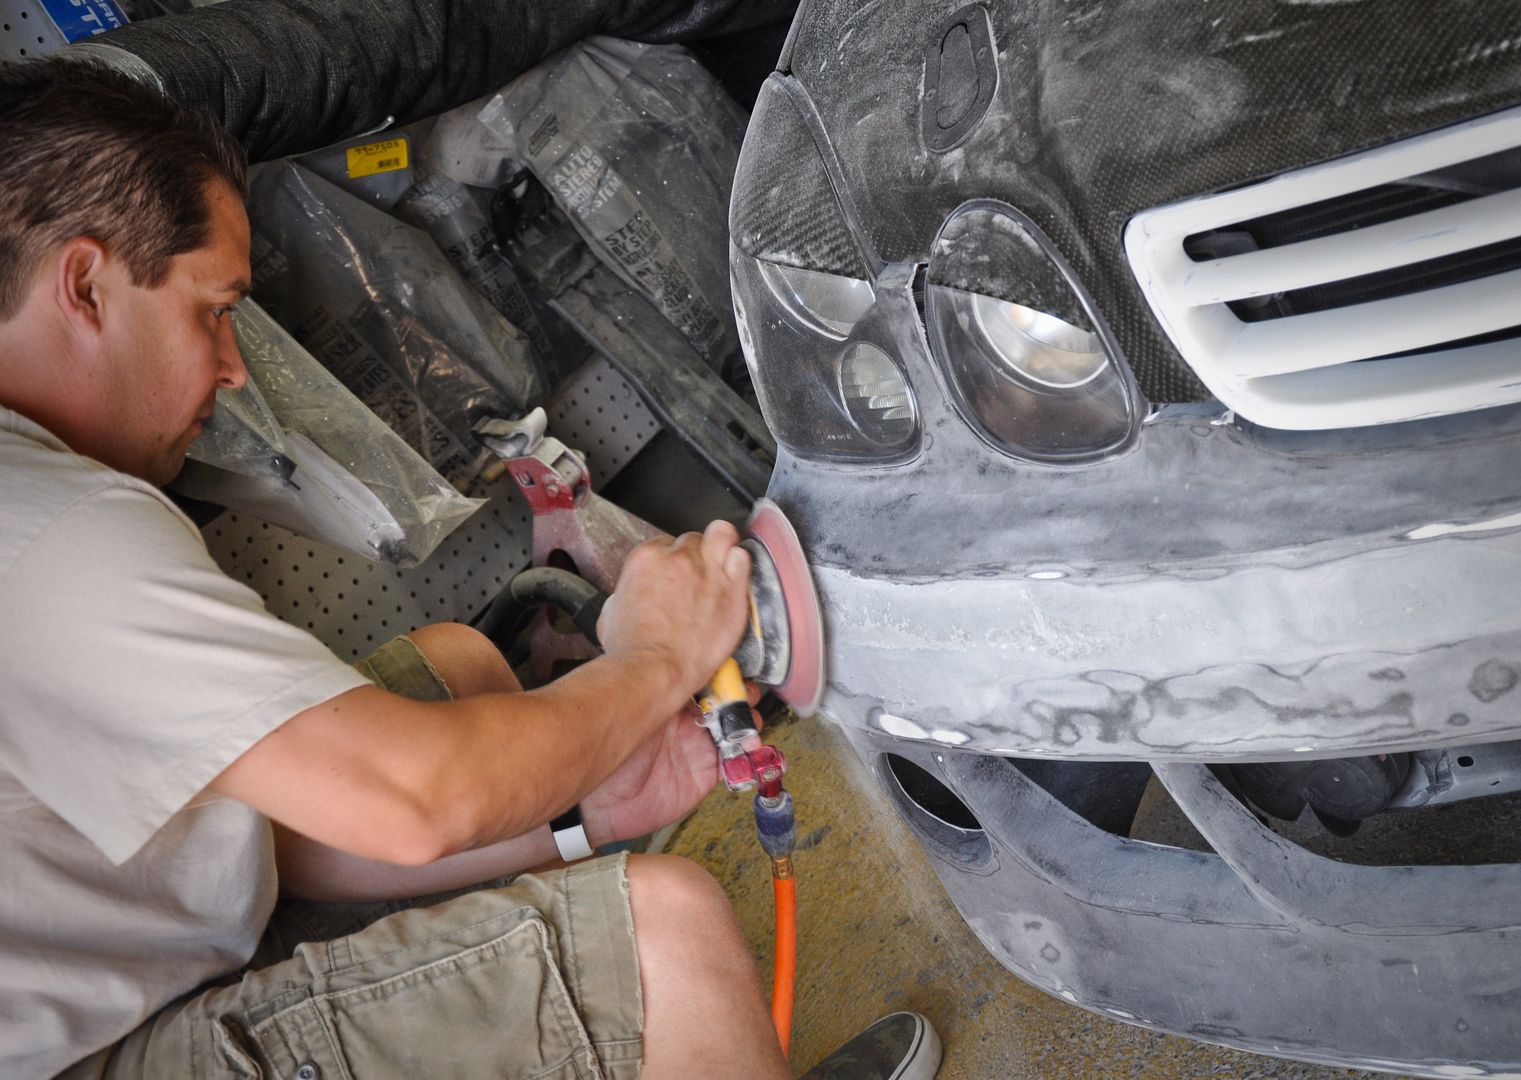
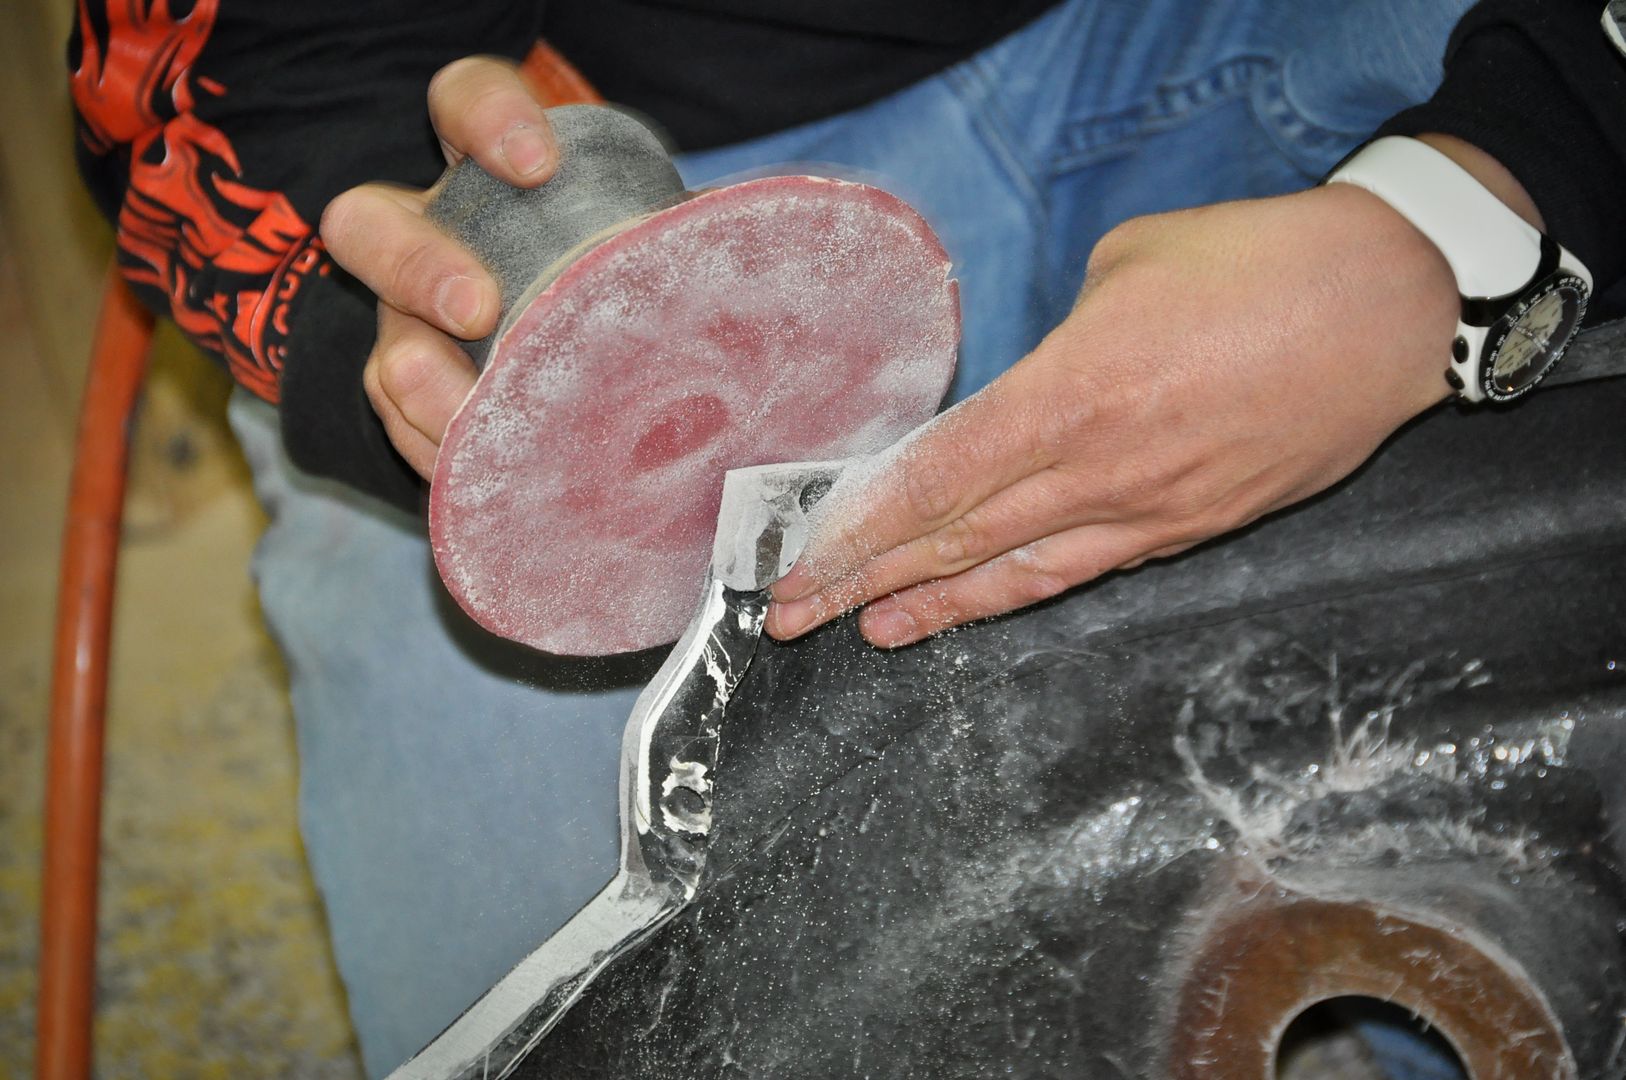
Sanding down the paint for prep
Test fitting and removing the mesh grill material
Sanding down at 200 grit
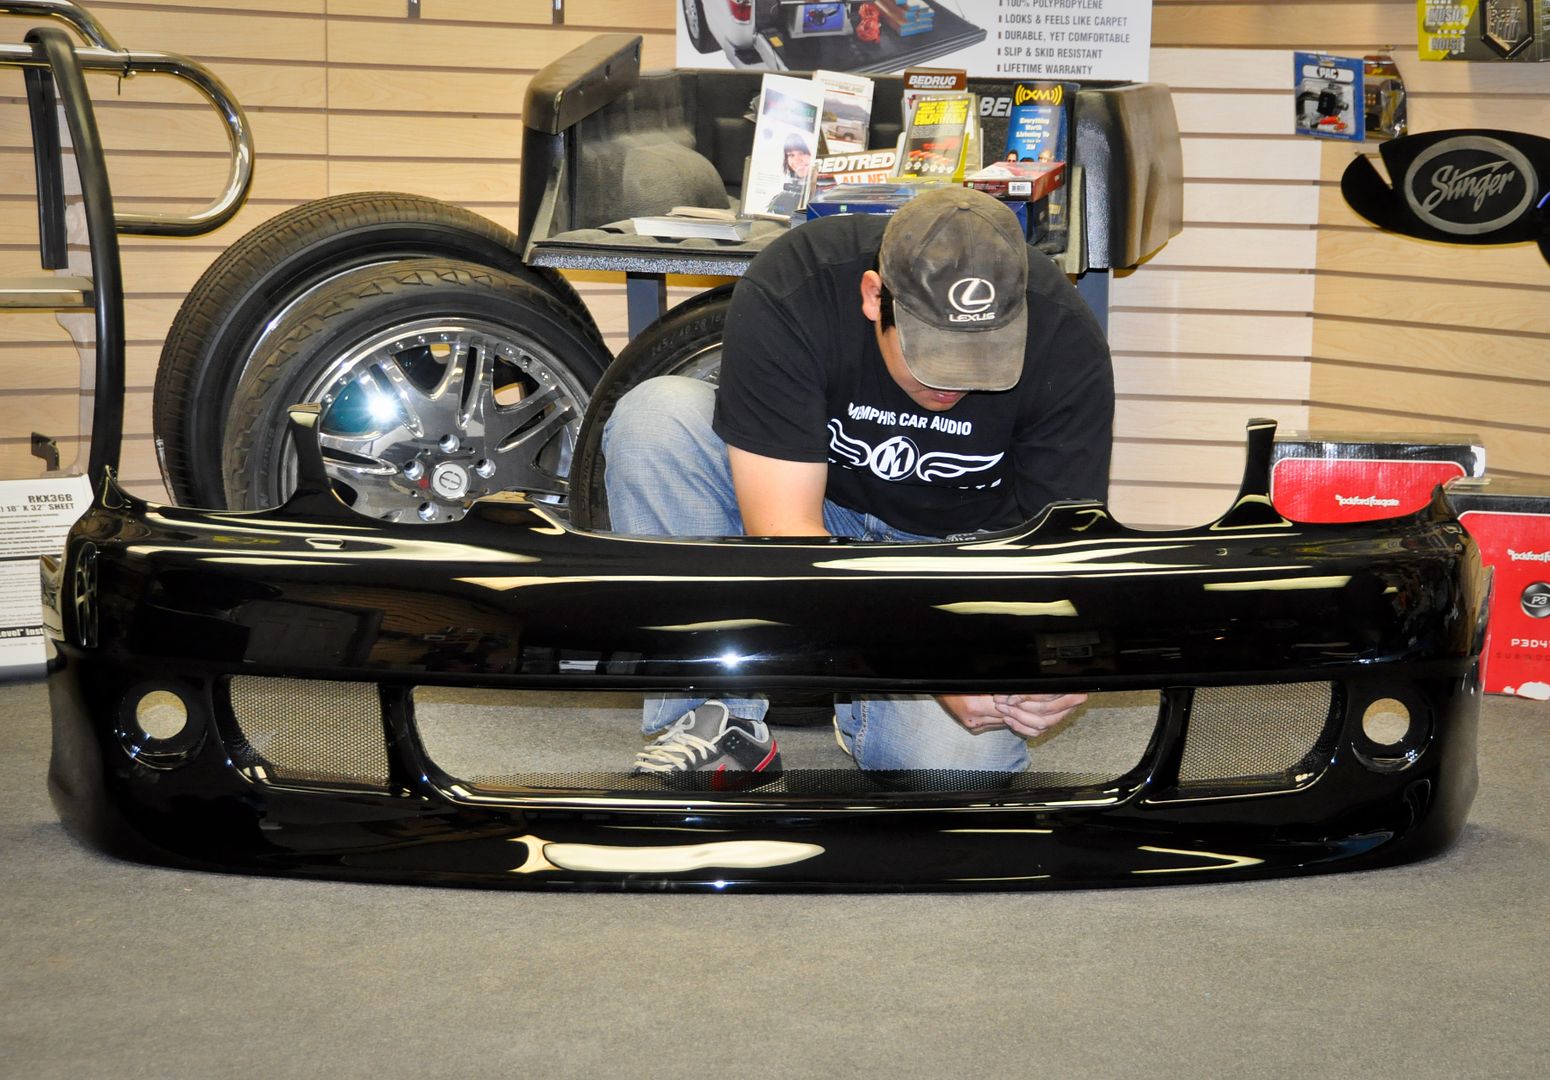
Almost ready for test fit #2
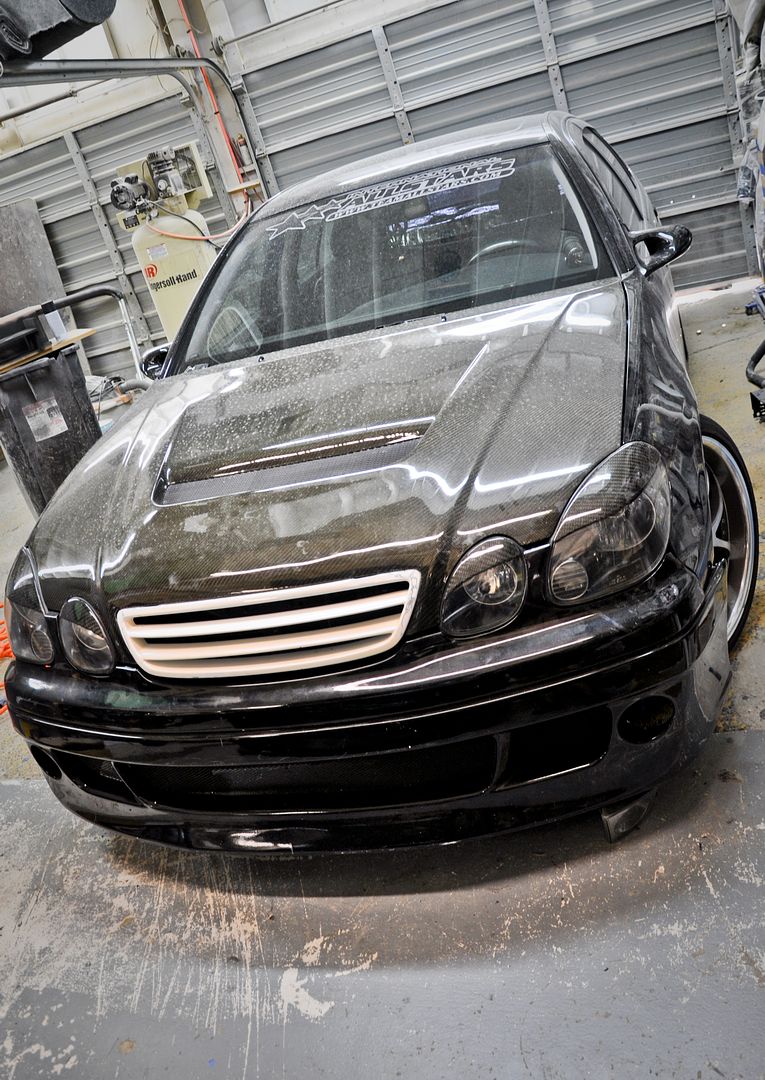
Test fit #2!!! I think it is lookin hot!!!
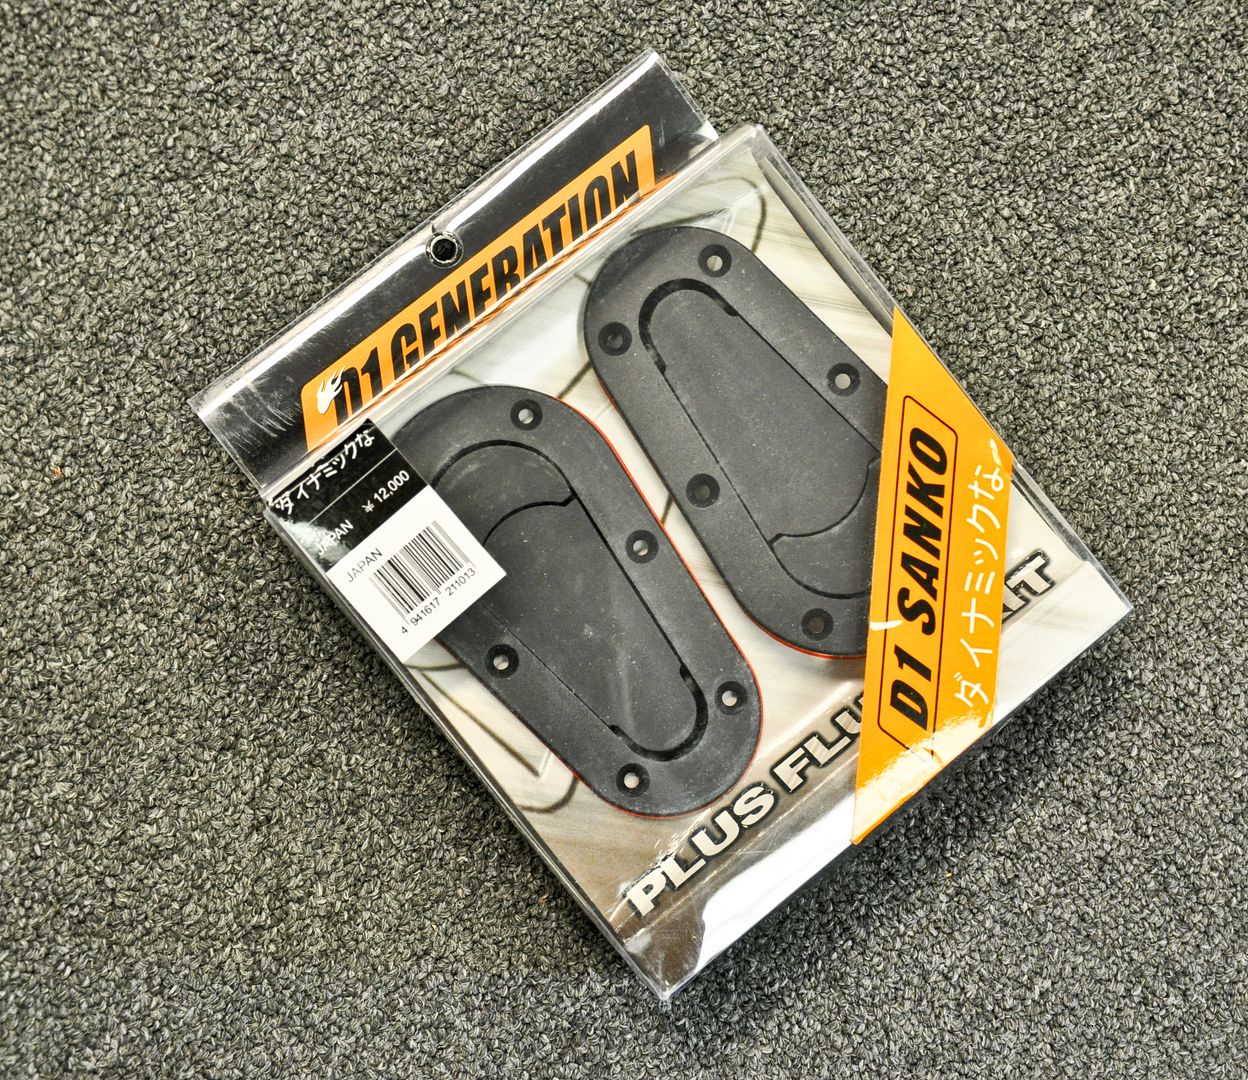
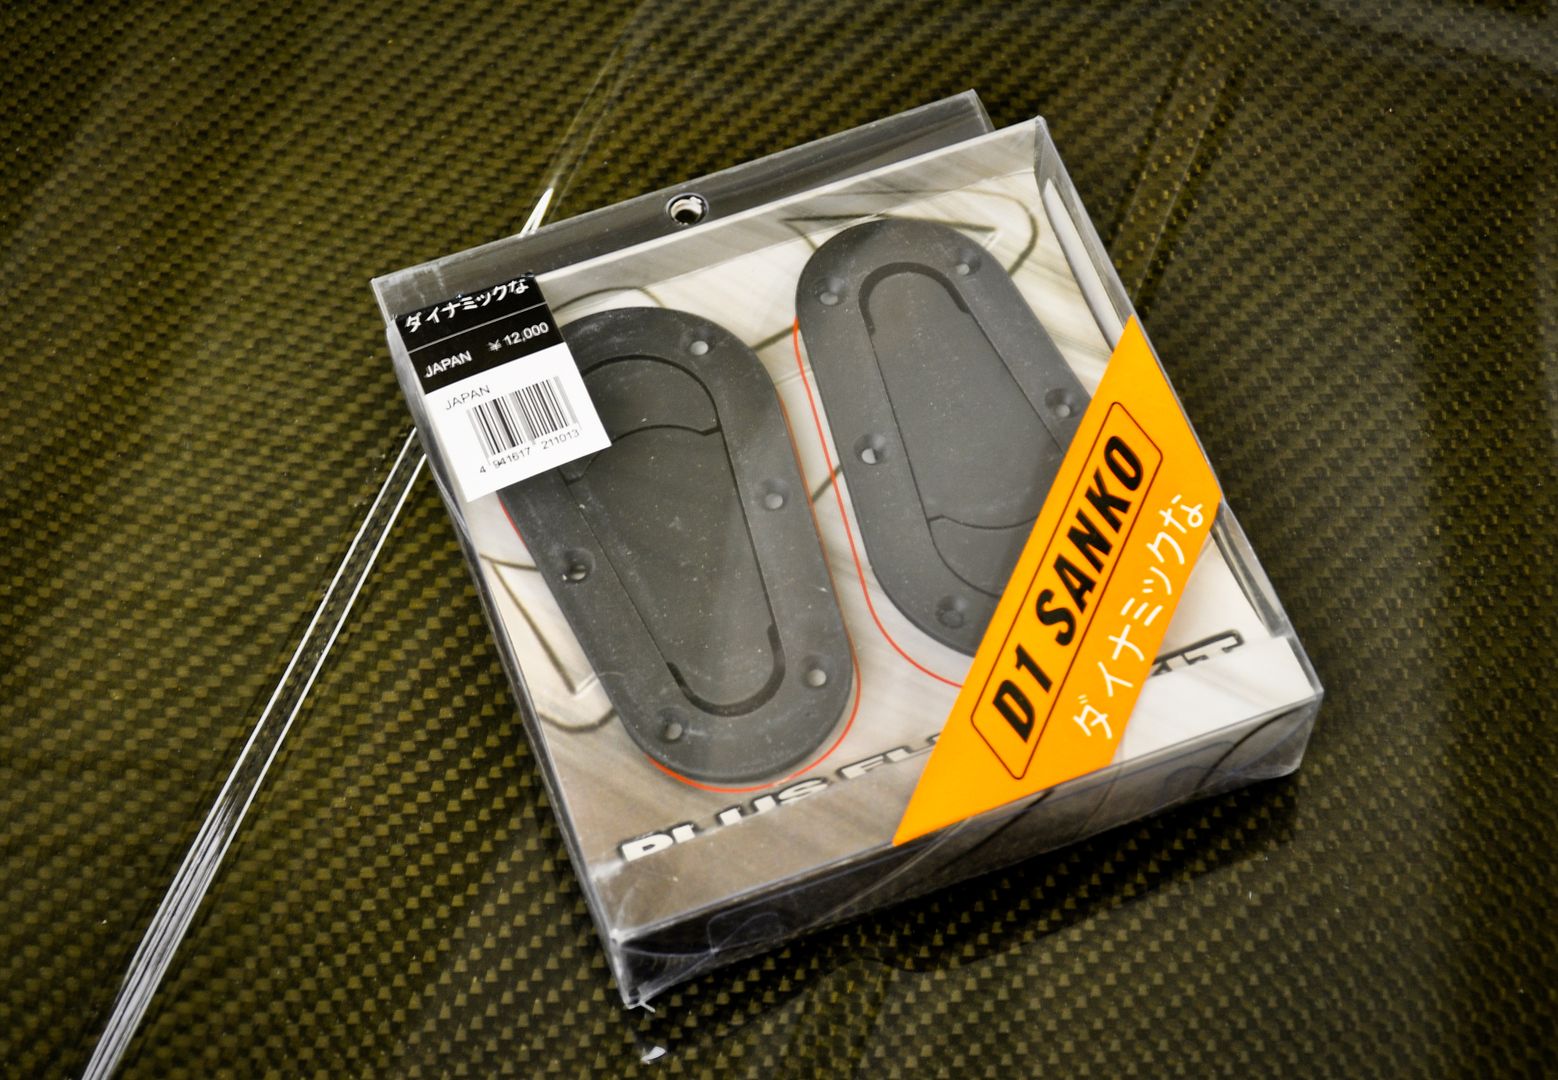
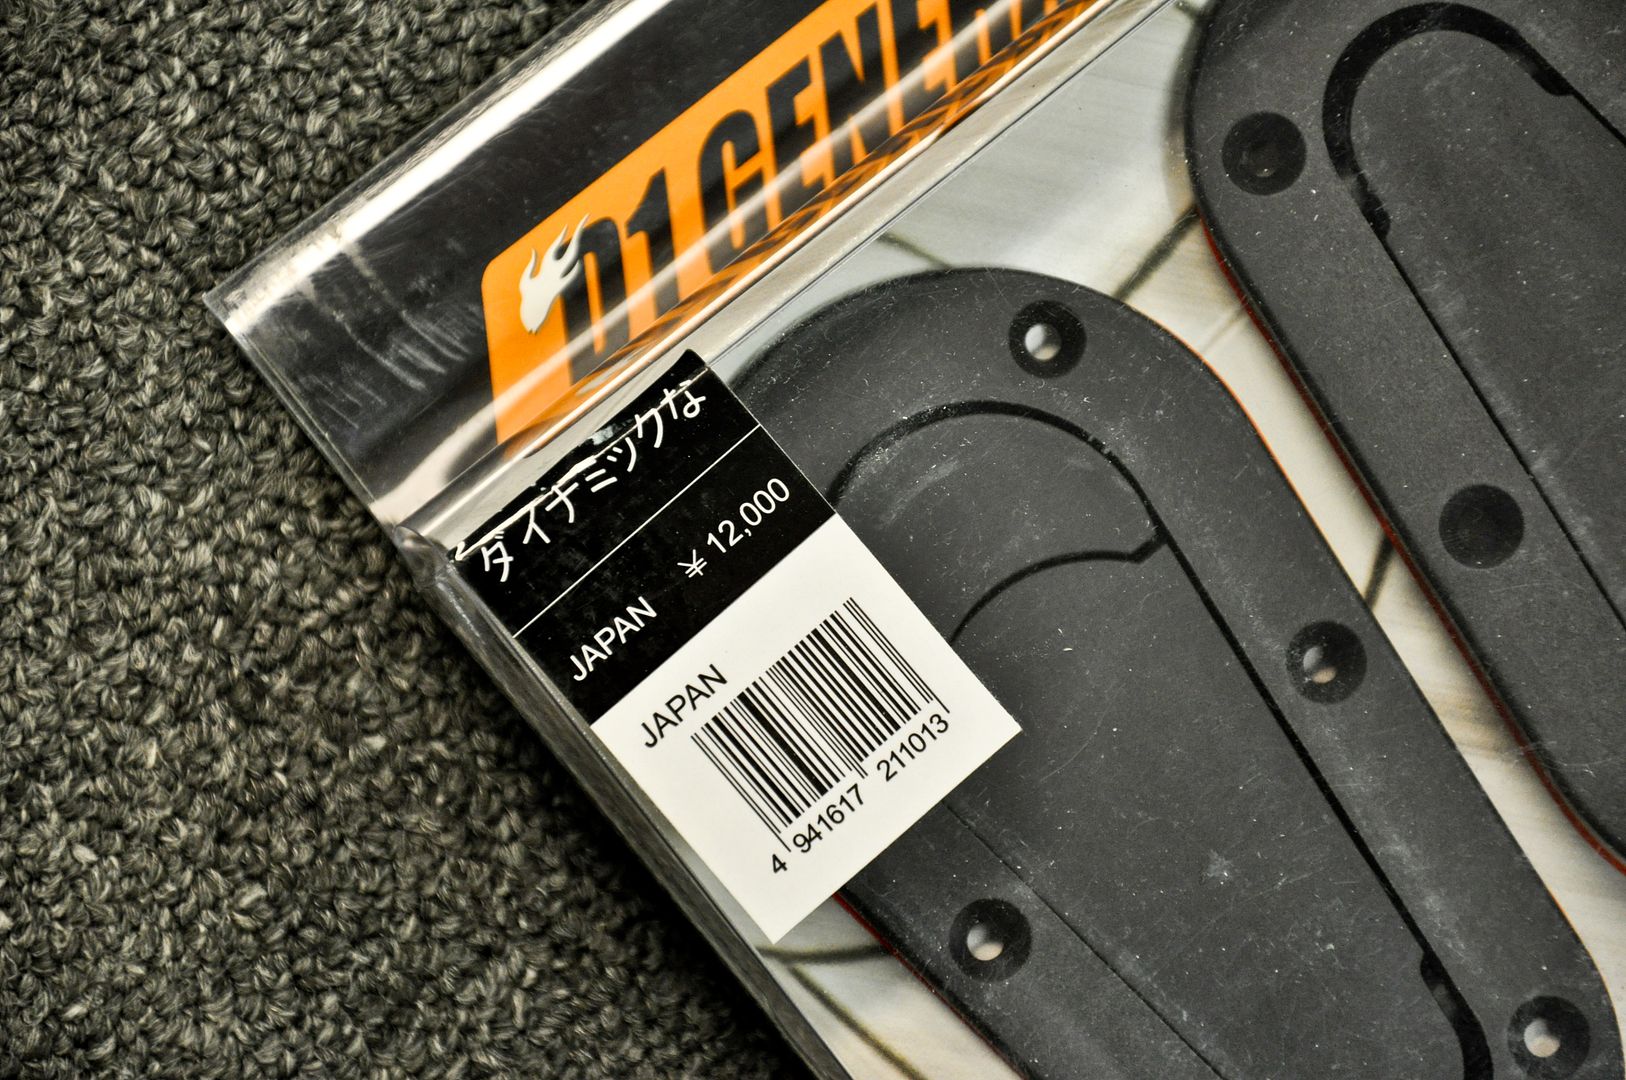
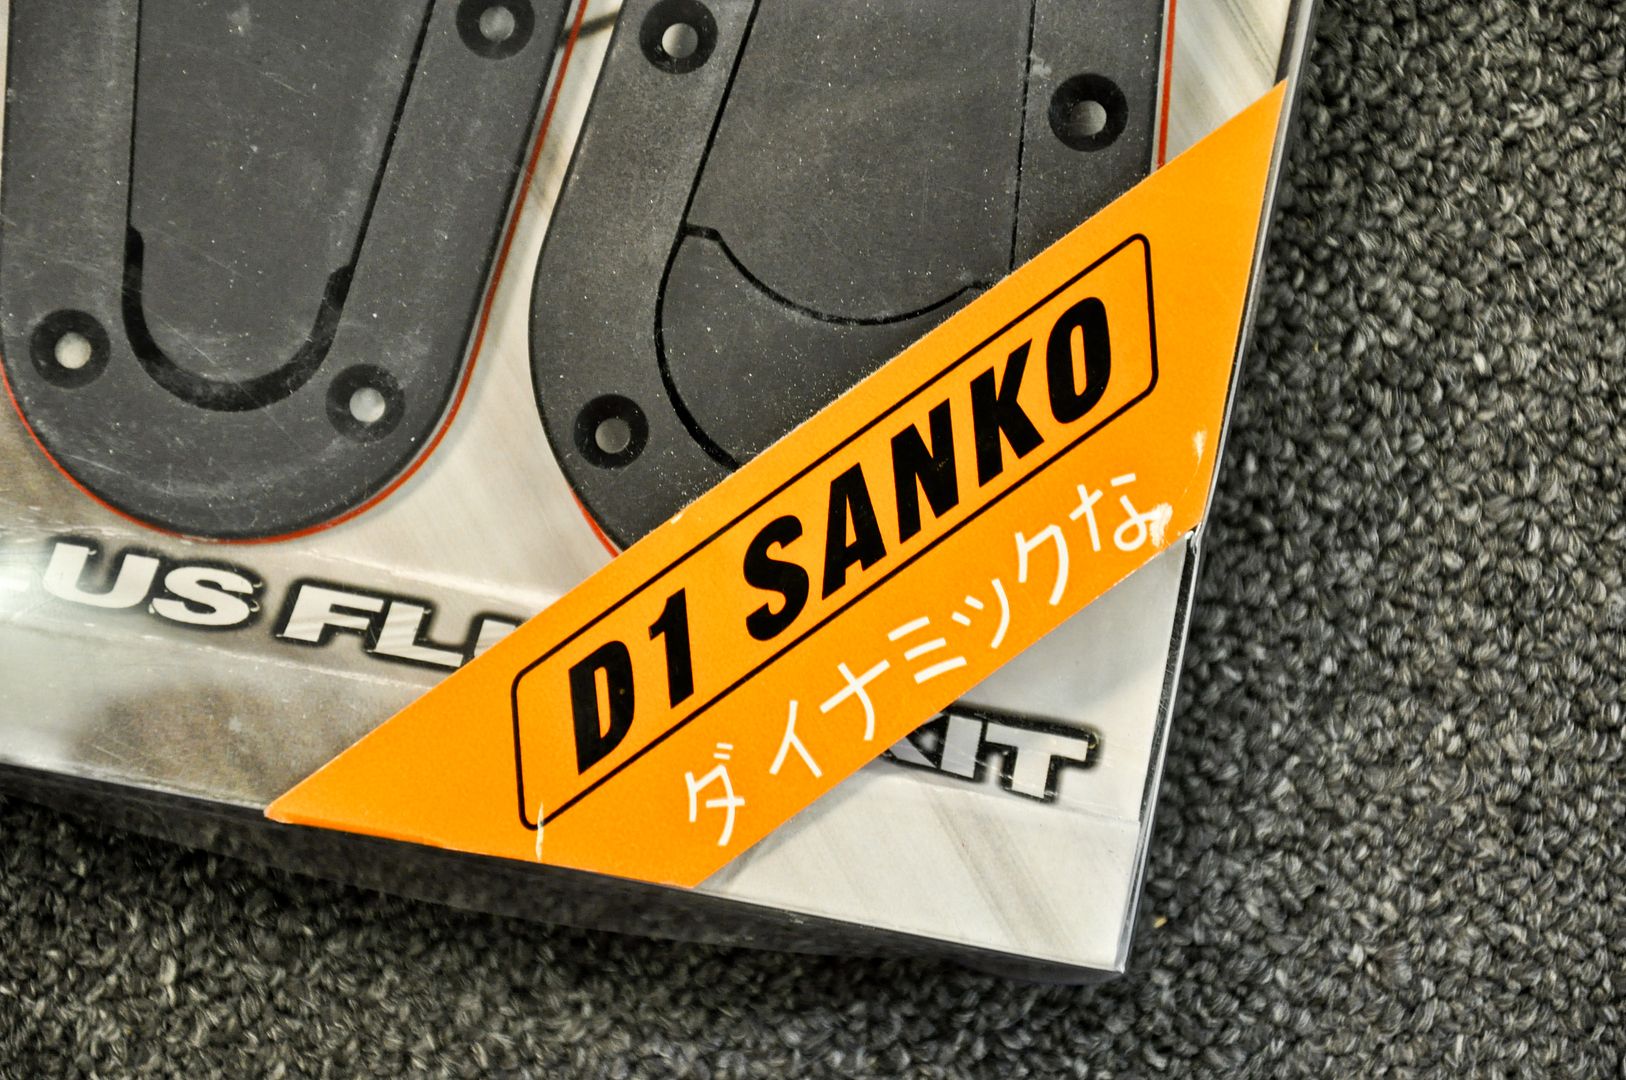
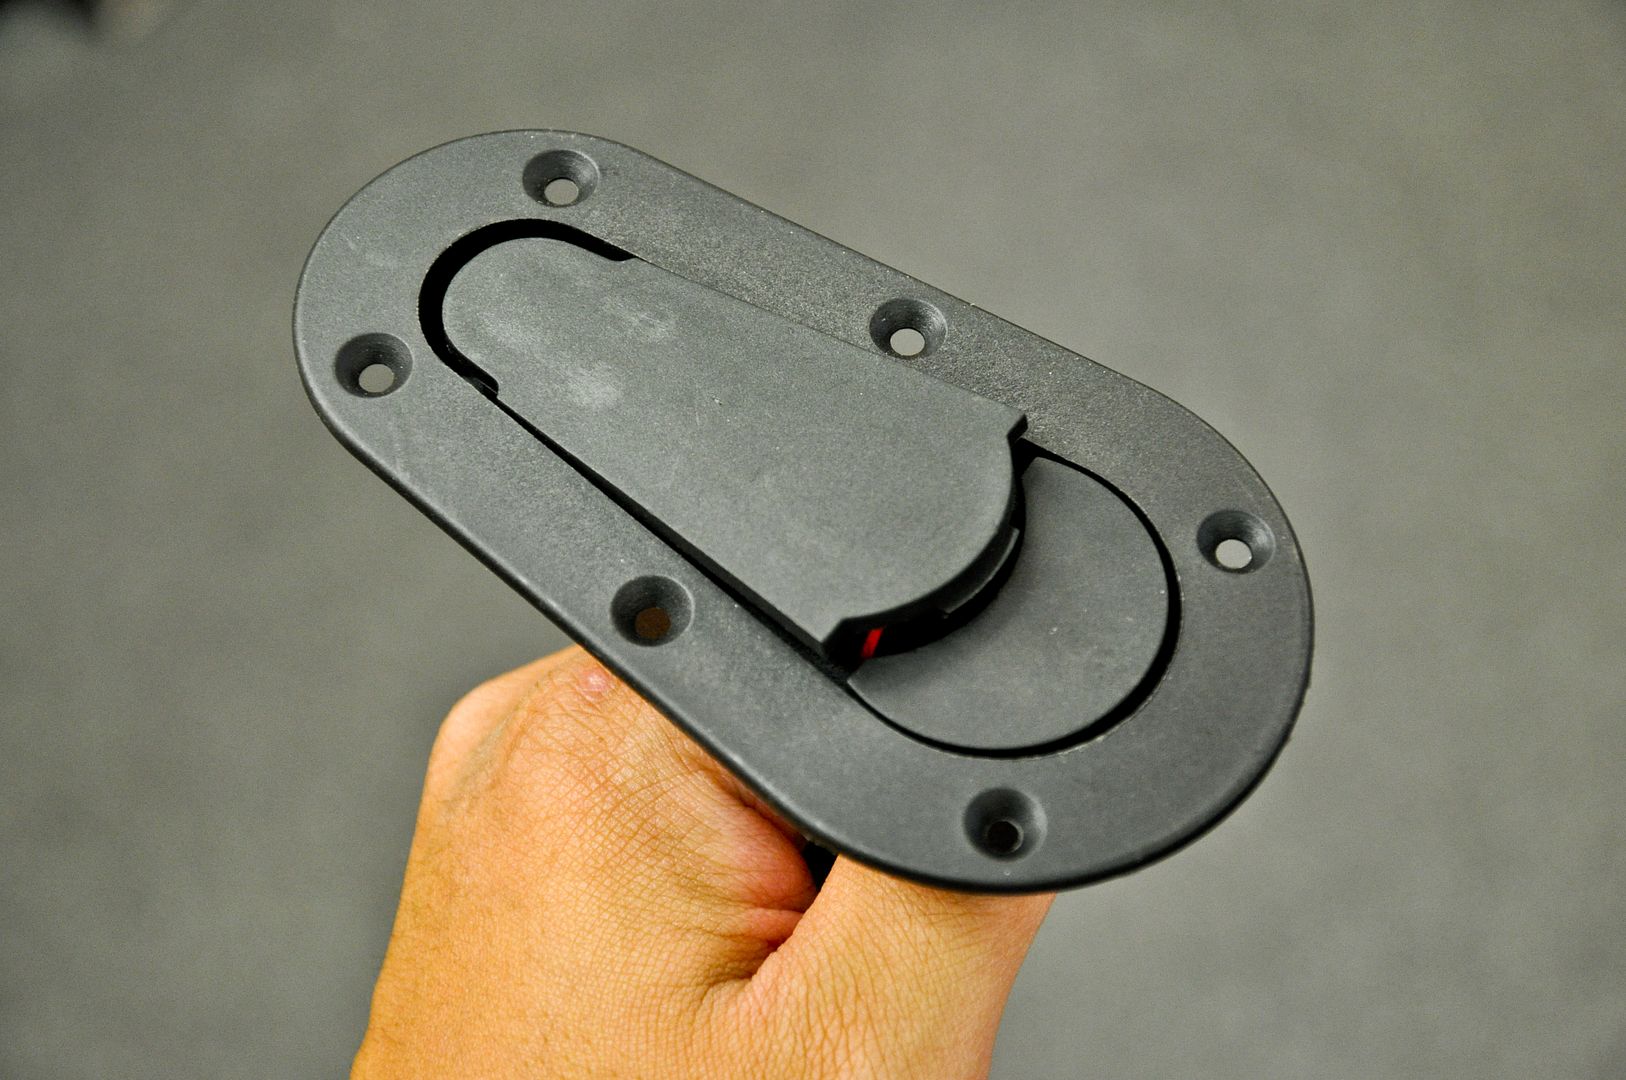
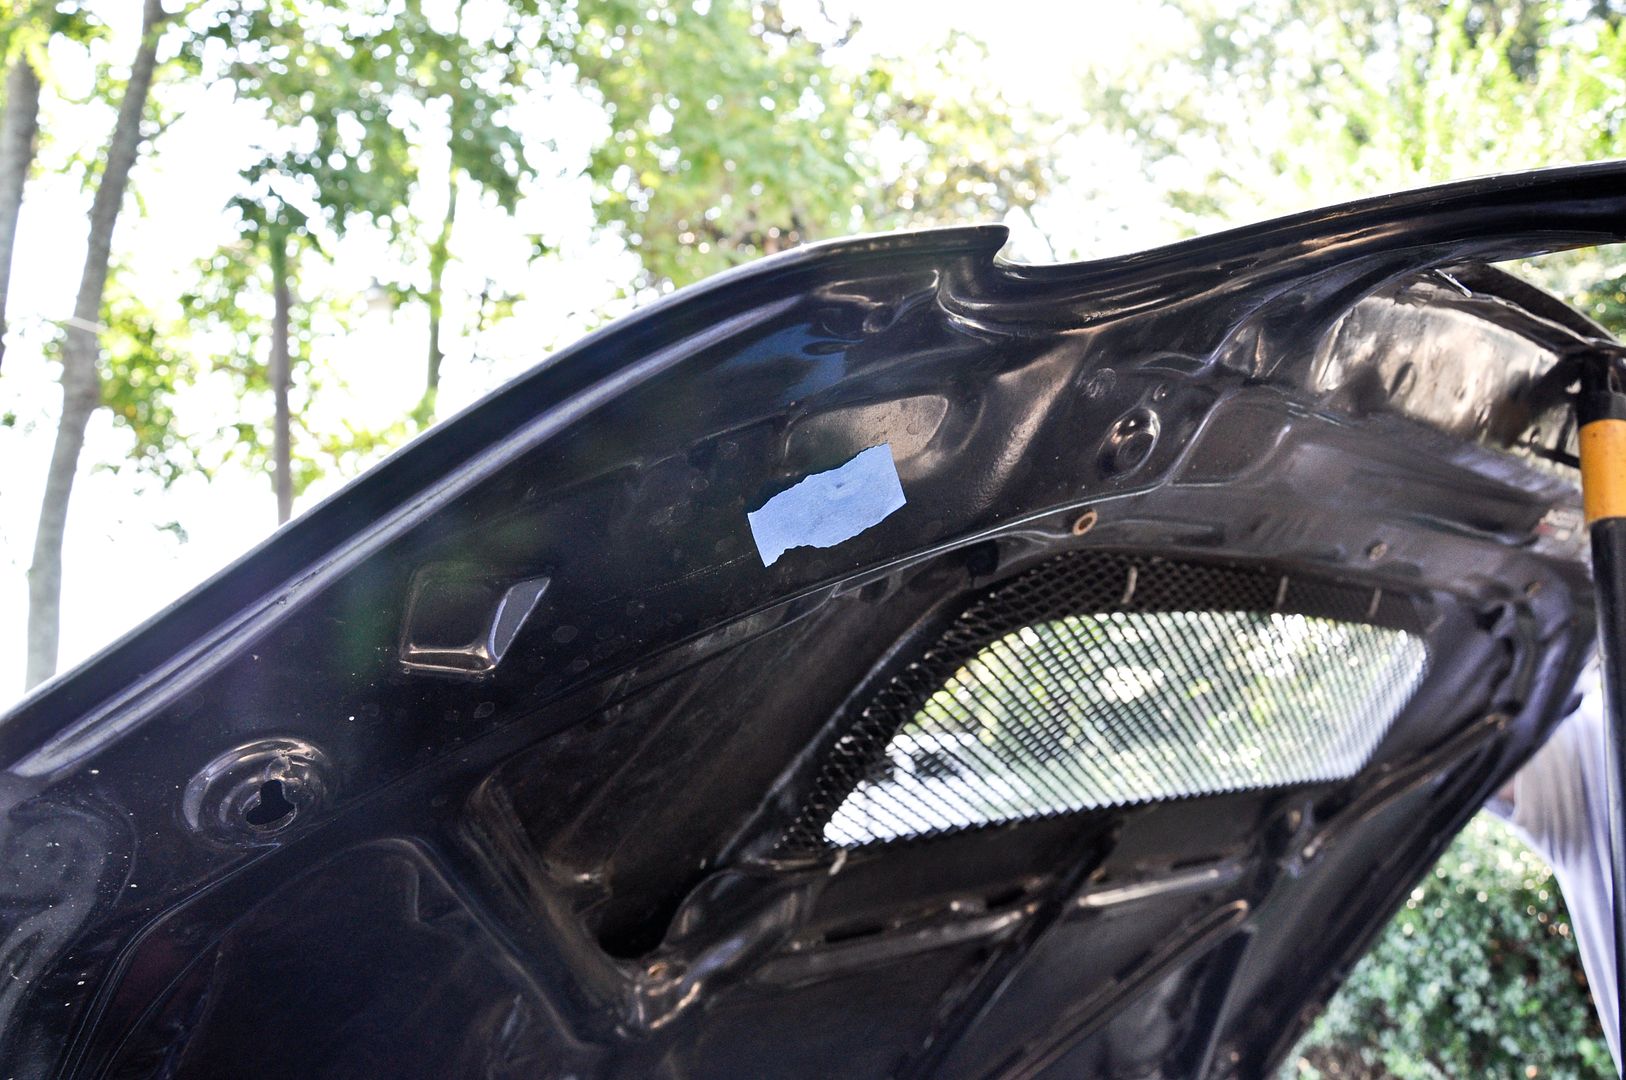
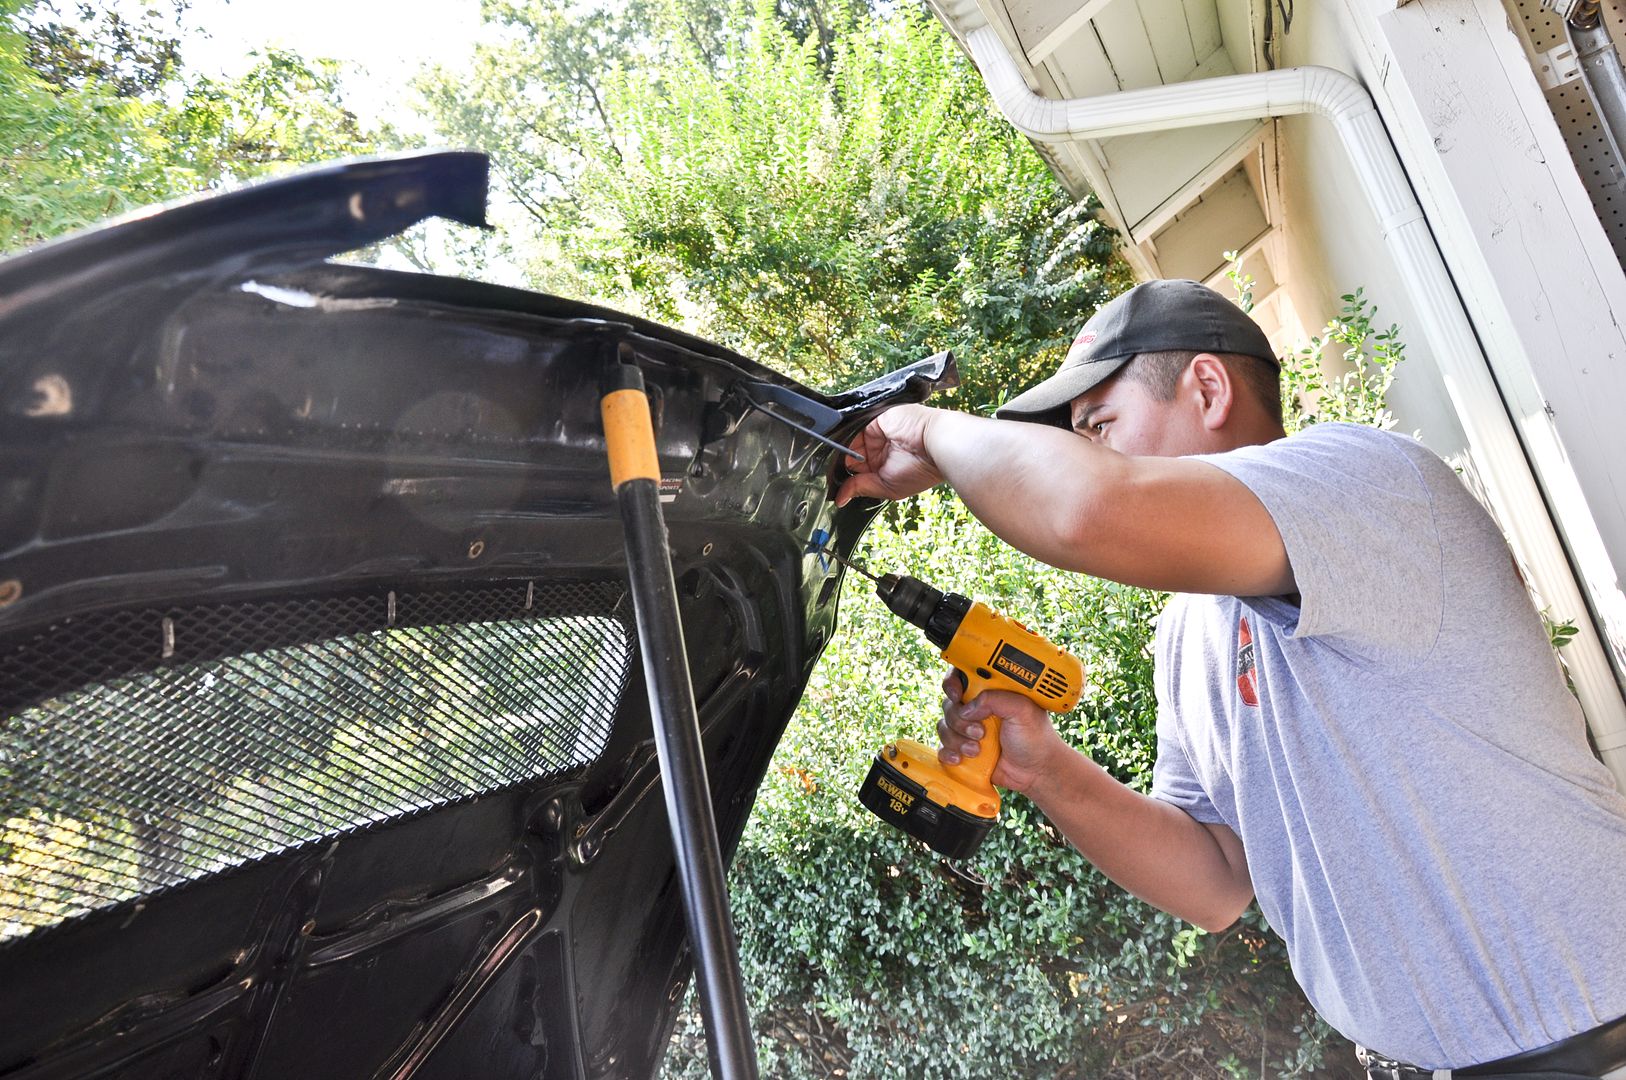
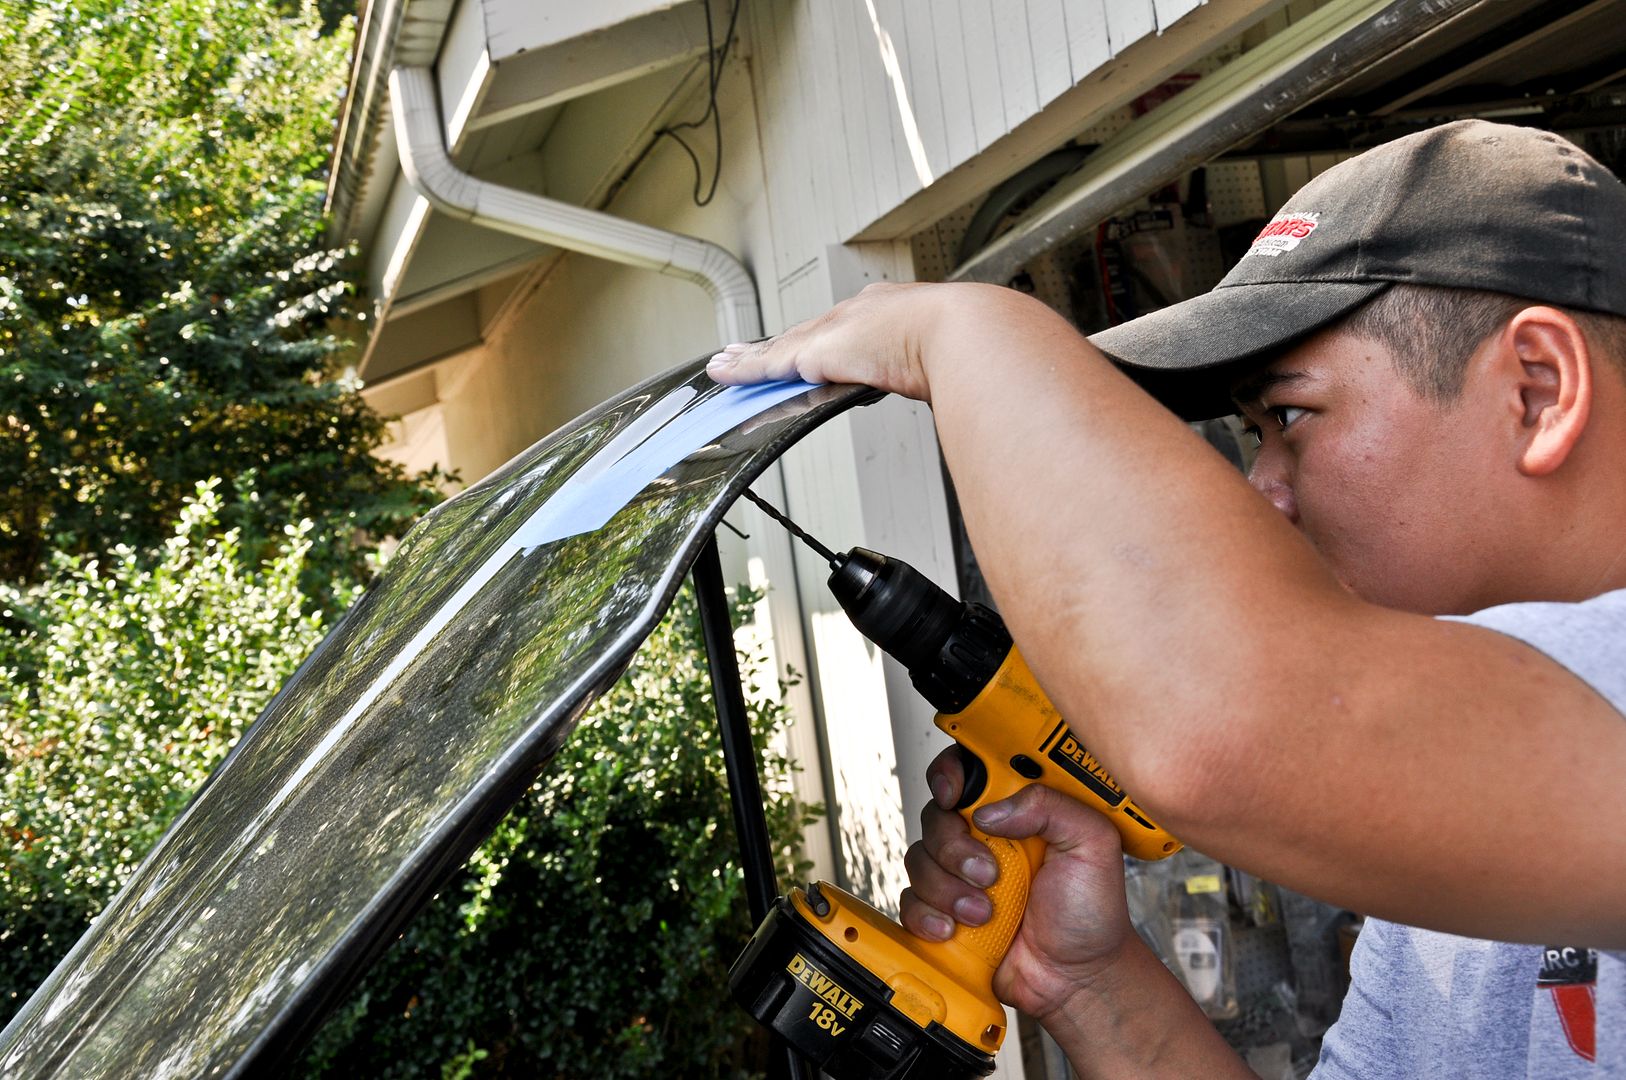
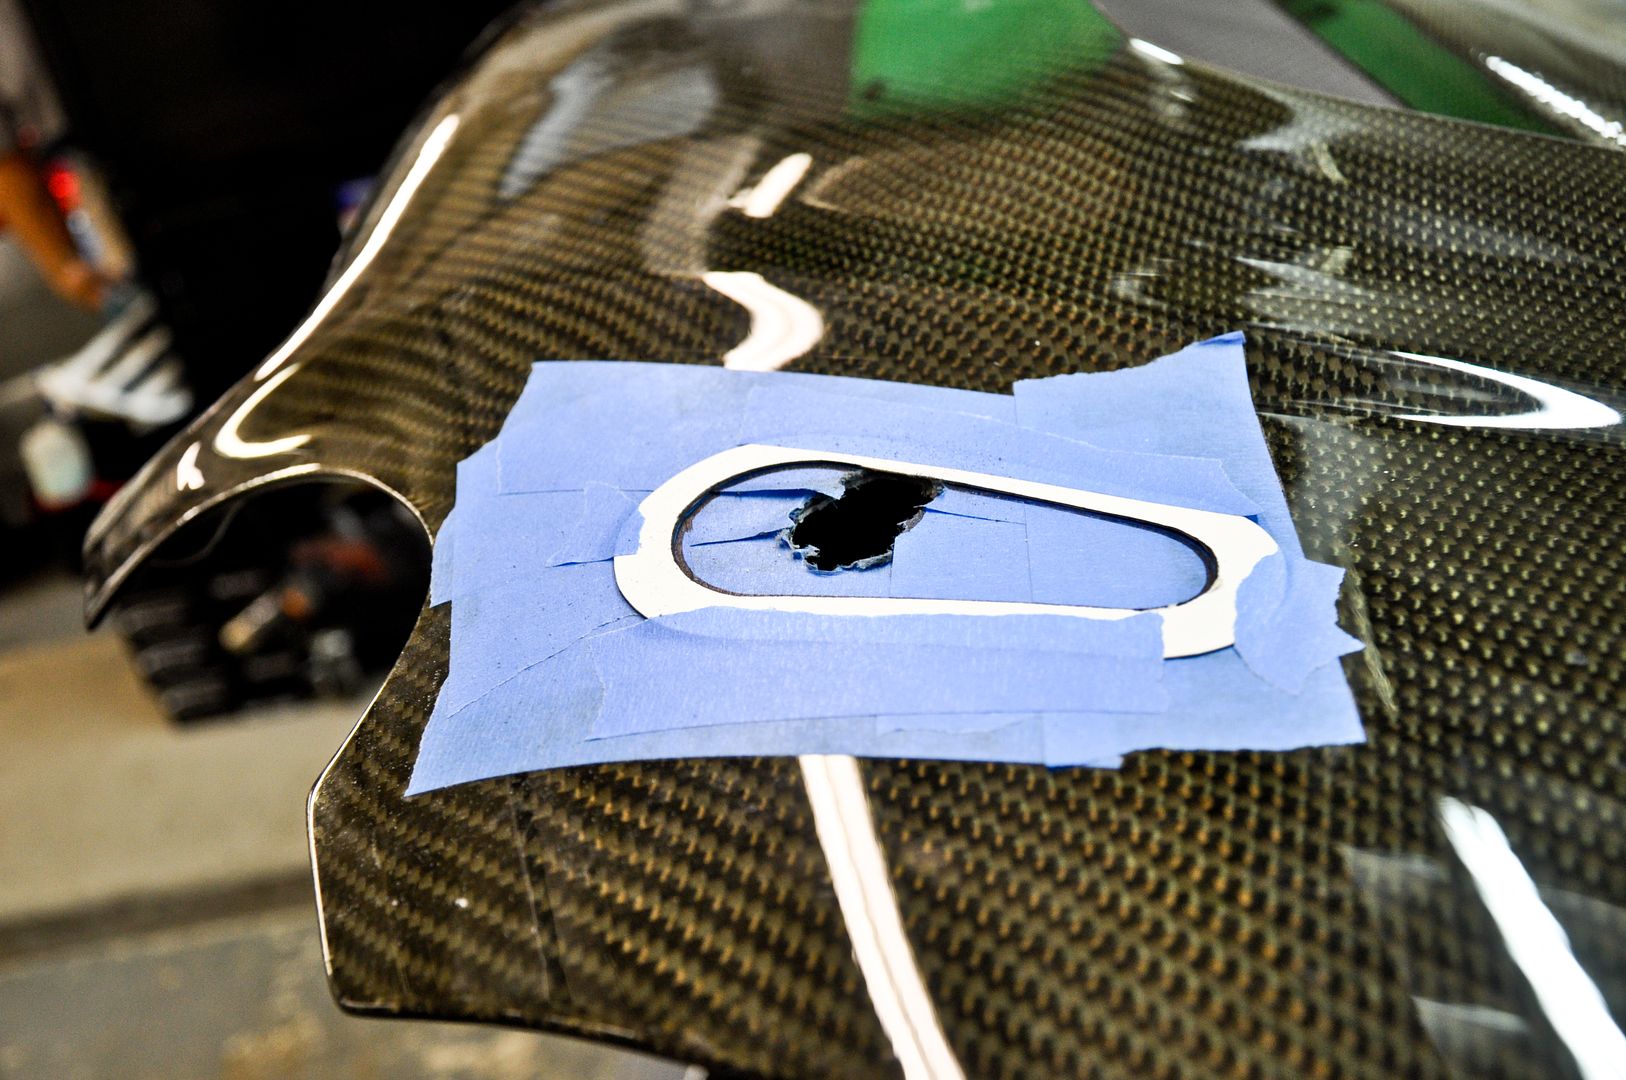
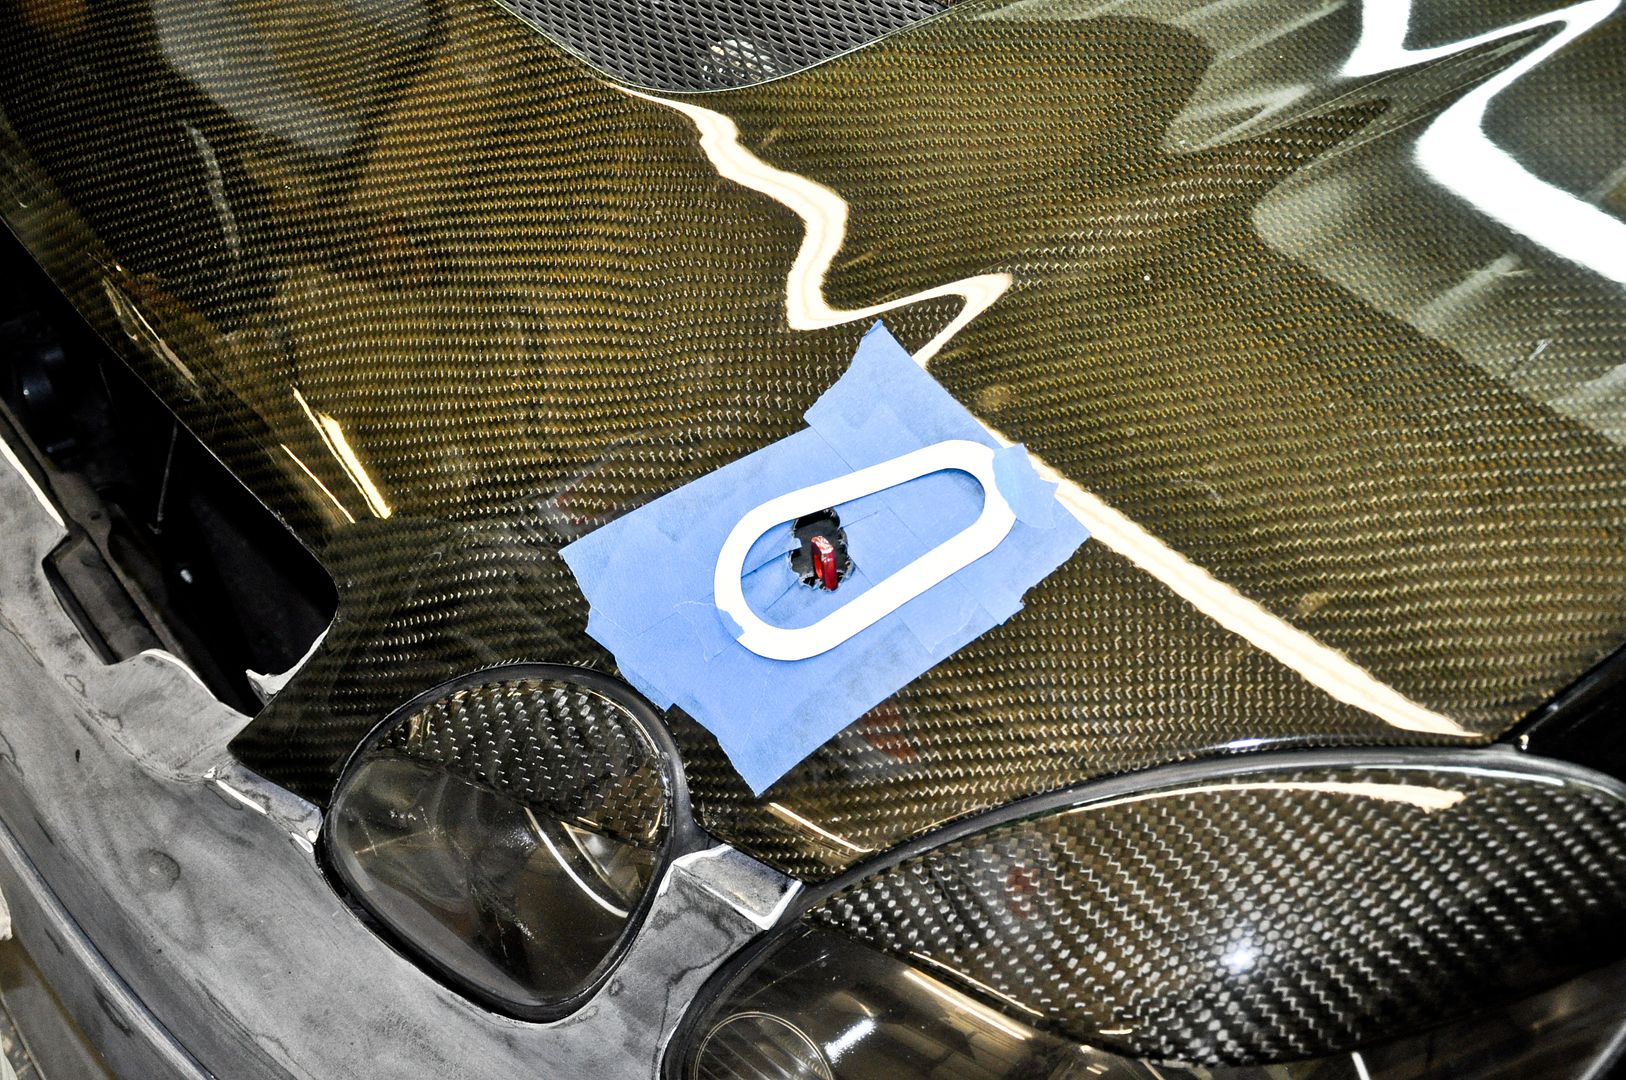
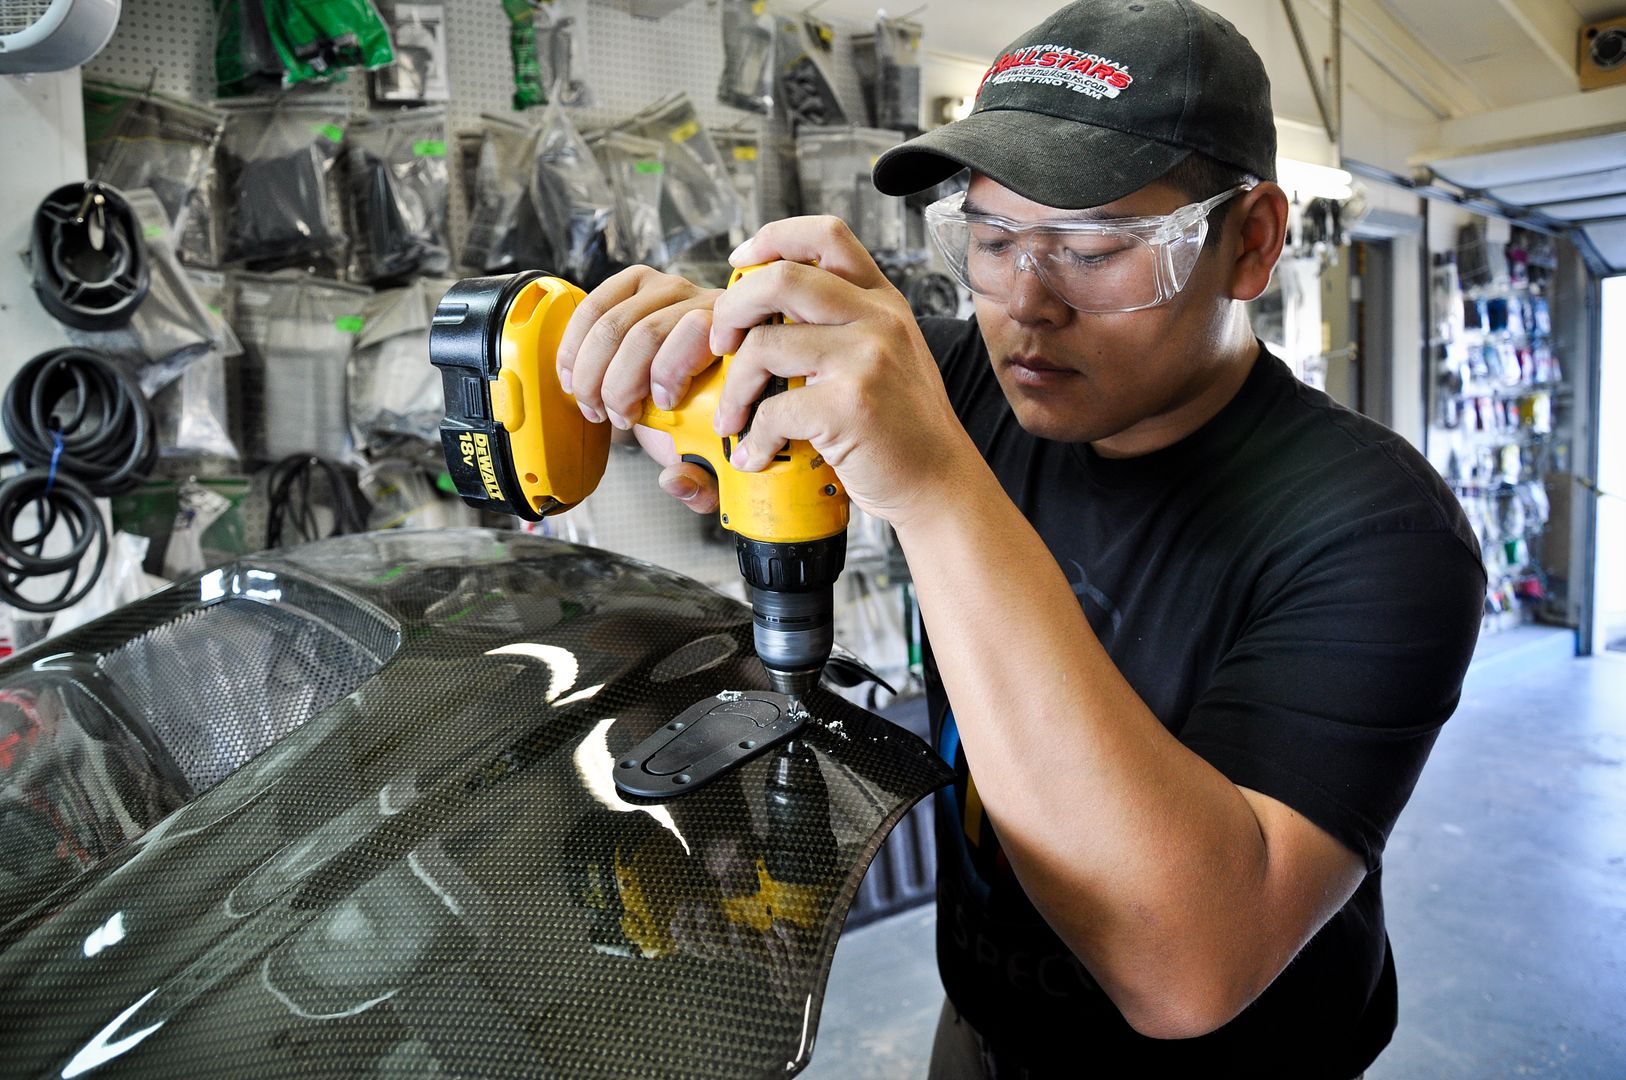
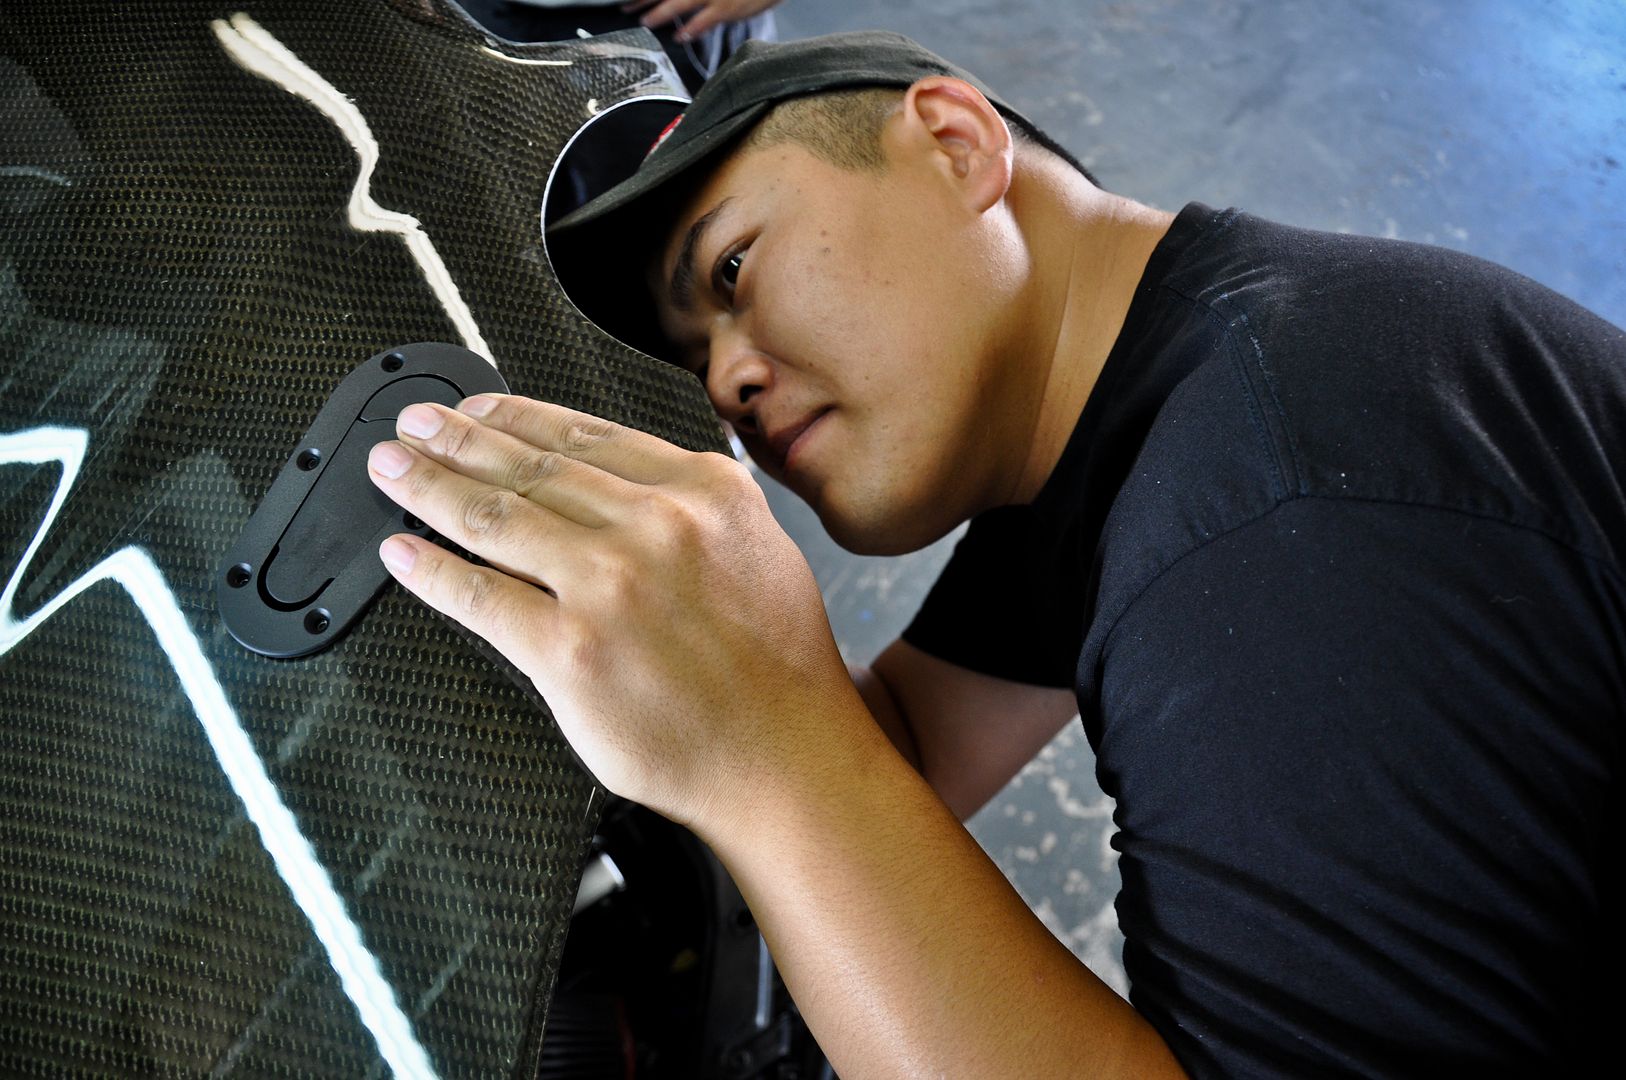
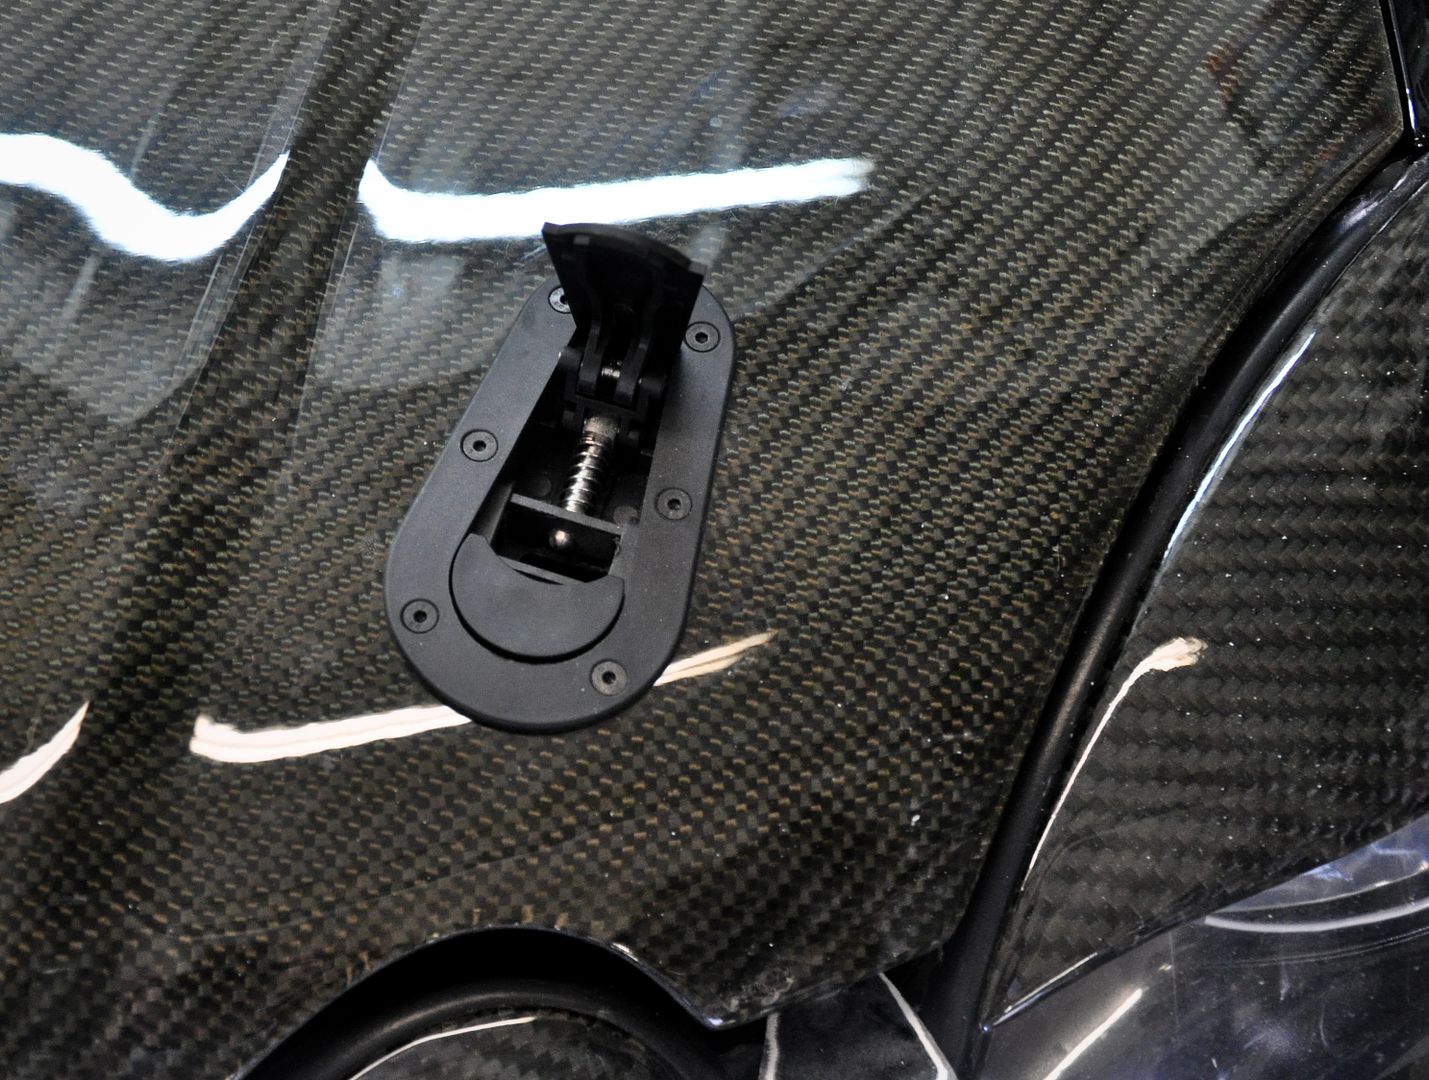
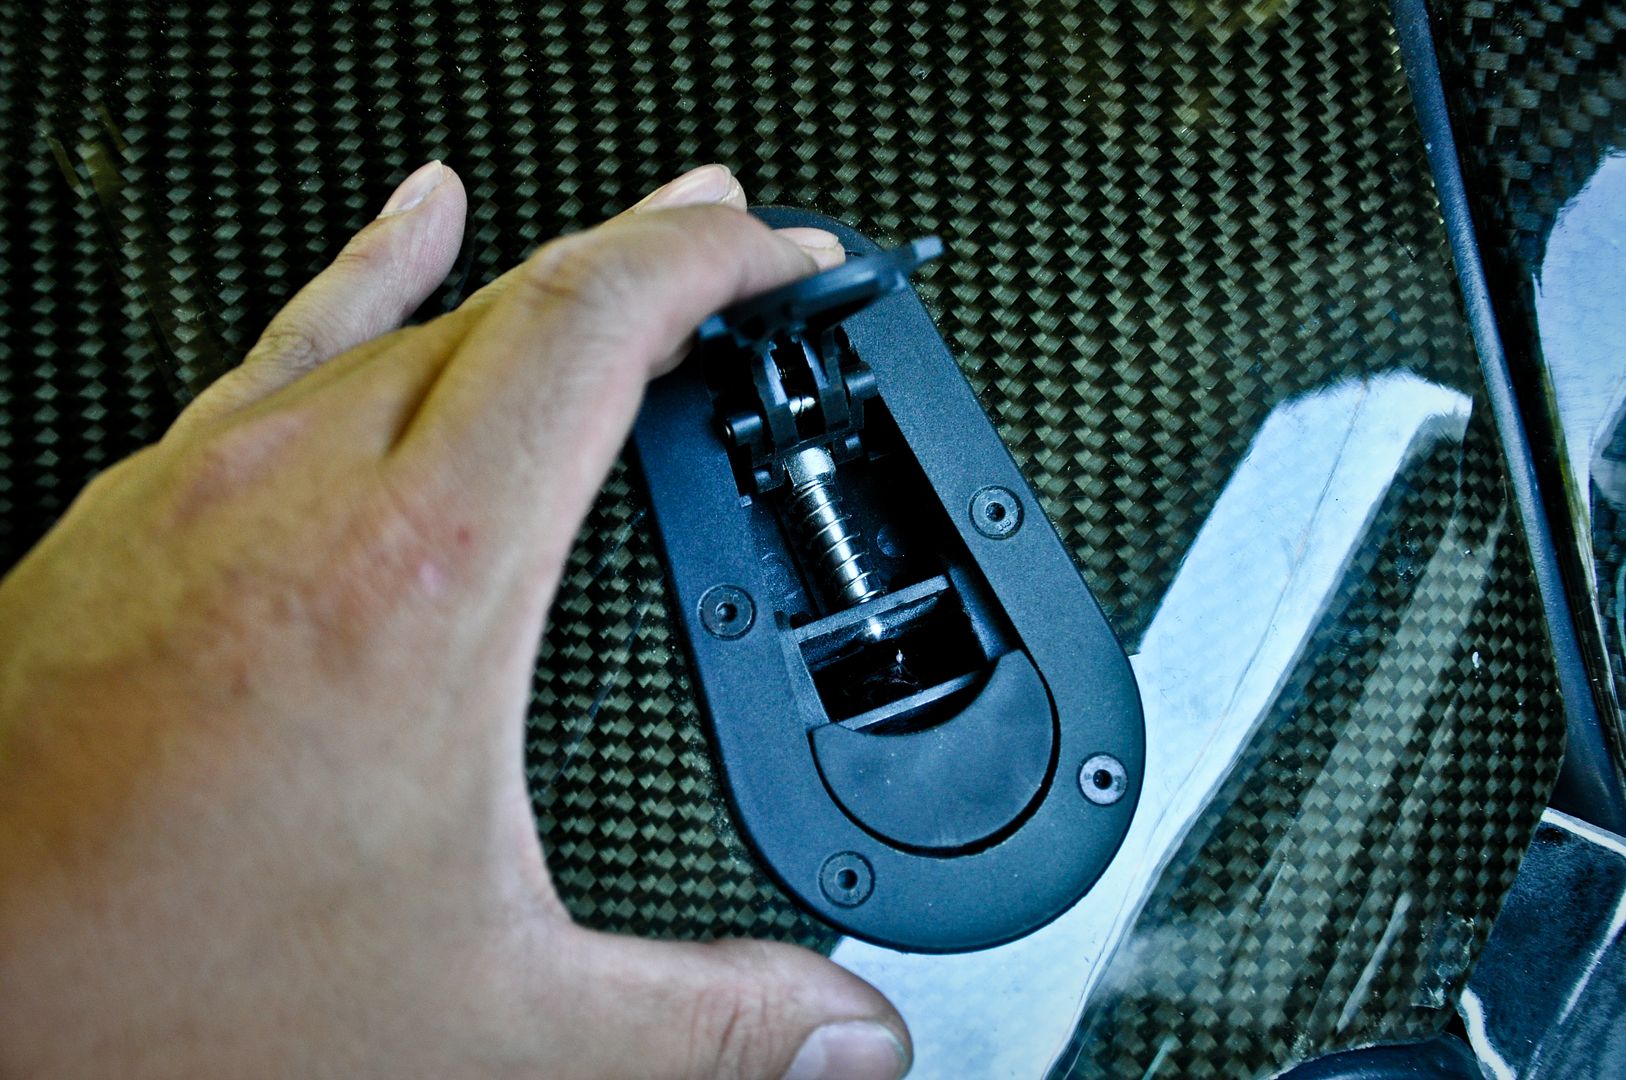
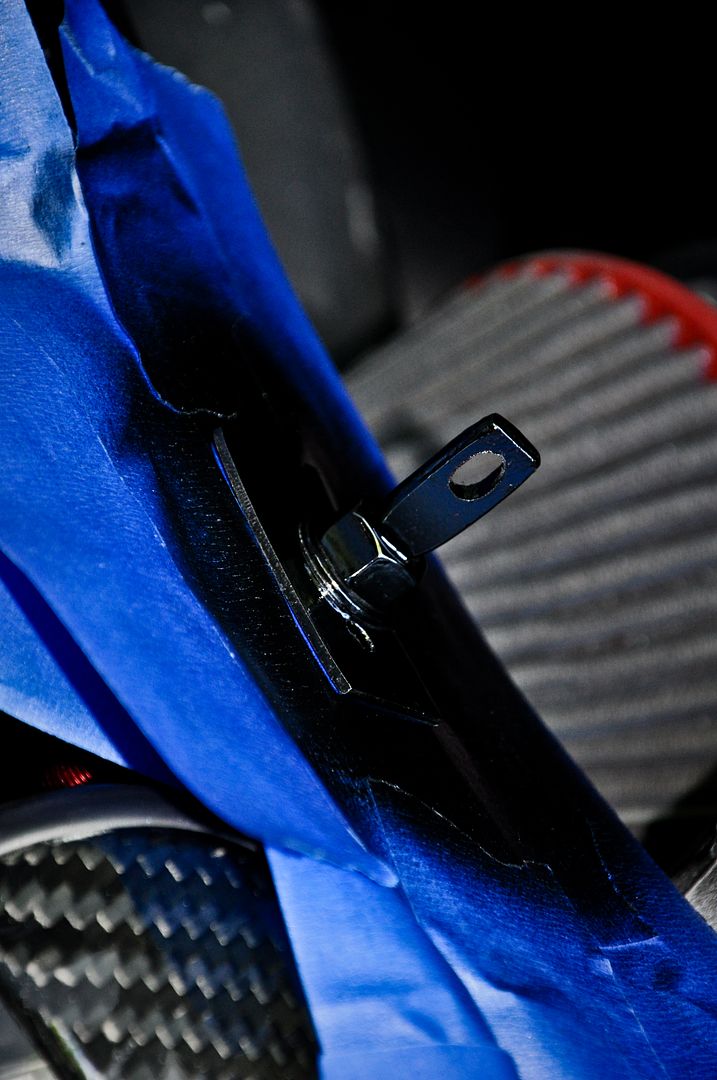
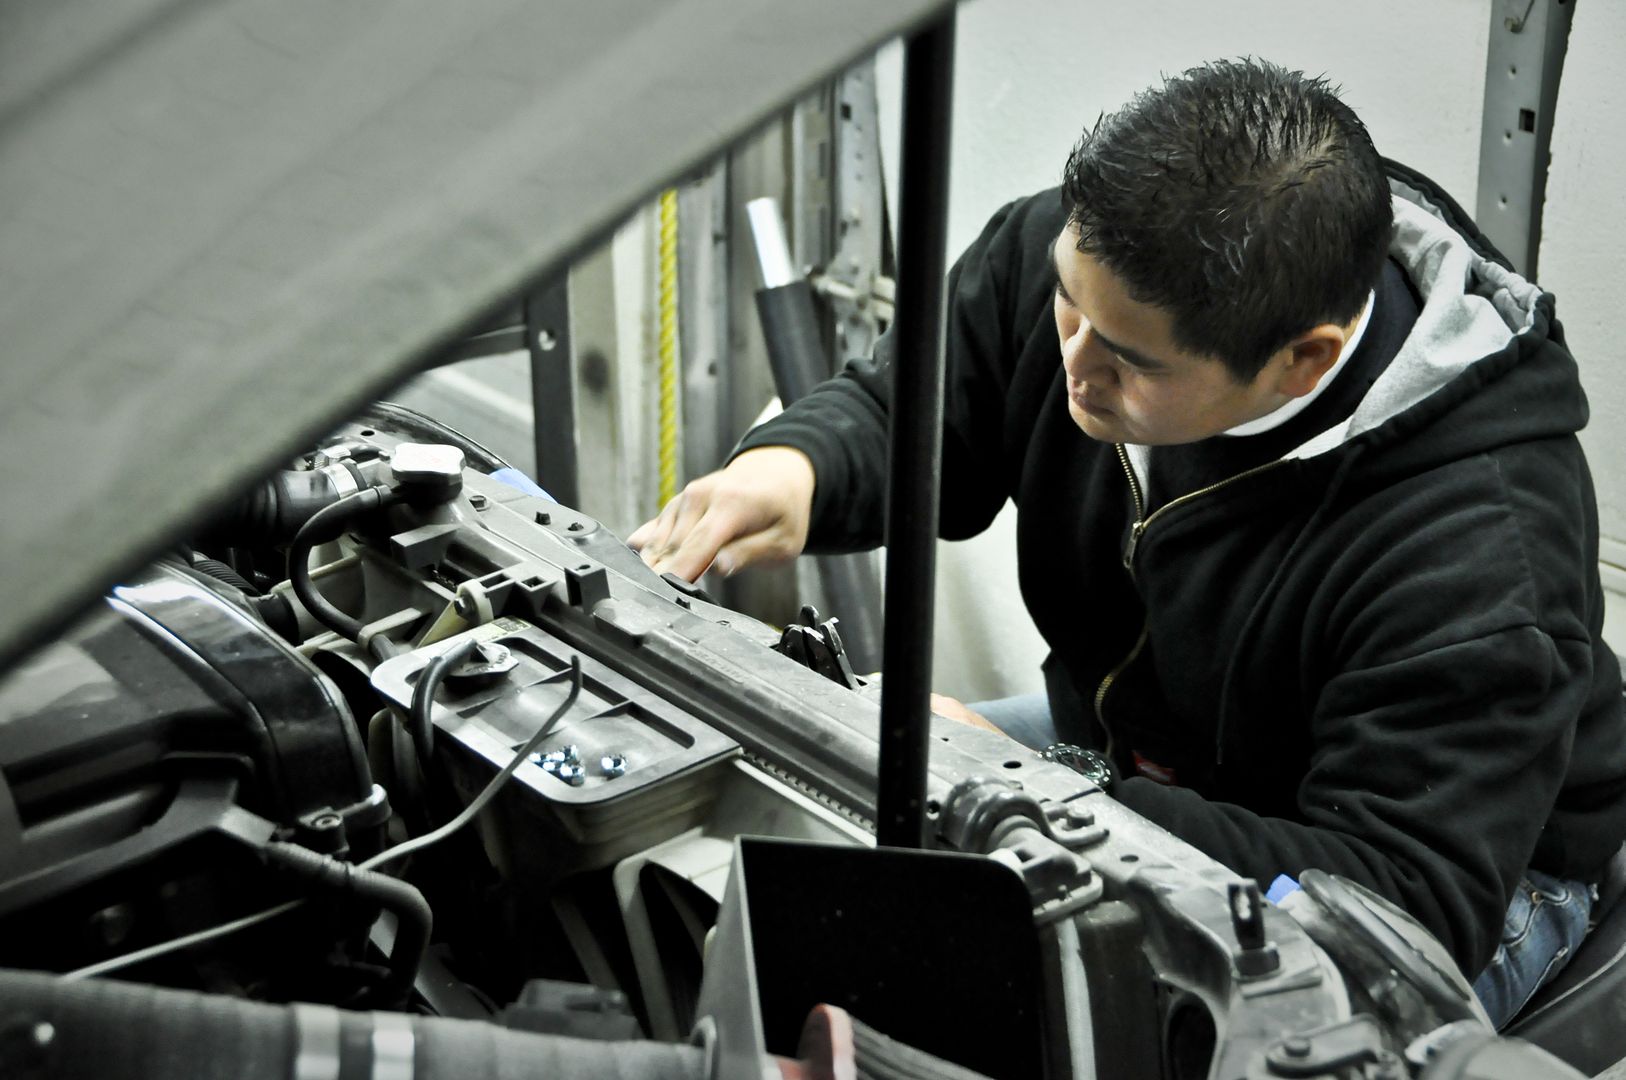
Got these hood latches on the local classifieds and had to jump on them. I’ve always wanted to install these now it’s time to start cutting
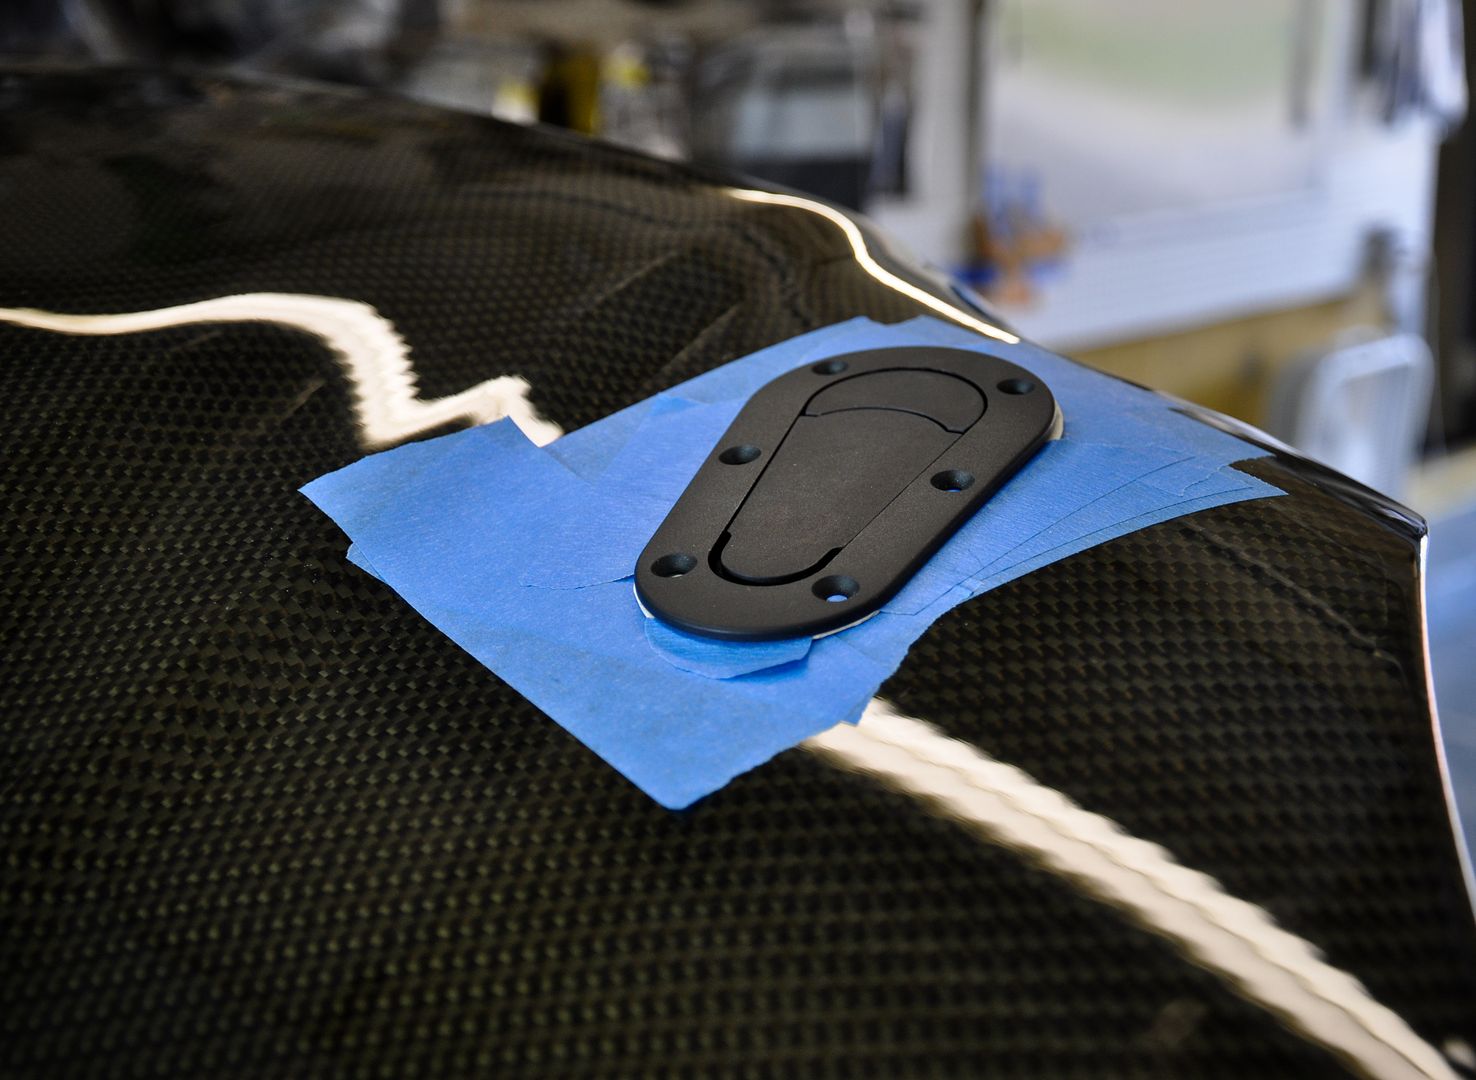
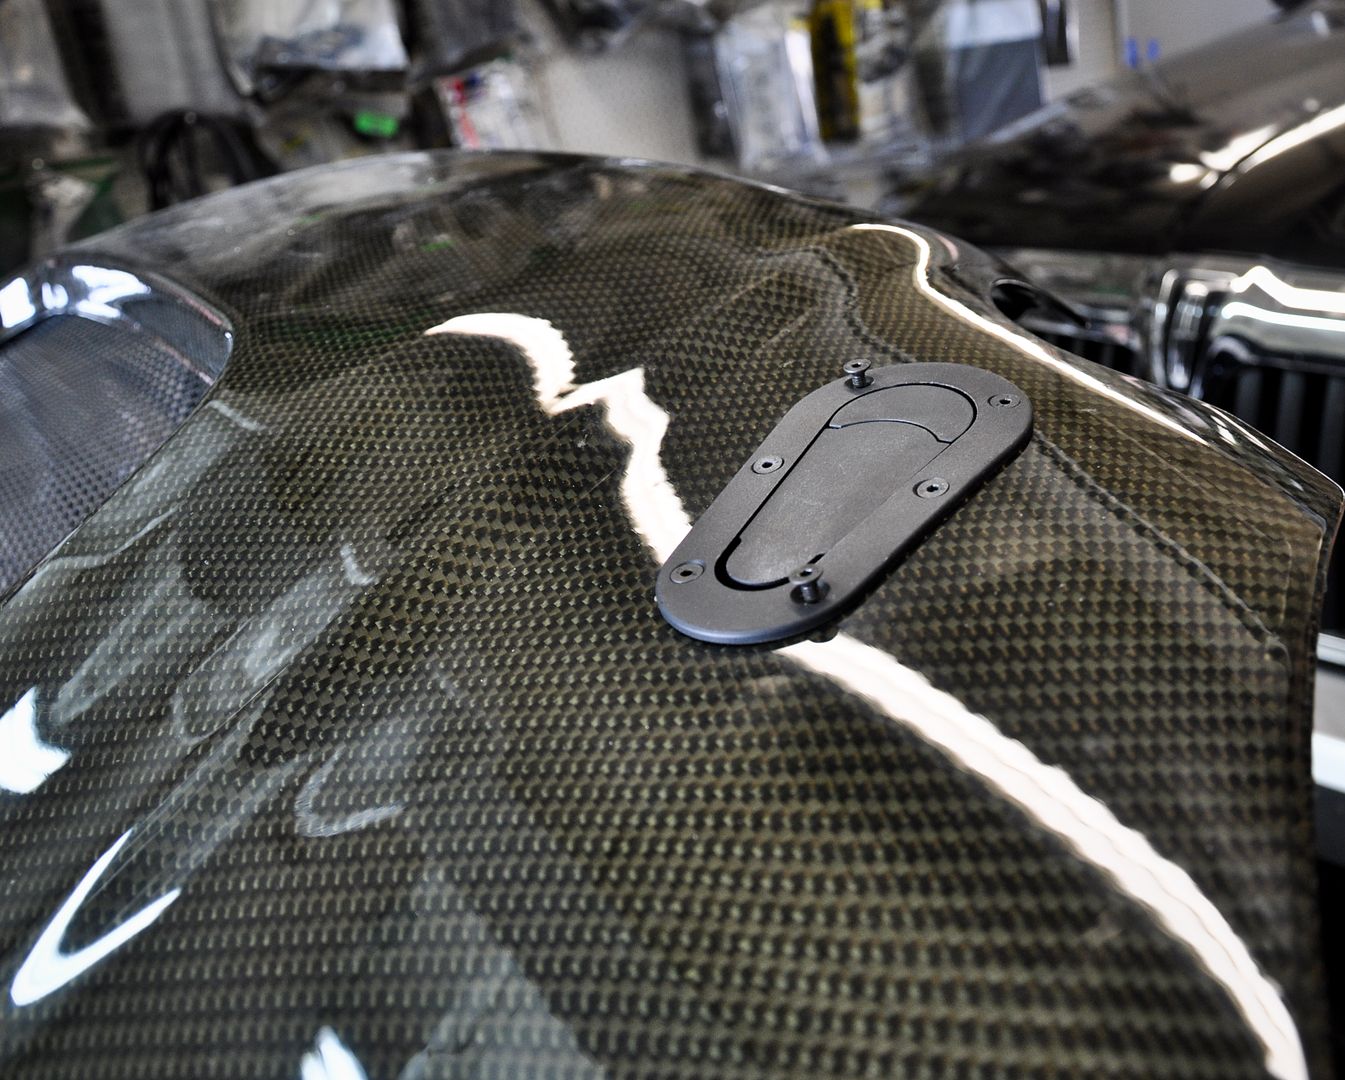
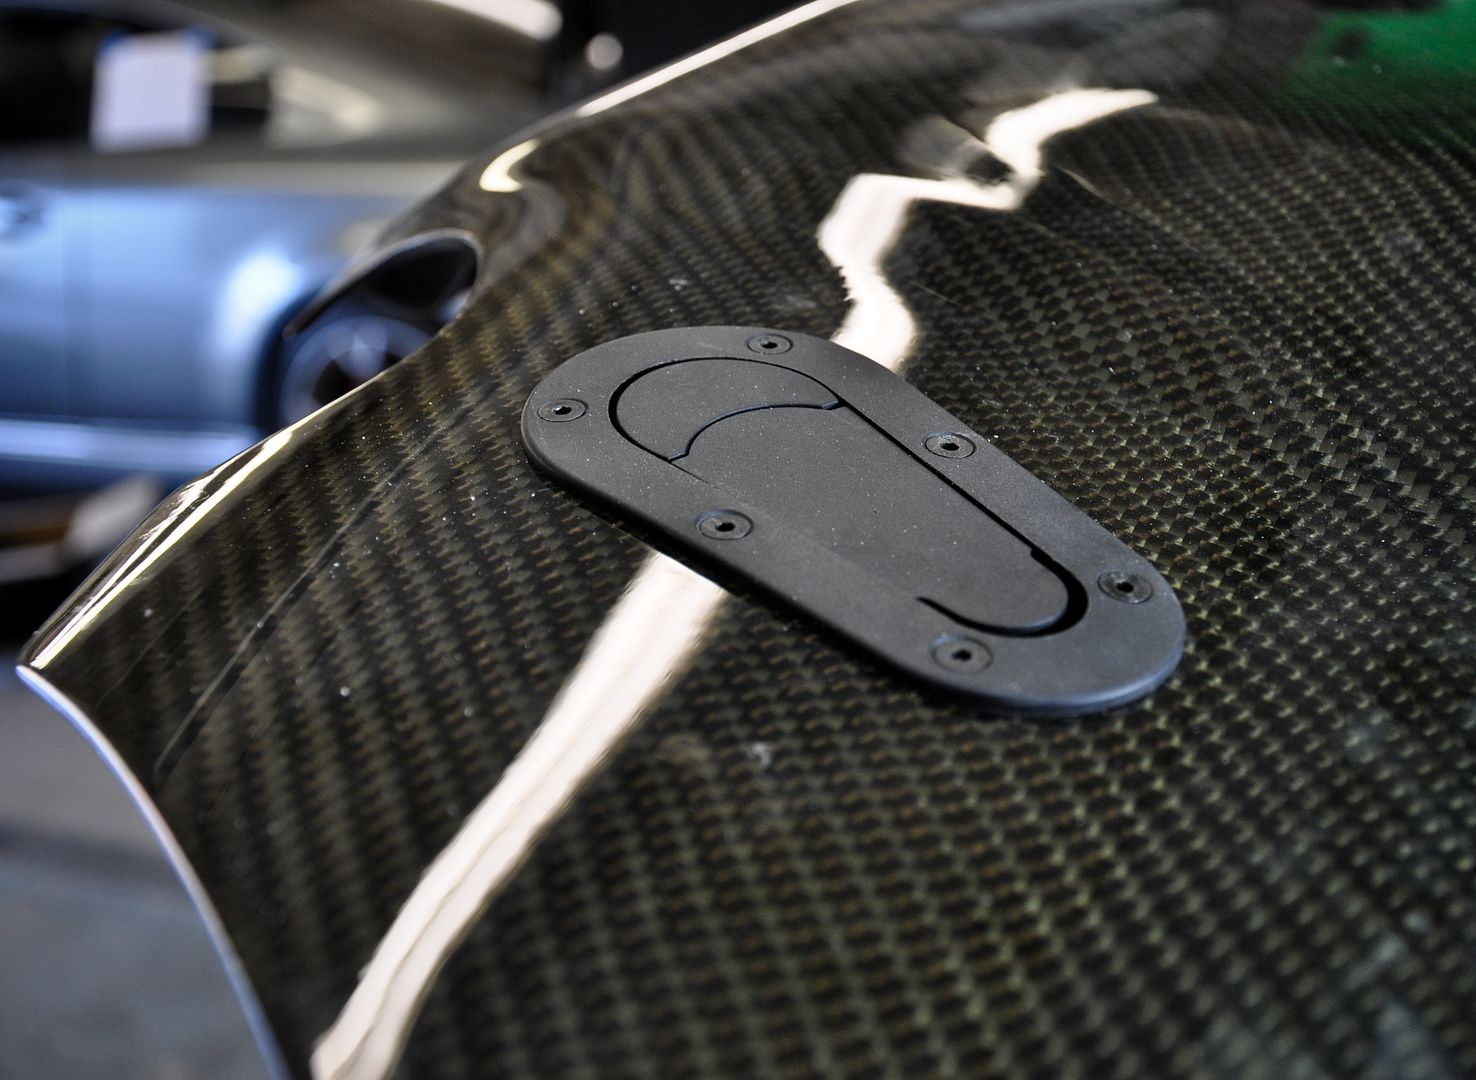
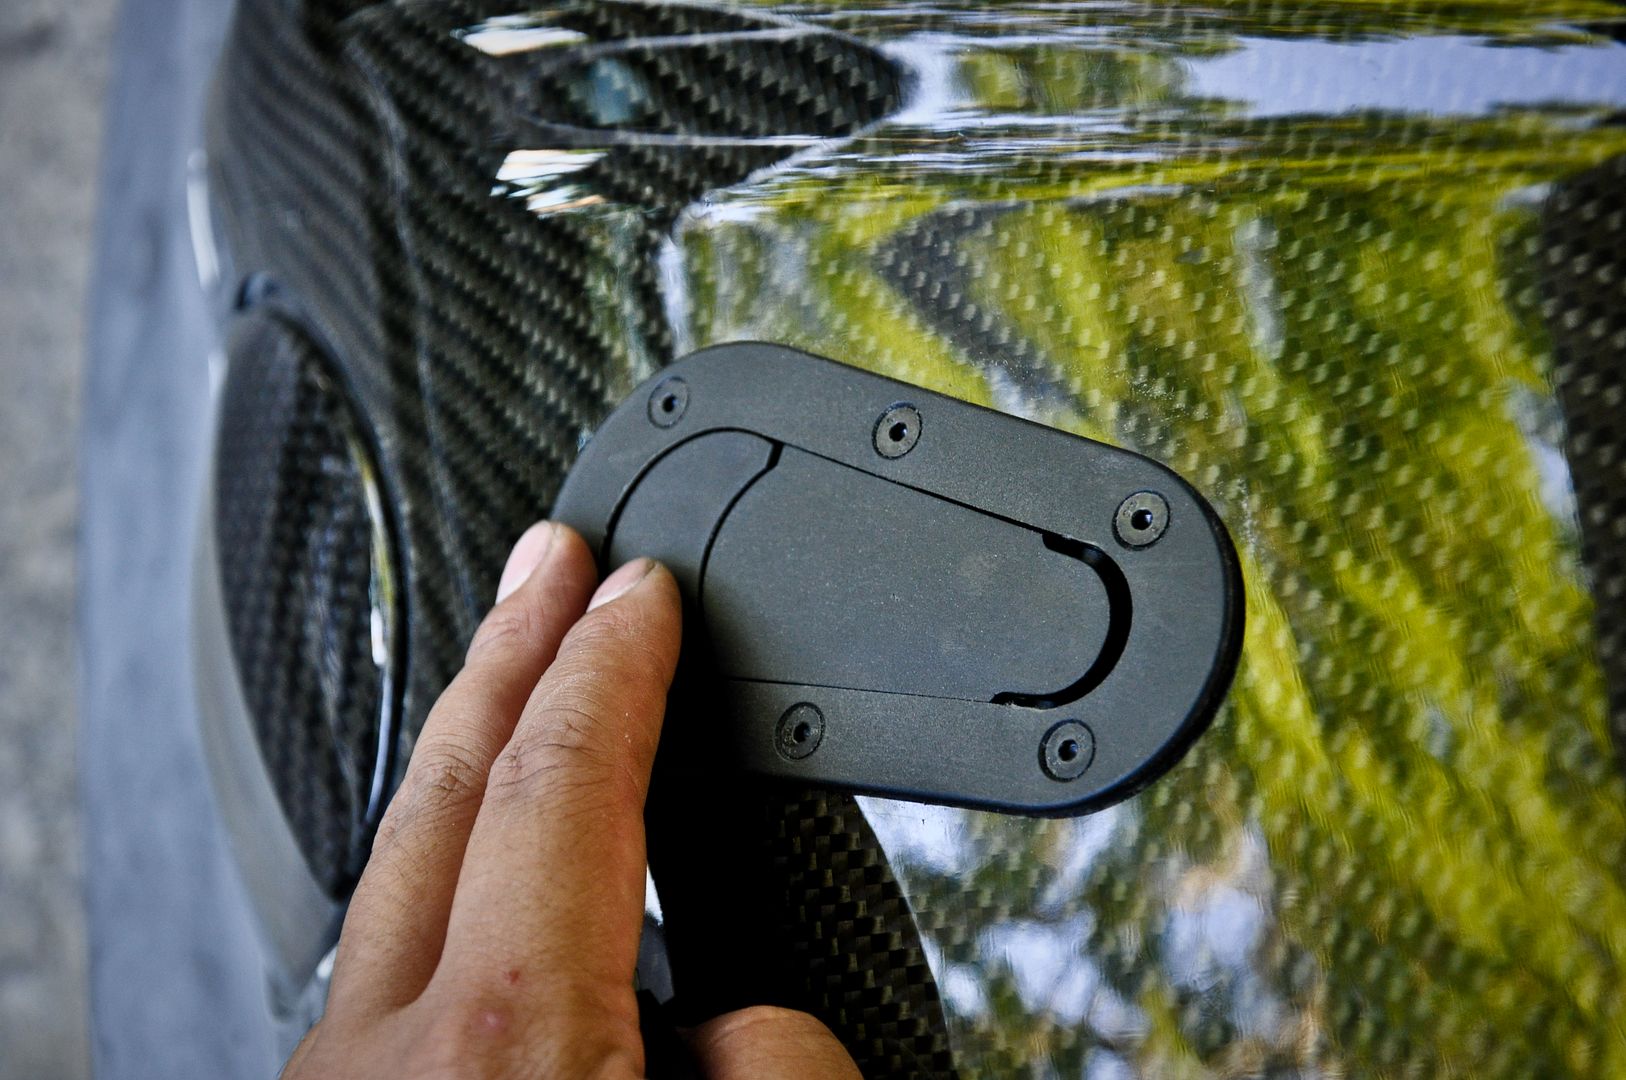
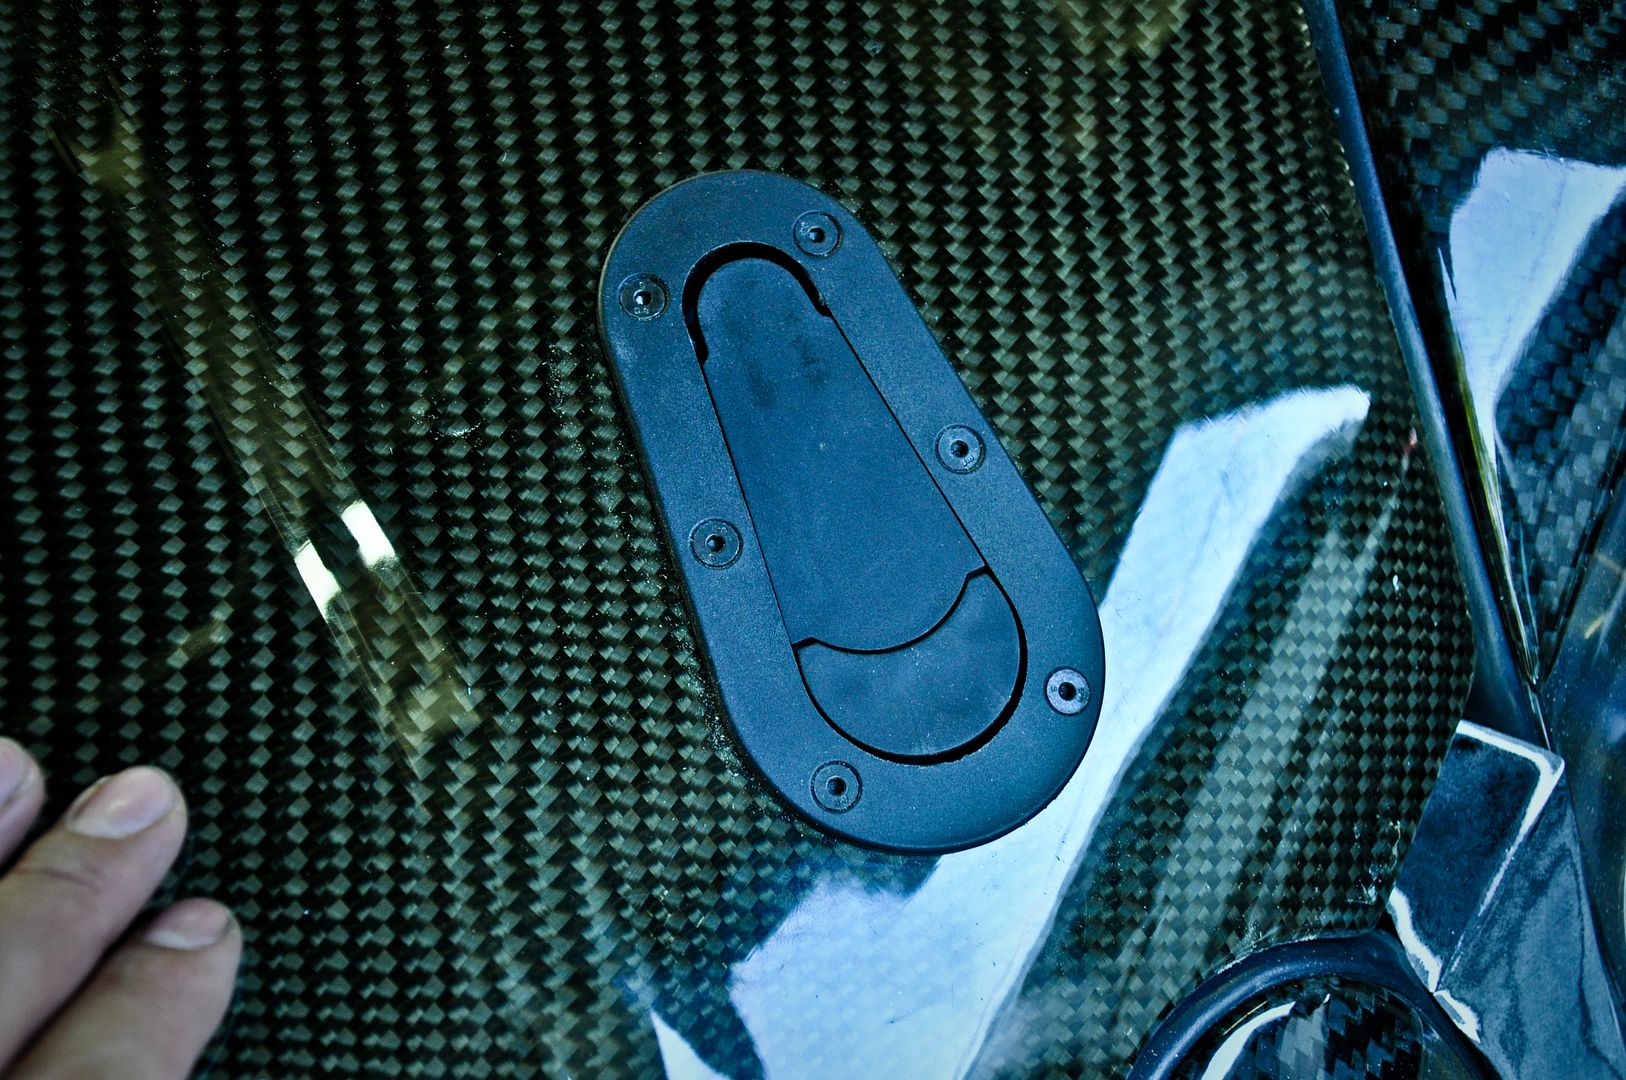
Closed all the way
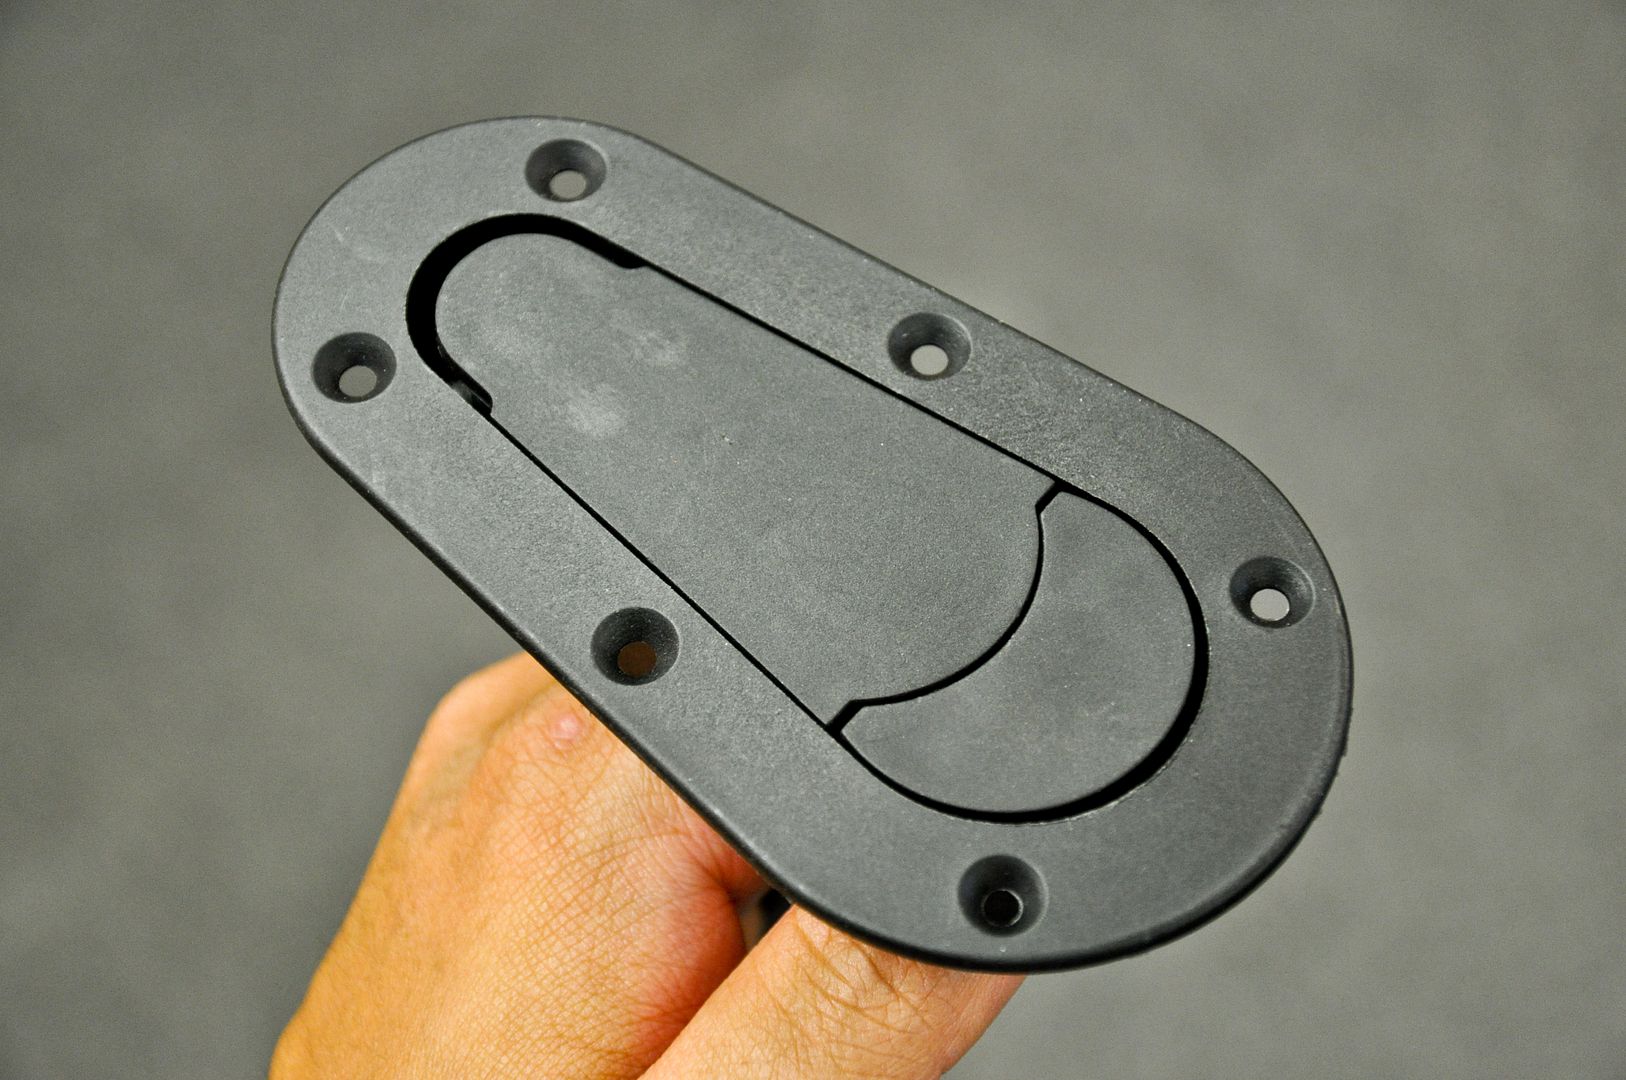
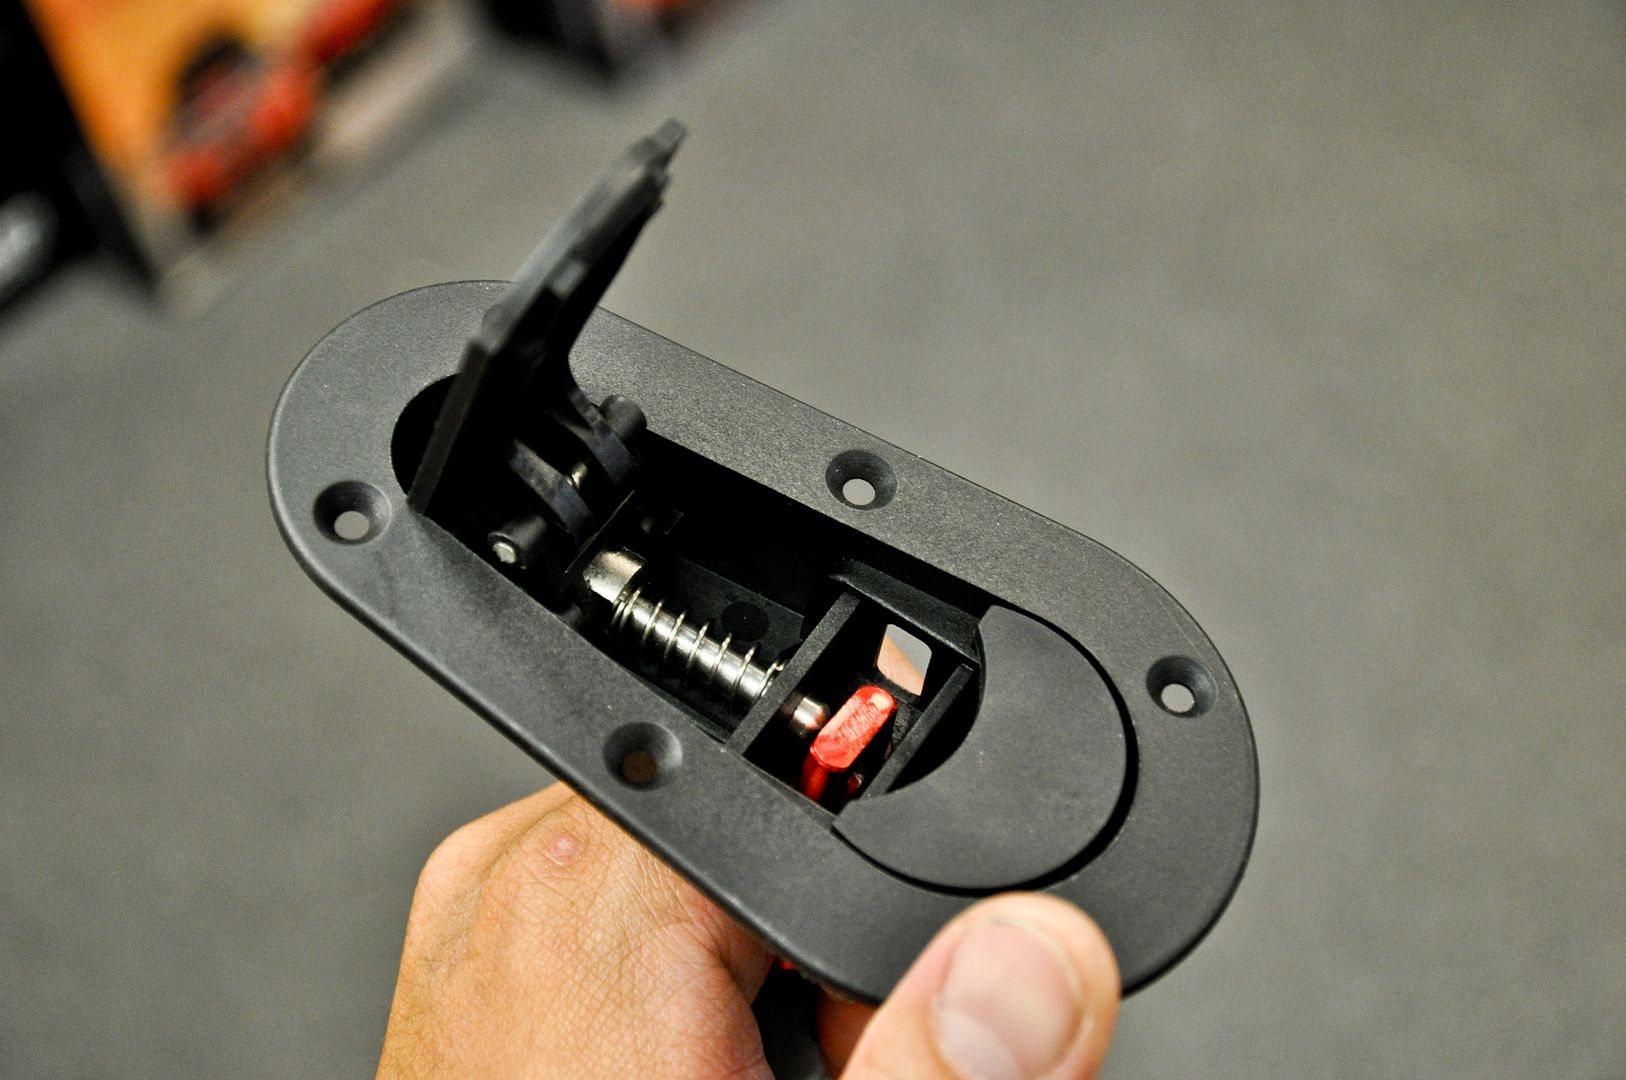
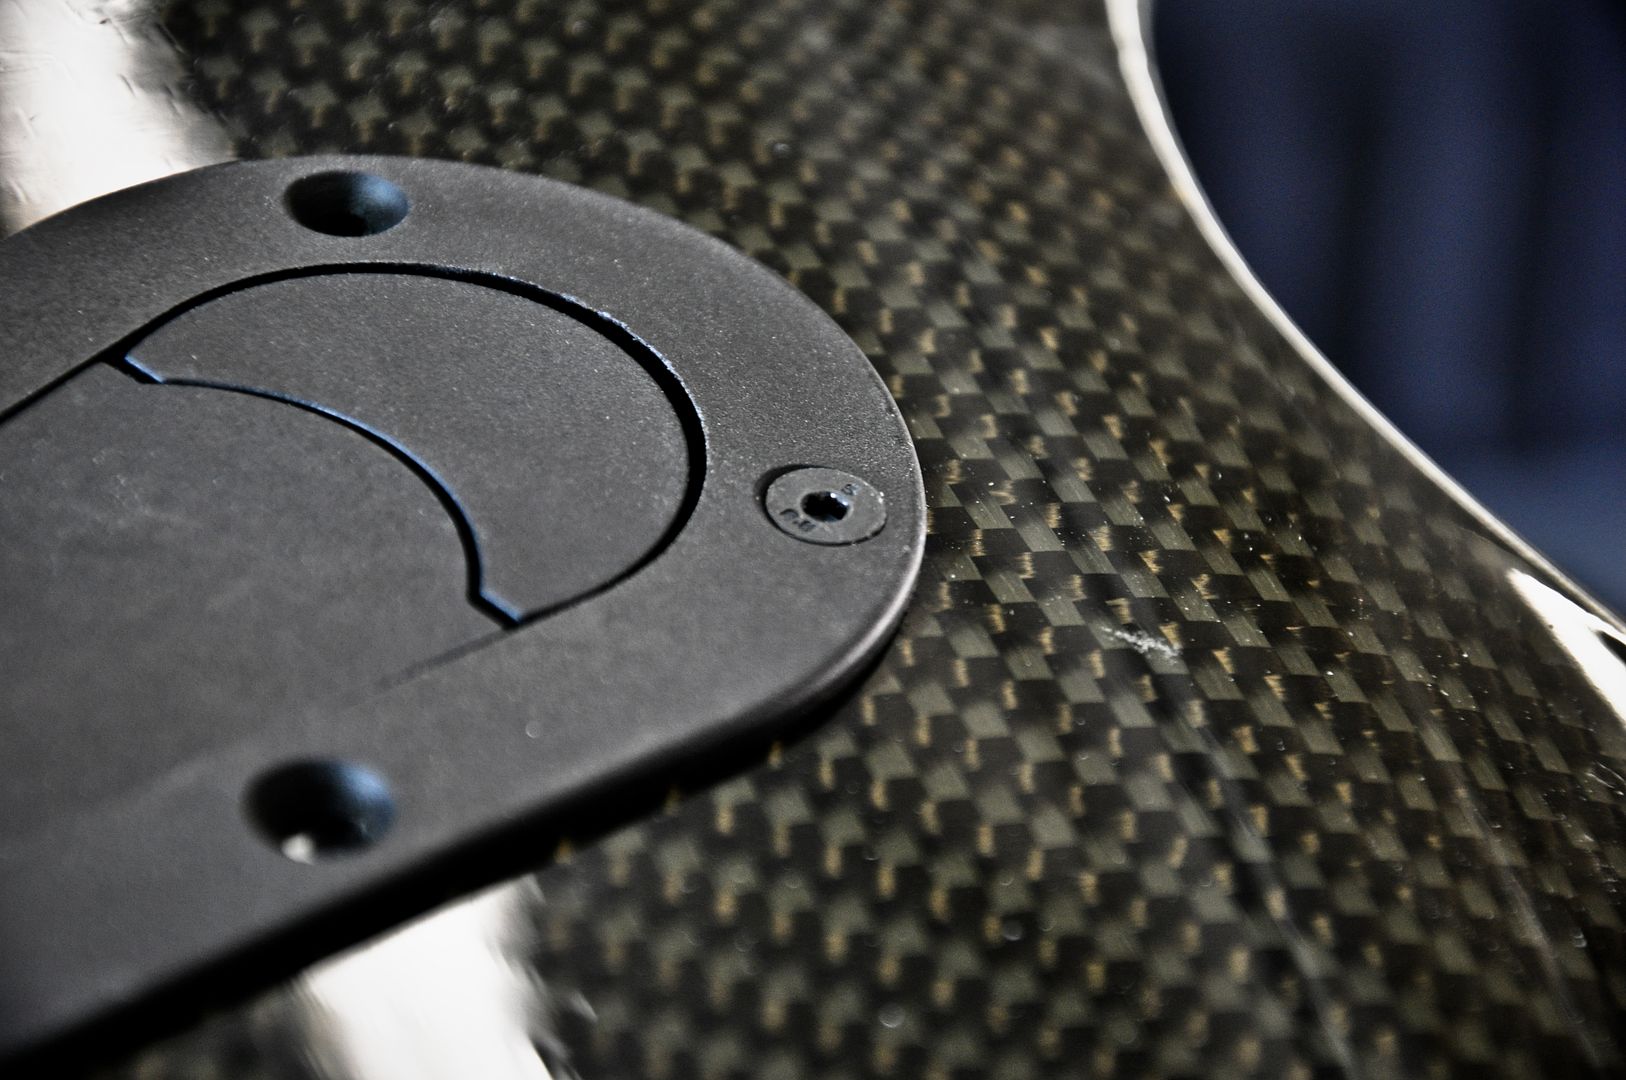
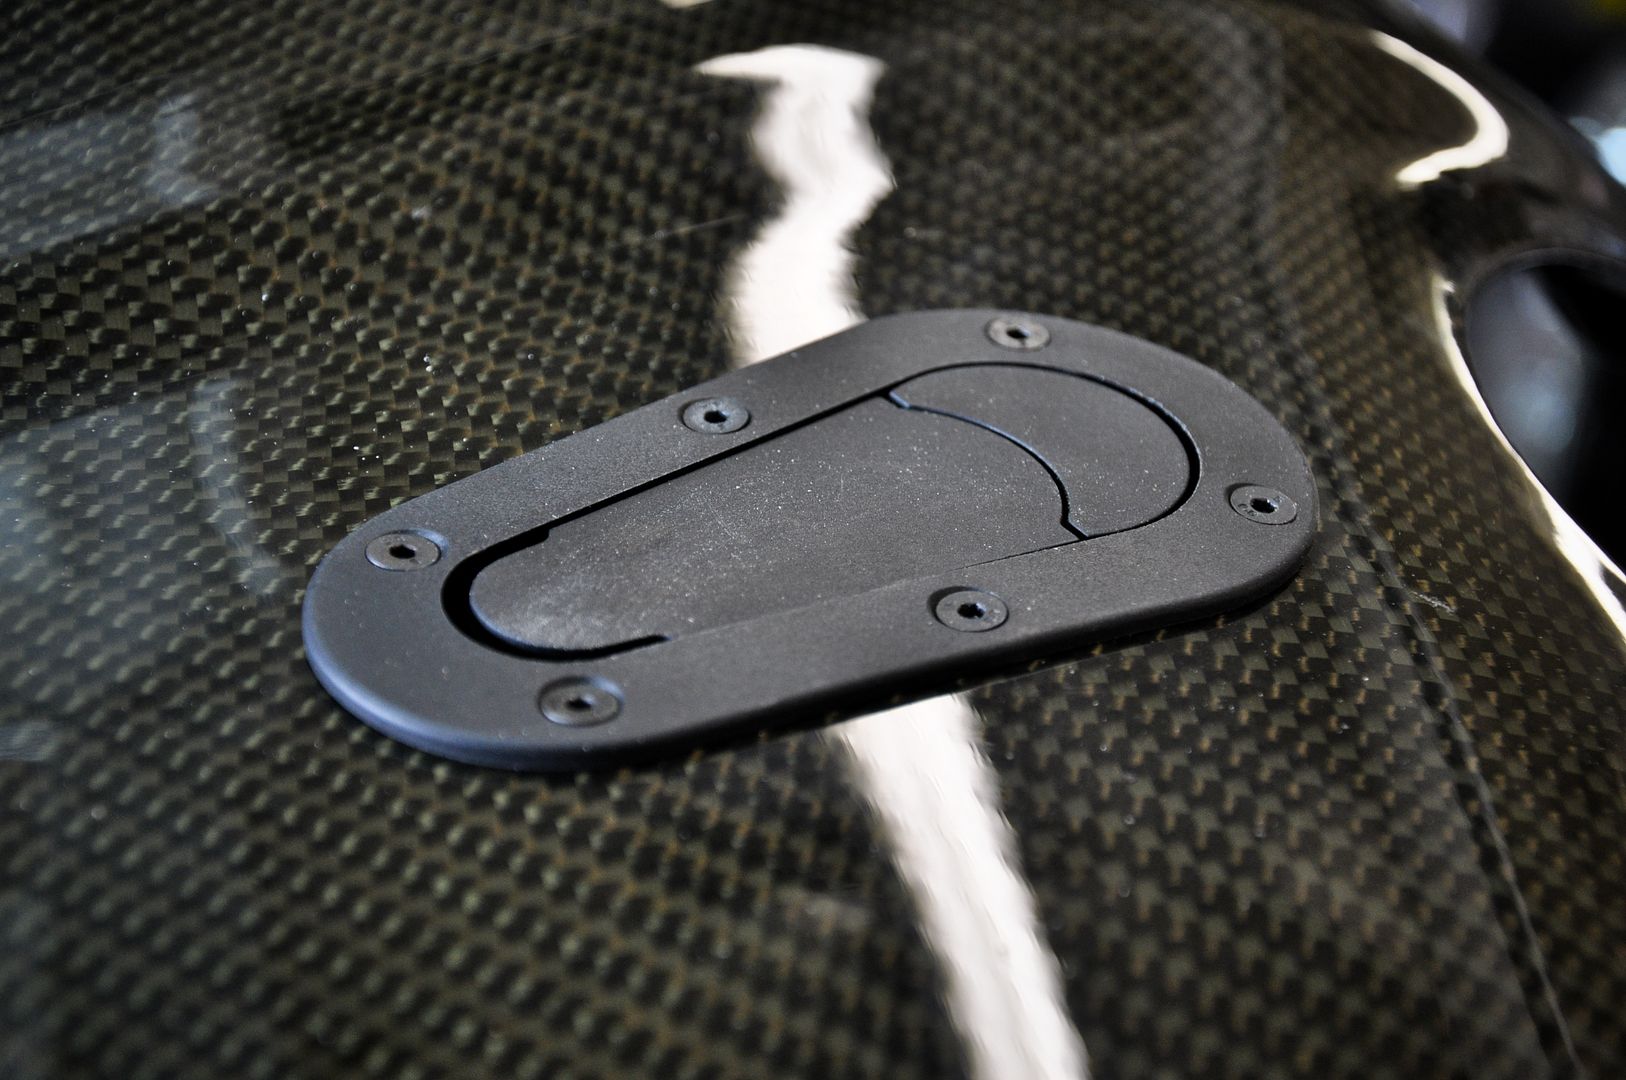
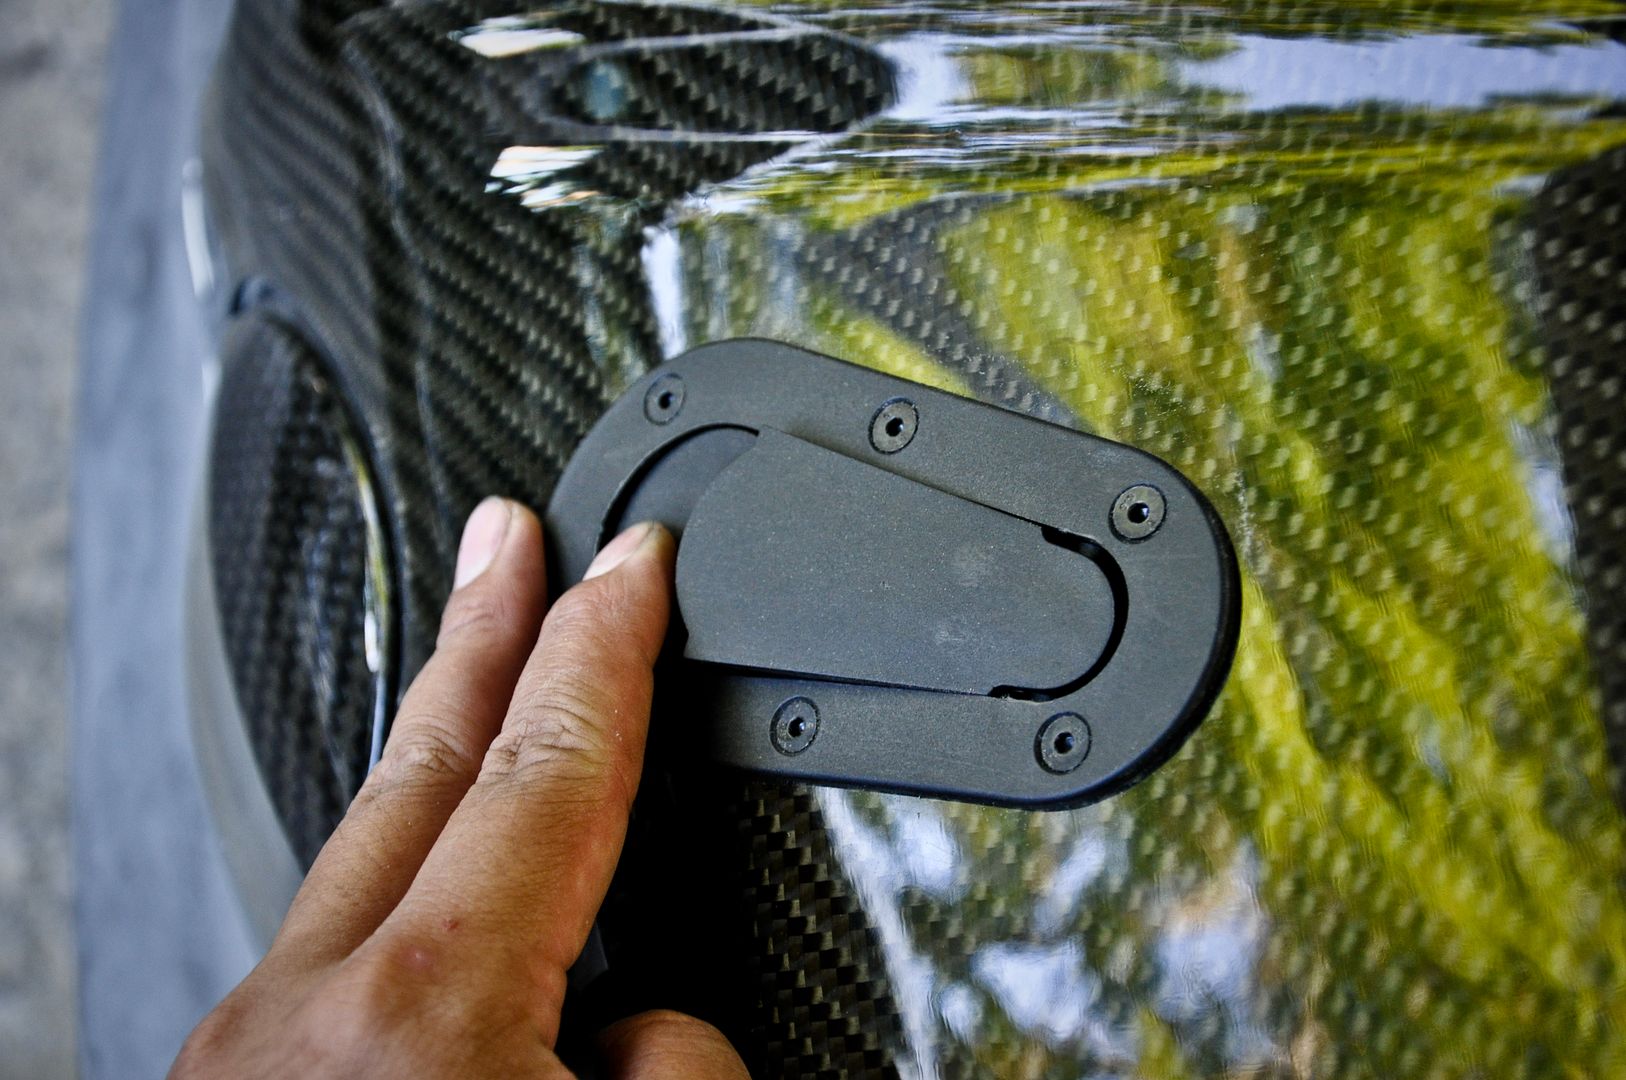
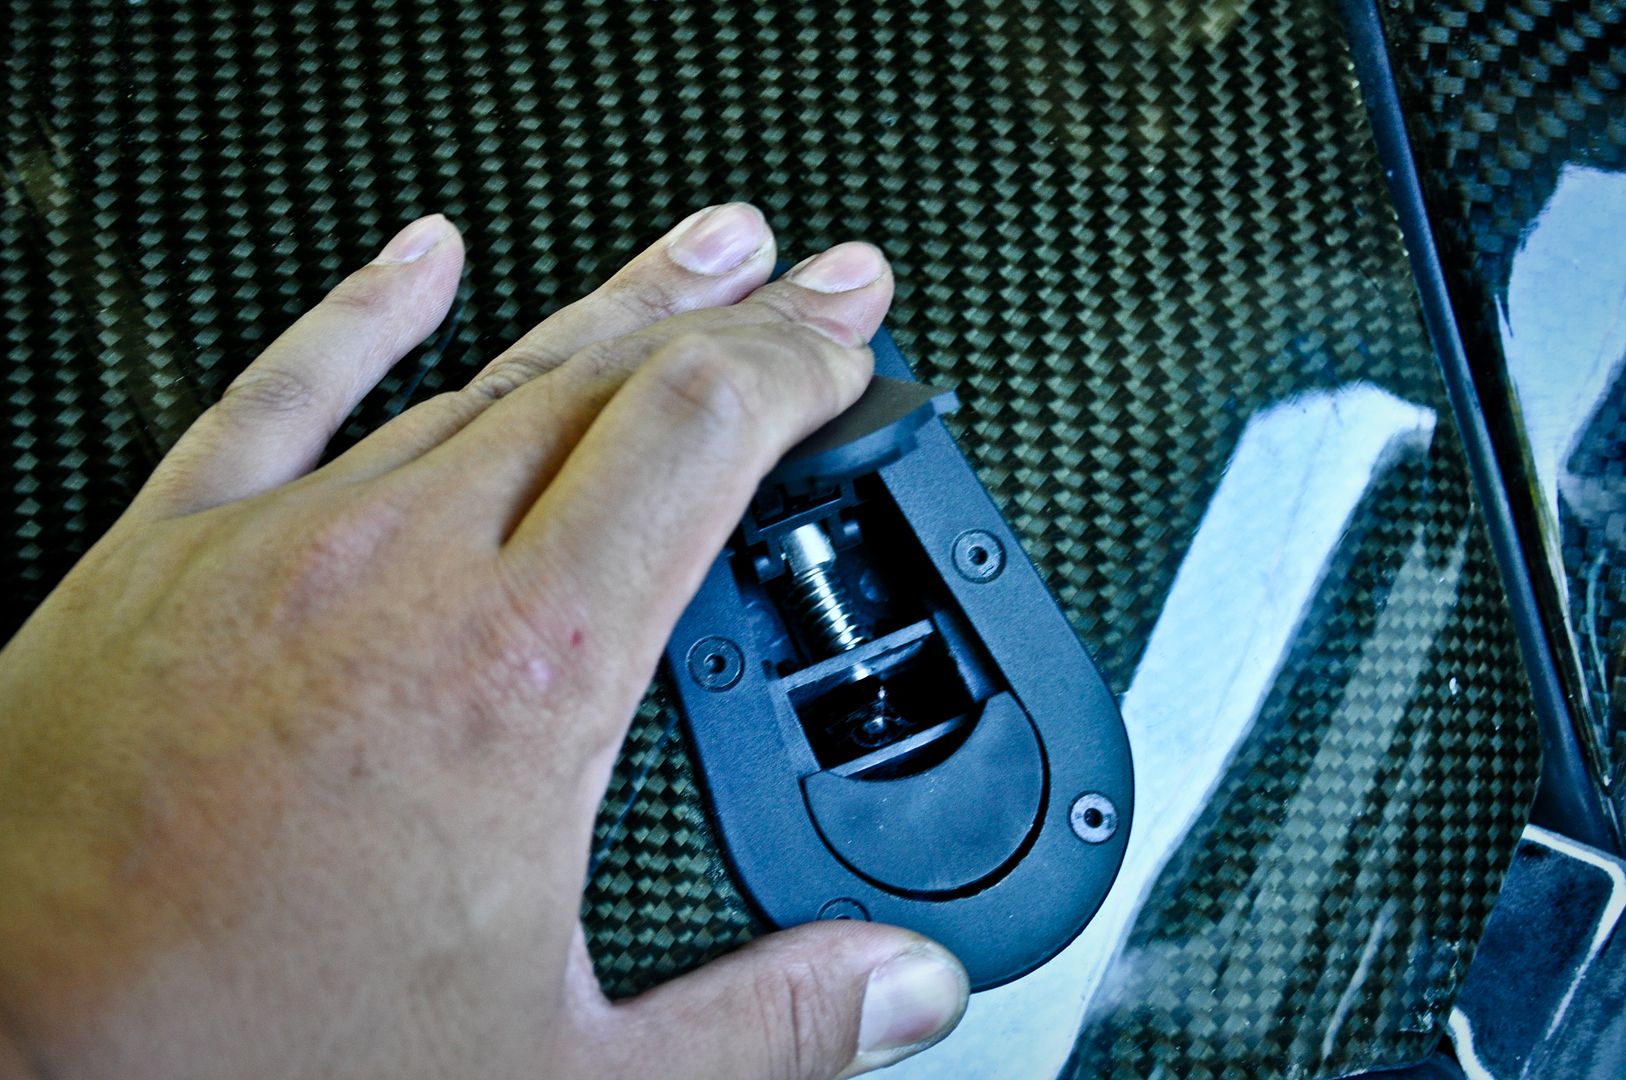
Latch undone
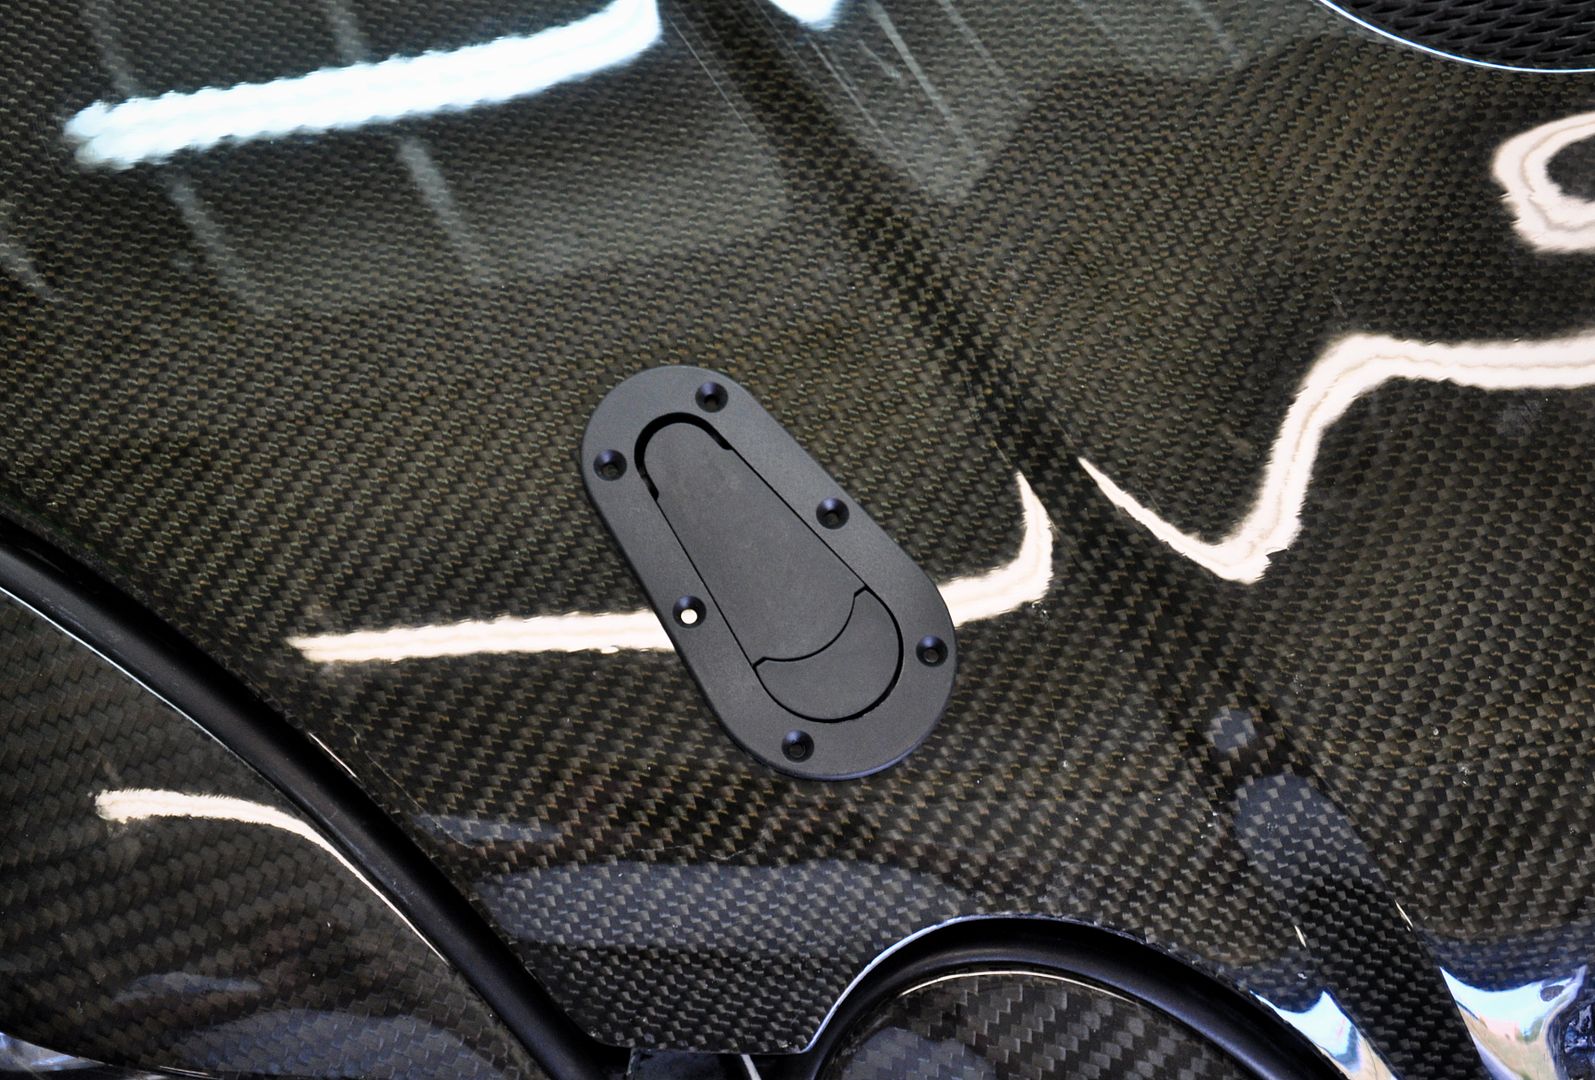
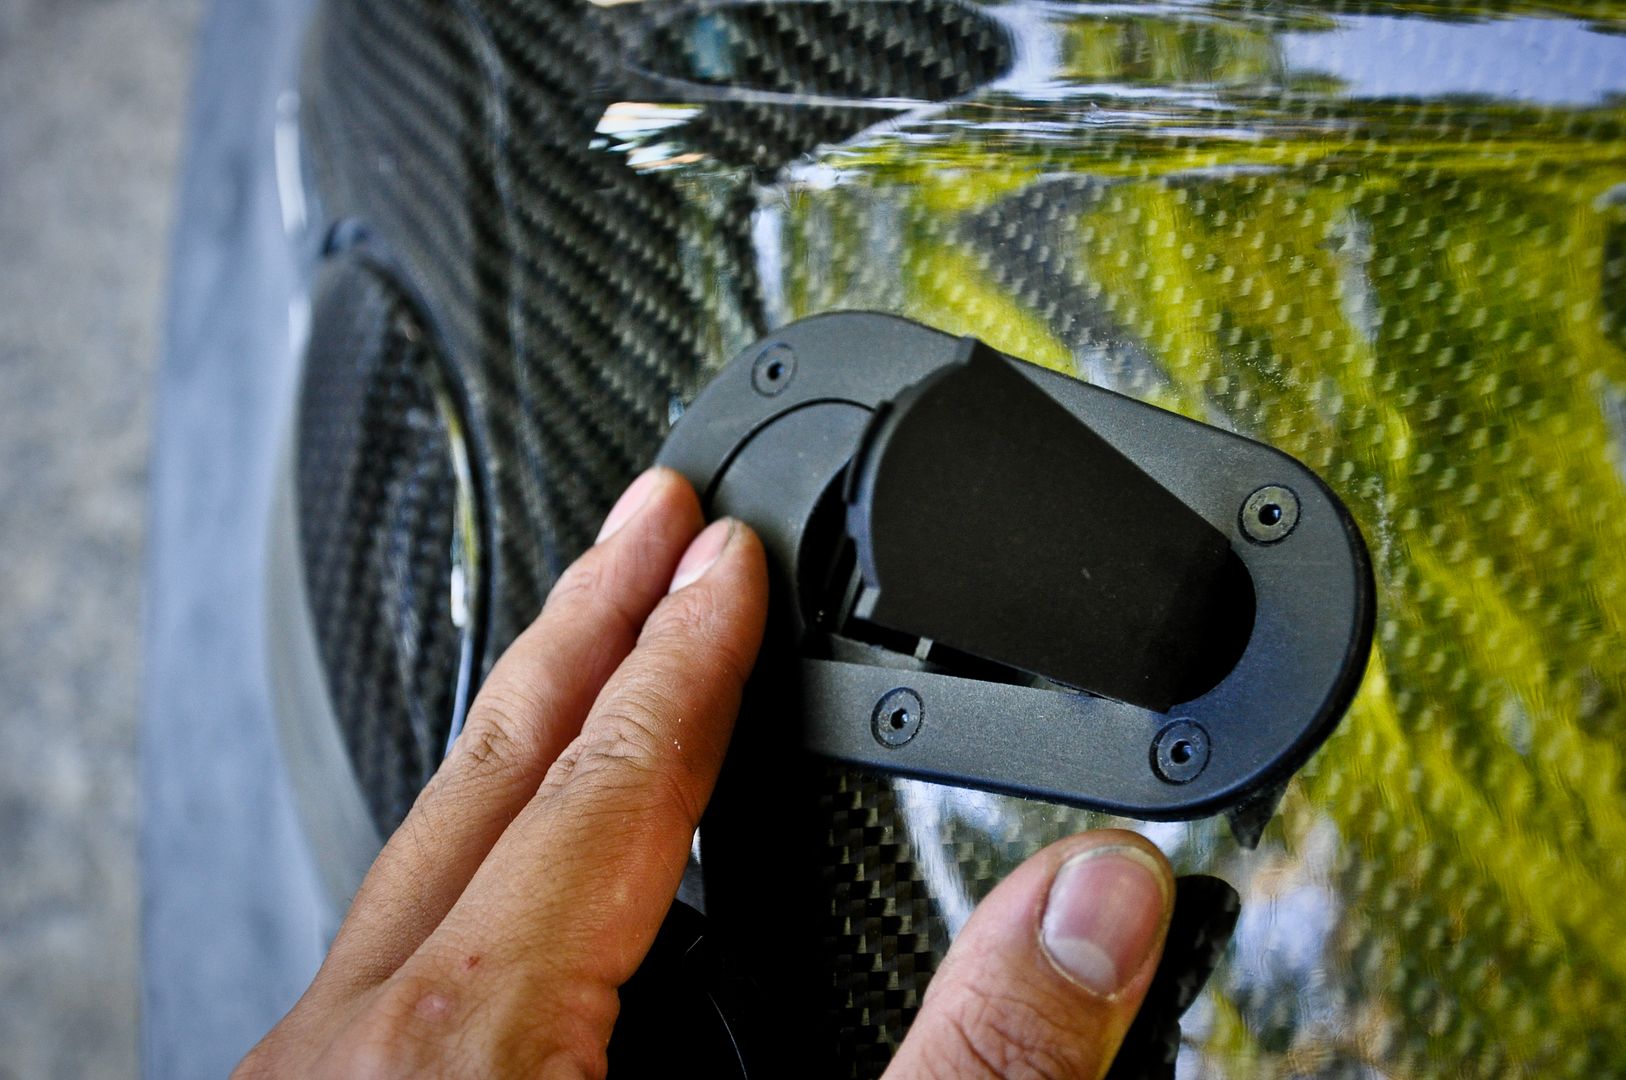
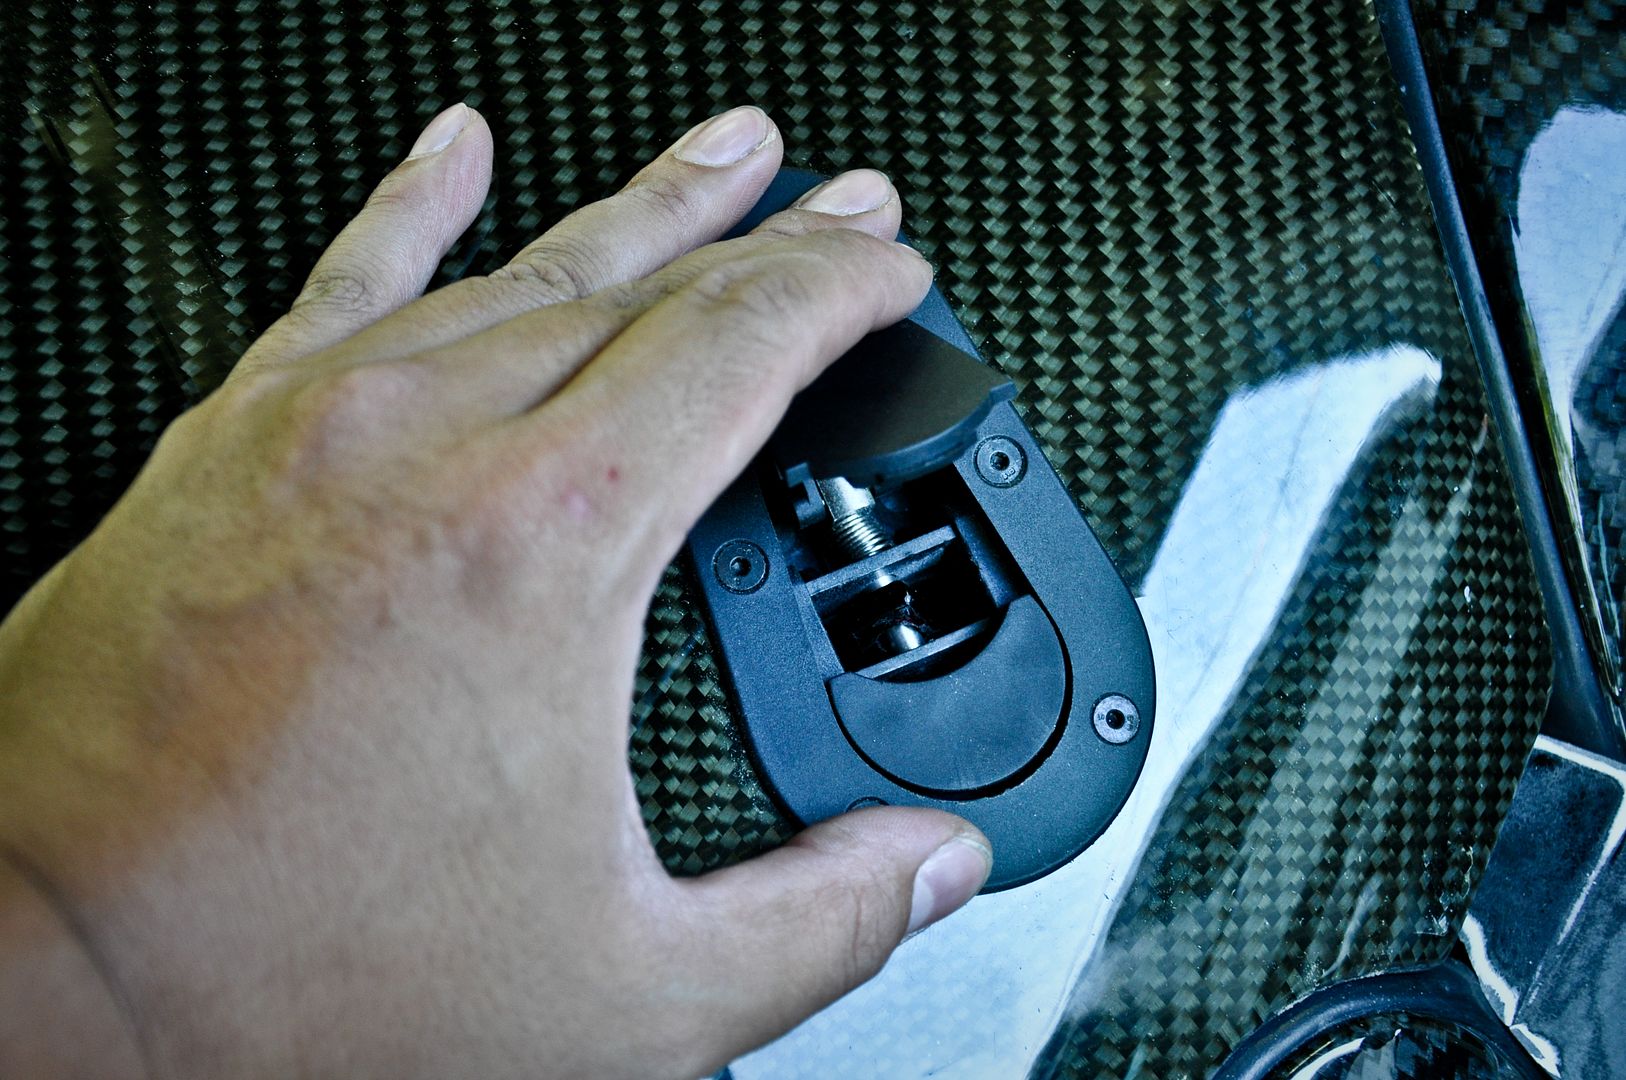
Latch opened
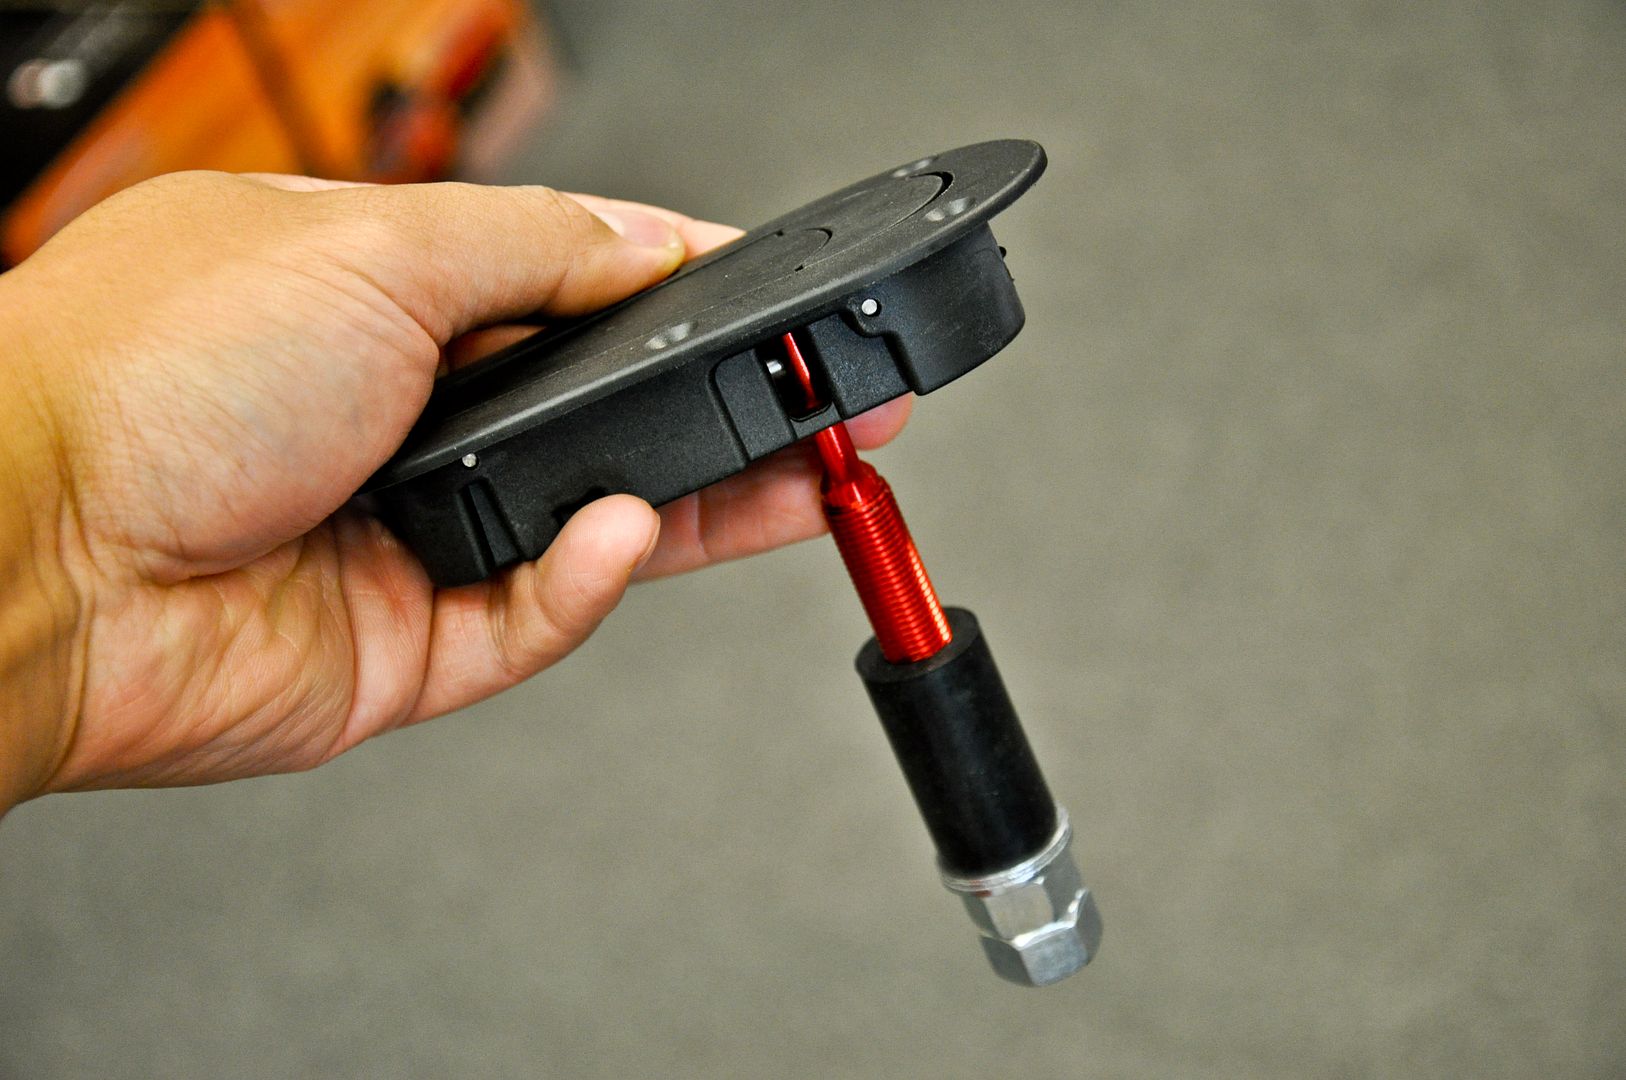
Pin inserted
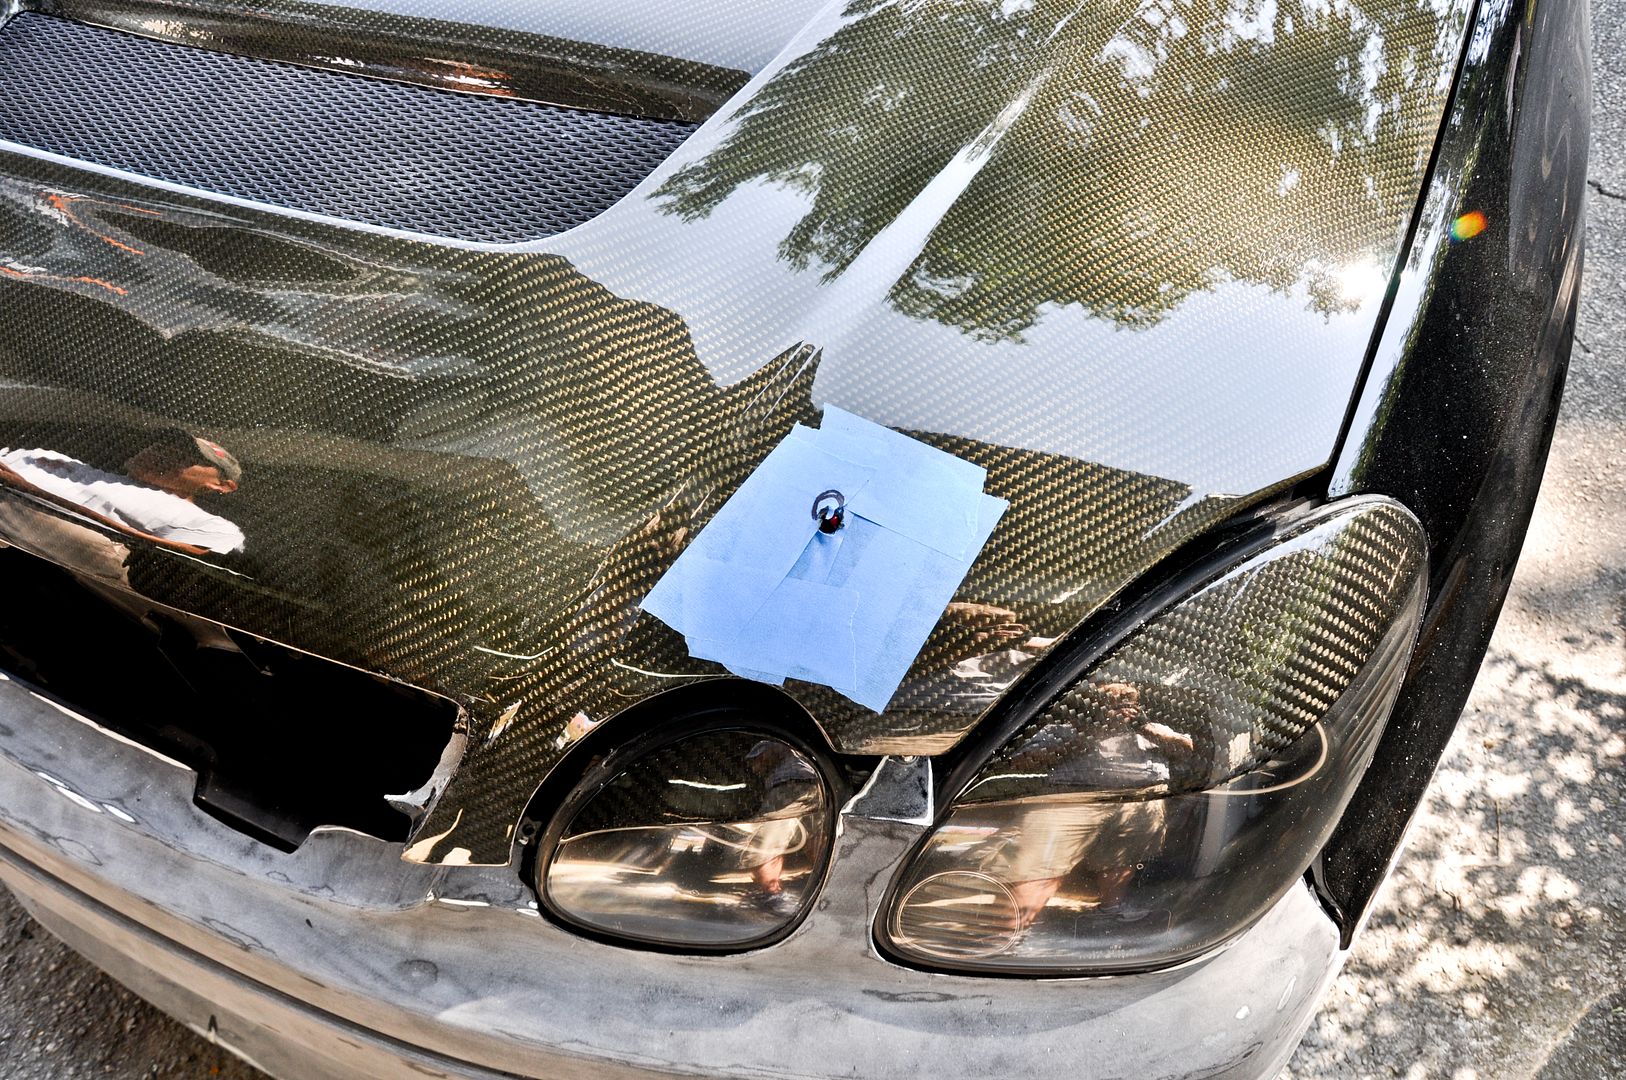
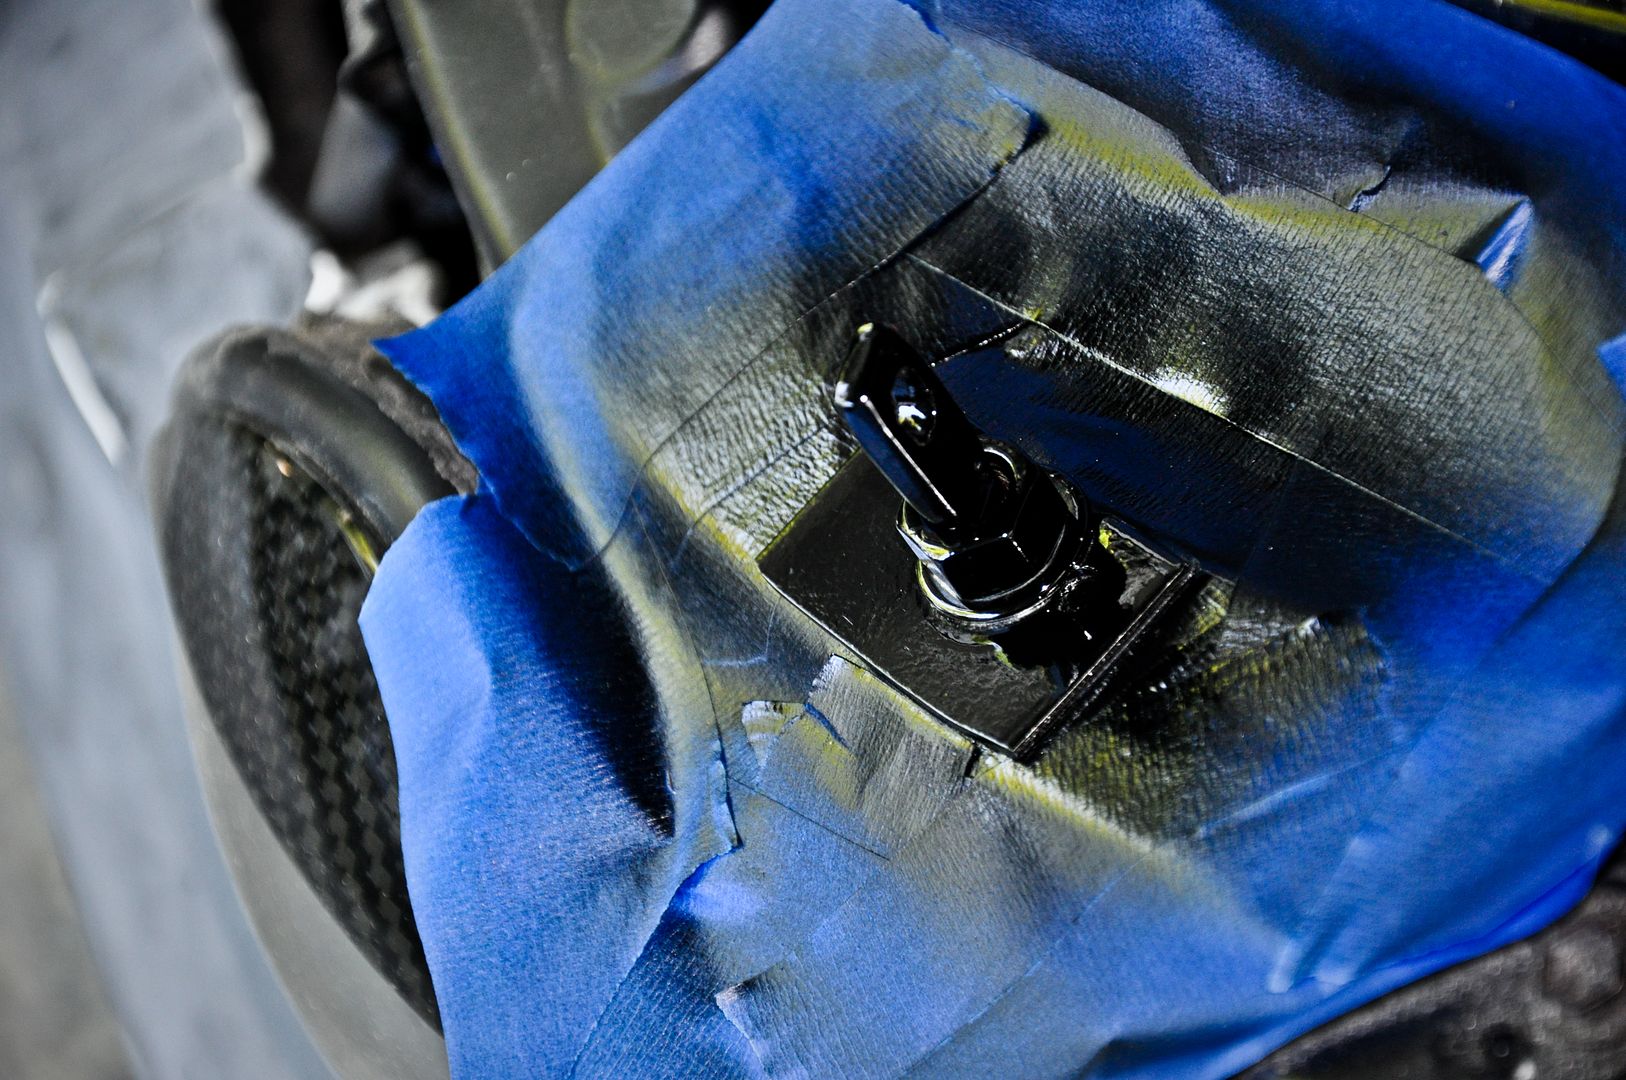
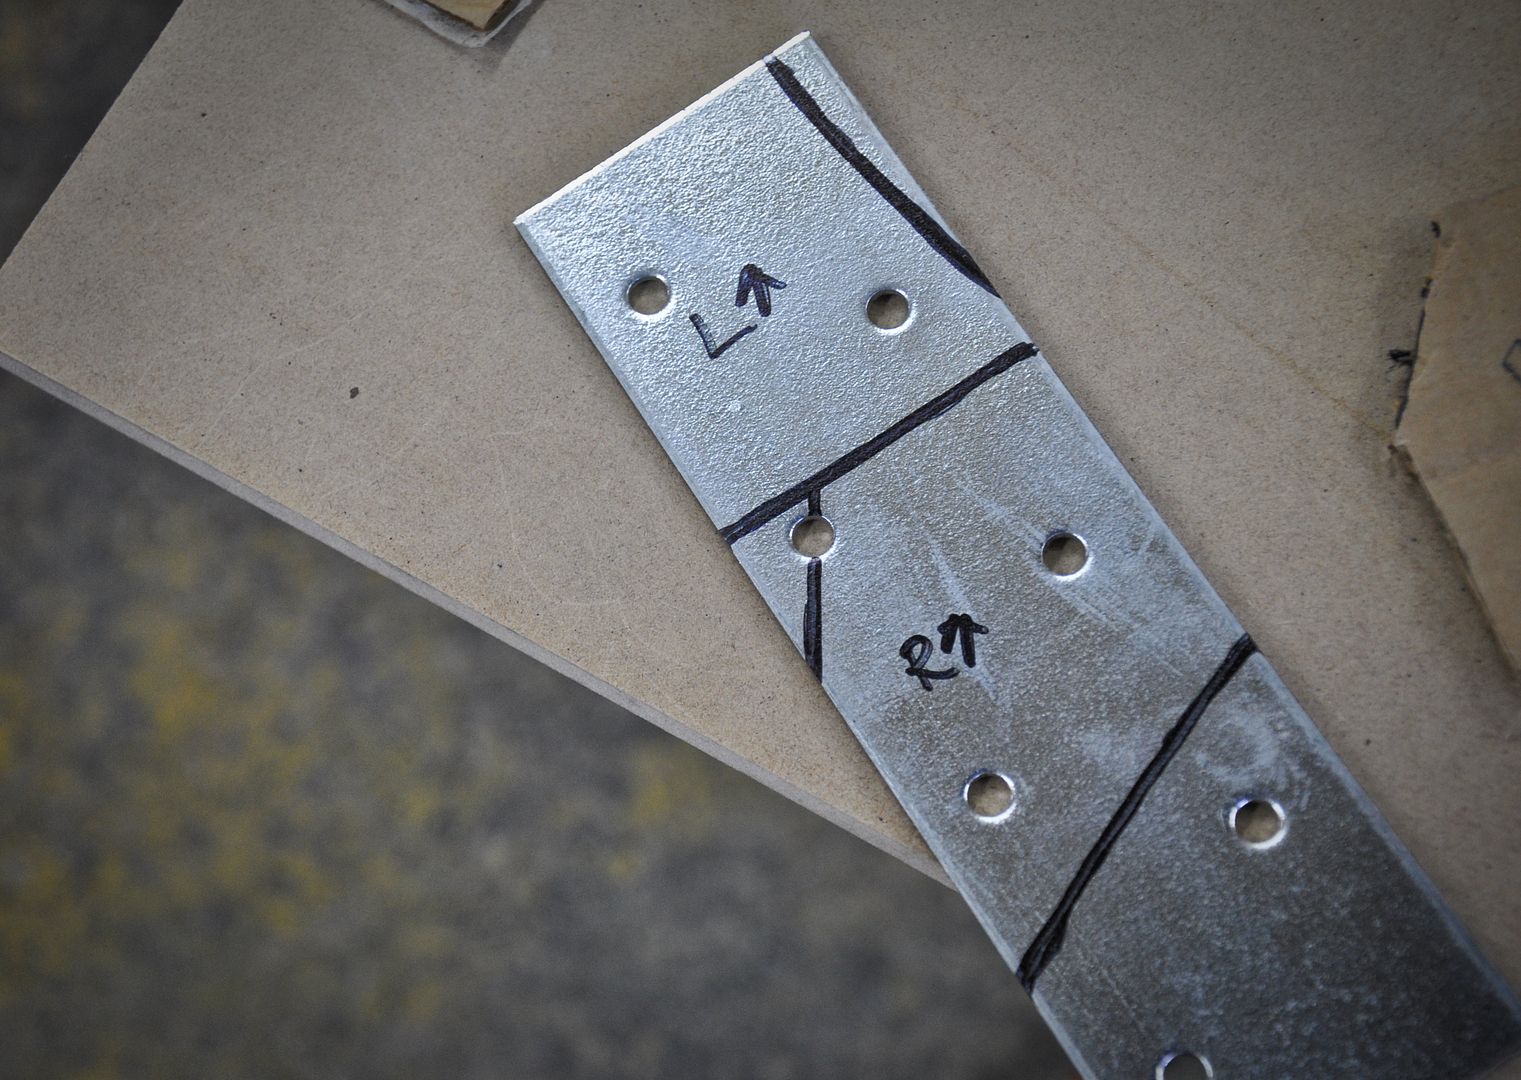
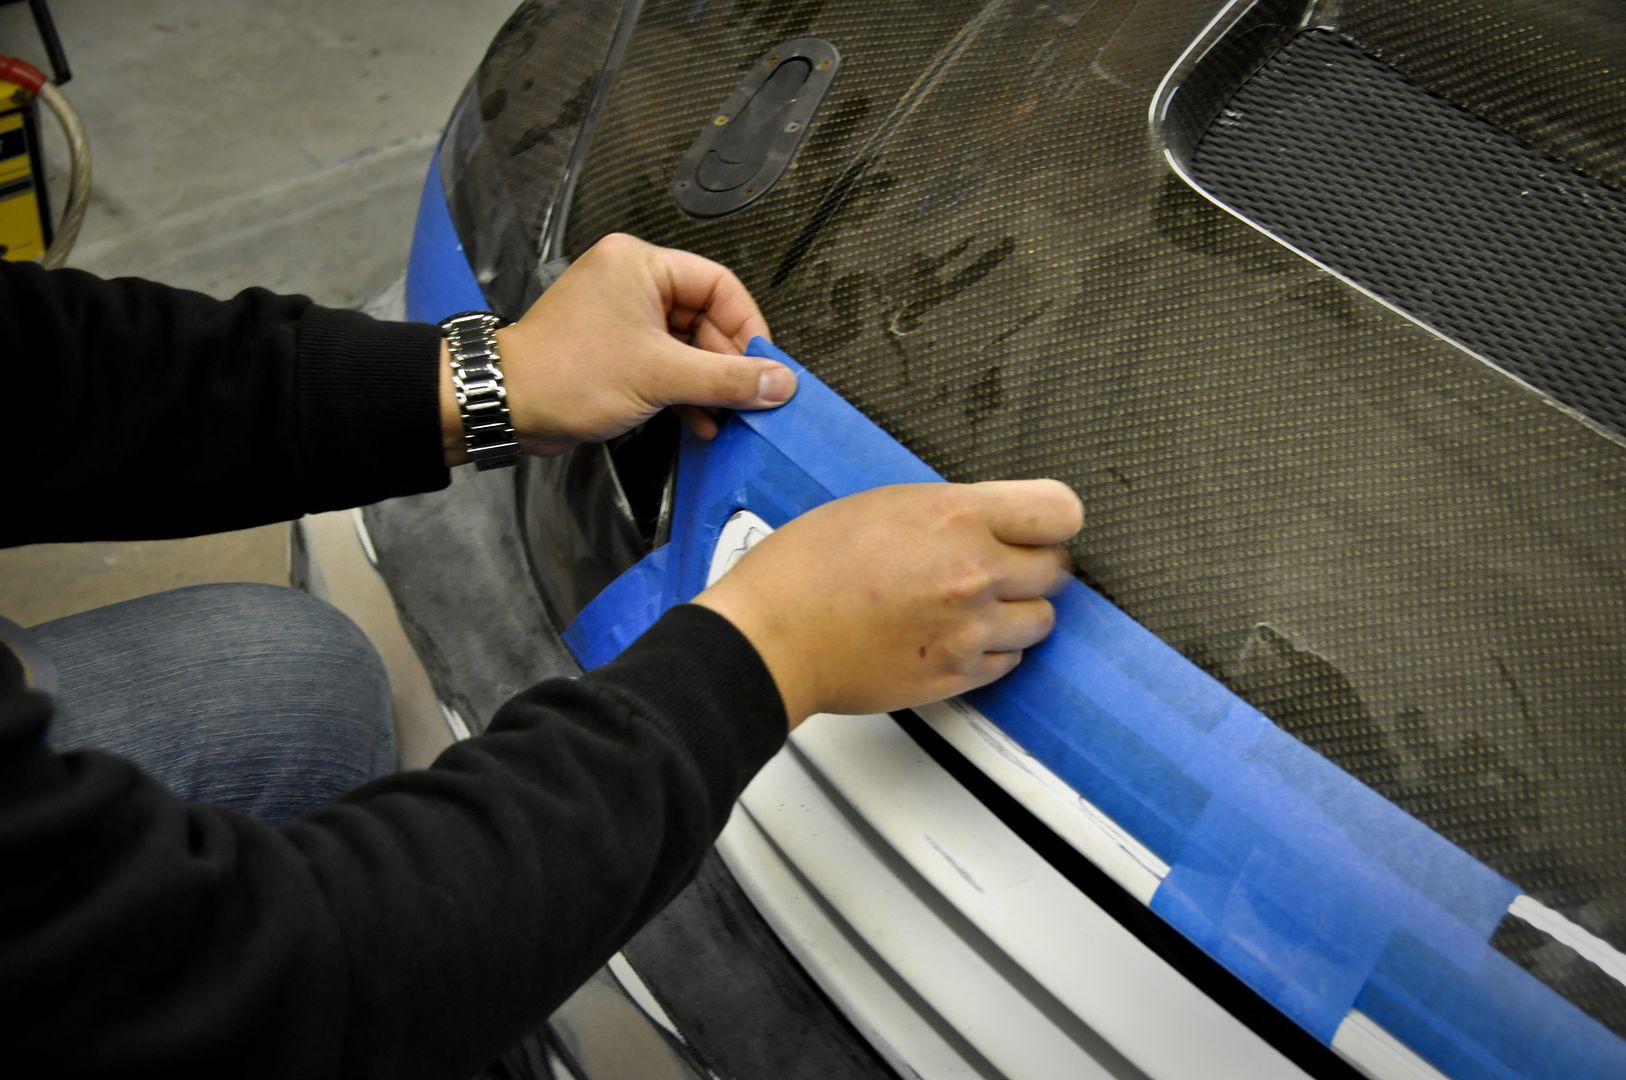
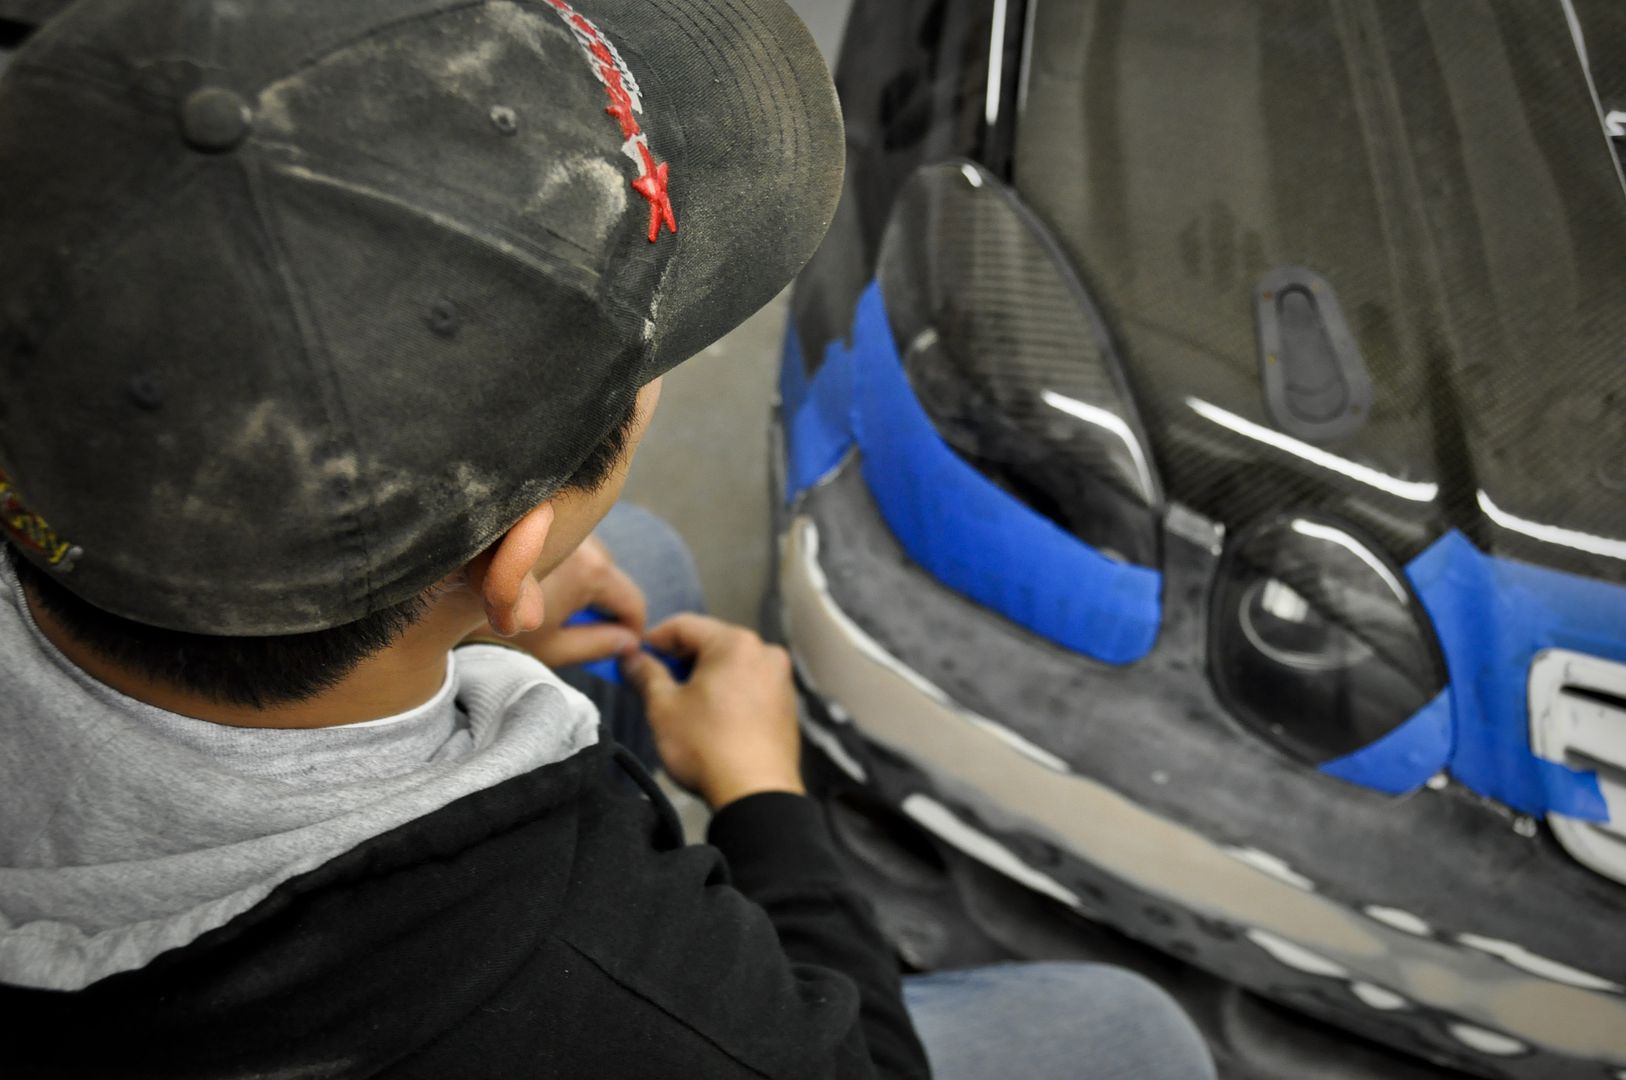
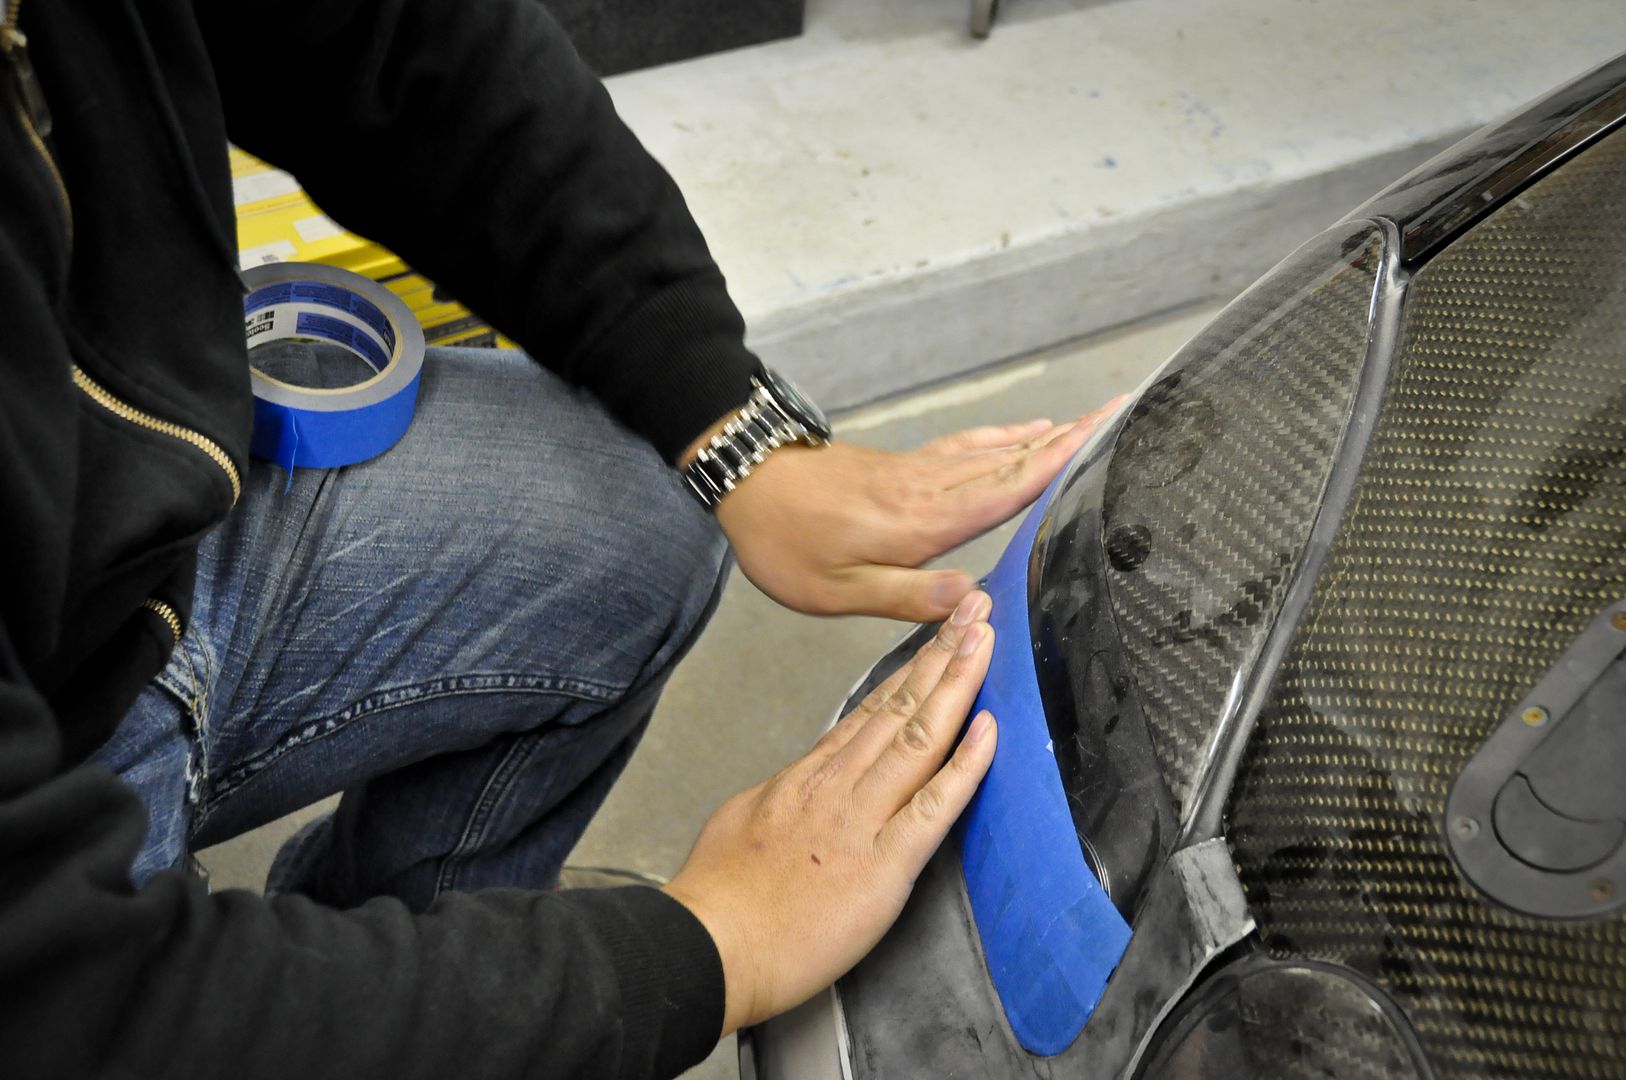
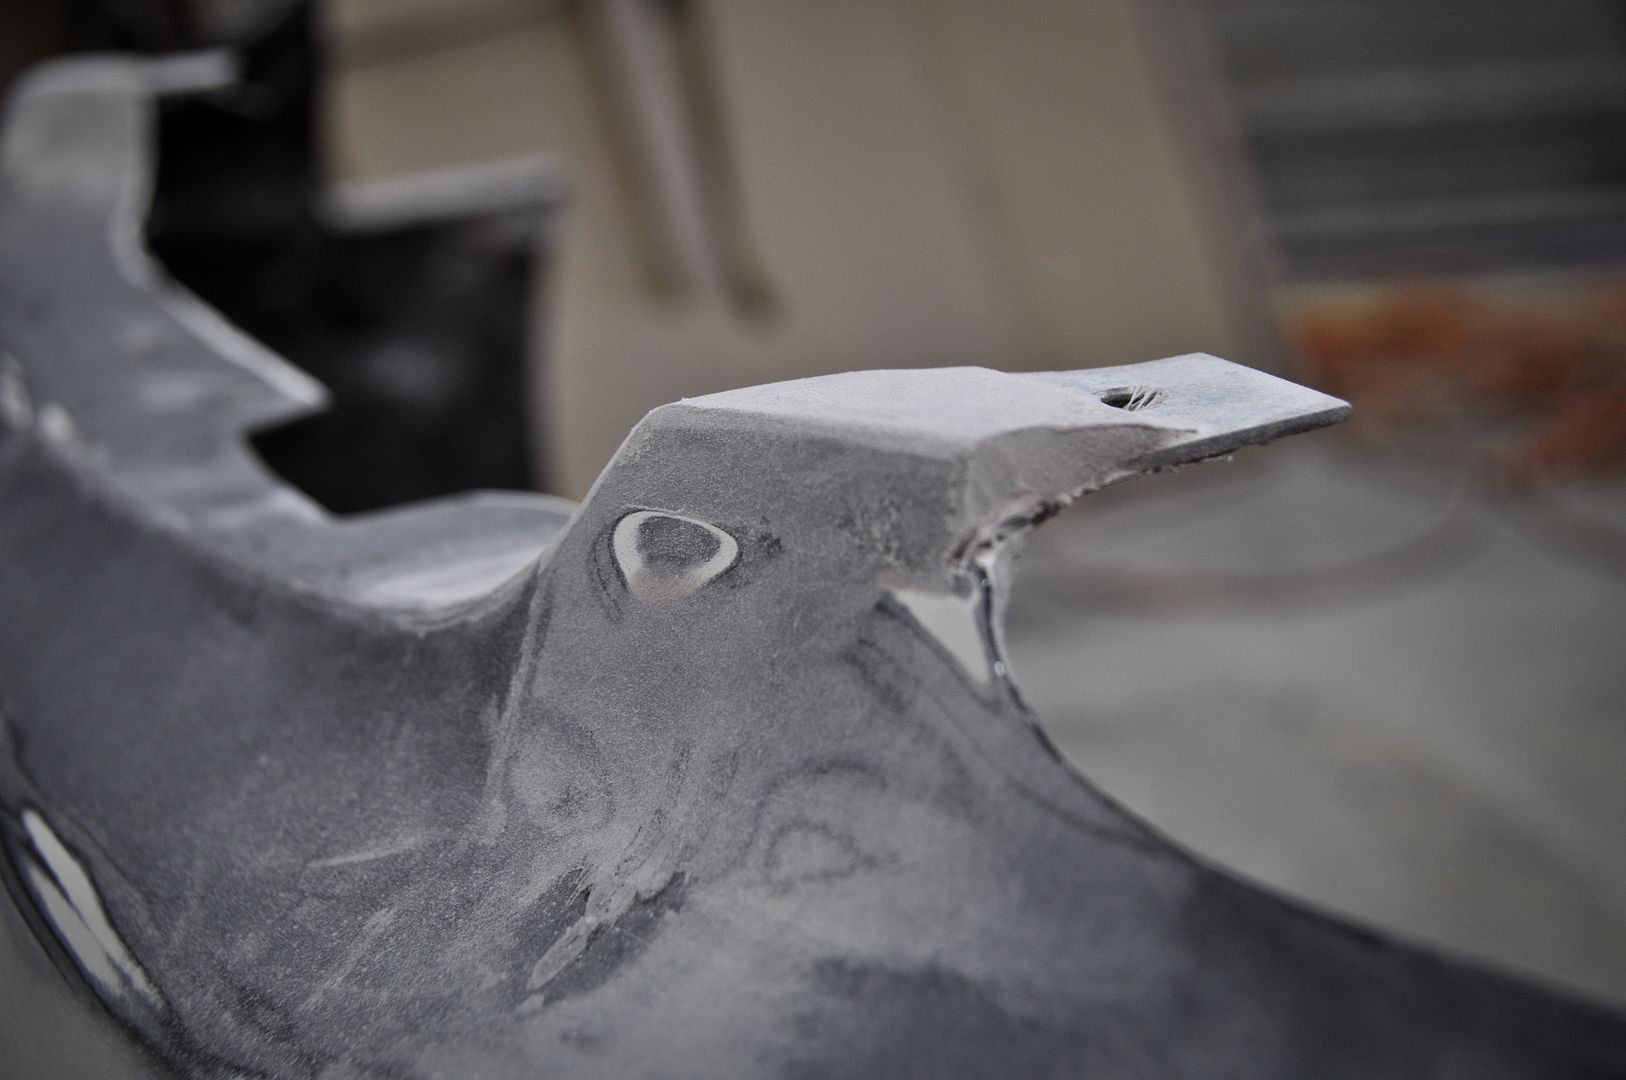
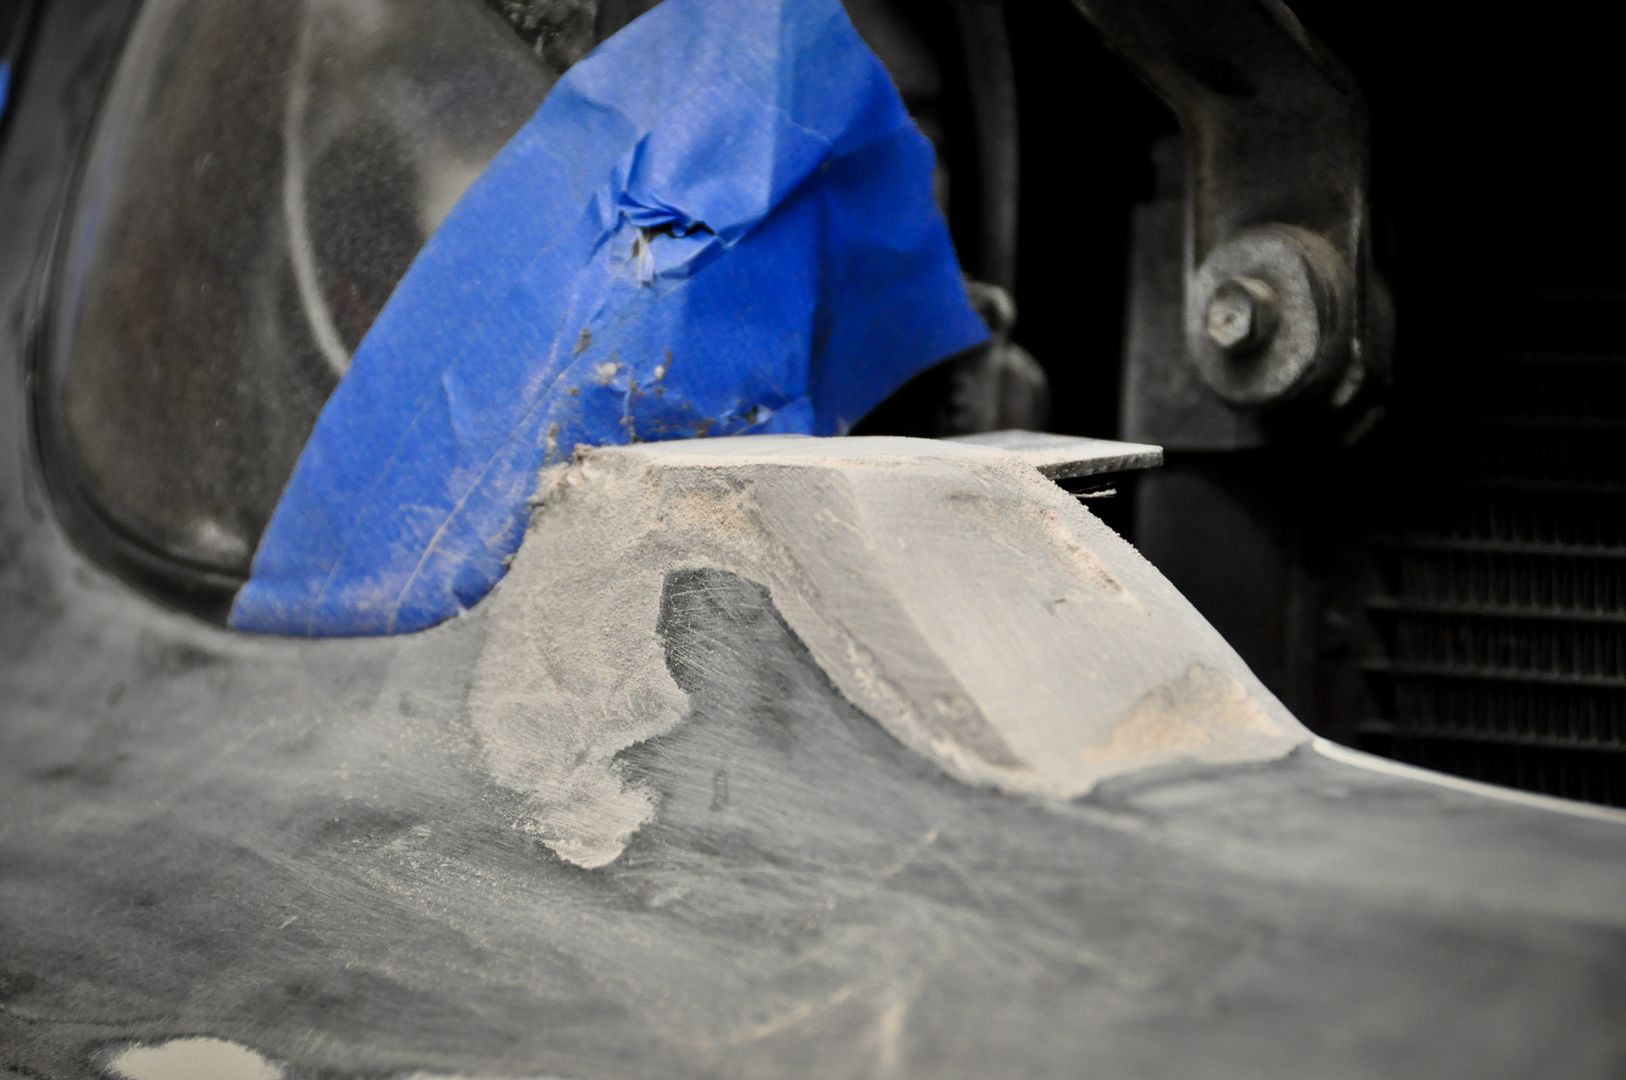
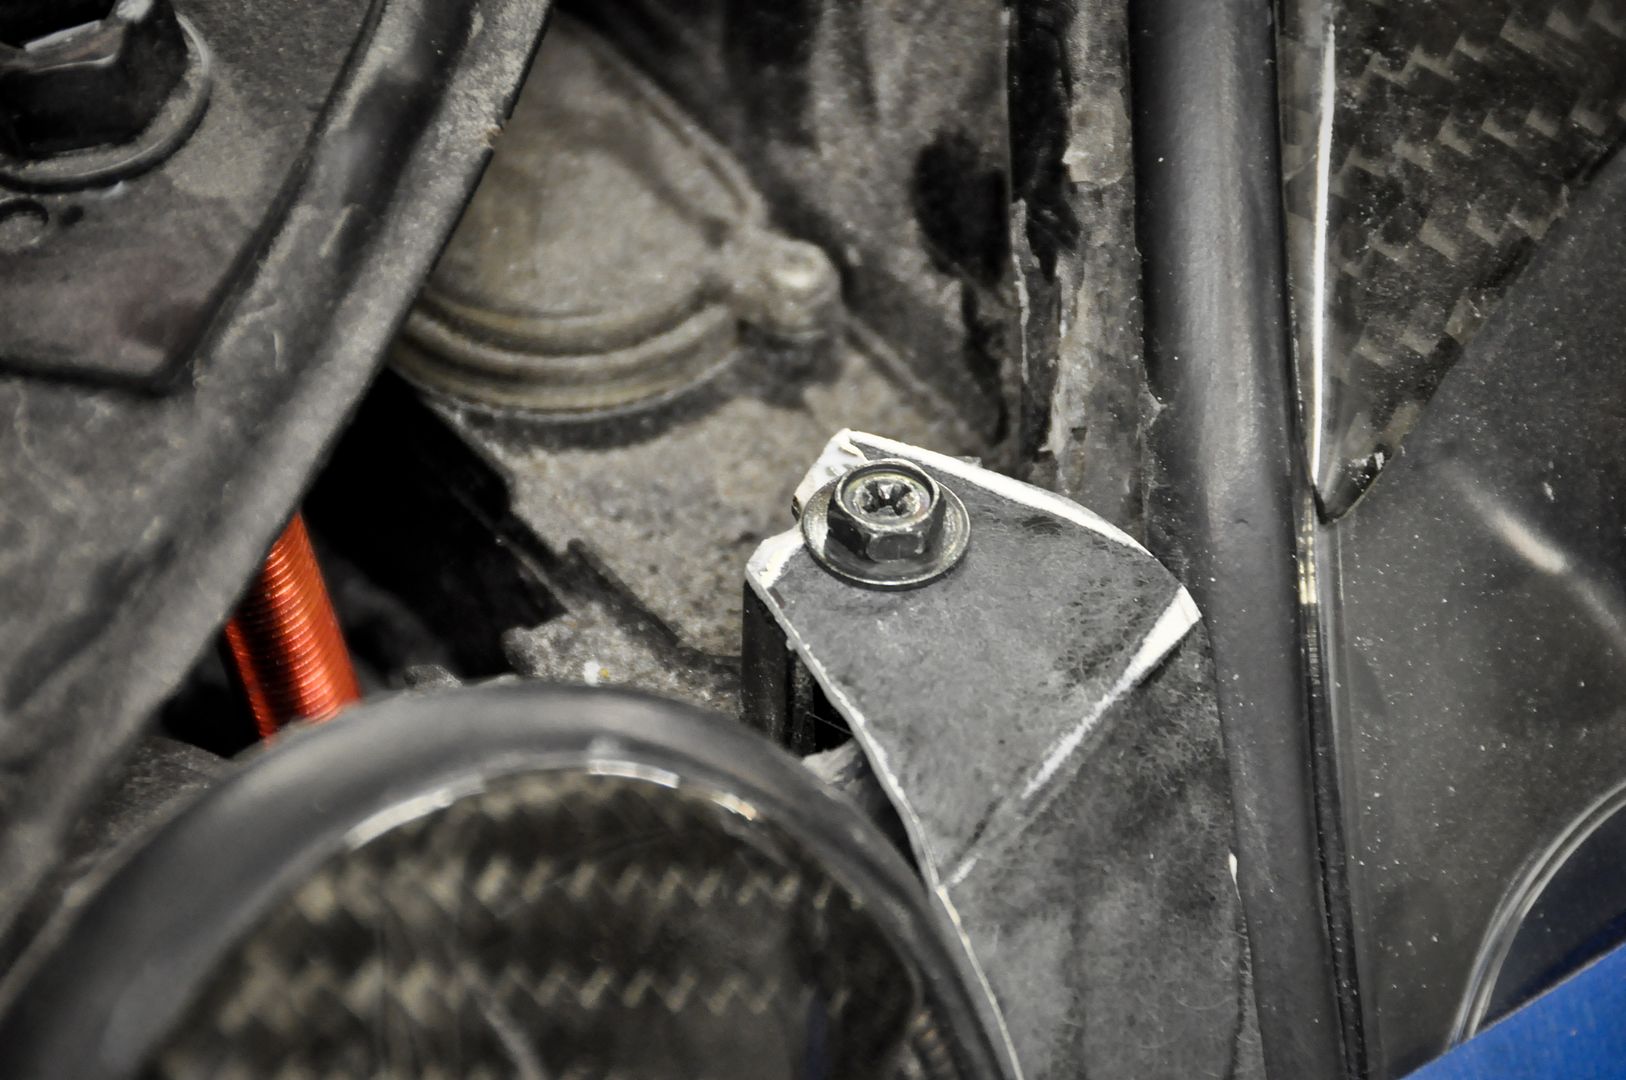
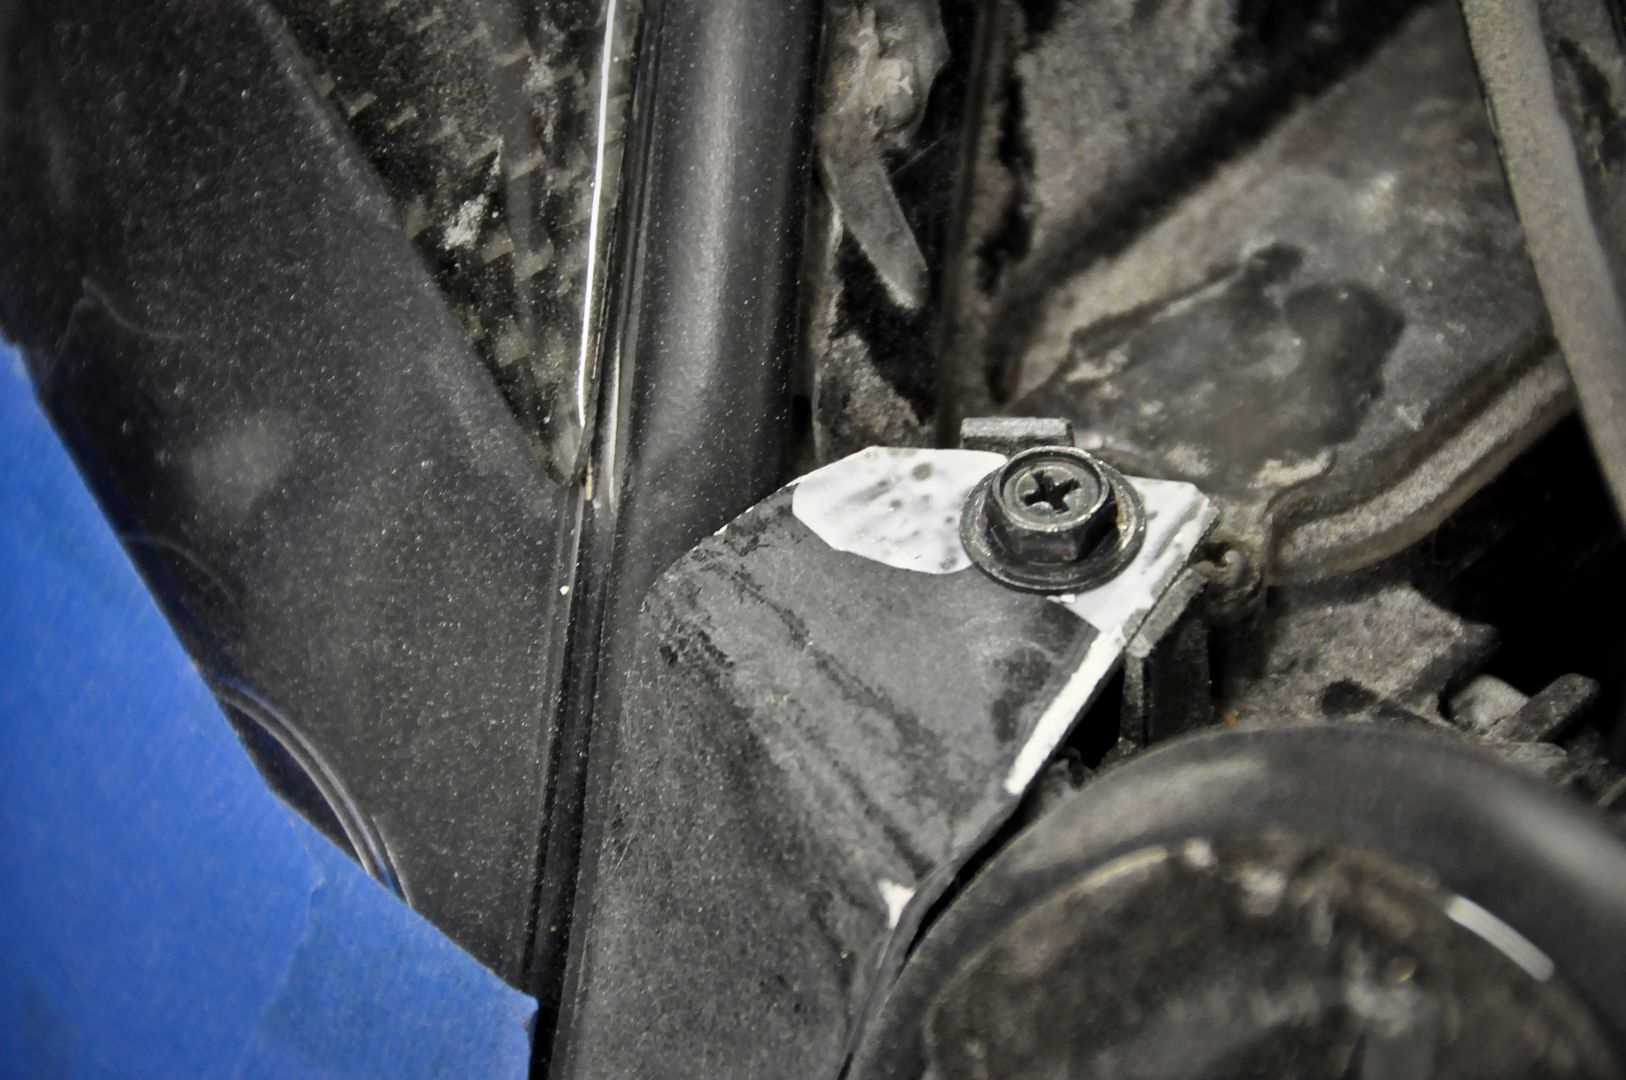
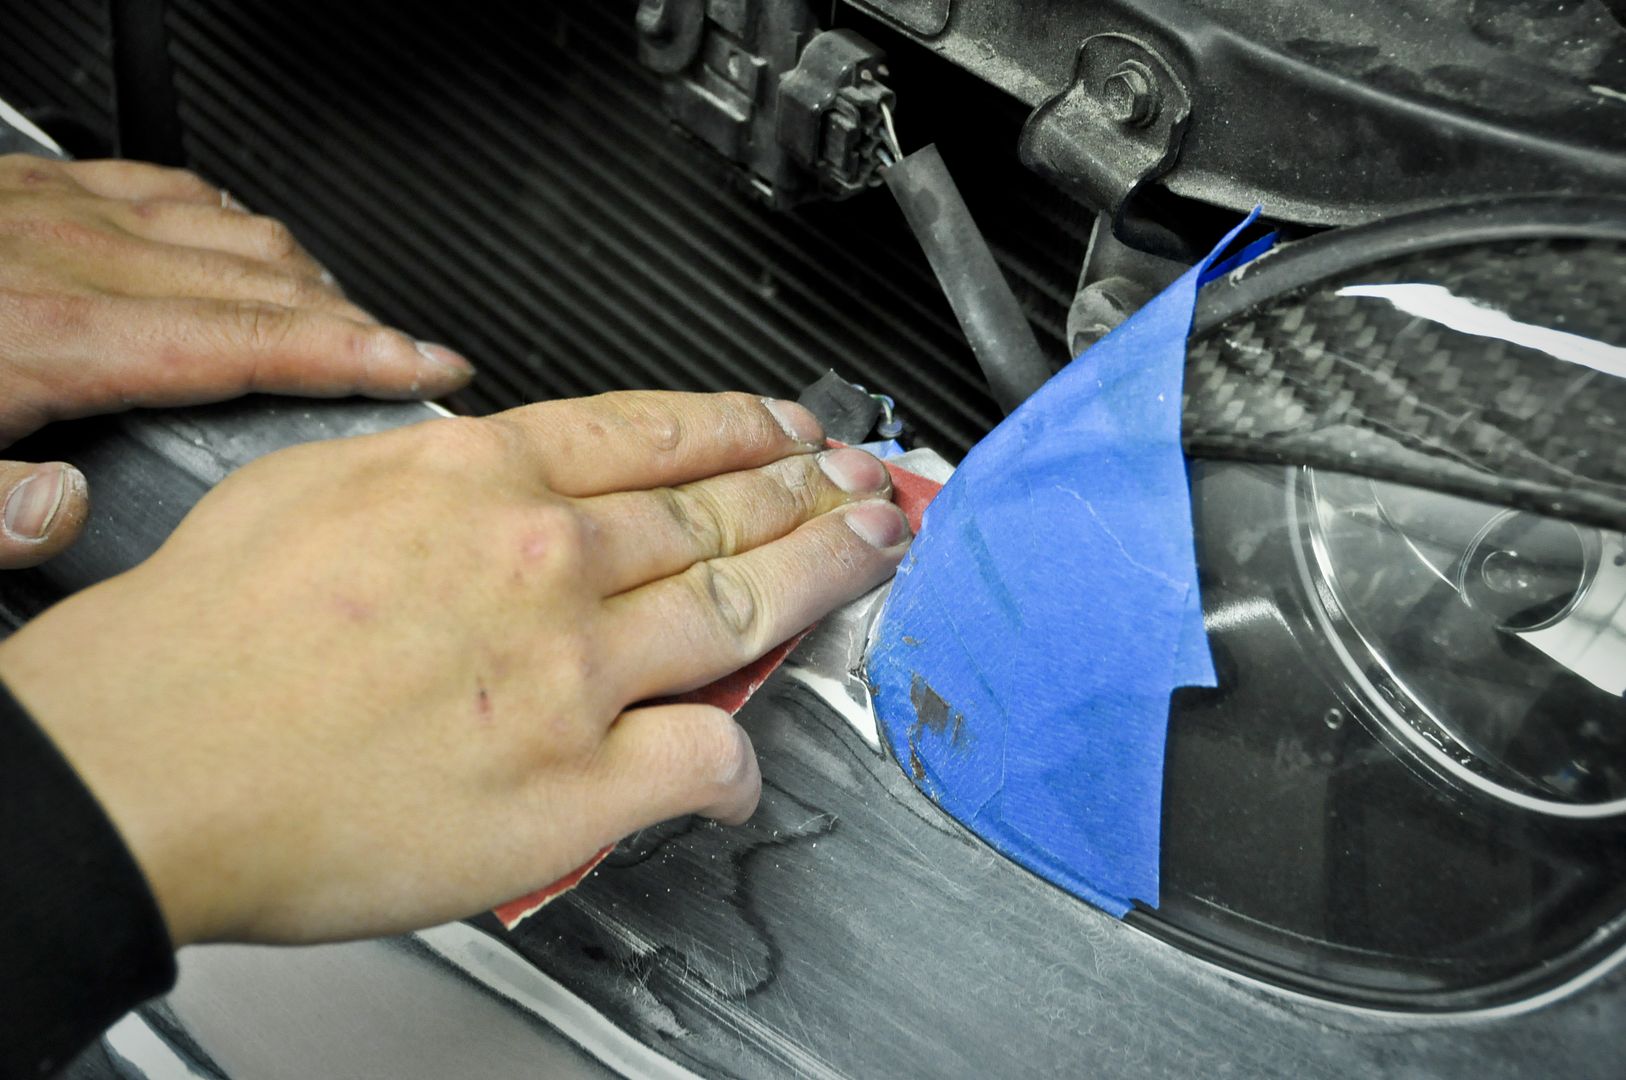
Taped off the areas where I wanted the plates to go
Pretty good for a grill that wasn’t supposed to go on this hood and for it to fit an aftermarket VIS Racing carbon fiber hood lol
Bumper and grill ready for test fit #1
On the car
So, the bumper will clear the fog lamps lol
I think I am in love lol
Sanding down the paint for prep
Test fitting and removing the mesh grill material
Sanding down at 200 grit
Almost ready for test fit #2
Test fit #2!!! I think it is lookin hot!!!
Got these hood latches on the local classifieds and had to jump on them. I’ve always wanted to install these now it’s time to start cutting
Closed all the way
Latch undone
Latch opened
Pin inserted
Taped off the areas where I wanted the plates to go
 03-19-11, 04:14 AM
#459
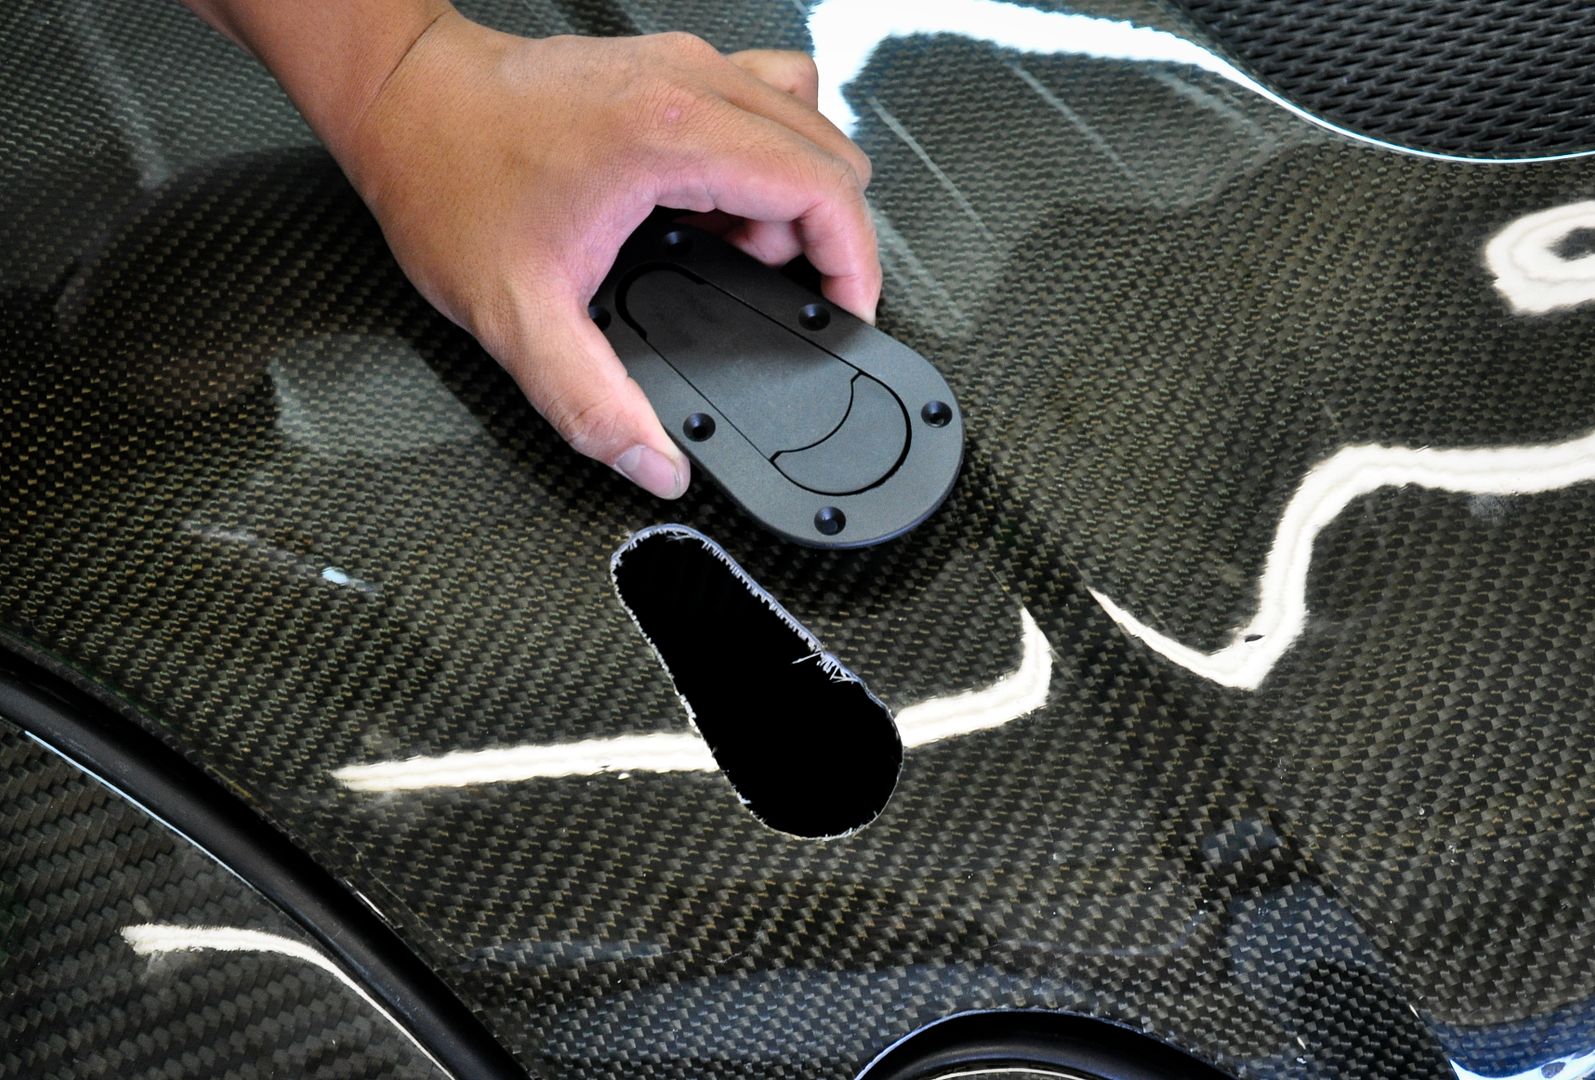
Latch closed
Latch undone
Latch opened
Closing
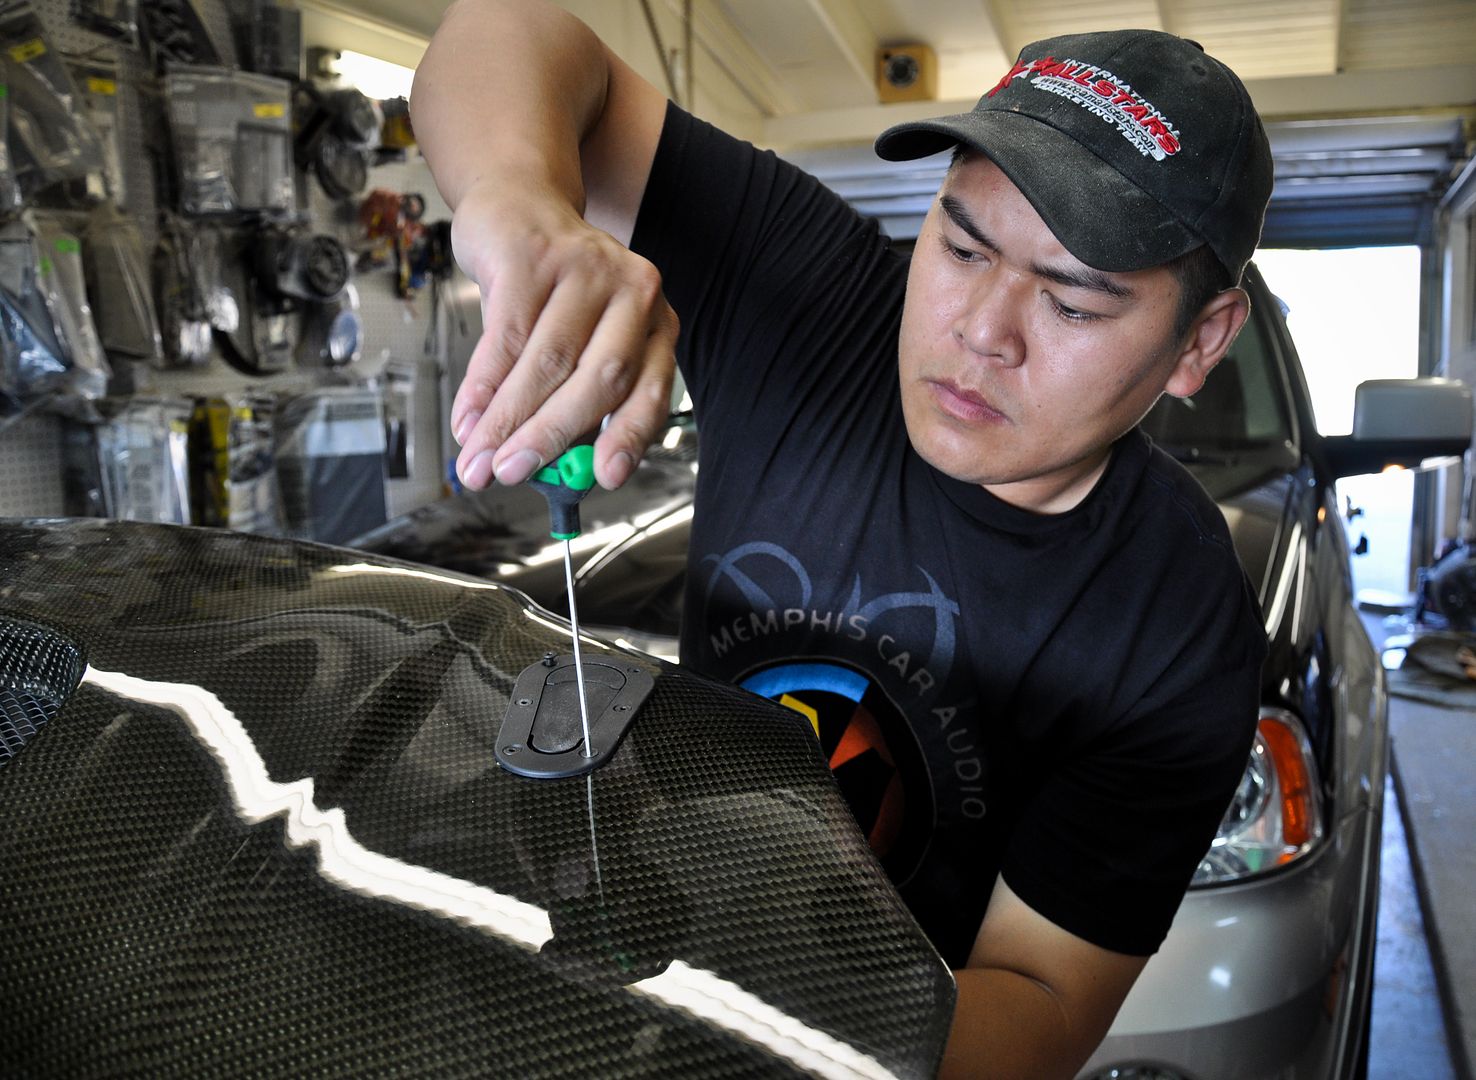
Made custom brackets to hold the pins in
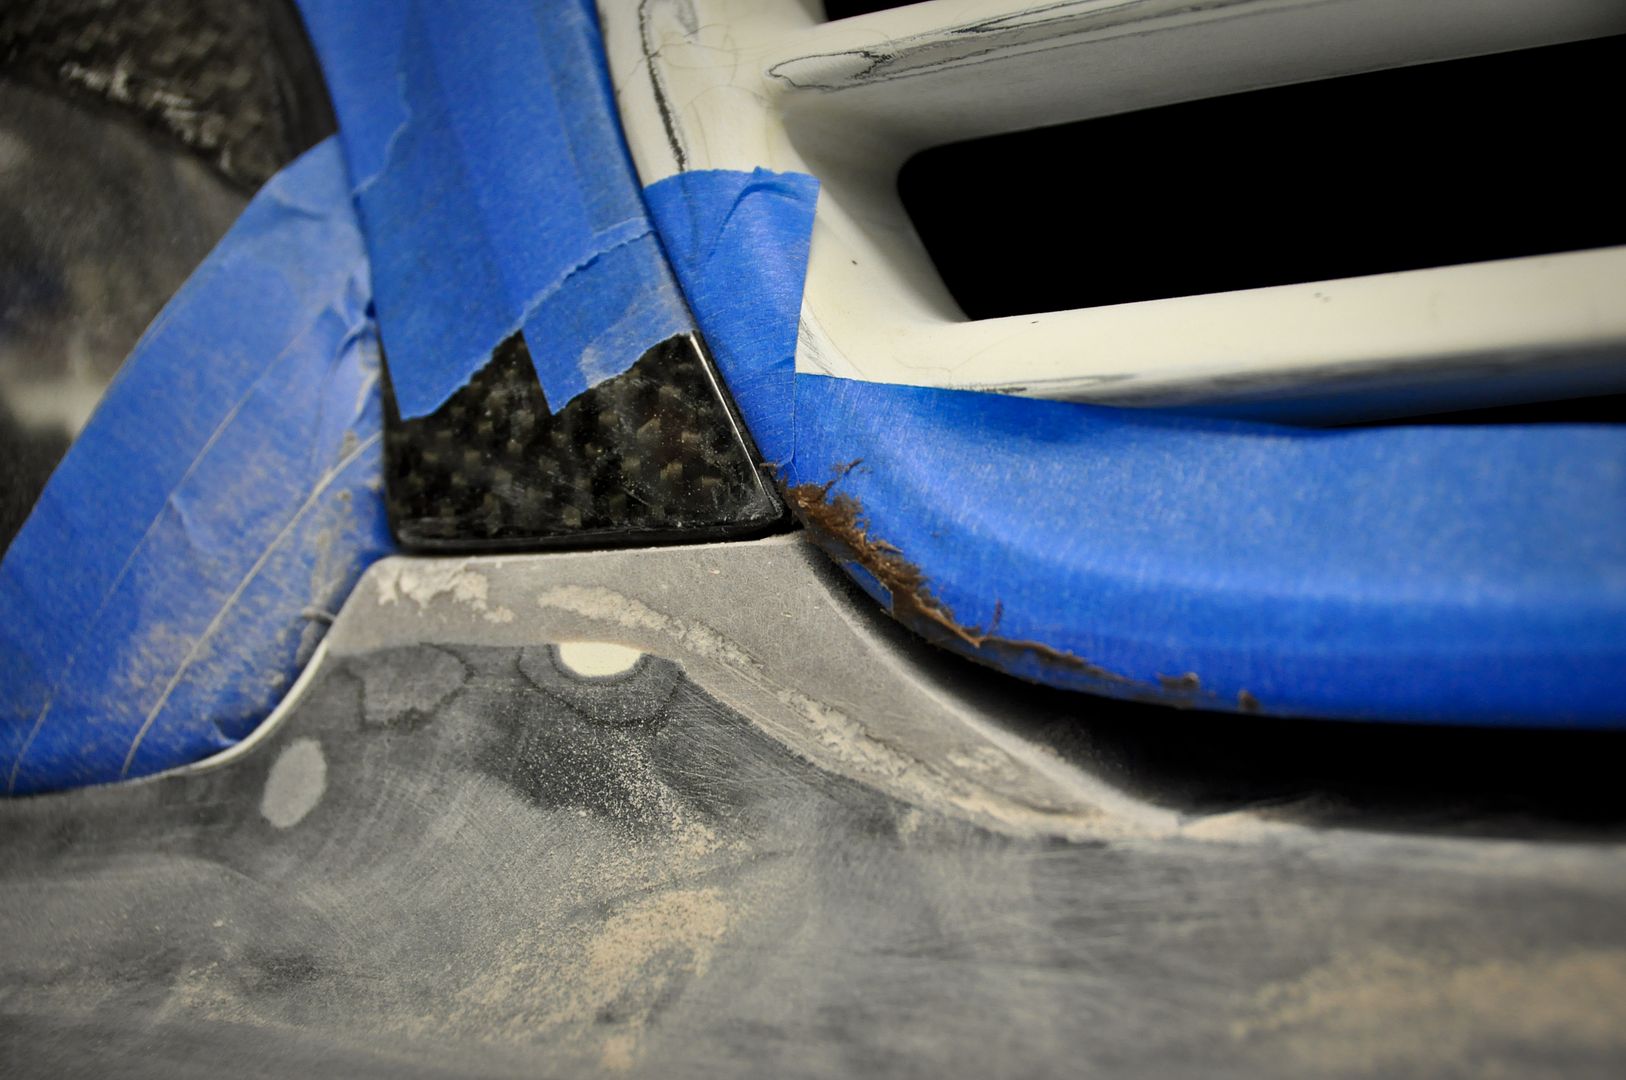
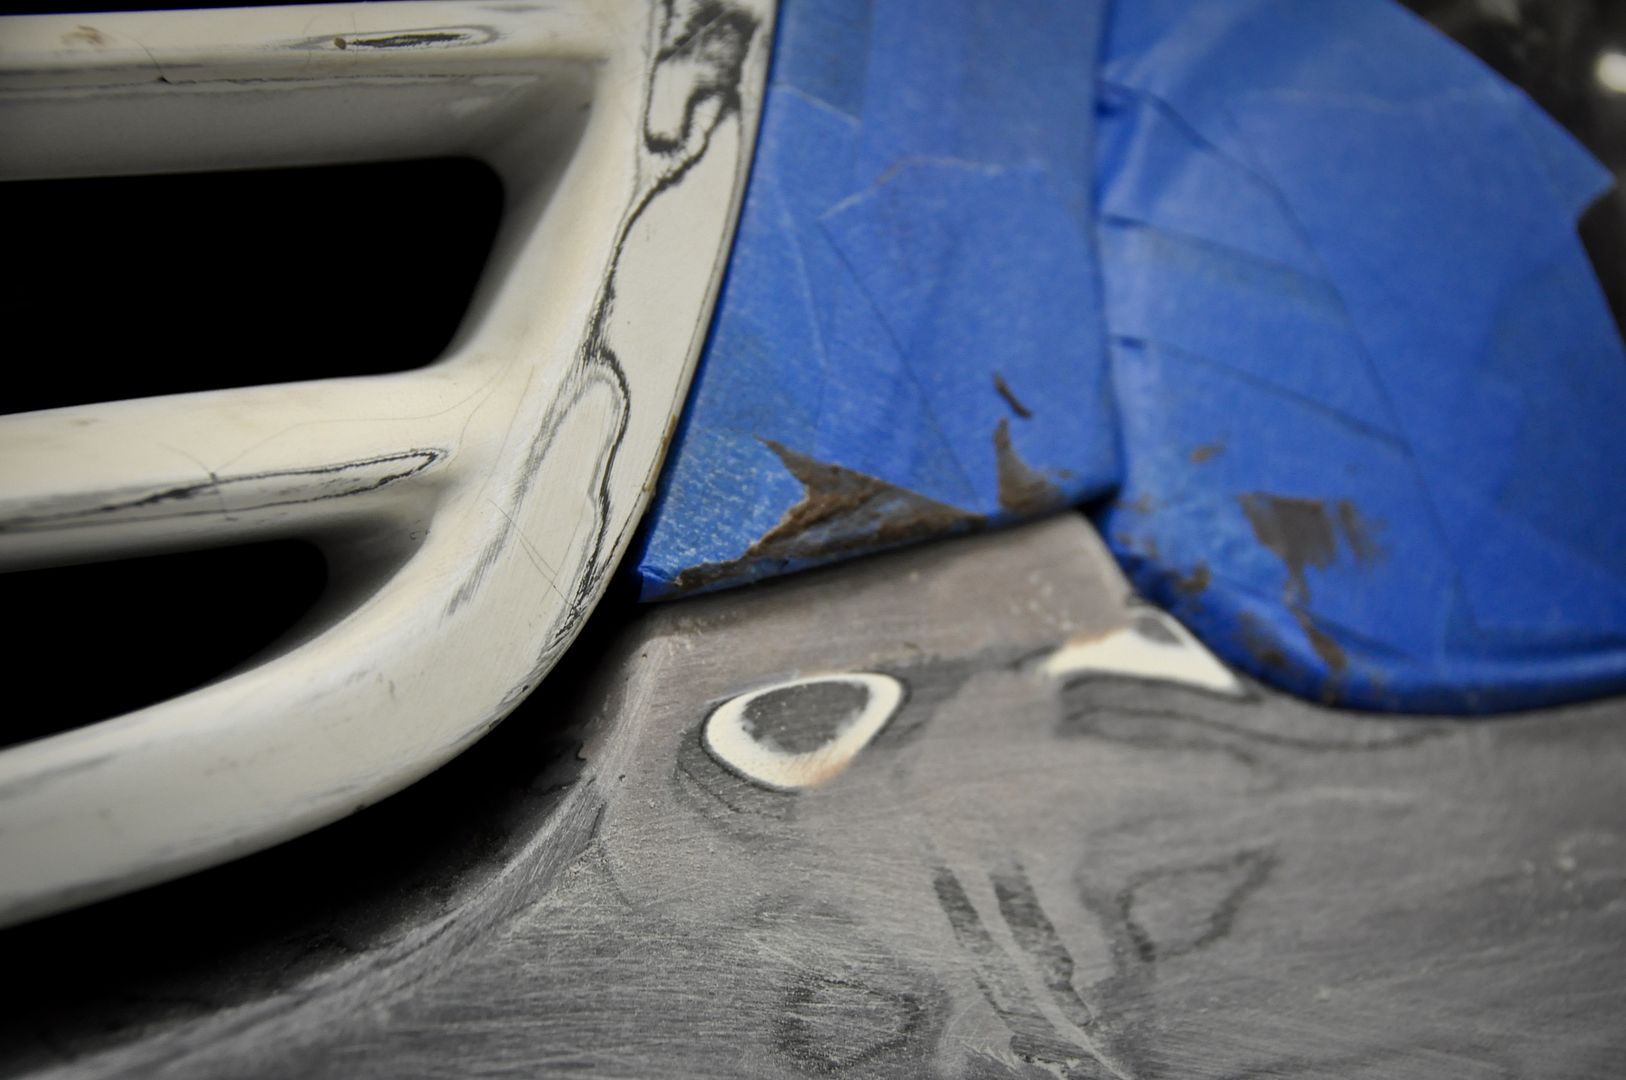
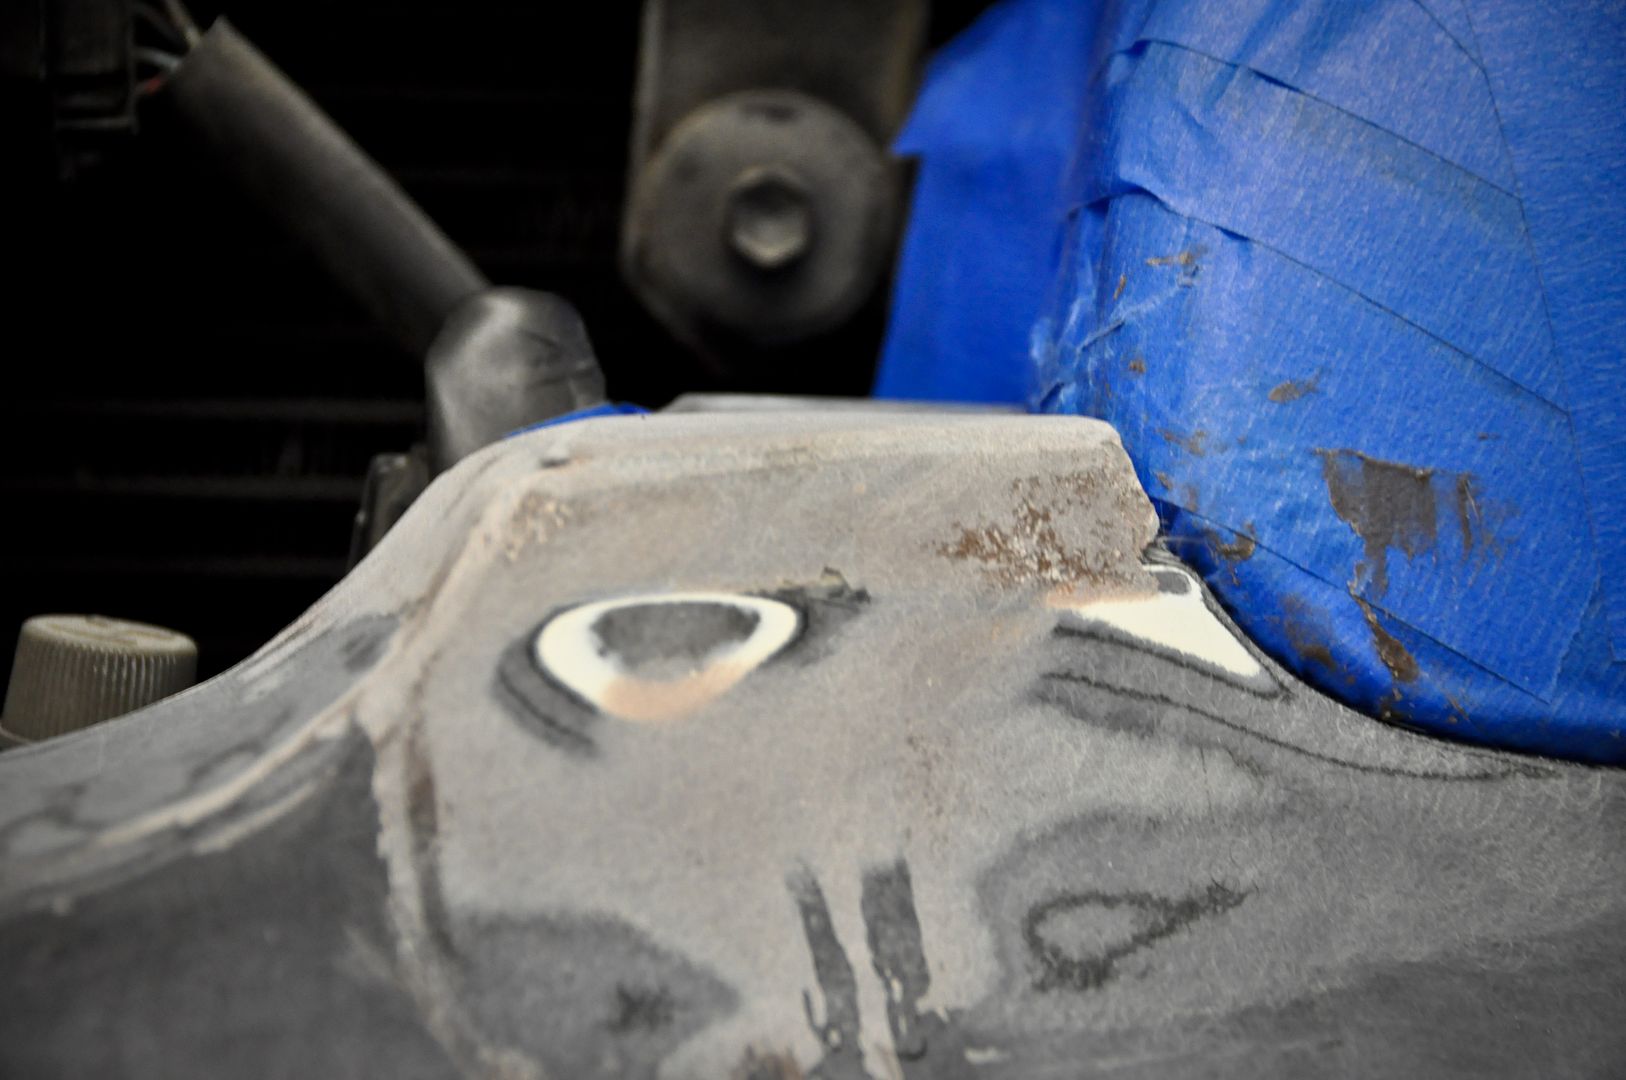
Decided to delete the chrome trim body line
Sanding down the parts that were too big and oversized
Much better fitment

More sanding
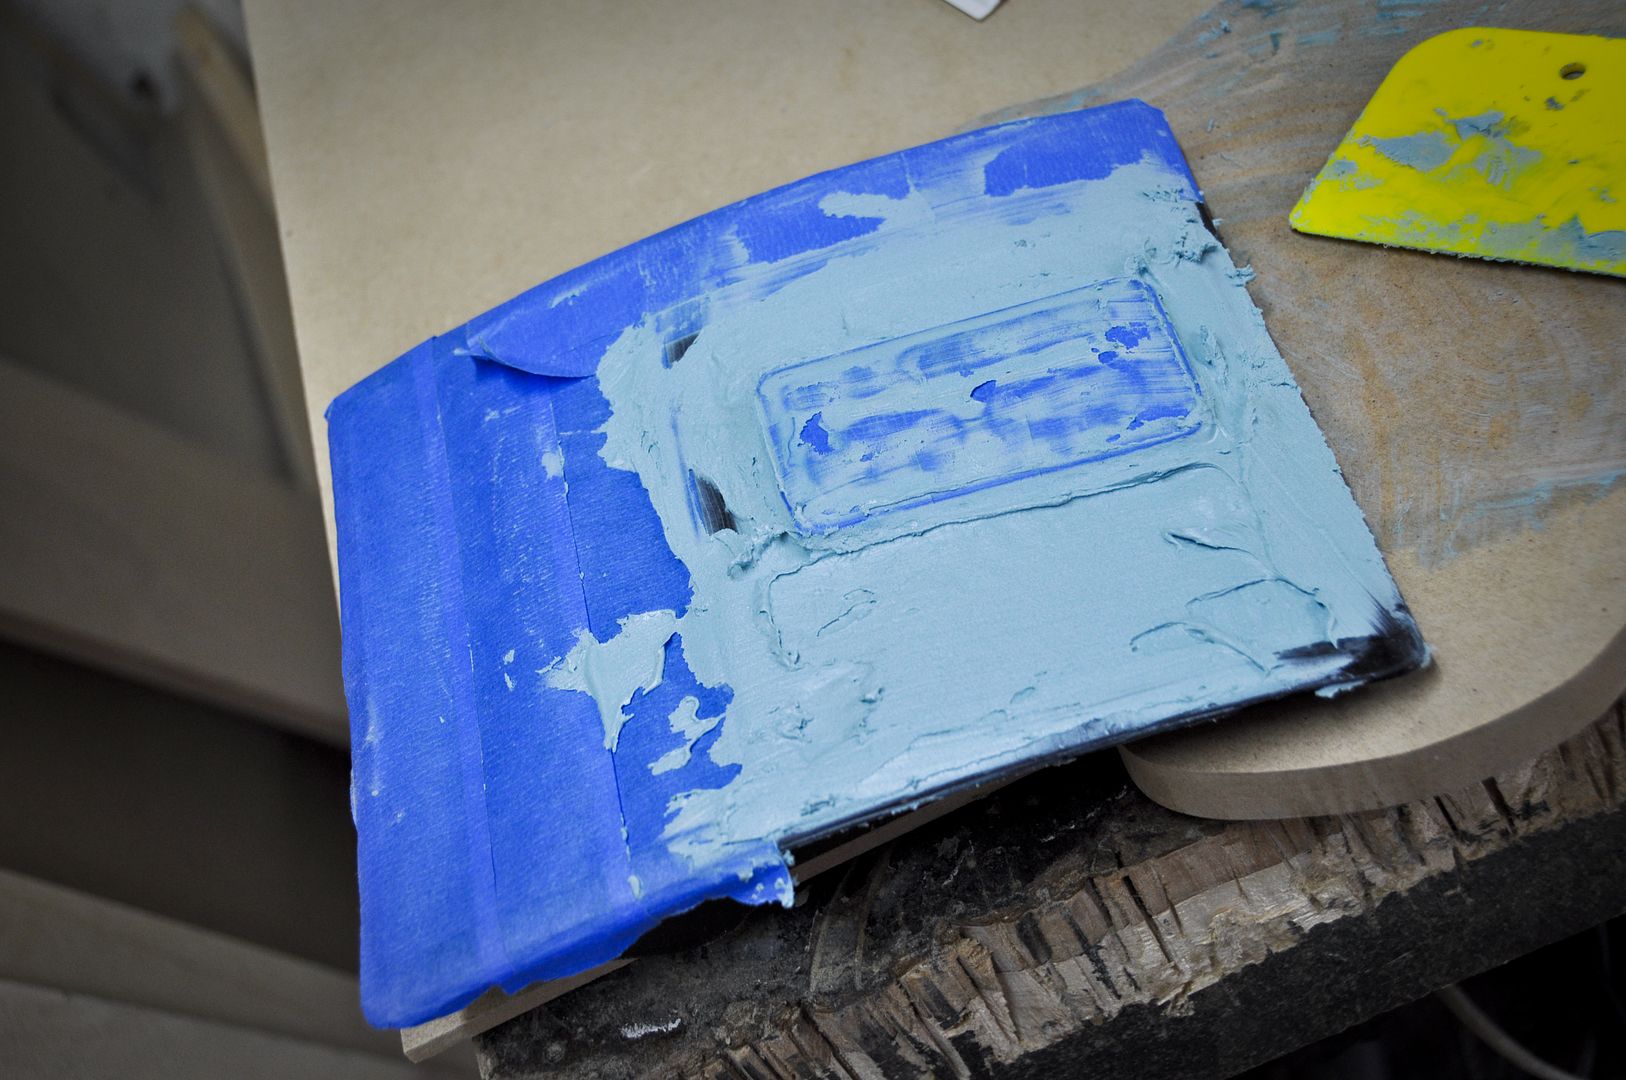
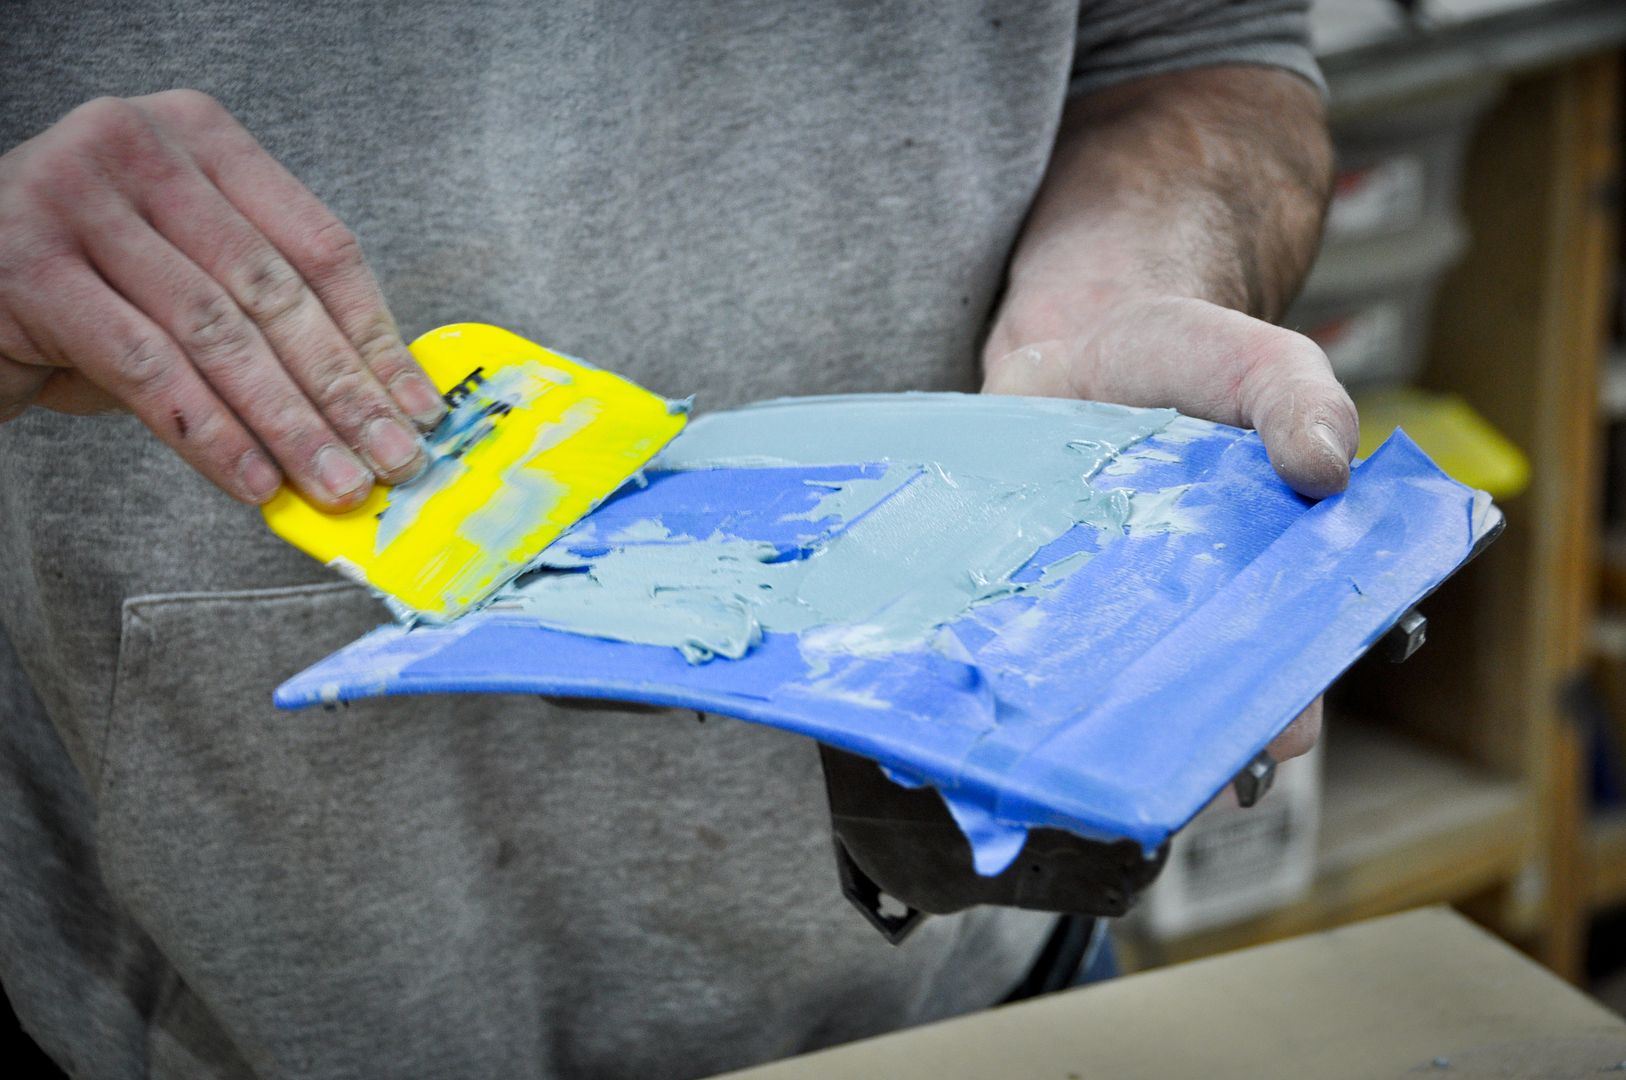
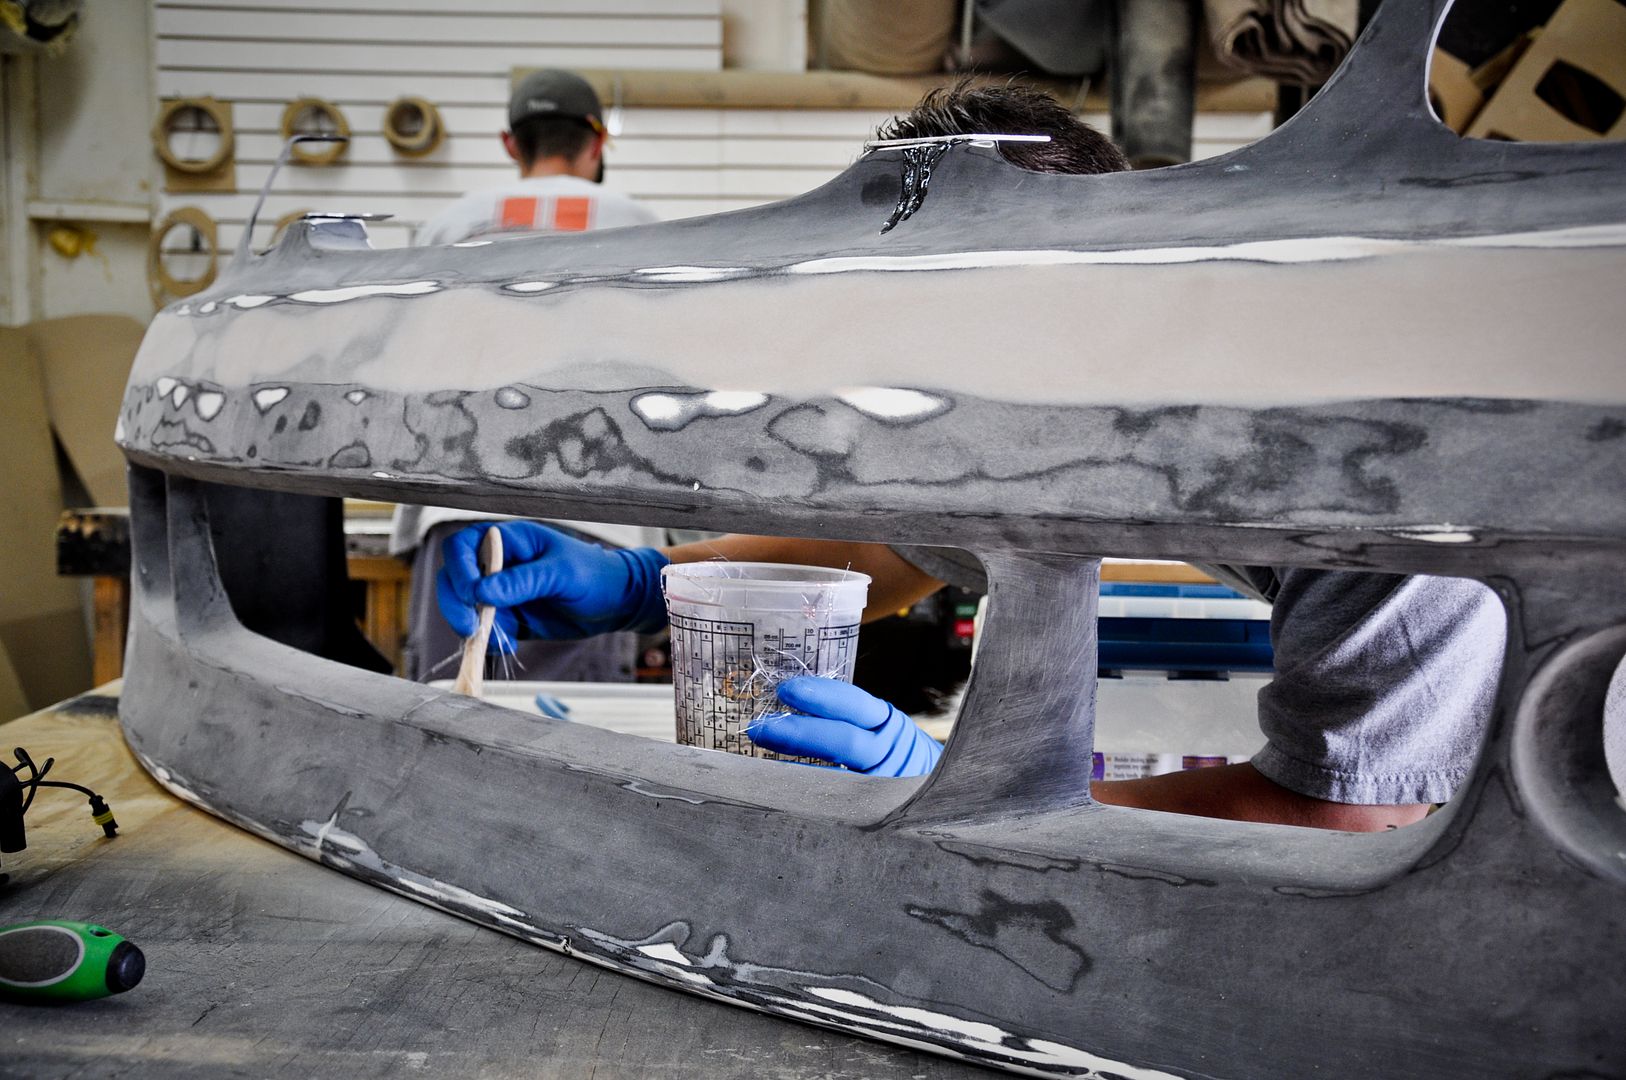
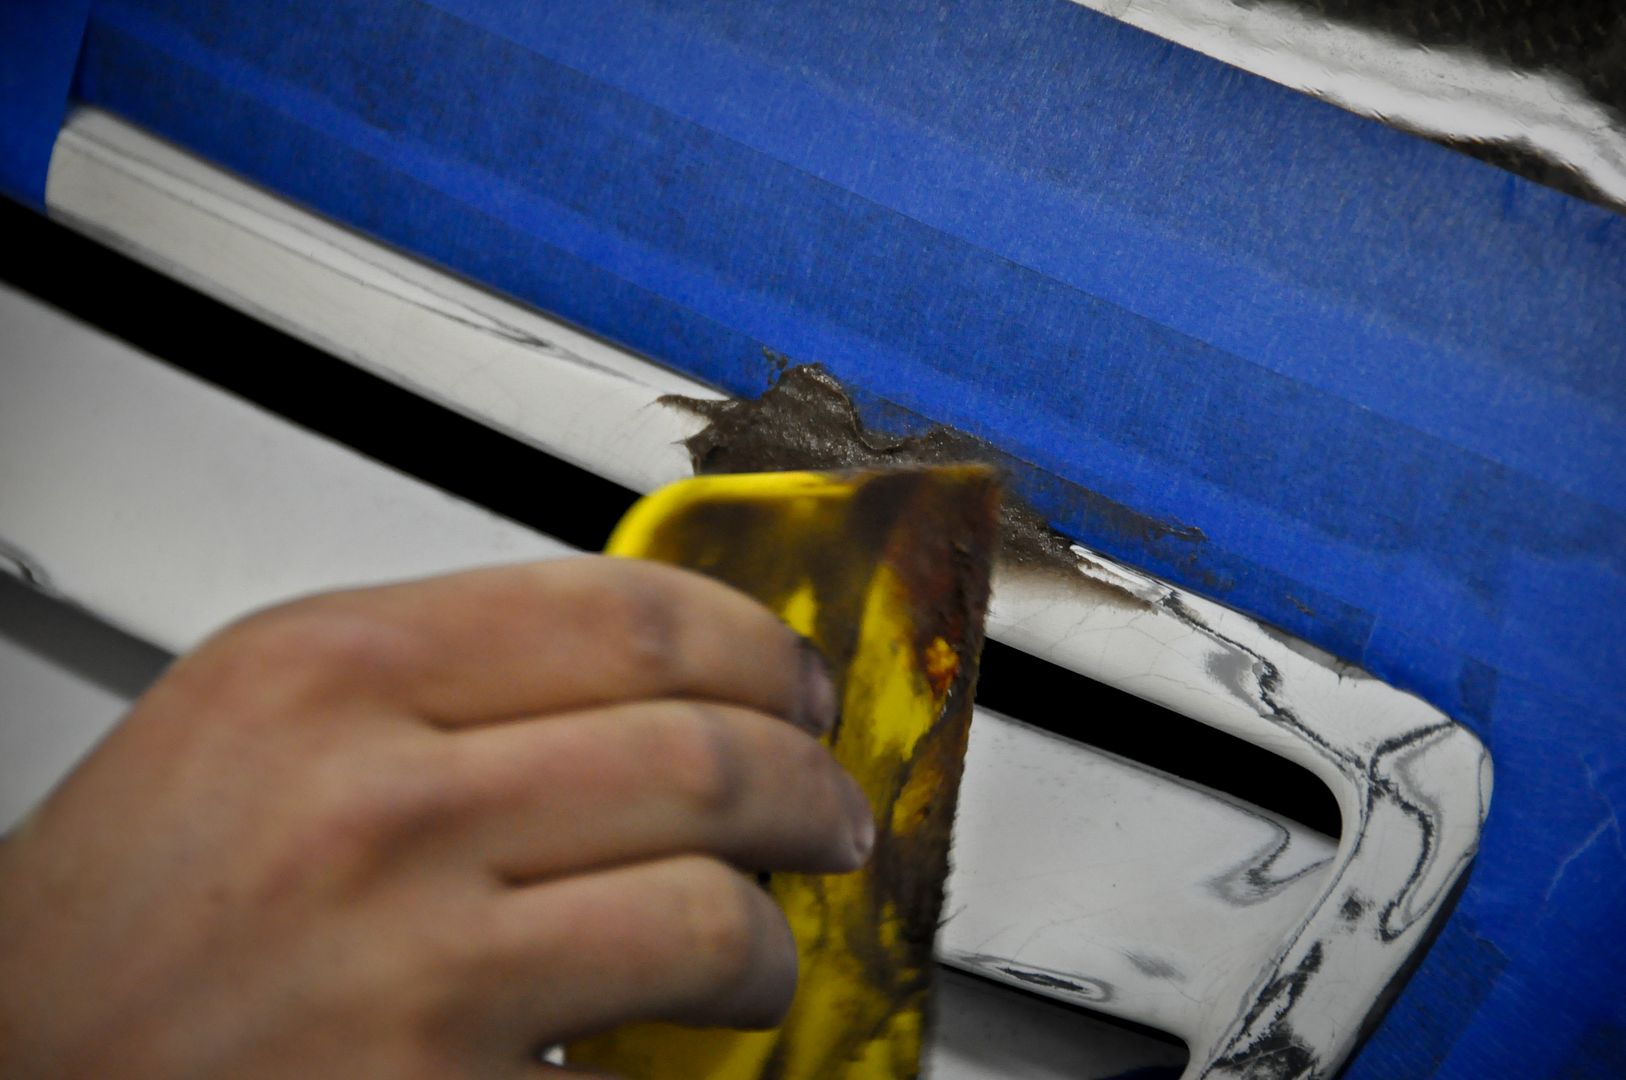
First coat of filler
Second coat
More sanding

 03-19-11, 04:15 AM
#460
Rough look at it
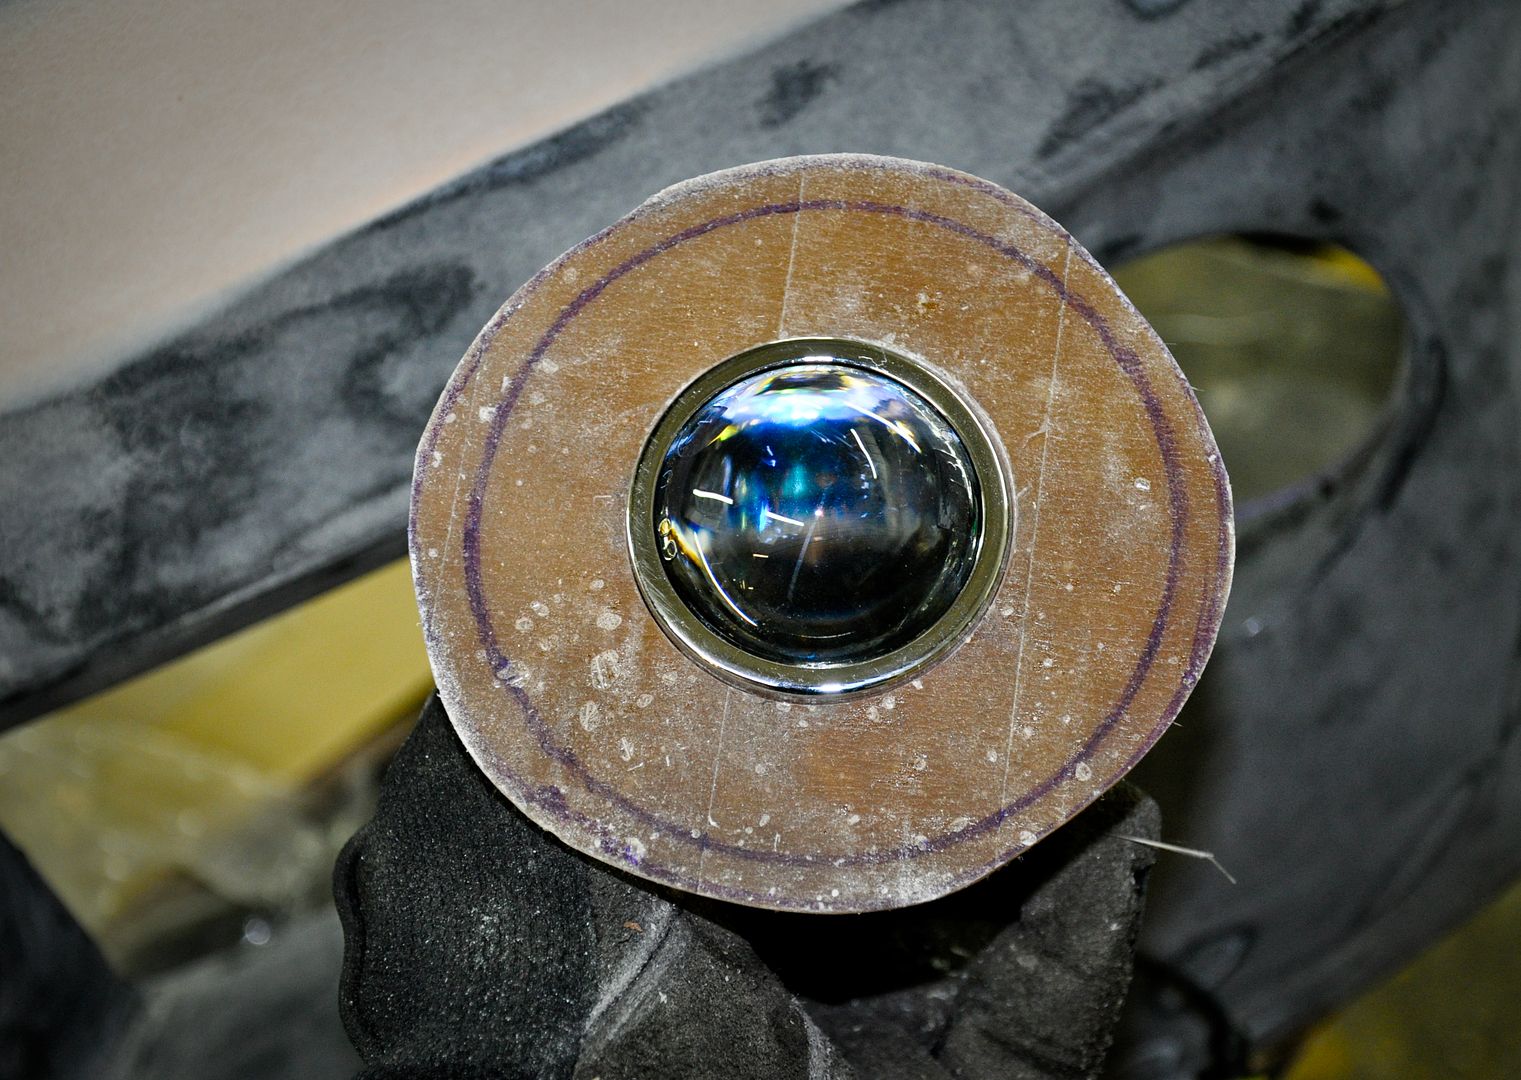
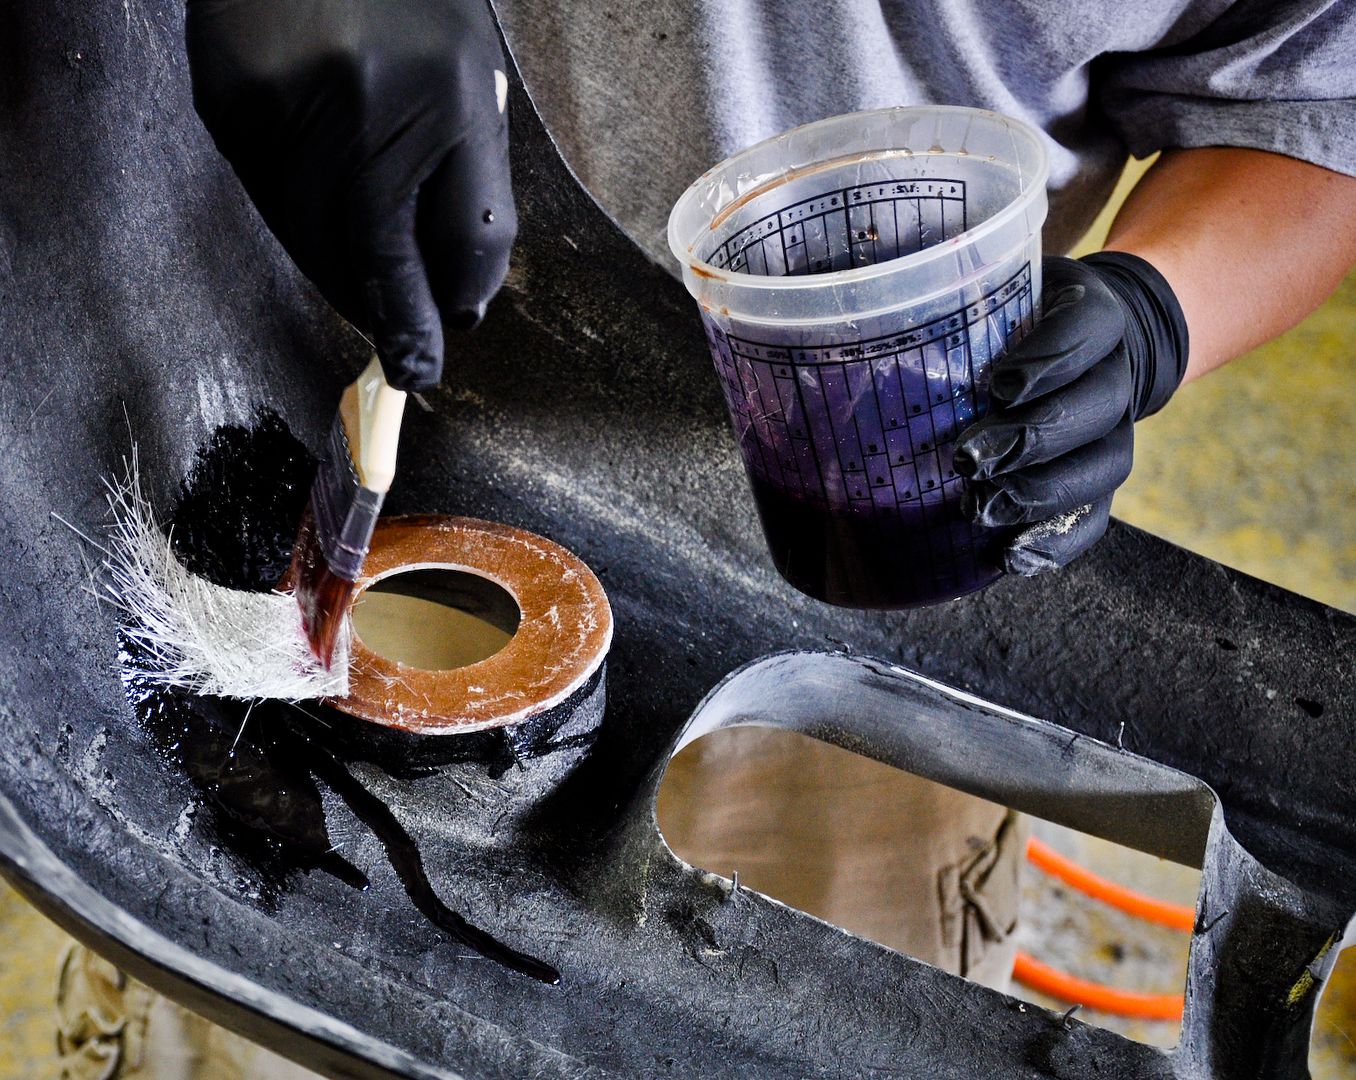
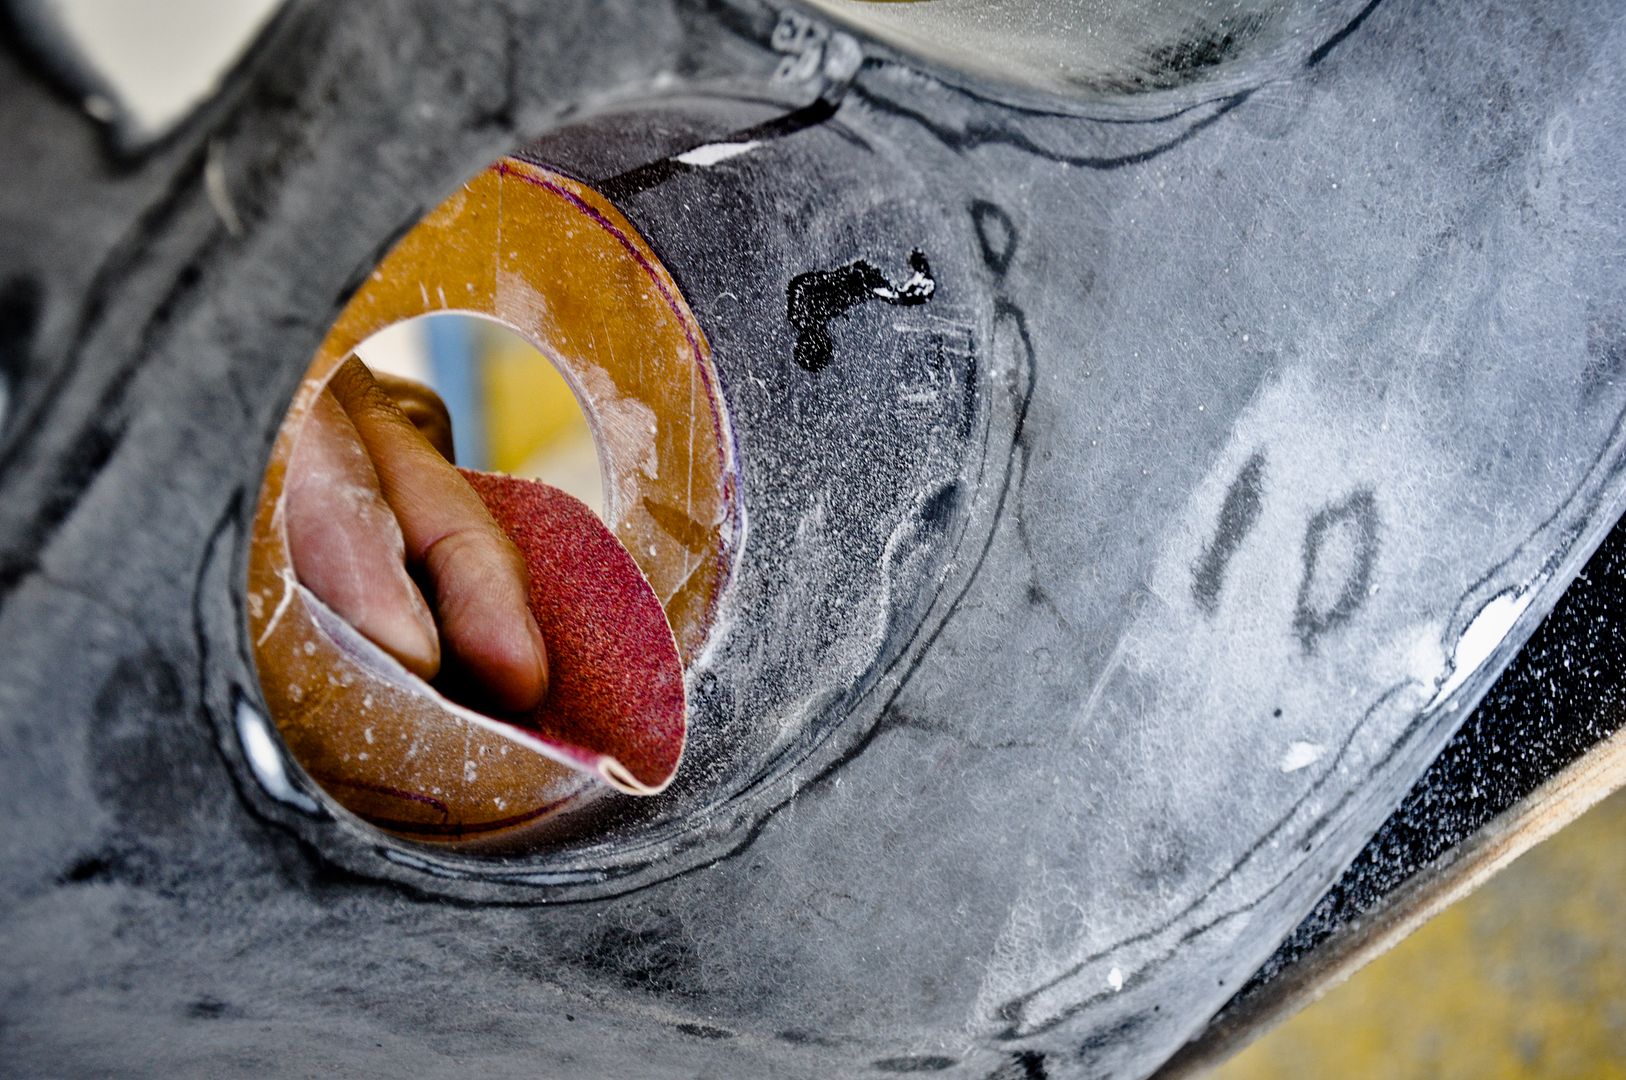
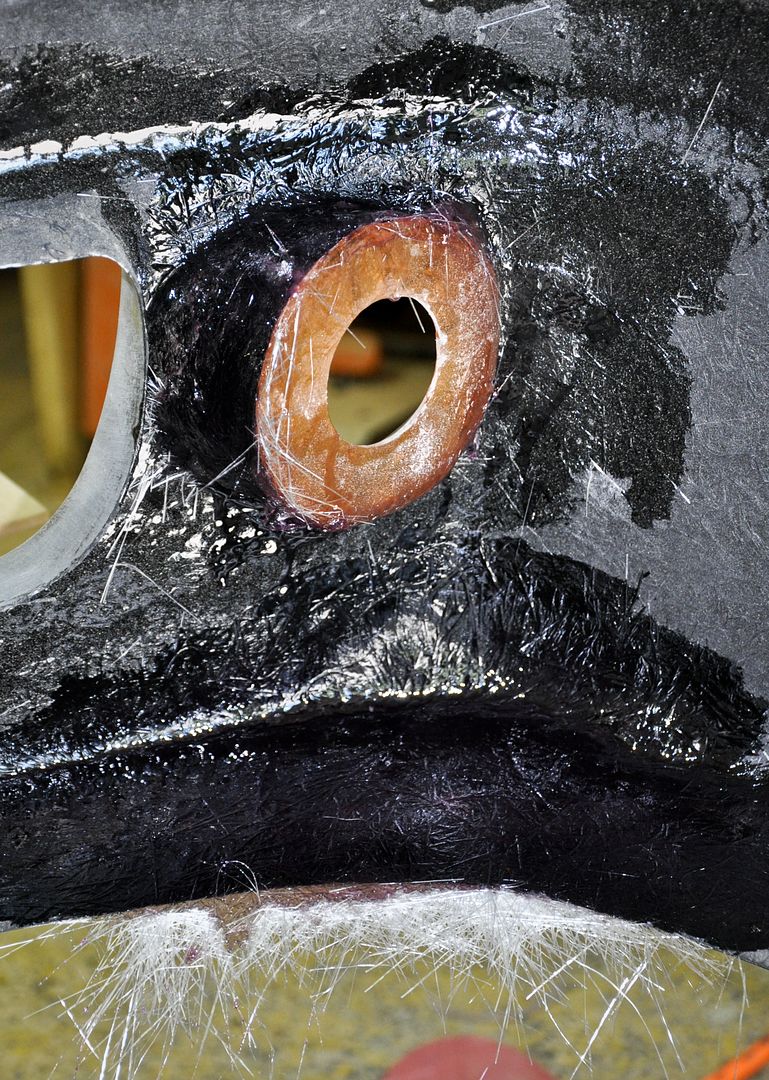
Making fiberglass rings to hold in the new custom fogs
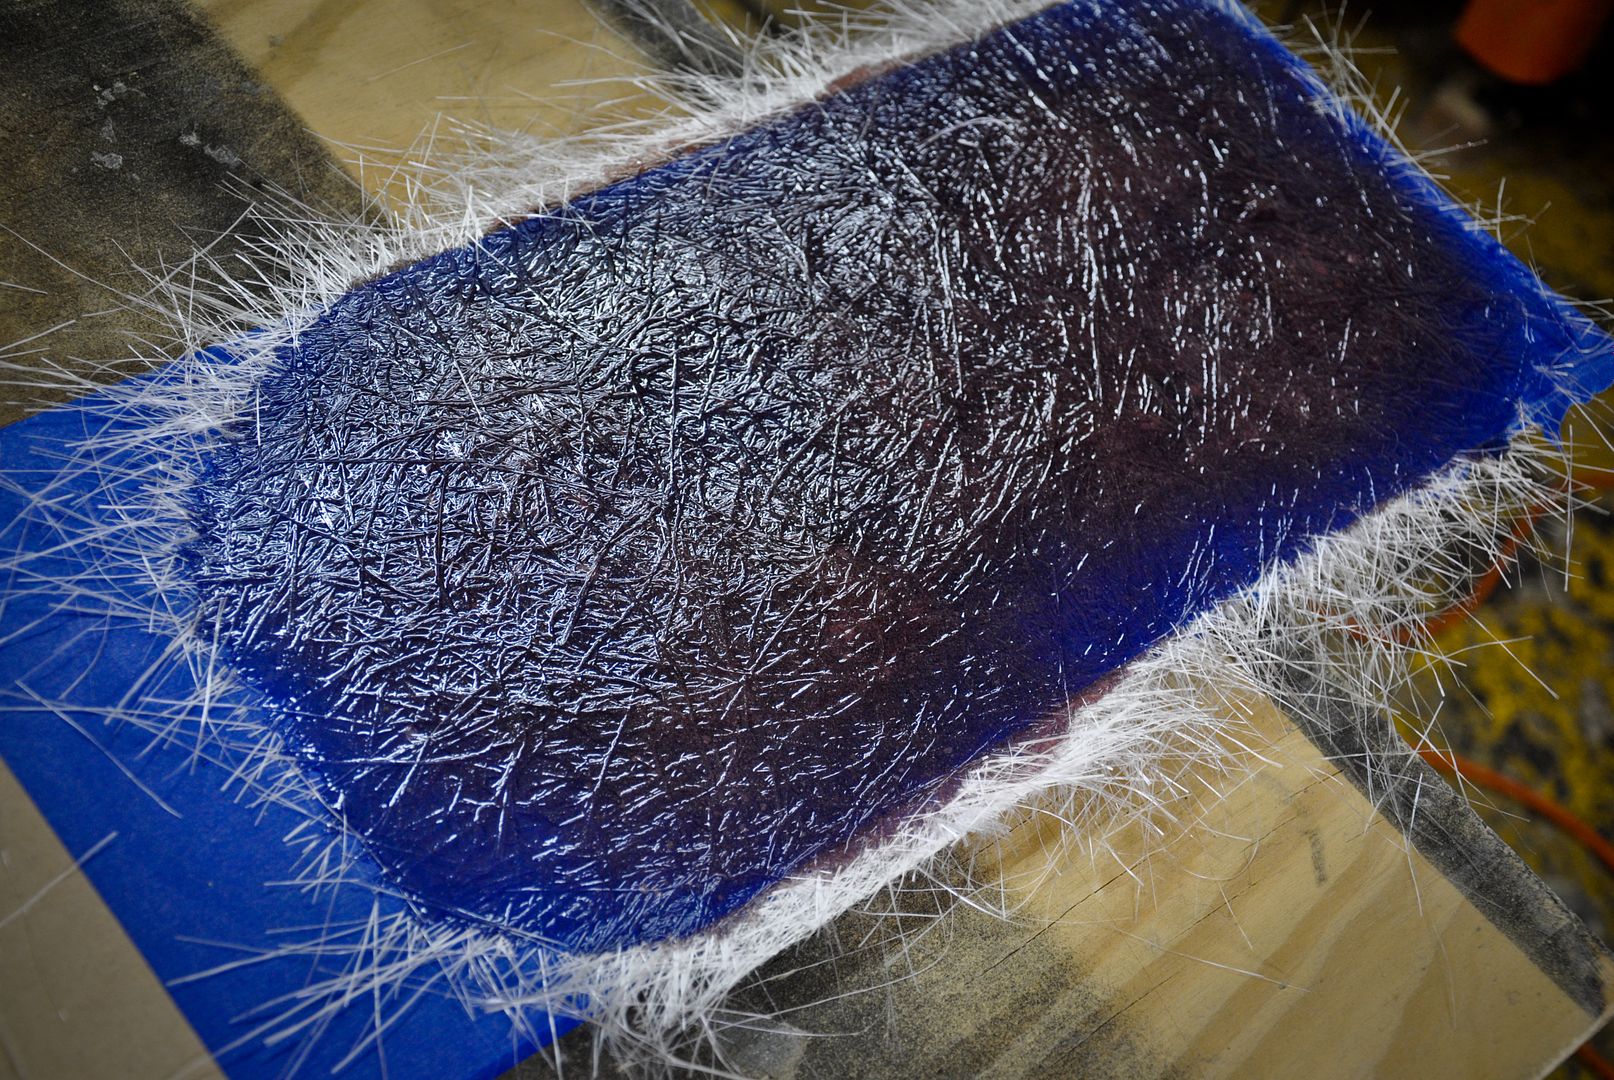
Cut out the rings
Time for a test fit
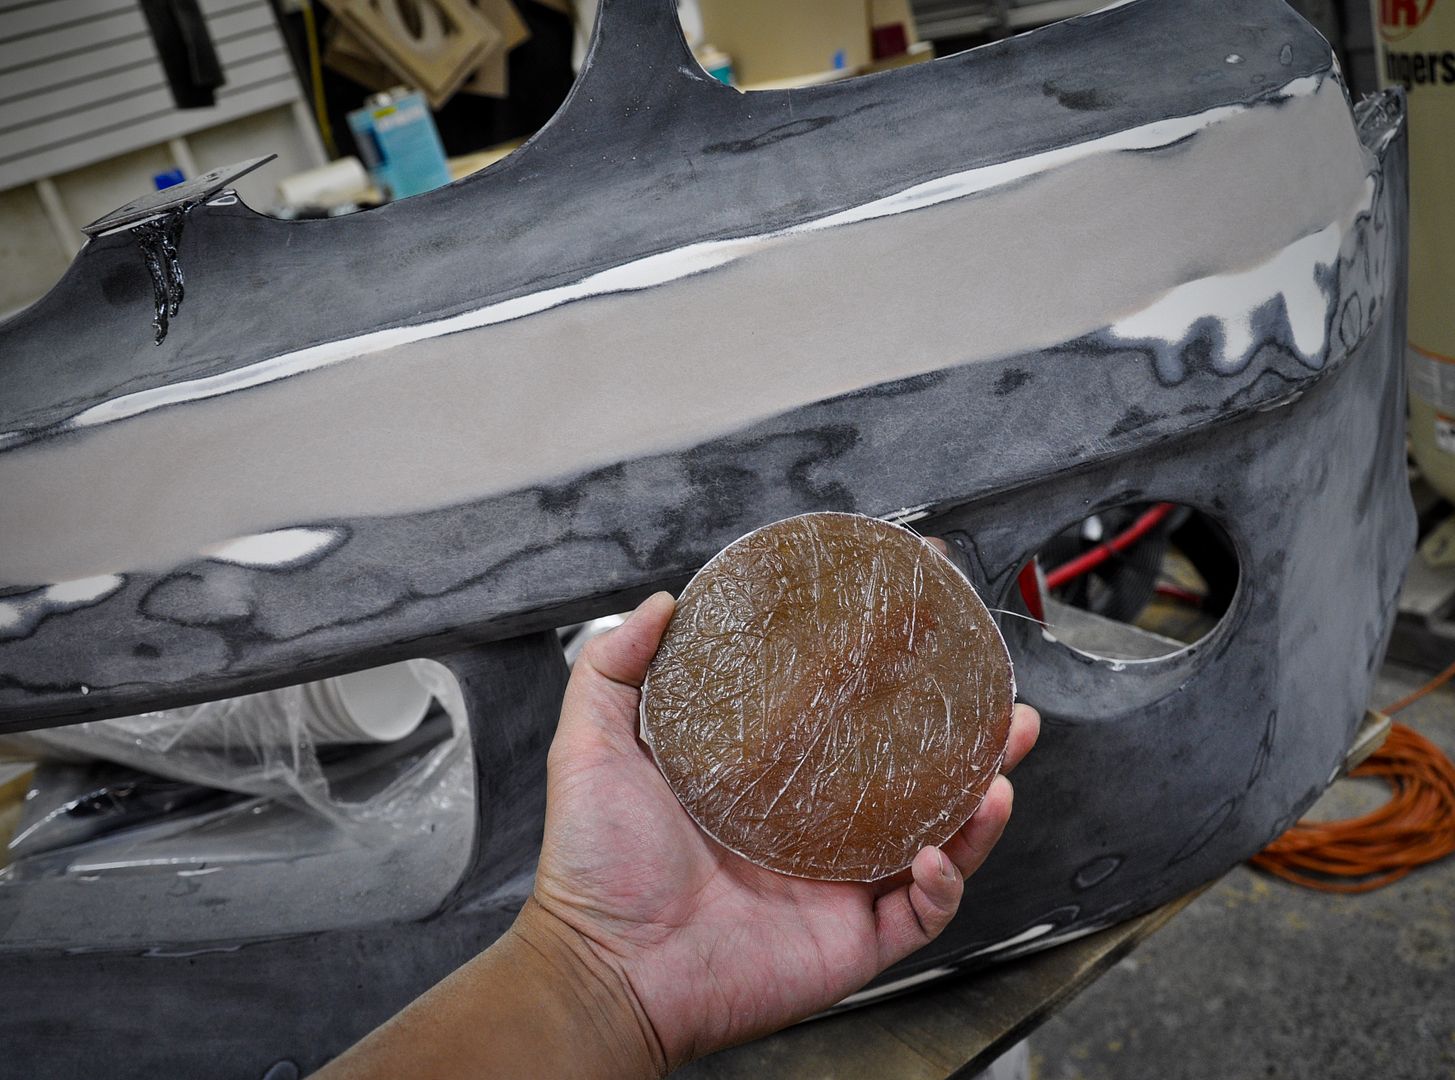
Kinda getting the idea here

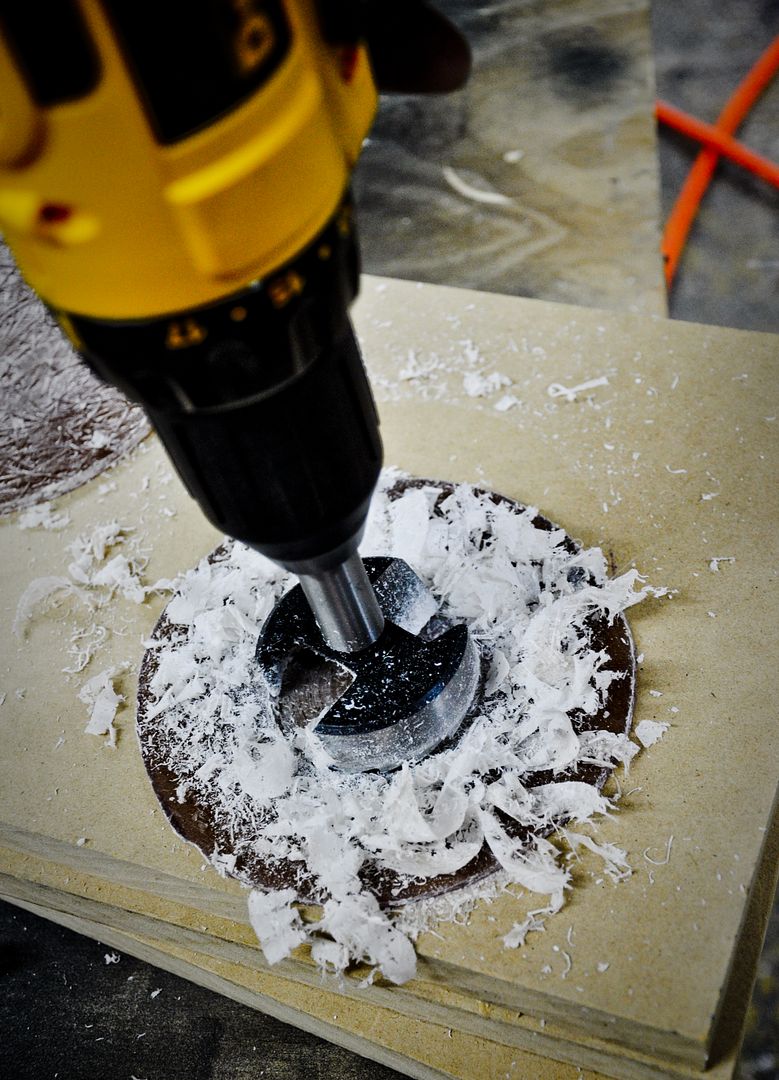
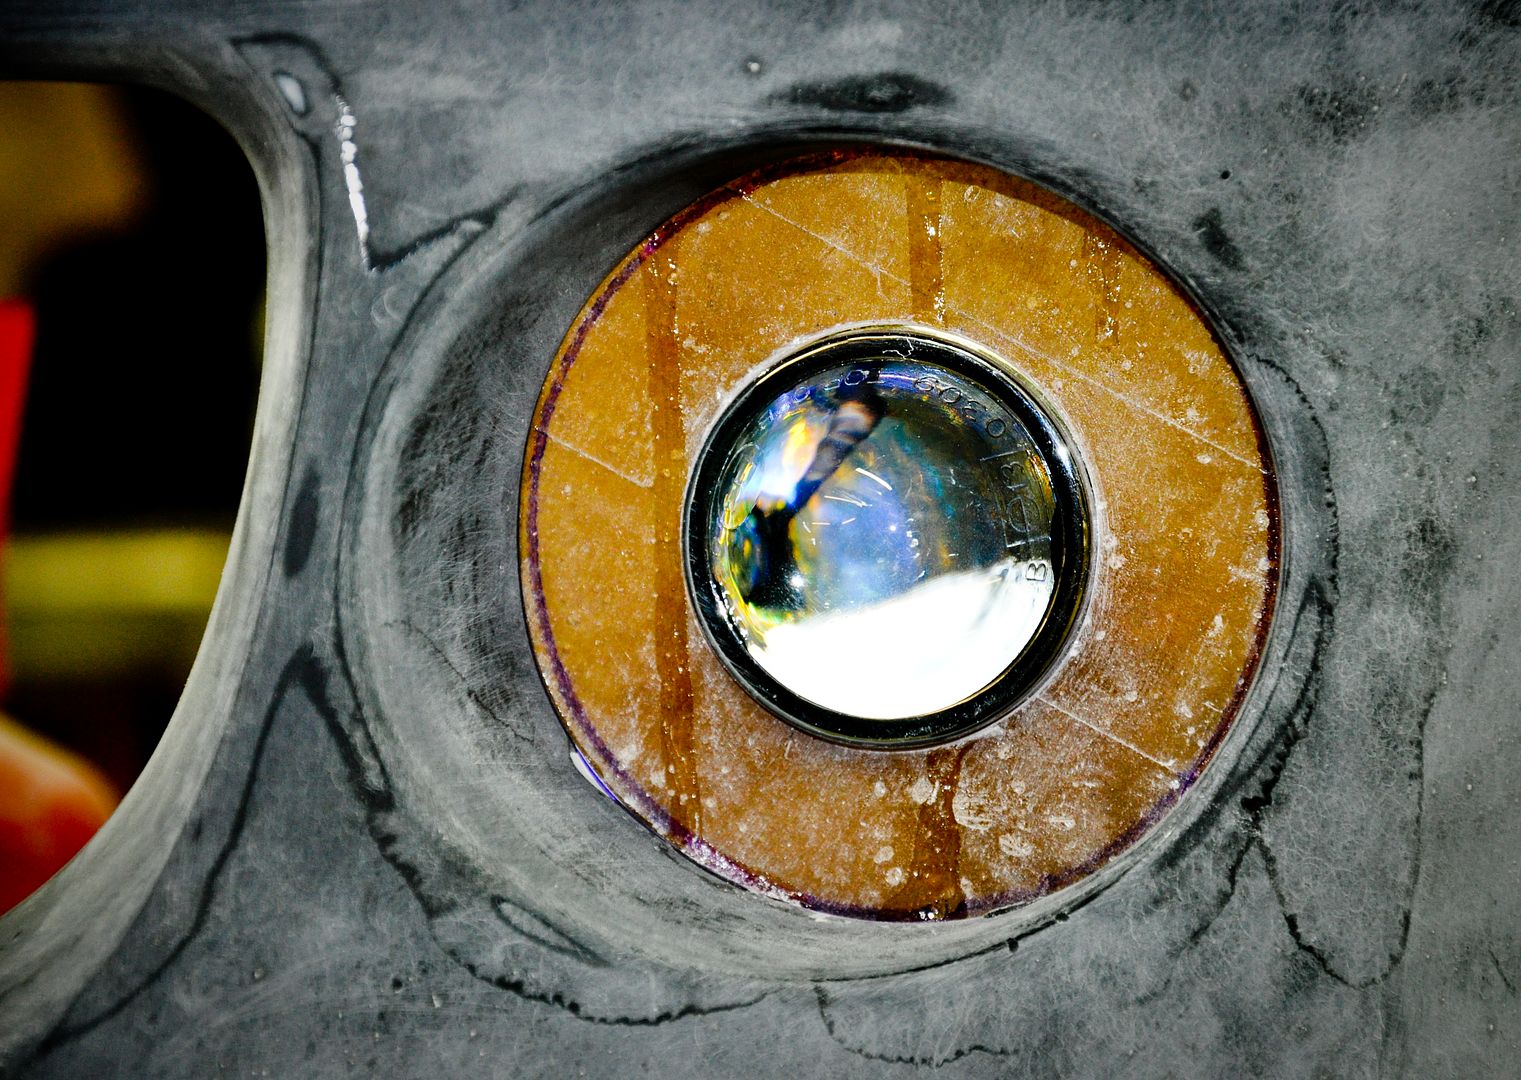
Cut out a circle for where the fogs will go through
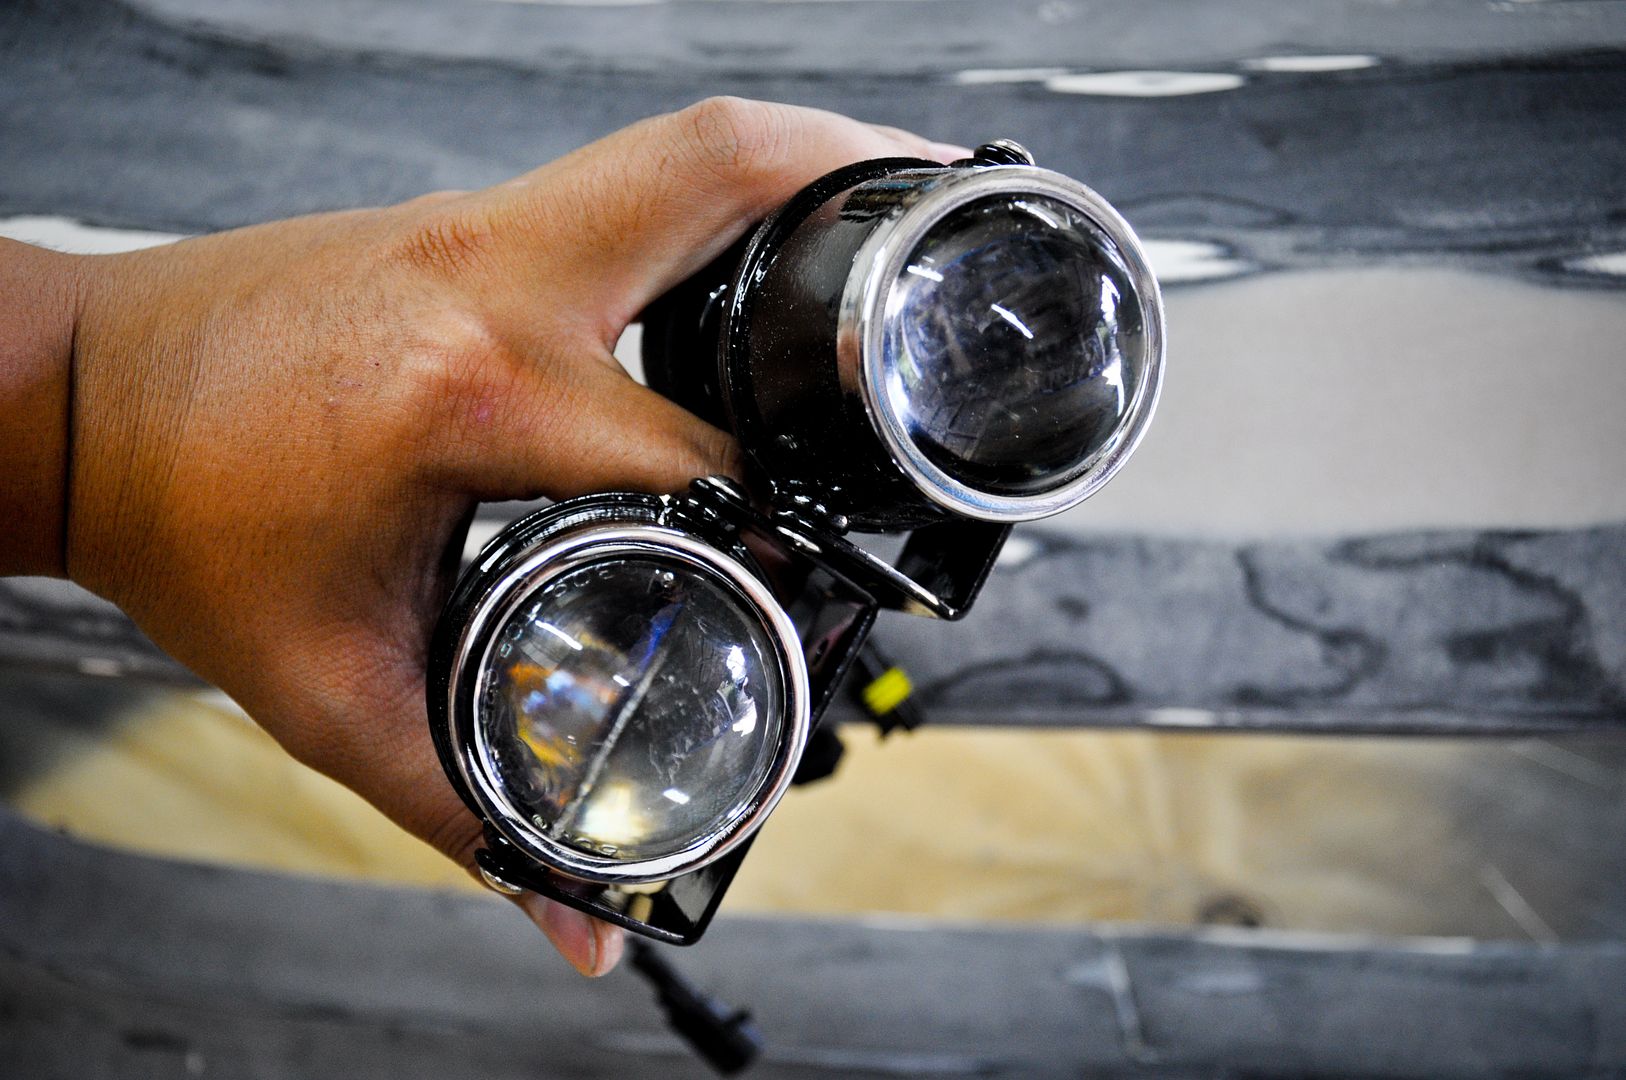
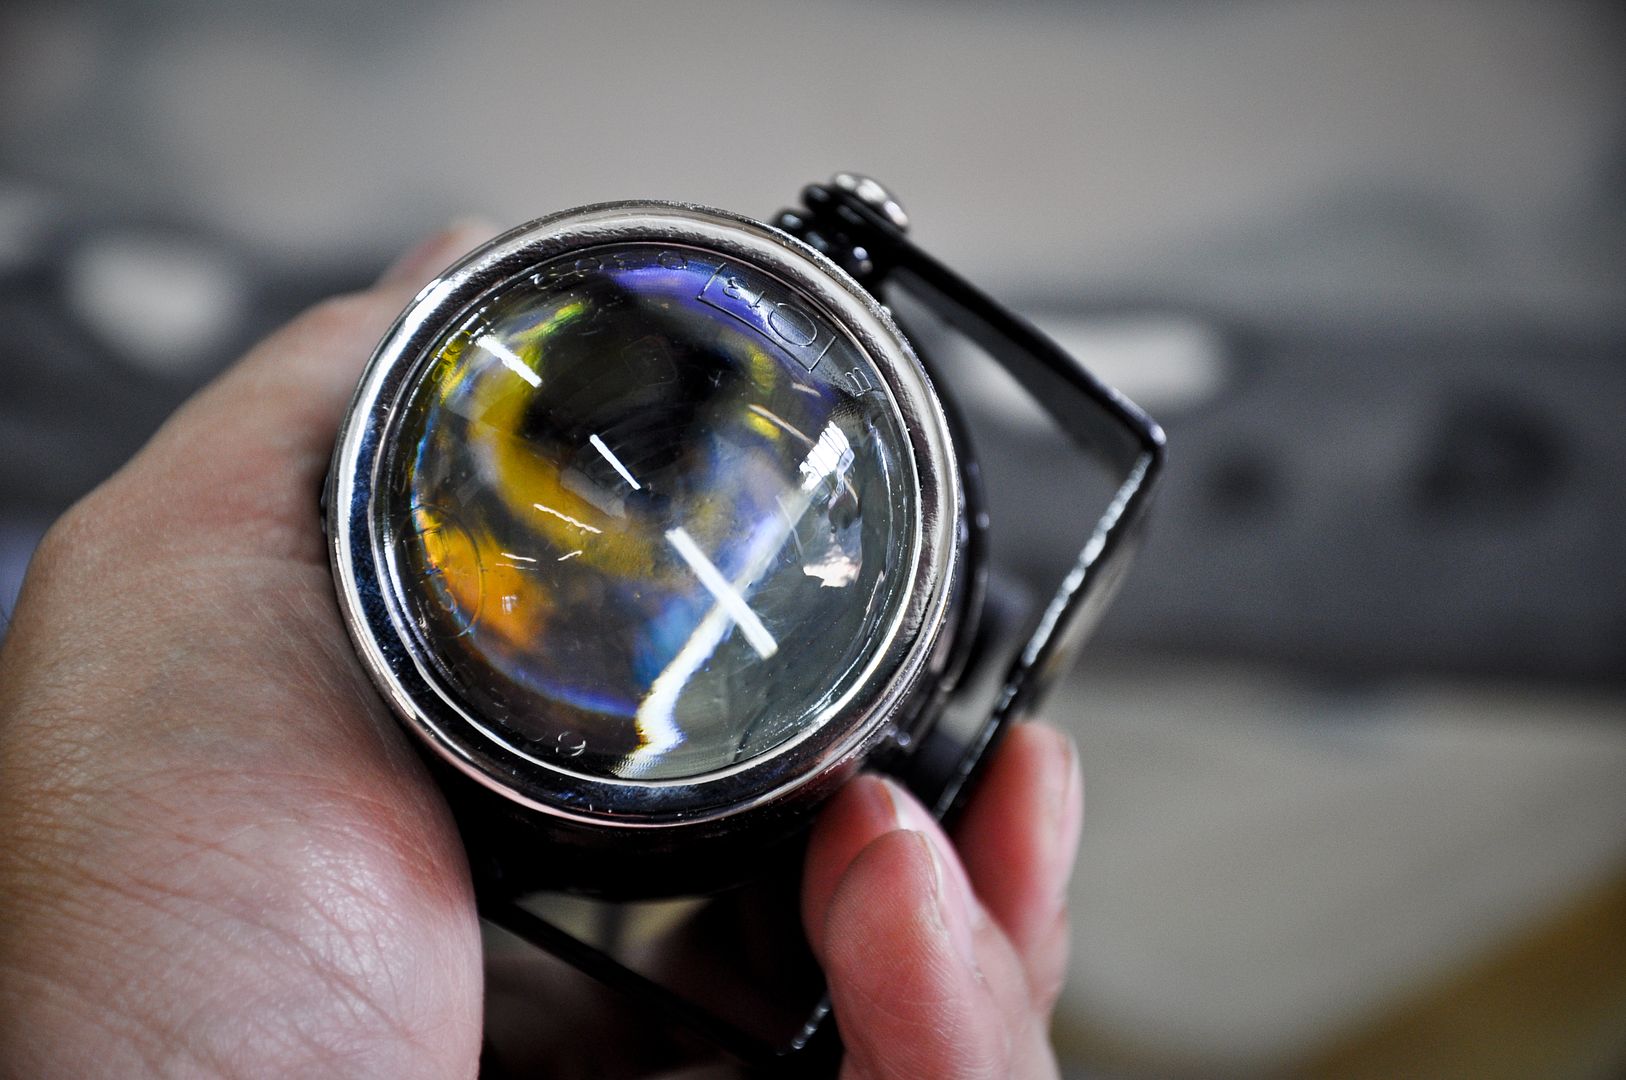
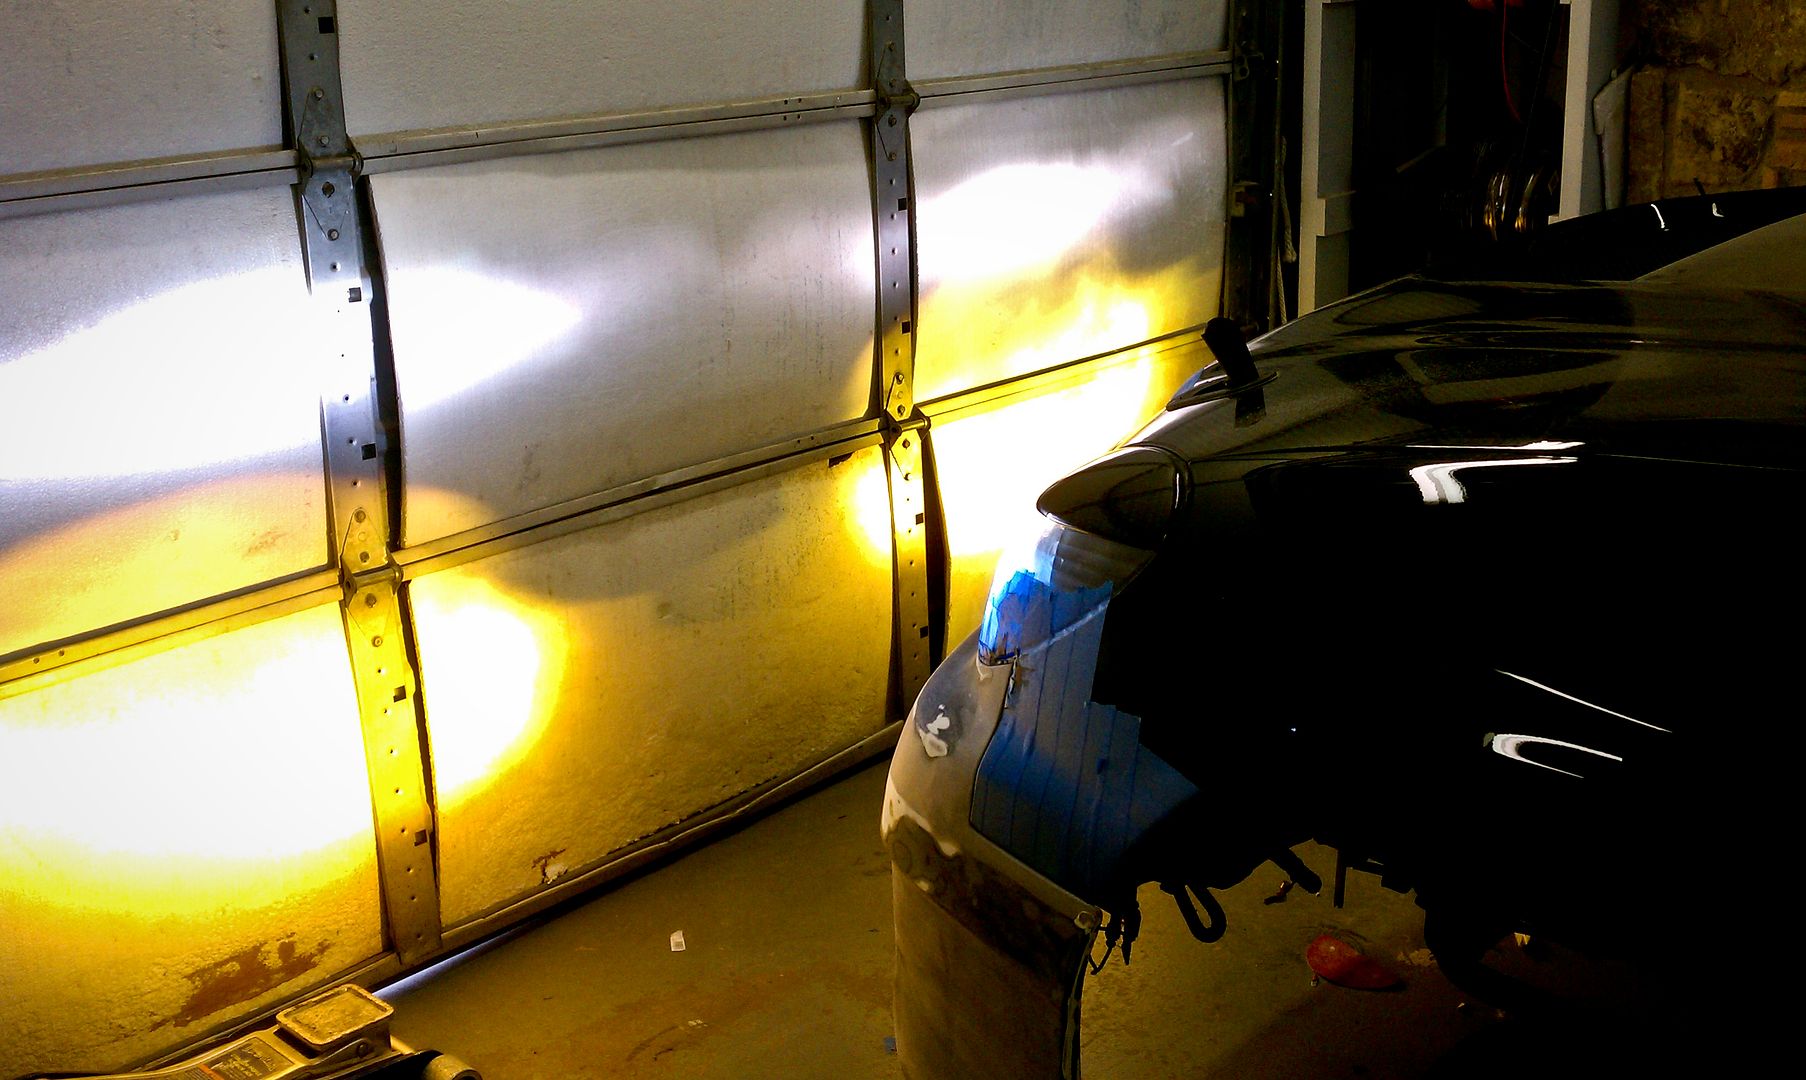
The new HID 3K fogs with cut off projector beams
Rough idea
Mock up


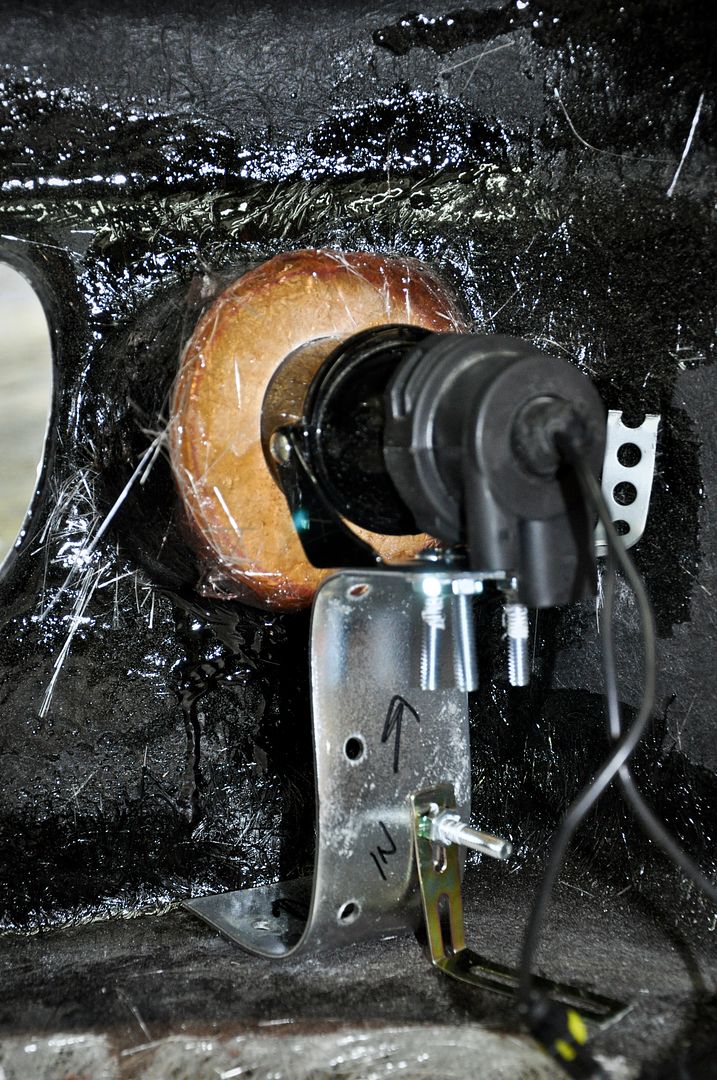
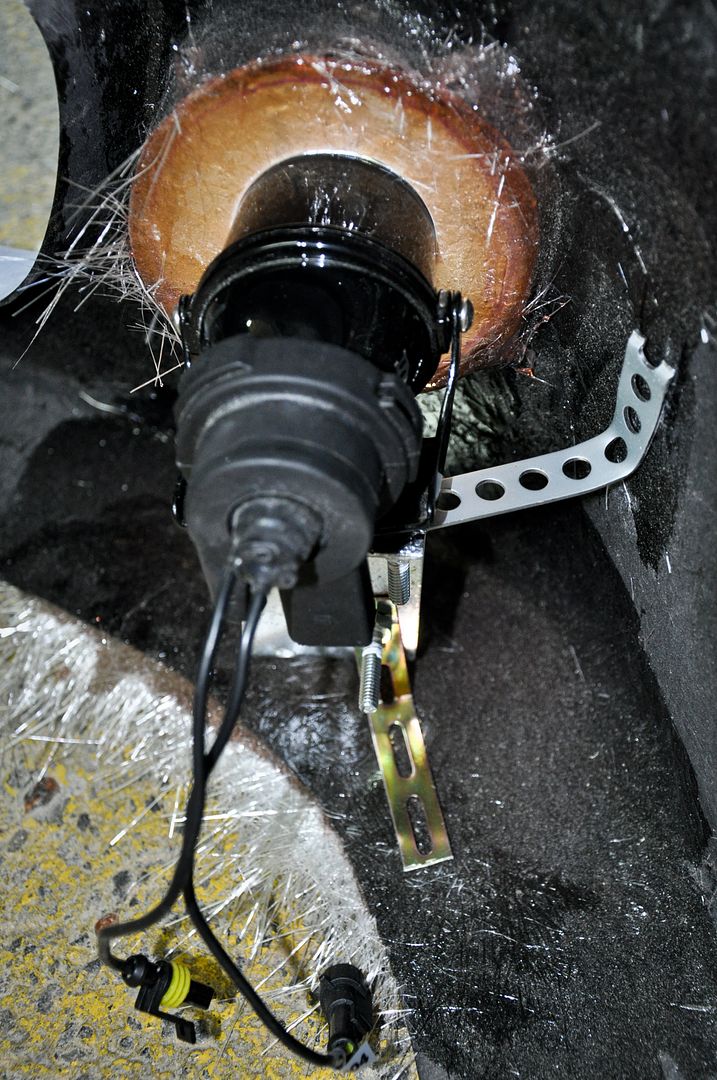
Made reinforcement brackets
Glassing the brackets in
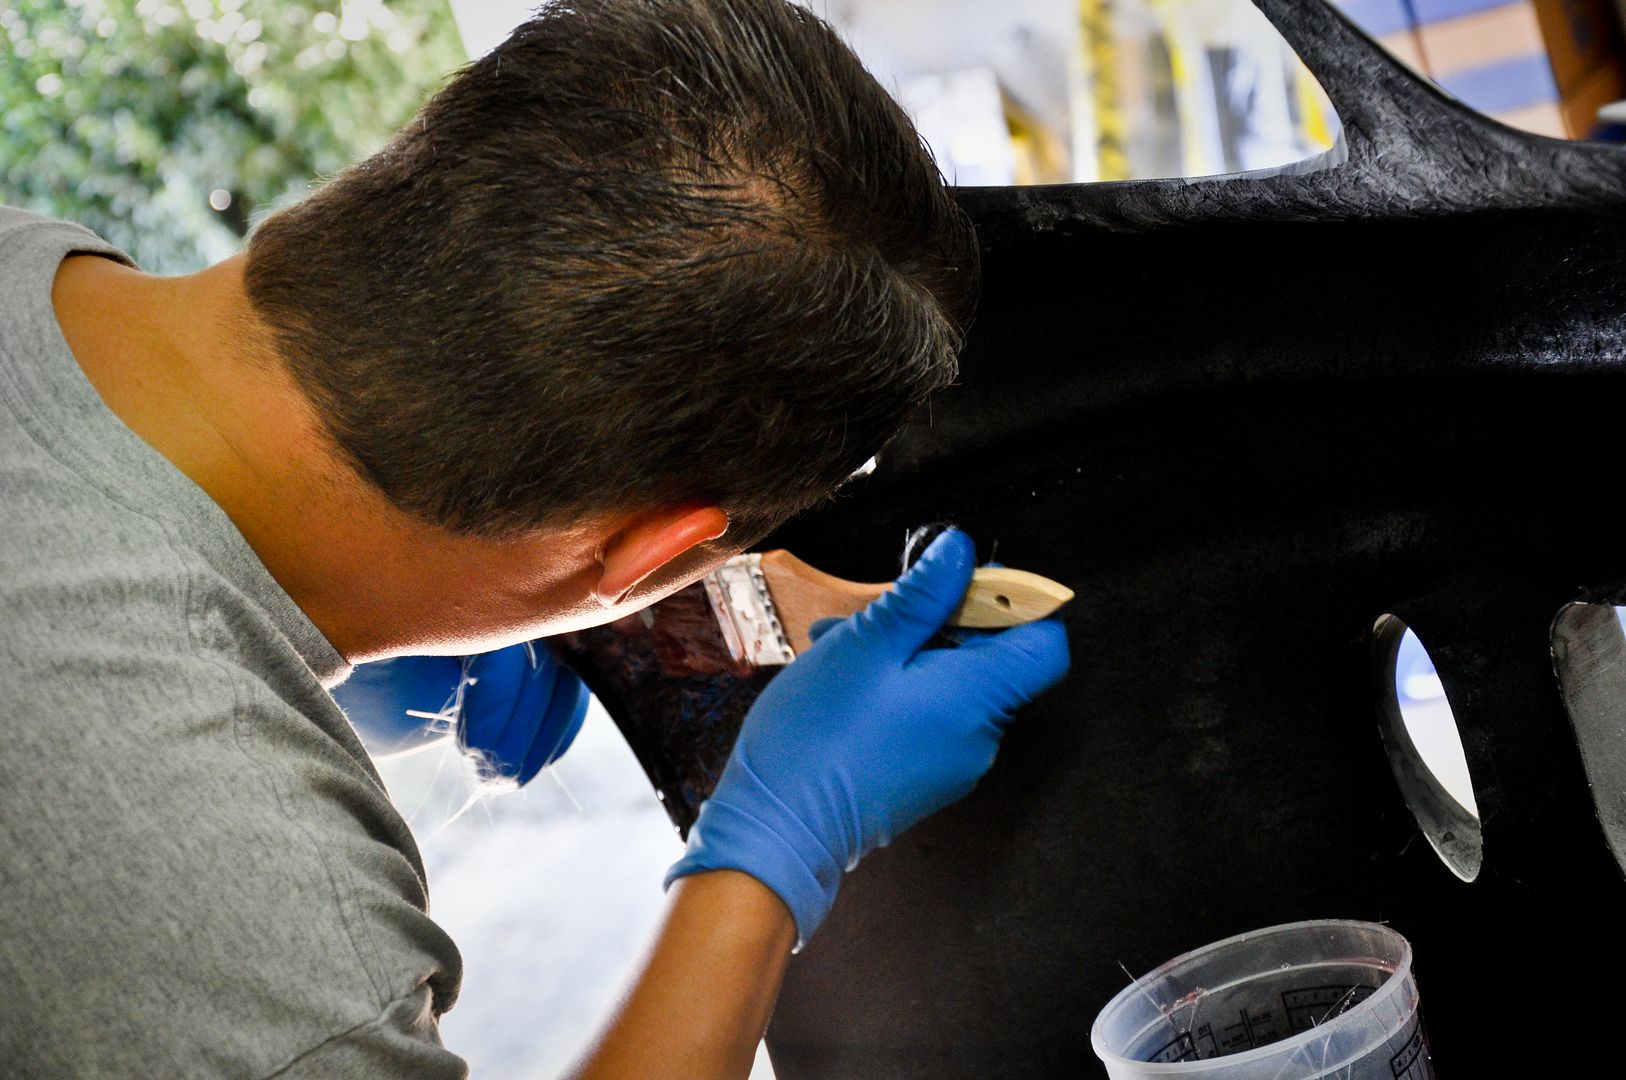
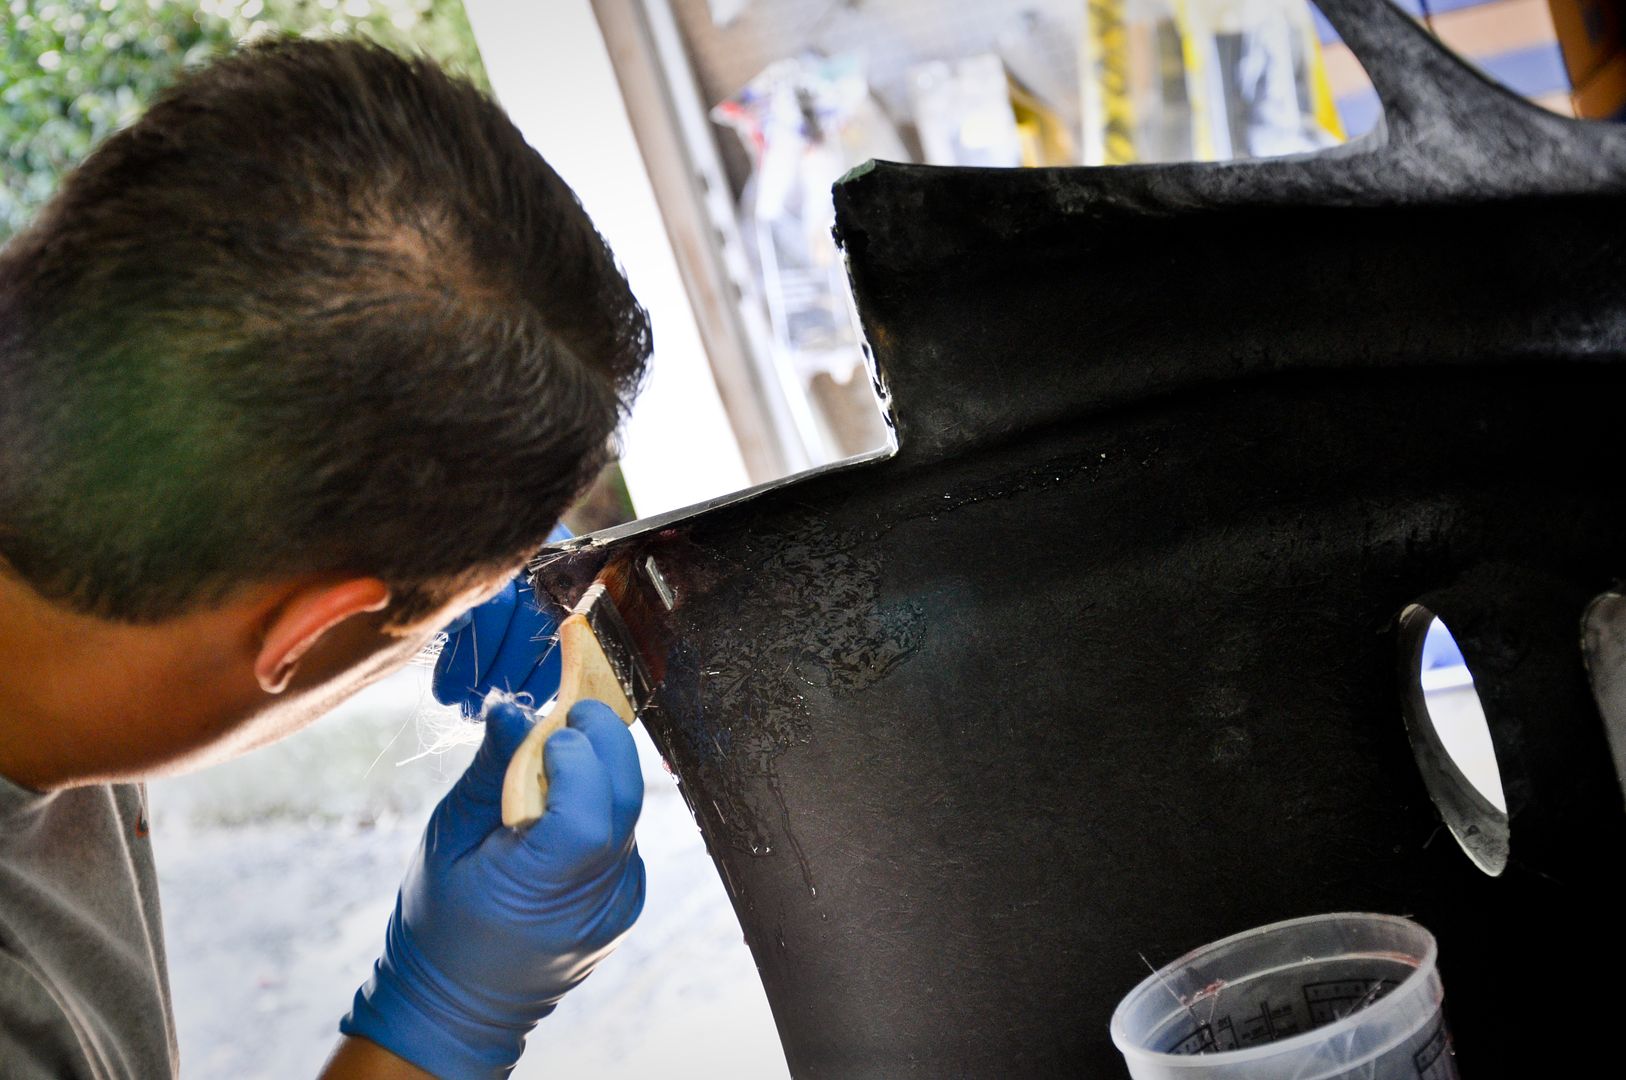
Glassing the foglight surrounds on
 03-19-11, 04:15 AM
#461
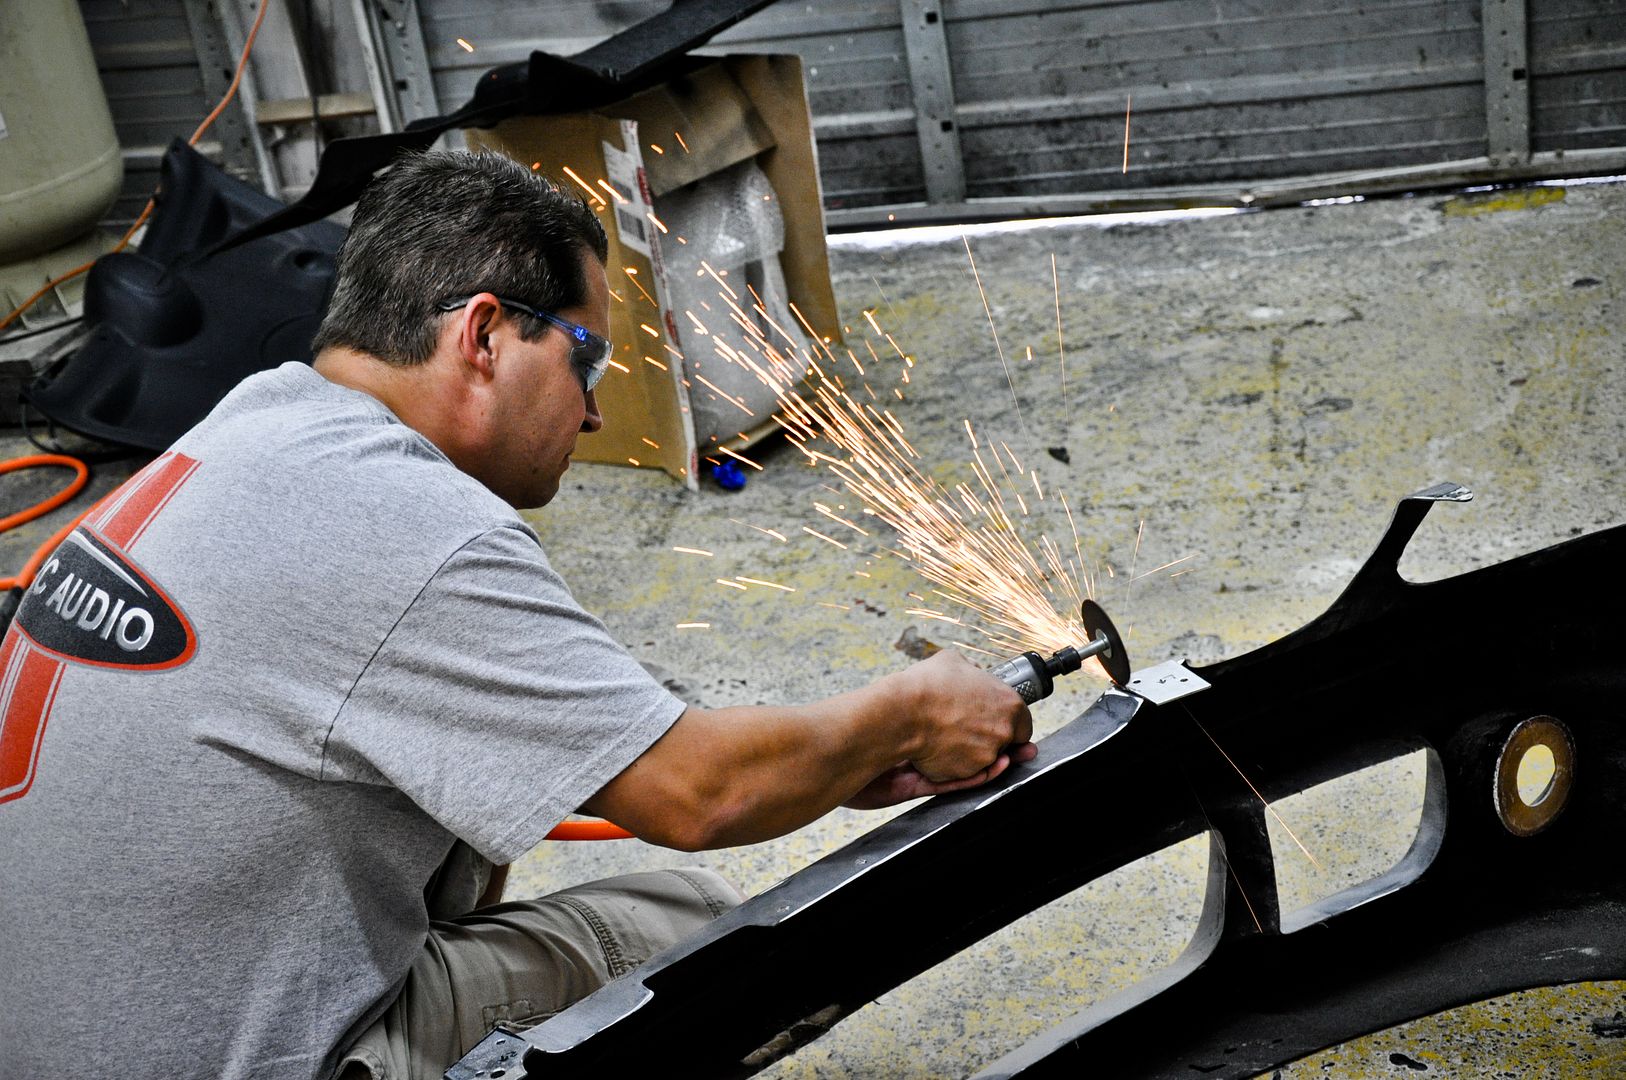
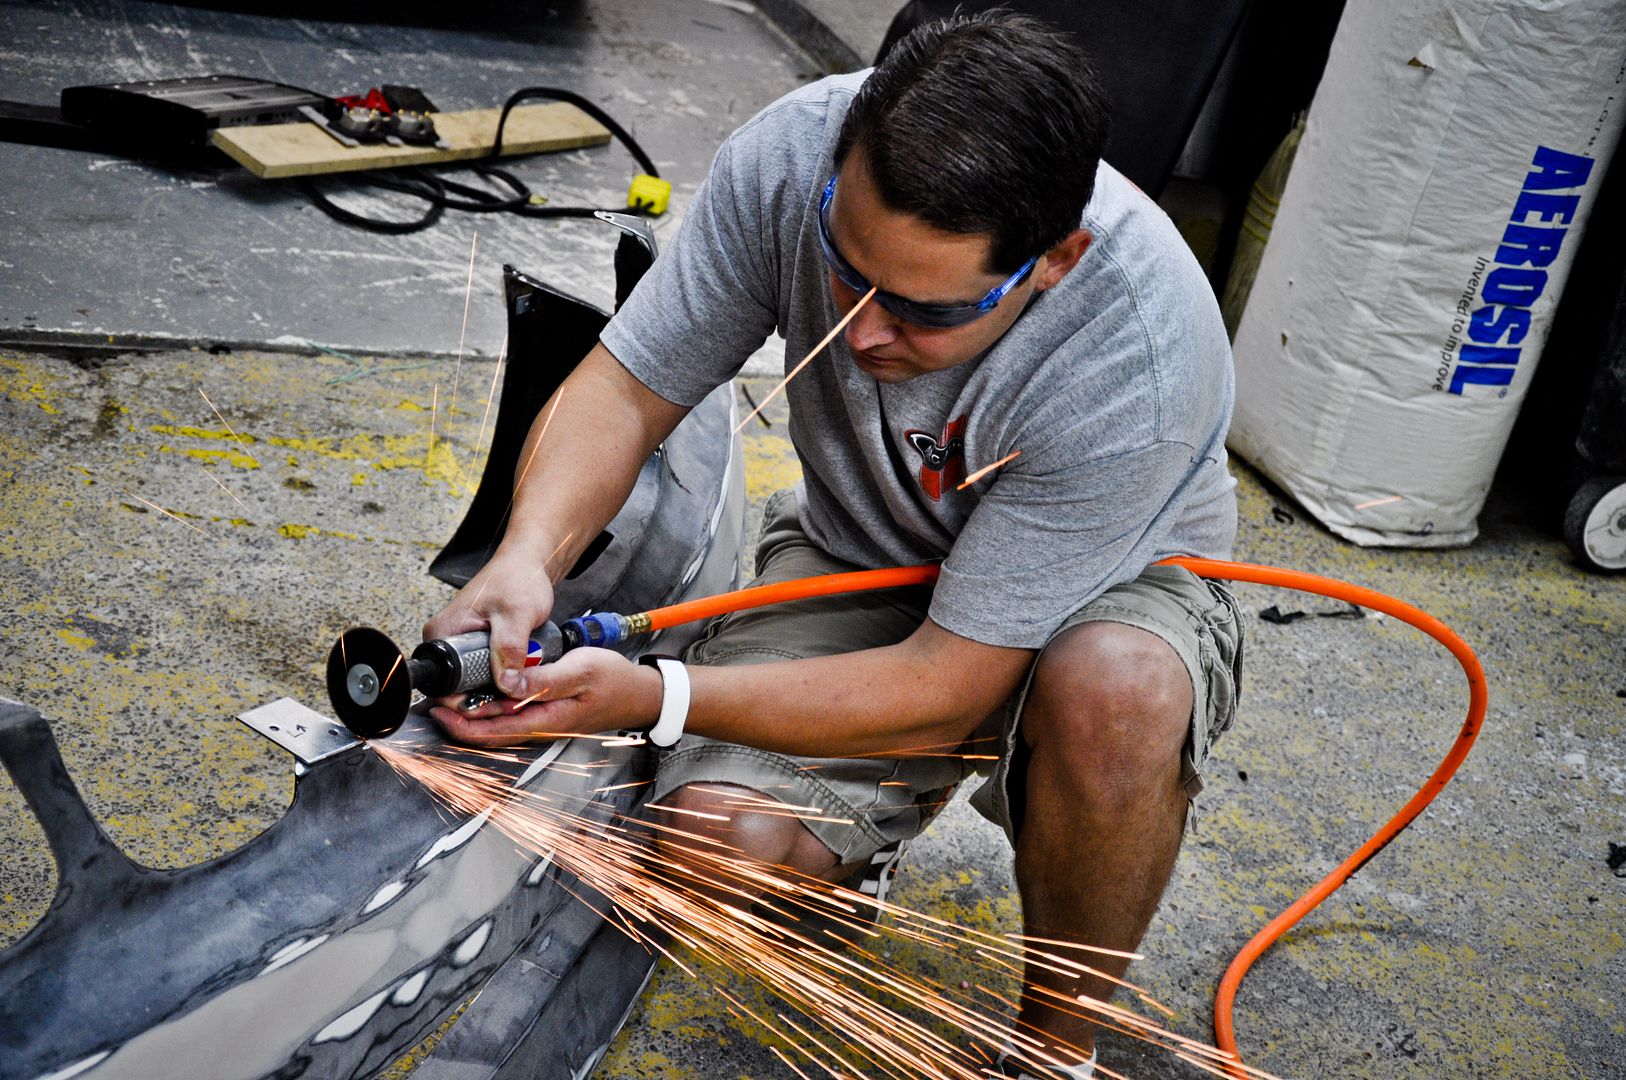
Trimming down the reinforcement brackets with a cutoff wheel
Some more reinforcing fiberglass applied


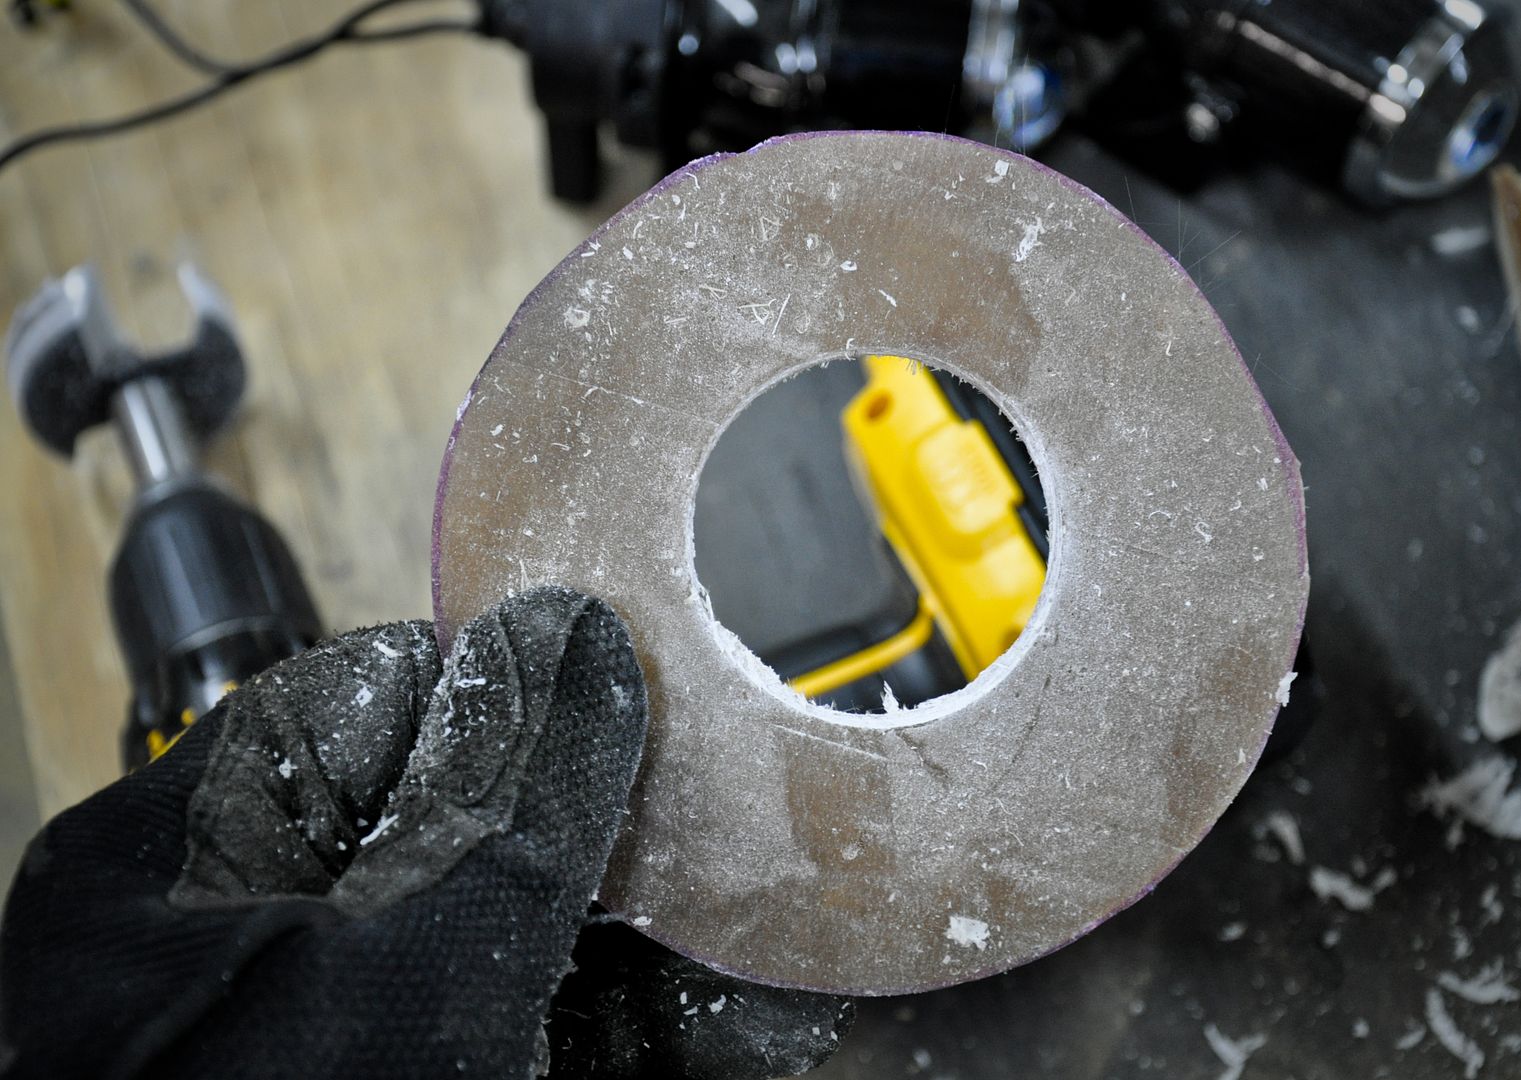
Sanding out the fog light rings to allow for even spacing for the fogs
Test fit with my home made brackets lol they look jenky but they are super strong

Some more reinforcing fiberglass applied
Sanding out the fog light rings to allow for even spacing for the fogs
Test fit with my home made brackets lol they look jenky but they are super strong

 03-19-11, 04:18 AM
#463
Added hardware
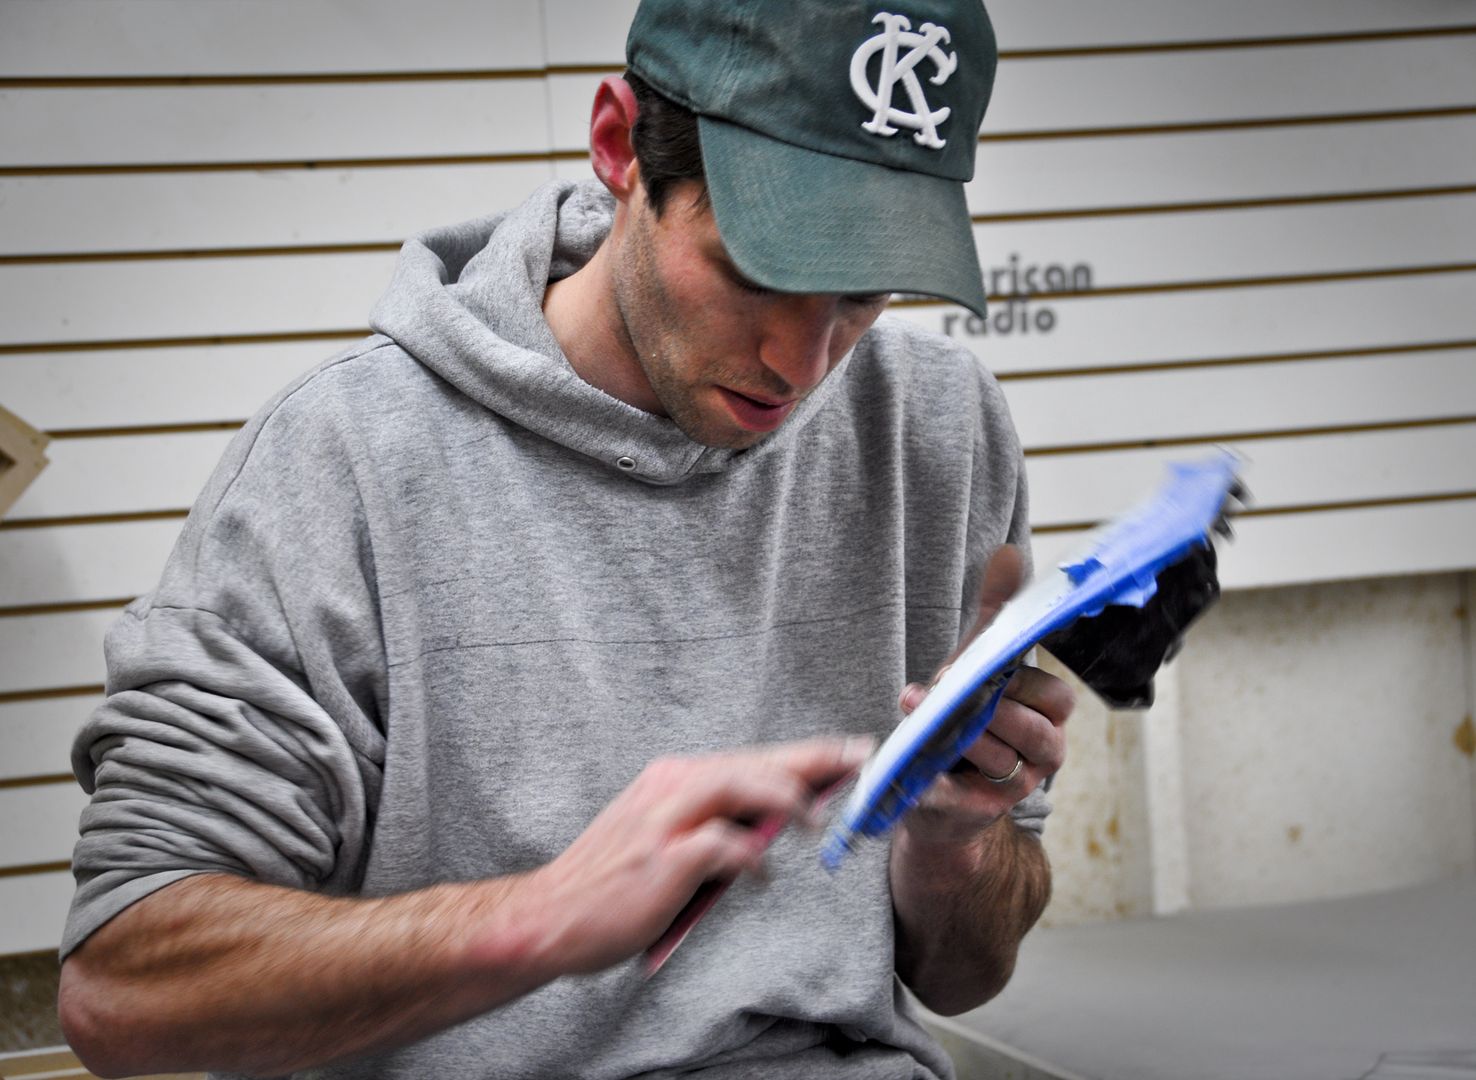
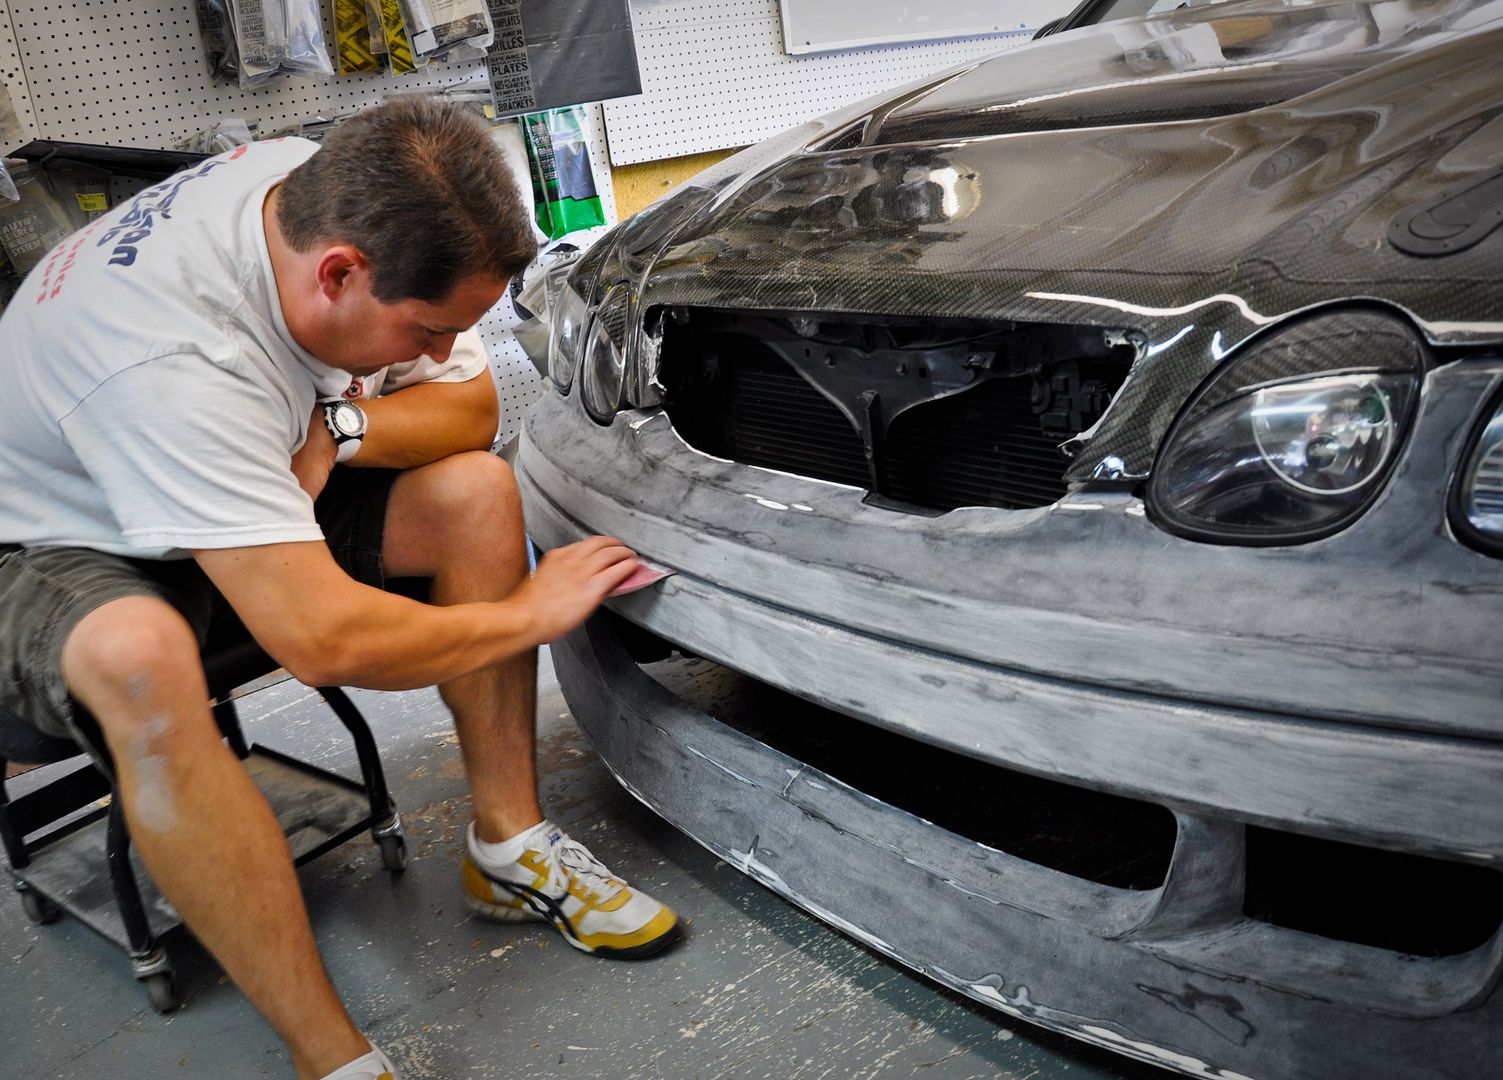
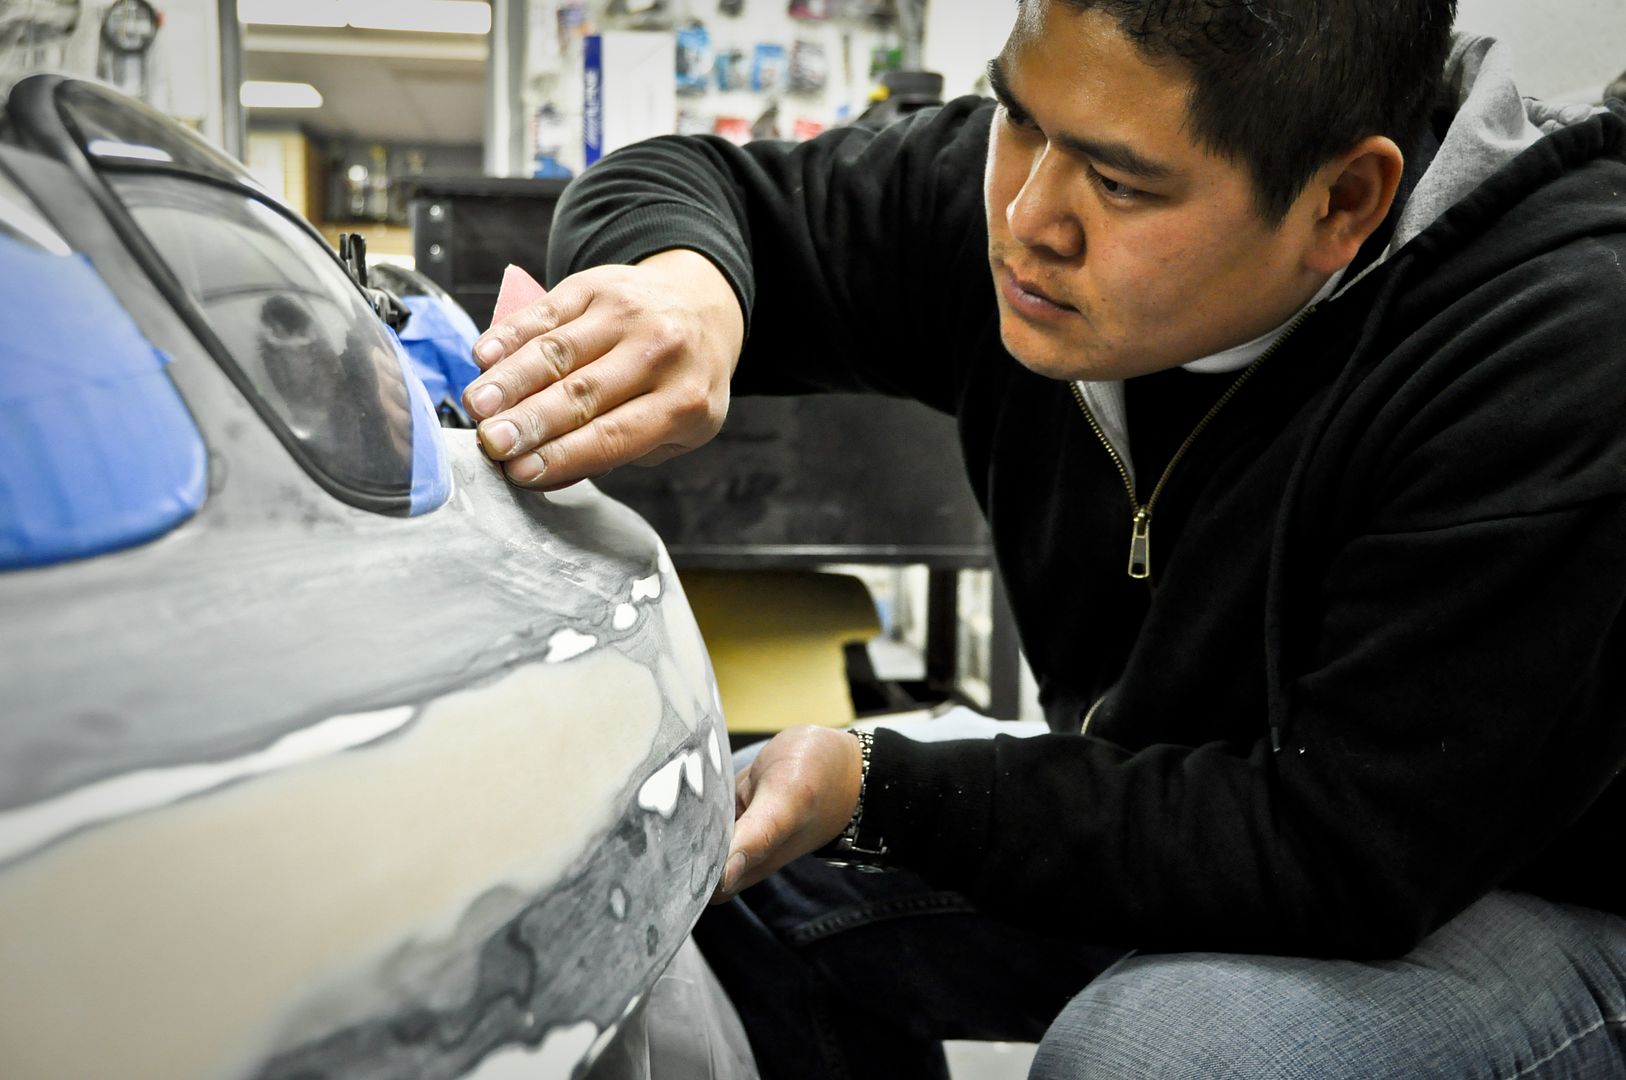
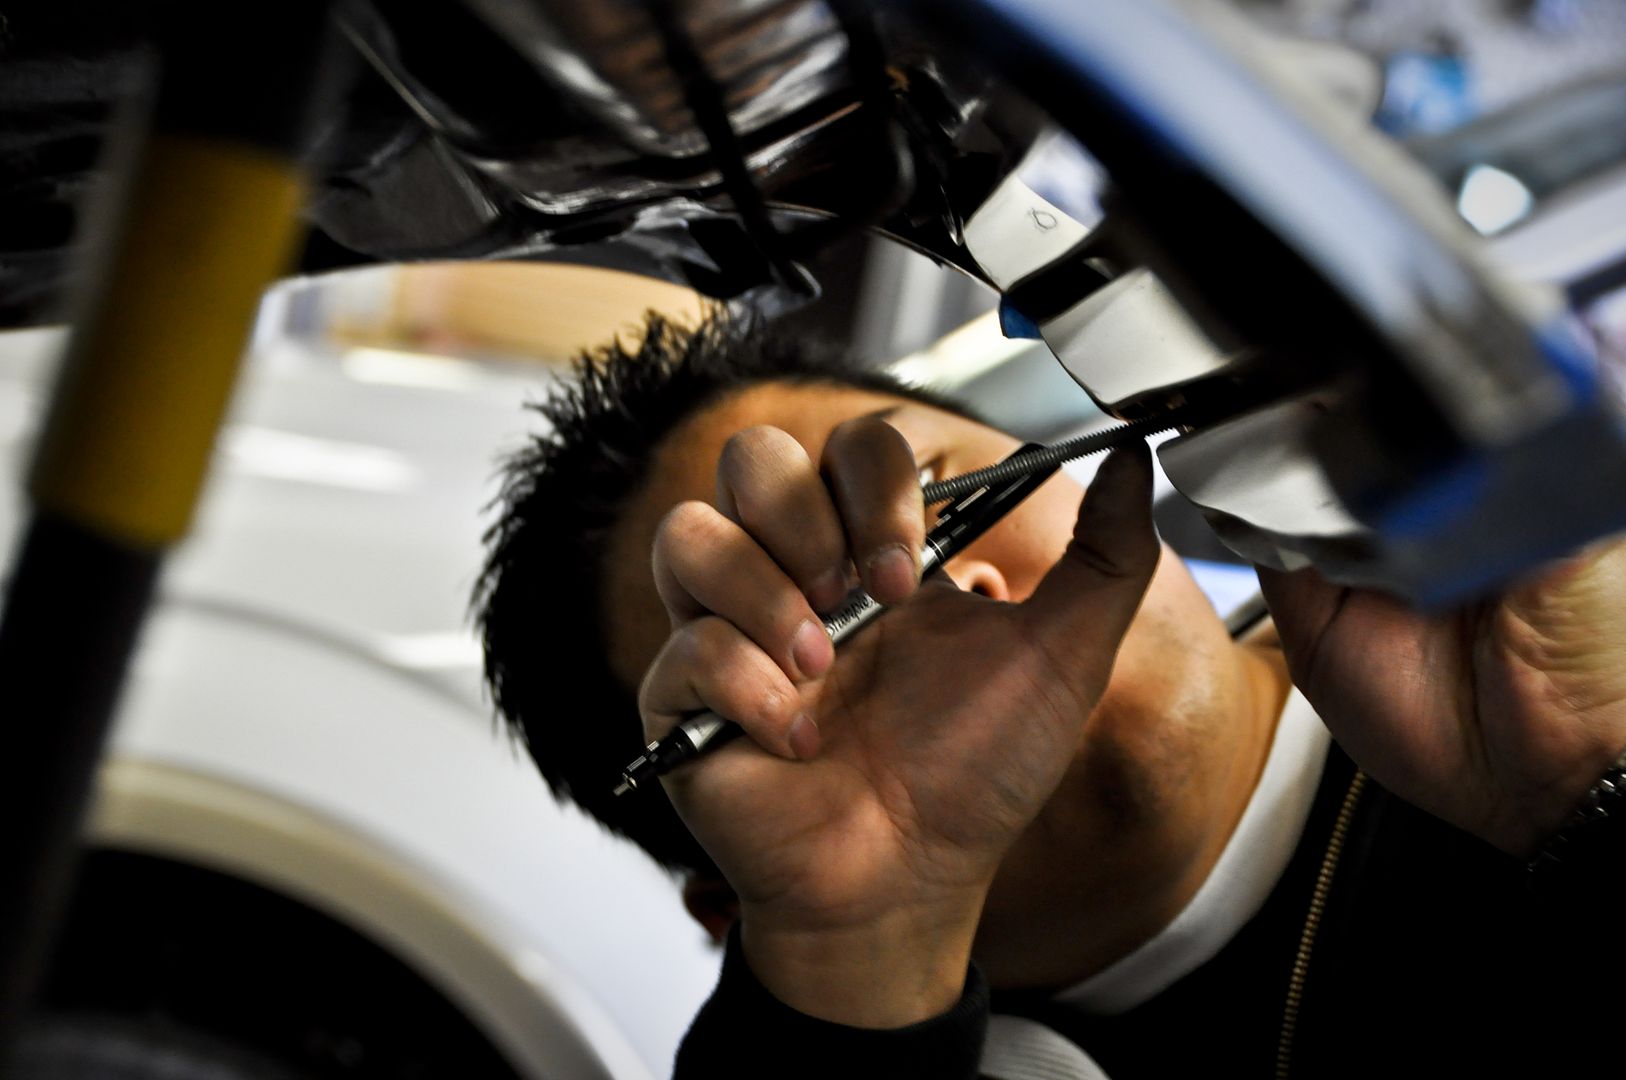
Doing some sanding myself
Gotta take the time and get it right
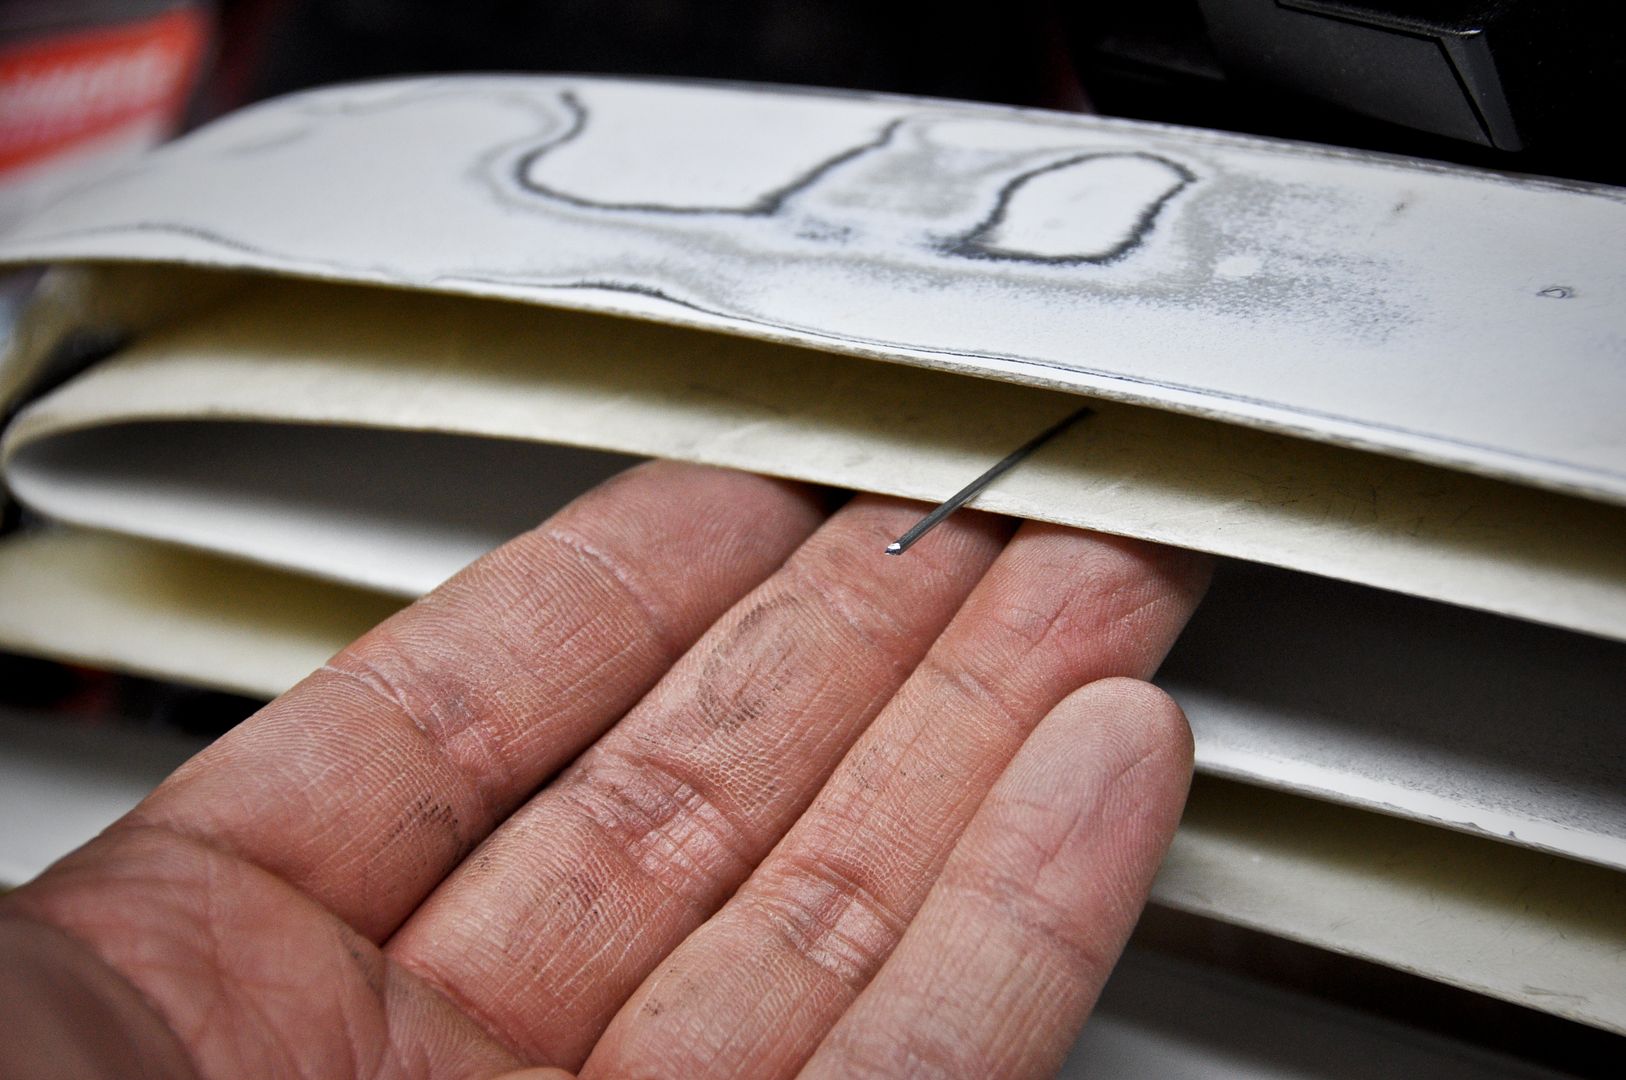
Making mounting points for the grill
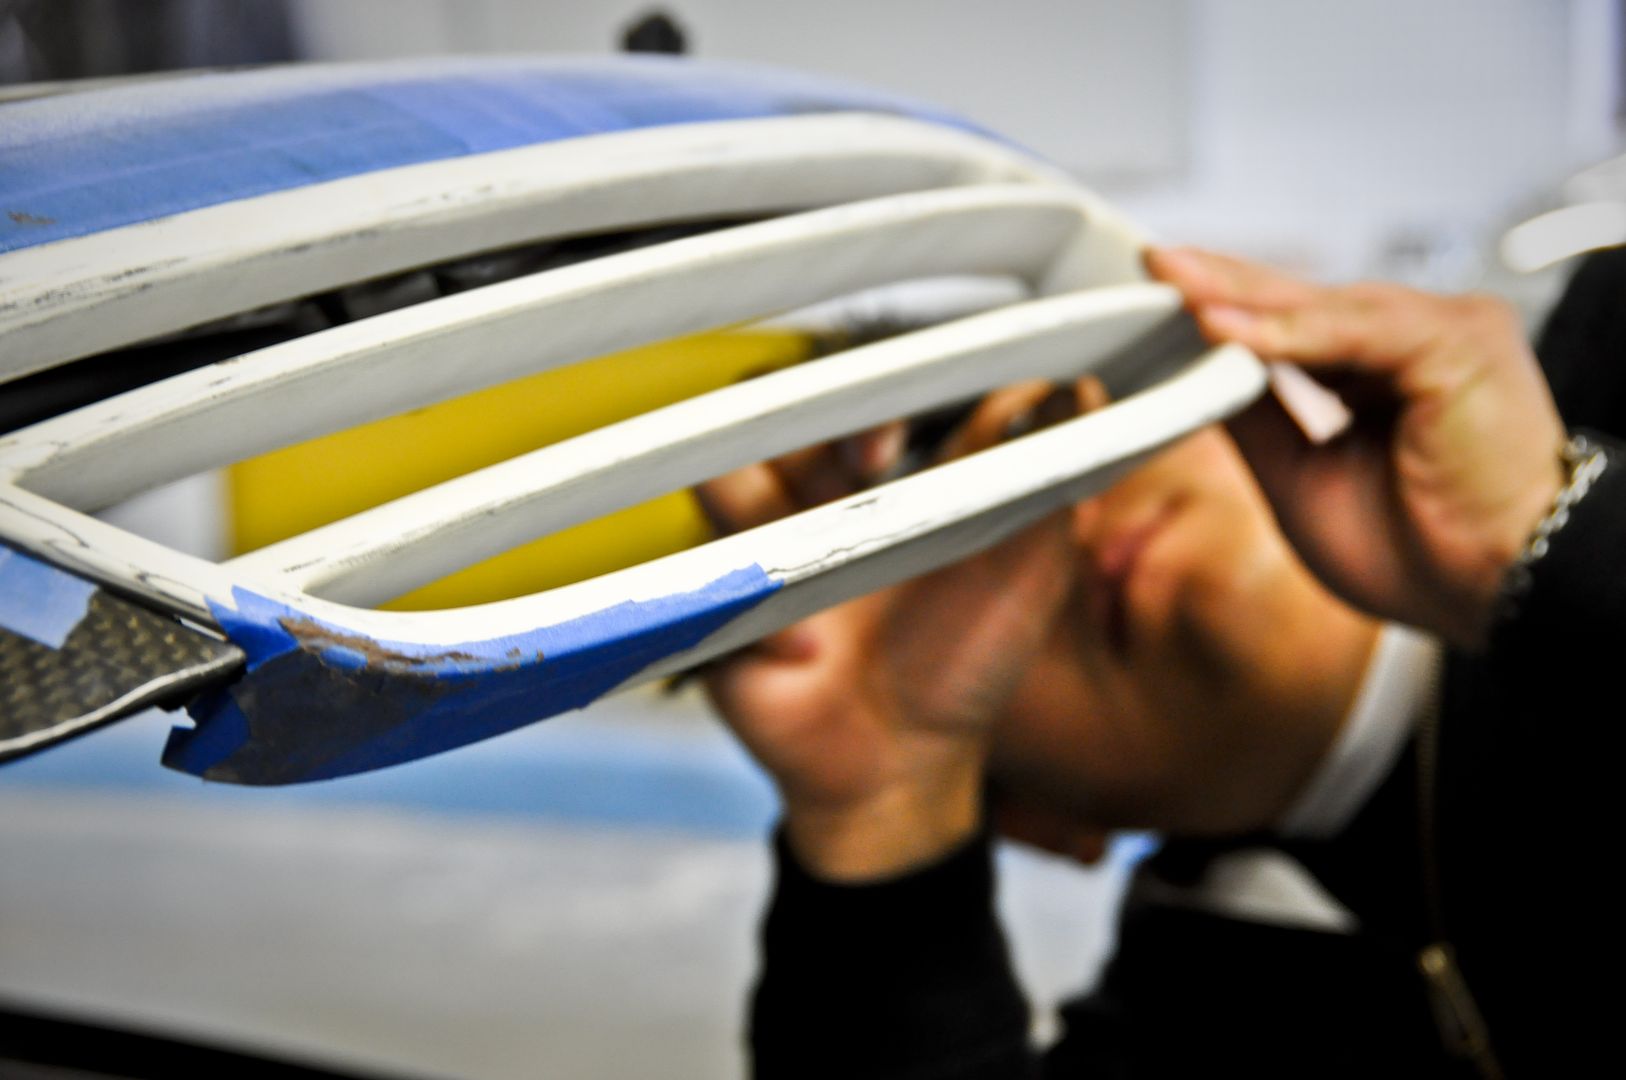
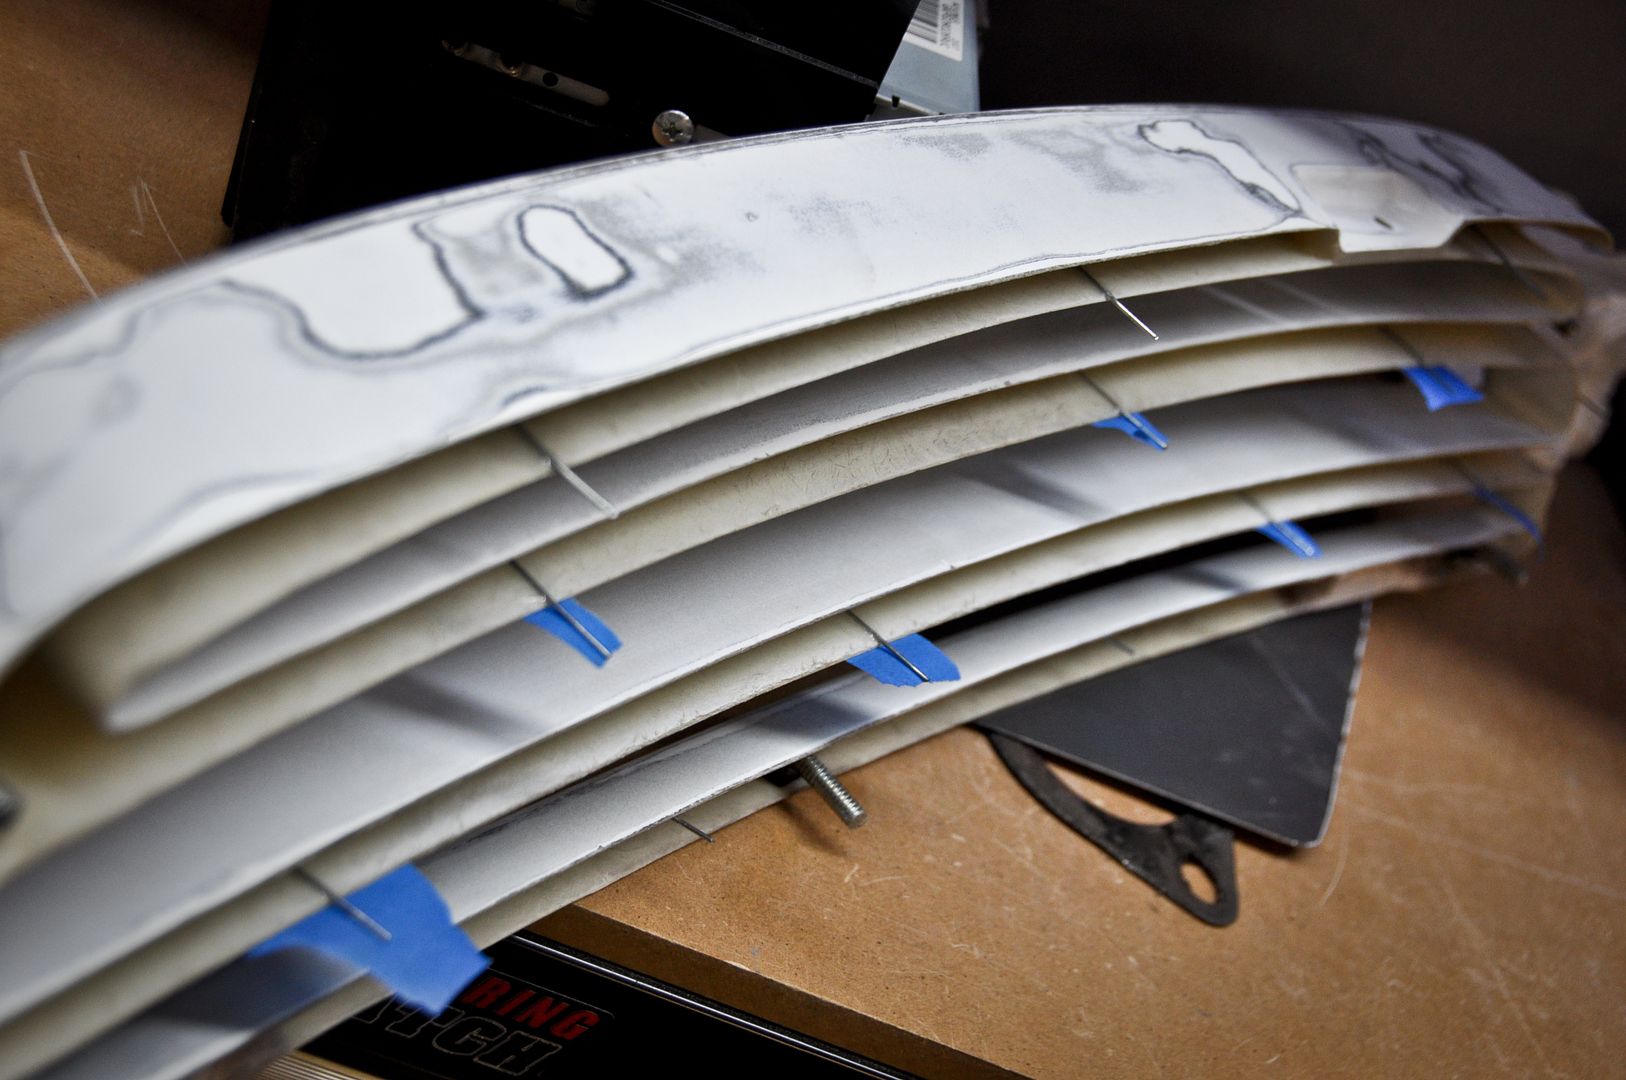
Measuring away
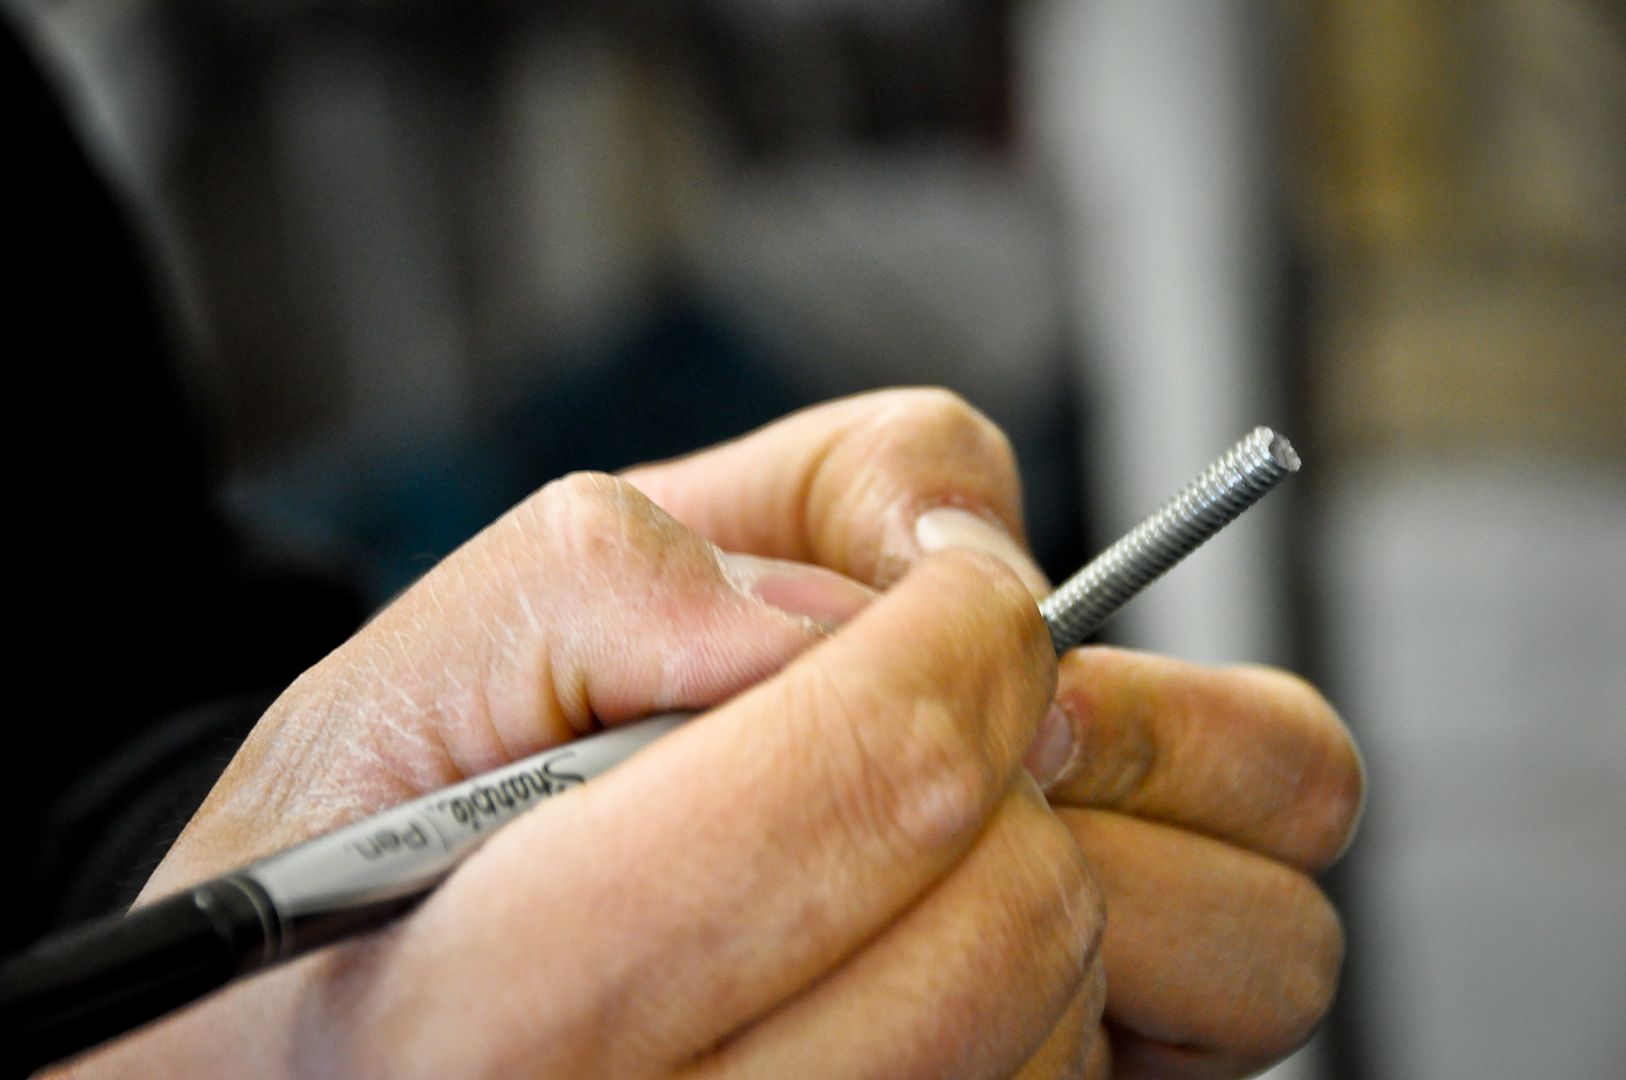
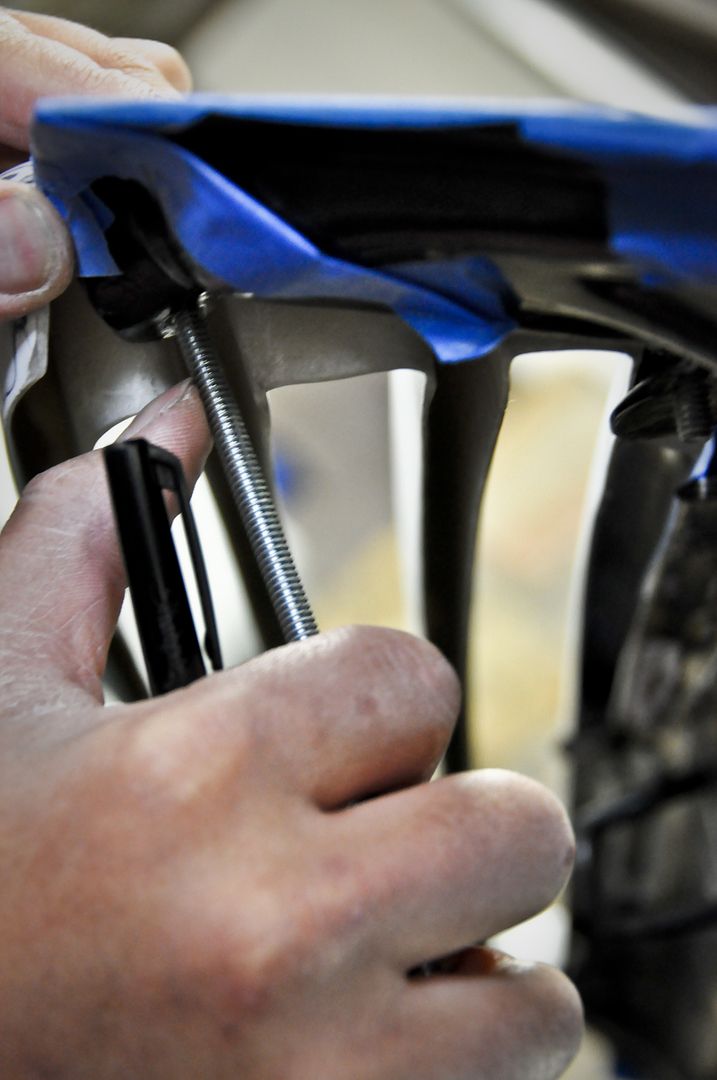
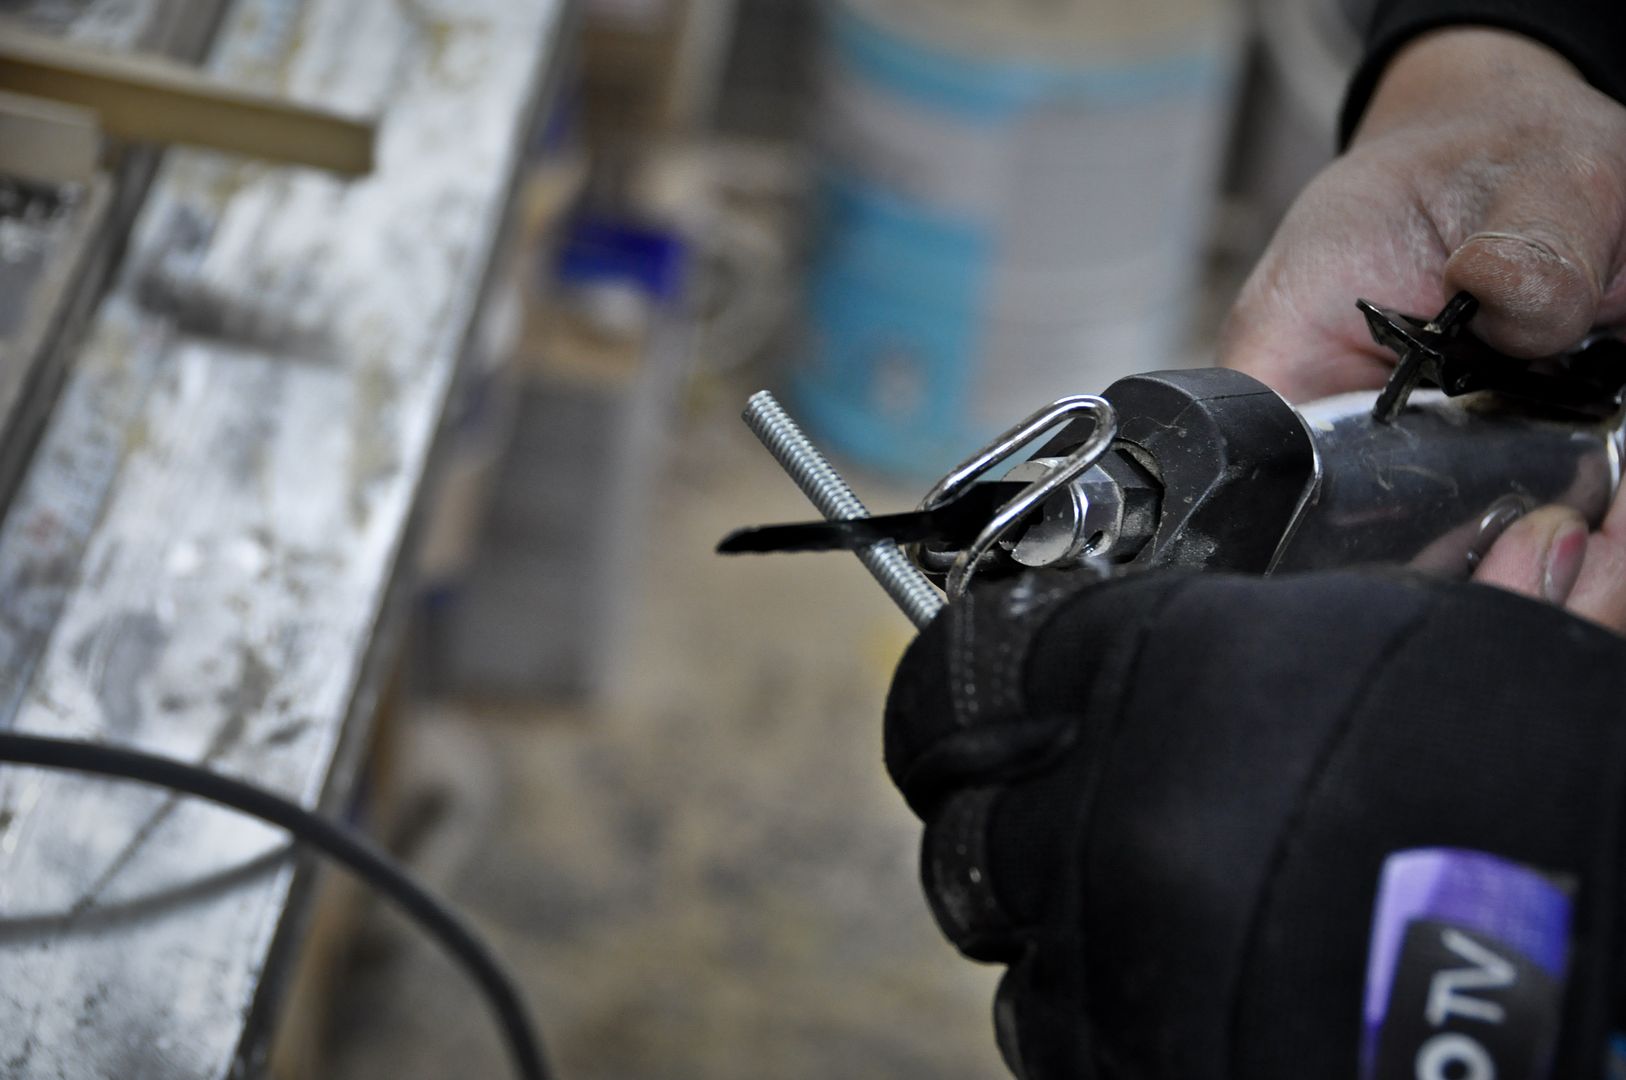
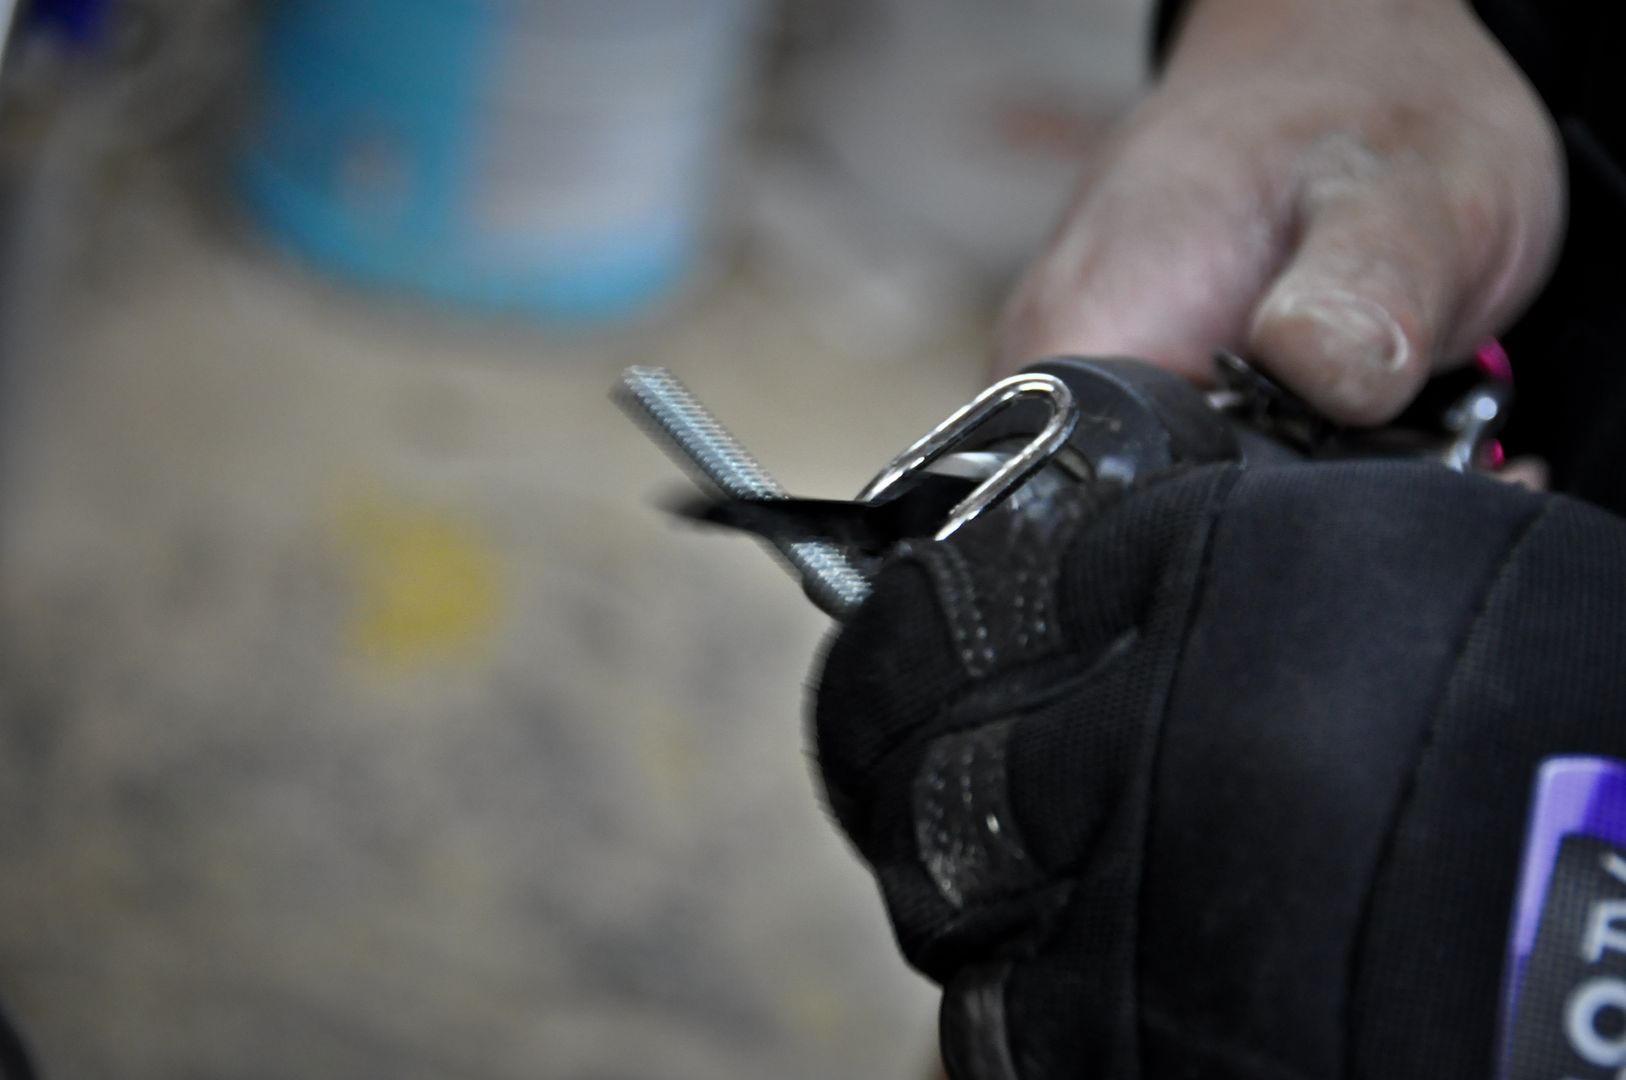
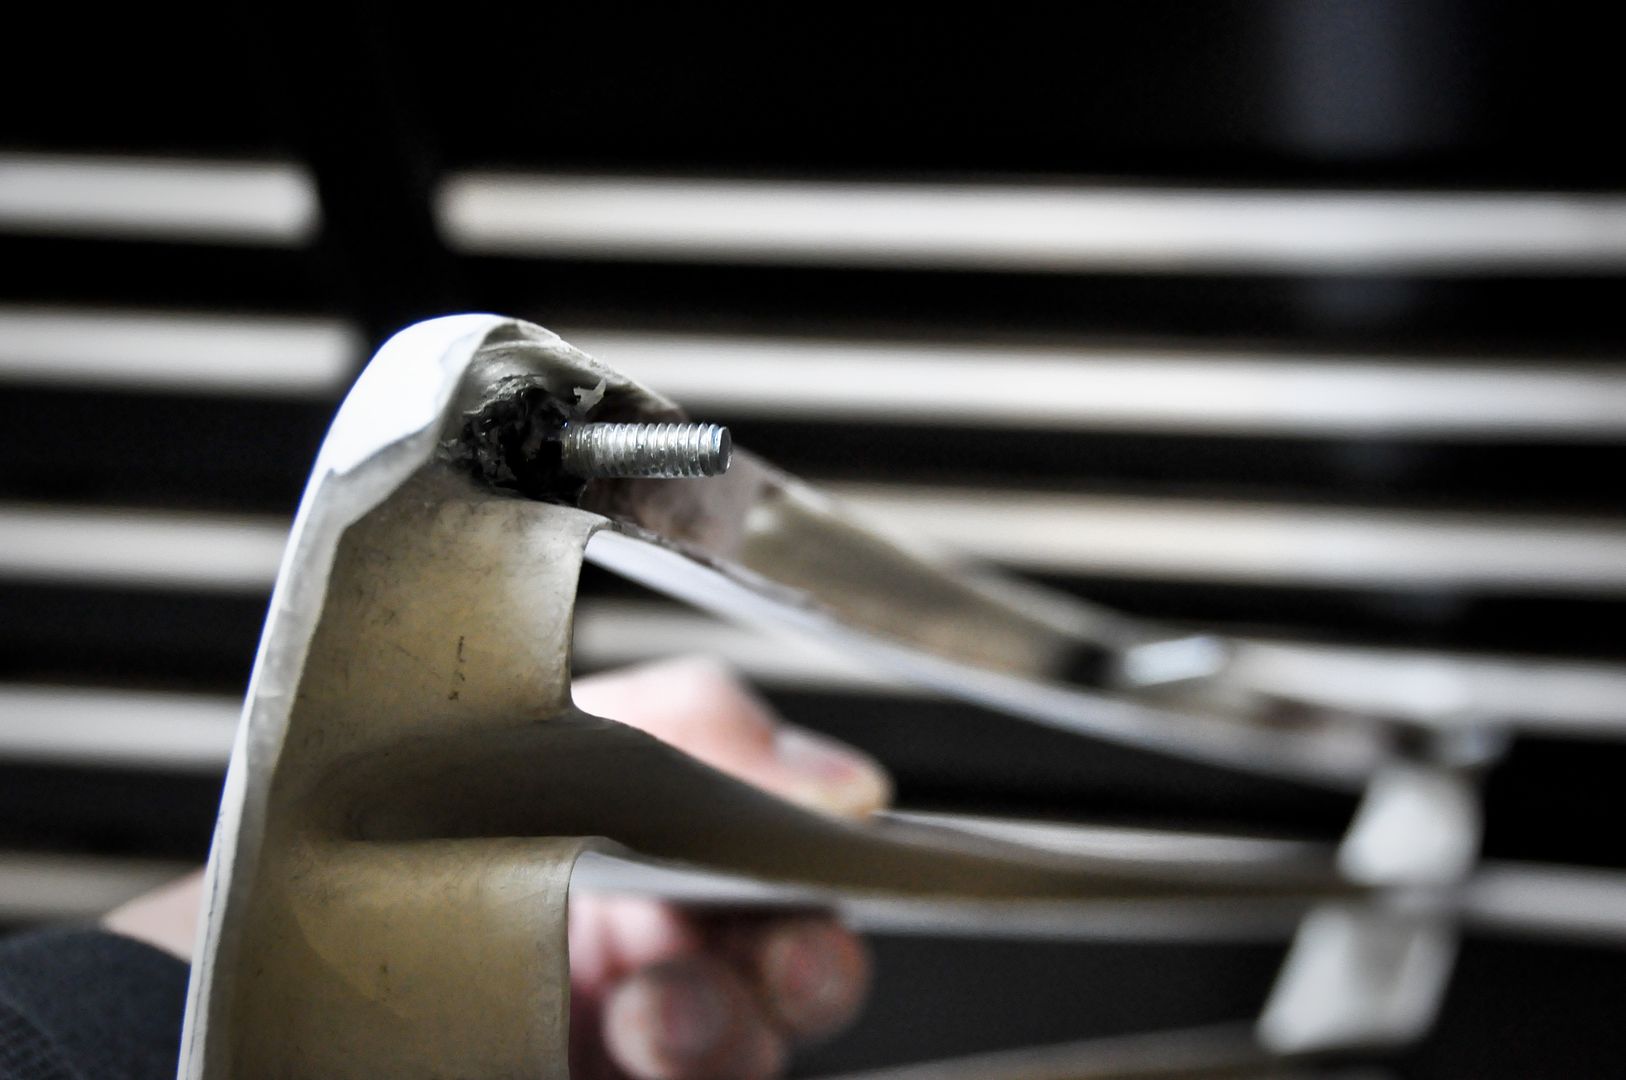
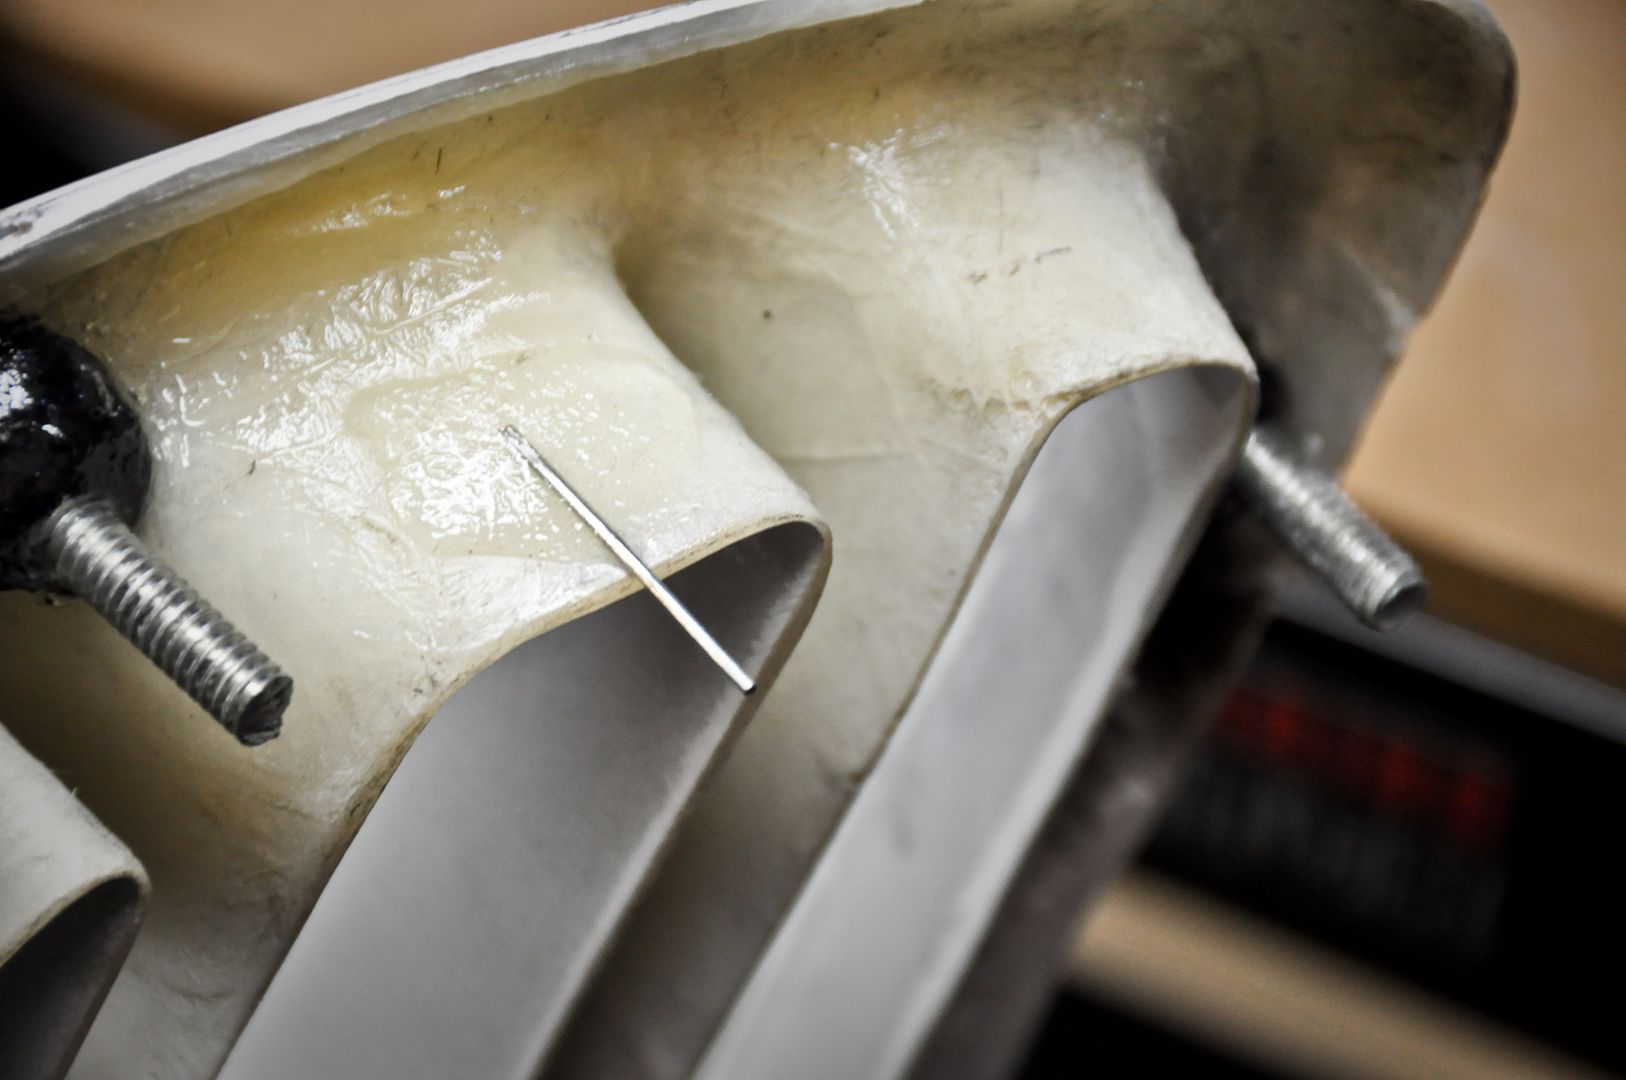
Cut the all-thread to size
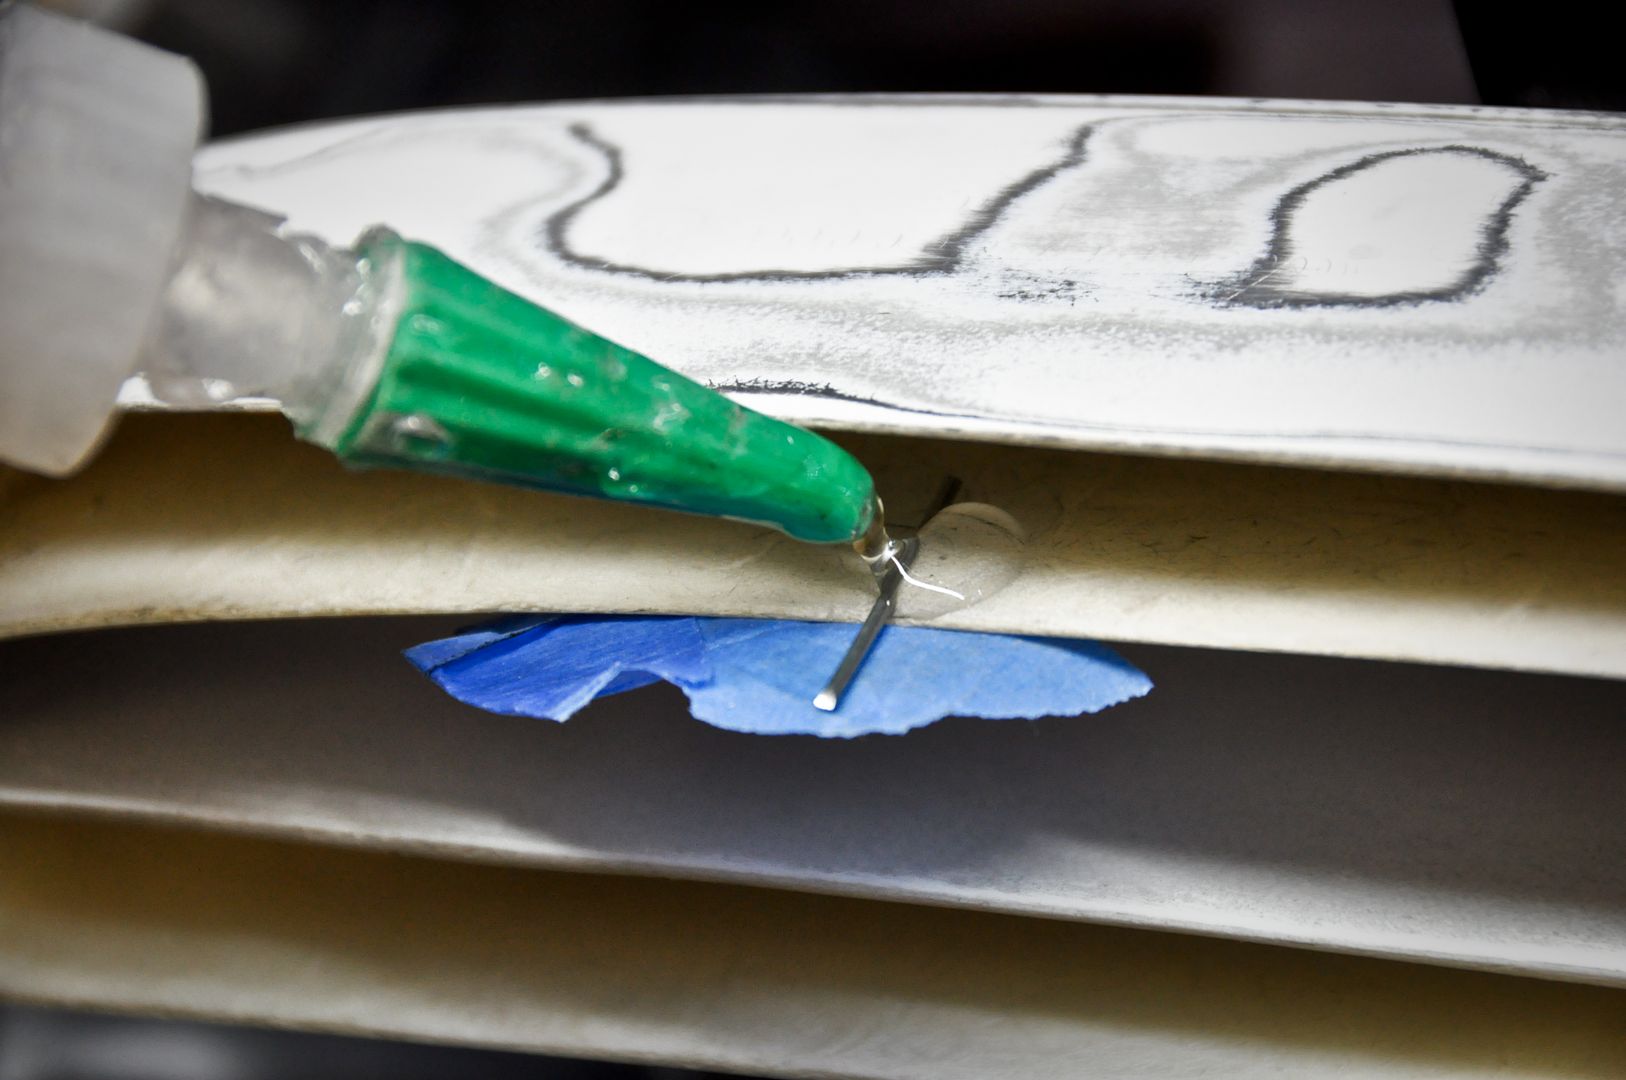
Used some black strip caulk to semi-mount the all-thread
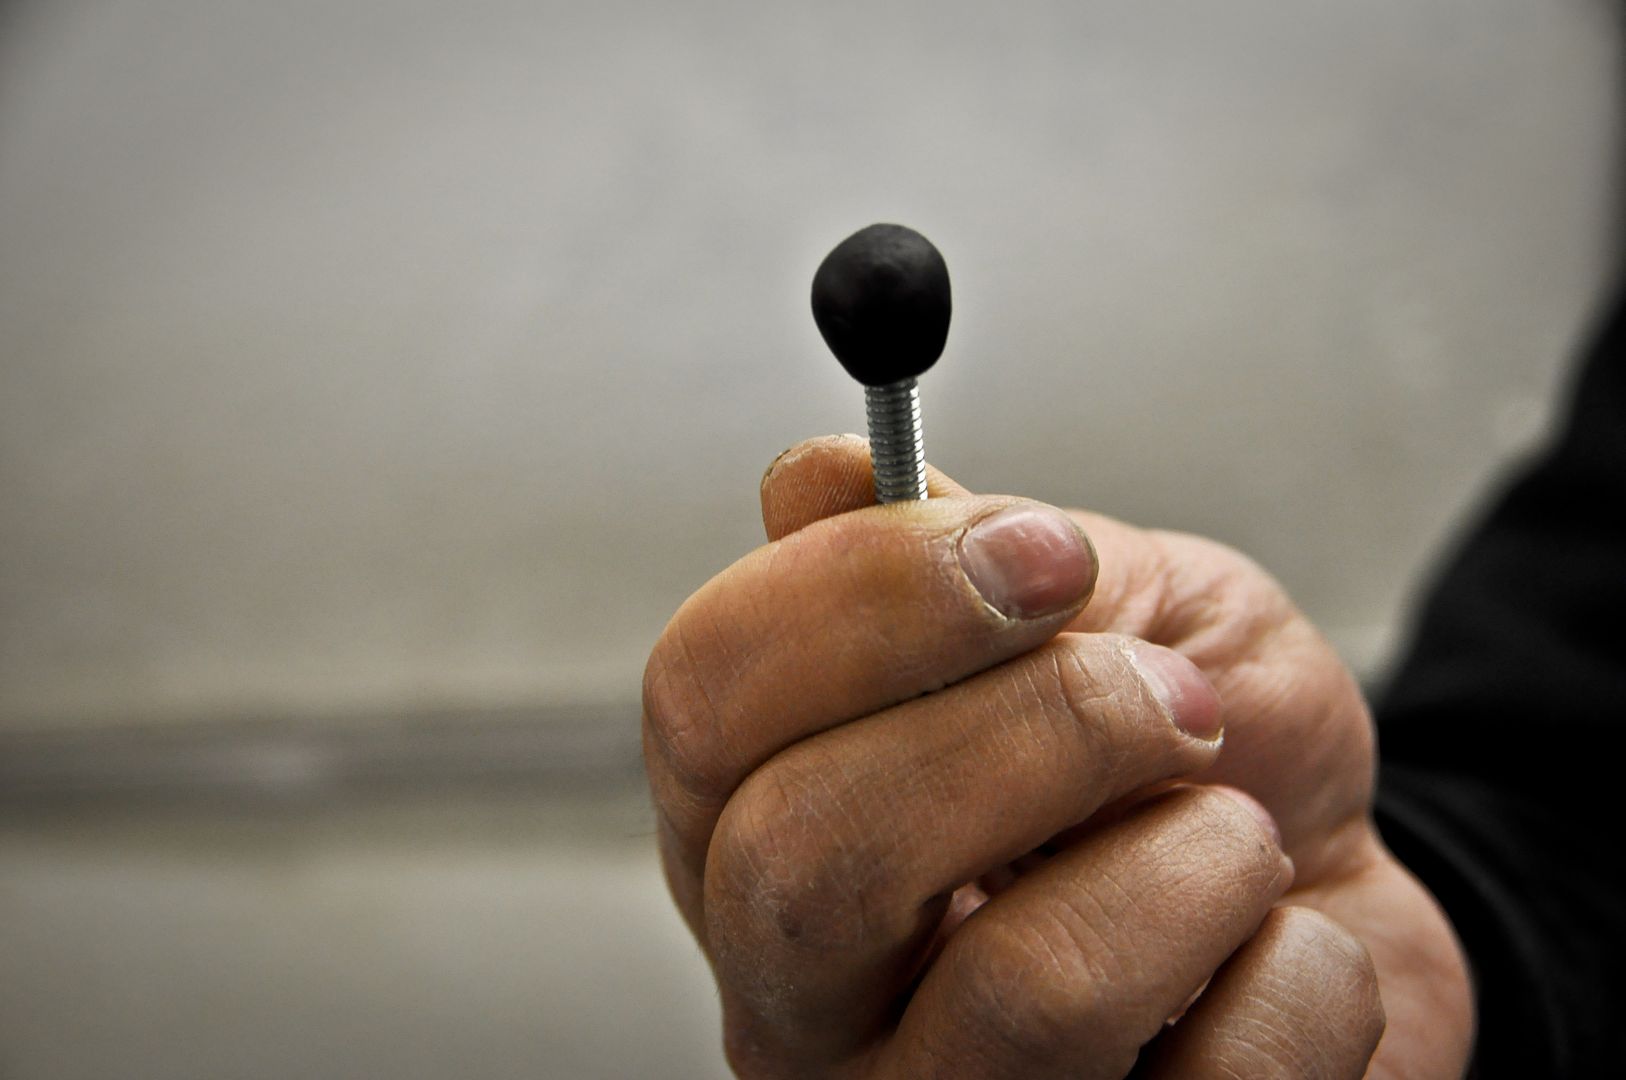
The strip caulk holds the thread in long enough for me to see where it needs to be and glue it in place
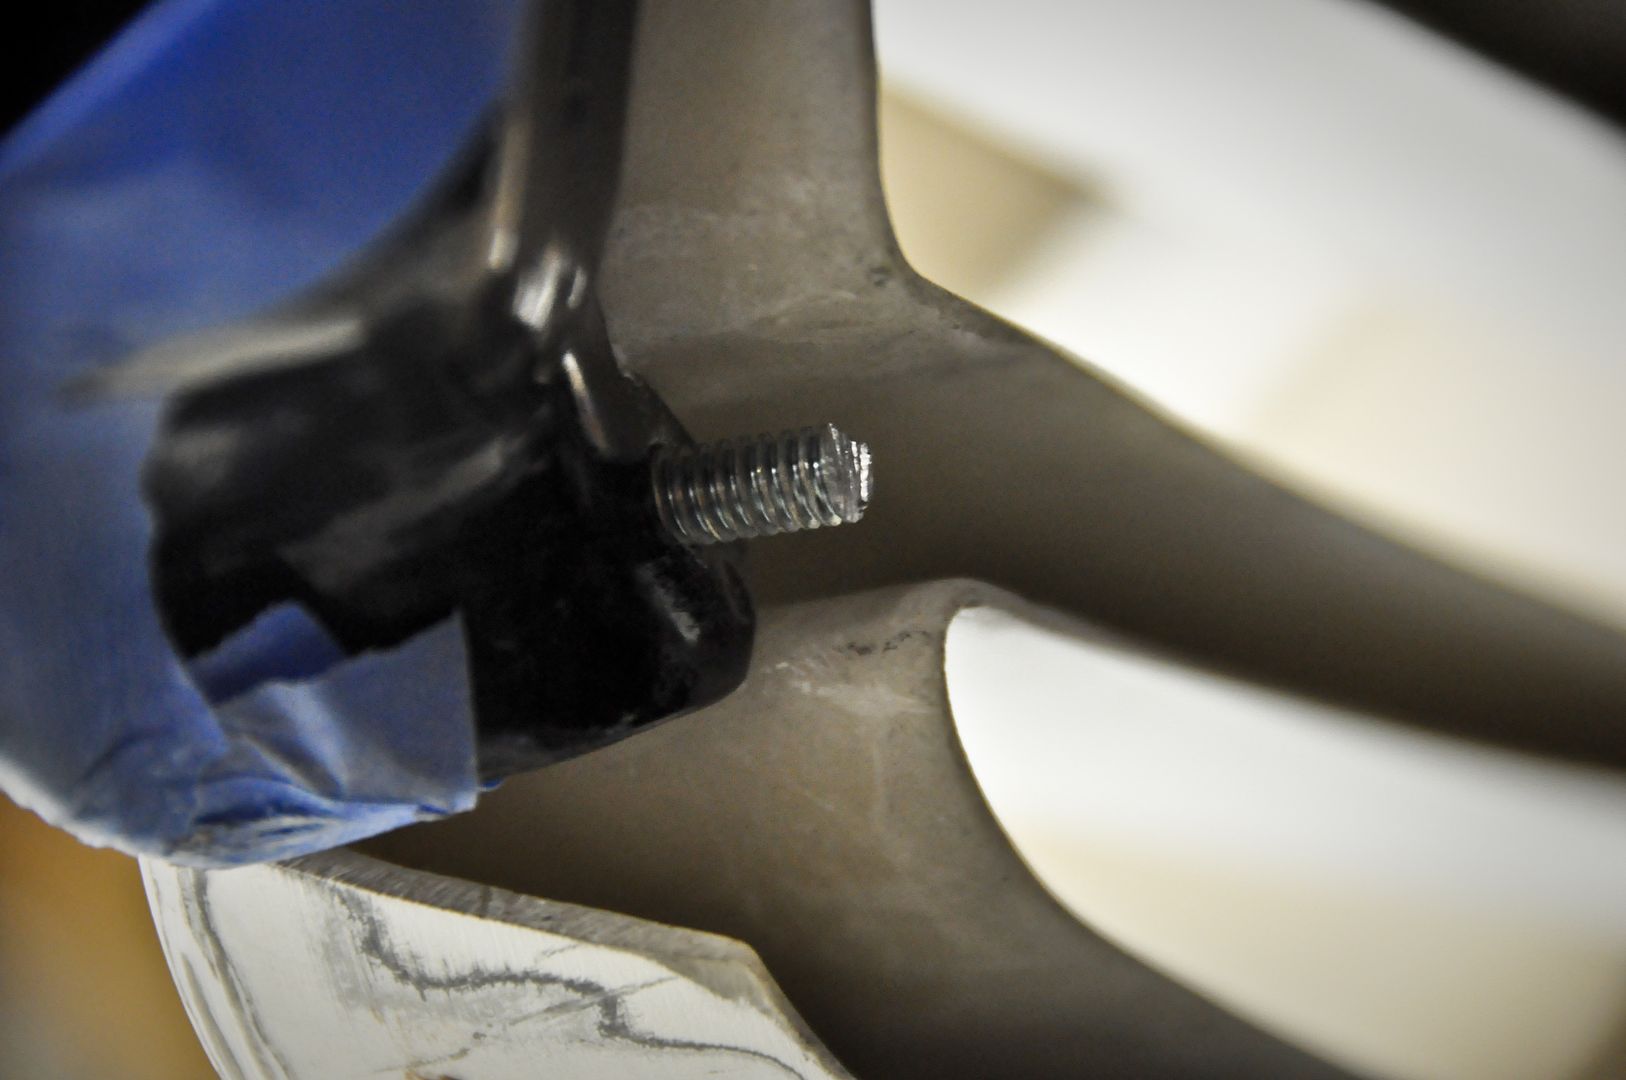
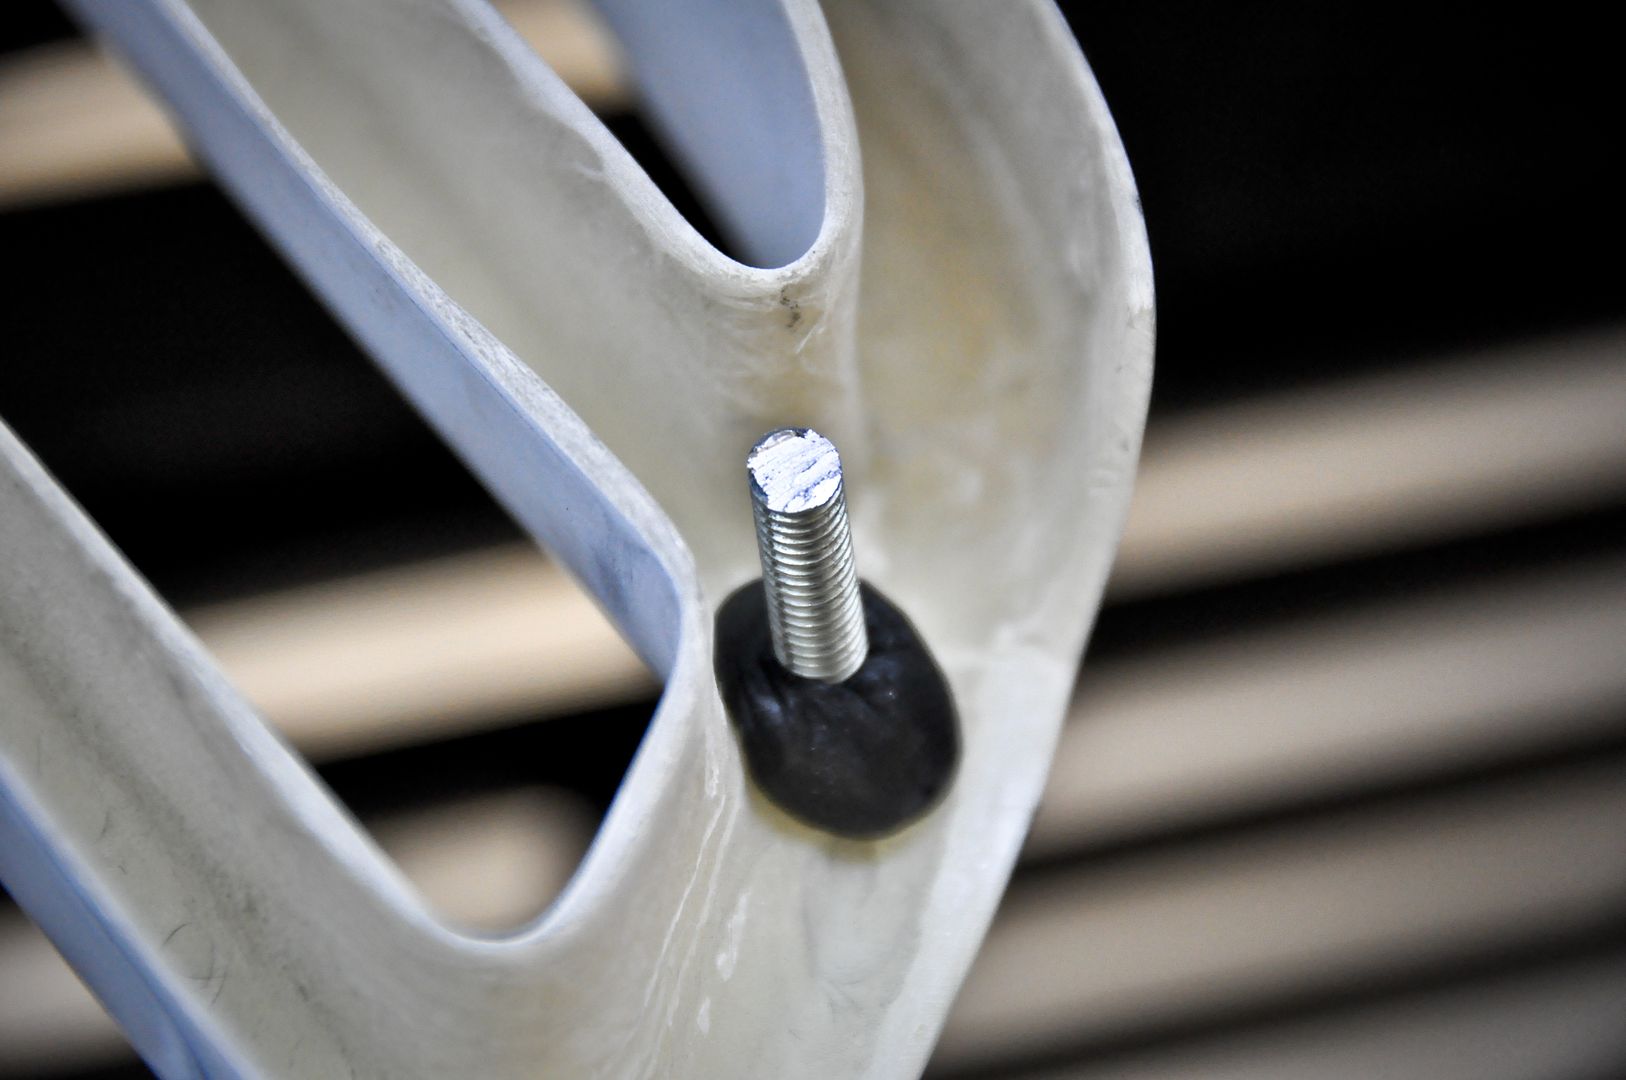
I used some C/A glue to get it hardened in place
 03-19-11, 04:19 AM
#464
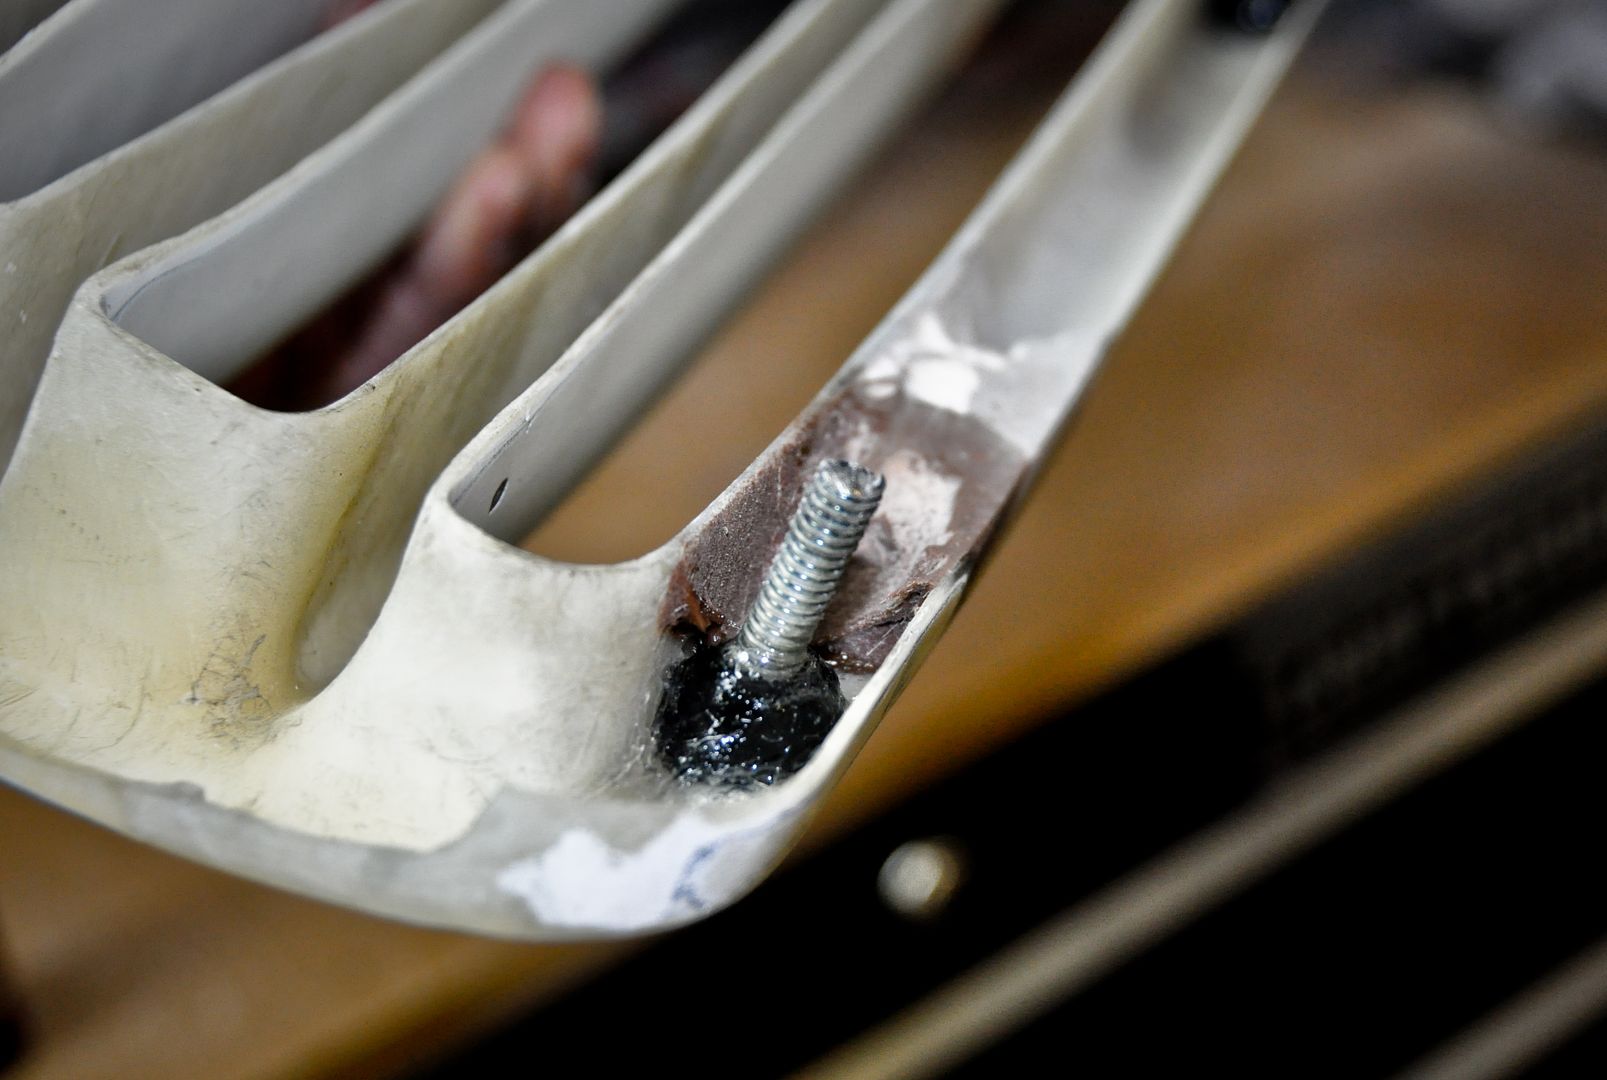
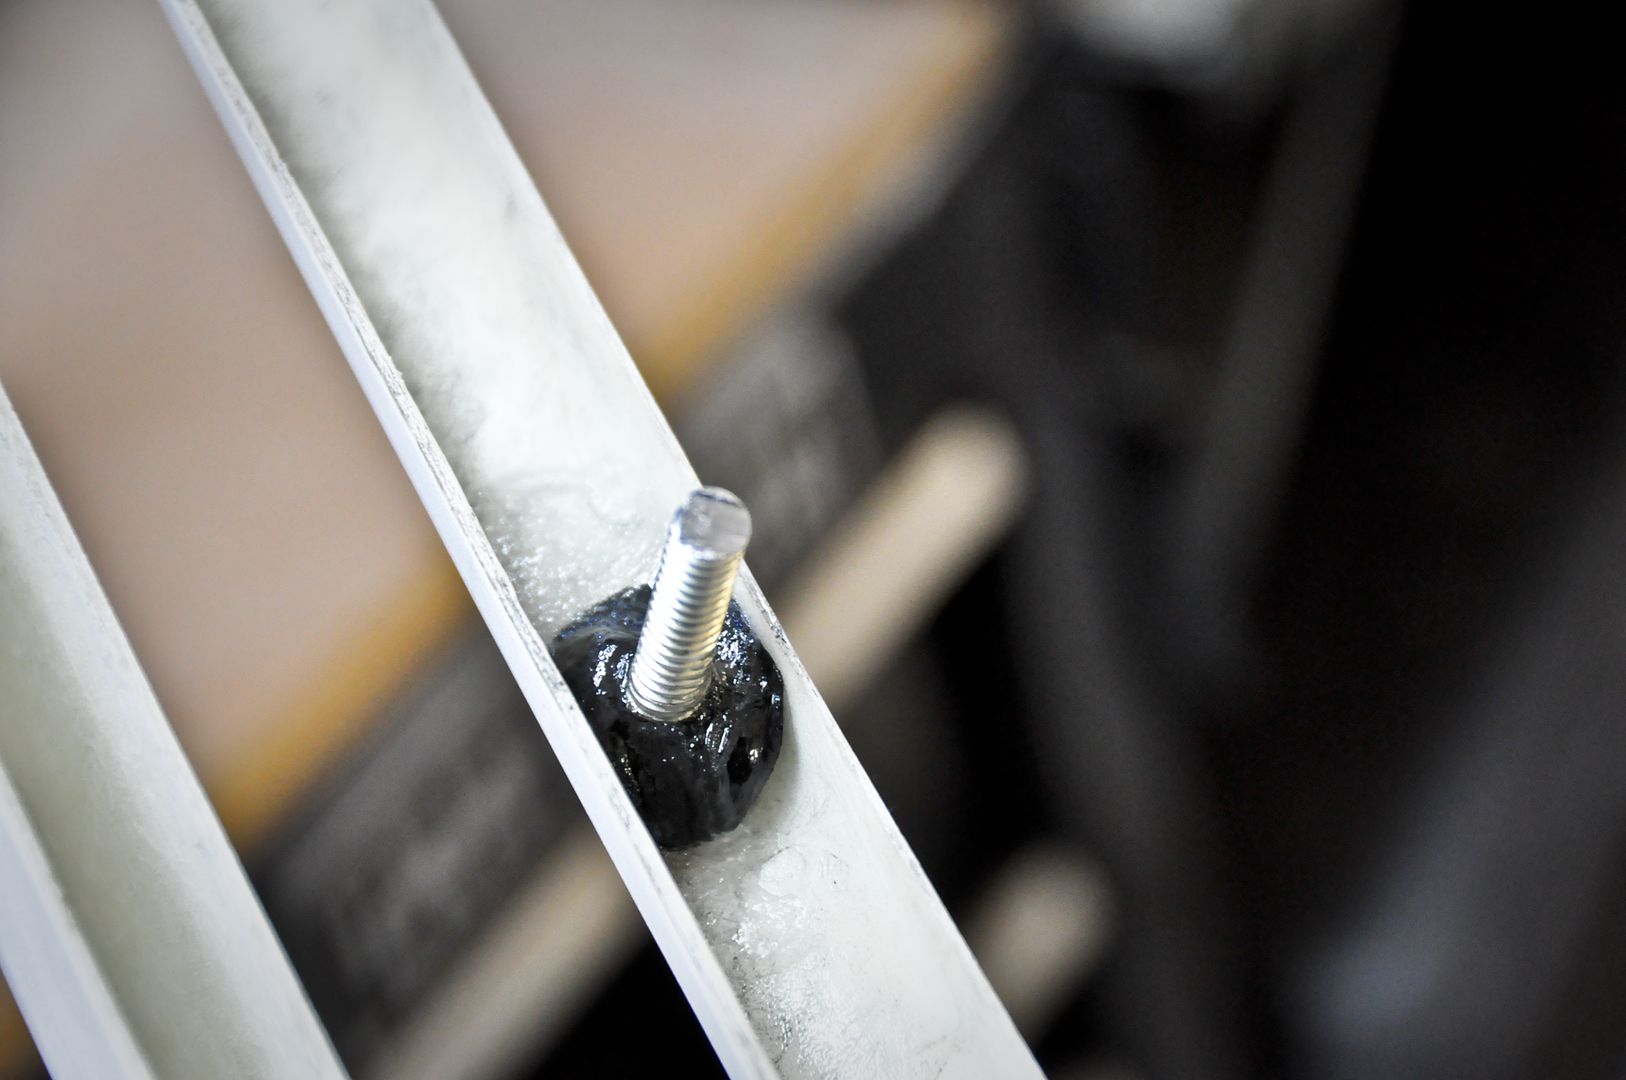
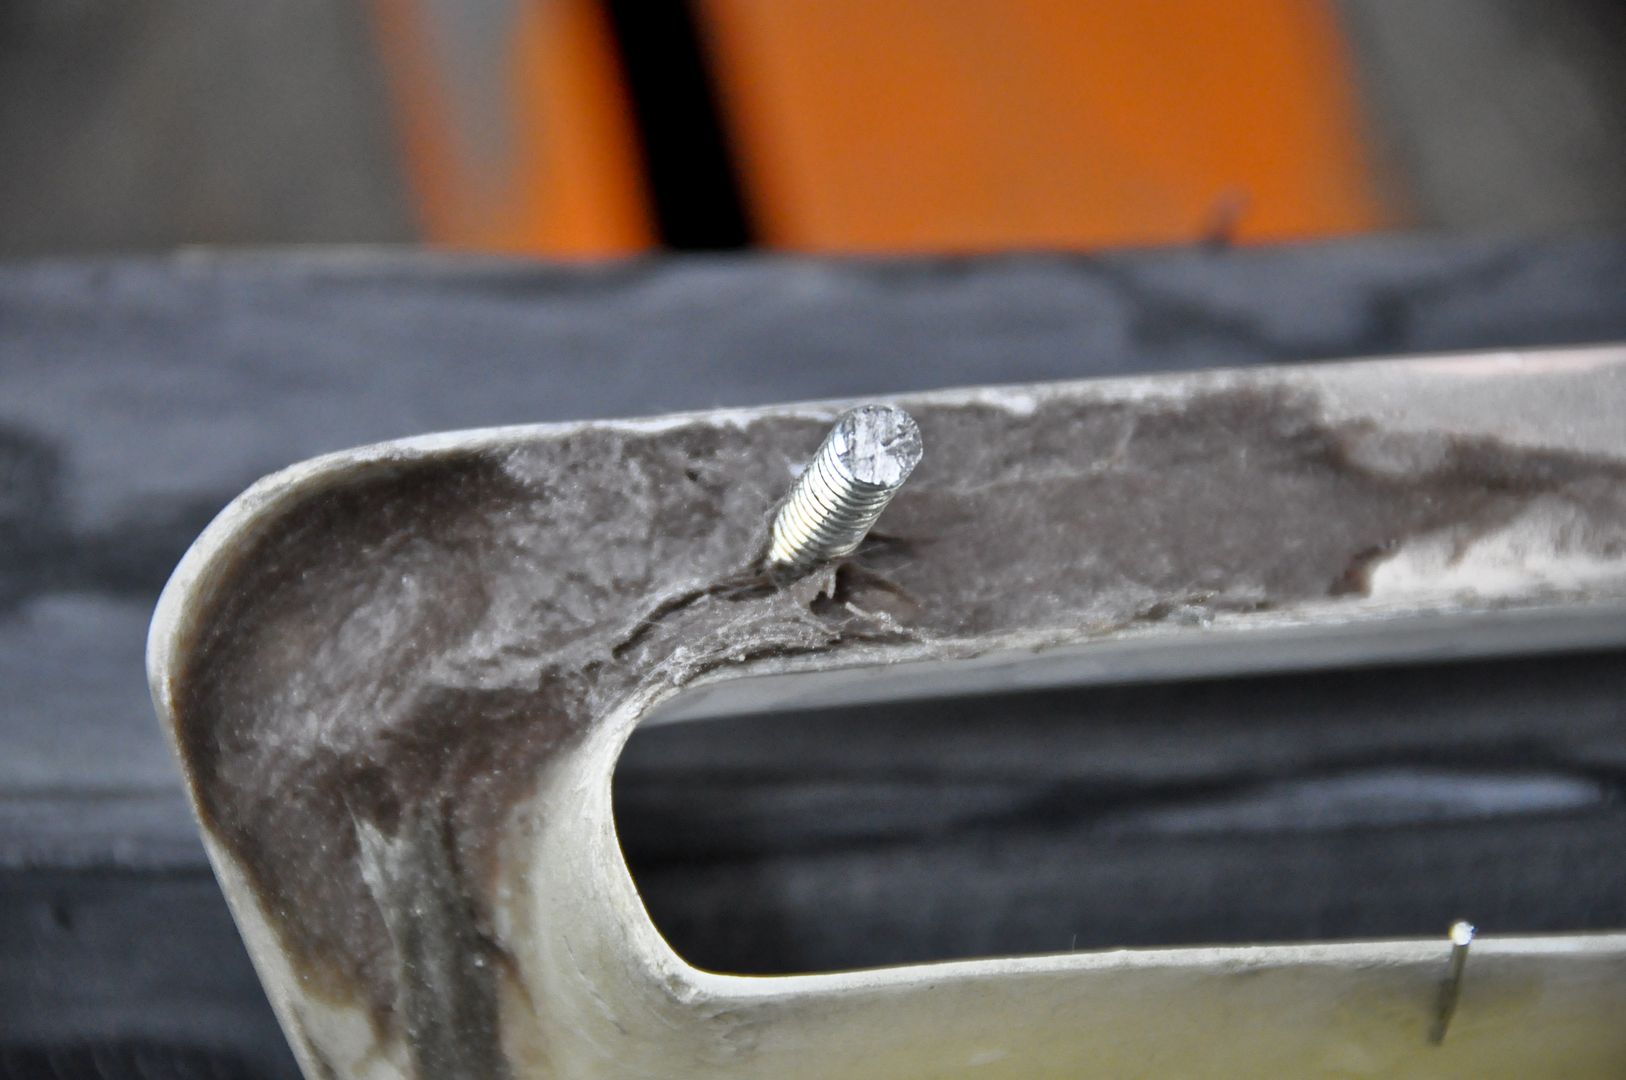
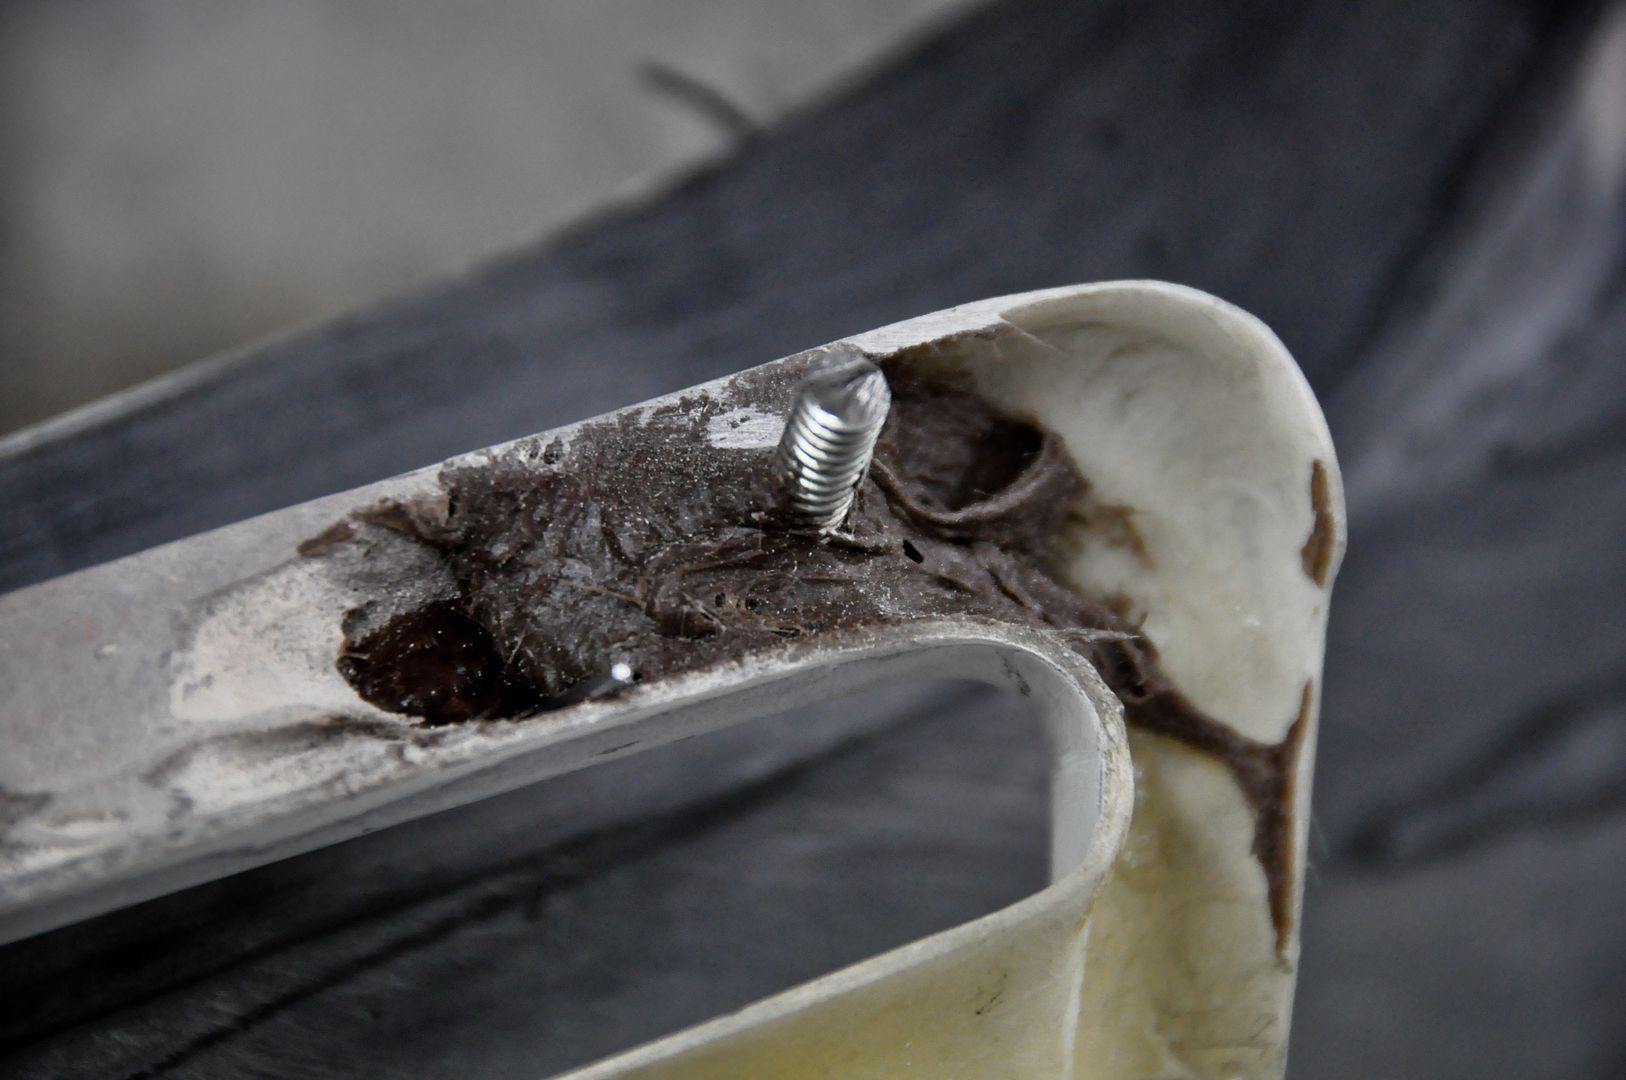
Did it 4 more times to create 5 total mounting points
Placed pieces of paper clips on the inner of the grill. These will hold the metal mesh material in place after paint
Fiber-glassed in the mounting points over the strip caulk
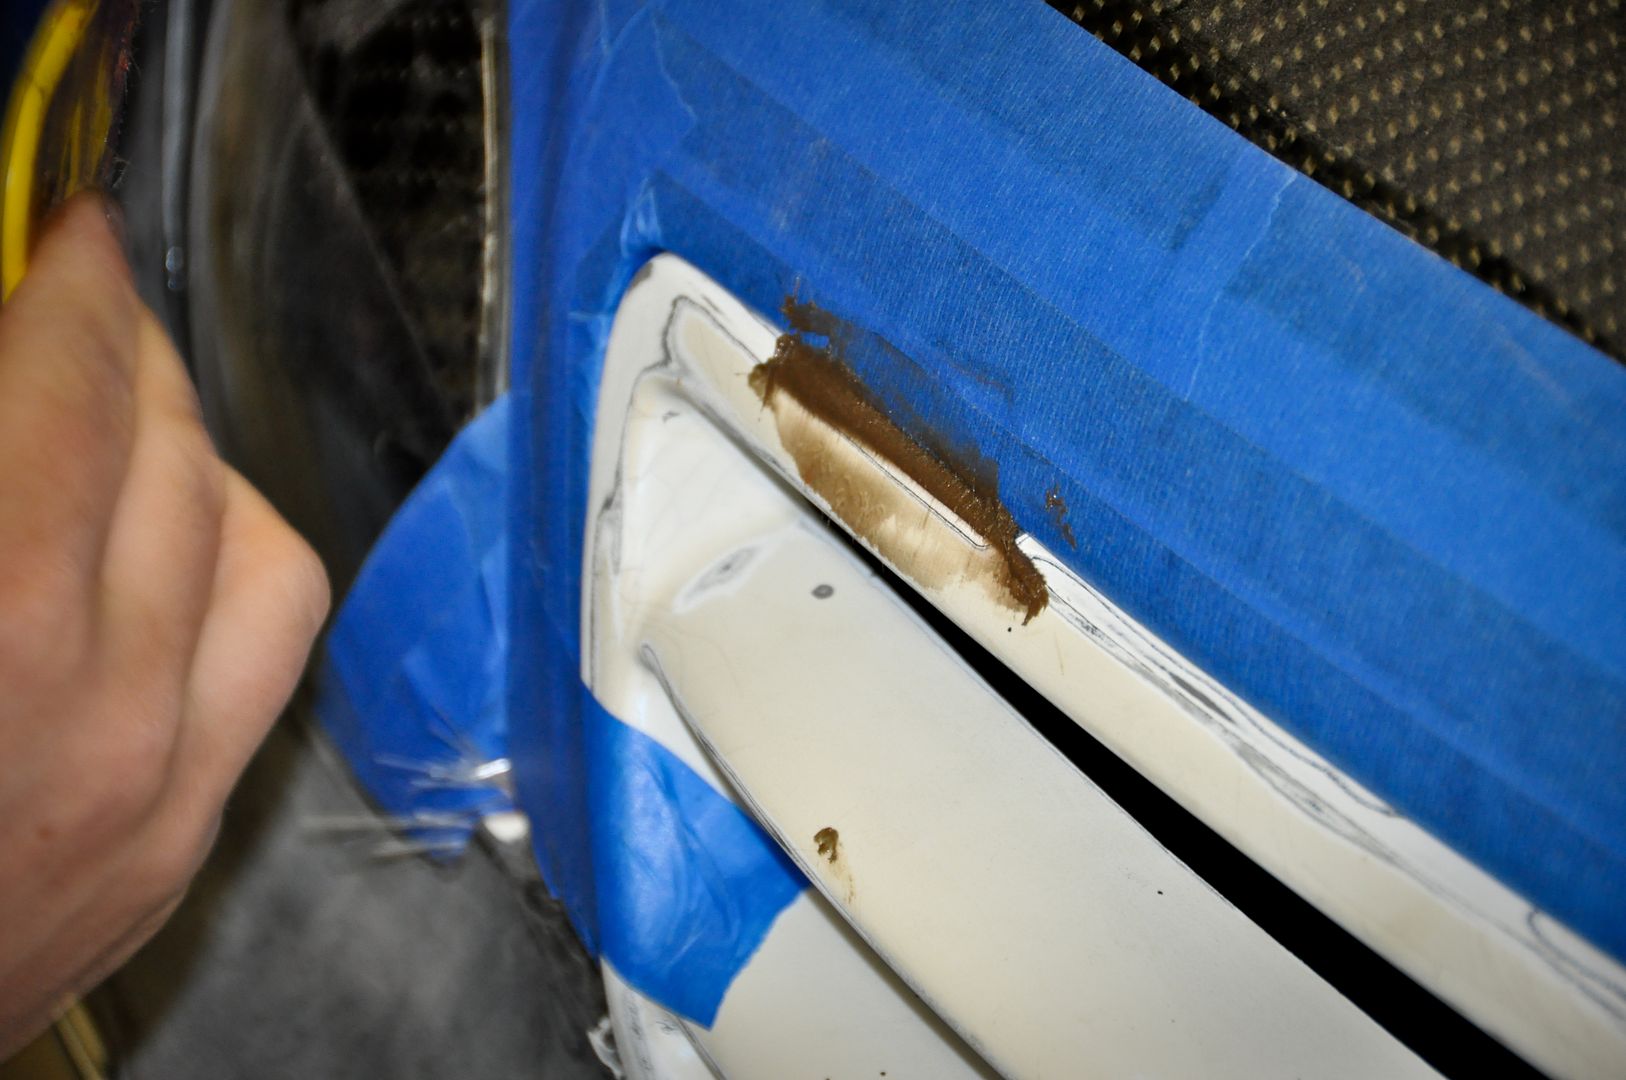
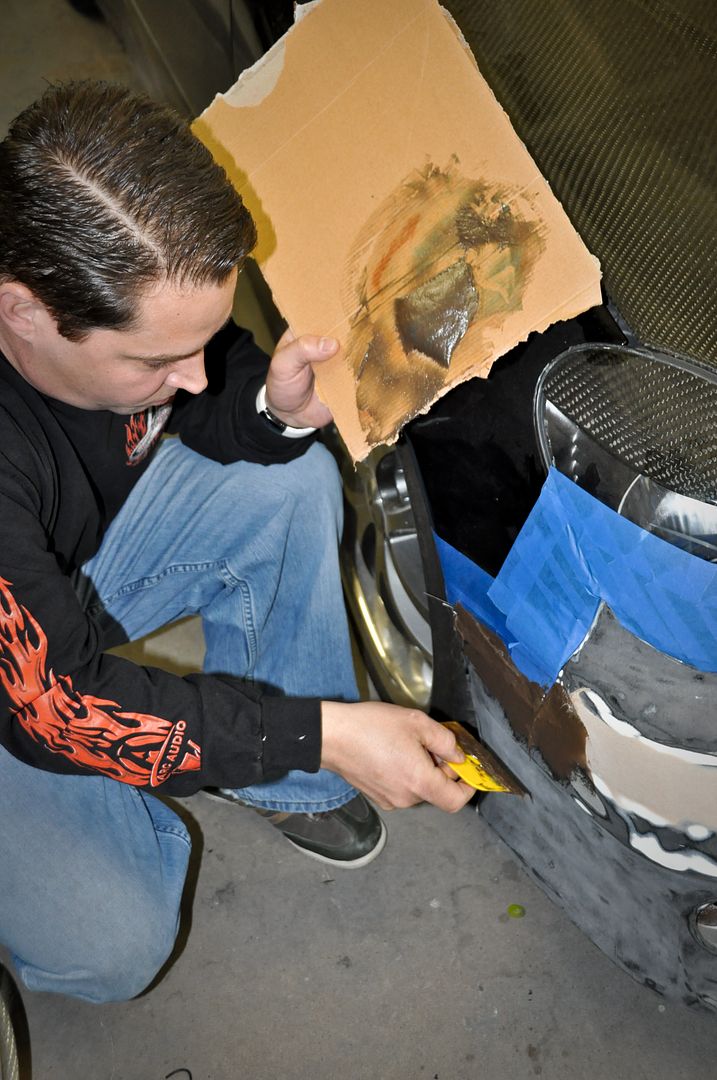
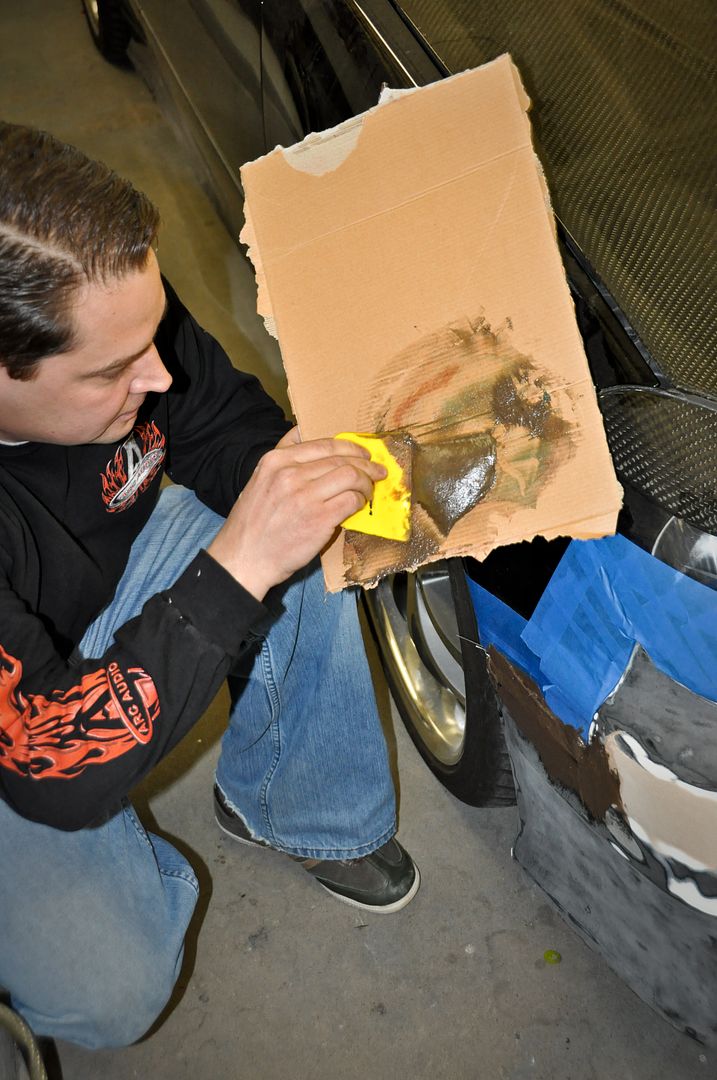
John touching up the bumper and getting it prepped for paint
Filled in the space between the fog light mounts and the bumper

Wired up the 3K HID Fog Lamps
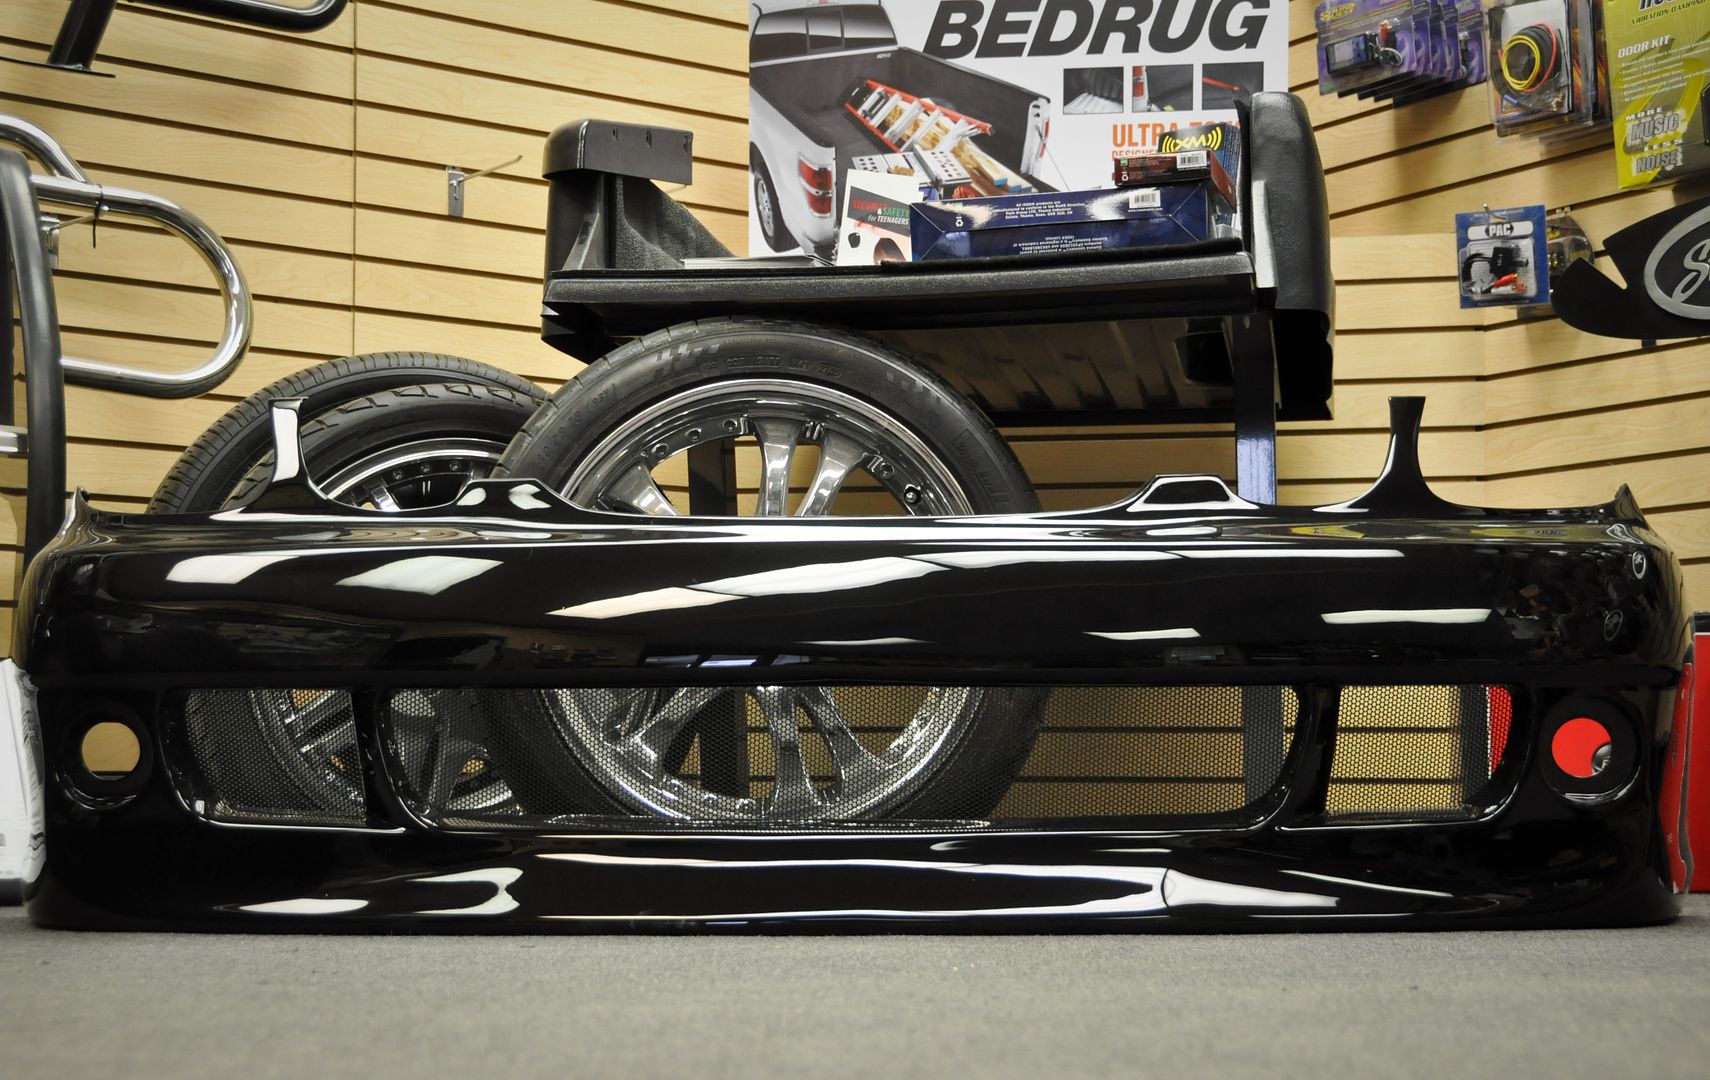
Test fitted everything on the bumper
That’s about as close as we’re going to get.

Let’s get it to the paint shop!

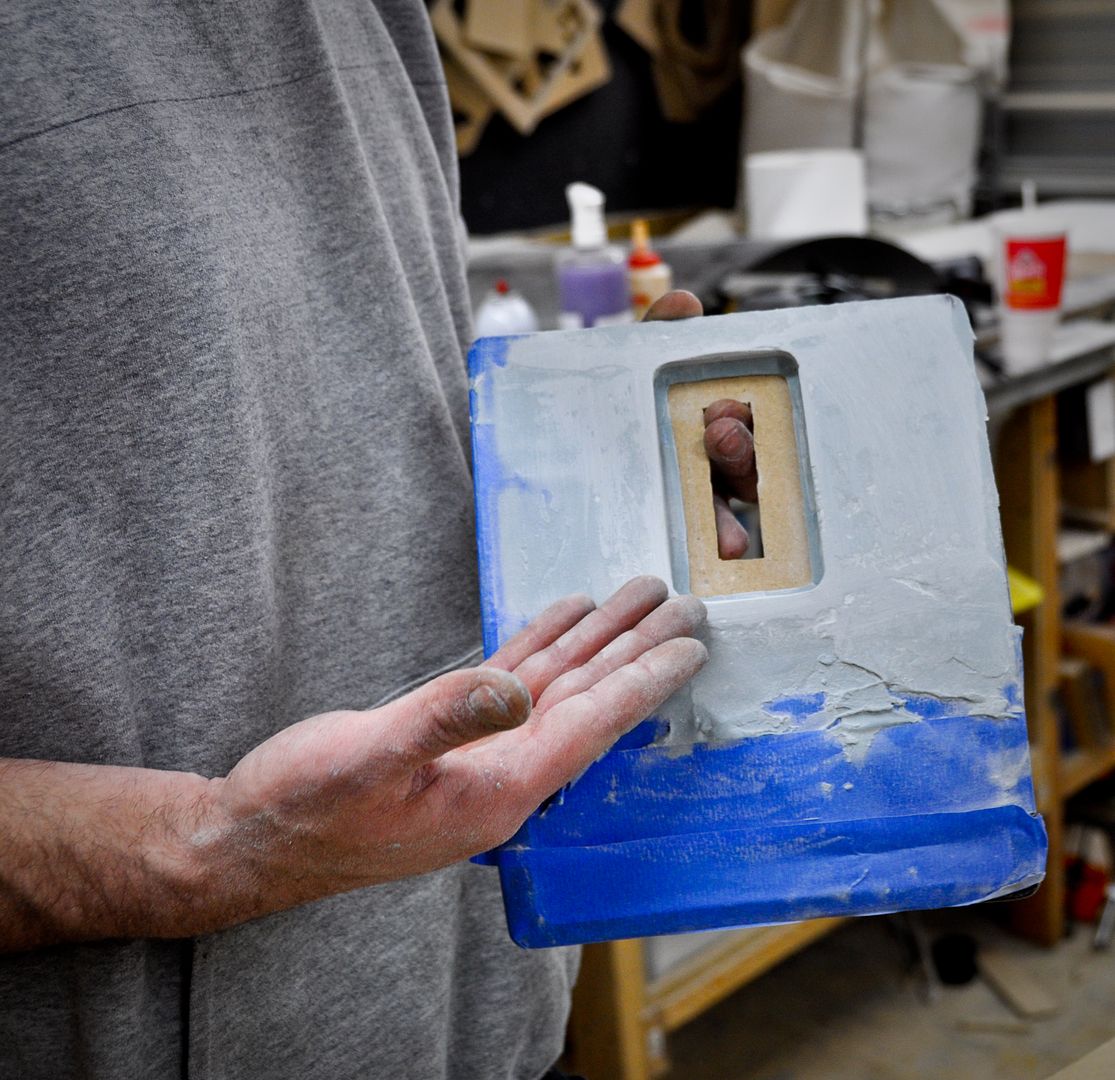
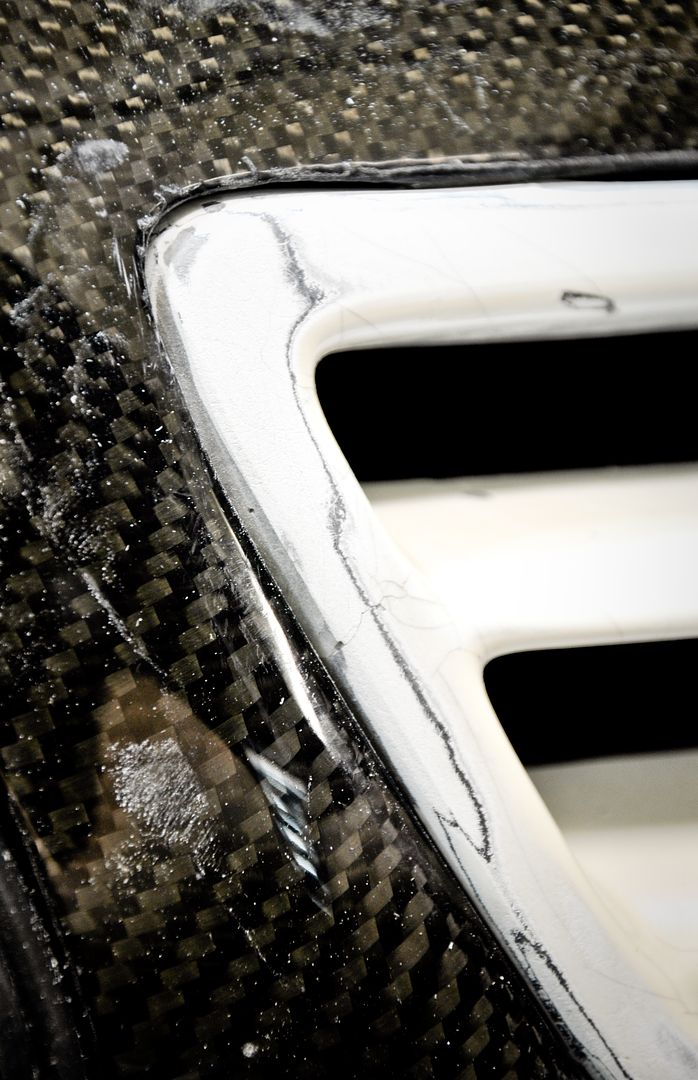
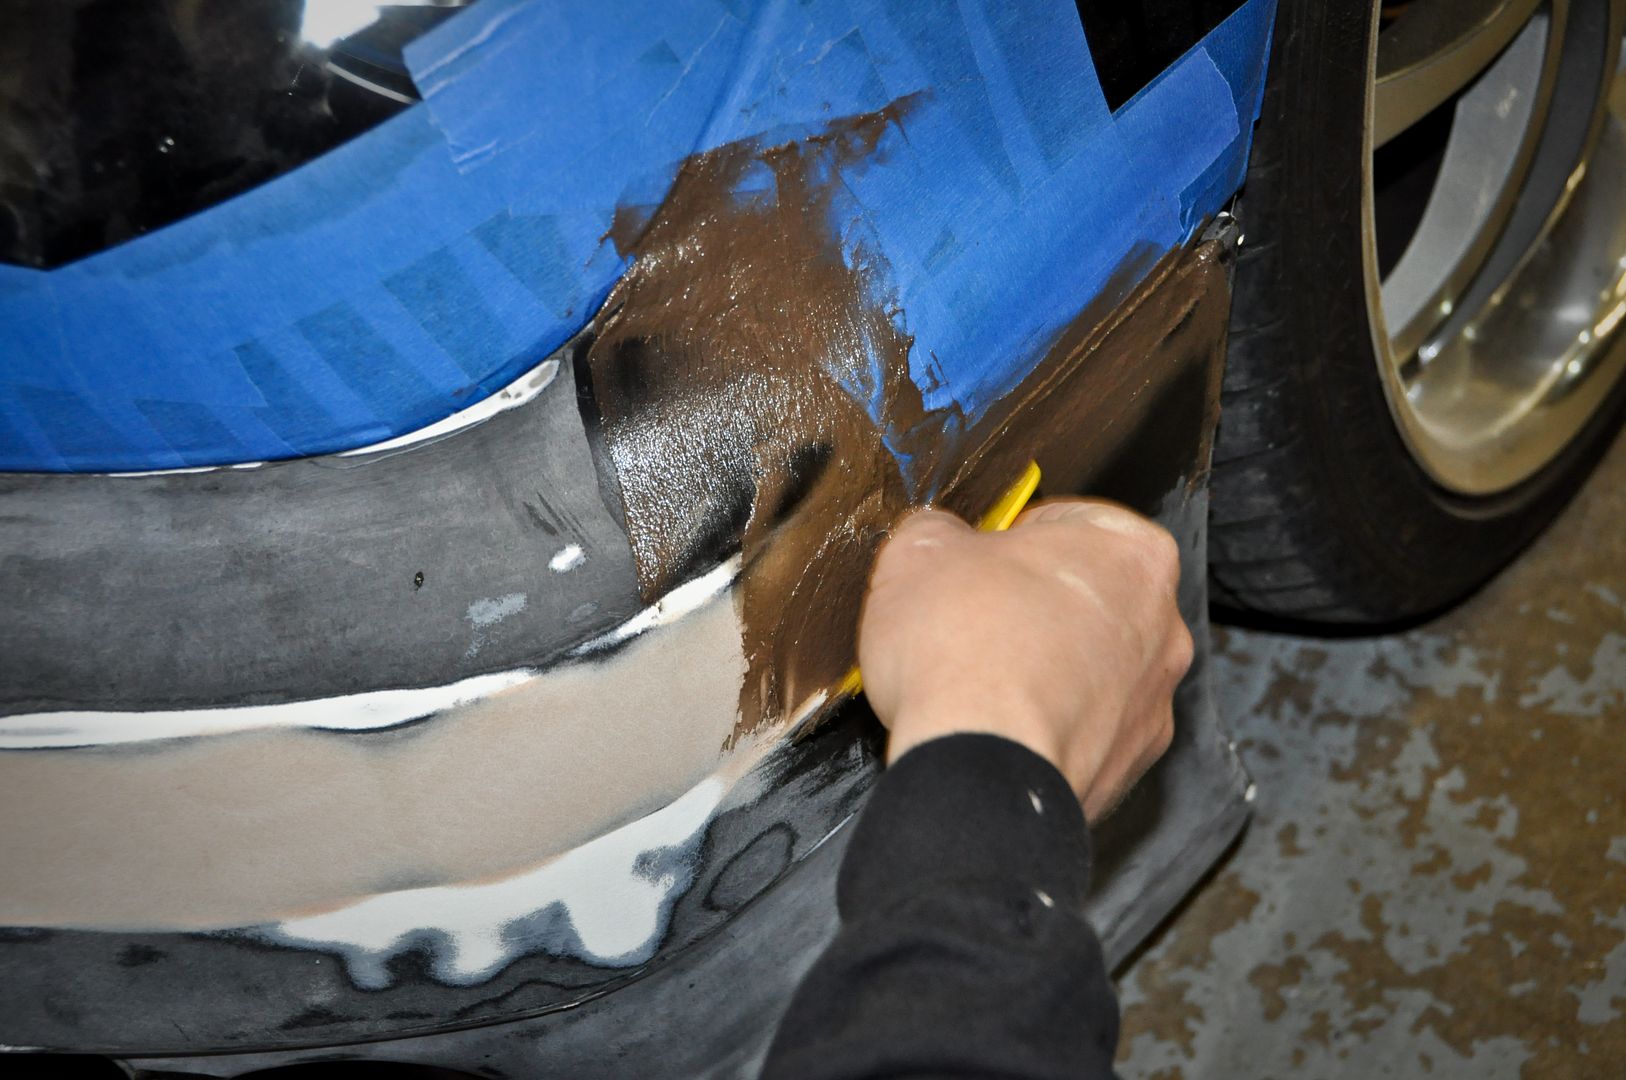
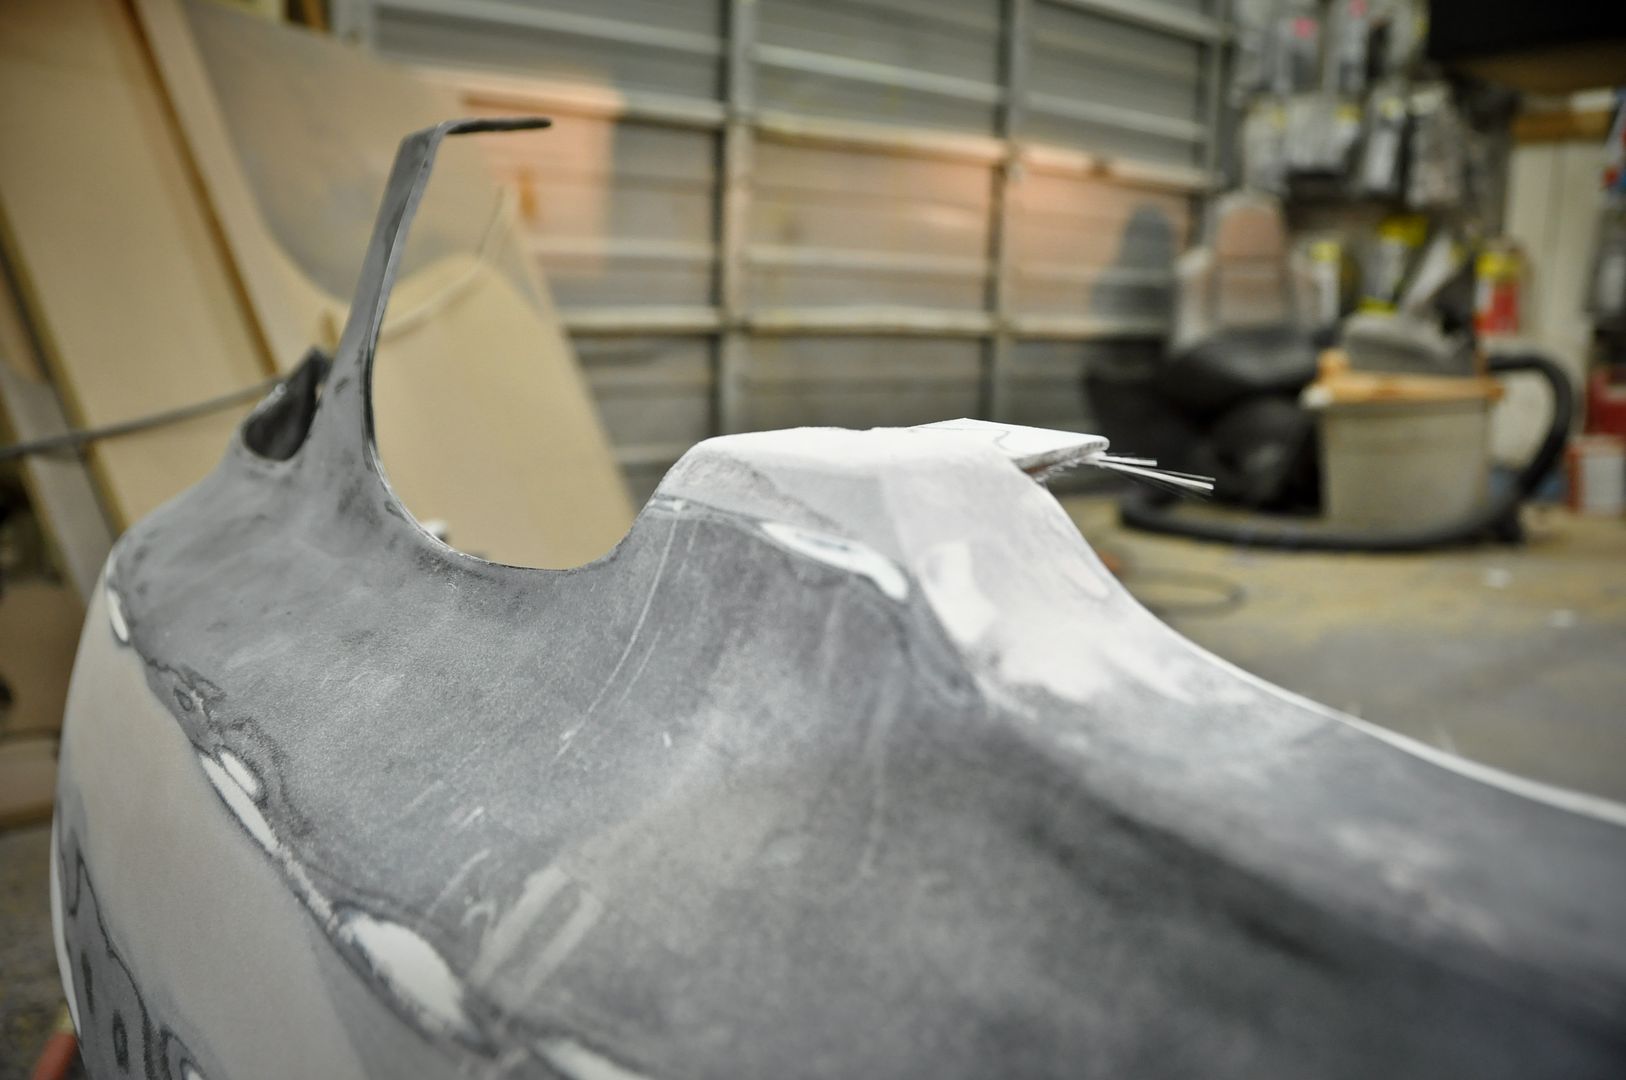
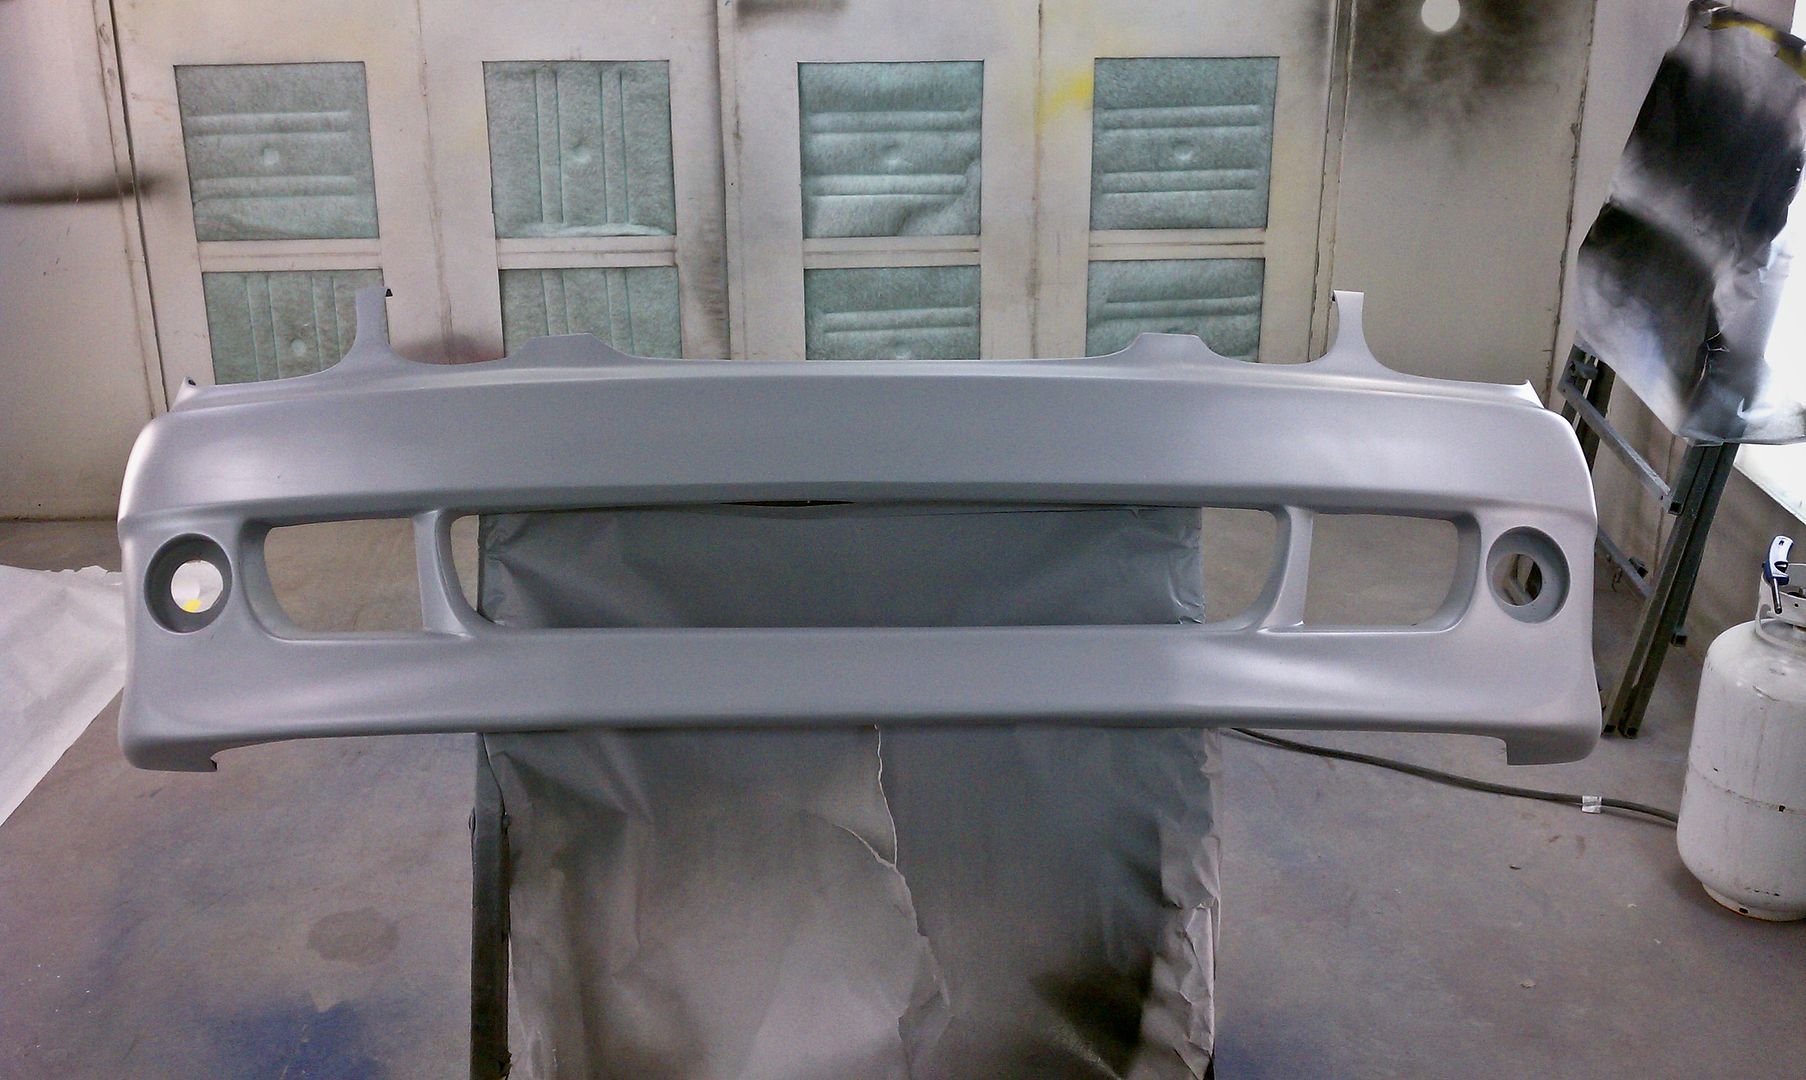
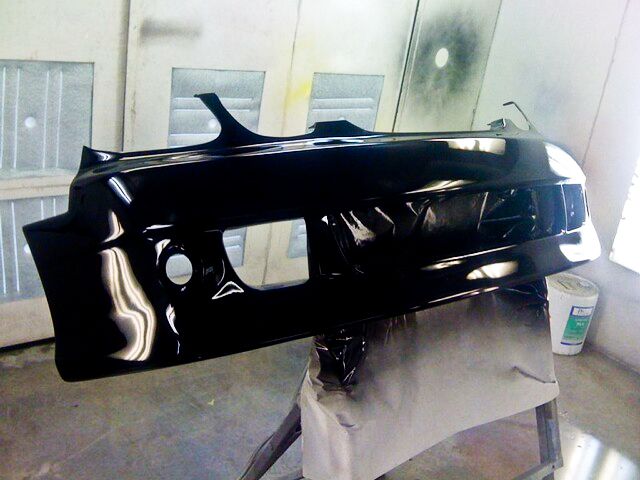
This is with the first coat of primer on the bumper. There are a few pinholes that need to get filled and some more primer will be needed to get rid of some waves
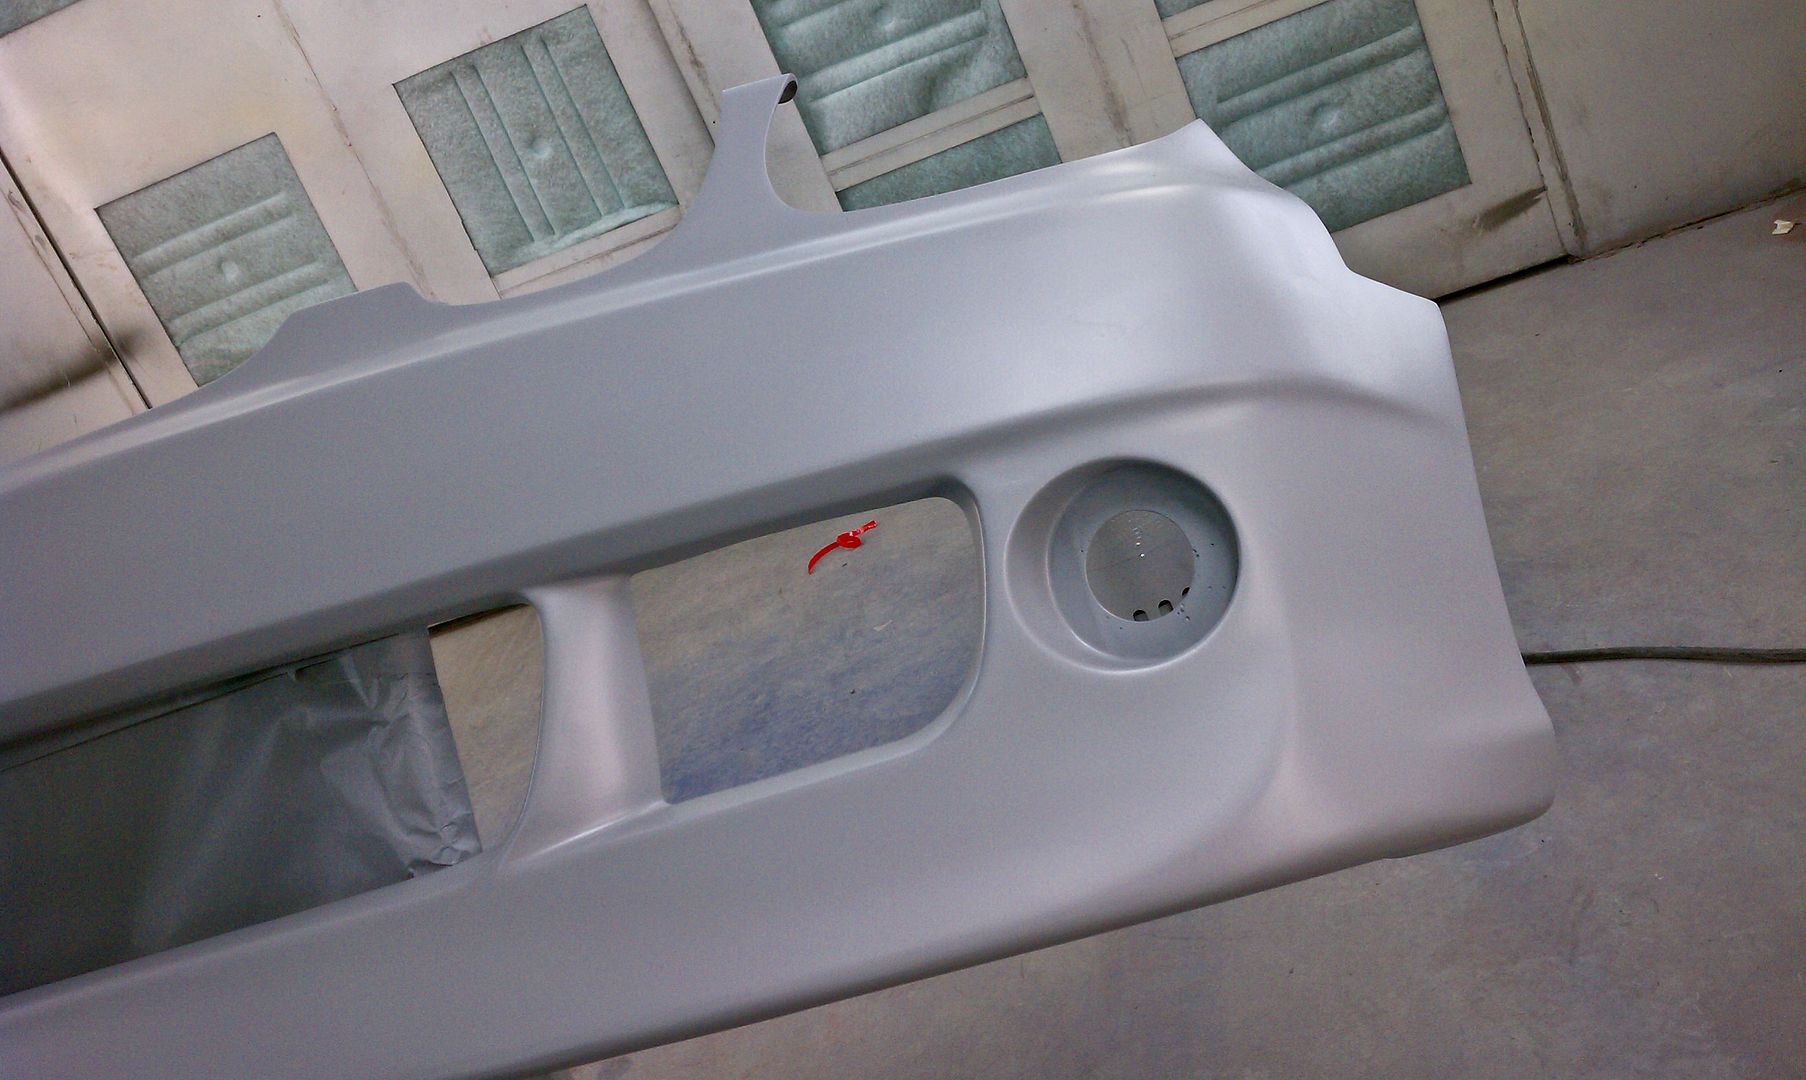
Sanding down some high spots and repairing pinholes and other miscellaneous issues
Here it is with base coat and 2 coats of black
Placed pieces of paper clips on the inner of the grill. These will hold the metal mesh material in place after paint
Fiber-glassed in the mounting points over the strip caulk
John touching up the bumper and getting it prepped for paint
Filled in the space between the fog light mounts and the bumper
Wired up the 3K HID Fog Lamps
Test fitted everything on the bumper
That’s about as close as we’re going to get.
Let’s get it to the paint shop!
This is with the first coat of primer on the bumper. There are a few pinholes that need to get filled and some more primer will be needed to get rid of some waves
Sanding down some high spots and repairing pinholes and other miscellaneous issues
Here it is with base coat and 2 coats of black
03-19-11, 04:20 AM
#465
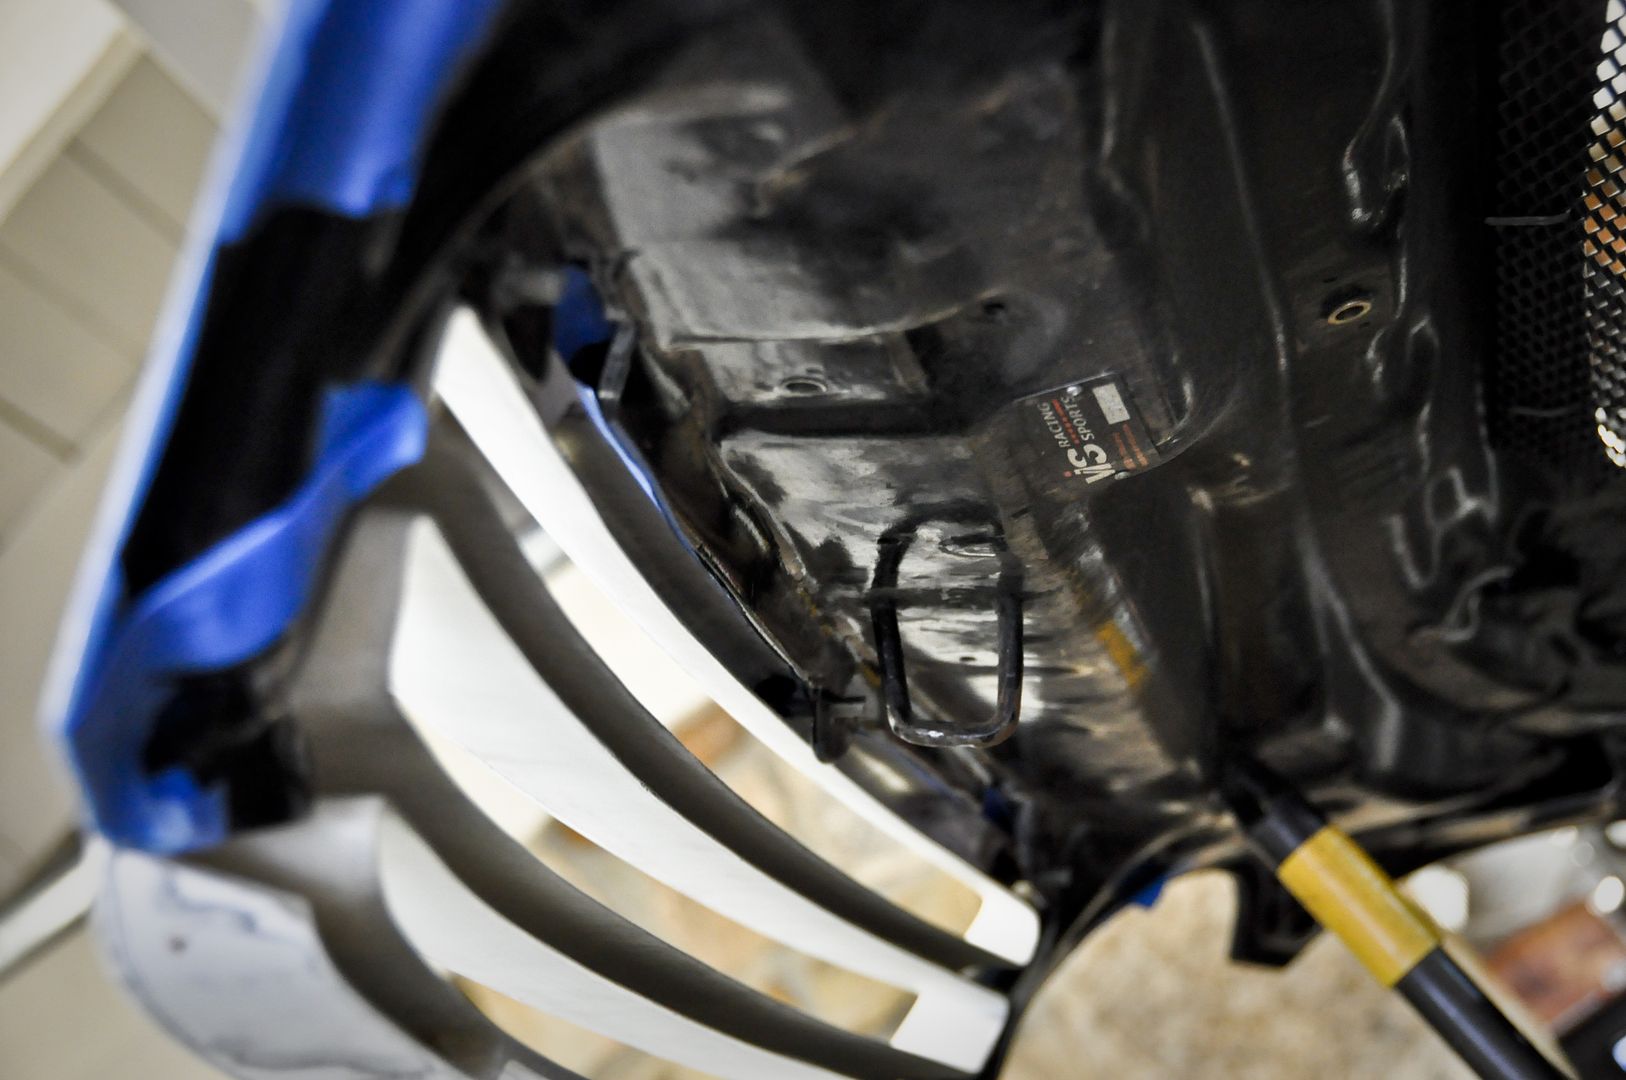
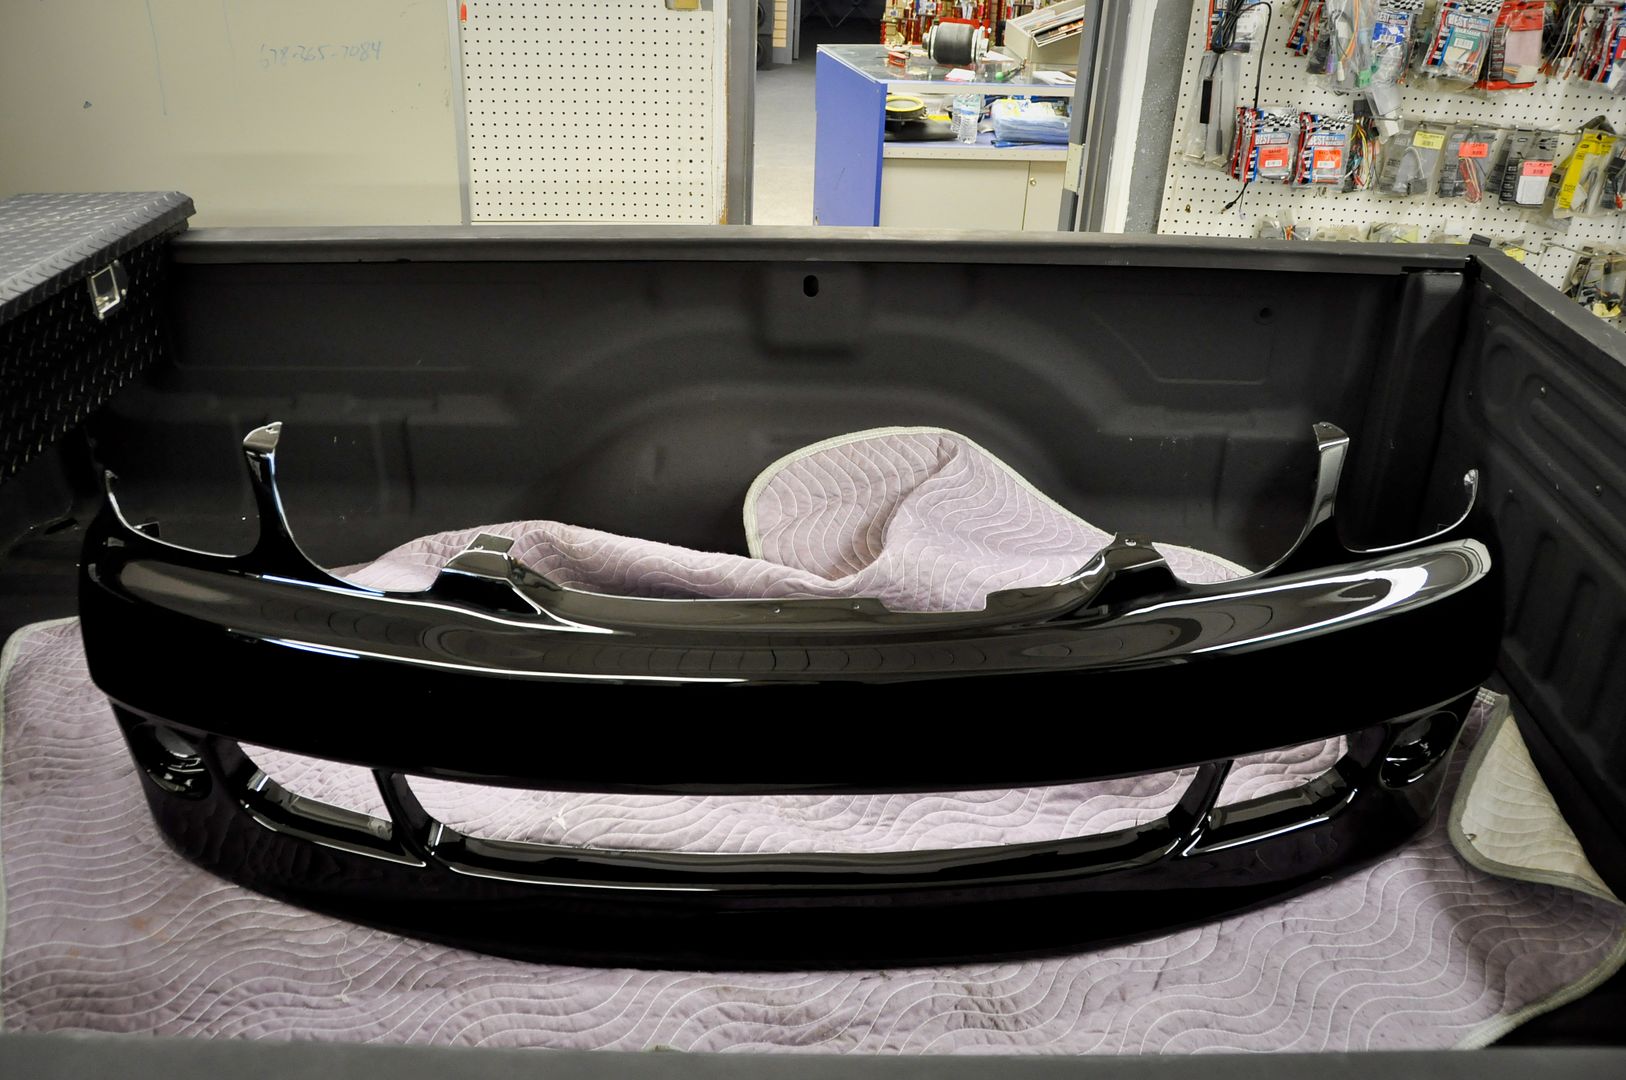
Picked it up from the shop in John’s dually
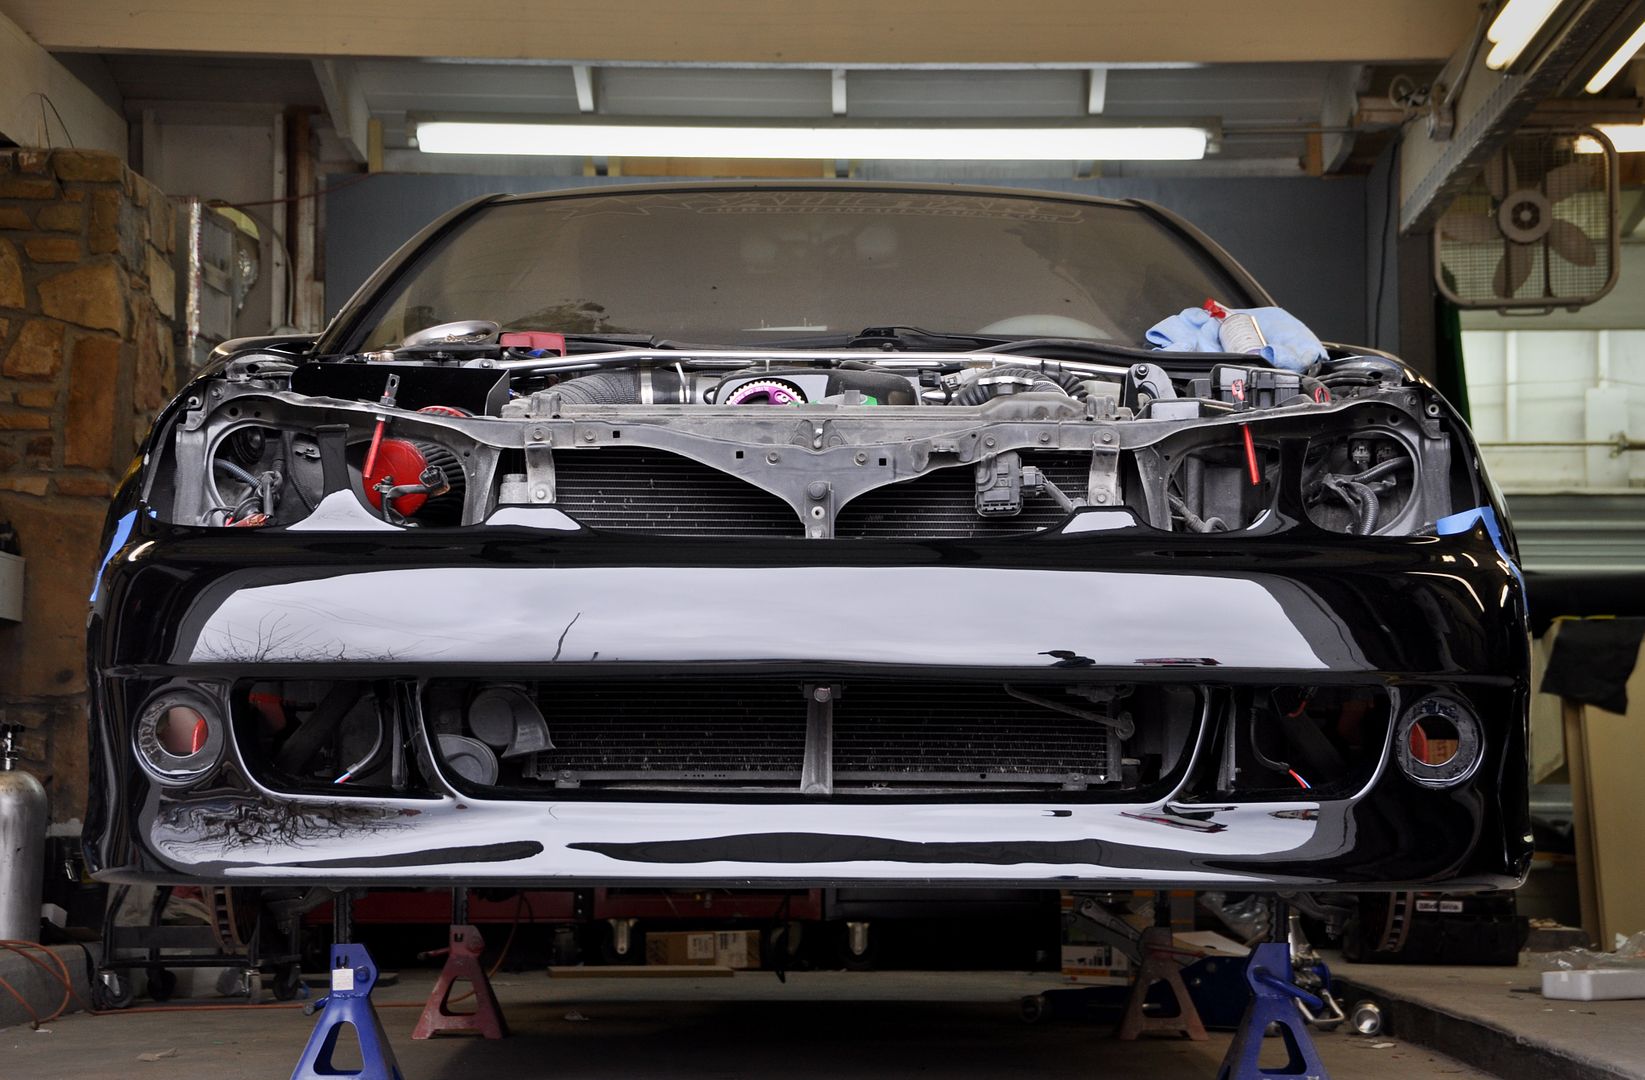
Test fitted it on the car while it is up on stands for the air ride

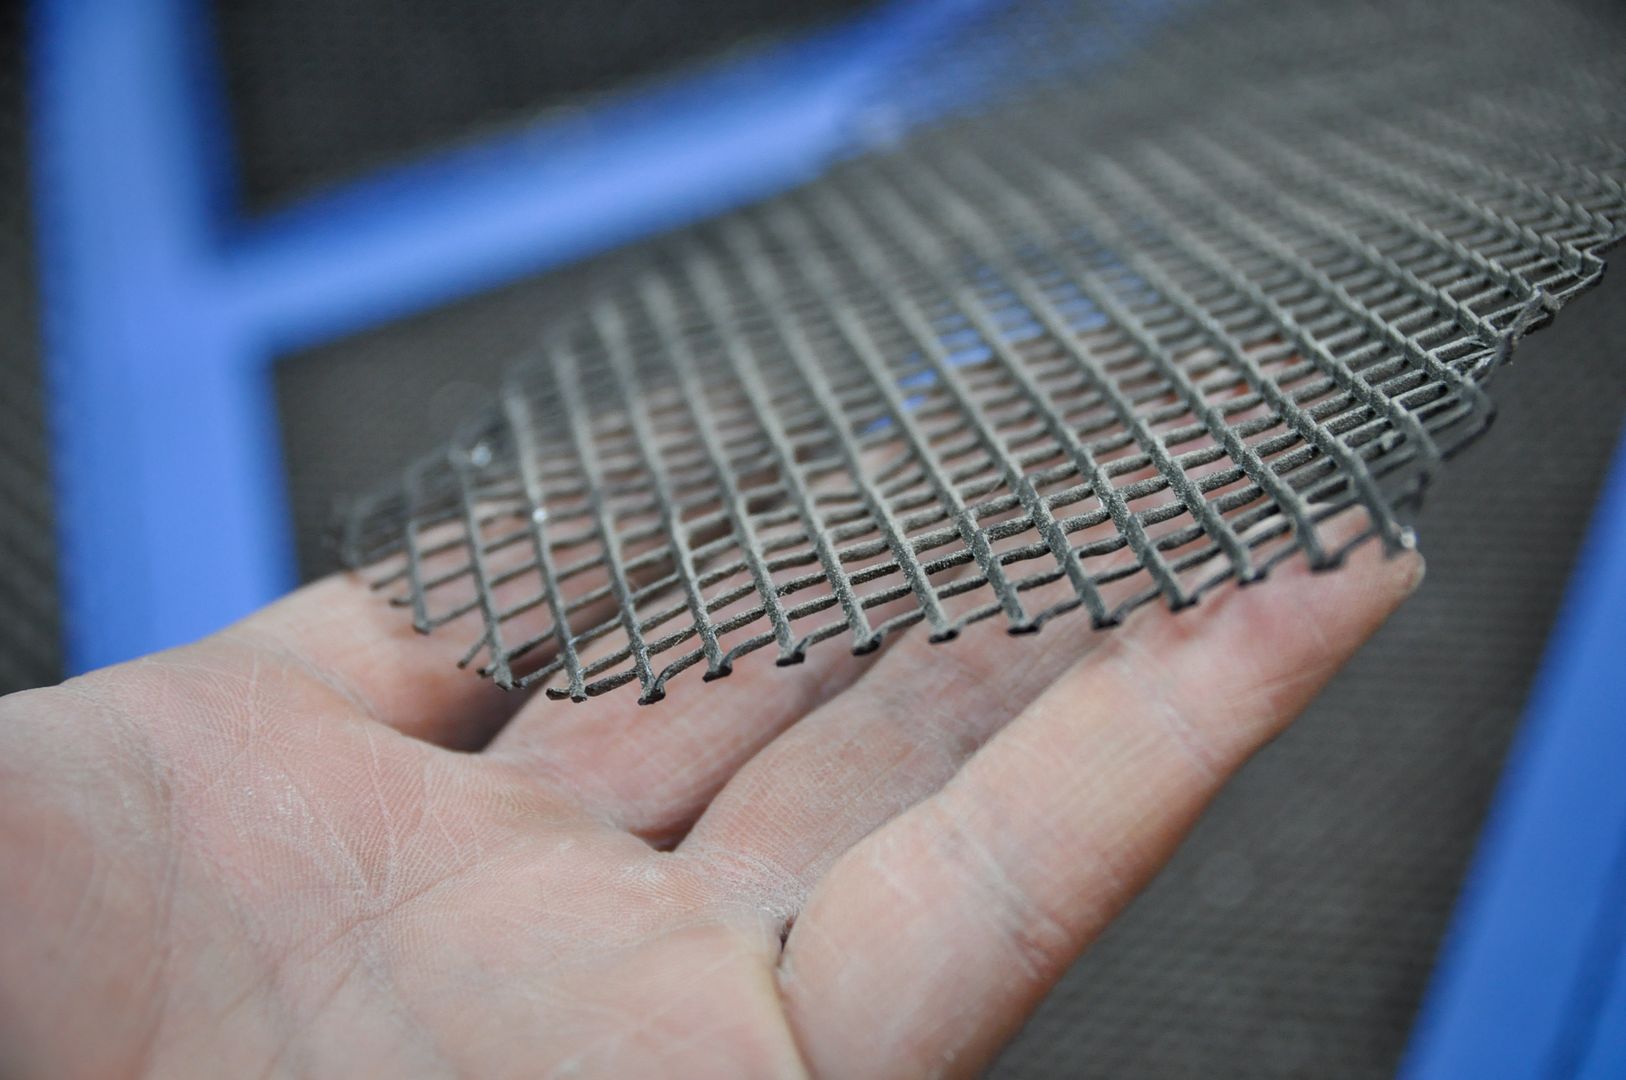
Here’s the old grill material
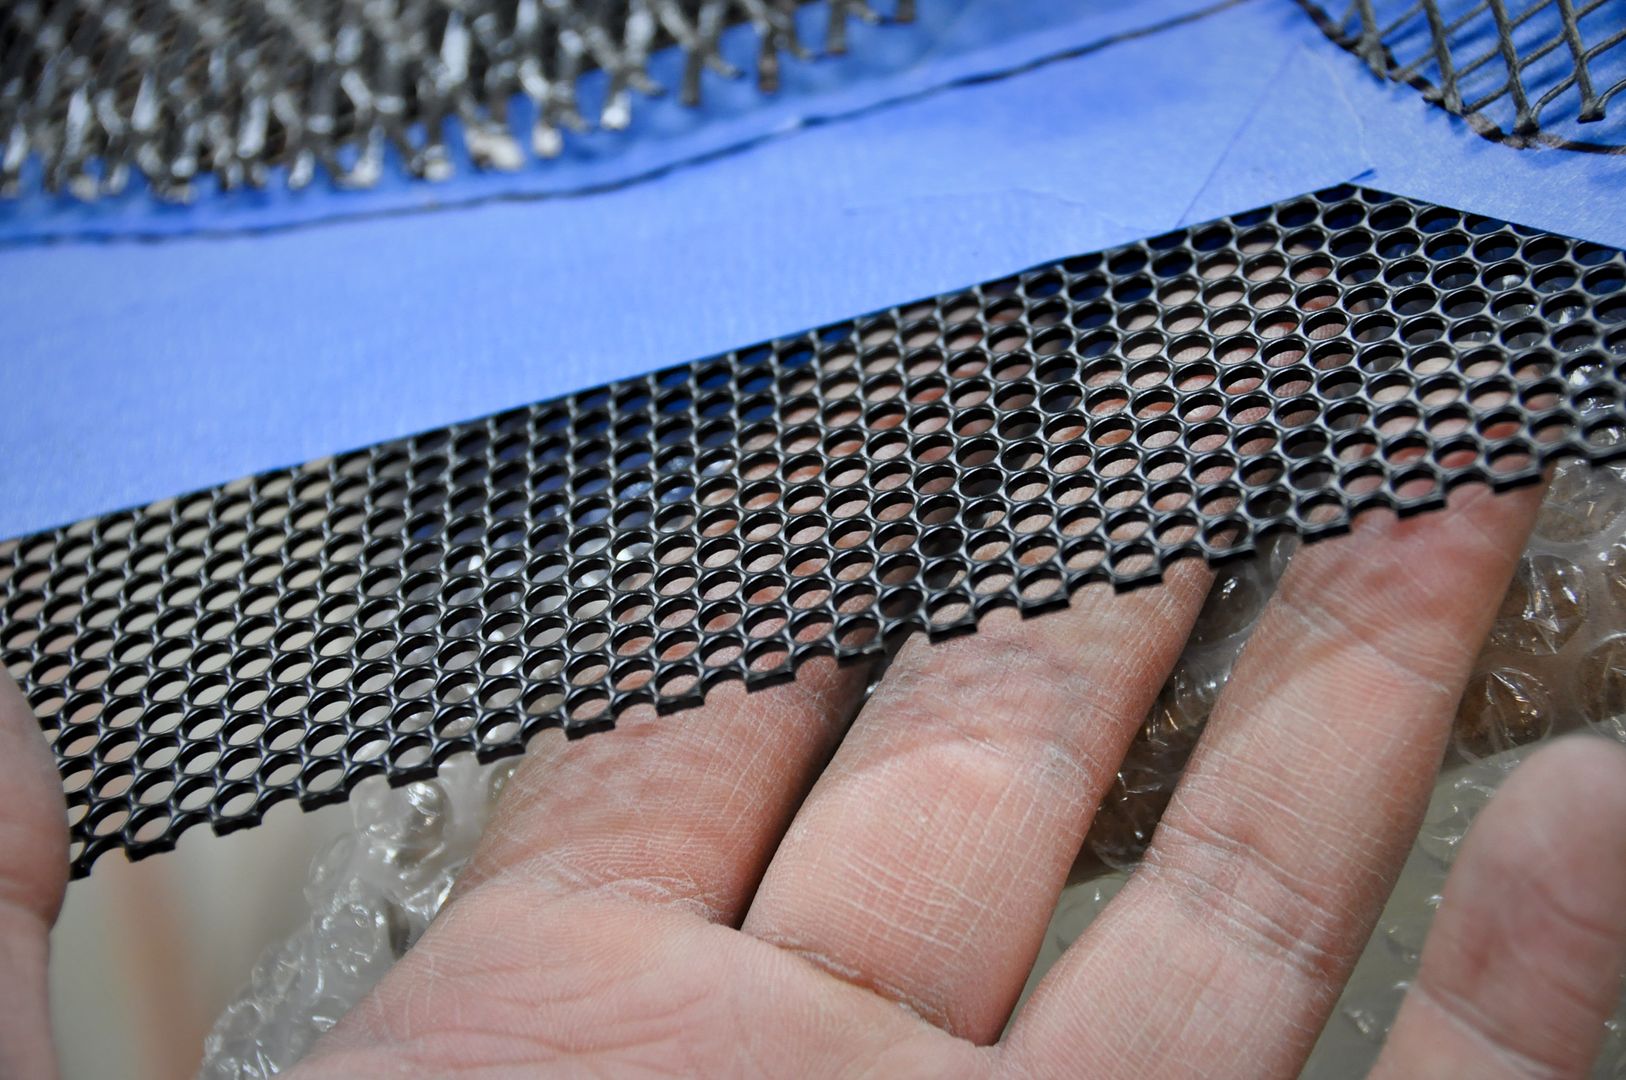
The new grill material I am putting on
Traced out the old pieces onto the new material sheet
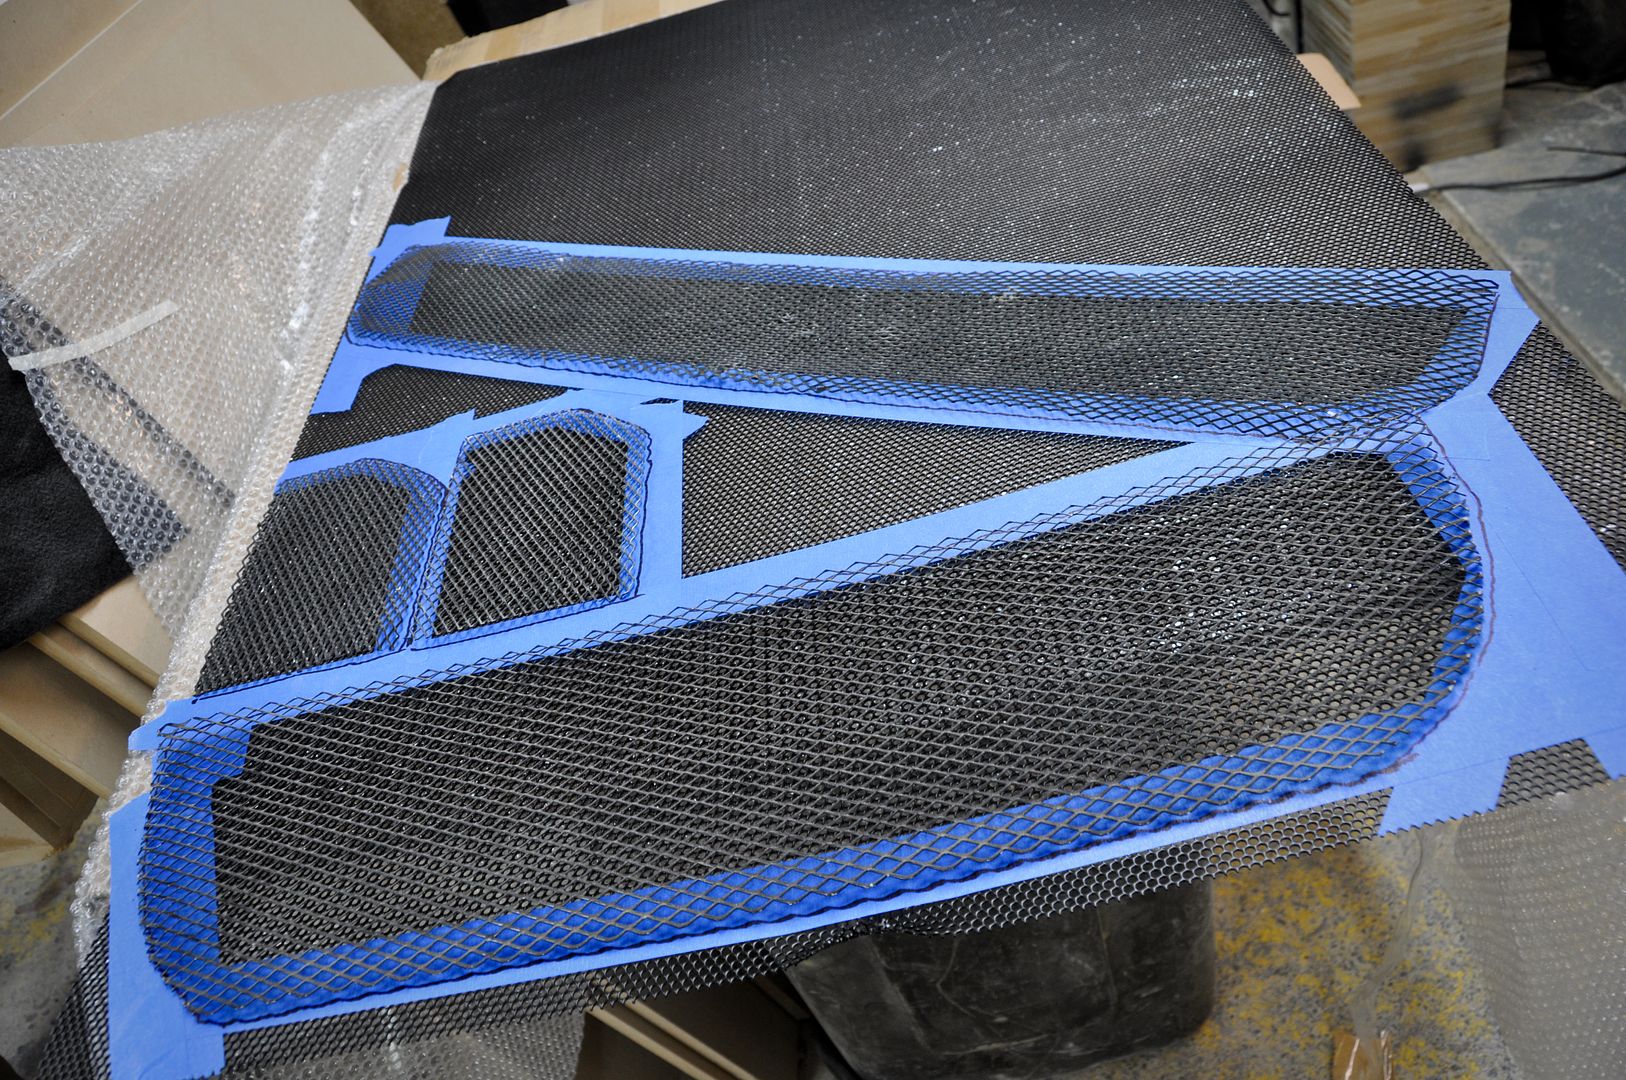
I cut out the pieces with an air saw
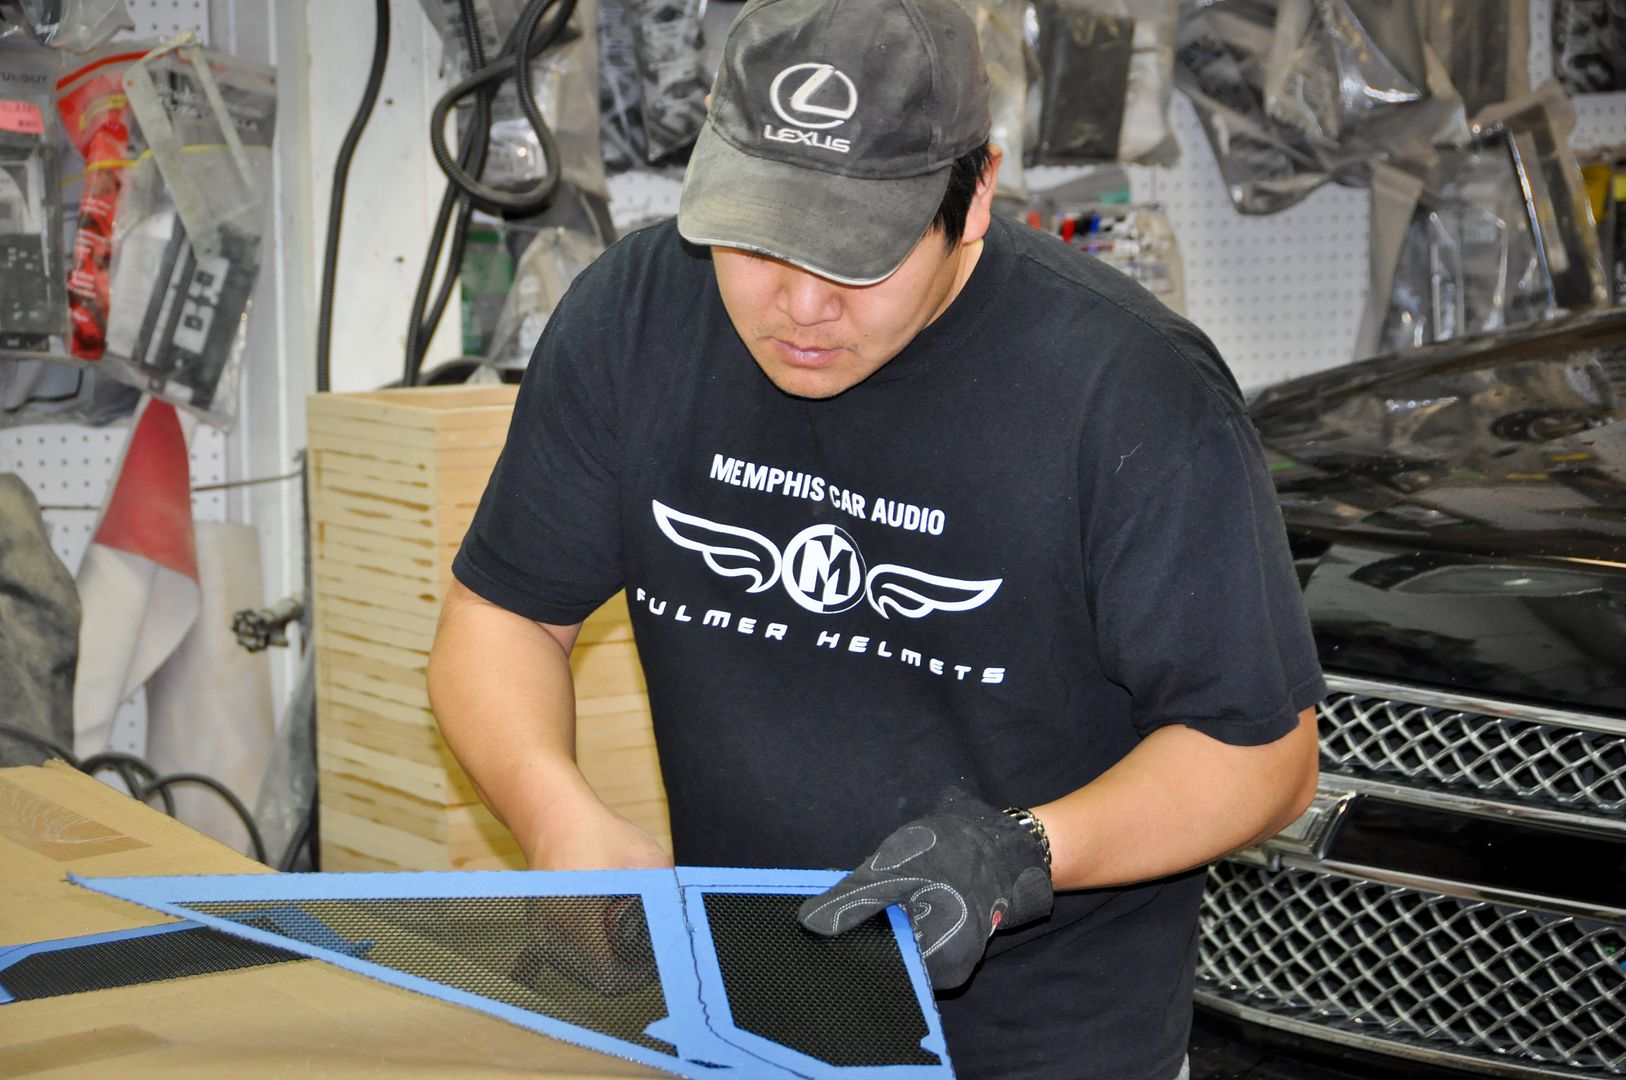
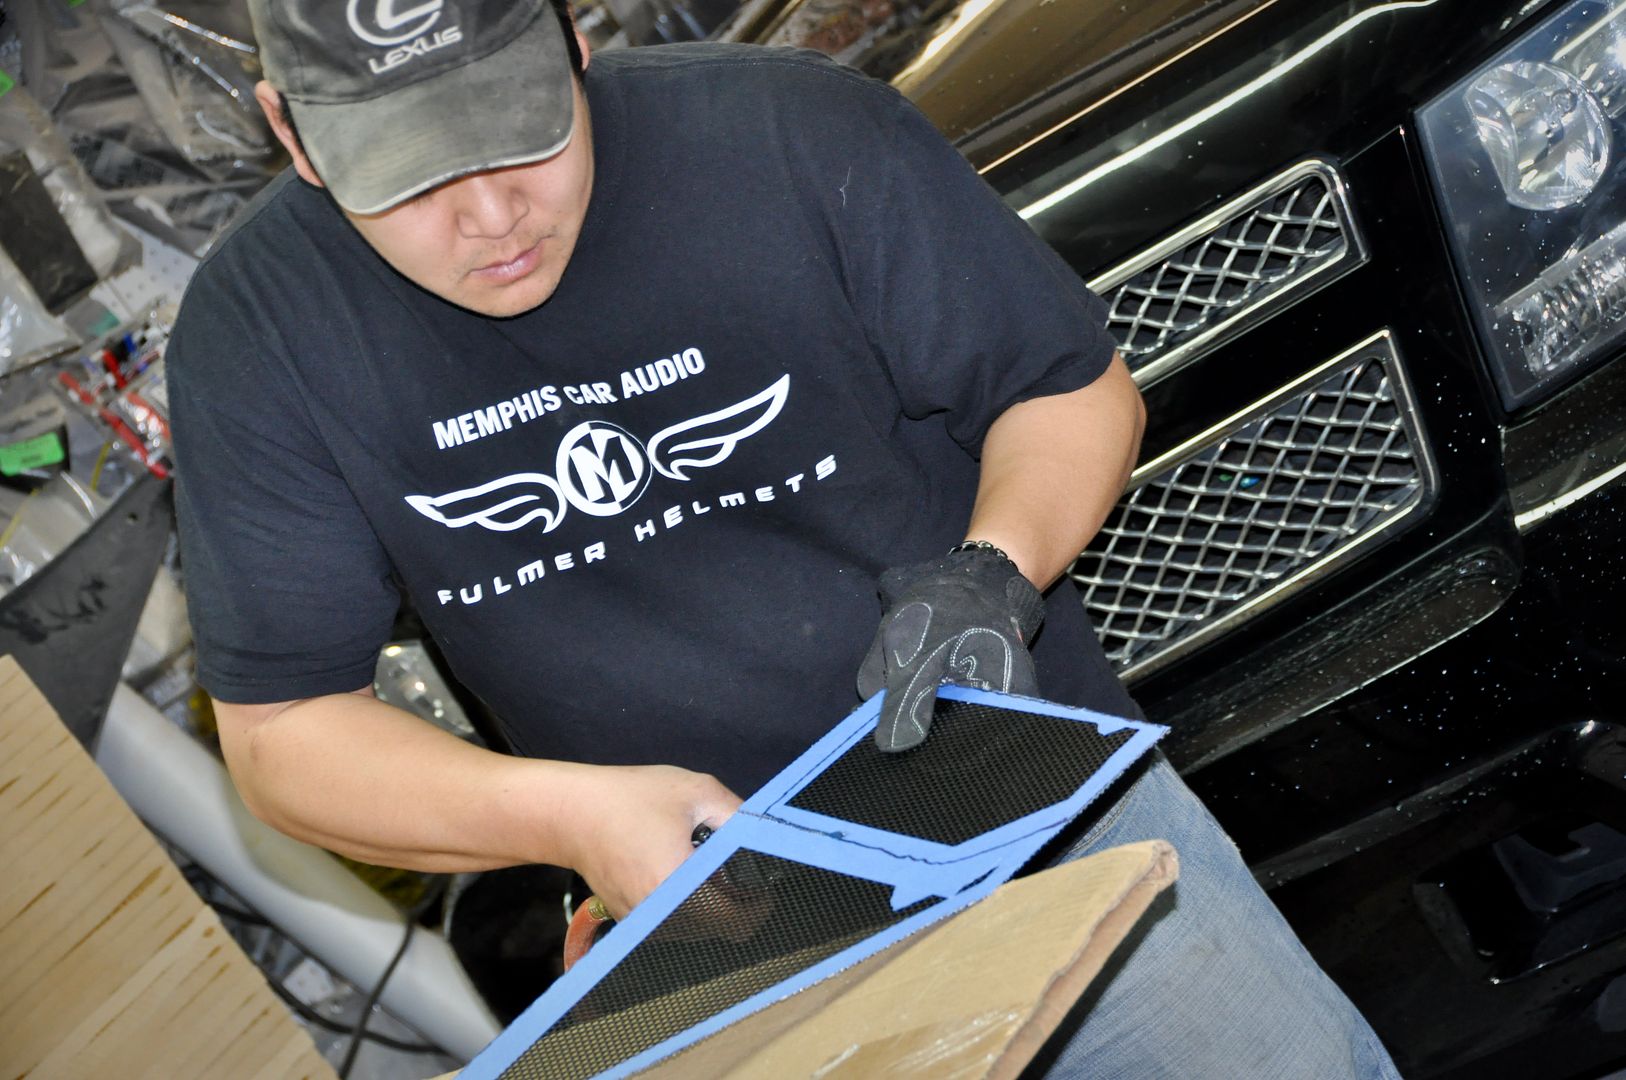
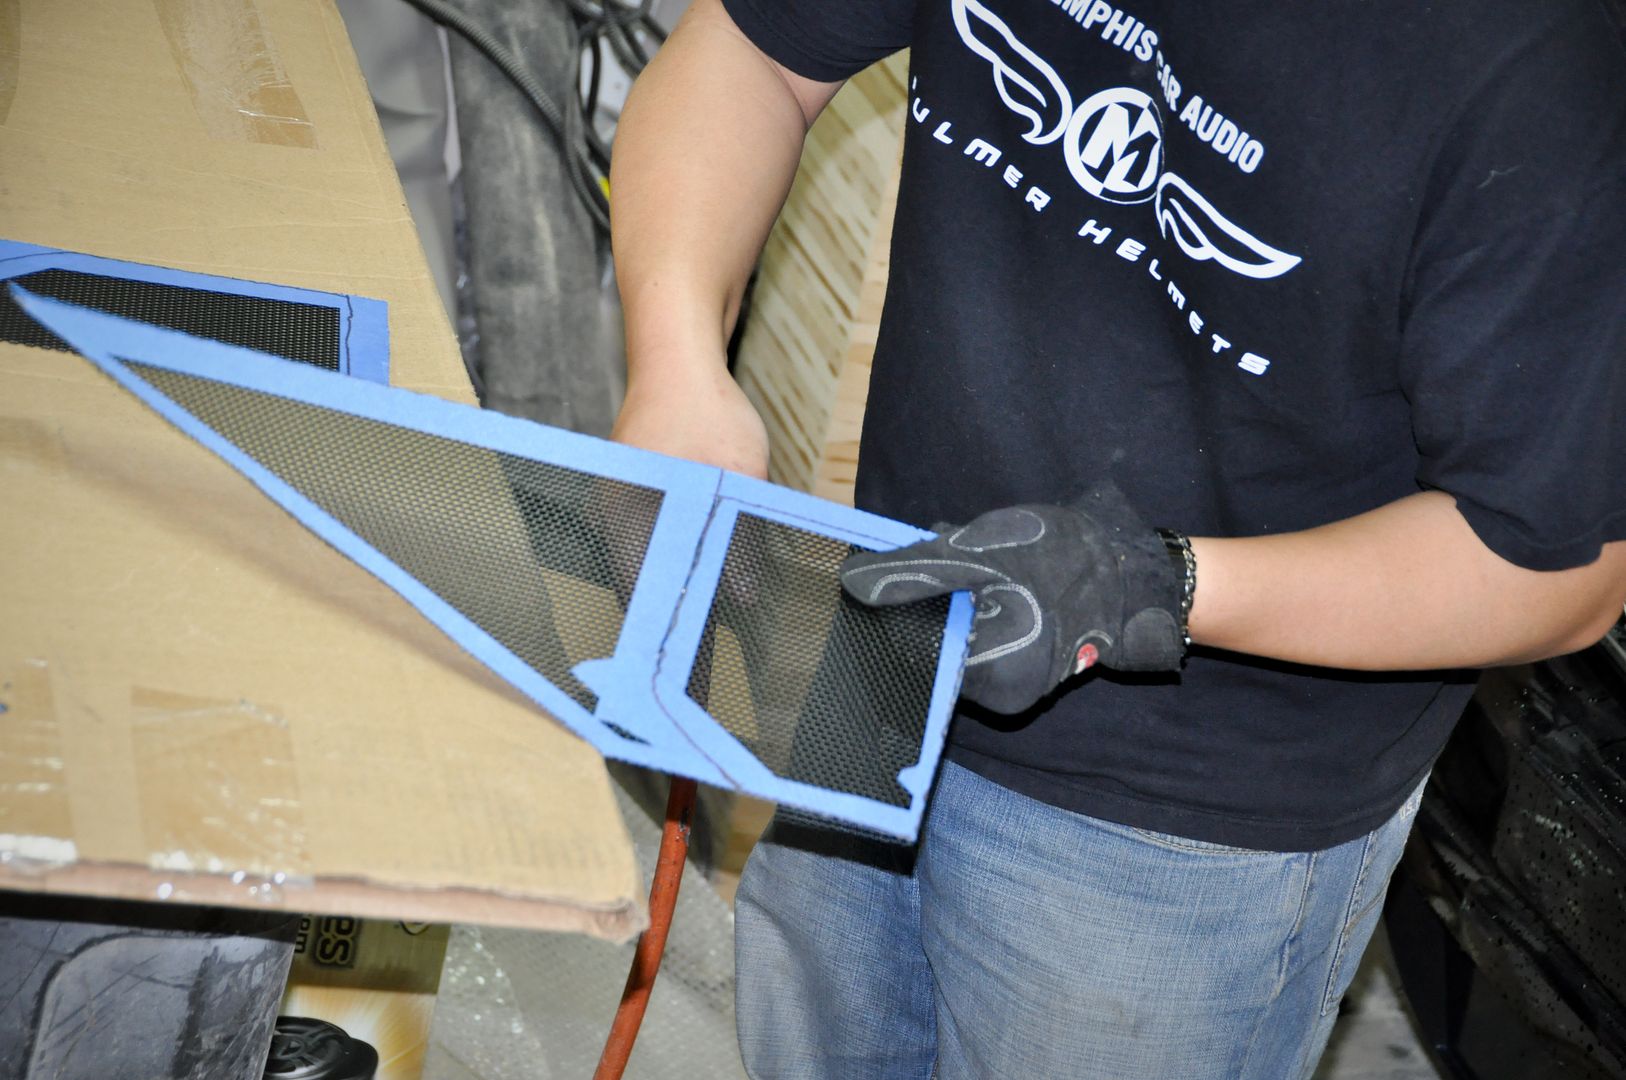
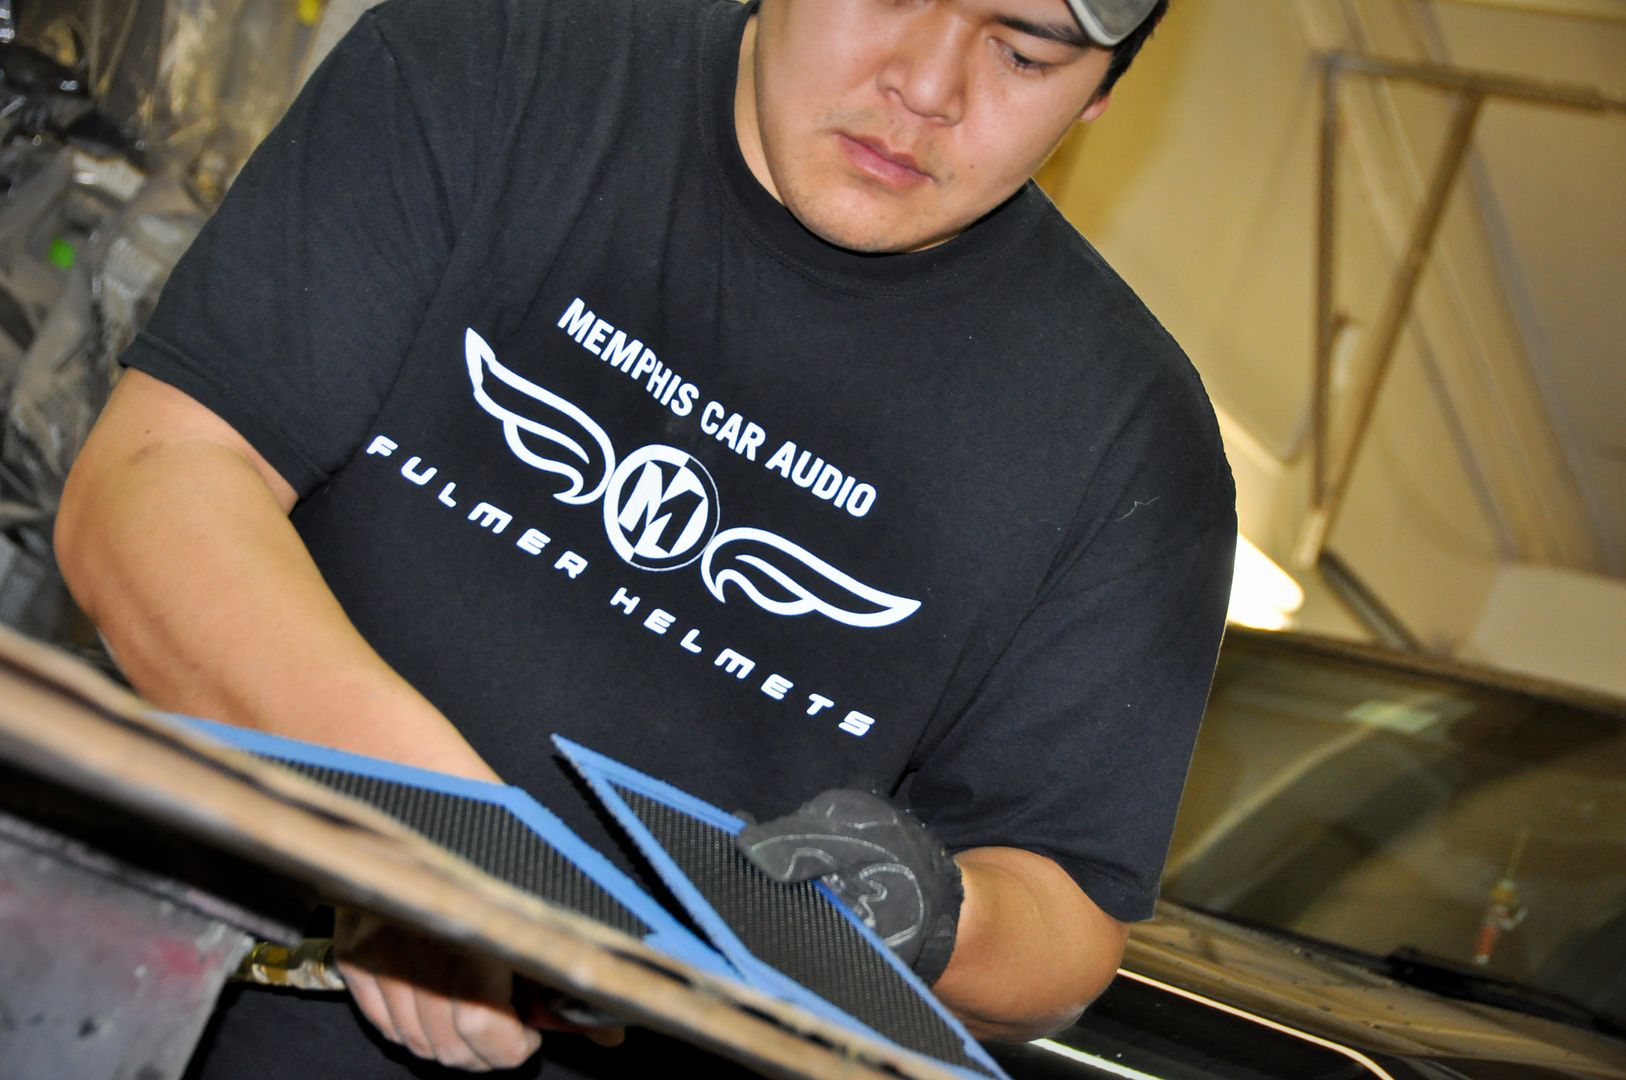
Test fitting and installing the grill material
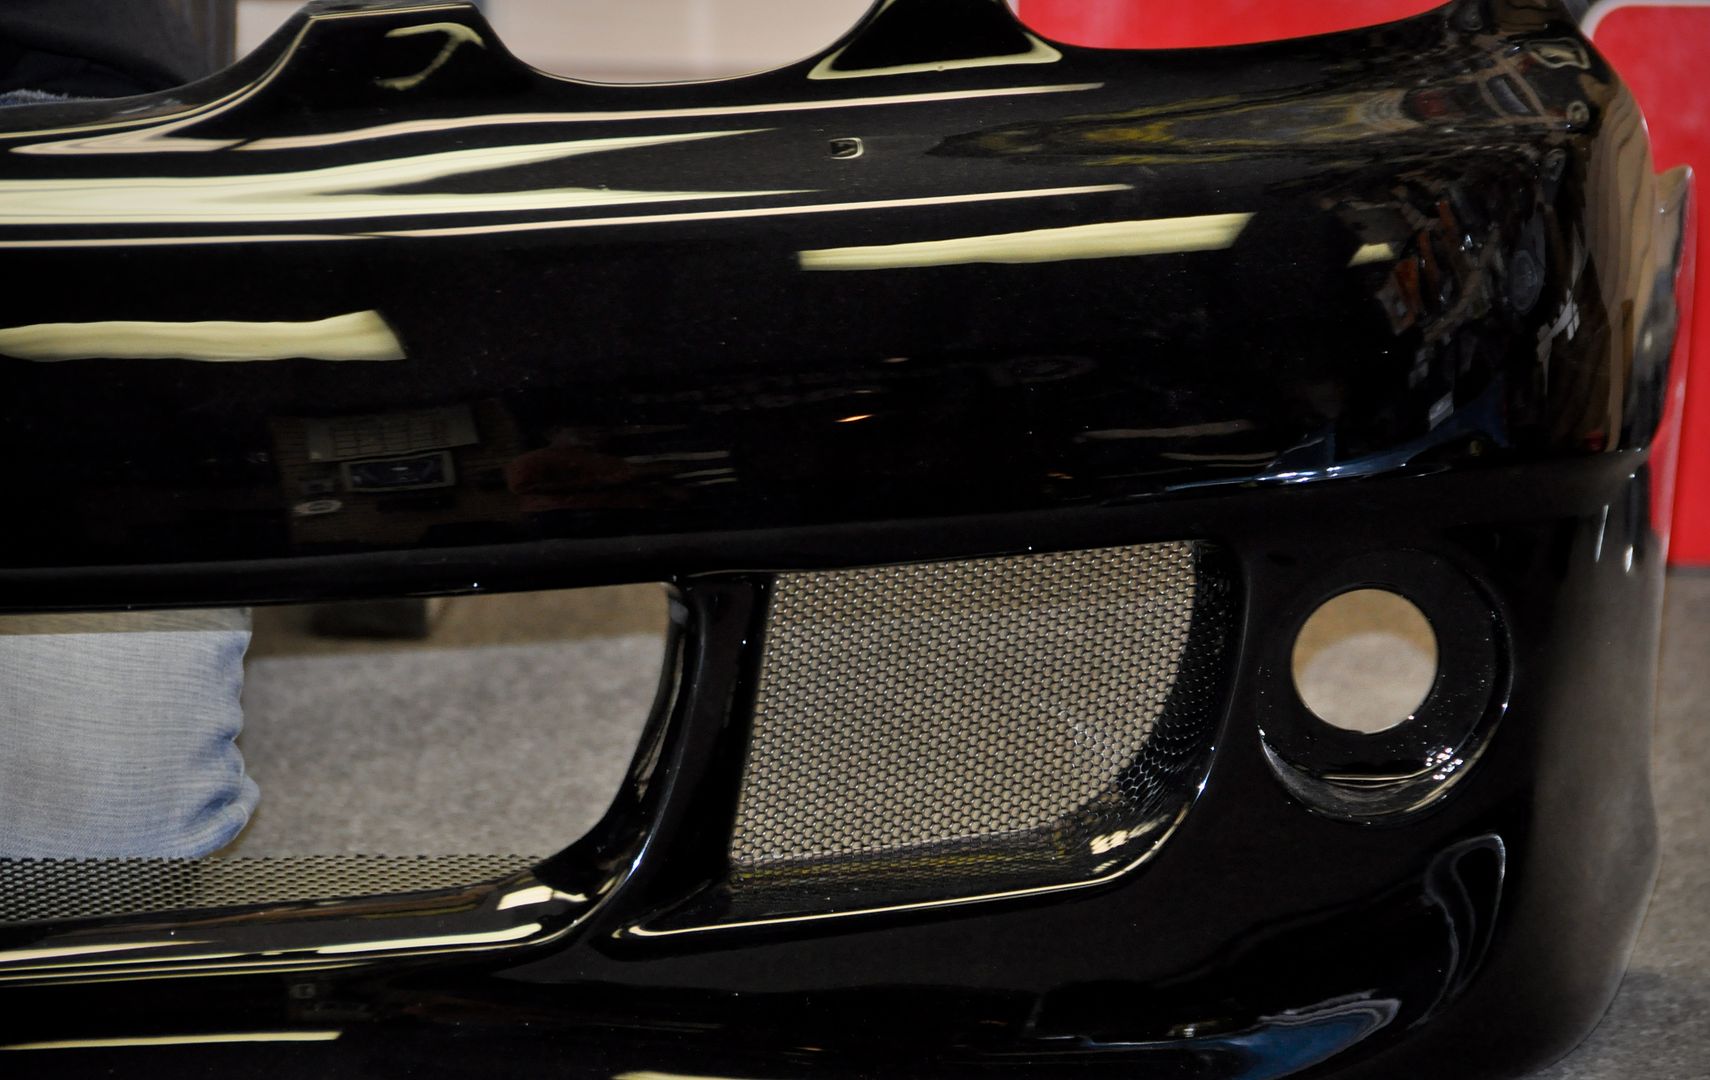
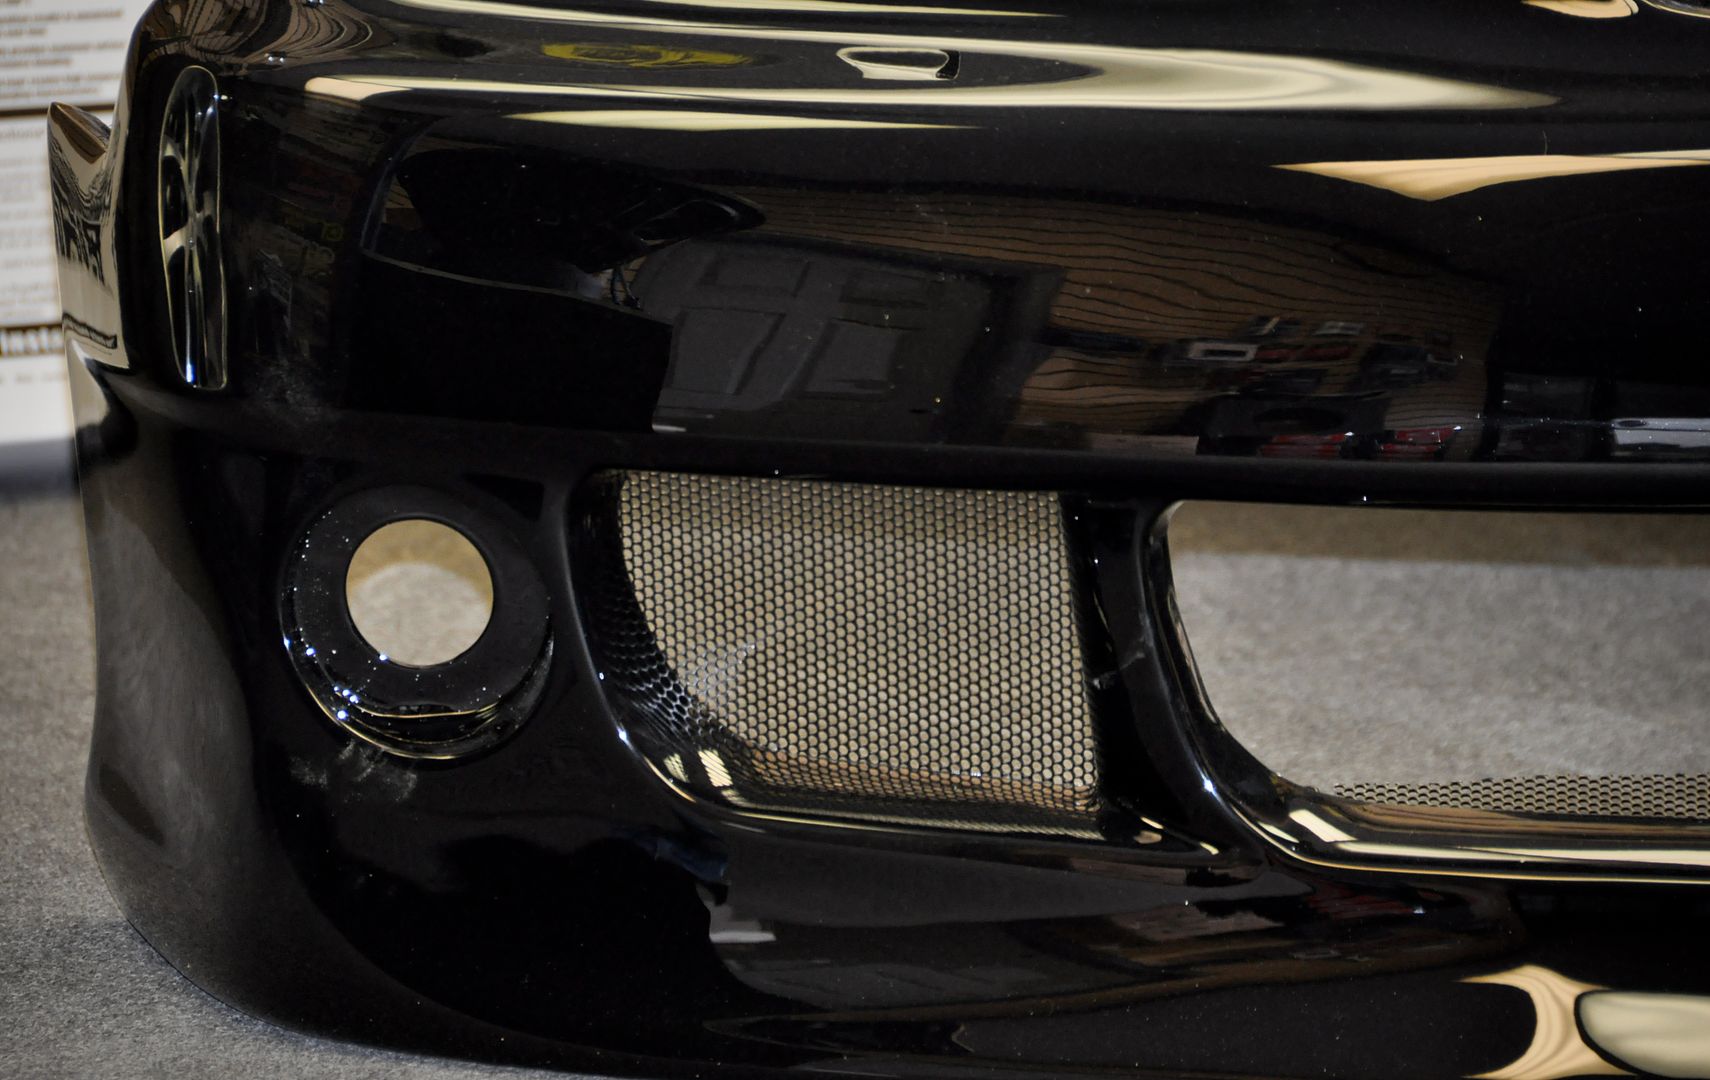

All ready to go
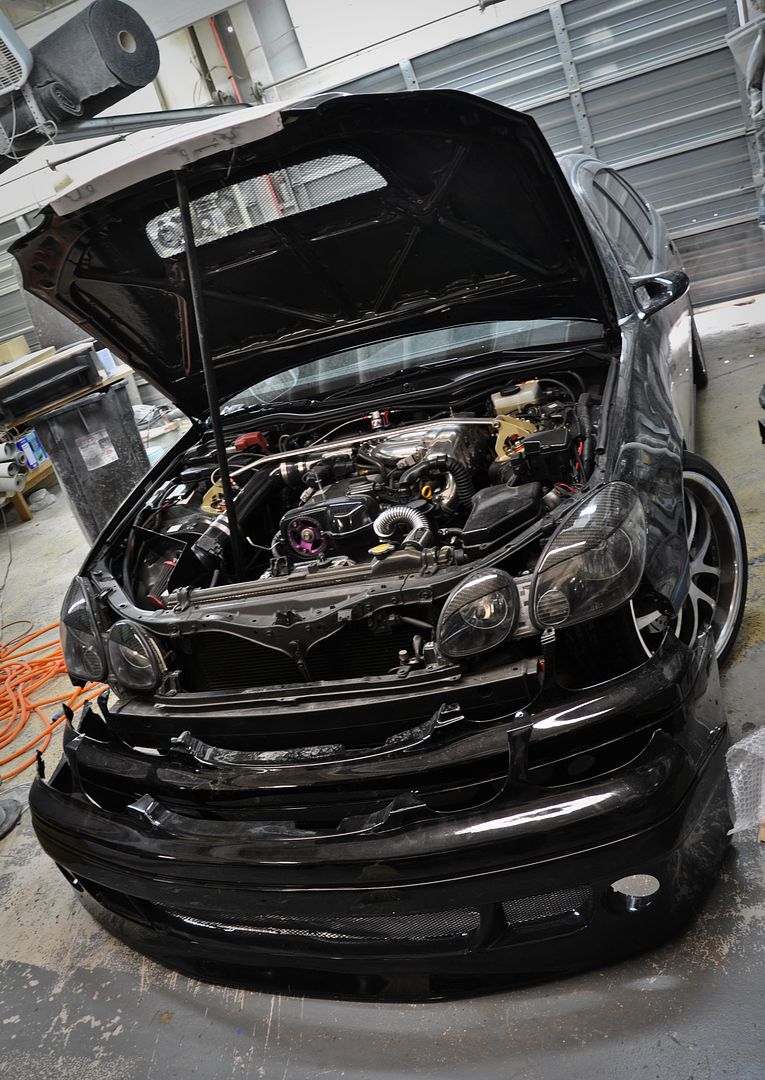
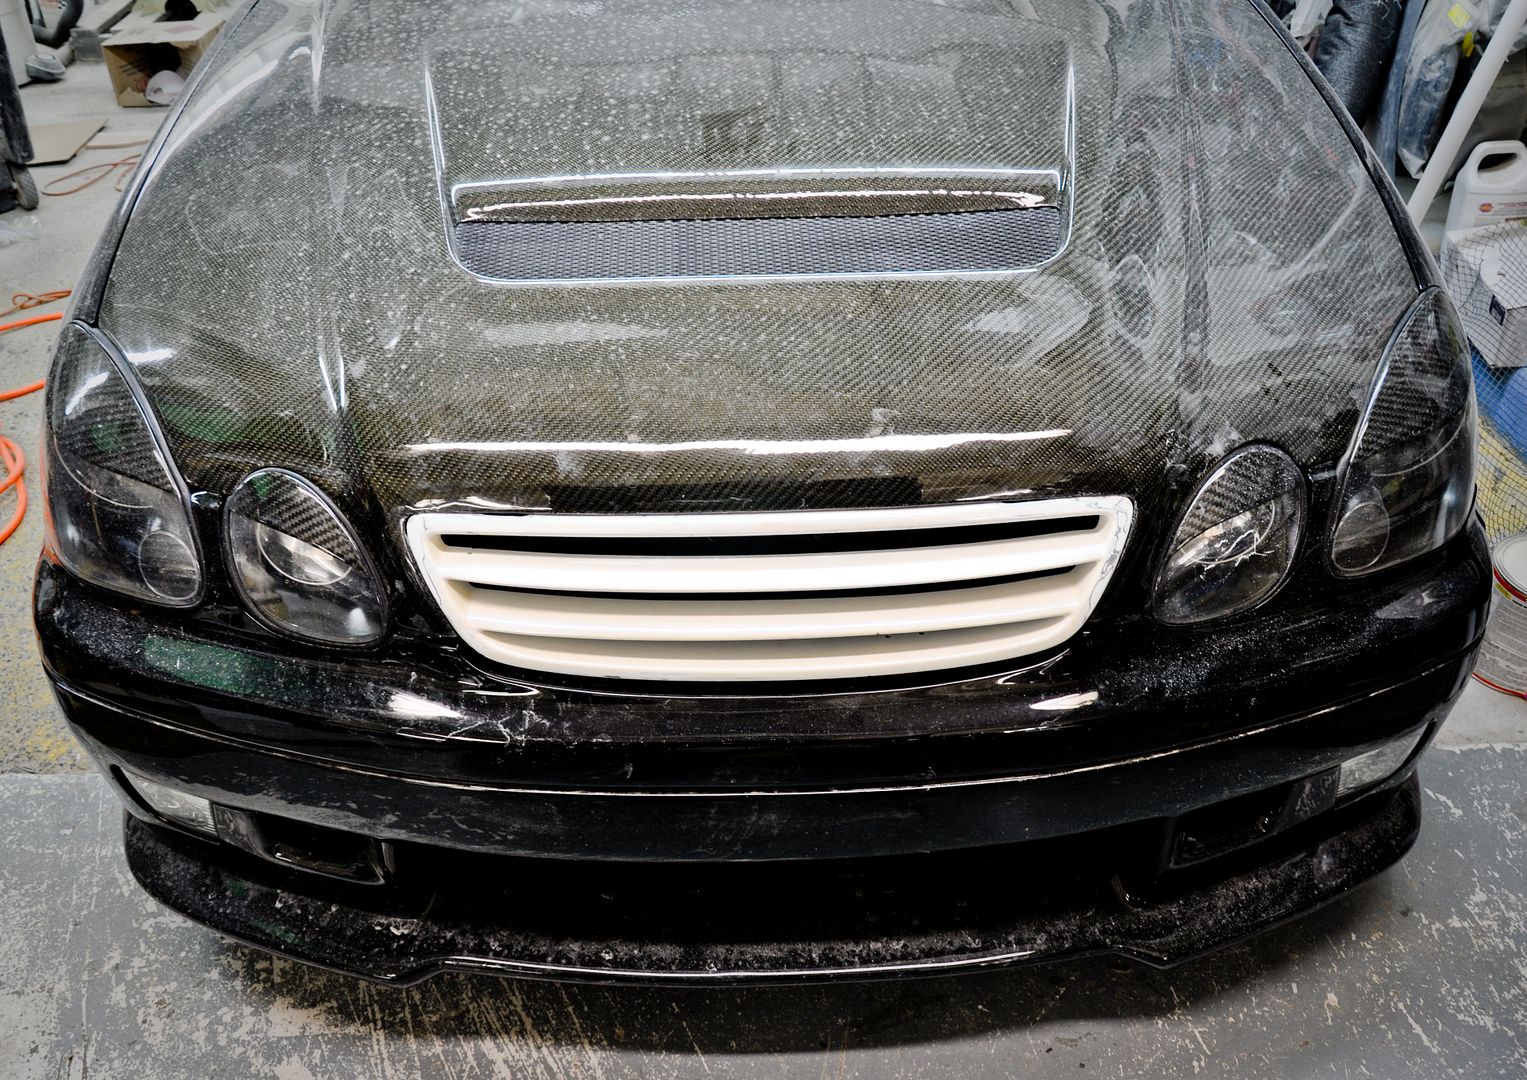
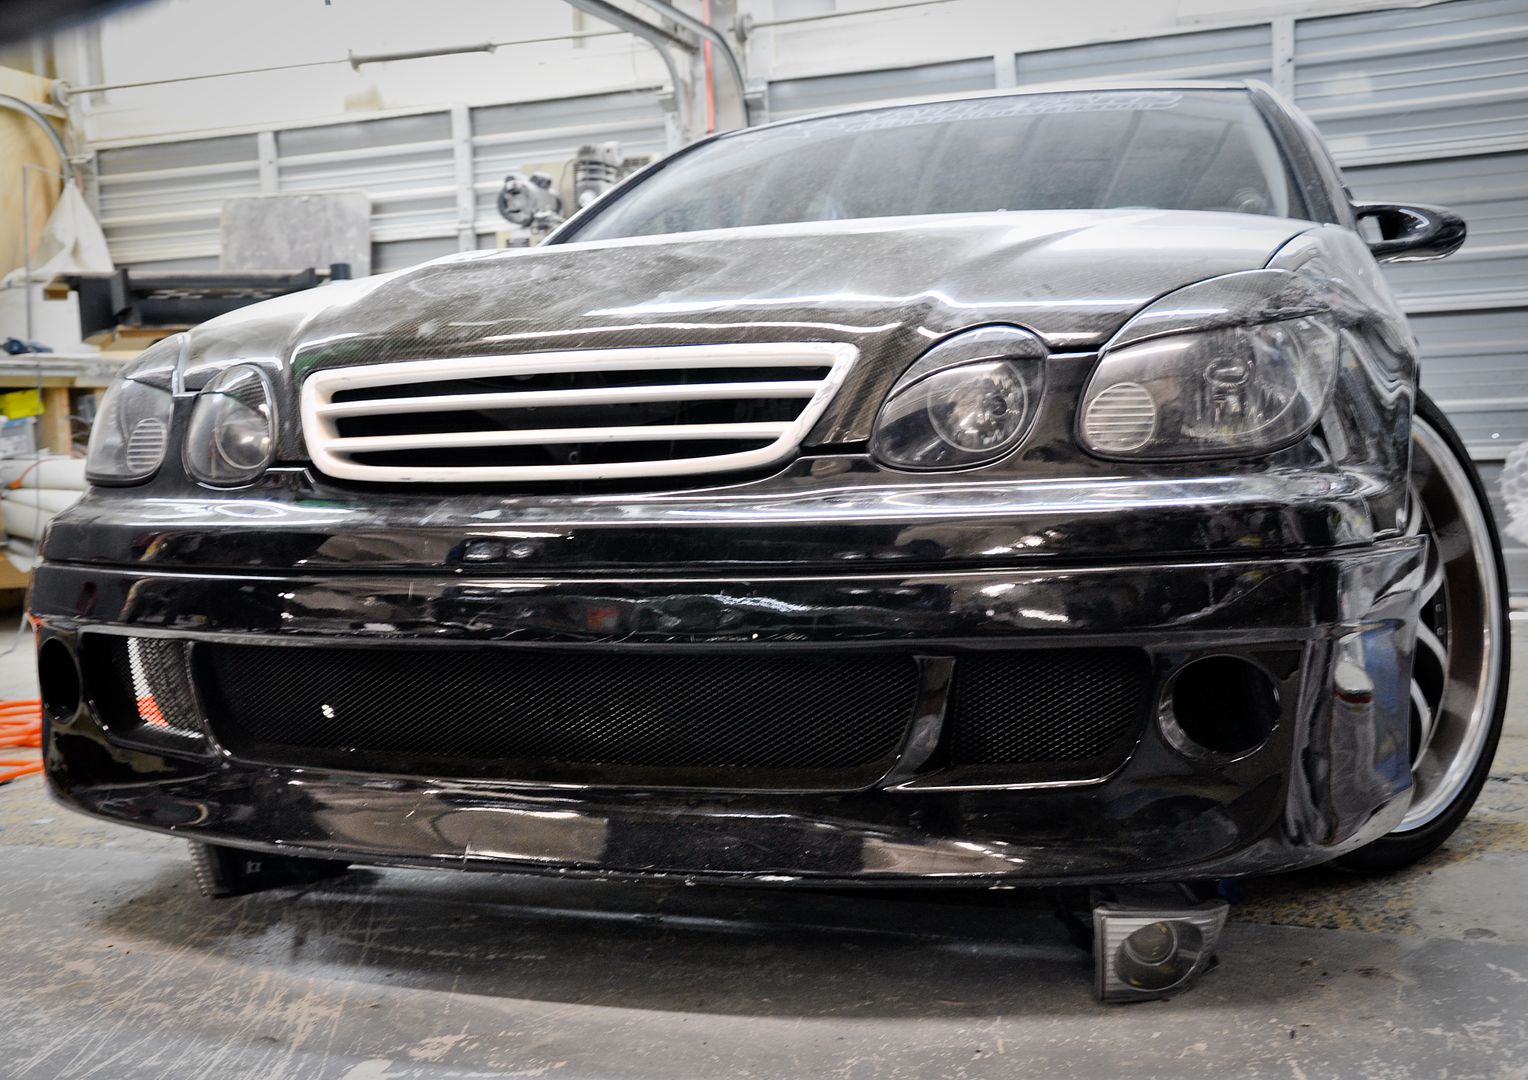
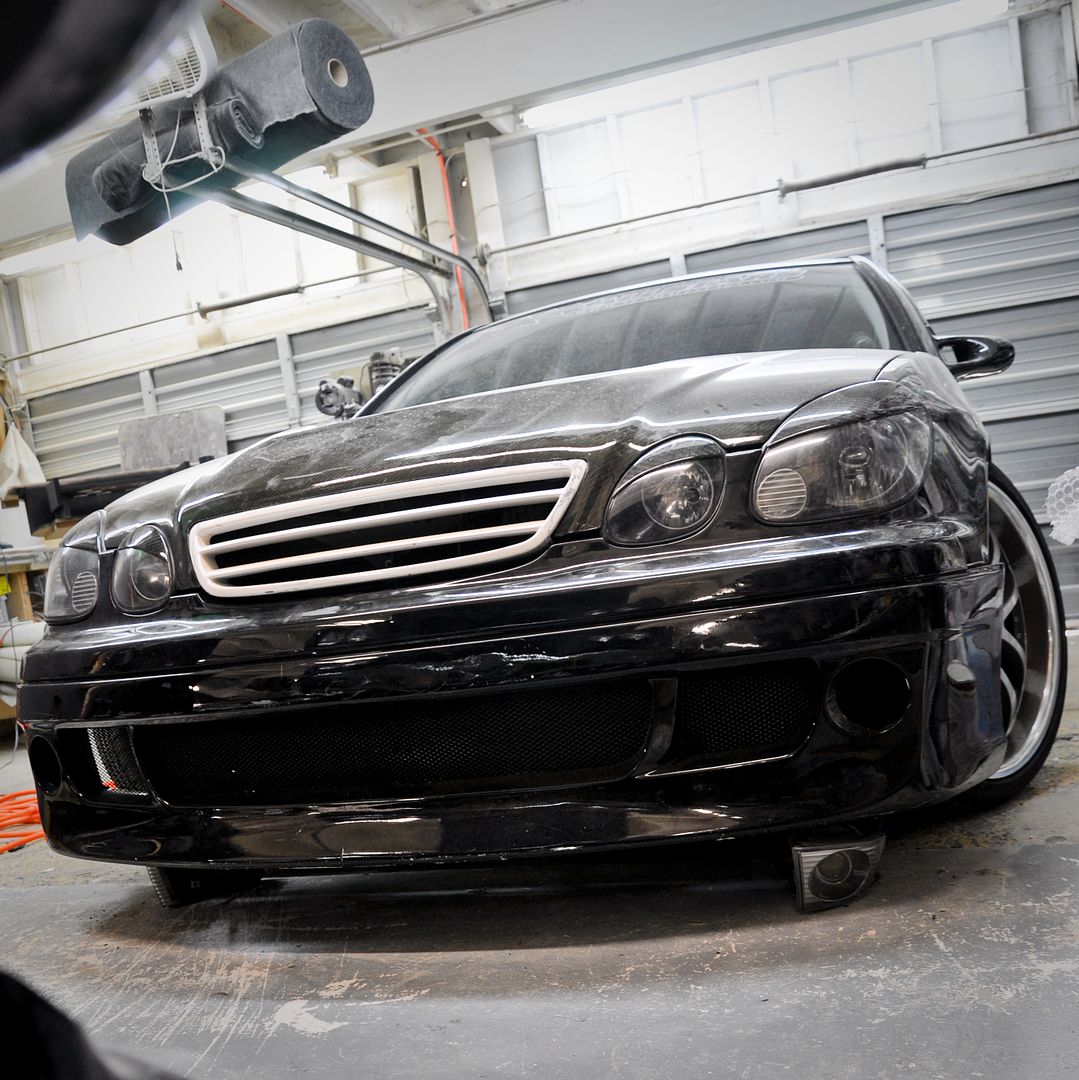
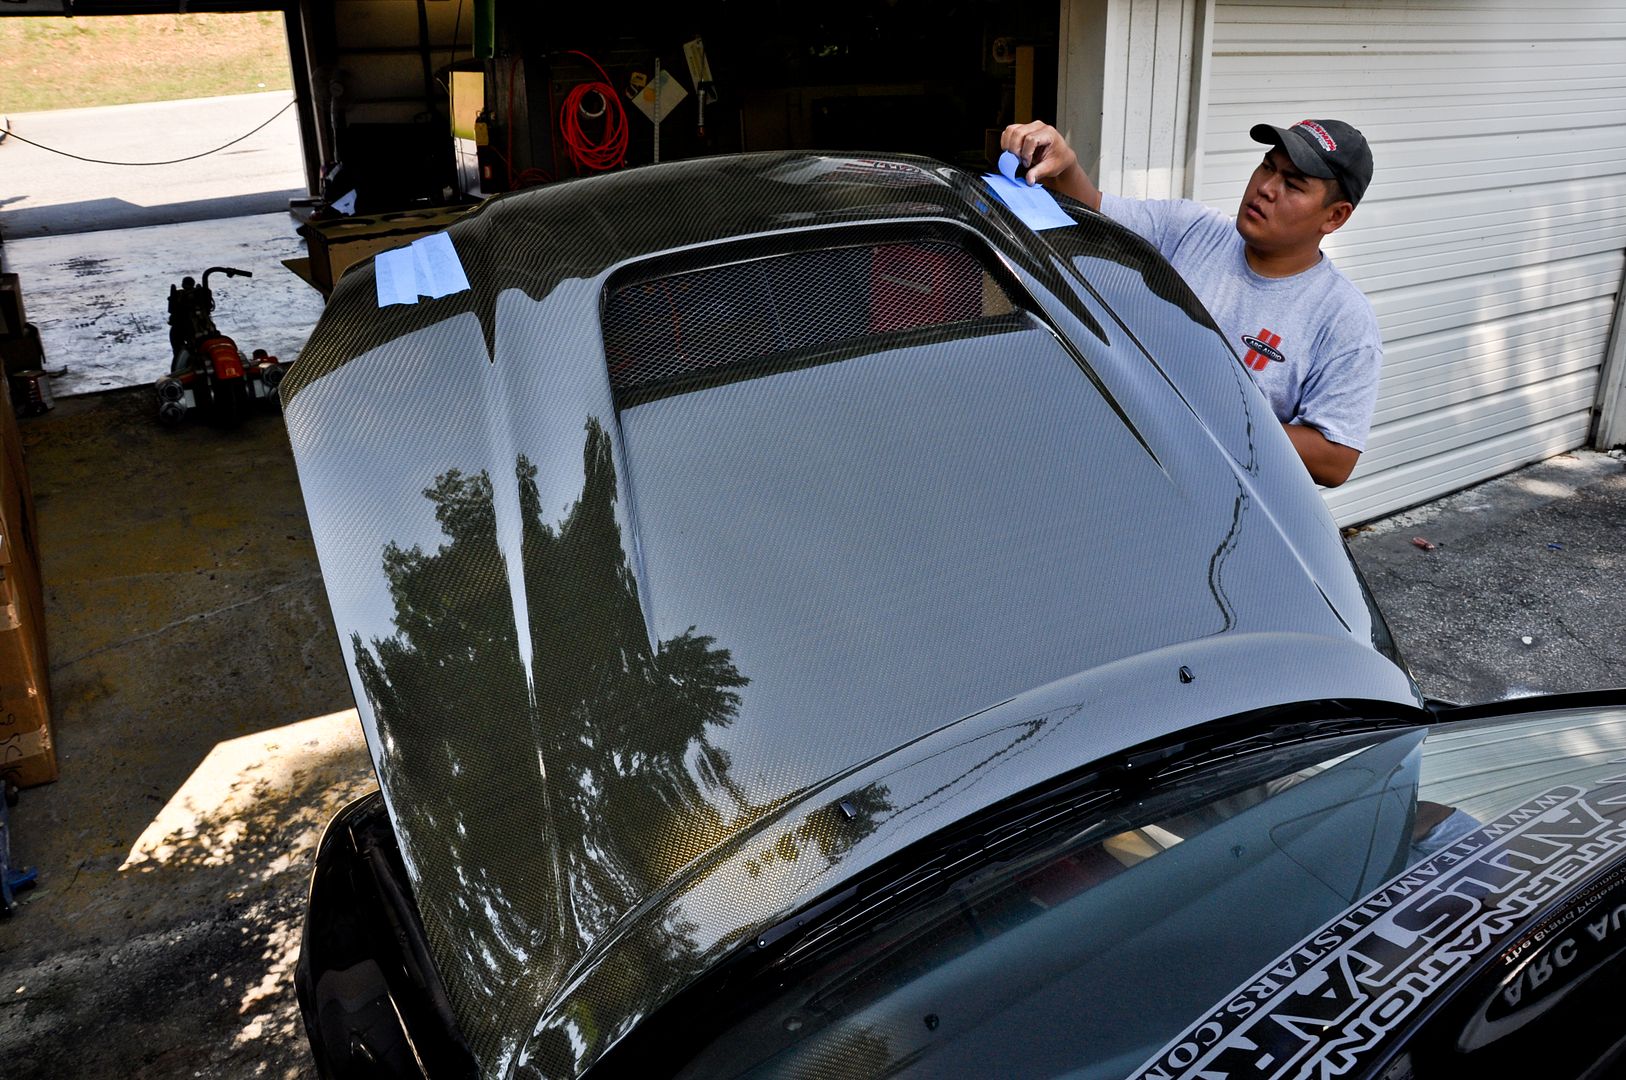
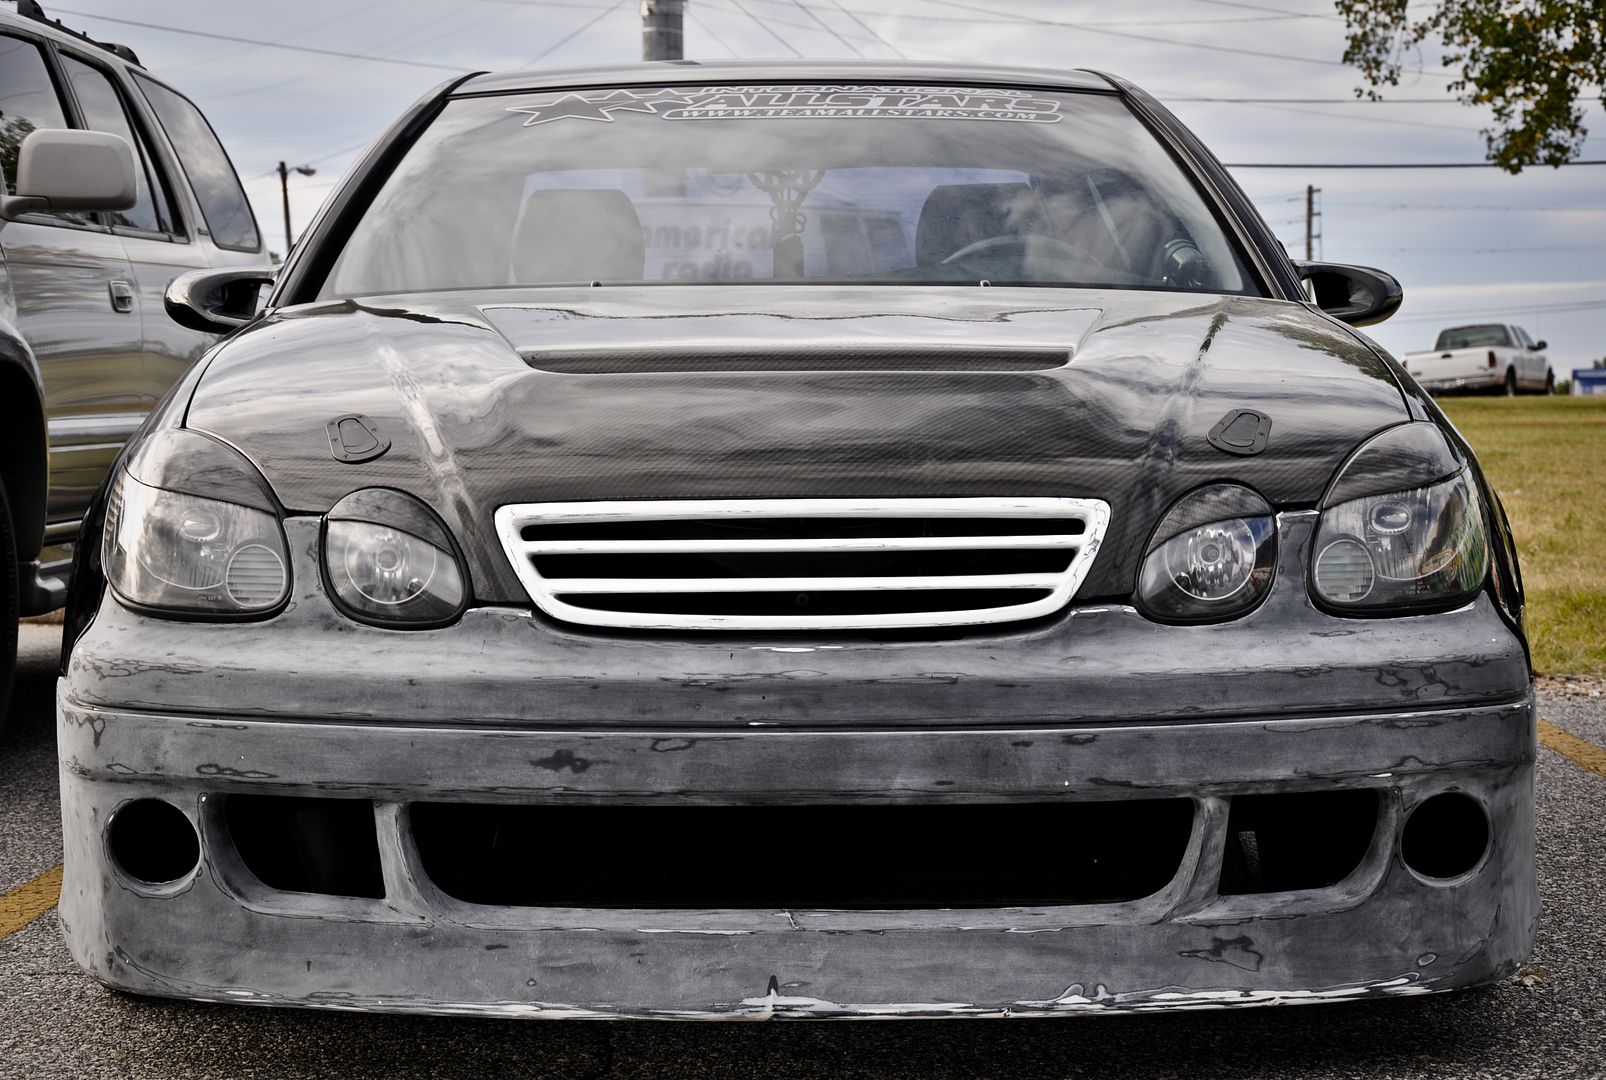
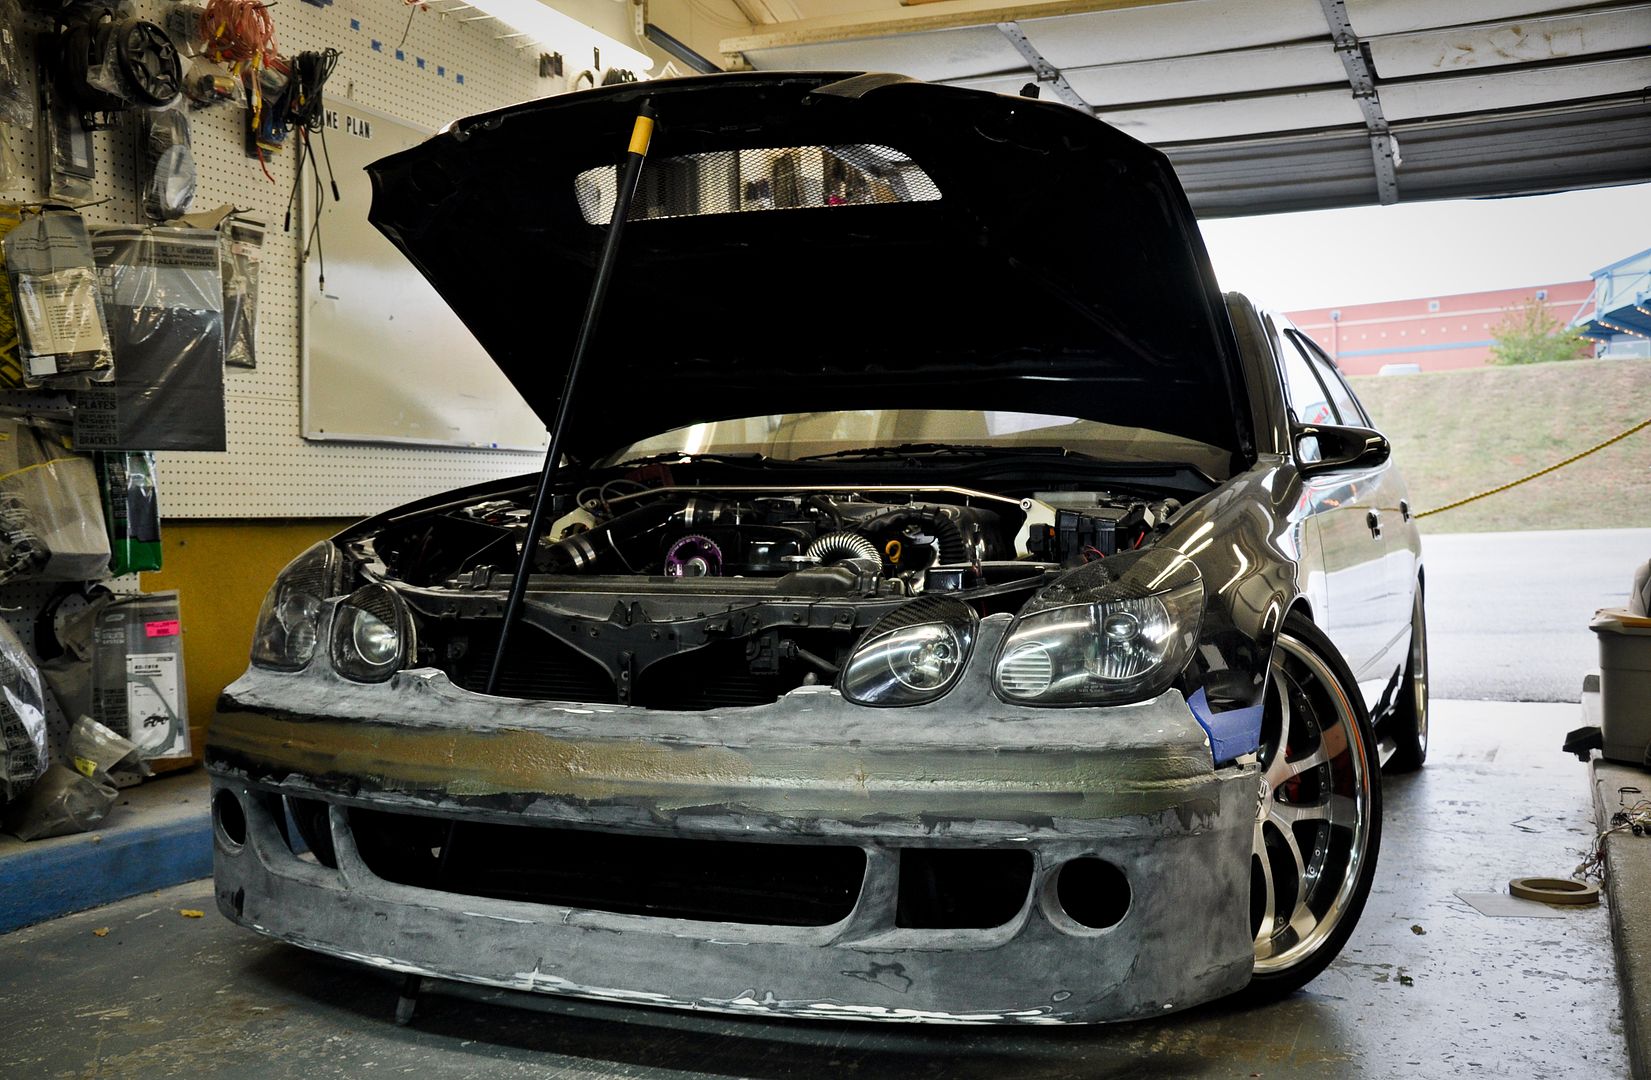
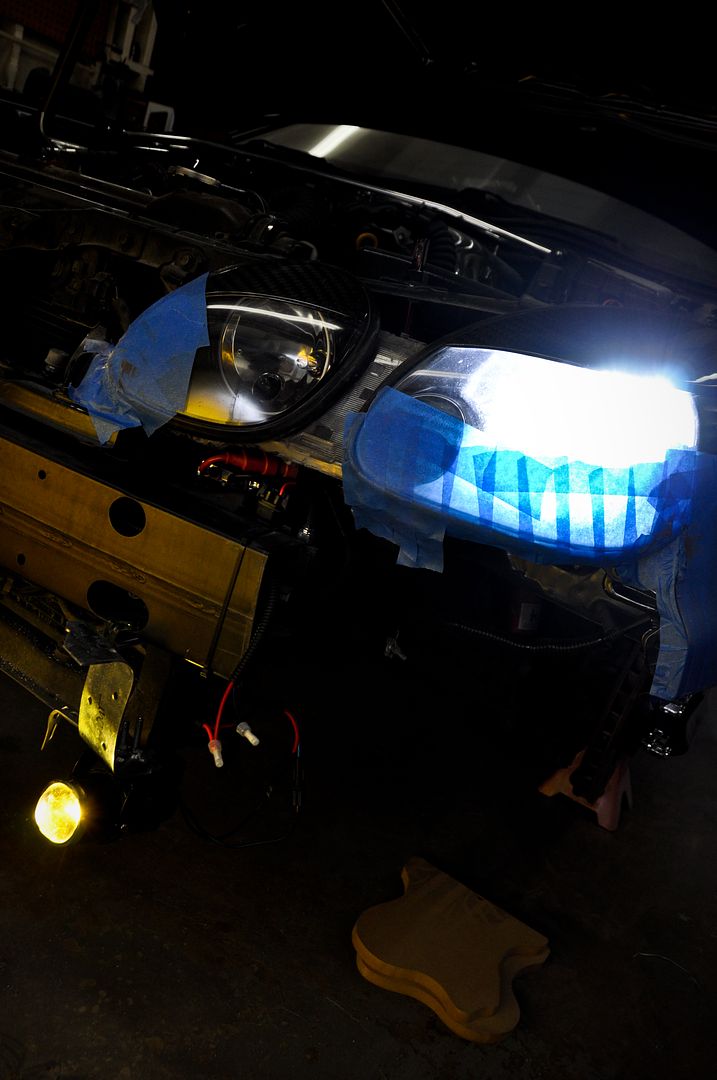
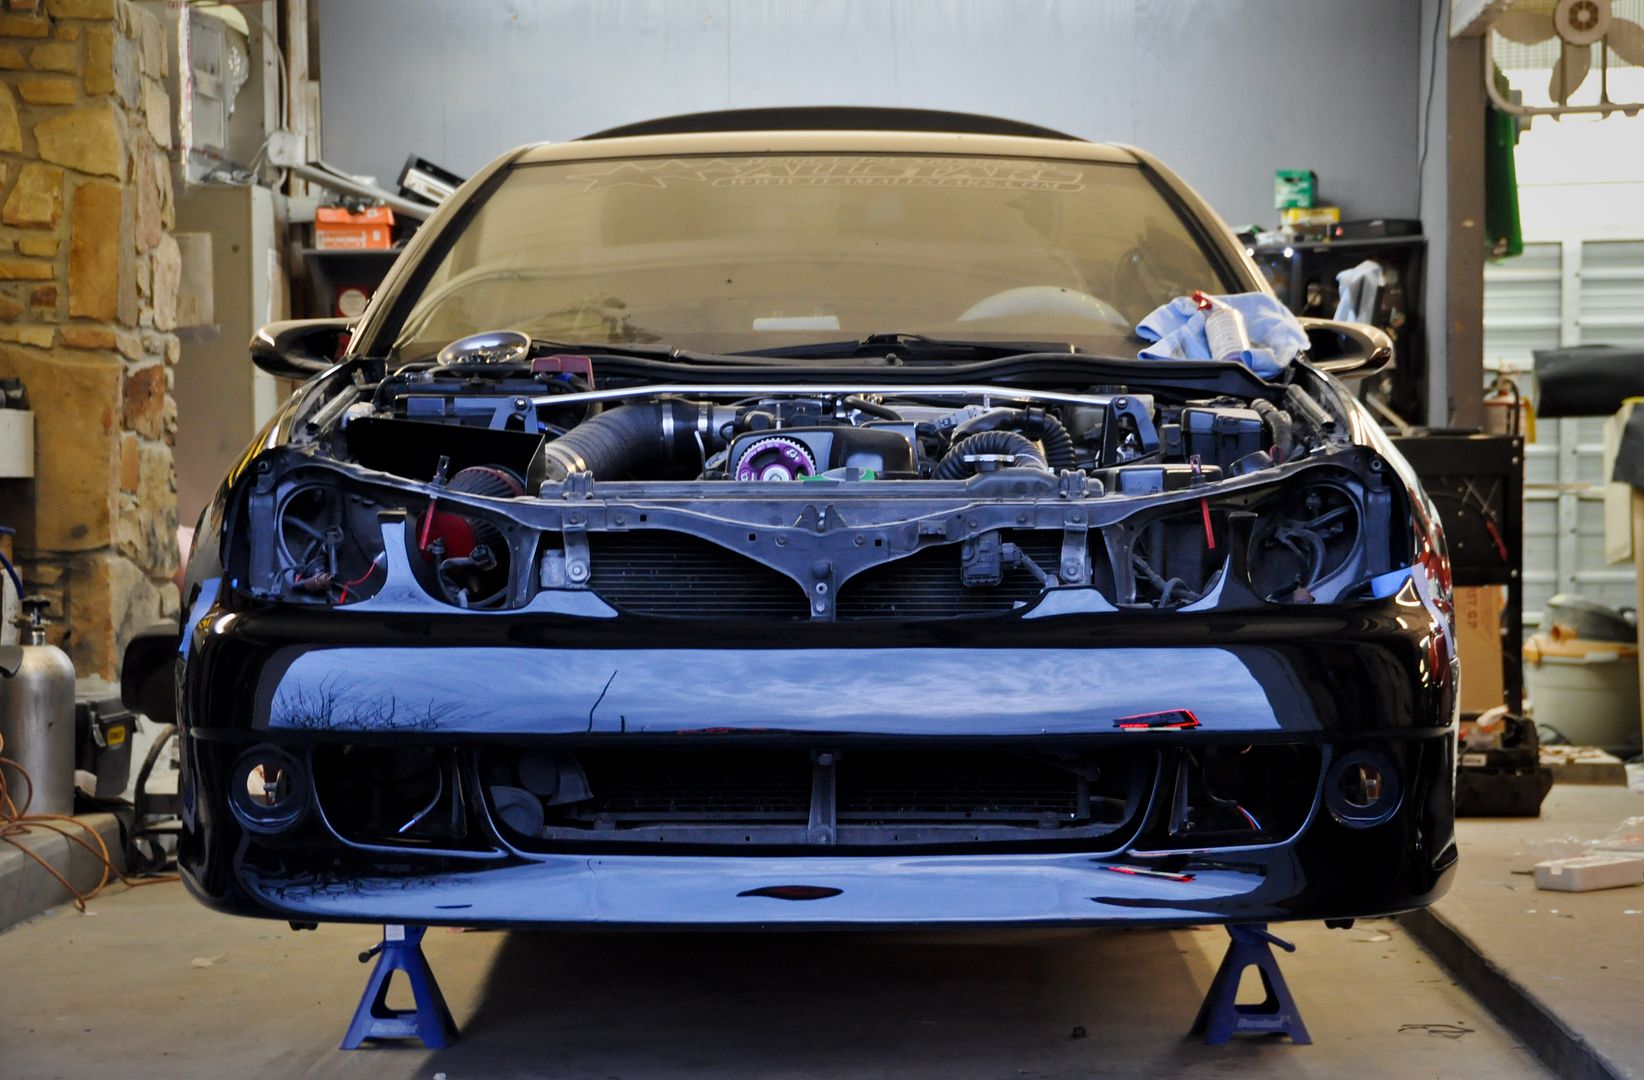
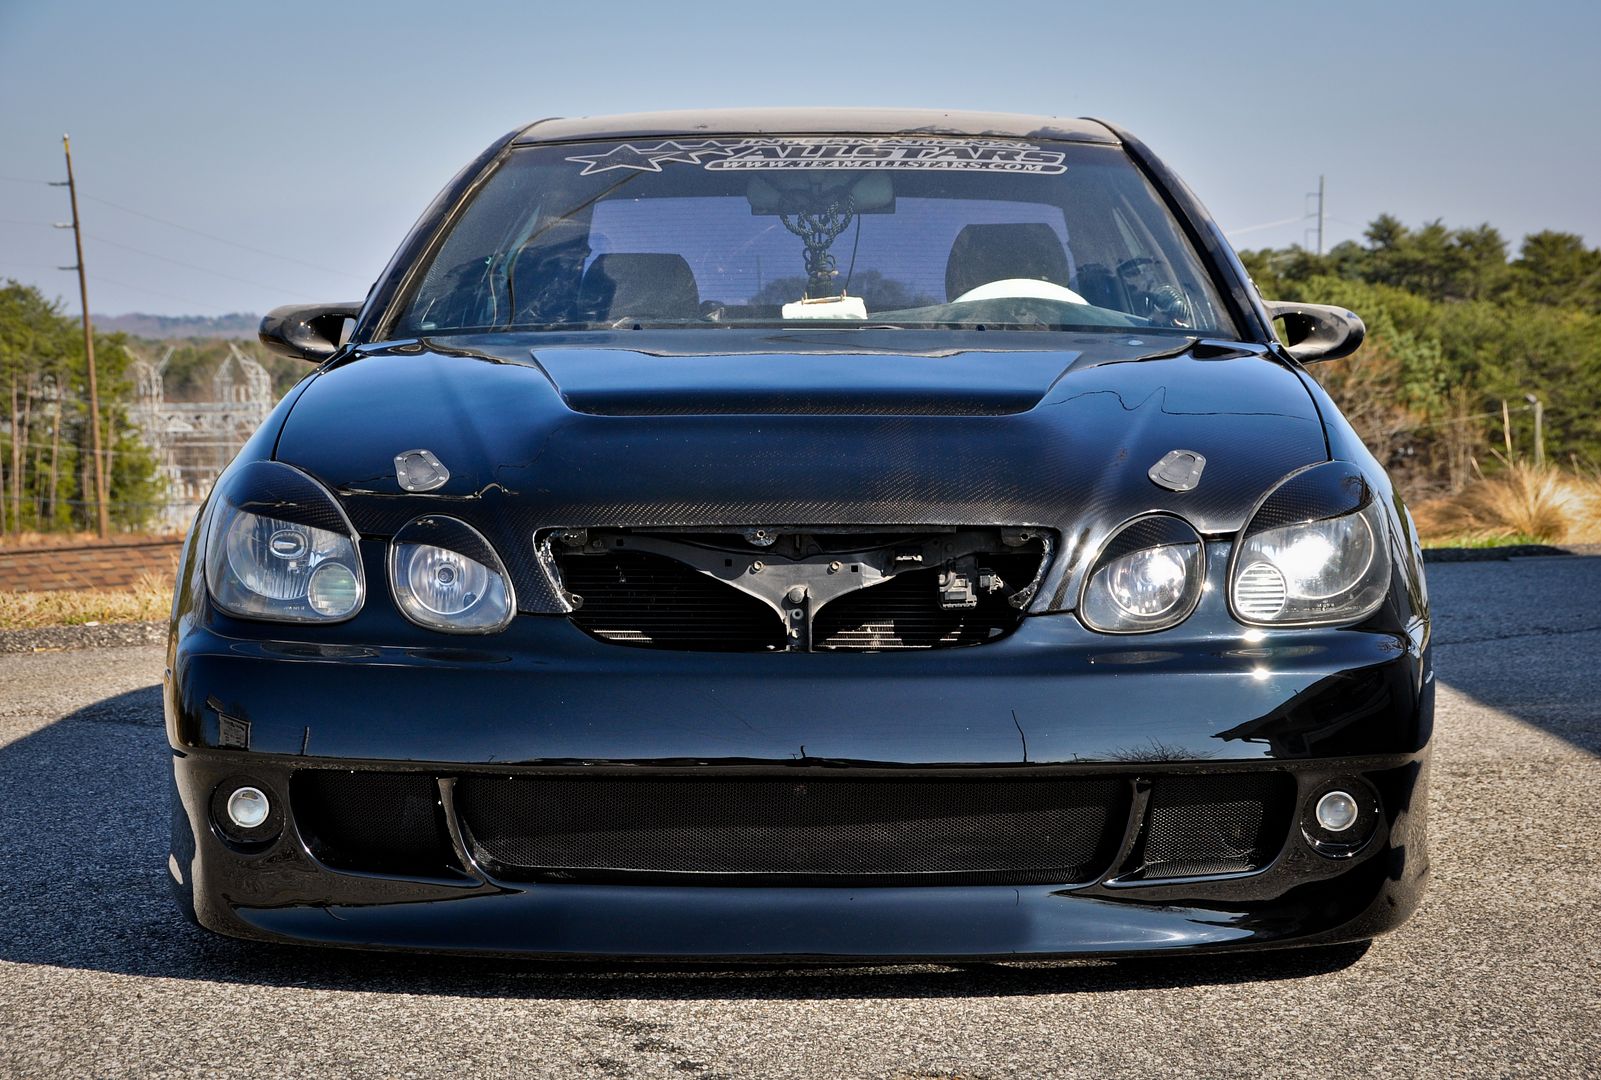
Got my hood and headlights back from Sinister Rods who tinted them so you can see some of the carbon weave in certain lighting. When you are far away it is black and in light or at an angle it is transparent. Also got the bumper on the car. We are just waiting for the grill to come back from paint.
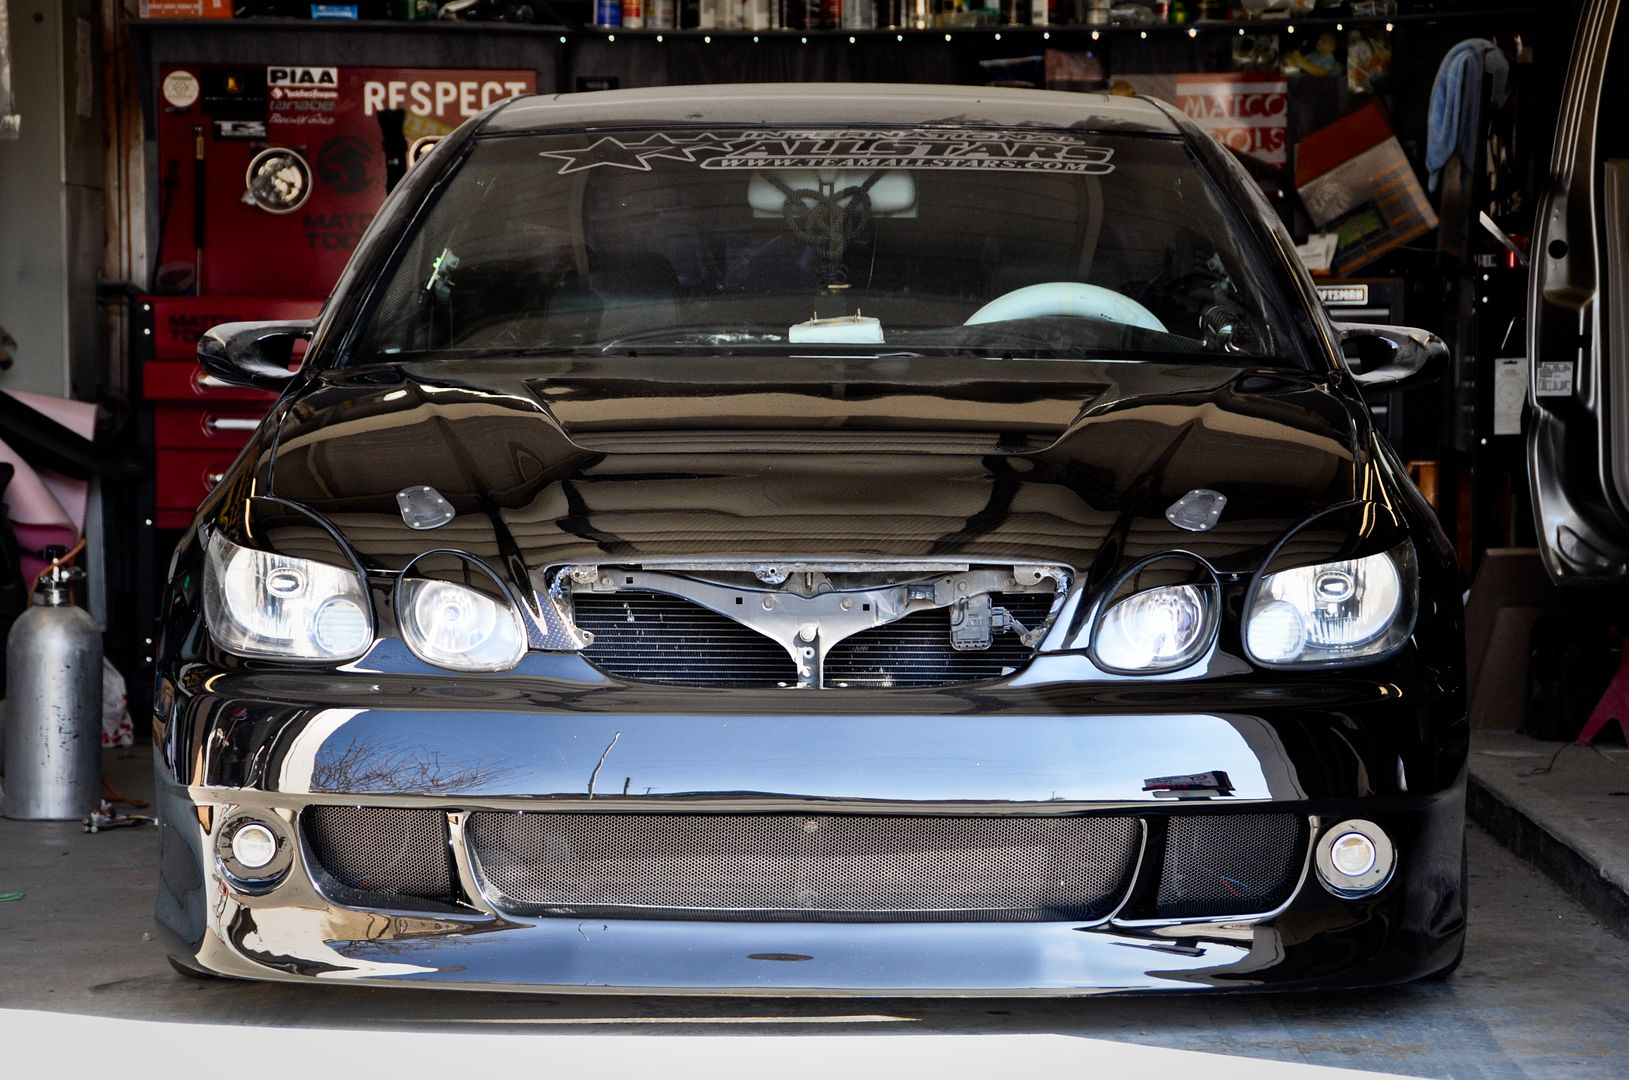
Took the car outside after giving the front end a quick wipe
Test fitted it on the car while it is up on stands for the air ride
Here’s the old grill material
The new grill material I am putting on
Traced out the old pieces onto the new material sheet
I cut out the pieces with an air saw
Test fitting and installing the grill material
All ready to go
Got my hood and headlights back from Sinister Rods who tinted them so you can see some of the carbon weave in certain lighting. When you are far away it is black and in light or at an angle it is transparent. Also got the bumper on the car. We are just waiting for the grill to come back from paint.
Took the car outside after giving the front end a quick wipe