My GS Then to Now
 03-19-11, 04:20 AM
#466


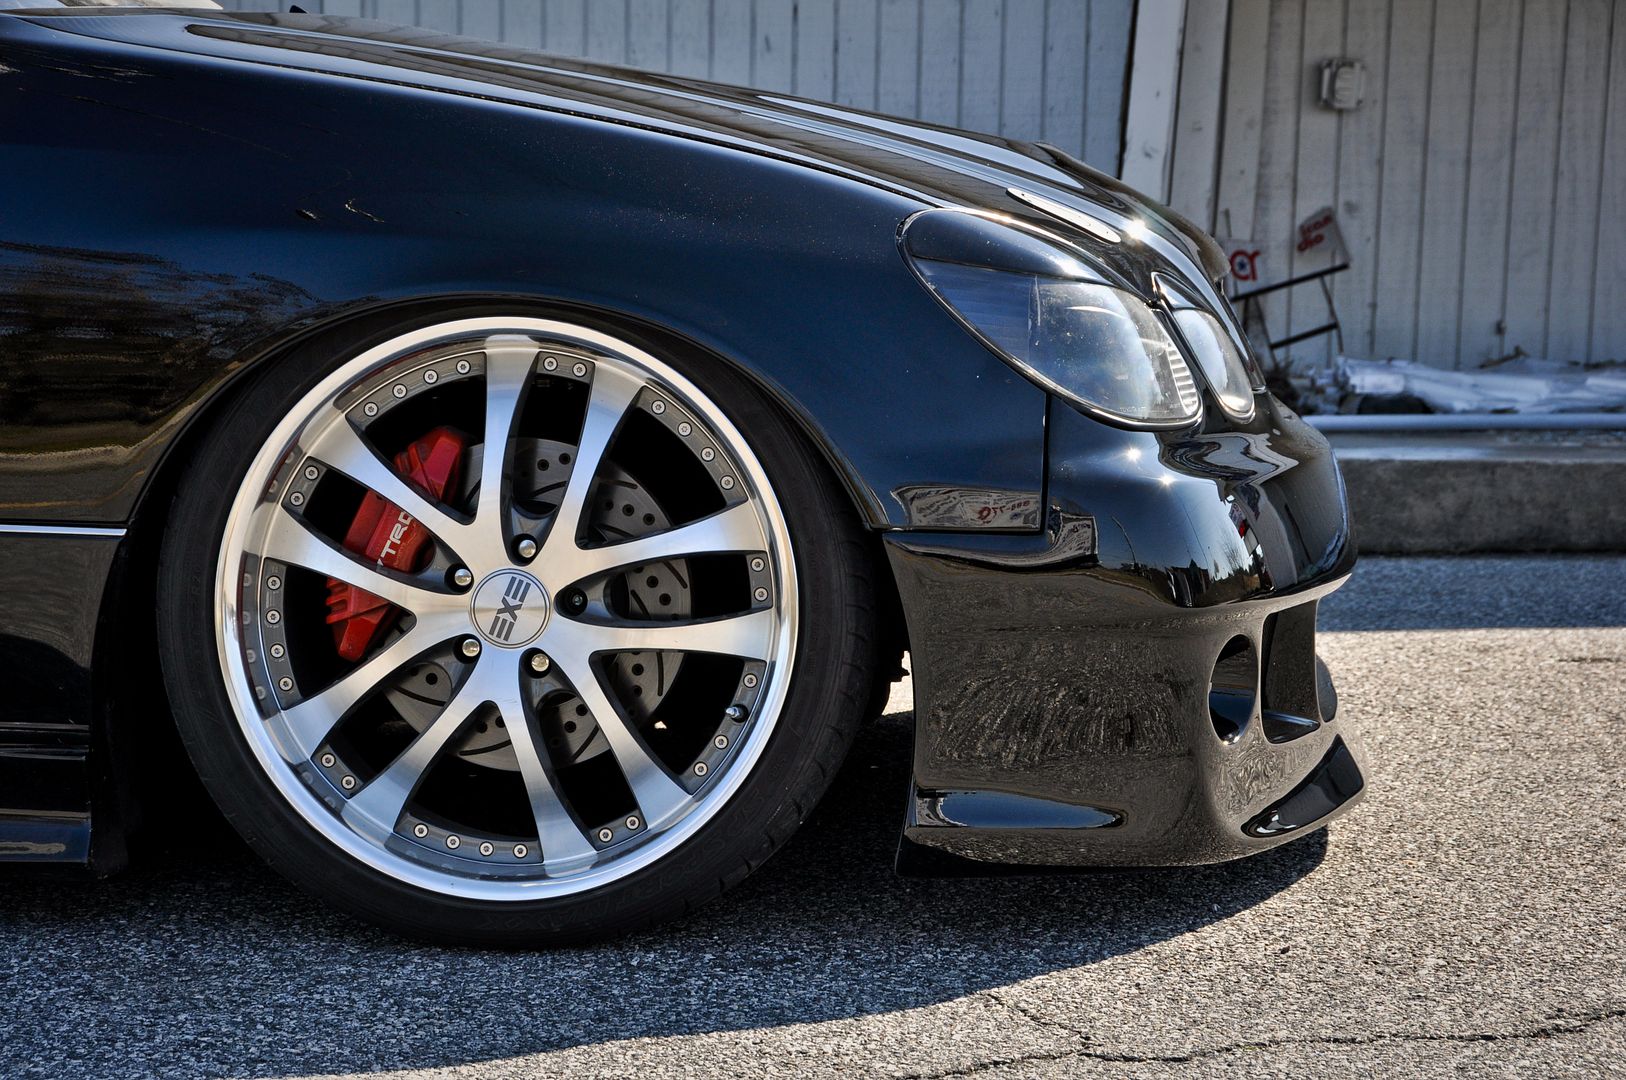


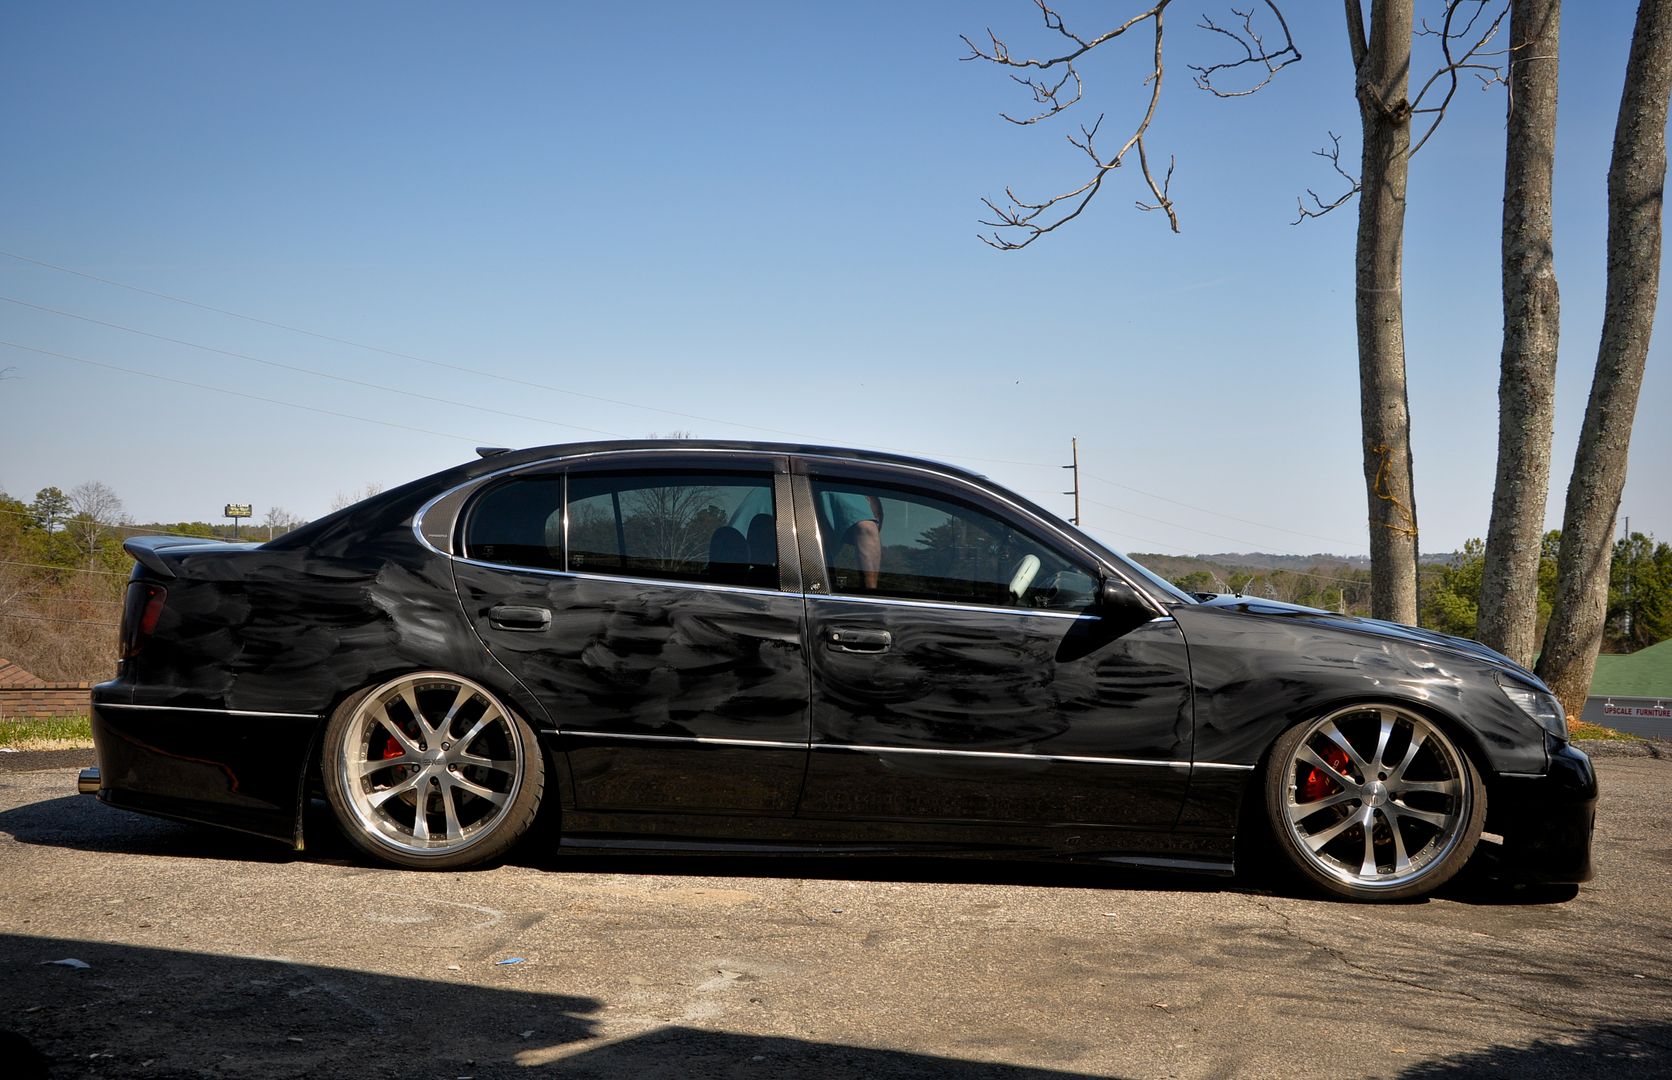
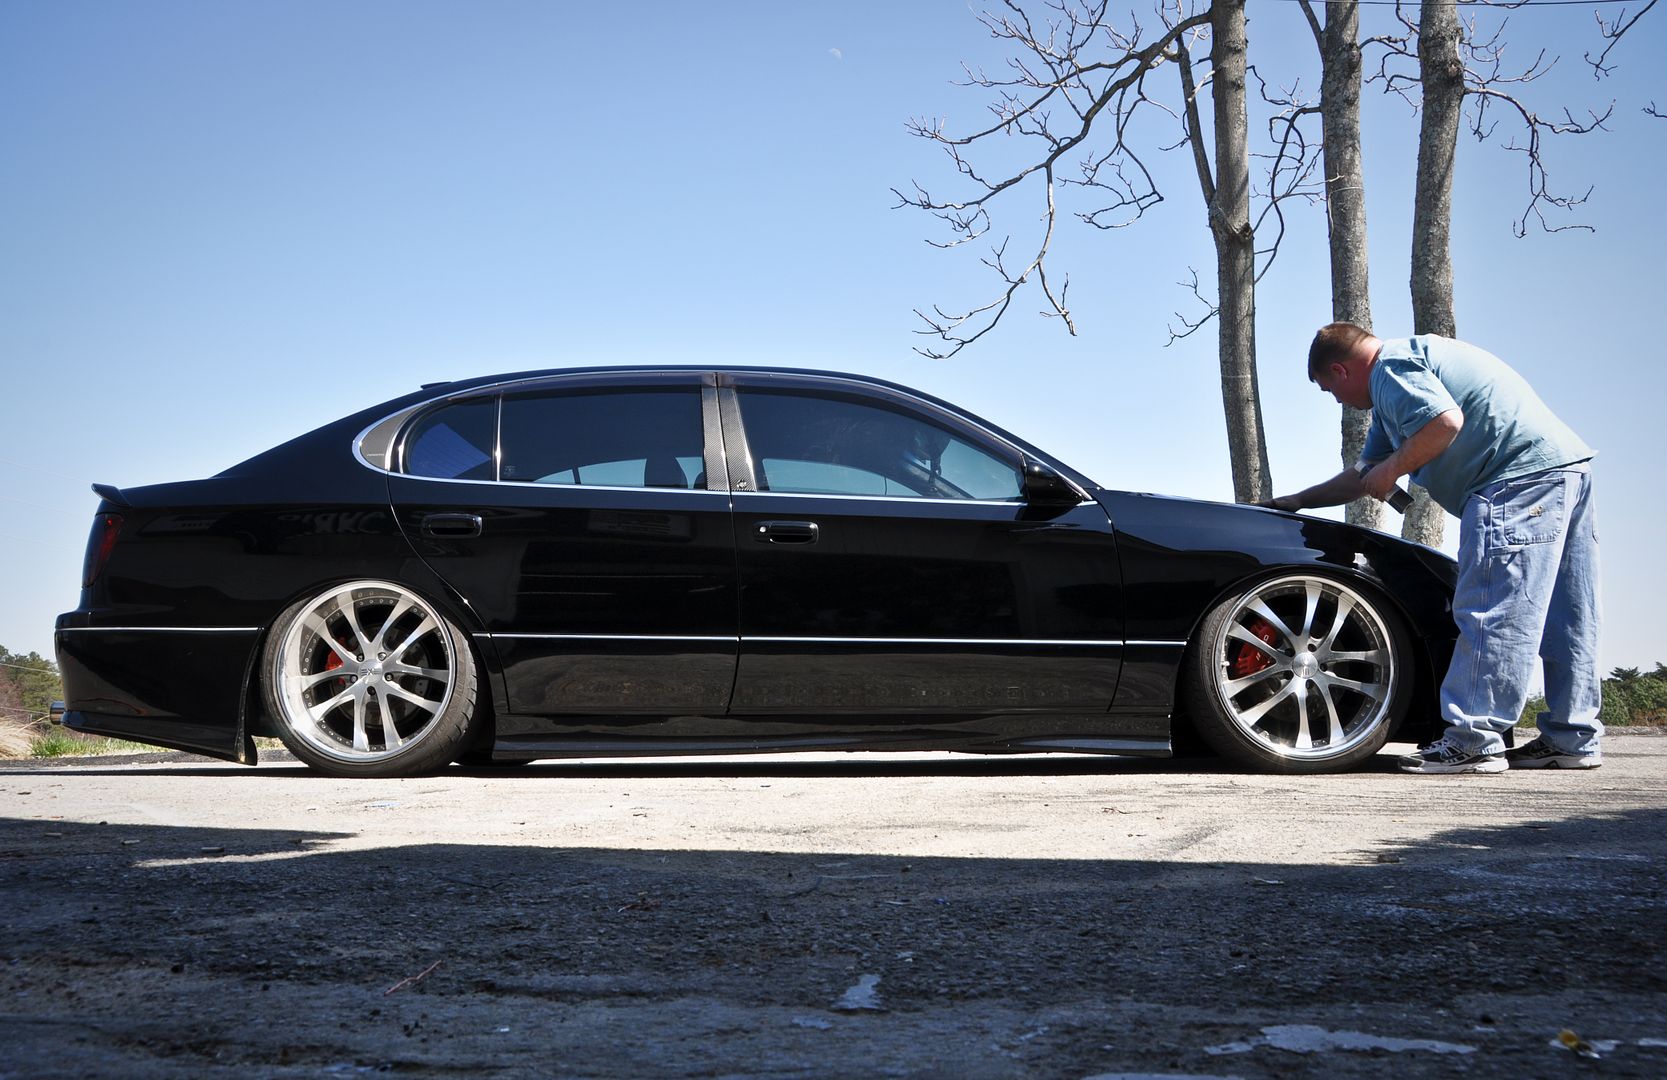
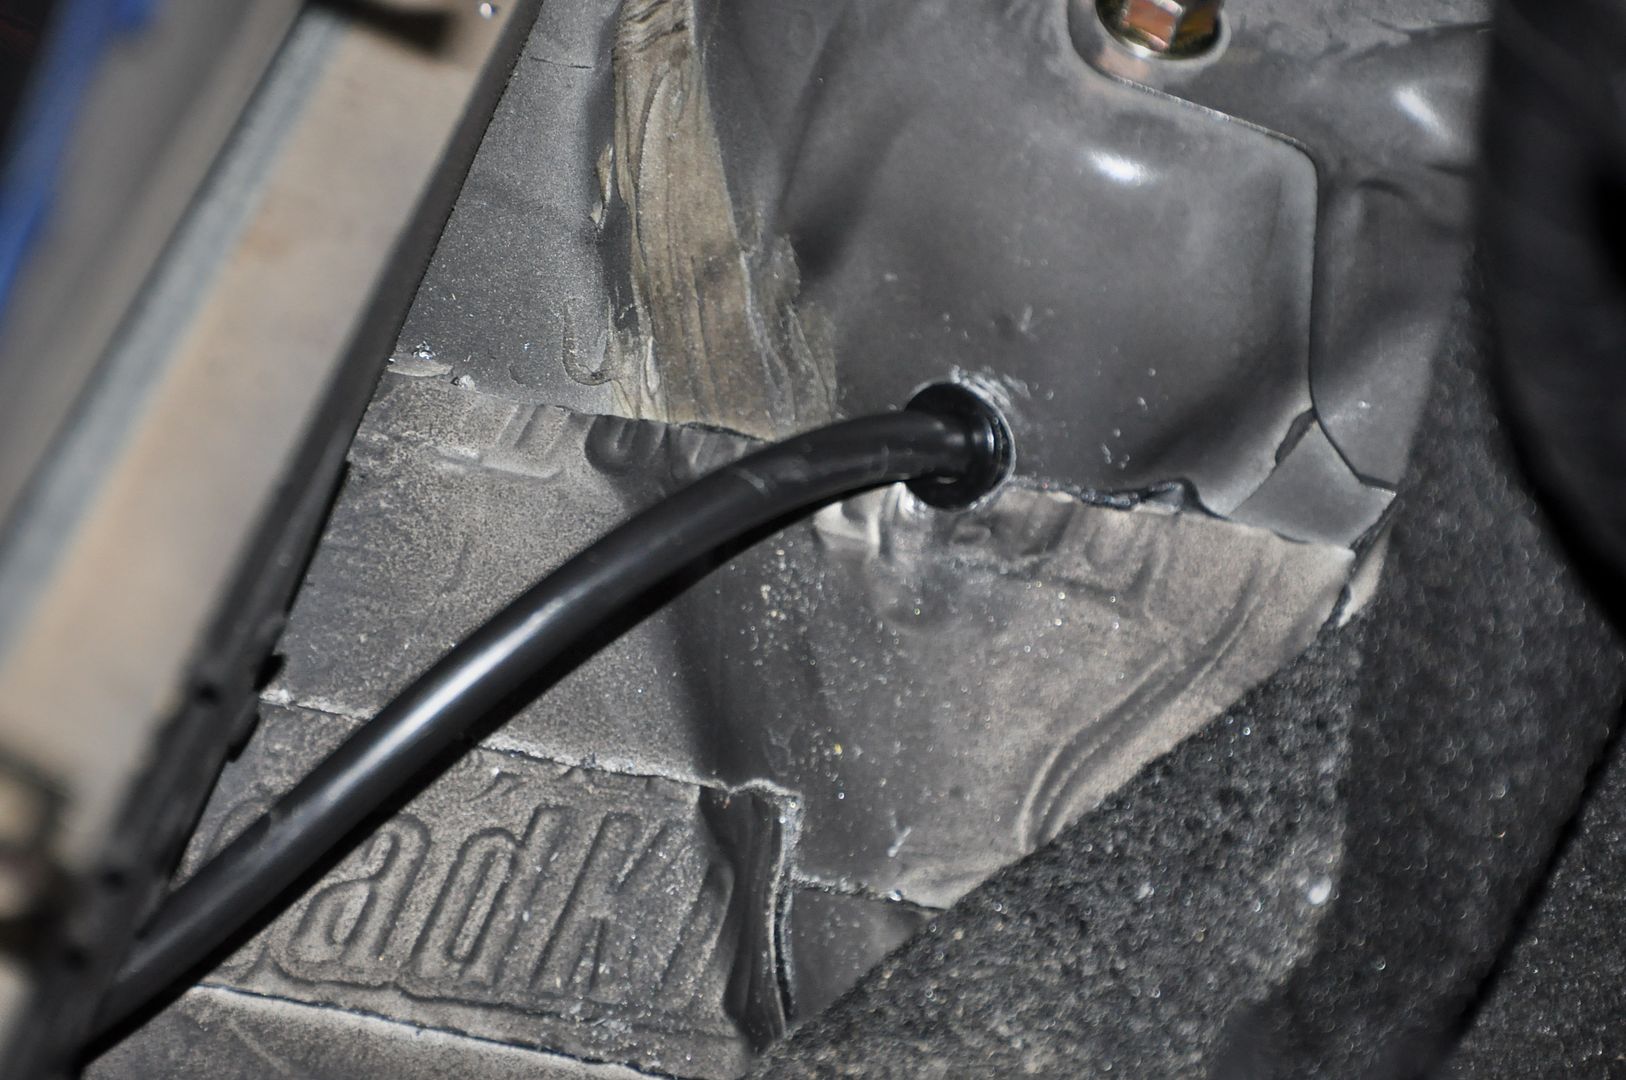
Slammed rear height
Slammed front height
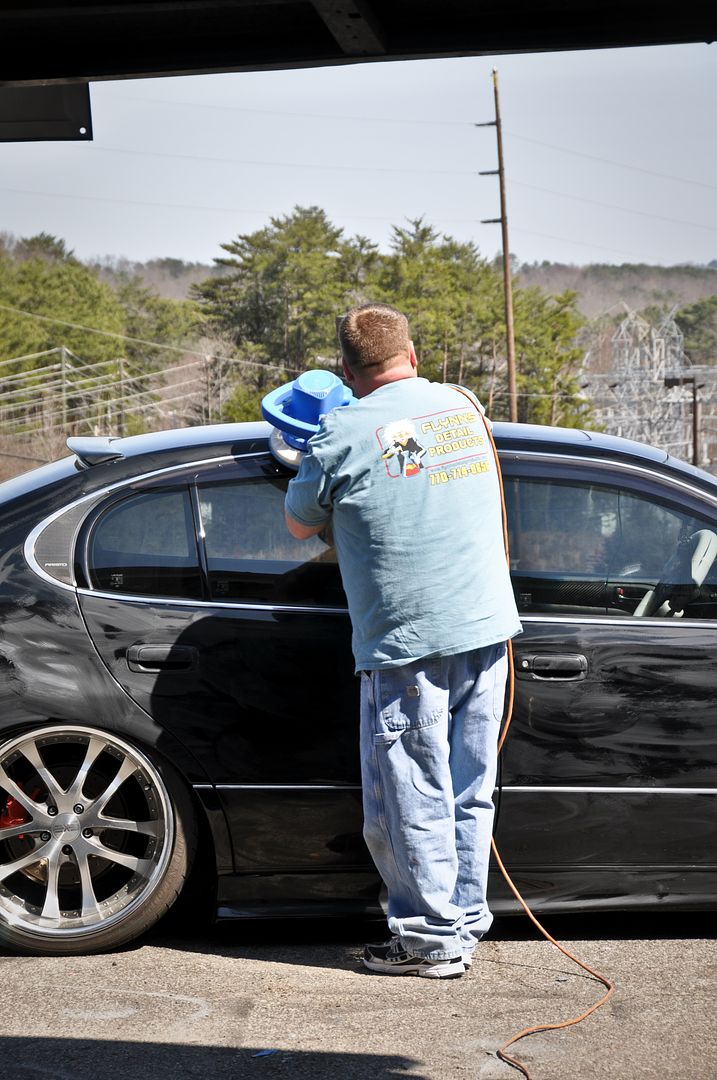
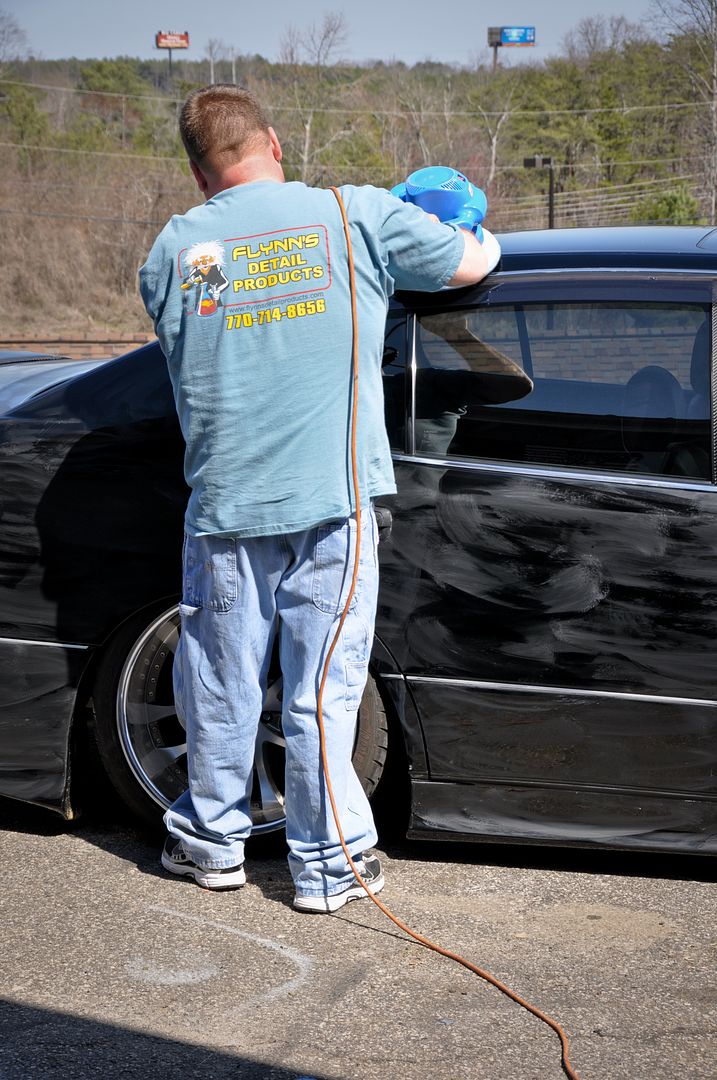
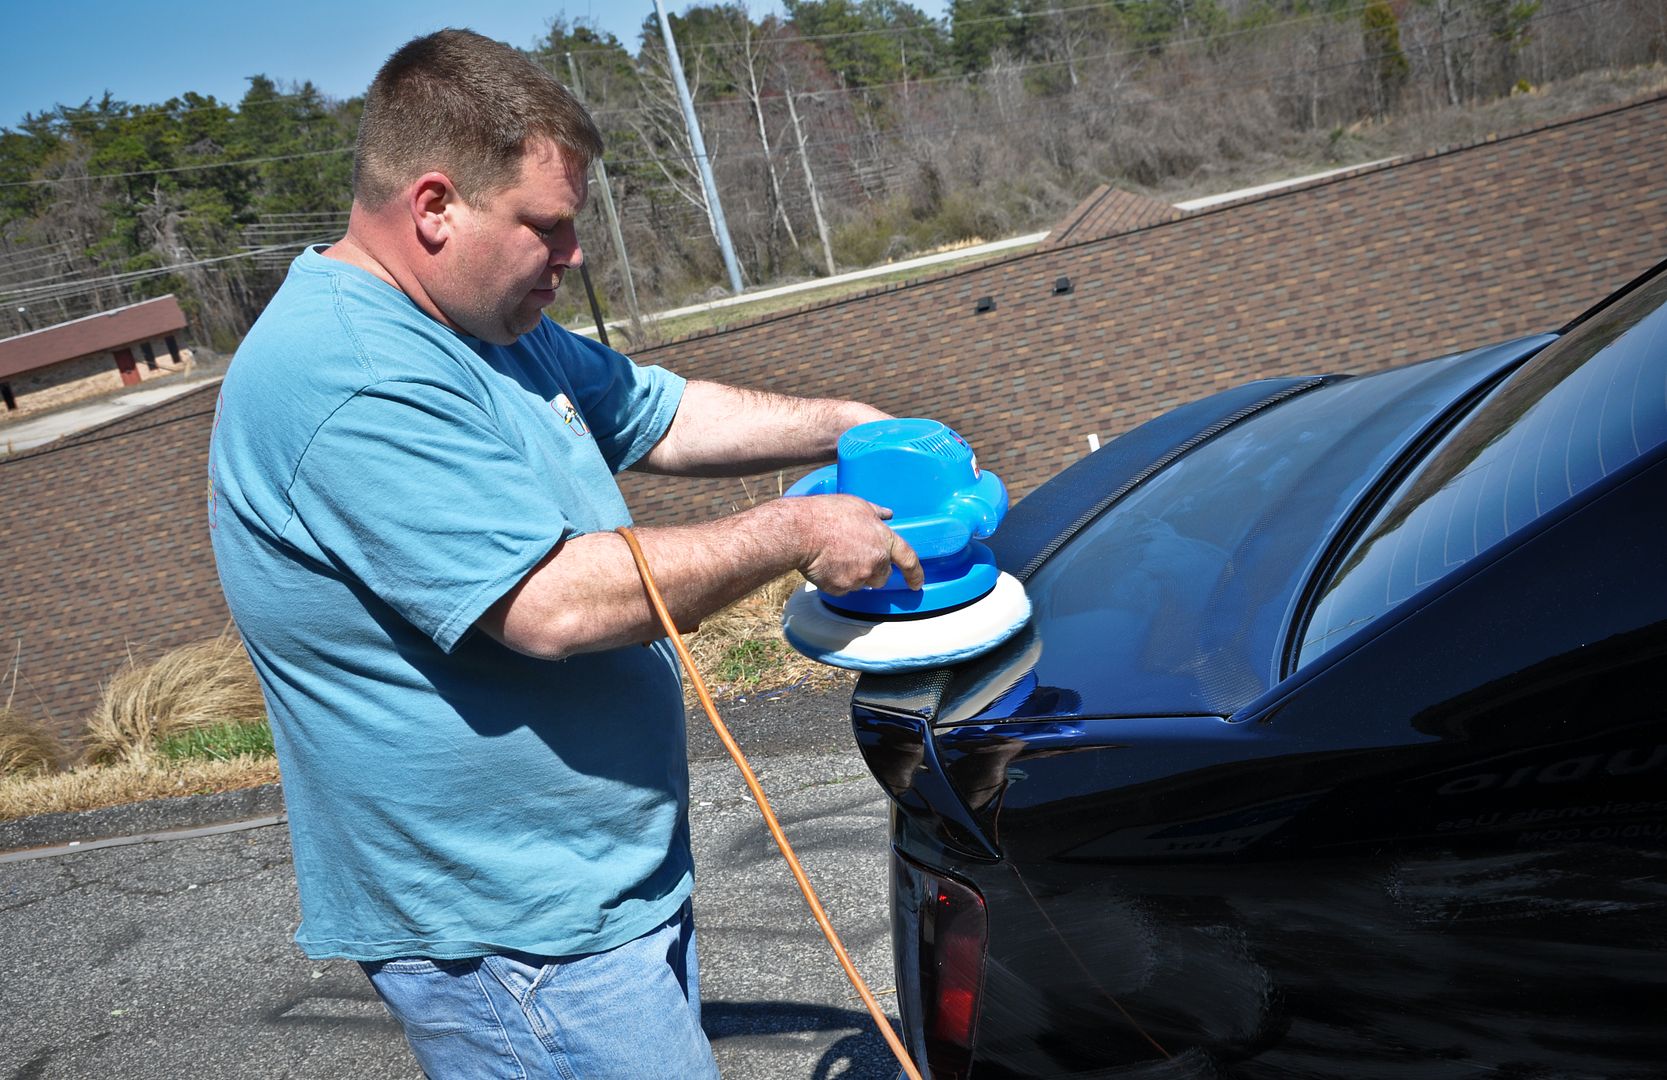
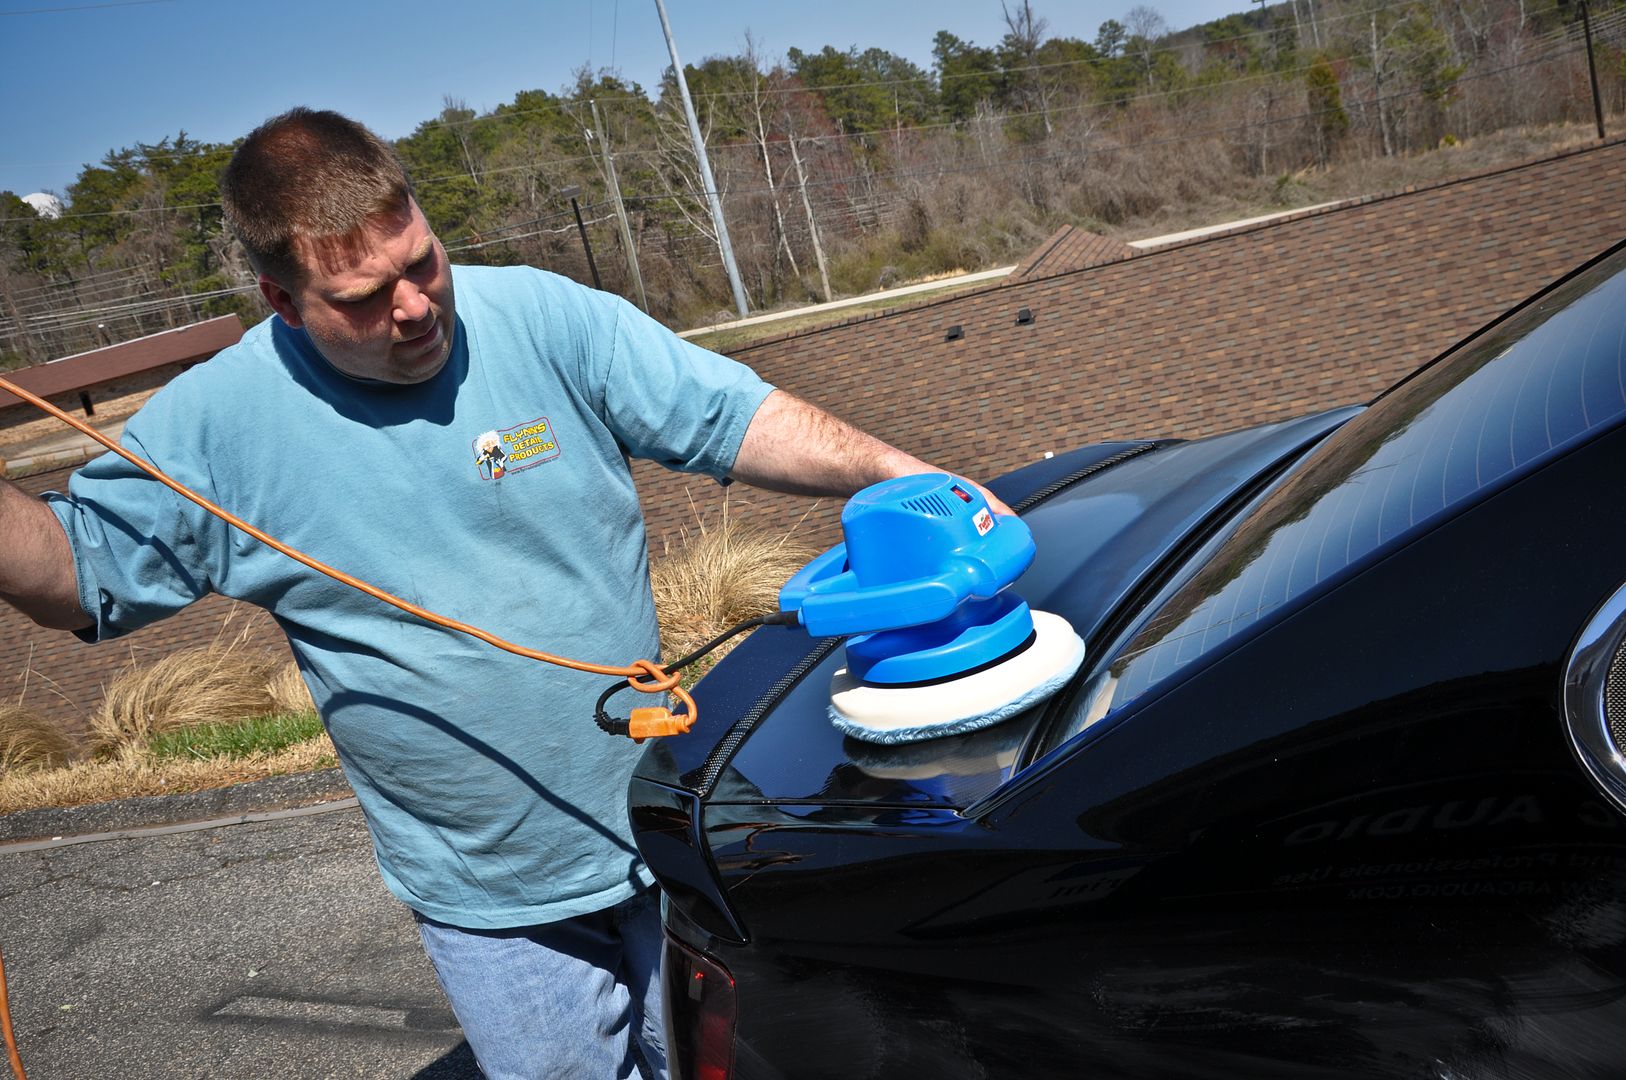
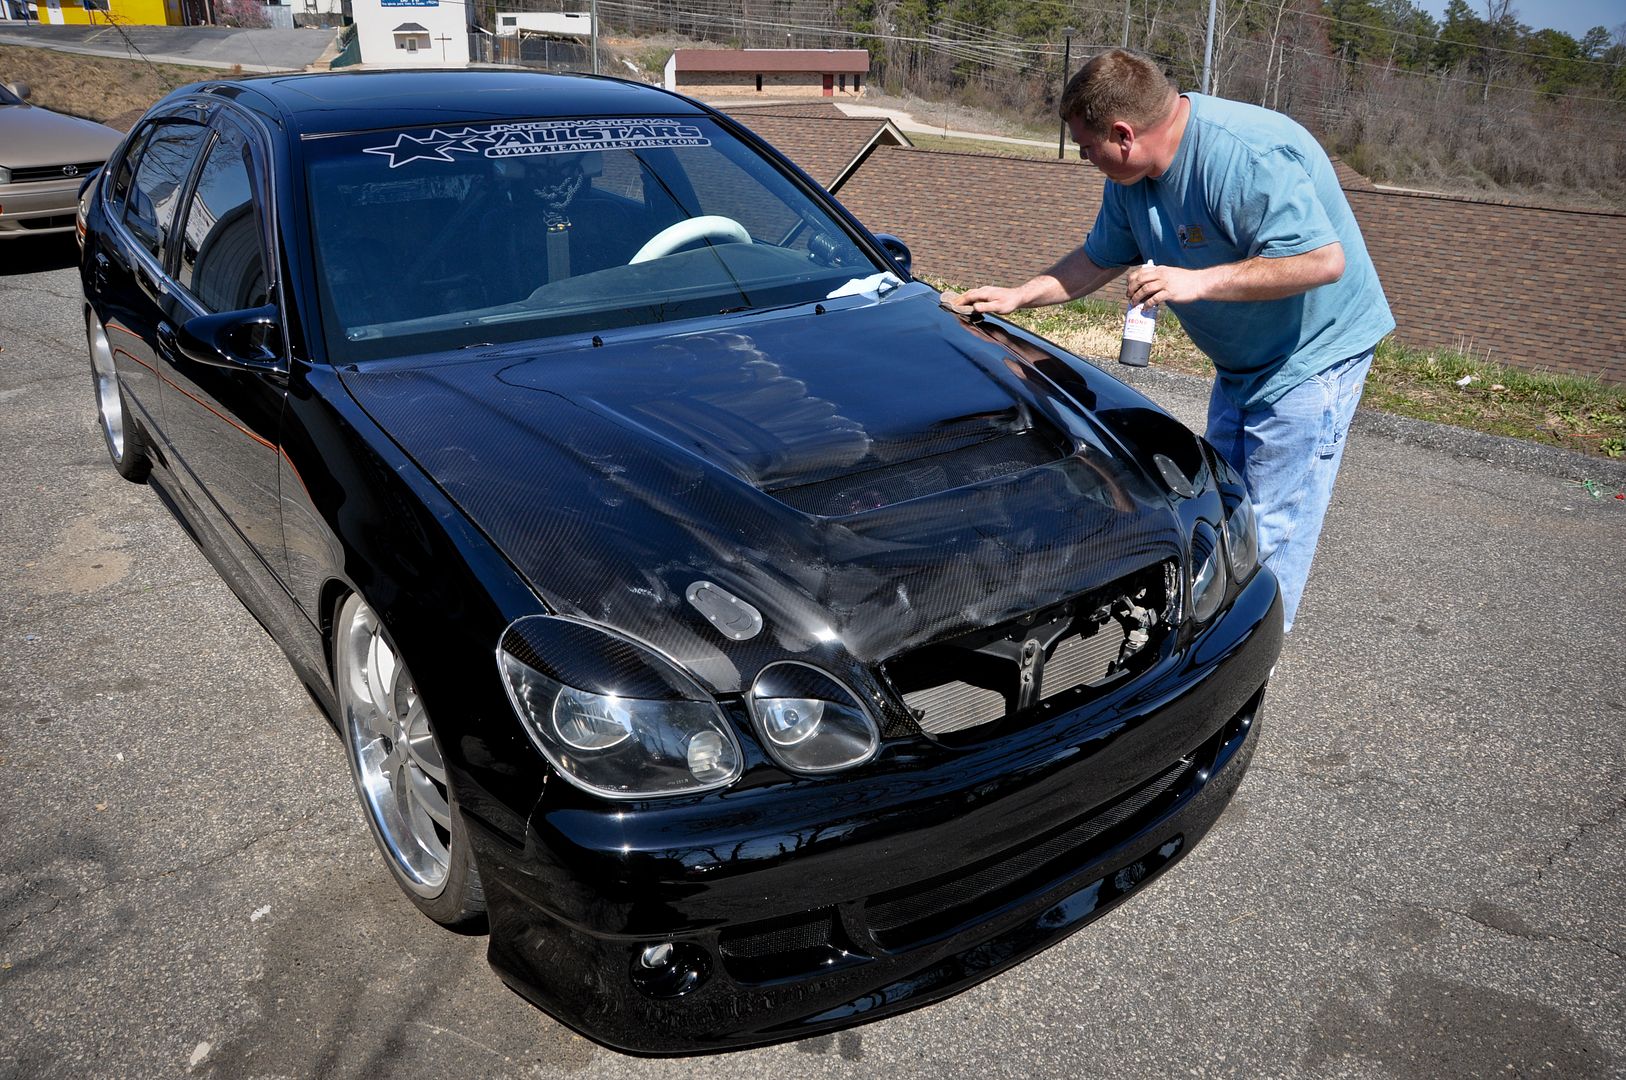
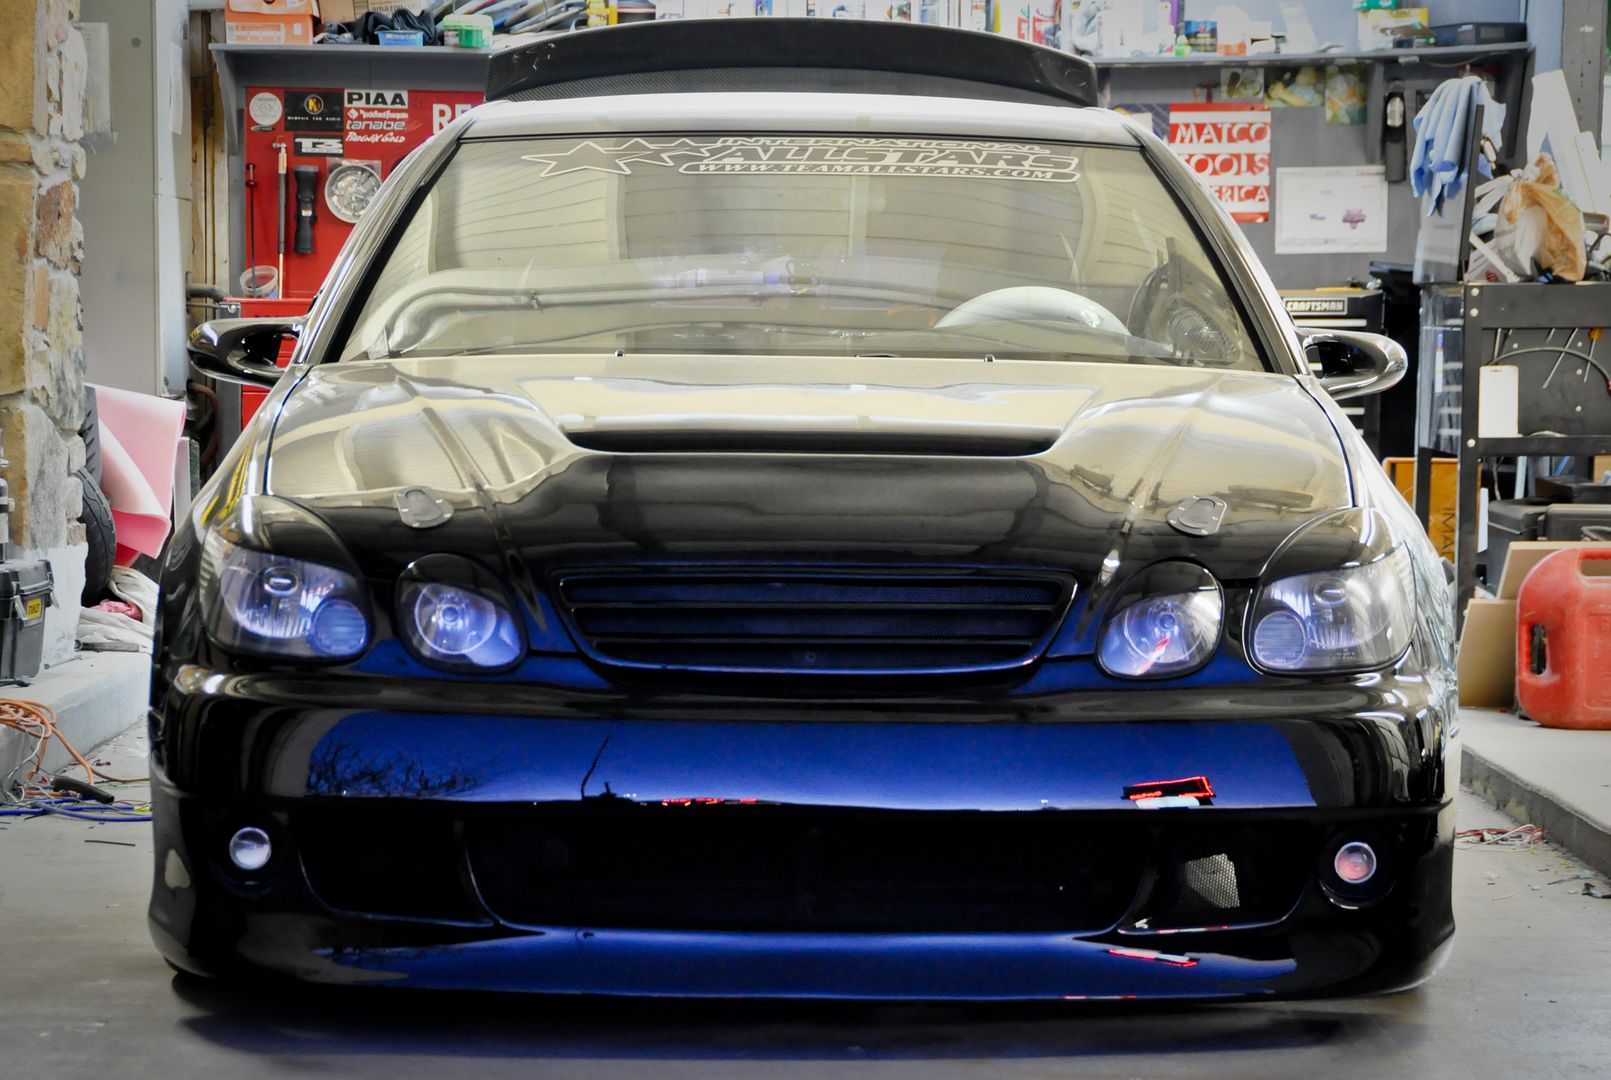
Detailing time thanks to my buddy Petey and Flynn’s Detailing Products
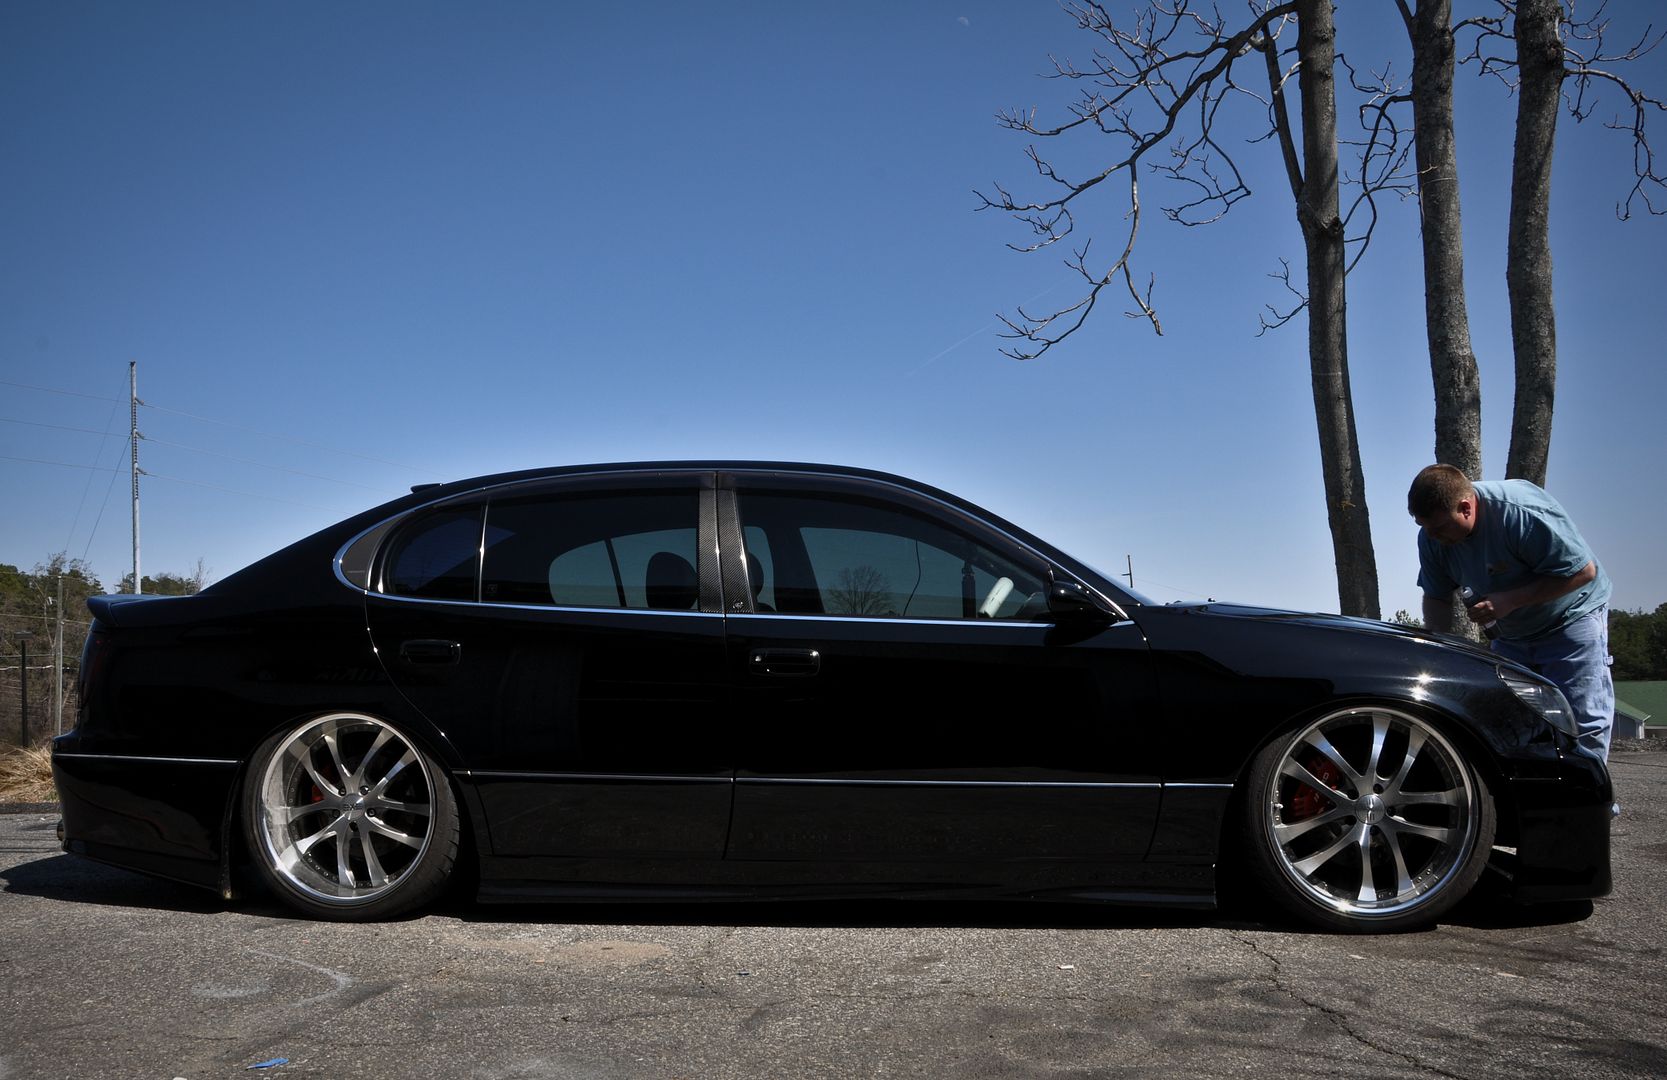
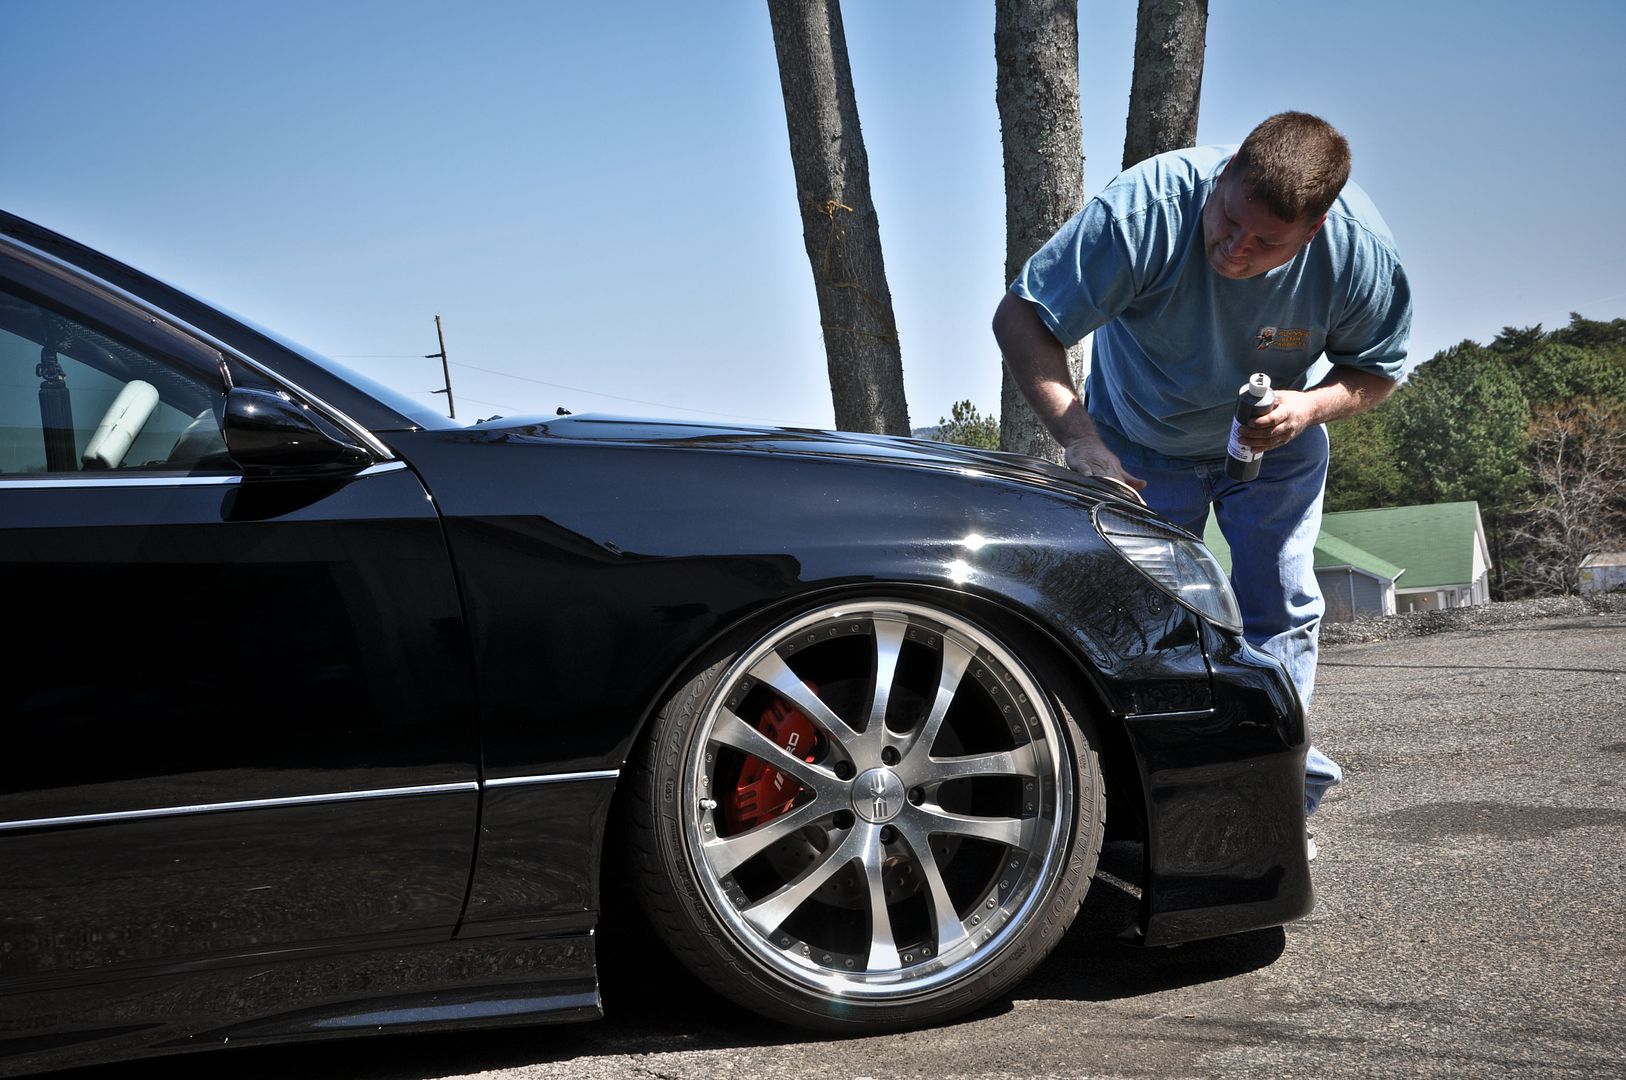
All waxed up
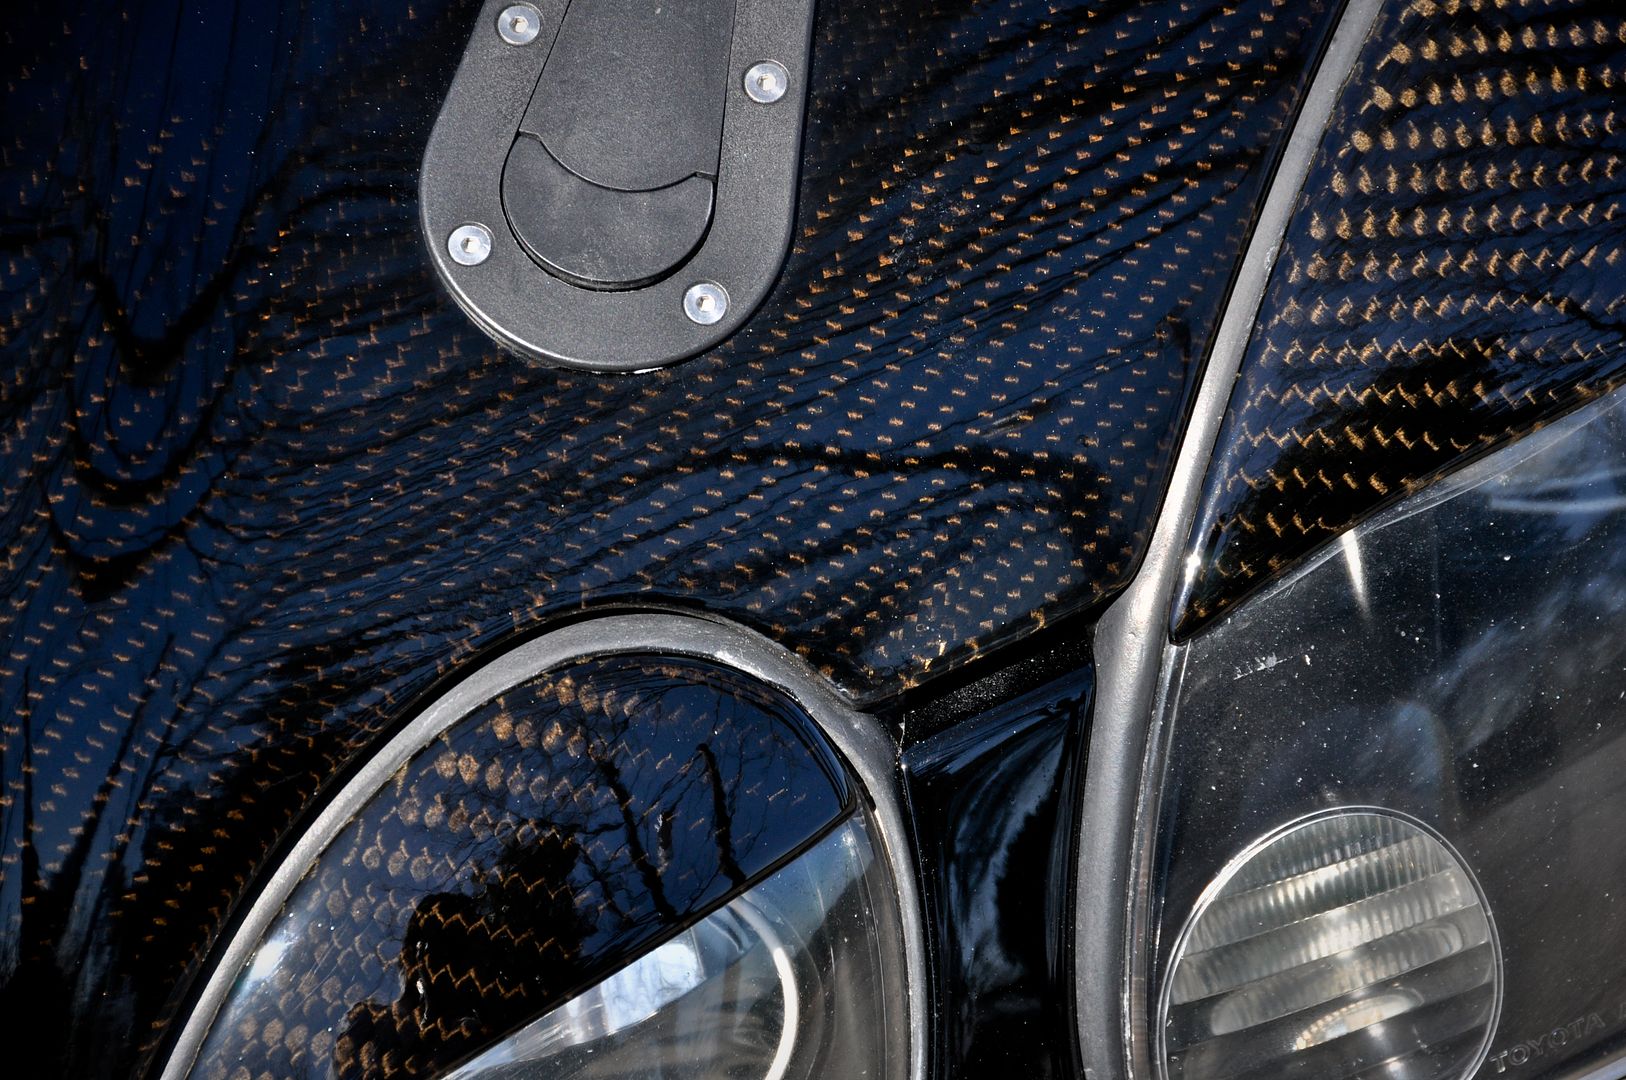
A peek of the tinted hood and eyebrows
Hand application where needed
Time to let the orbital do some work
All done
 03-19-11, 04:21 AM
#467

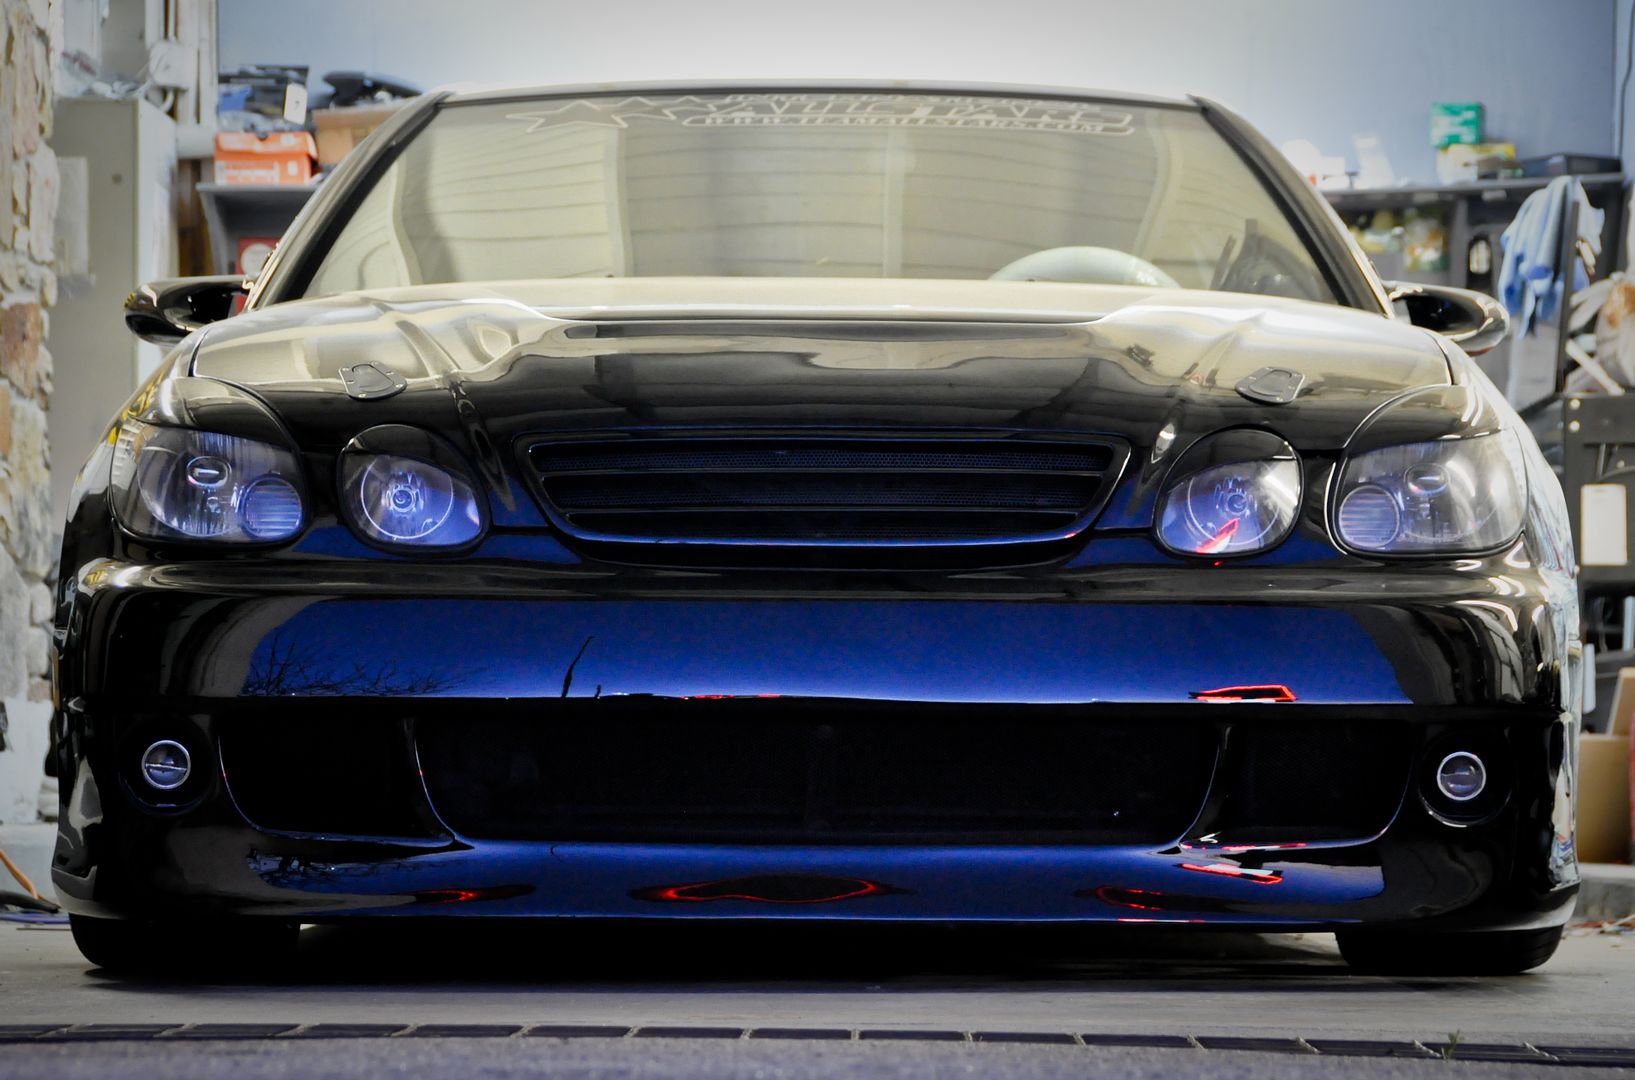
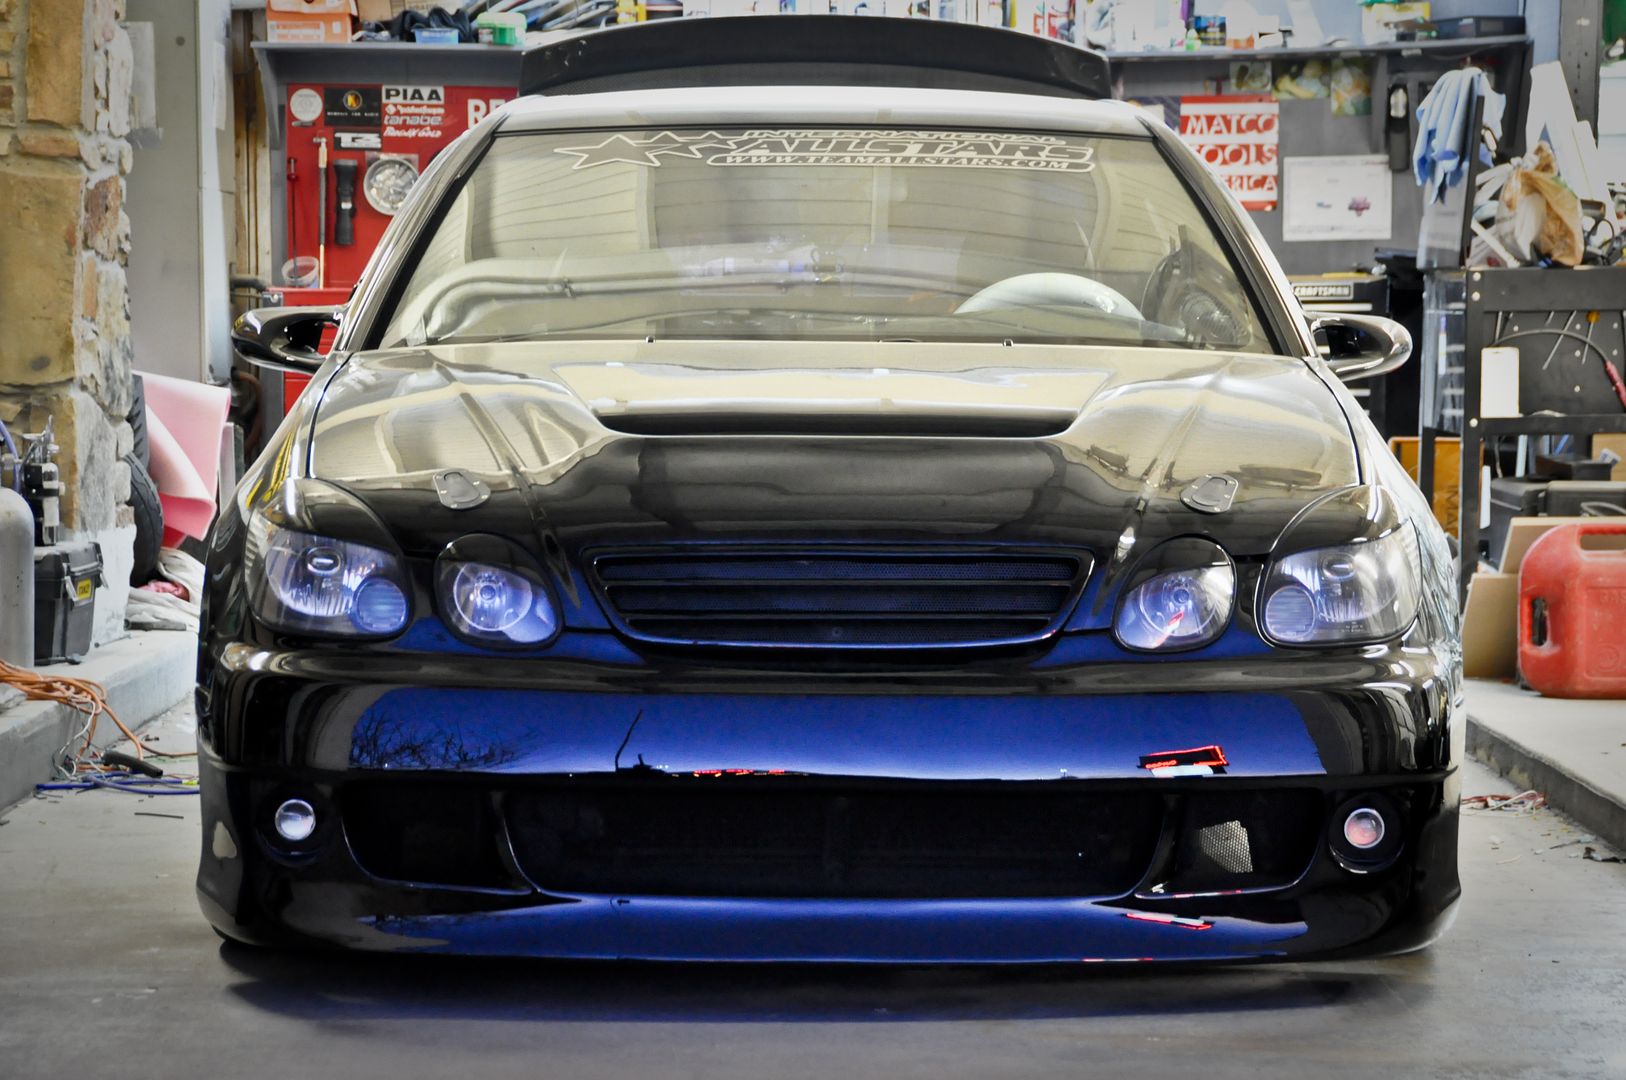
Finally got the grill back from the paint shop
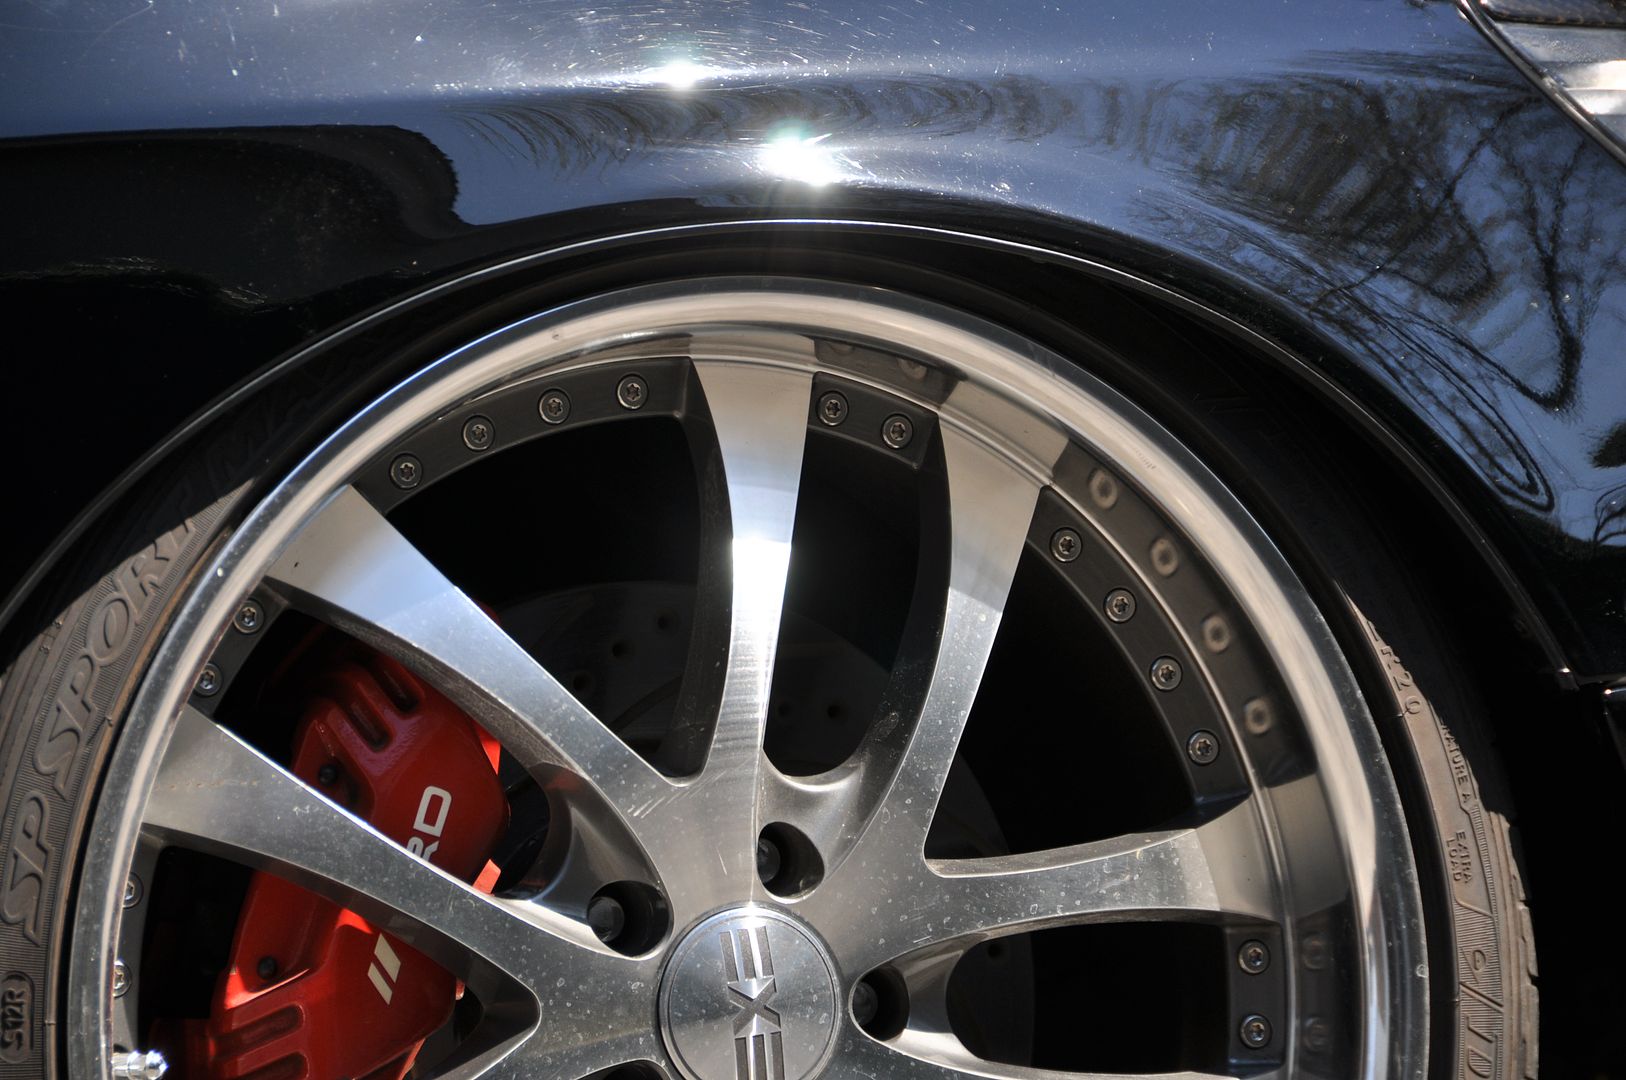
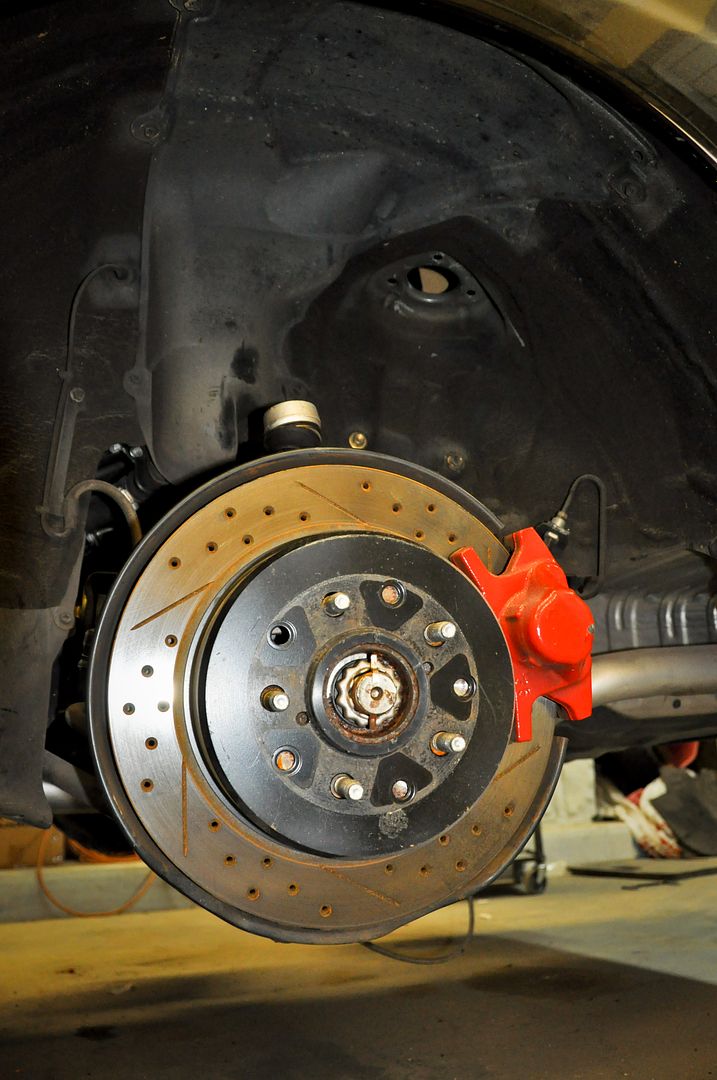
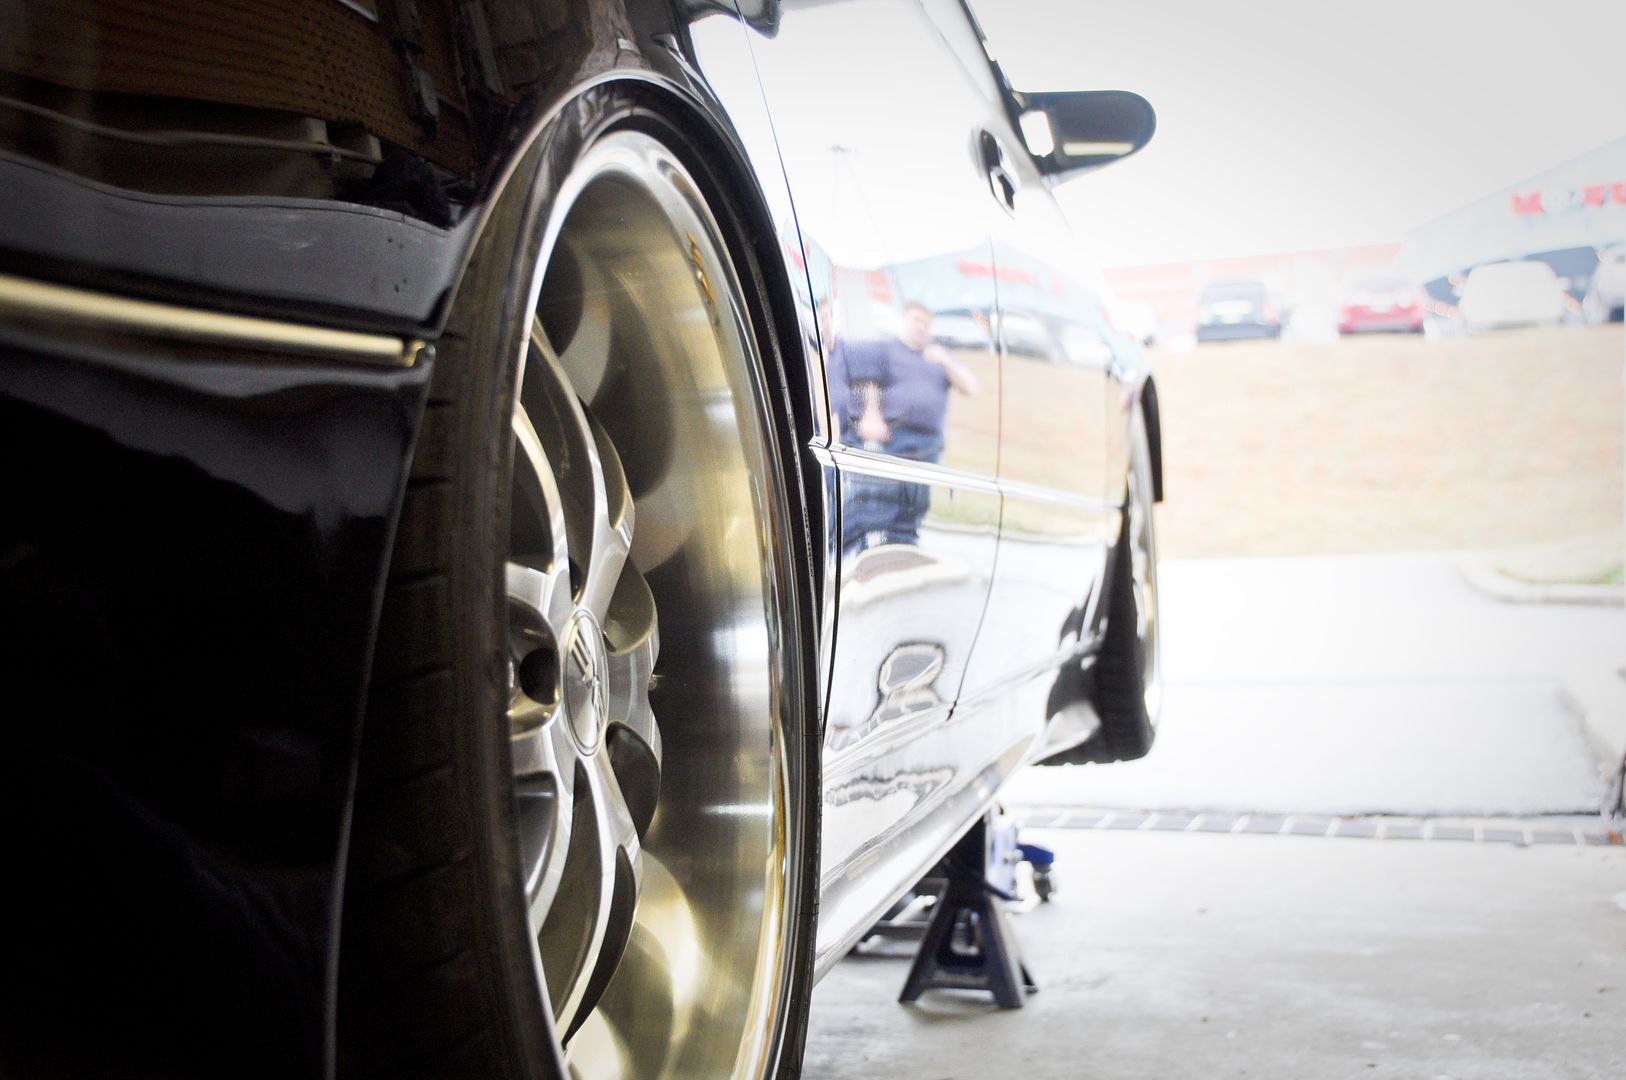
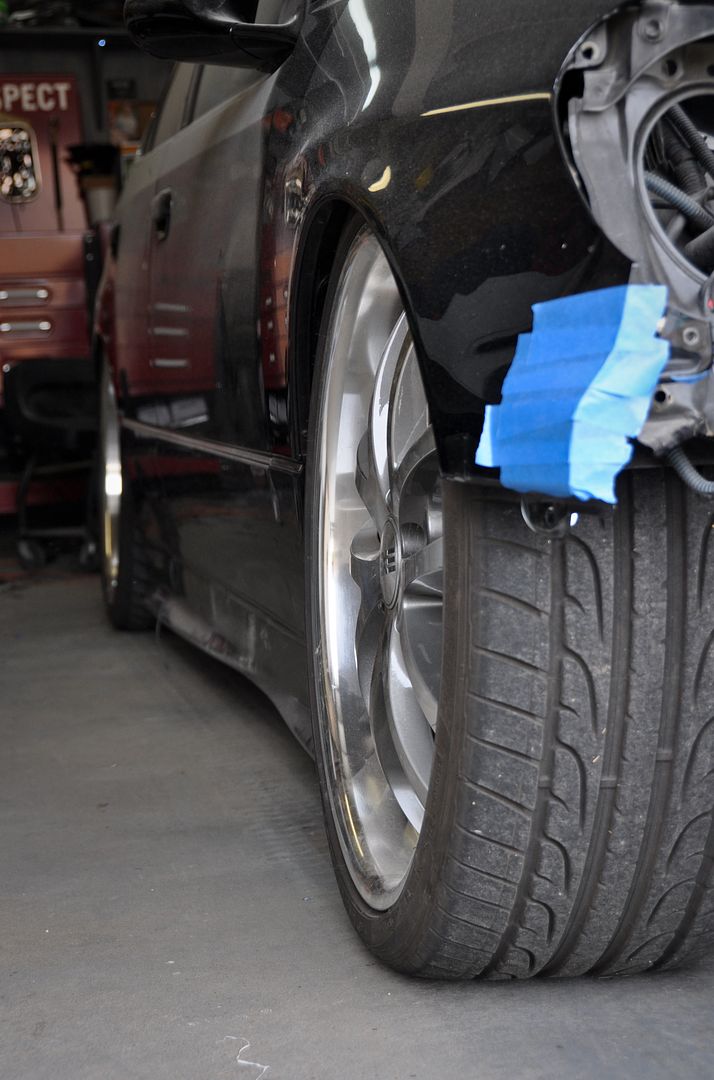
New Tires
New Tires courtesy of my friends and sponsor from Bridgestone Tires. UPS dropped off these bad boys at work. Bridgestone Potenza RE760 Sports
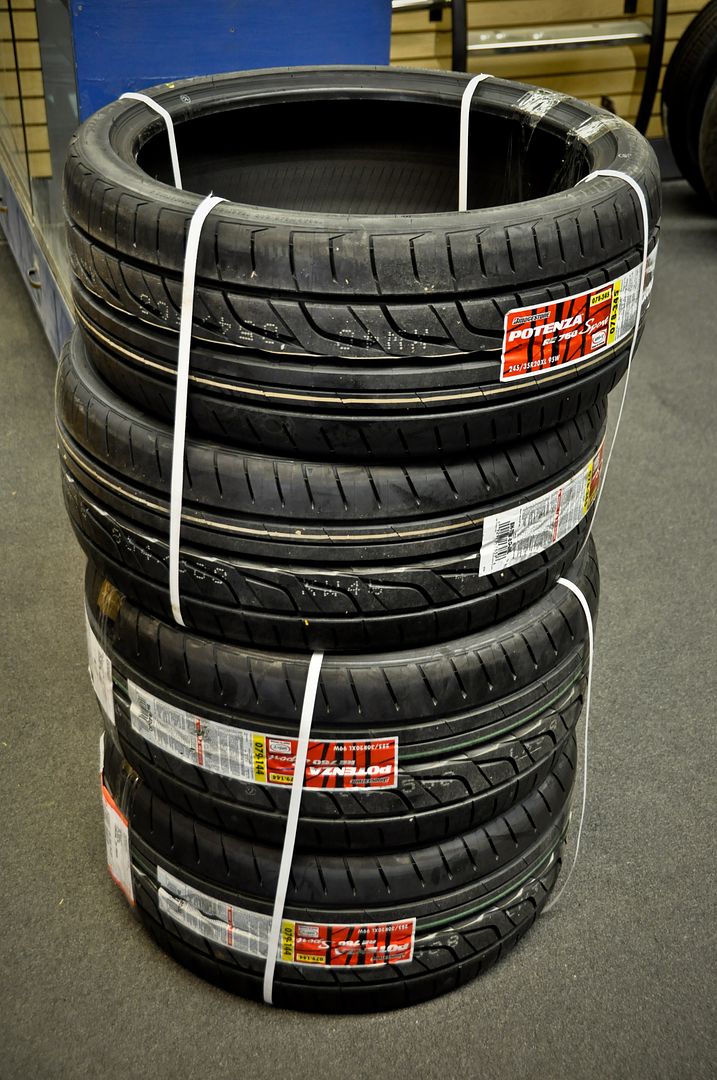
245/35/20 for the front tires

285/30/20 for the rear

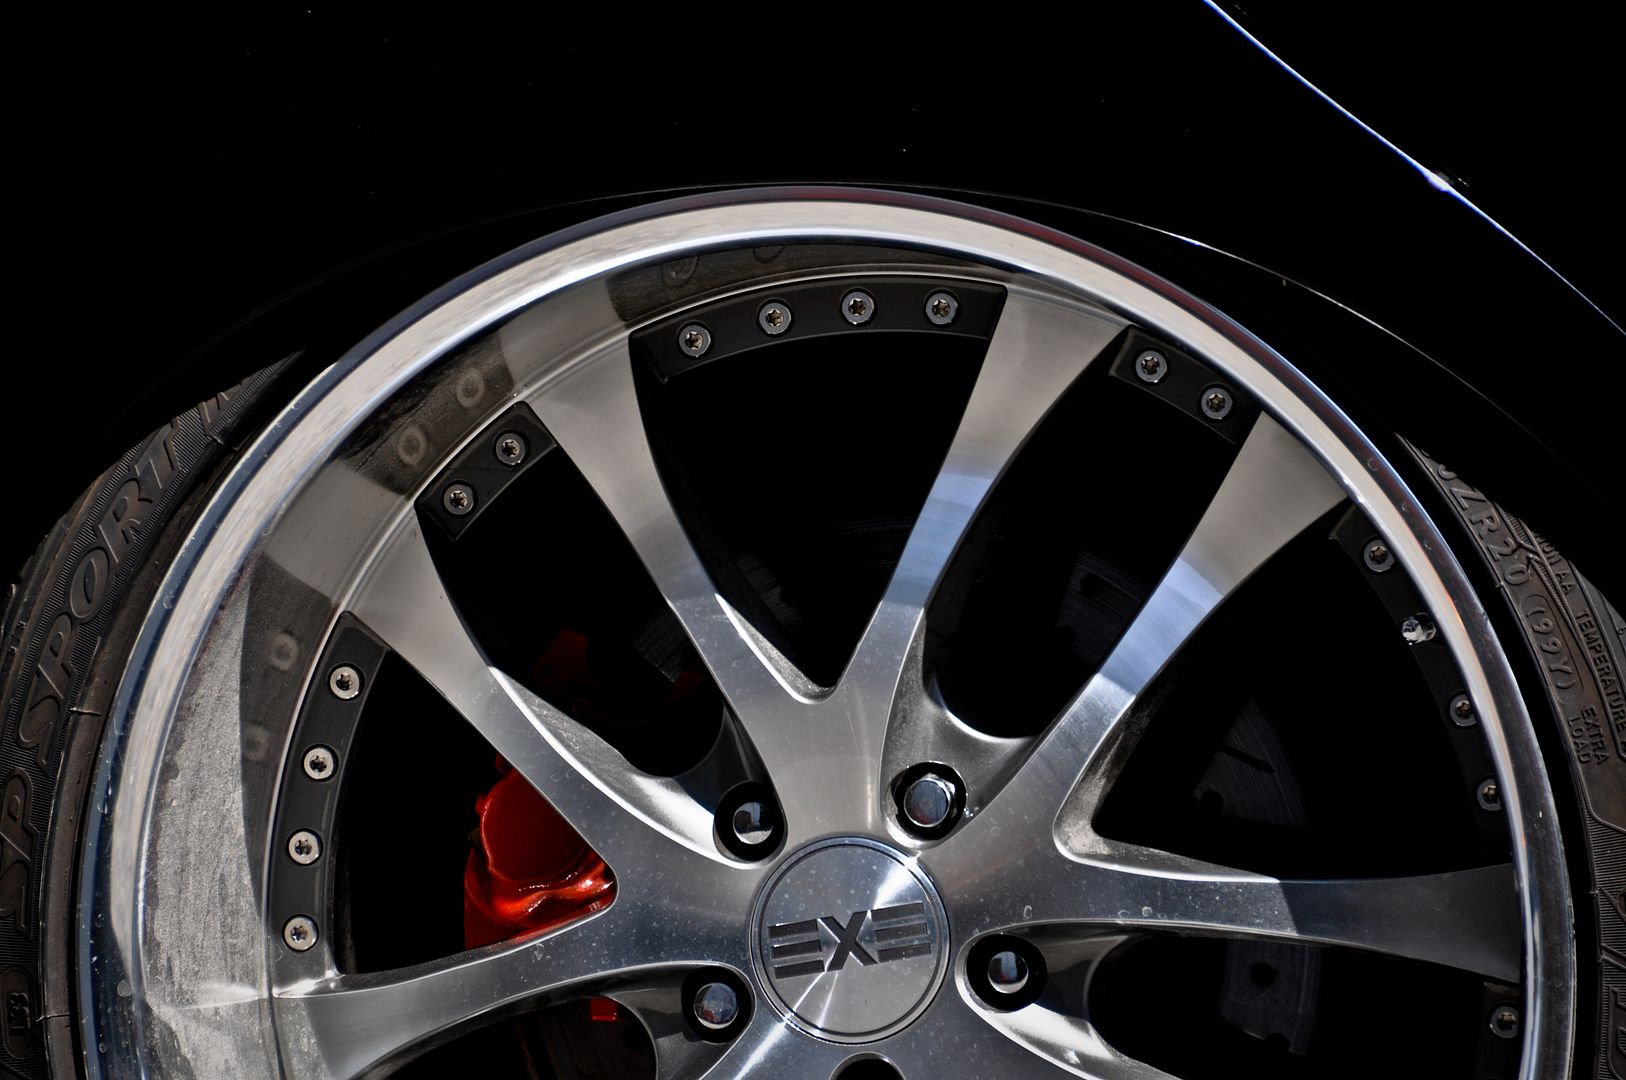
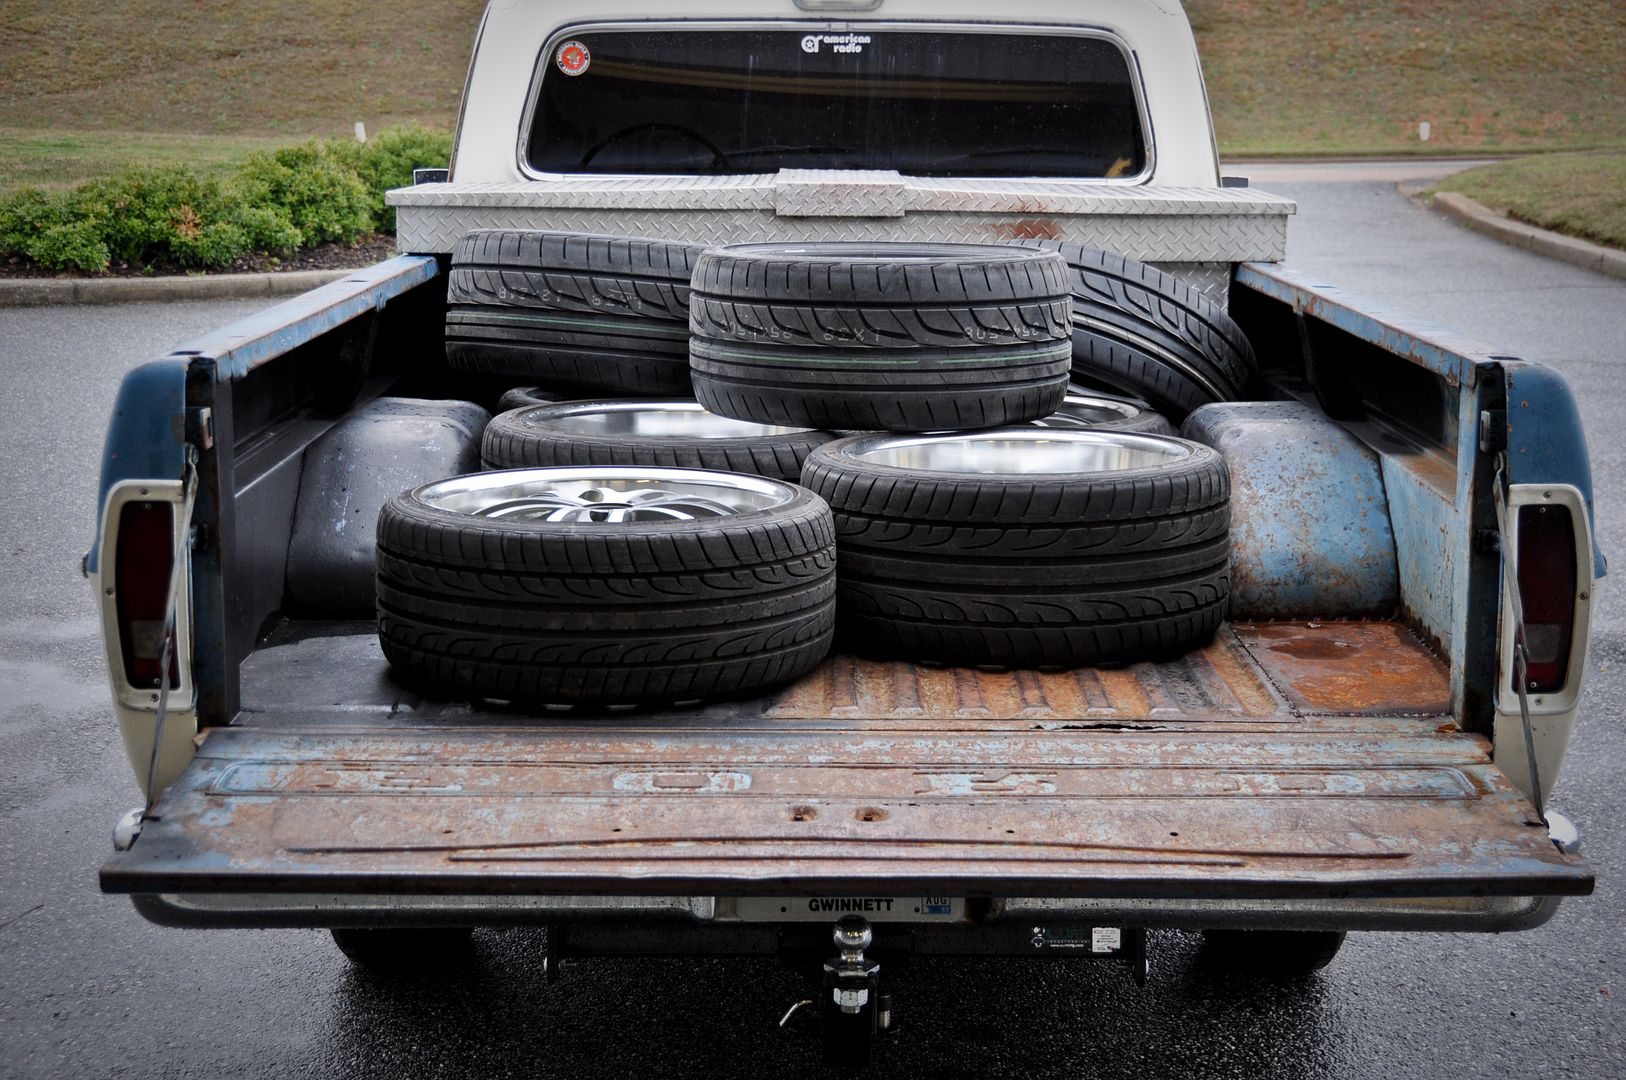
Out with the old and in with the new (keeping the EXE wheels)


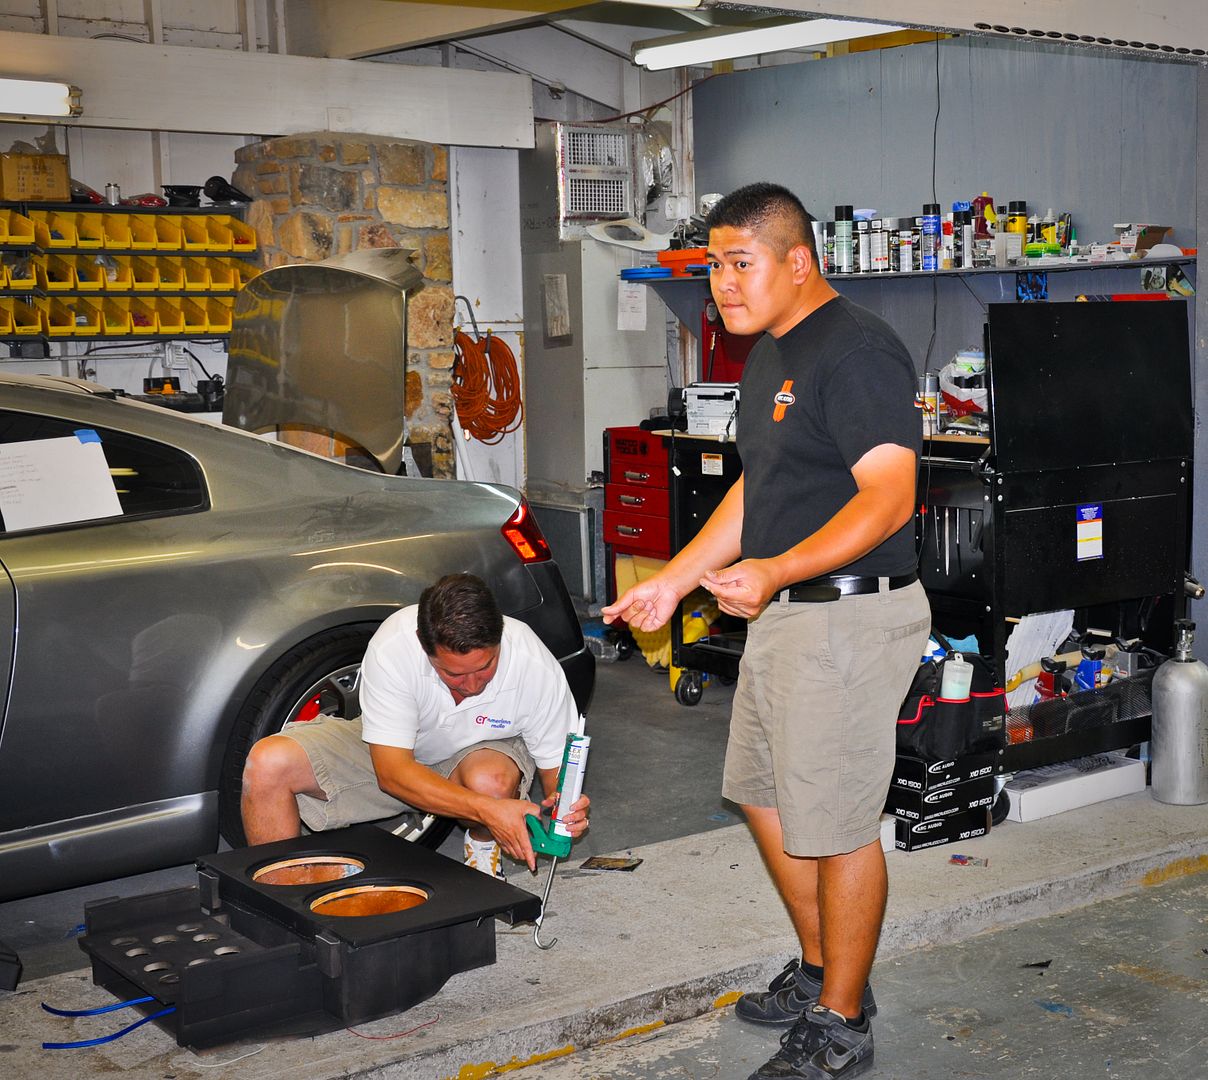
Took the tires over to Butler to get my old ones taken off and the new Bridgestones mounted and balanced.

 03-19-11, 04:22 AM
#468
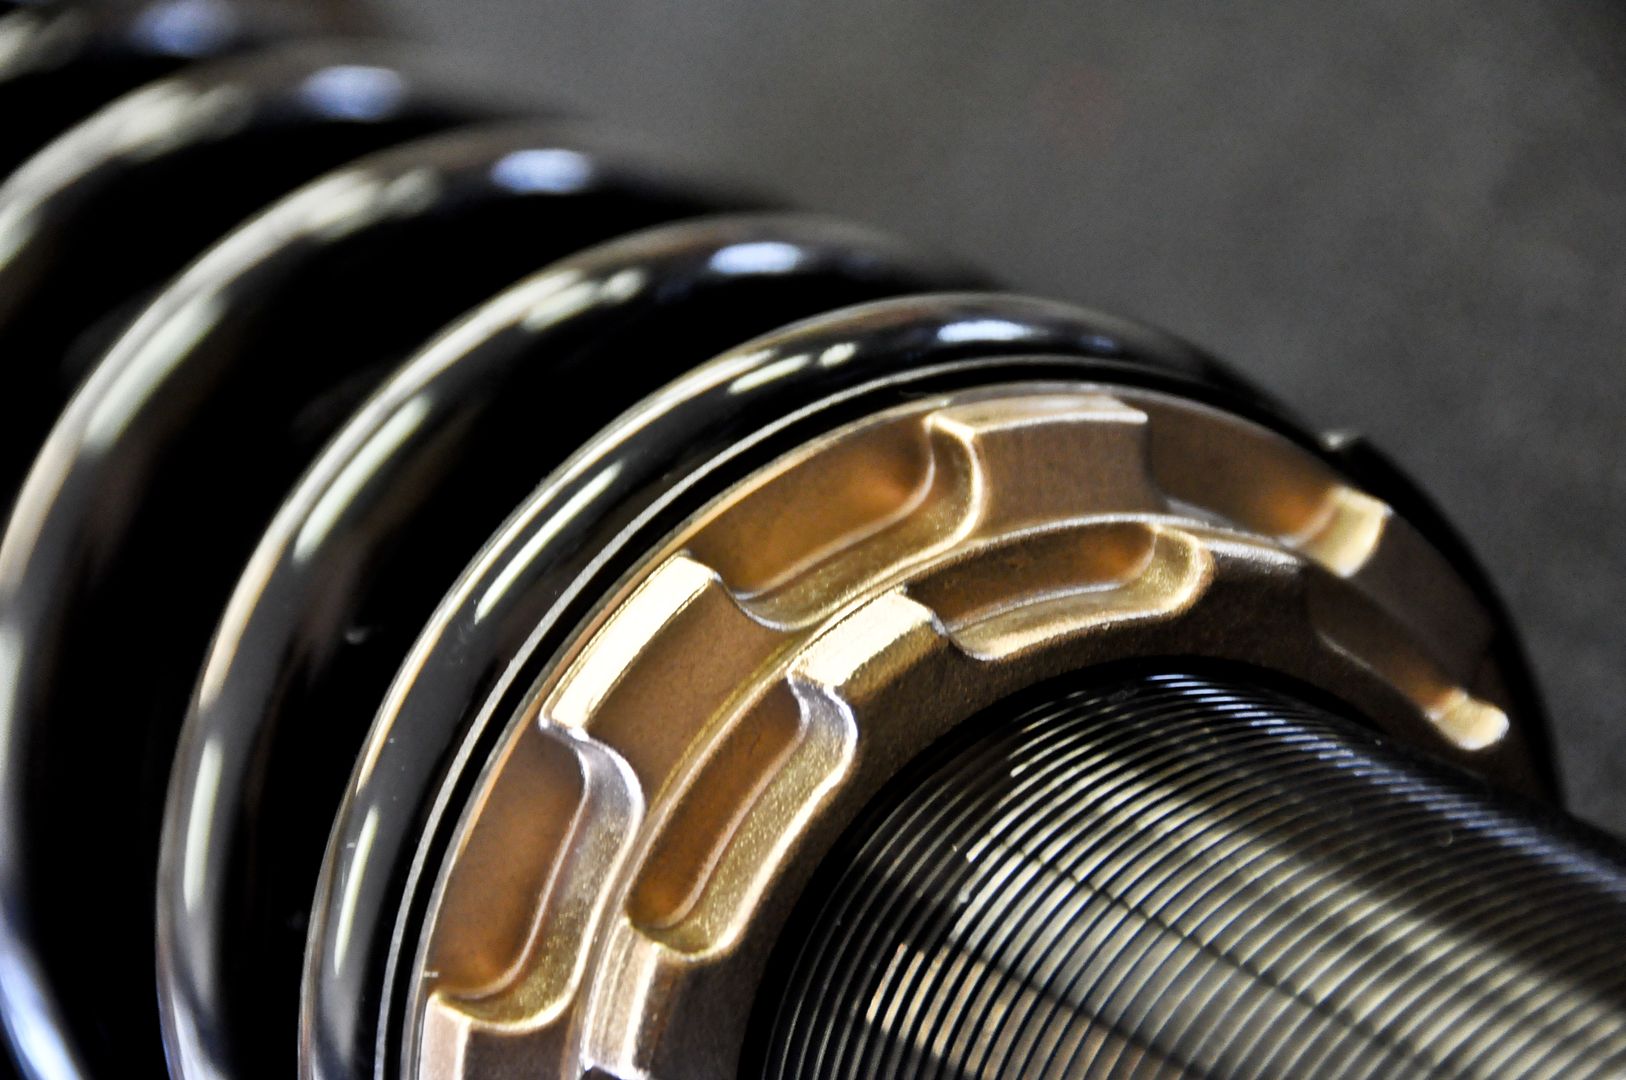
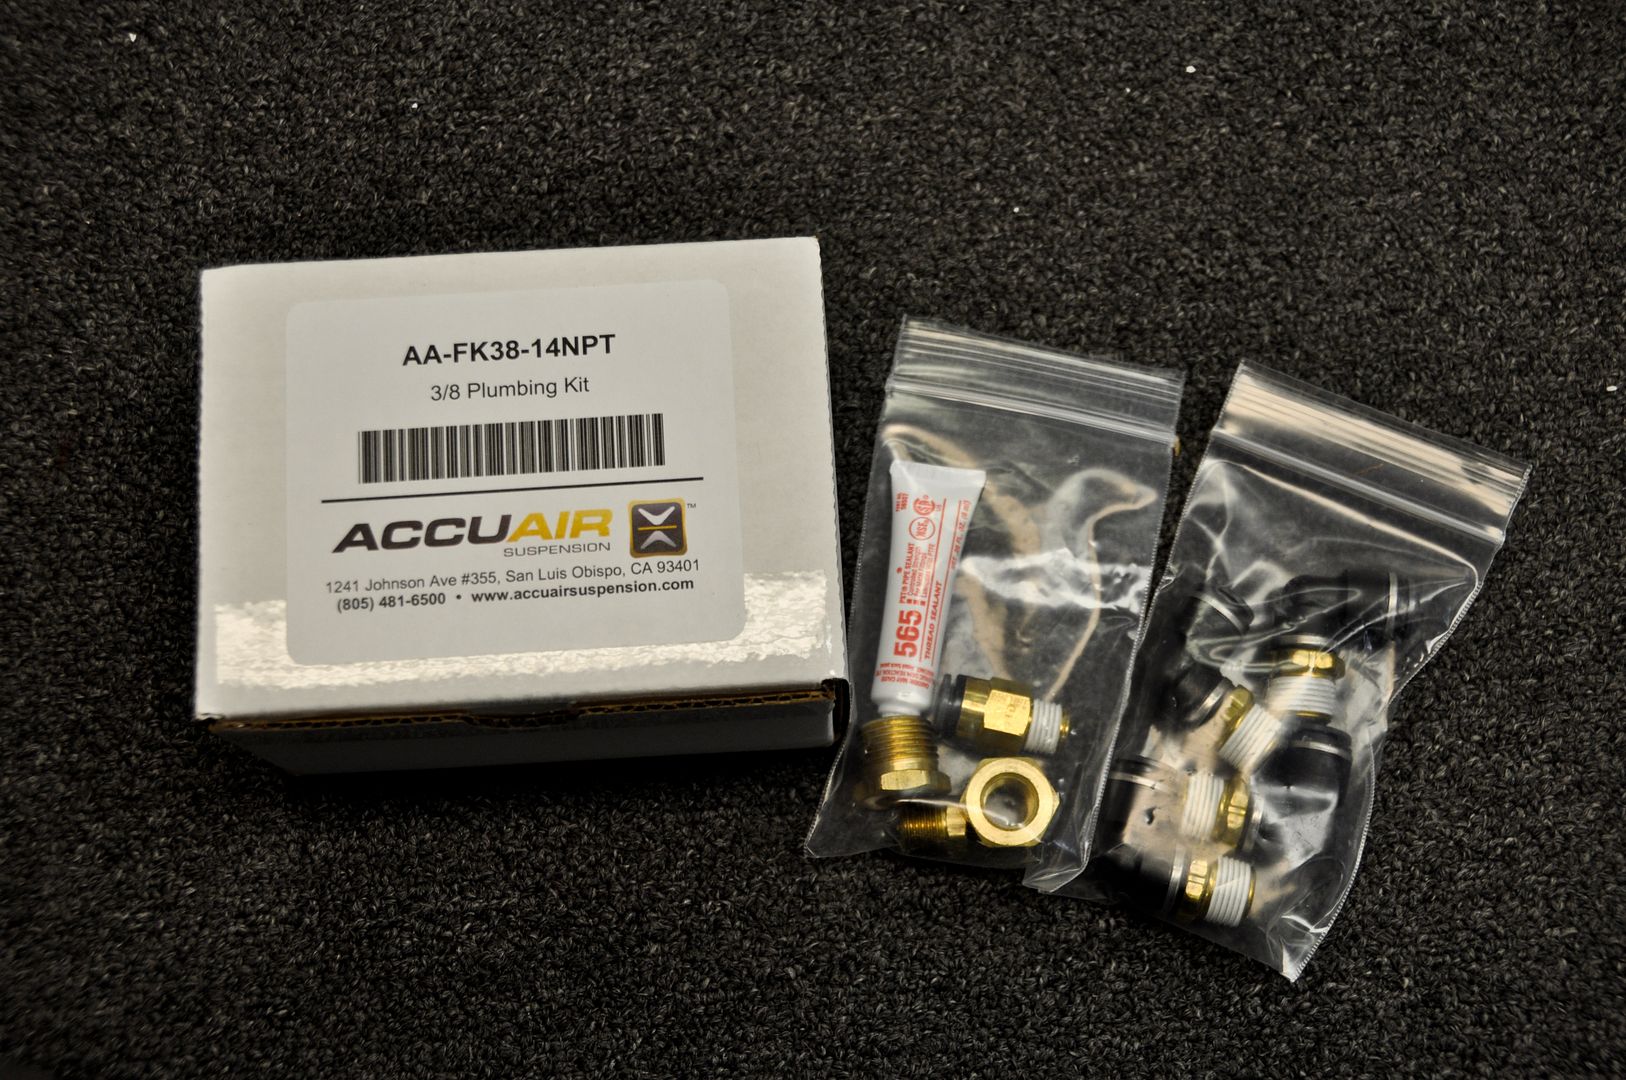
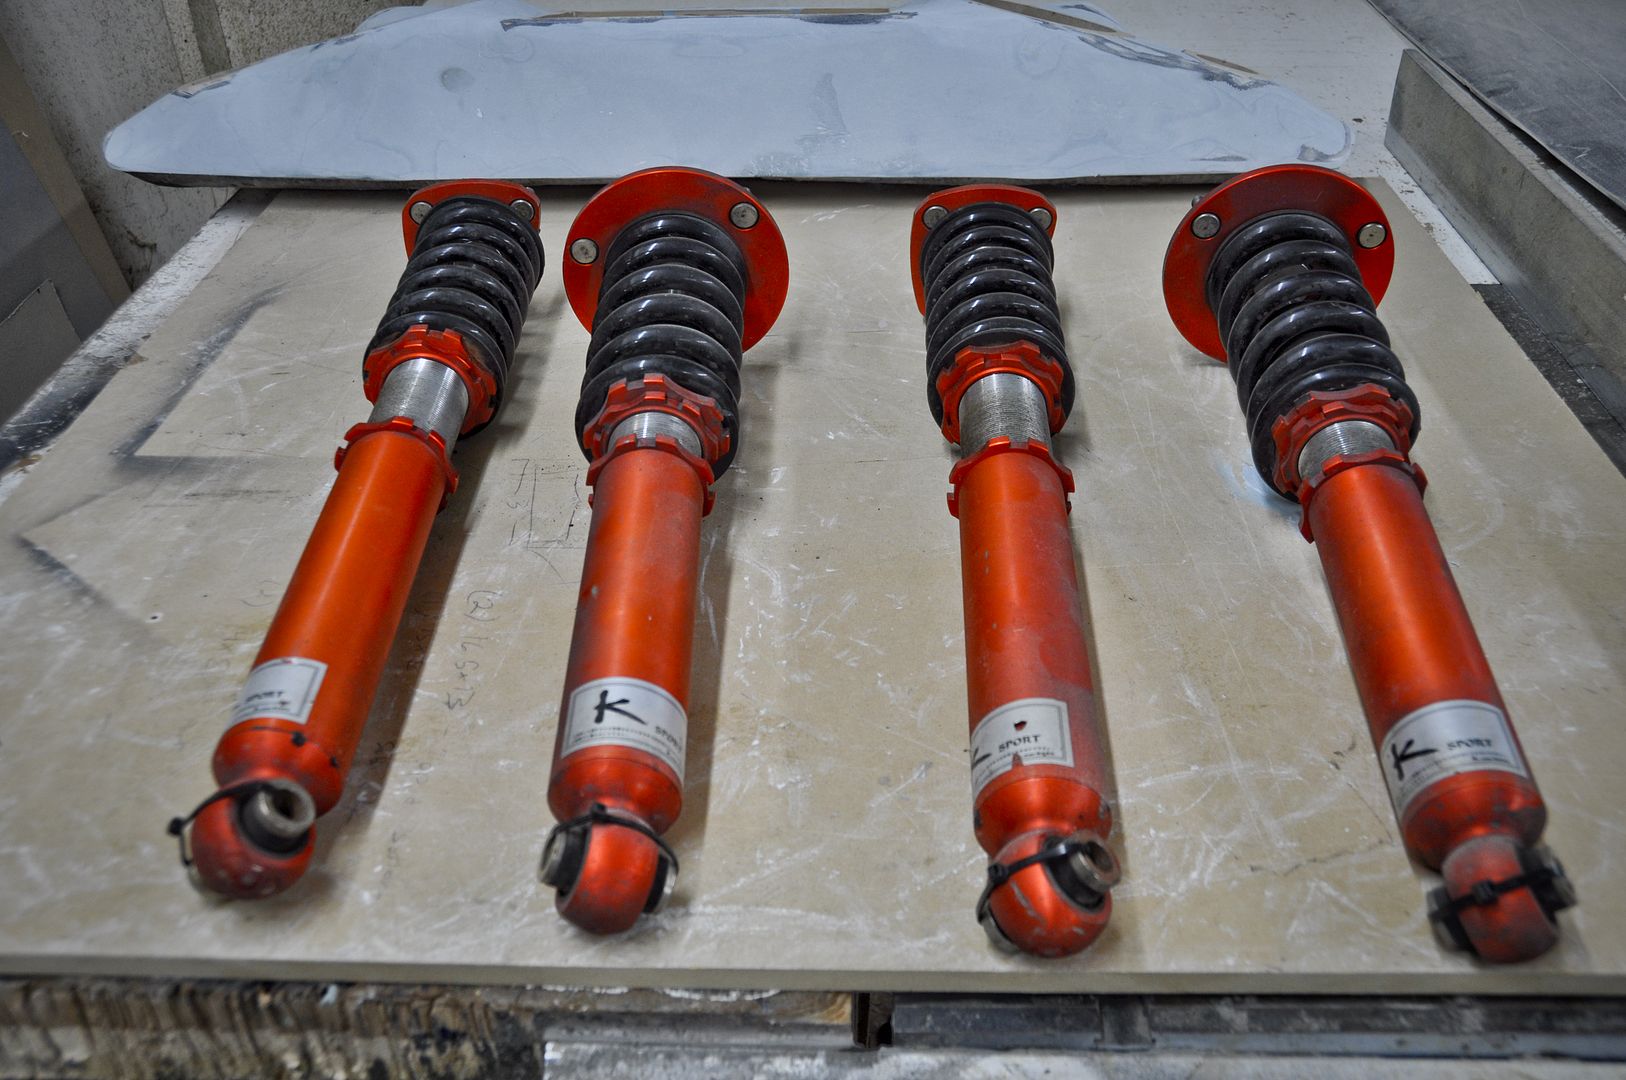
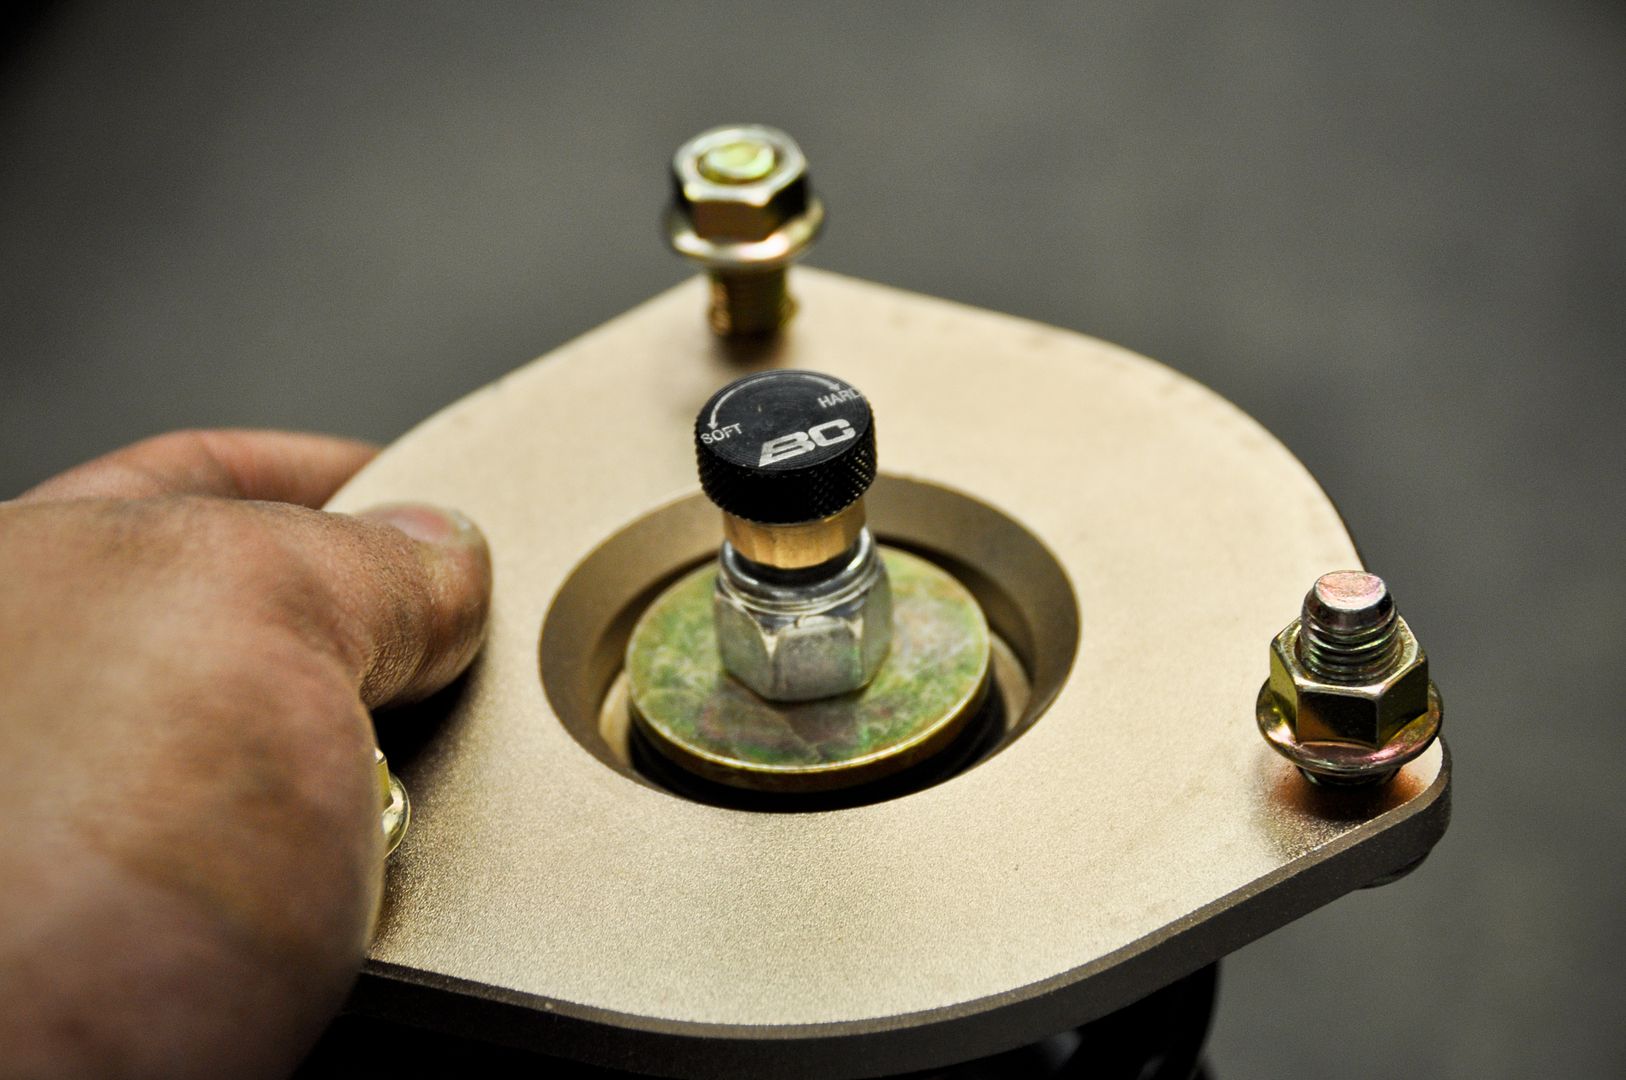
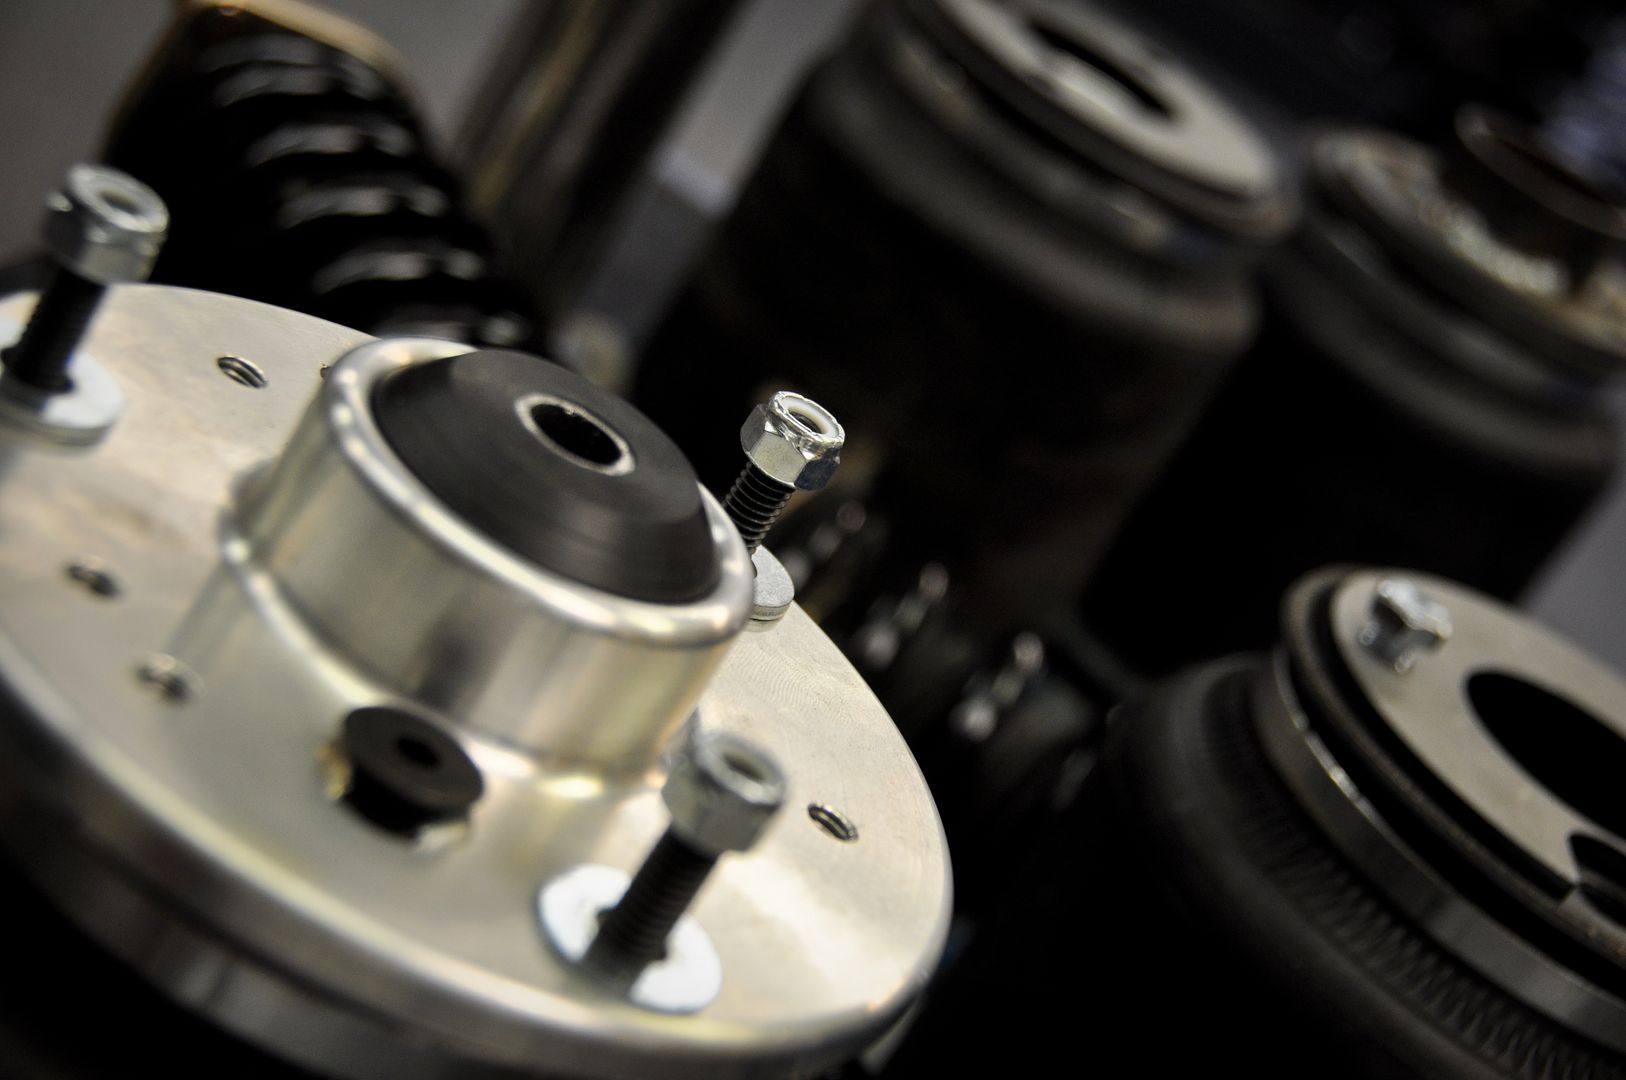
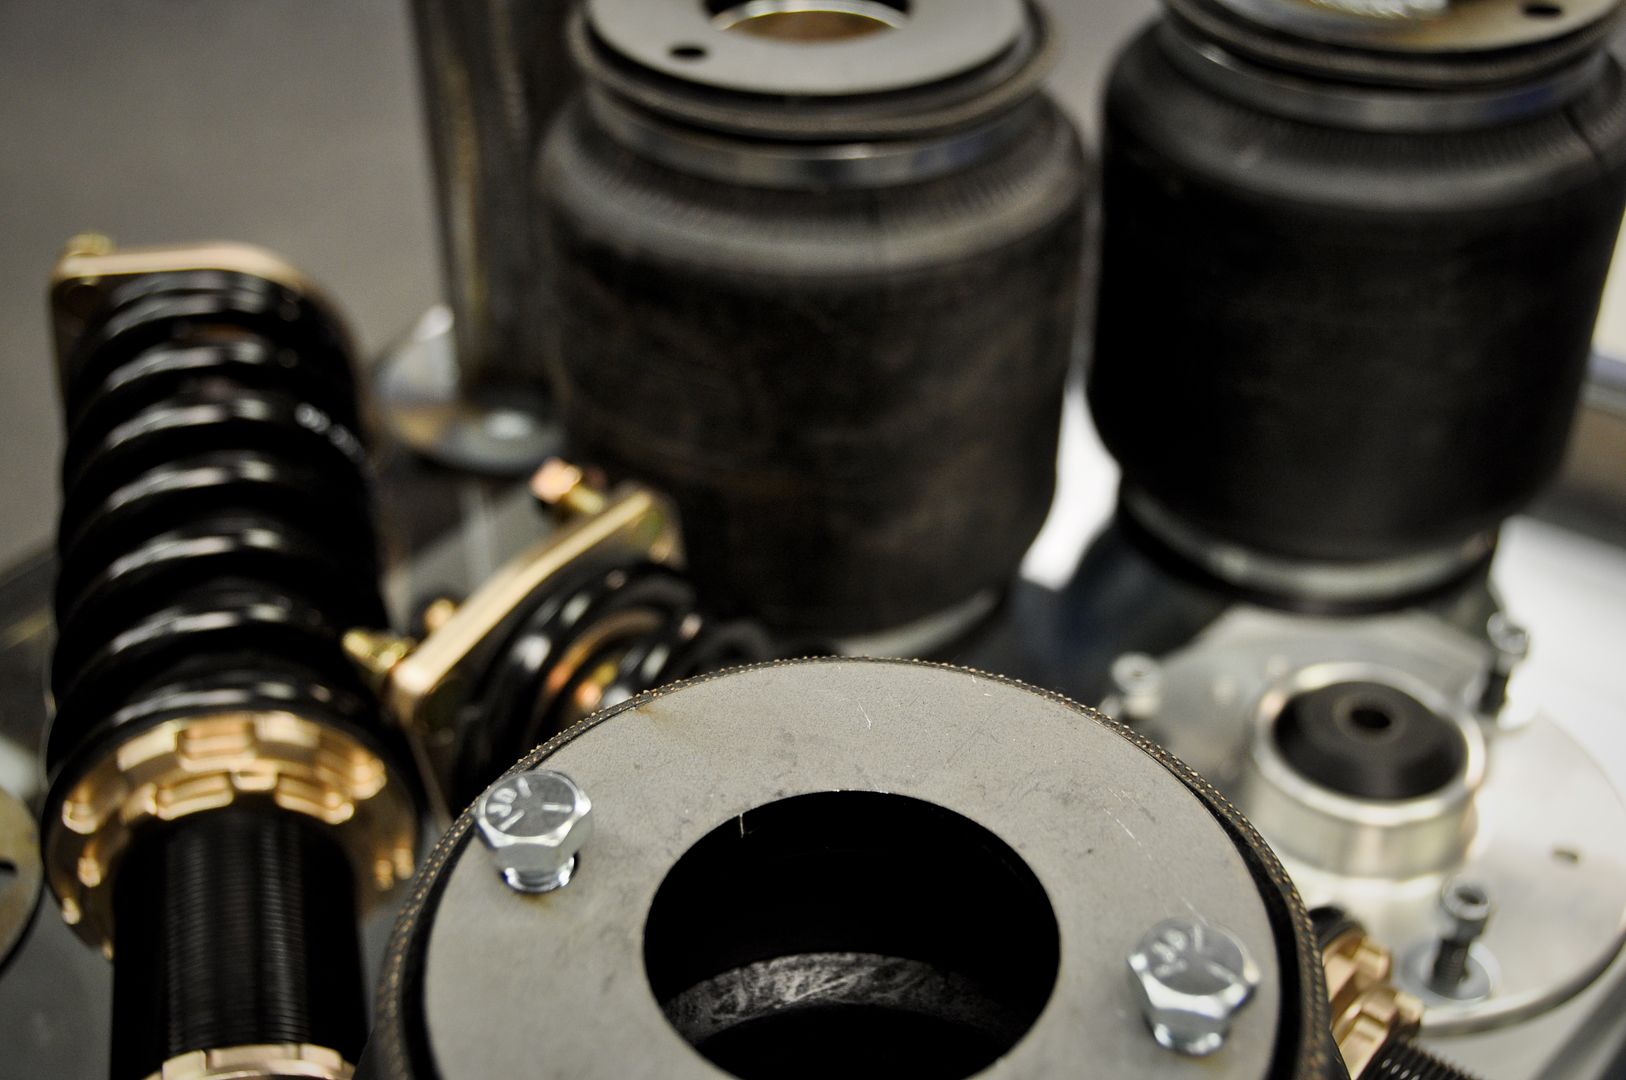
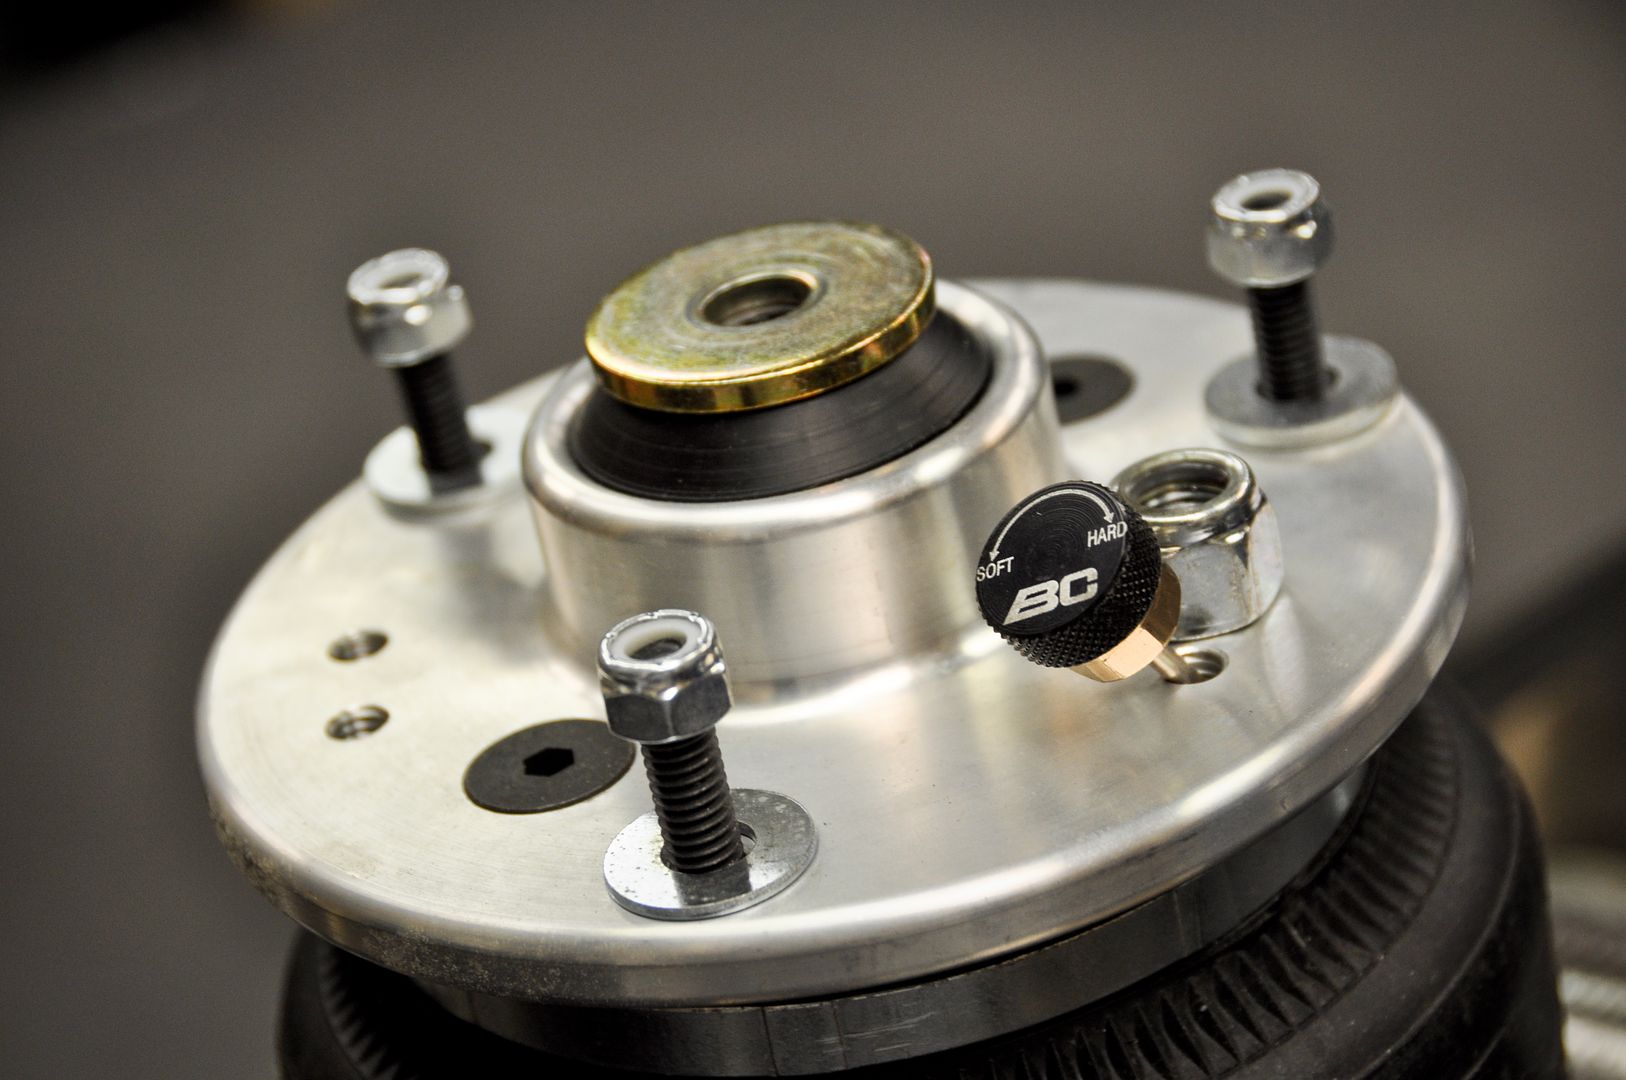
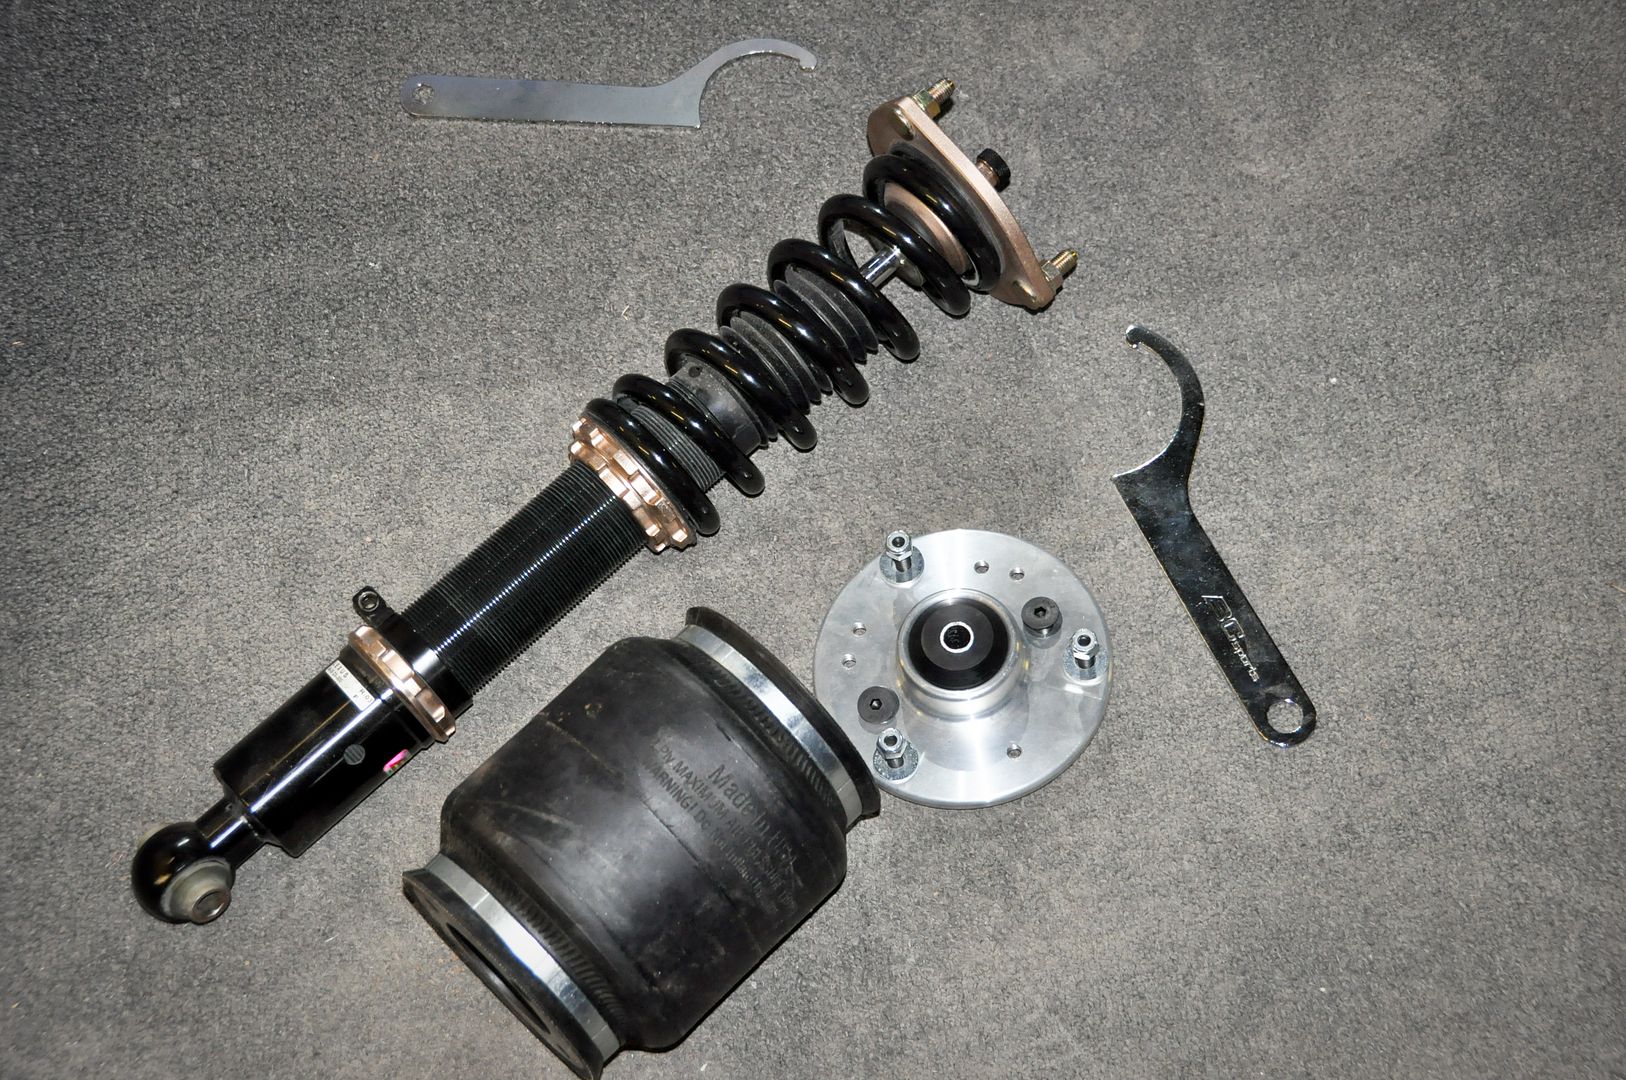
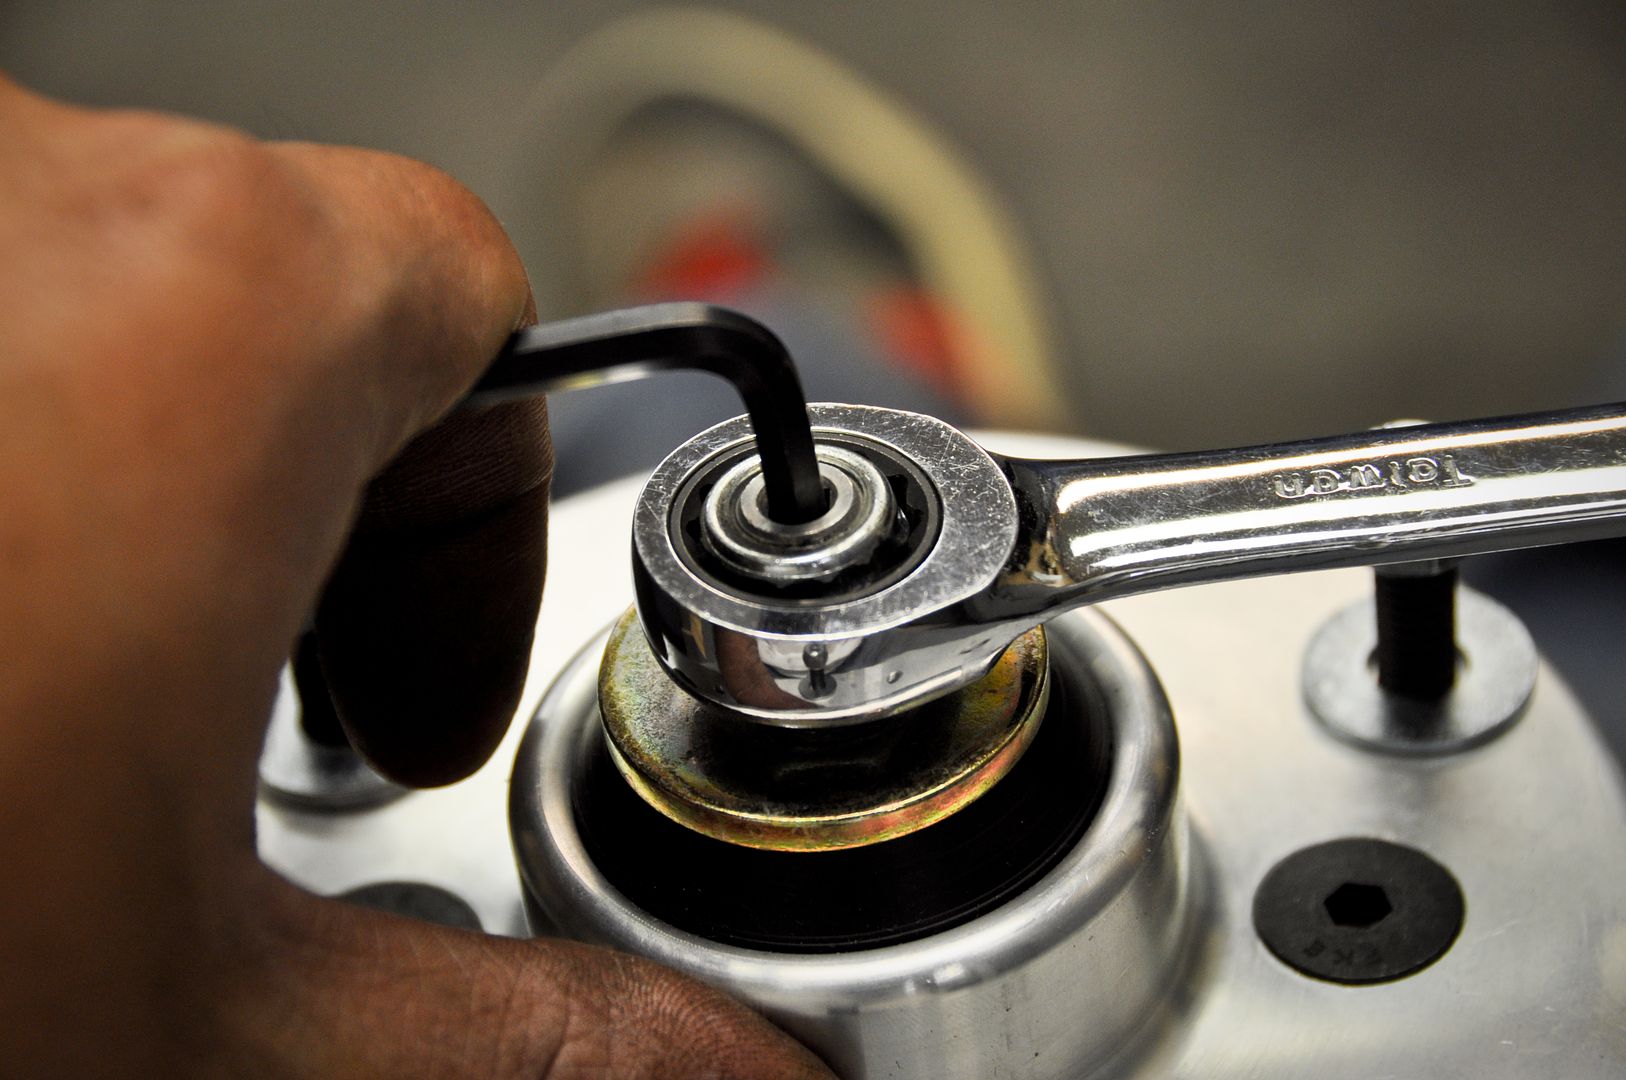
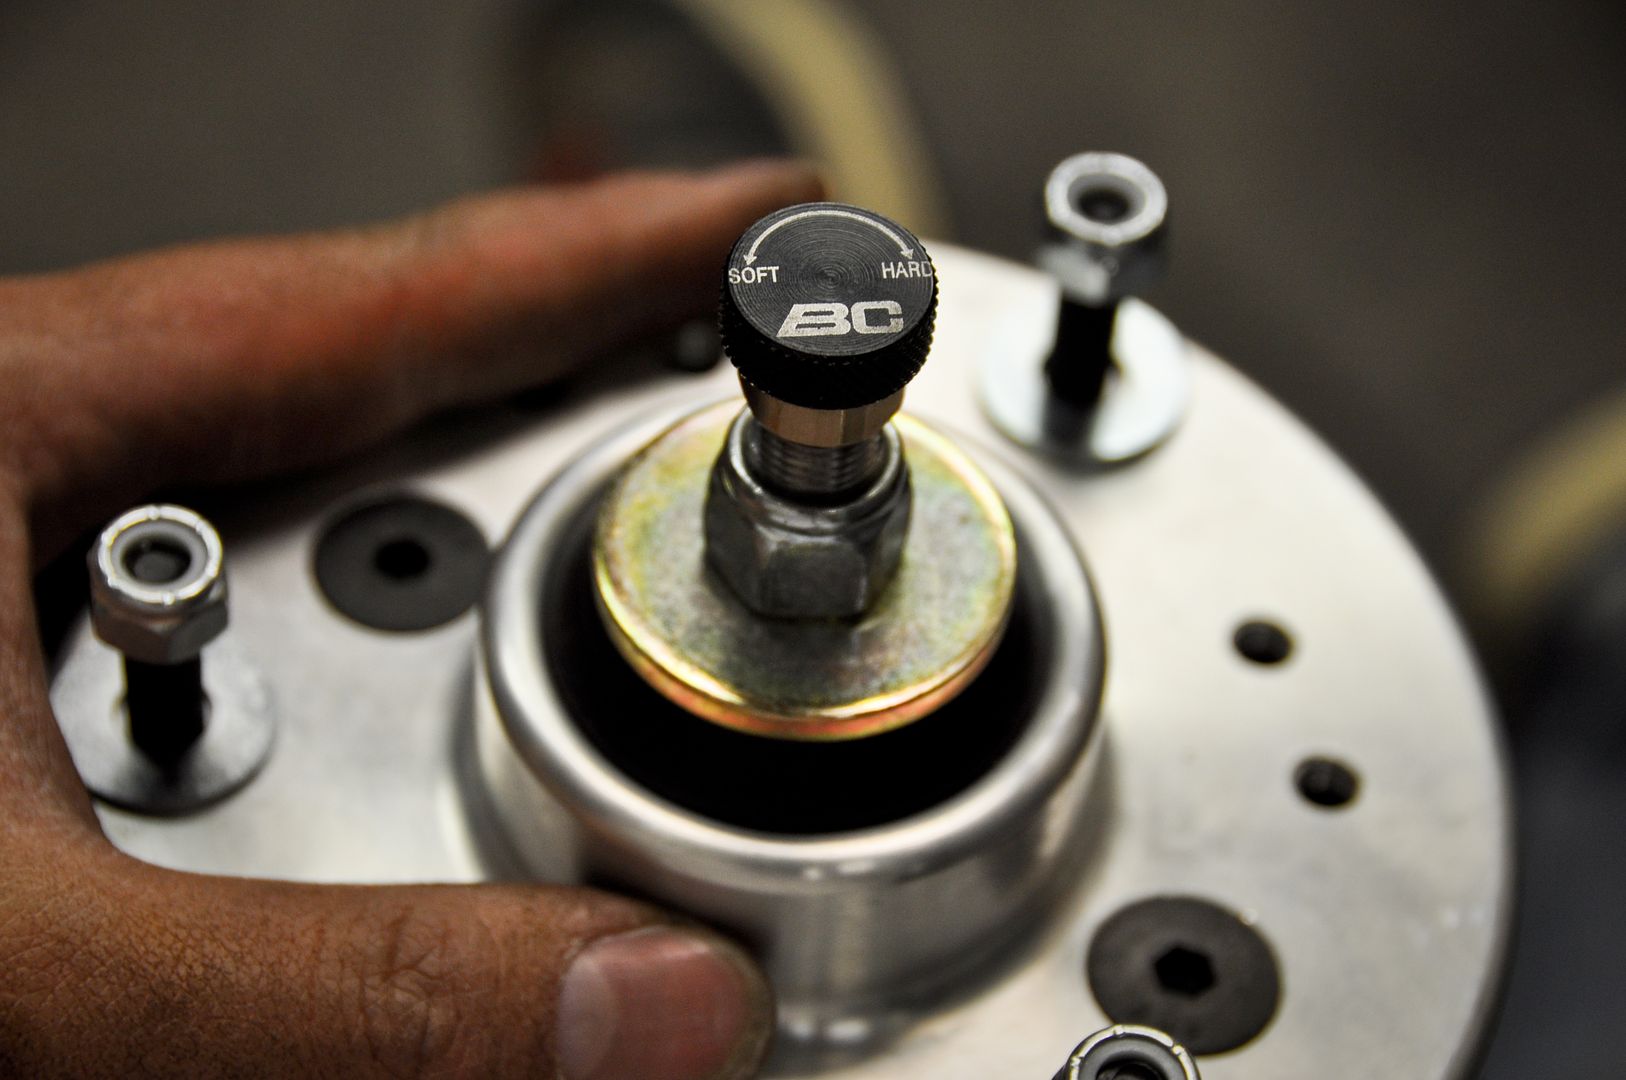
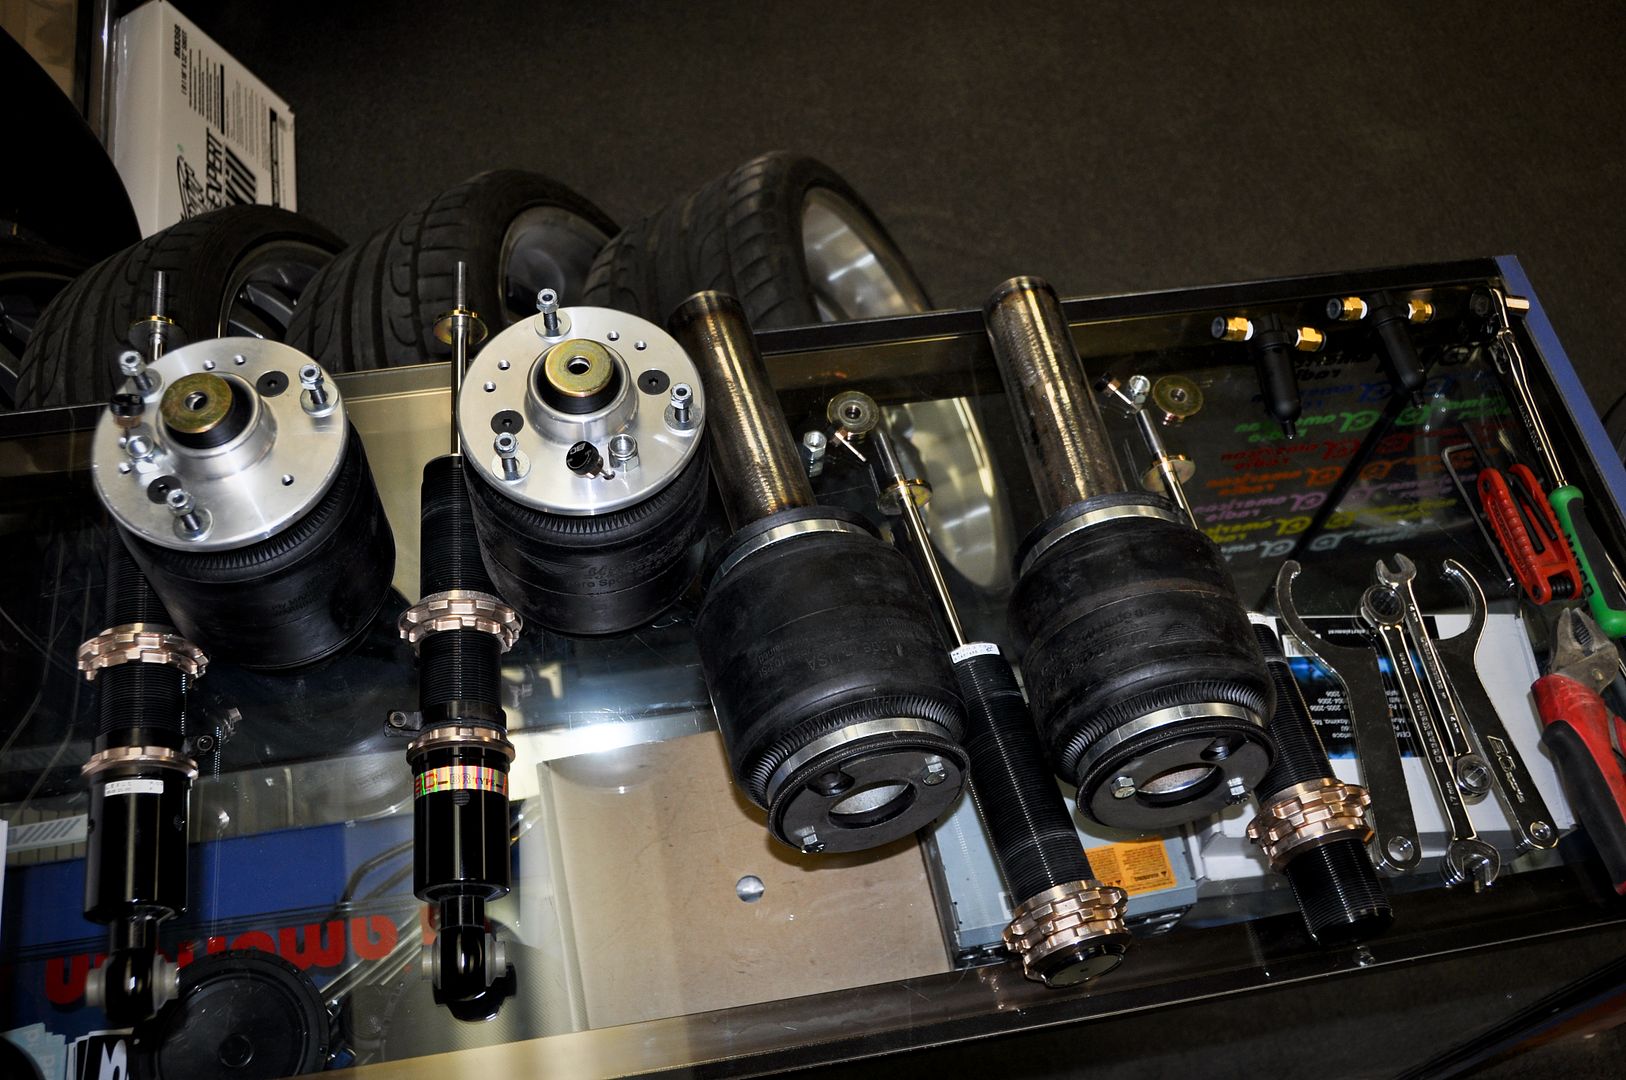
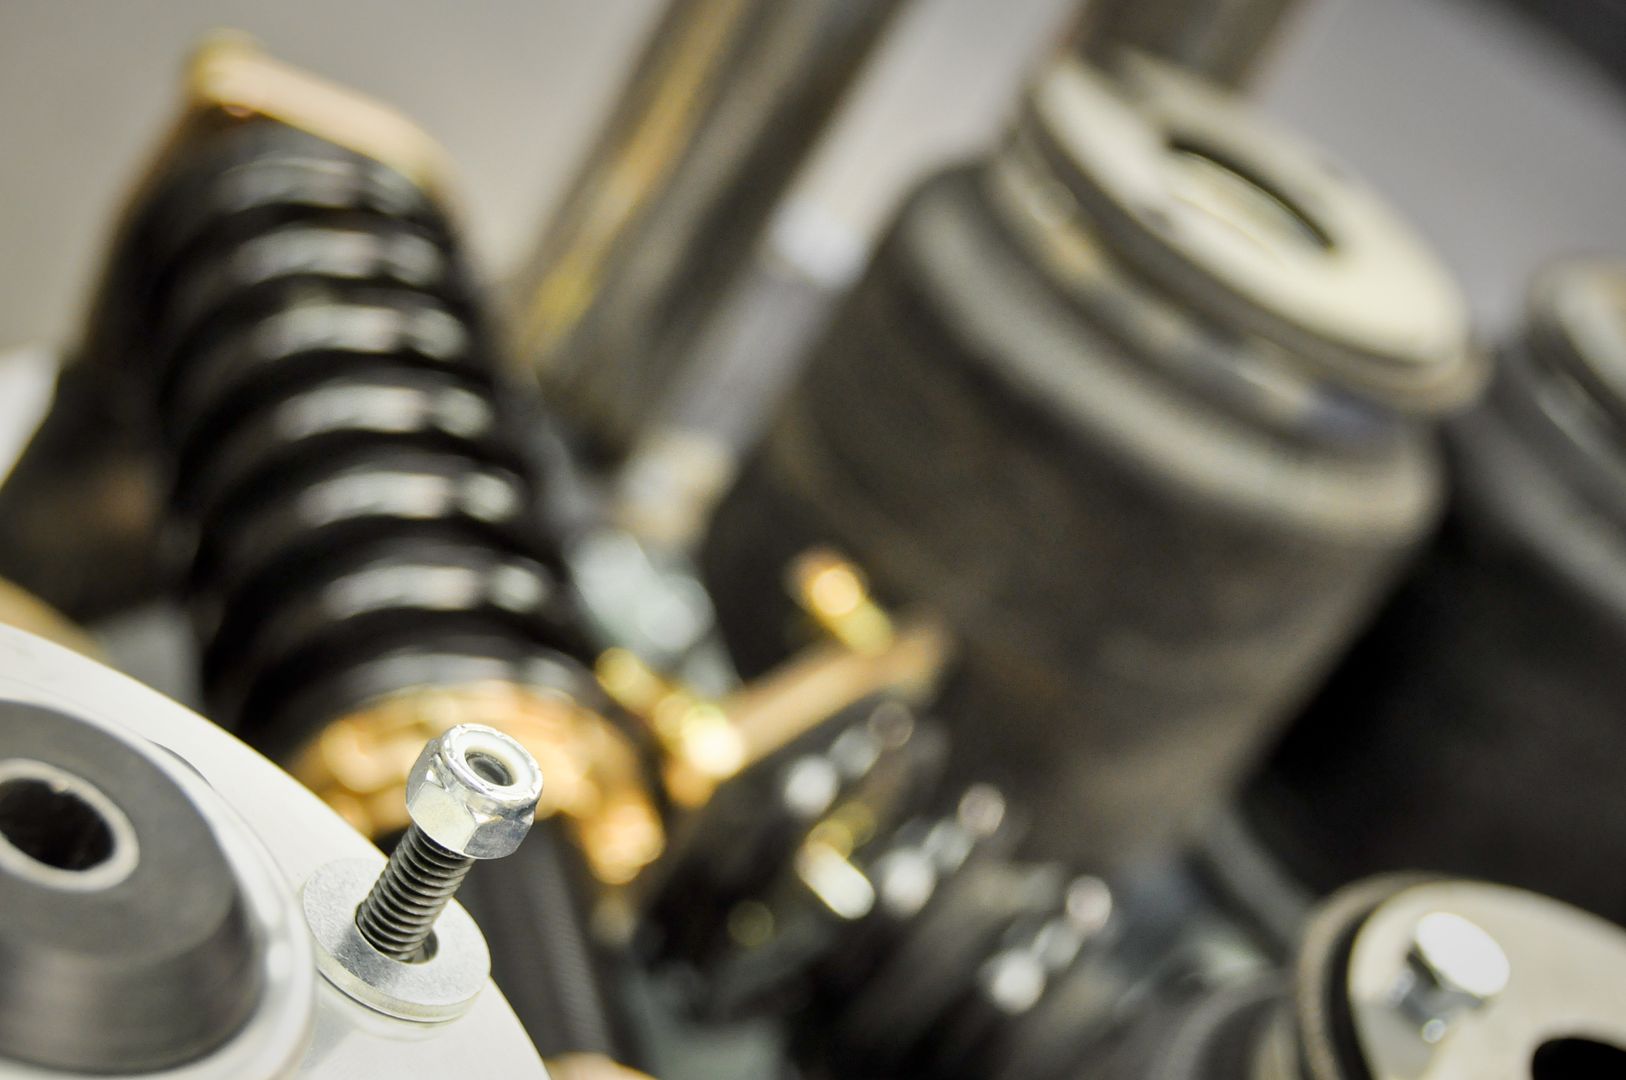
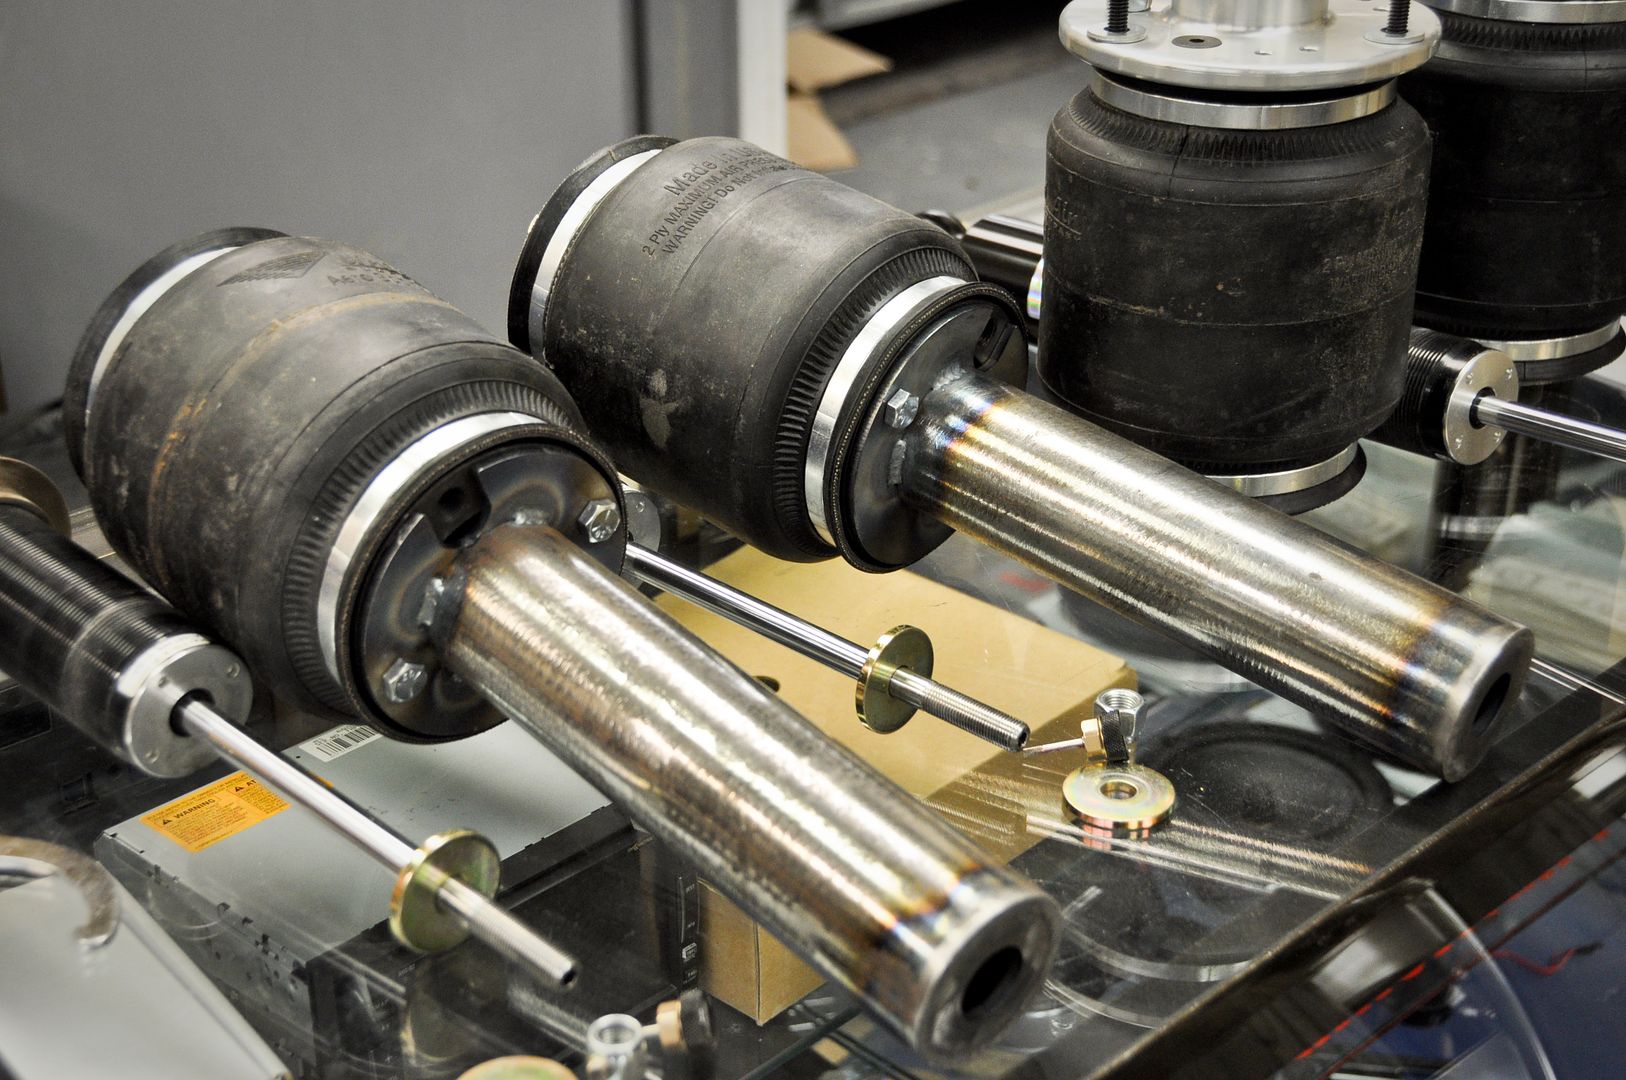
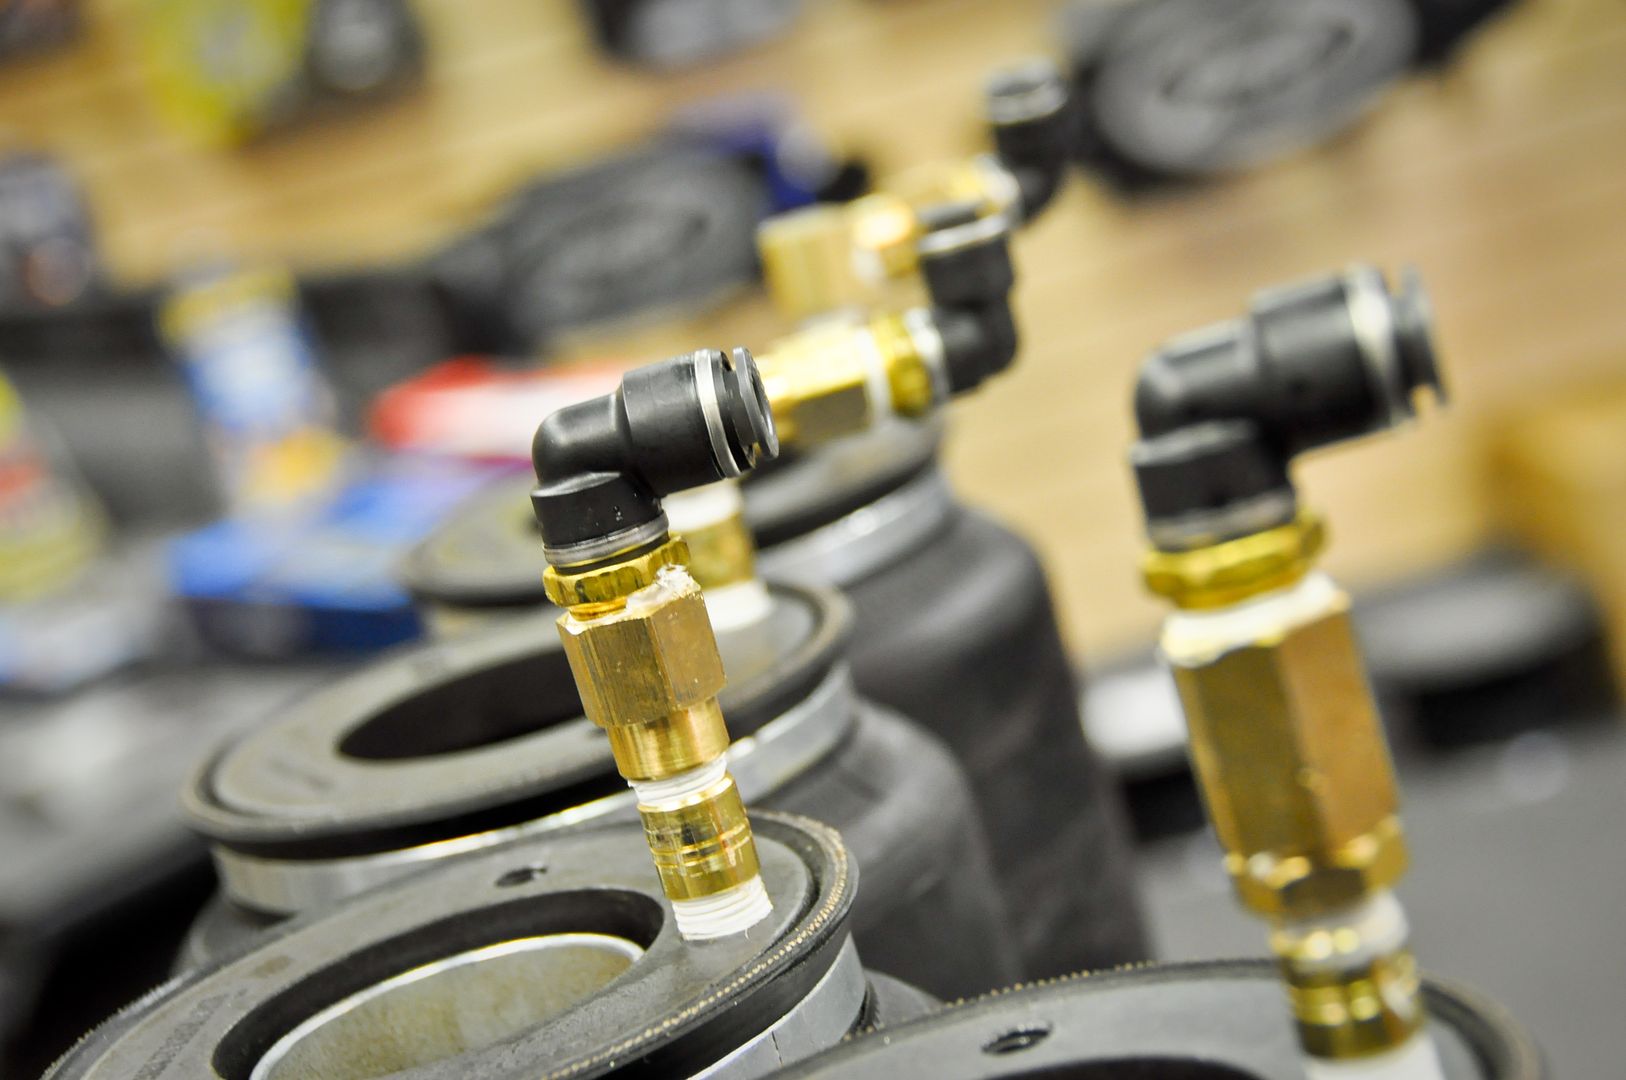
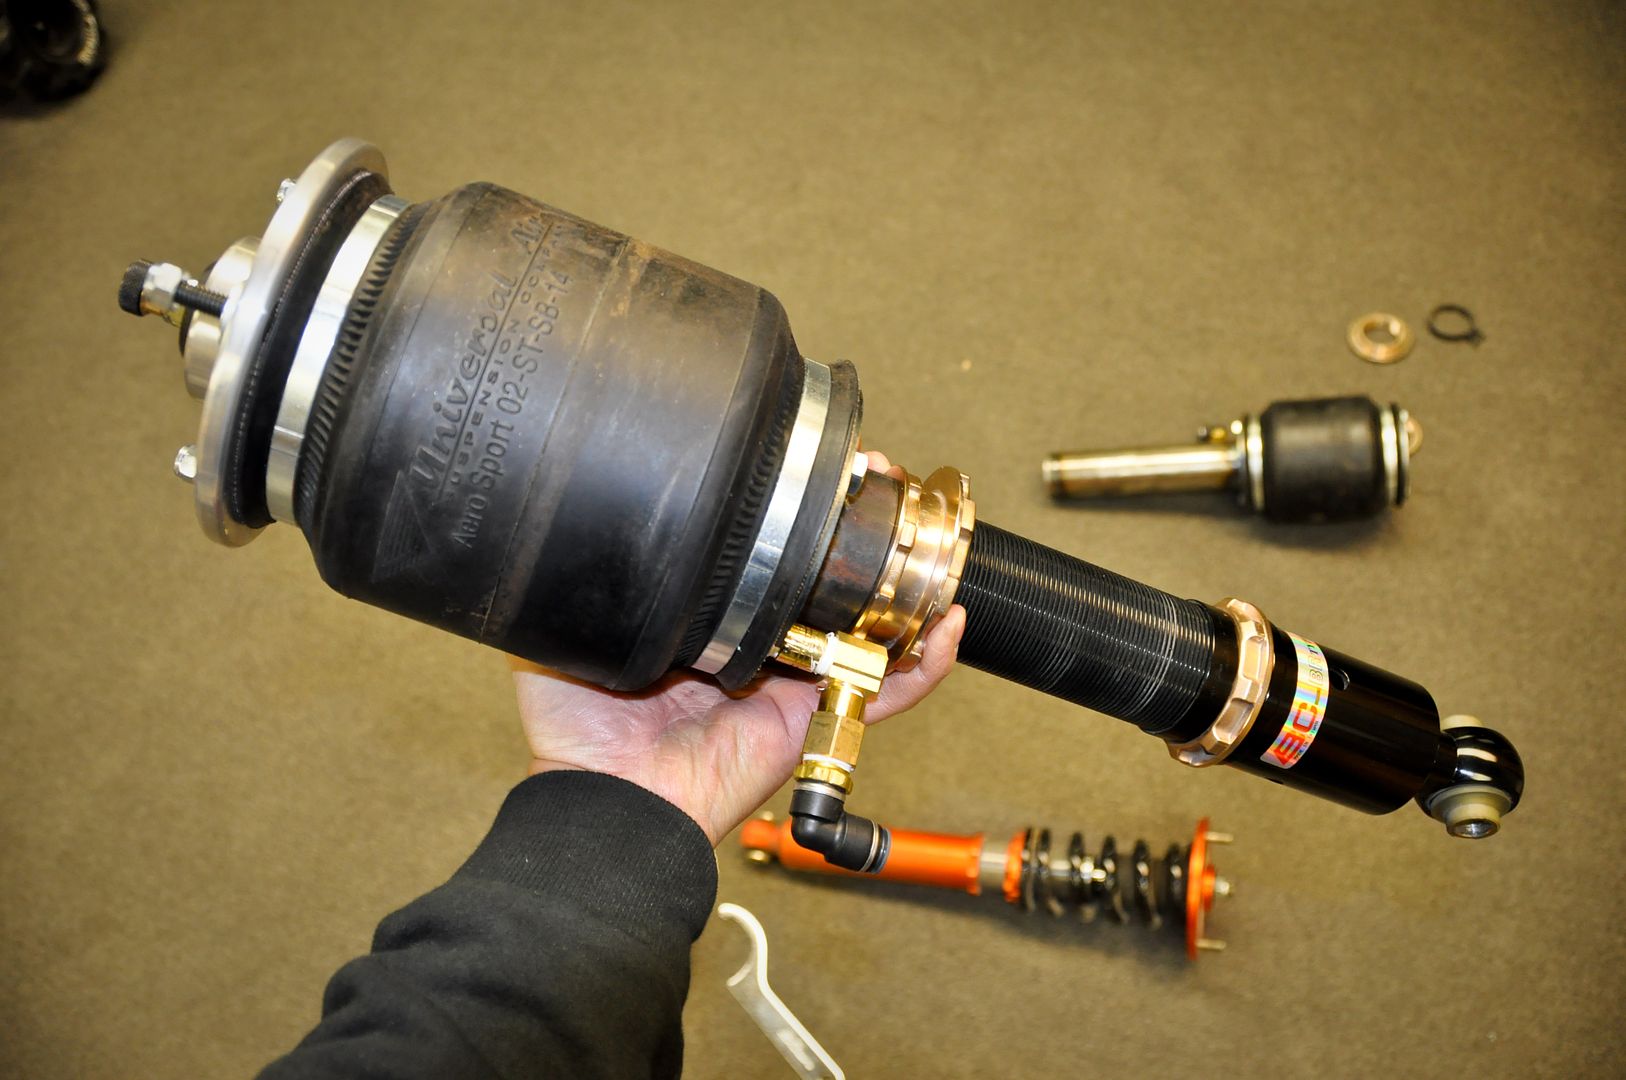
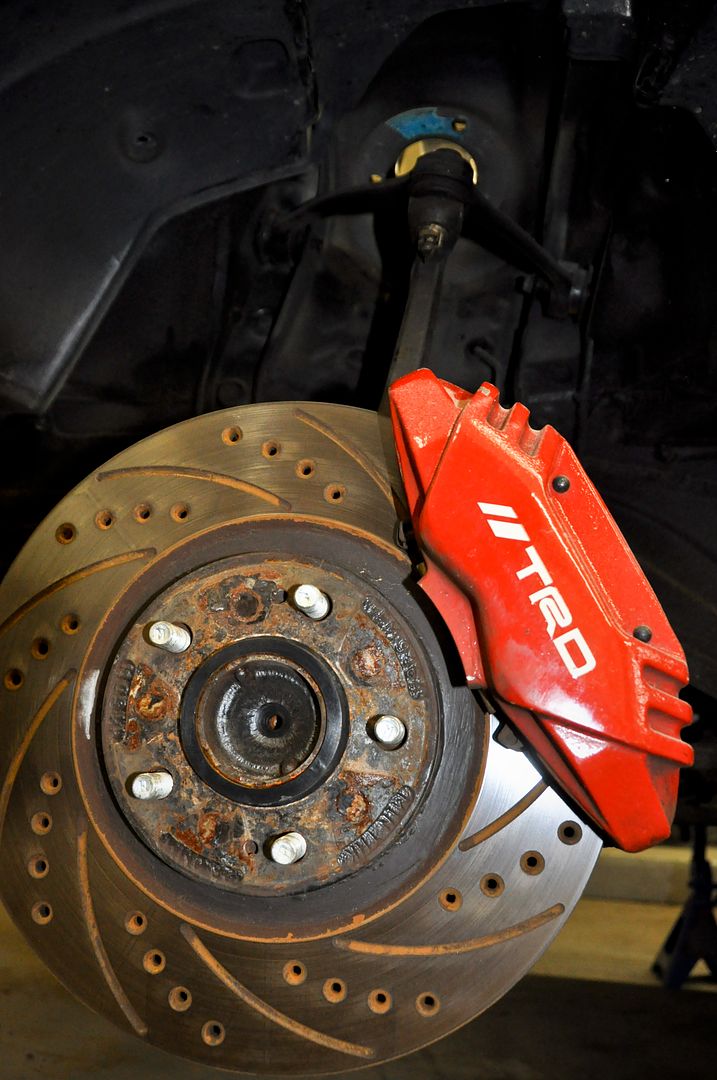
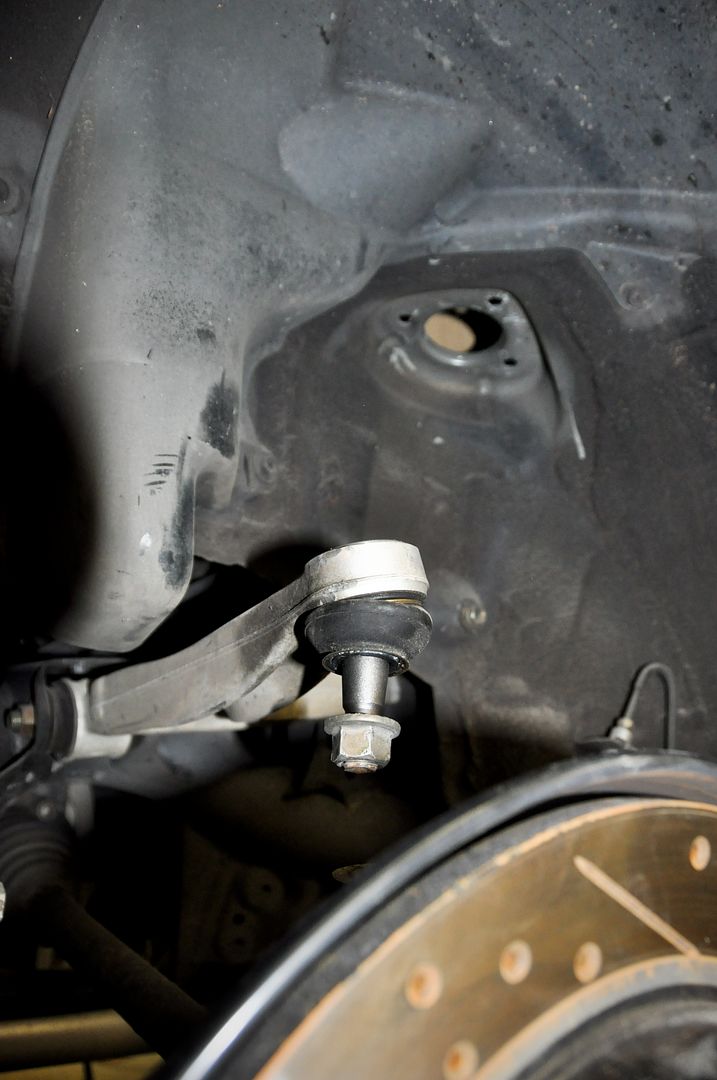
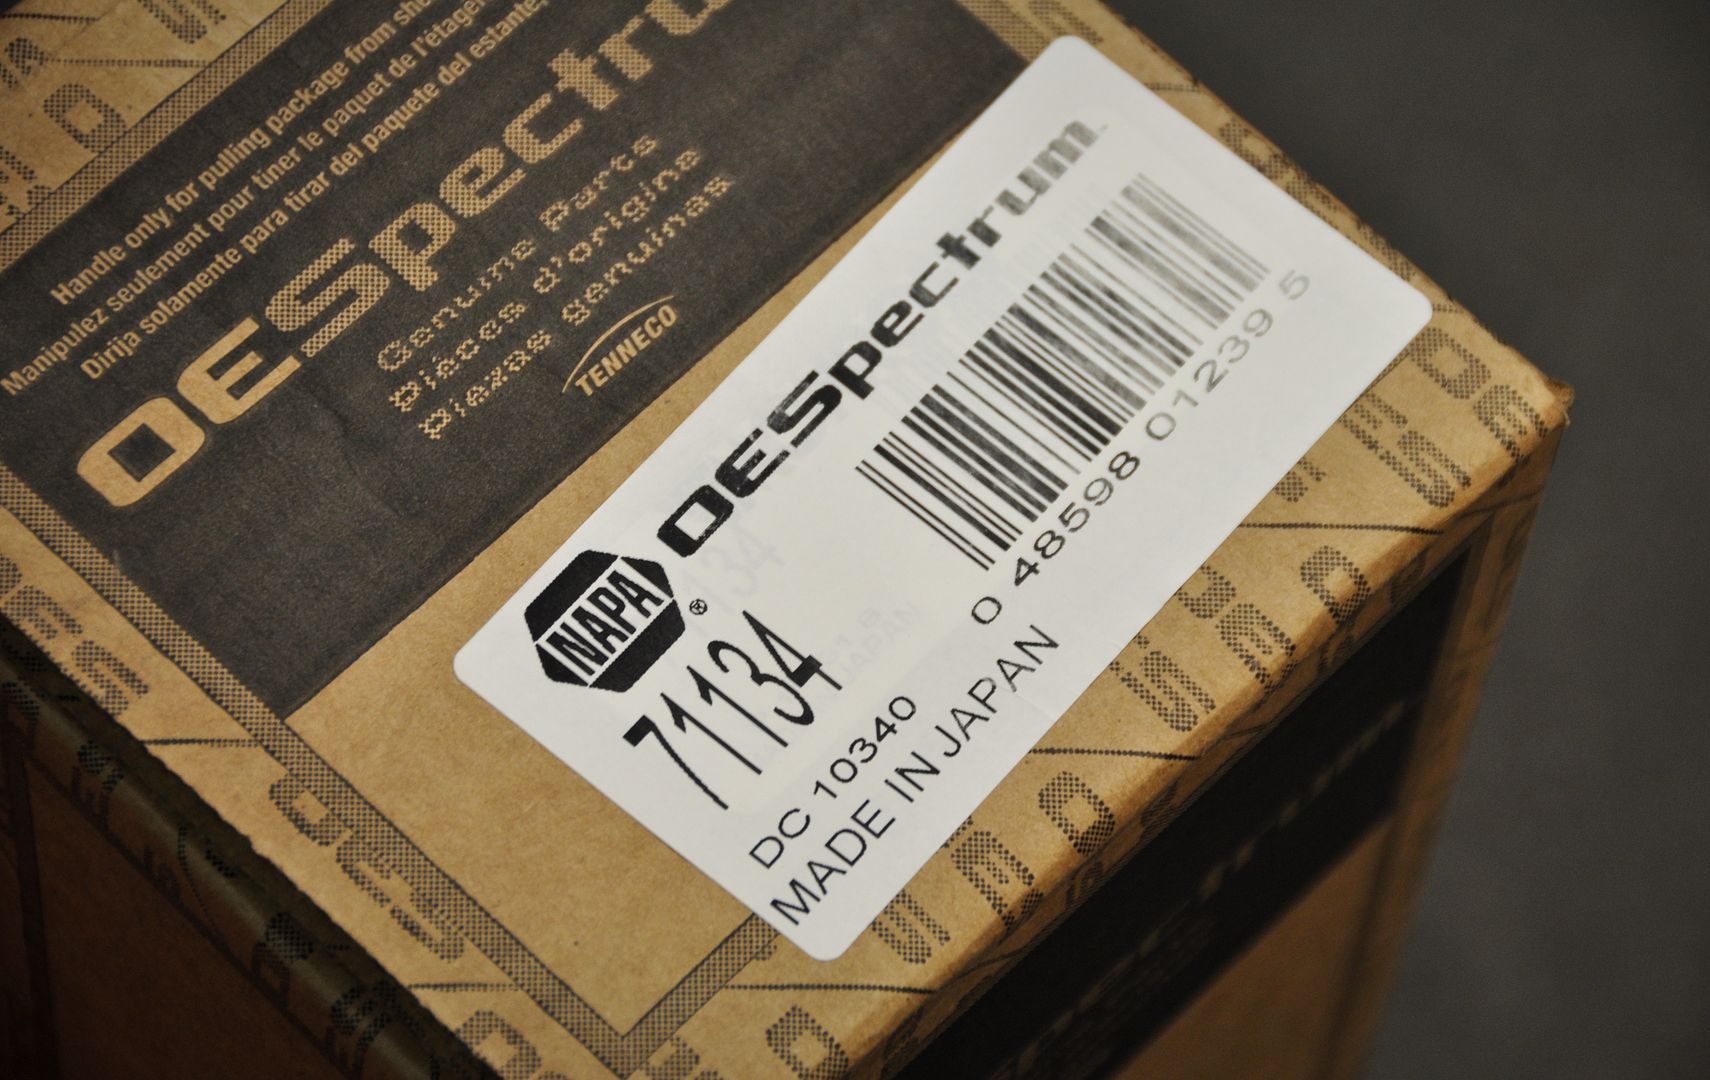
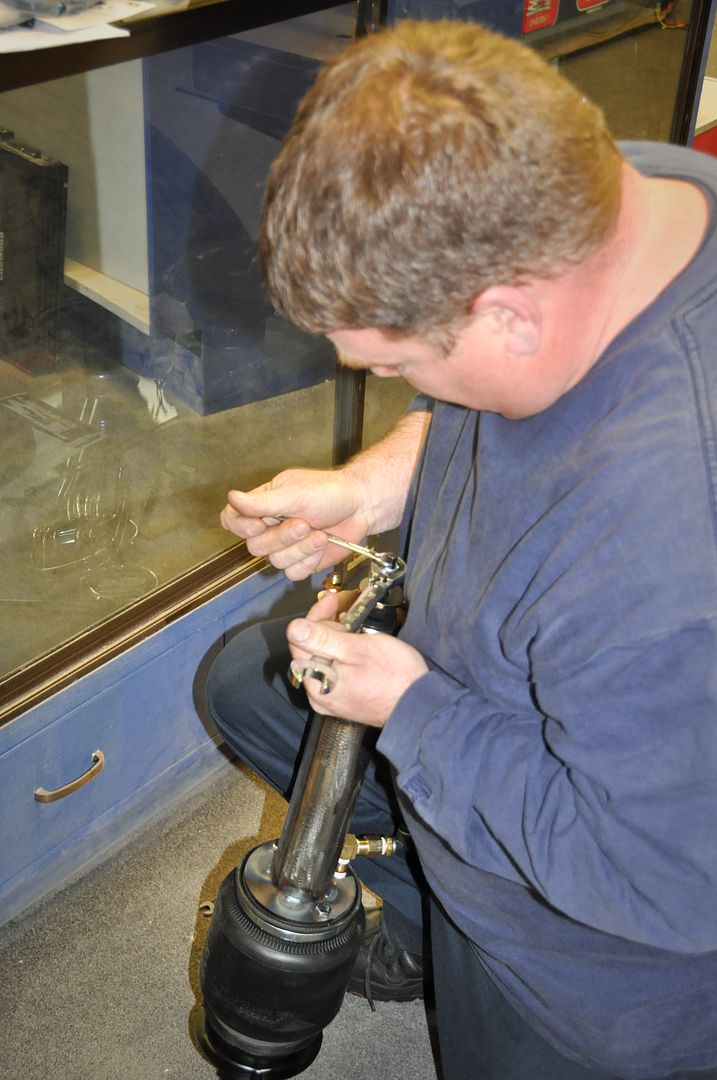
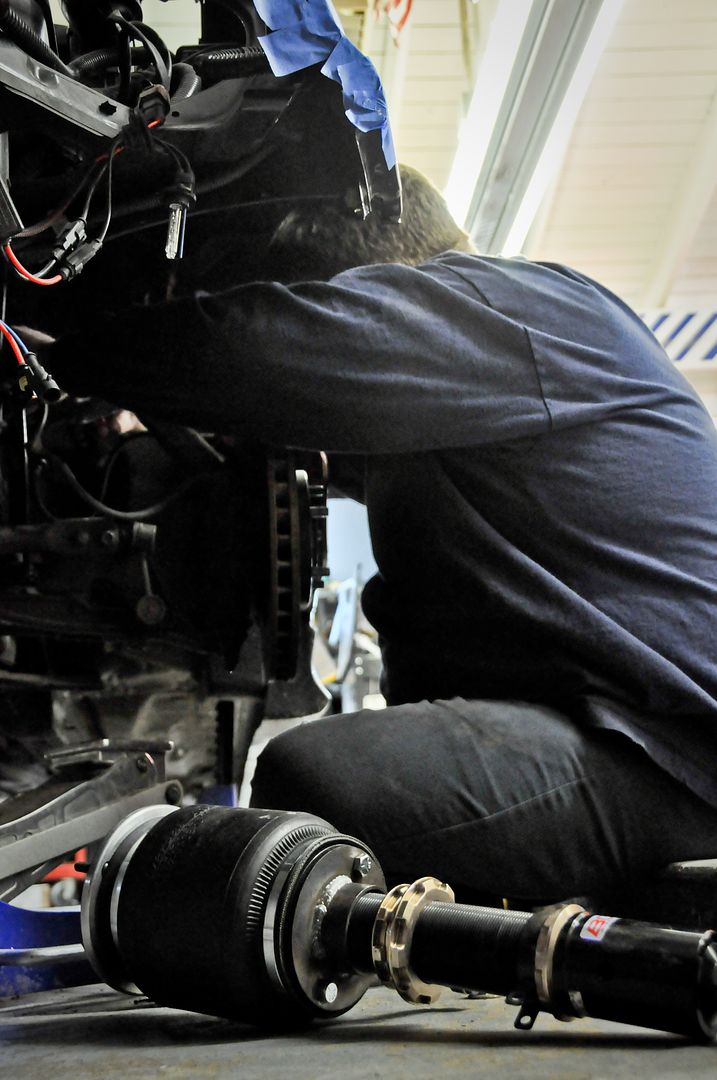
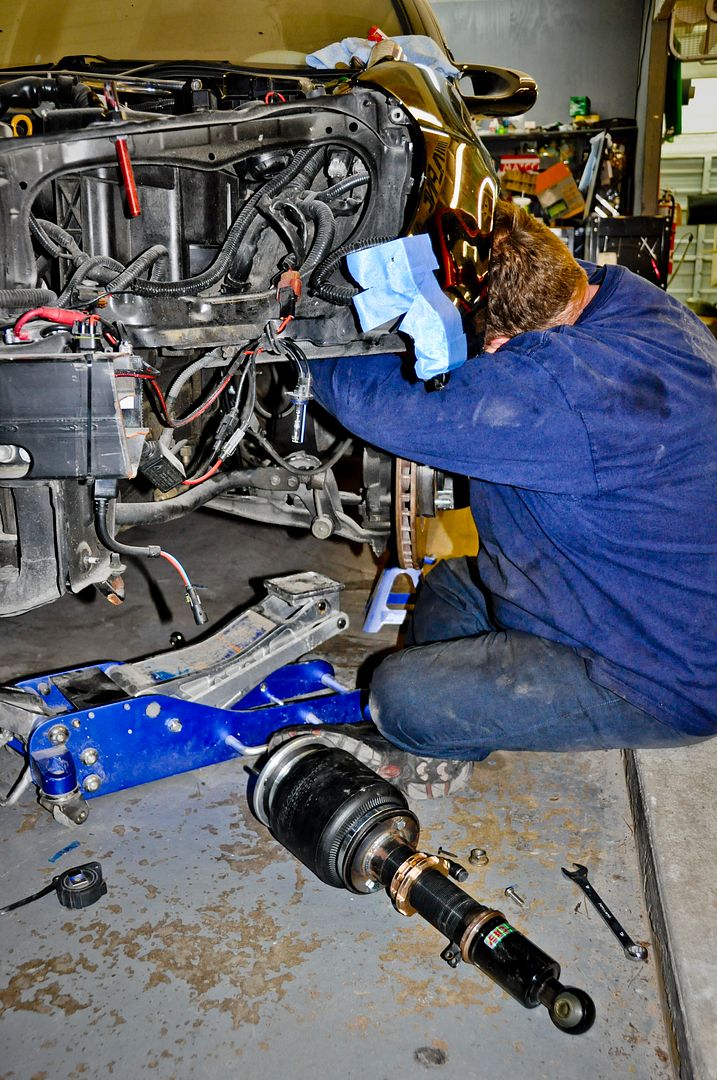
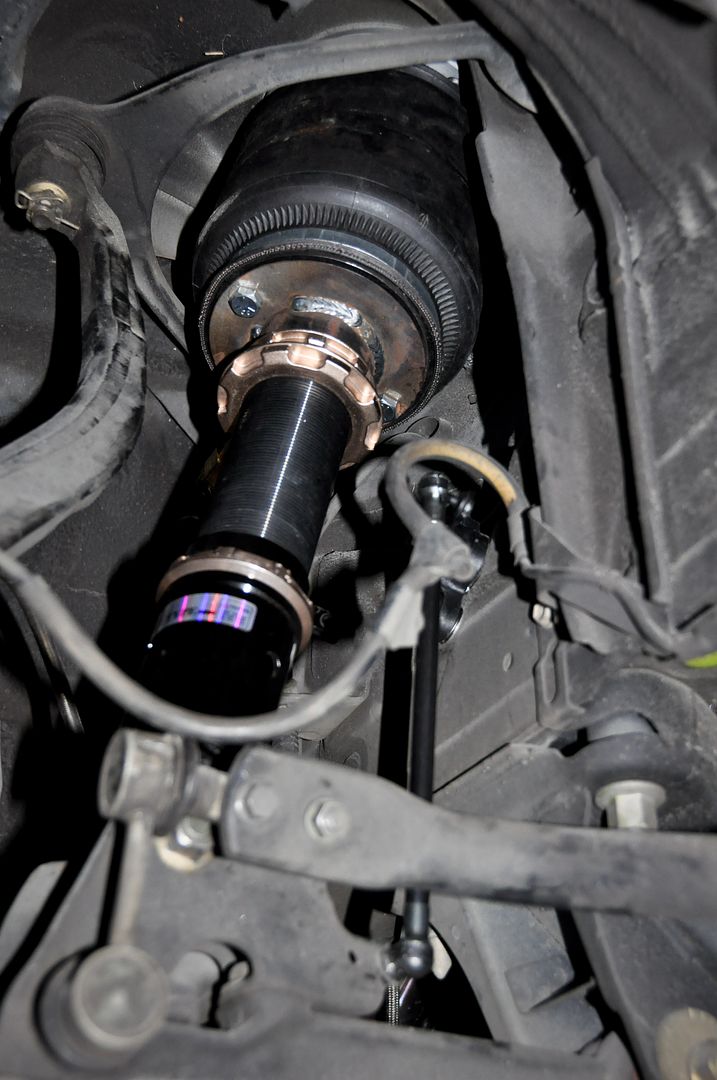
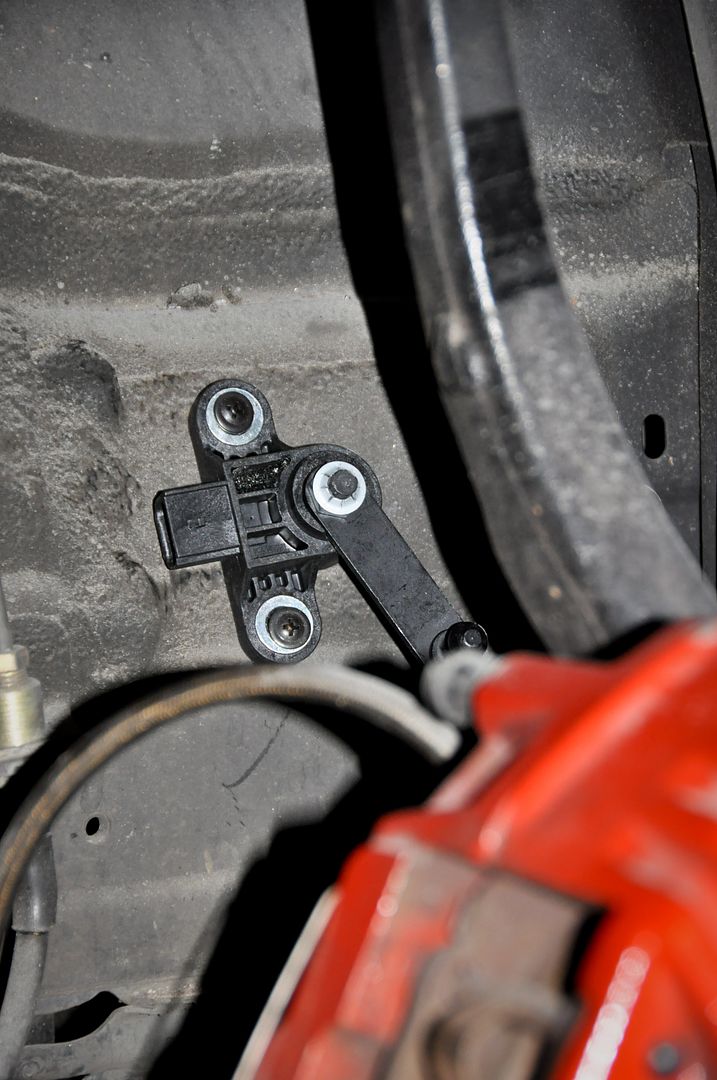
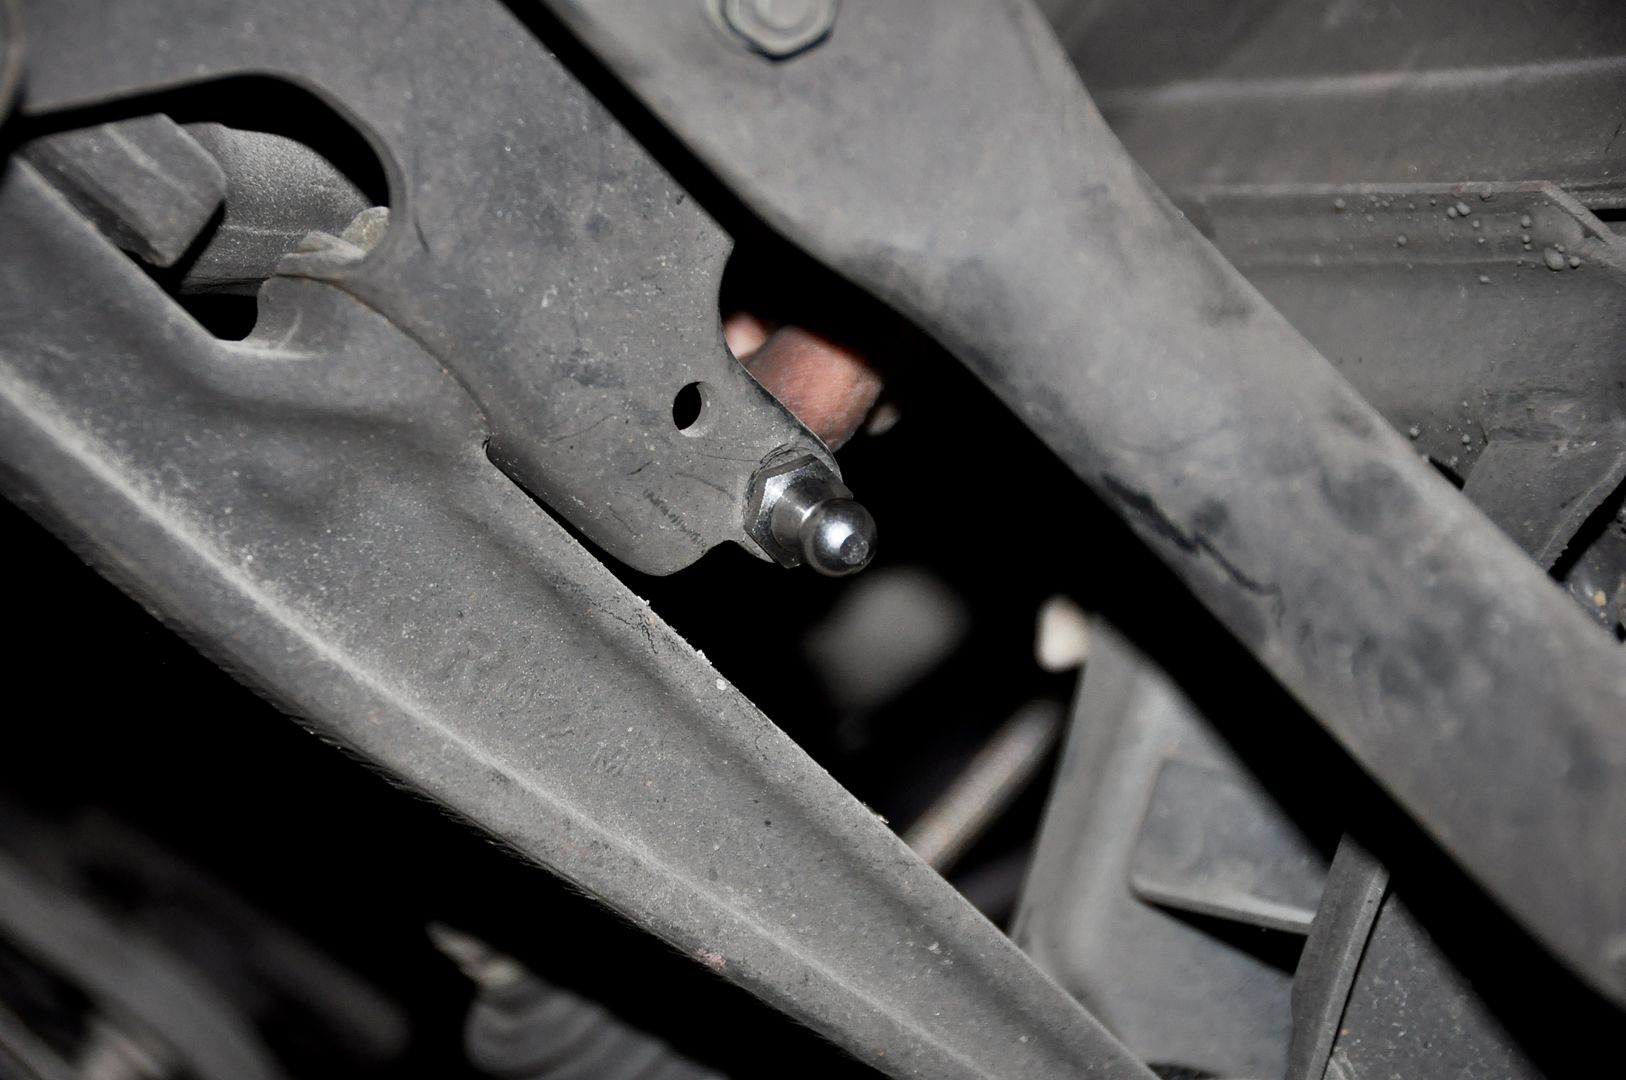
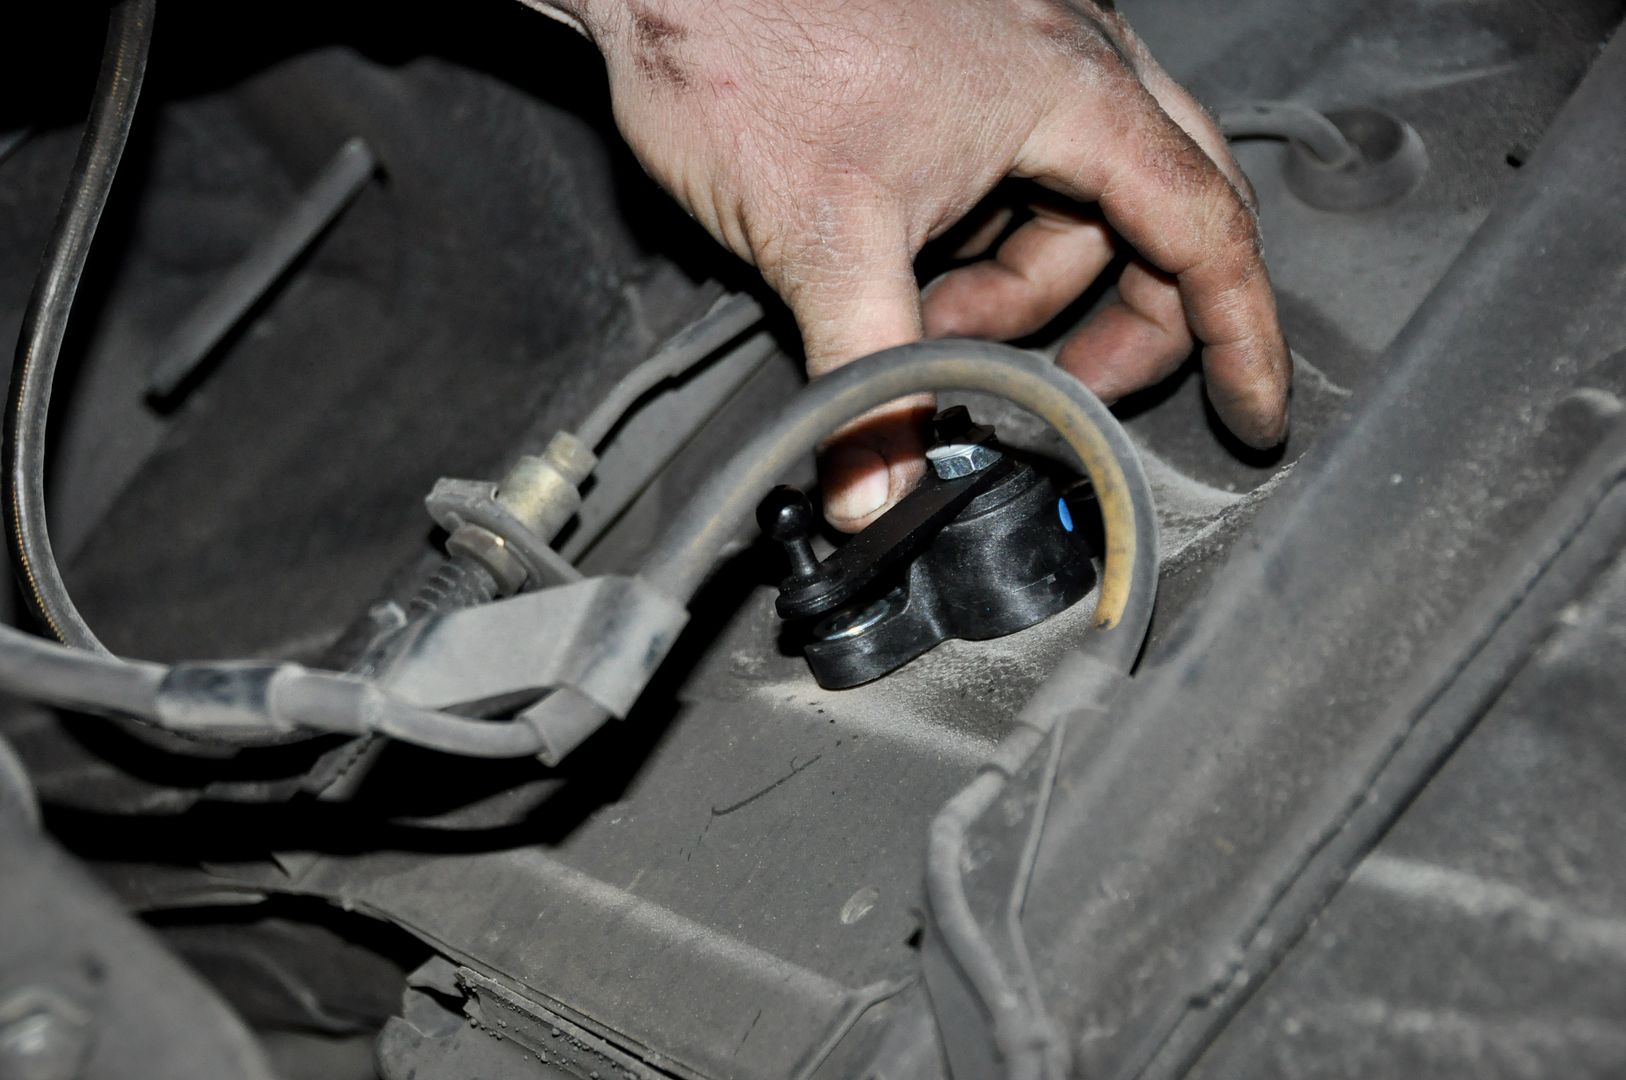
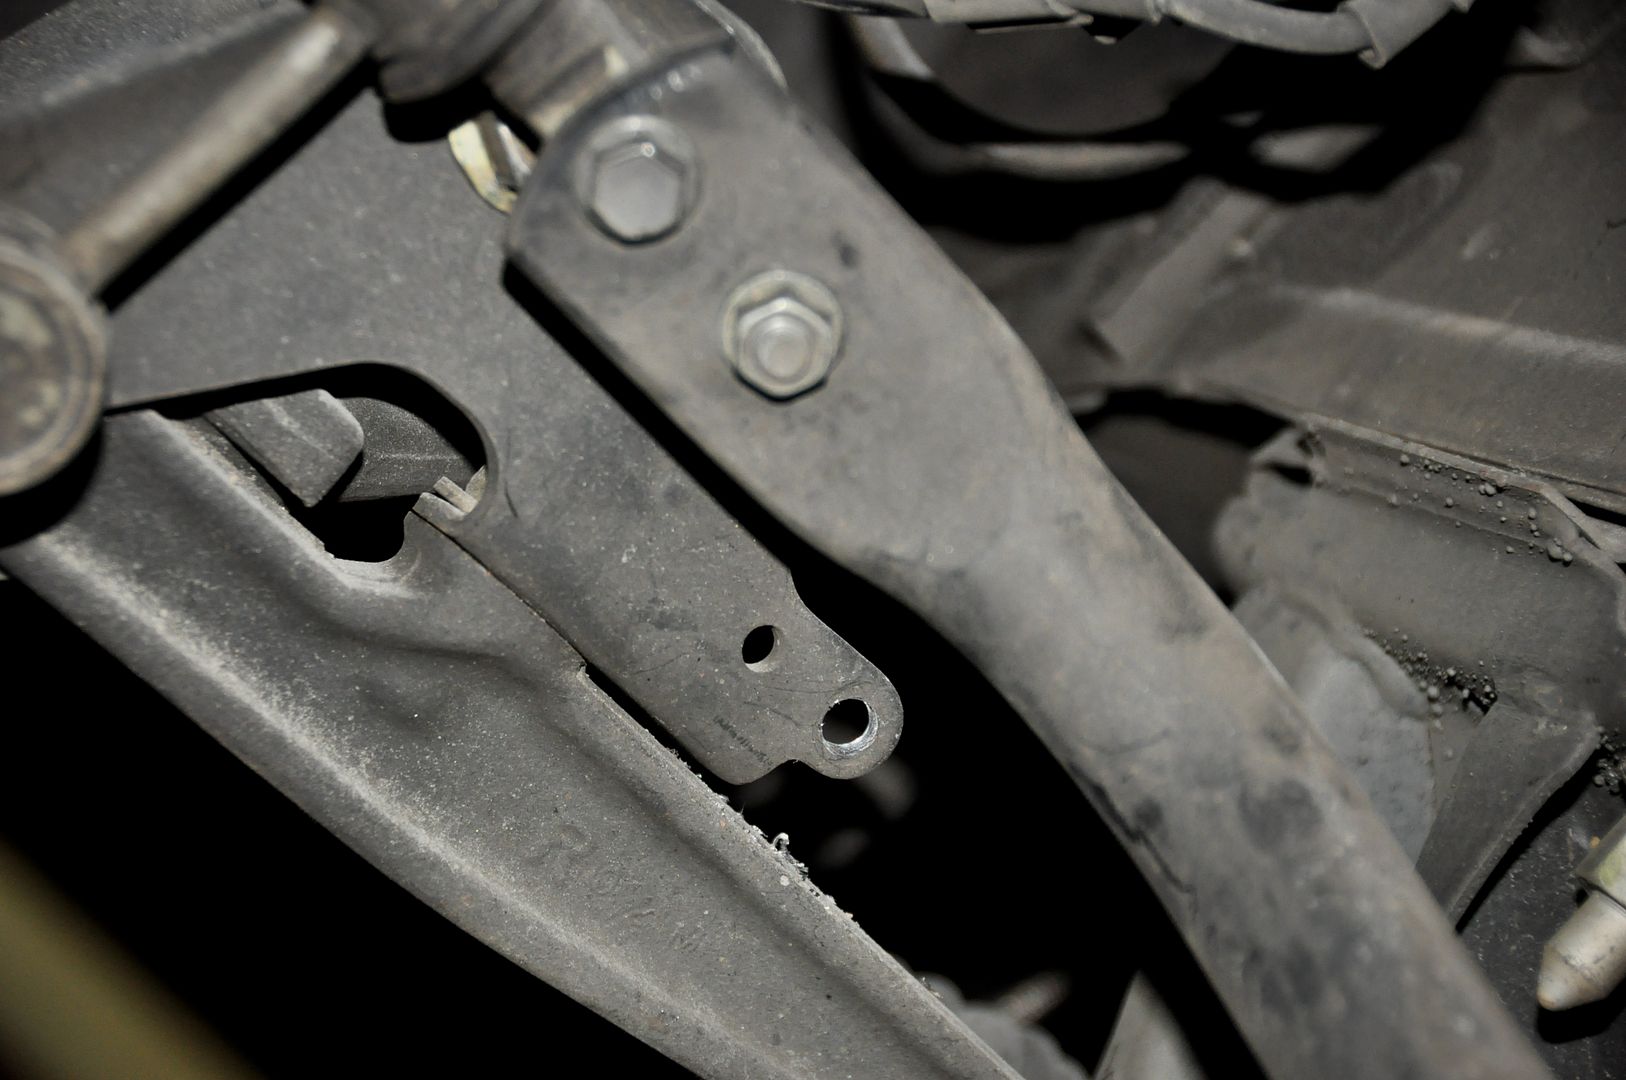
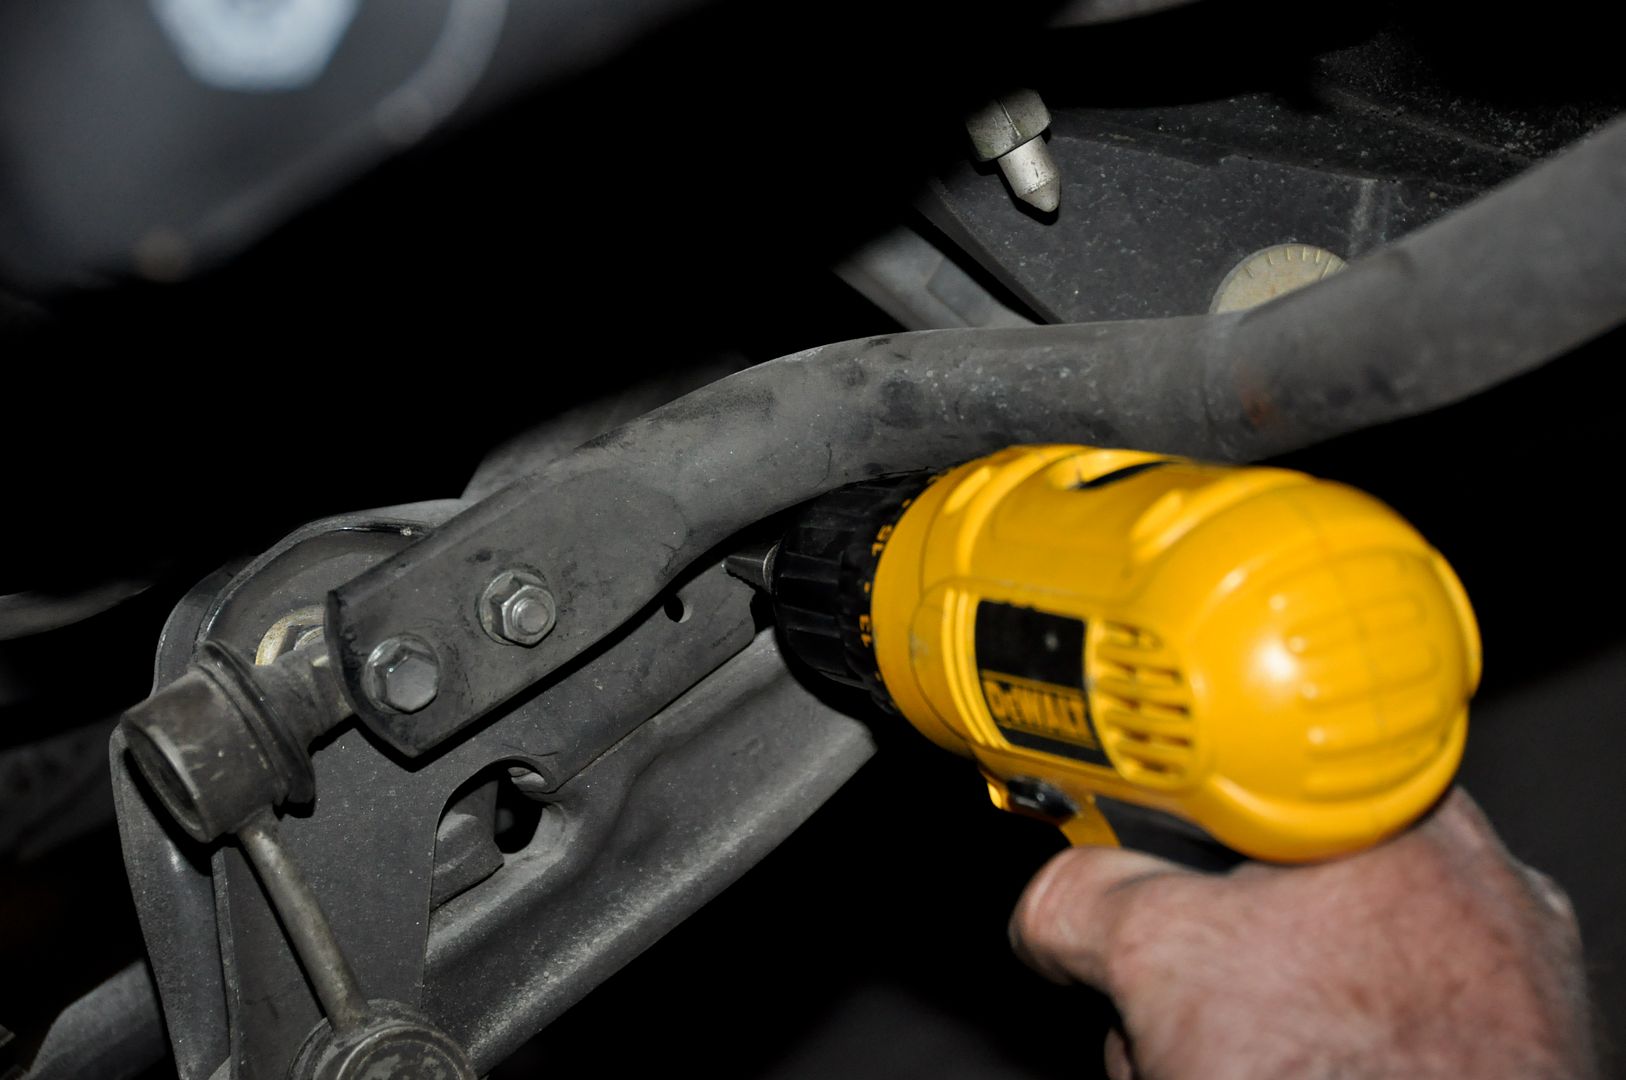
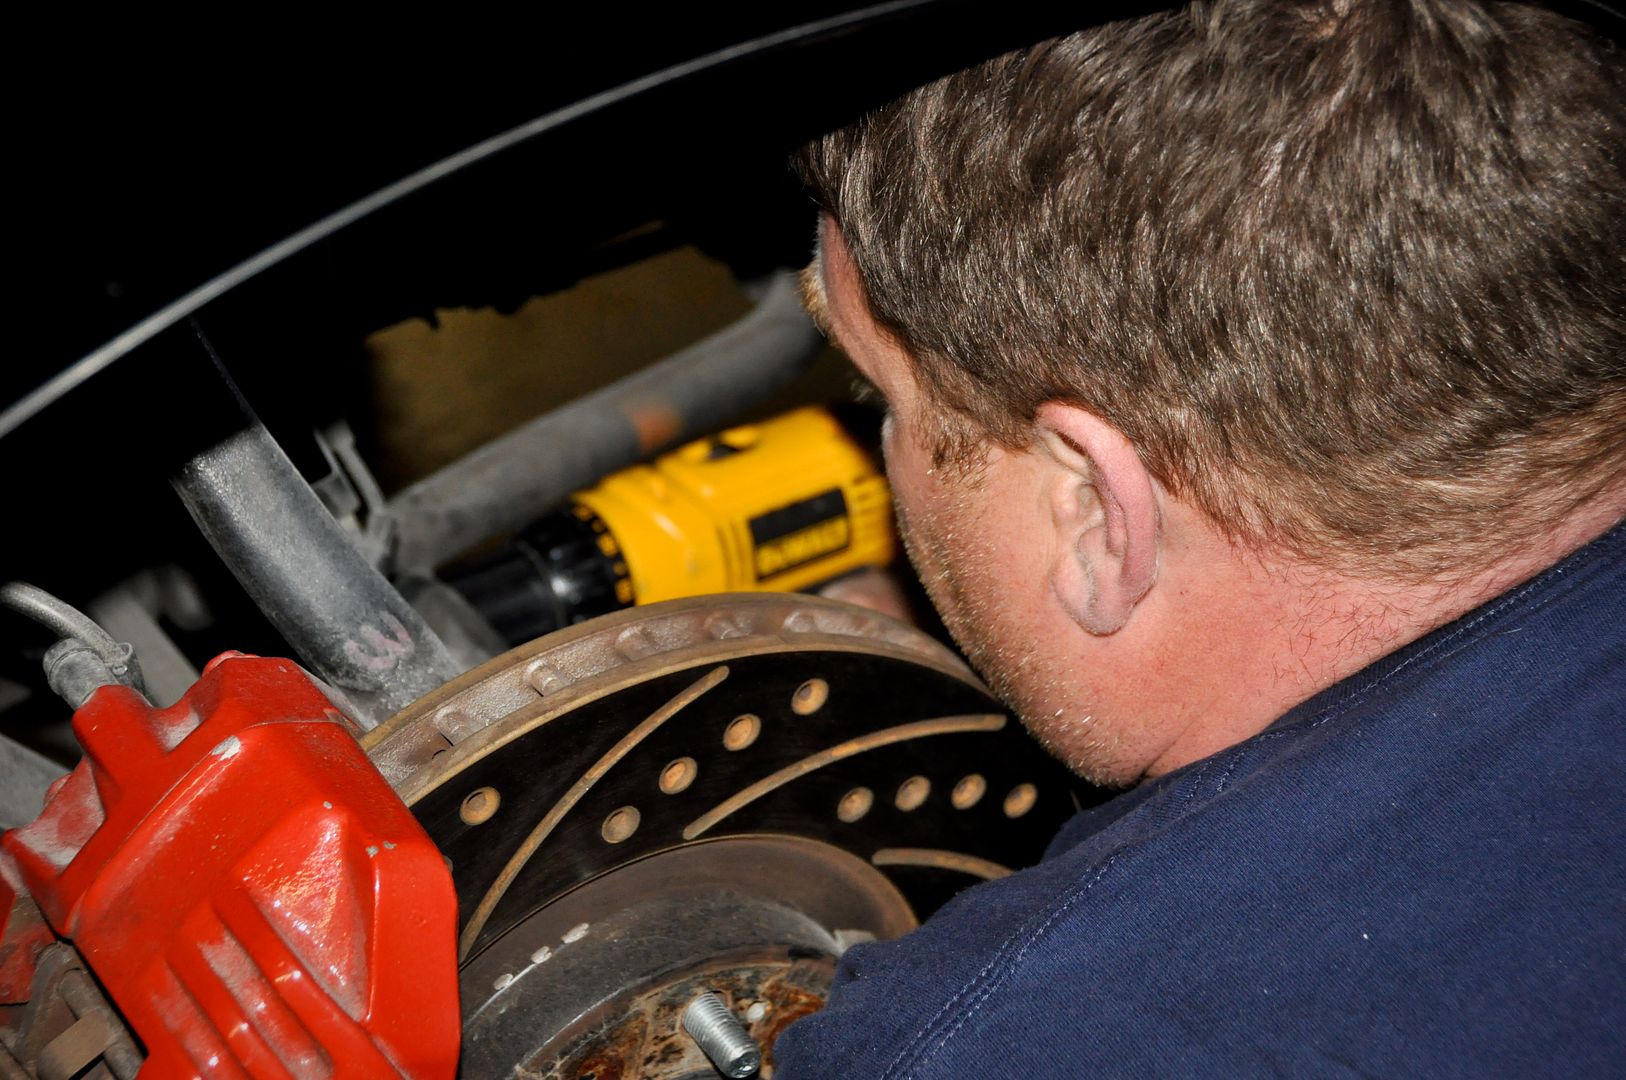
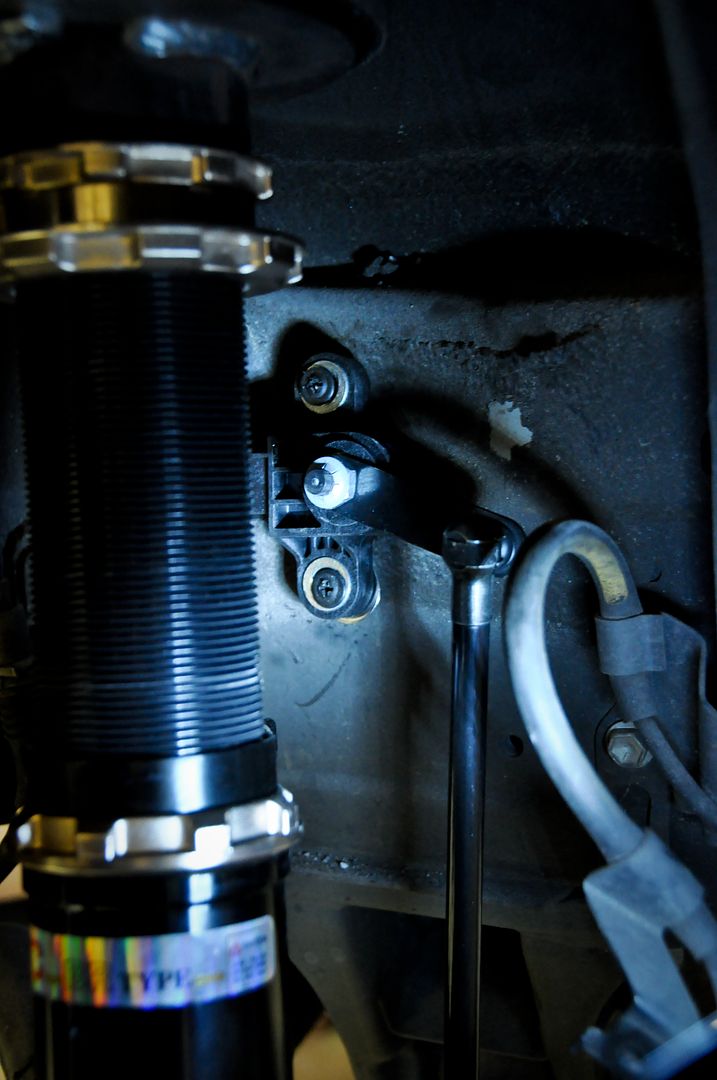
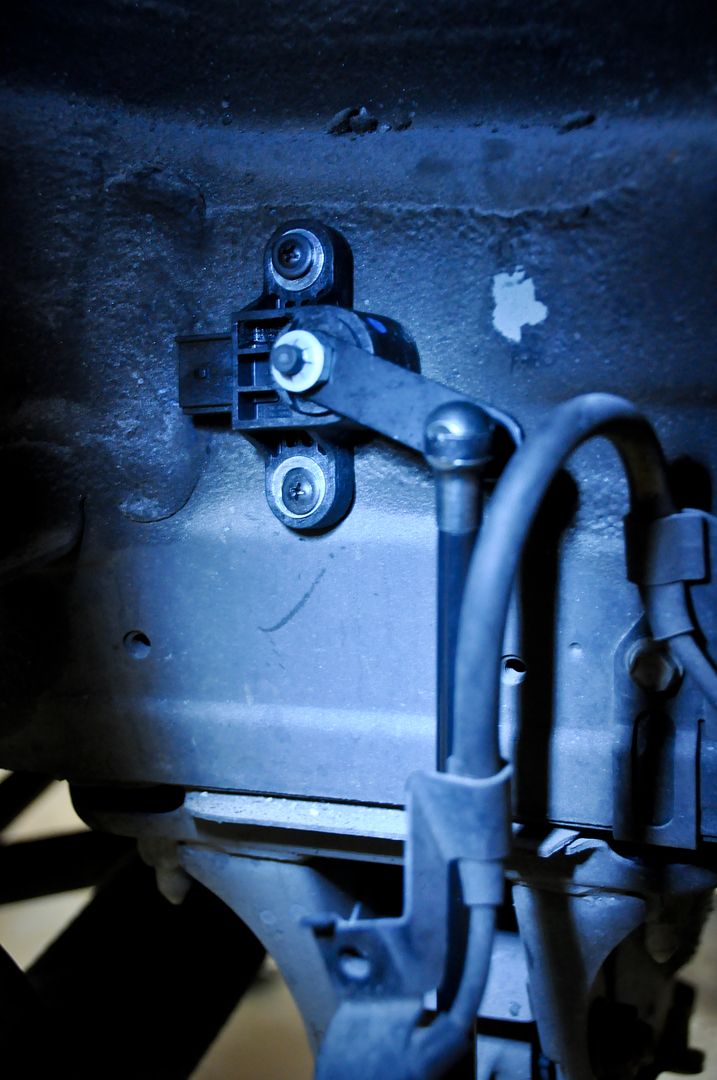
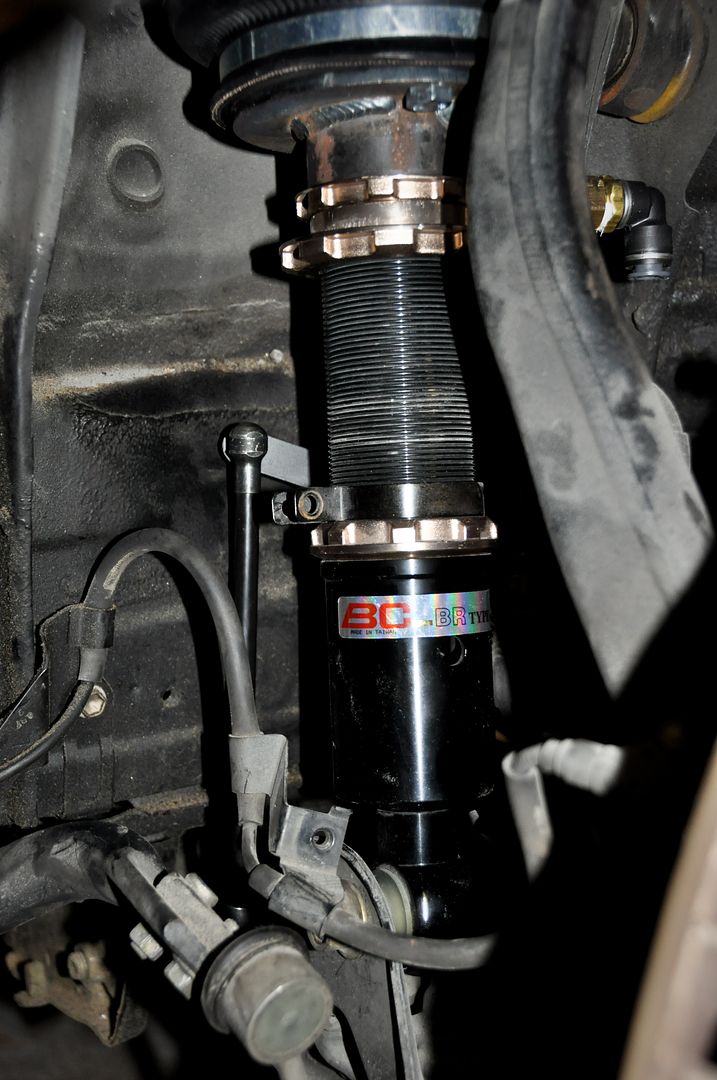
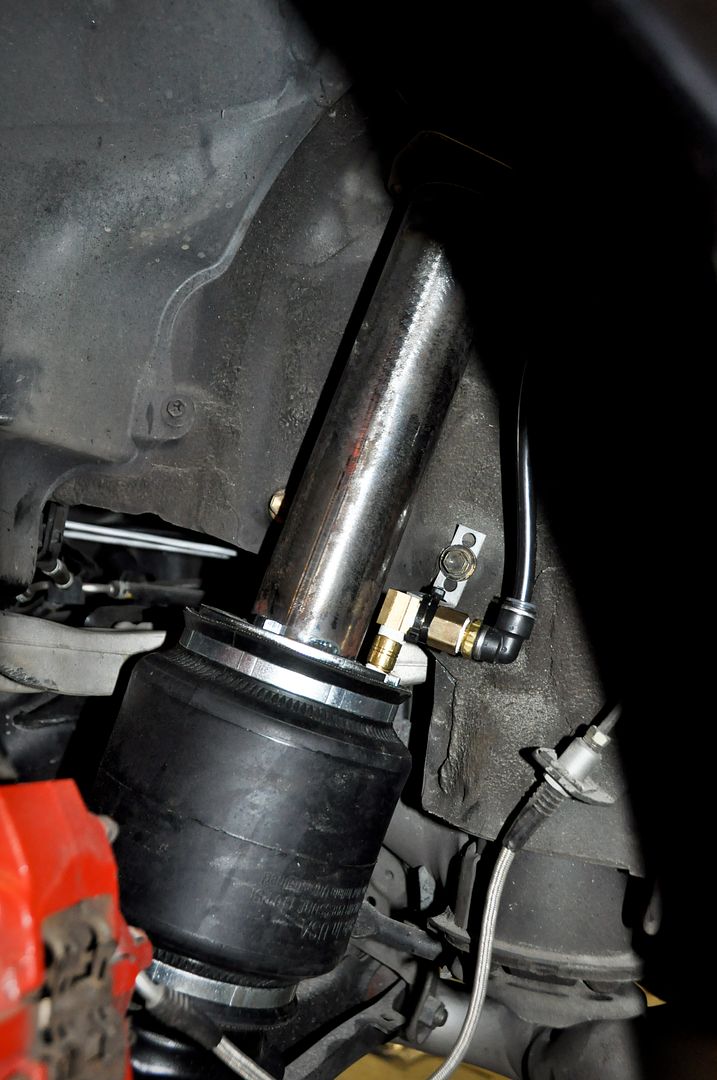
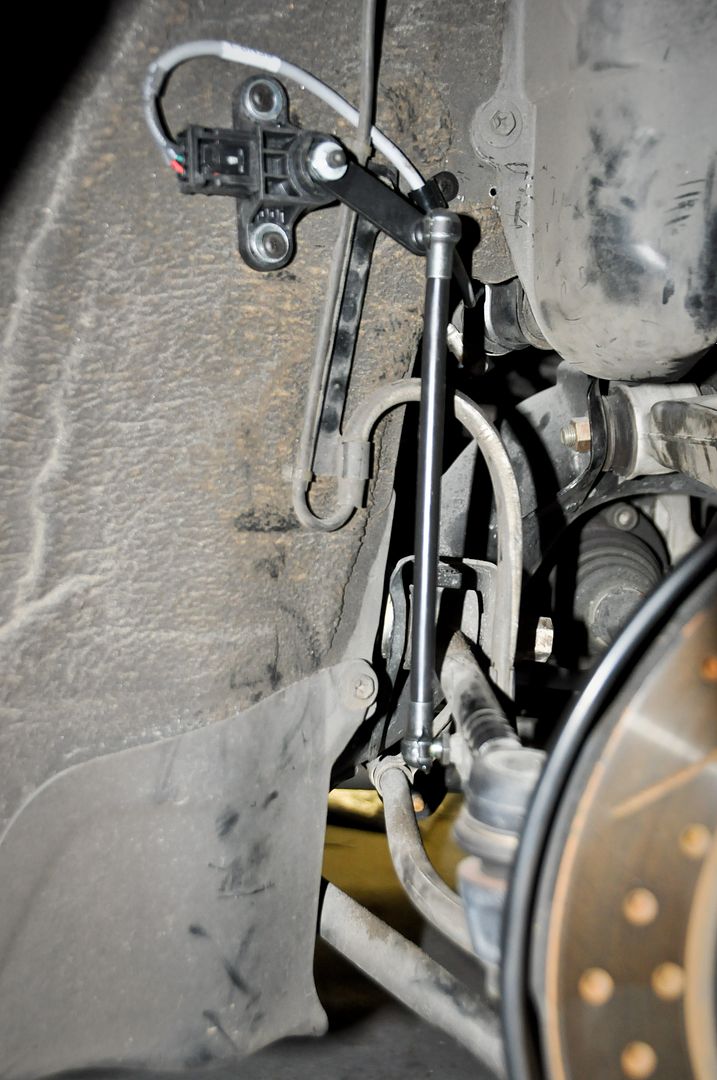
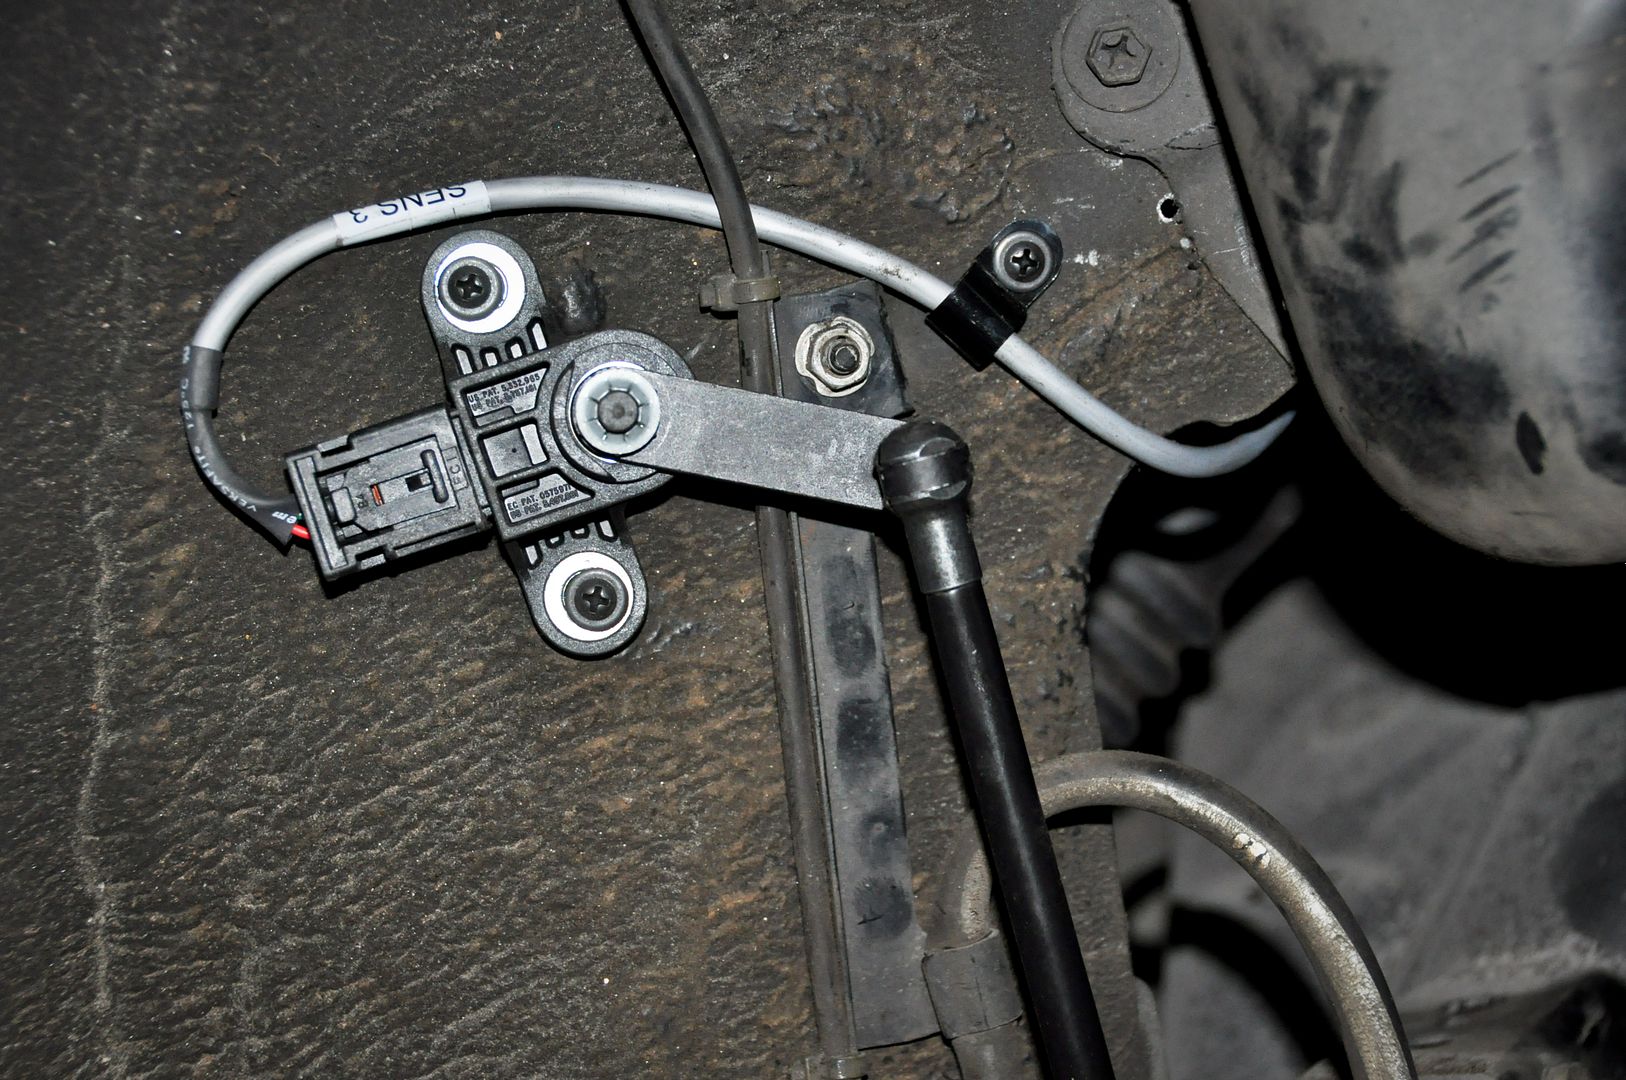
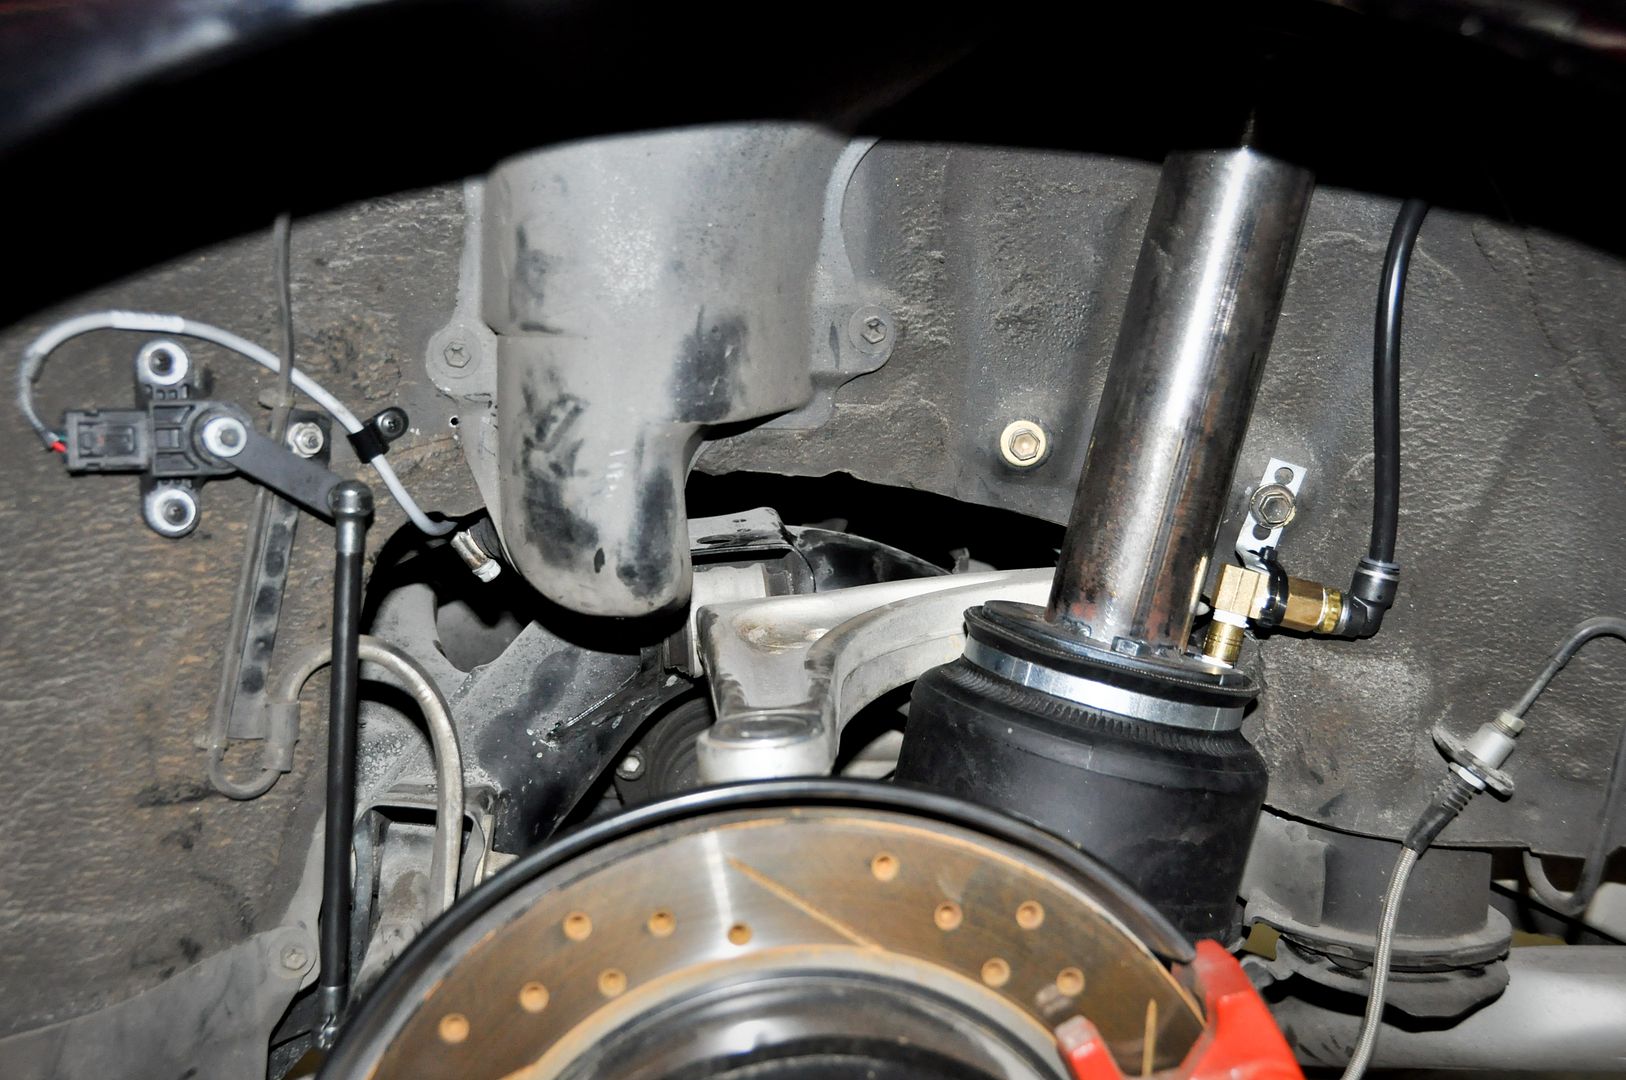
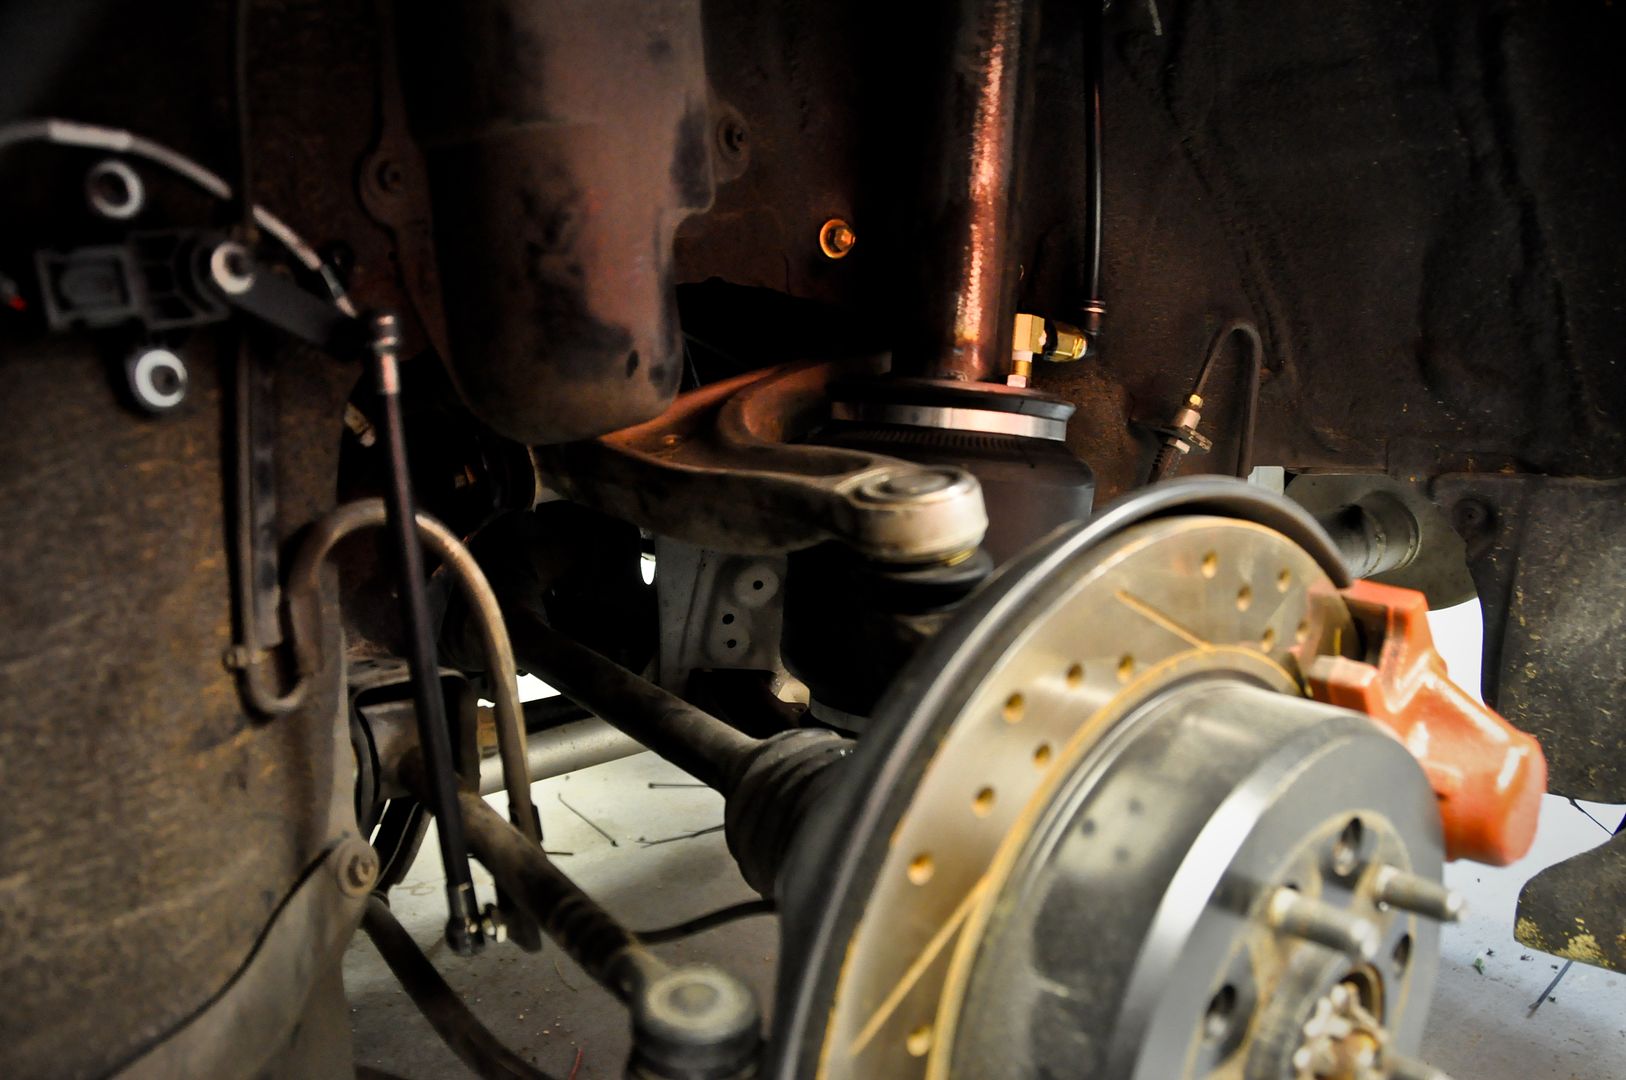
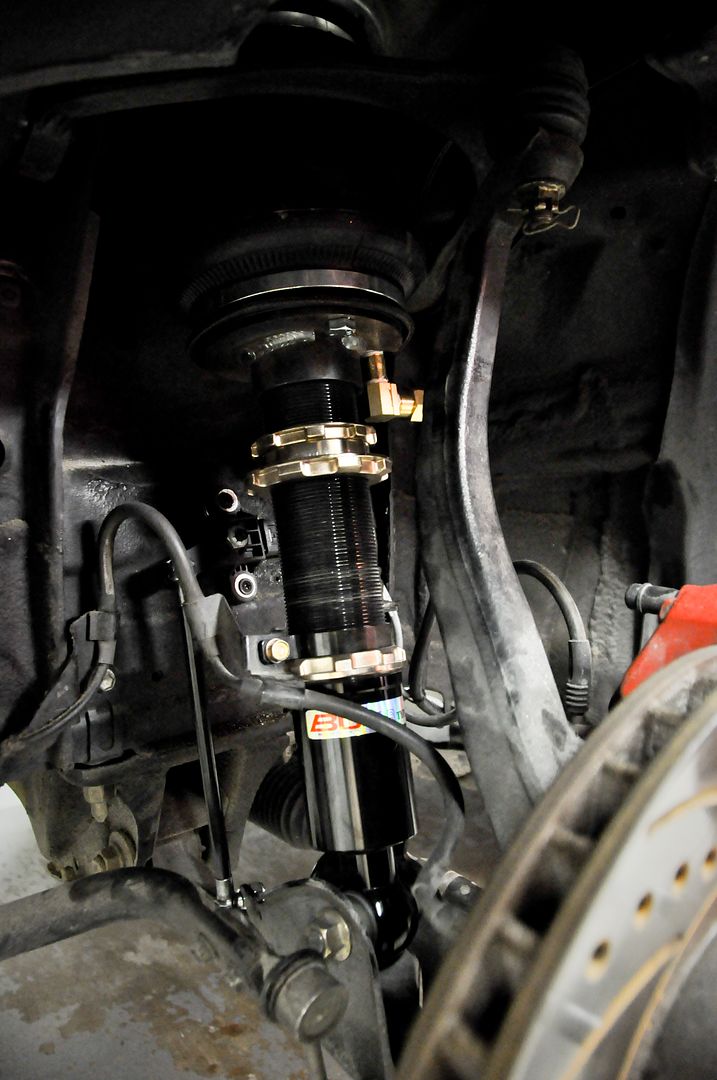
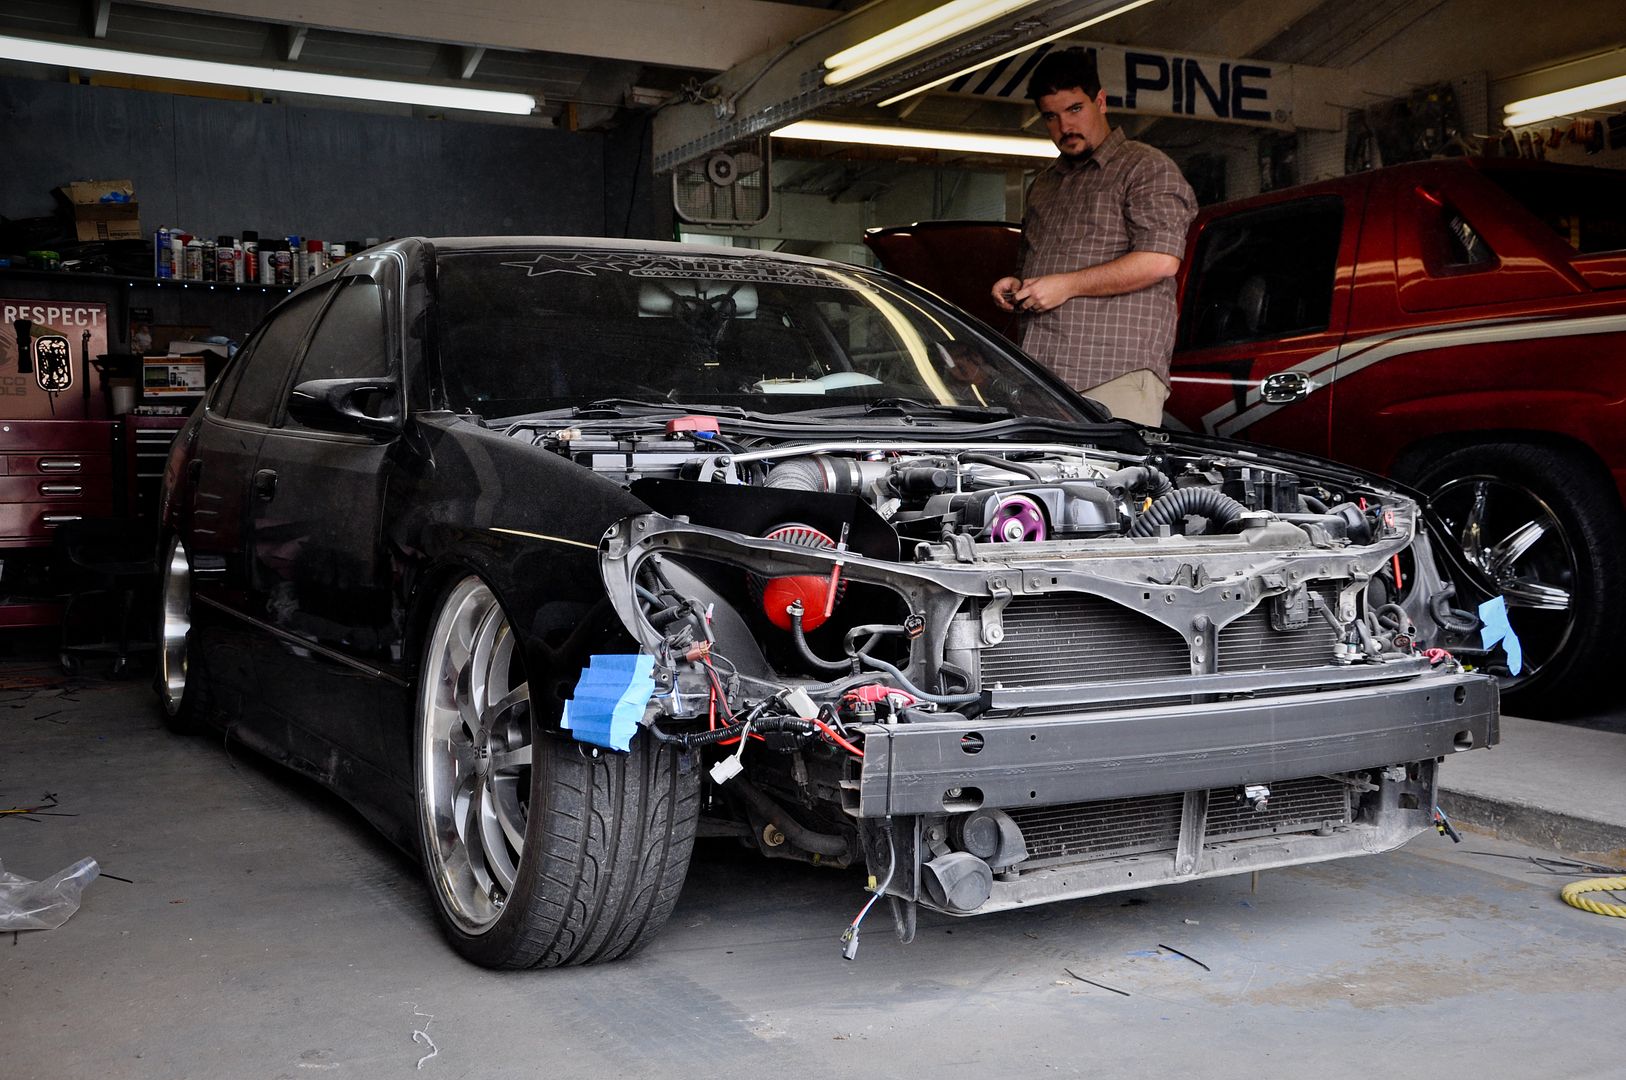
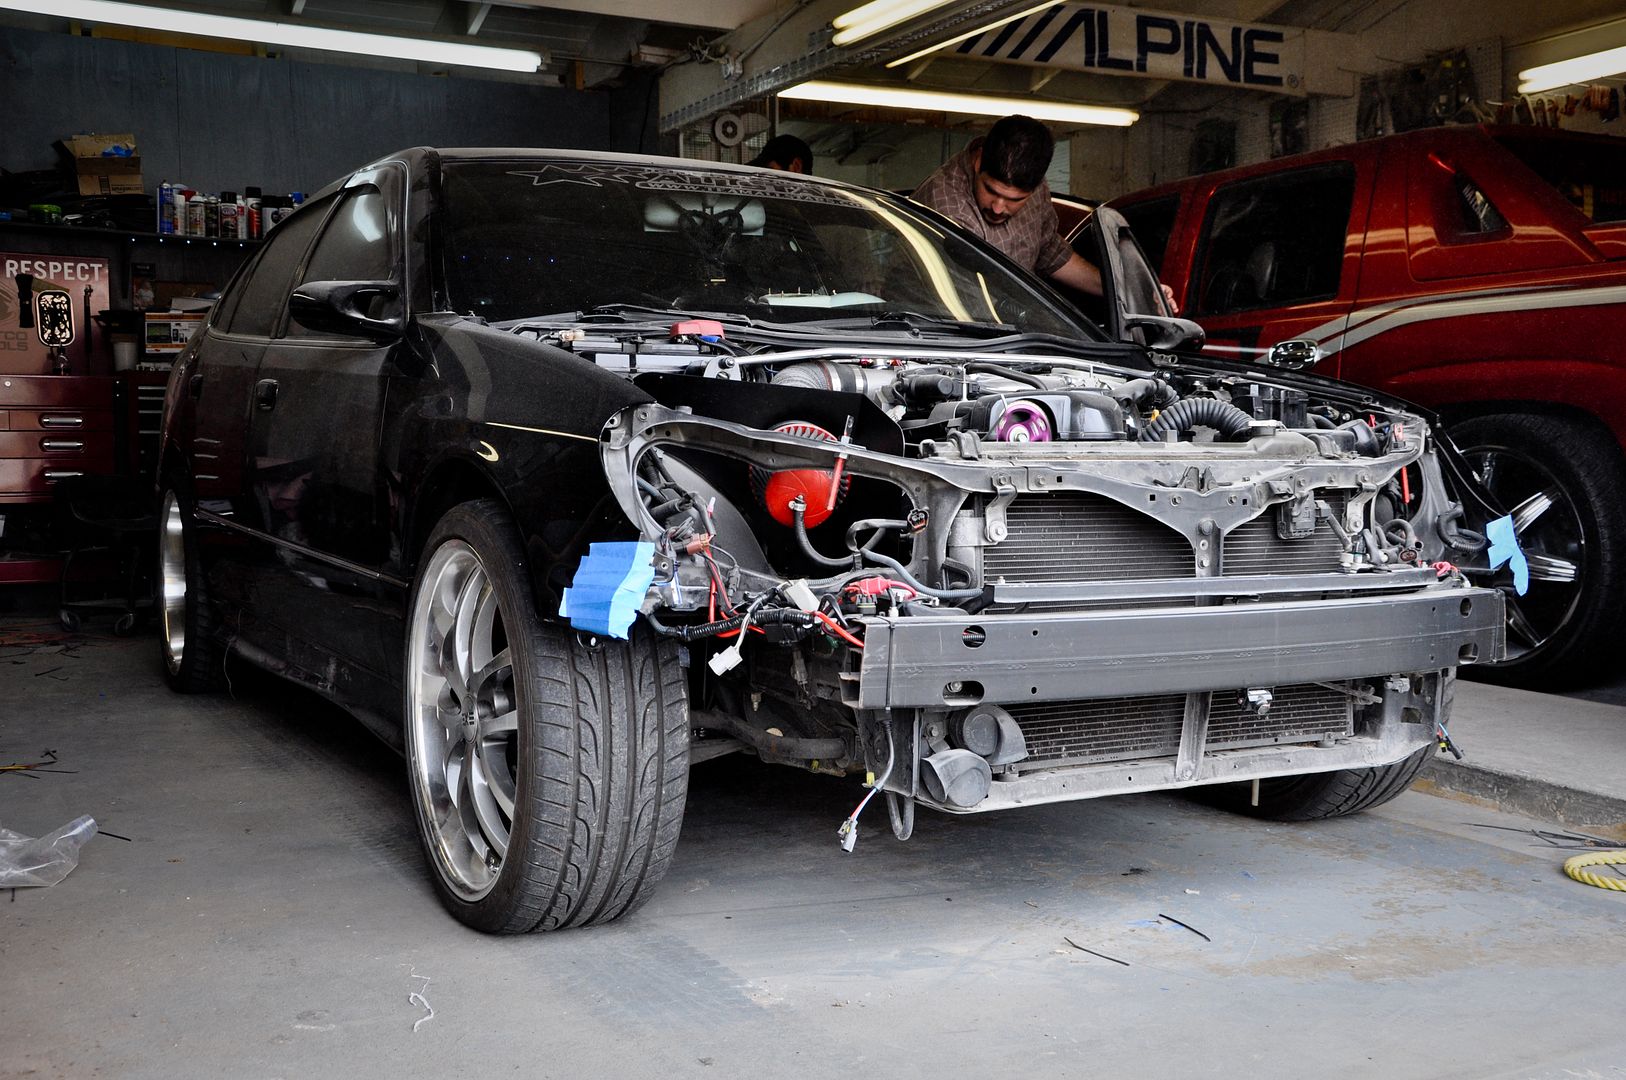
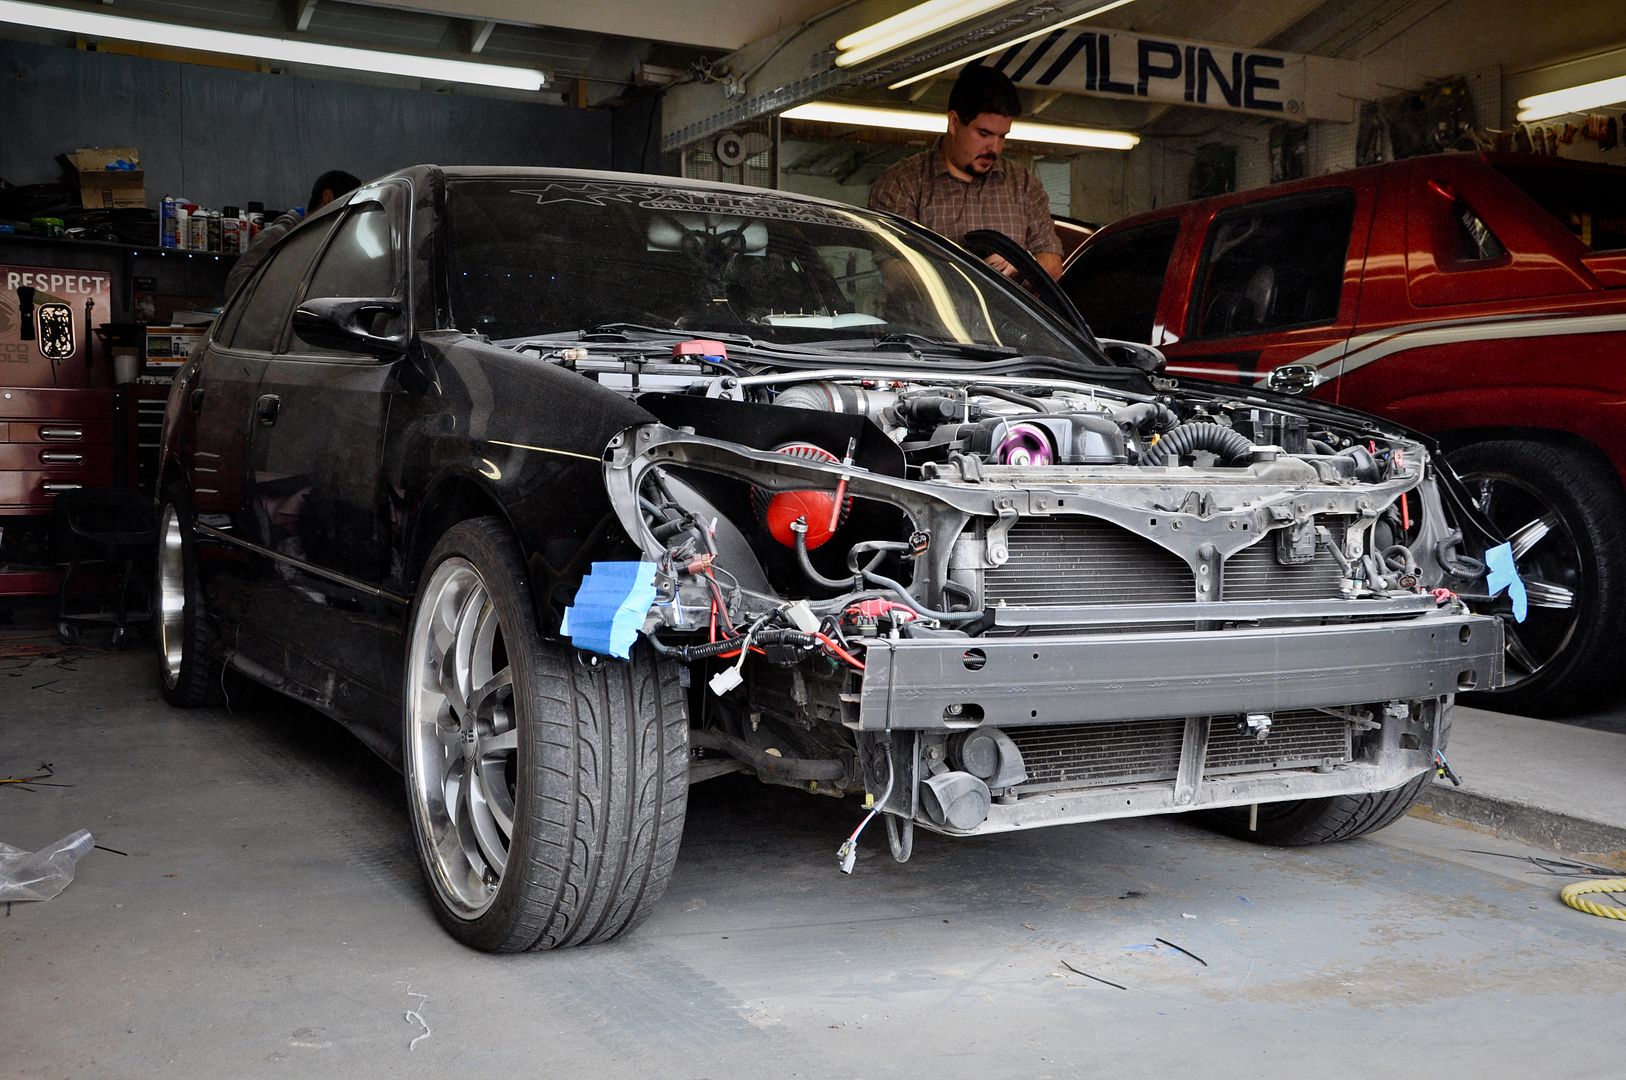
Project Suspension:


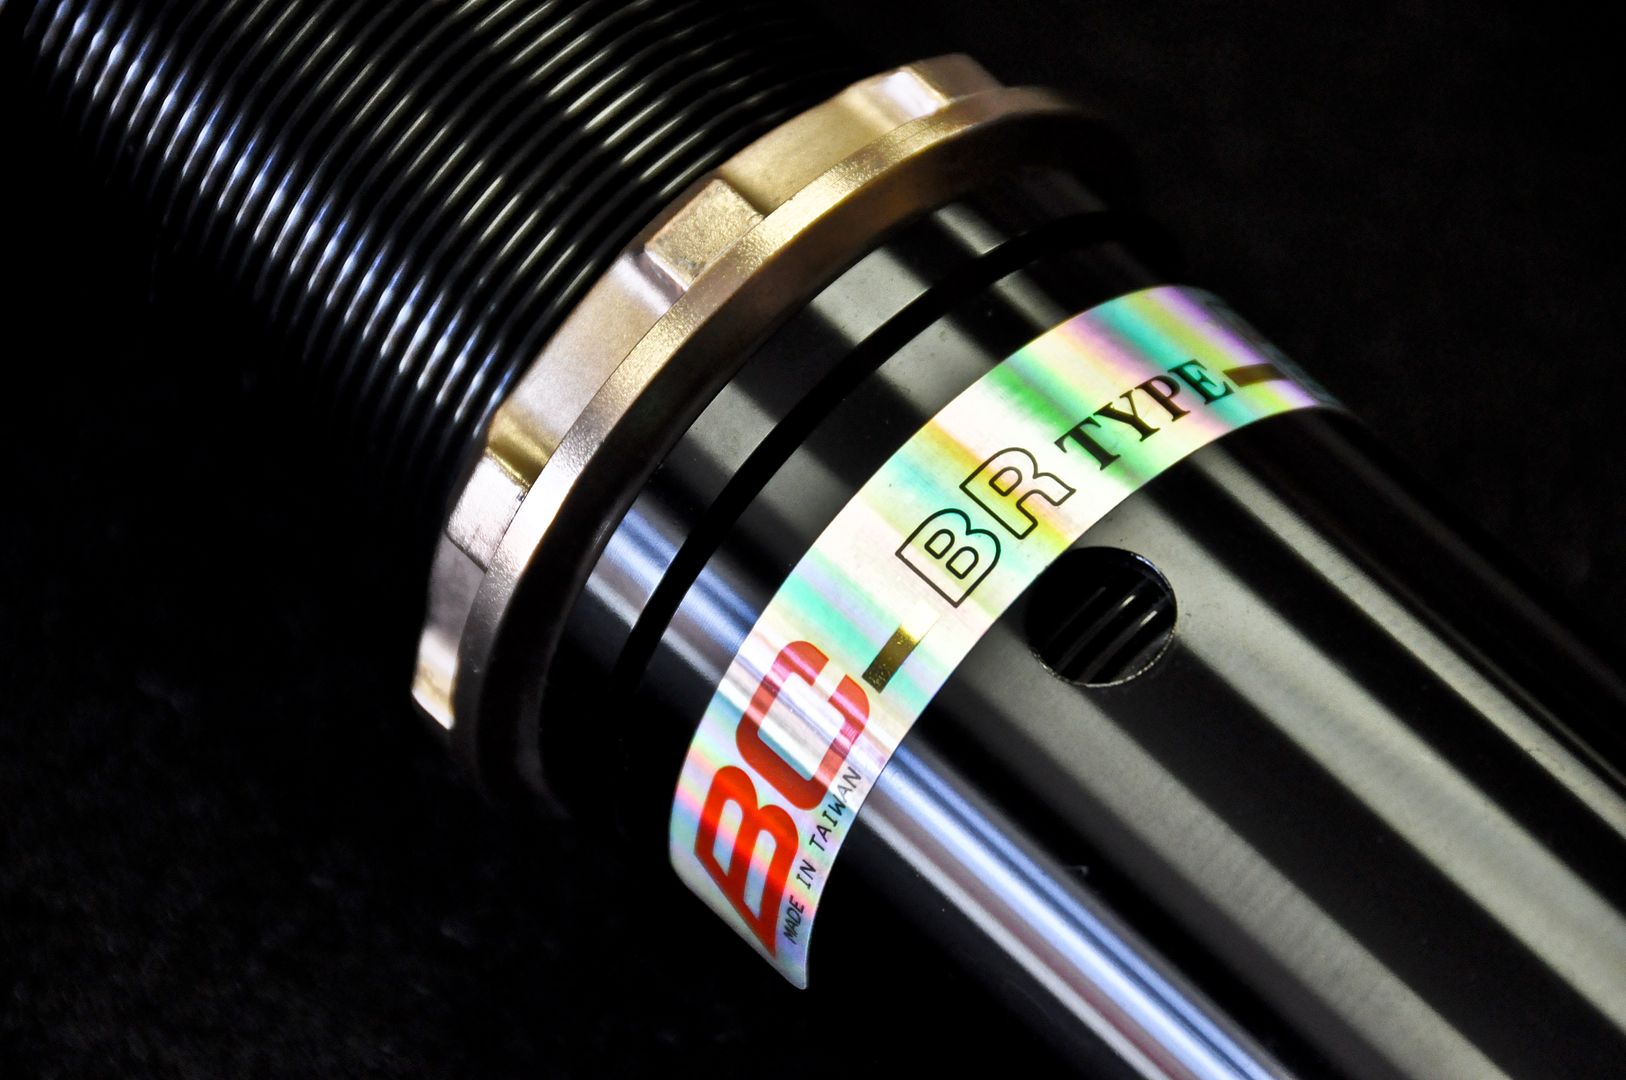

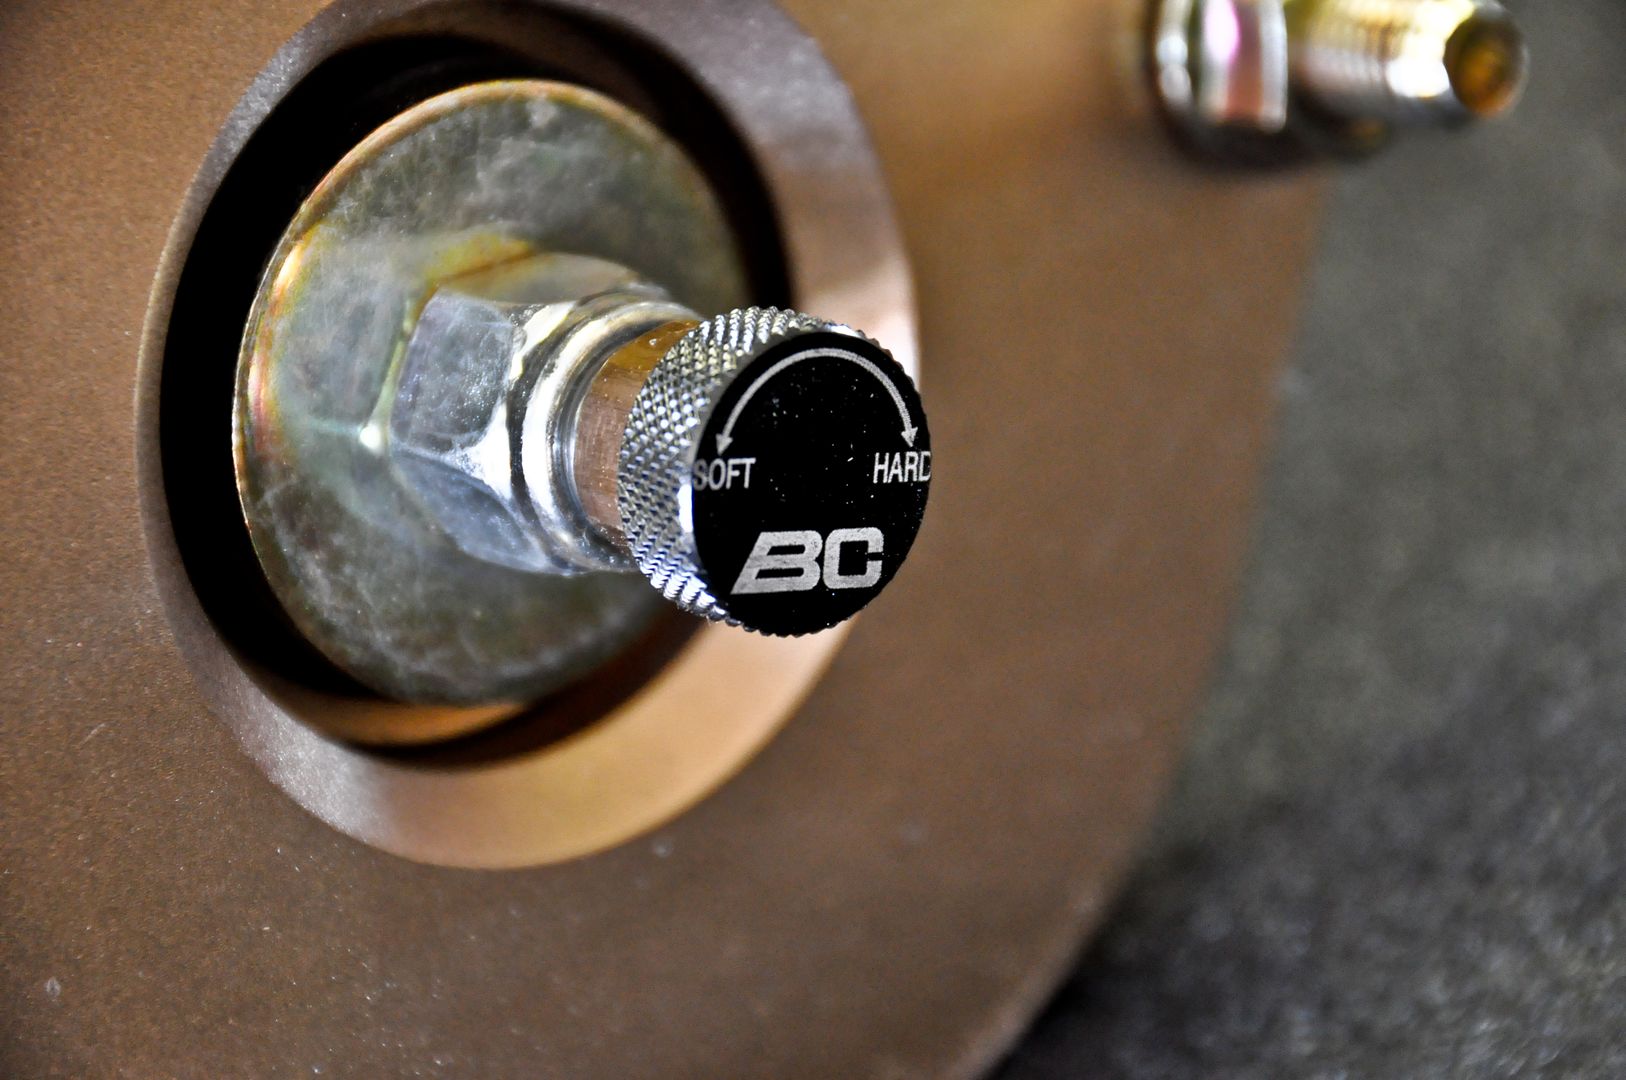
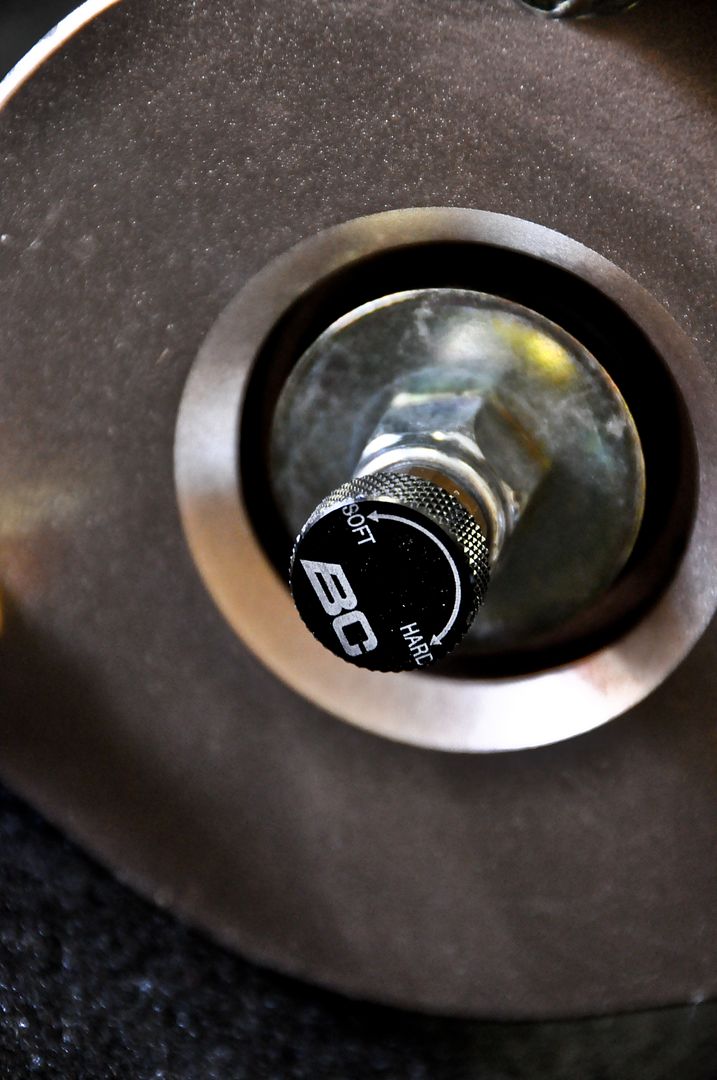
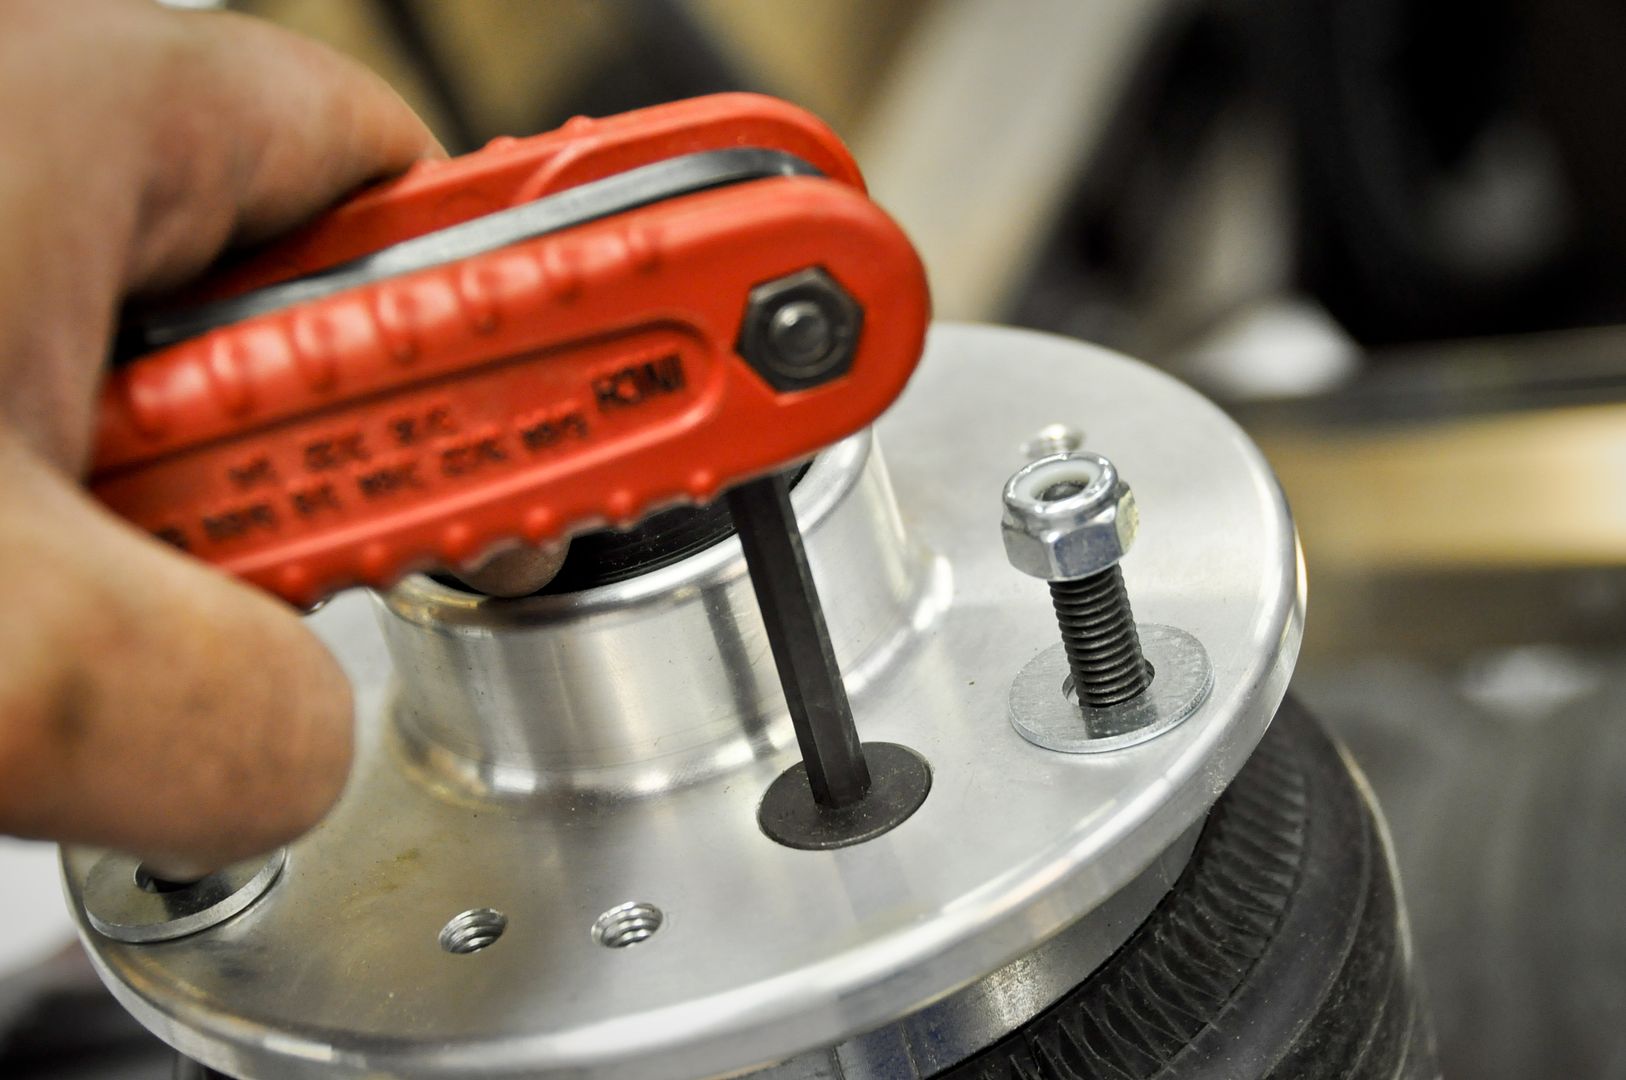
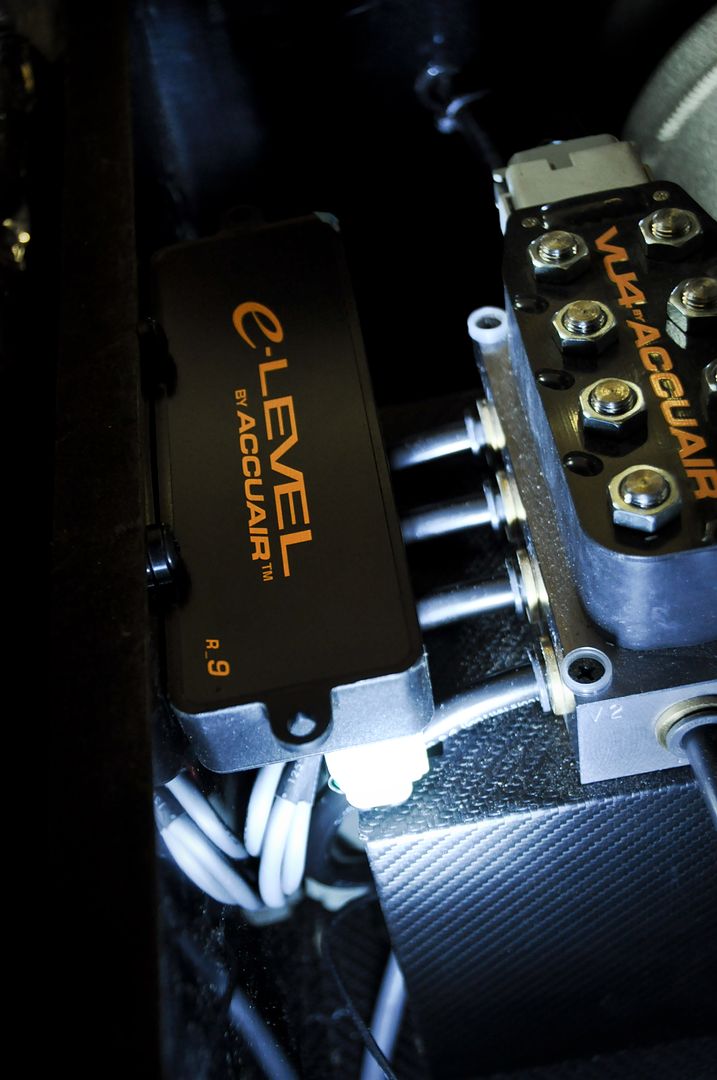
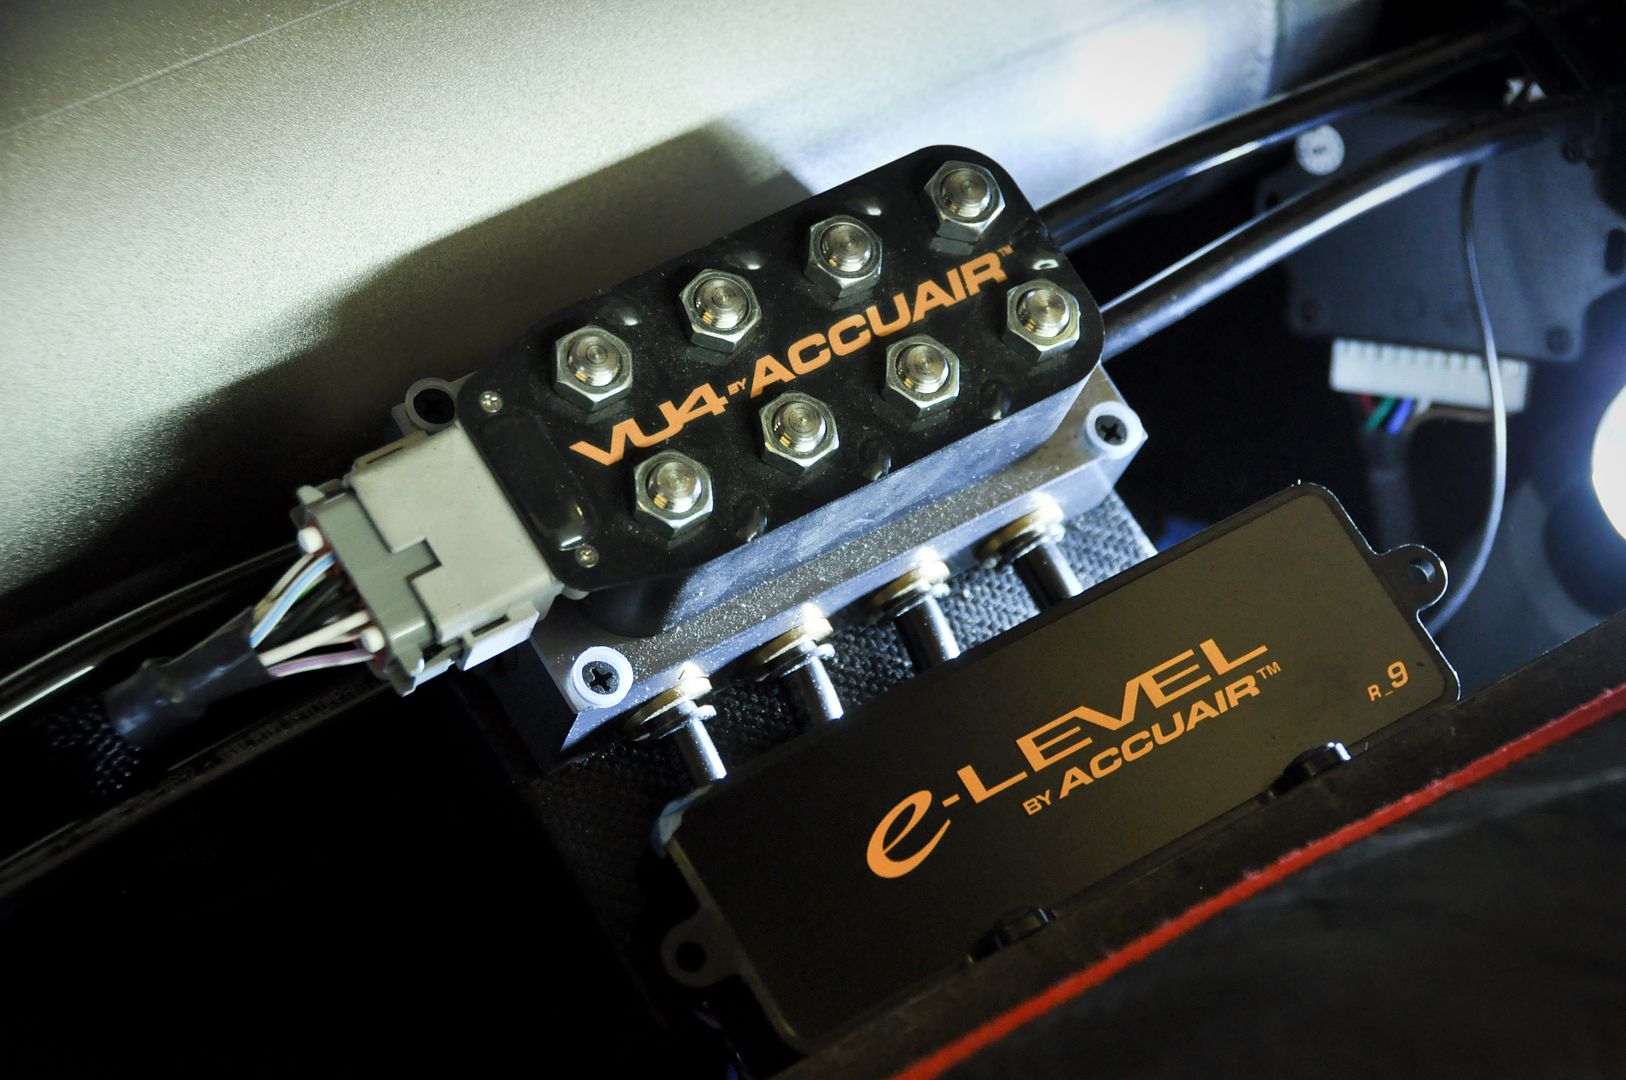
Got in a few boxes from AccuAir
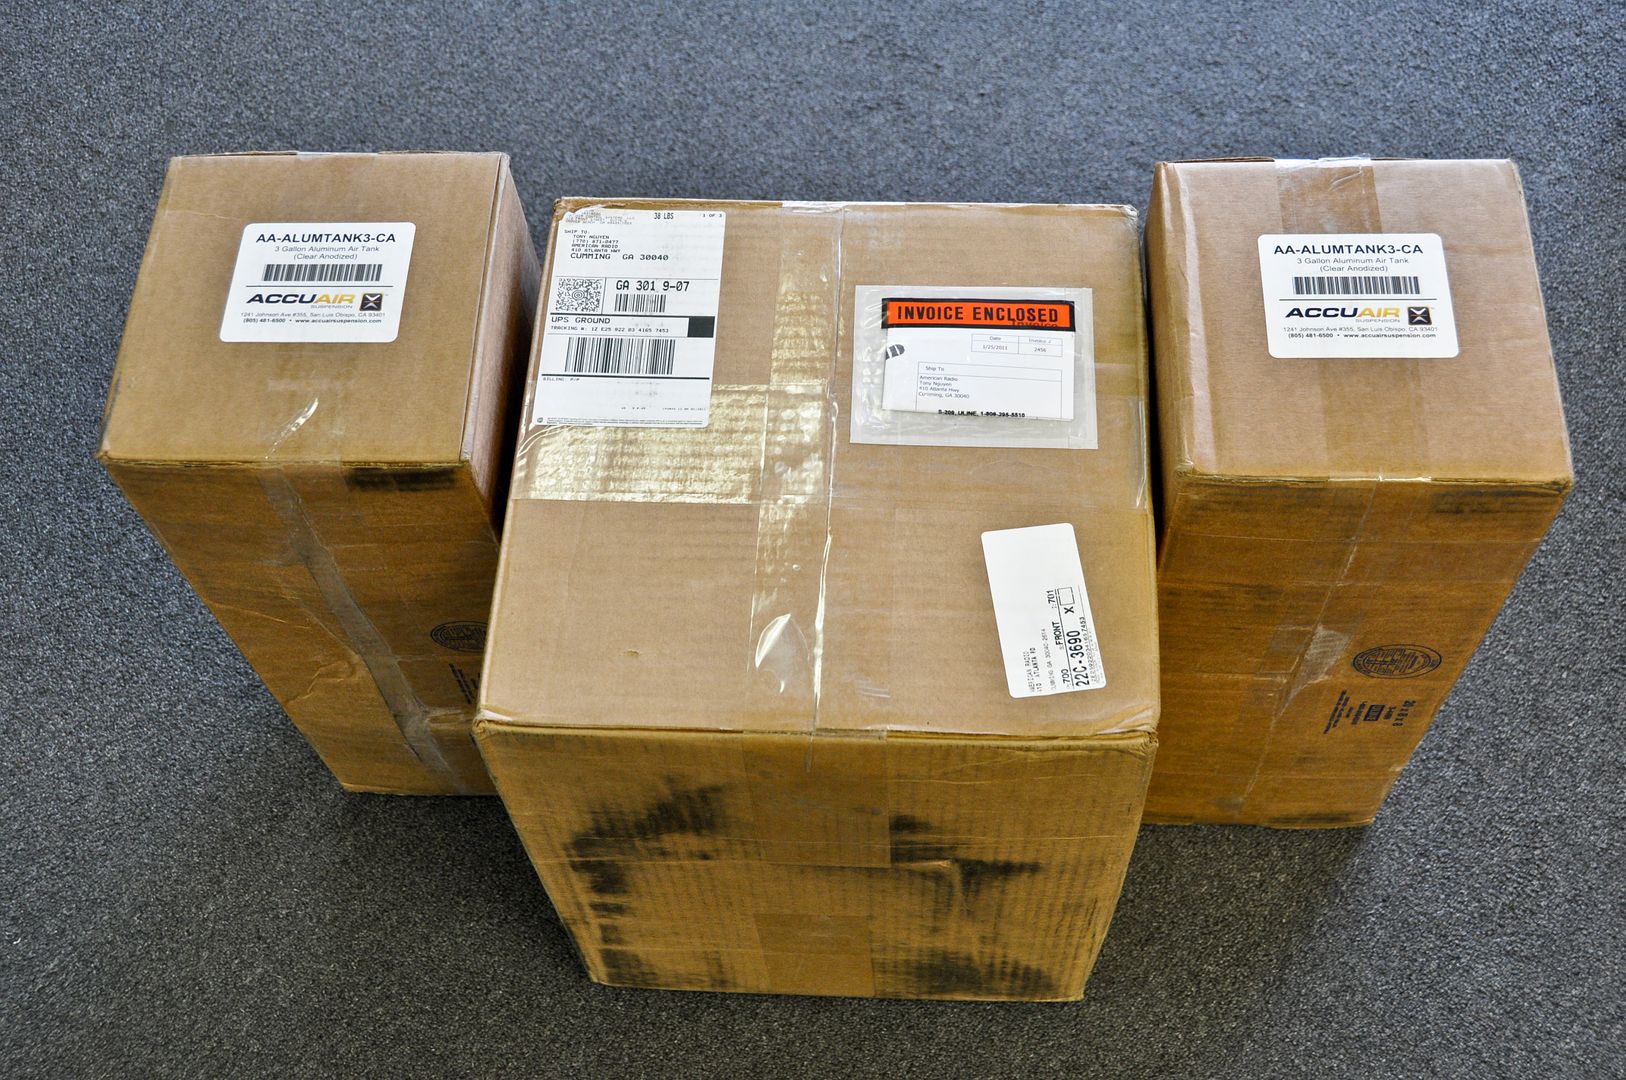
Got the E-Level package with wireless remotes and dual 3 gallon tank setup
All unpackaged
The E-Level package with touchpad
The awesome touchpad which we will be mounting somewhere special

The wireless remote setup
The VU4 manifold setup
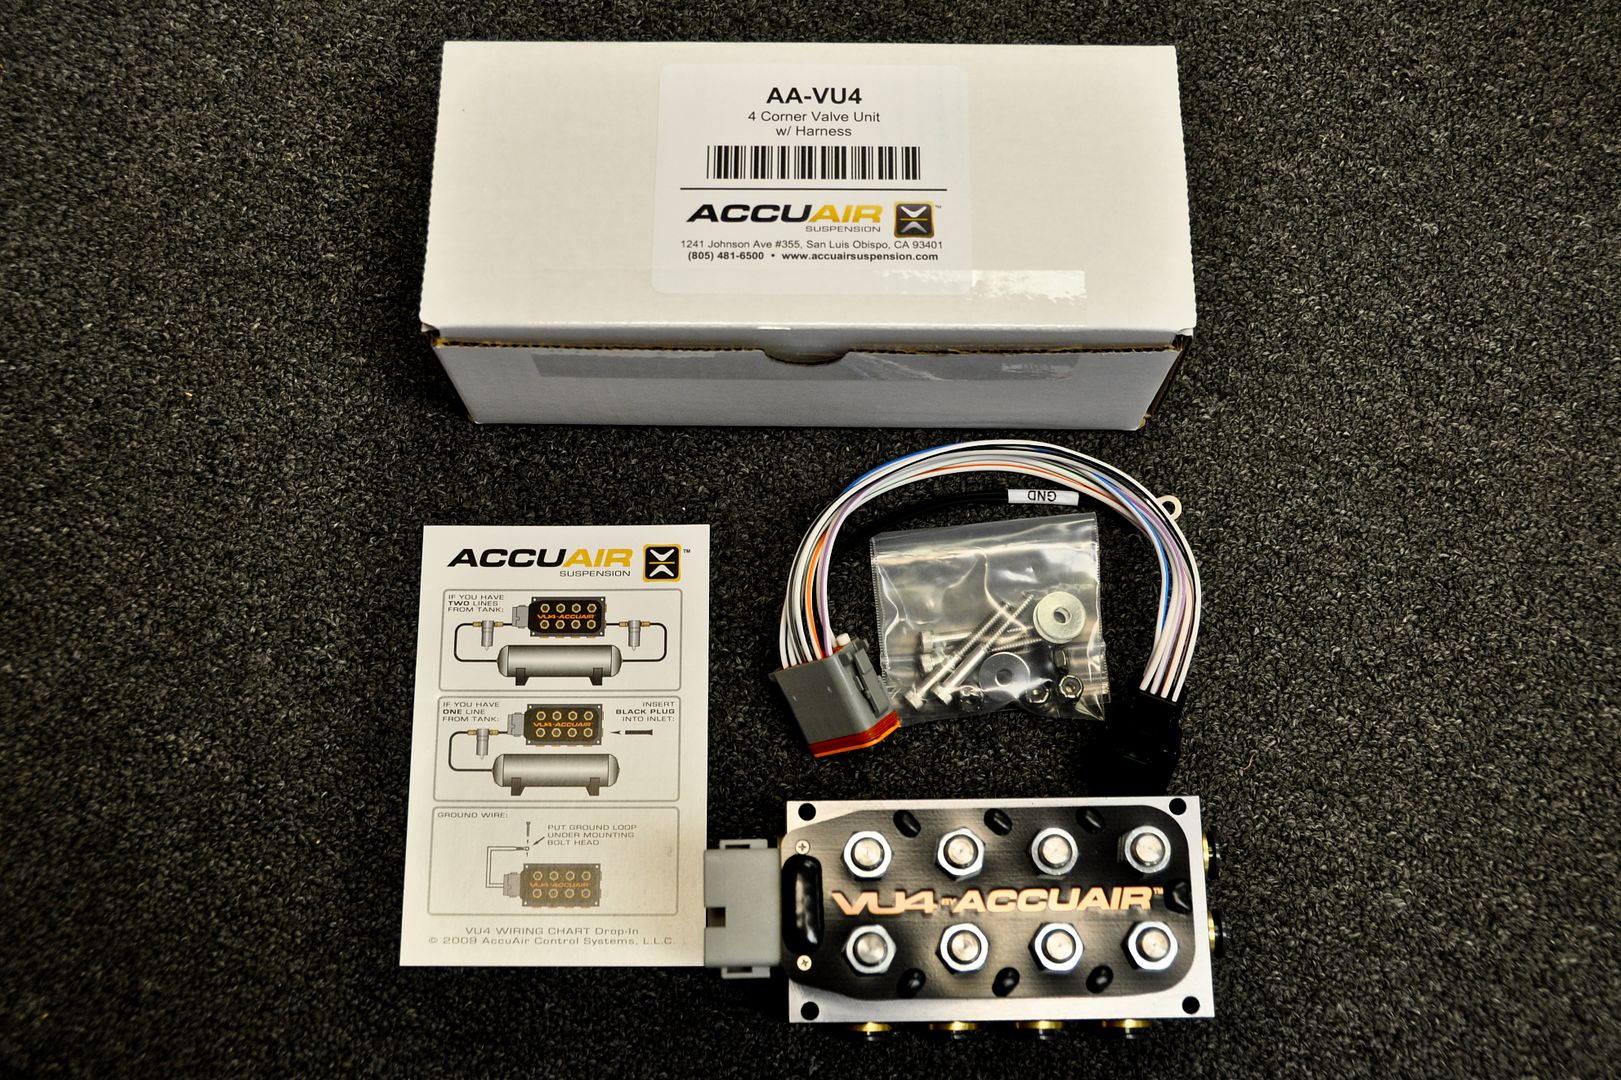
Some plumbing and fittings
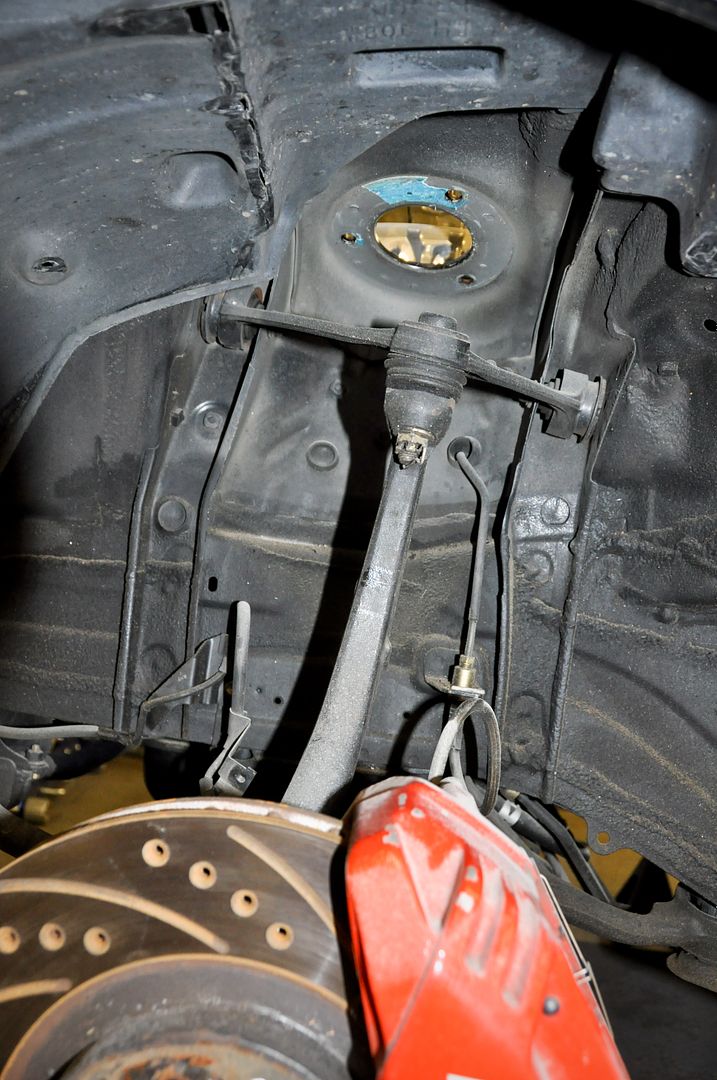
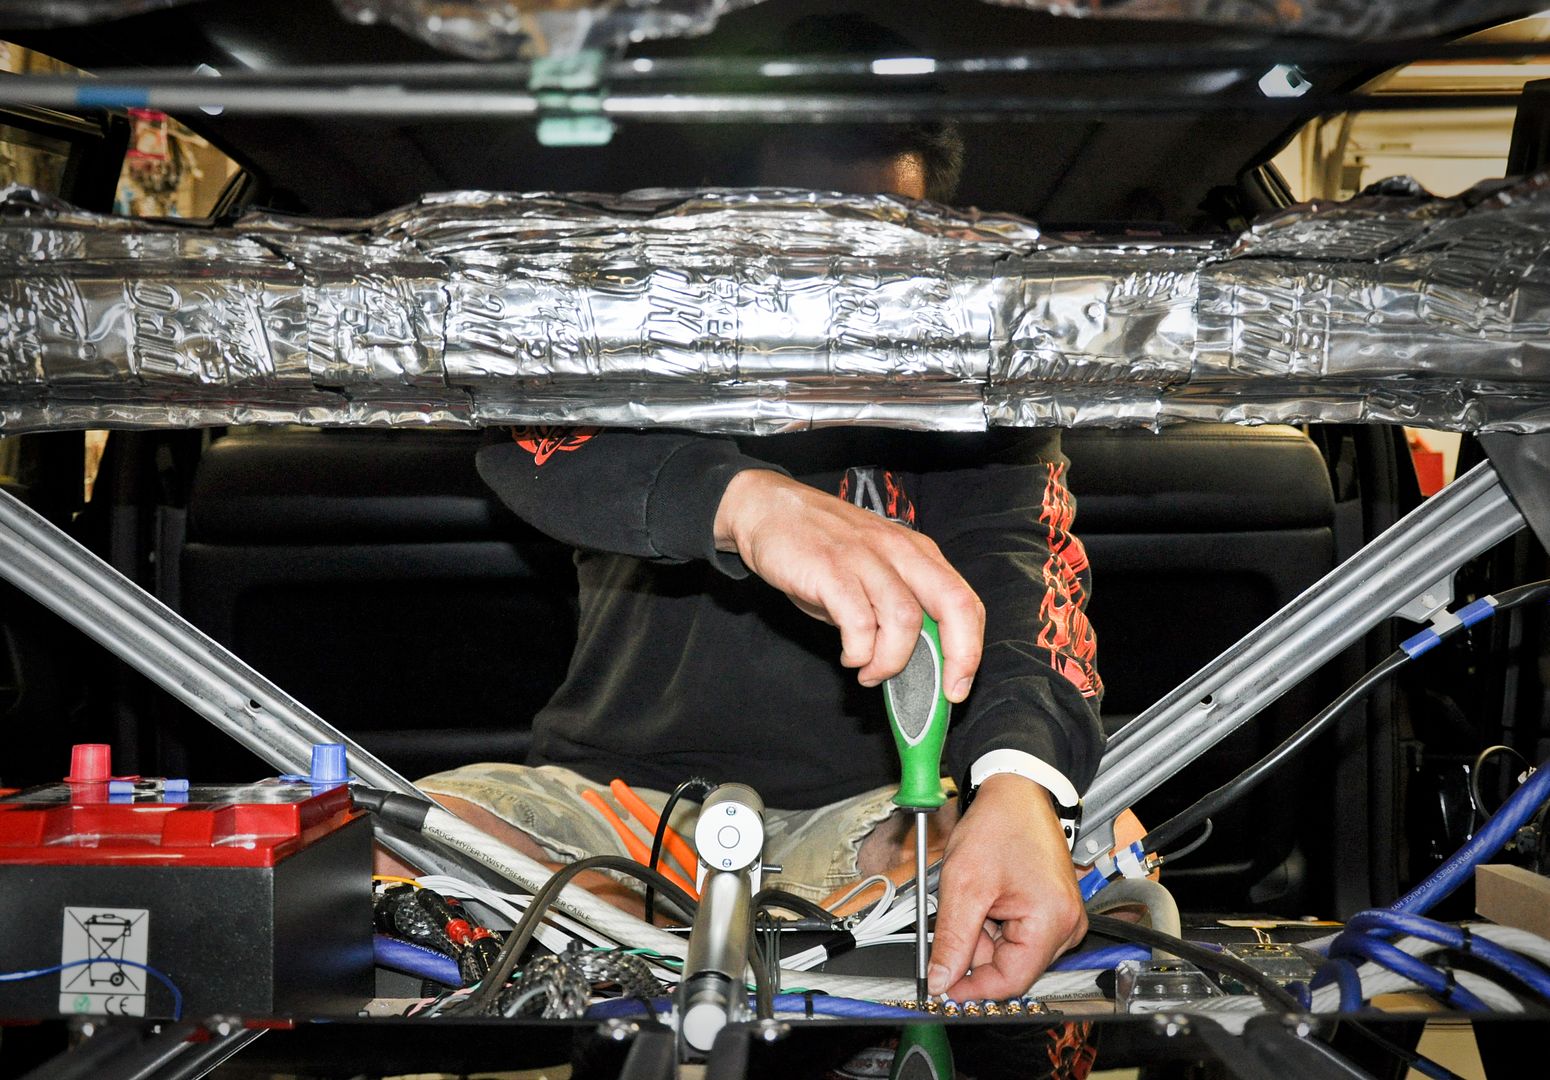
Got the car back up on jack stands again
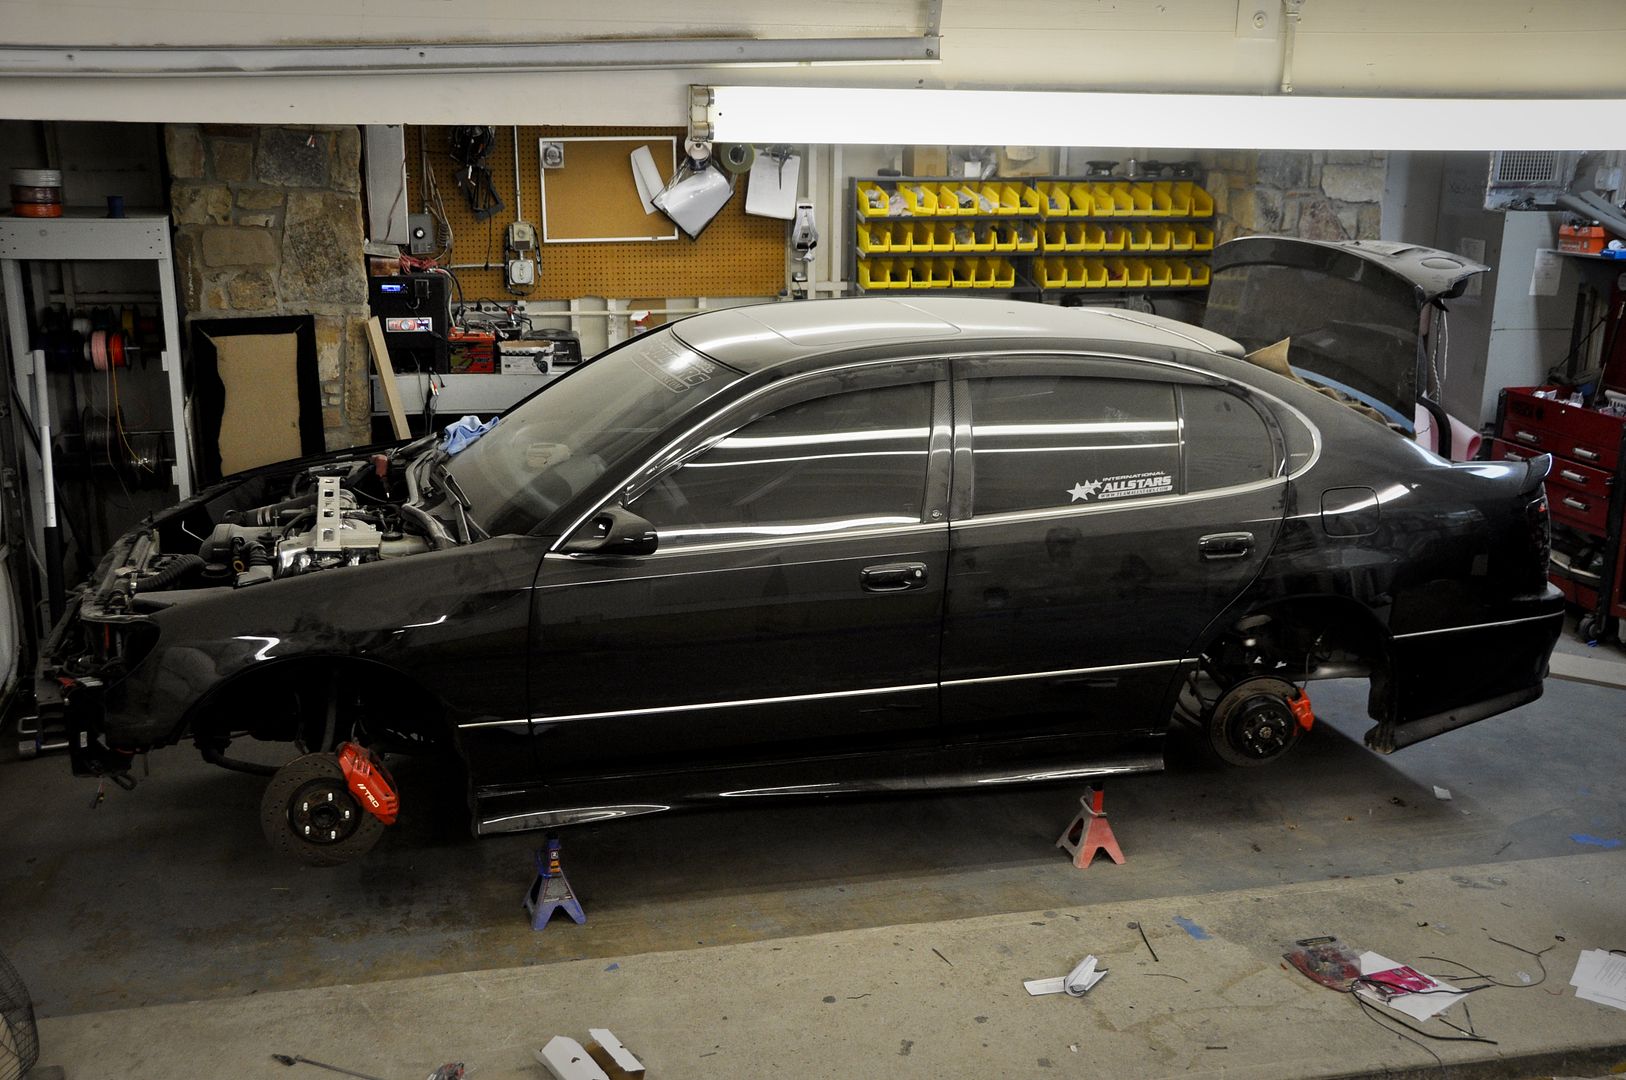
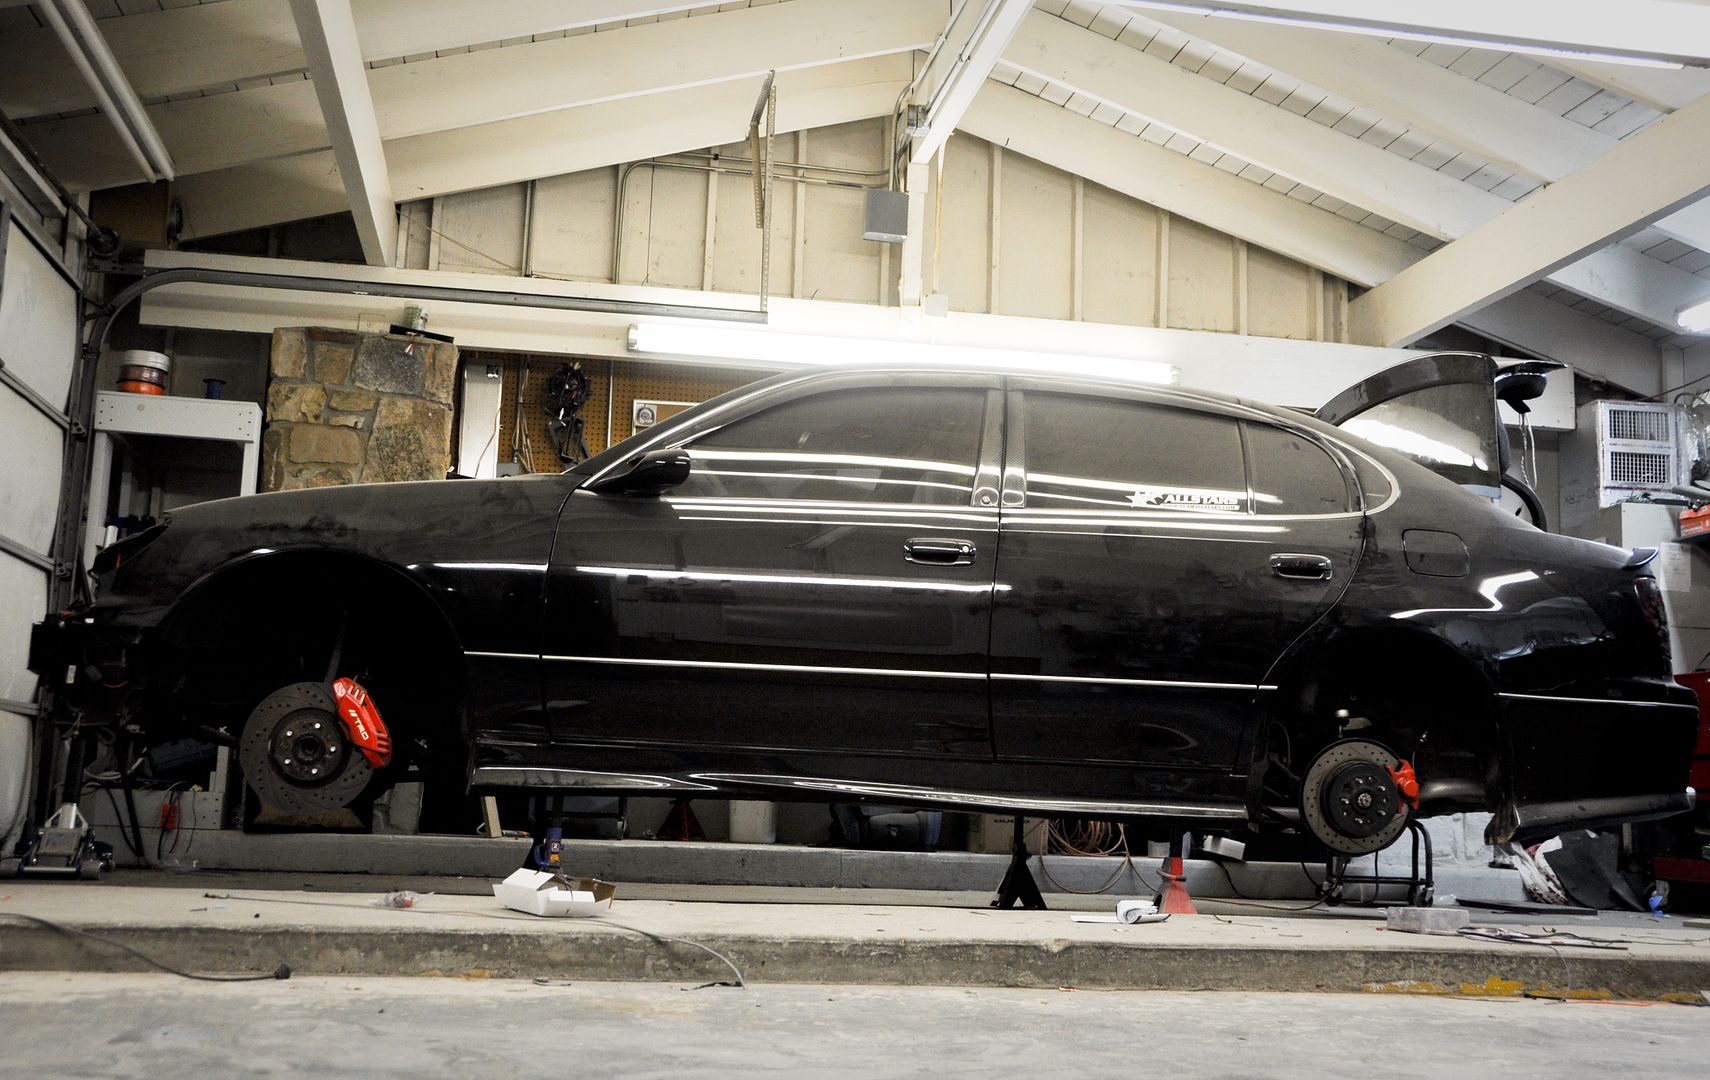
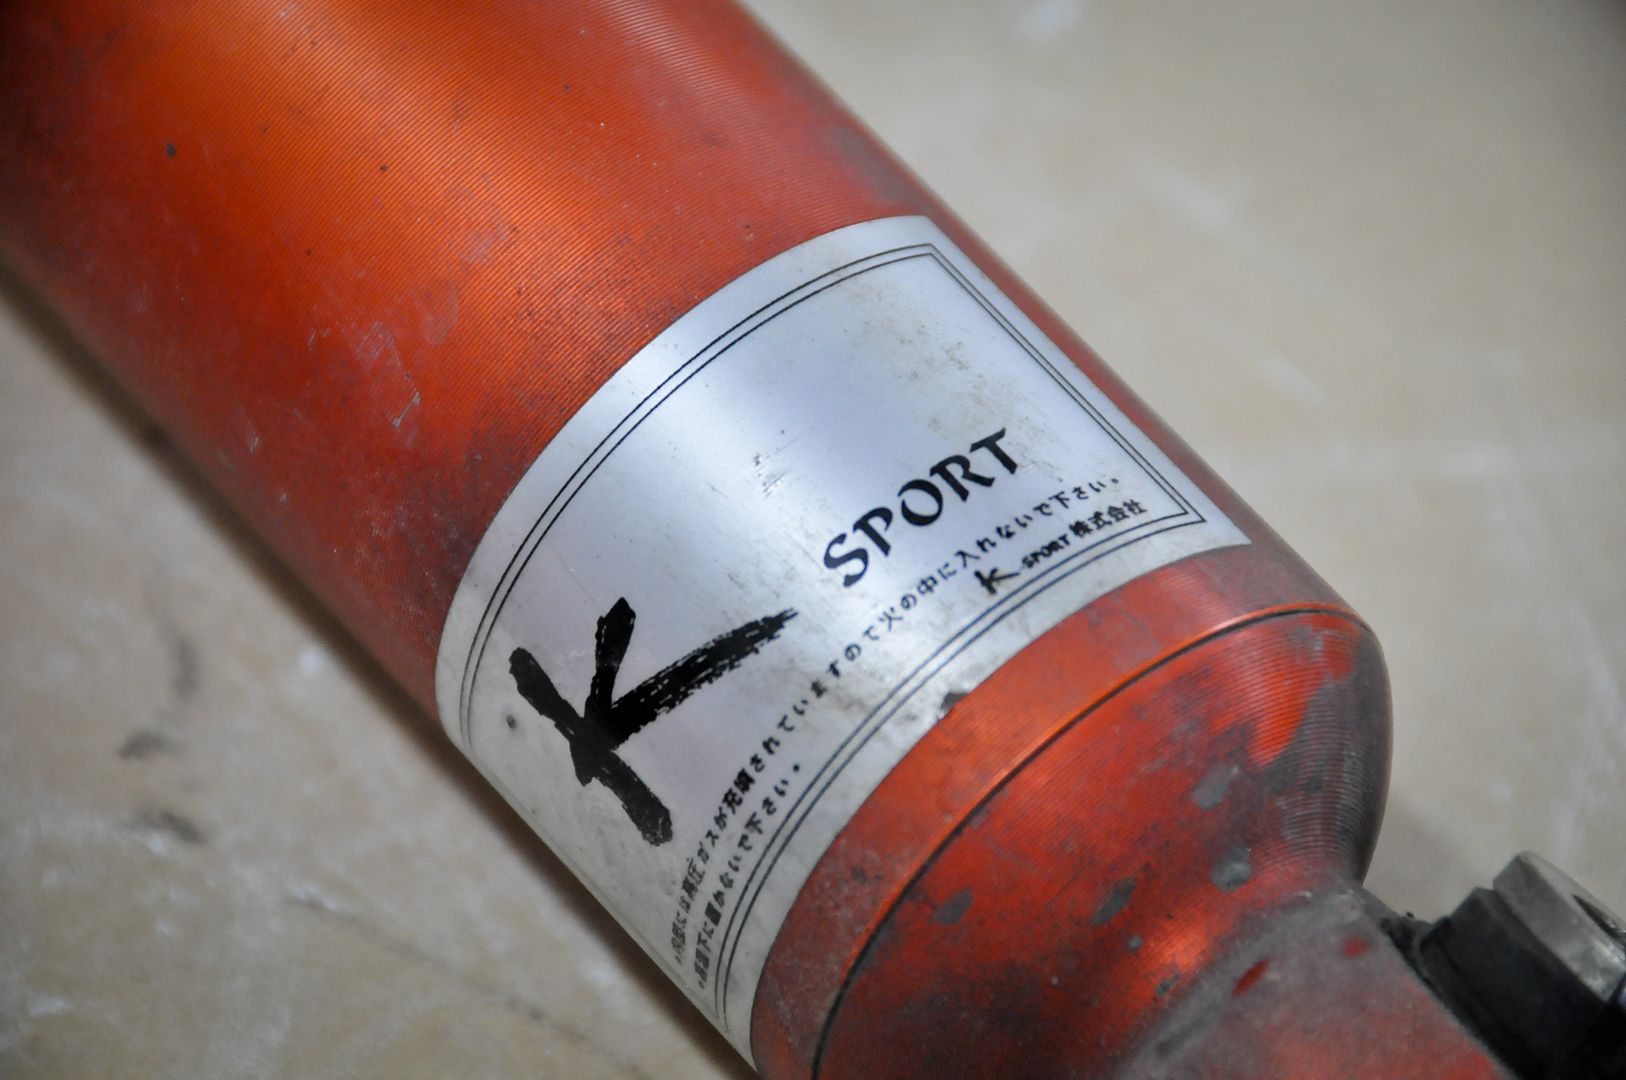
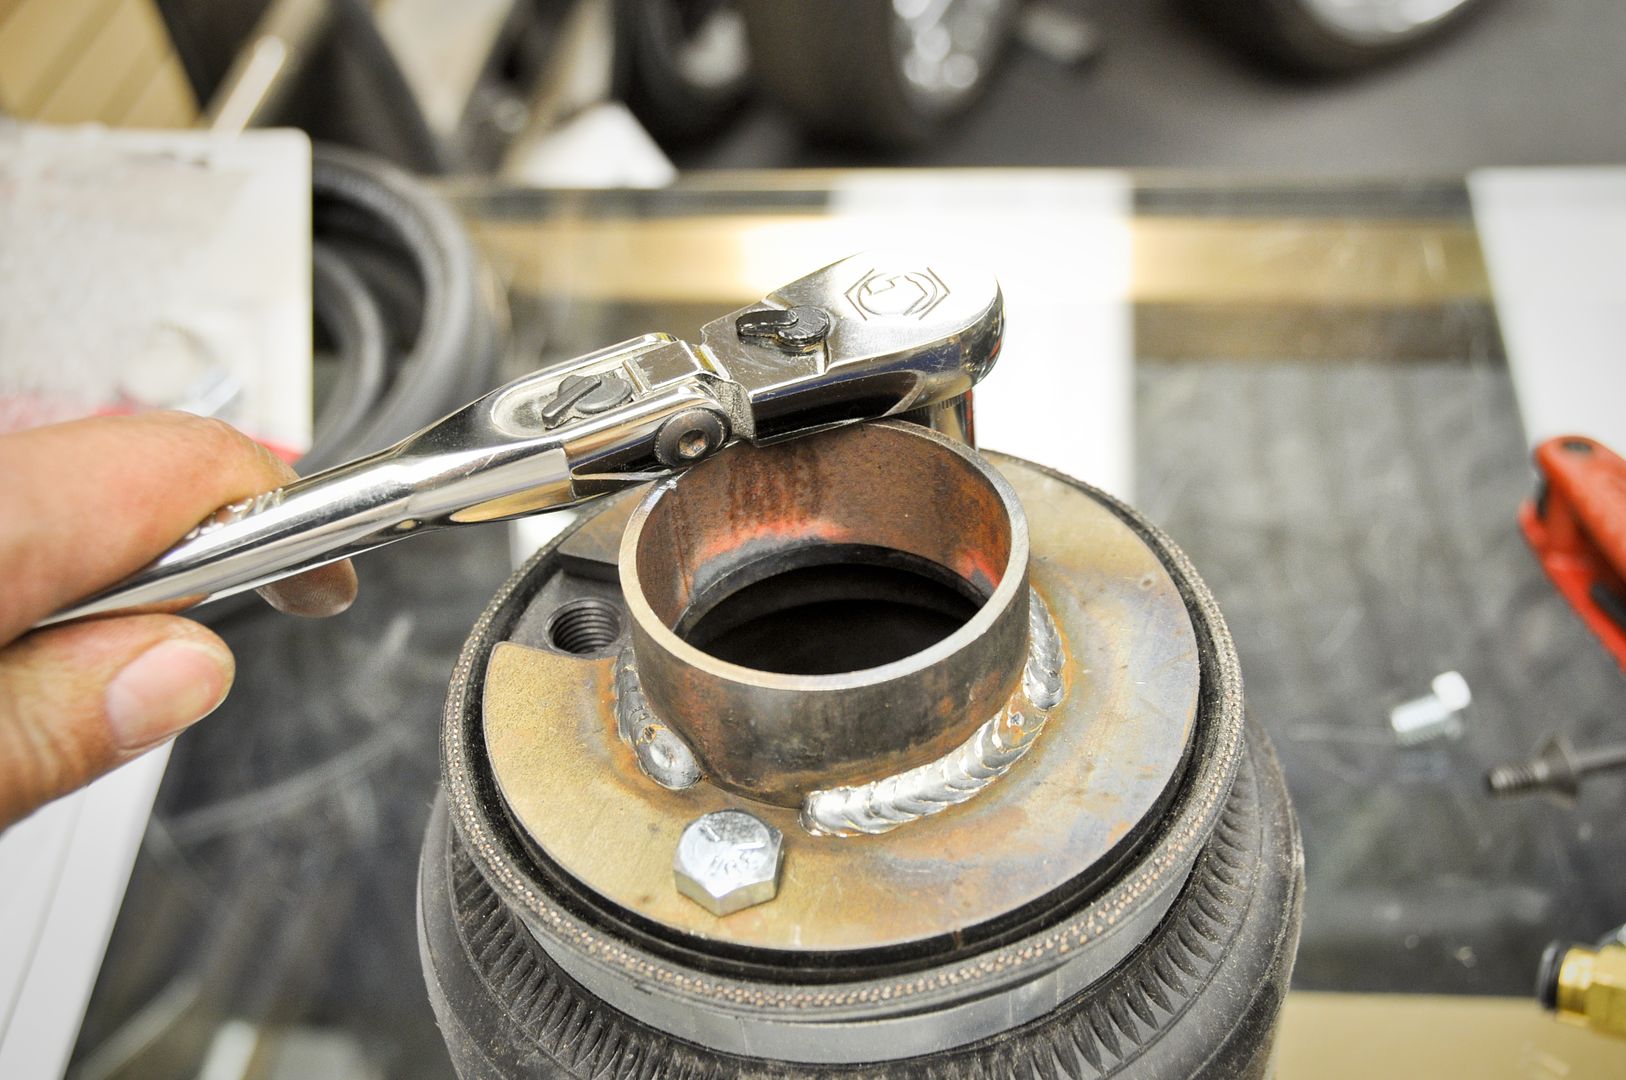
Got the K sports off
Got in a few boxes from AccuAir
Got the E-Level package with wireless remotes and dual 3 gallon tank setup
All unpackaged
The E-Level package with touchpad
The awesome touchpad which we will be mounting somewhere special
The wireless remote setup
The VU4 manifold setup
Some plumbing and fittings
Got the car back up on jack stands again
Got the K sports off


 03-19-11, 04:33 AM
#472
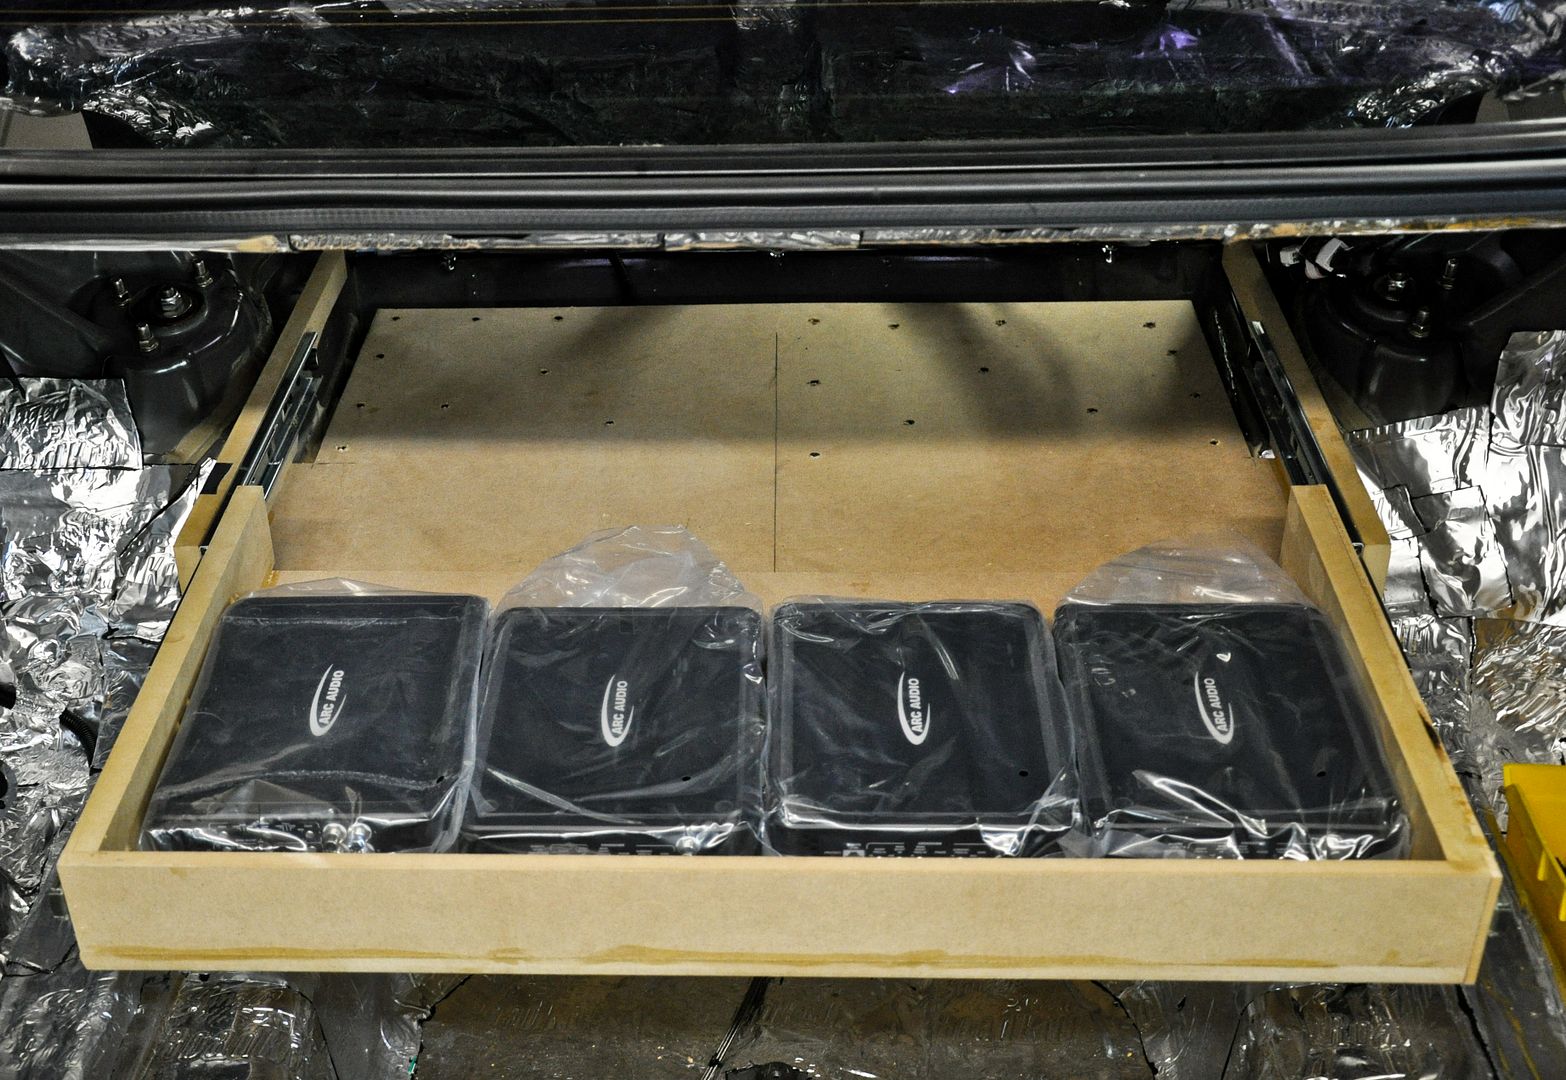
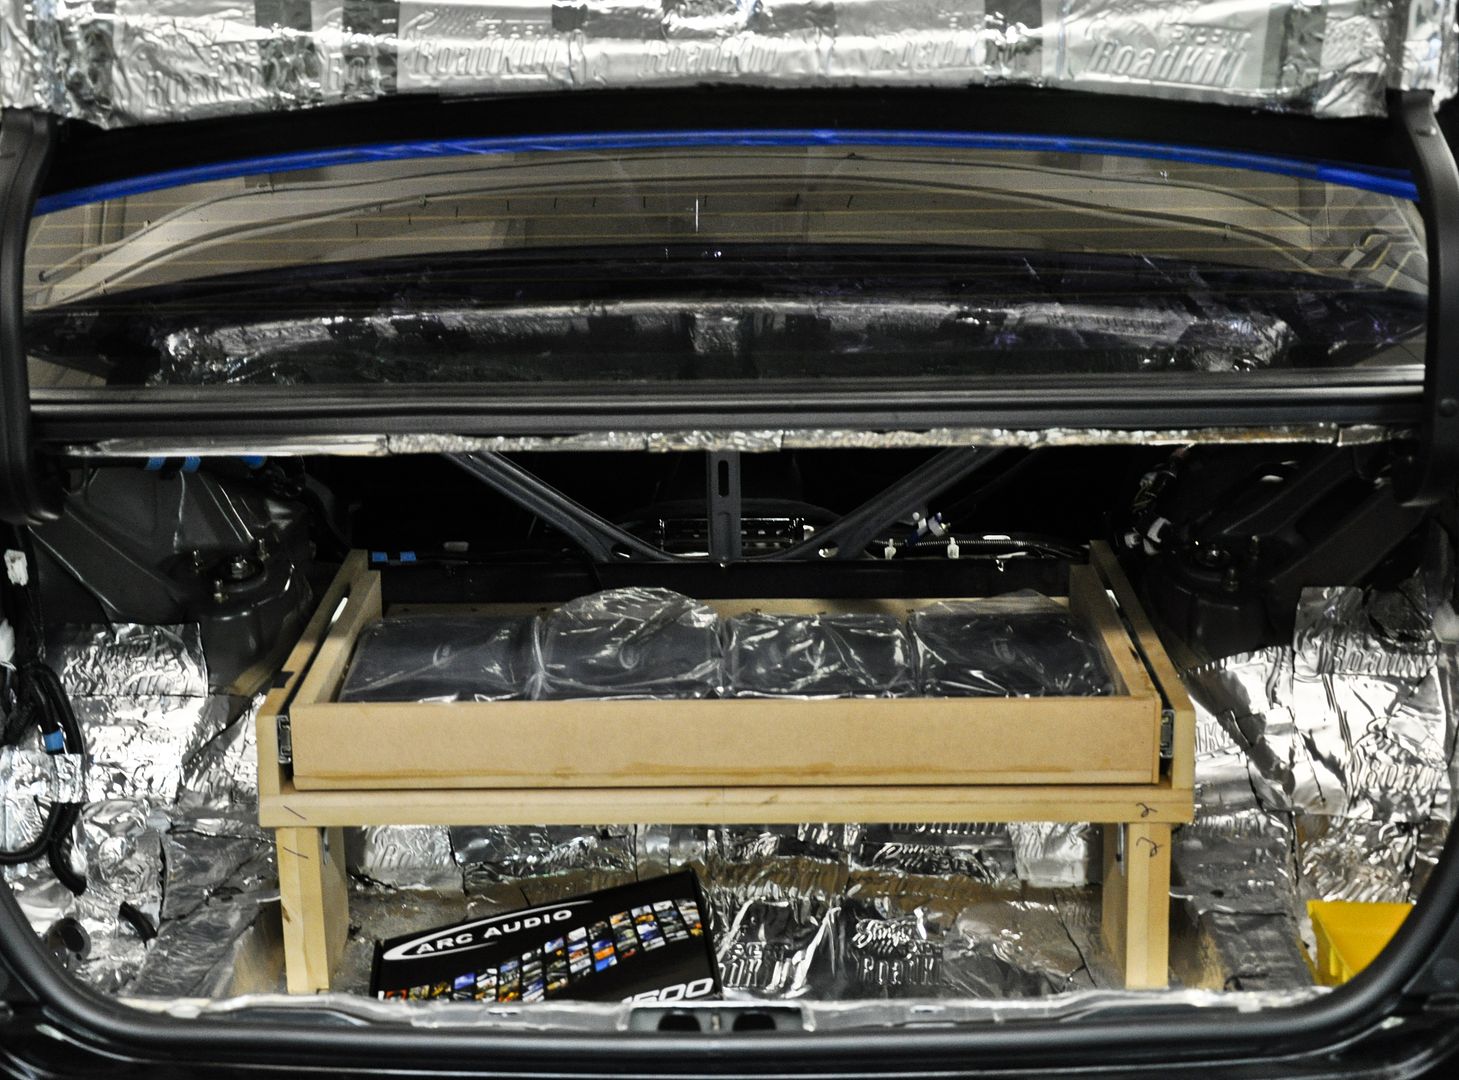
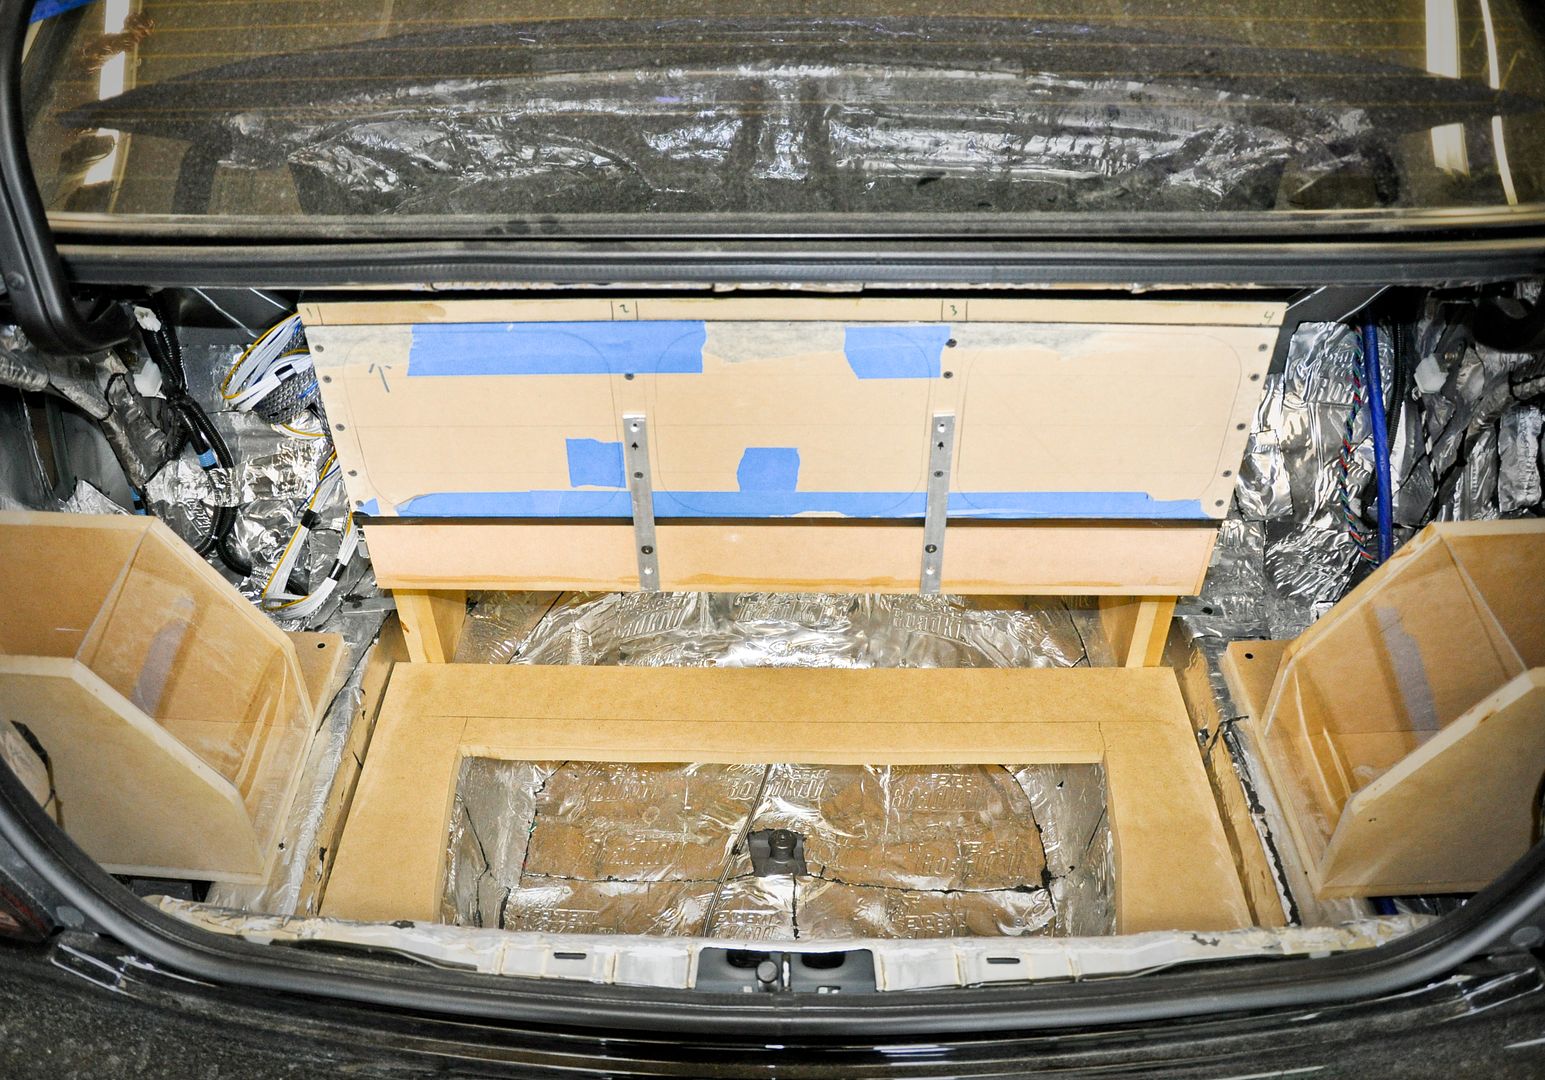
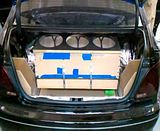
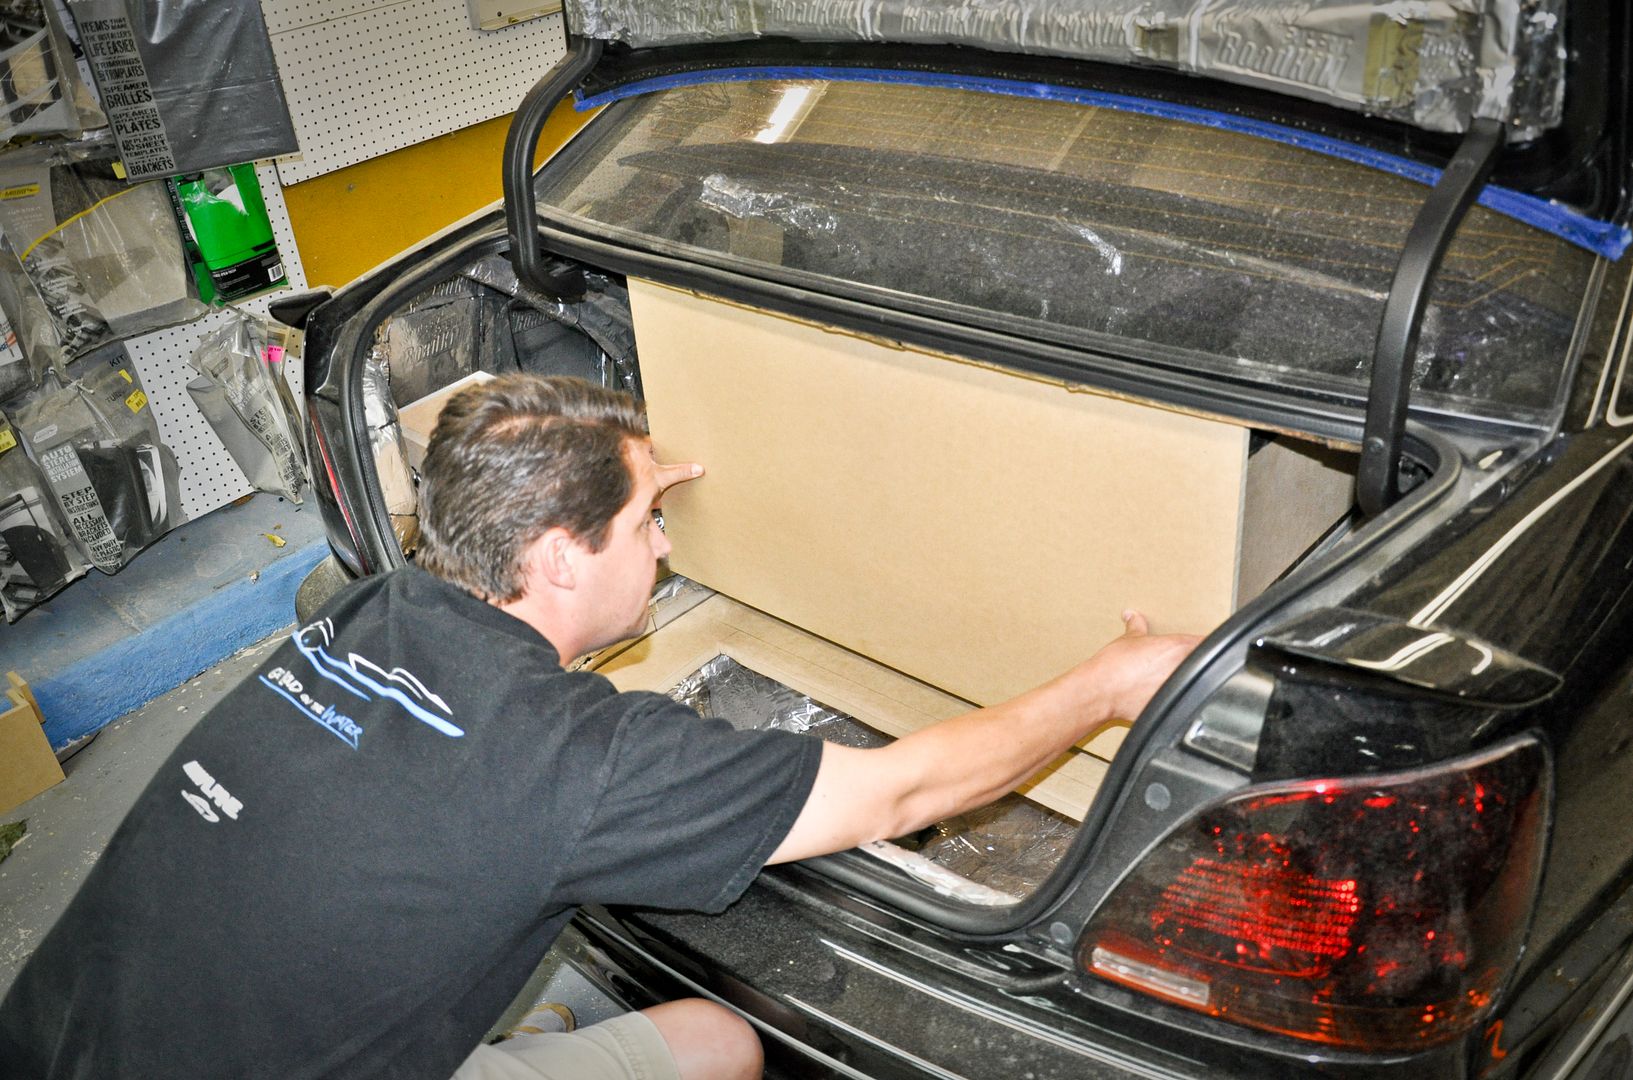
Trunk Audio Build Project 2010/11
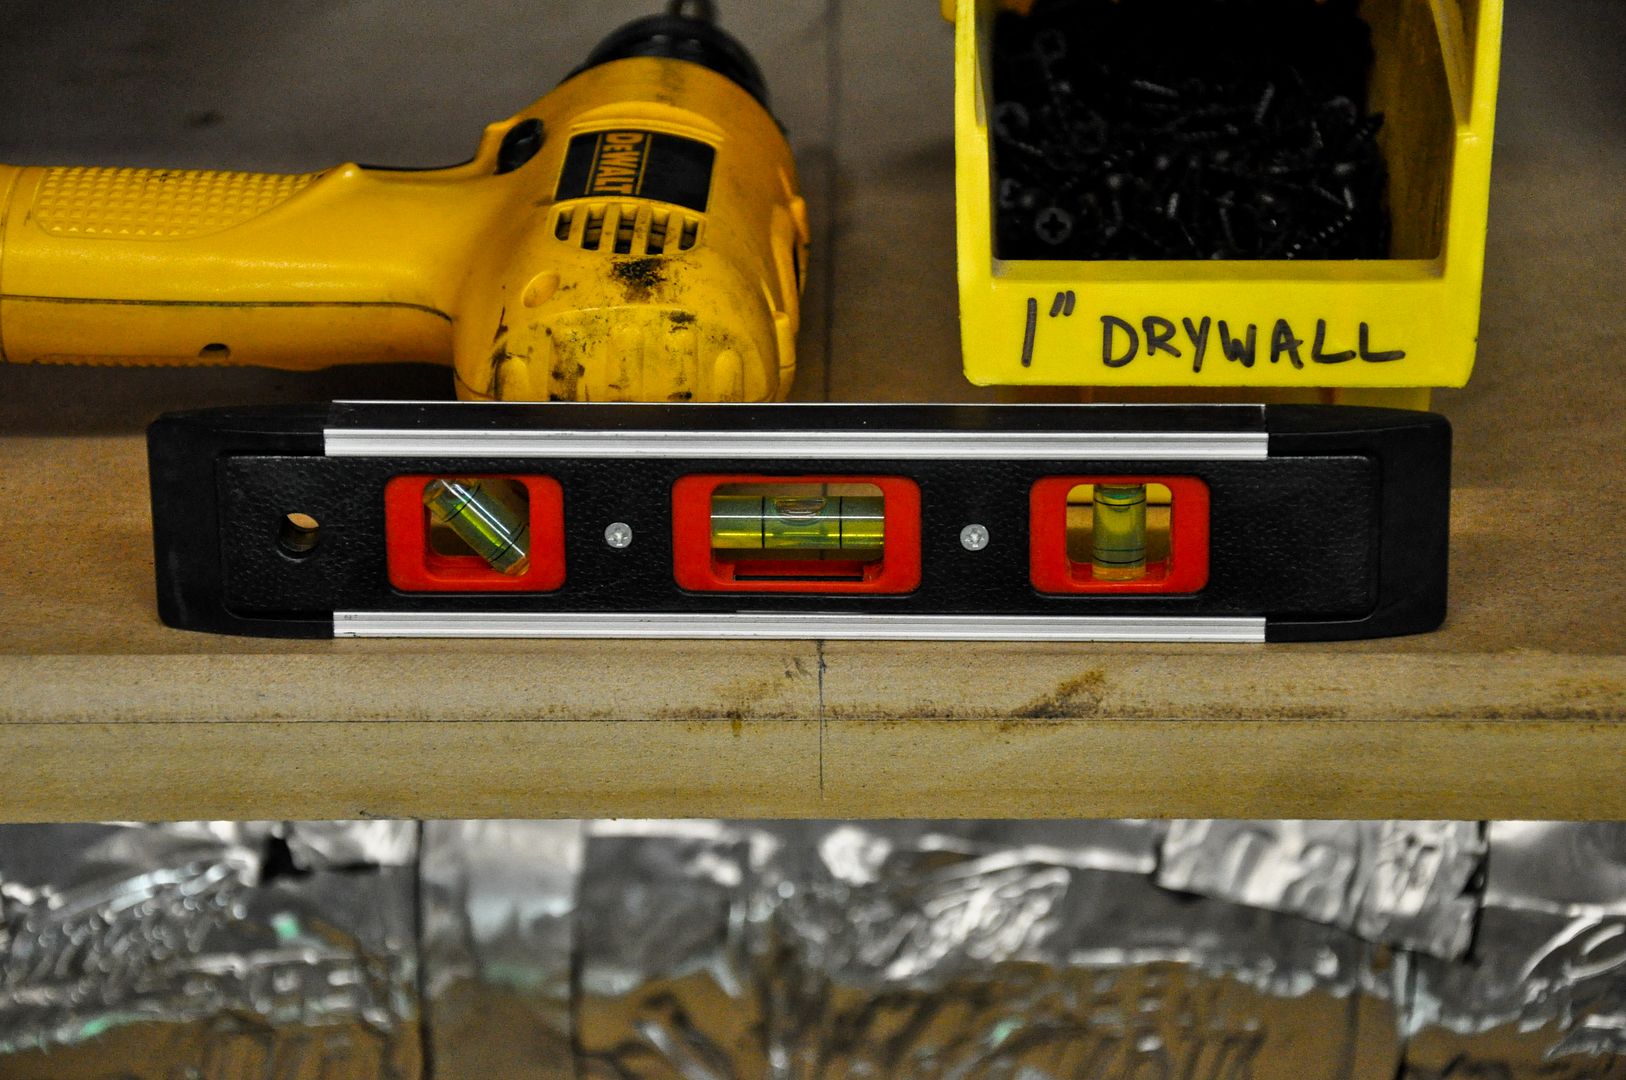
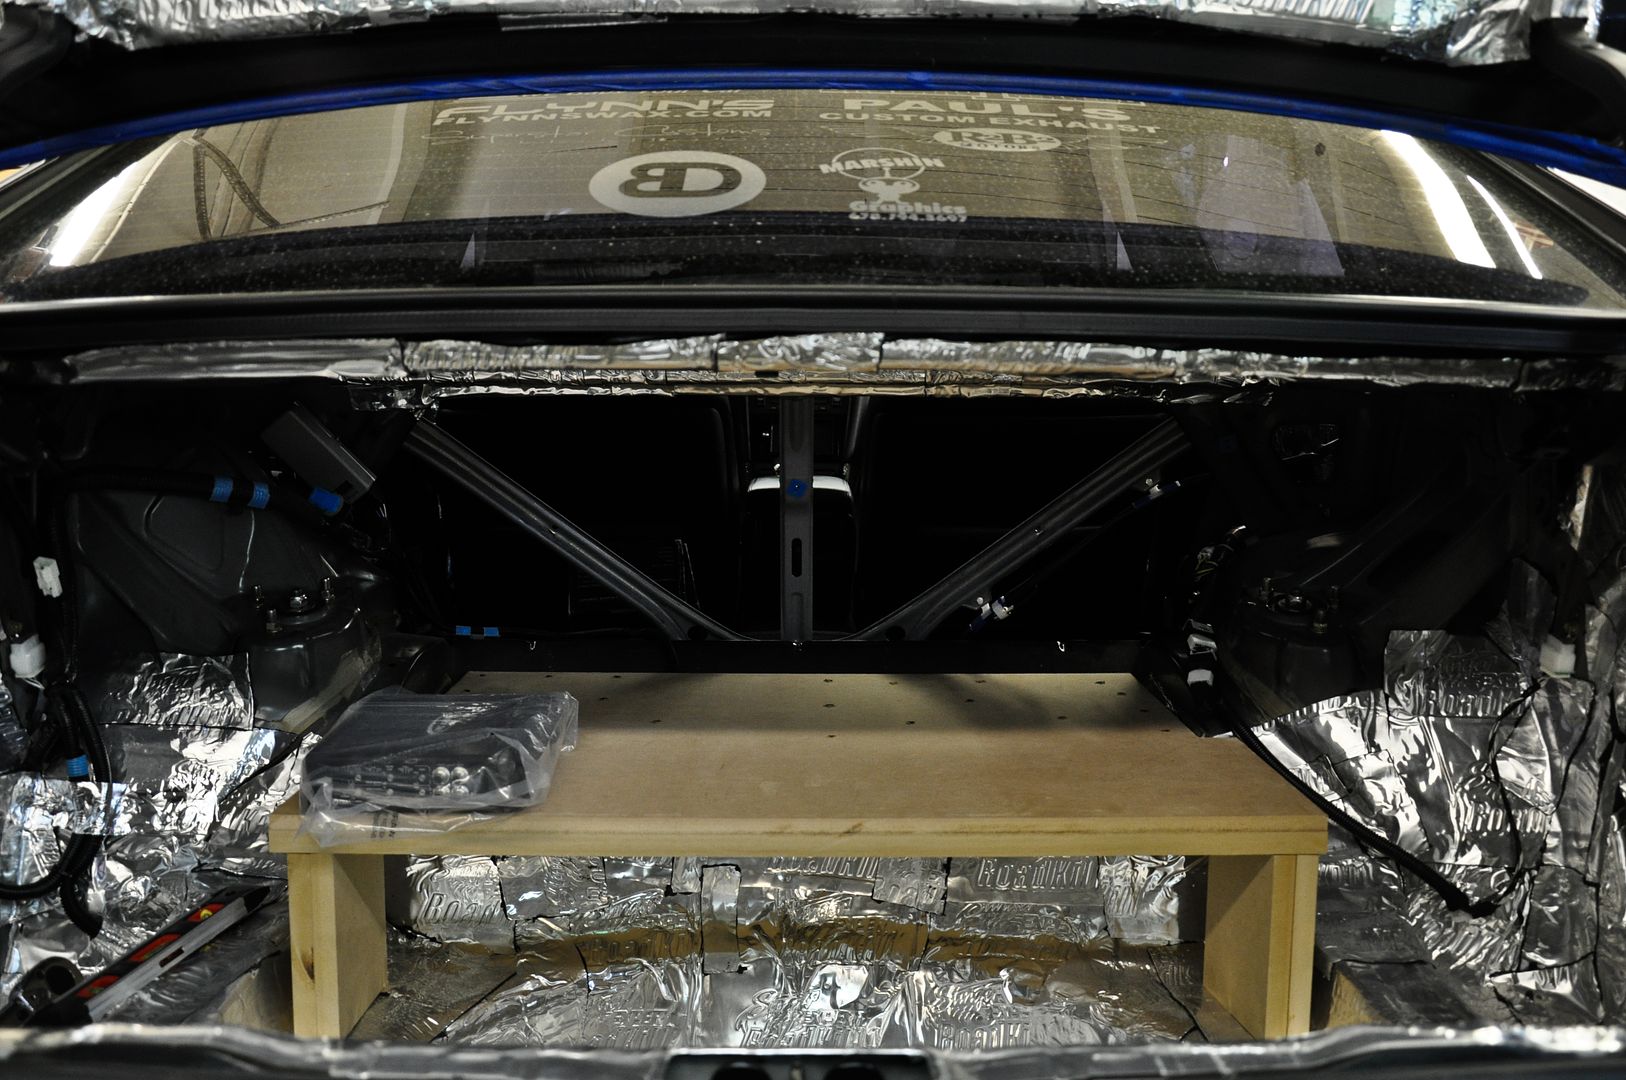
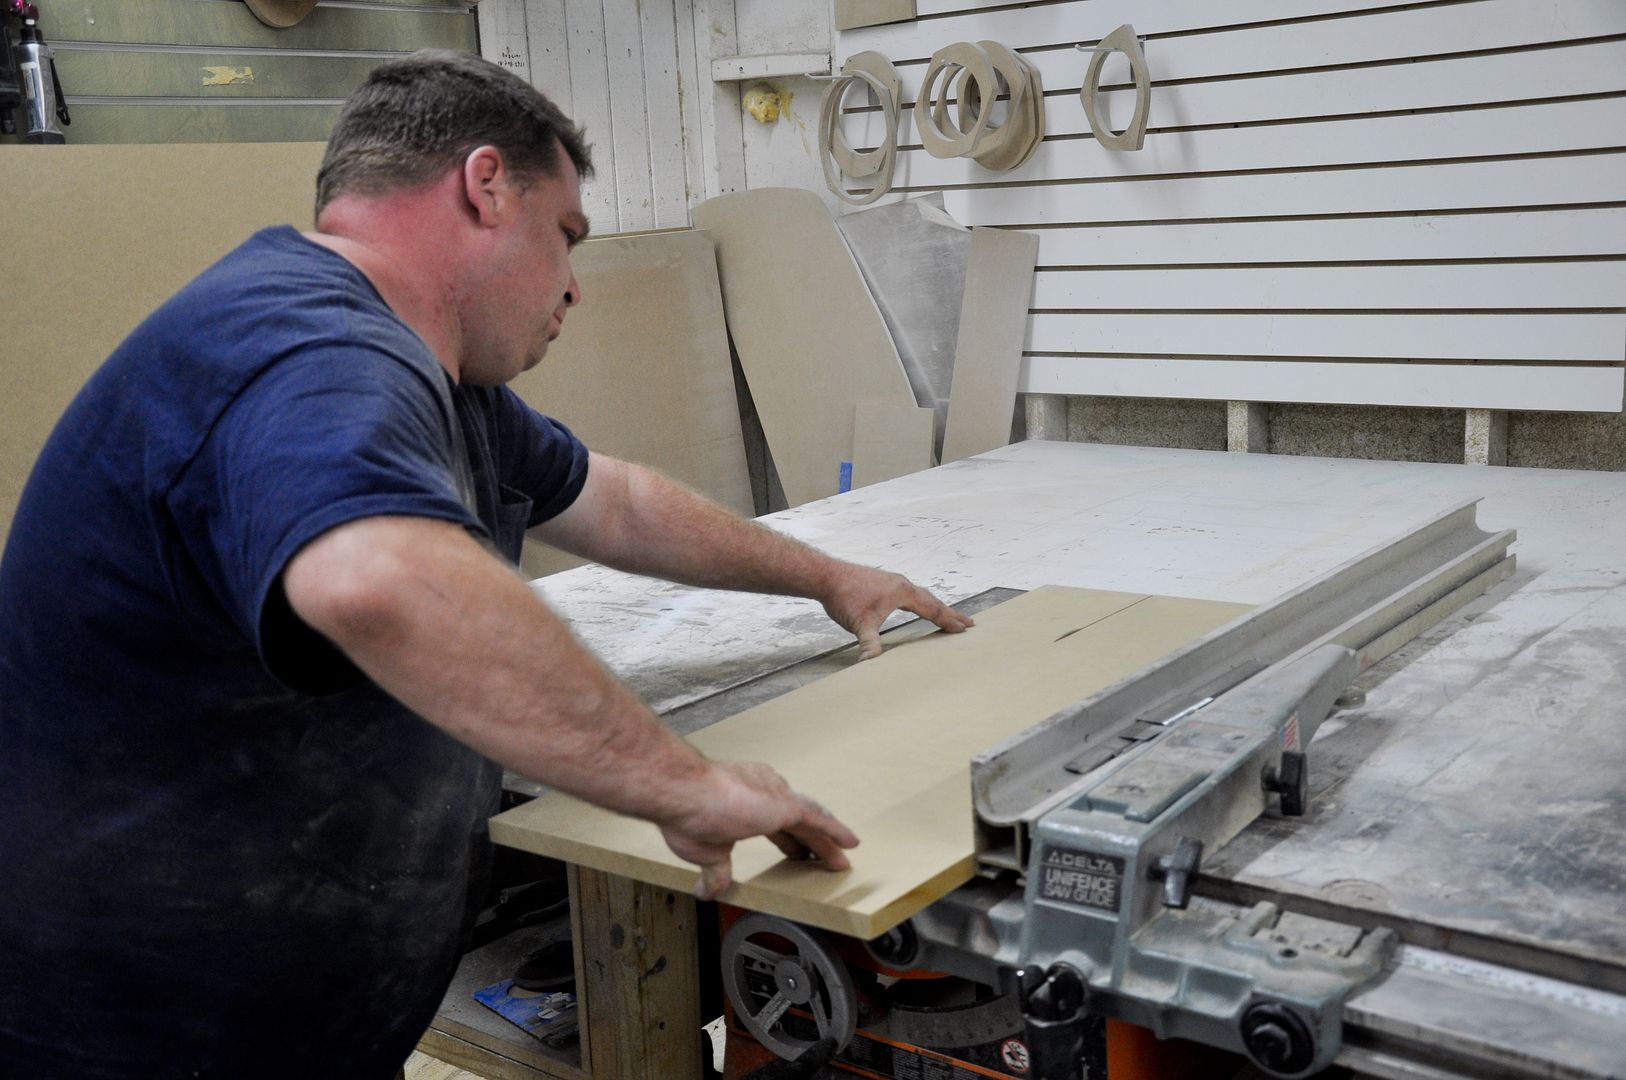
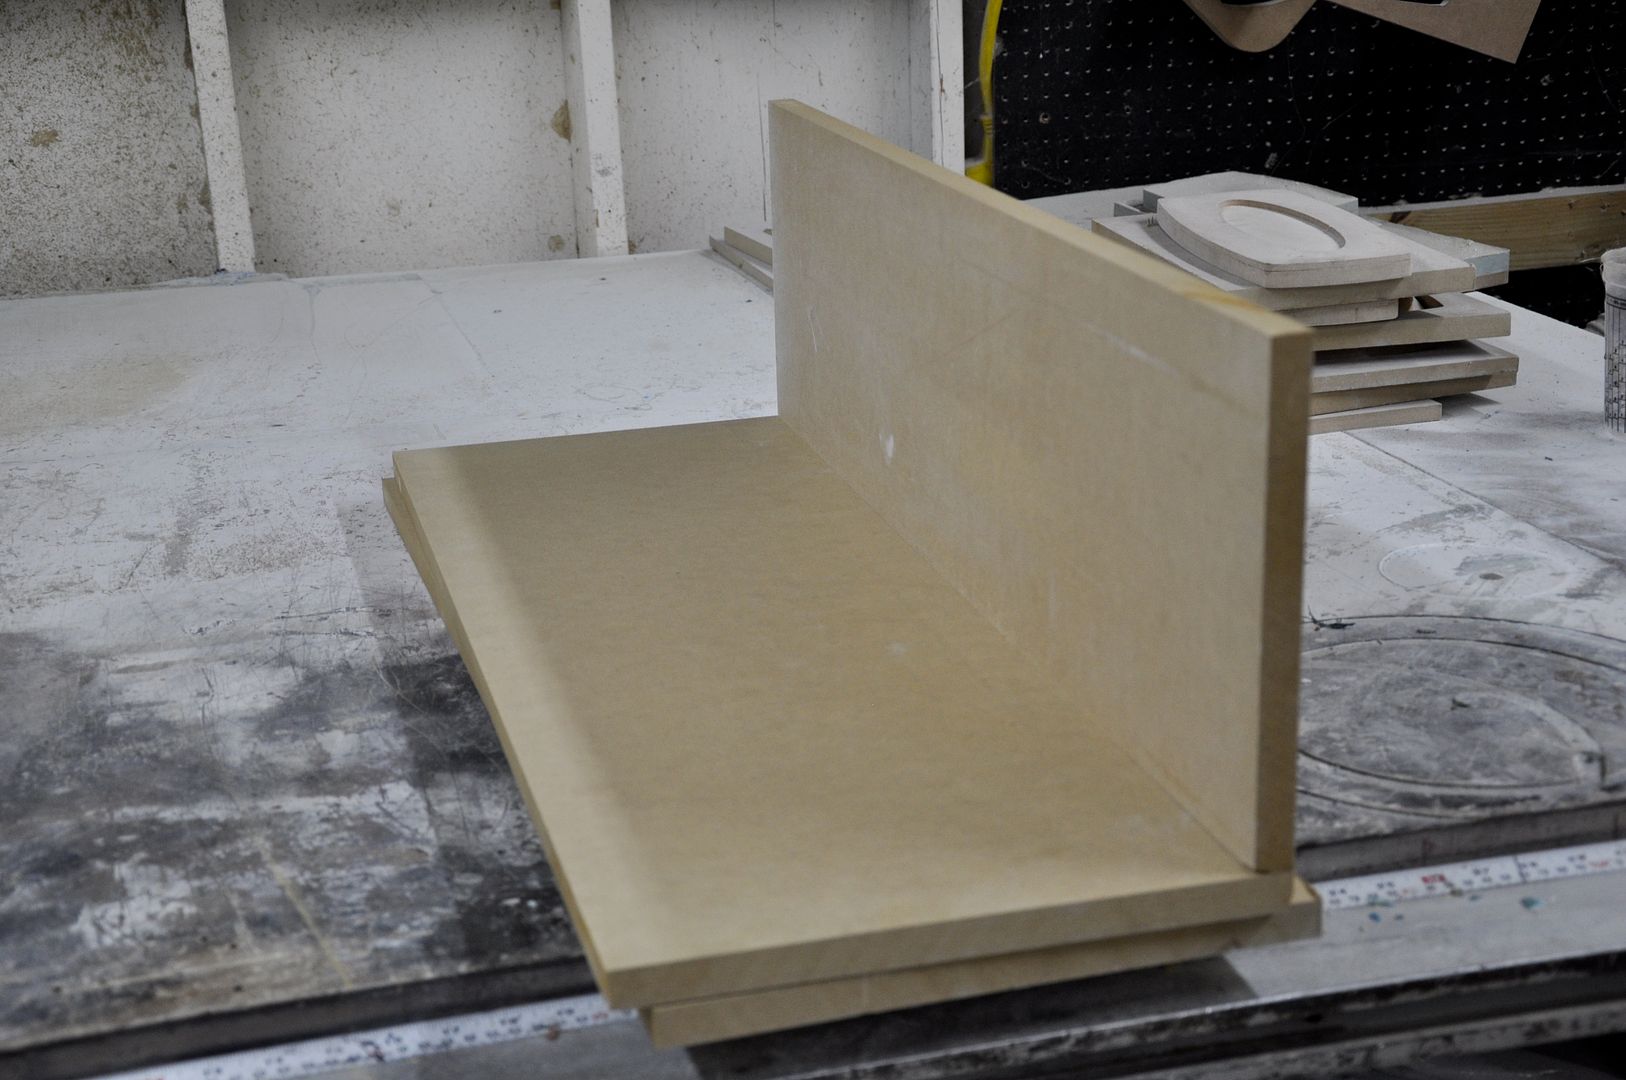
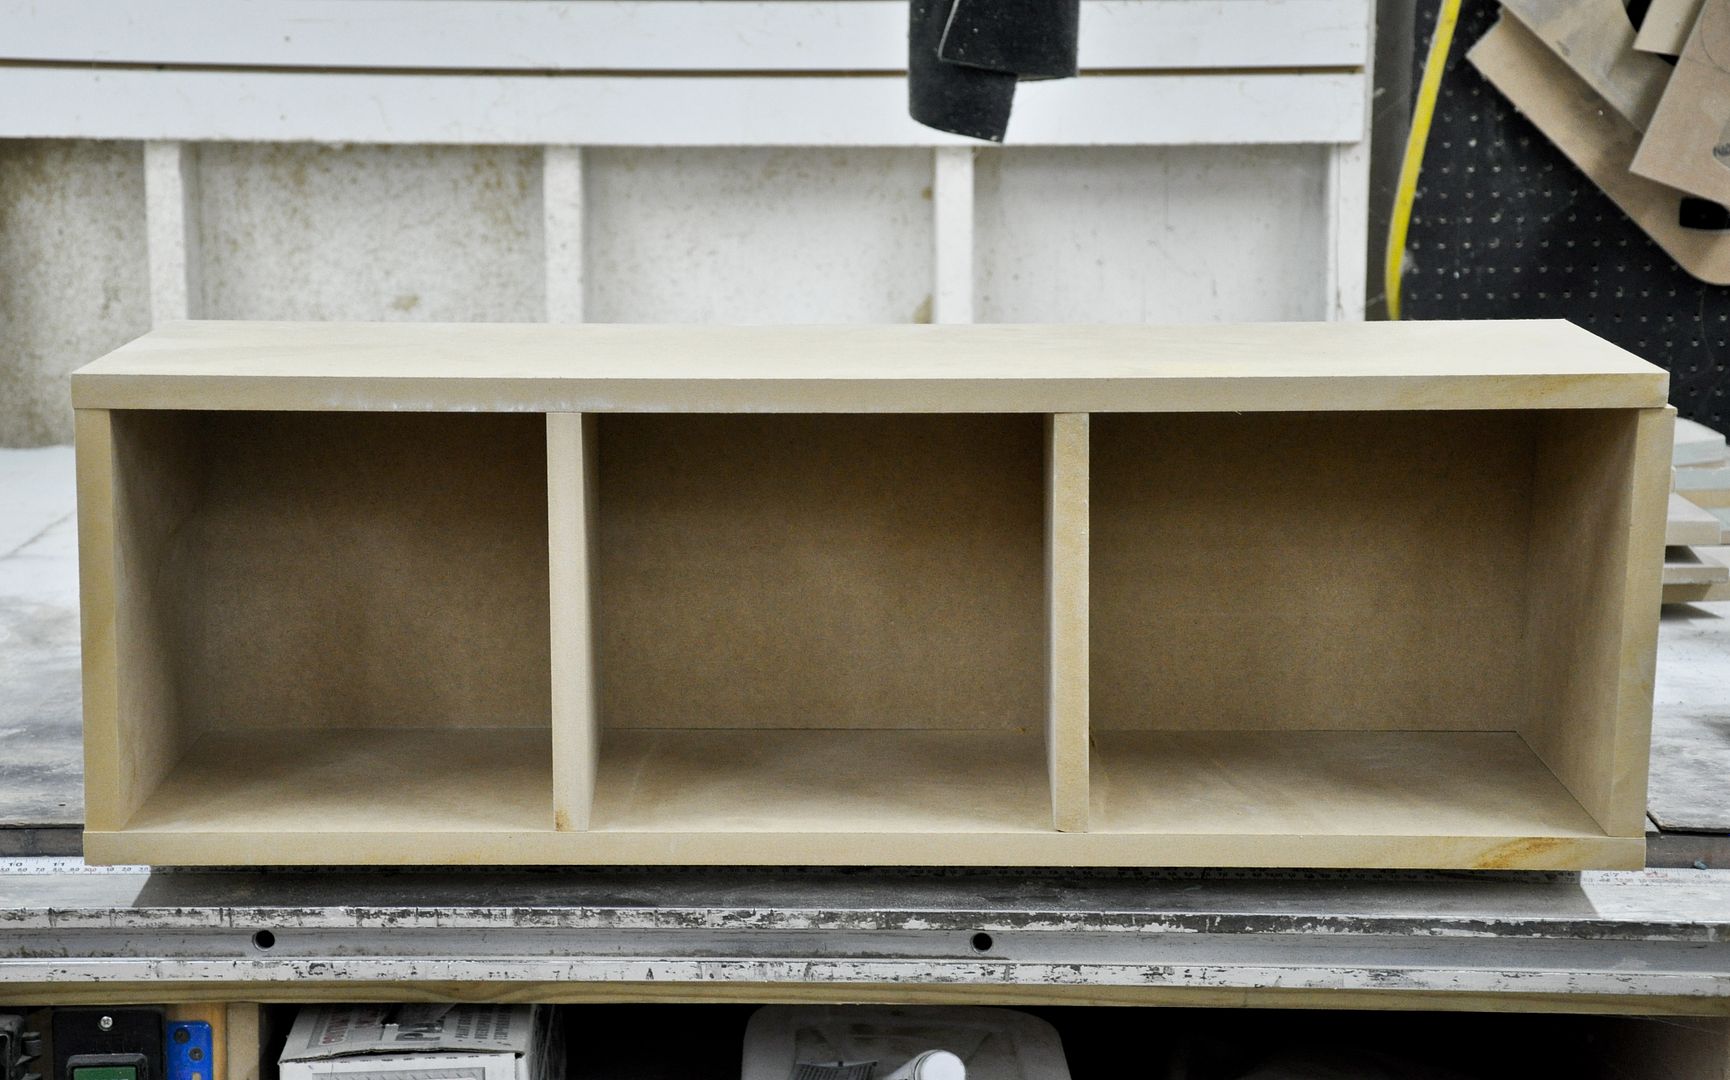
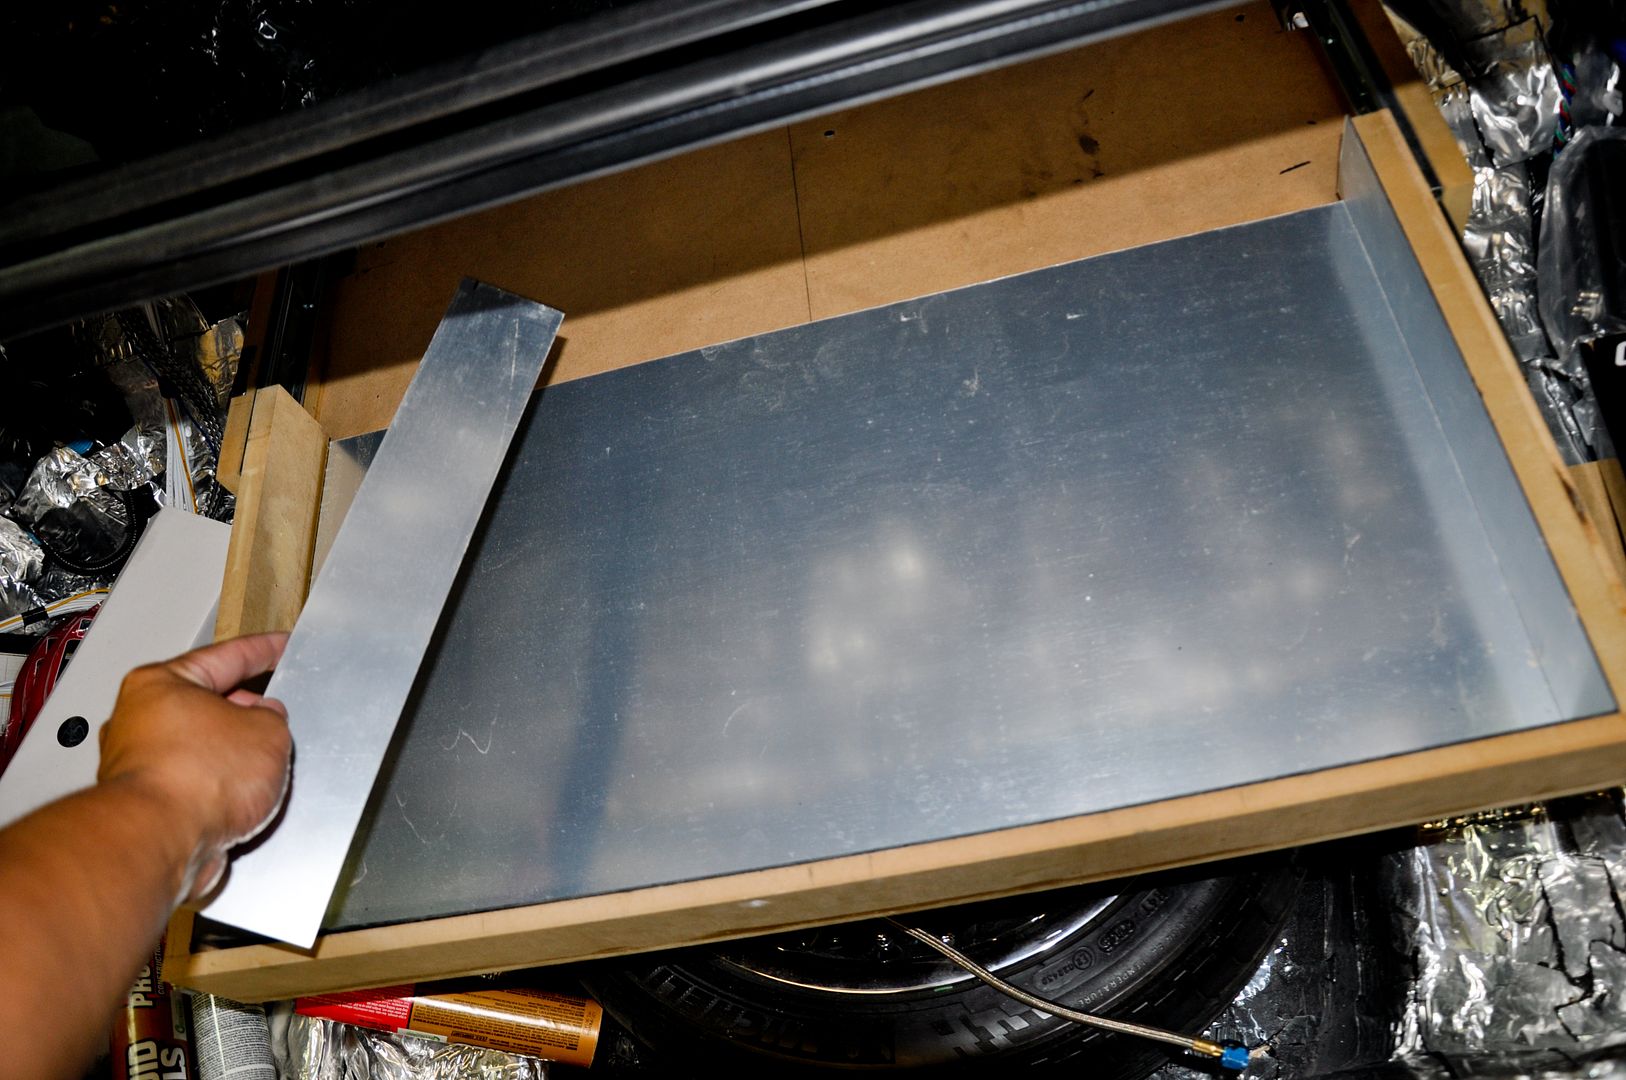
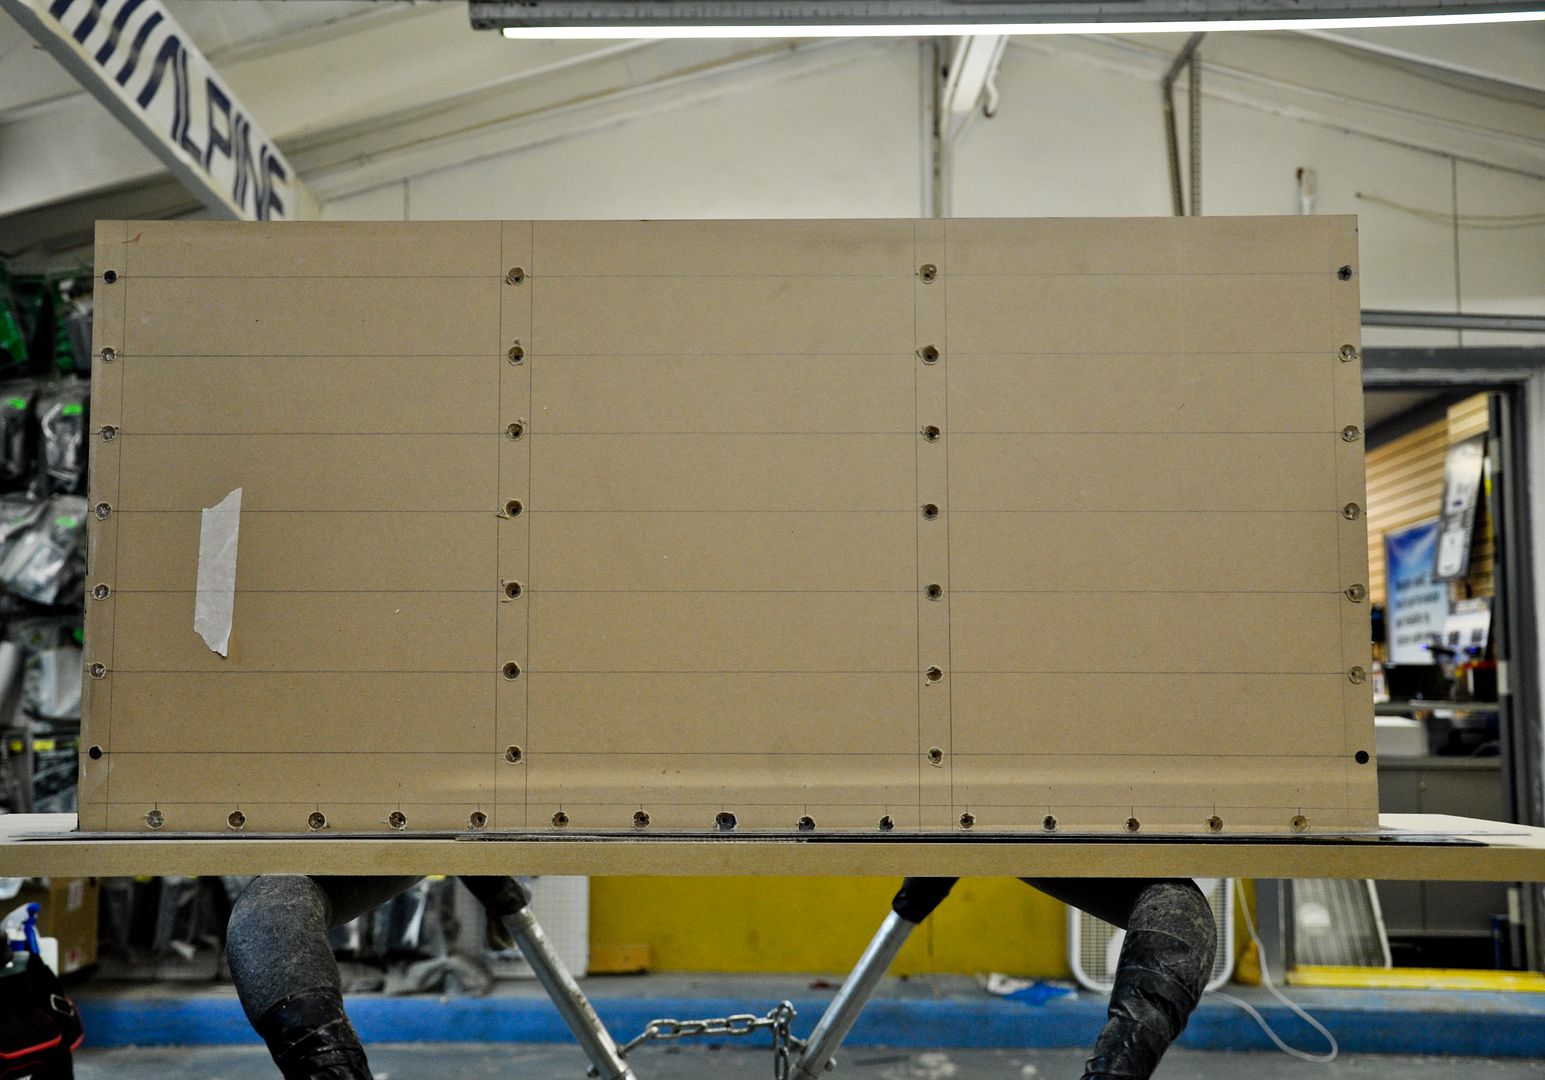
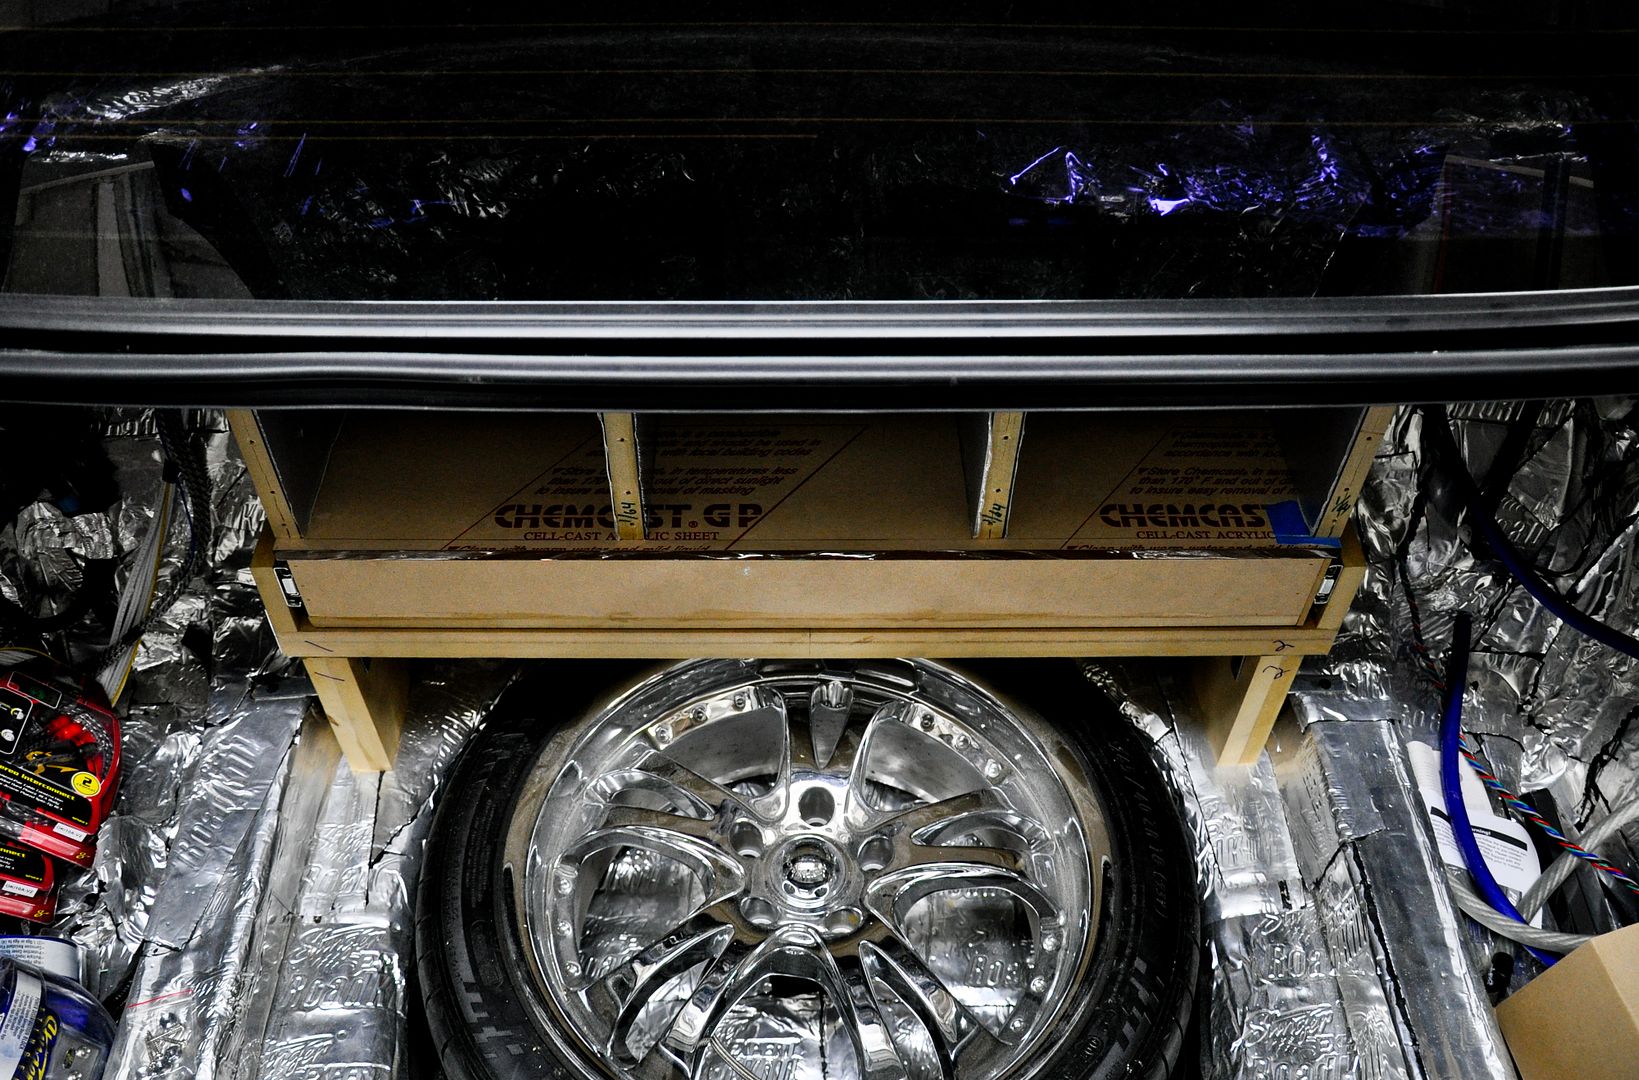
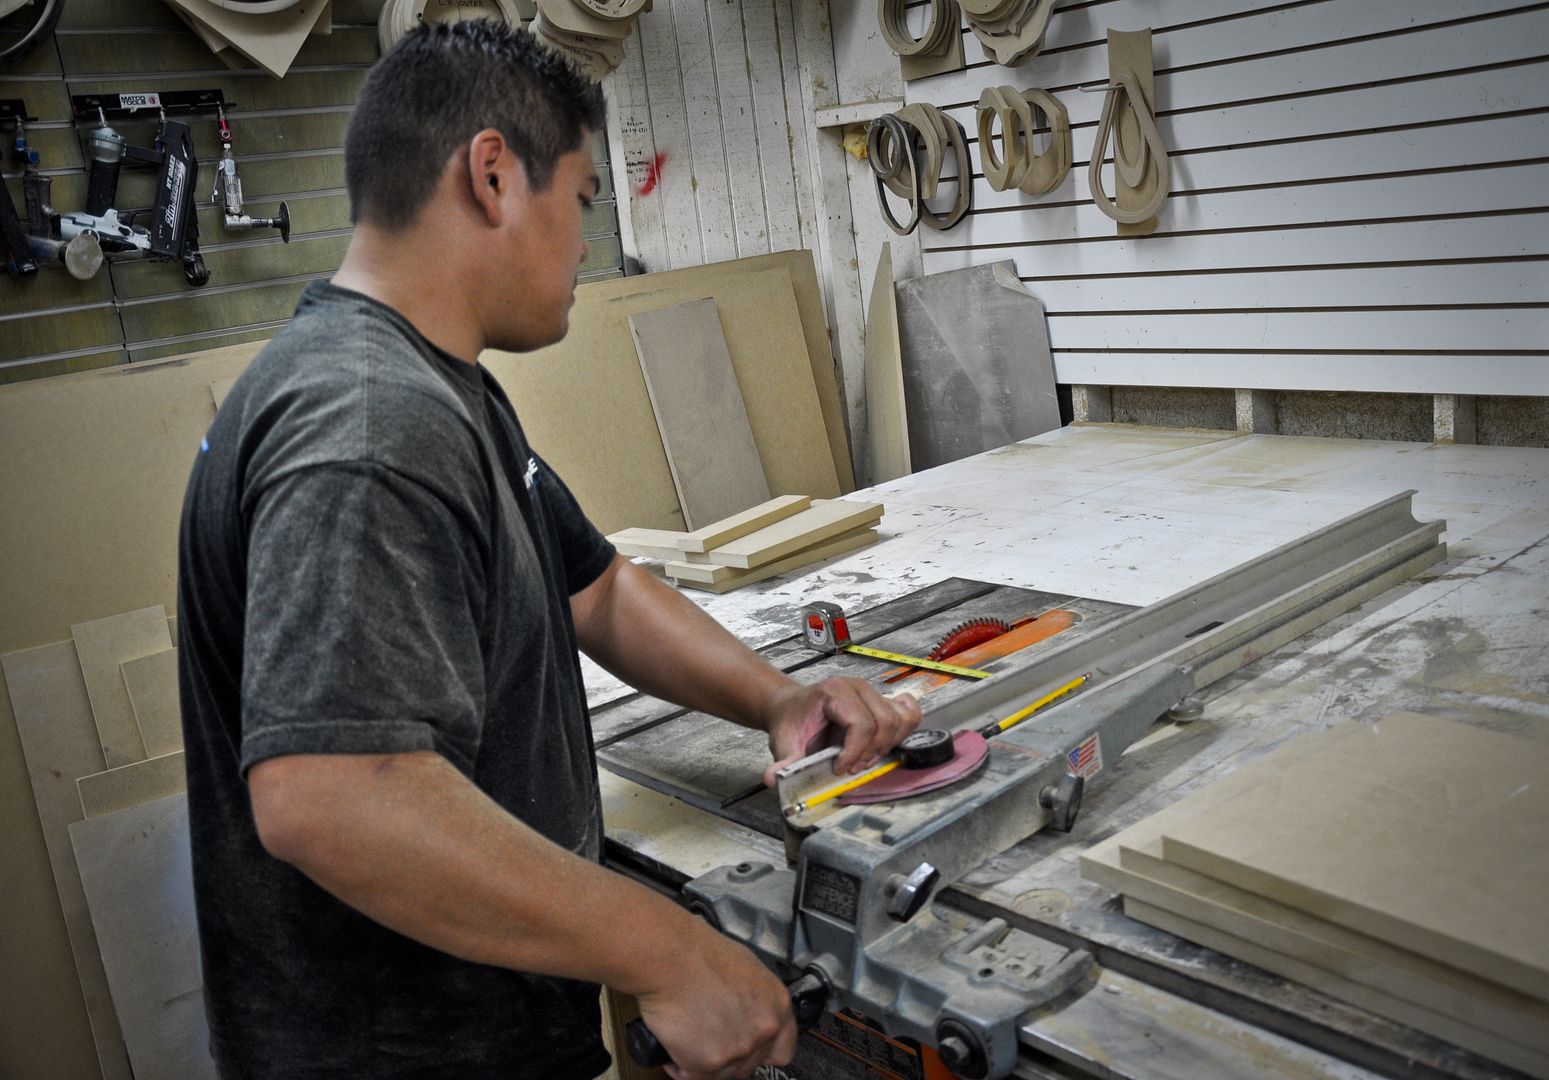
Made this base floor plate with � mdf
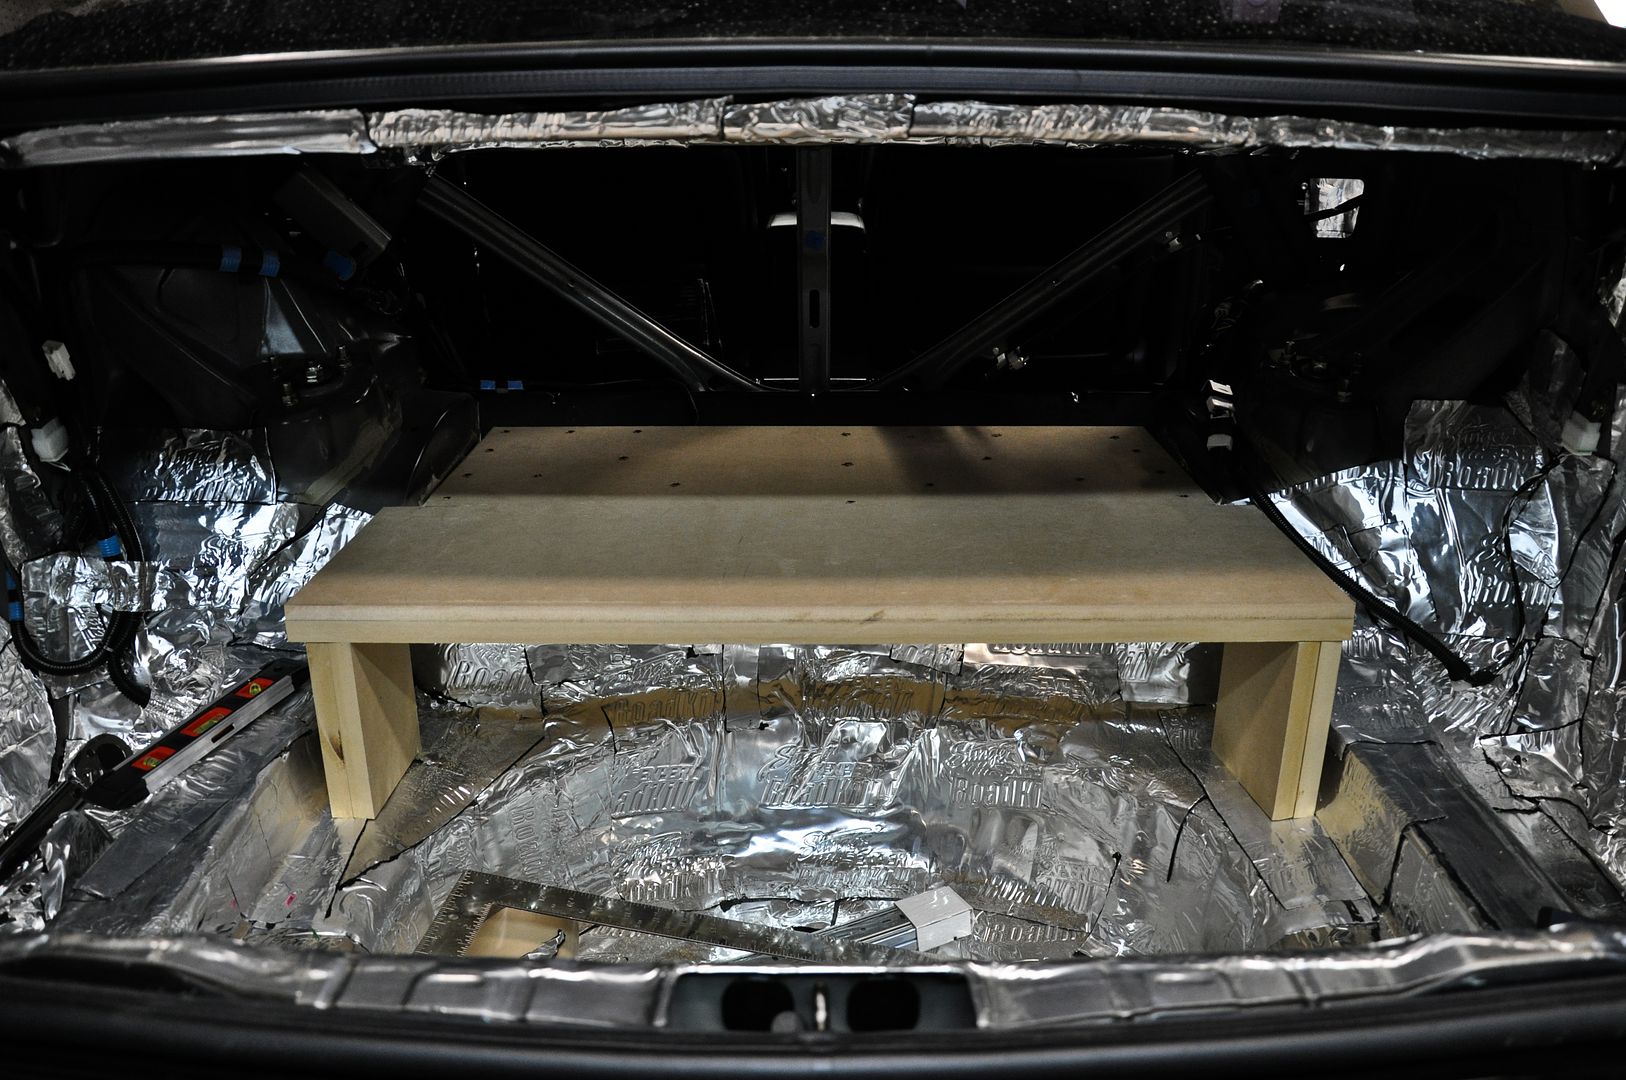
Made sure everything was level
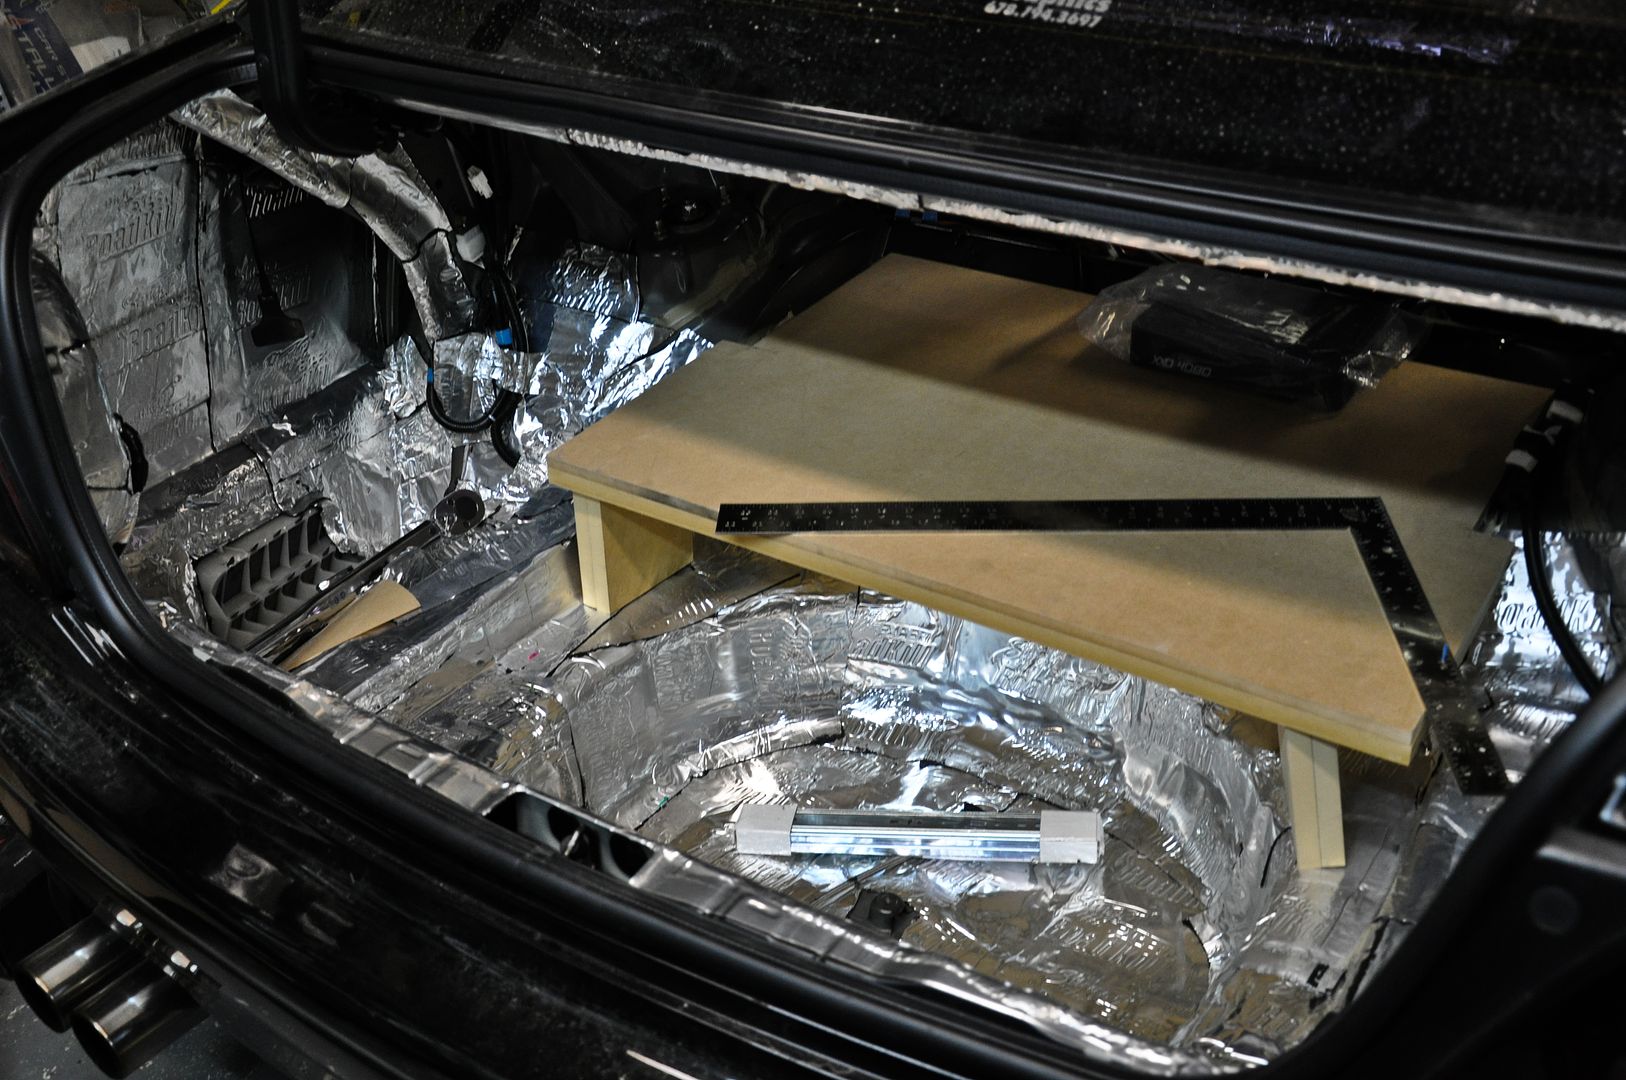
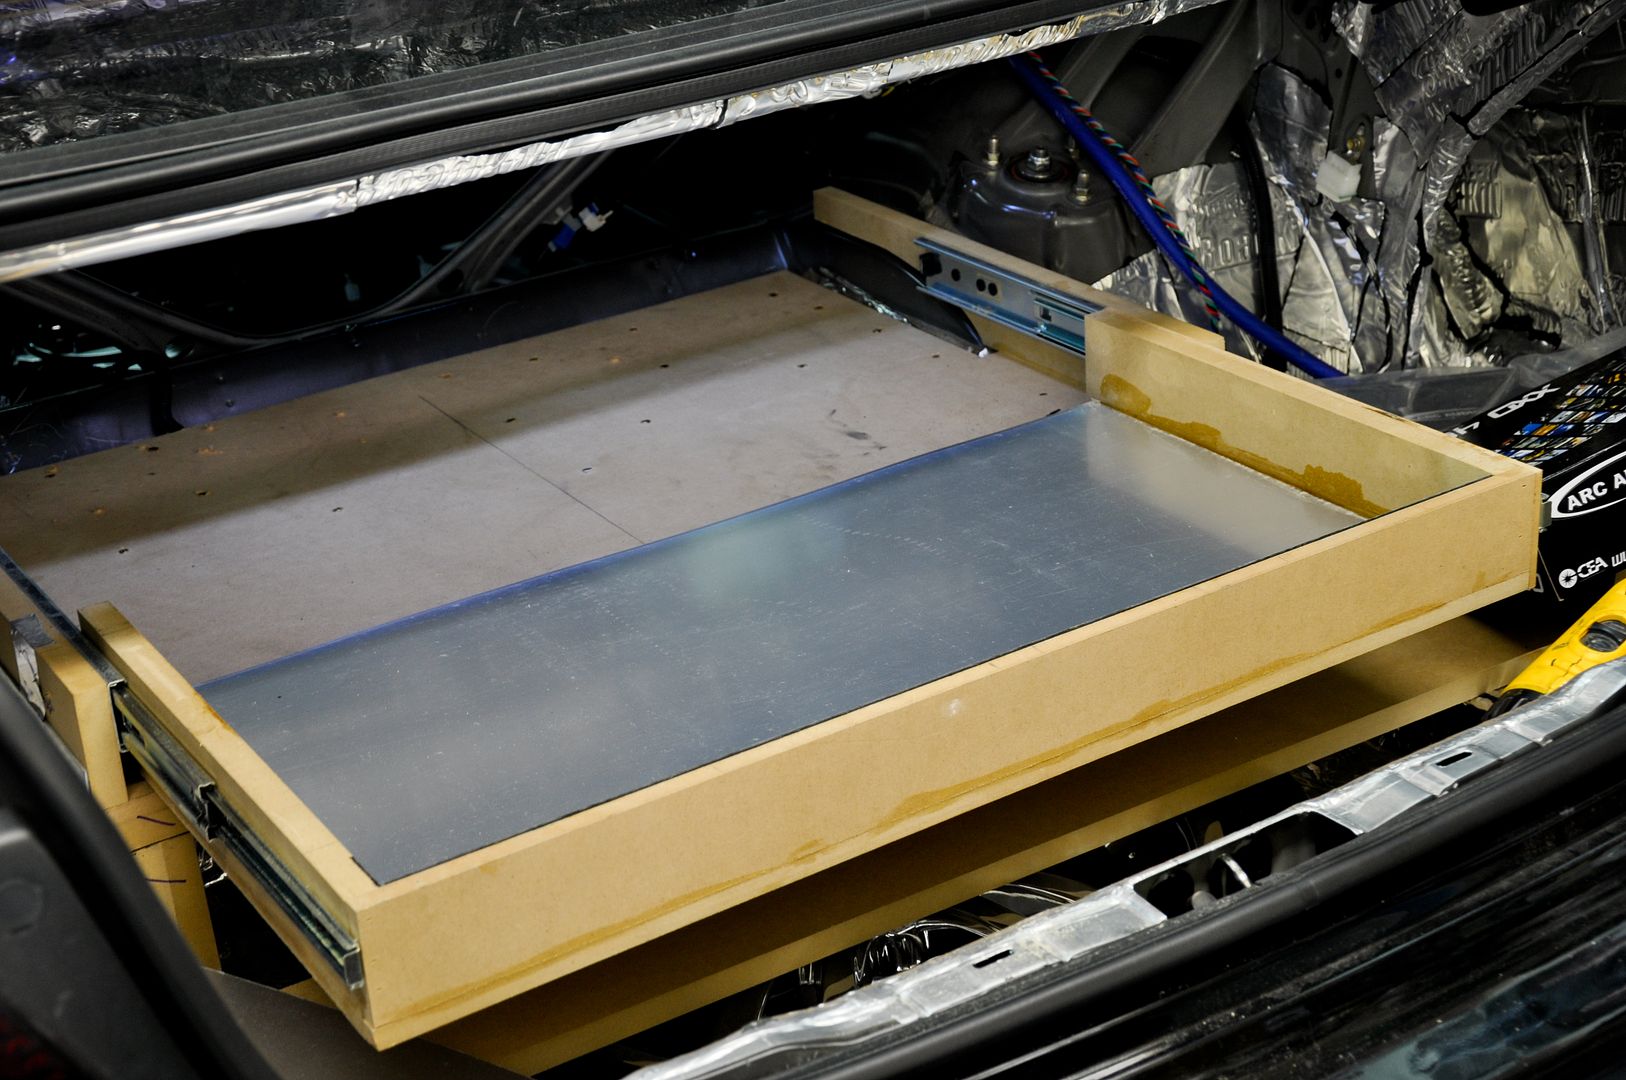
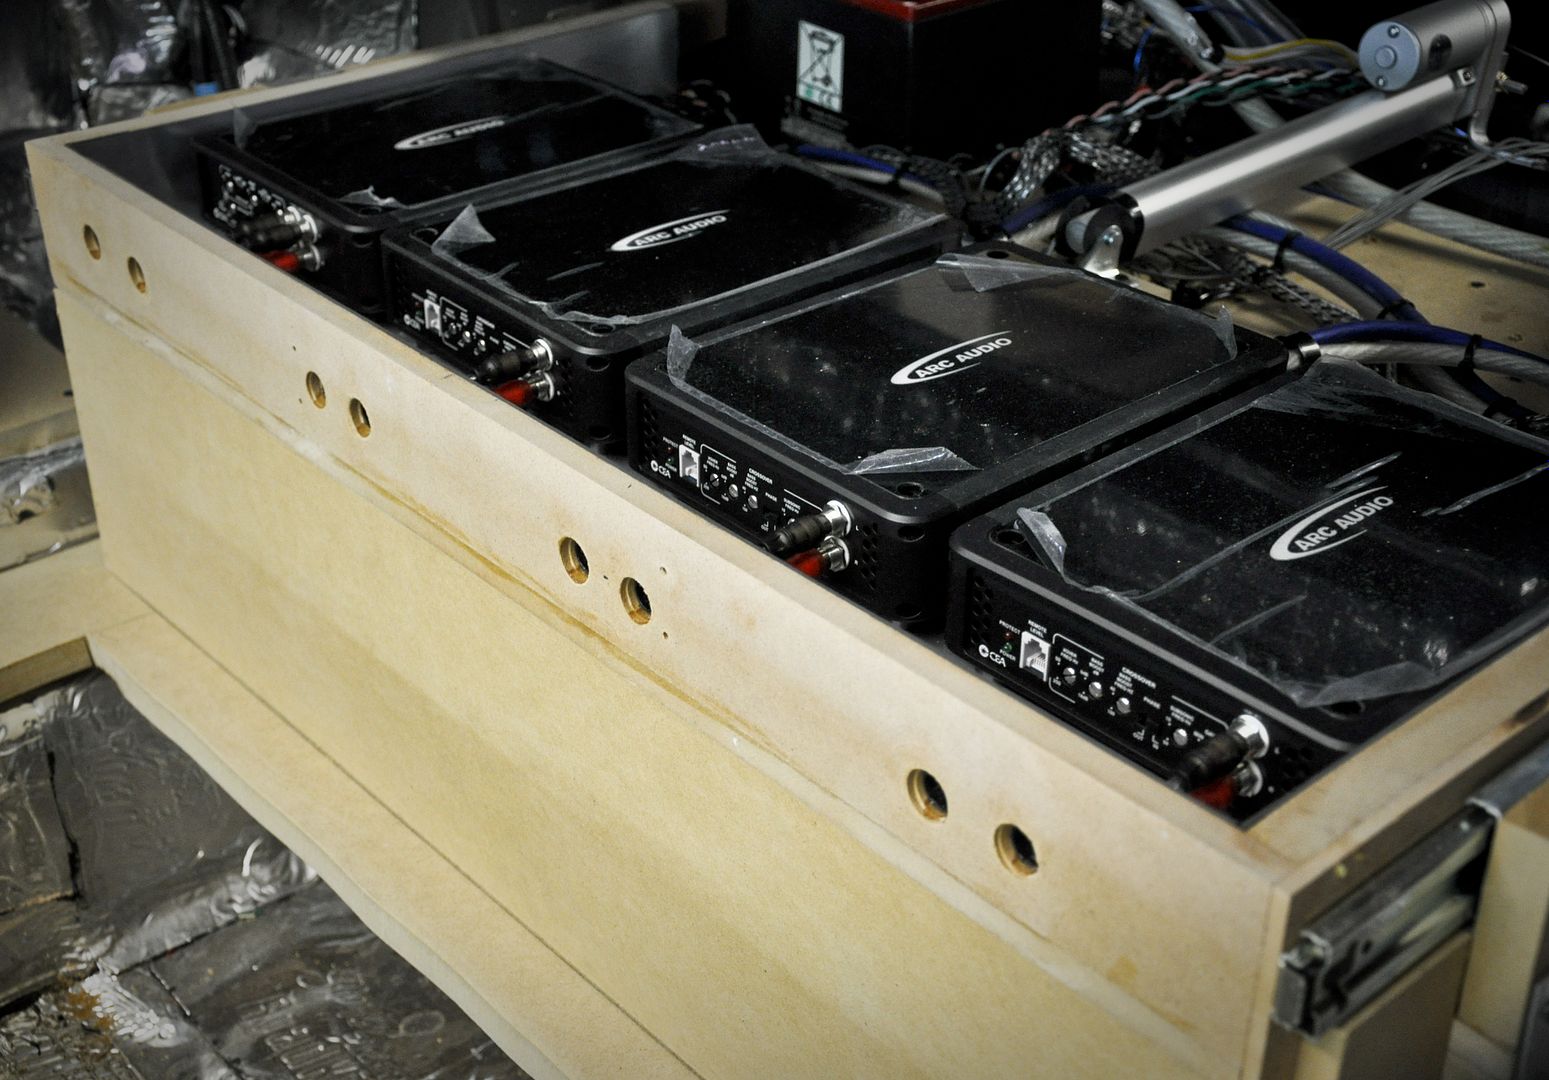
The idea is to have my ARC XXD Amplifiers on the base plate with a drawer
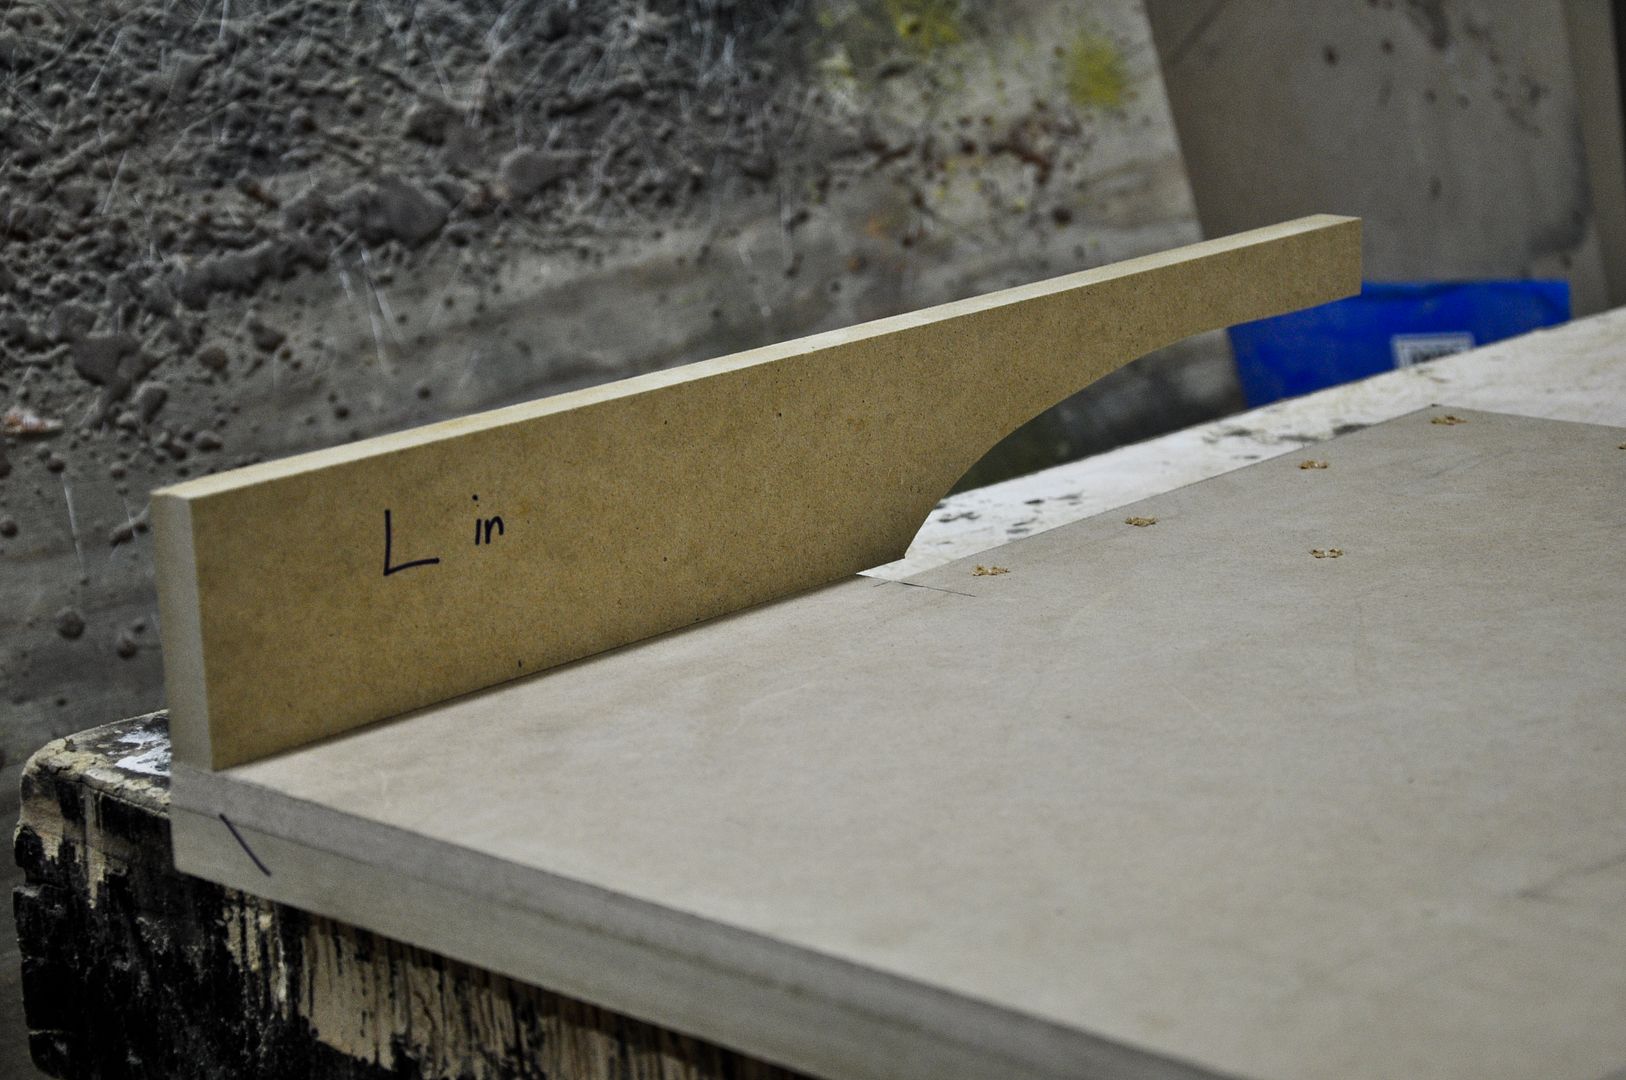
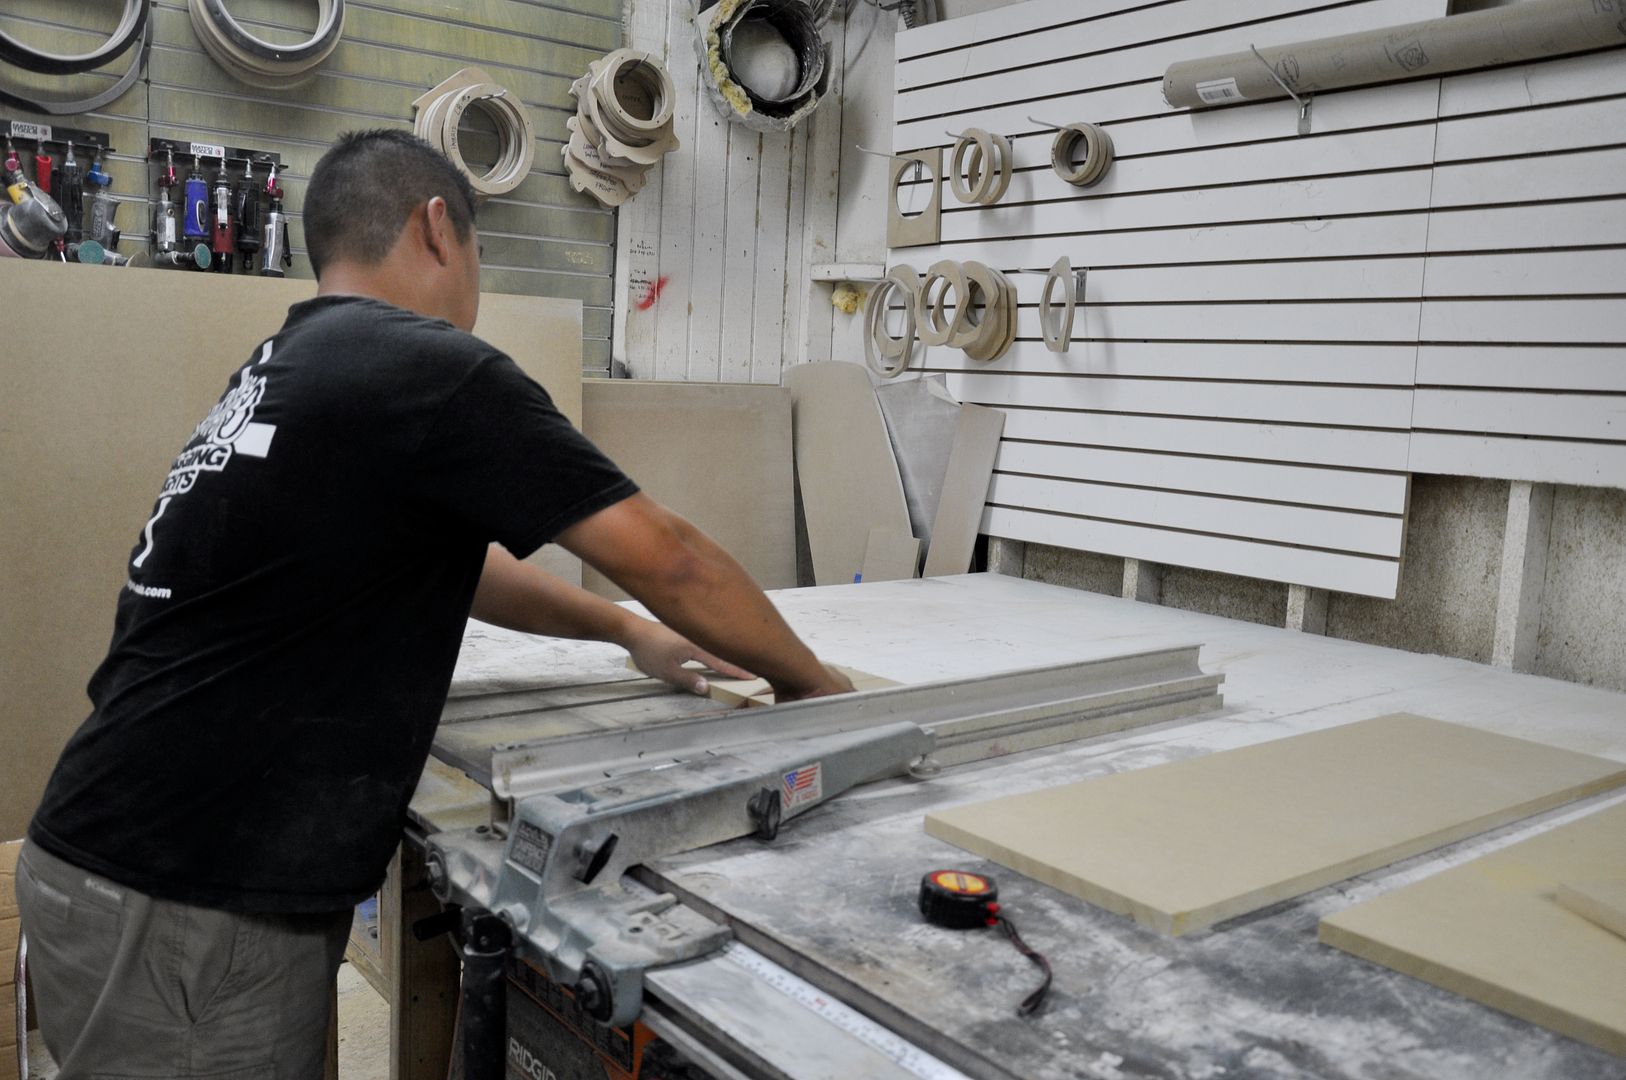
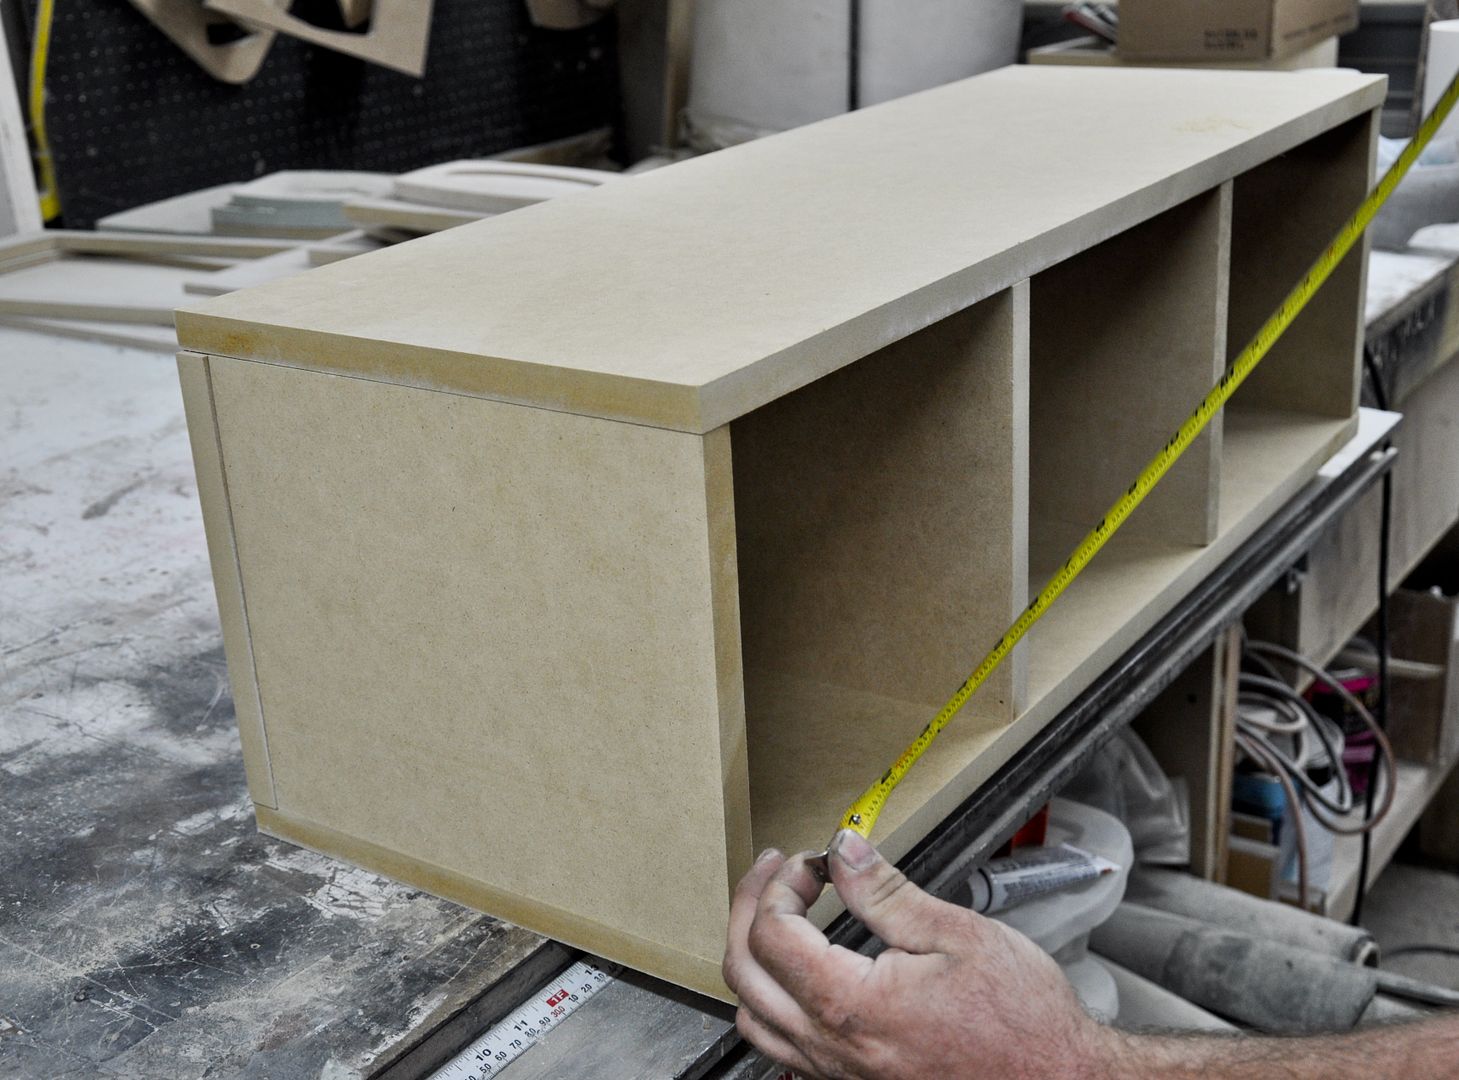
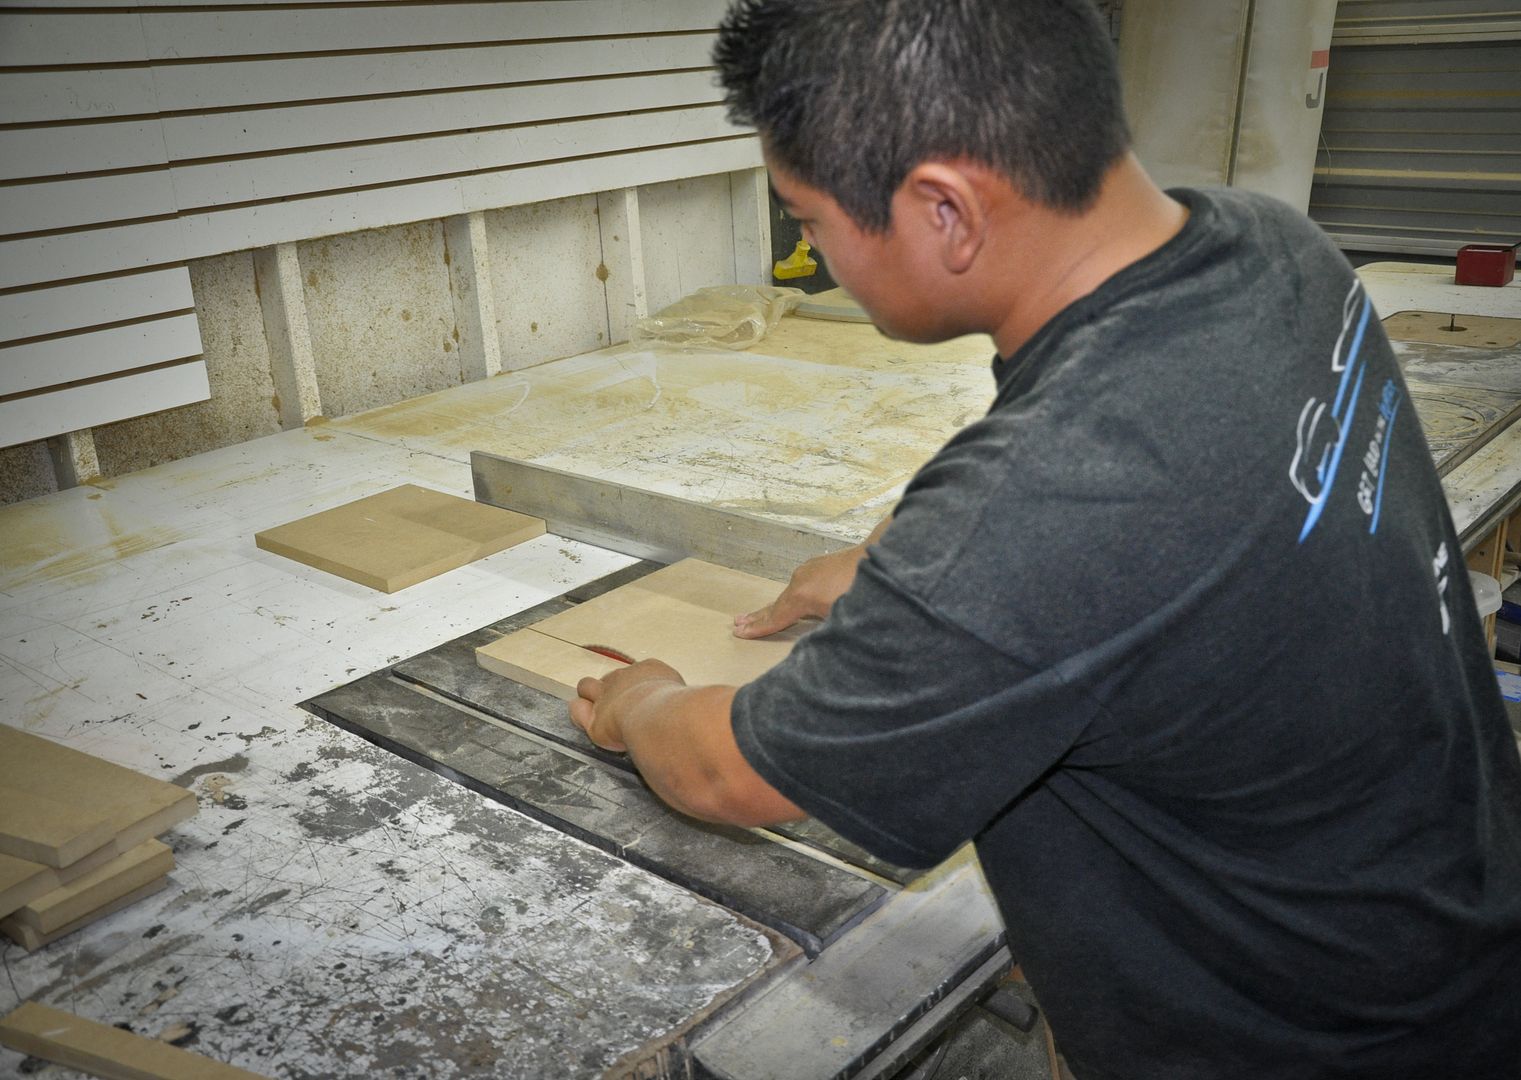
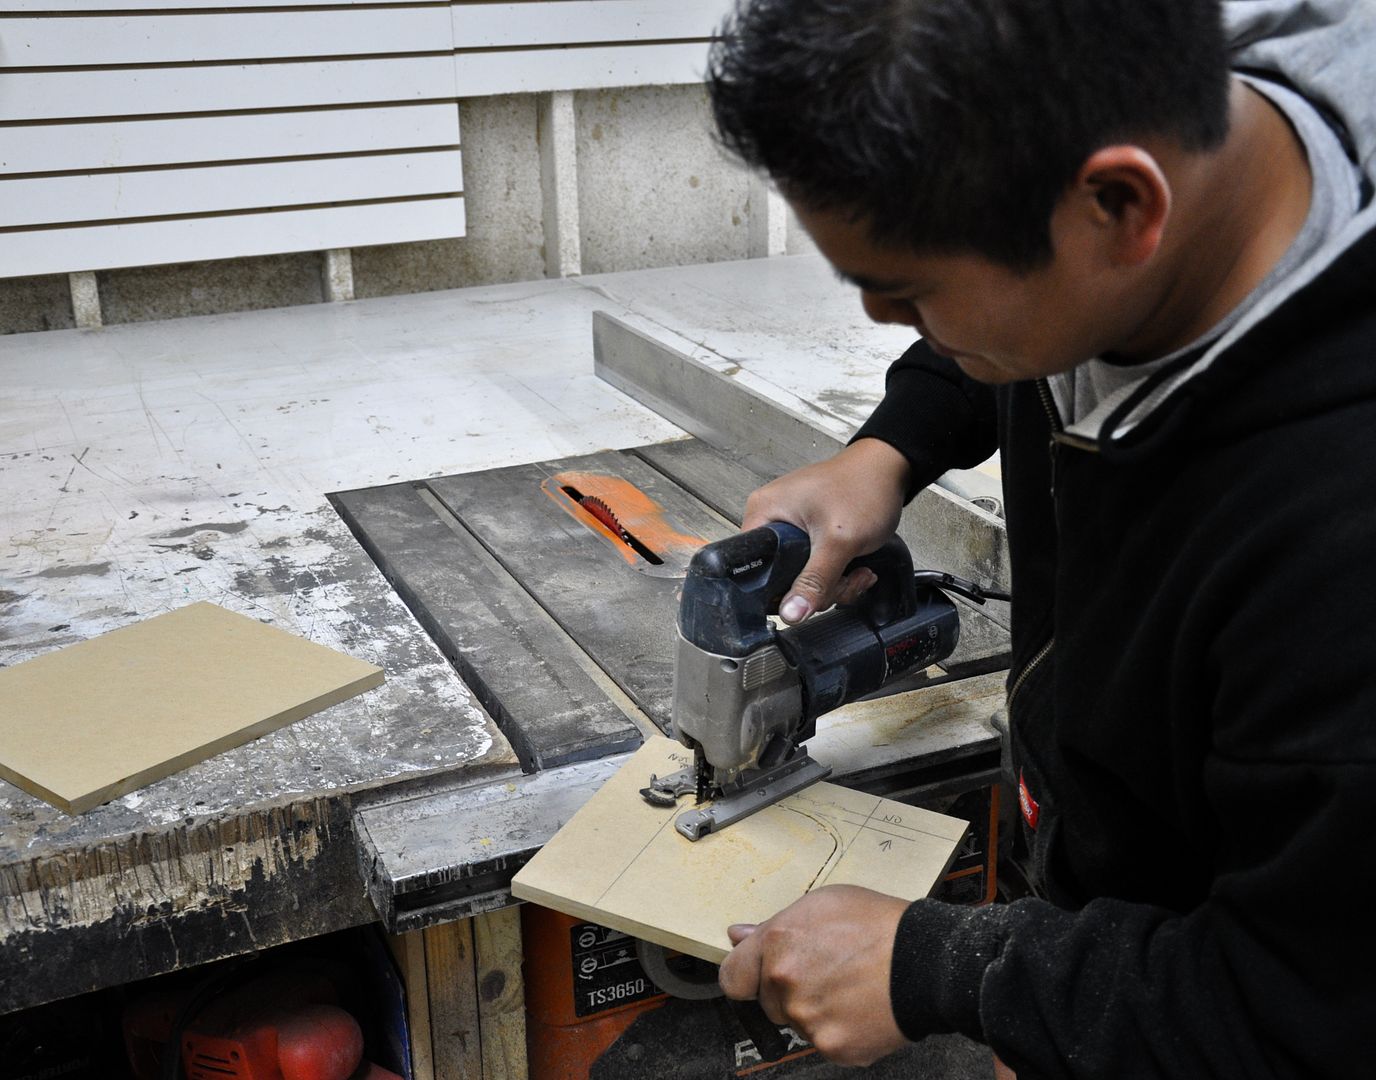
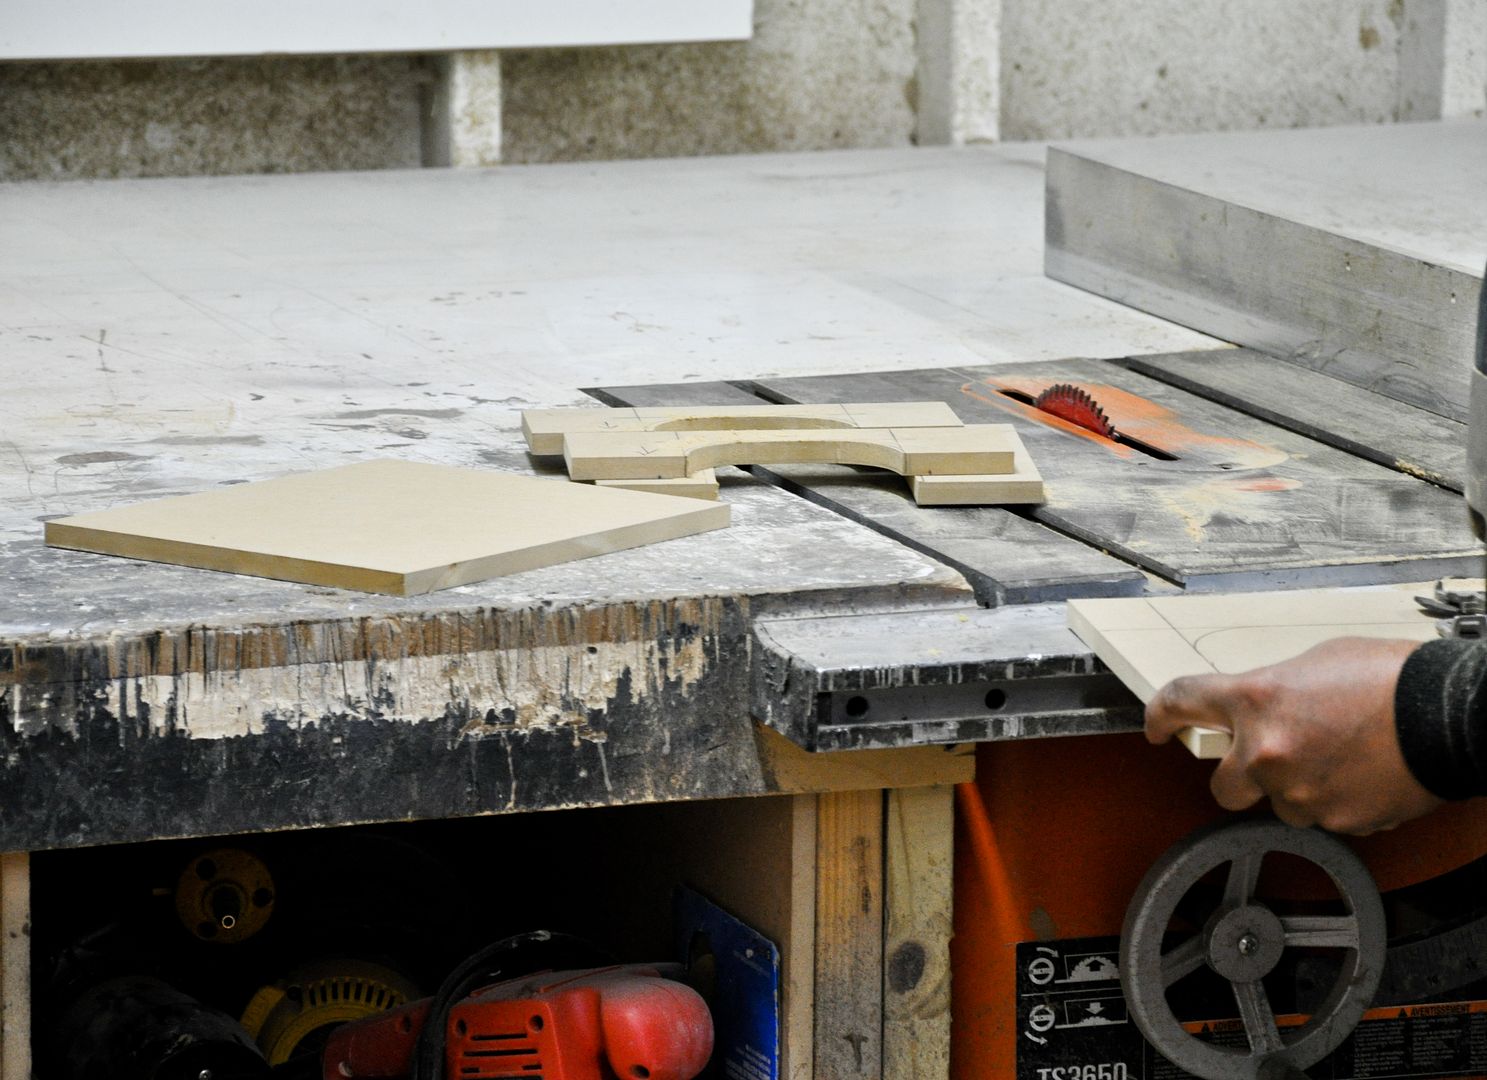
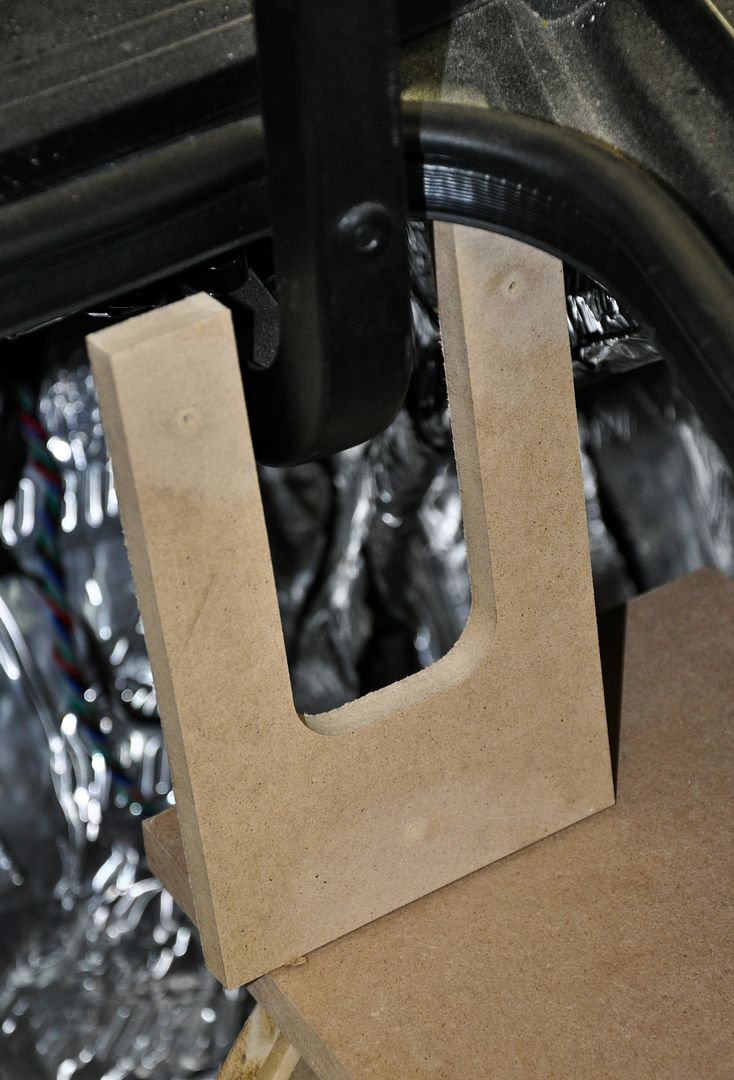
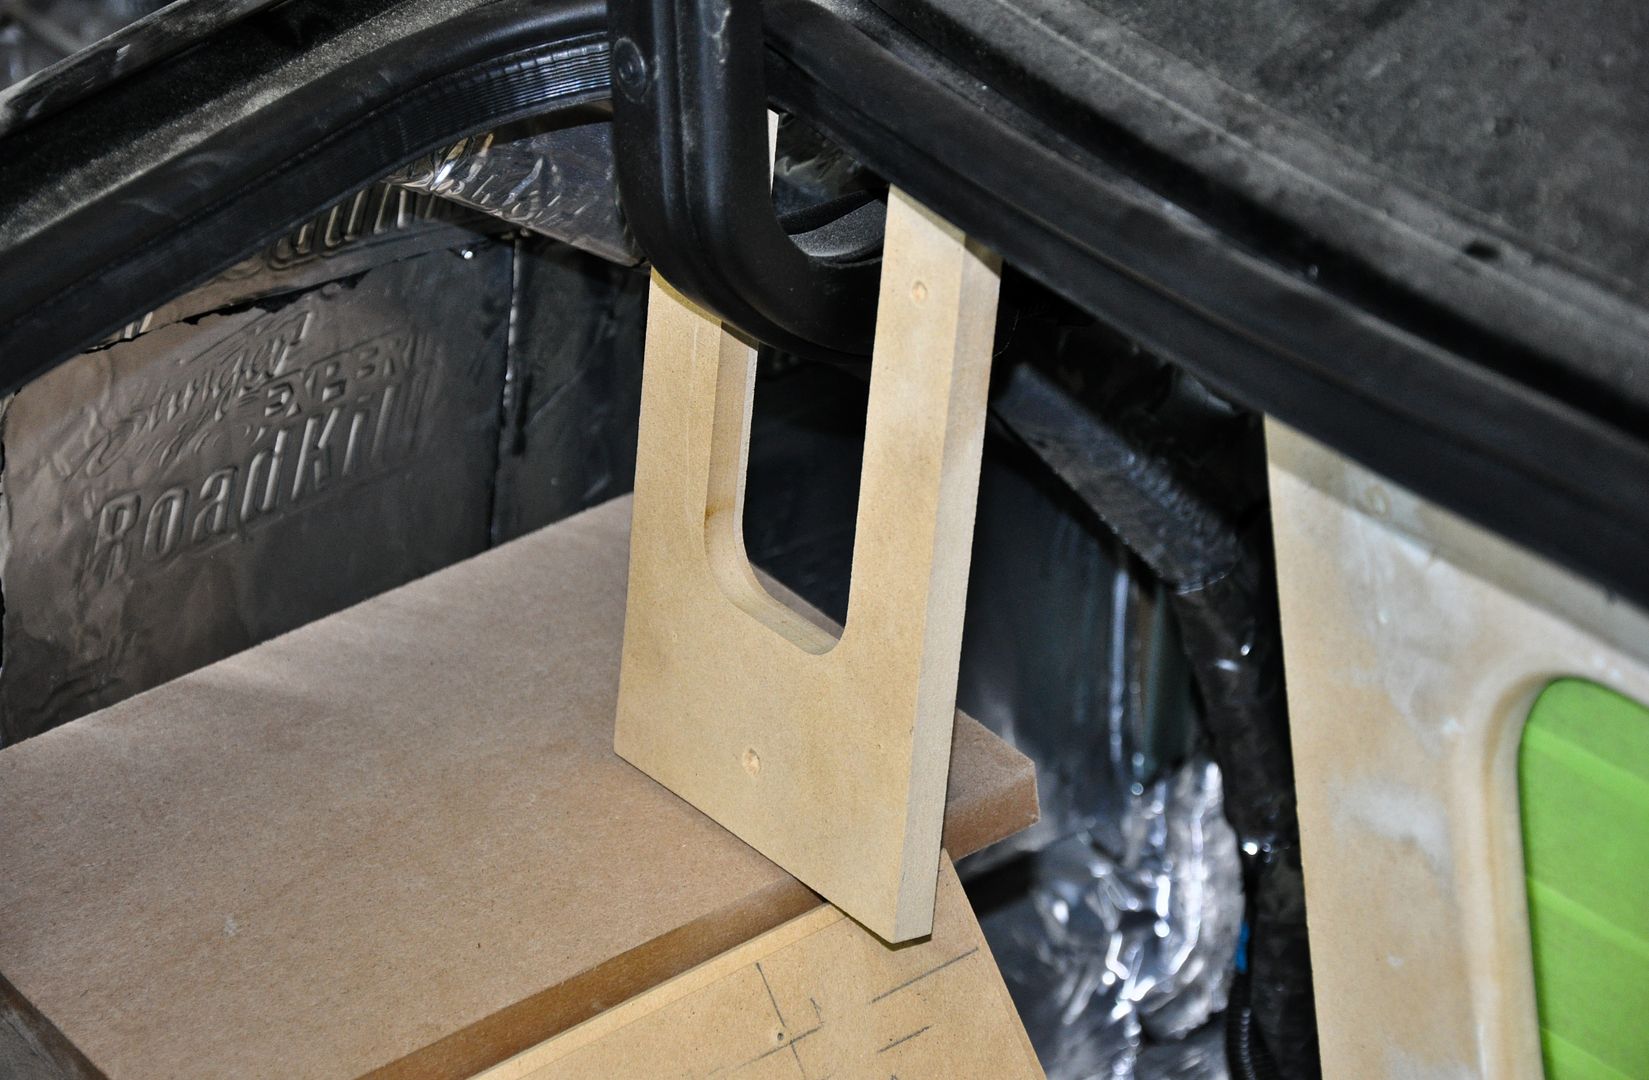
Makings of the drawer arms
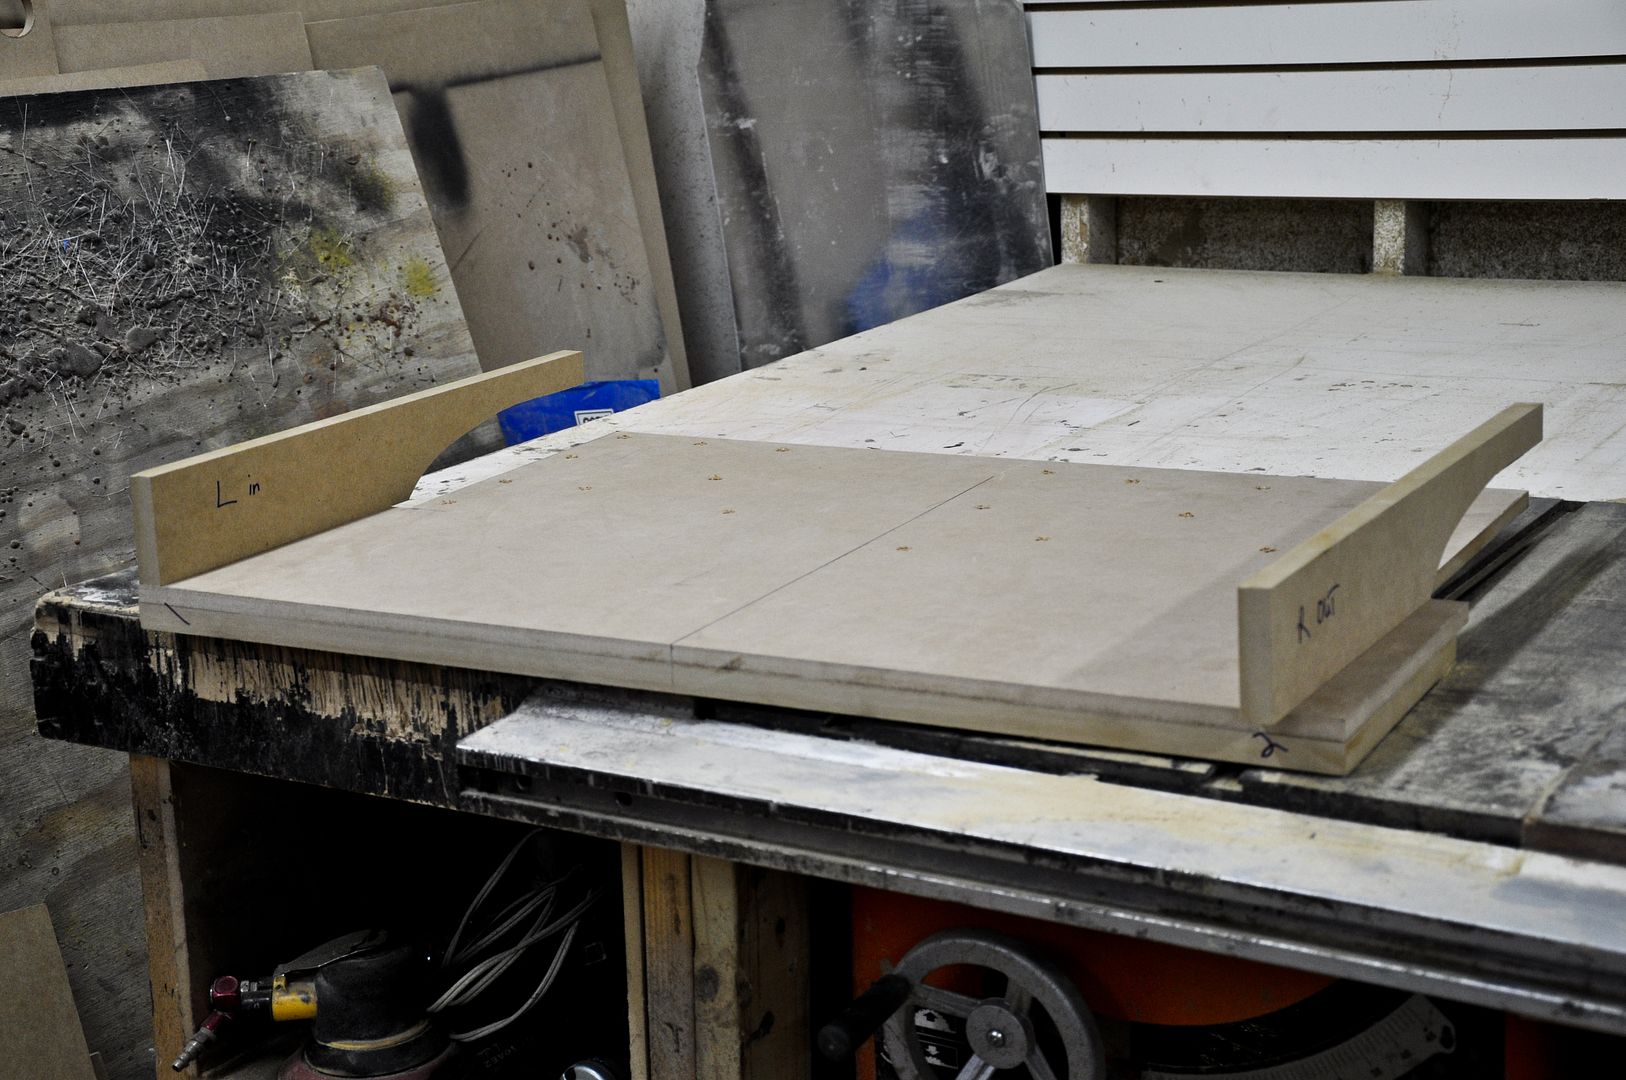
Cut down as much as needed to clear wheel wells
Drawer slider rails installed
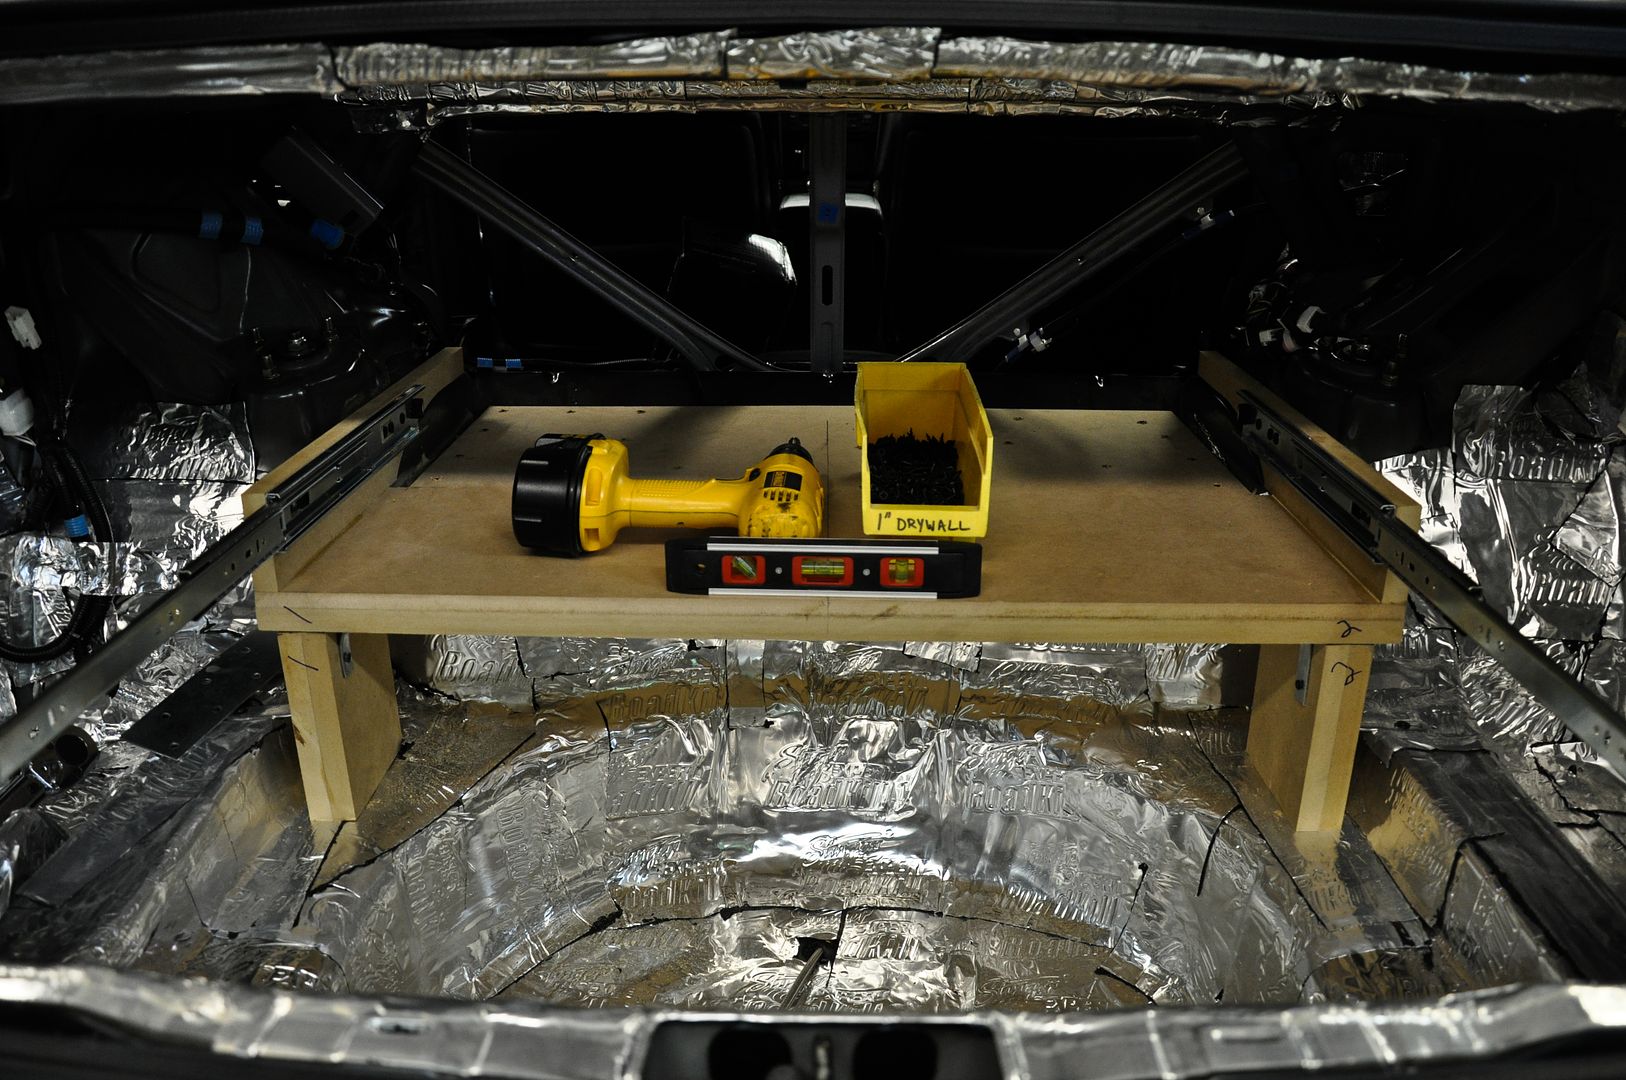
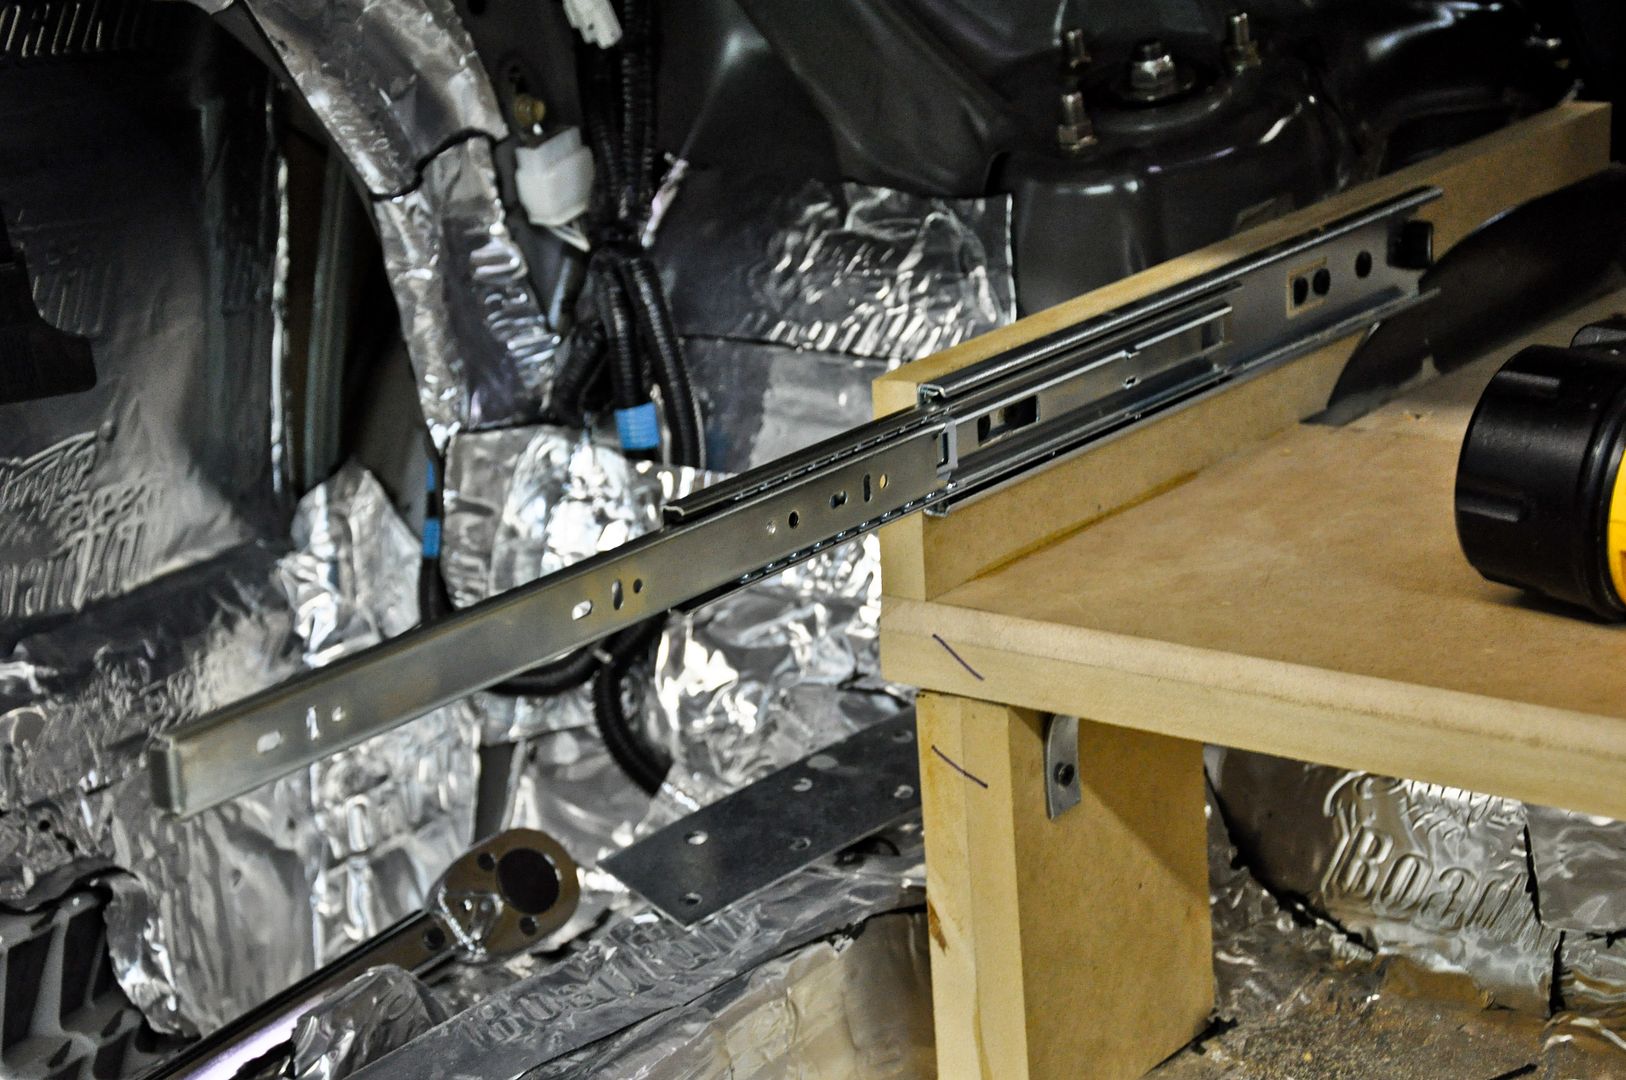
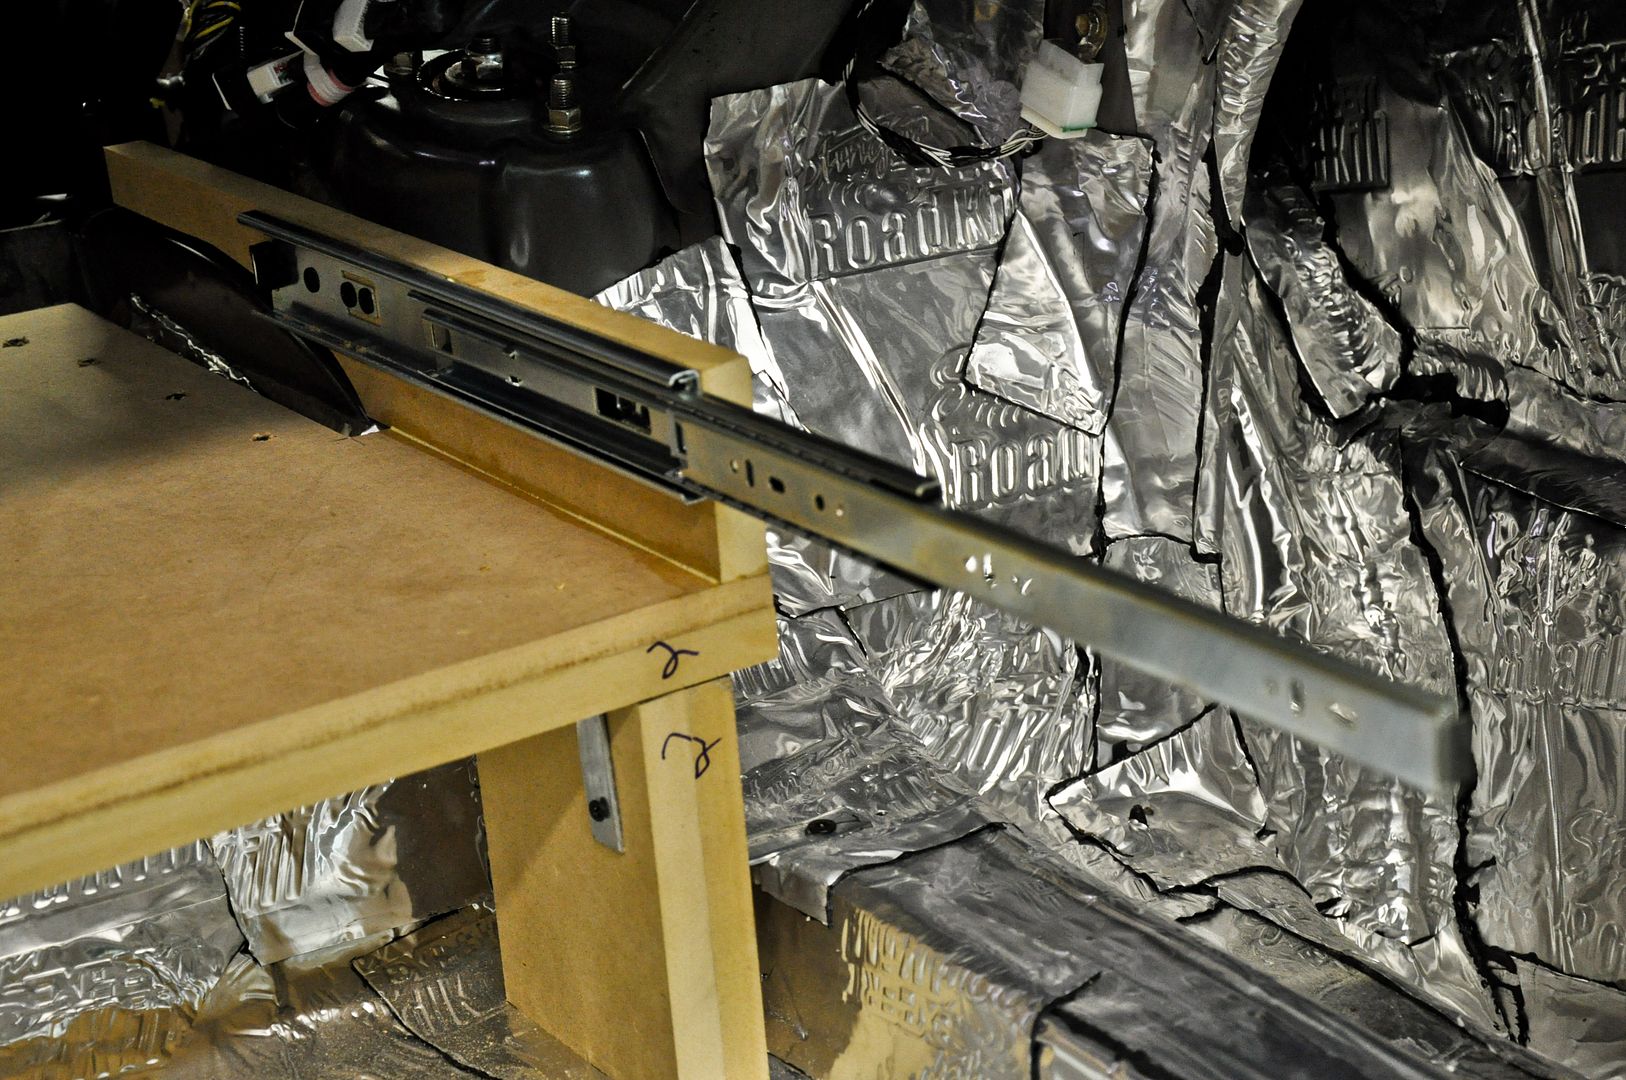
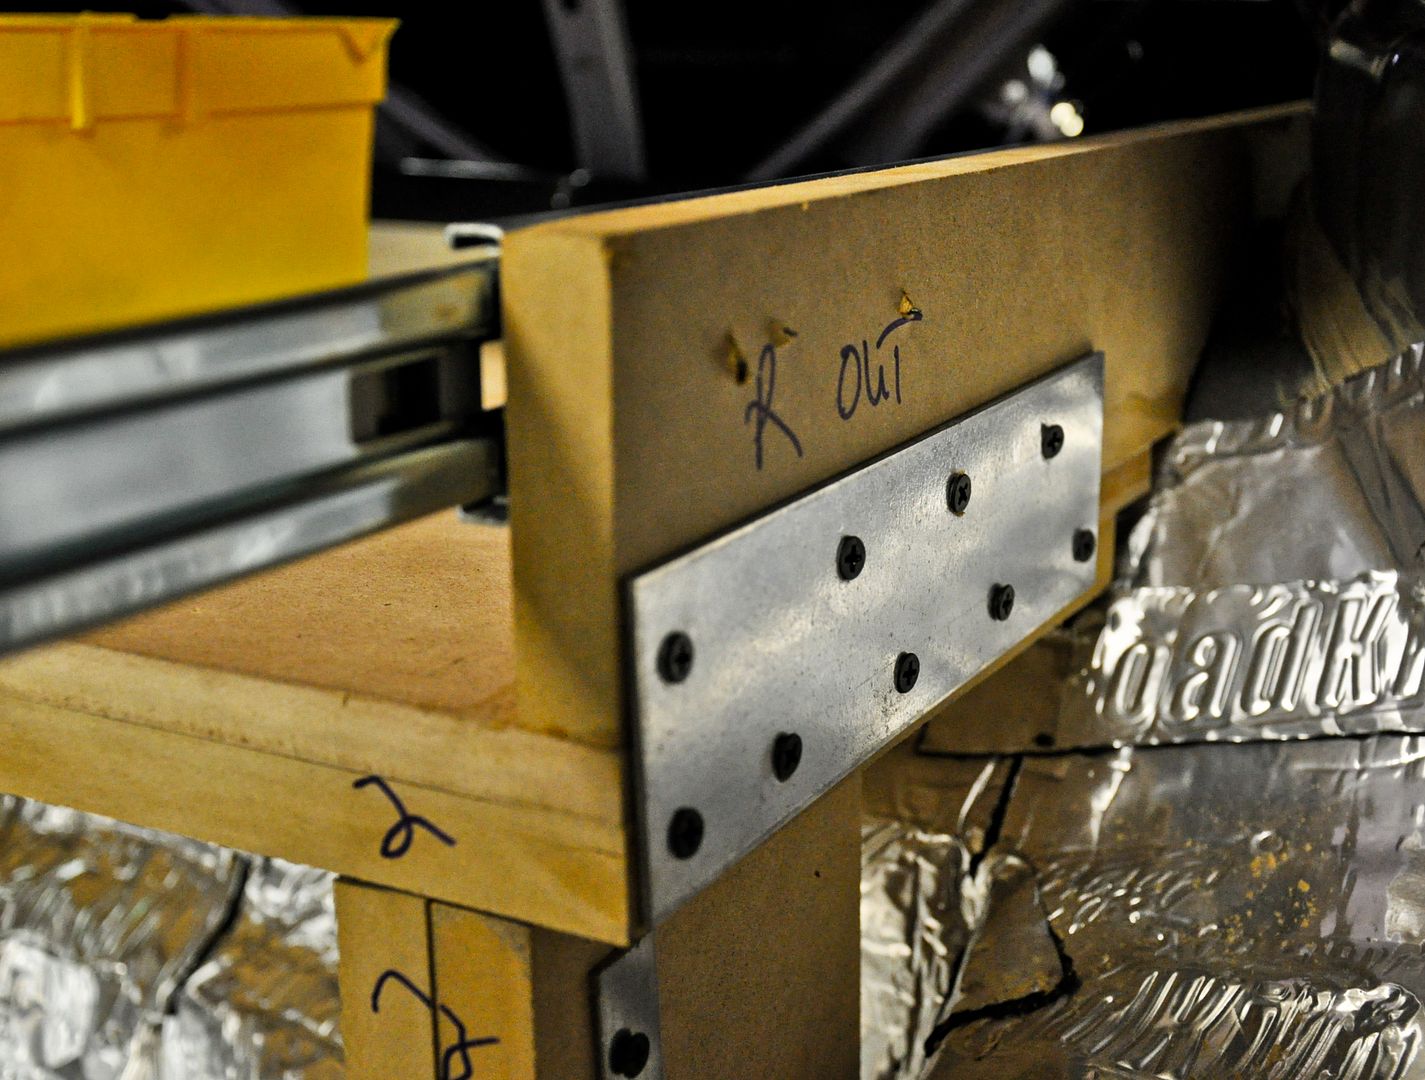
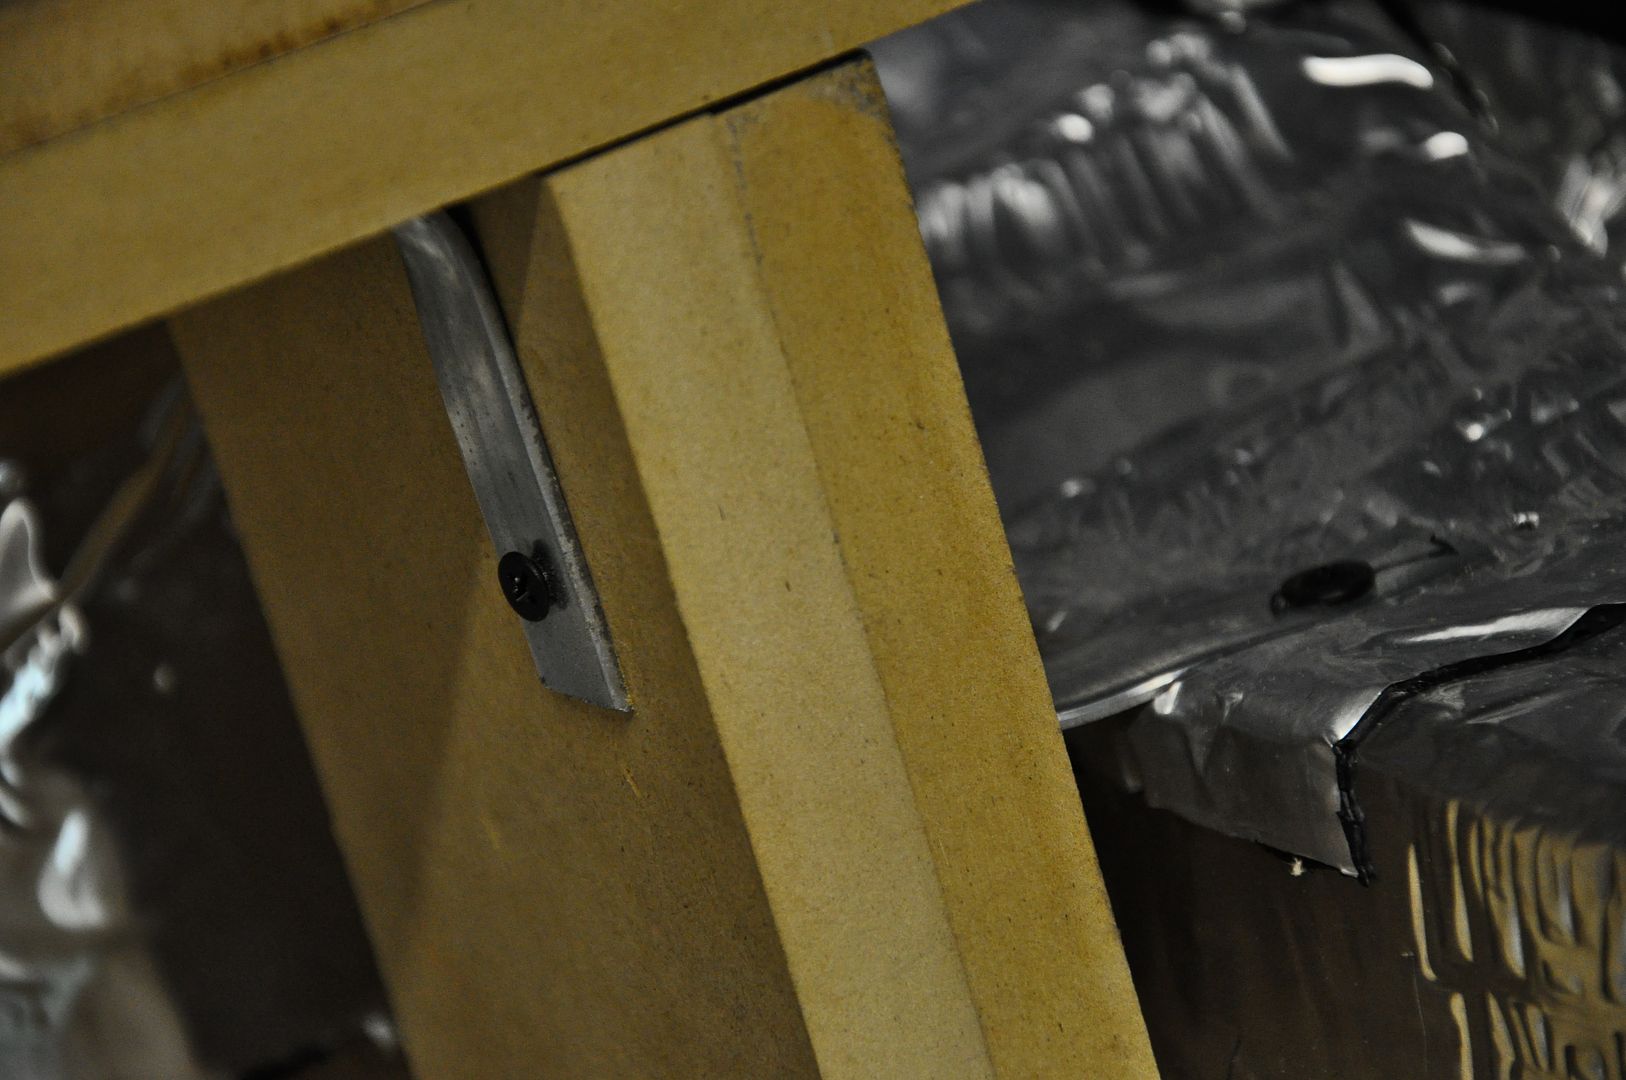
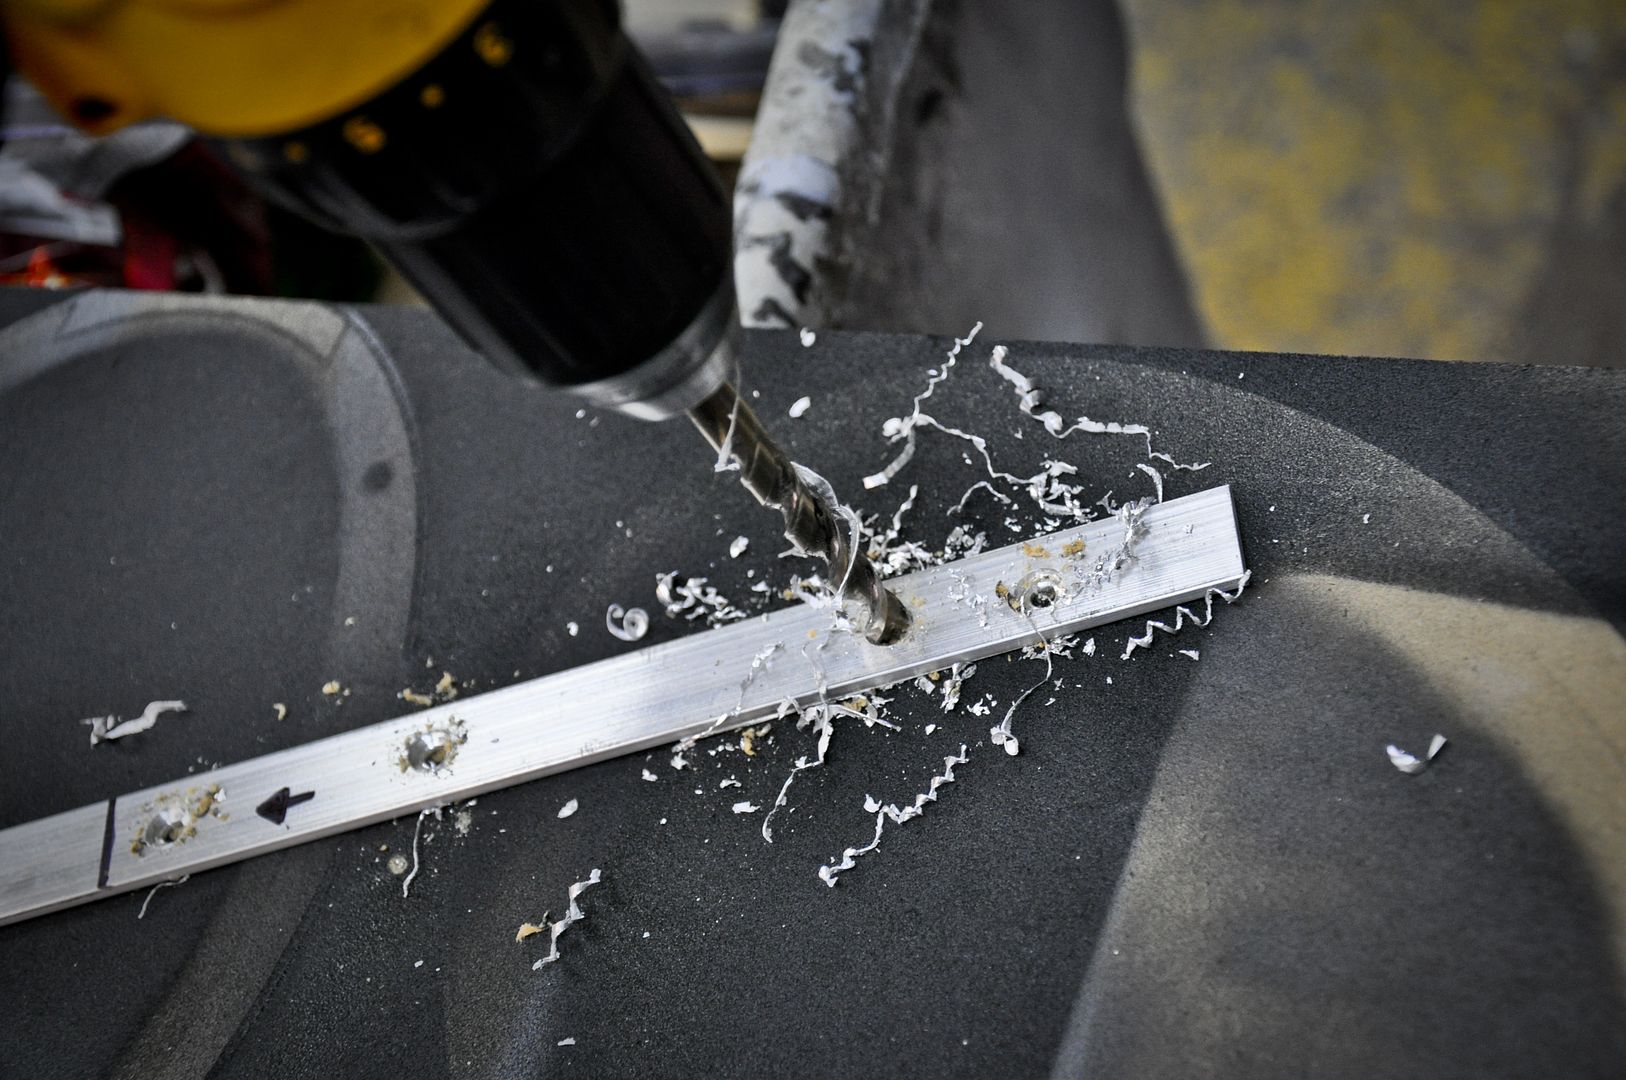
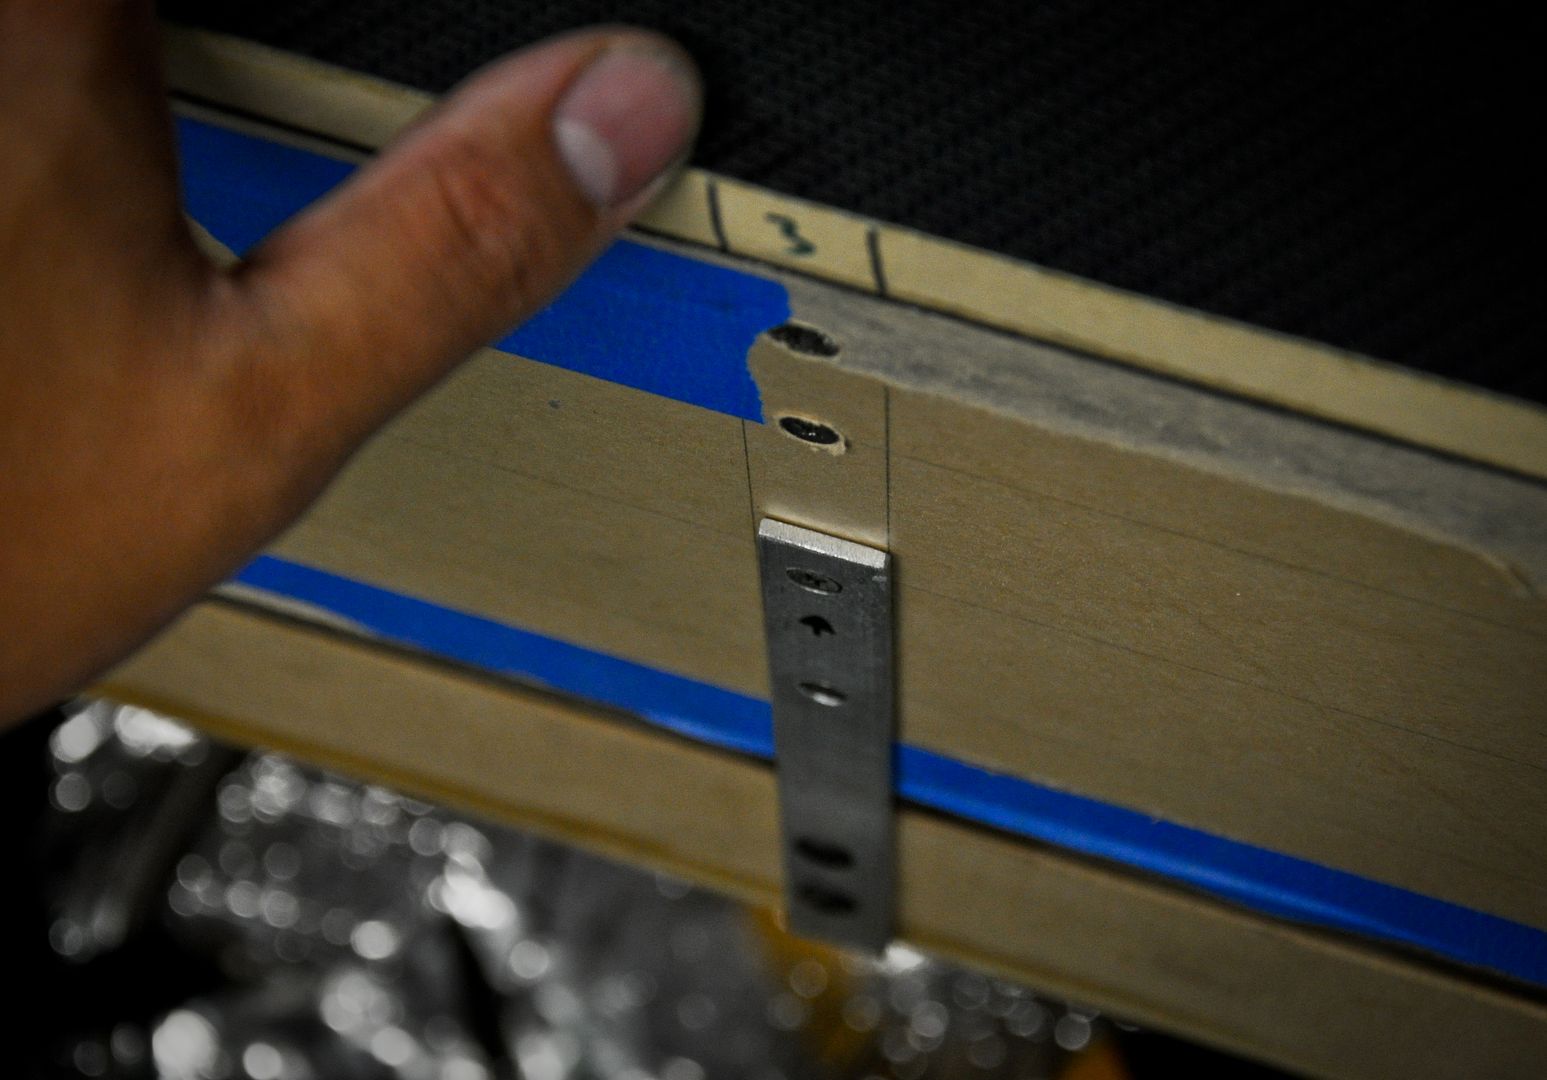
Custom brackets made to support the weight which the rails are suppose to hold (rated at 100 lbs)
Lunch one day on my tray table lol

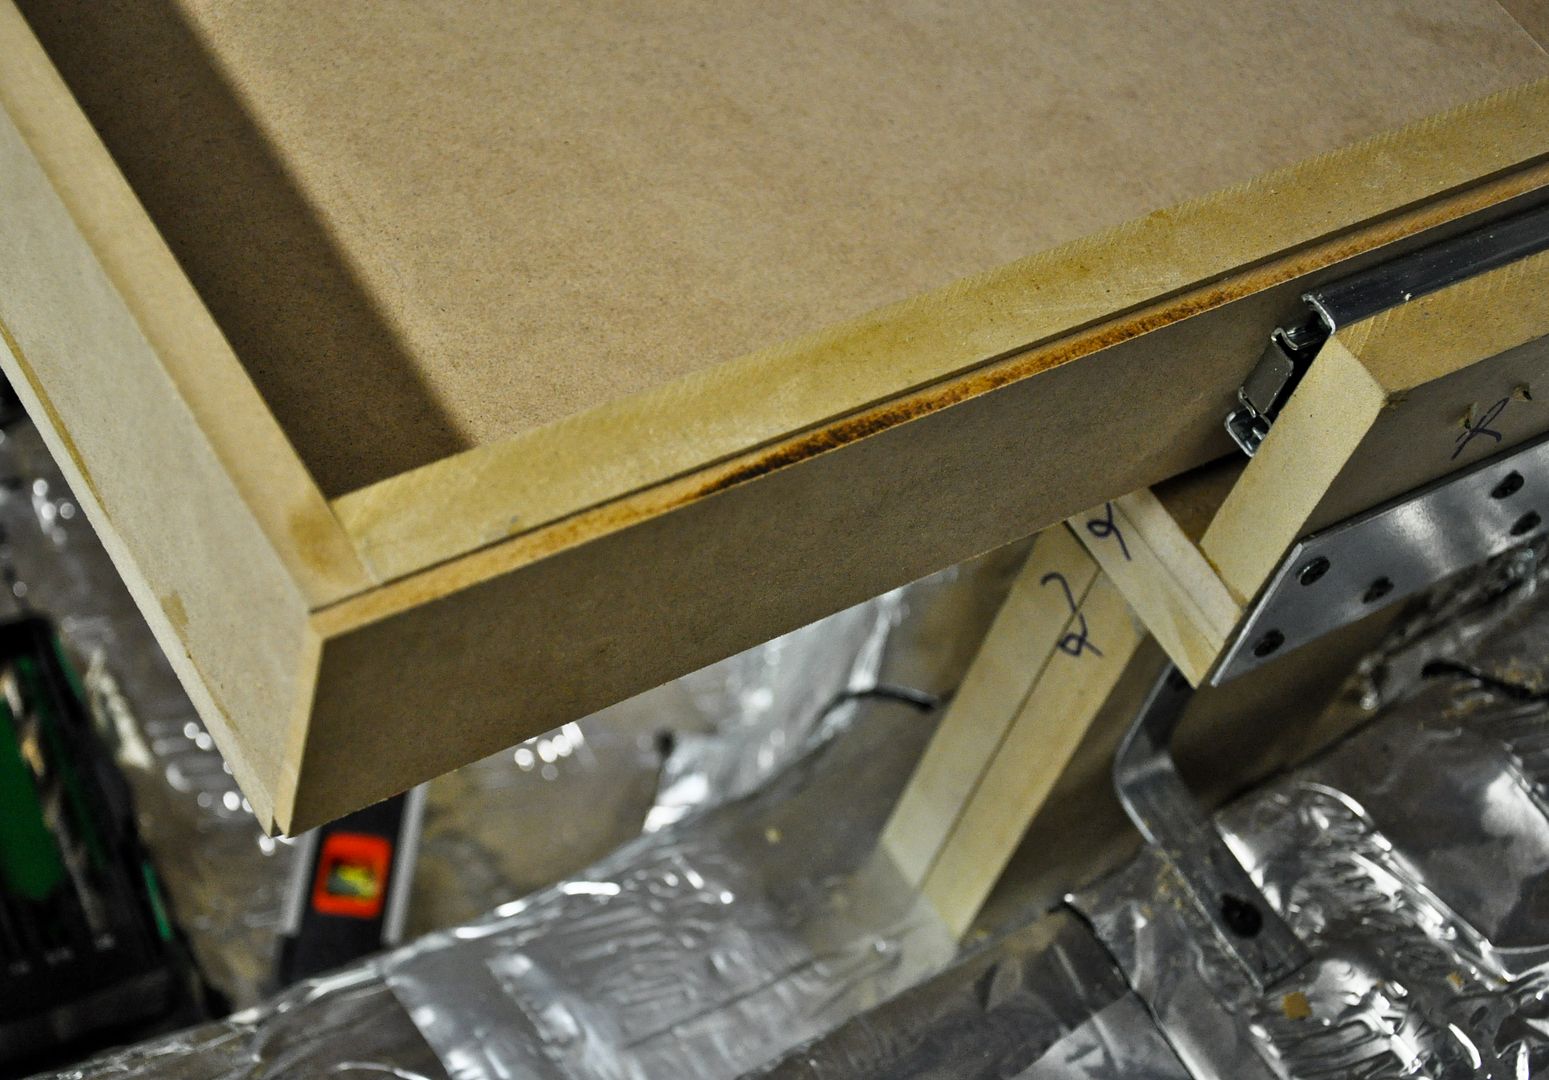
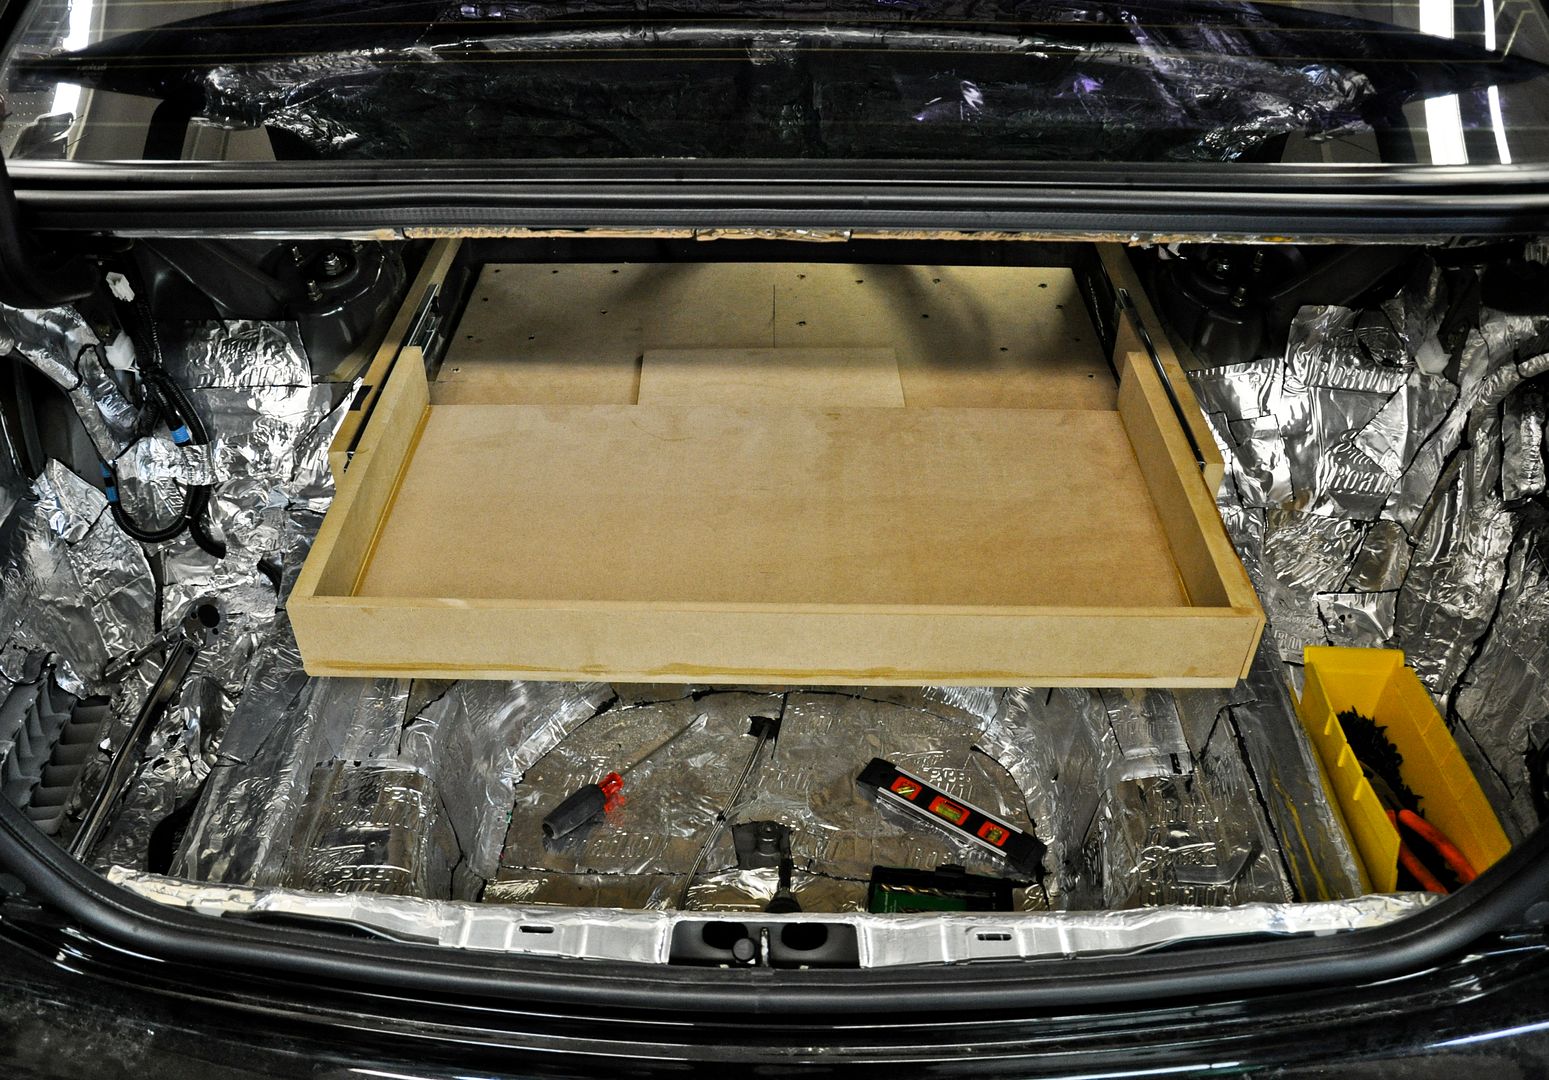
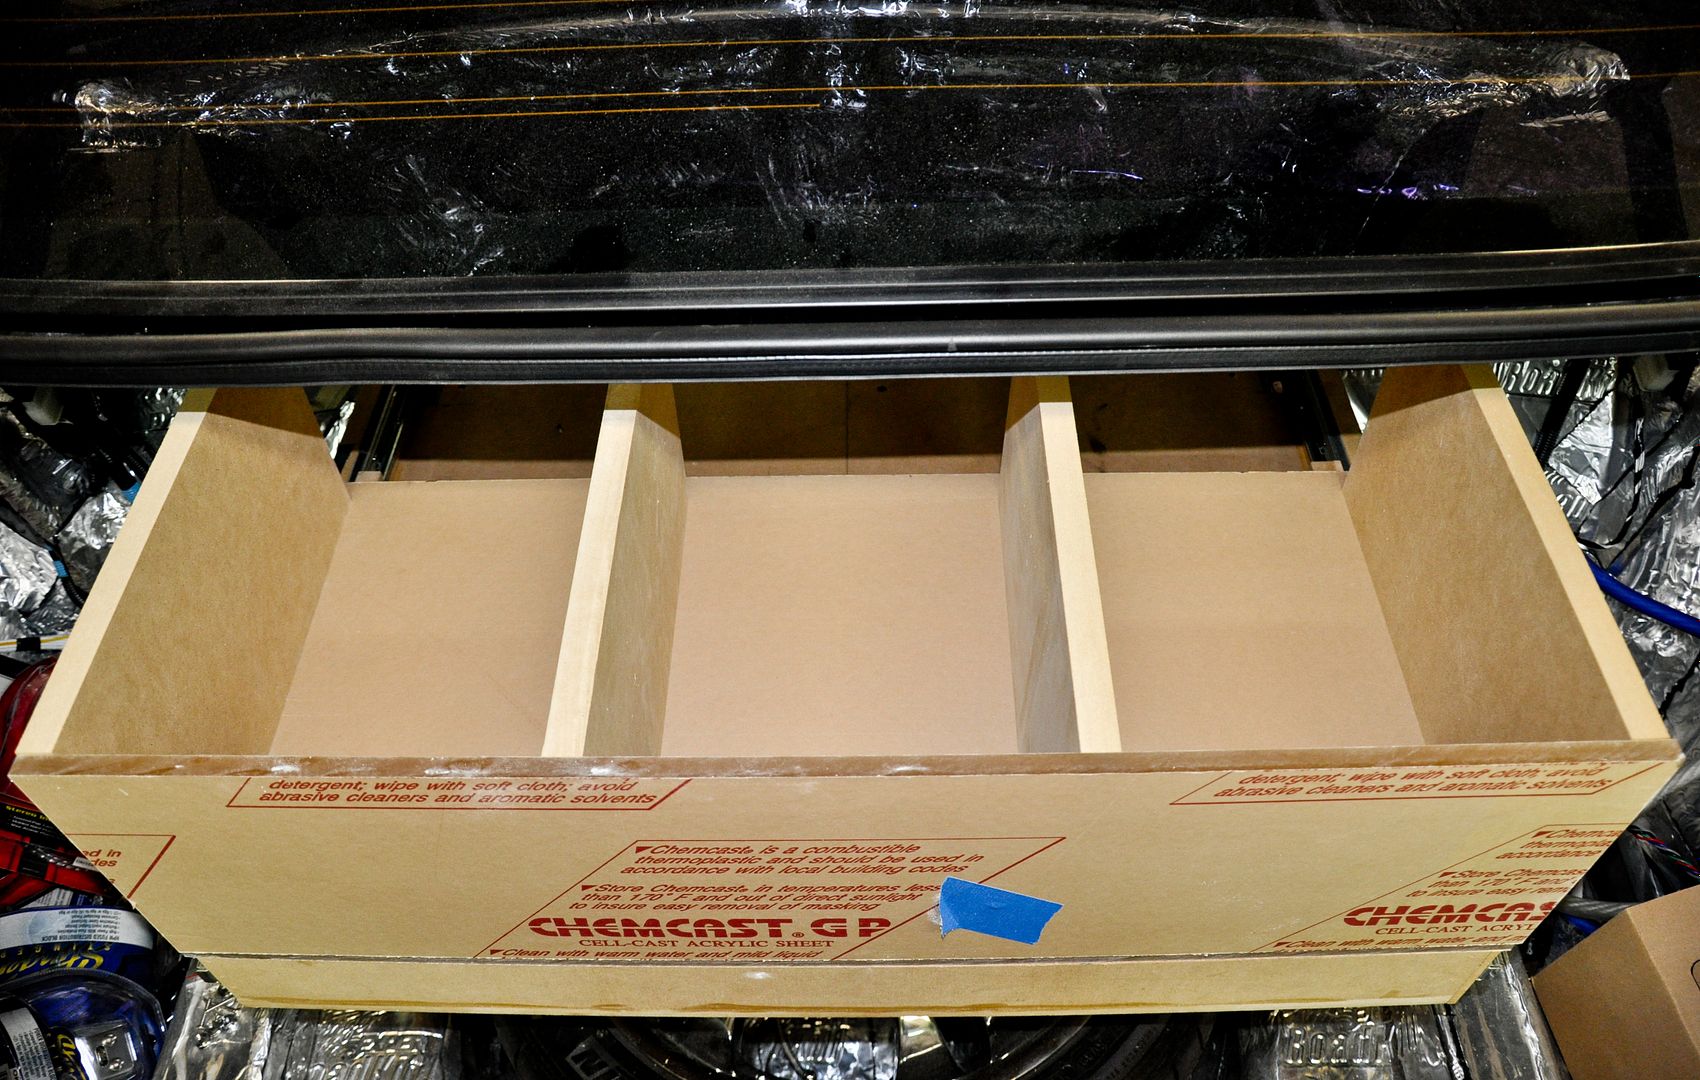
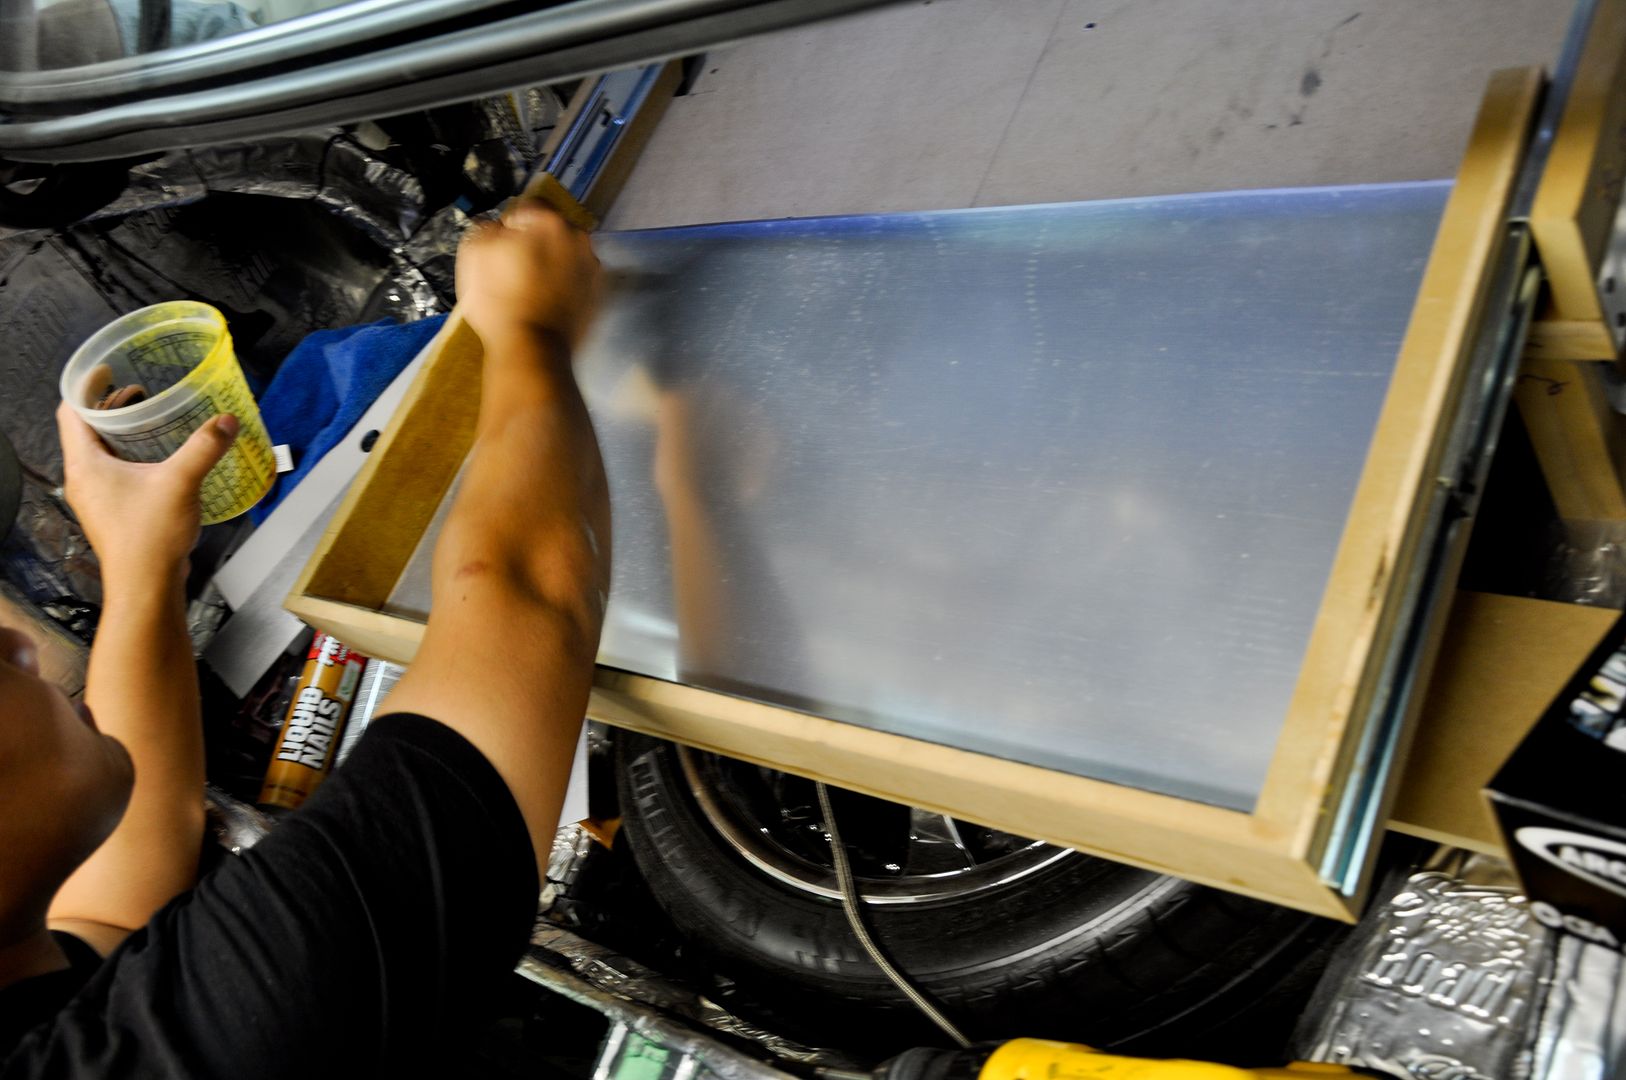
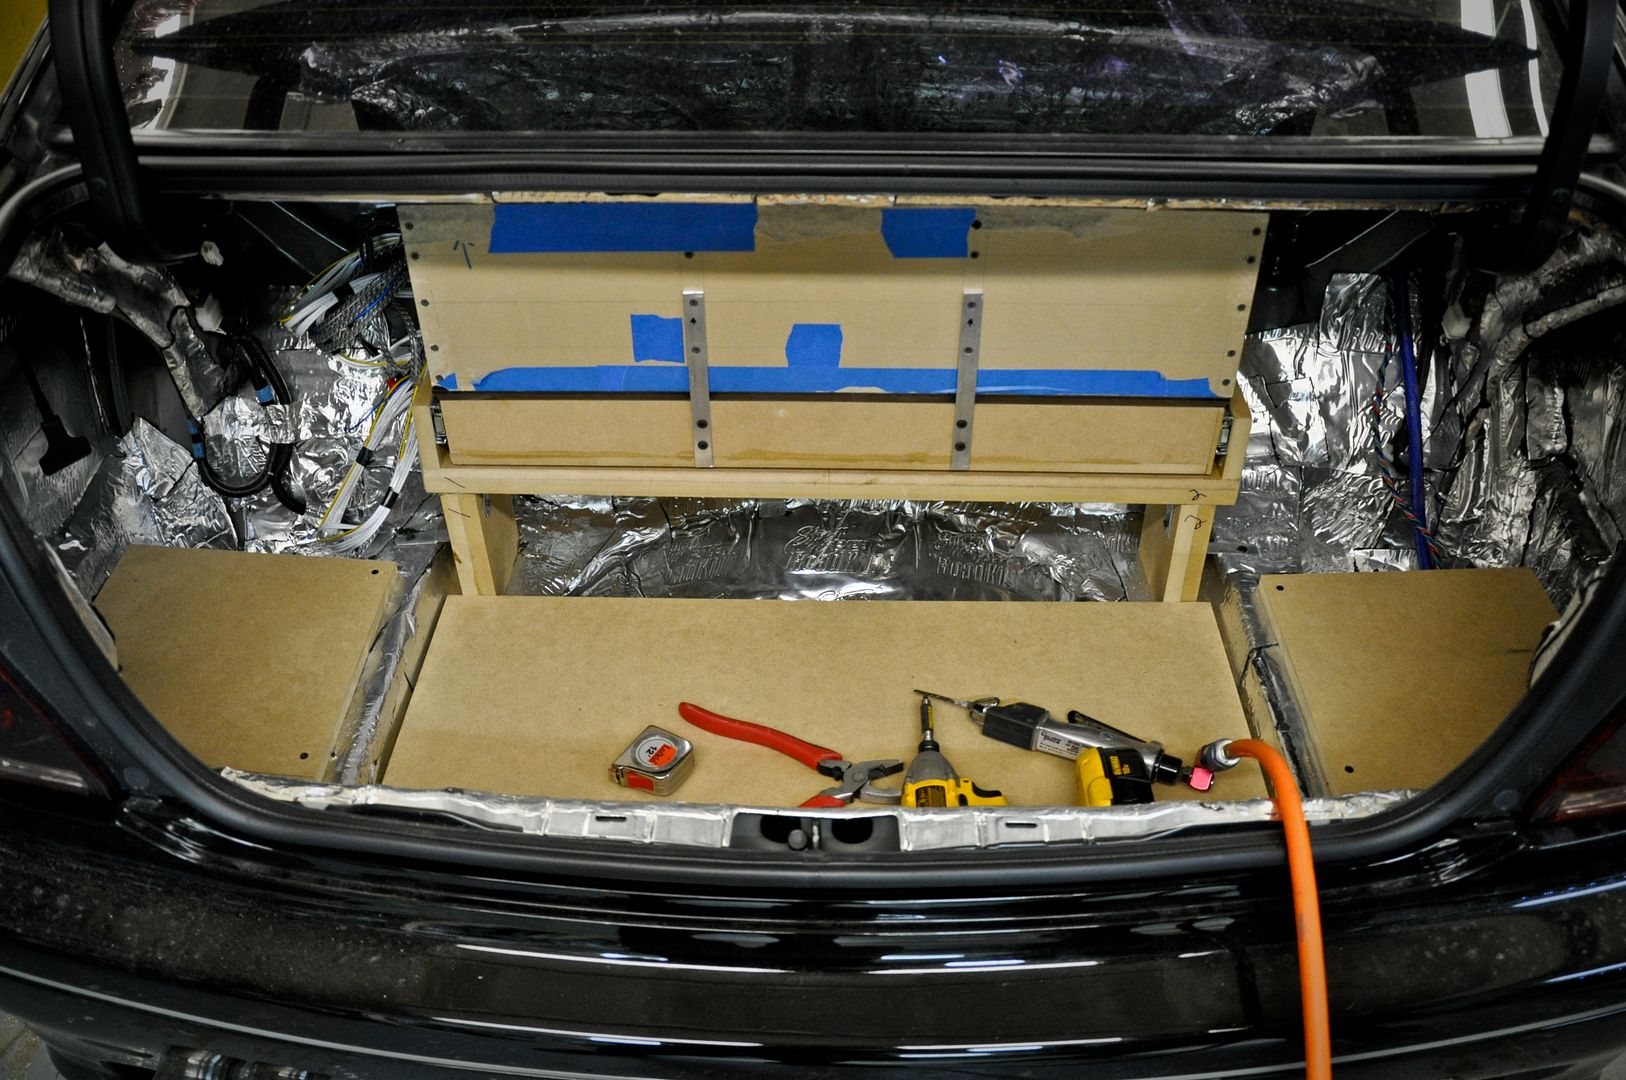
Drawer made and installed
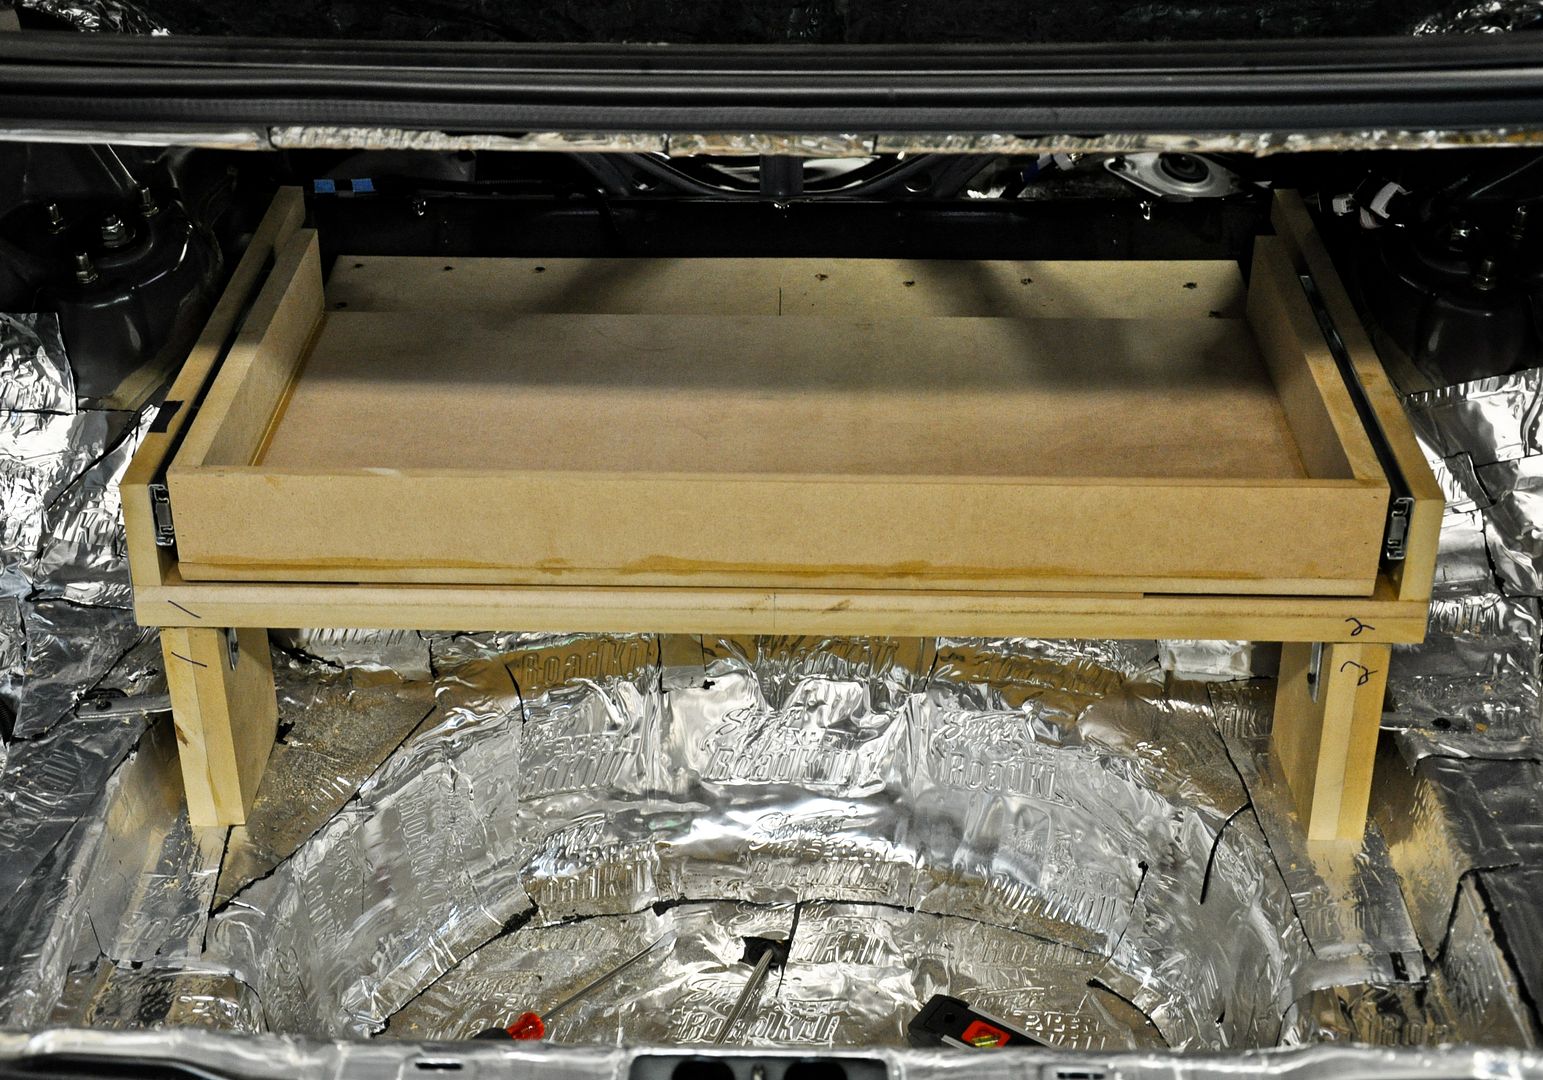
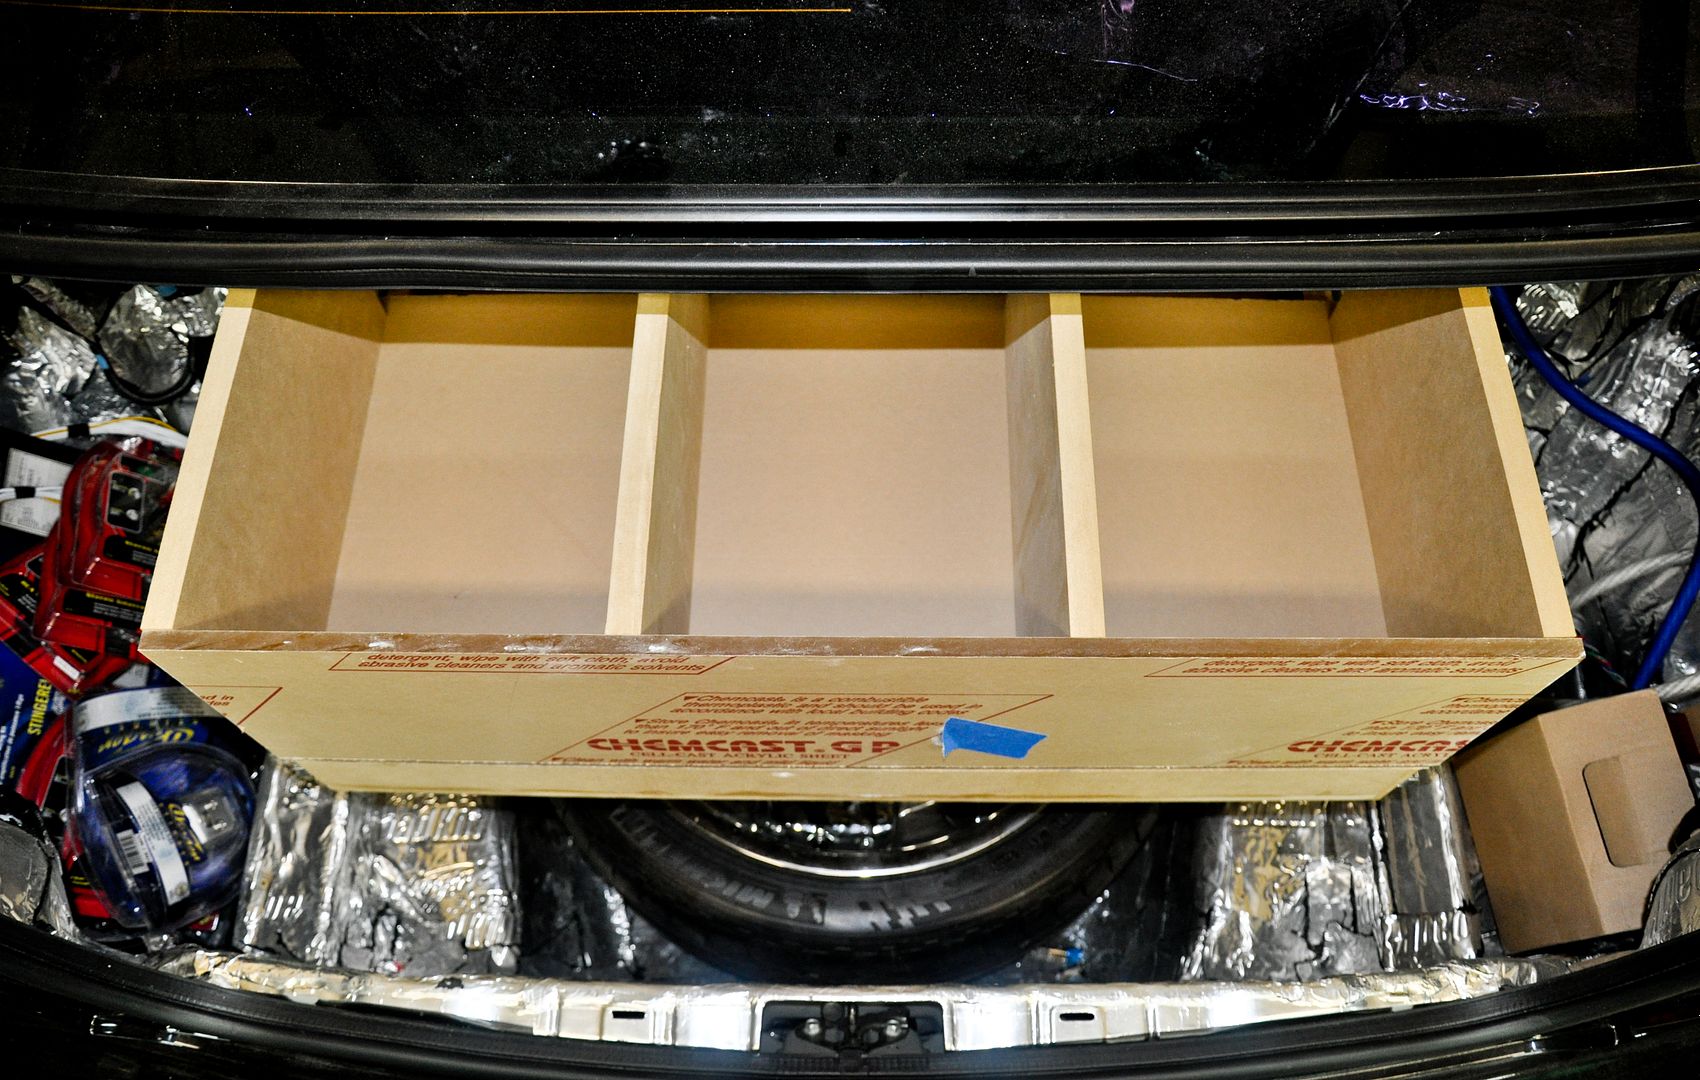
Halfway extended
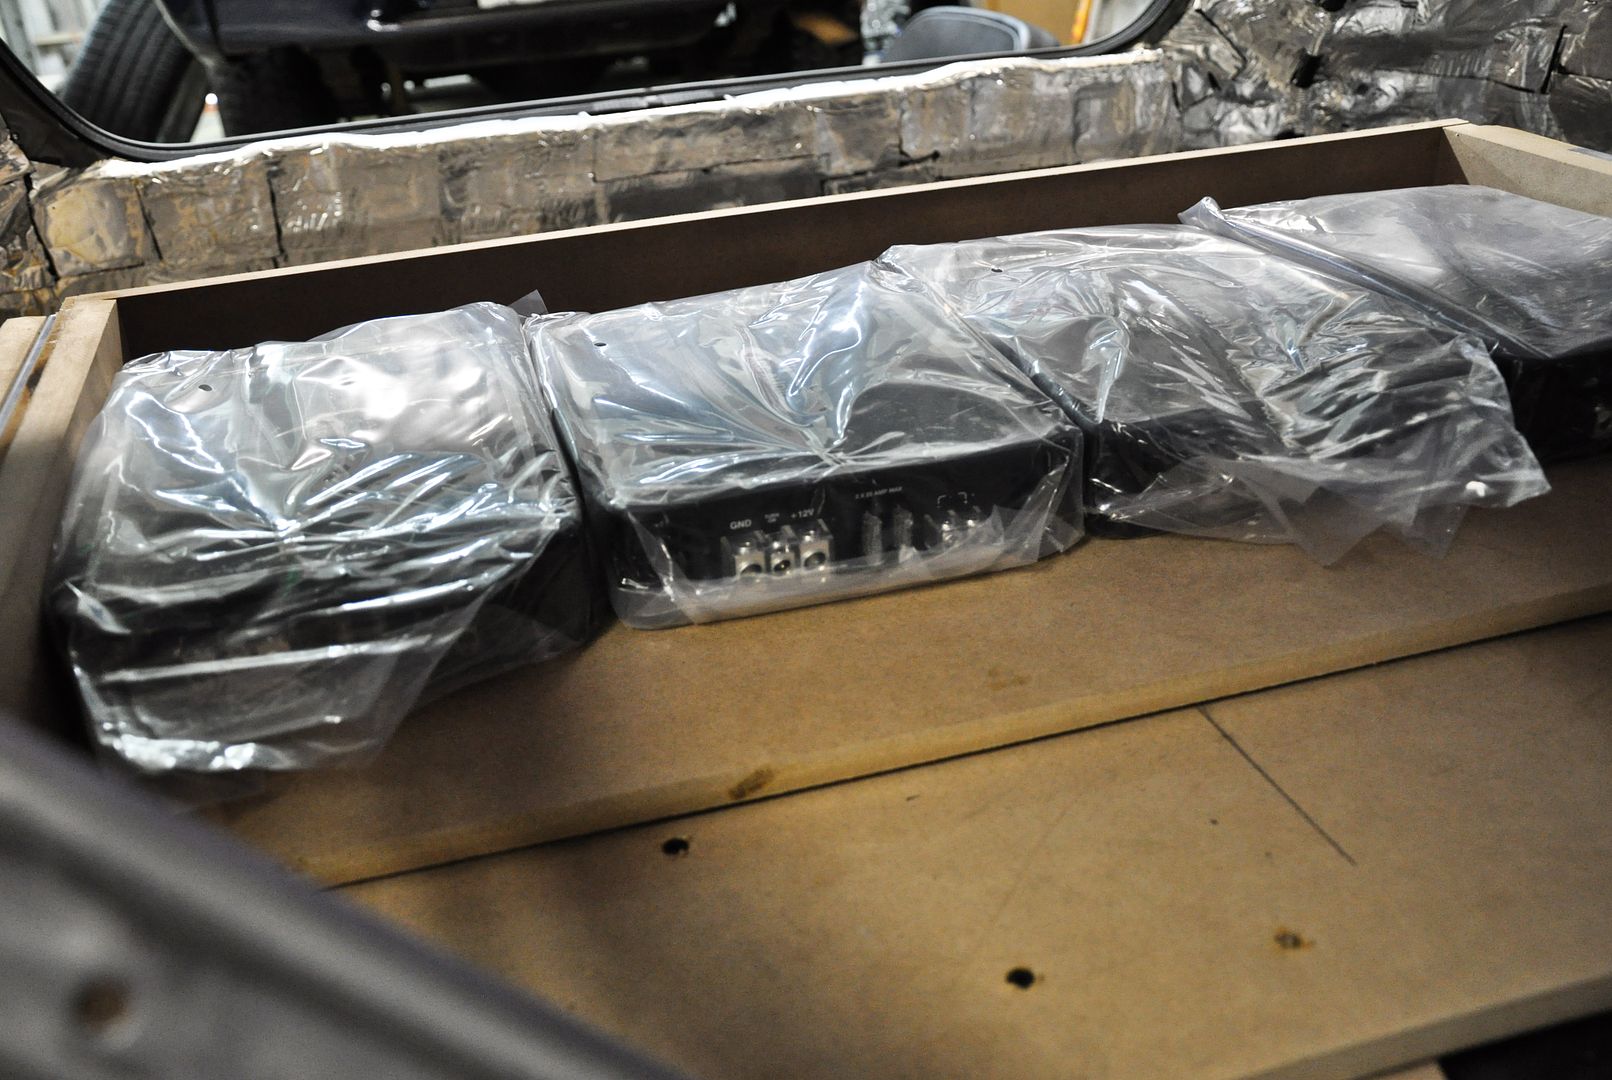
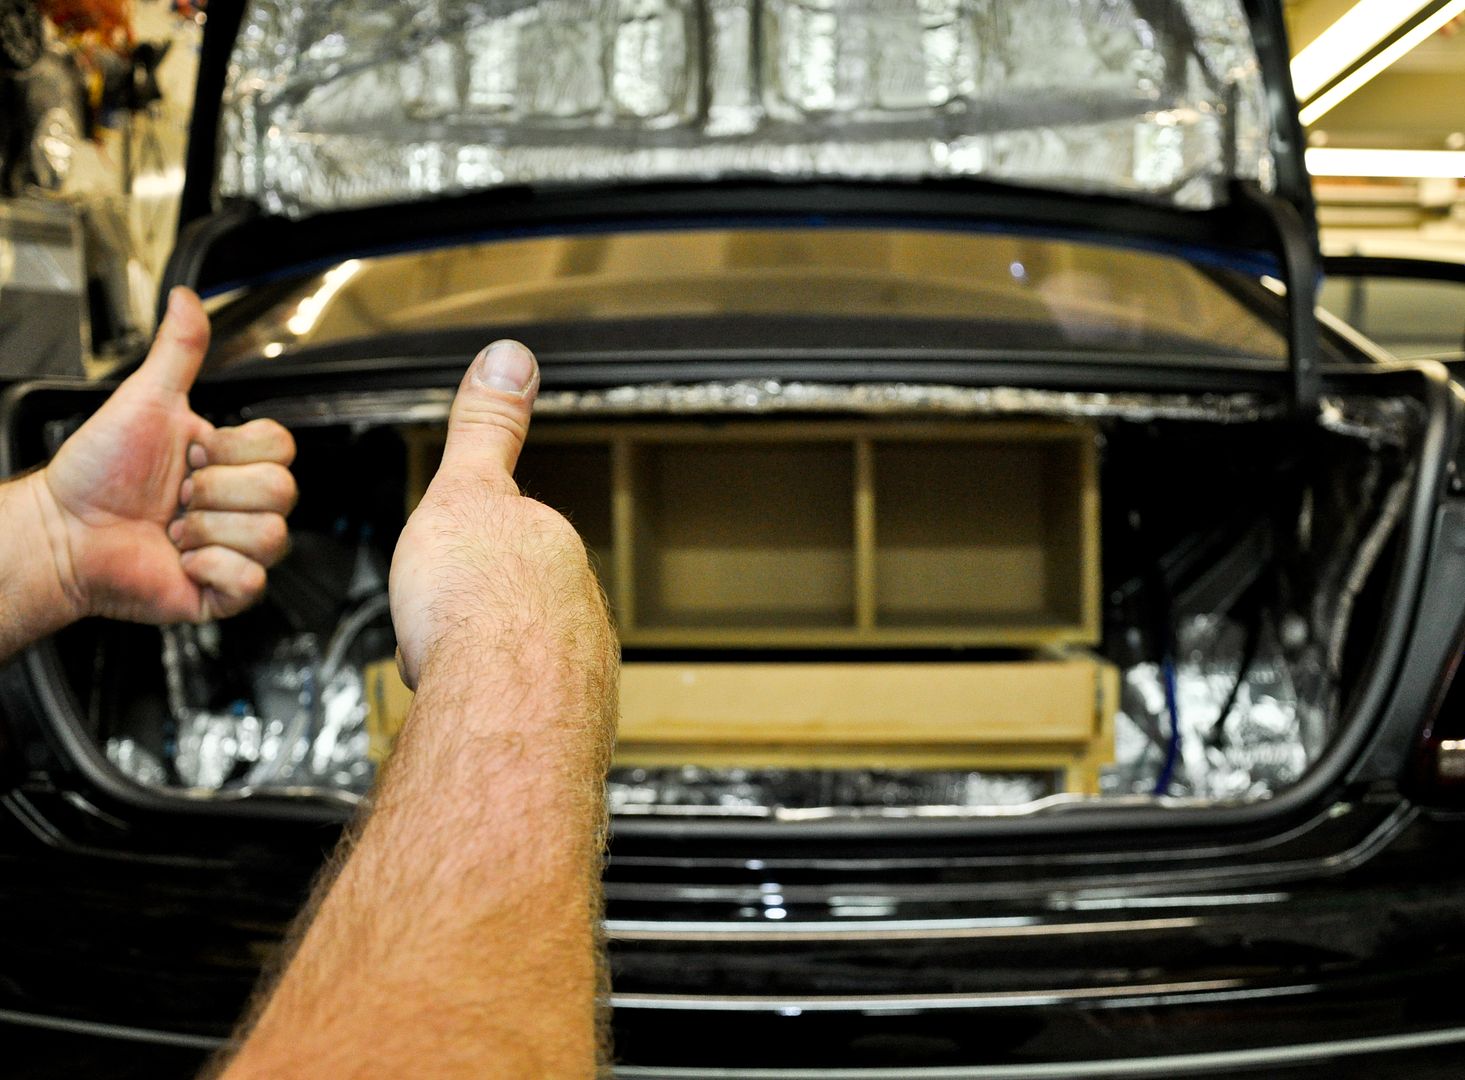
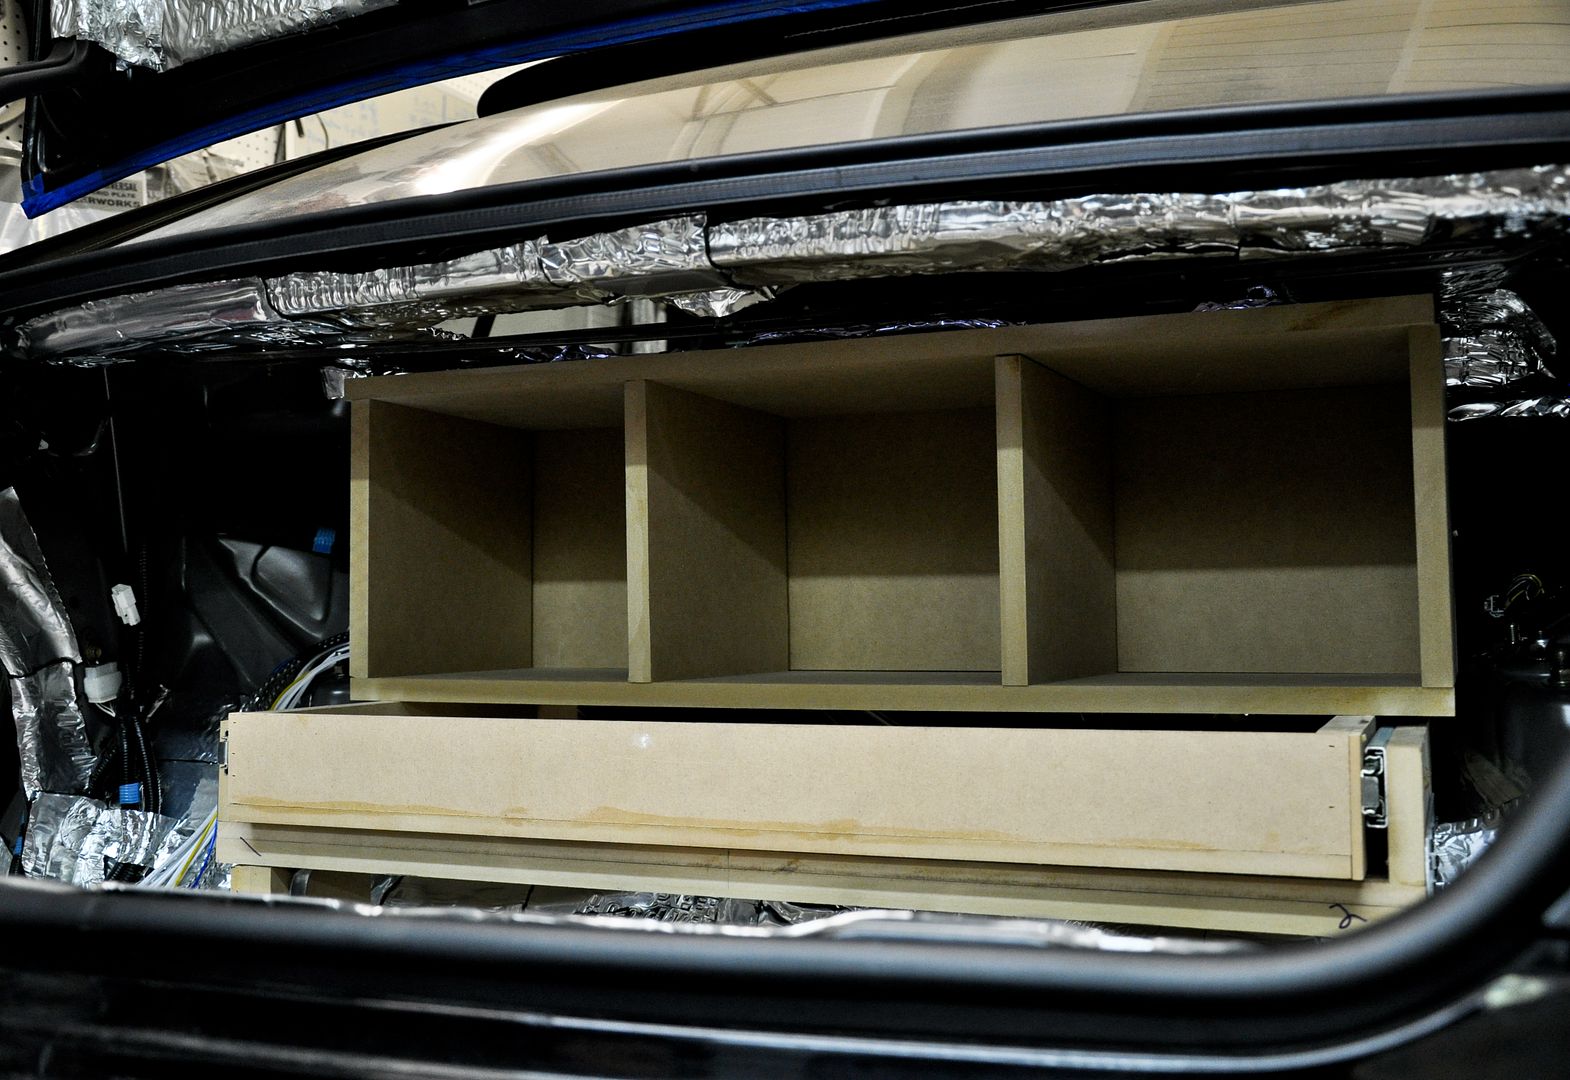
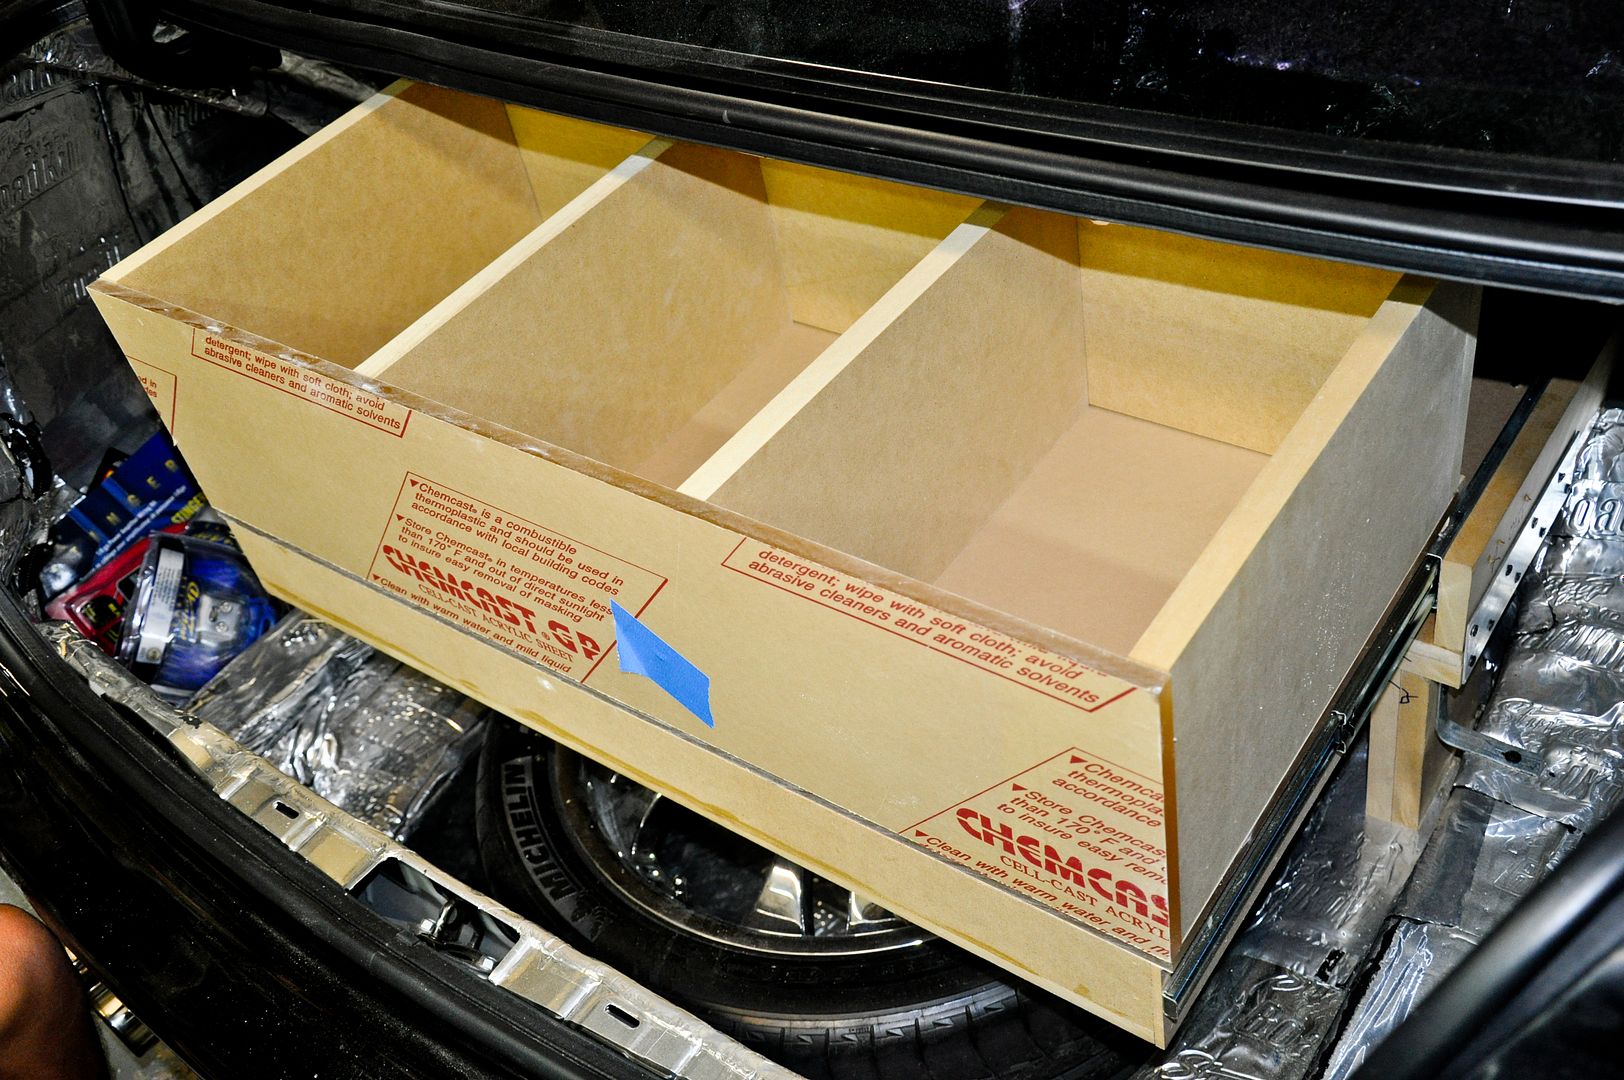
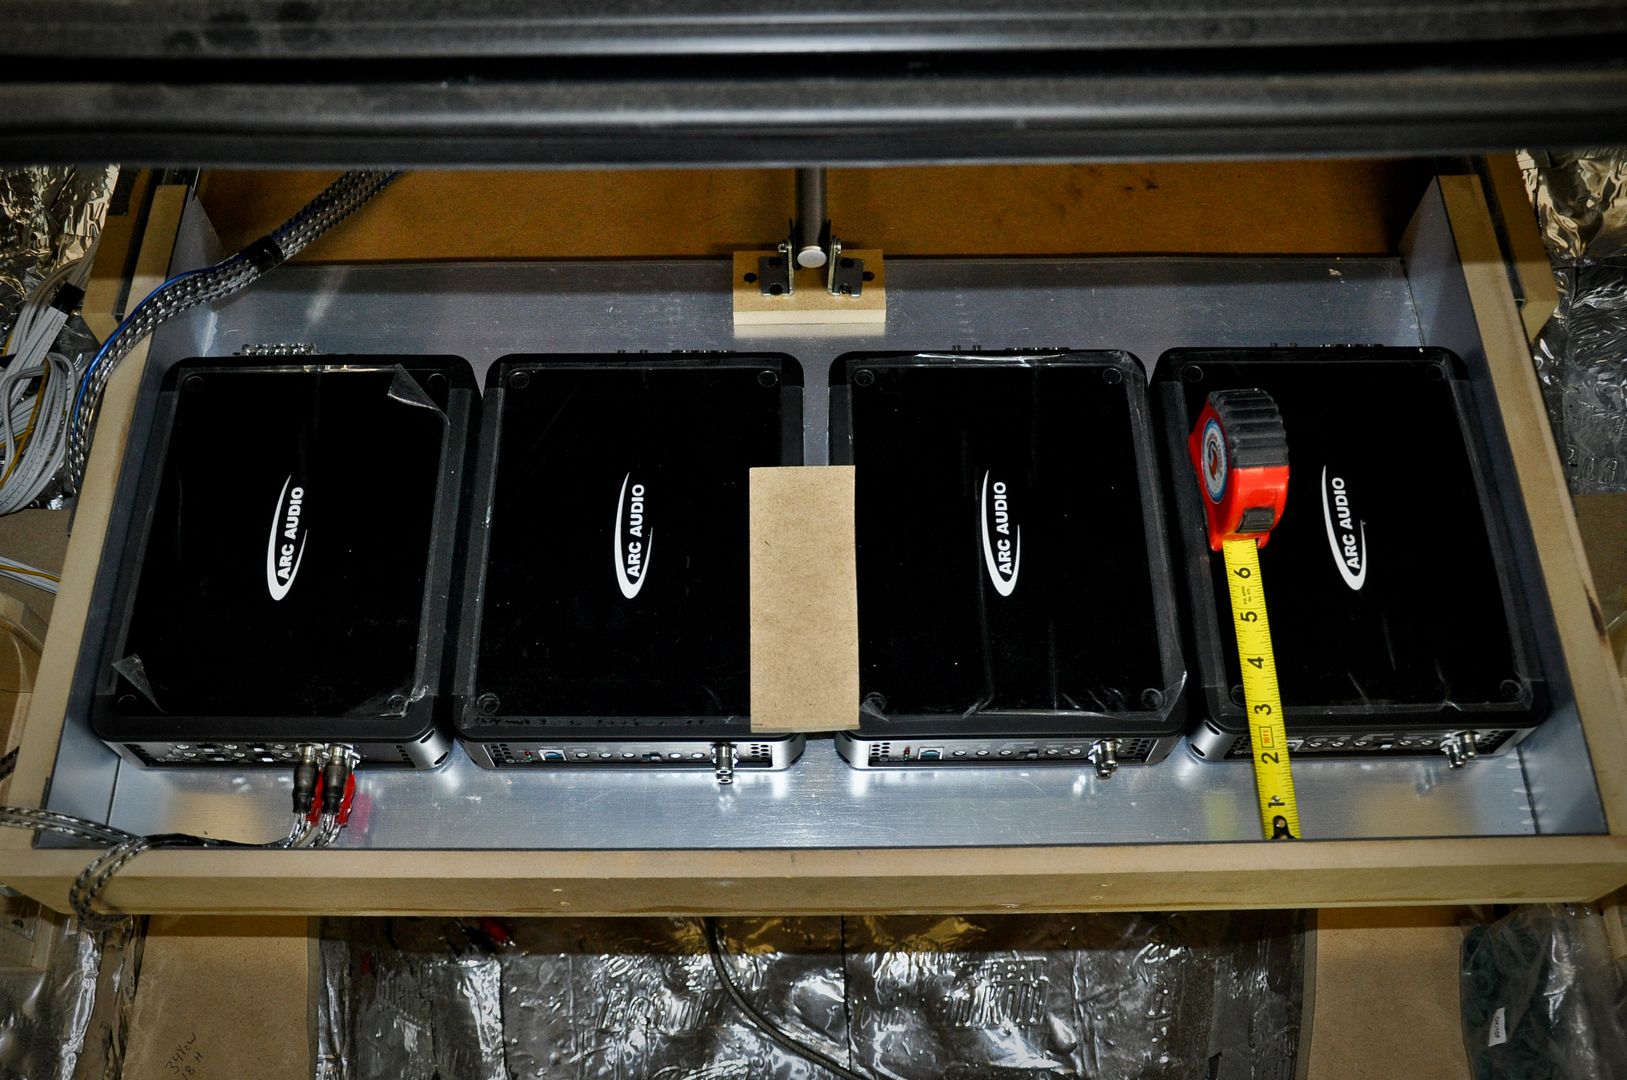
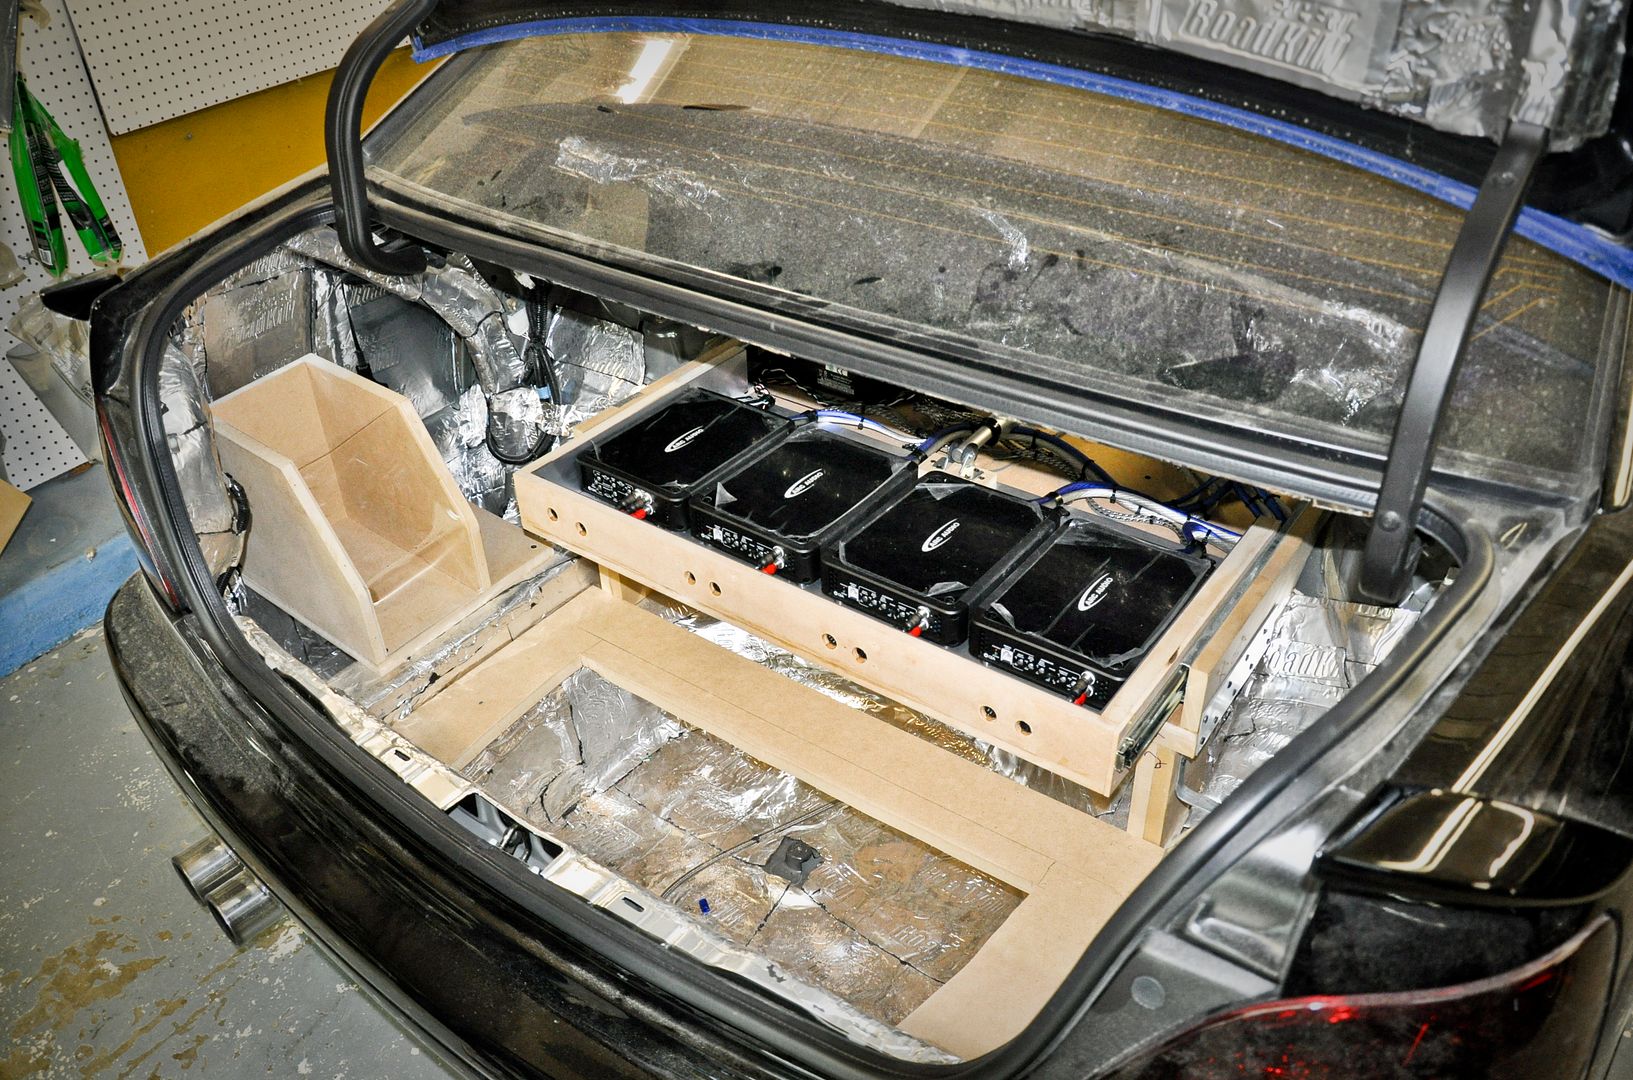
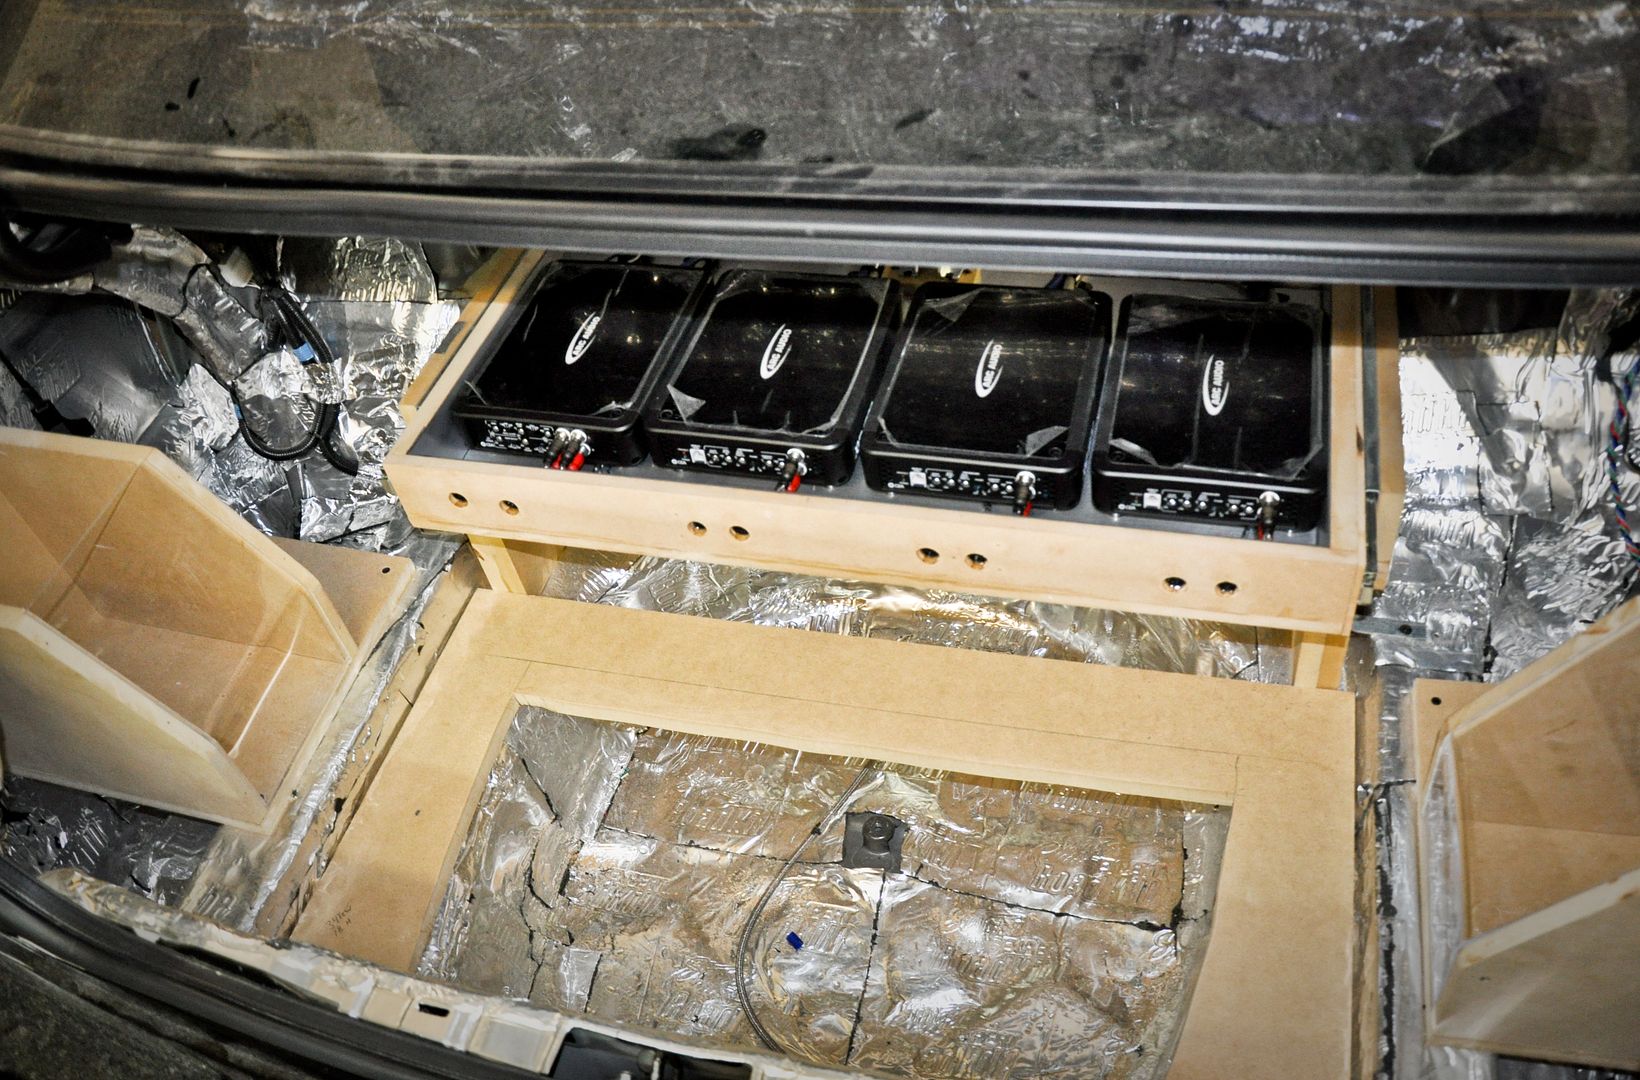
Amps put in
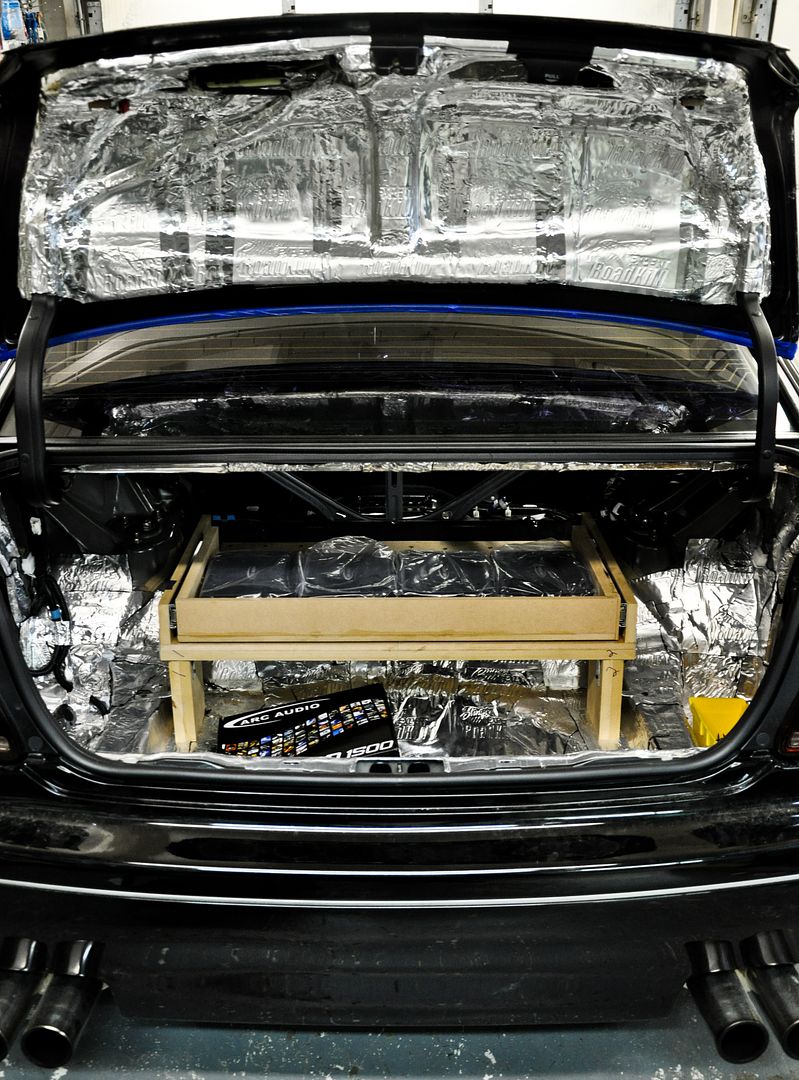
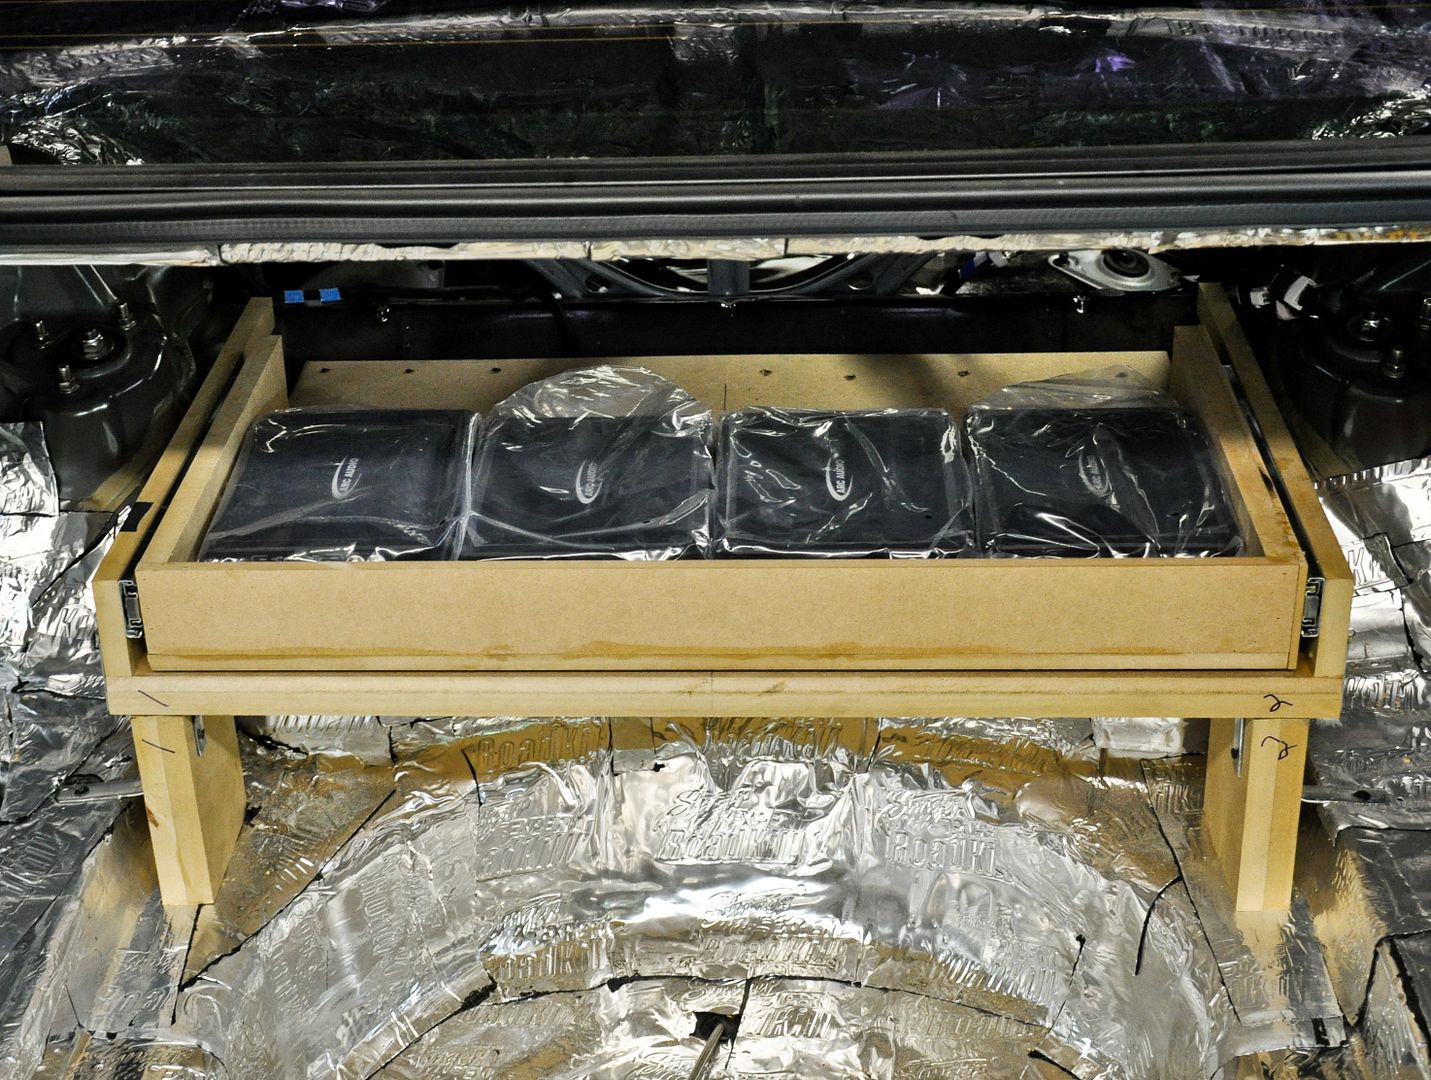
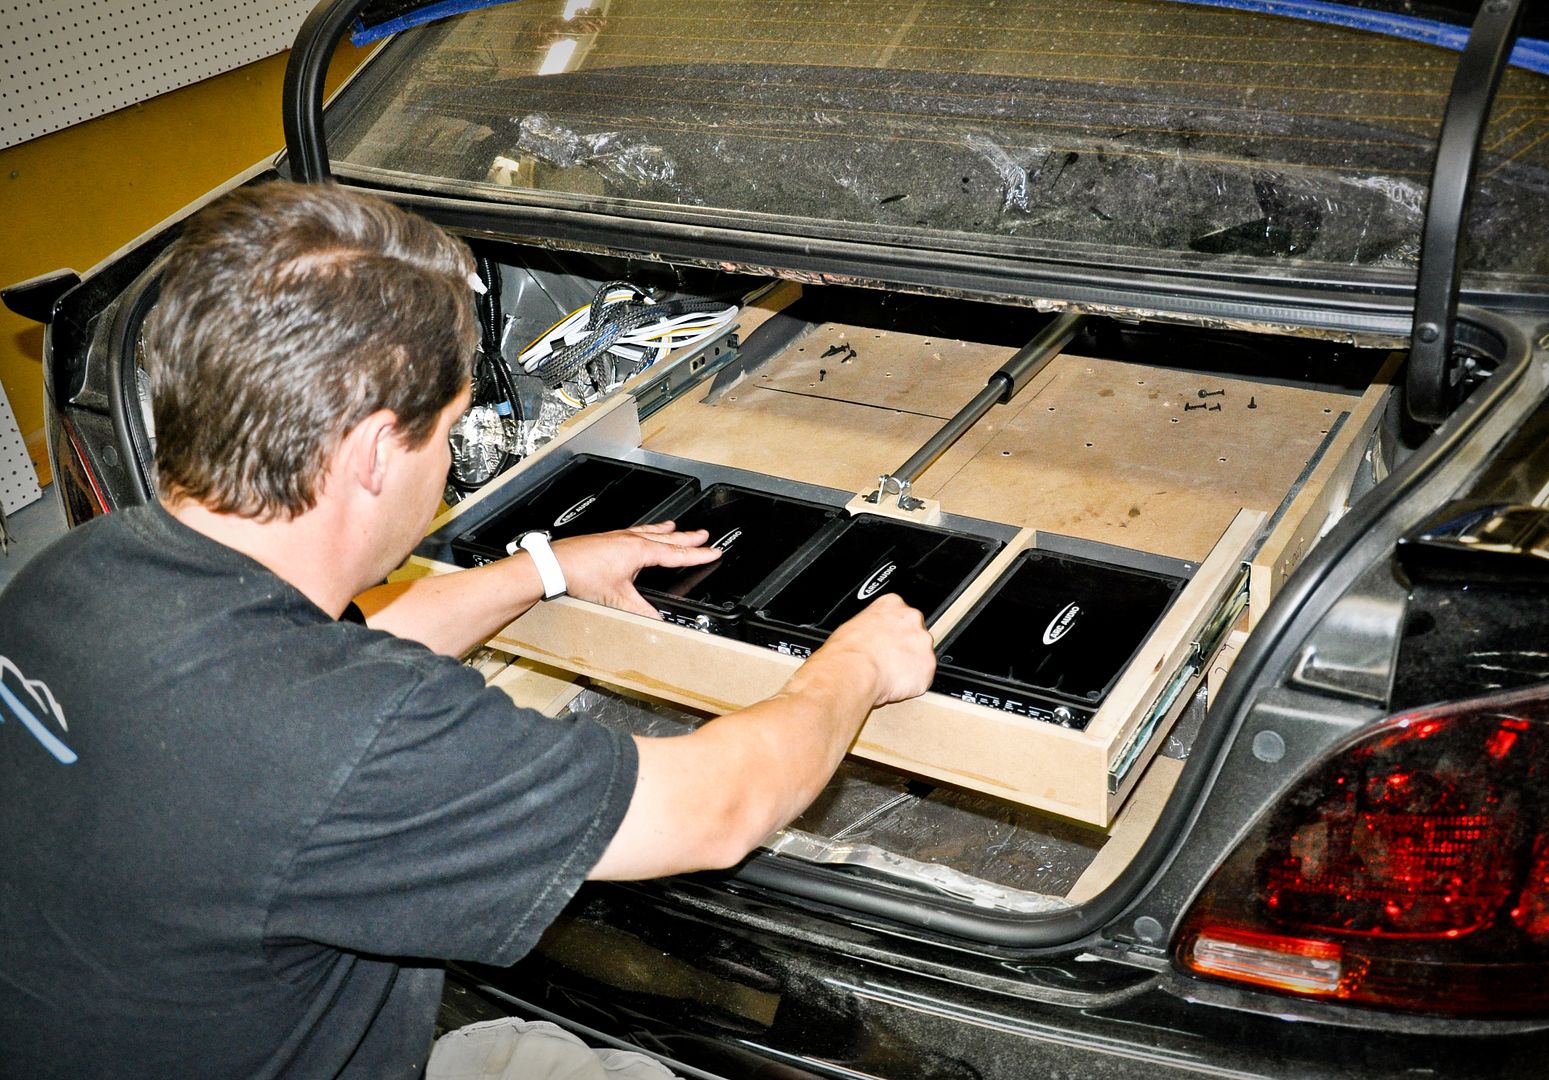
Amps with drawer out
From inside the car
Made this base floor plate with � mdf
Made sure everything was level
The idea is to have my ARC XXD Amplifiers on the base plate with a drawer
Makings of the drawer arms
Cut down as much as needed to clear wheel wells
Drawer slider rails installed
Custom brackets made to support the weight which the rails are suppose to hold (rated at 100 lbs)
Lunch one day on my tray table lol
Drawer made and installed
Halfway extended
Amps put in
Amps with drawer out
From inside the car
03-19-11, 04:33 AM
#473
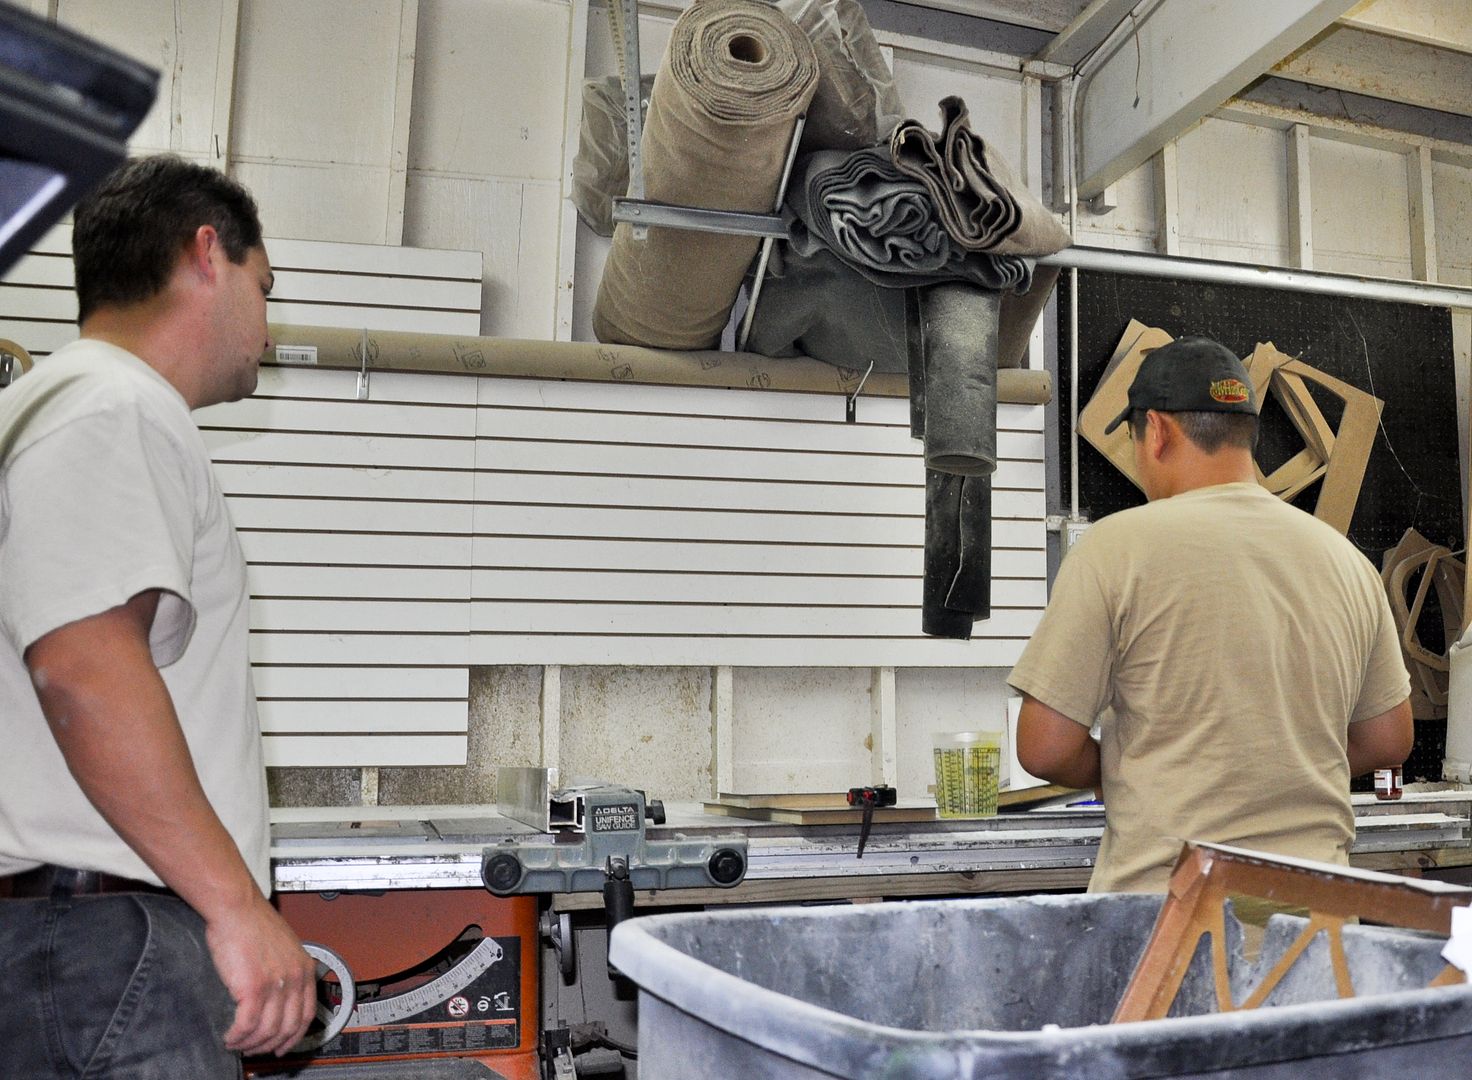
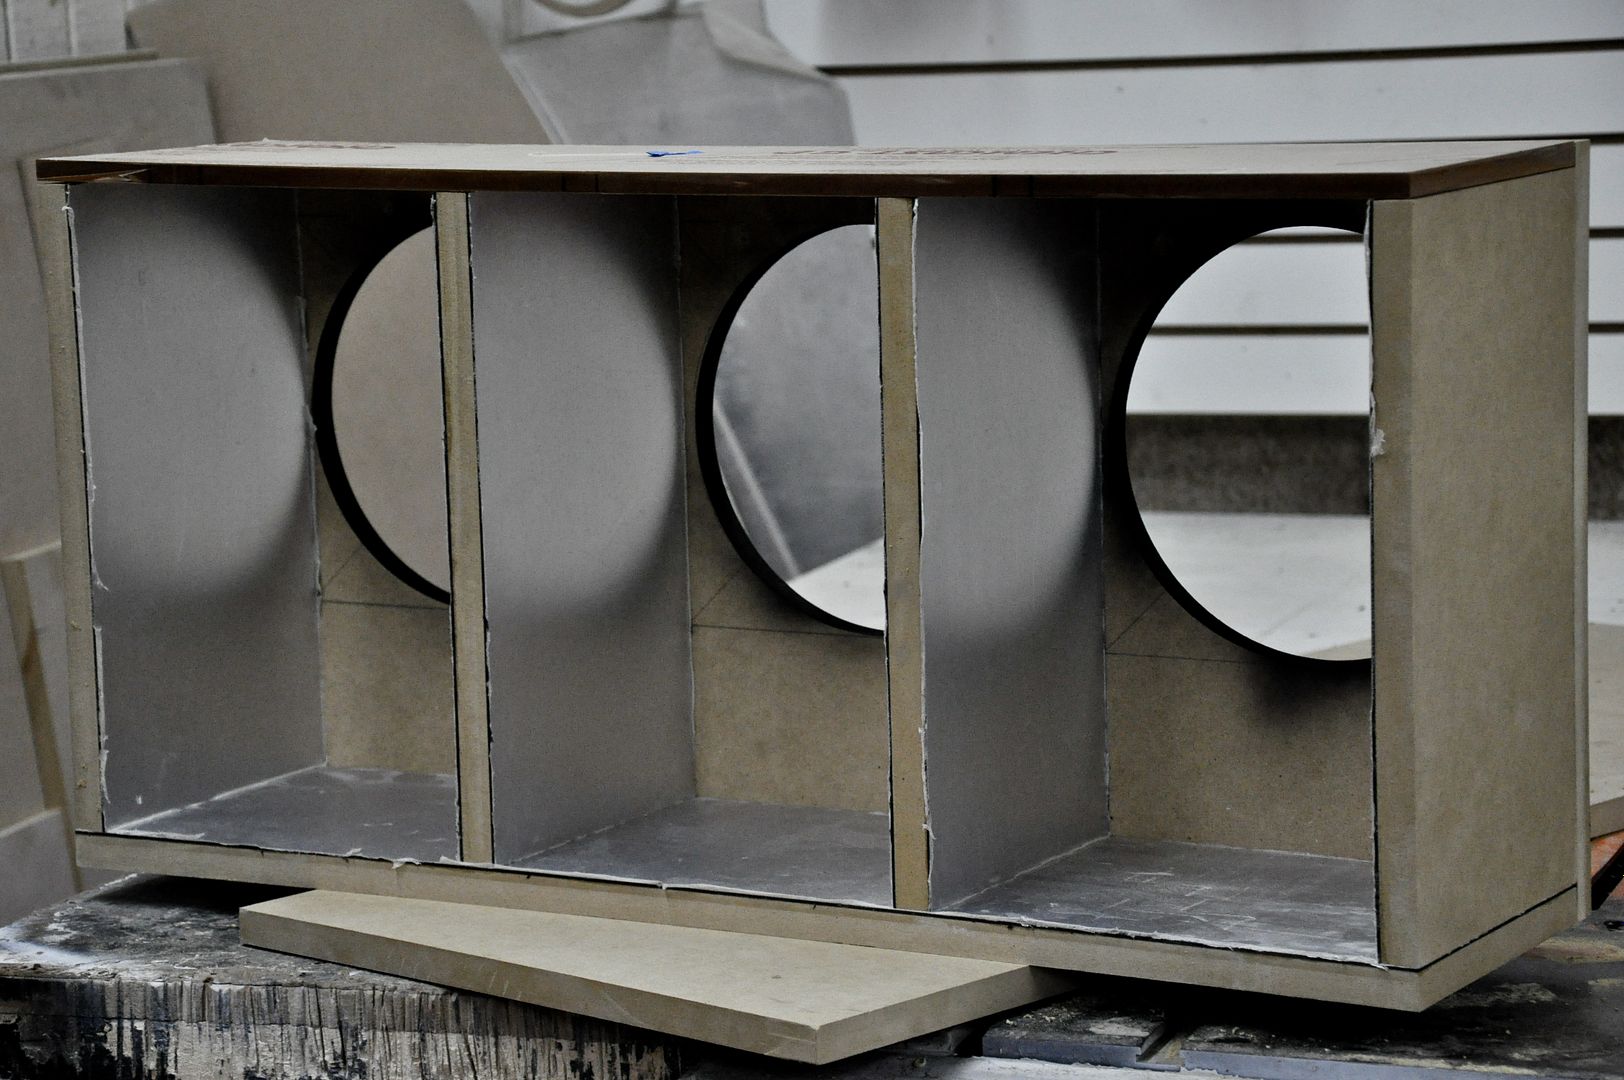
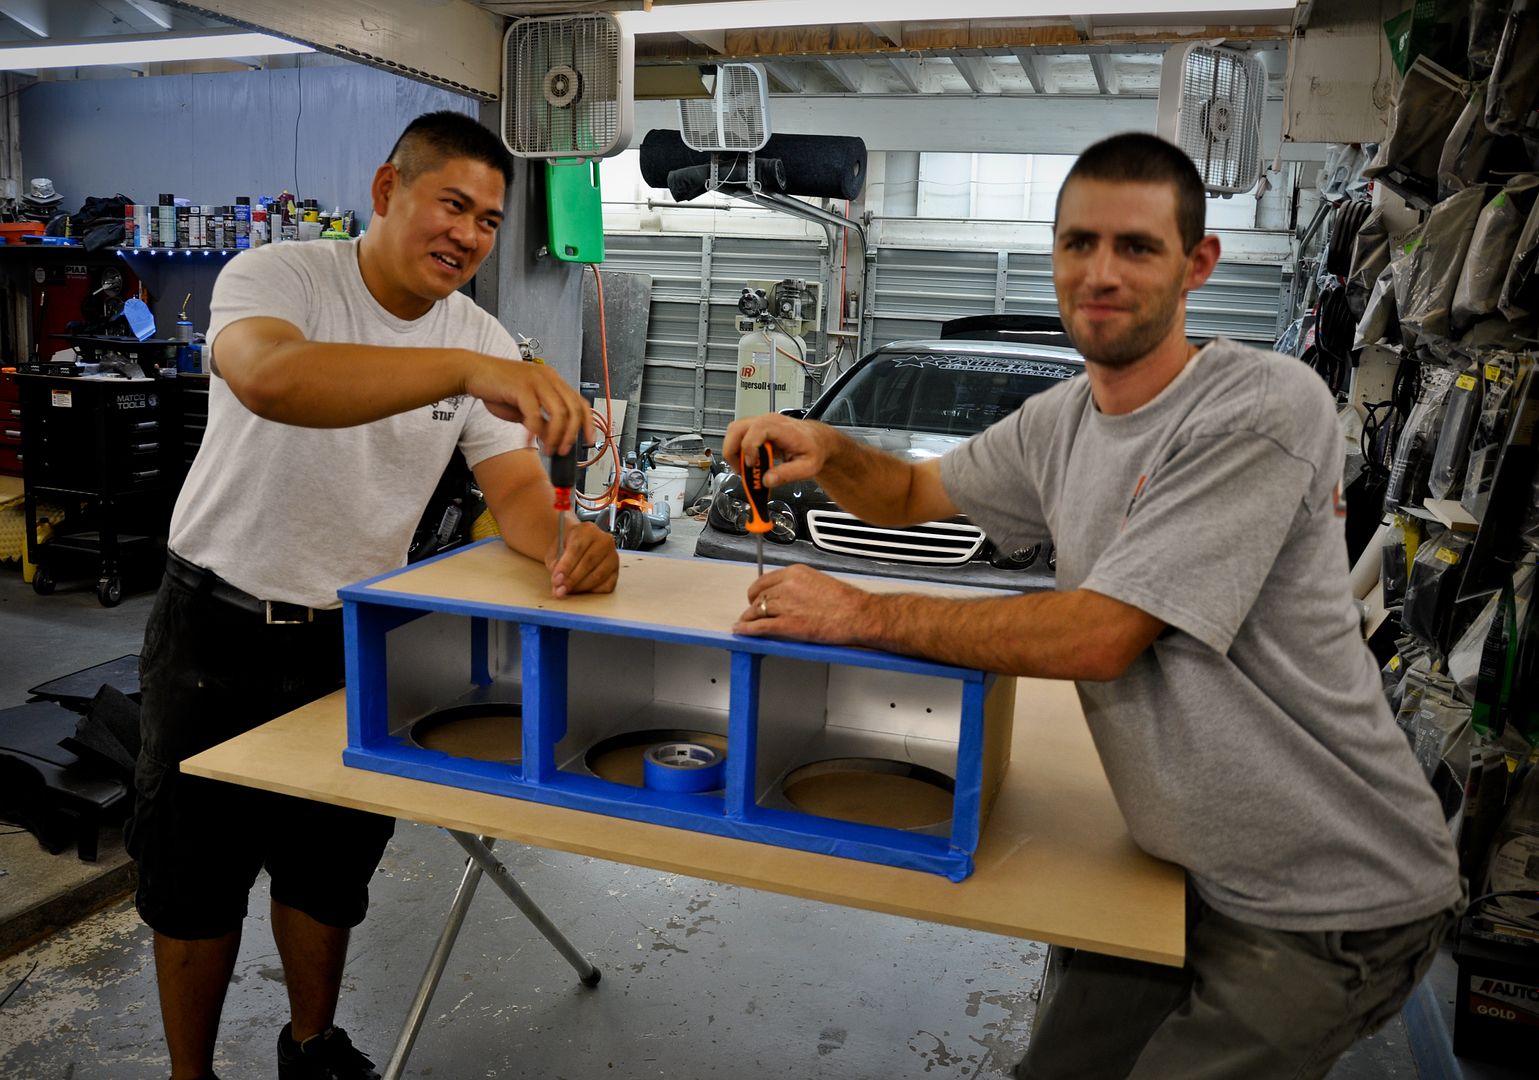
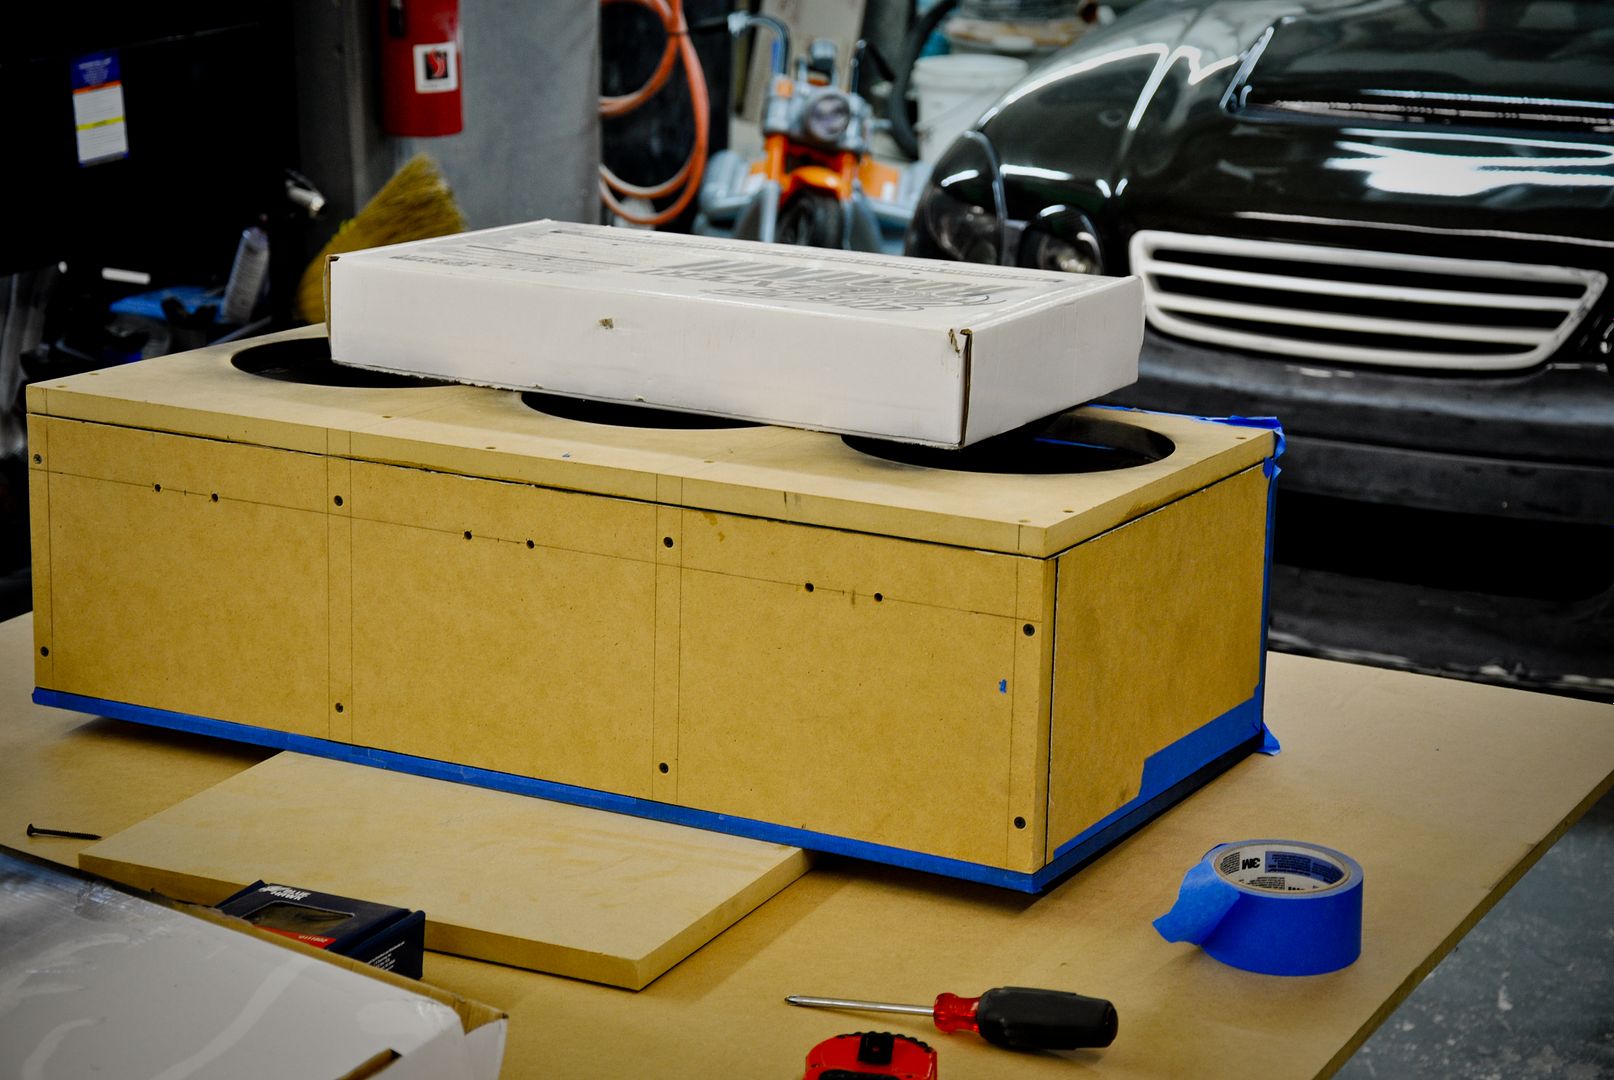
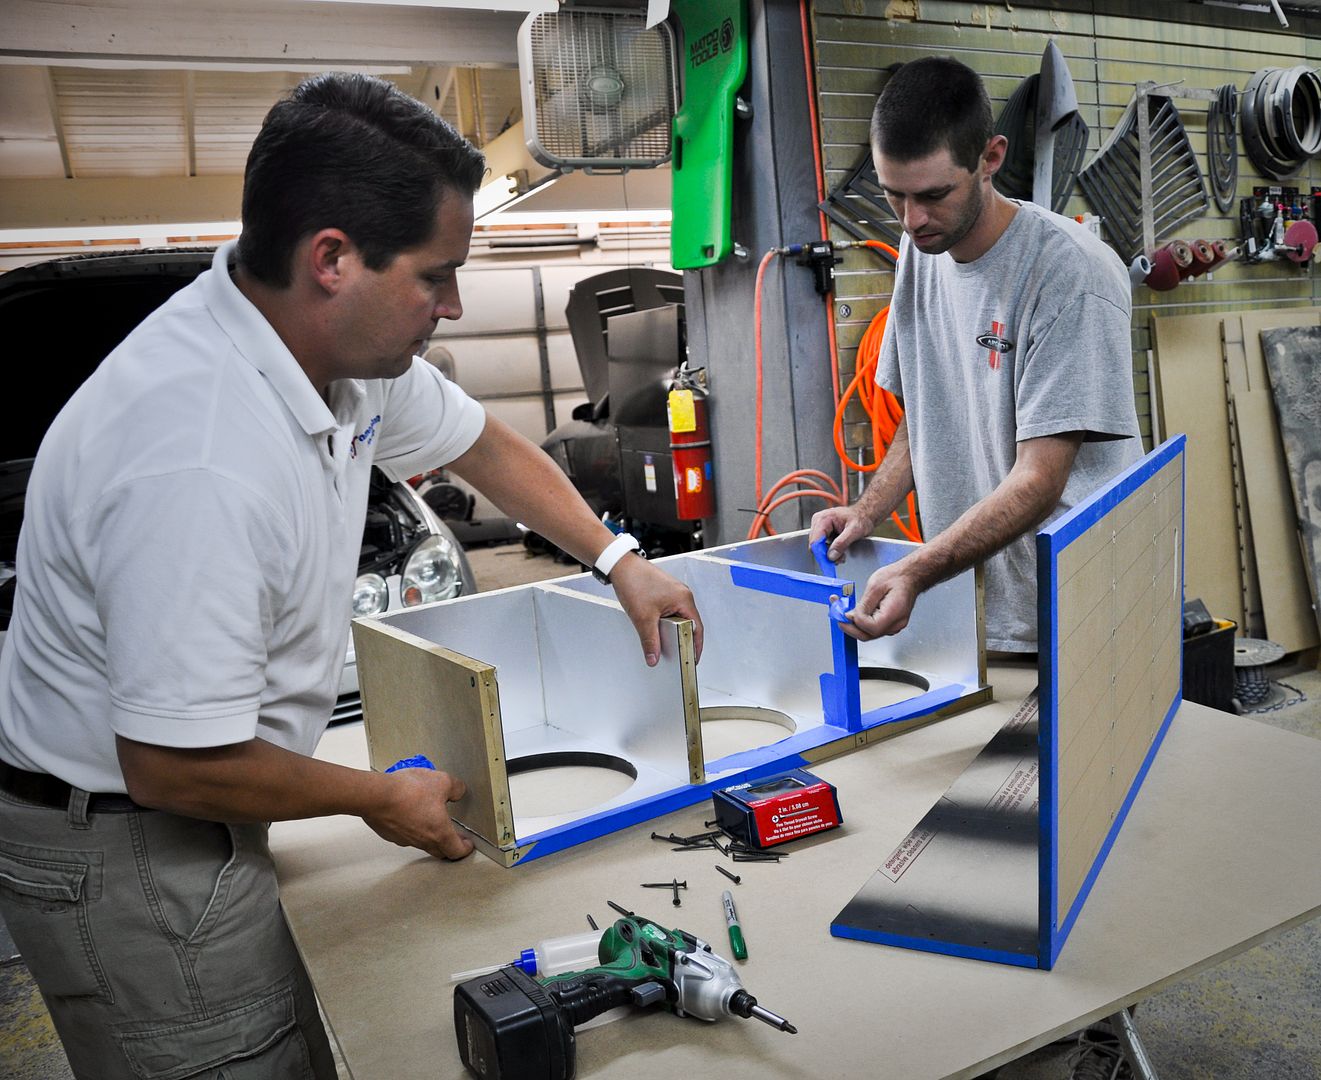
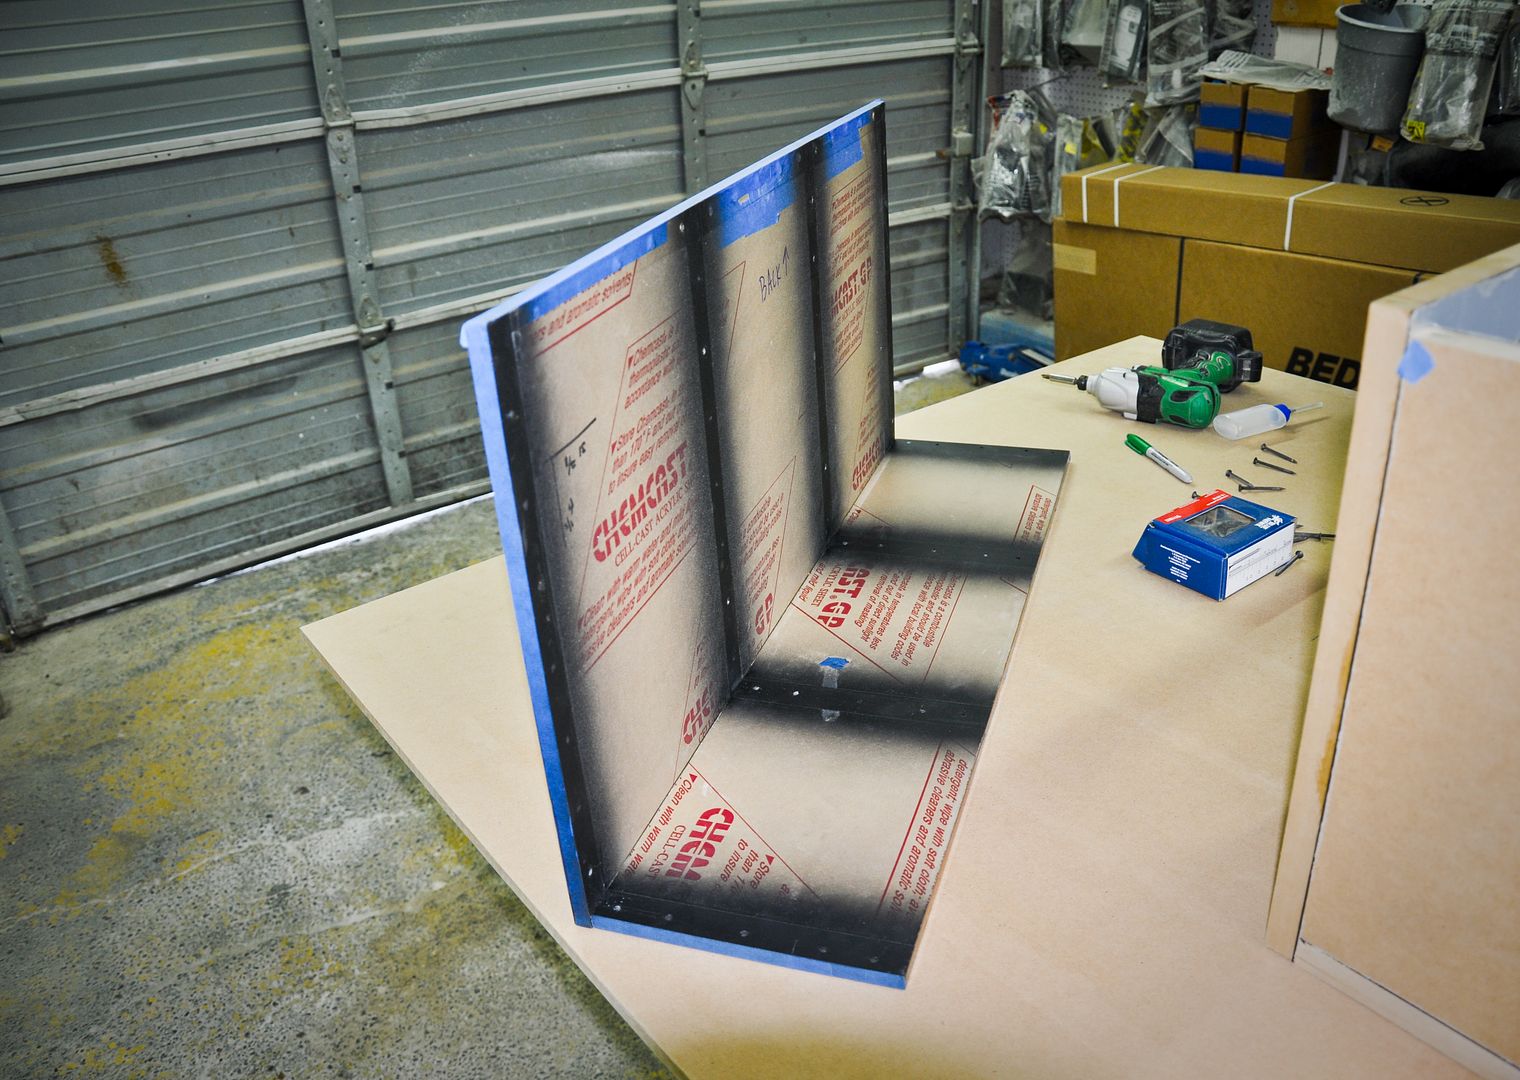
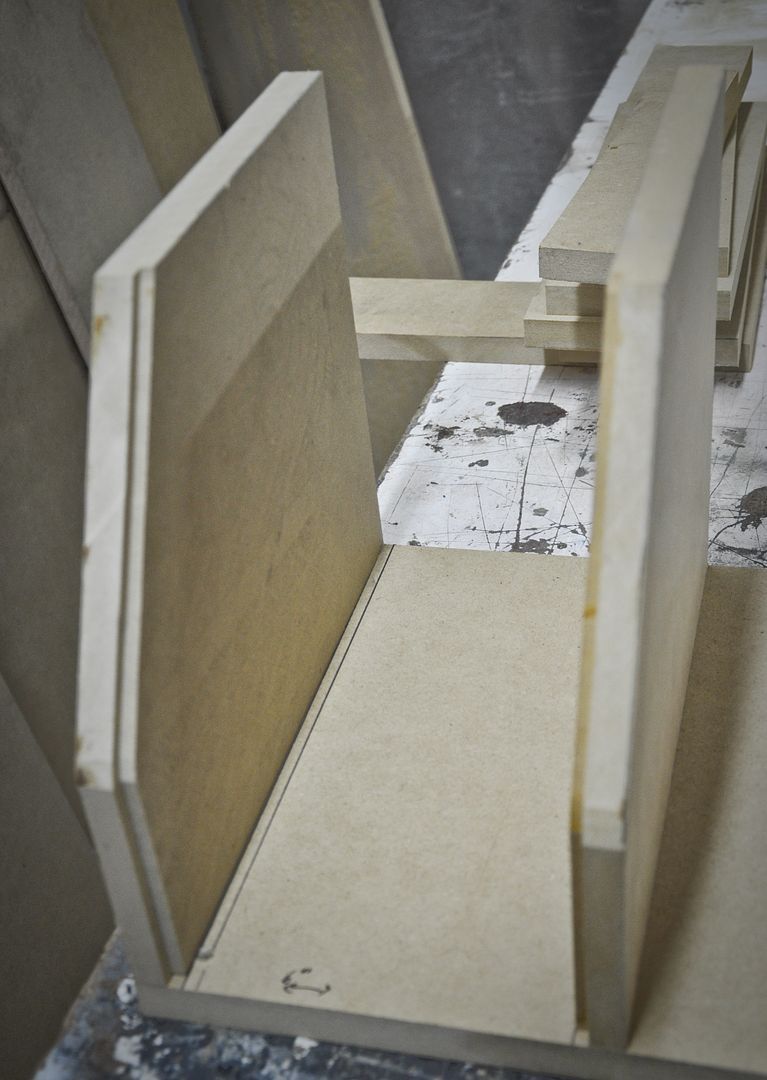
My buddy Petey helped with the making the subwoofer enclosure
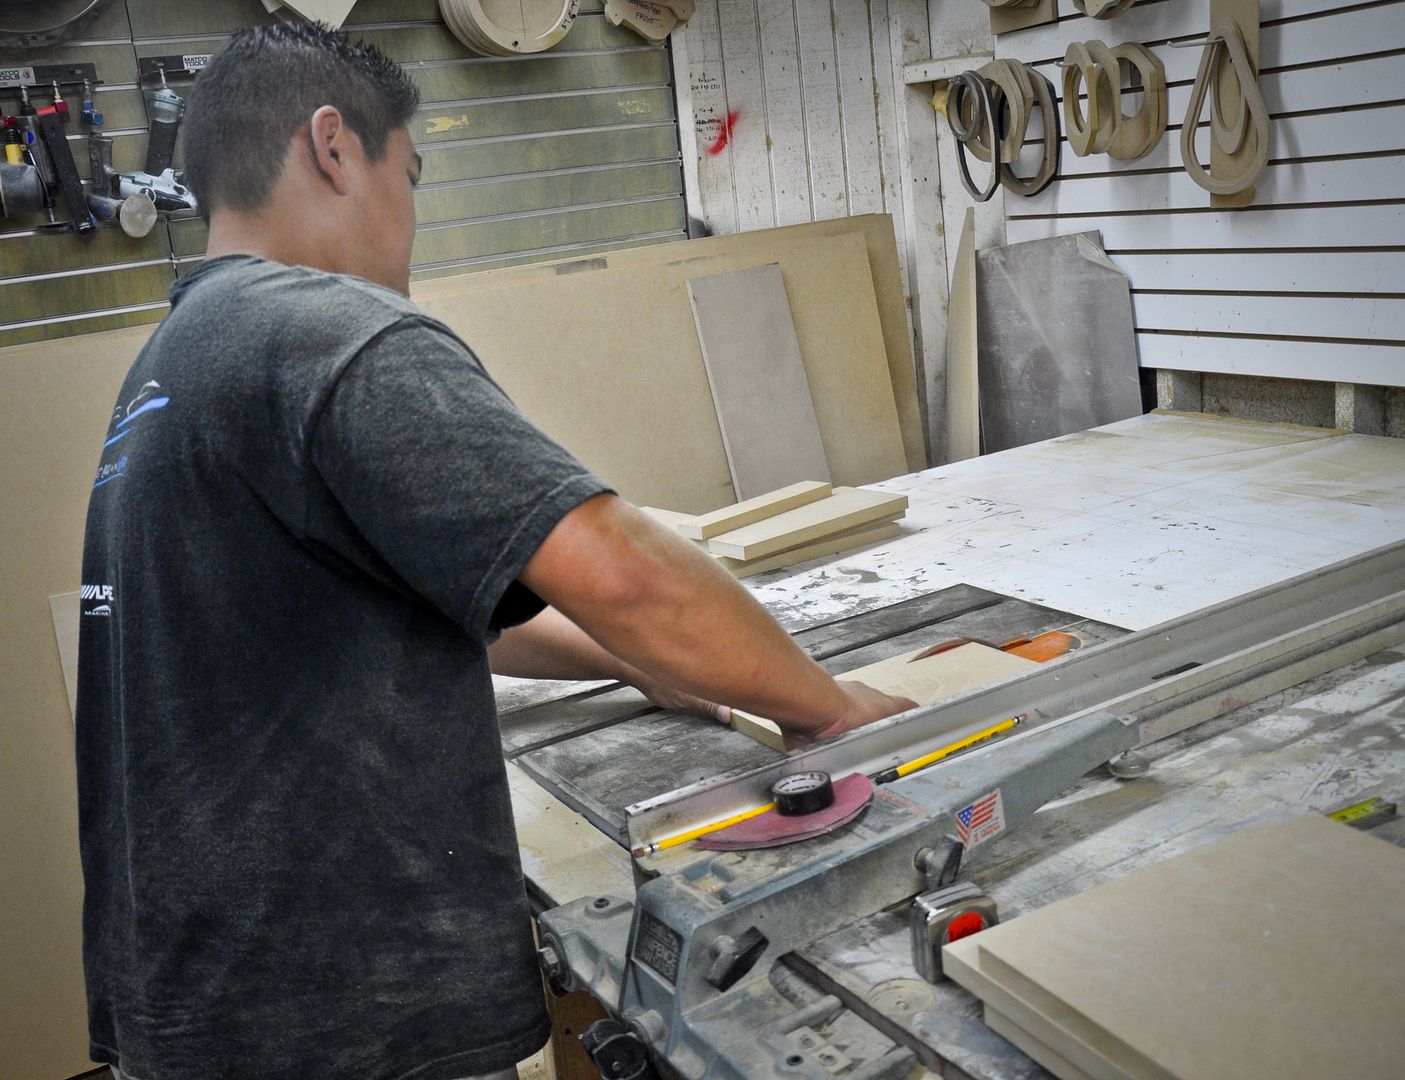
Me cutting the sidewall slats that will seal off each individual enclosure

Loosely mocked up
Petey approves
Setup plan #1
Checking for gaps in measurements
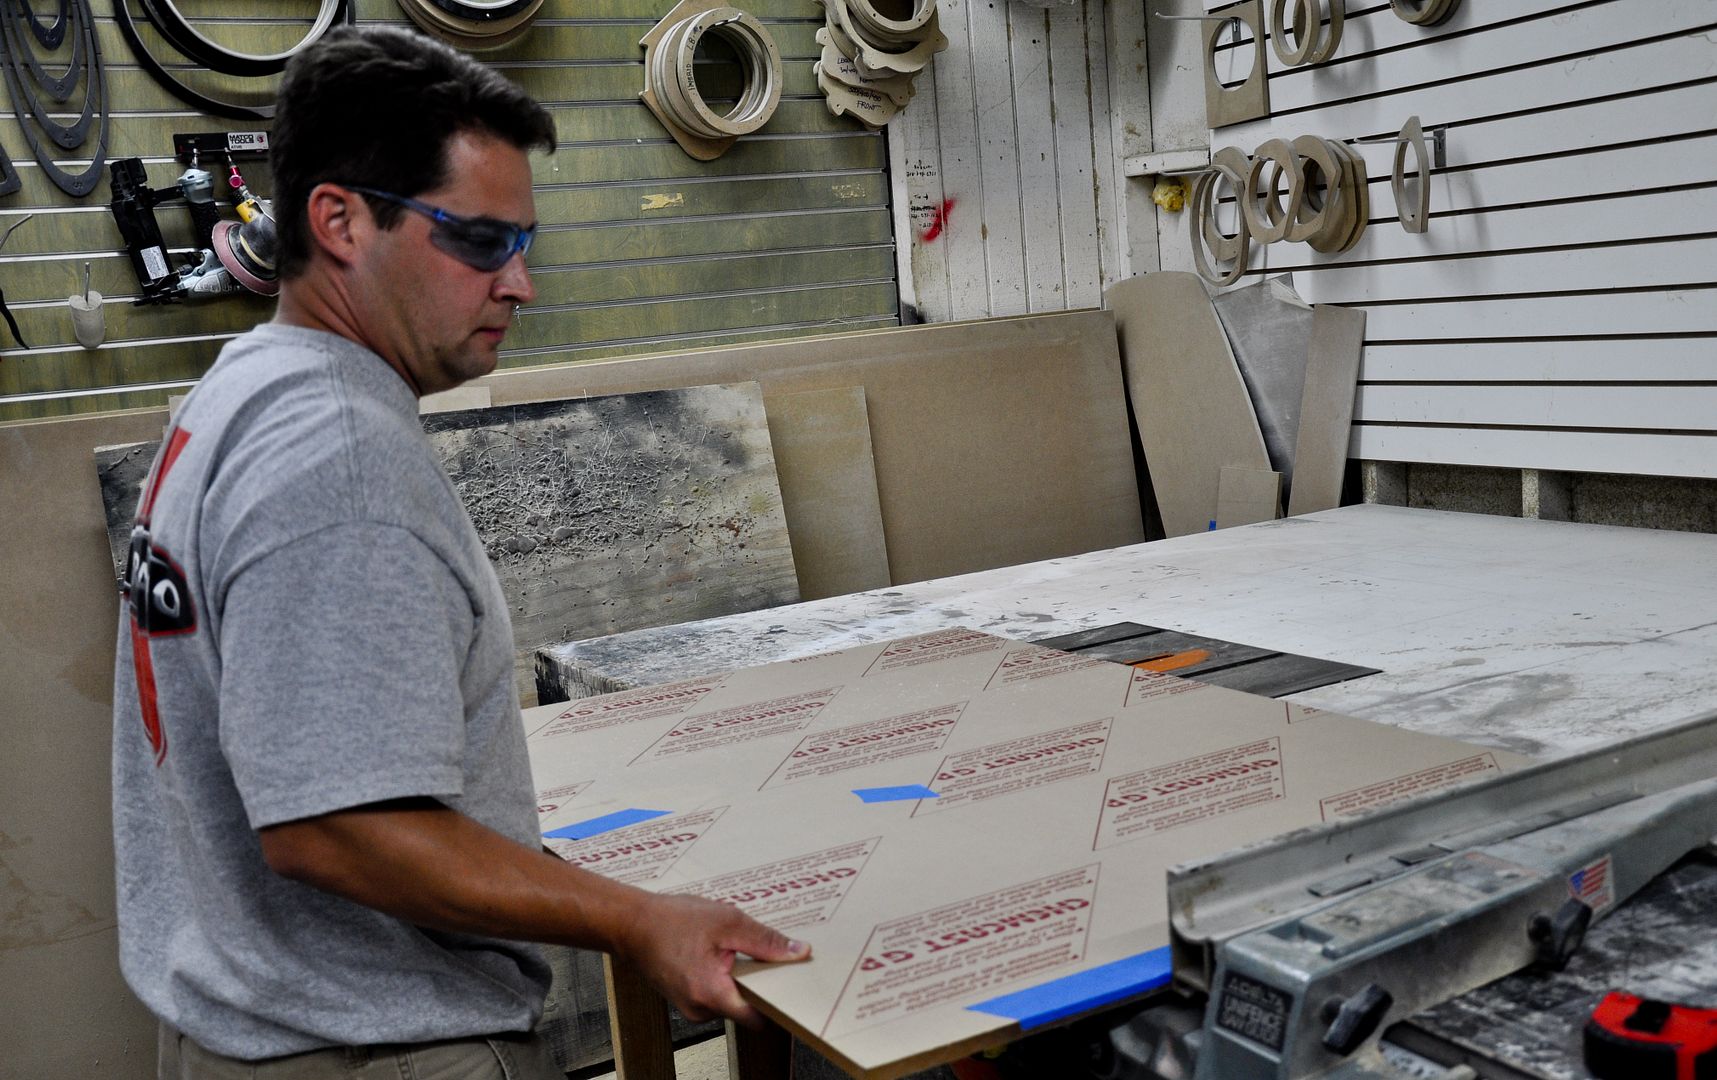
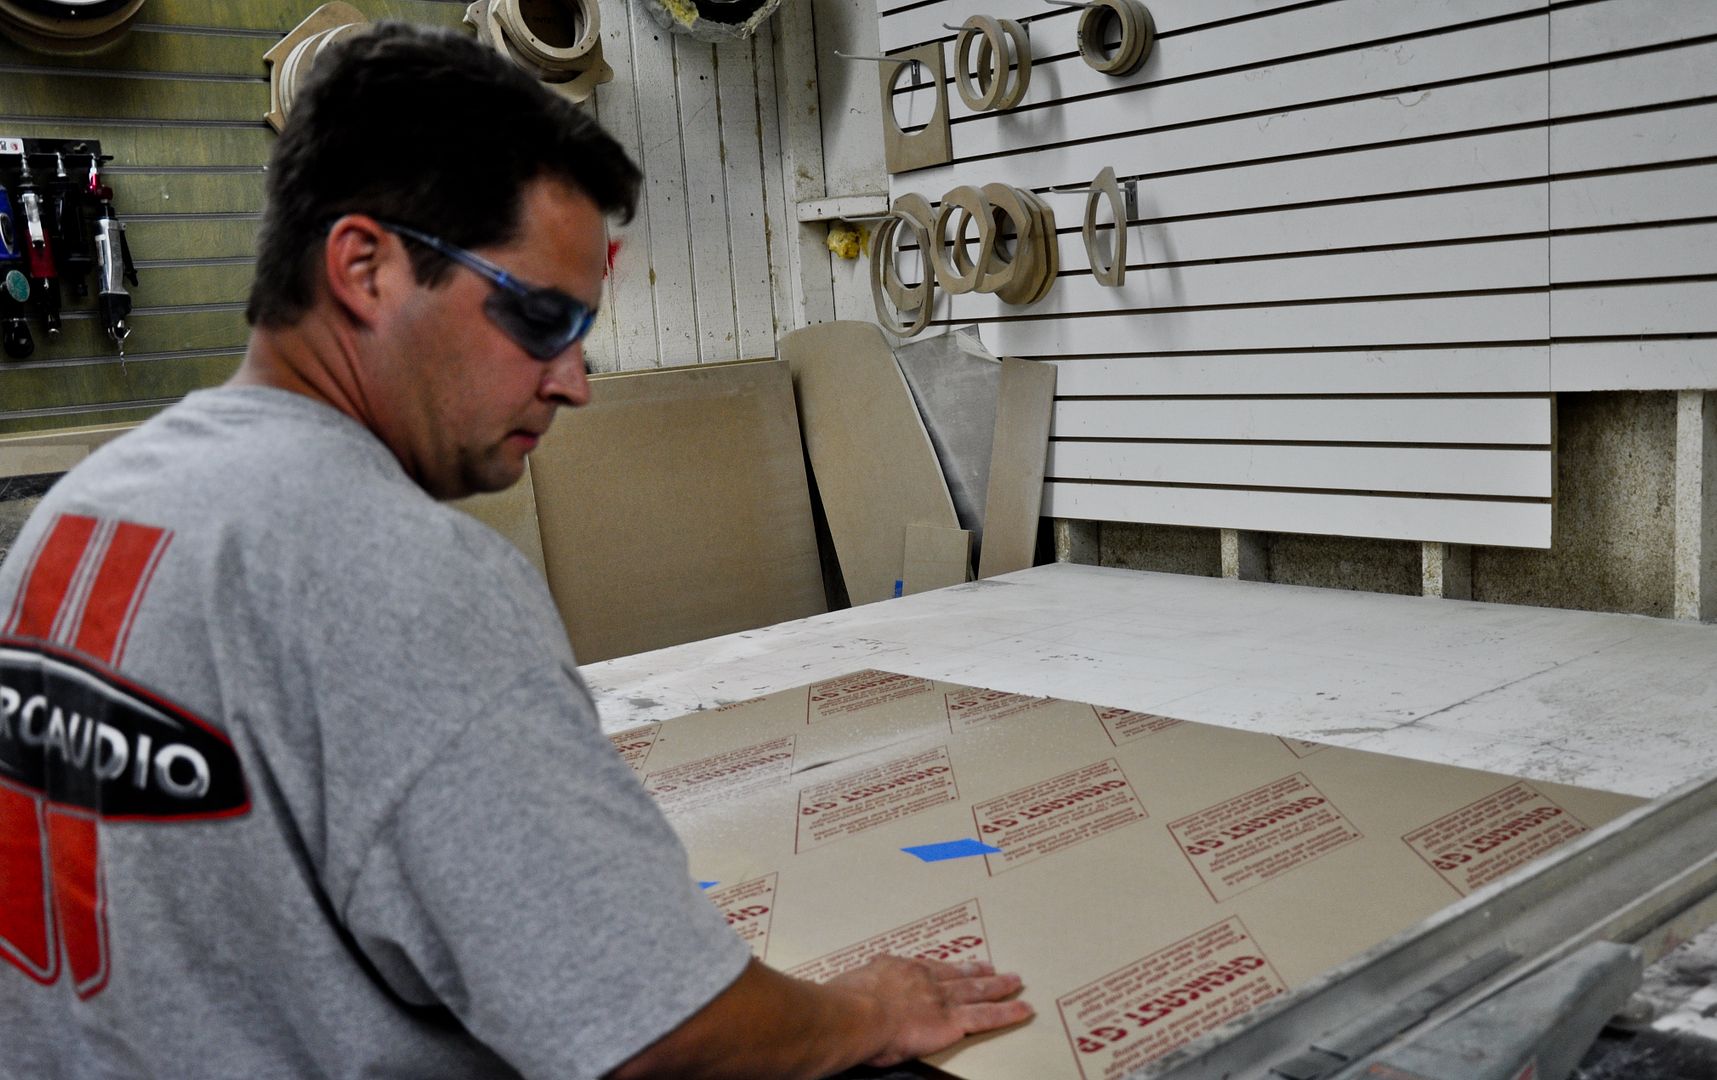
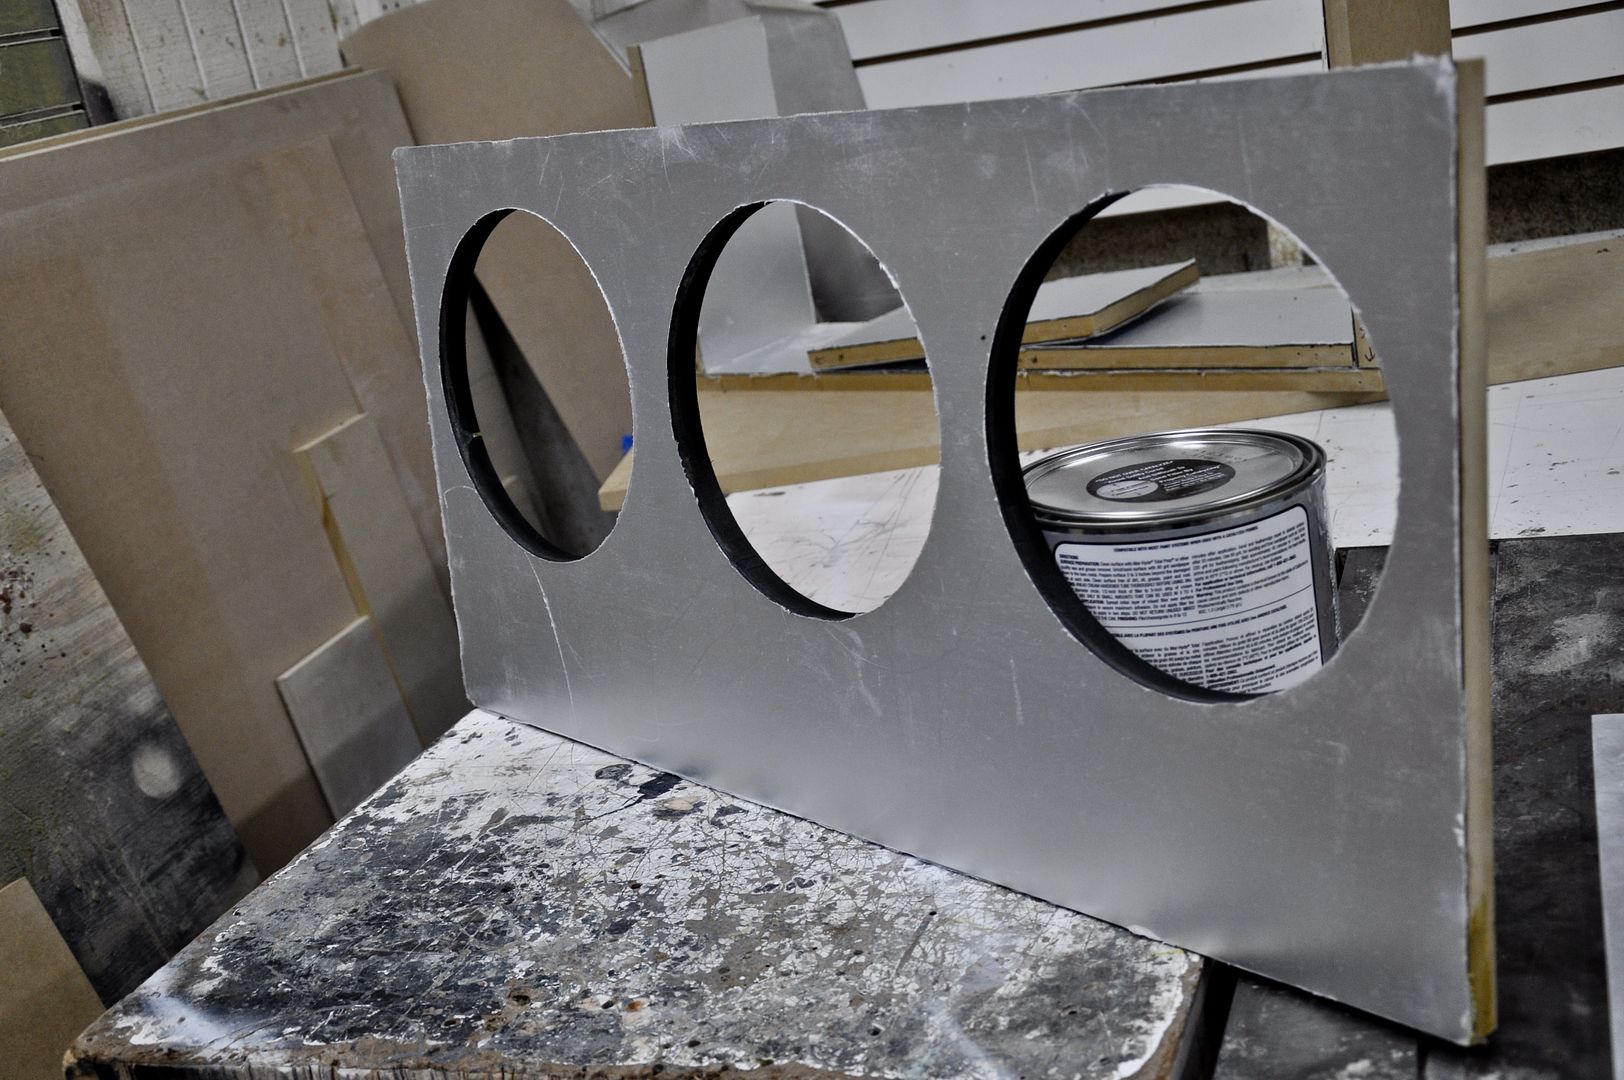
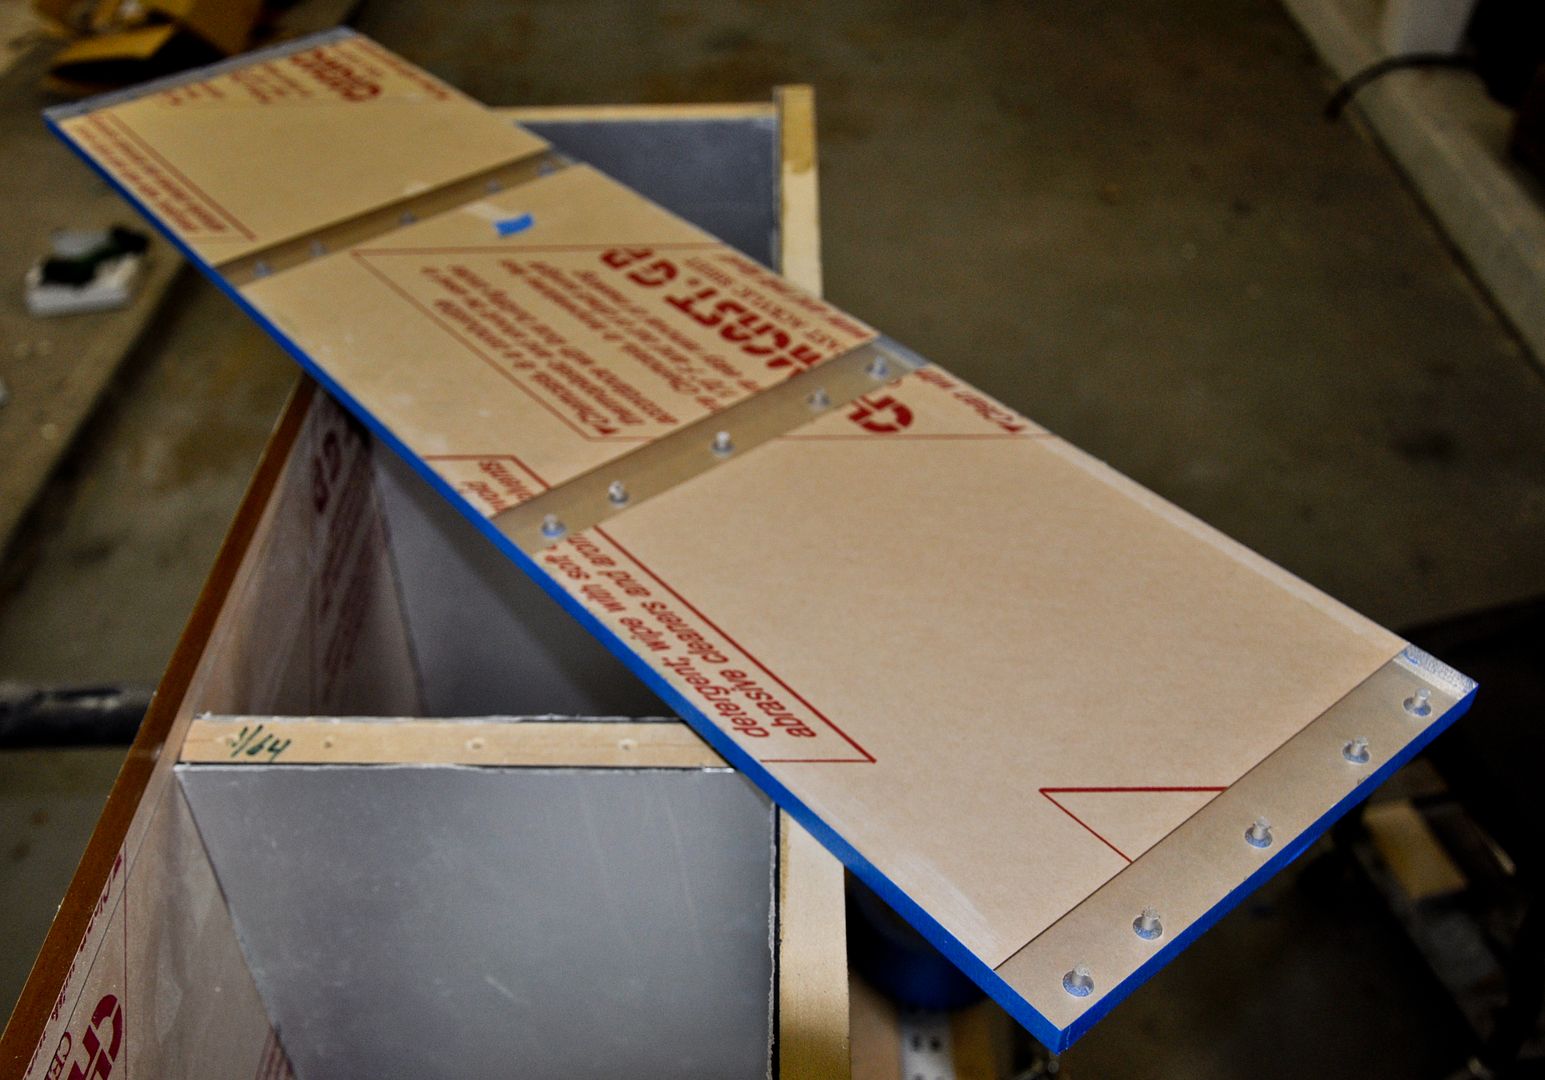
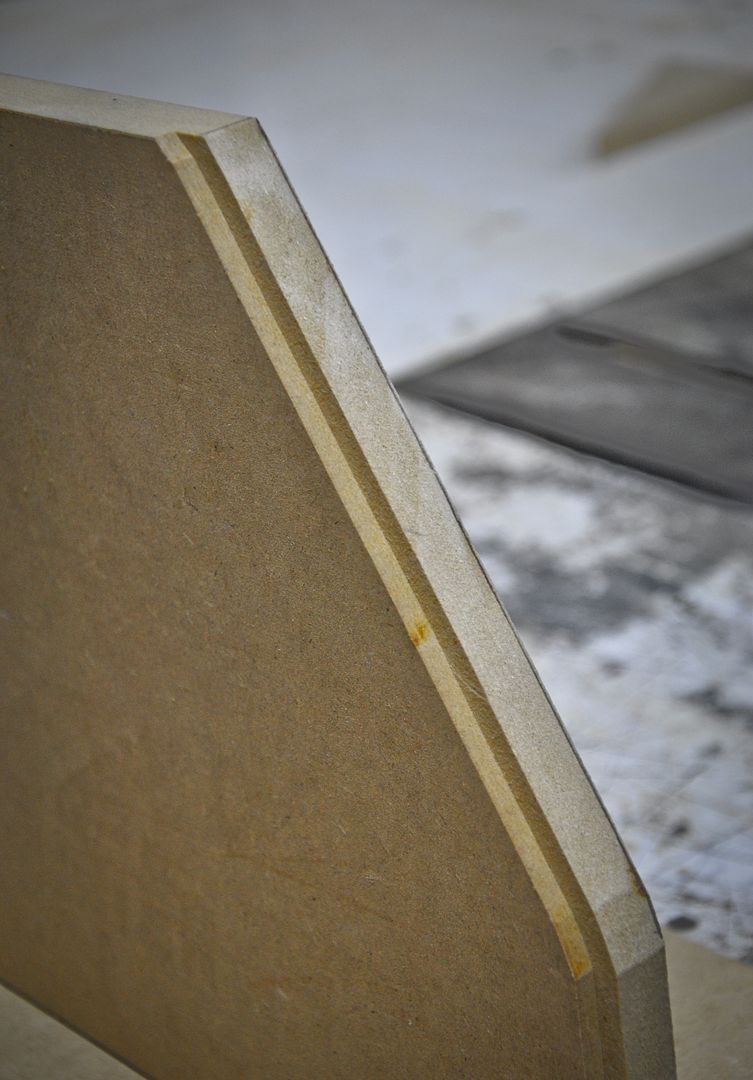
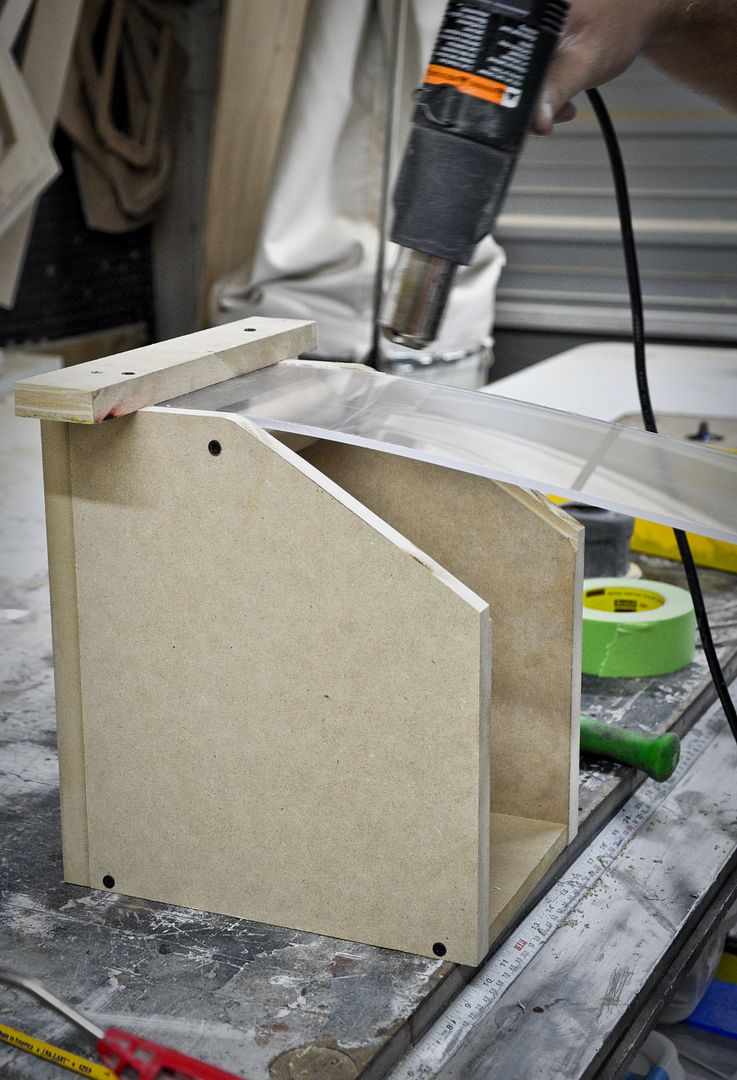
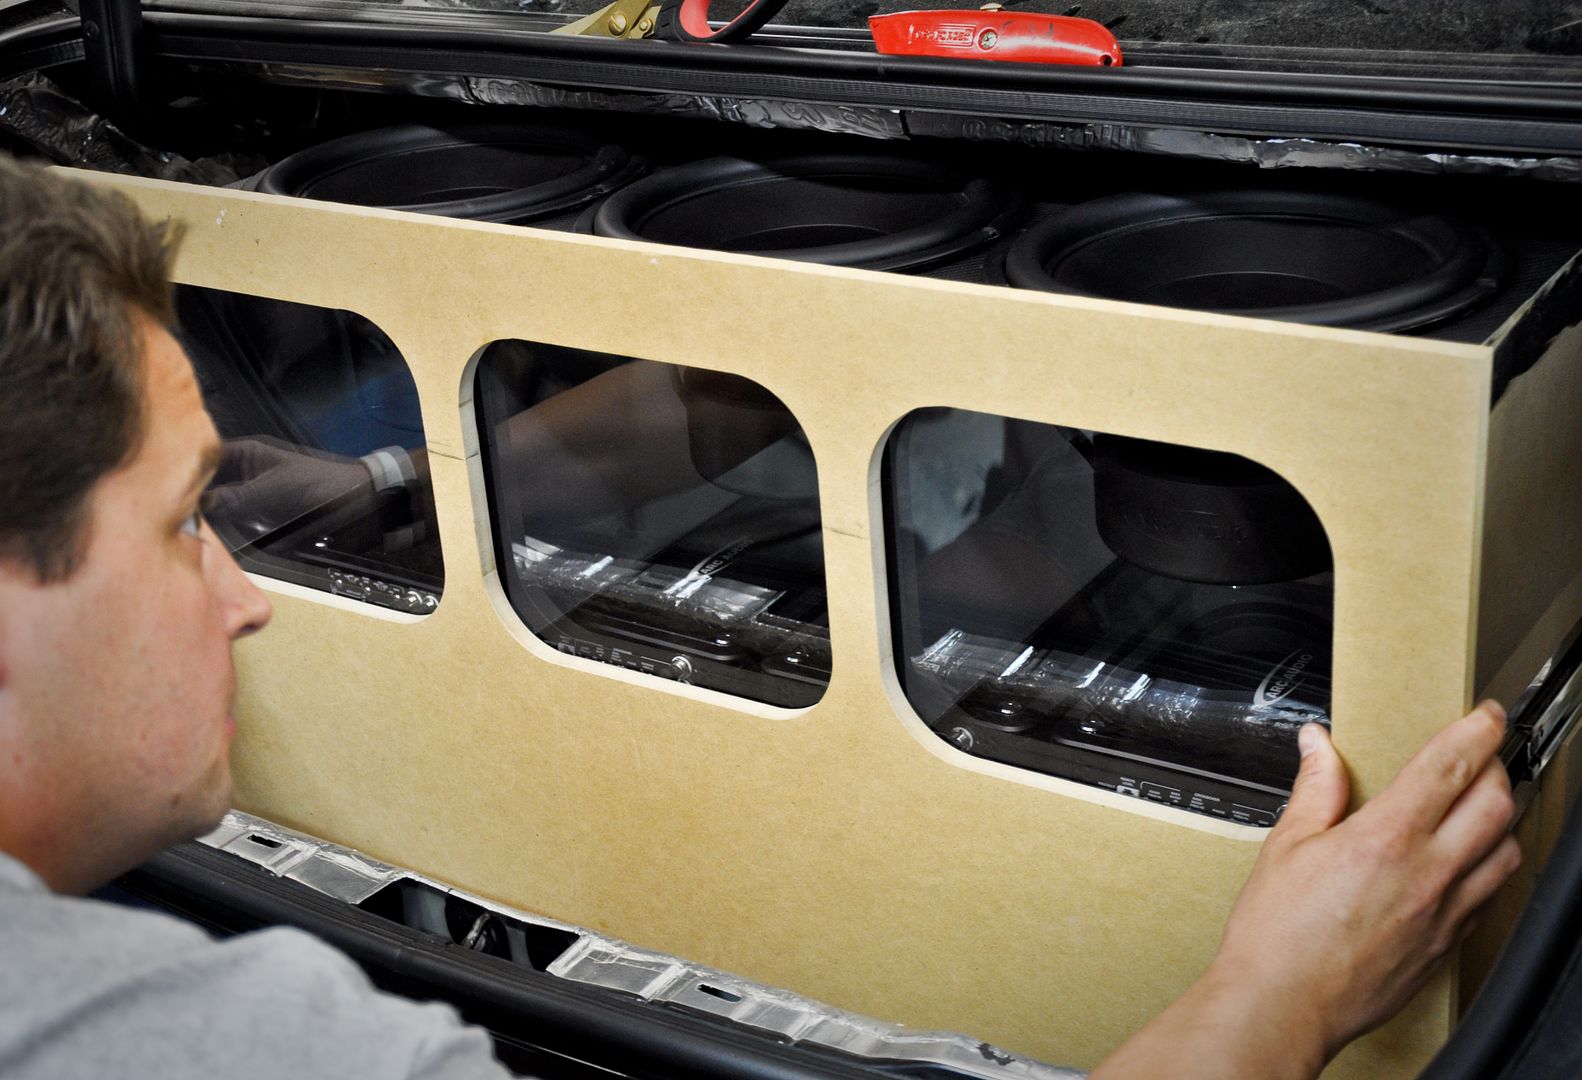
John cutting the 1/2 “ plexiglass for the front face of the box and bottom of the box (This is so that you can see into the box and through underneath to the amp rack at all times)
Mocking up the plexi
Me cutting the sidewall slats that will seal off each individual enclosure
Loosely mocked up
Petey approves
Setup plan #1
Checking for gaps in measurements
John cutting the 1/2 “ plexiglass for the front face of the box and bottom of the box (This is so that you can see into the box and through underneath to the amp rack at all times)
Mocking up the plexi
03-19-11, 04:34 AM
#474
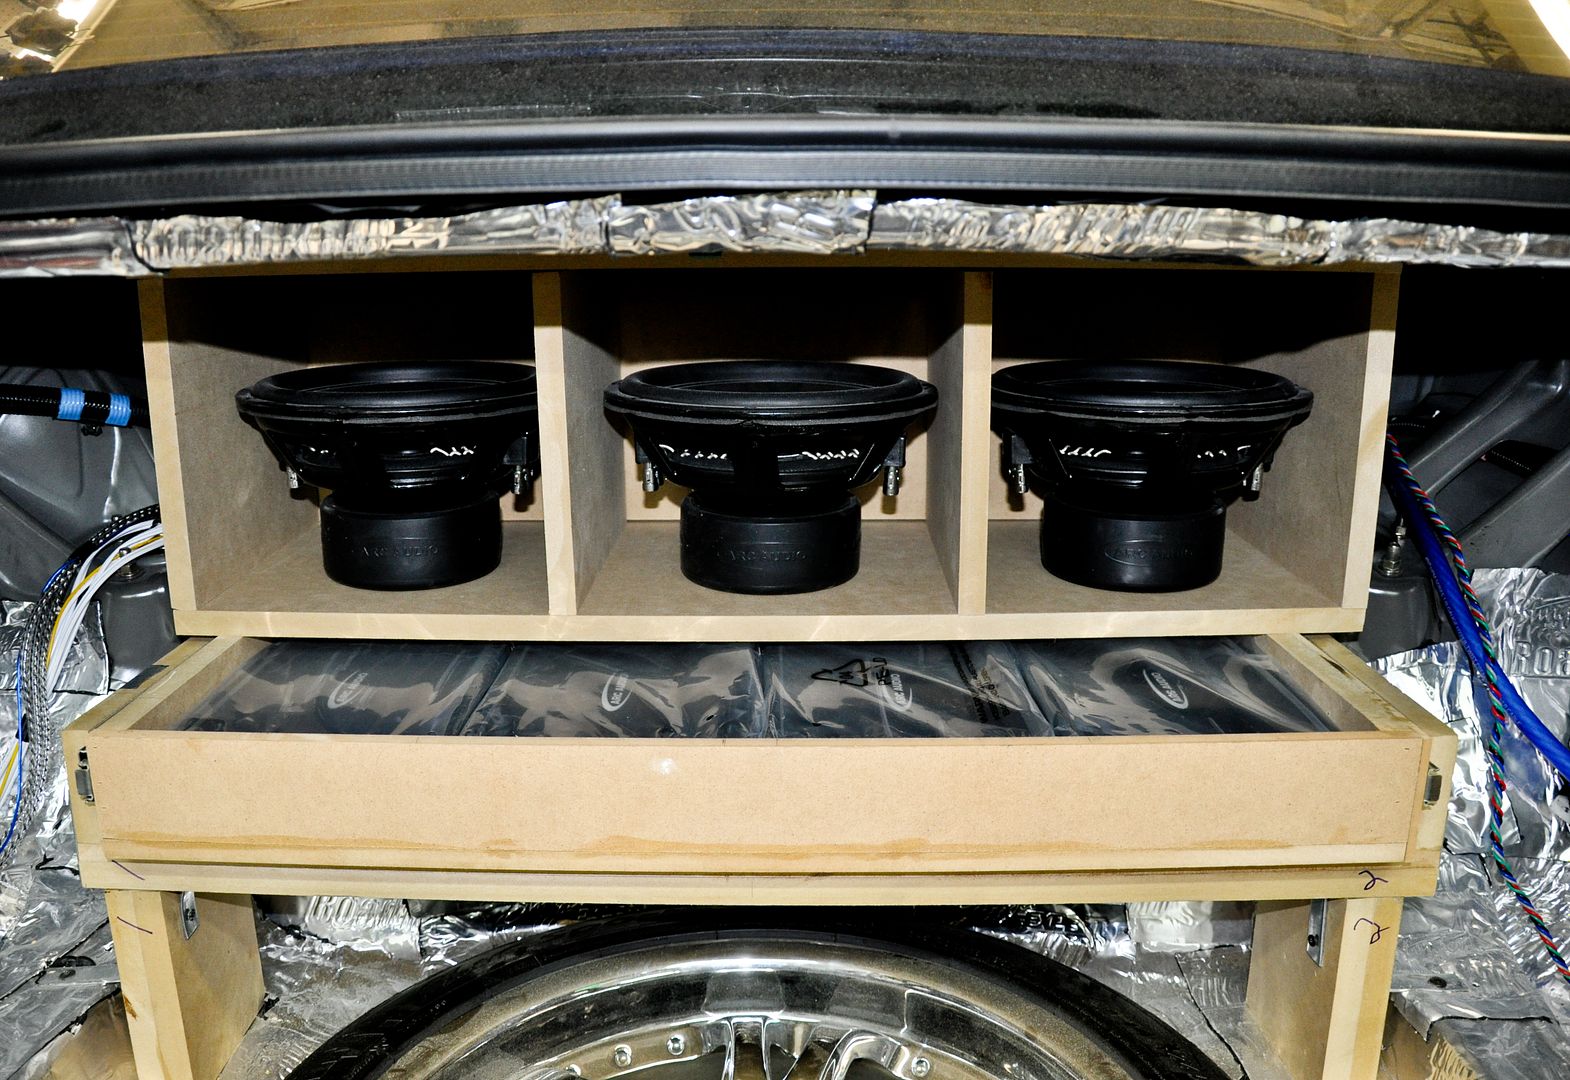
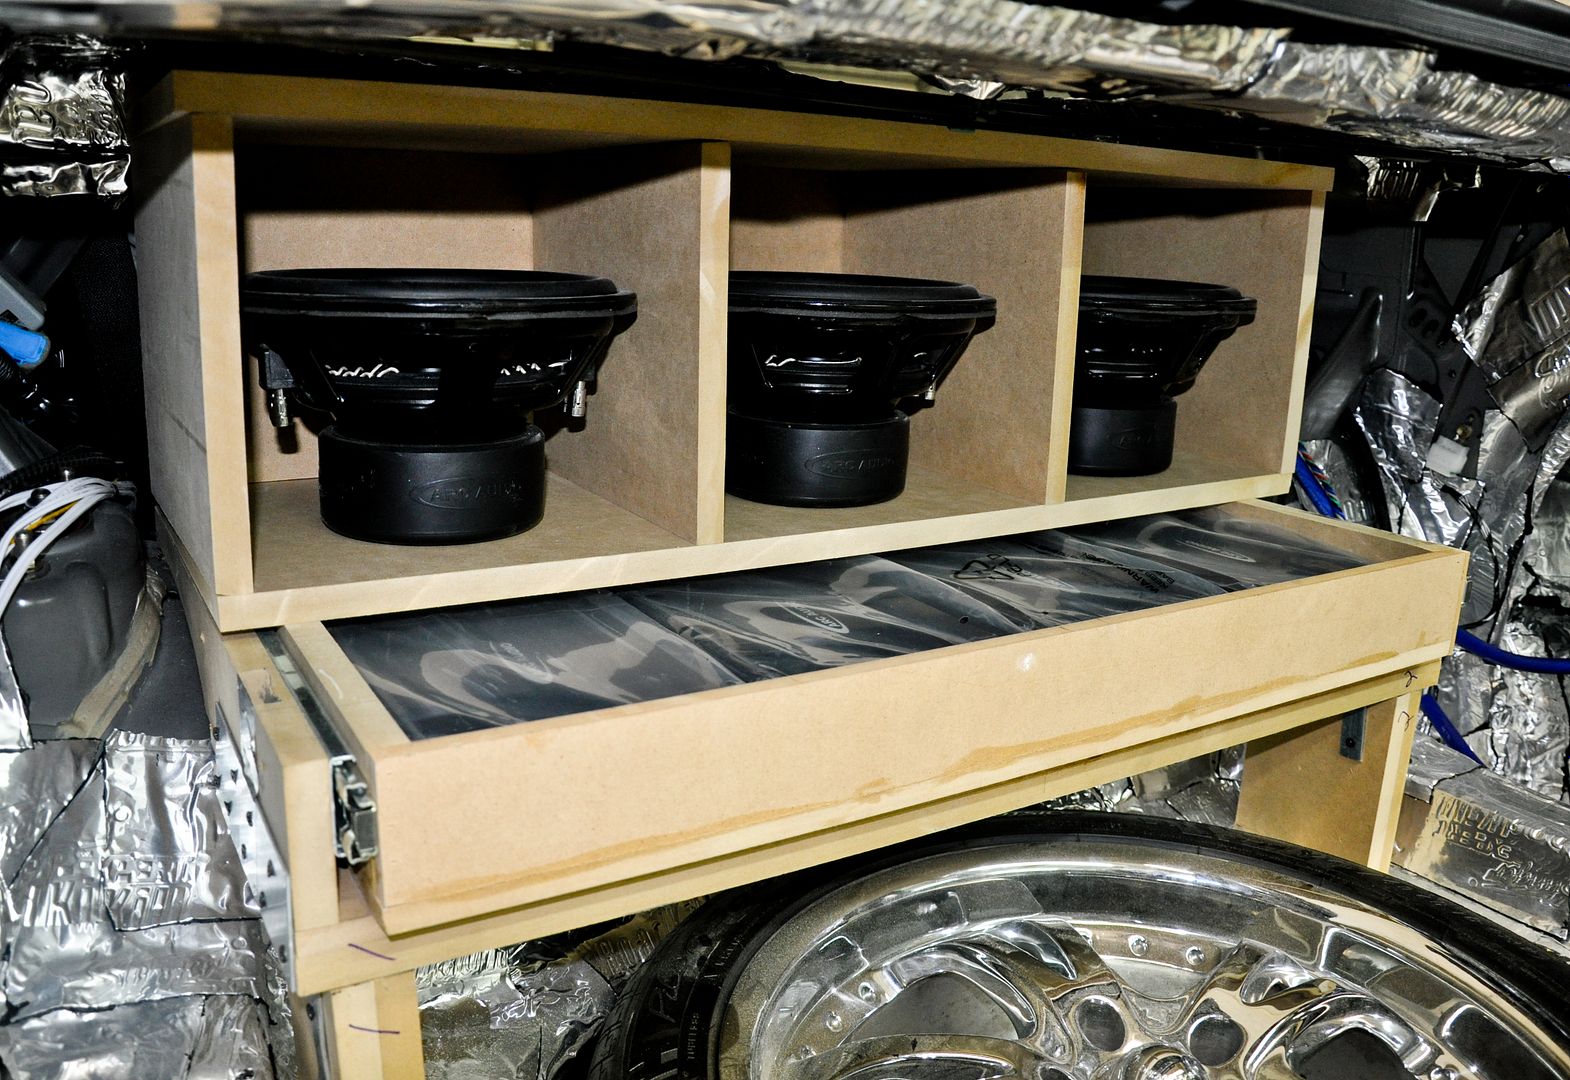
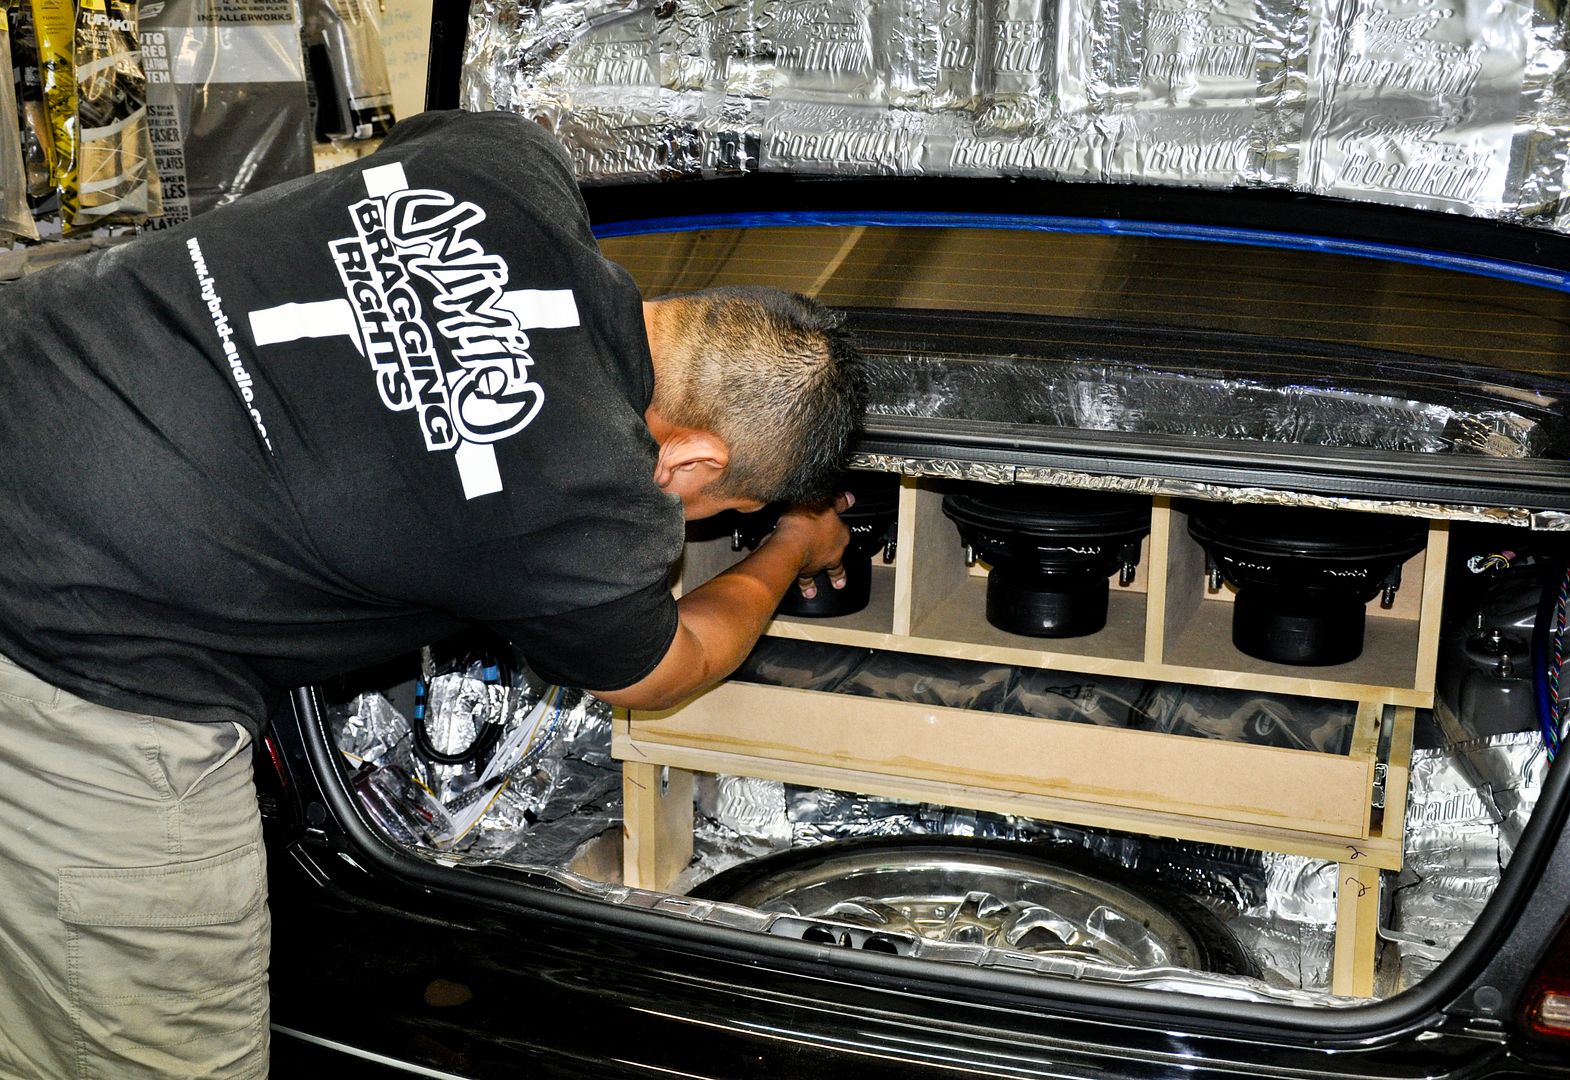
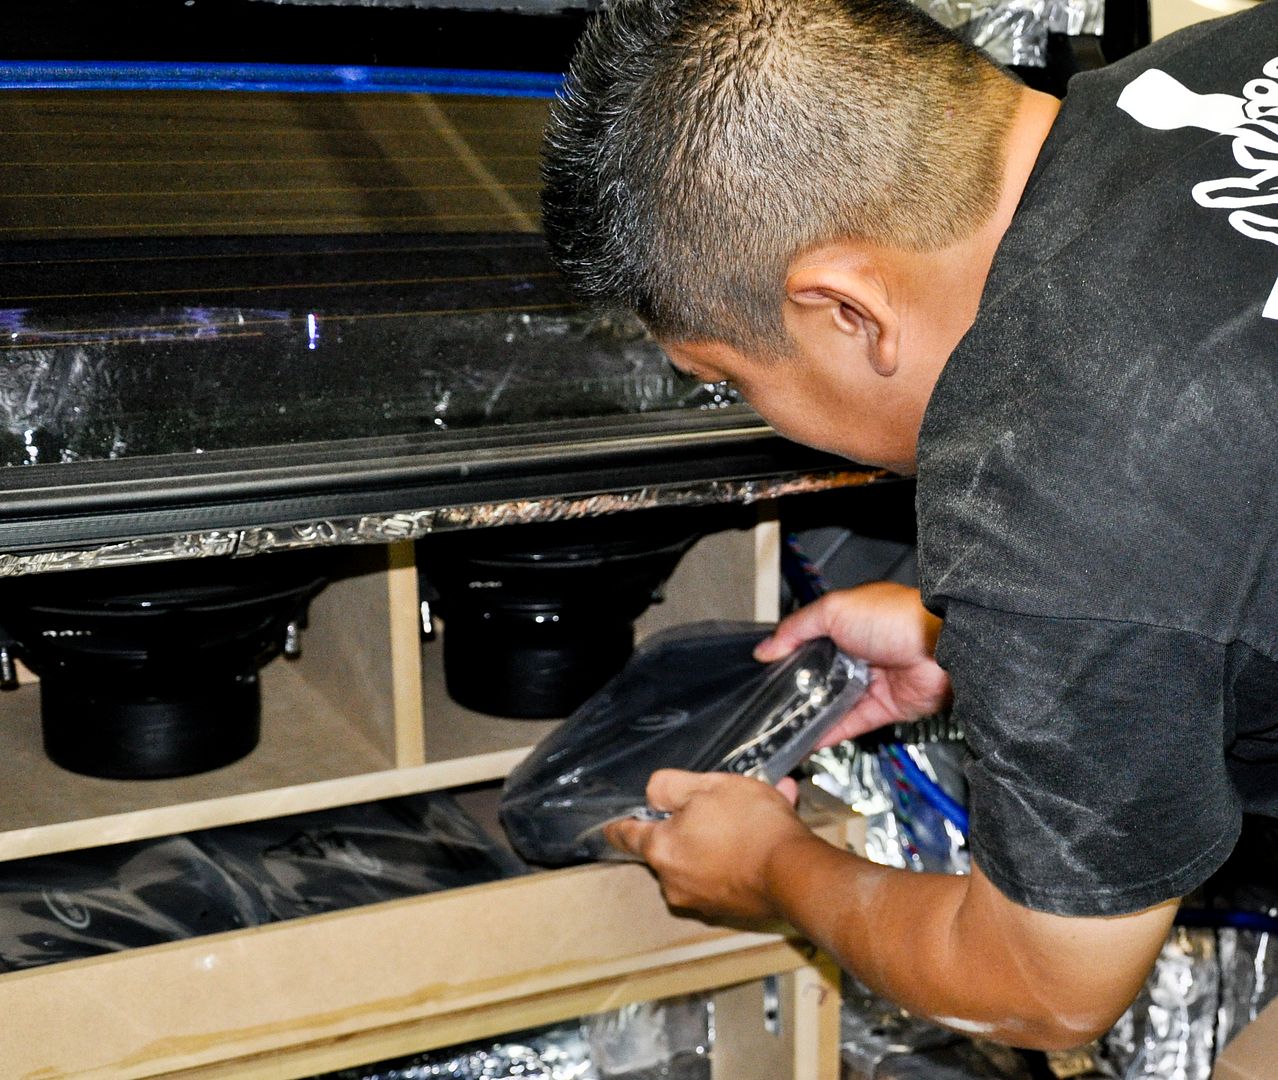
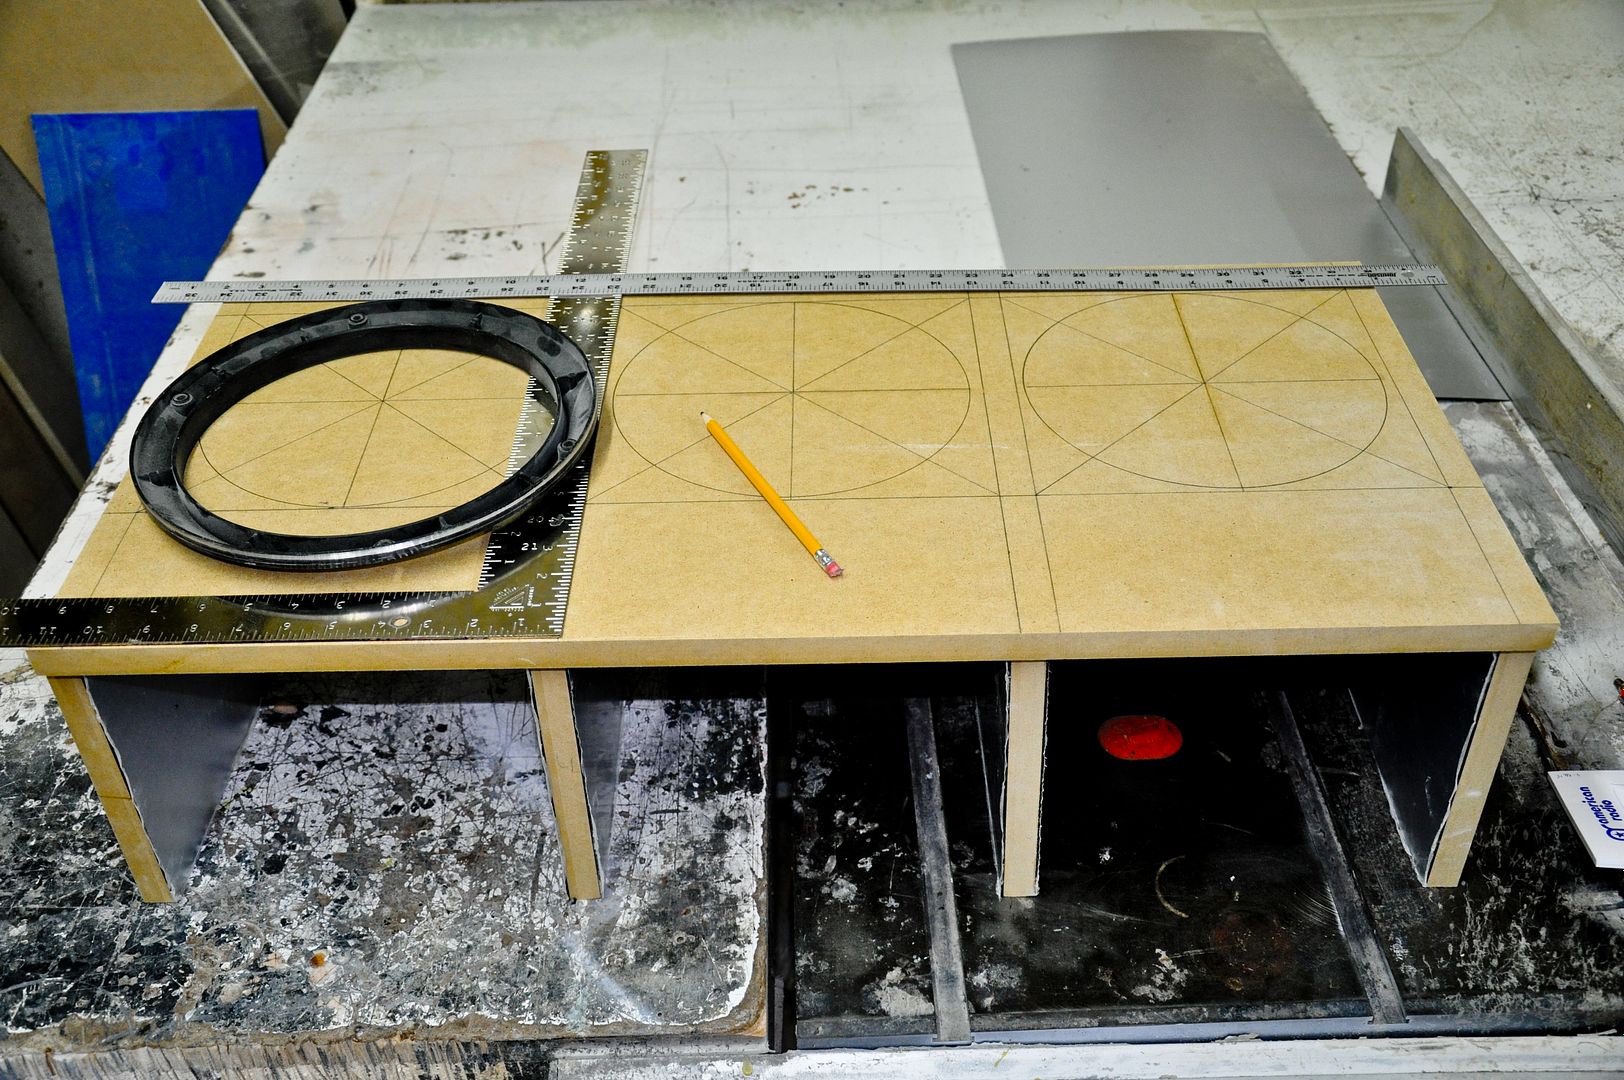
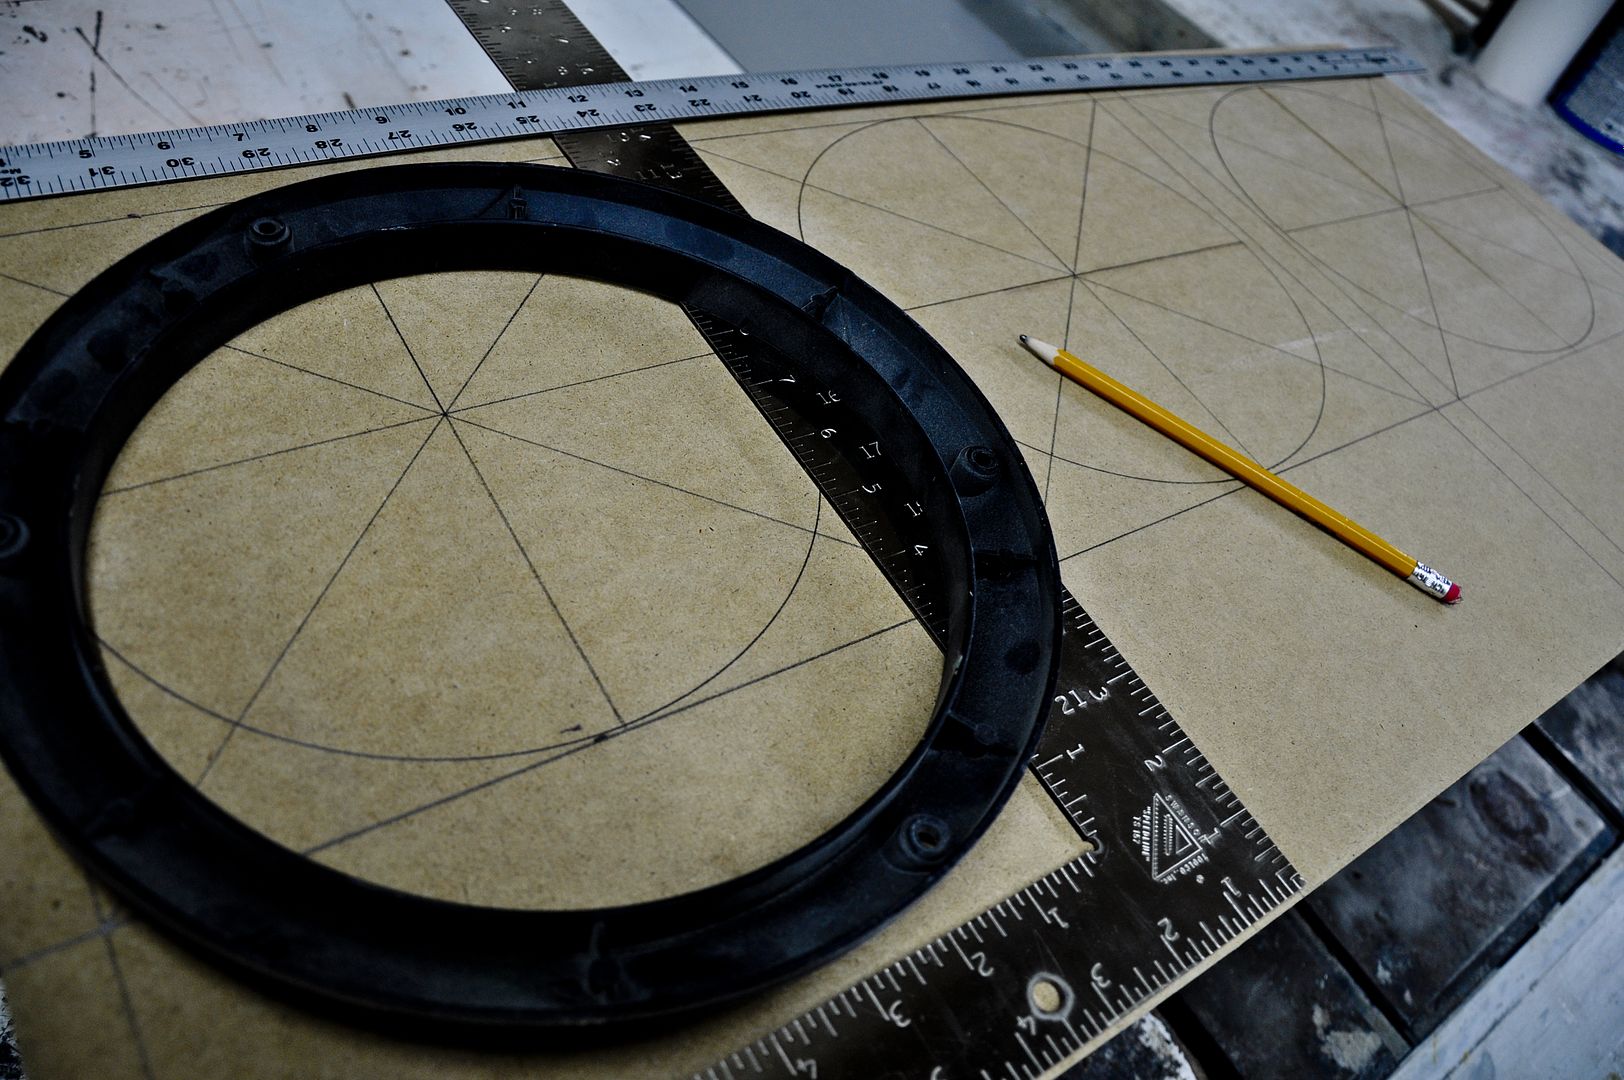
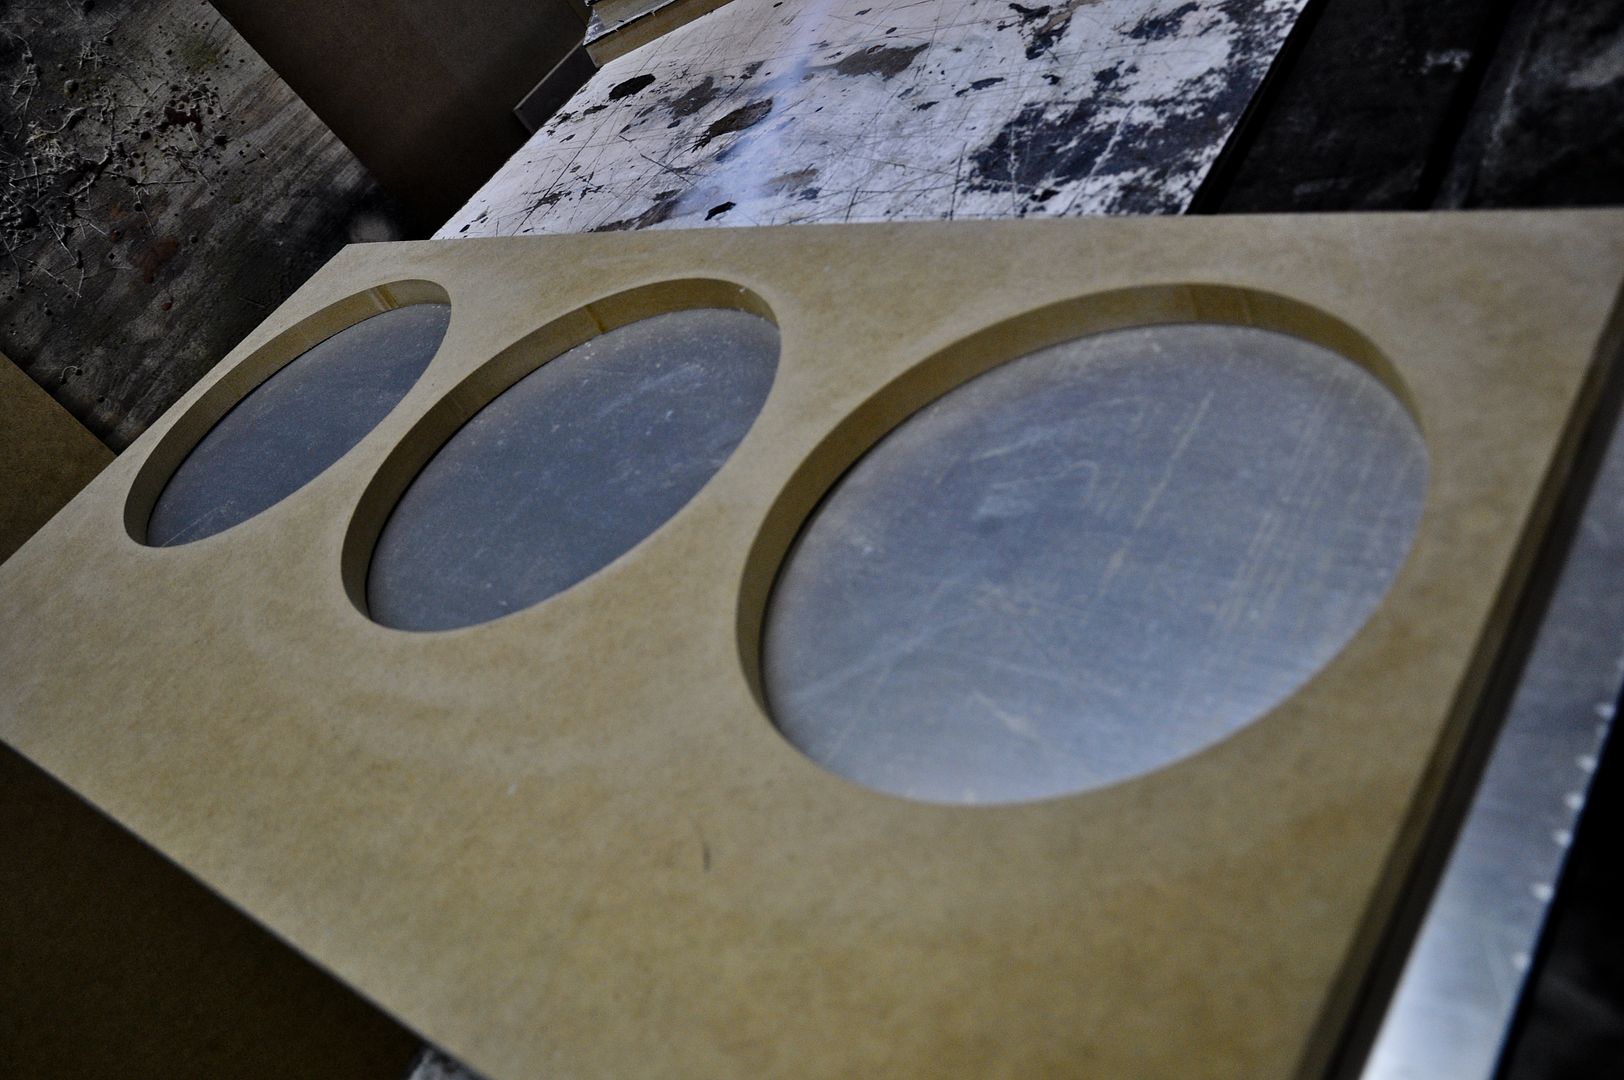
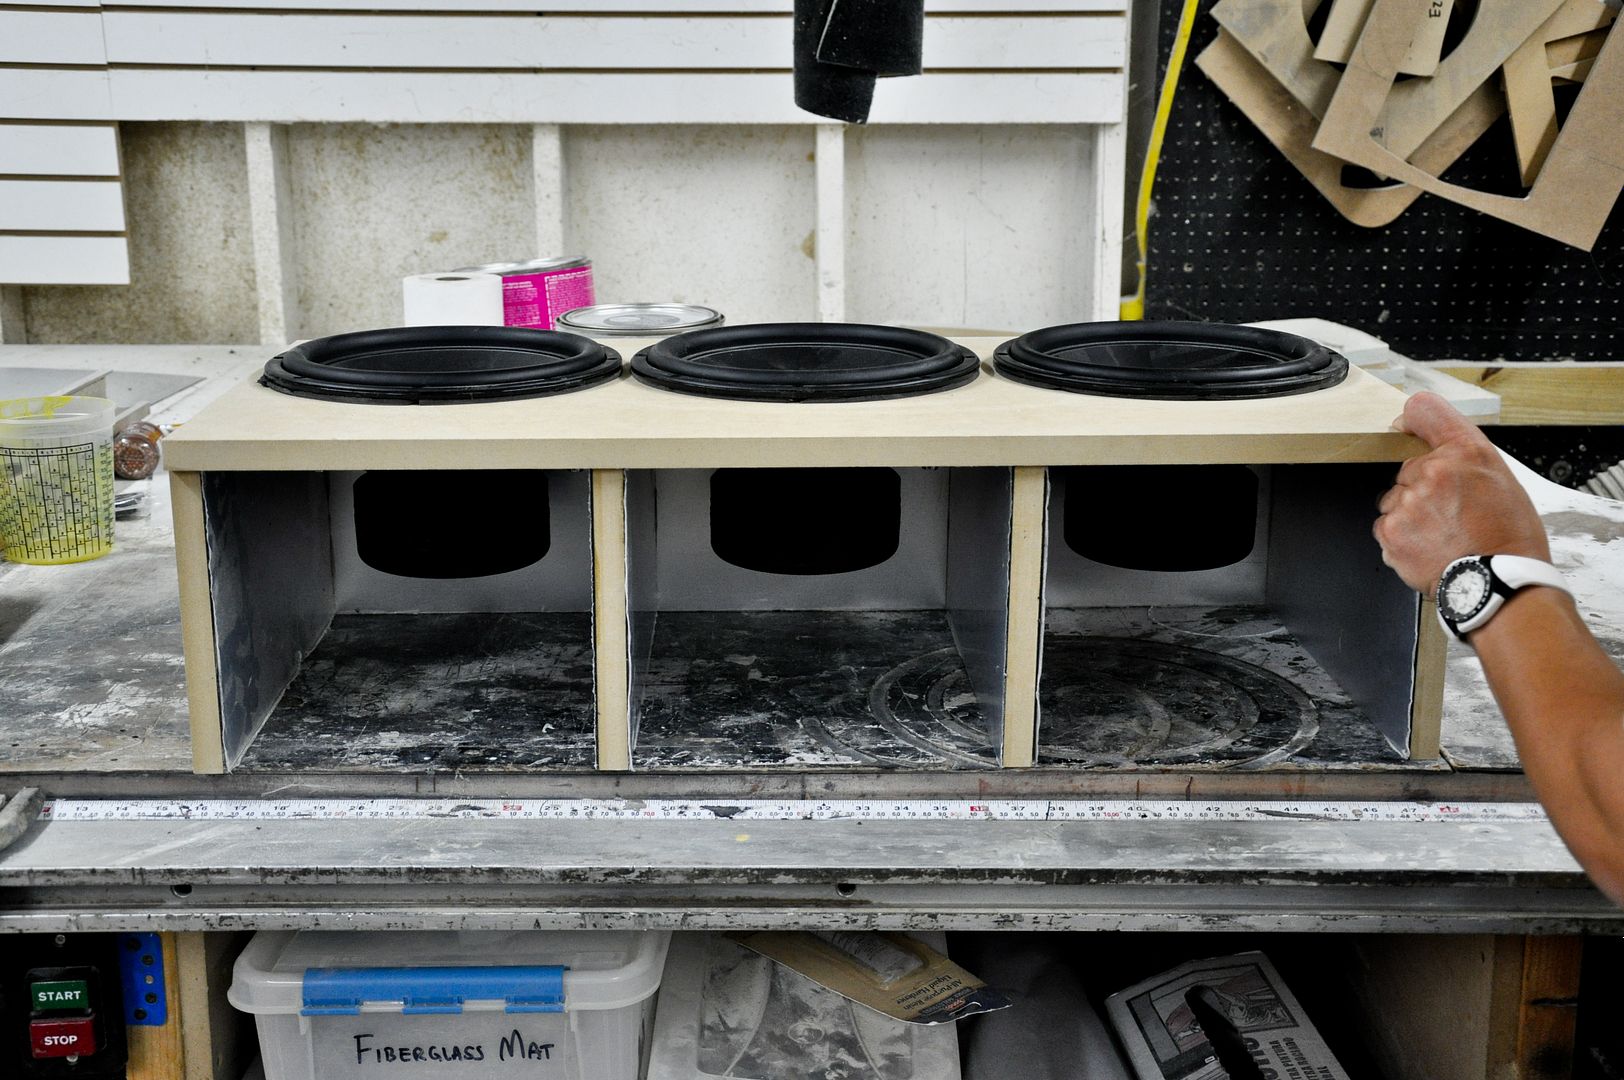
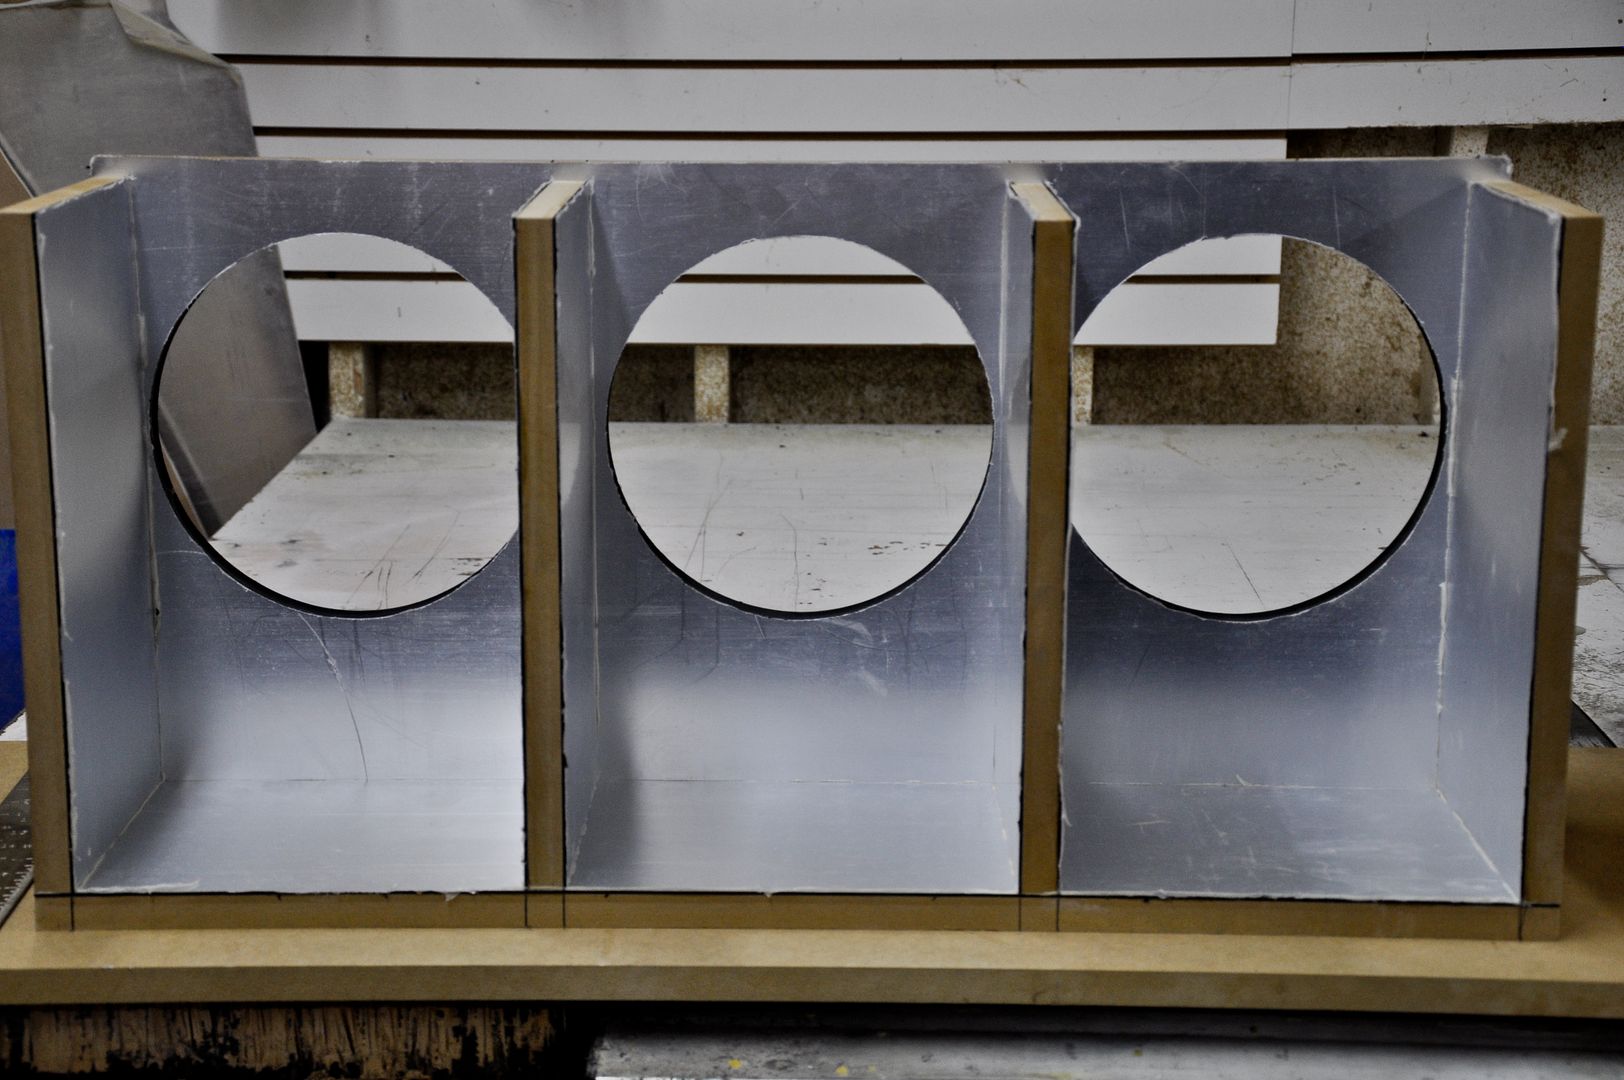
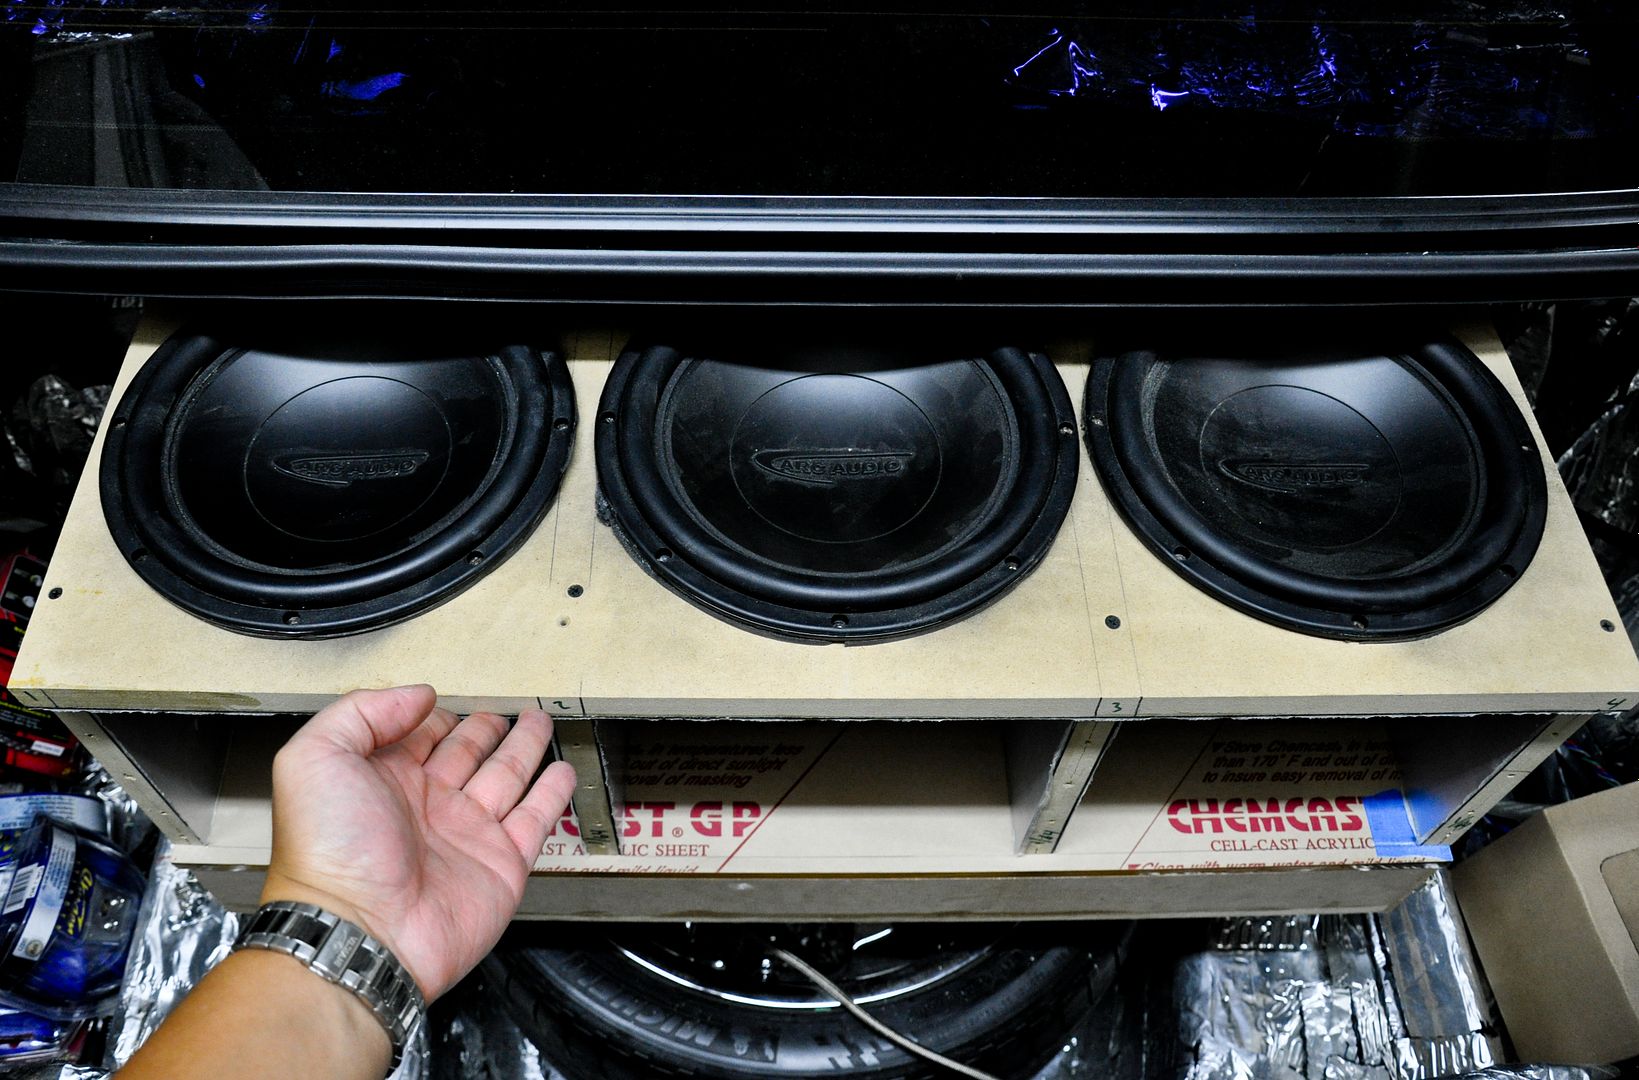
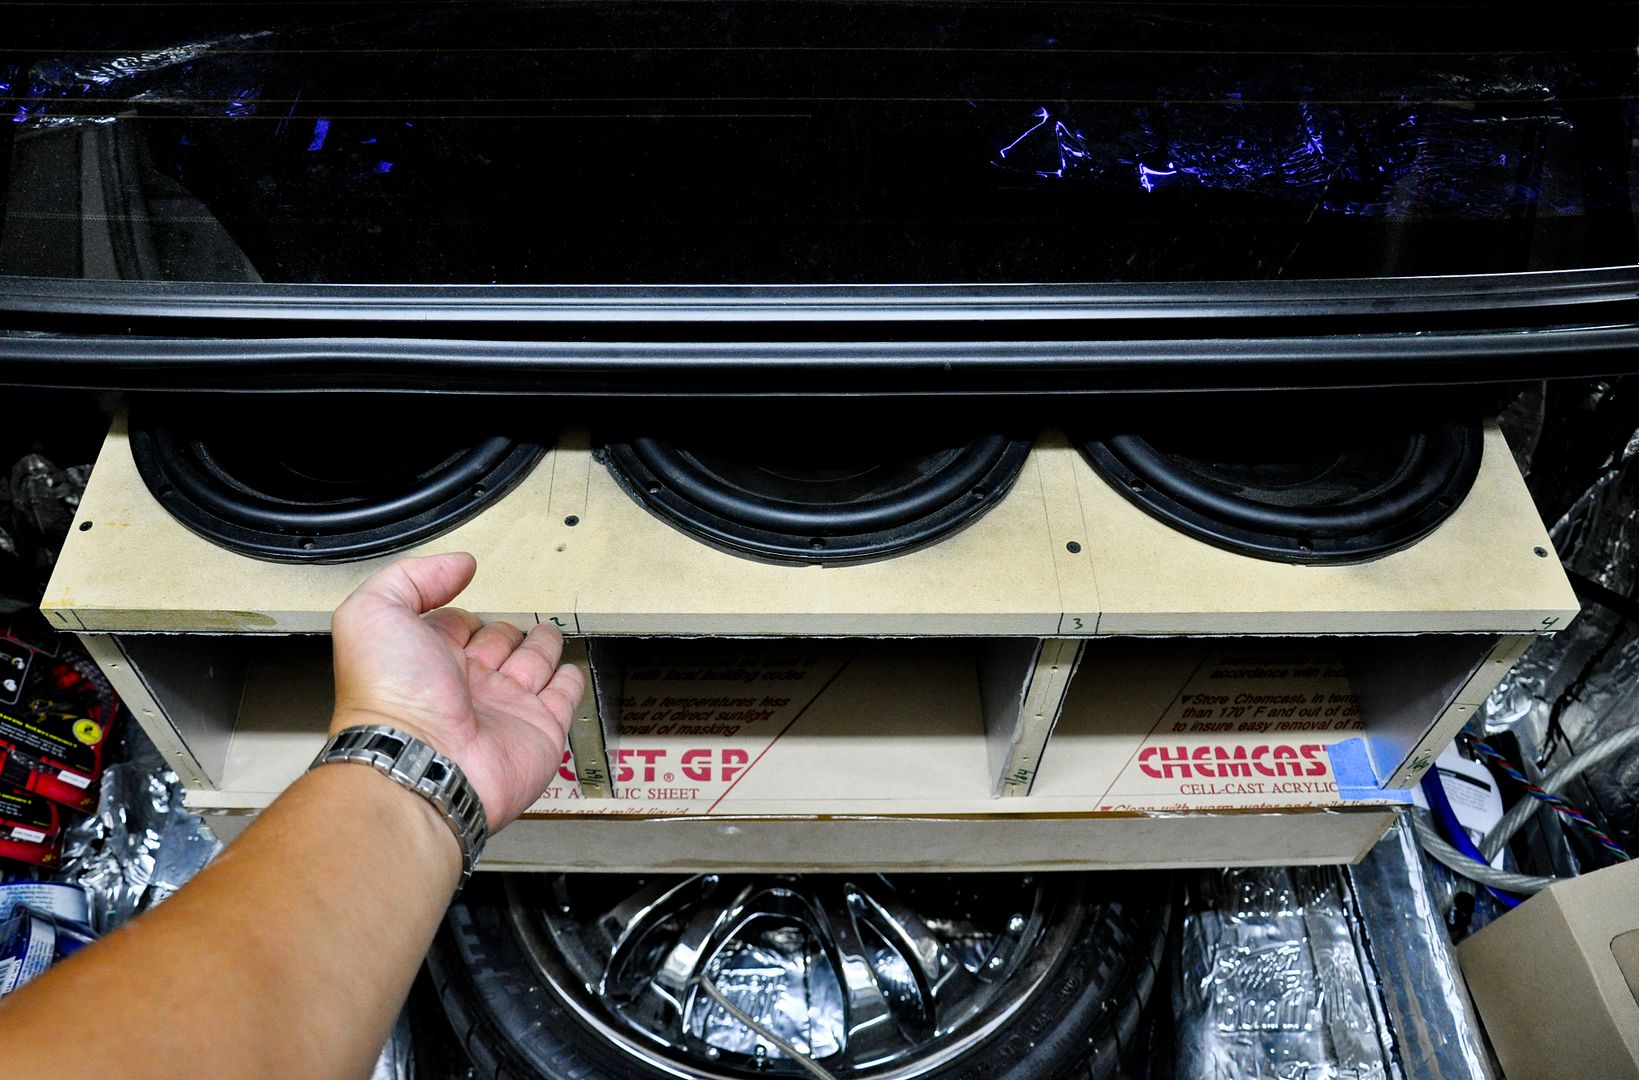
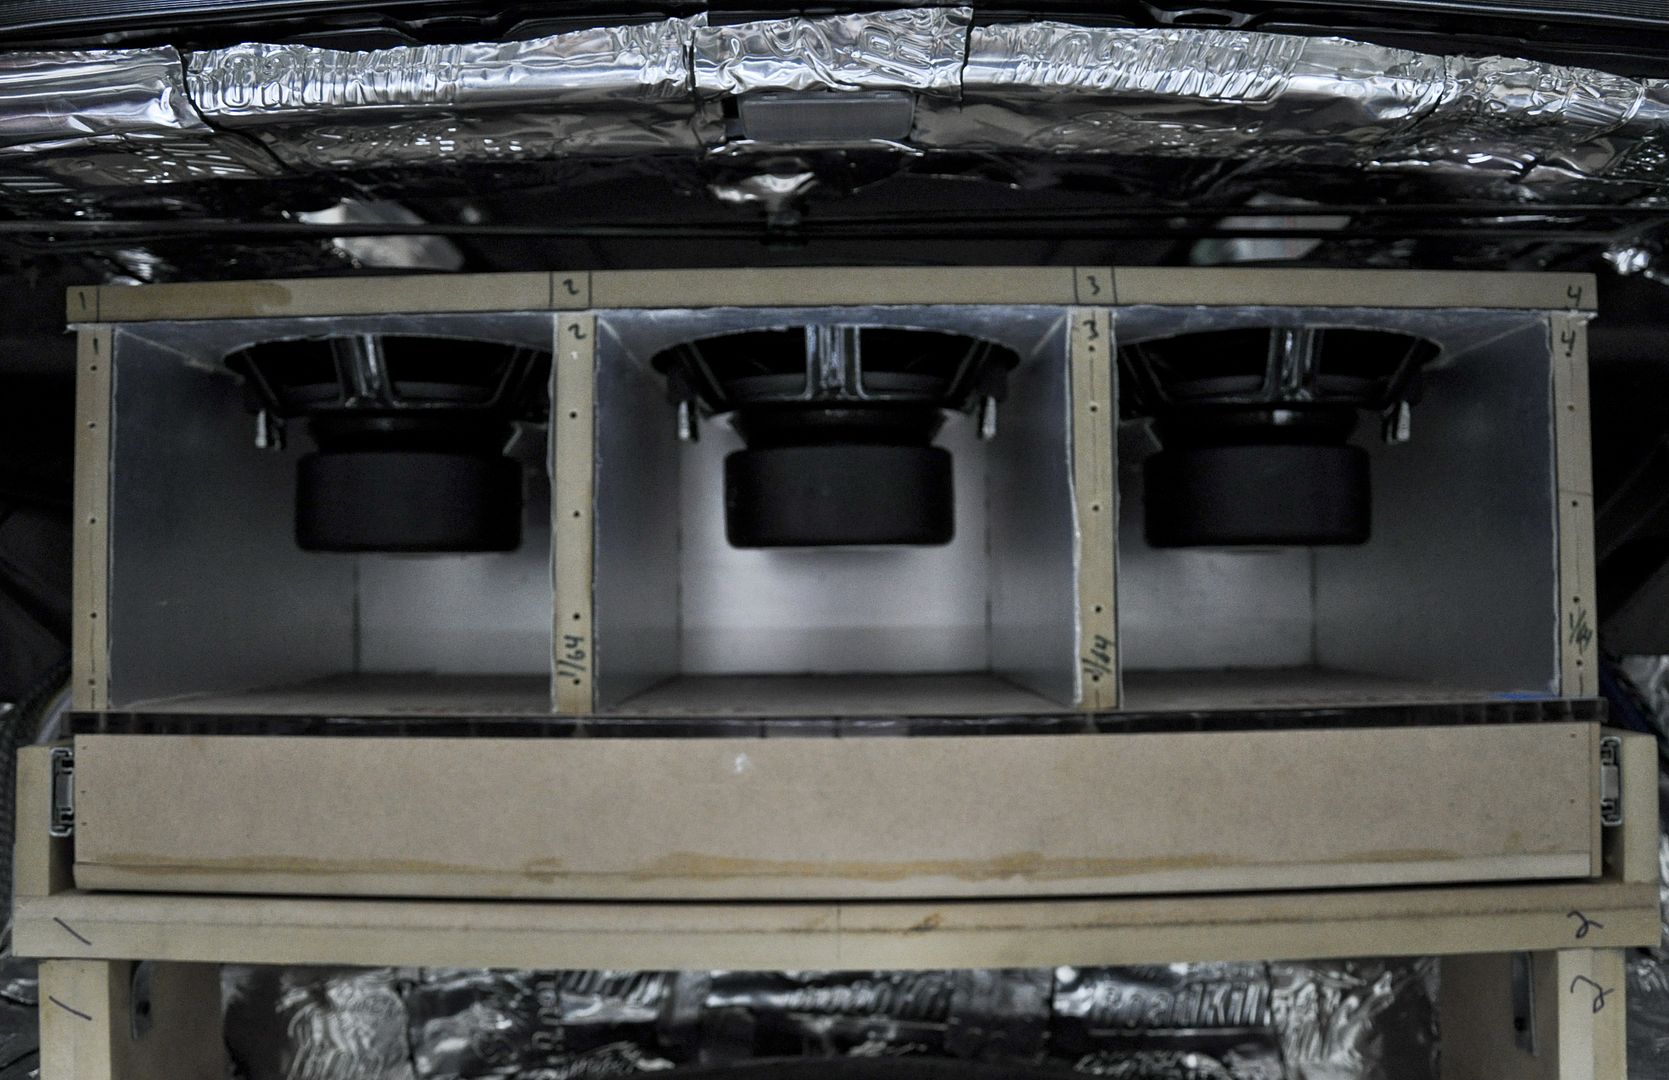
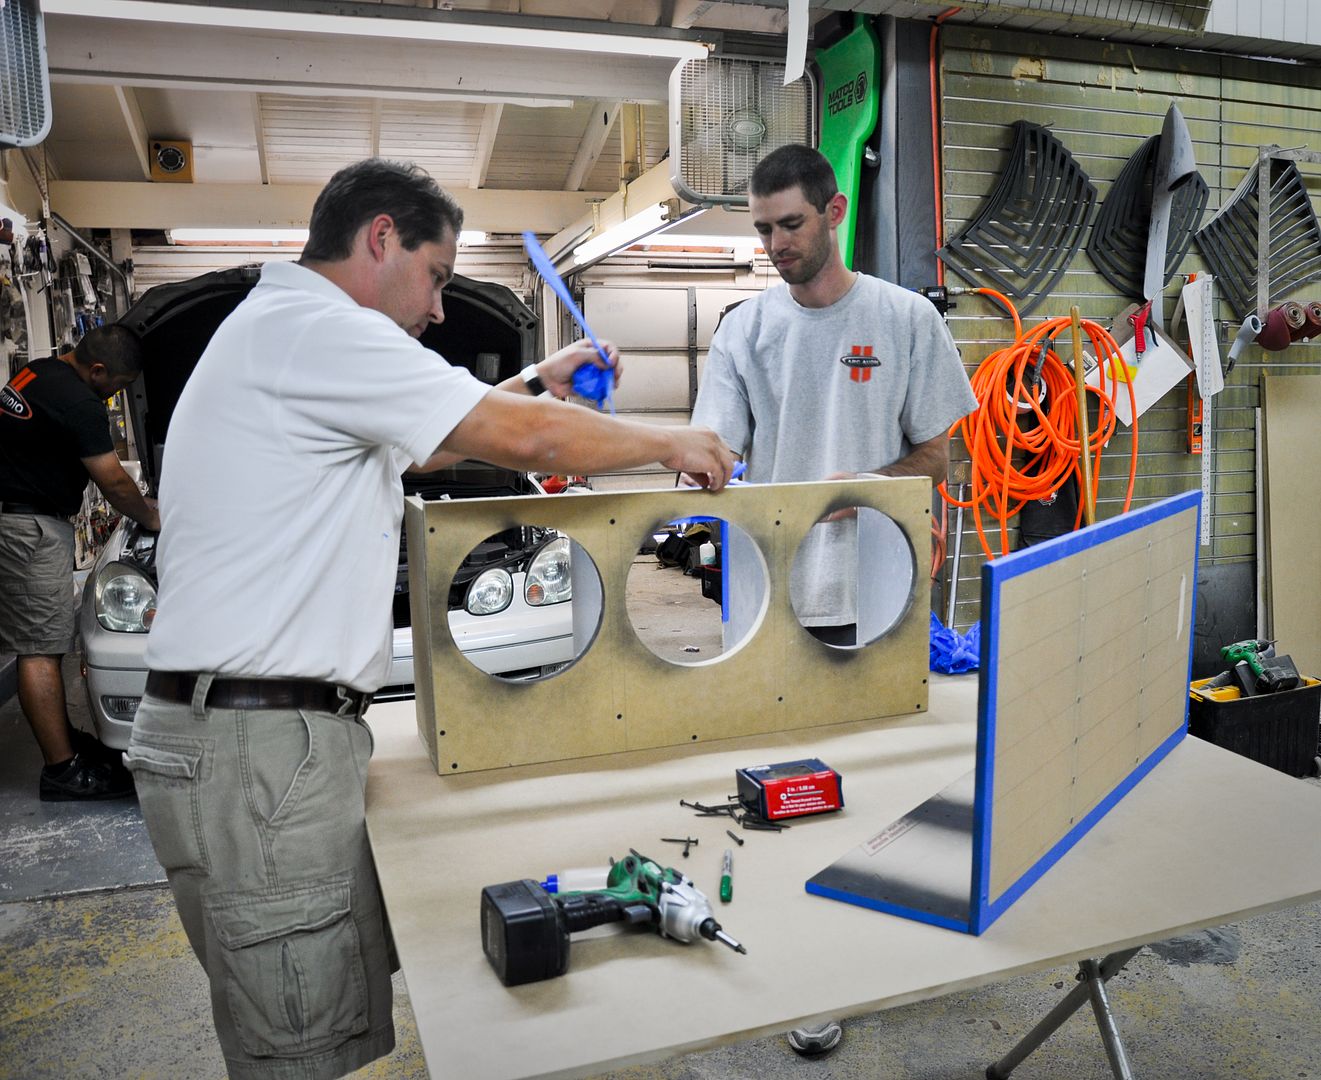
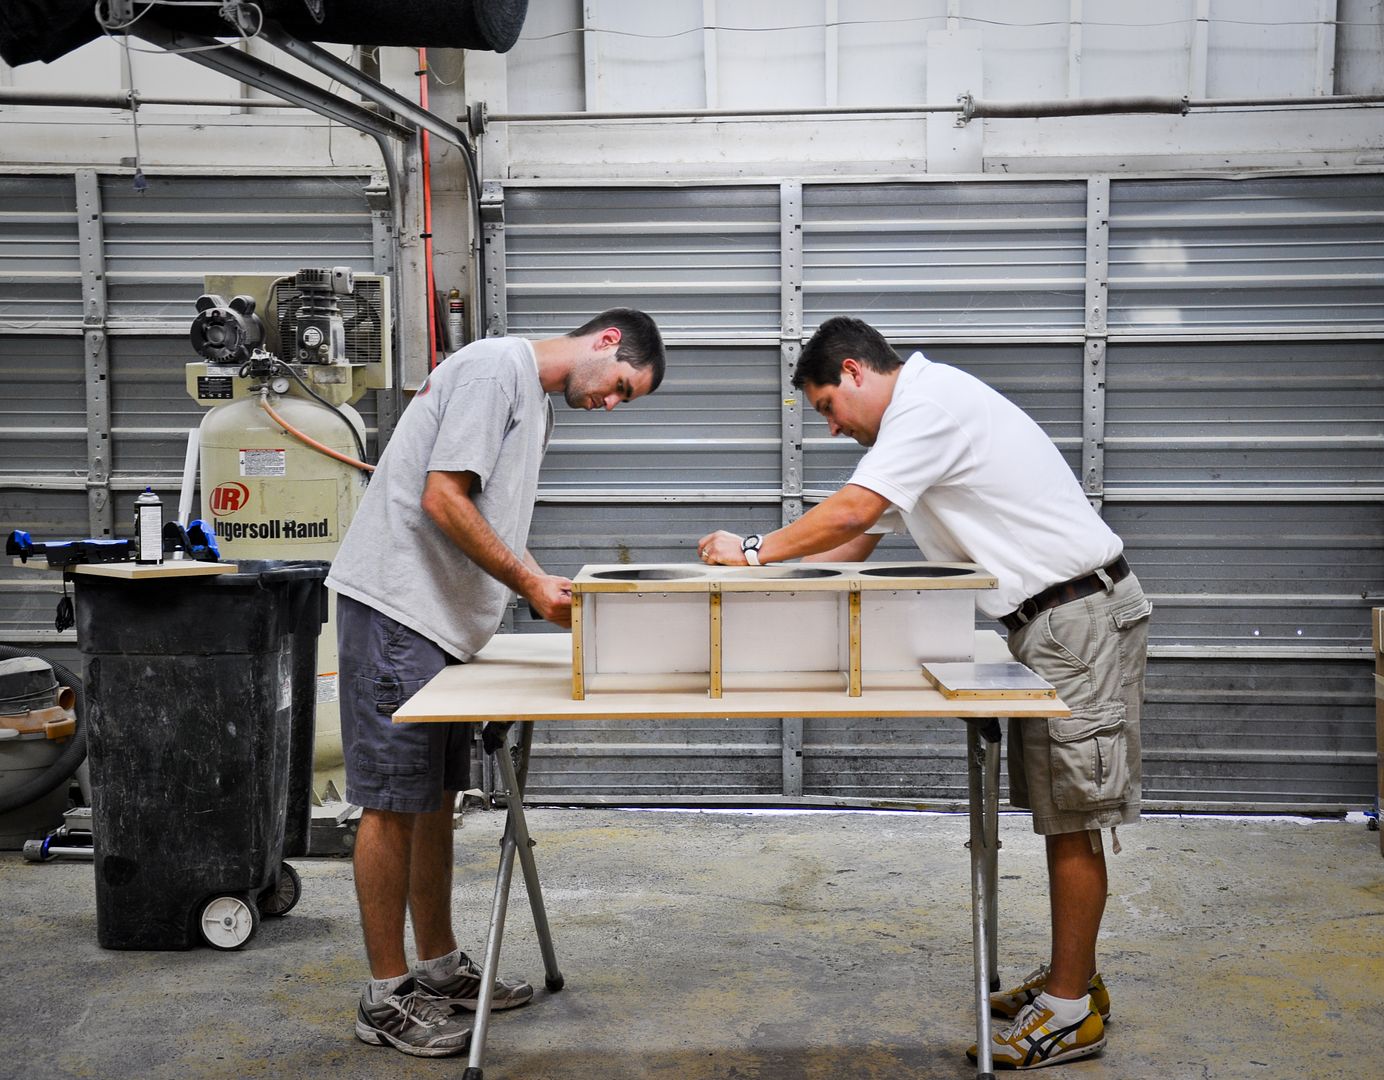
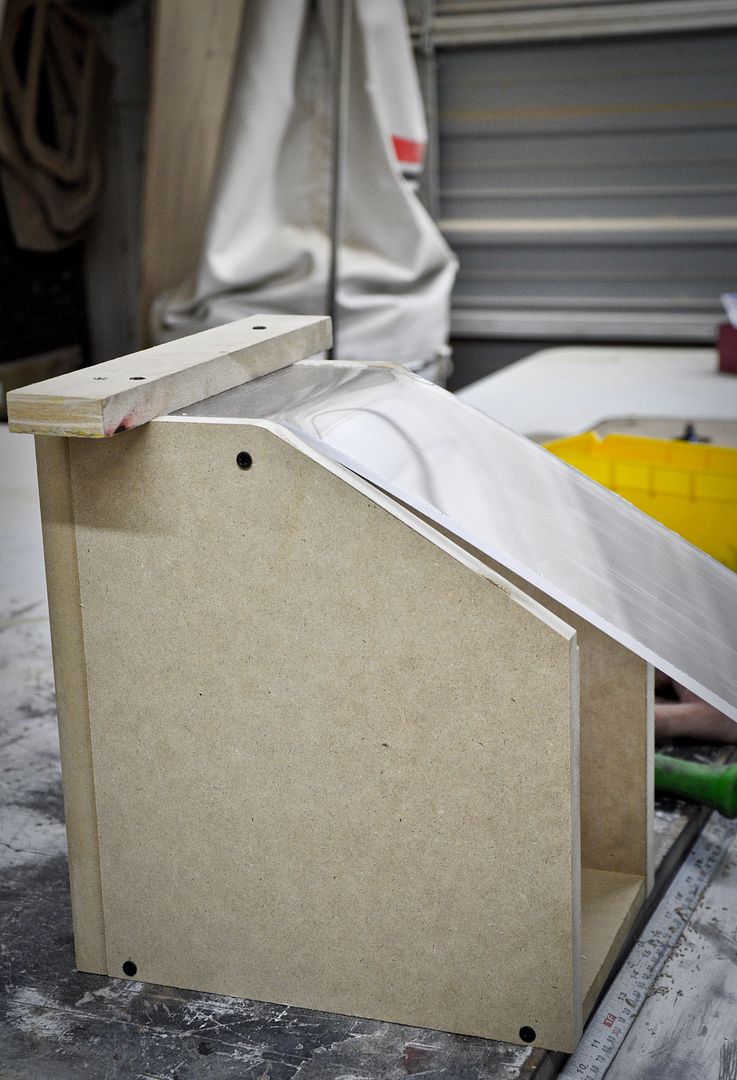
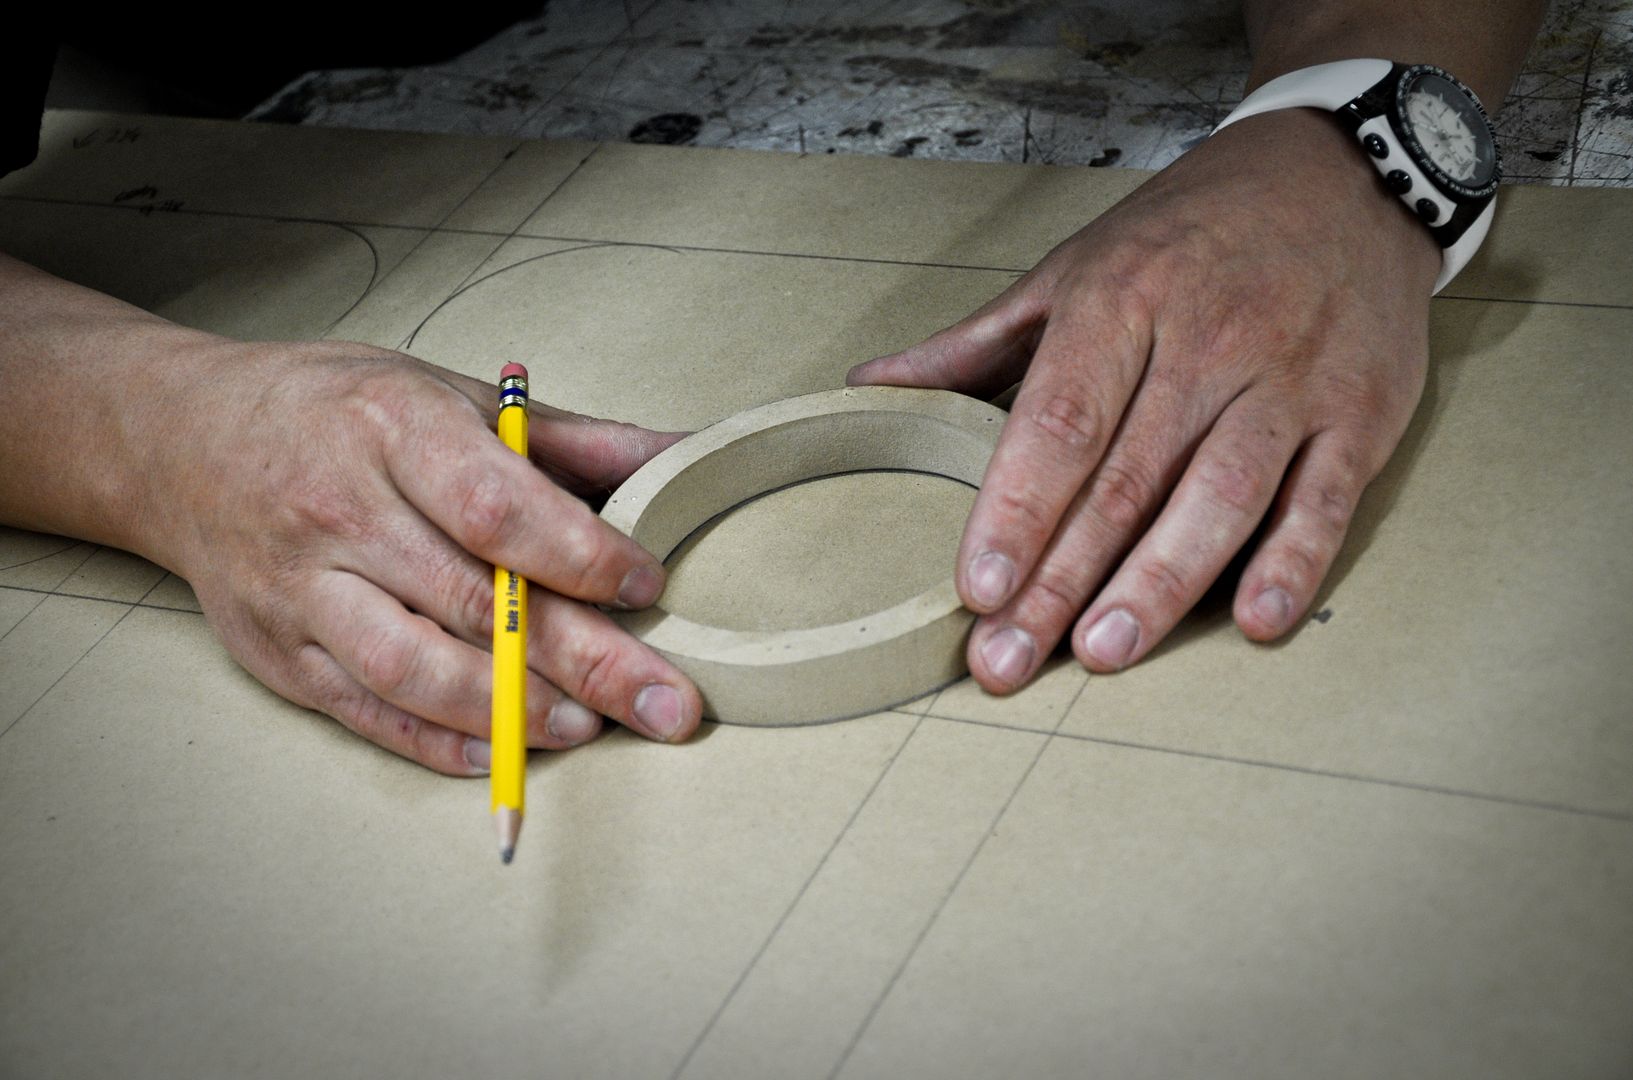
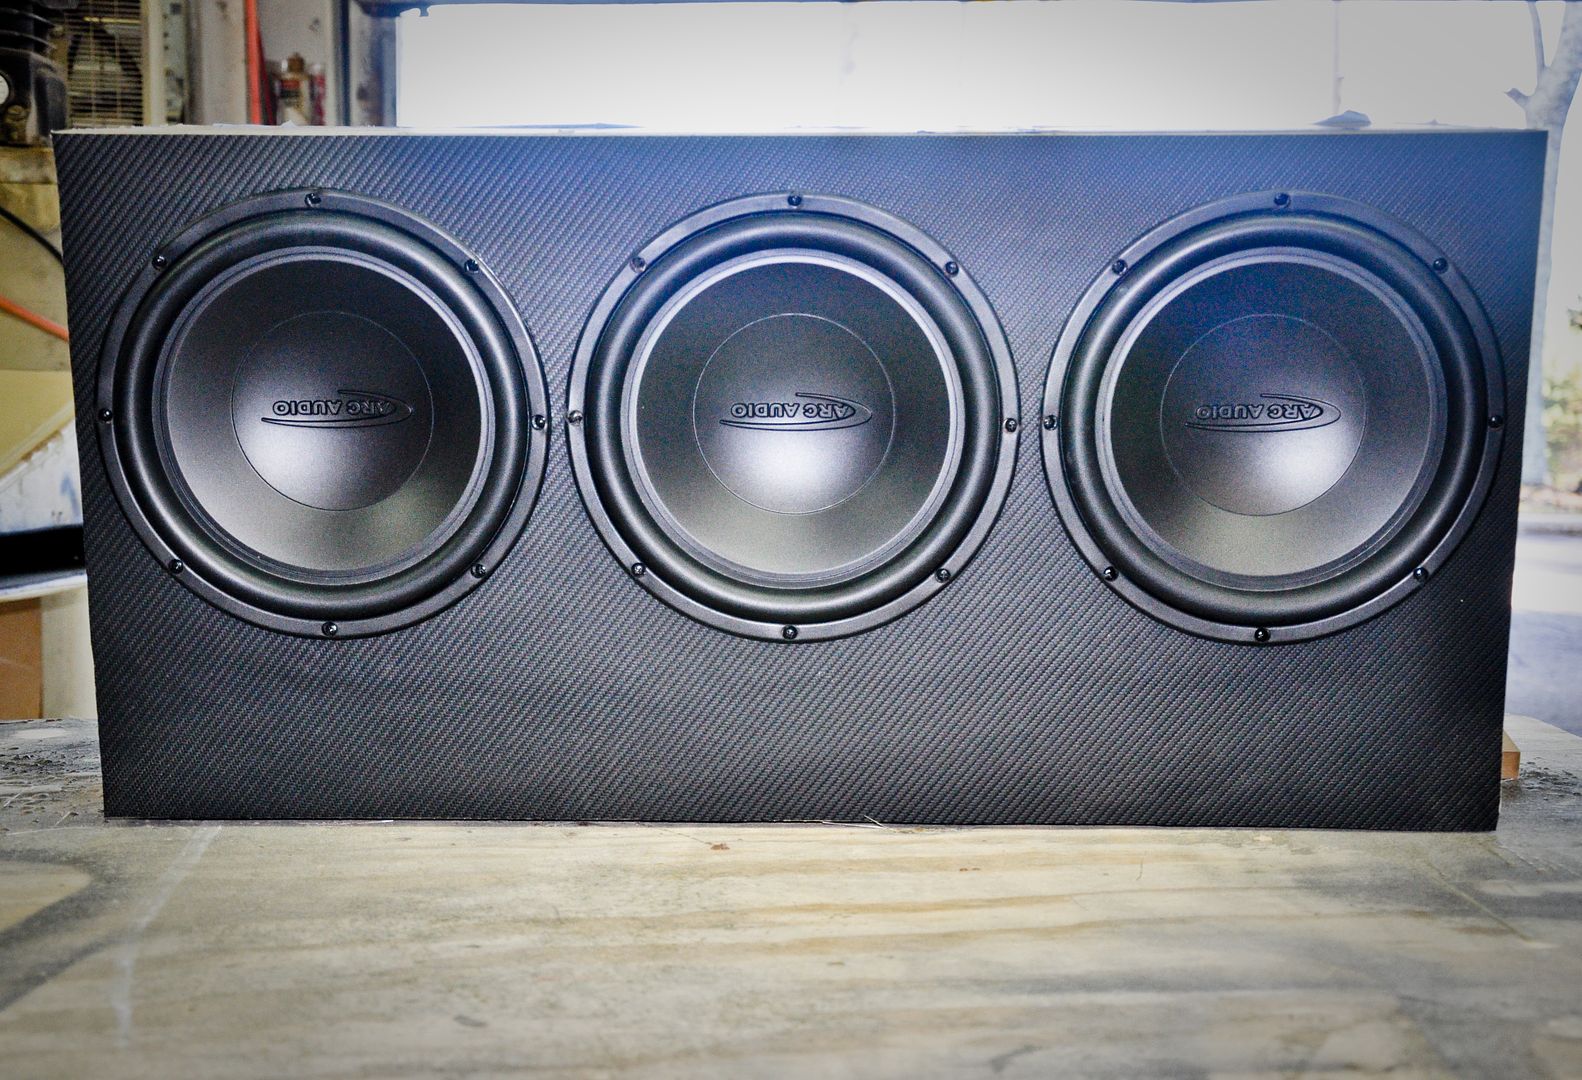
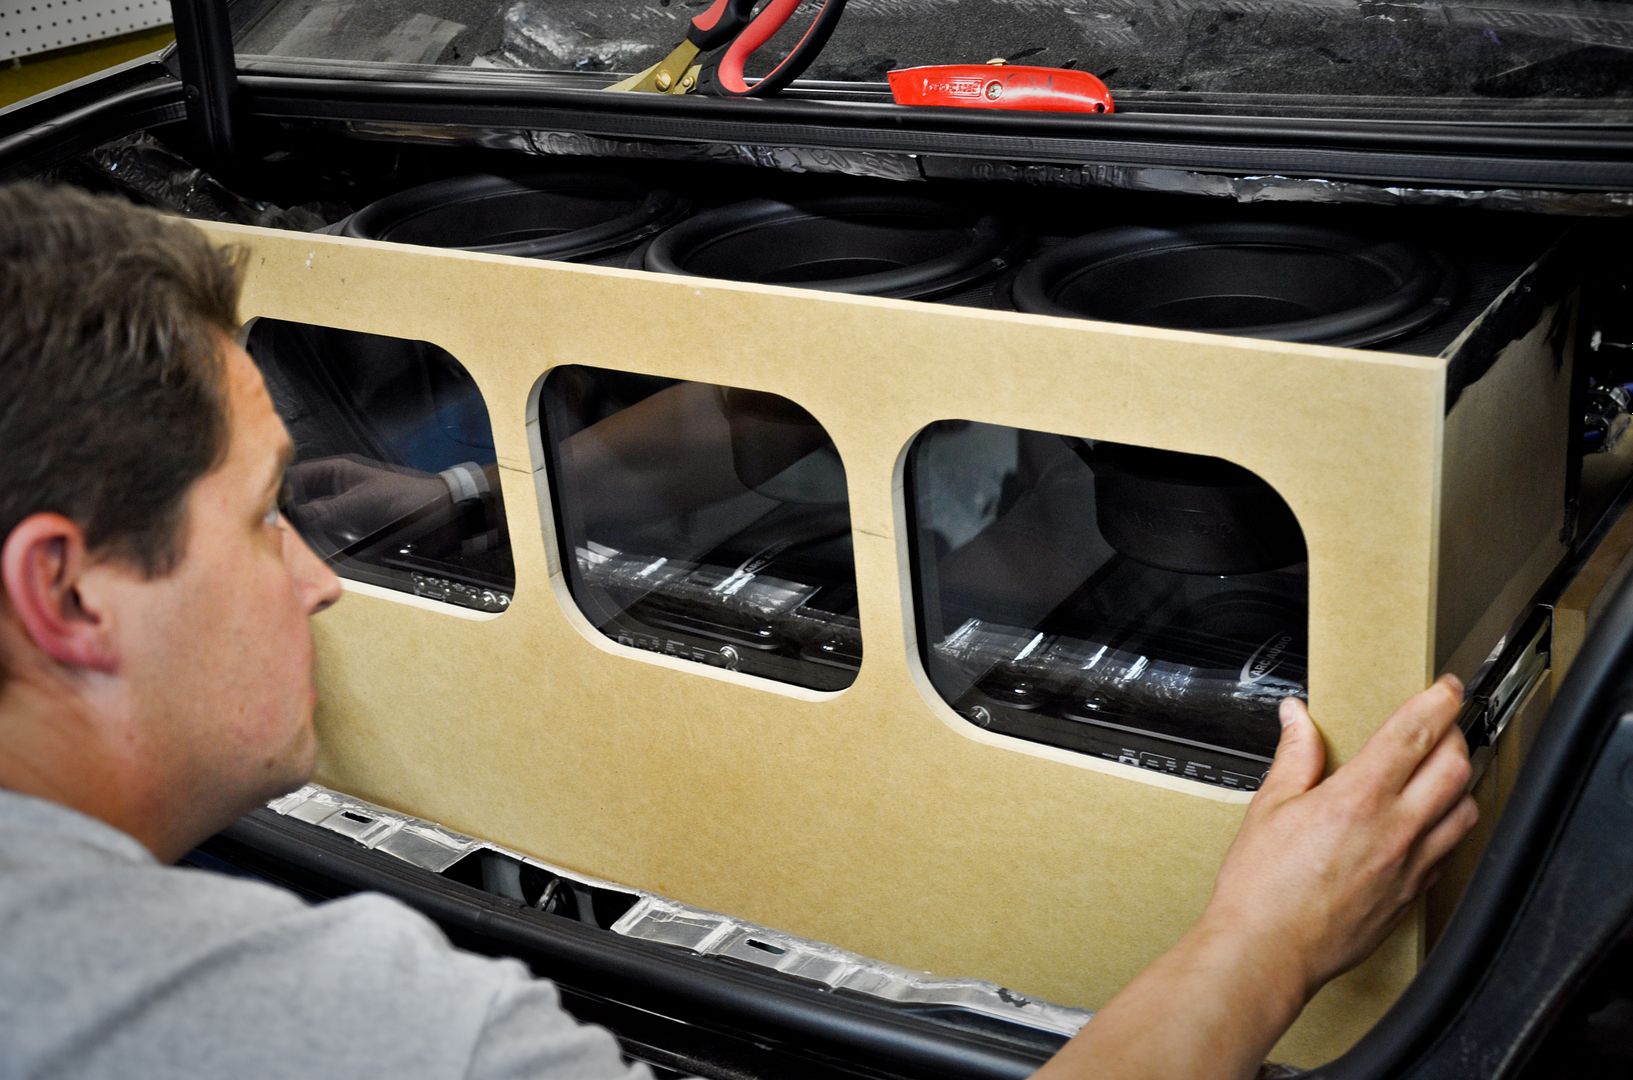
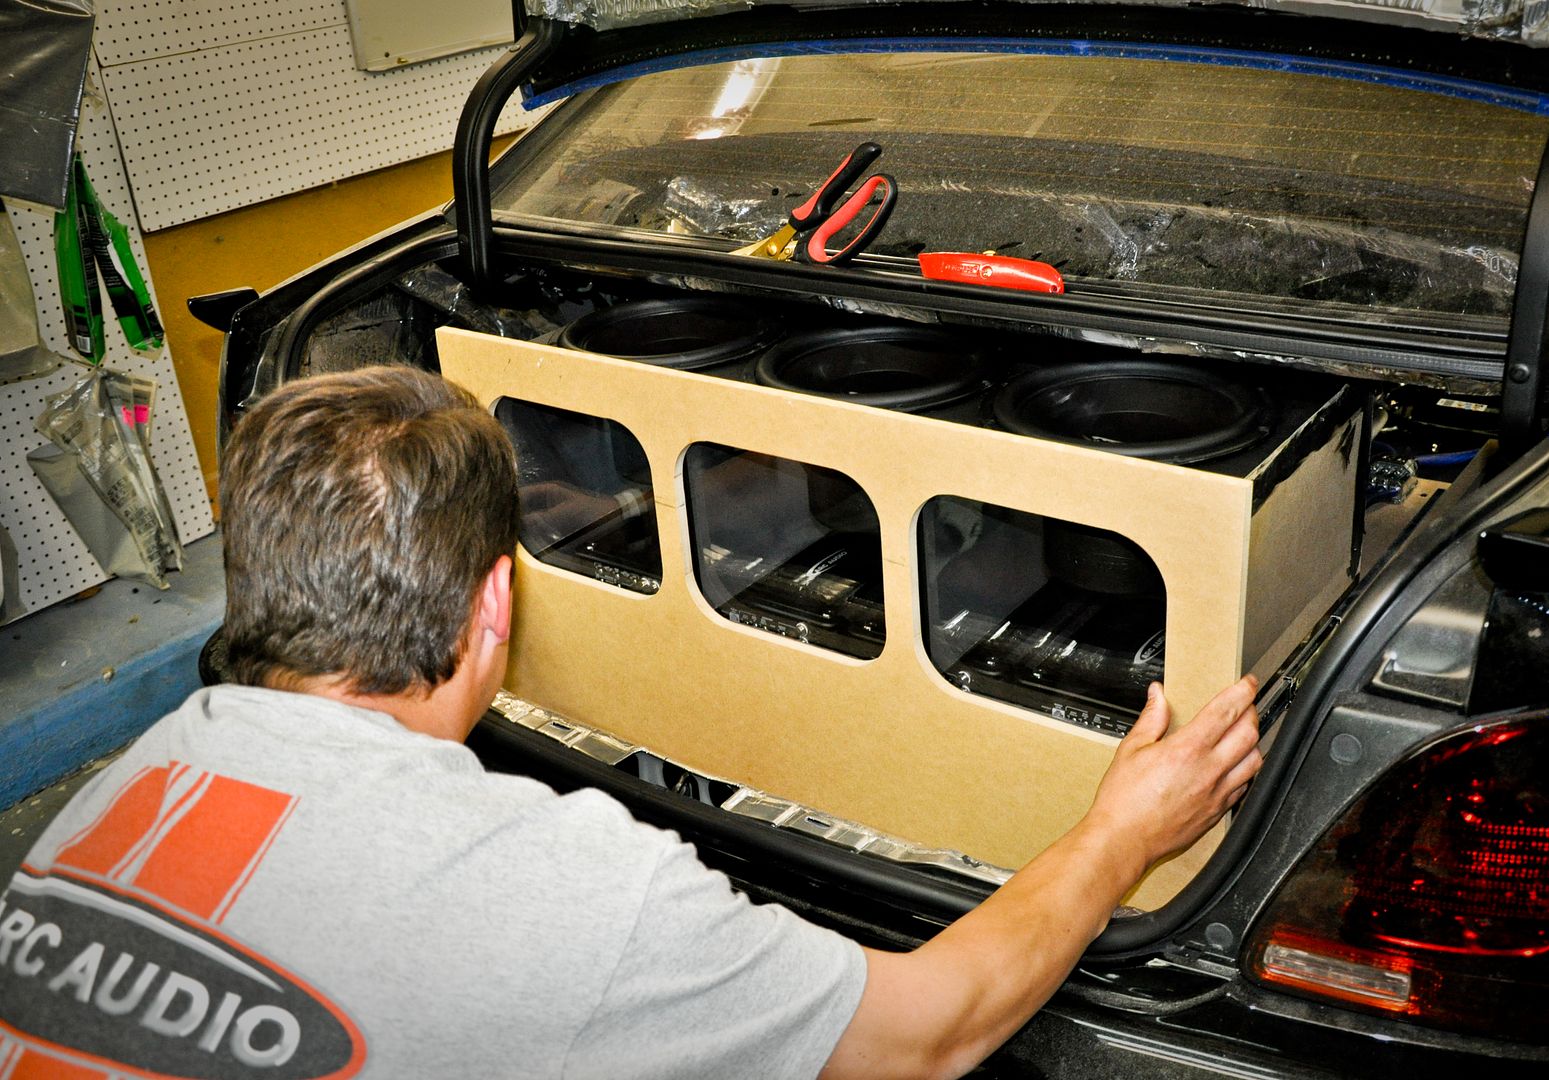
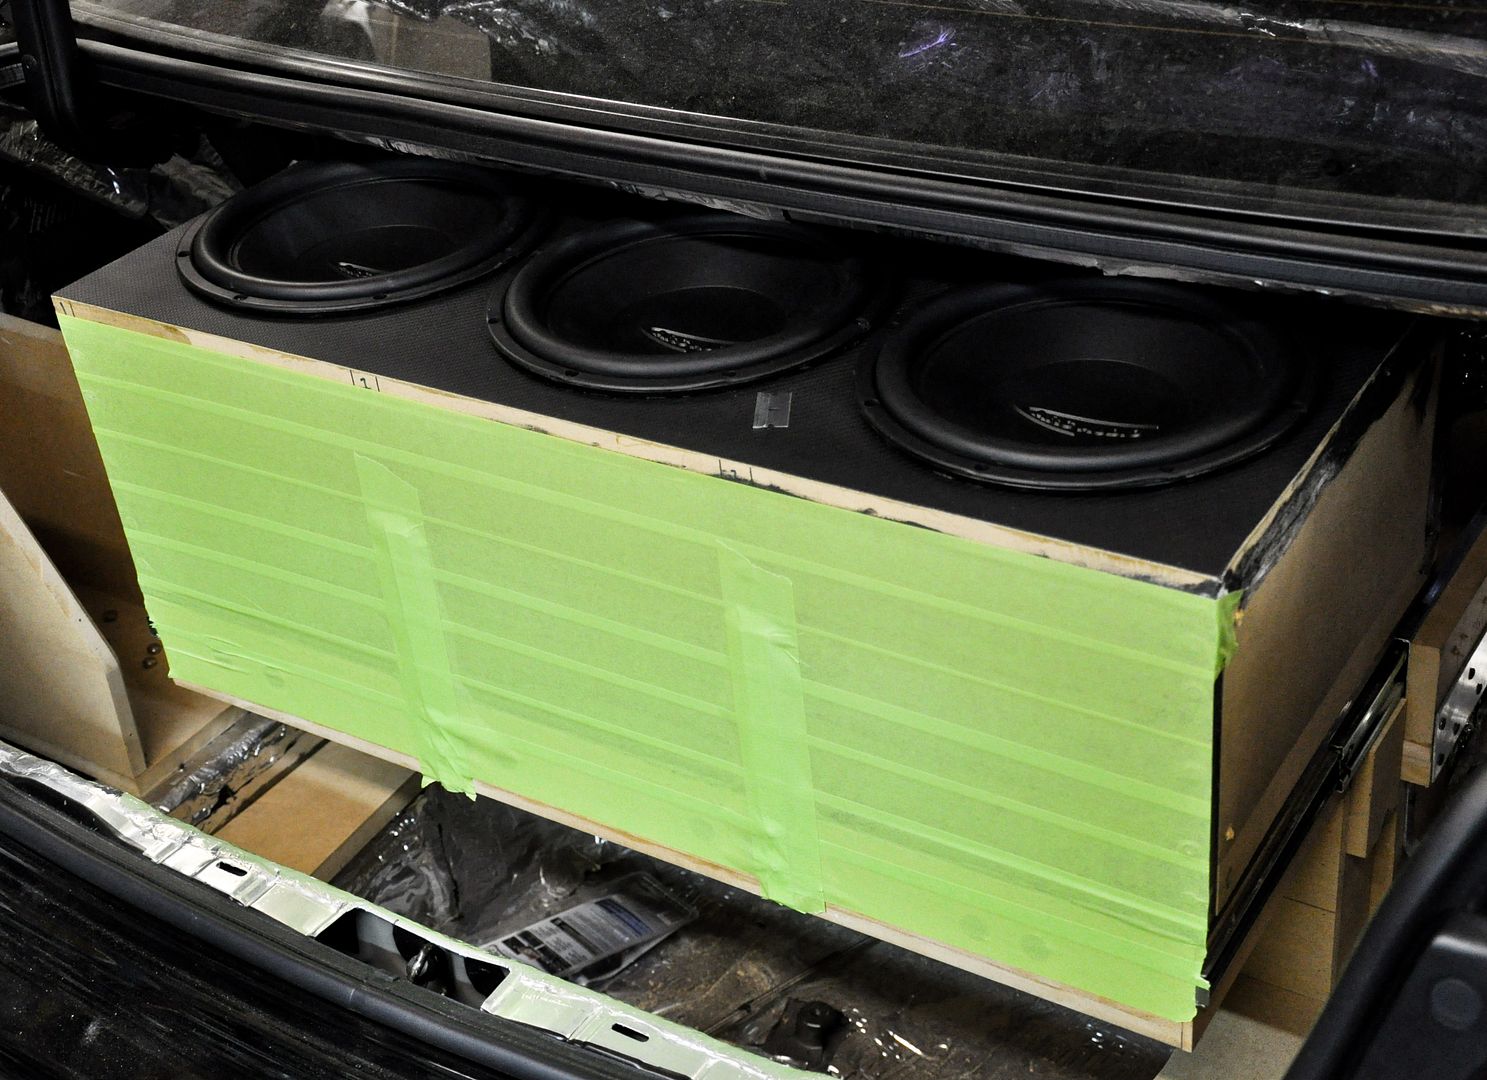
Test fitting the subs
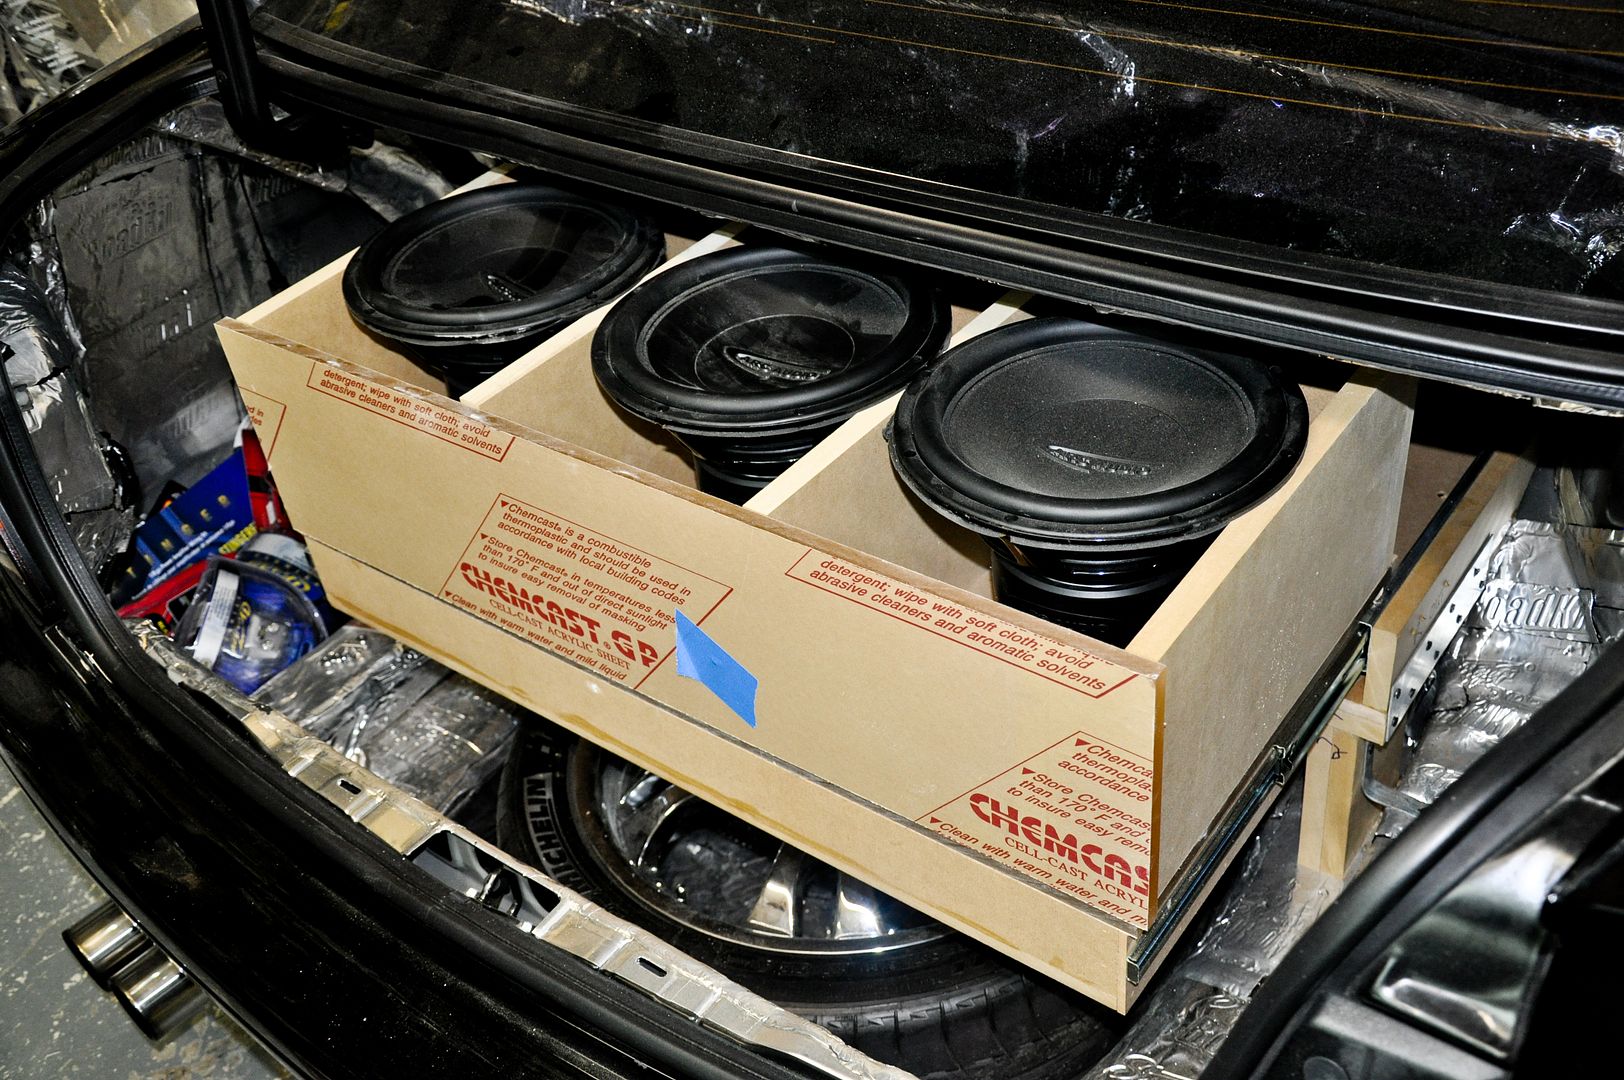
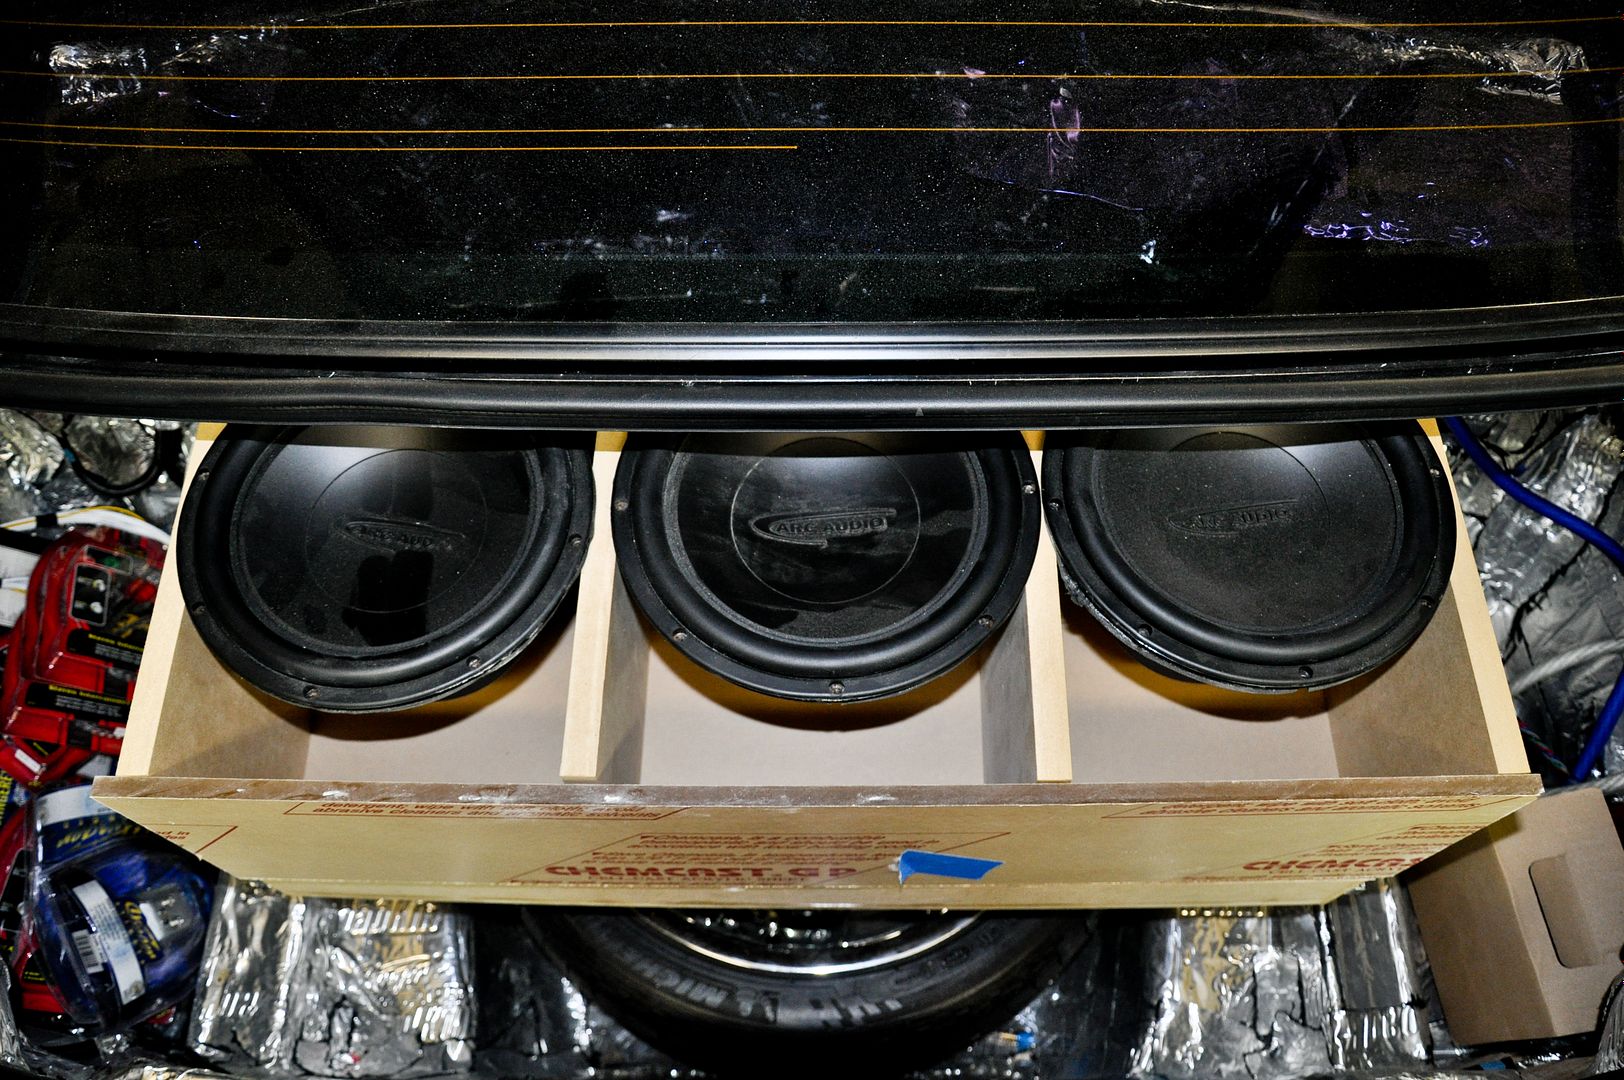
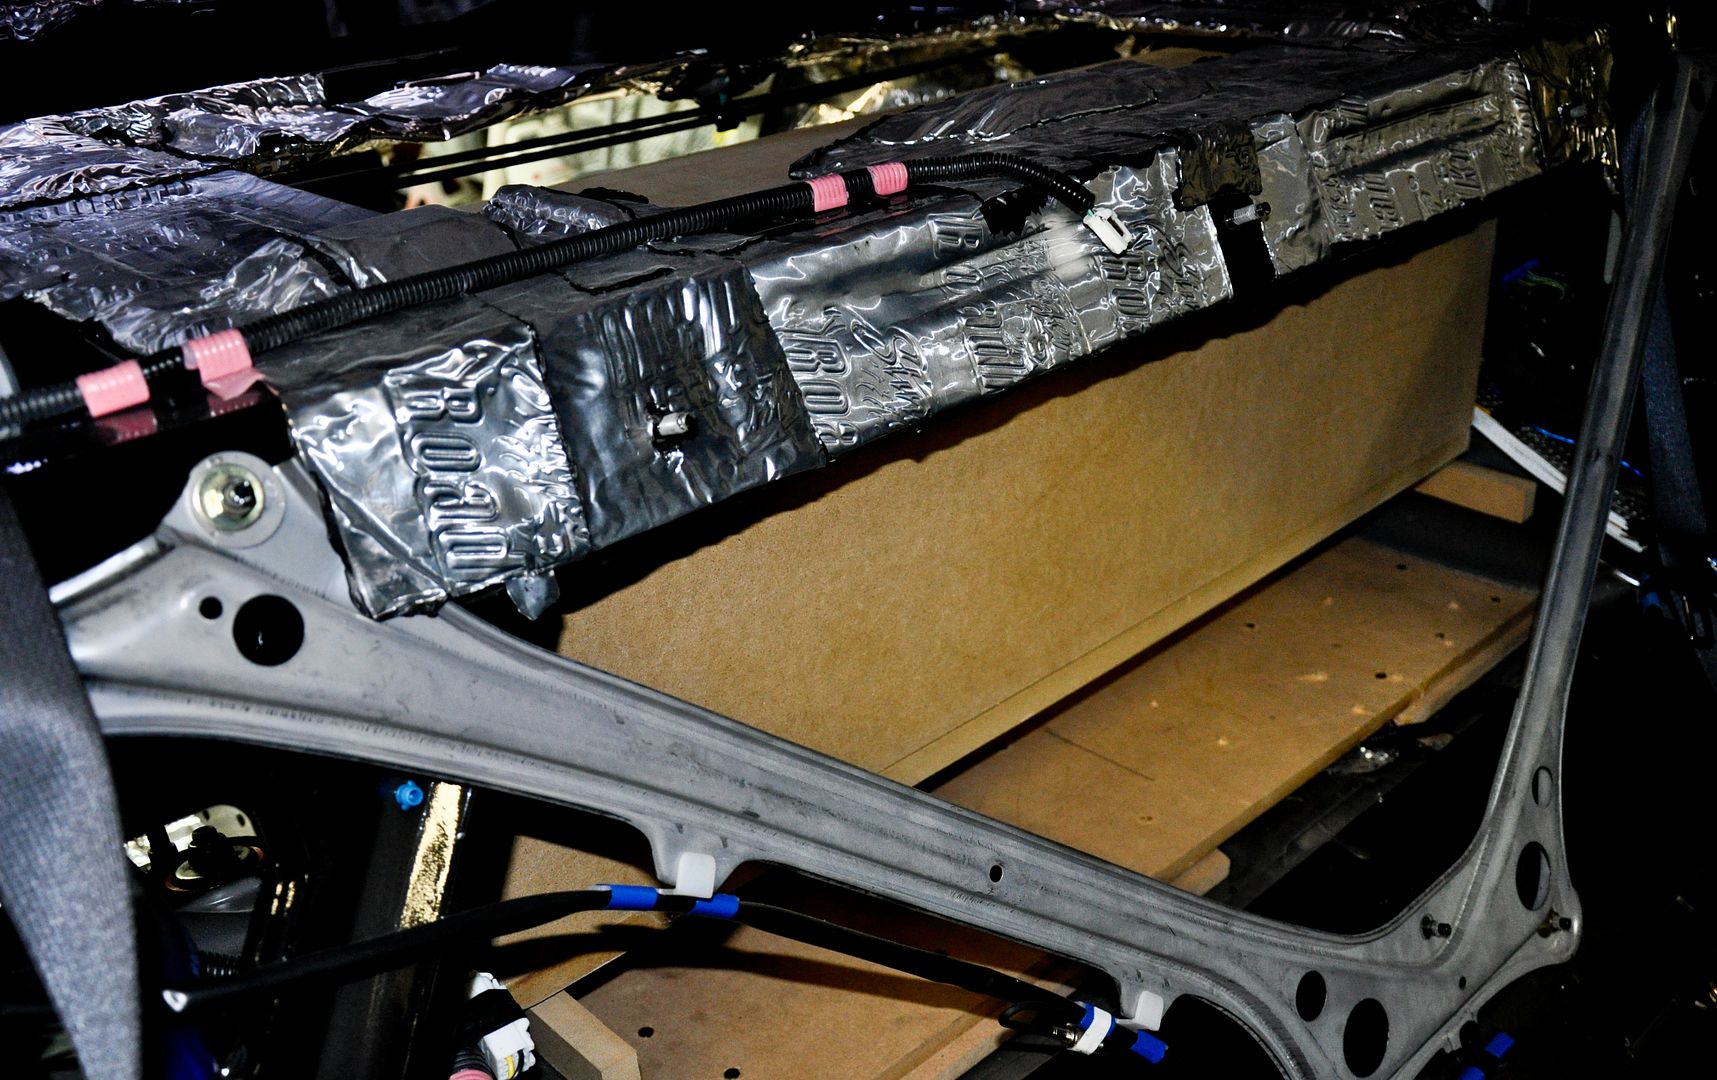
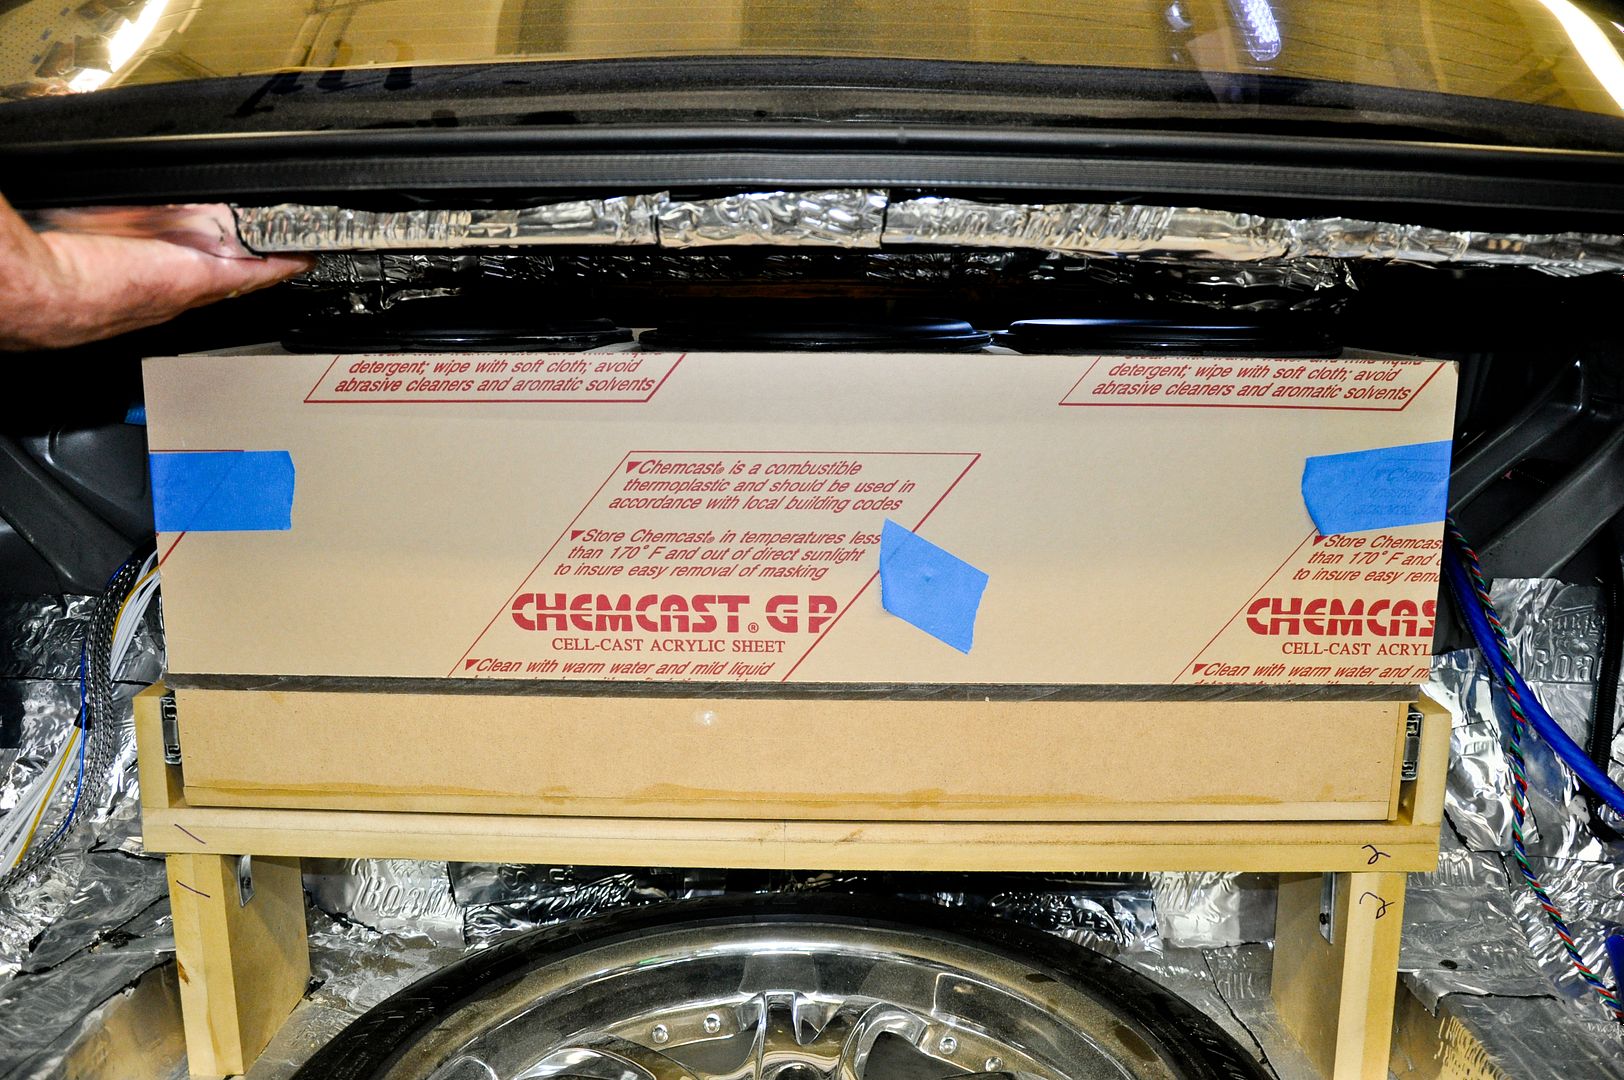
Box all the way closed
Through the rear deck hole that we enlarged
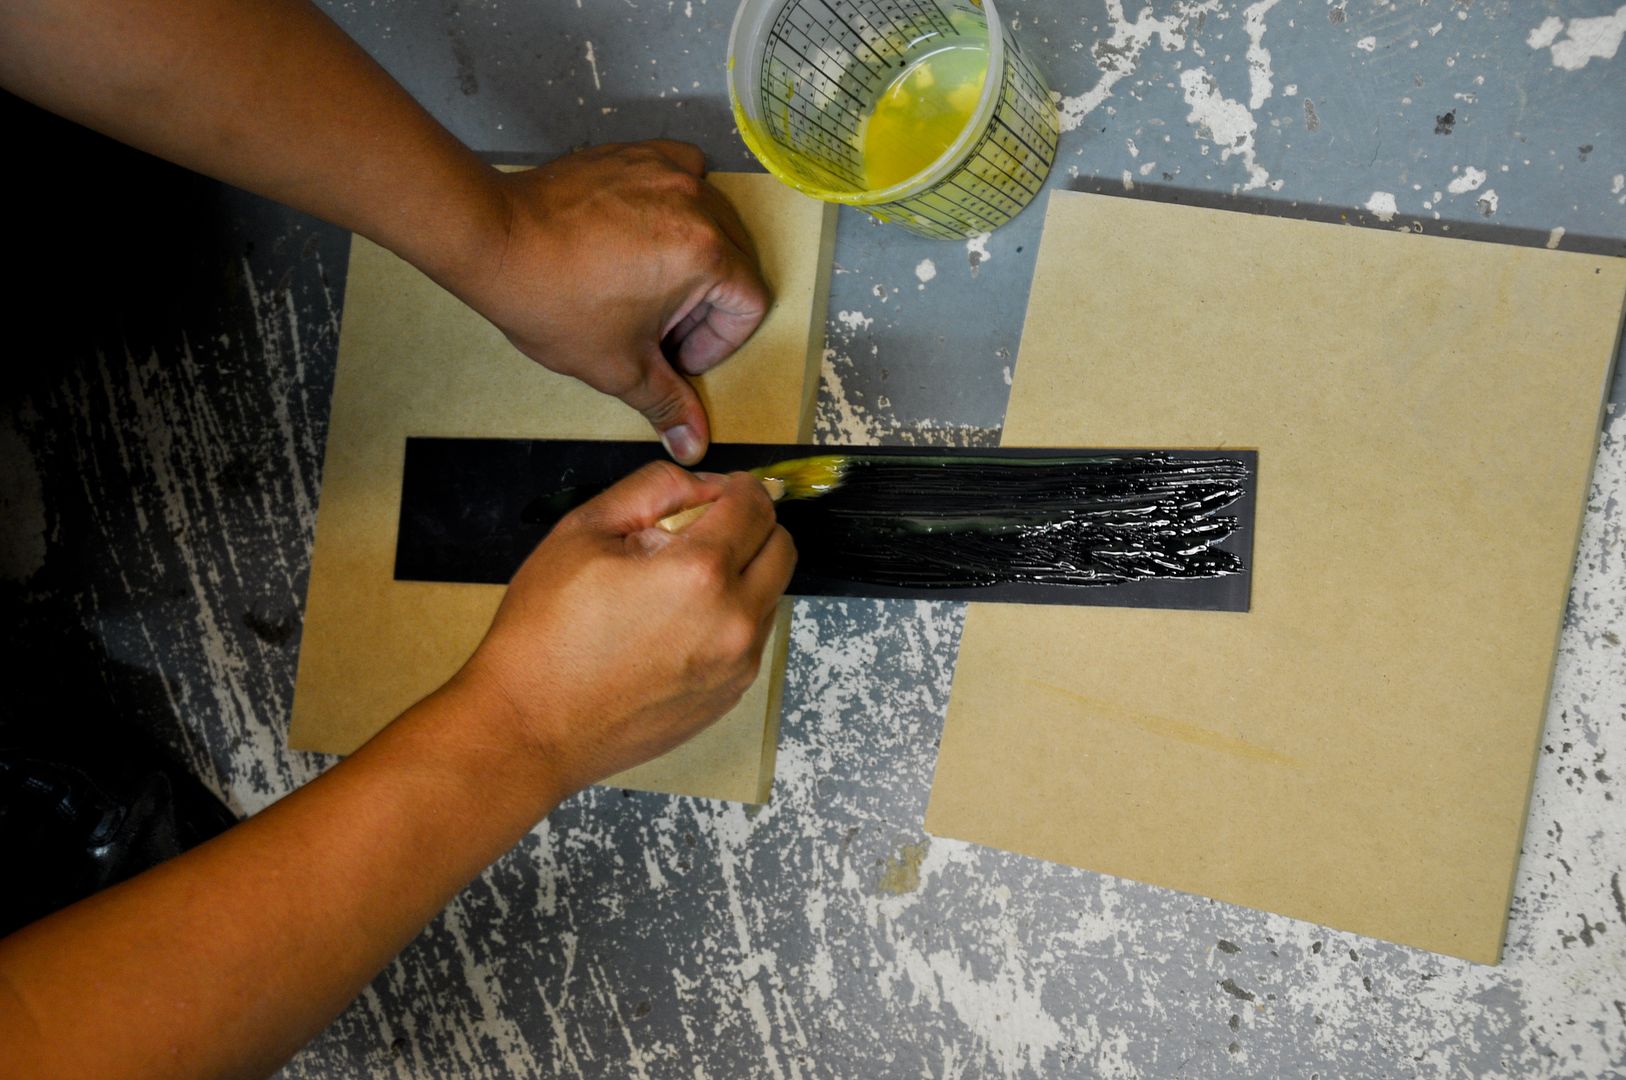
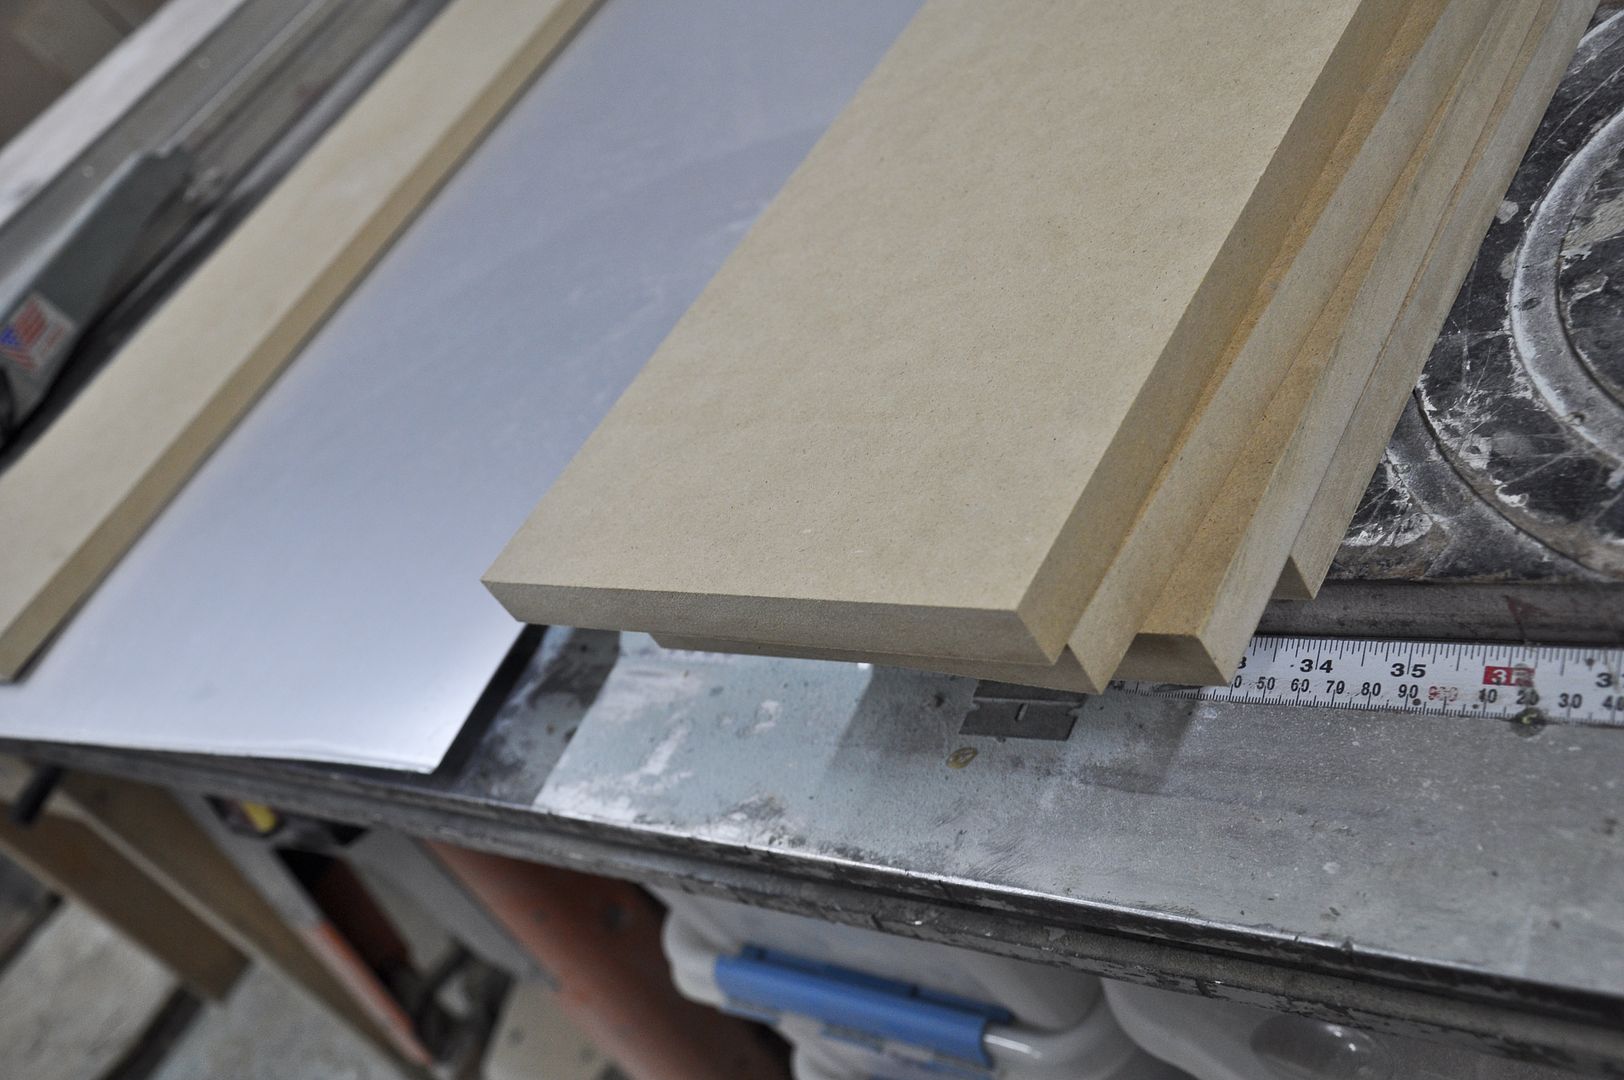
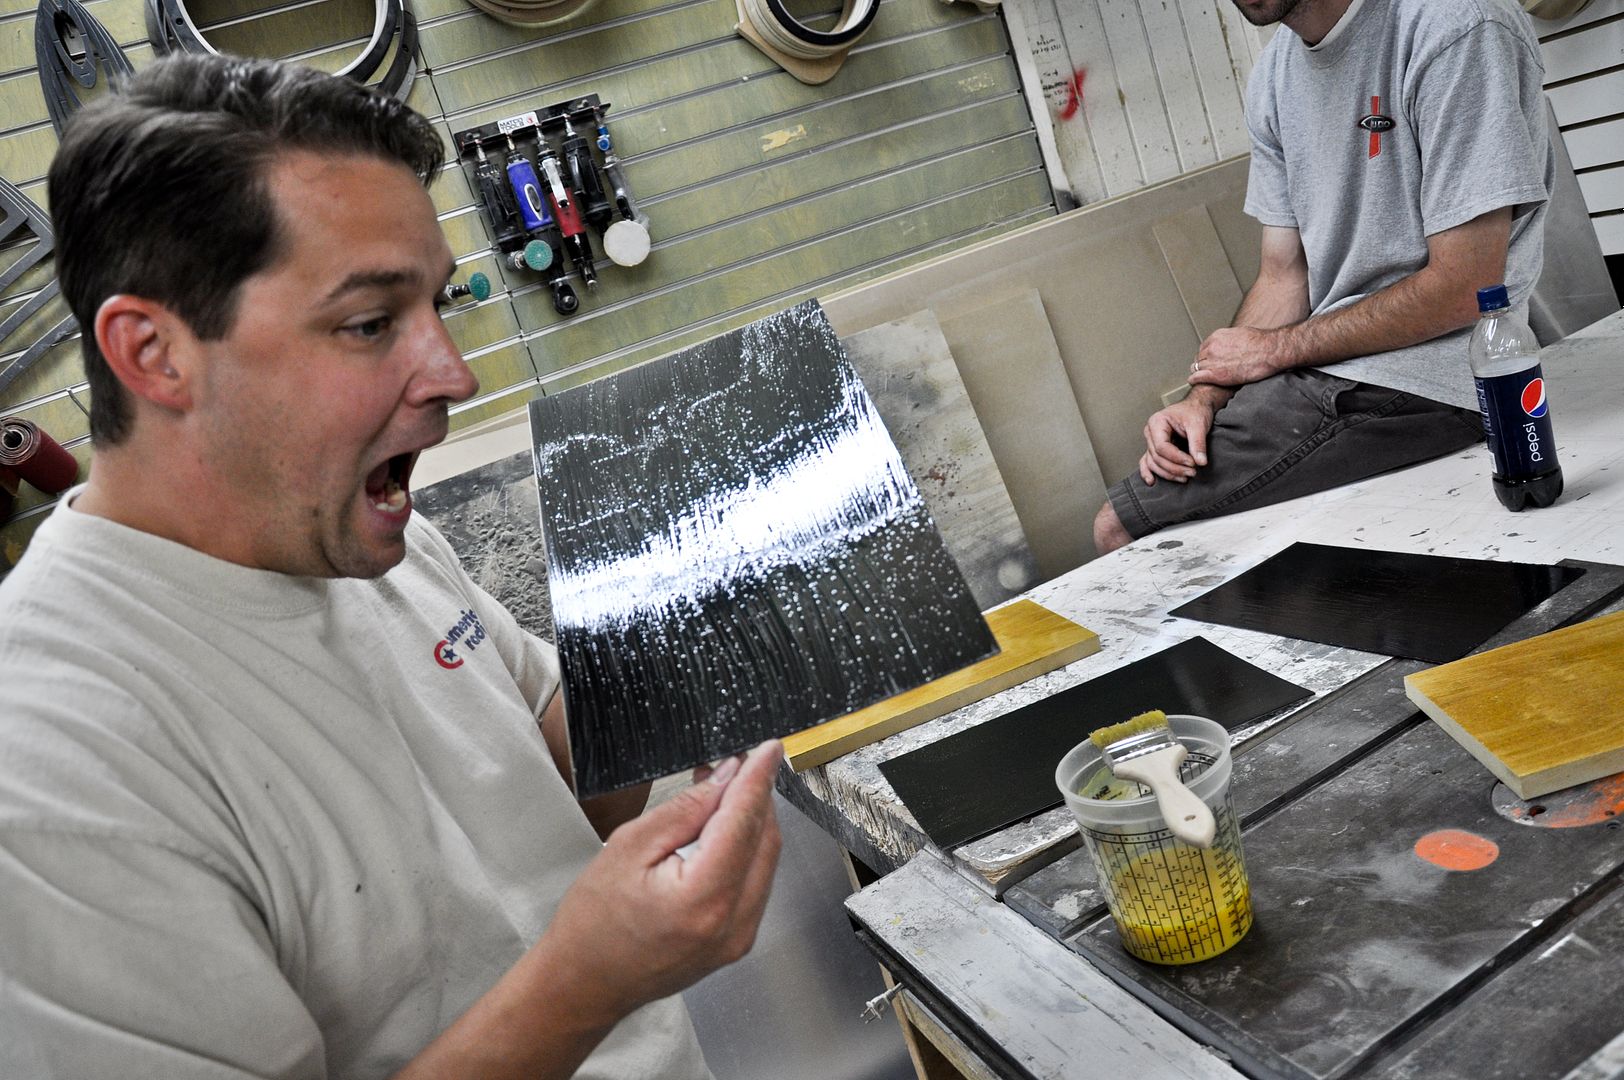
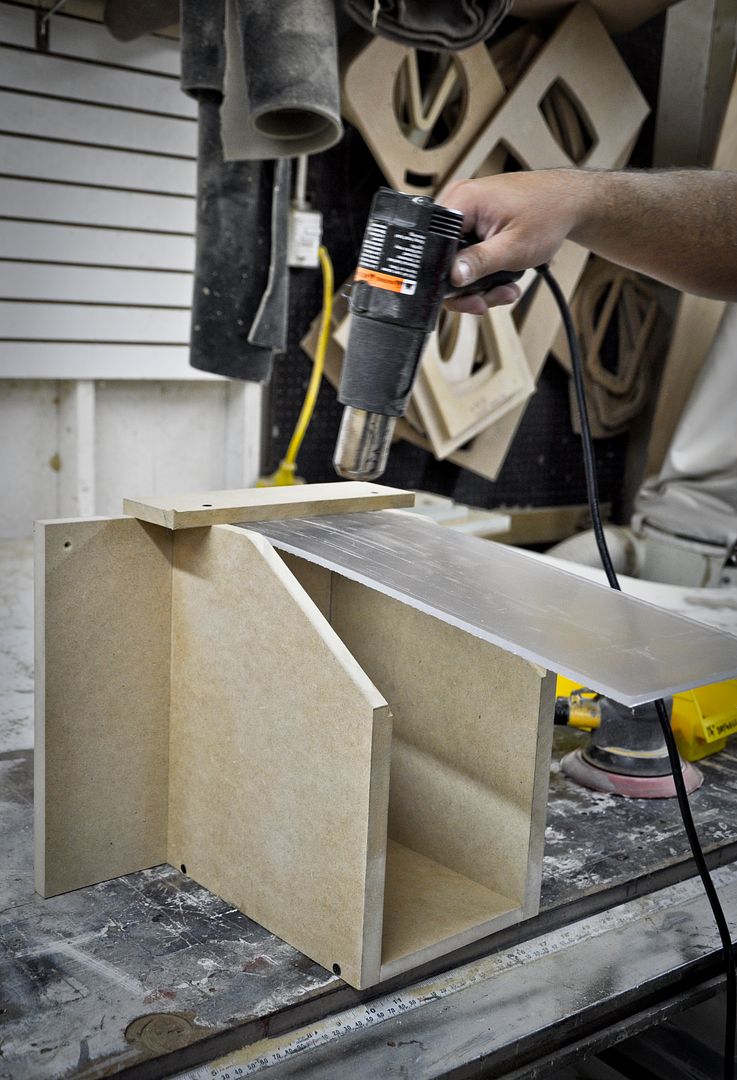
Me cutting the brushed aluminum laminate for the trimming of the box and amp tray
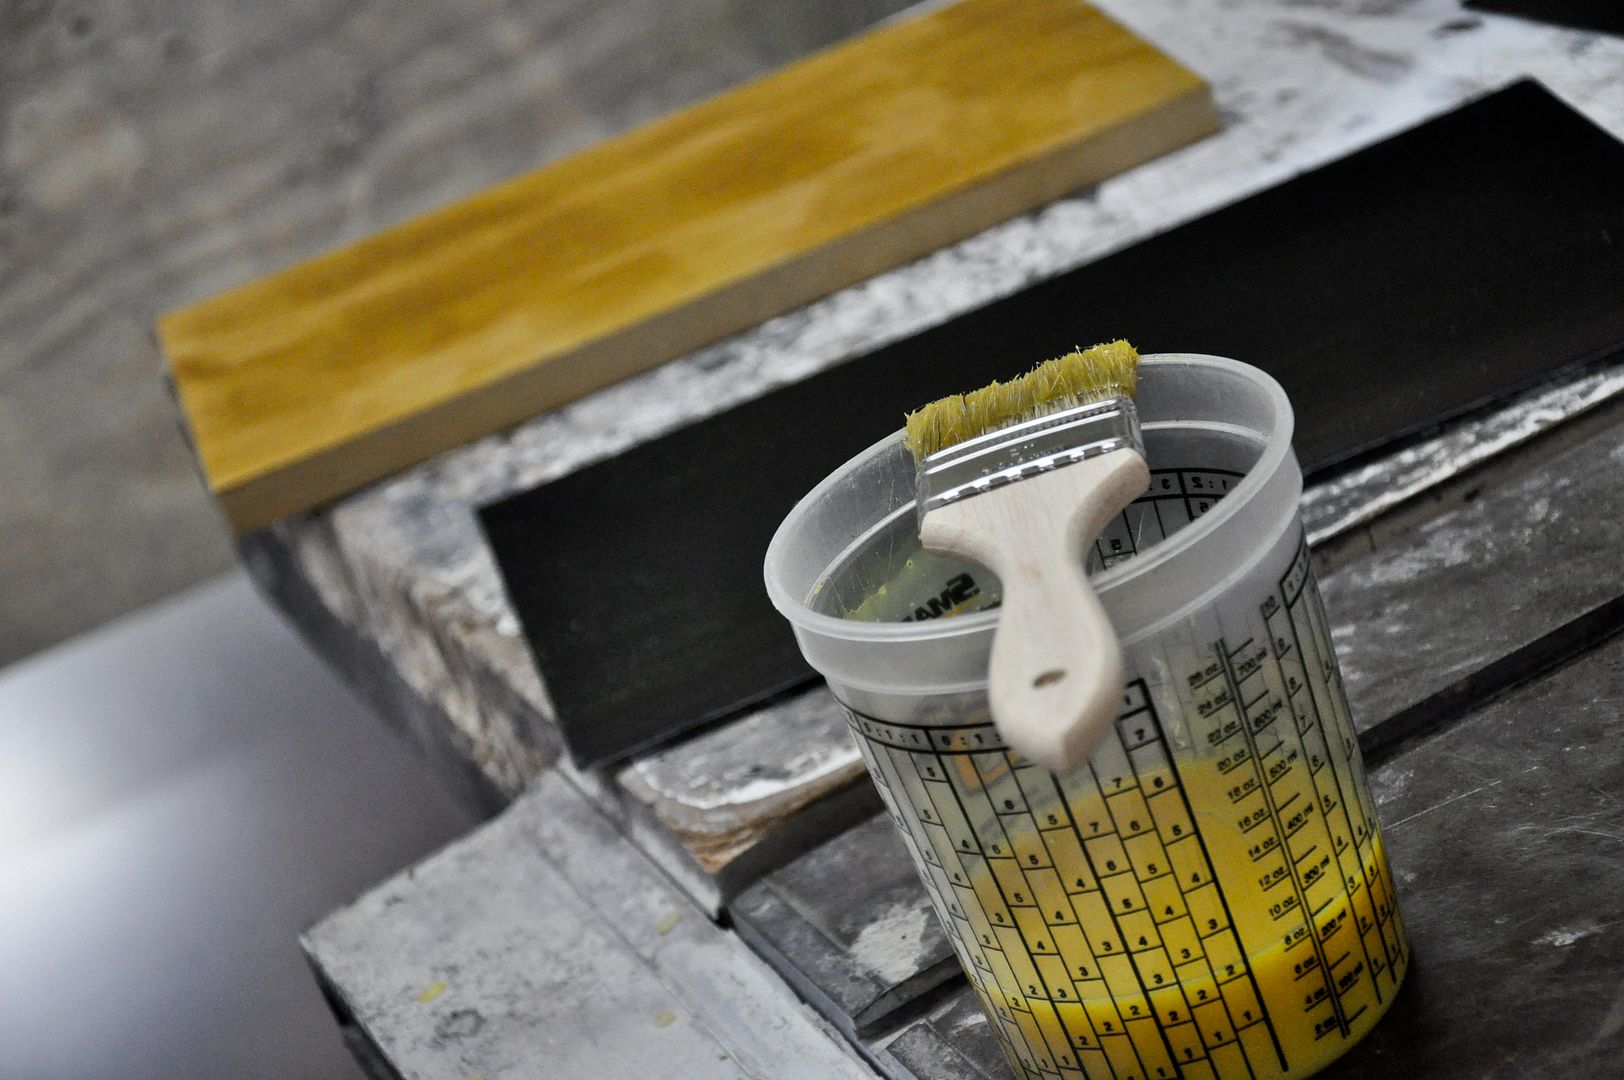
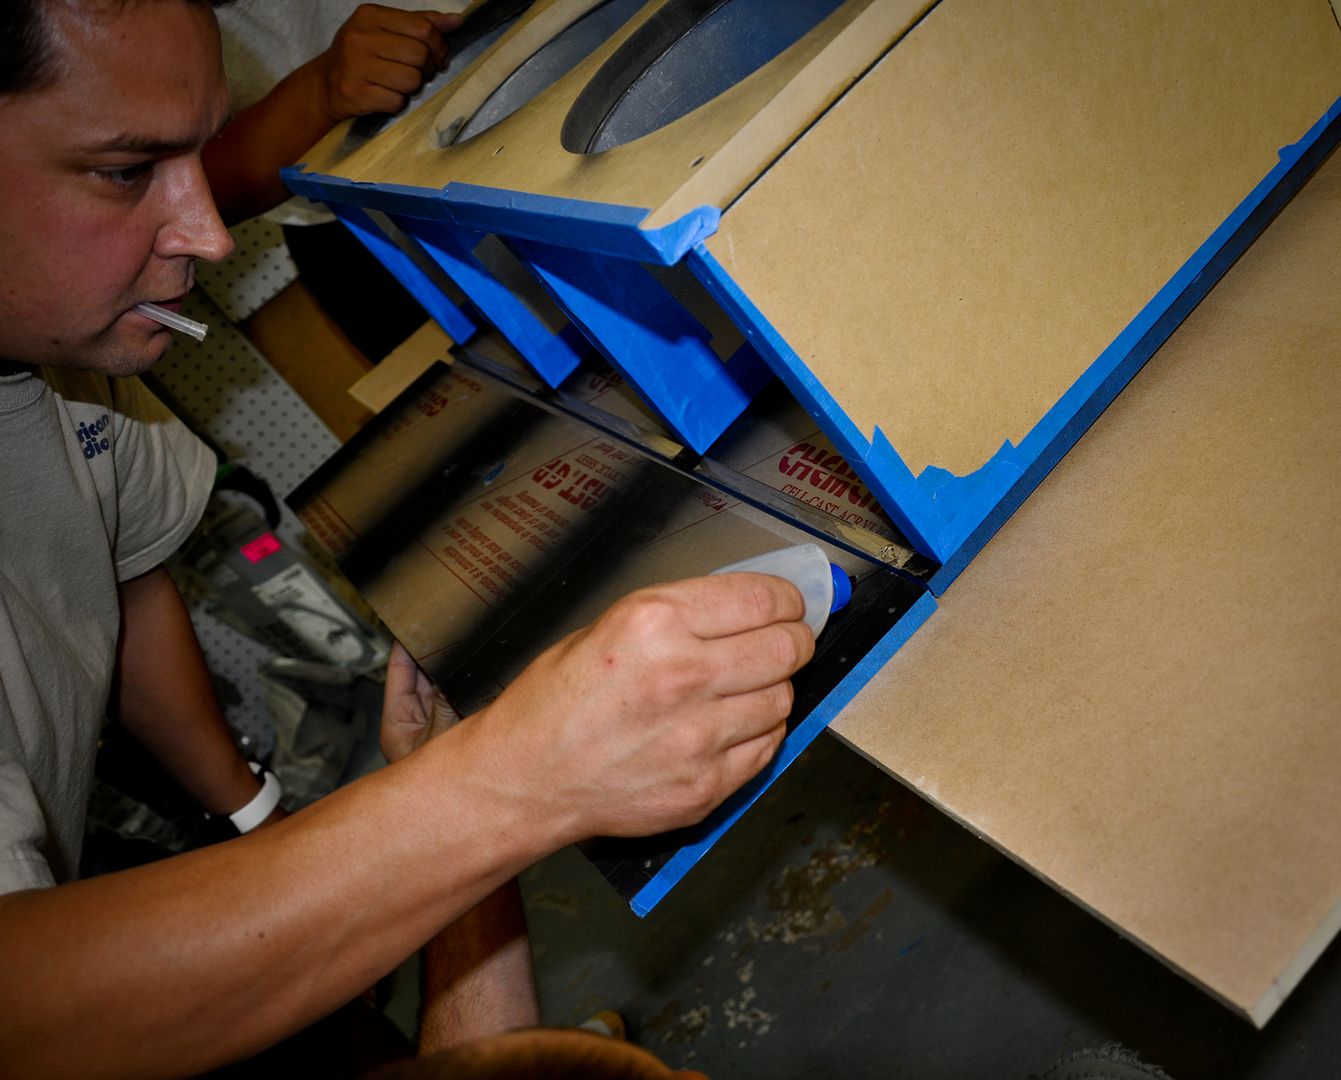
Time for some glue action for the amp tray
Almost done with the tray
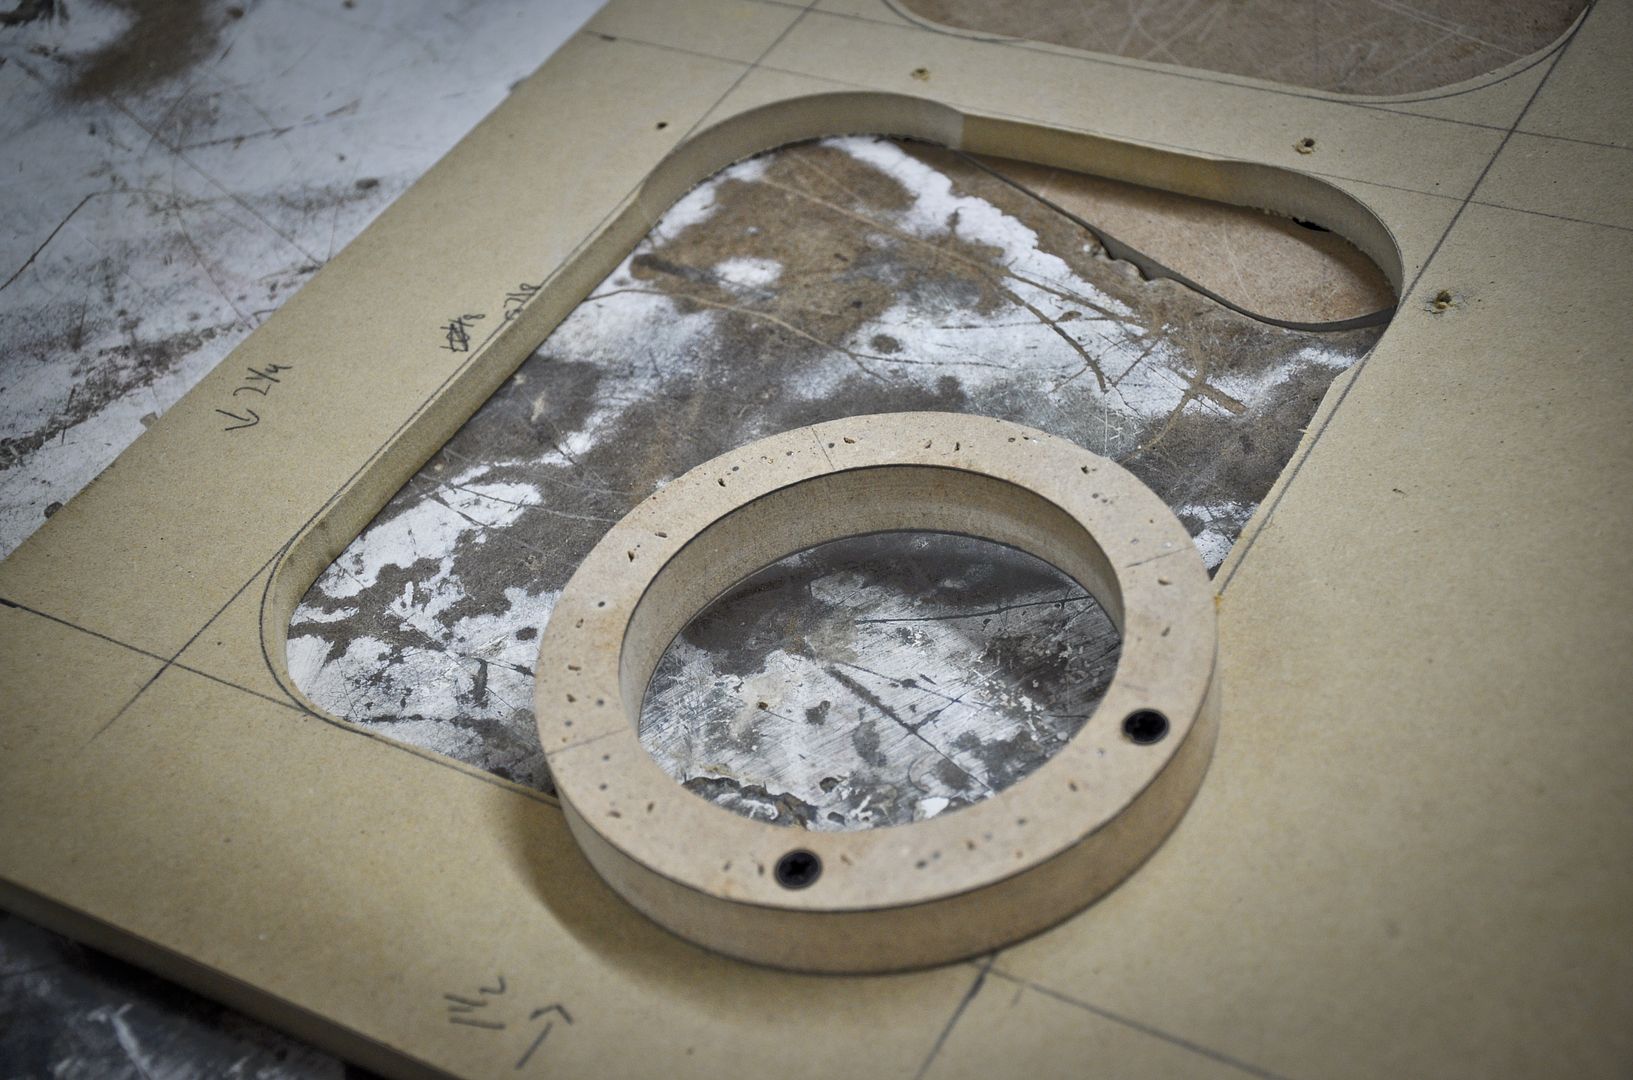
Making the top subwoofer baffle piece
Yup more brushed aluminum laminate!

This is what happens when John sniffs this glue for a little too long
Mocked up
Box all the way closed
Through the rear deck hole that we enlarged
Me cutting the brushed aluminum laminate for the trimming of the box and amp tray
Time for some glue action for the amp tray
Almost done with the tray
Making the top subwoofer baffle piece
Yup more brushed aluminum laminate!
This is what happens when John sniffs this glue for a little too long
Mocked up
03-19-11, 04:35 AM
#475
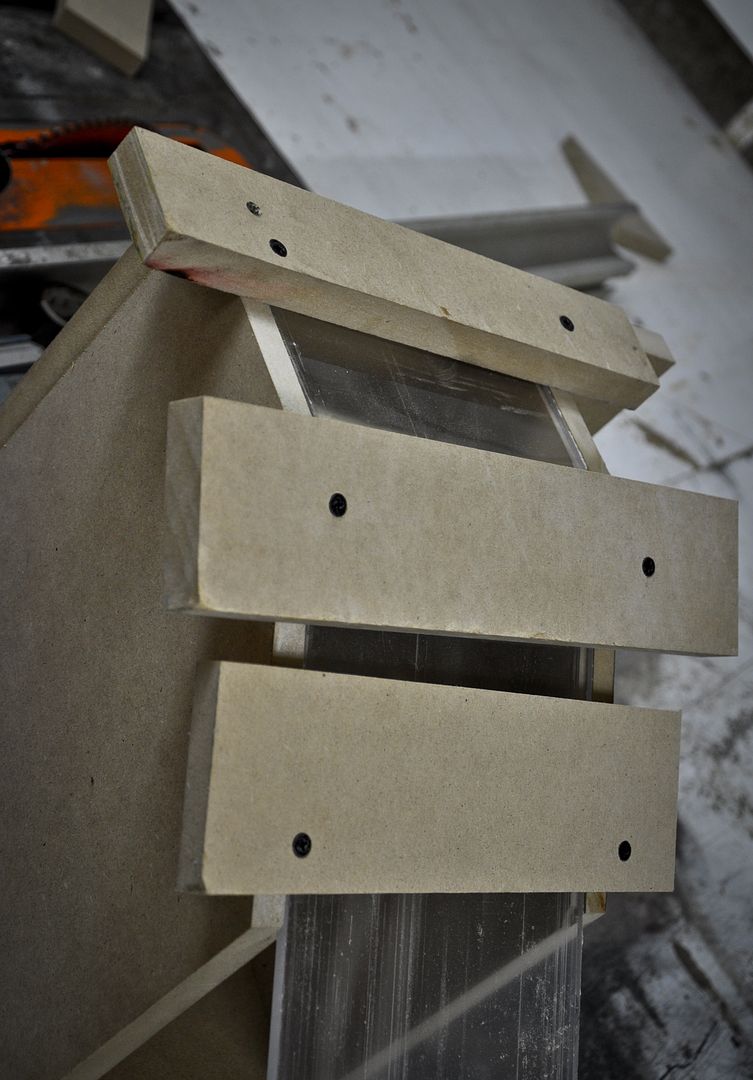
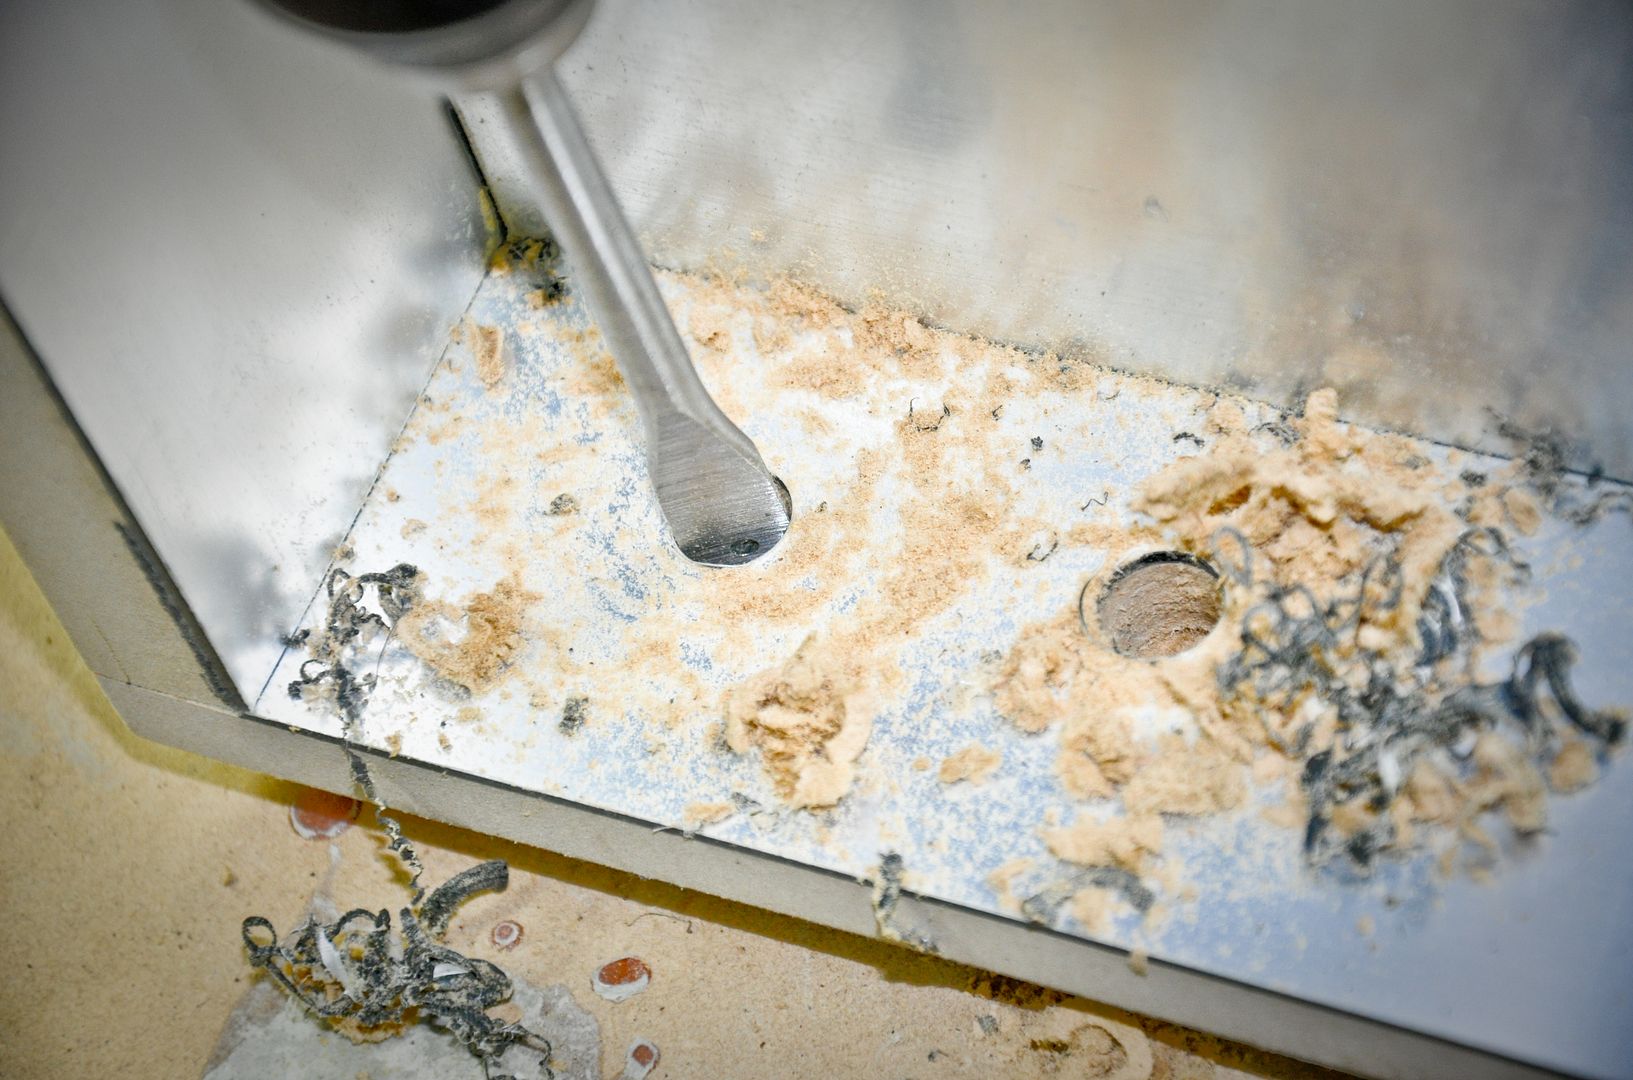
Pilot drilled the plexi every 2 inches
Piloted through to the mdf as well using 2 inch screws
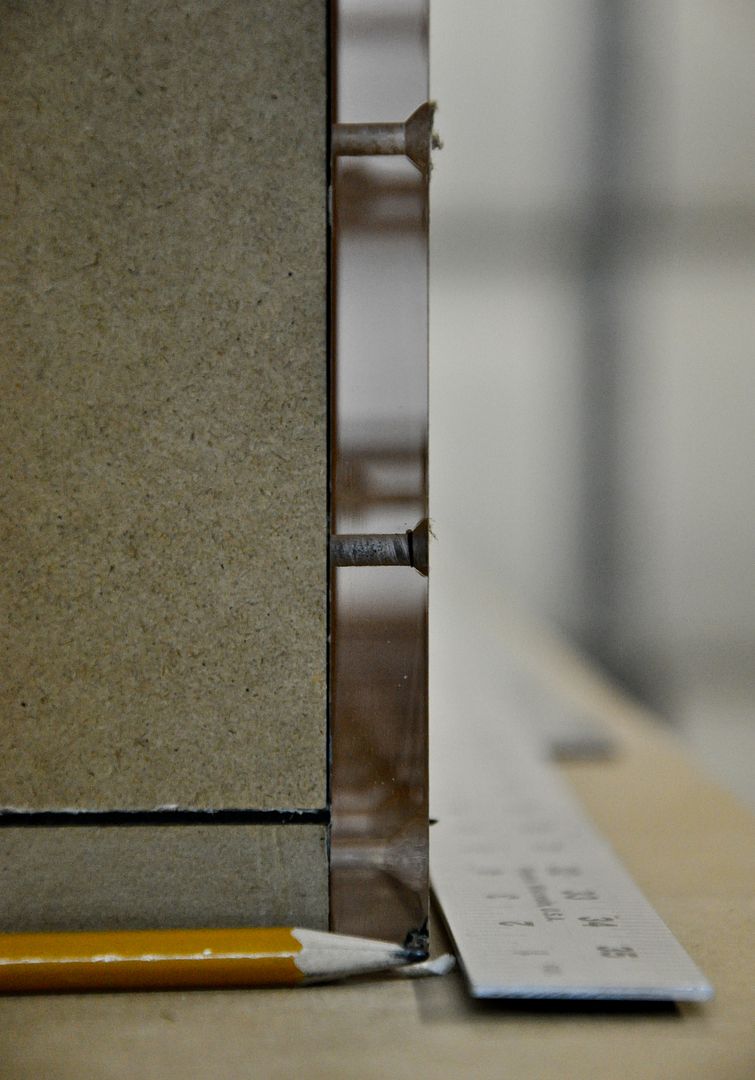
Did the same with the front face plexi
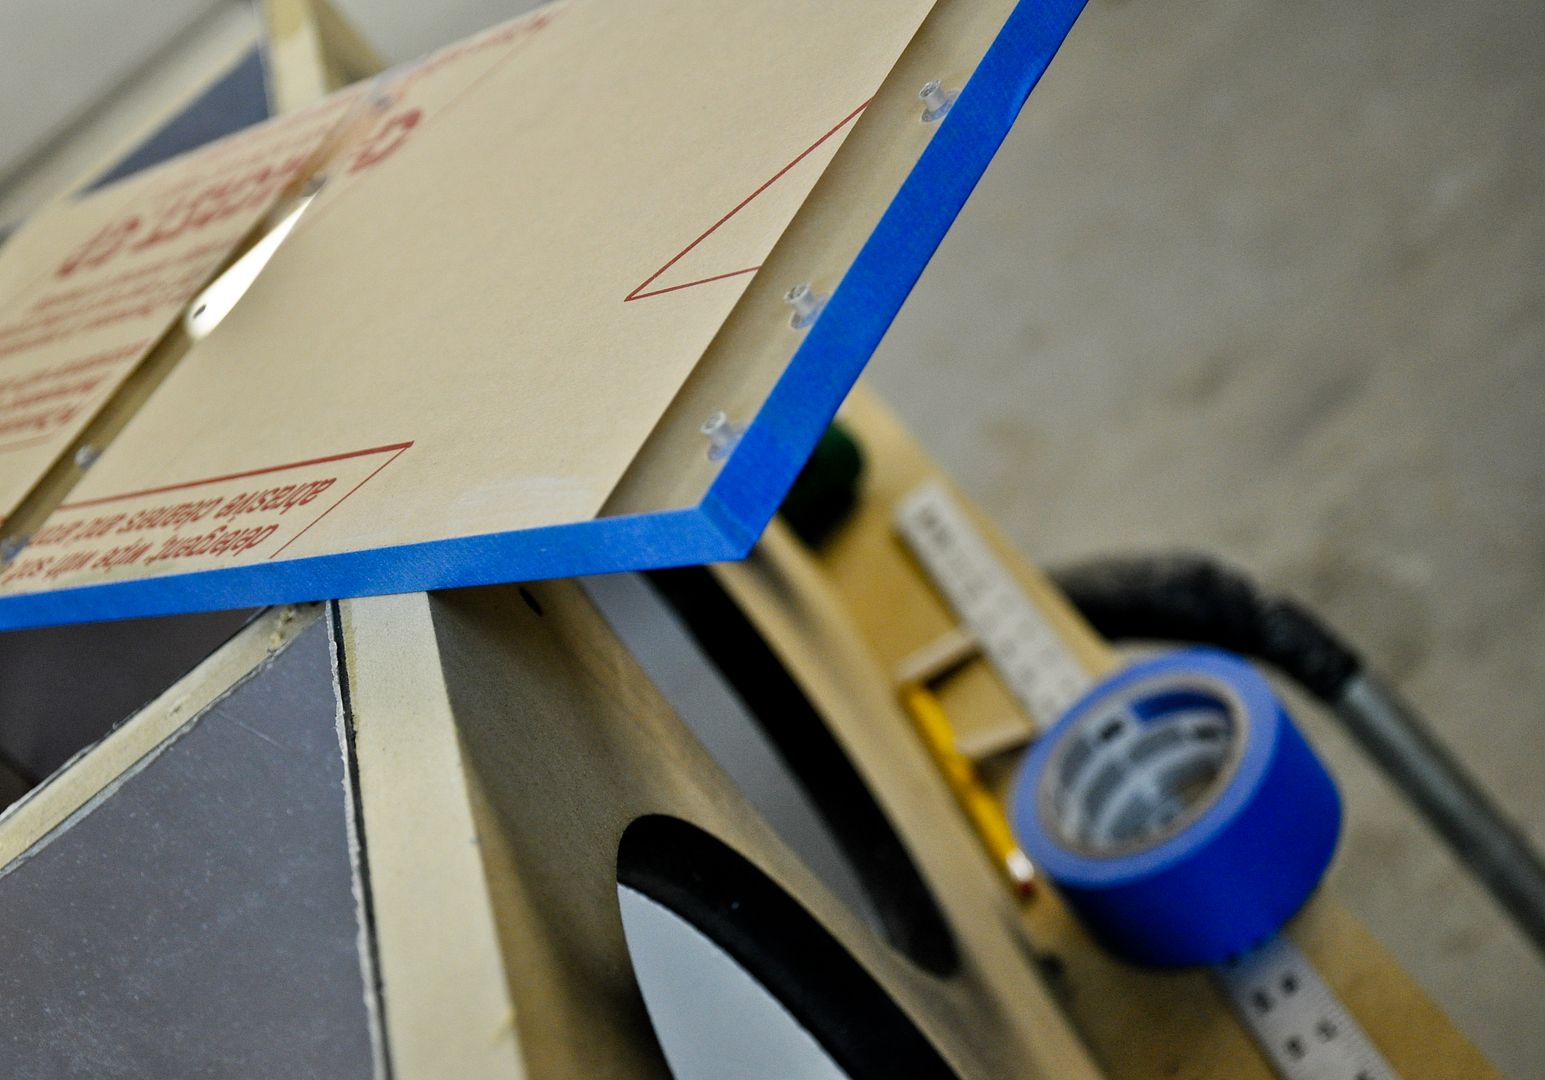
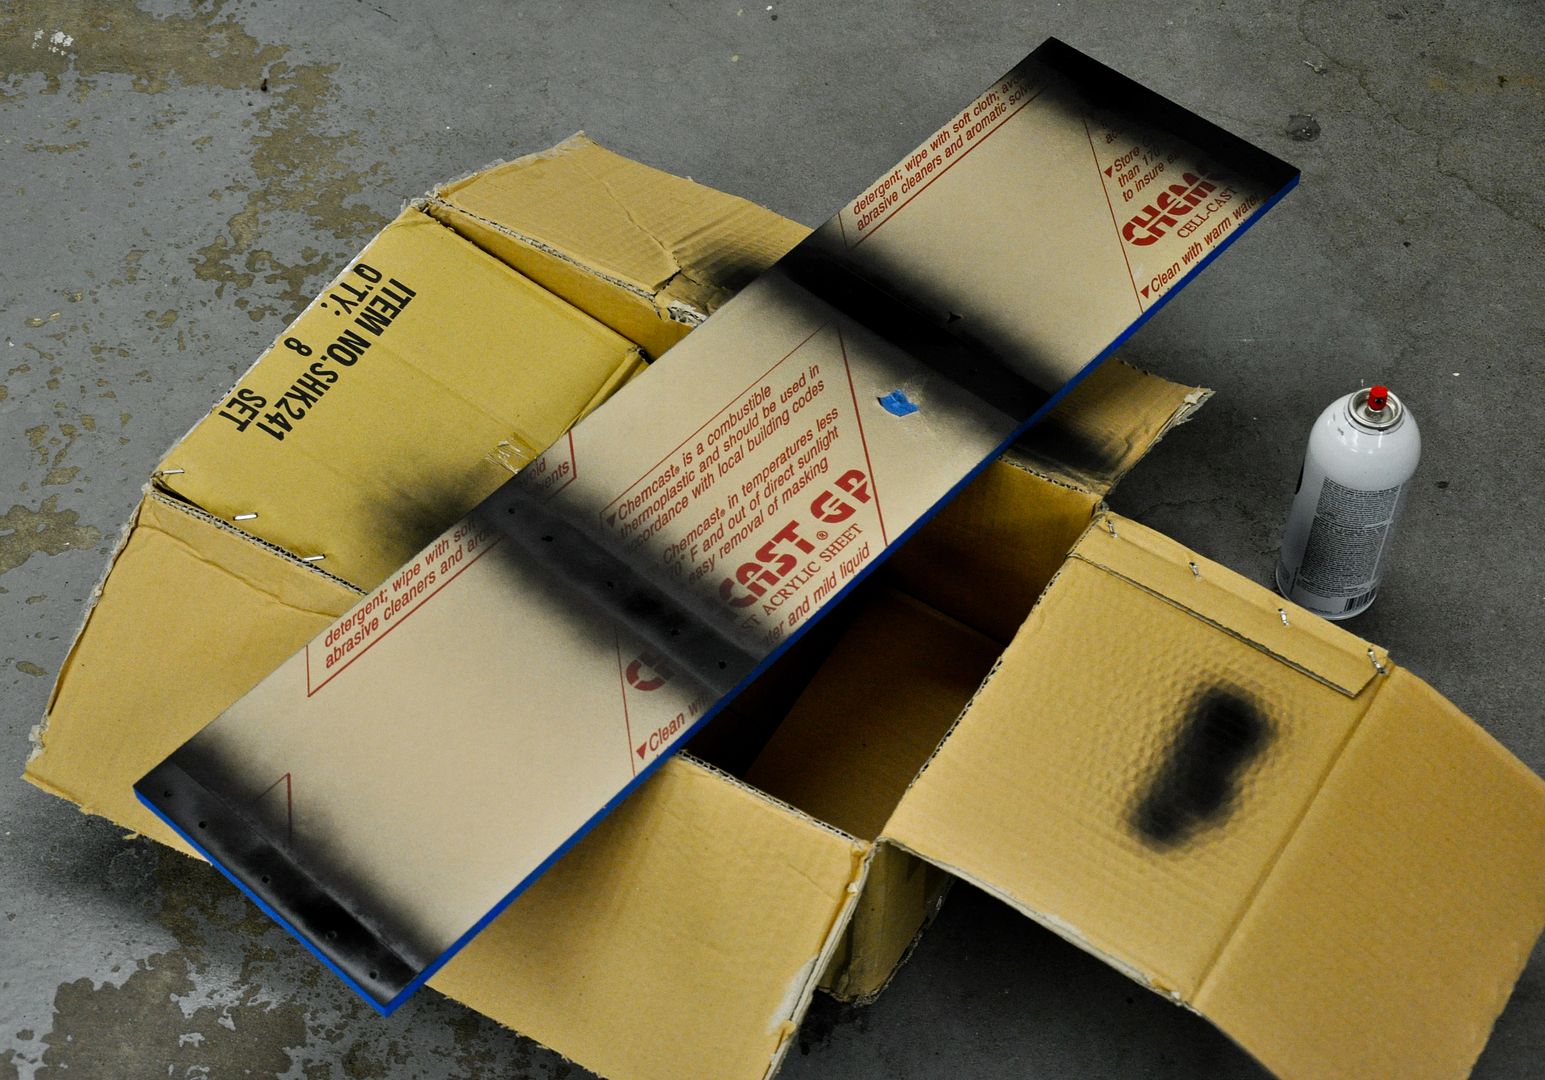
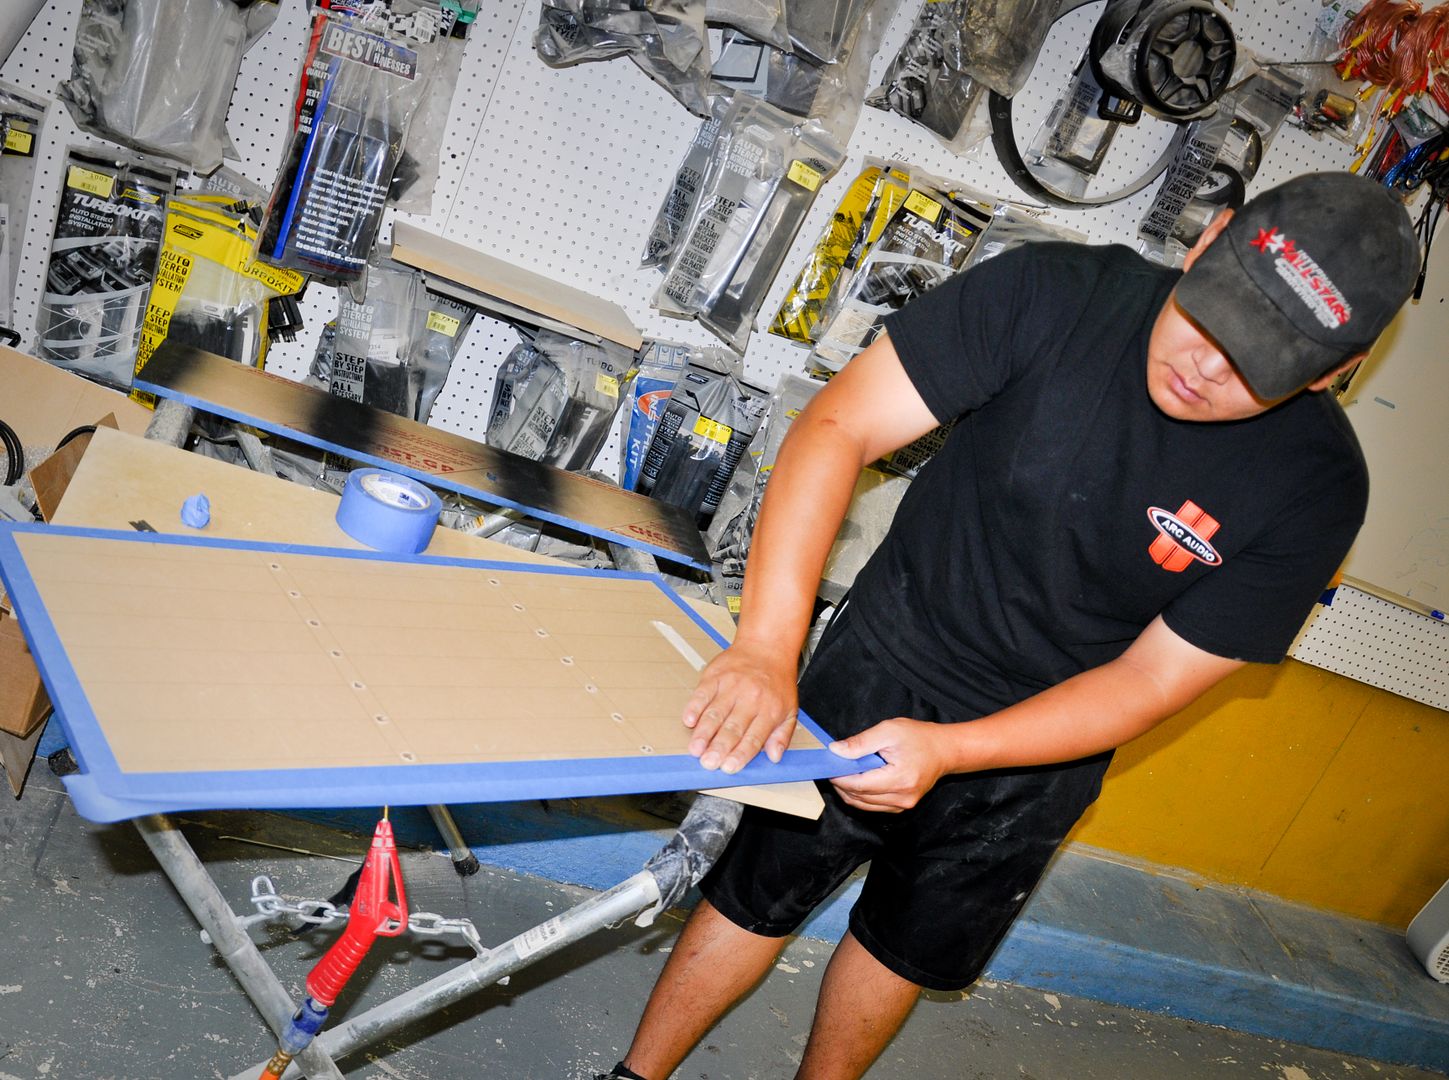
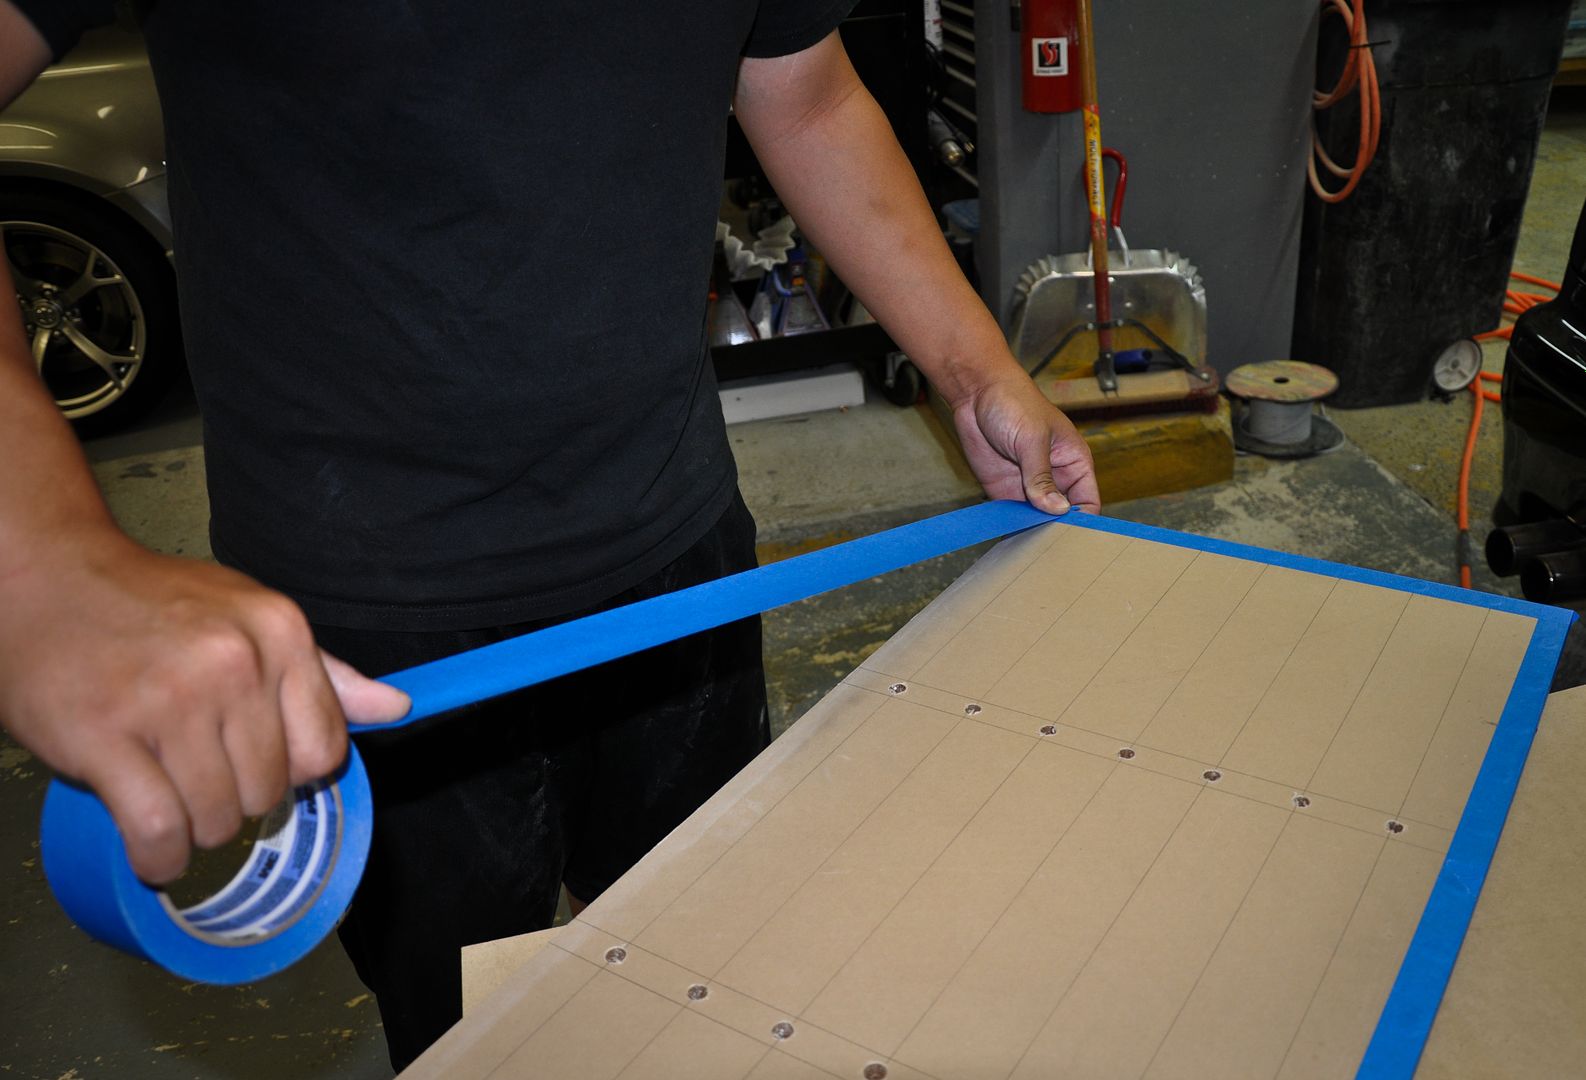
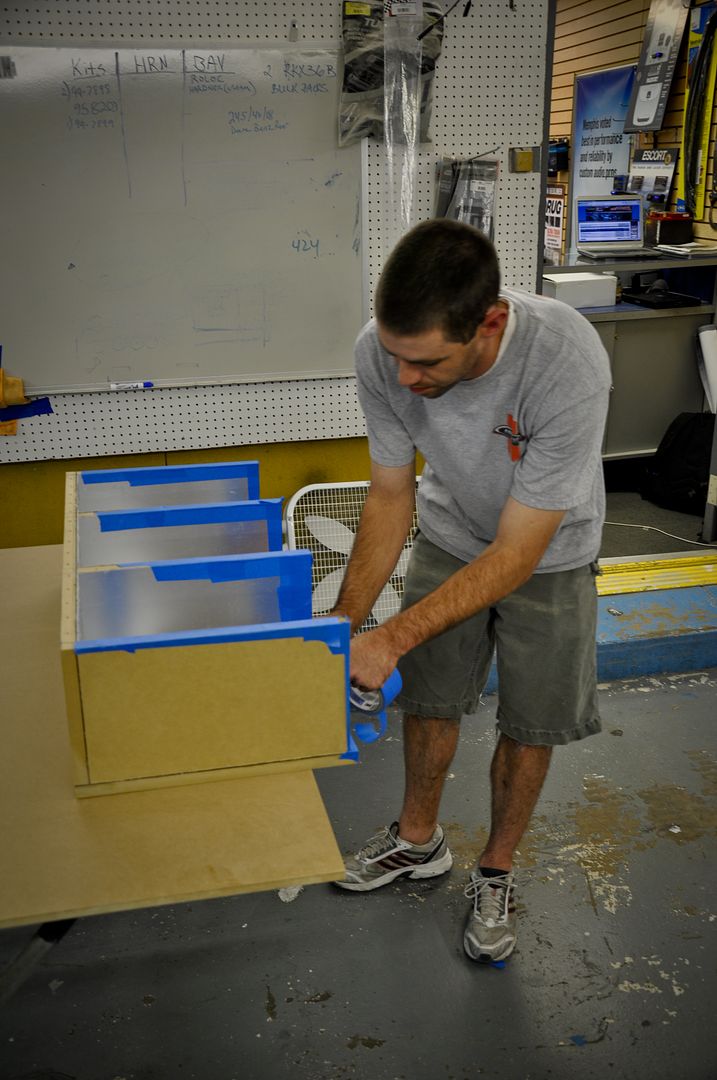
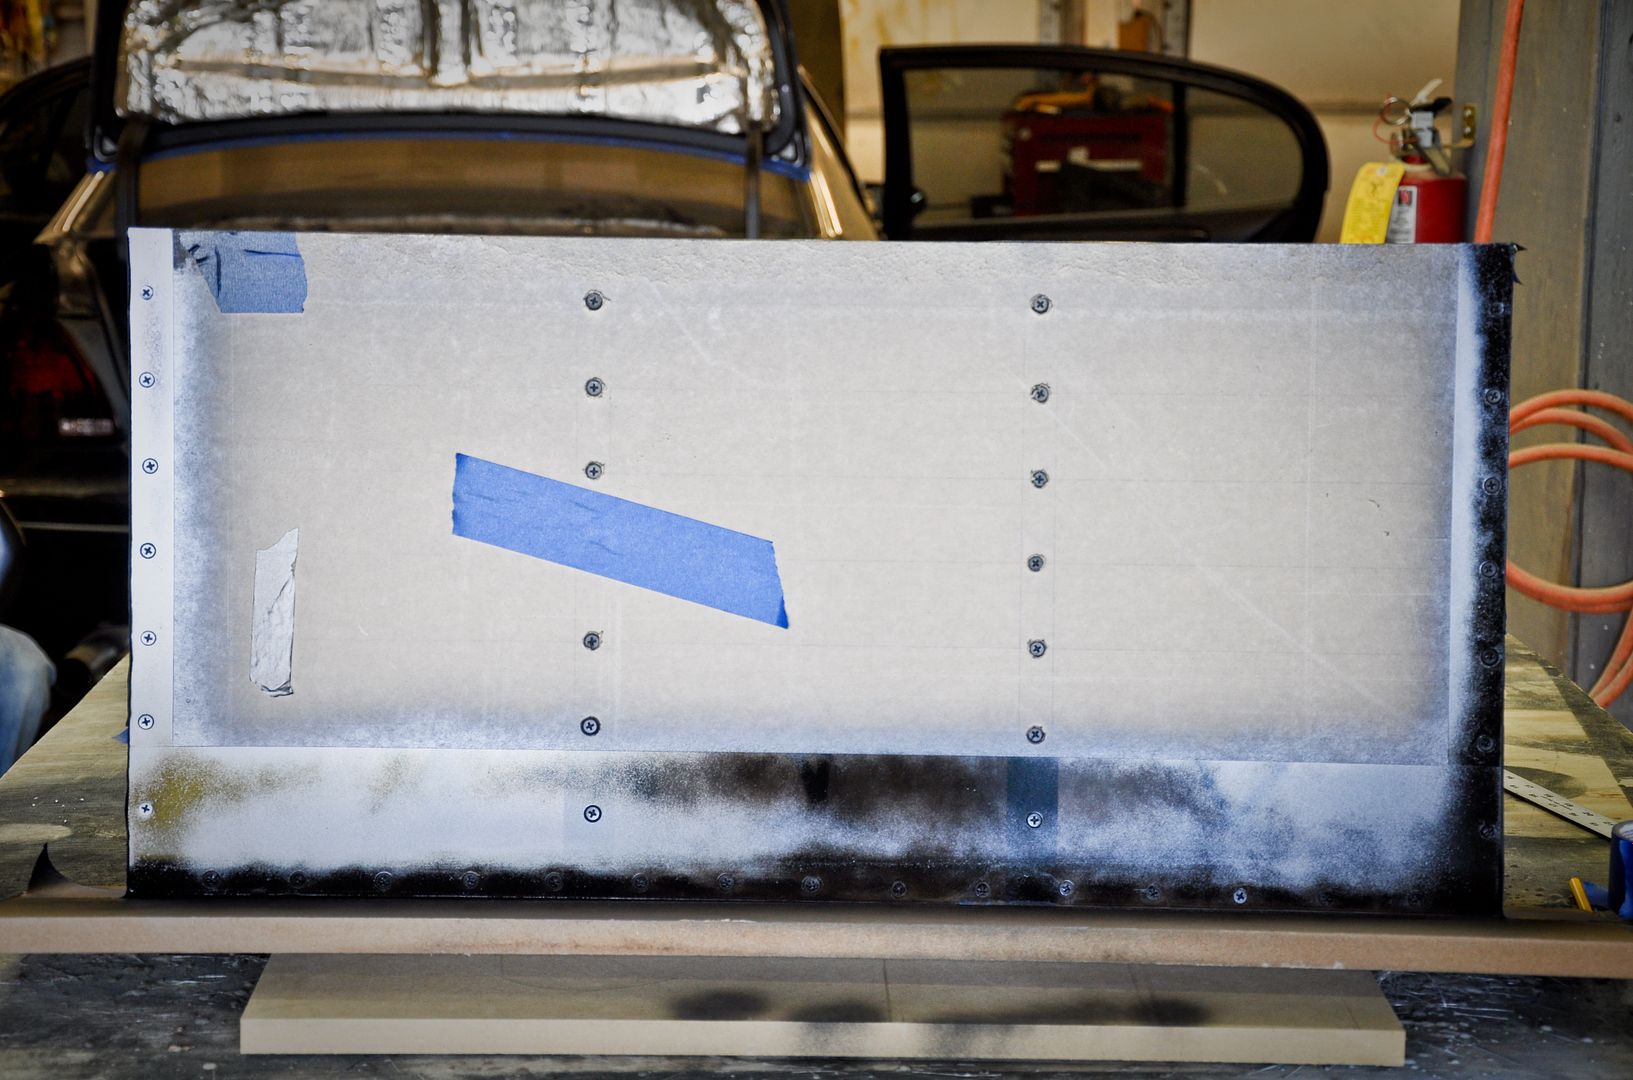
Taped up the sides for some painting action to hide the screw locations
Almost all the way out
Halway in
Closed all the way
With the stainless in
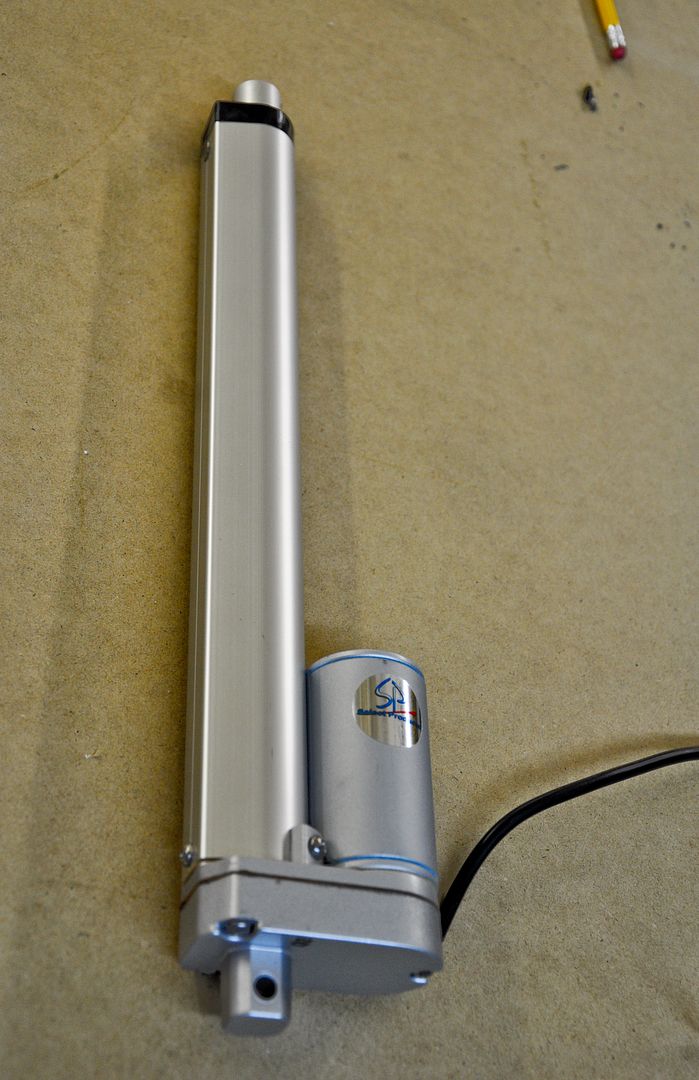
Linear actuator goodness! 14 inch throw
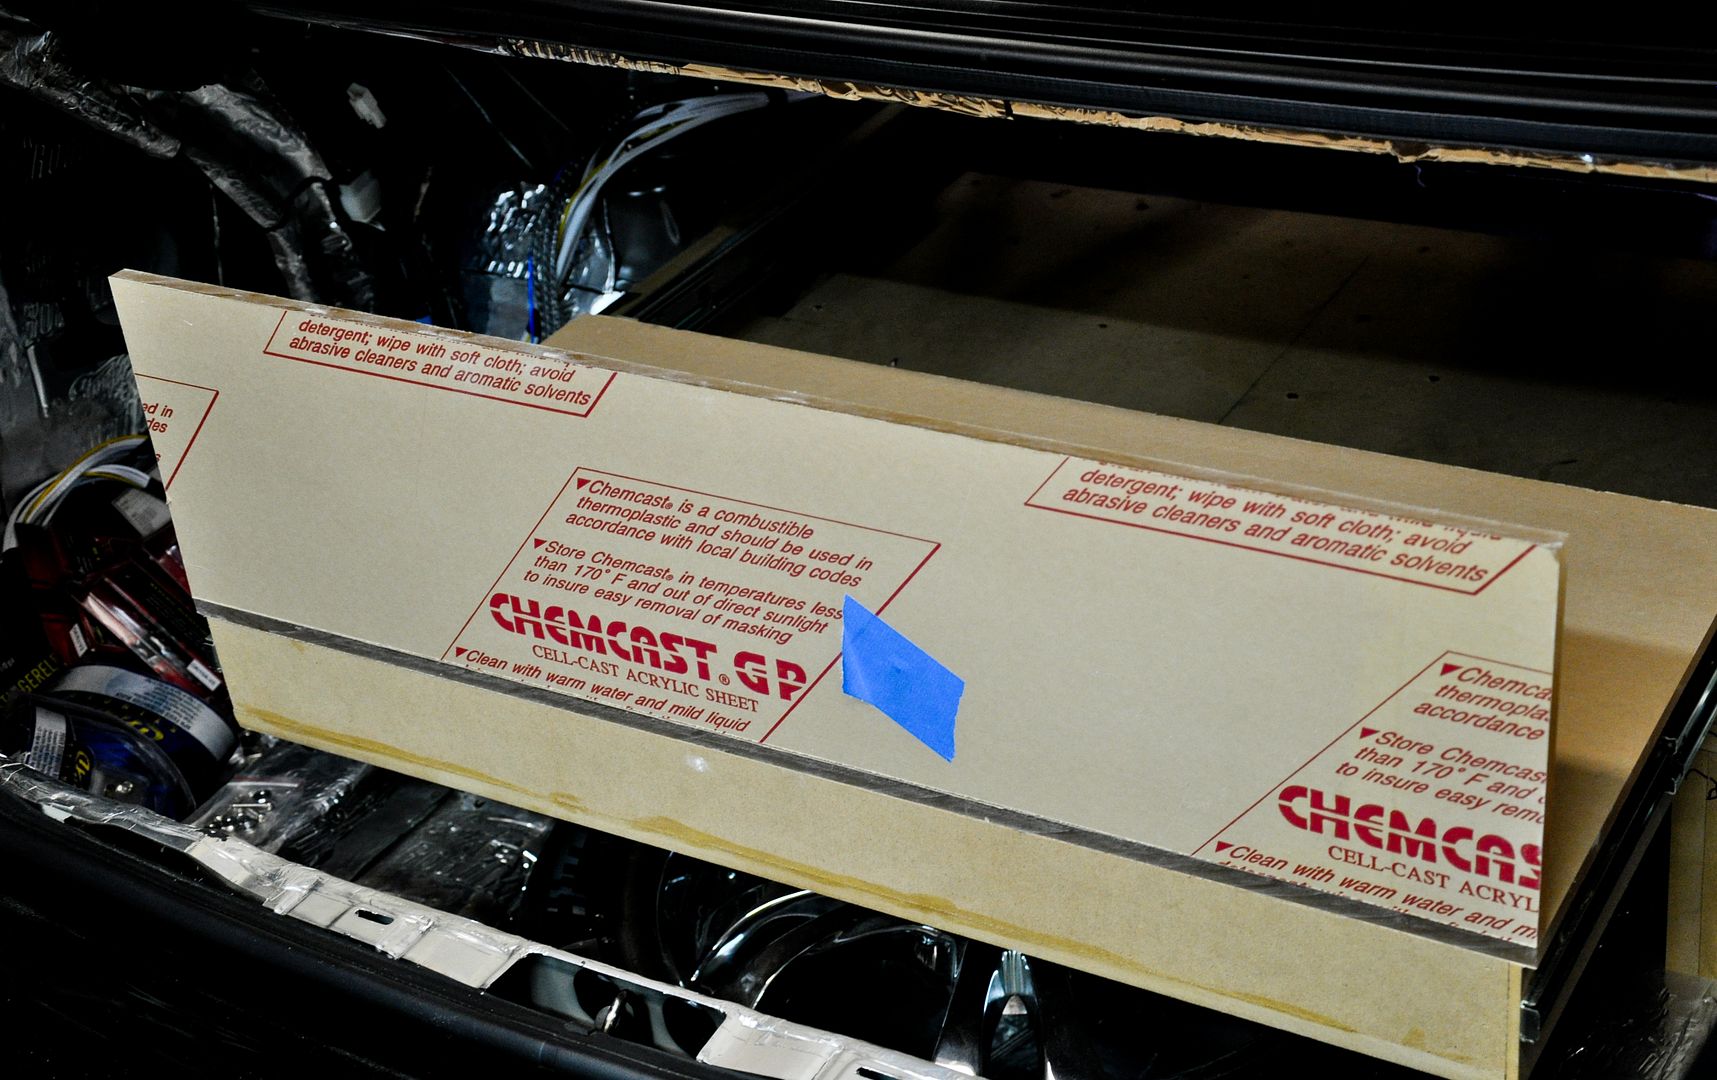
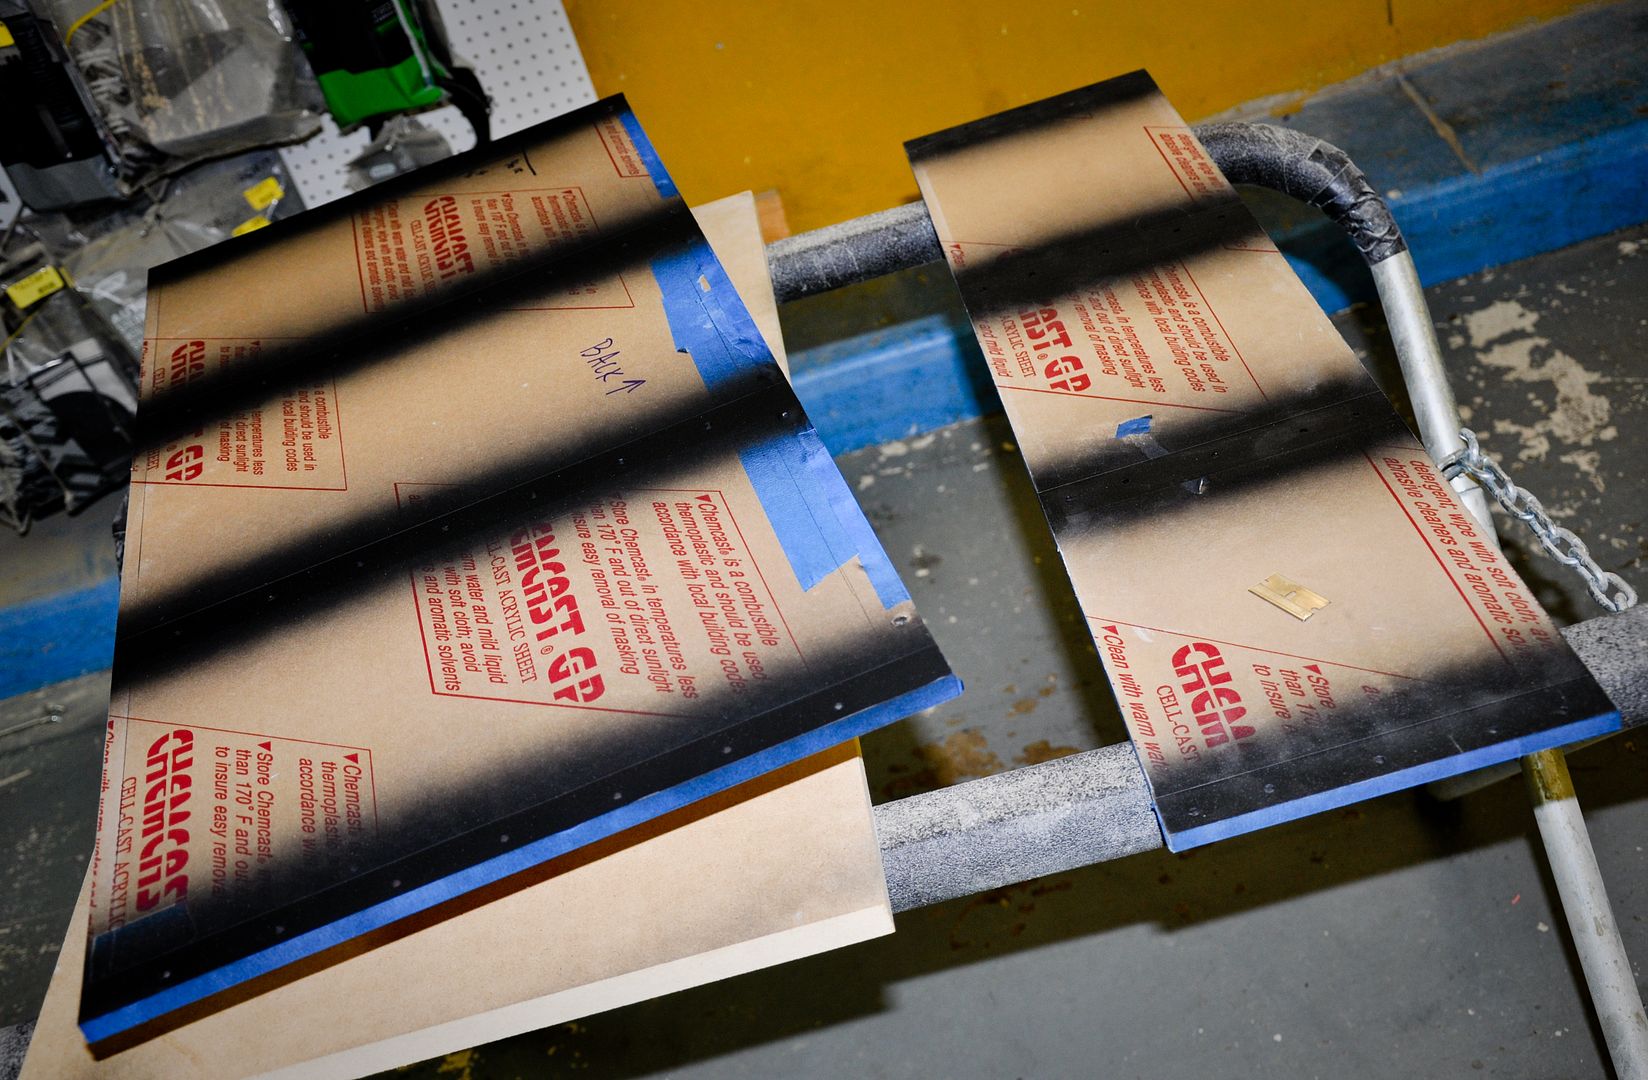
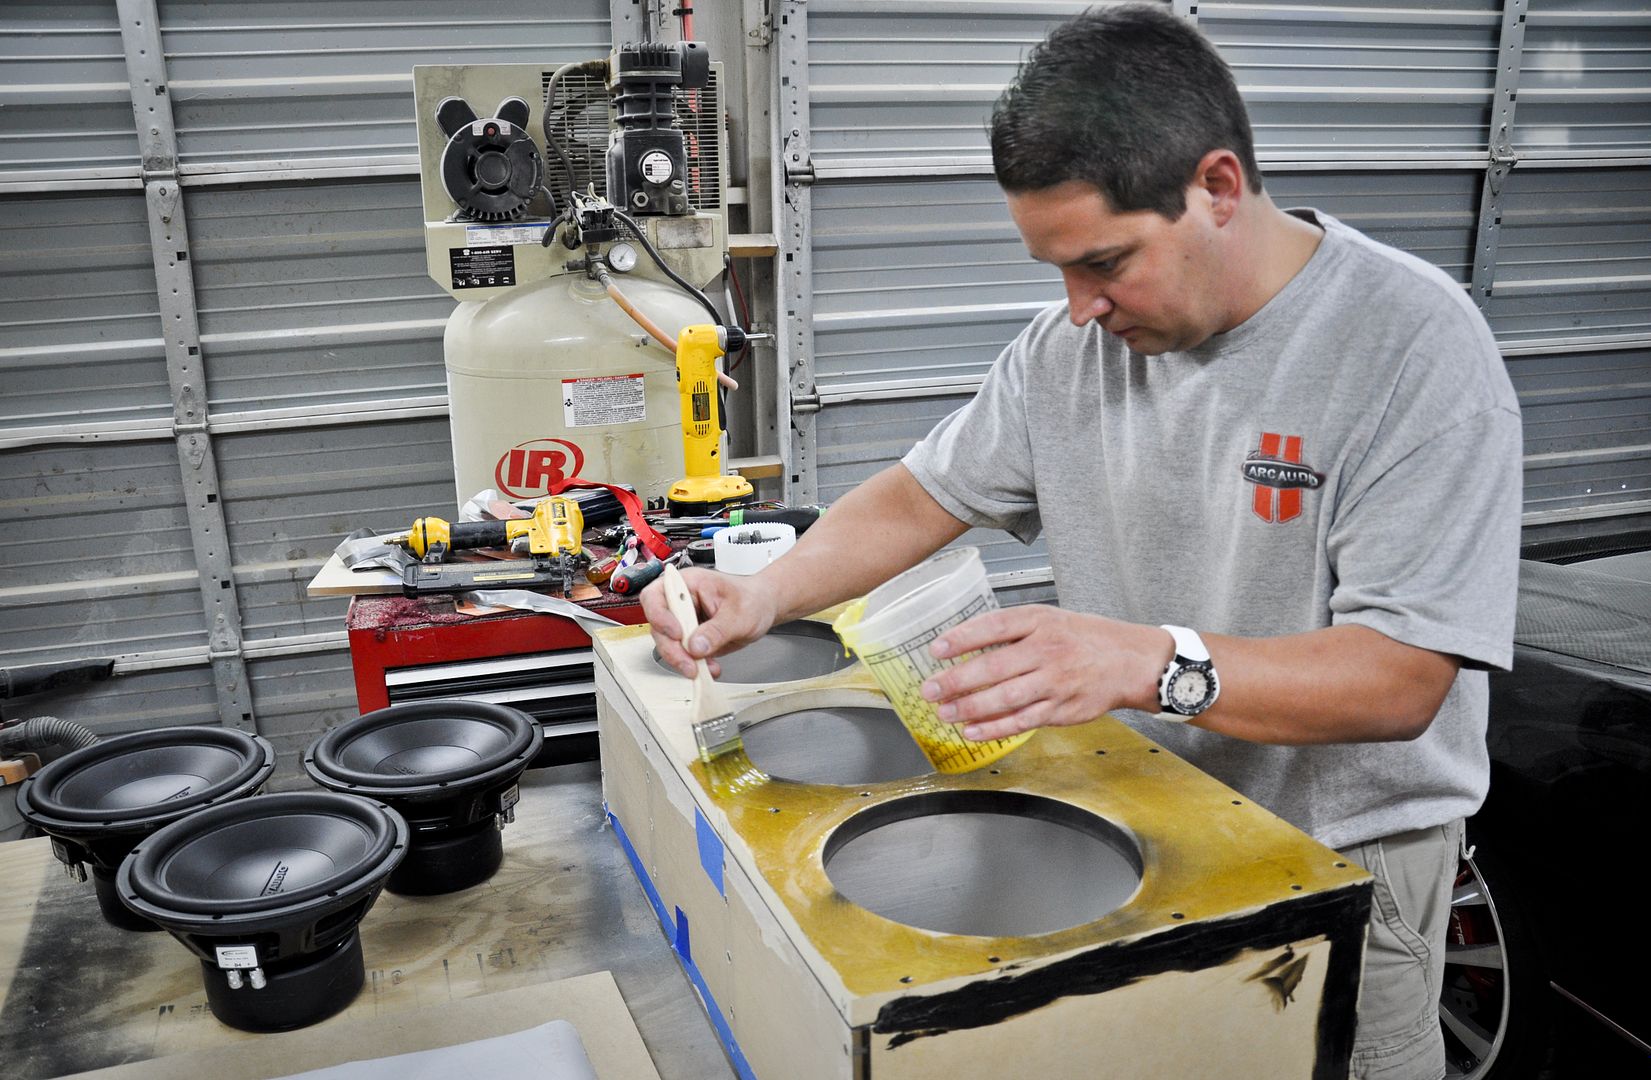
Prepping the bottom plexi piece for painting
Starting the final assembly of the box
Scott being funny again
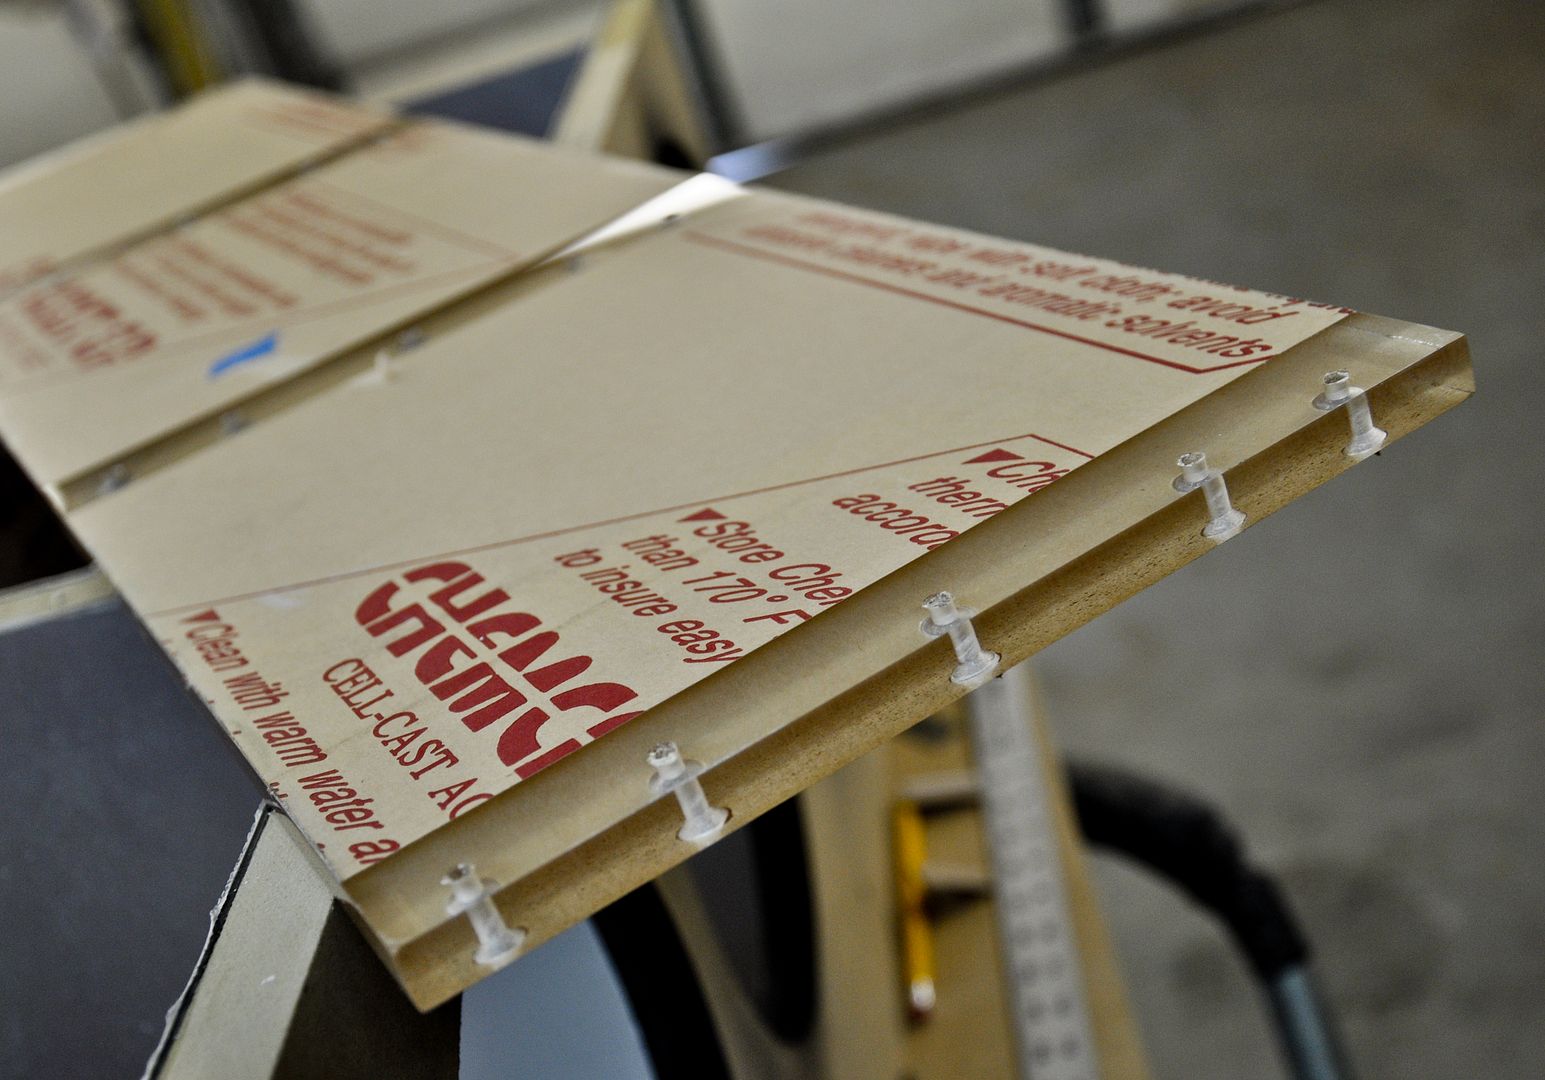
Using special plexi glue that is transparent we put the front and bottom of the box onto the whole box to keep it strong while the adhesive cured
 03-19-11, 04:35 AM
#476

Set a bulk pack of sound damping on the face for it to cure
Took the face off
Face and bottom fused together
Tryina give some moral lol snap snap let’s get to work boys!
Putting the box back together

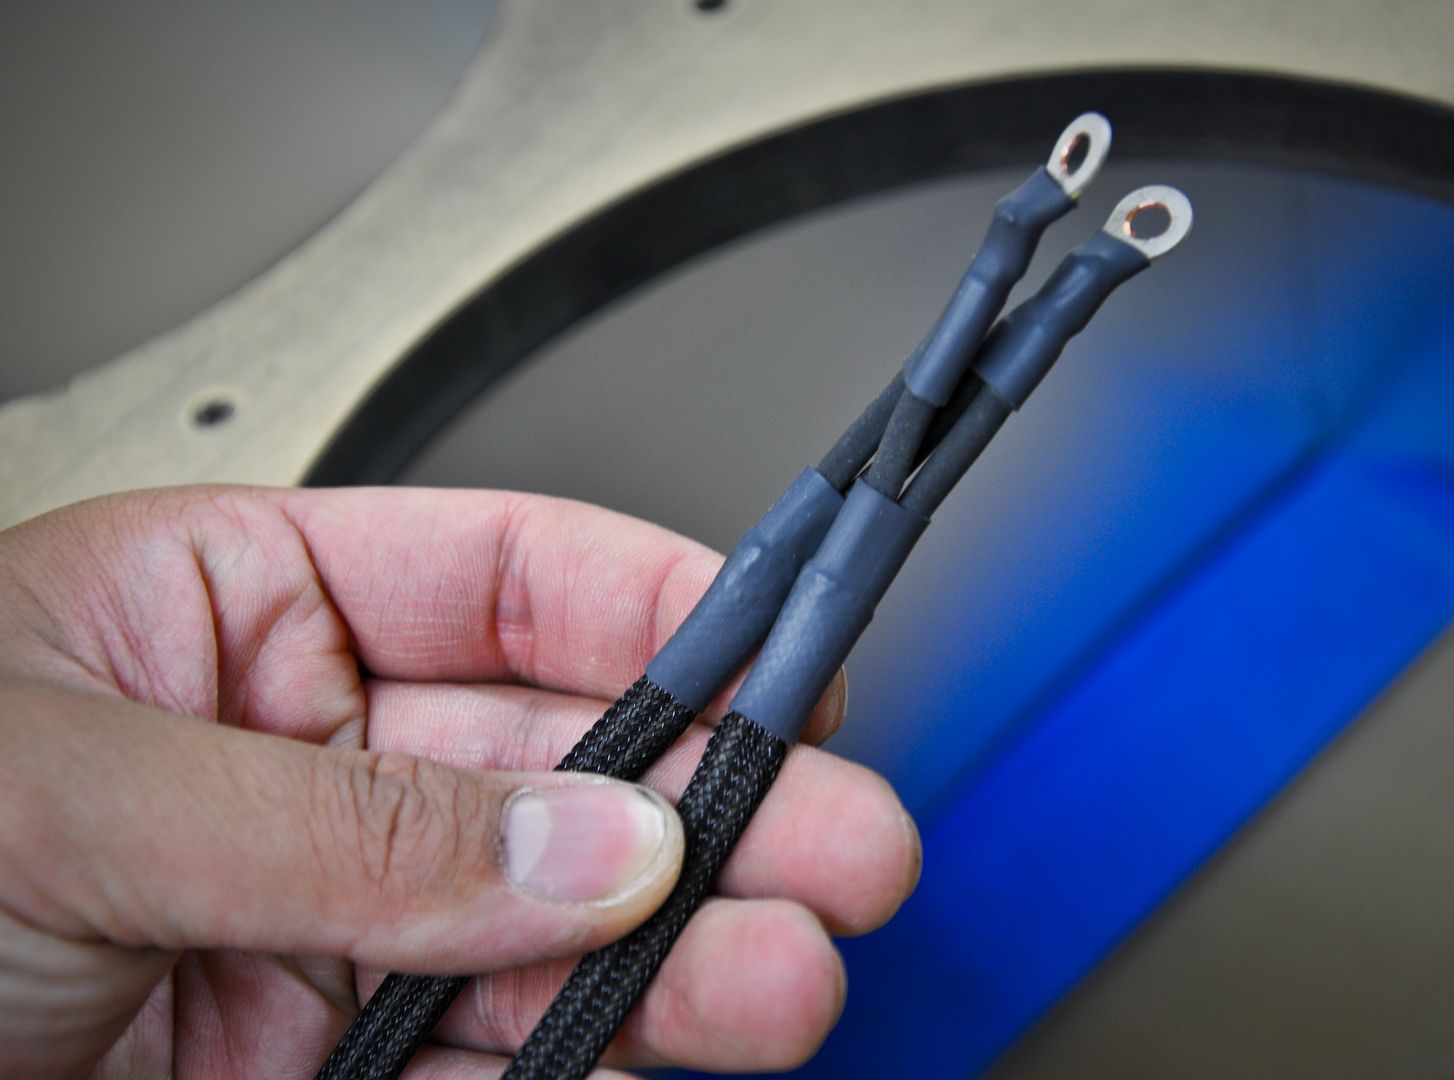
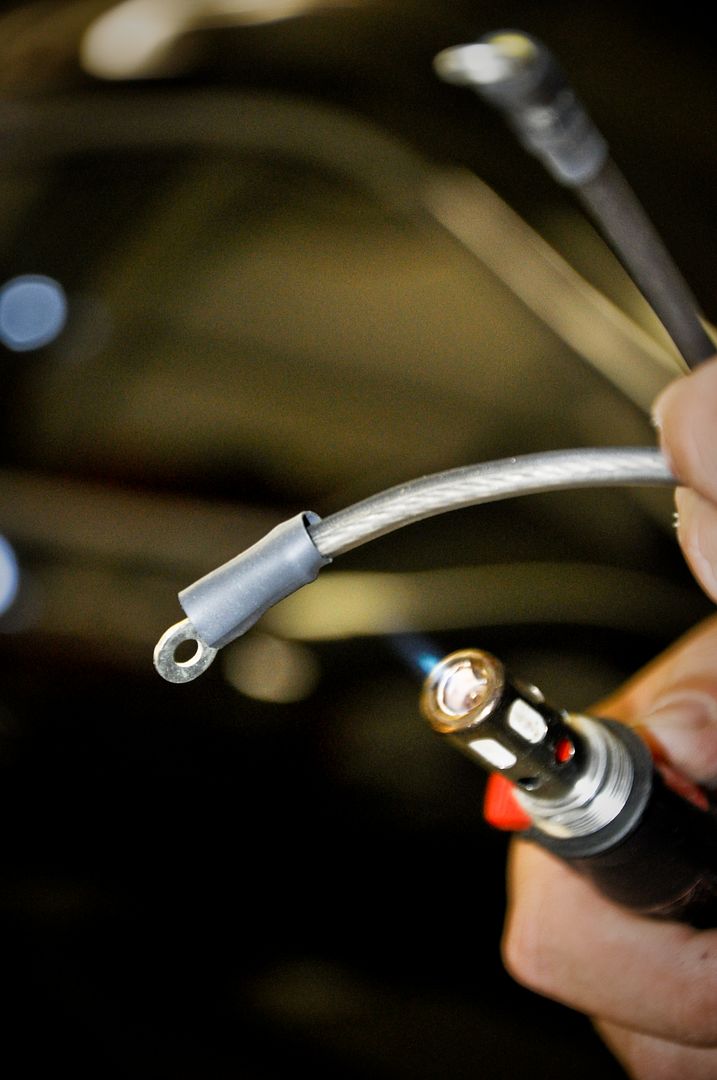
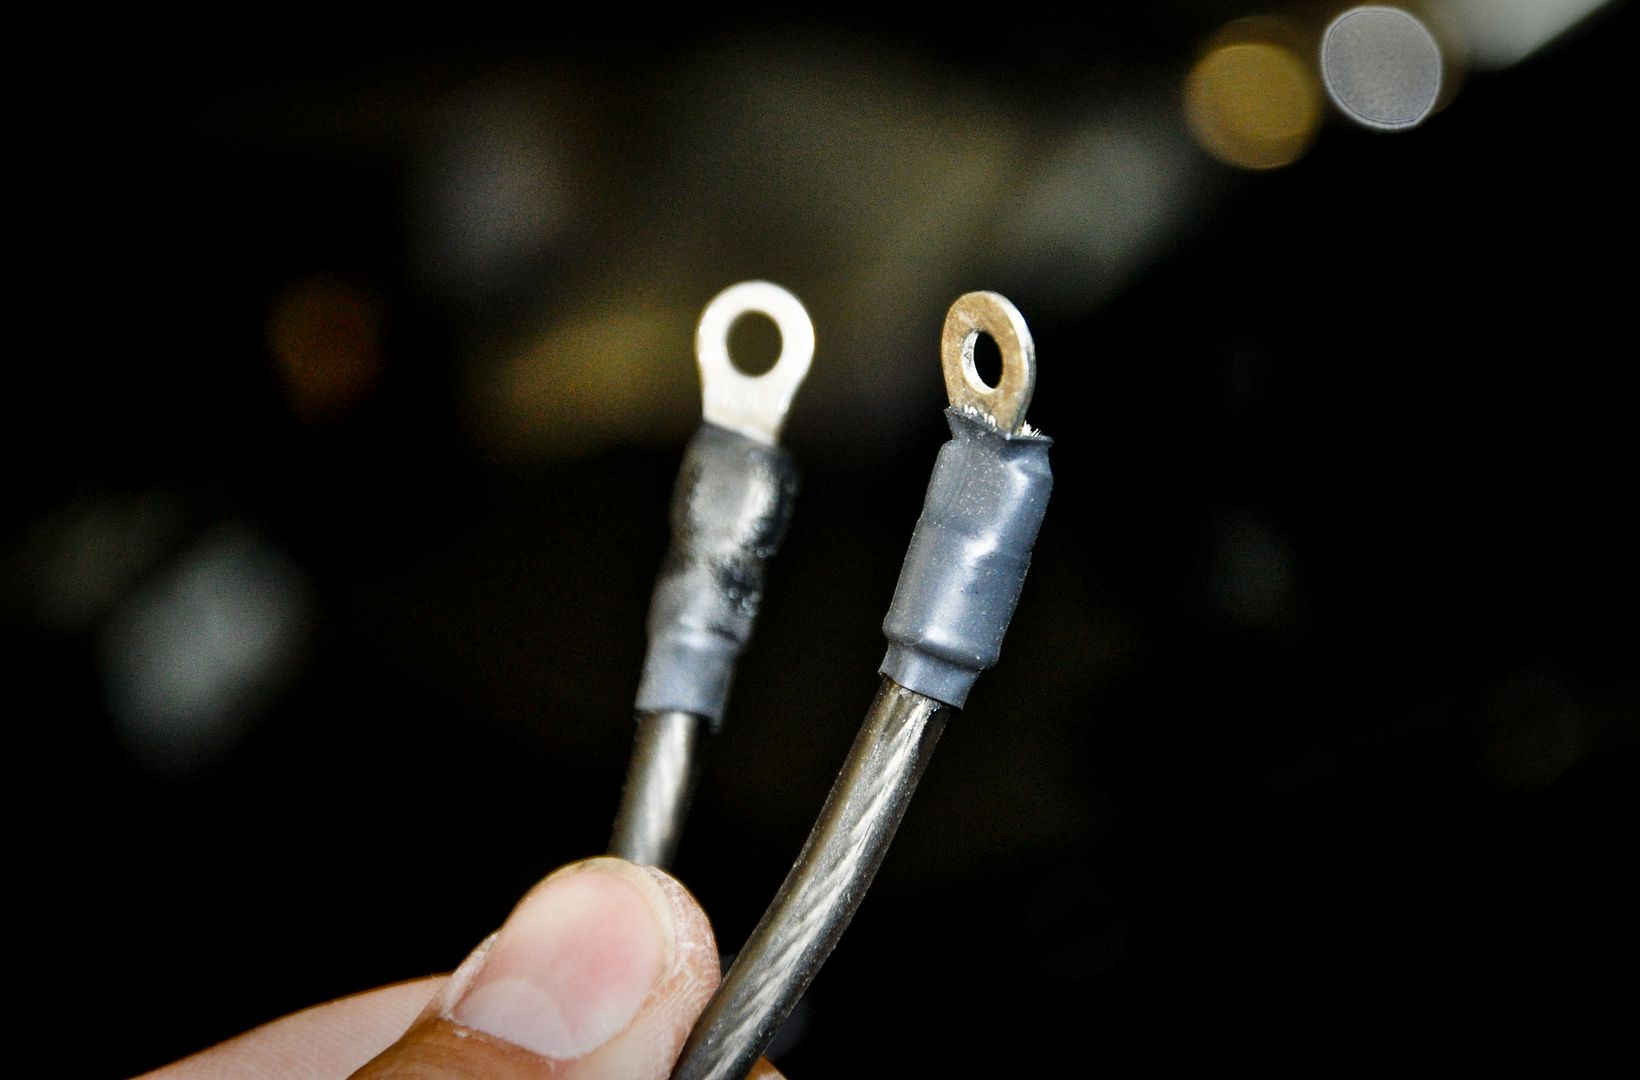
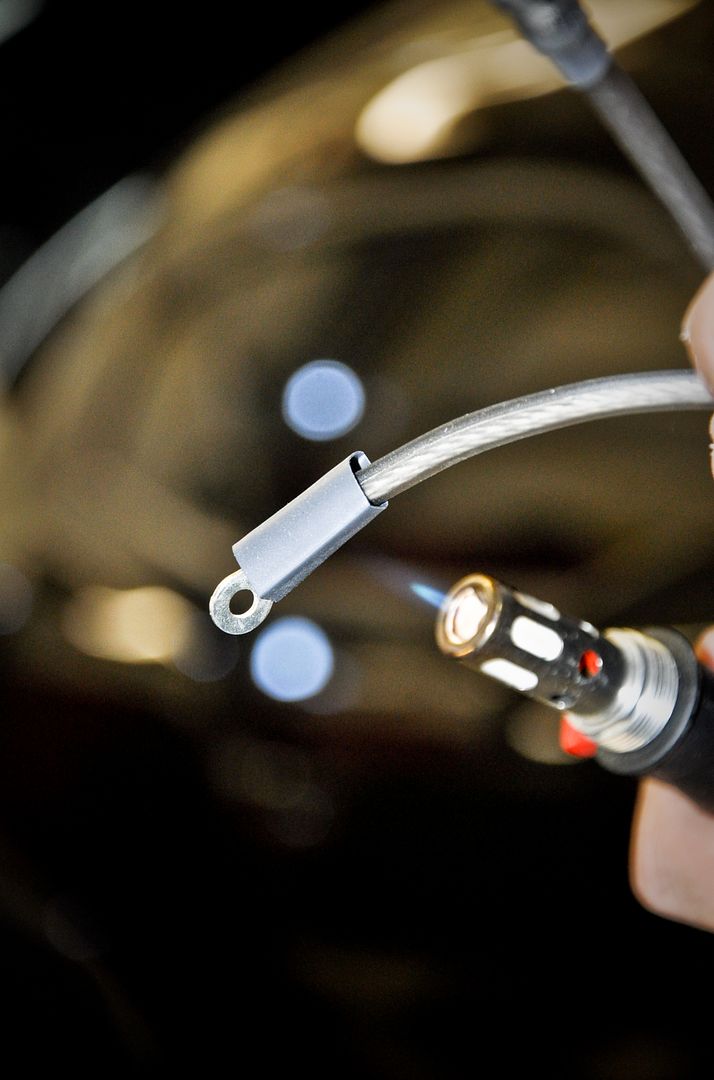
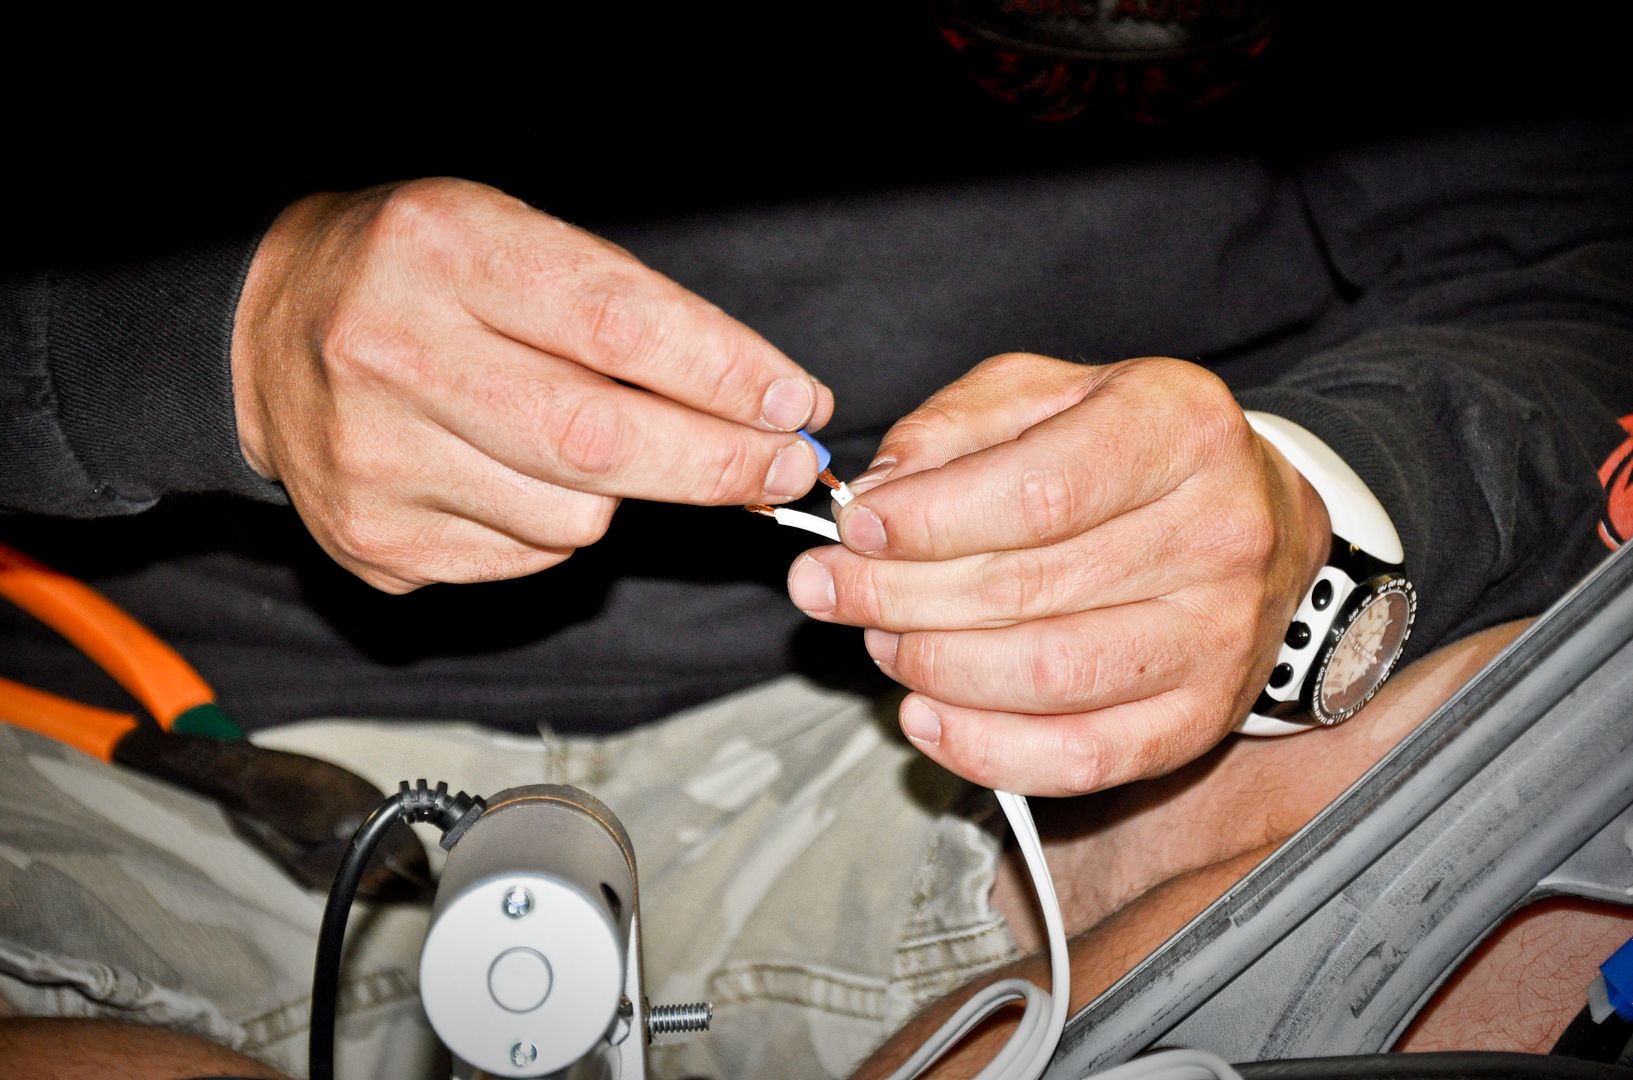
Mr. Marsh’ custom wiring with tex flex and shrink wrap
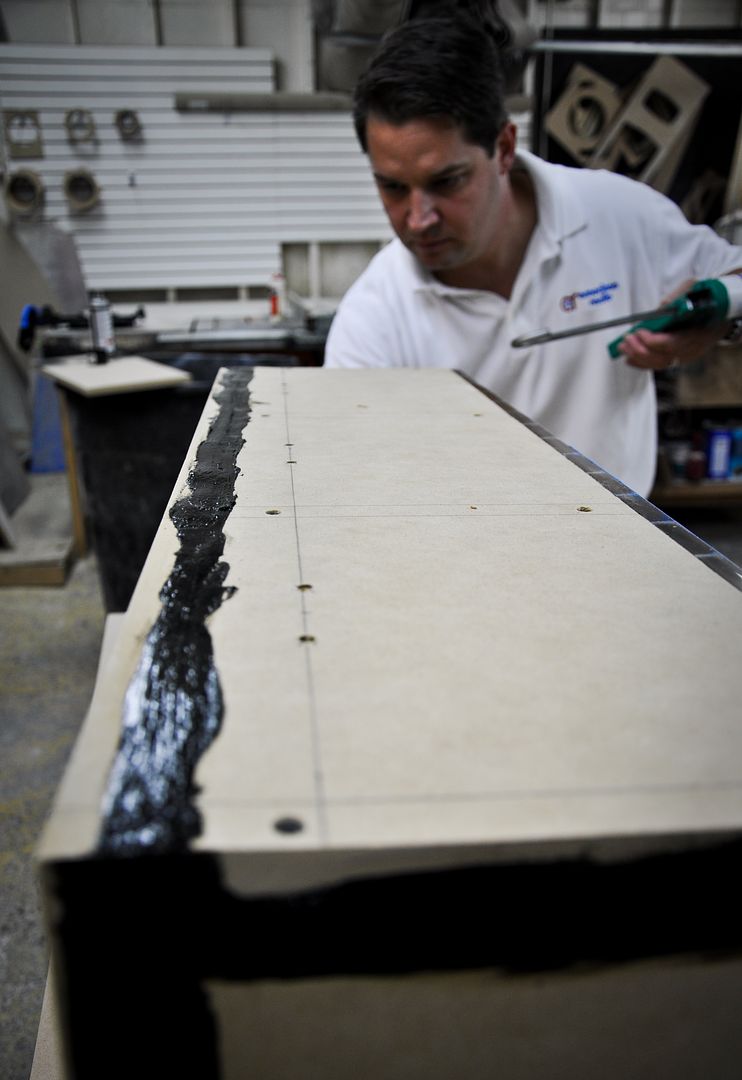
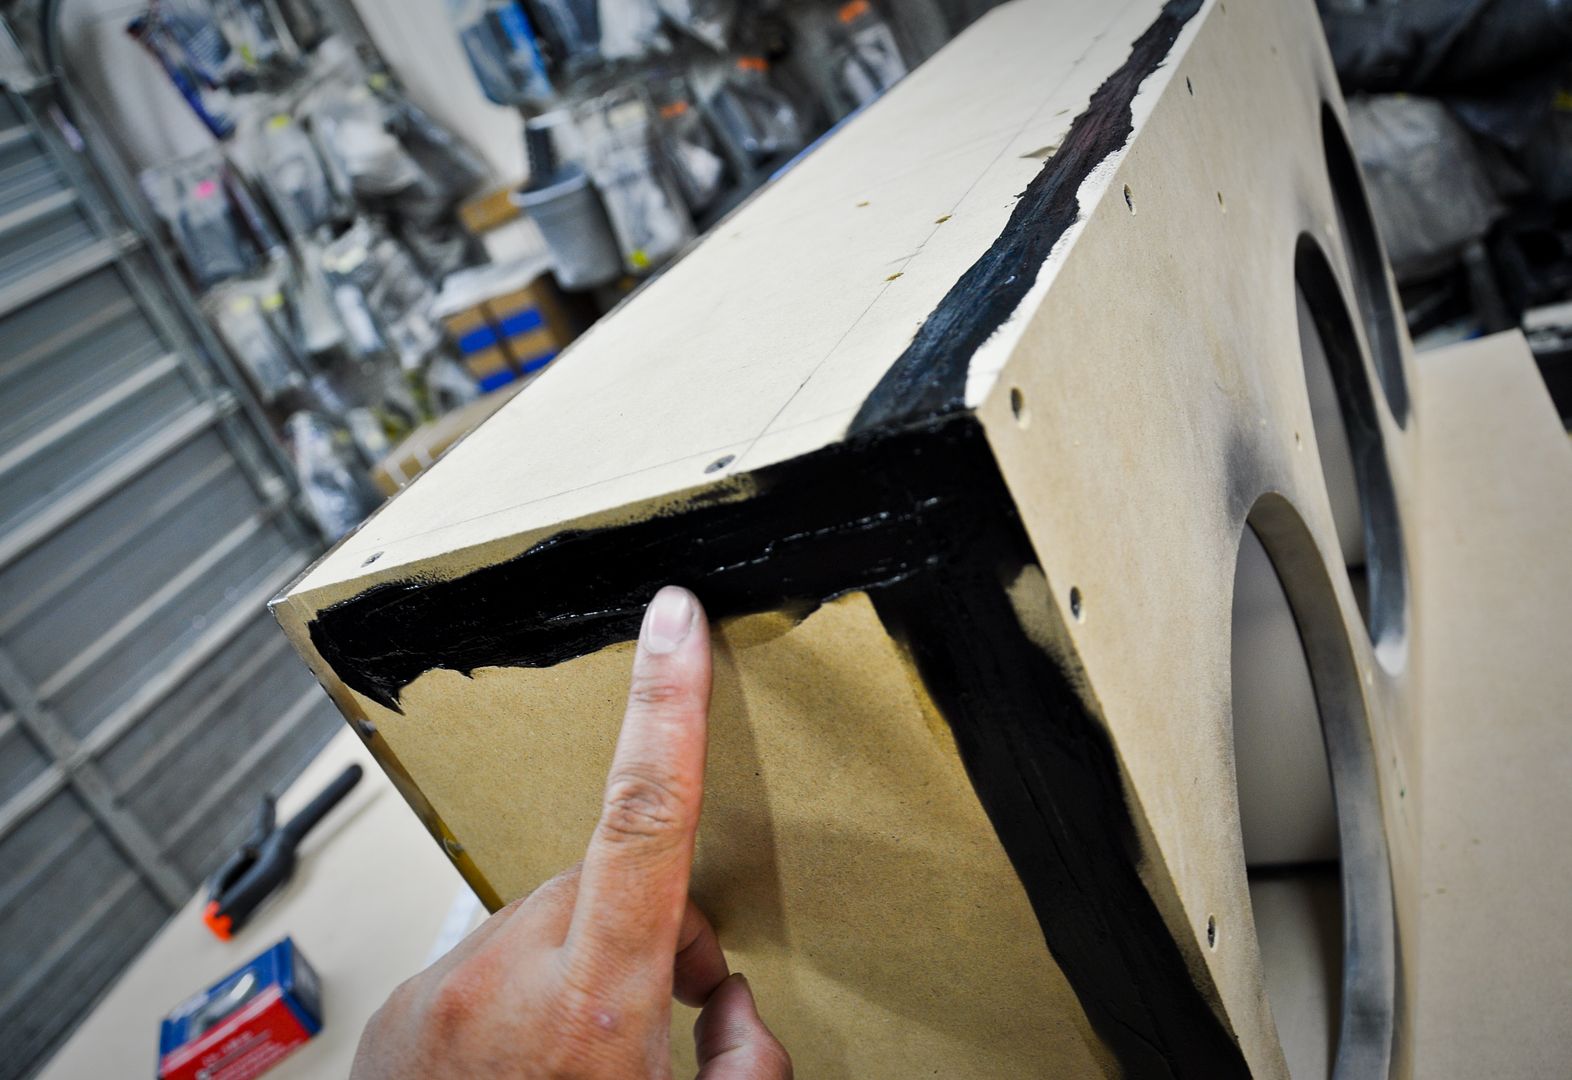
Epoxy’ed the seams
Getting ready to apply carbon fiber vinyl
Carbon vinyl on and wires color coded
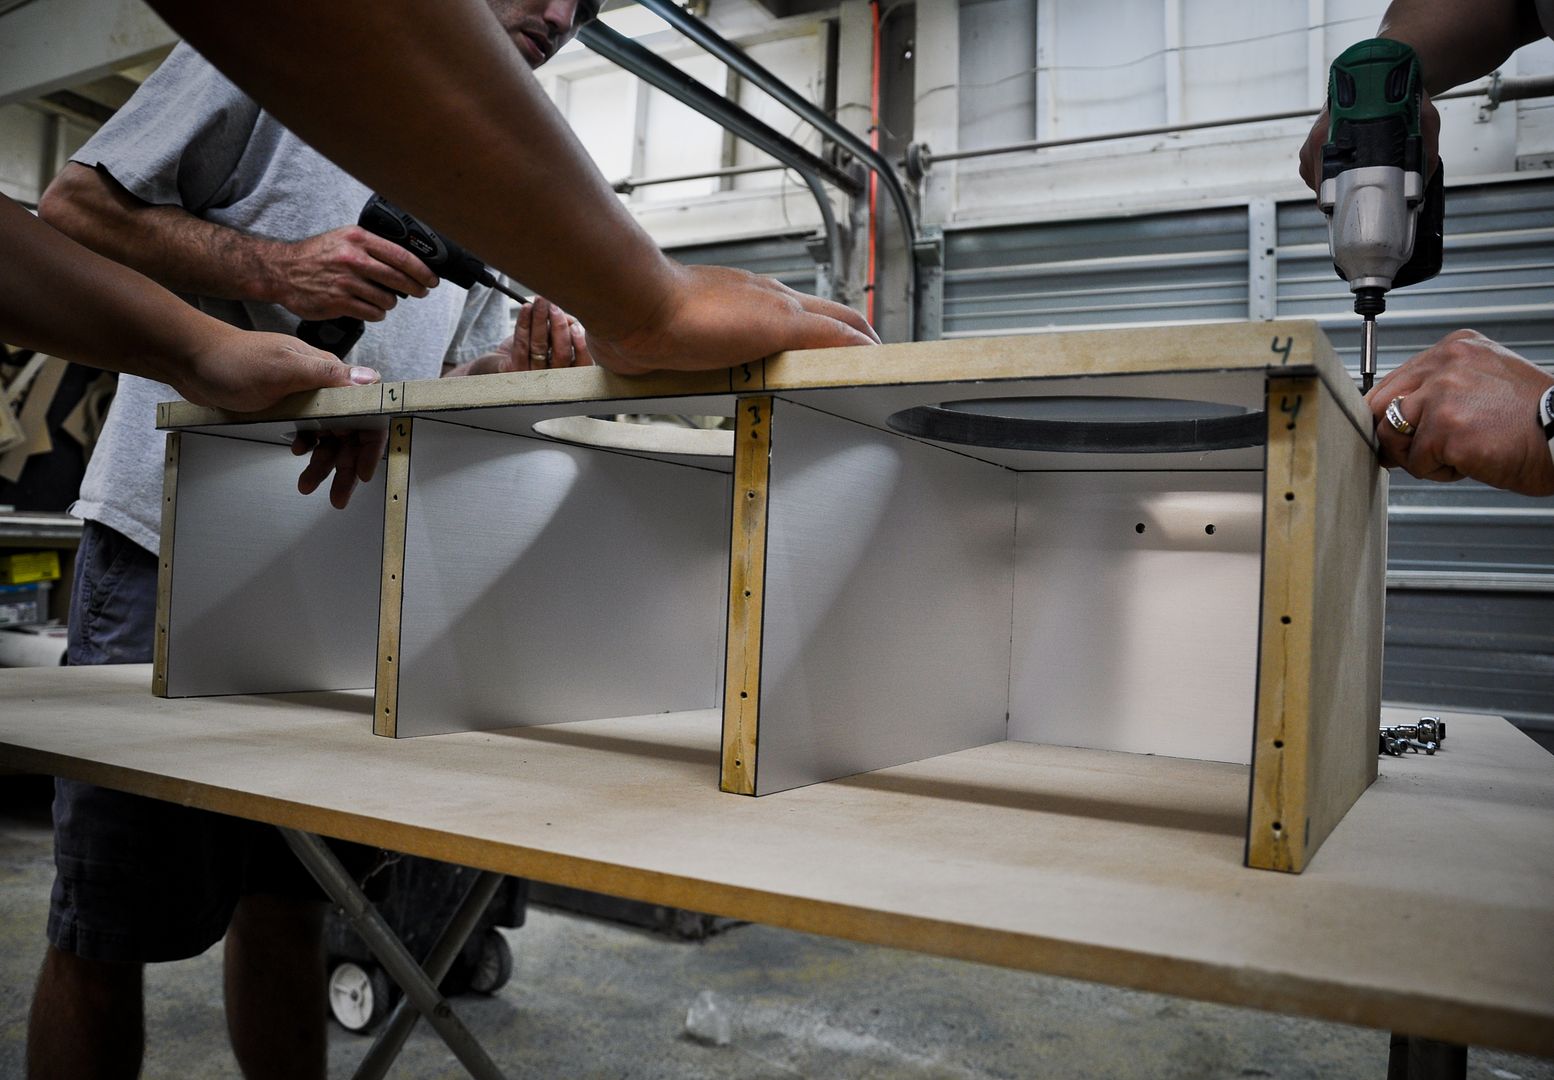
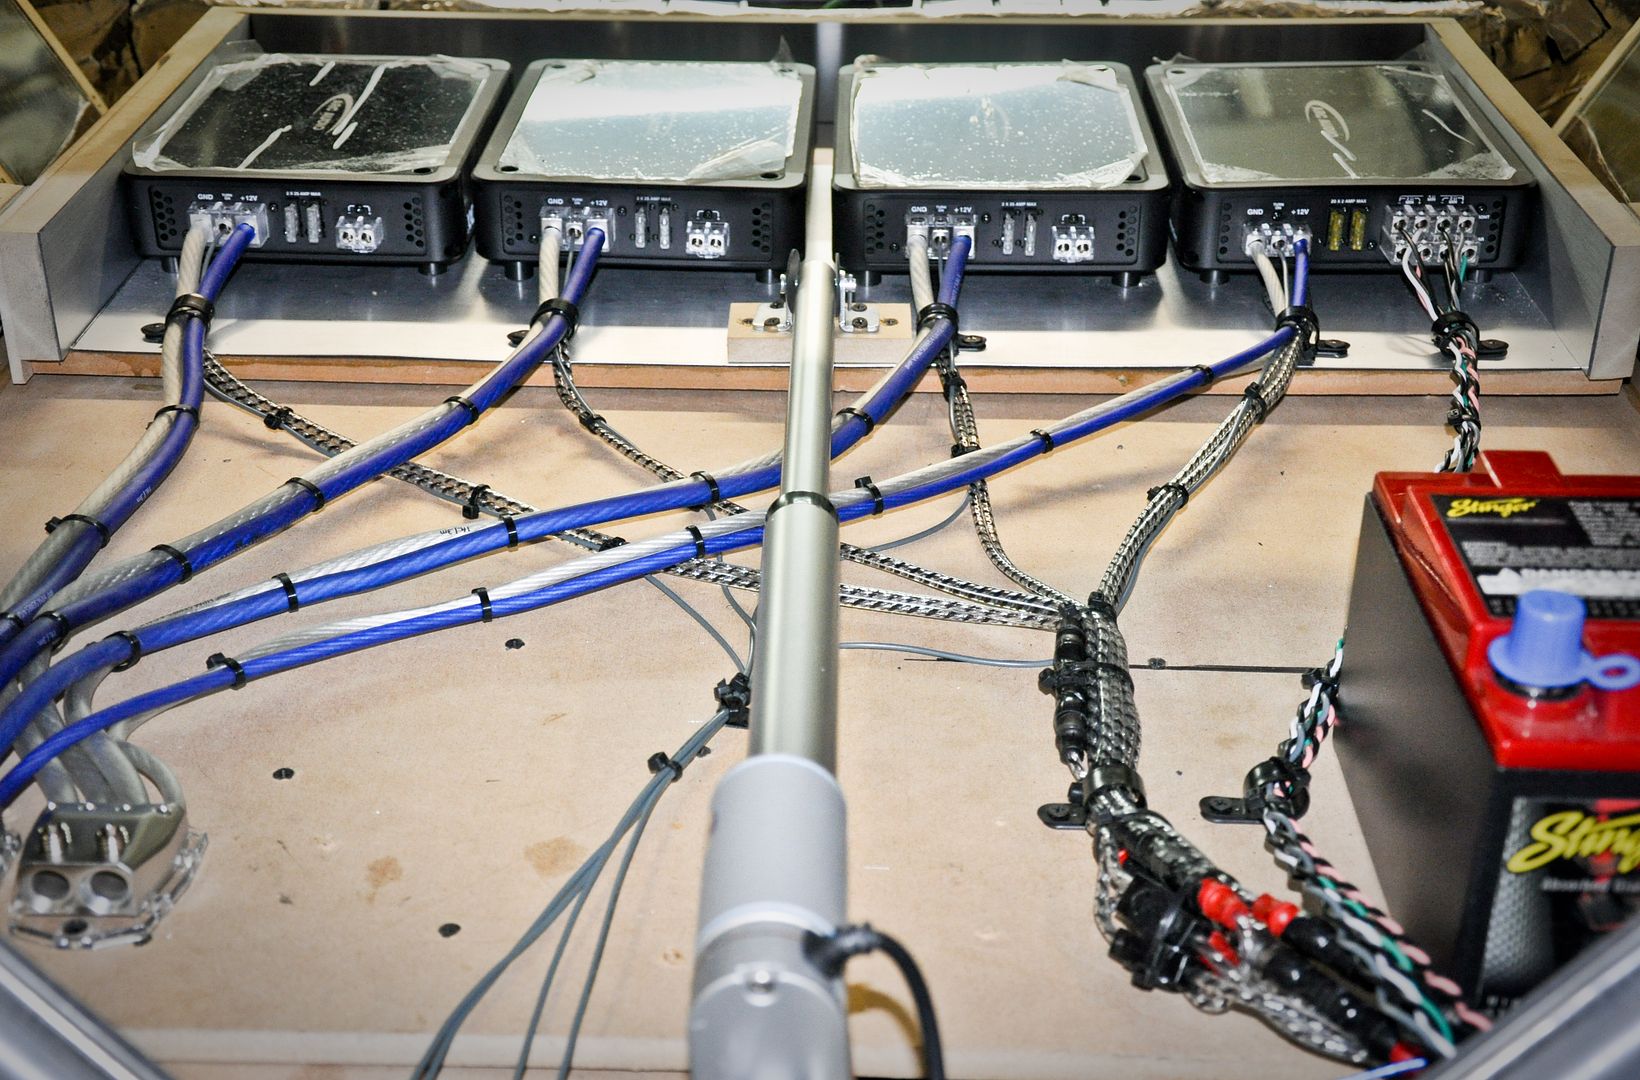
Mounting the amplifiers on the tray
Spacing the amps out
Fabricated some aluminum braces to mount the box onto the tray
 03-19-11, 04:36 AM
#477
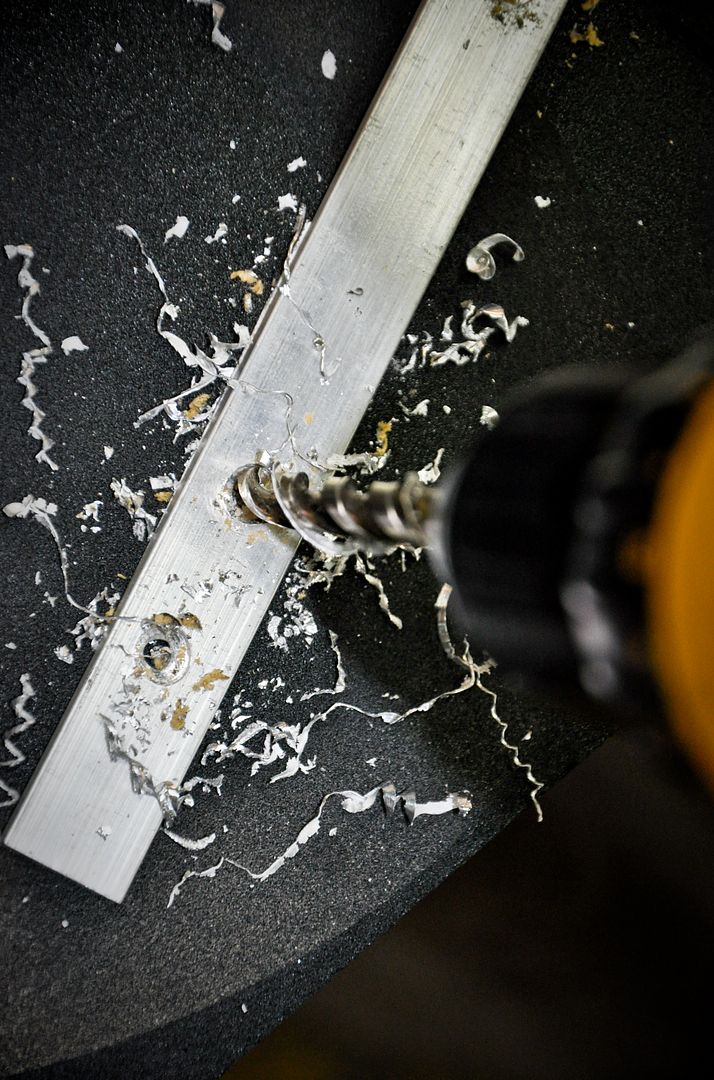
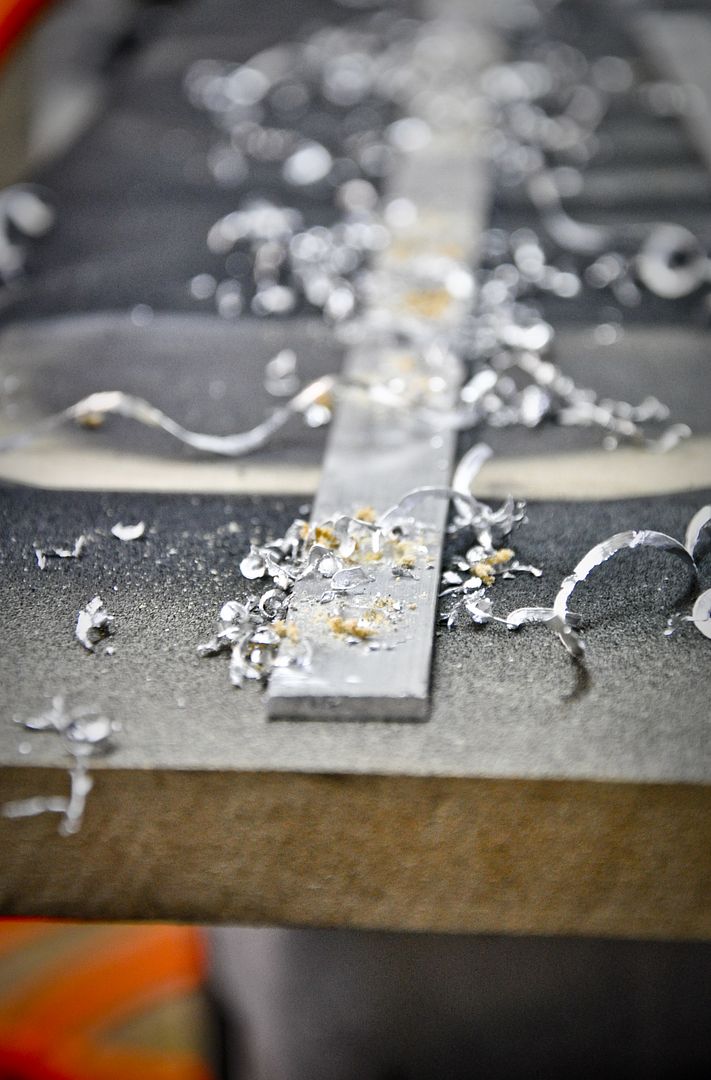
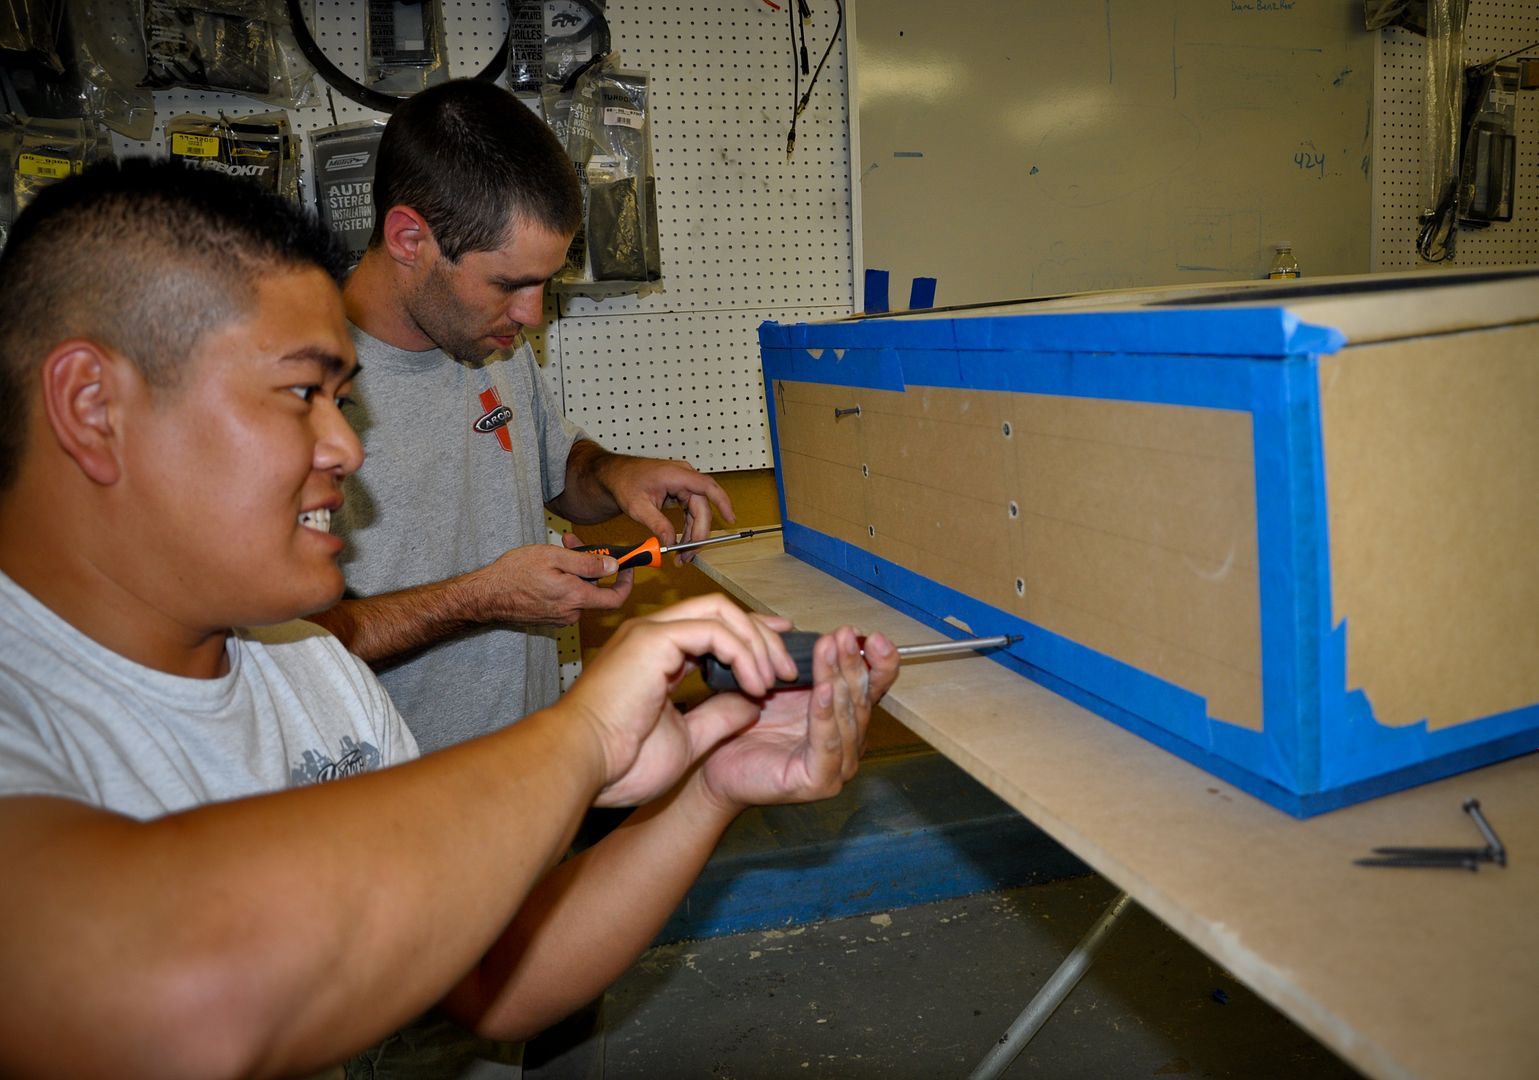
Made sure I recessed the holes so the screws would fit more flush with the trim panels we will make later
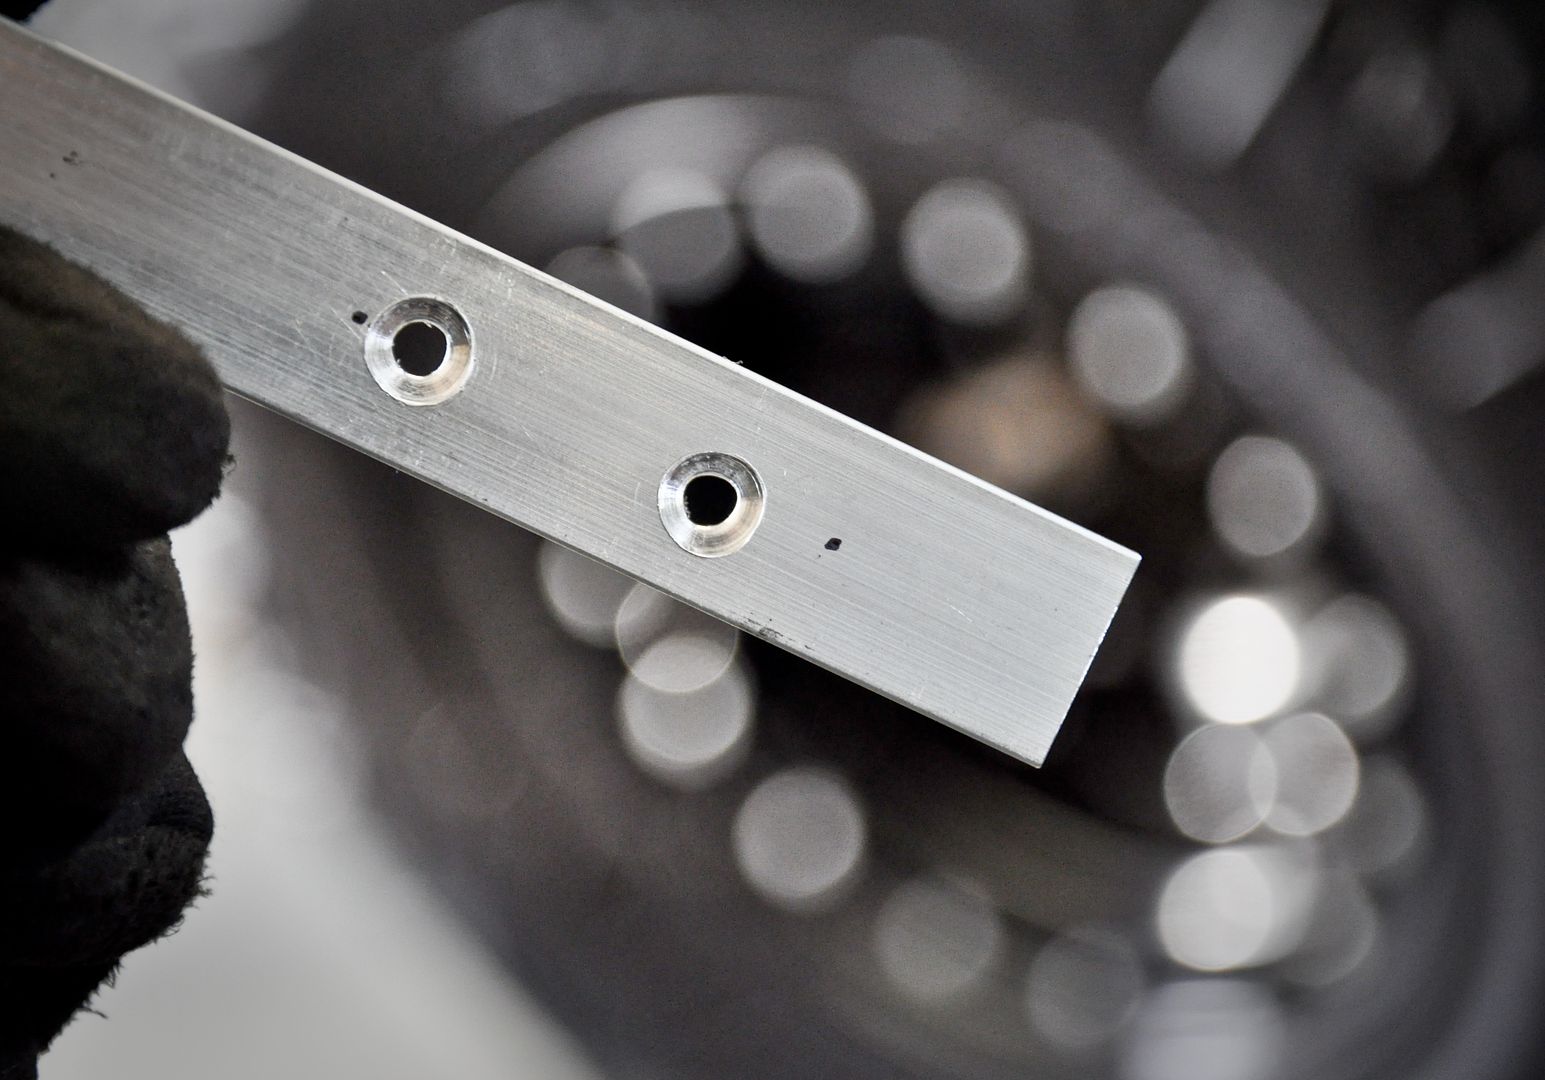
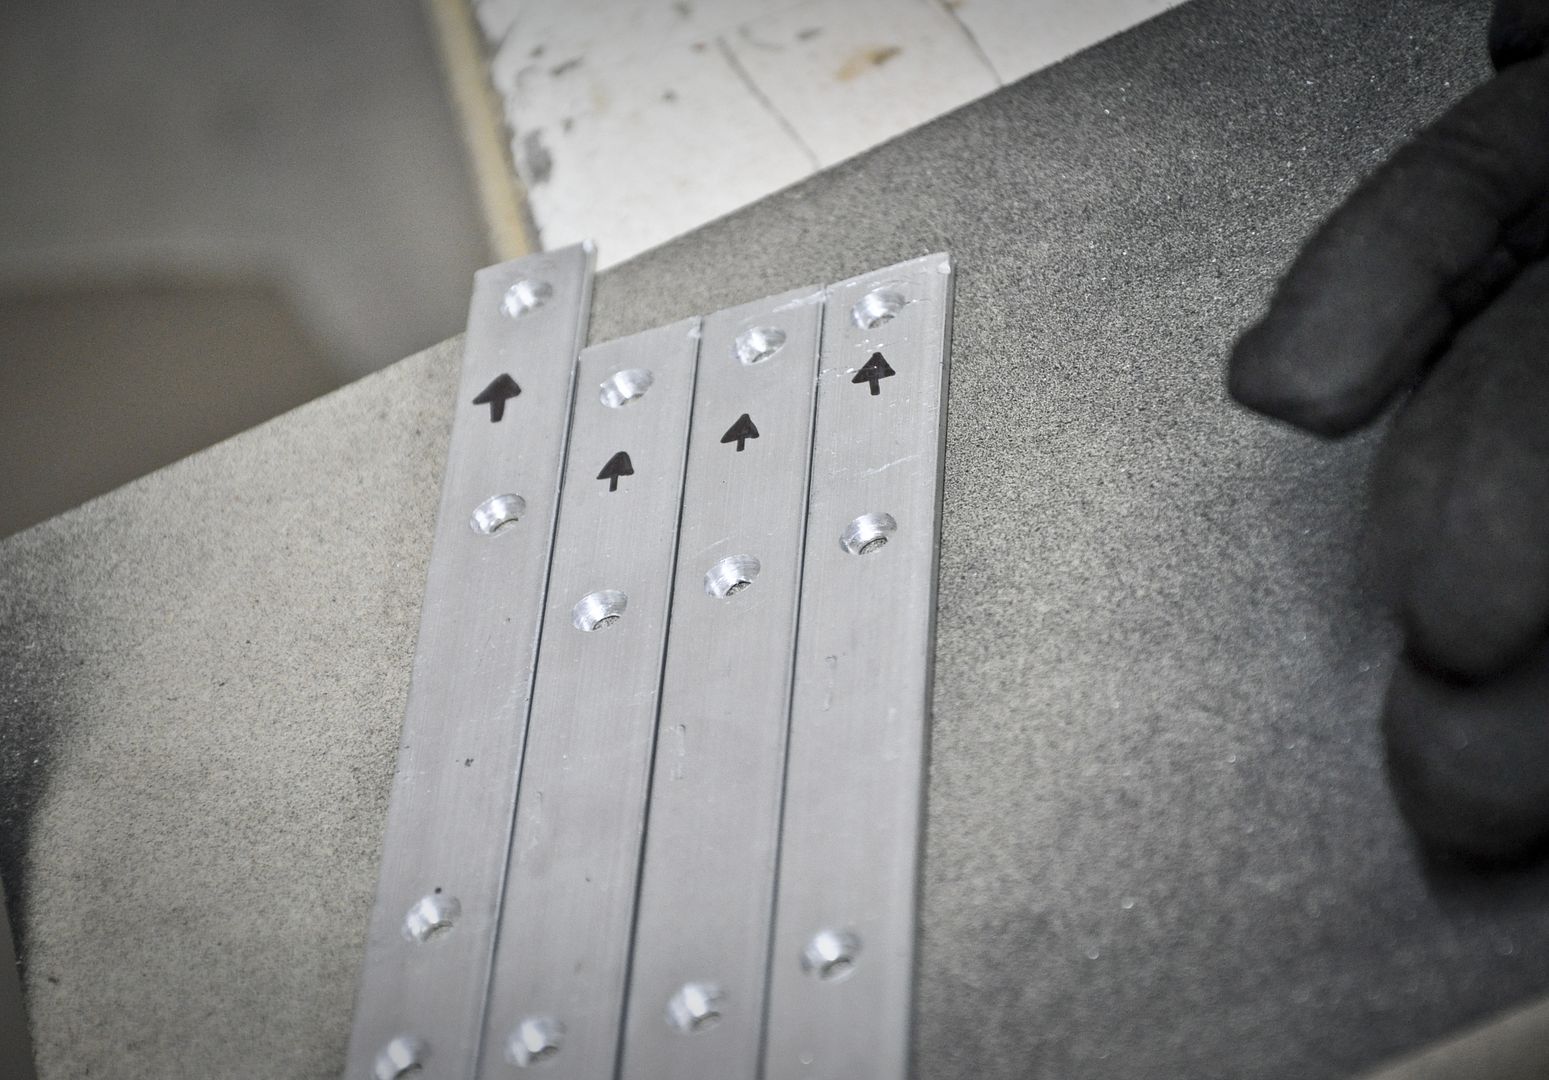
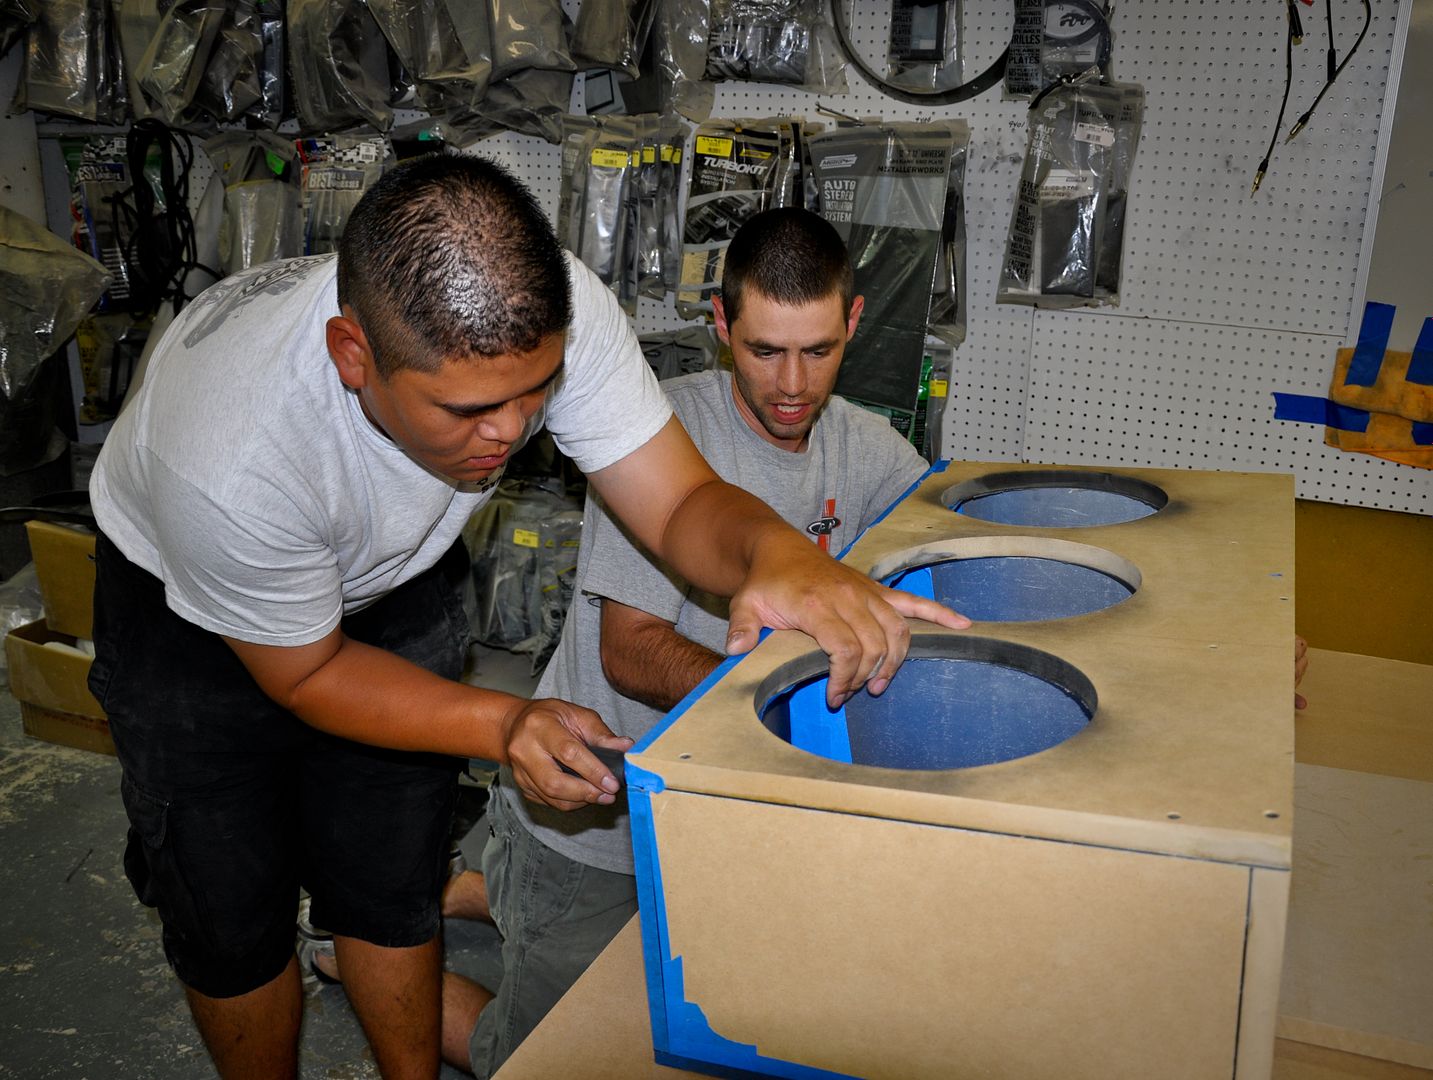
Test fitting the brackets
Made sub floor panels for the sides of the trunk and with Colin’s help decided we’d make compartments for the air compressors individually.
Bending some plexiglass
Kinda finished
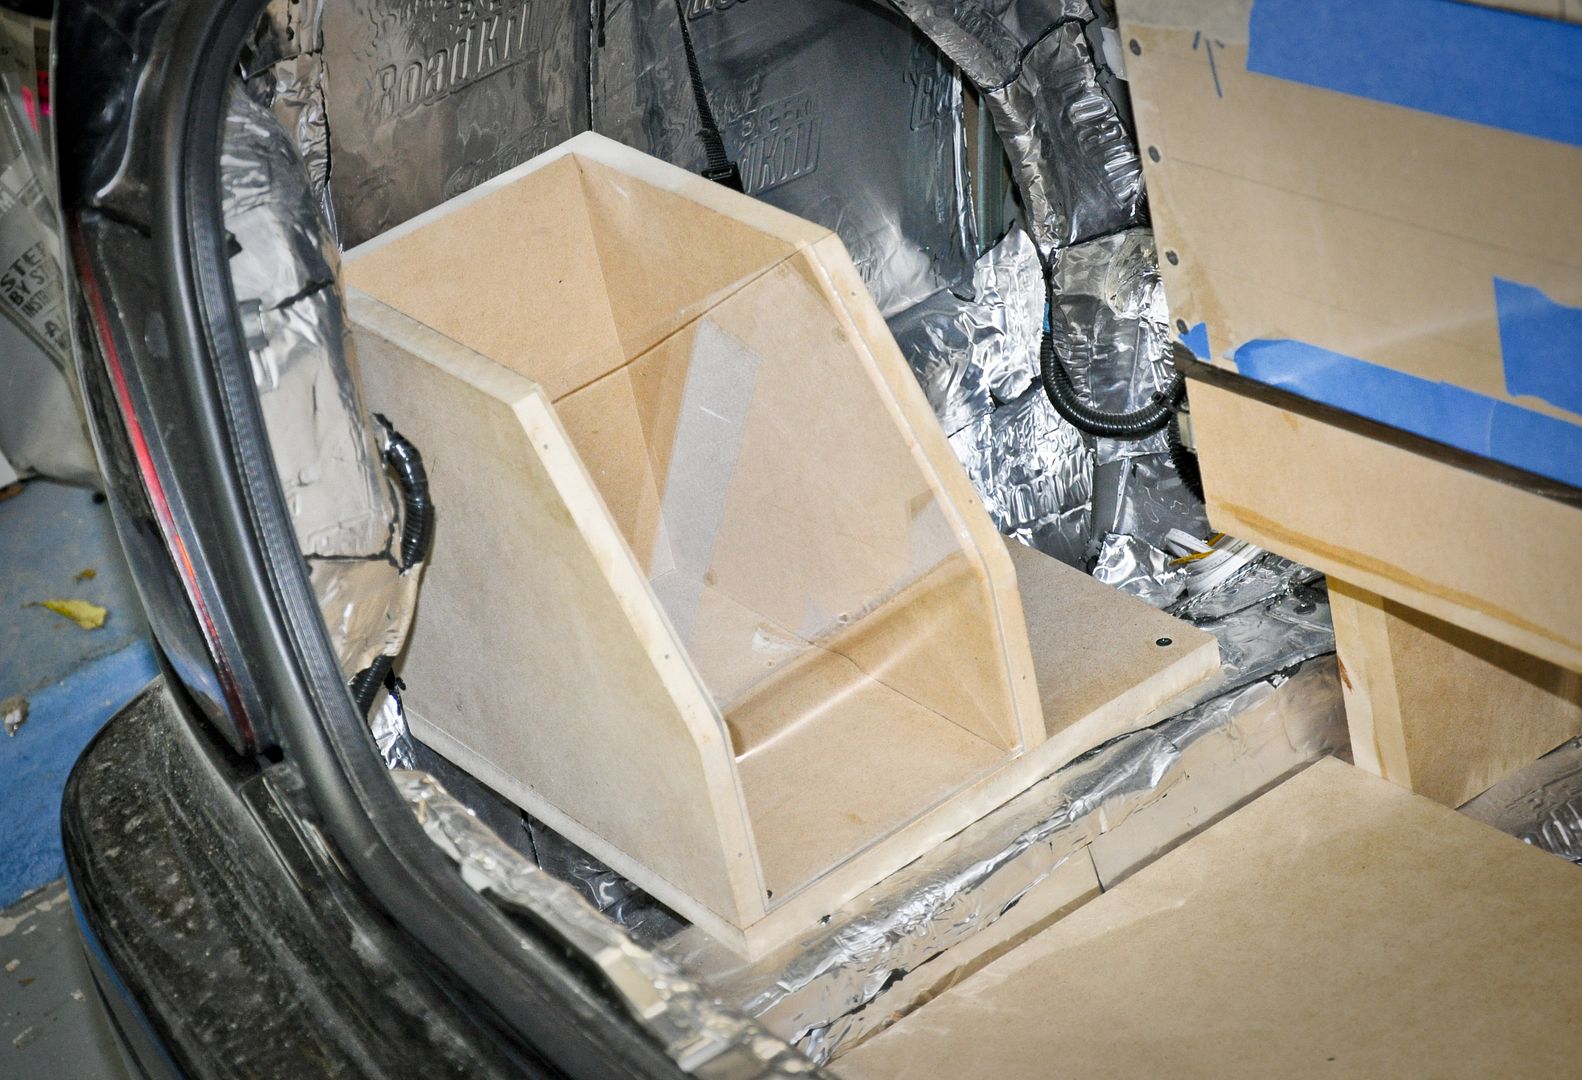
Test fit them in the trunk
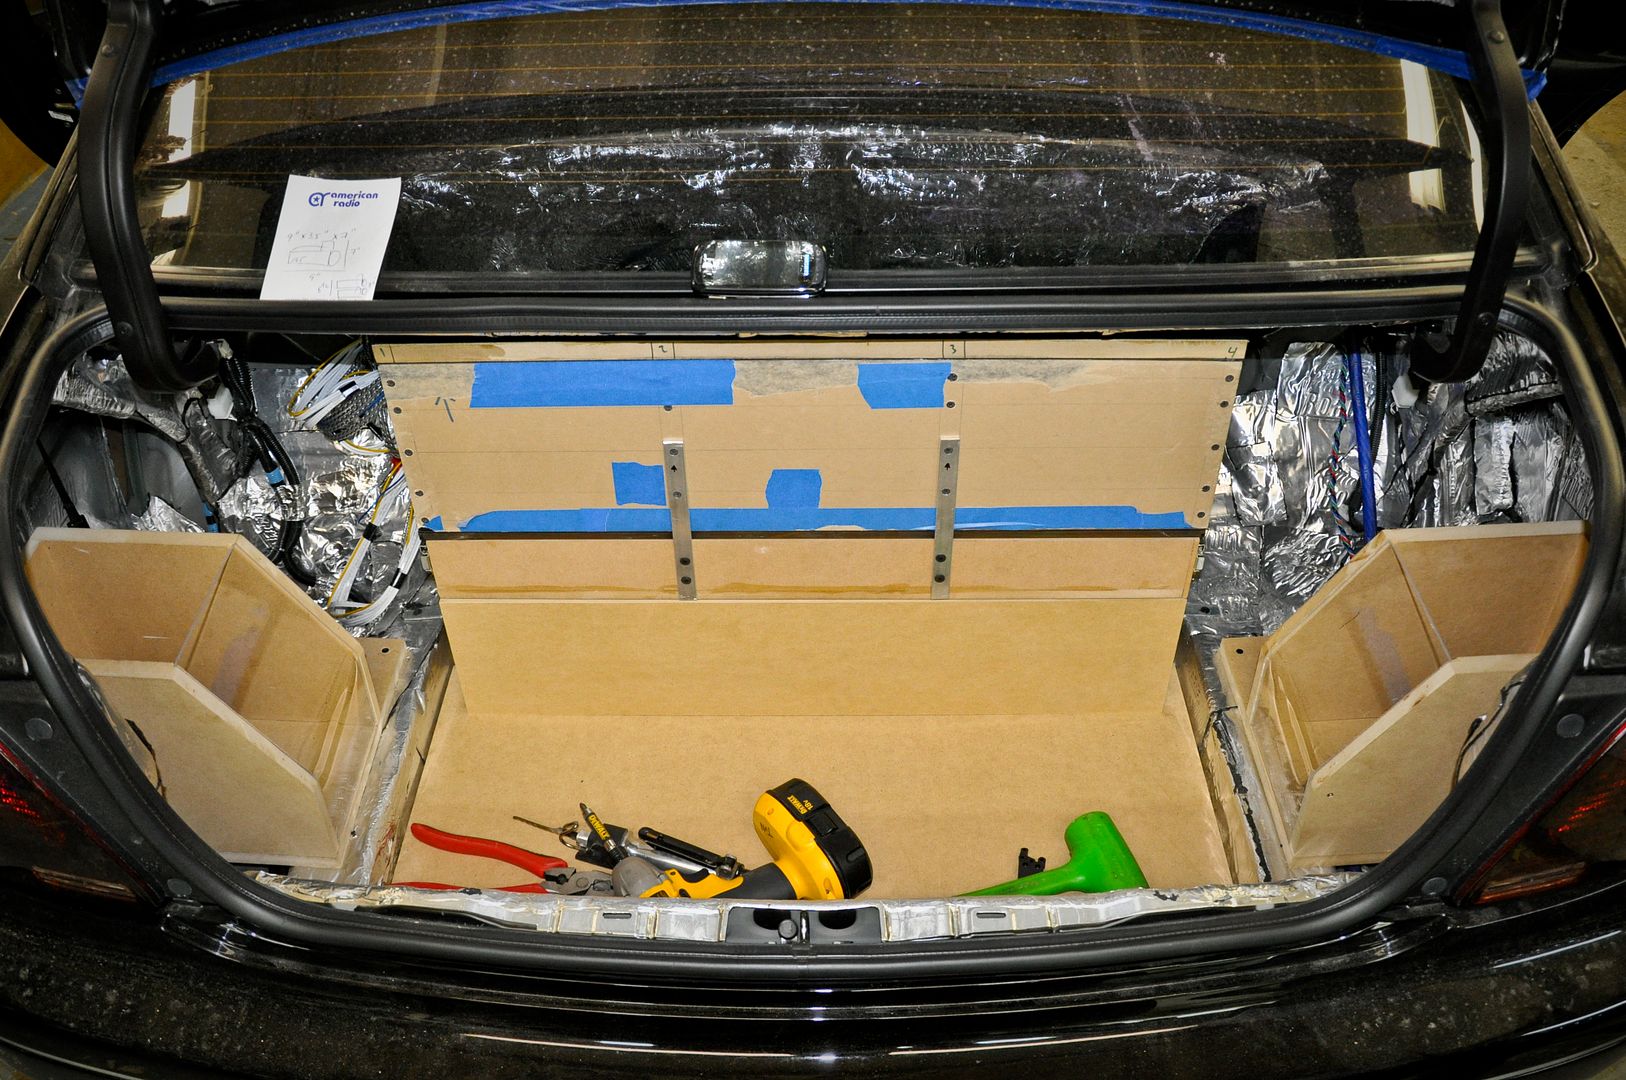
Took a step back
Mounted the linear actuator
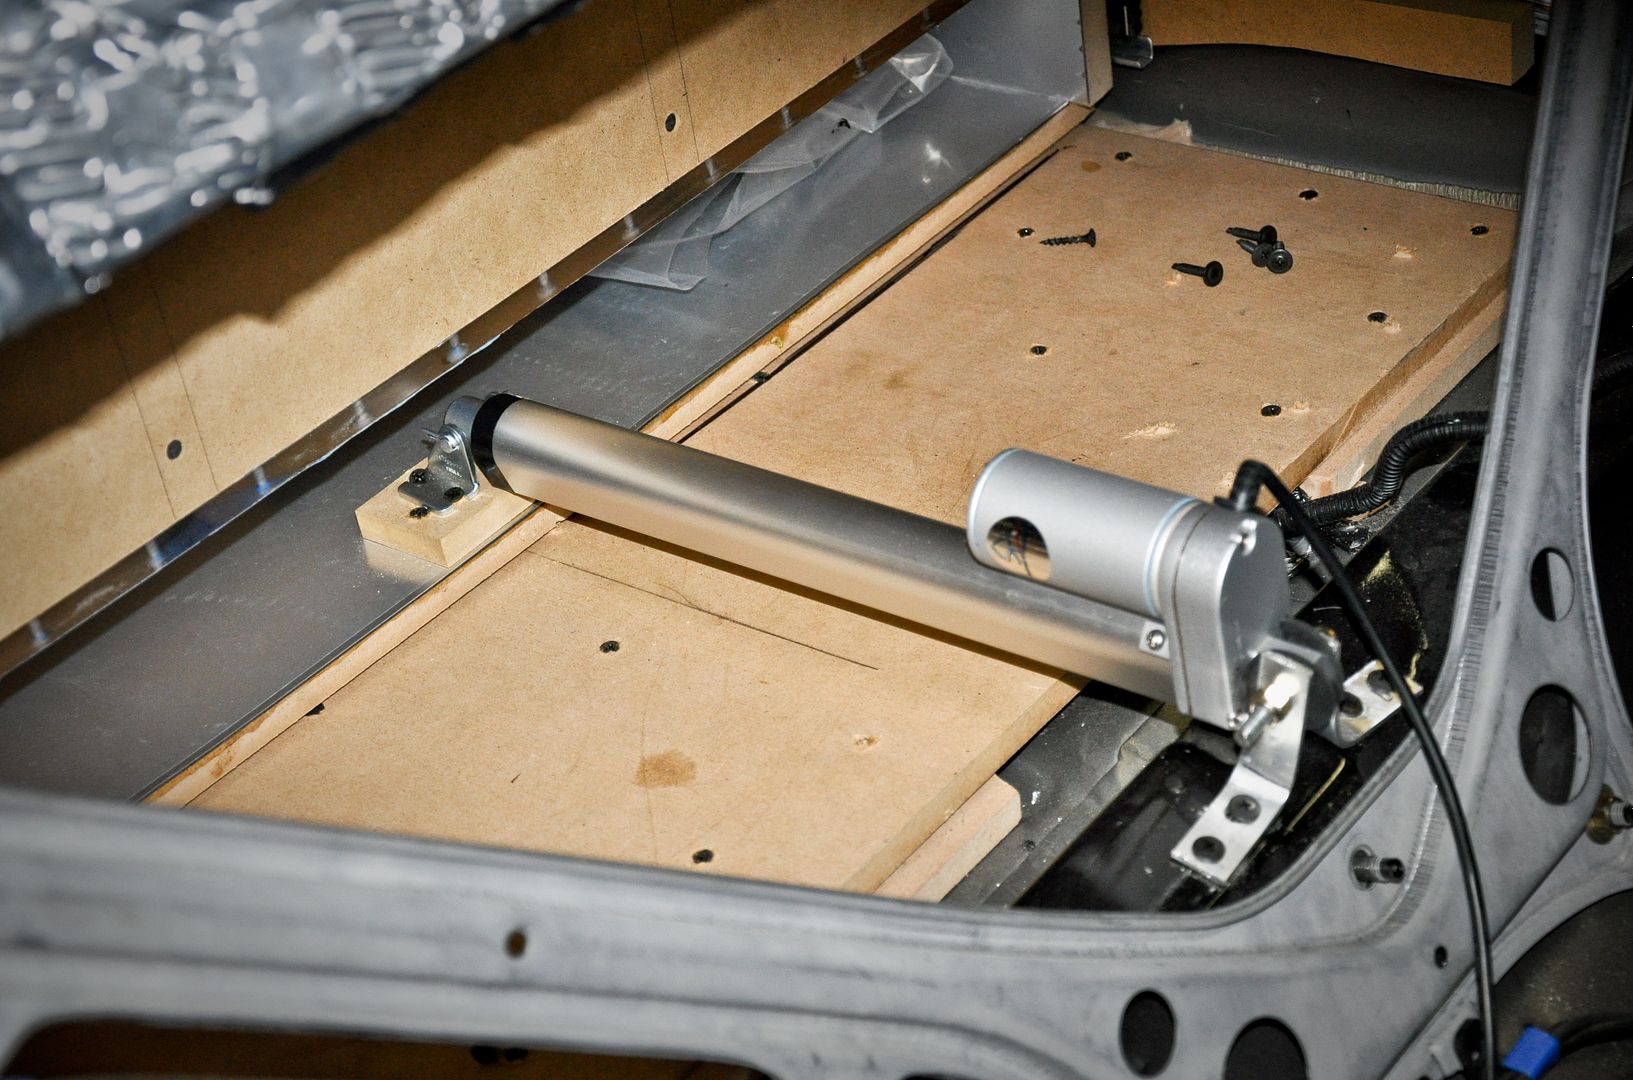
Test fitting the linear actuator
 03-19-11, 04:37 AM
#478
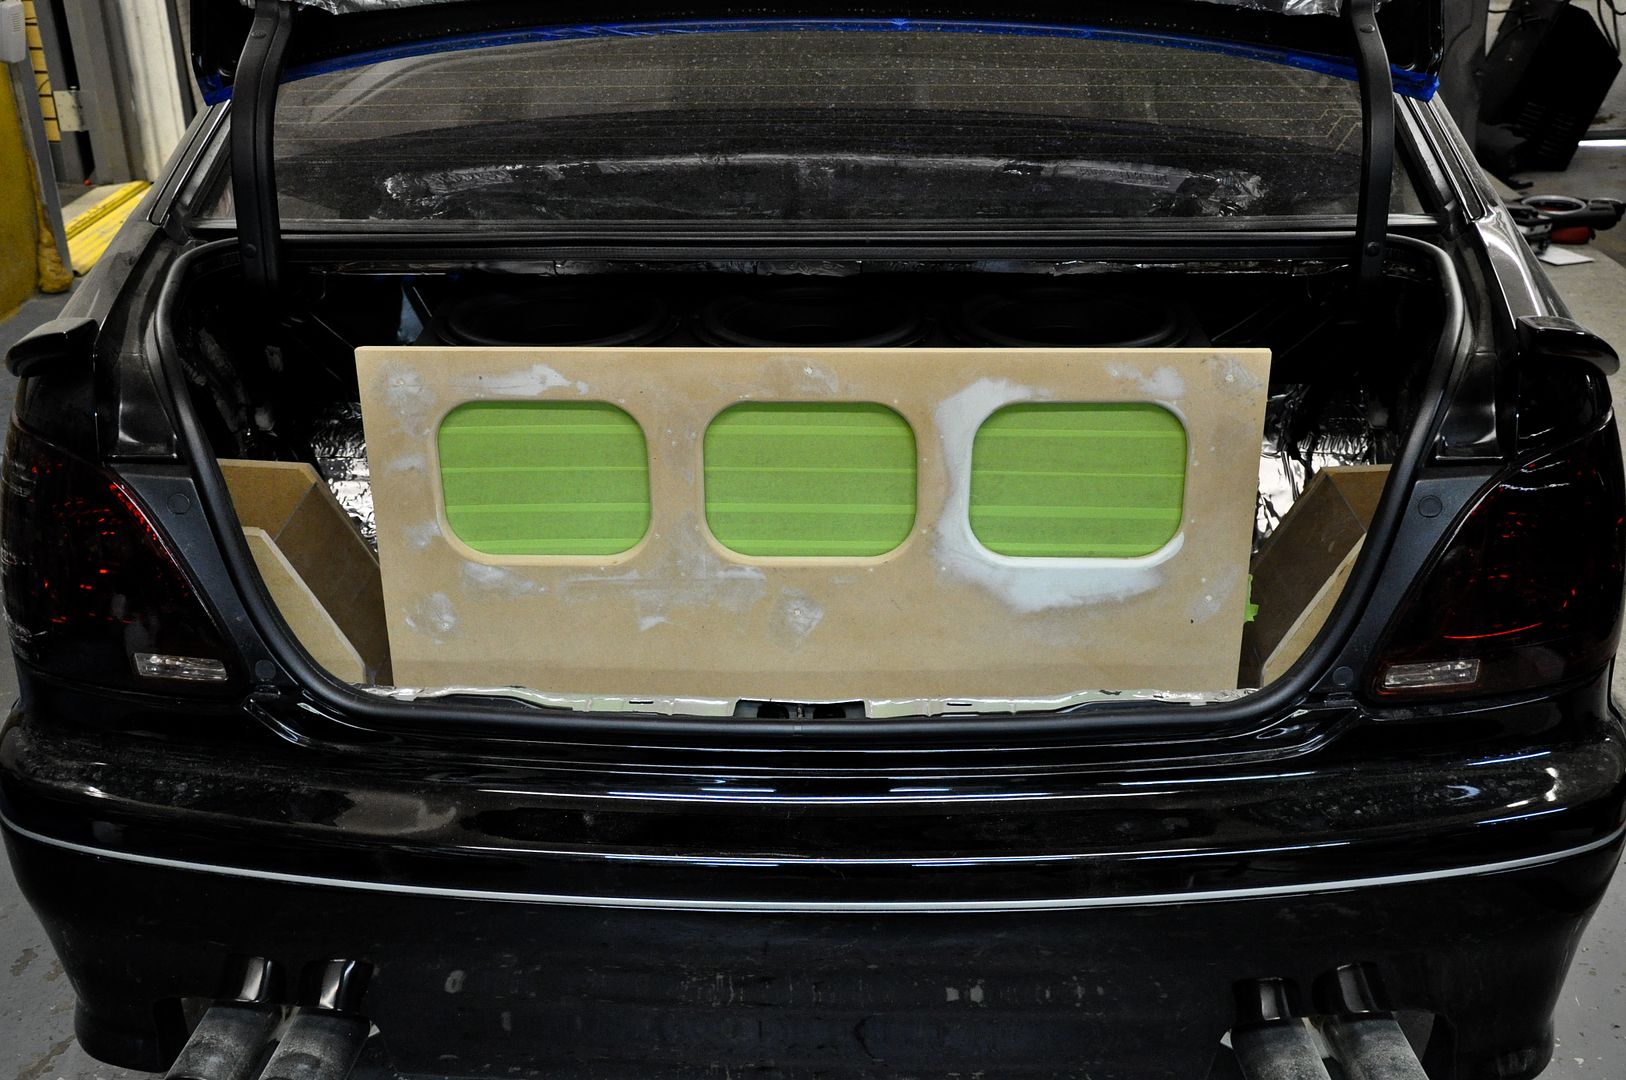
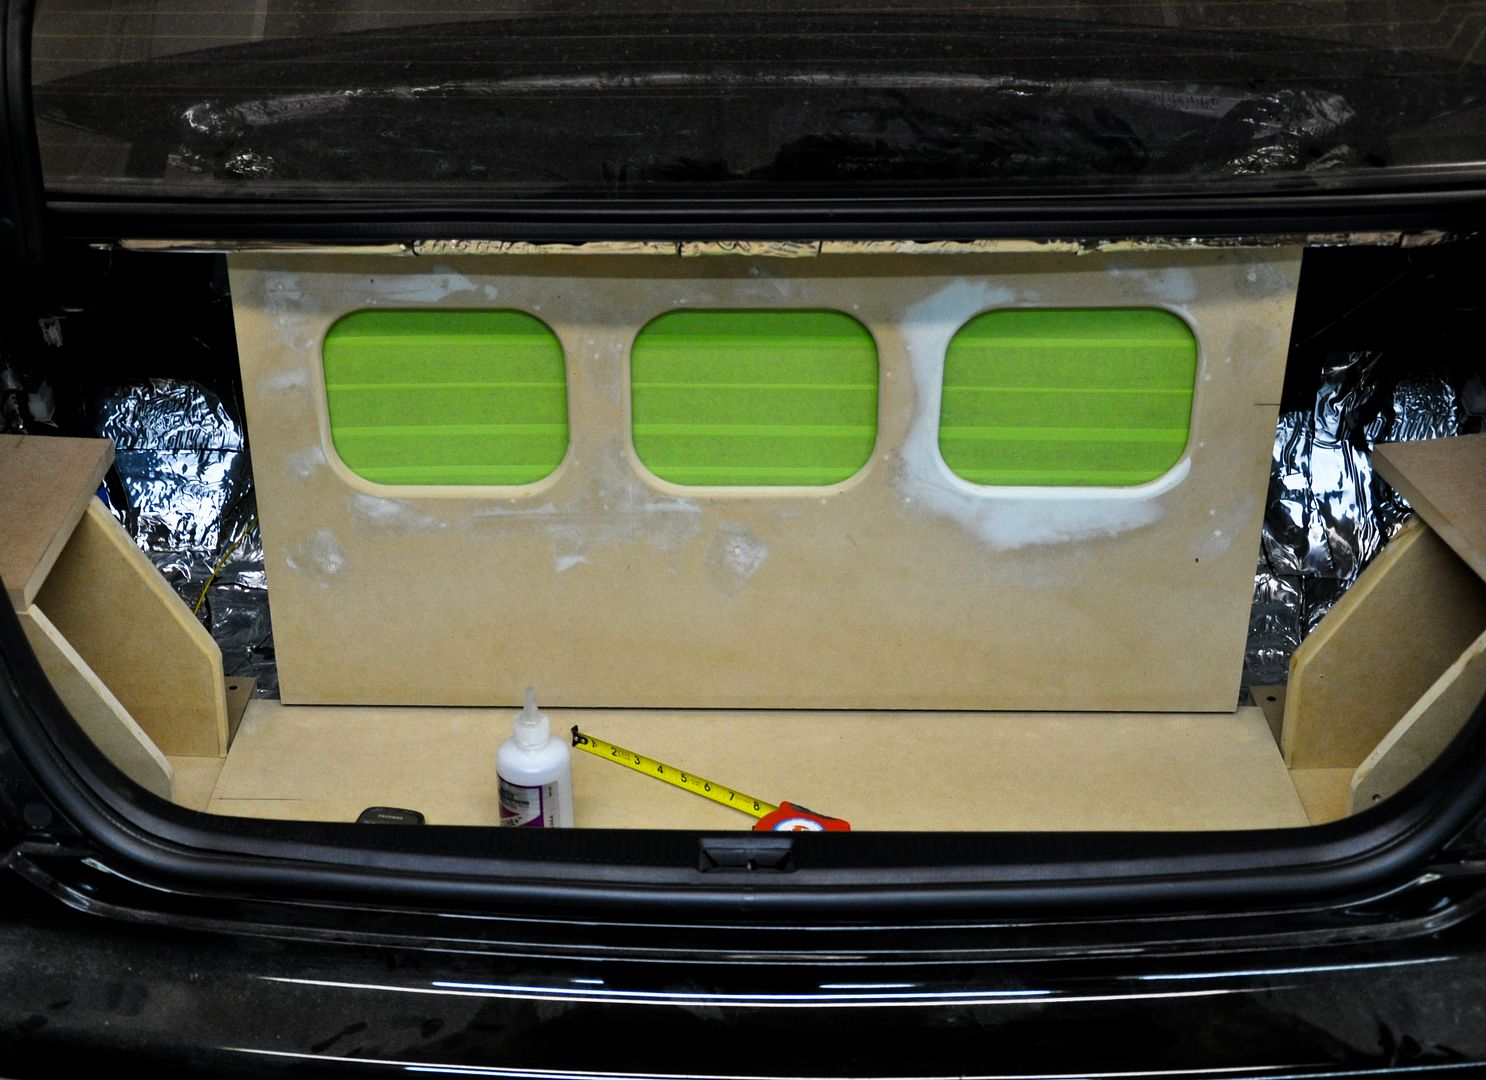
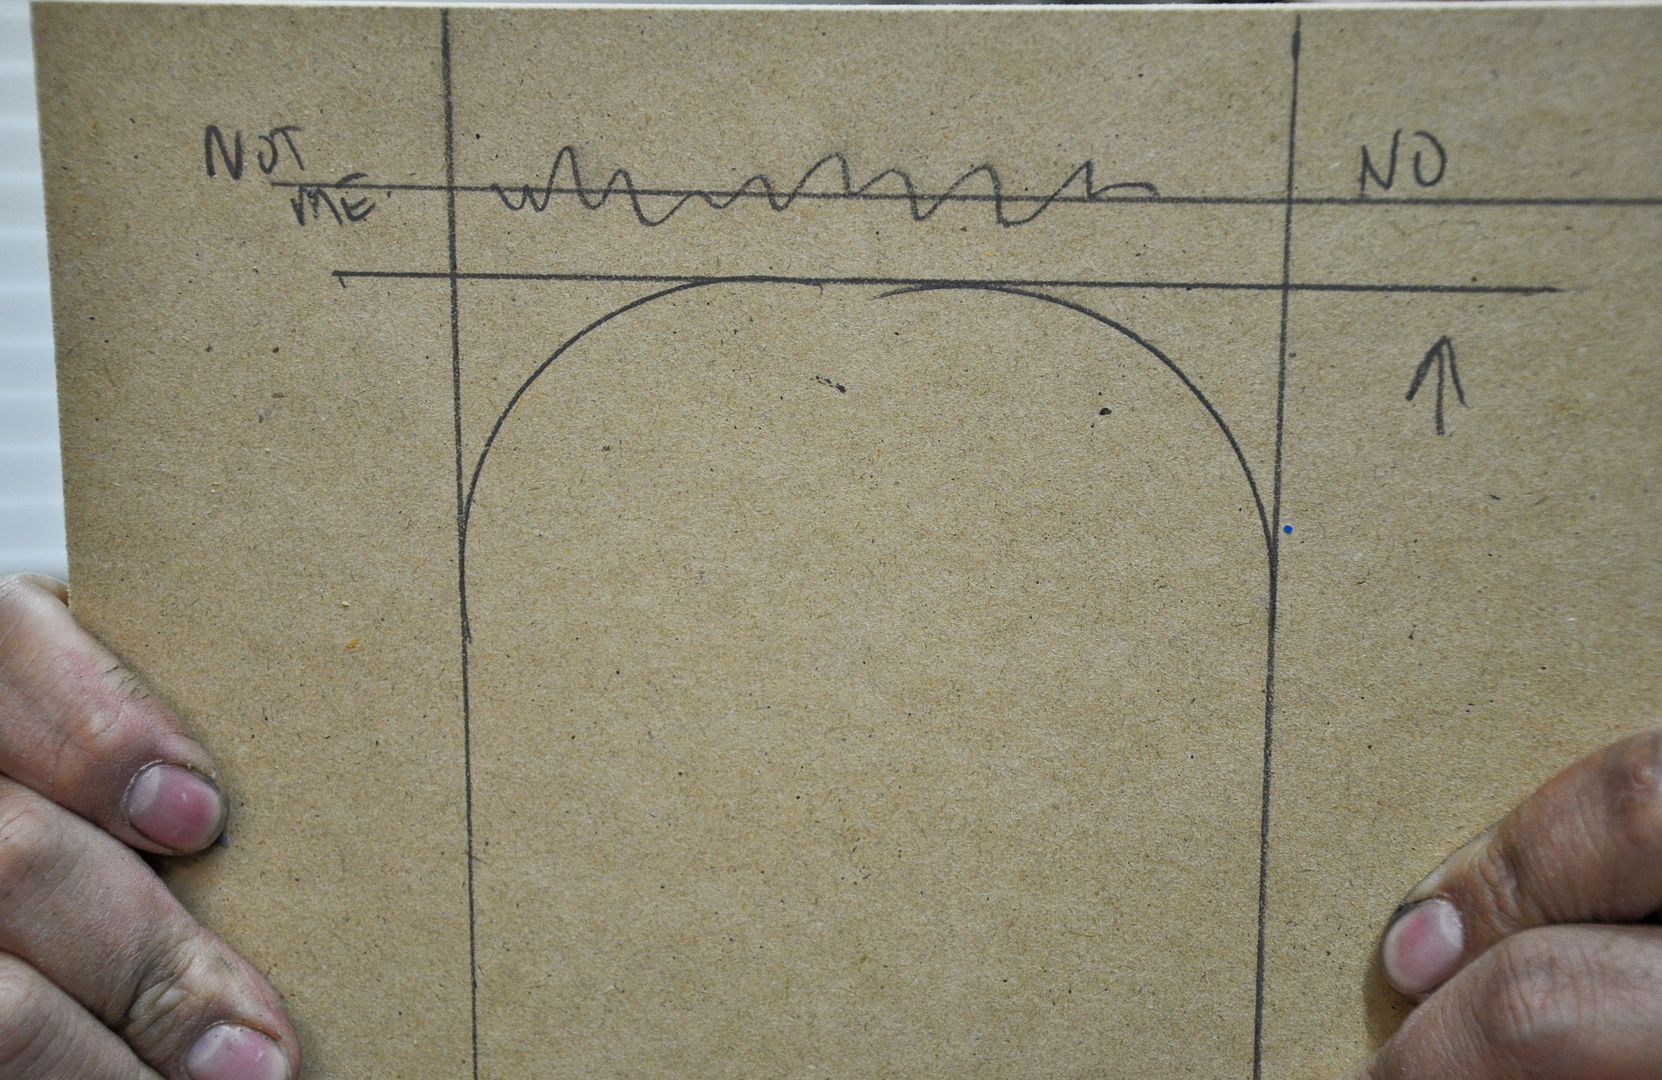
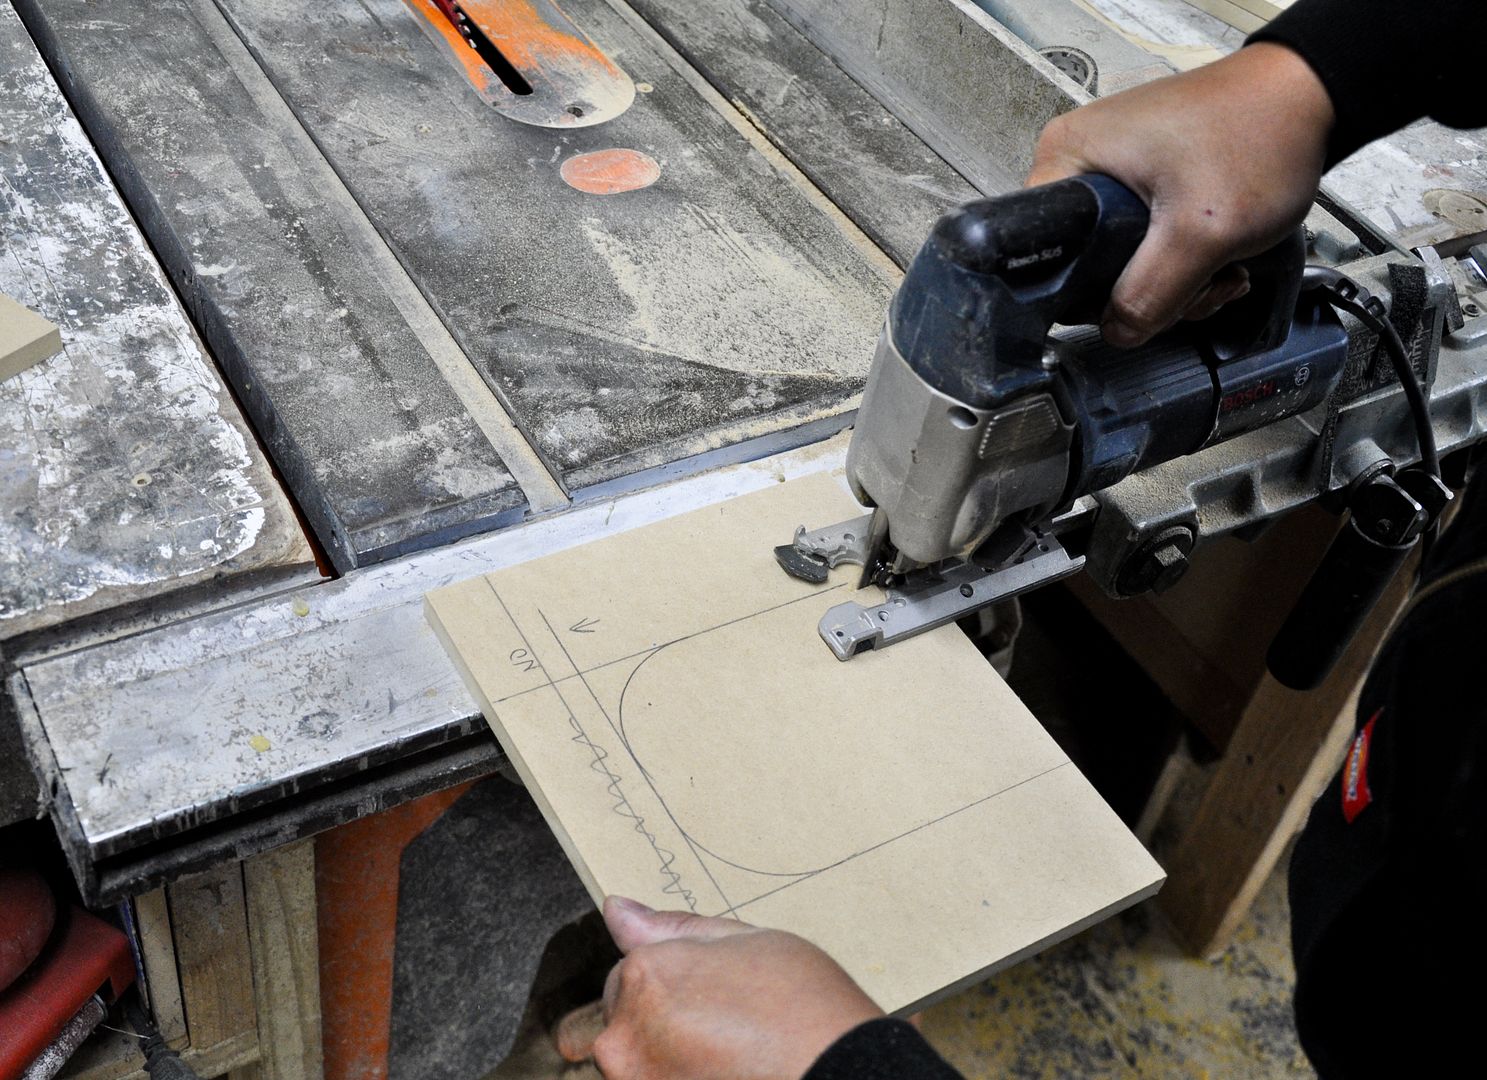
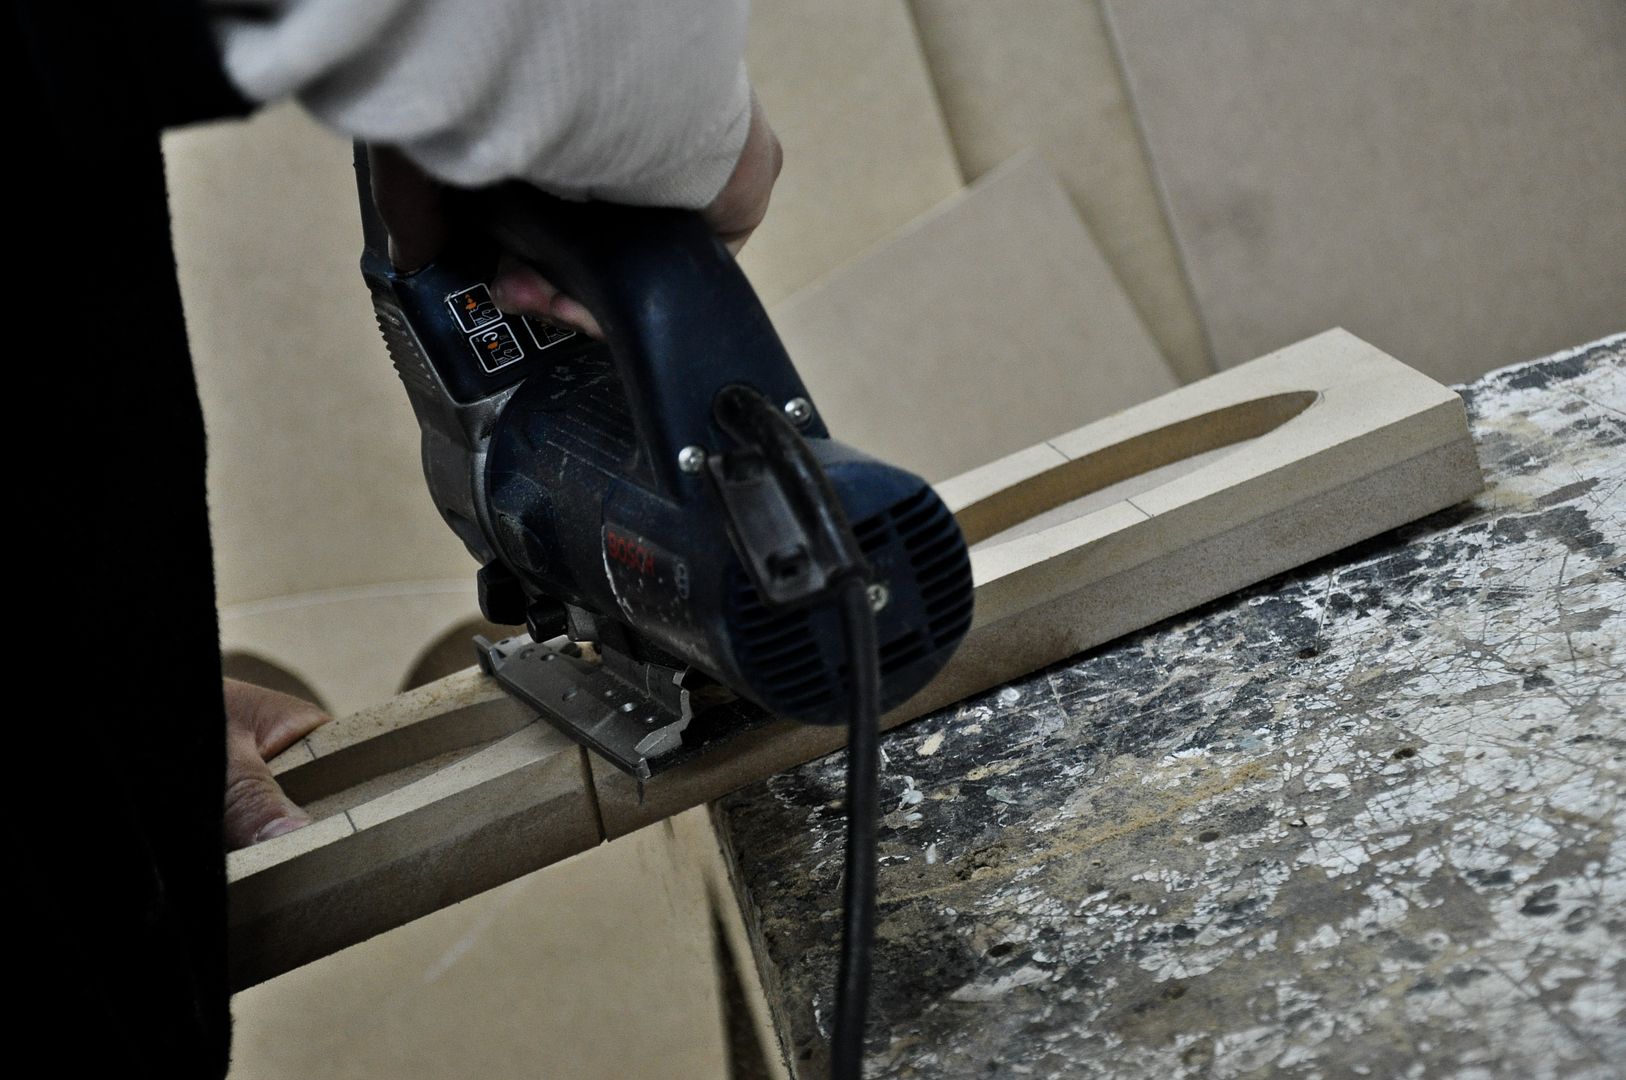
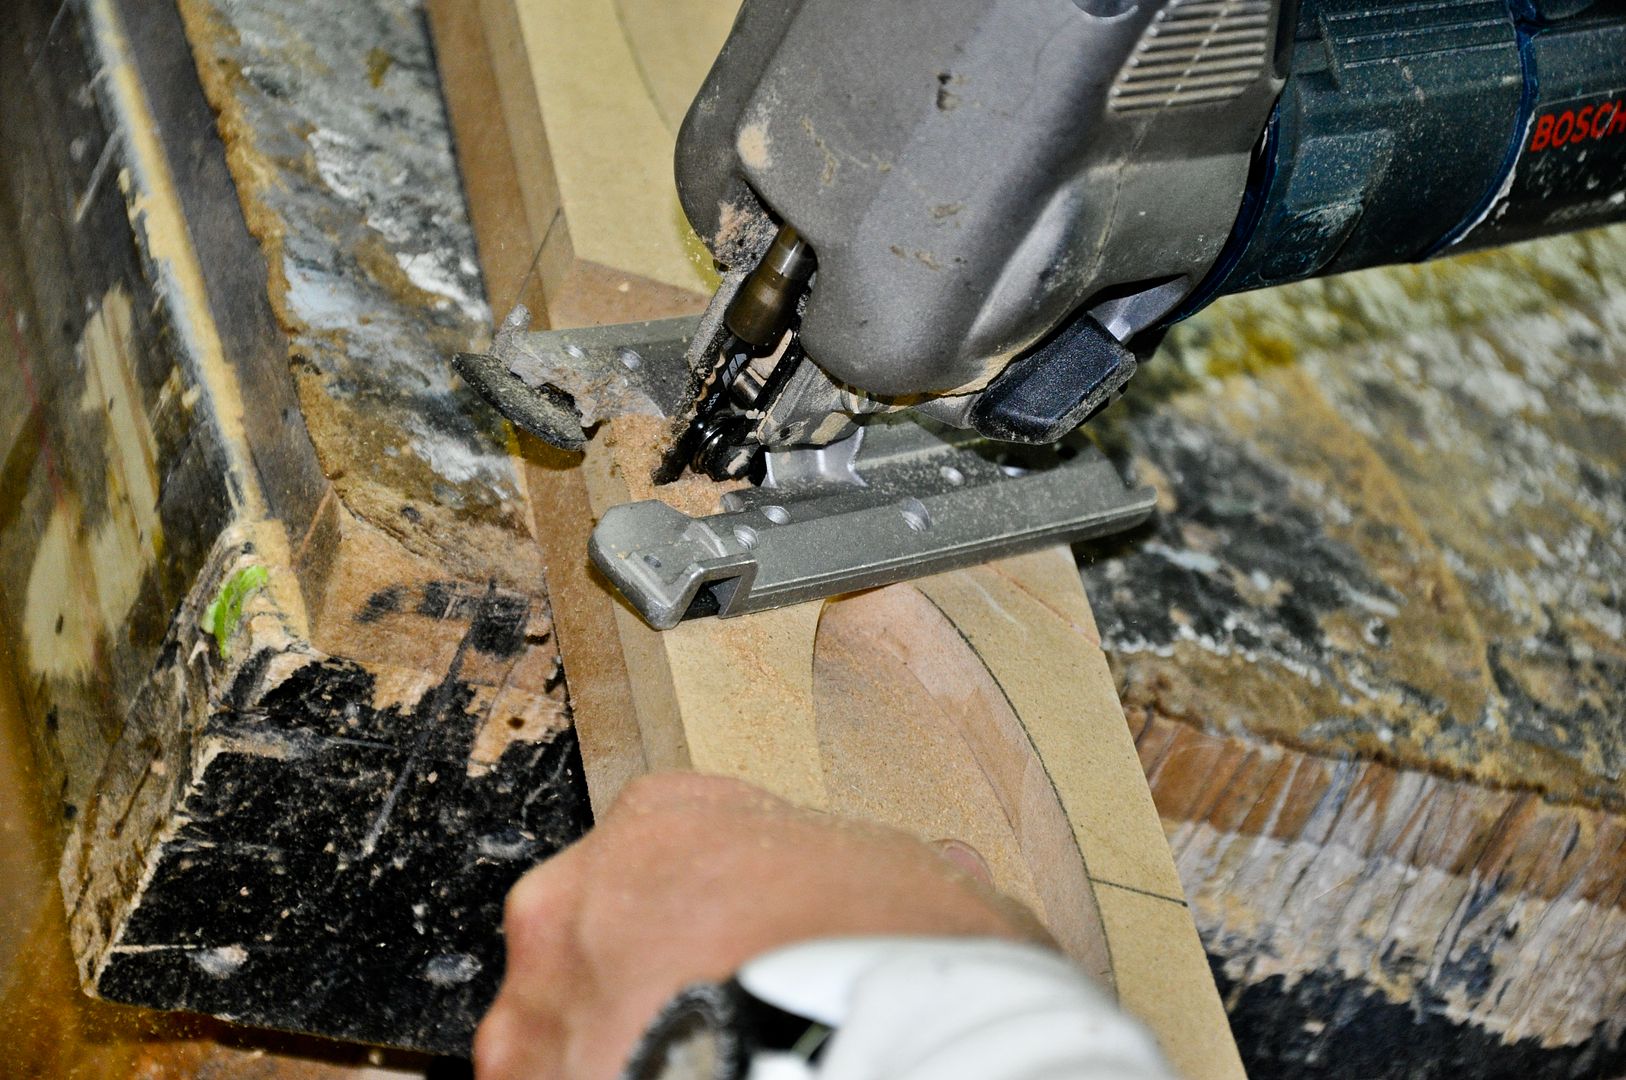
Time to make that faceplate
Rounding the edges
Grooved the rear to clear the braces we made earlier
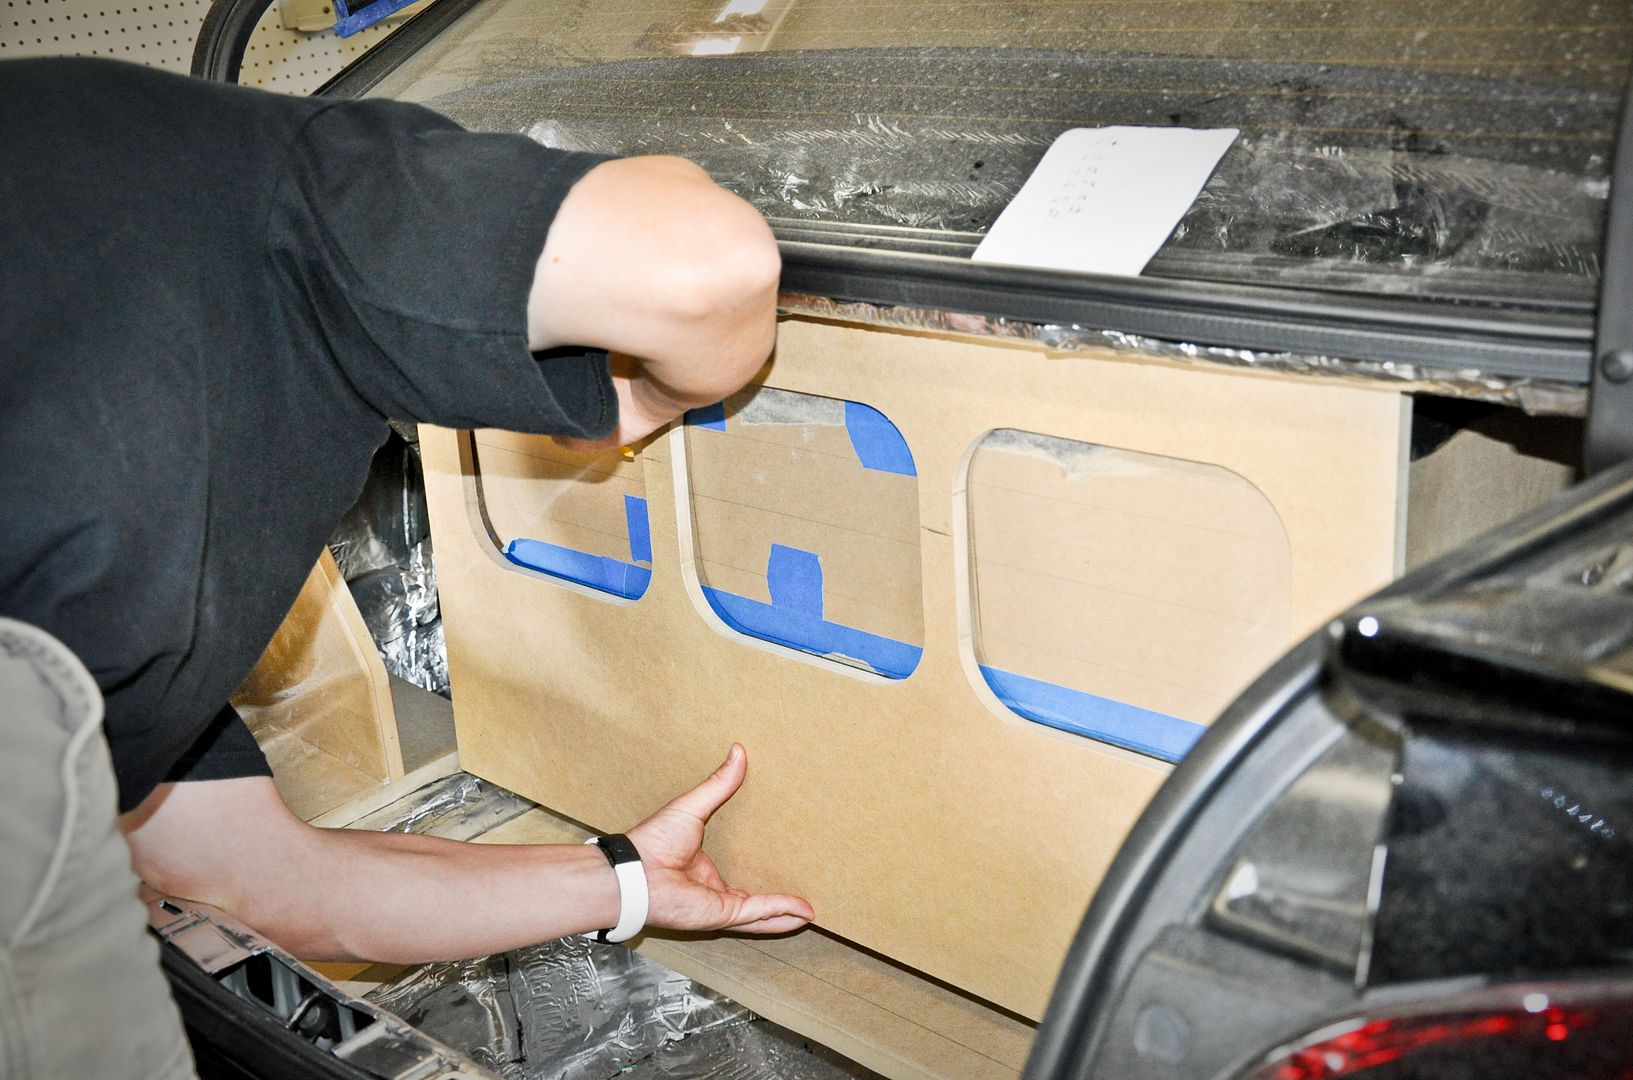
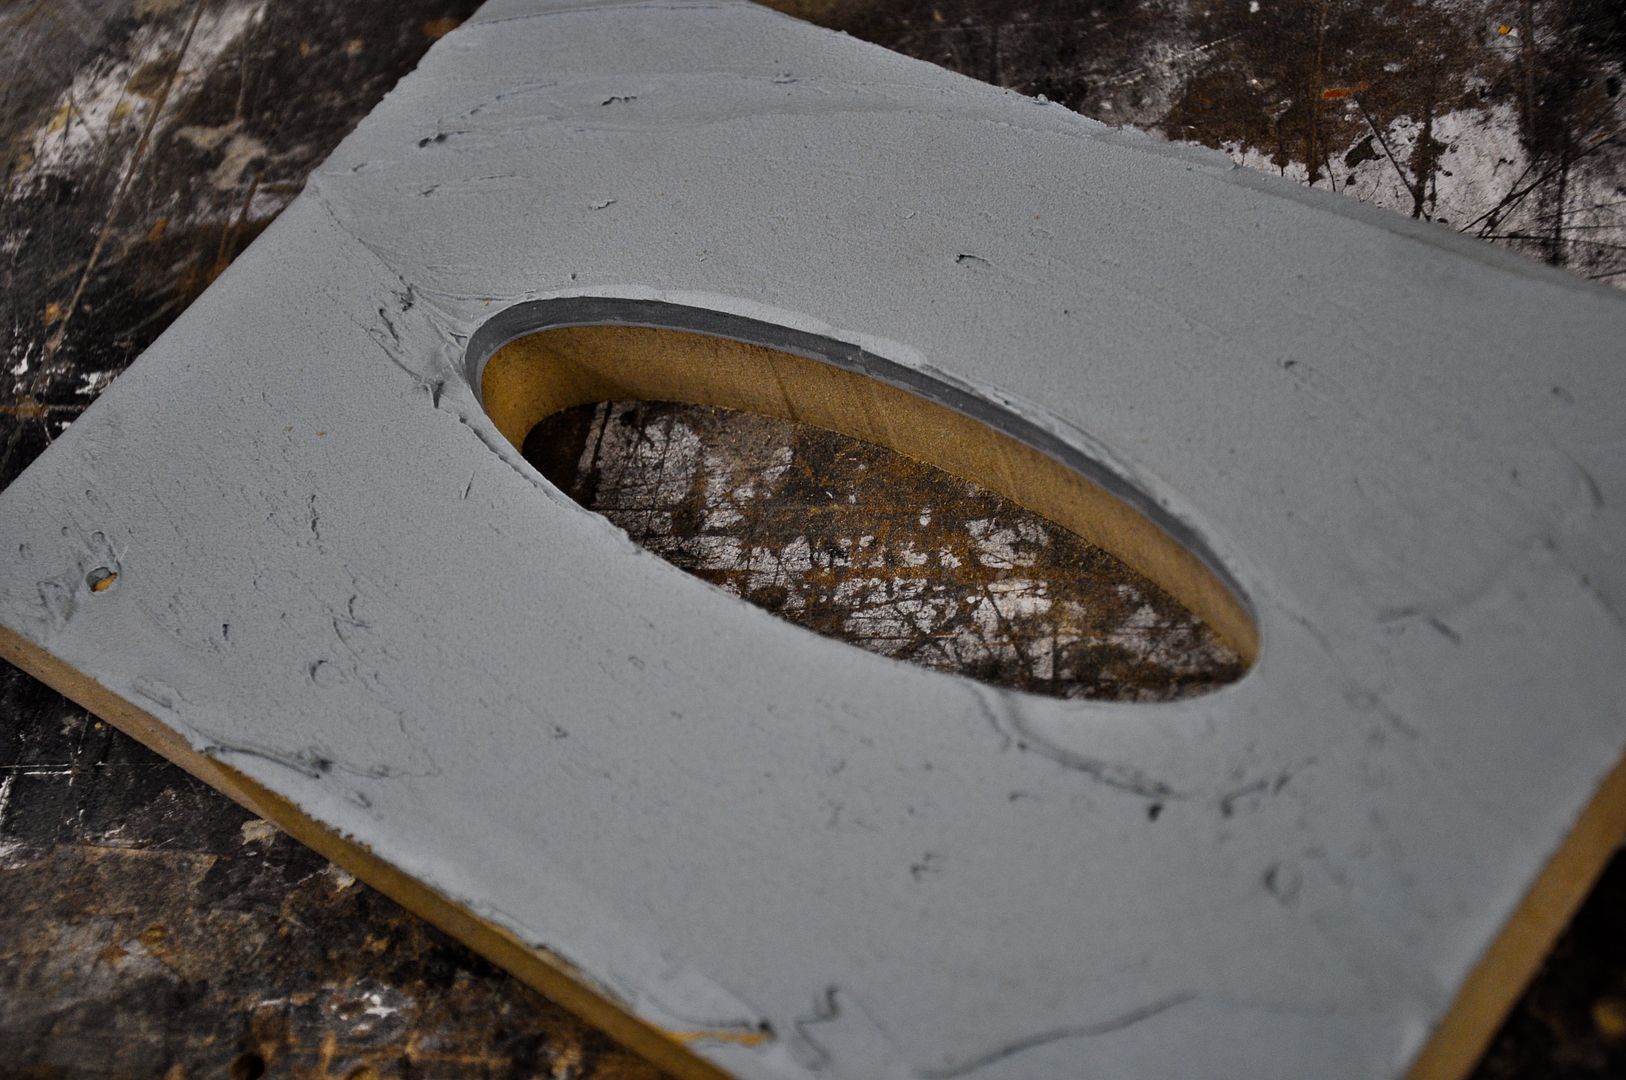
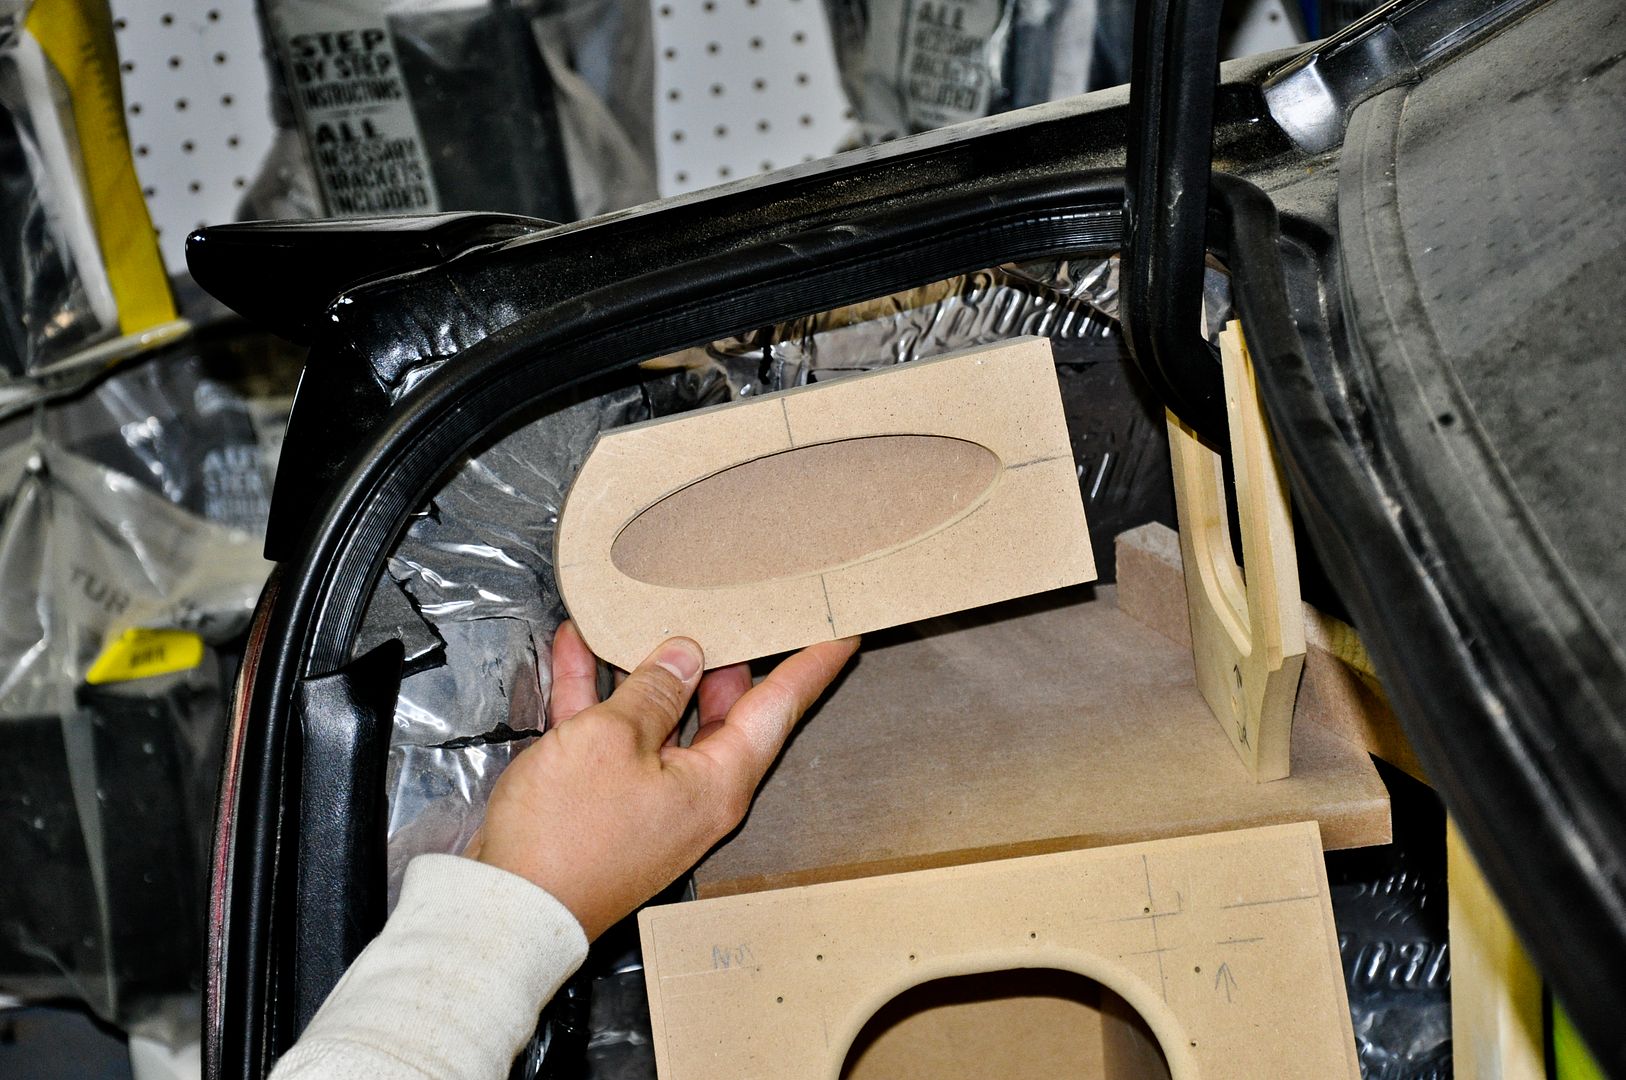
Test fitting the window piece
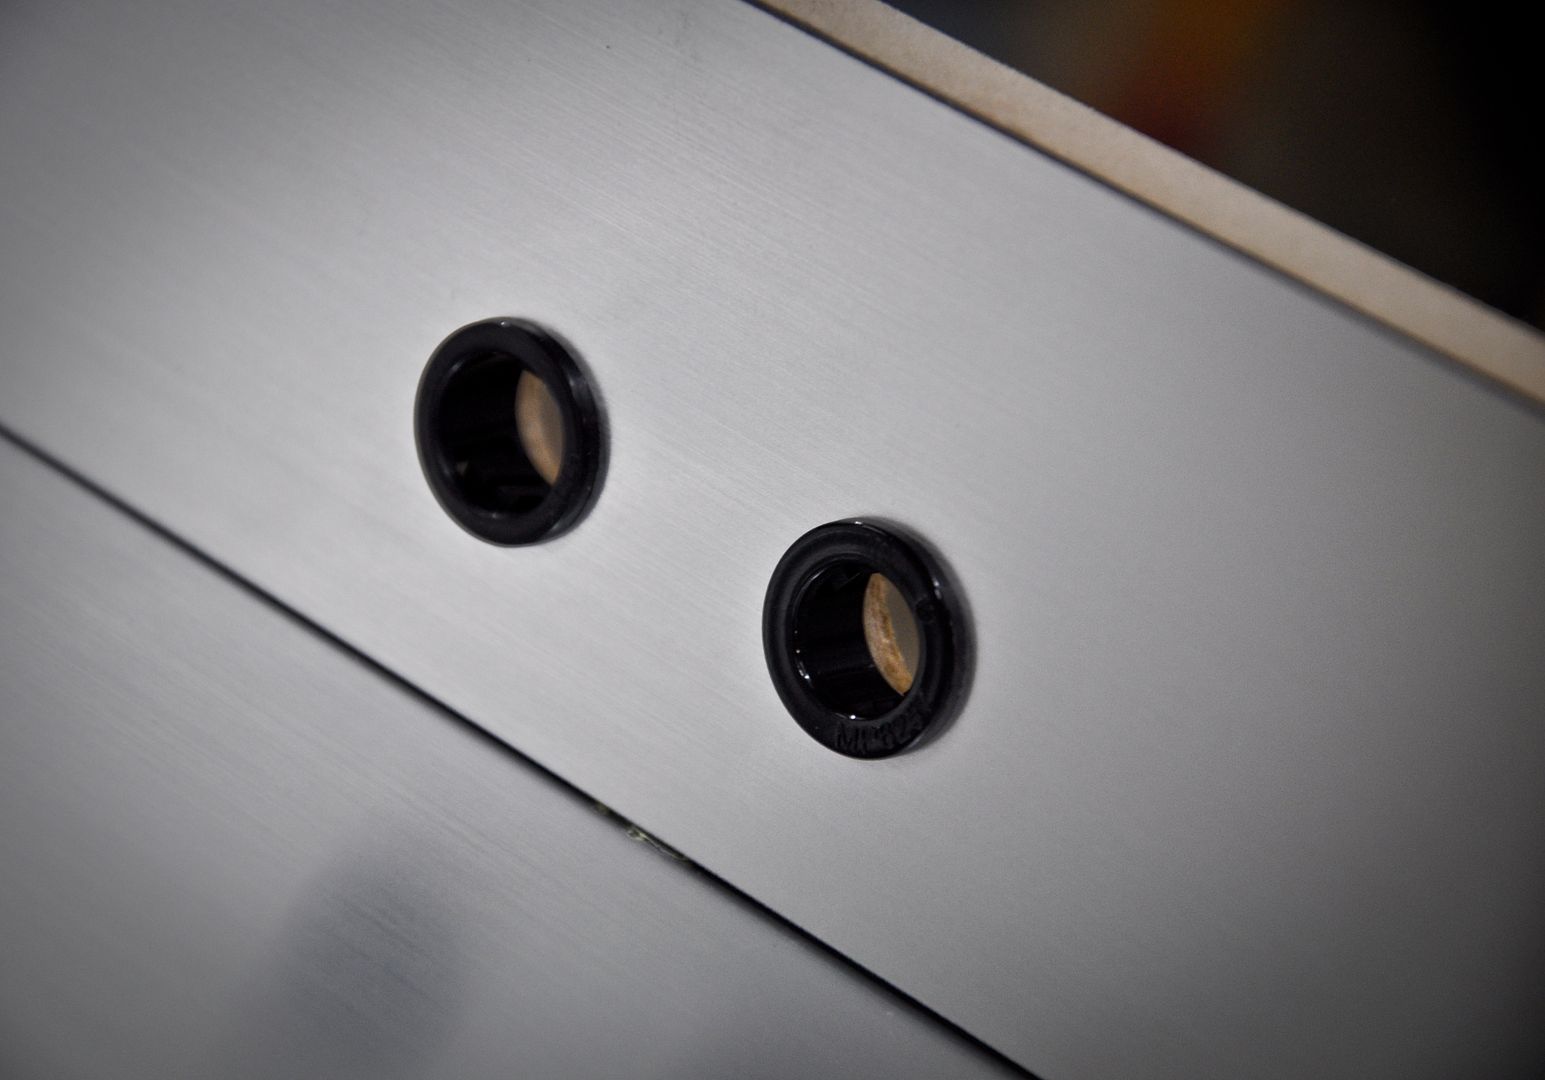
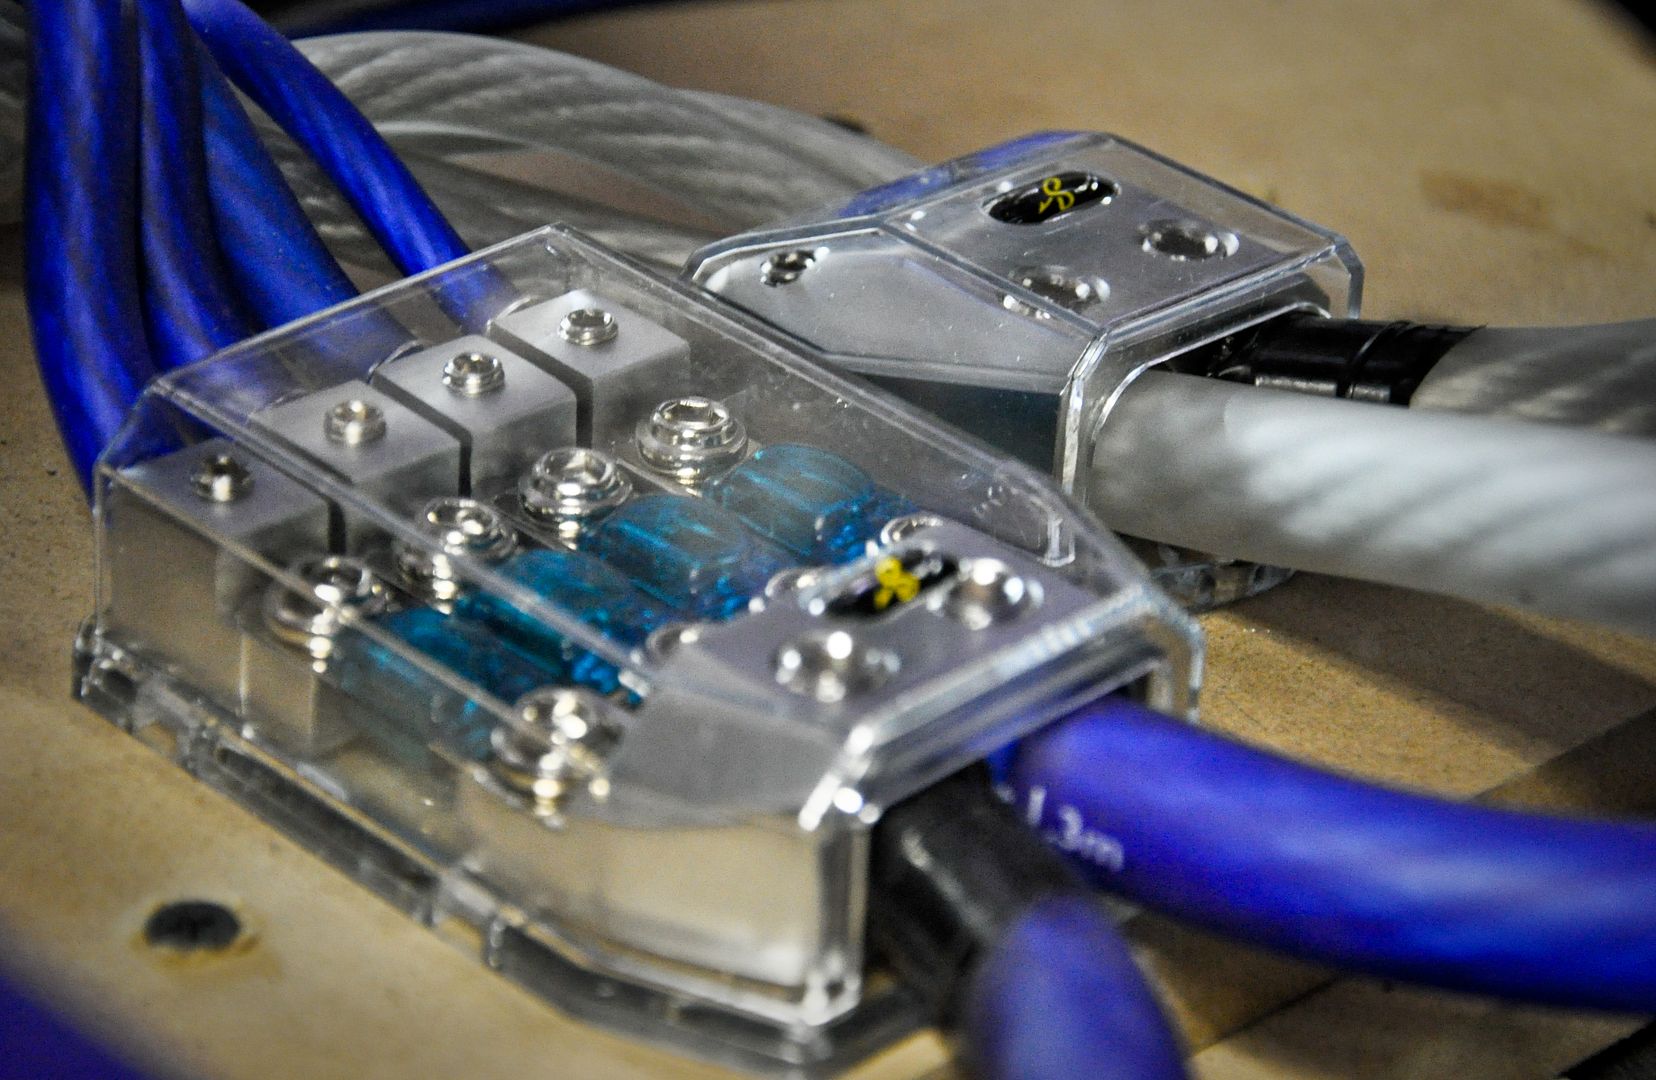
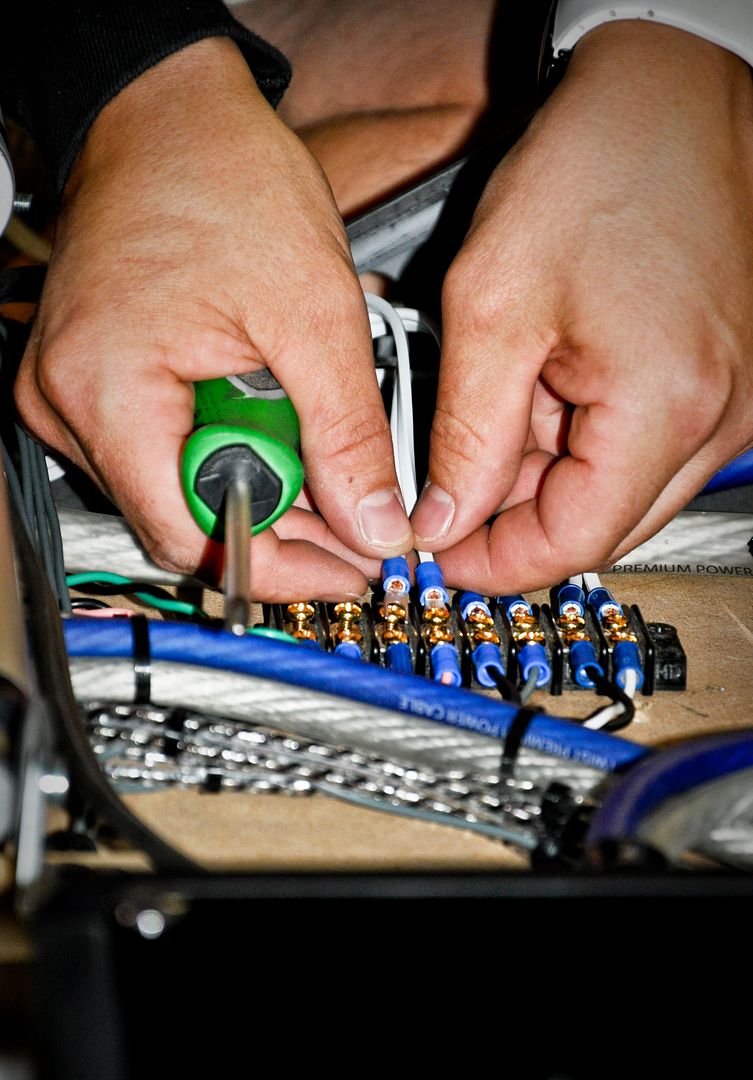
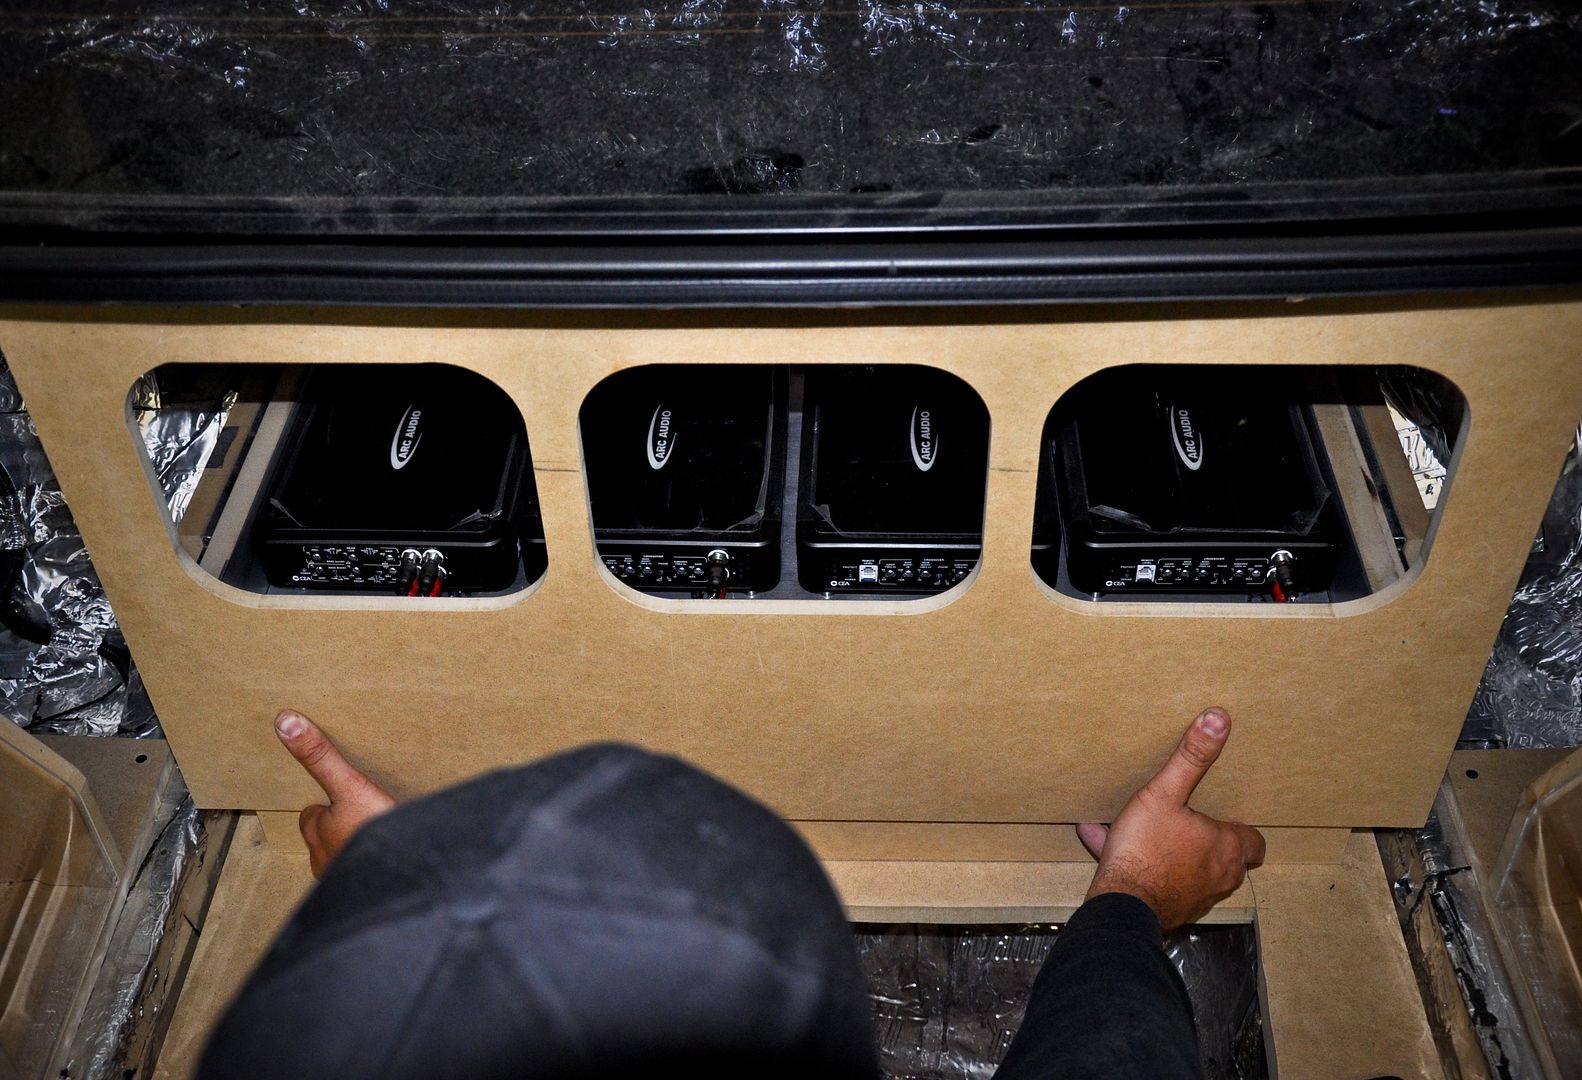
After we set the box back in and started to wire the RCA’s and everything else we realized we needed a way to tune the amplifiers. So, we decided to make some holes with grommets in the tray.
Plastic grommets in
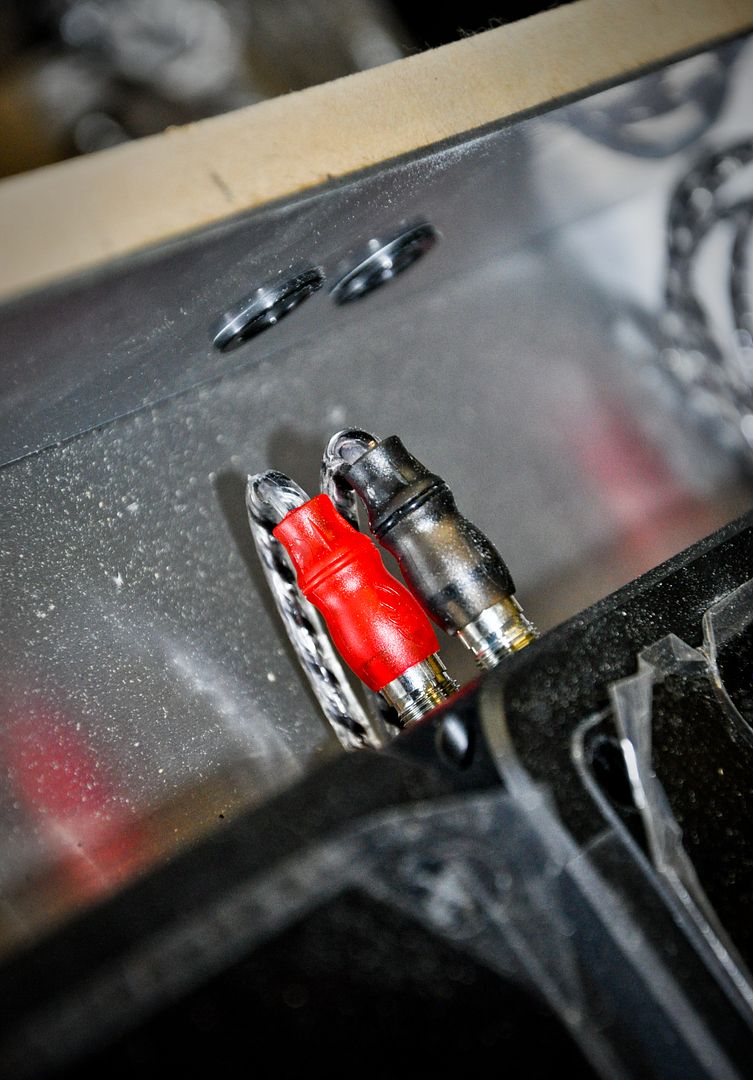
Stinger Level 2 Pro RCA’s ran
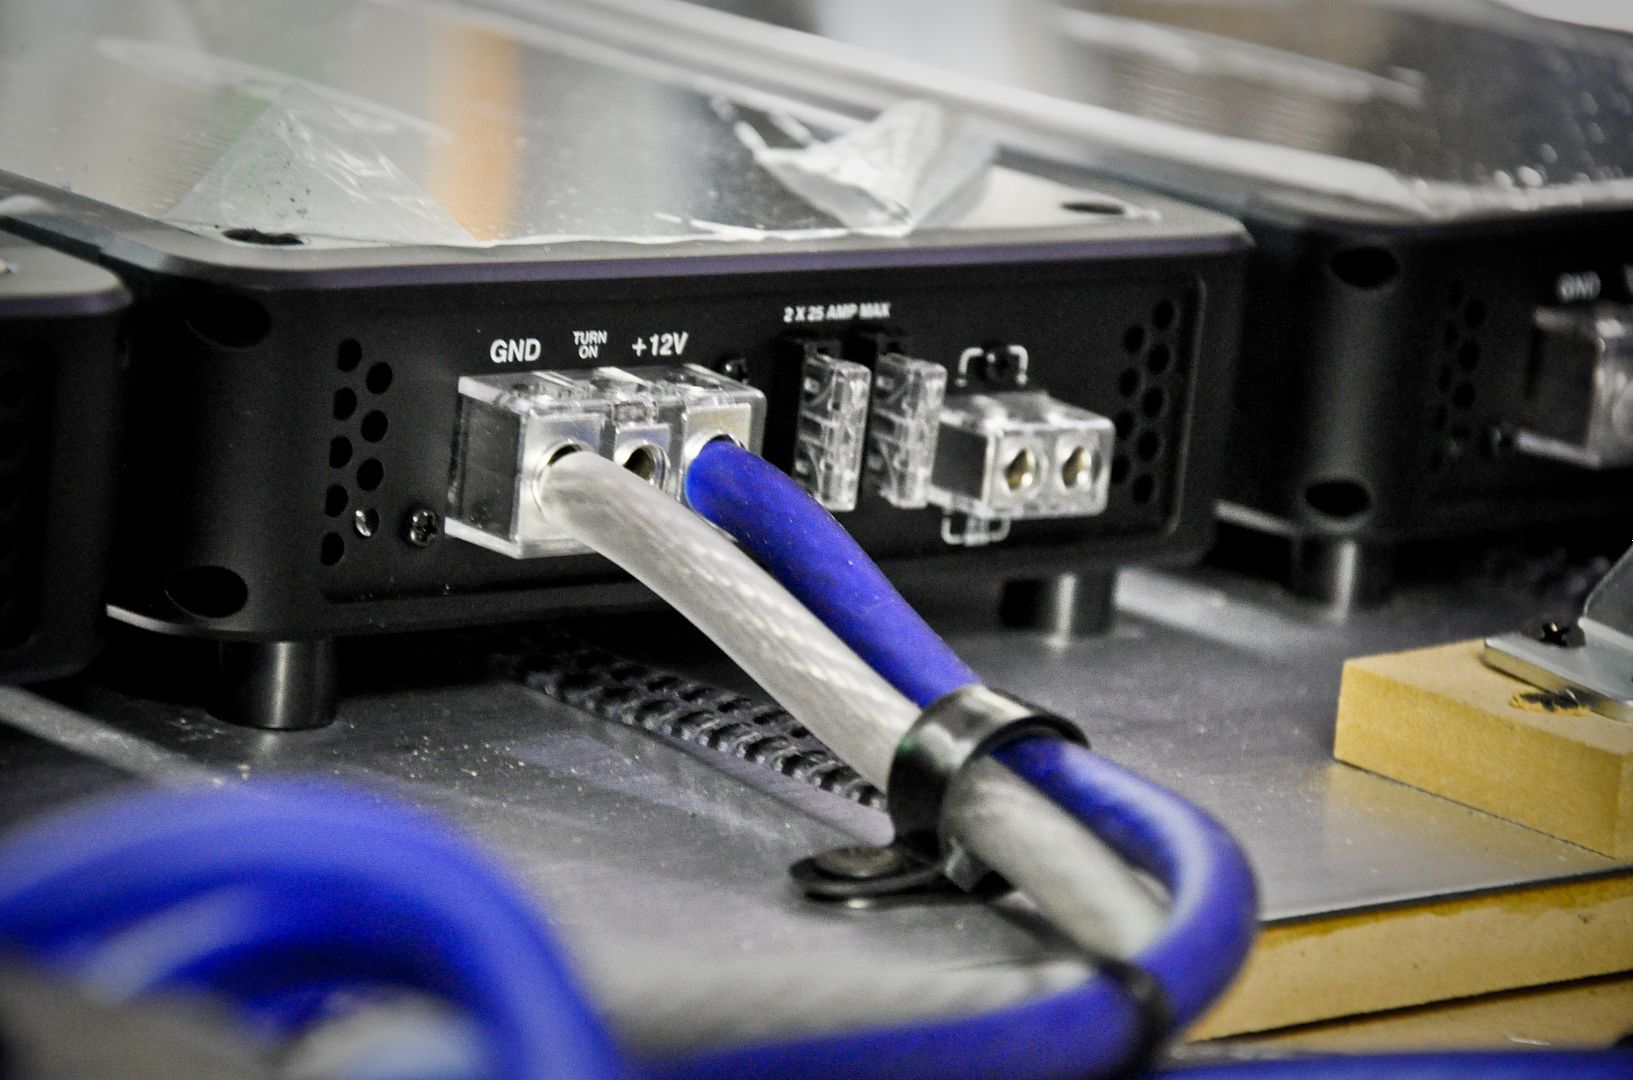
Amps were raised with spacers to clear the RCA’s and wired up in the tray
Painted some of the bottom of the box to help hide the wiring behind the amplifiers
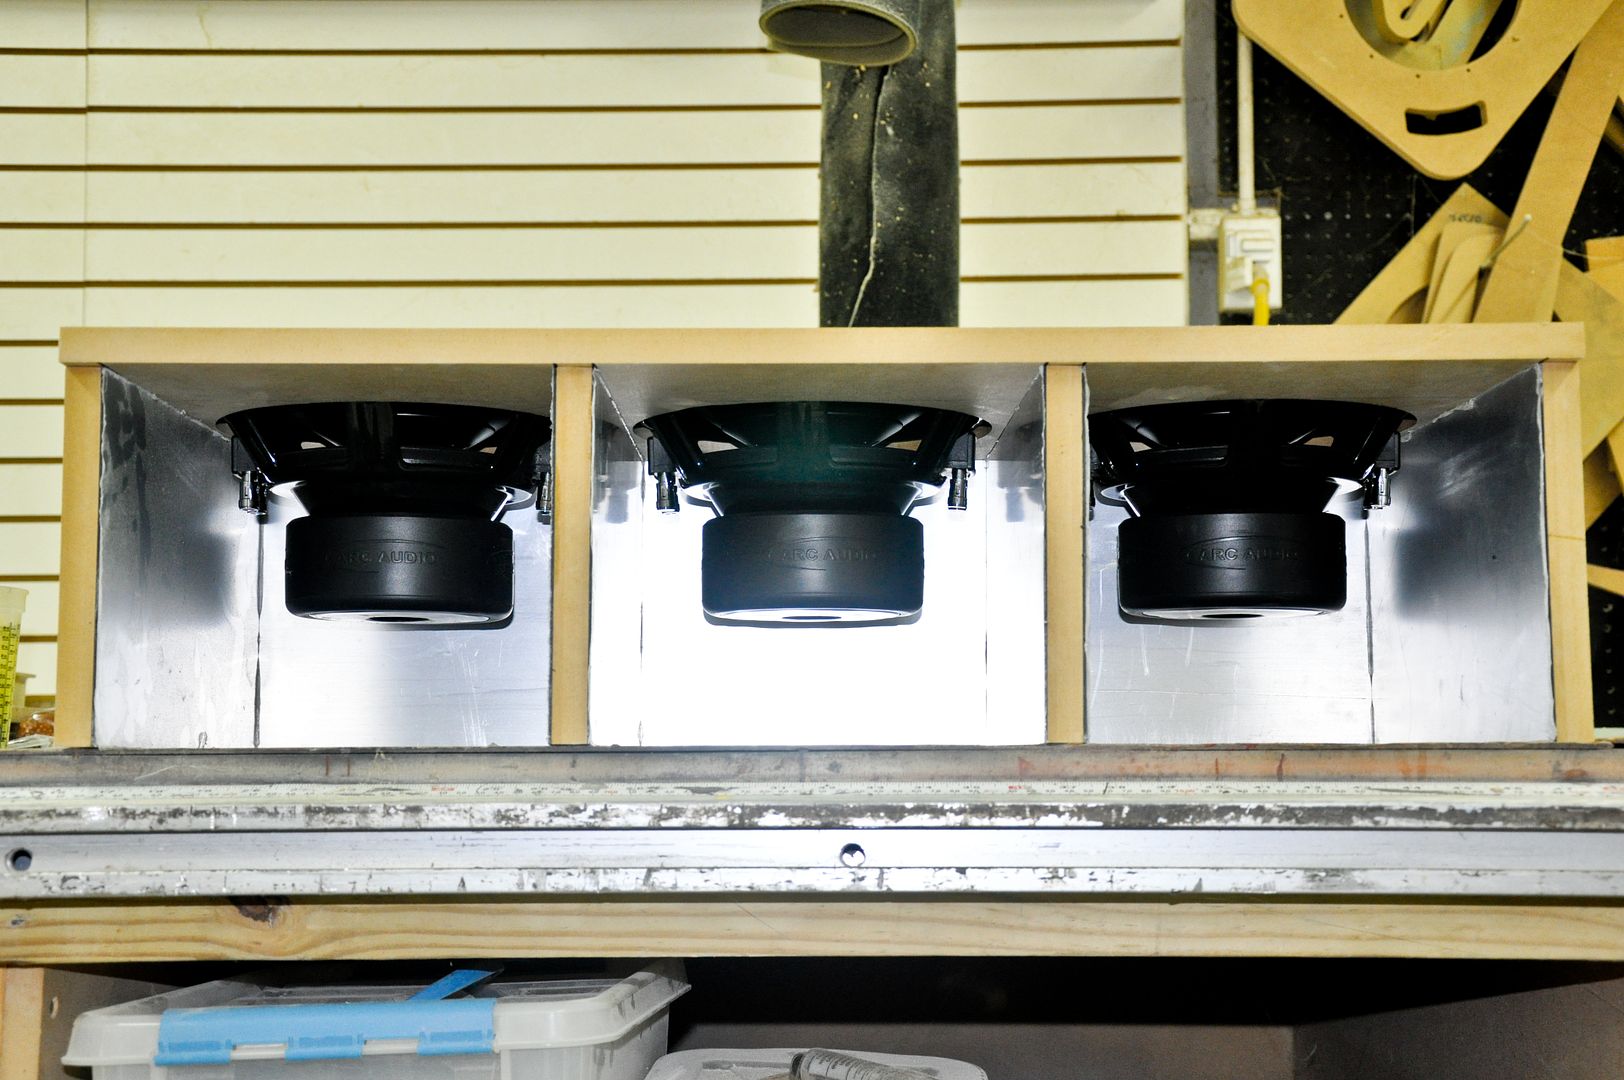
Subs wired up and mounted for the last time
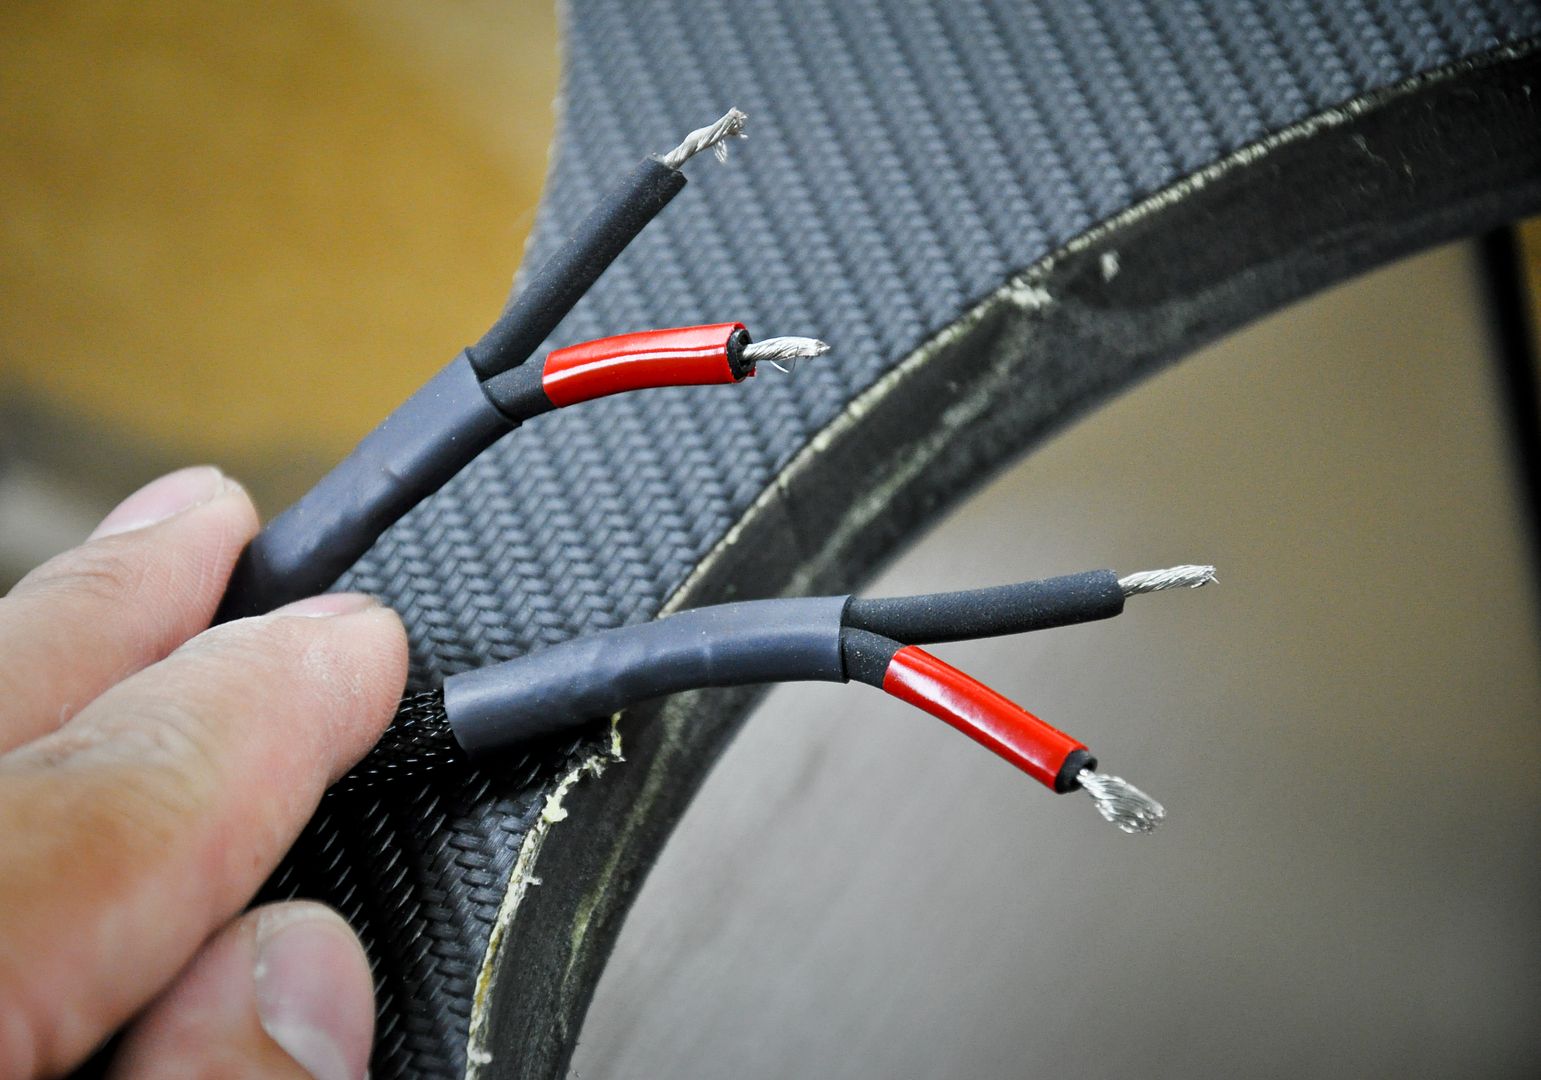
Added a little heat shrink to the speaker wires that will attach to the back of the box and to the amplifiers underneath
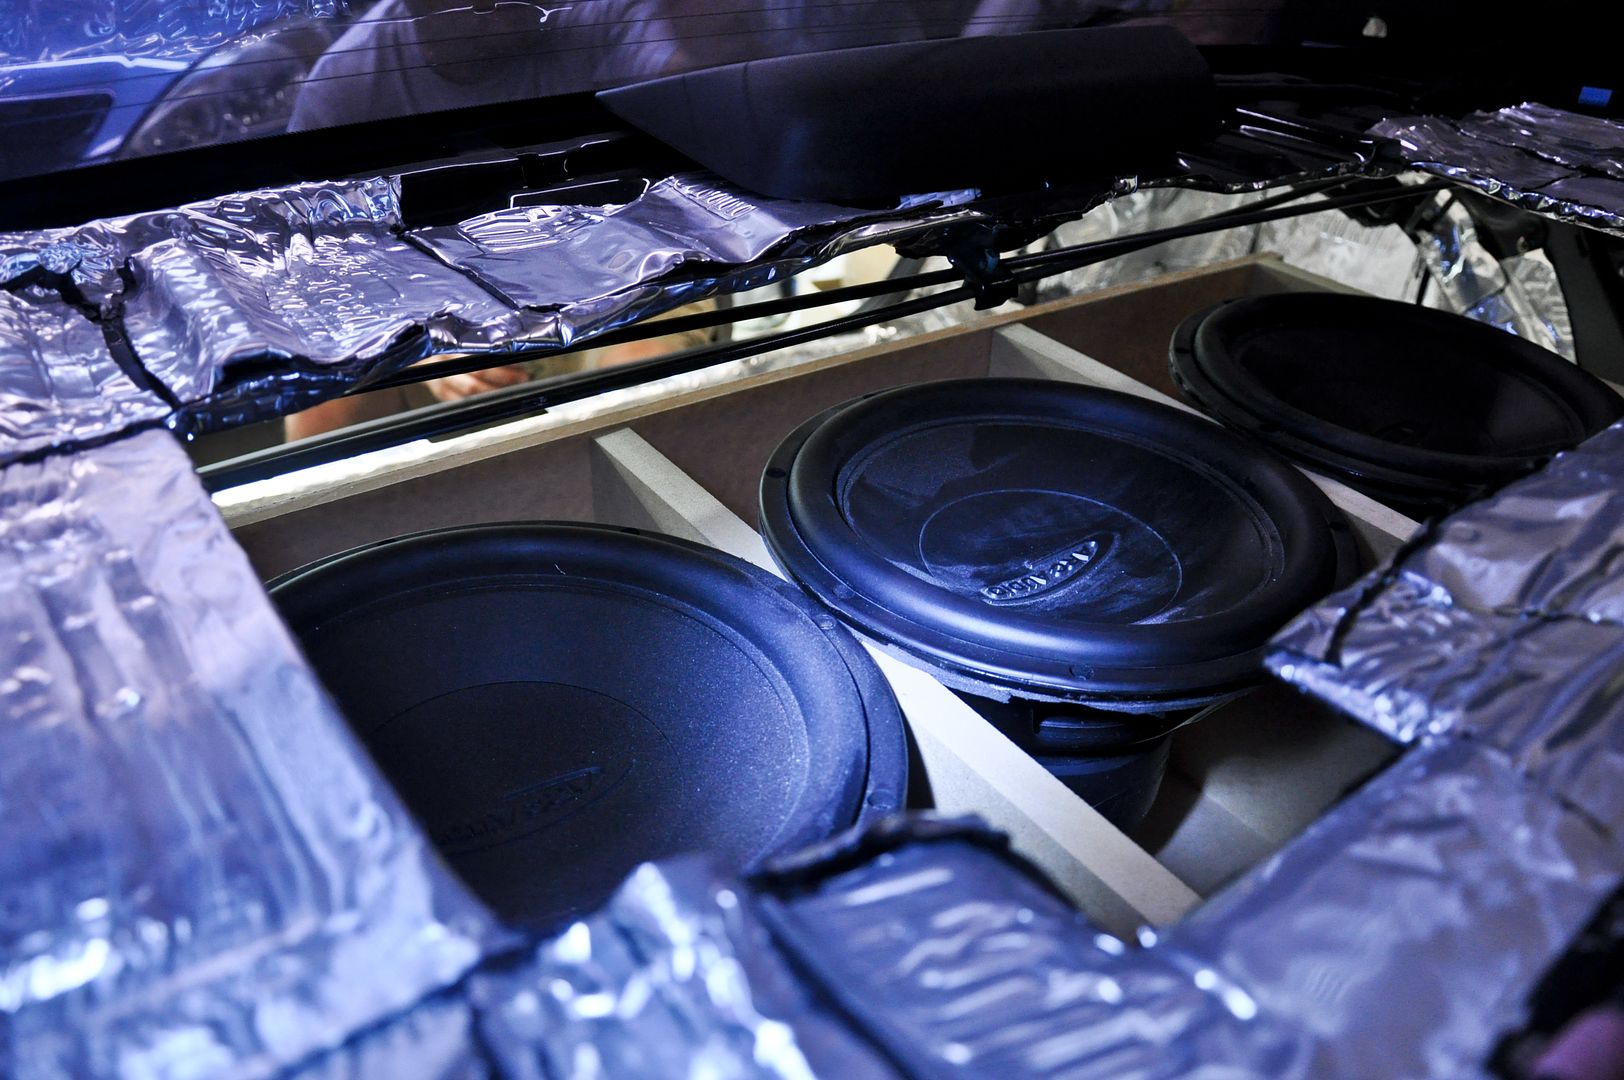
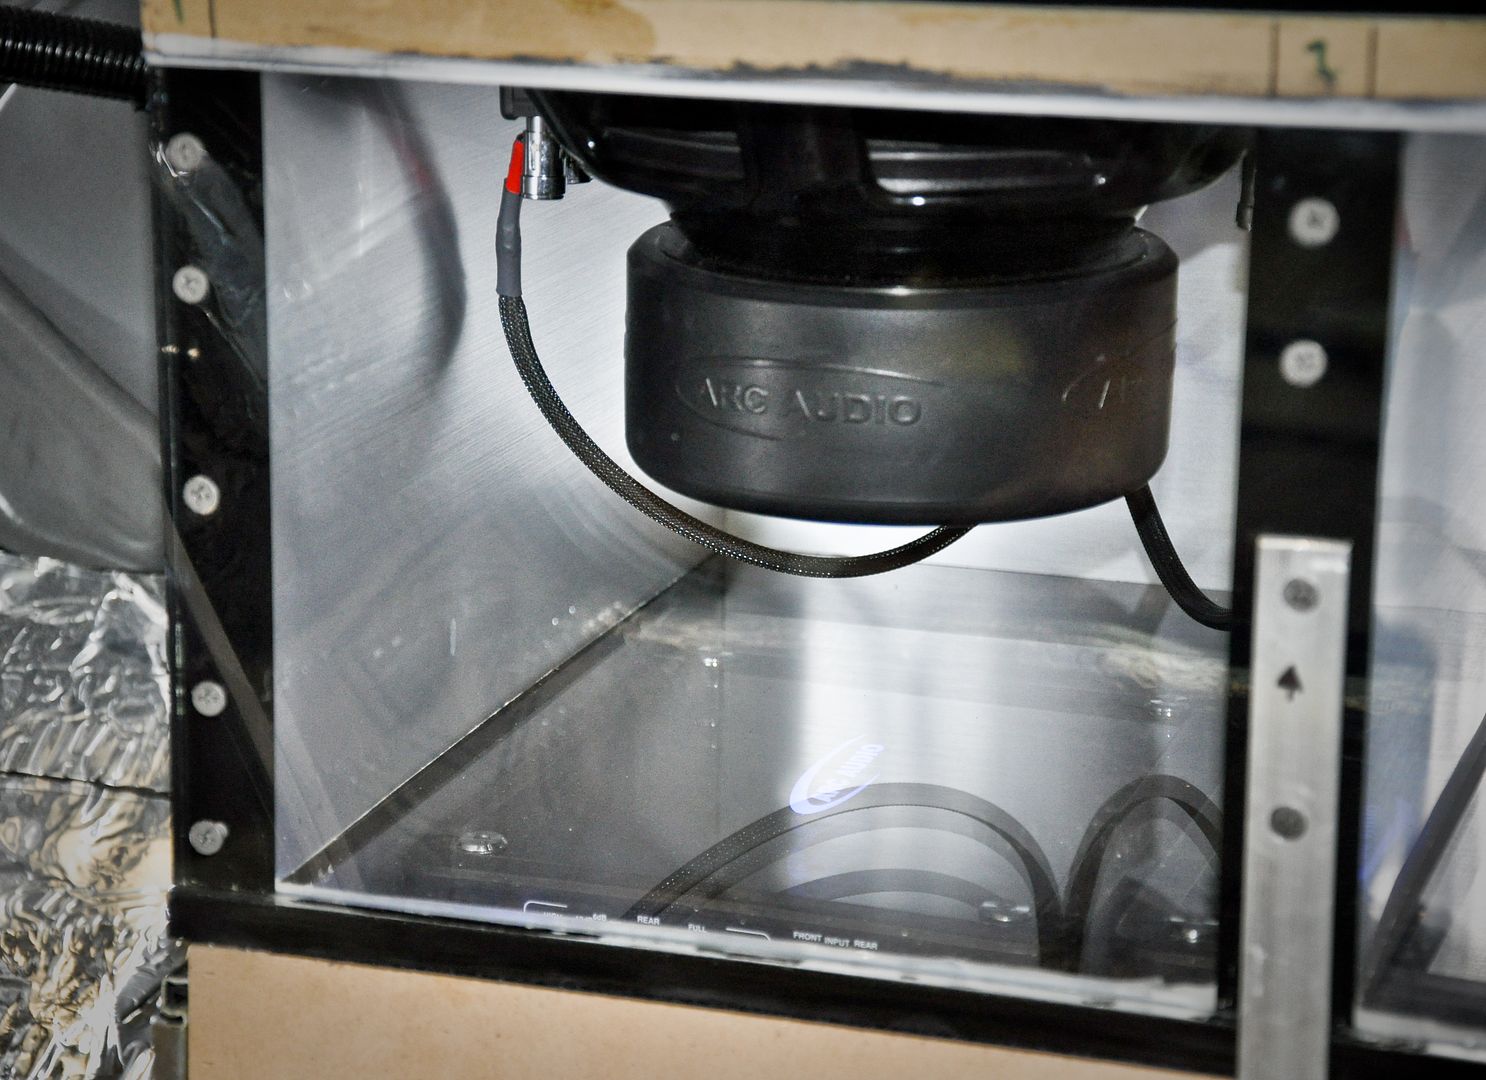
The protective film was then taken off of the box to expose the inside brushed aluminum and the speakers
Rounding the edges
Grooved the rear to clear the braces we made earlier
Test fitting the window piece
After we set the box back in and started to wire the RCA’s and everything else we realized we needed a way to tune the amplifiers. So, we decided to make some holes with grommets in the tray.
Plastic grommets in
Stinger Level 2 Pro RCA’s ran
Amps were raised with spacers to clear the RCA’s and wired up in the tray
Painted some of the bottom of the box to help hide the wiring behind the amplifiers
Subs wired up and mounted for the last time
Added a little heat shrink to the speaker wires that will attach to the back of the box and to the amplifiers underneath
The protective film was then taken off of the box to expose the inside brushed aluminum and the speakers
03-19-11, 04:37 AM
#479
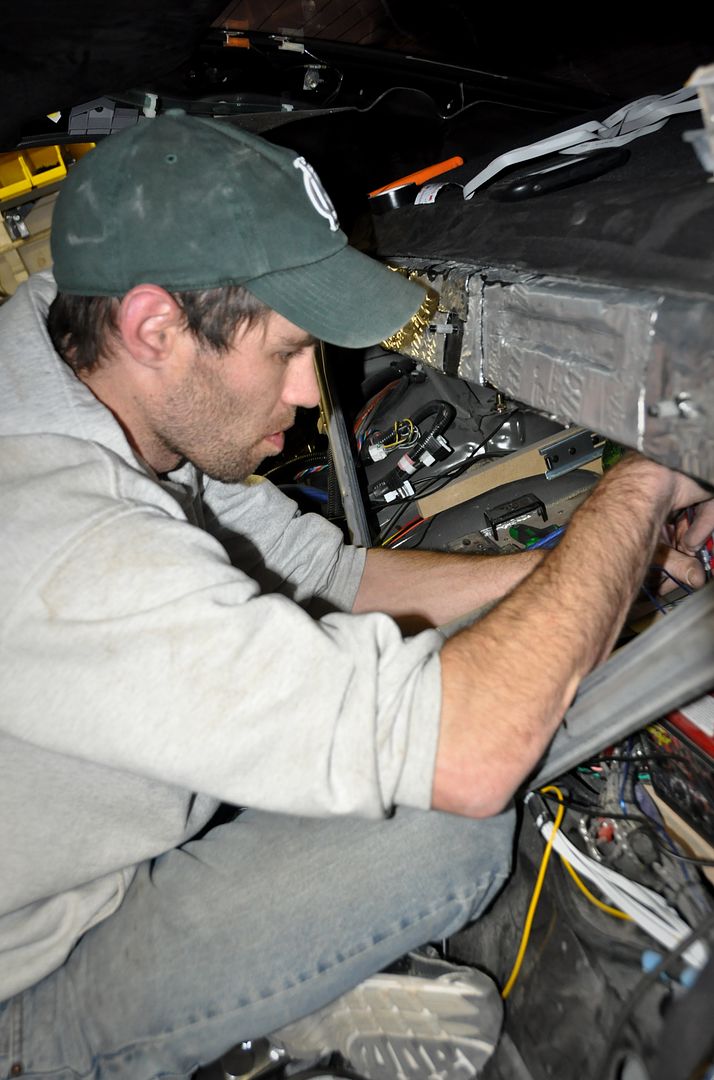
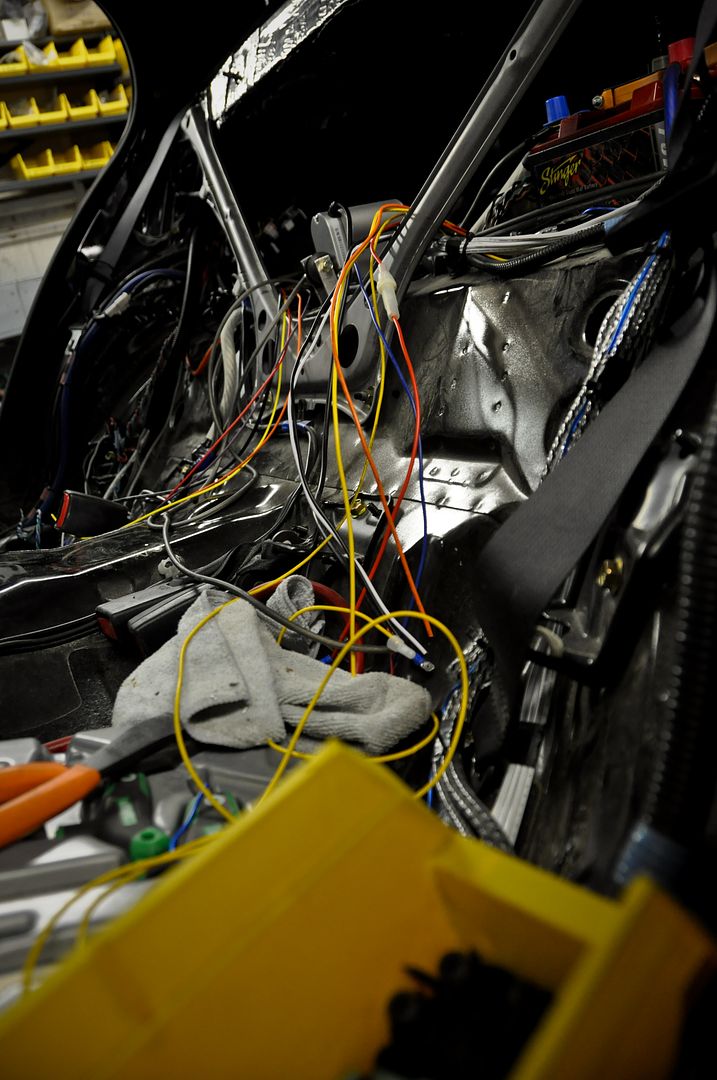
Time to really get wiring
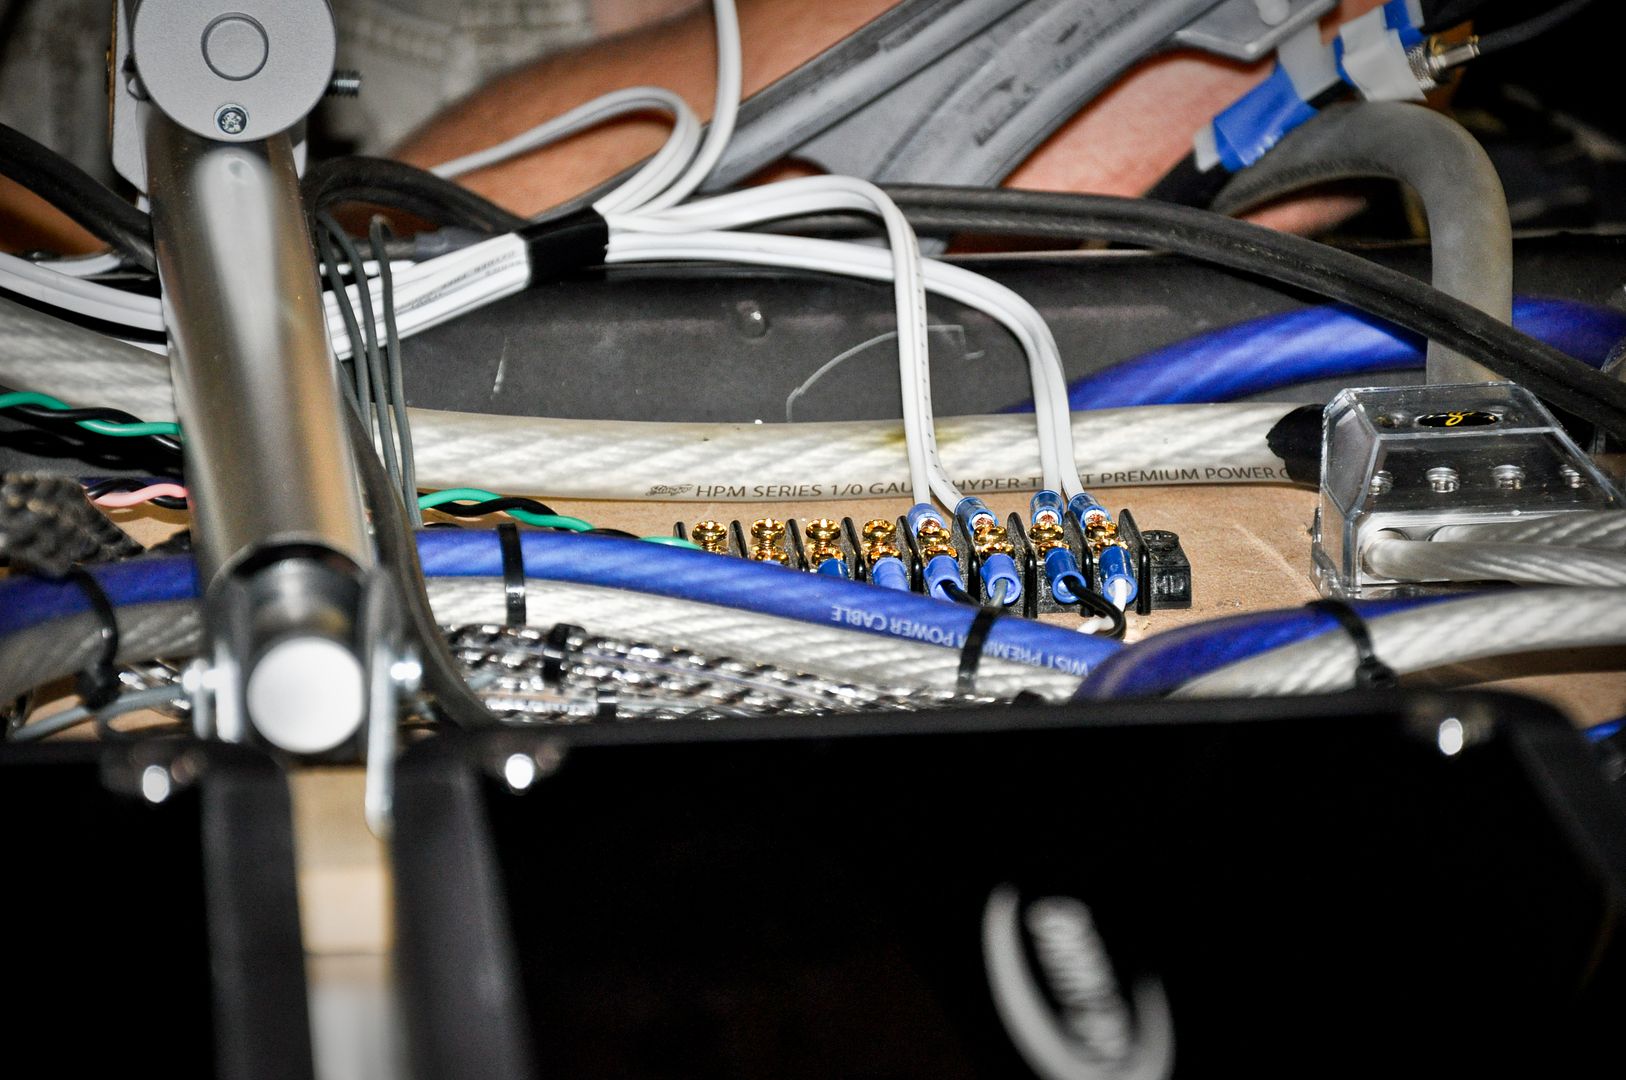
After all the wiring was done this was the test light up

With tape off and panel on top
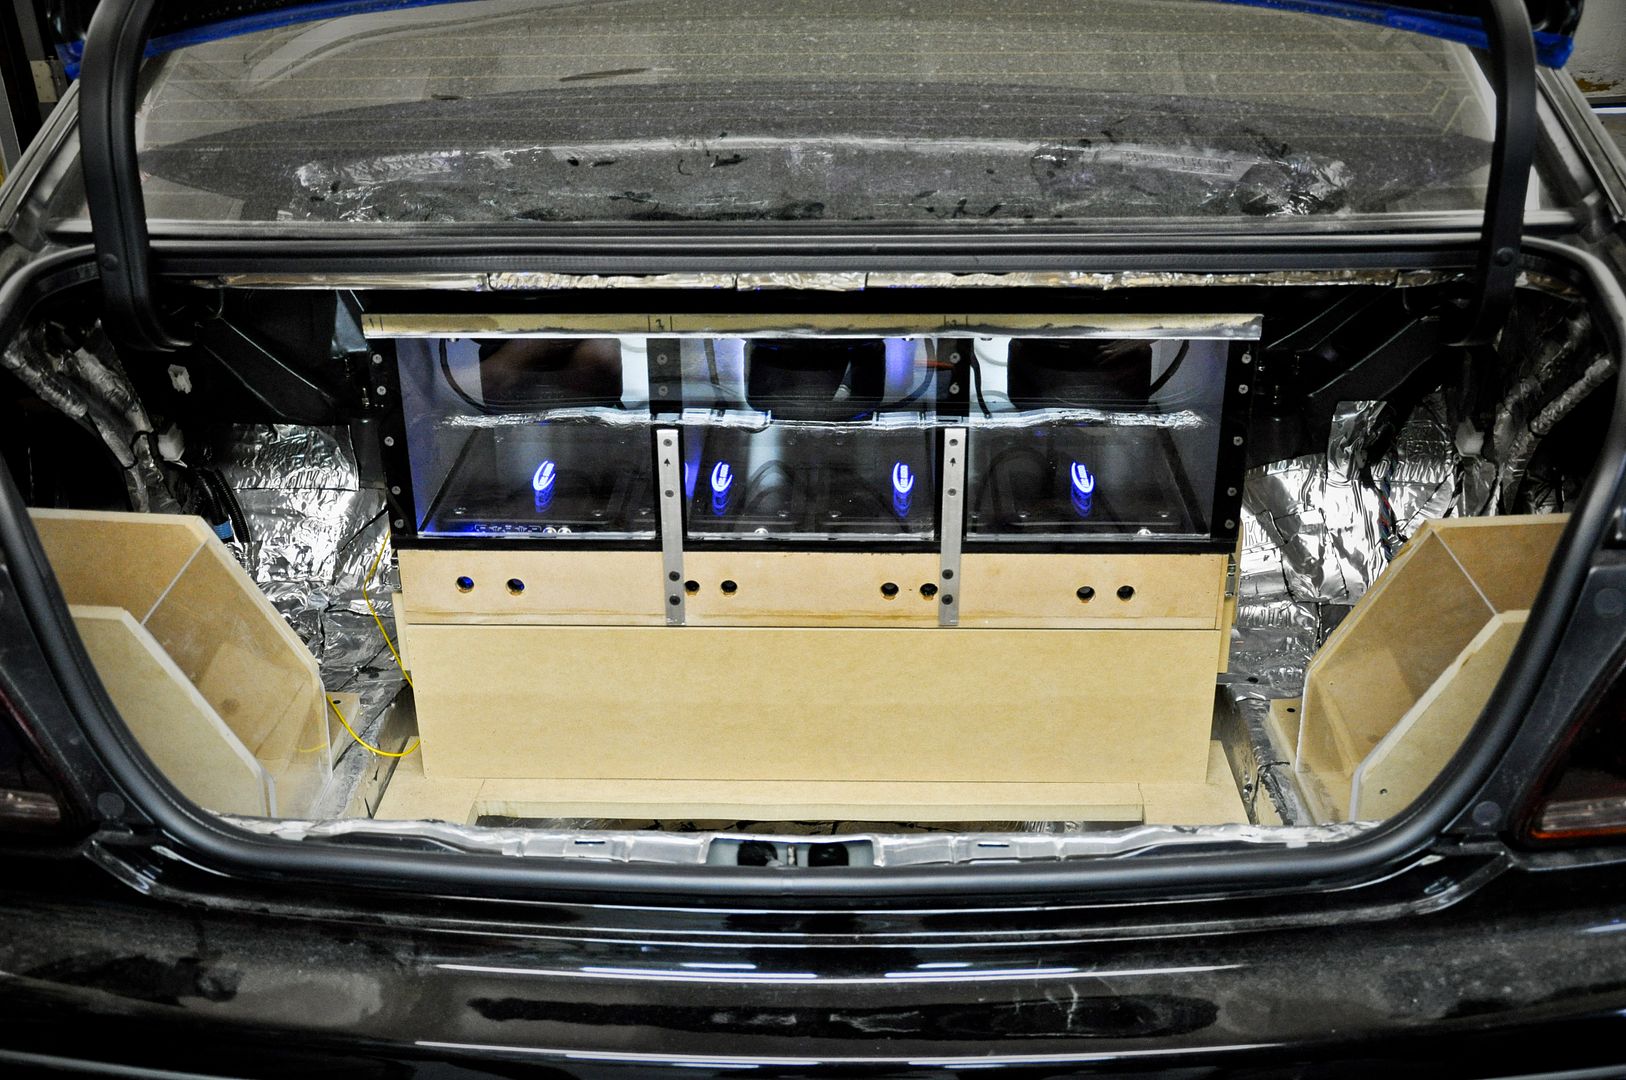
View from the top with box all the way open
View from the top with box all the way closed
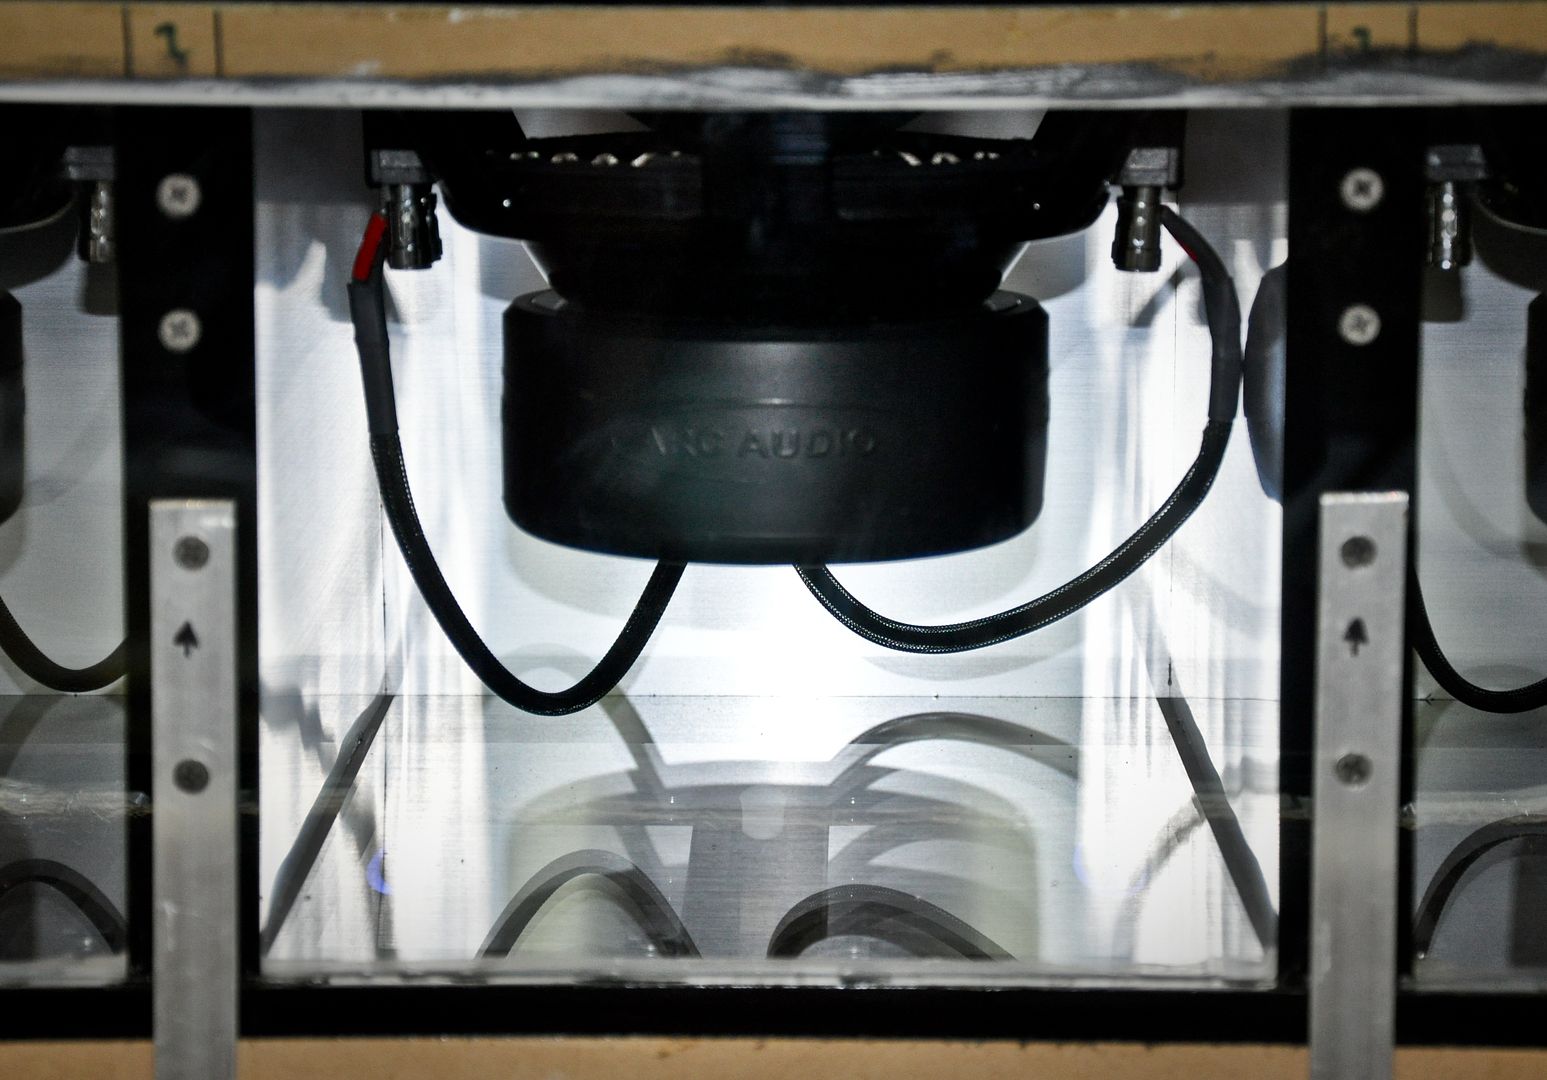
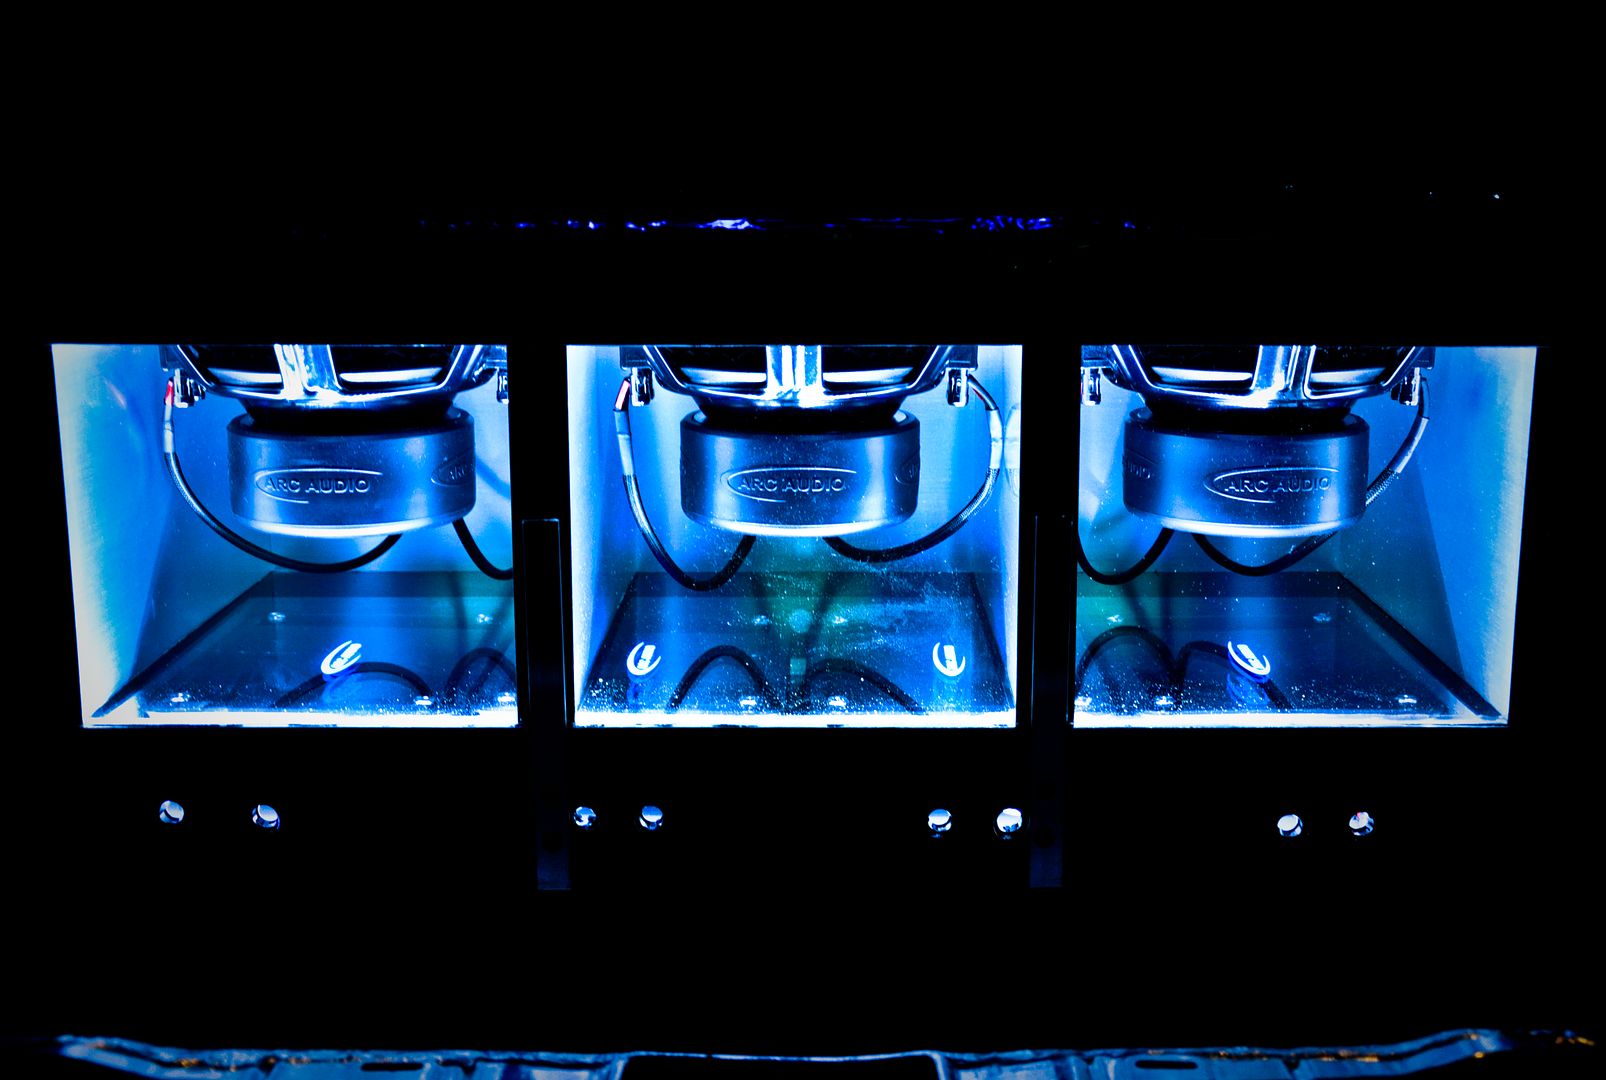
White LED’s on inside the box and amps lighting up the inside too
Taped up the box for the dirty work to come
After all the wiring was done this was the test light up
With tape off and panel on top
View from the top with box all the way open
View from the top with box all the way closed
White LED’s on inside the box and amps lighting up the inside too
Taped up the box for the dirty work to come
03-19-11, 04:38 AM
#480
Faceplate on
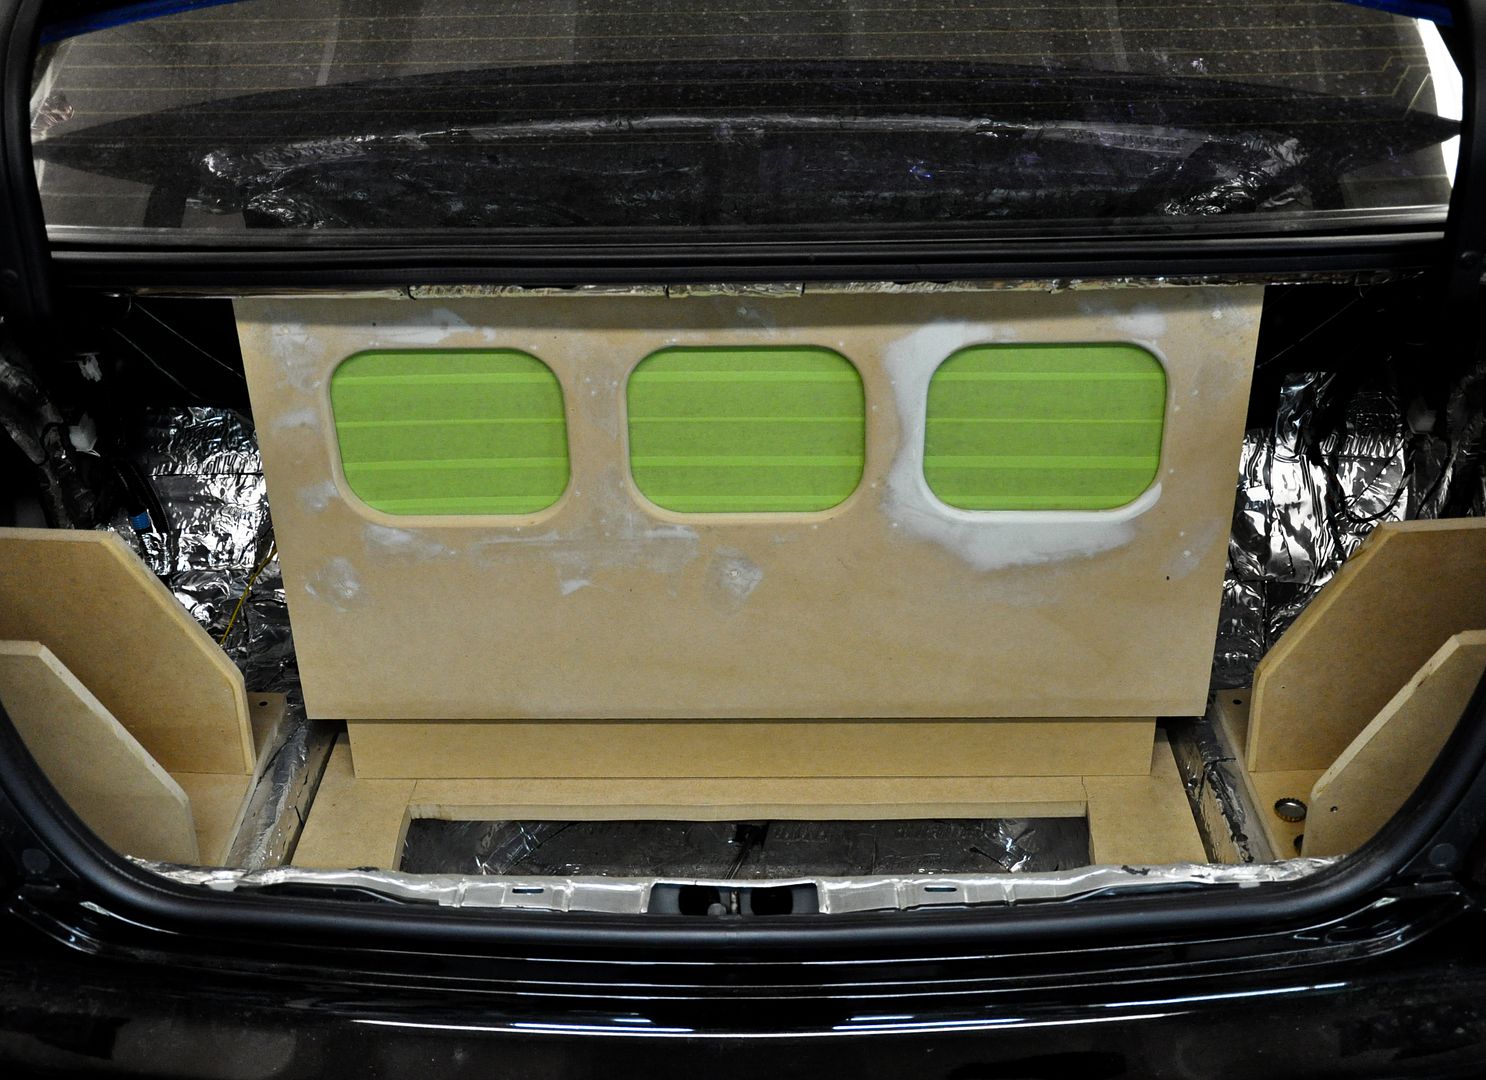
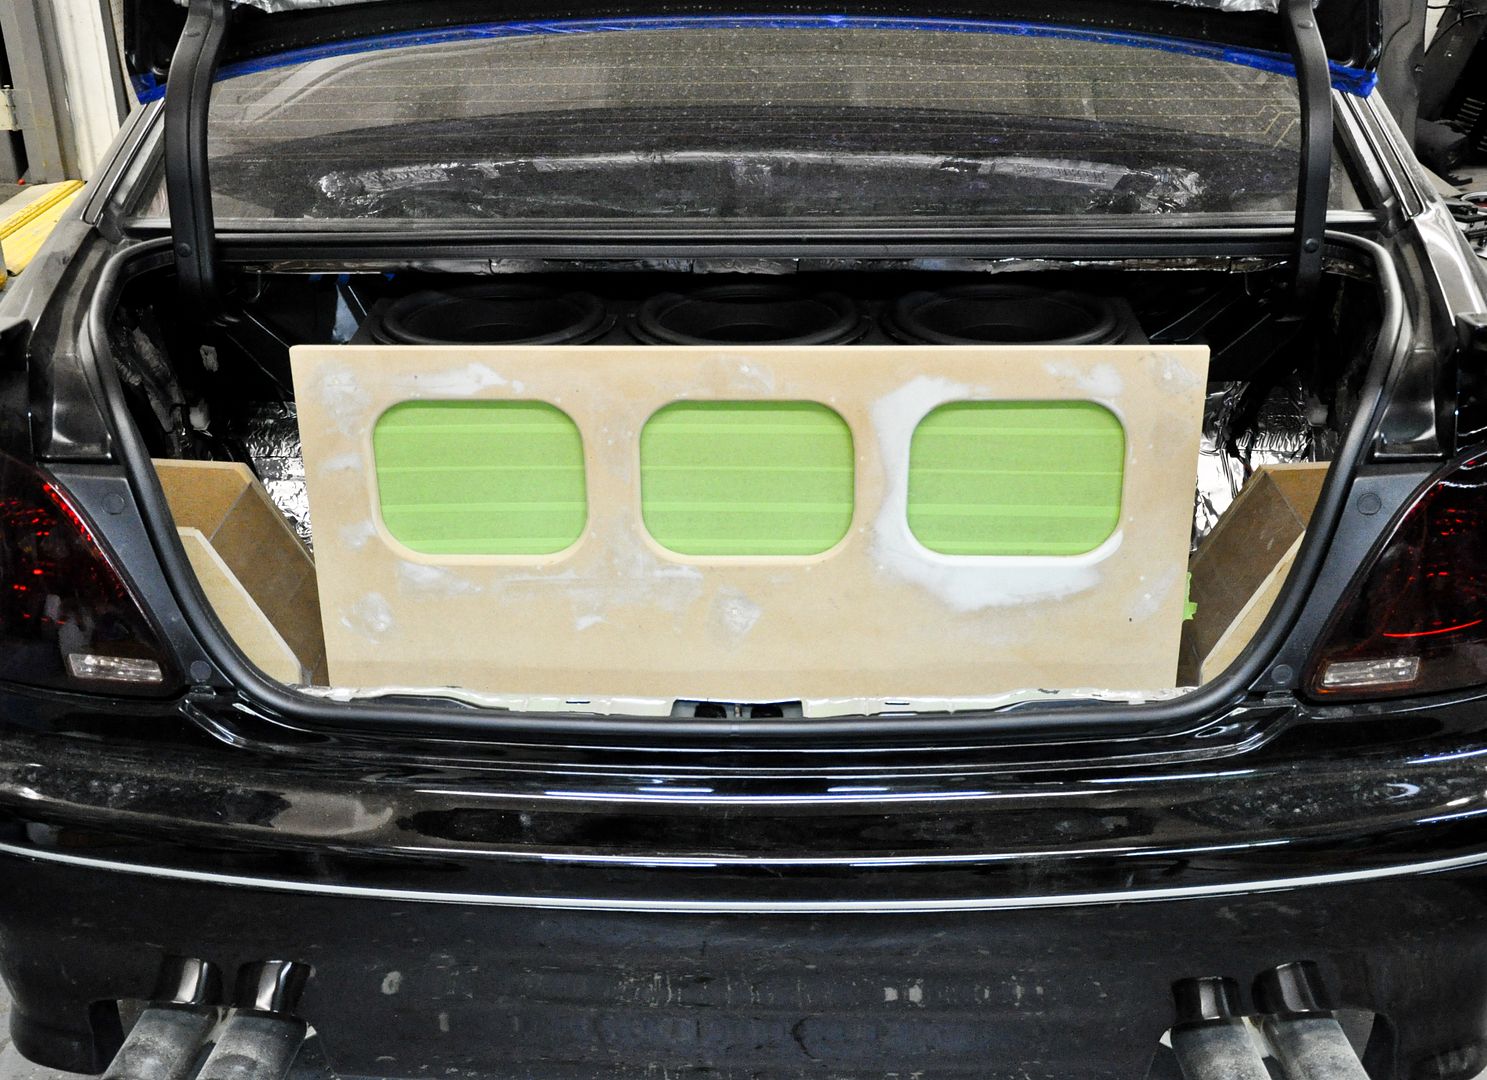
Building trim windows for the side boxes
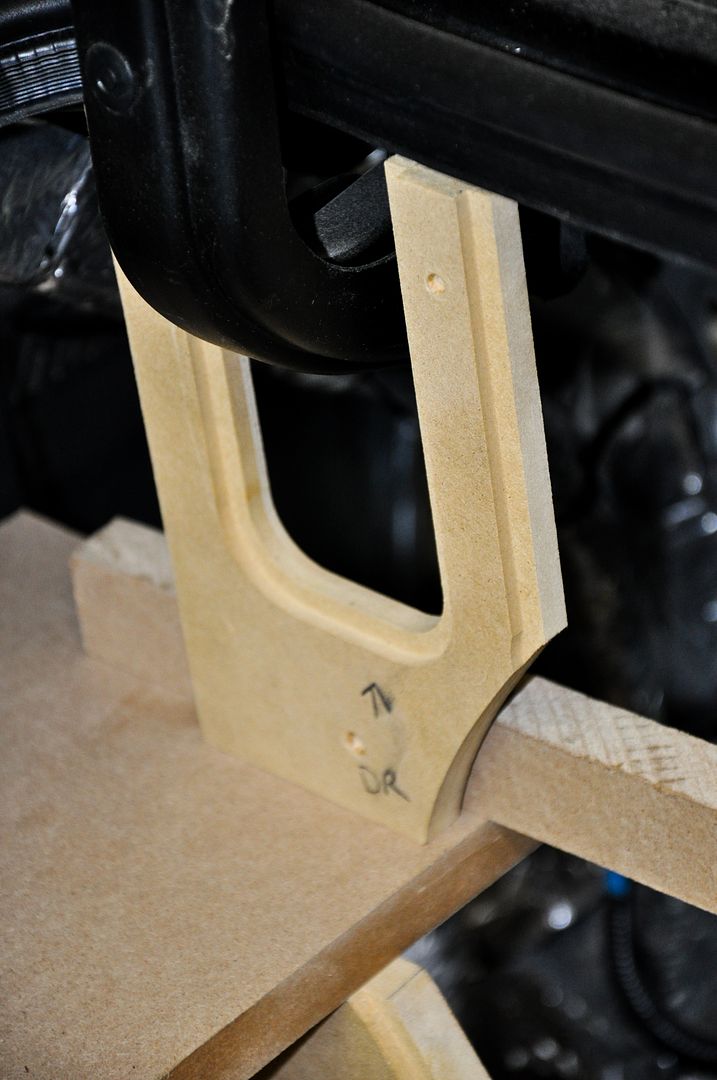
Made some channels for the trunk arms to pass through
Making some negative molds for the corner display pieces
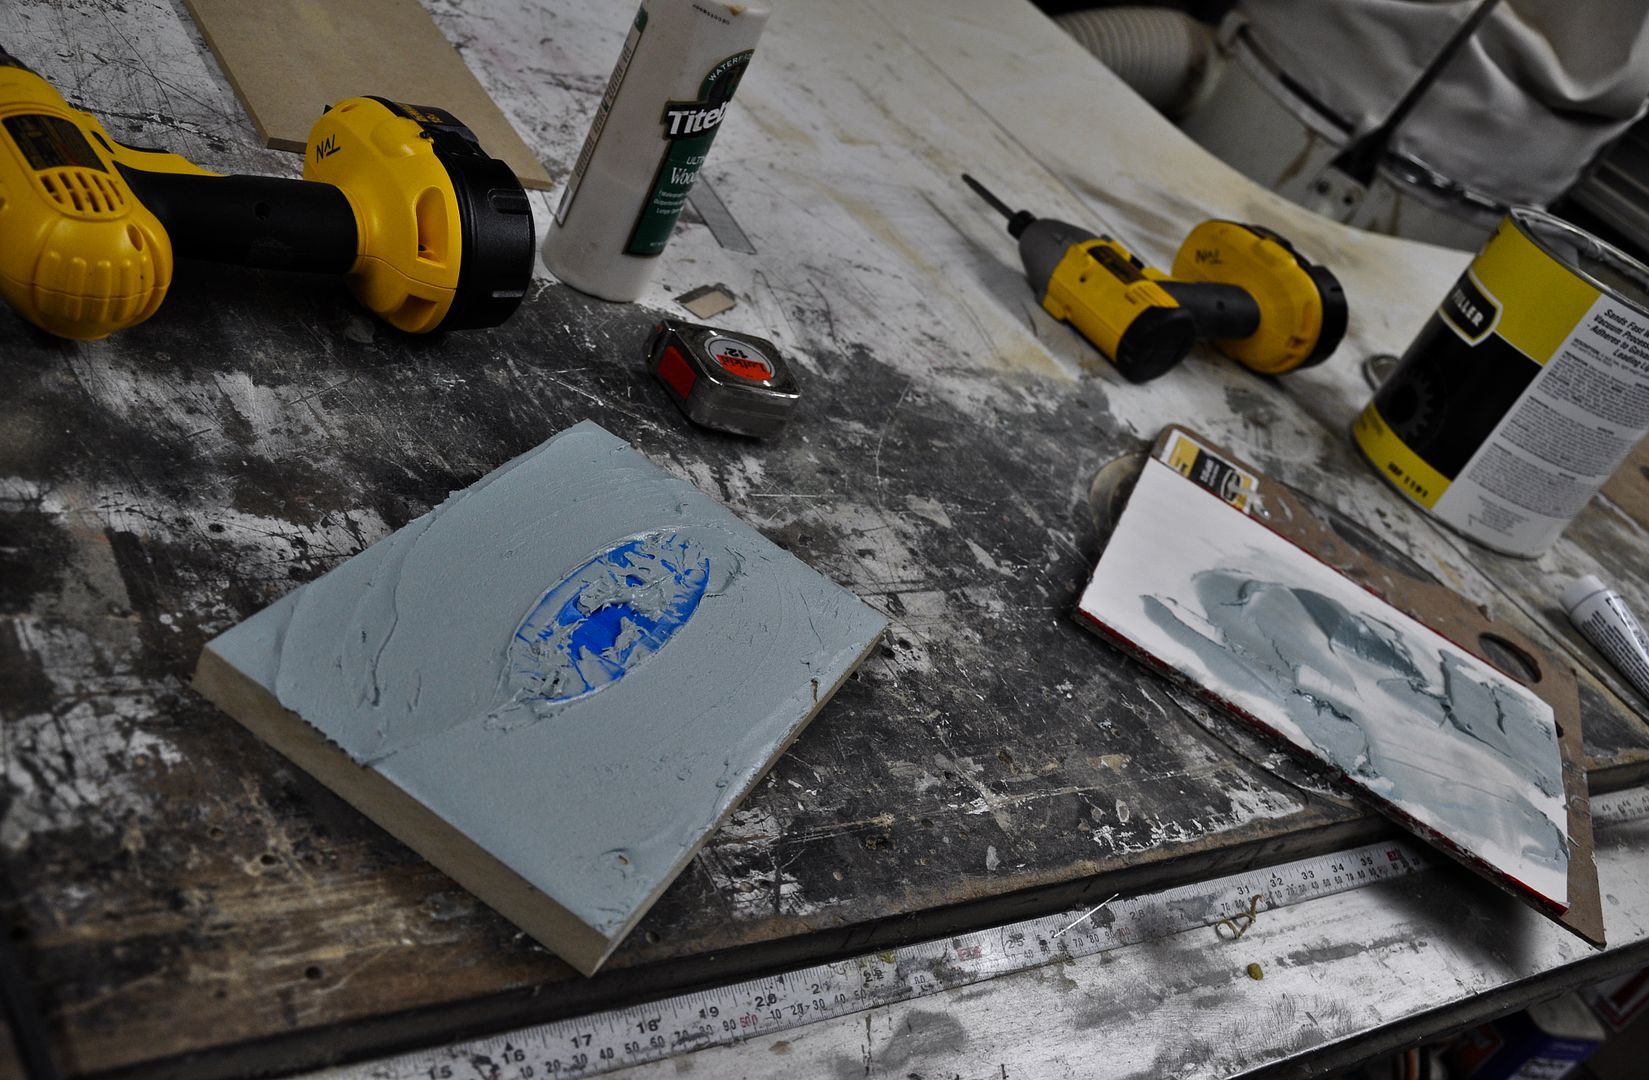
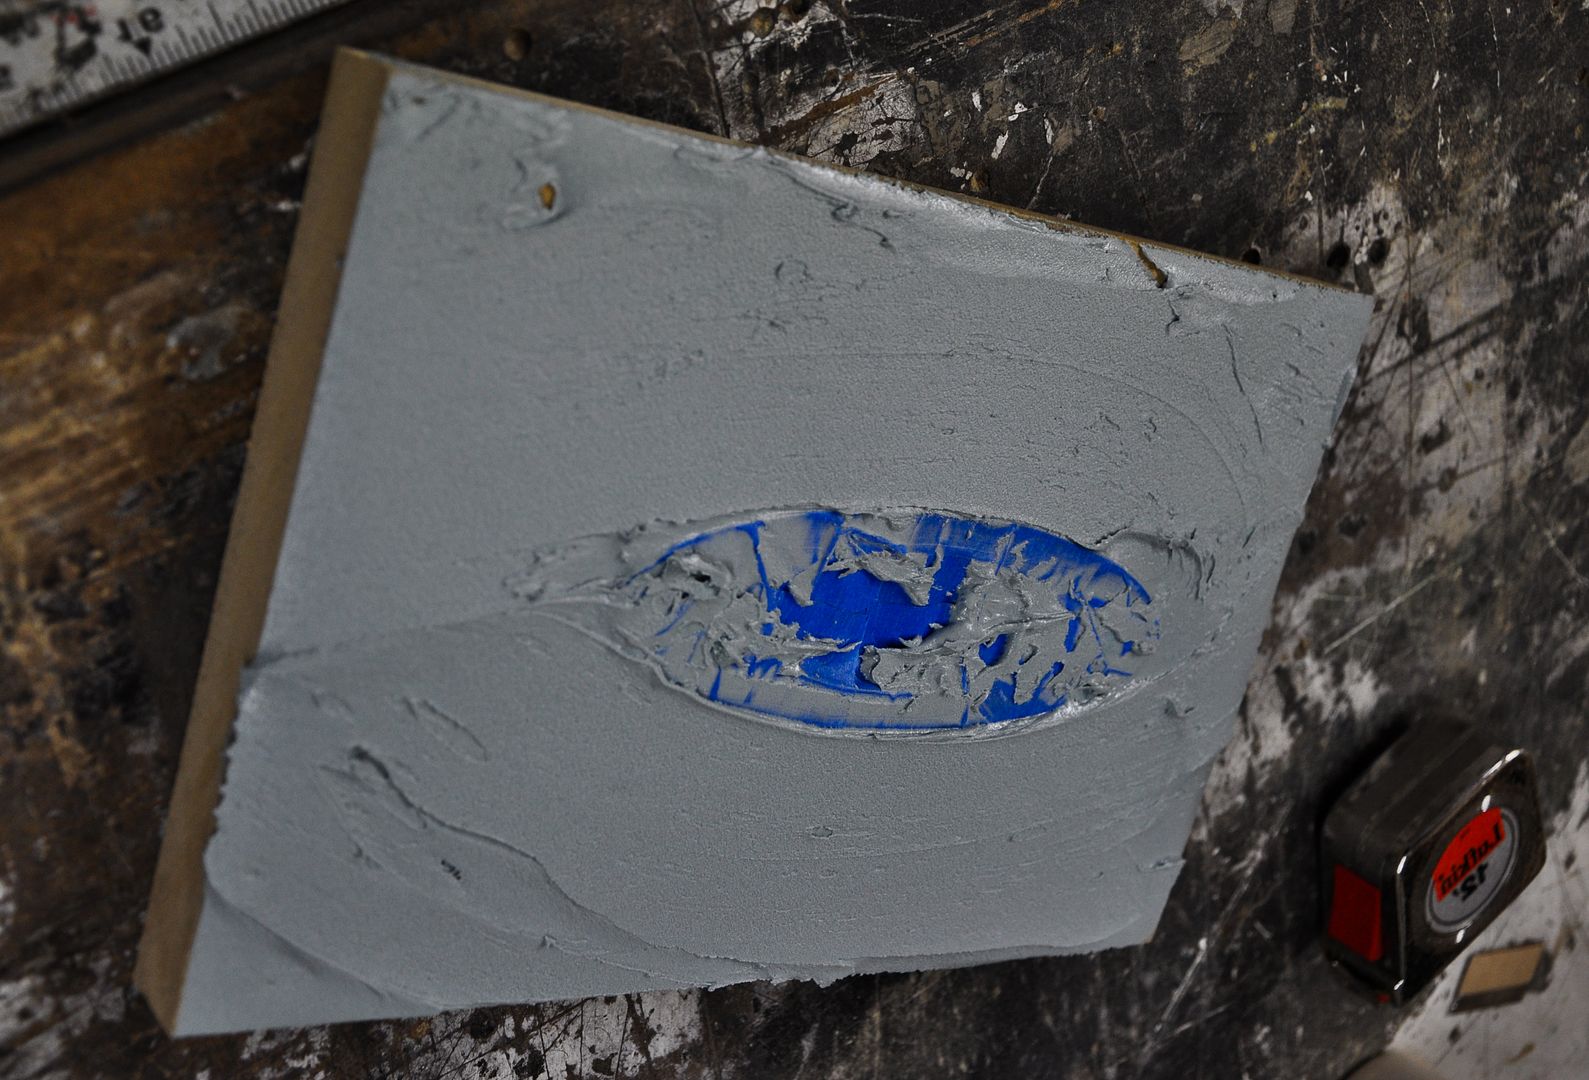
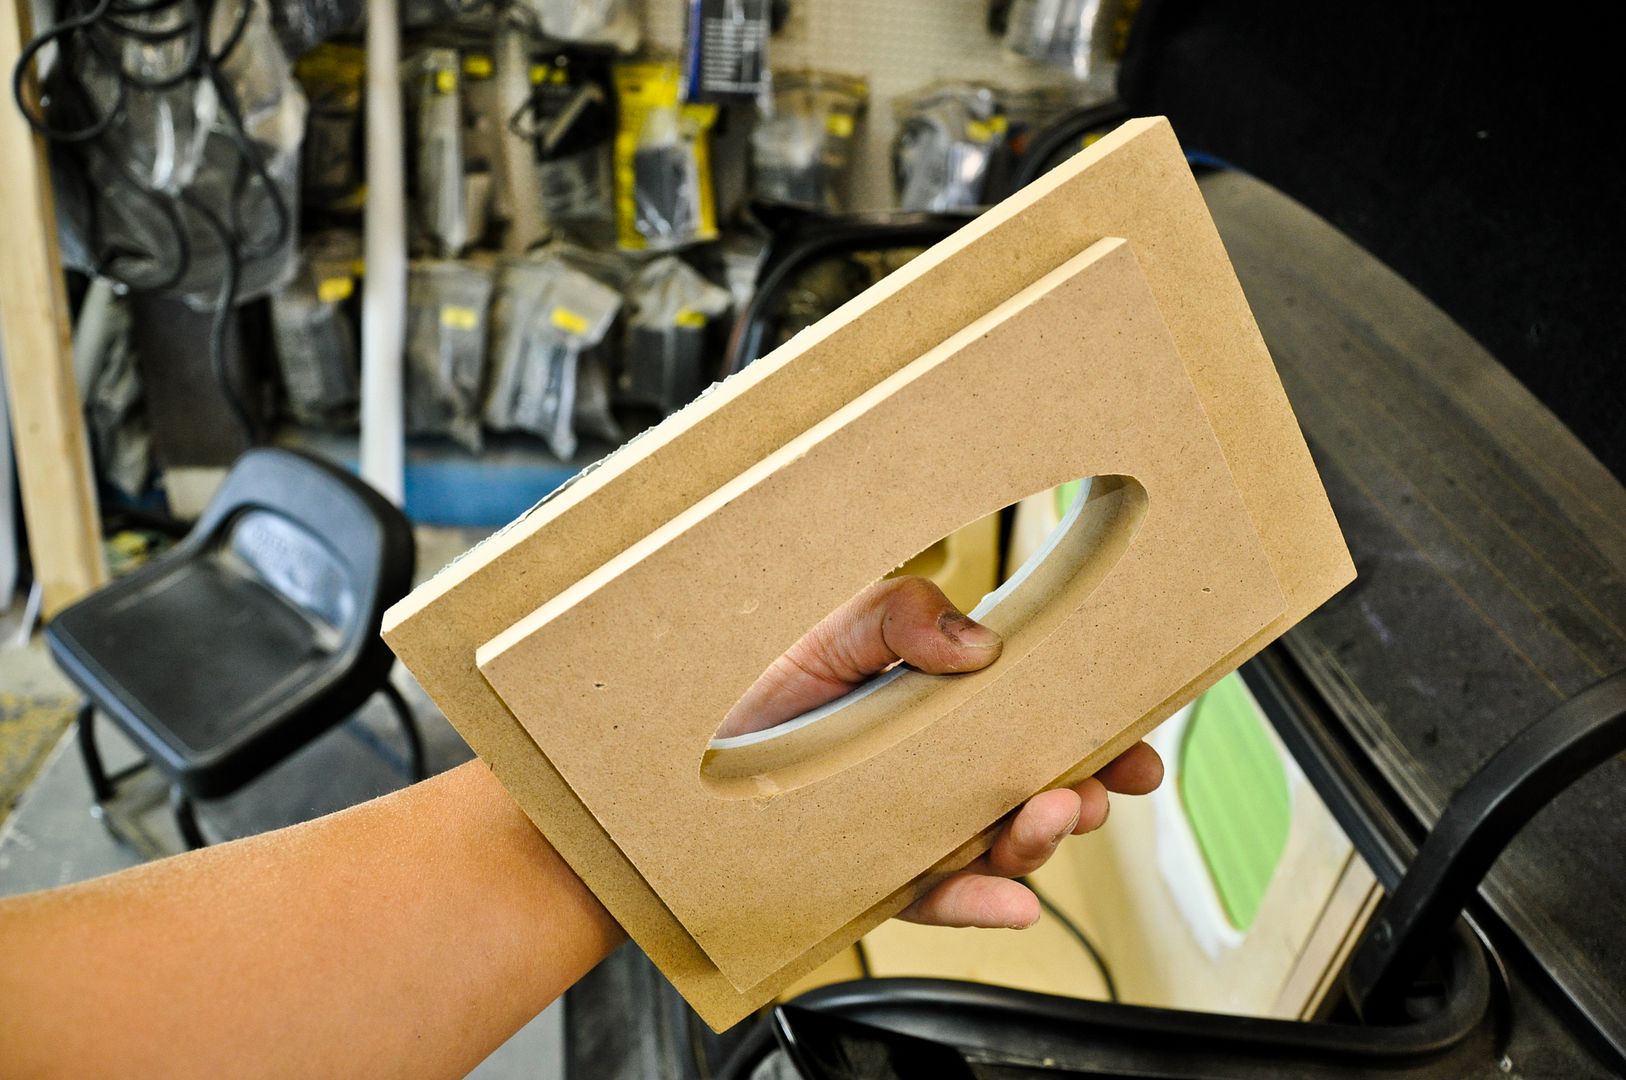

Molds made from negative molds
We really just wanted to make more surface area for the fleece to get stapled to
Building trim windows for the side boxes
Made some channels for the trunk arms to pass through
Making some negative molds for the corner display pieces
Molds made from negative molds
We really just wanted to make more surface area for the fleece to get stapled to