
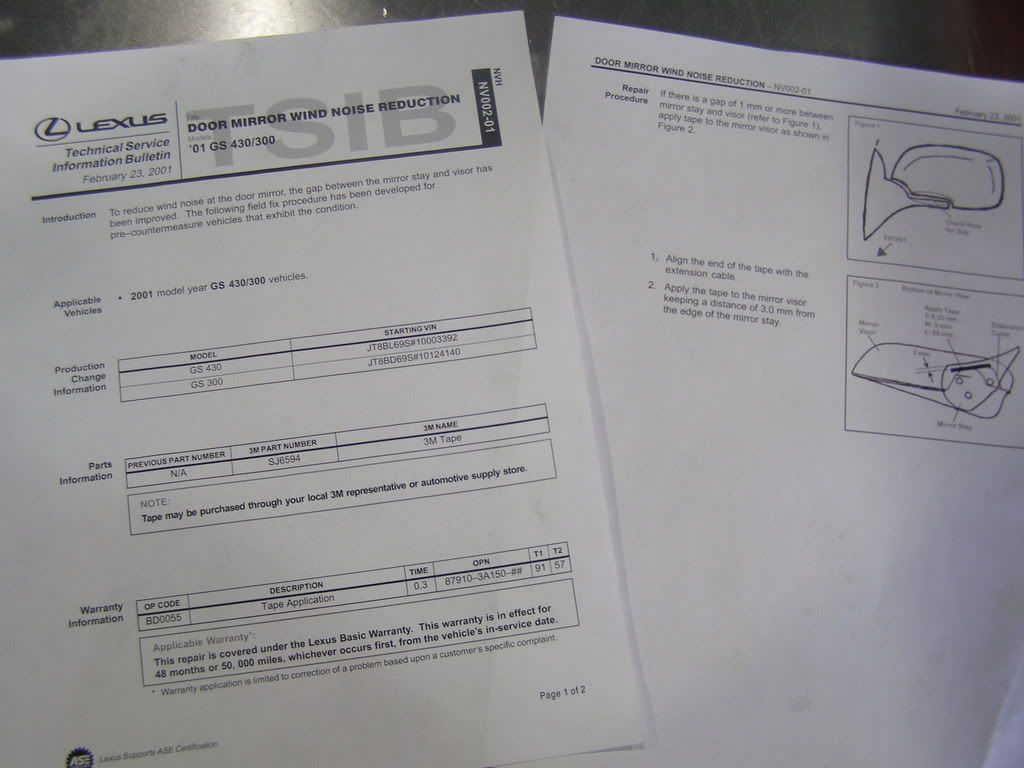
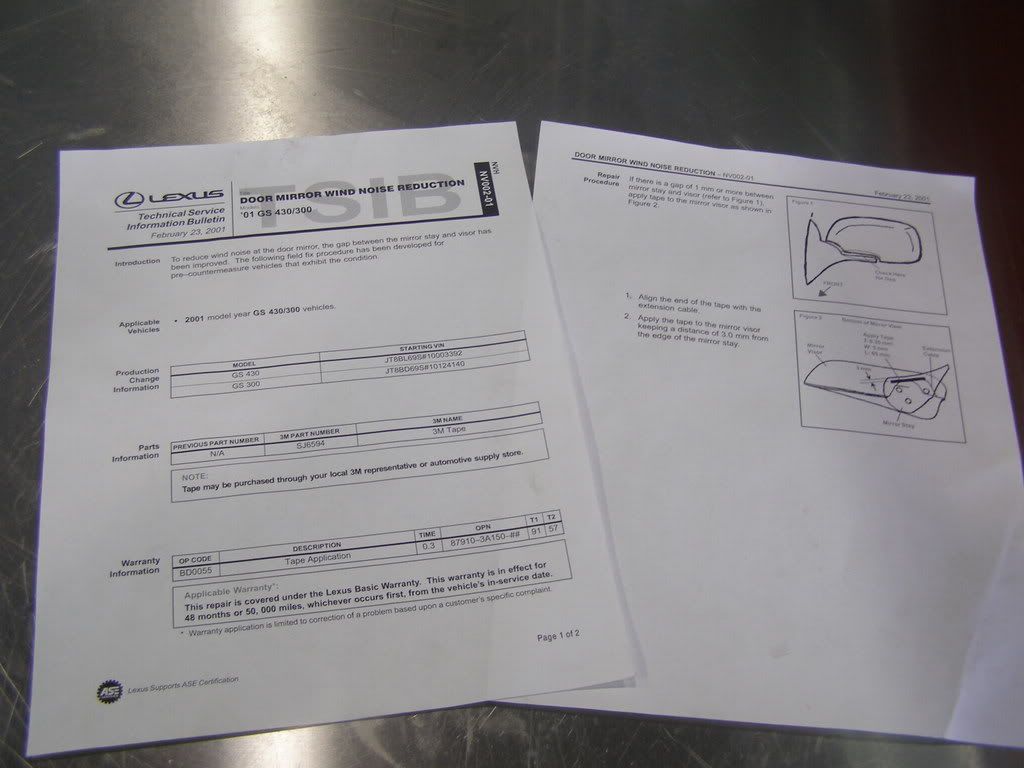
Reducing wind noise through mirror
 02-24-08, 05:55 PM
#1
Instructor
Thread Starter

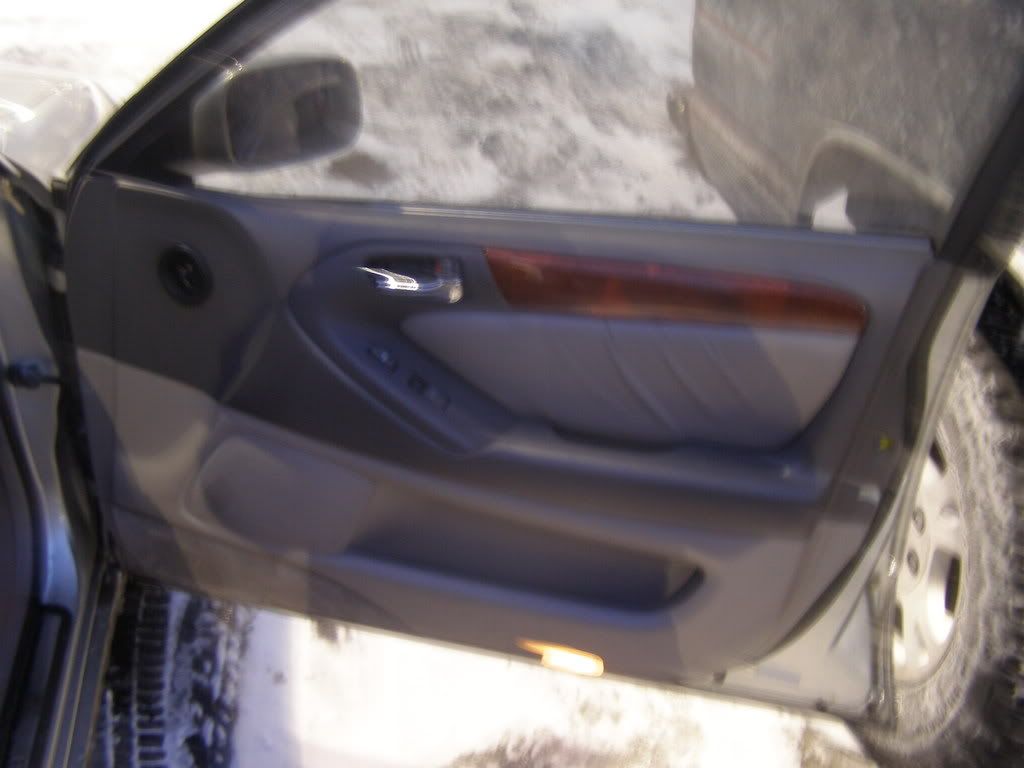
Step 1 - Open door...
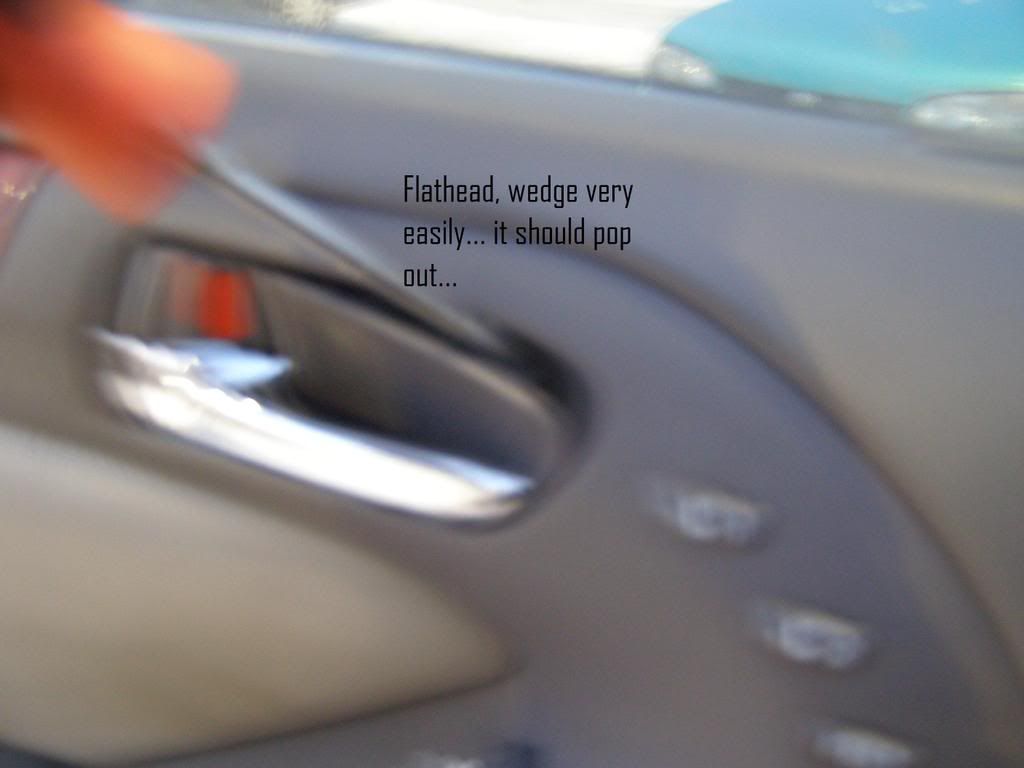
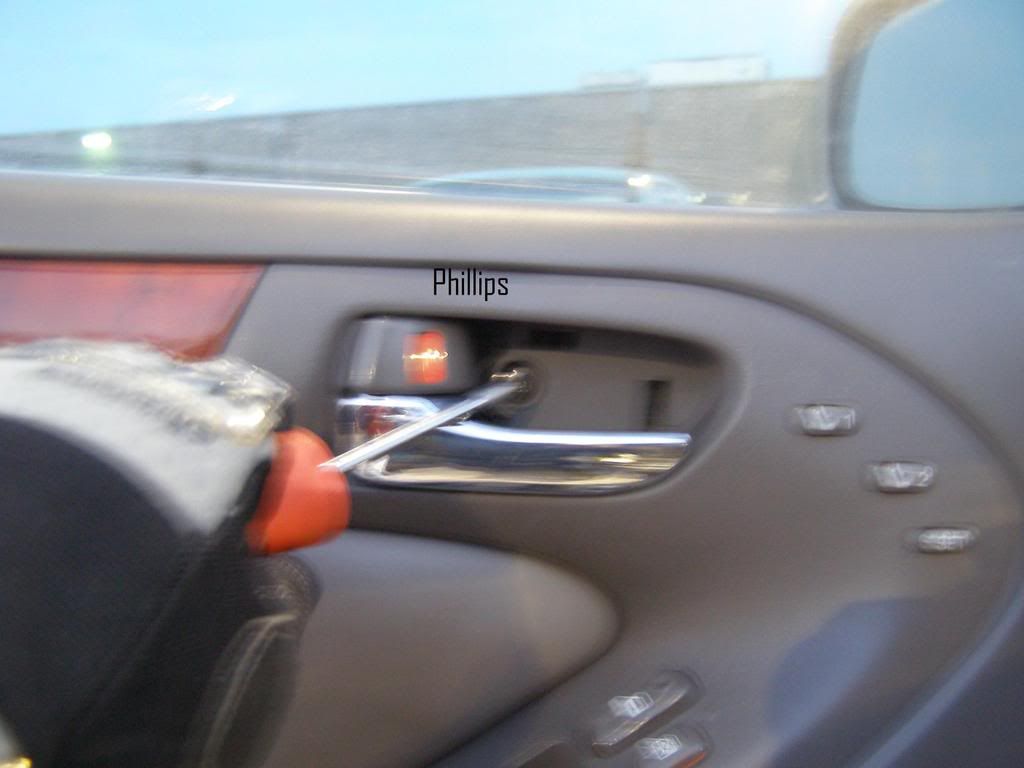
 Step 2 - Pull back handle, and pop off plastic cover by prying with flathead screwdriver.
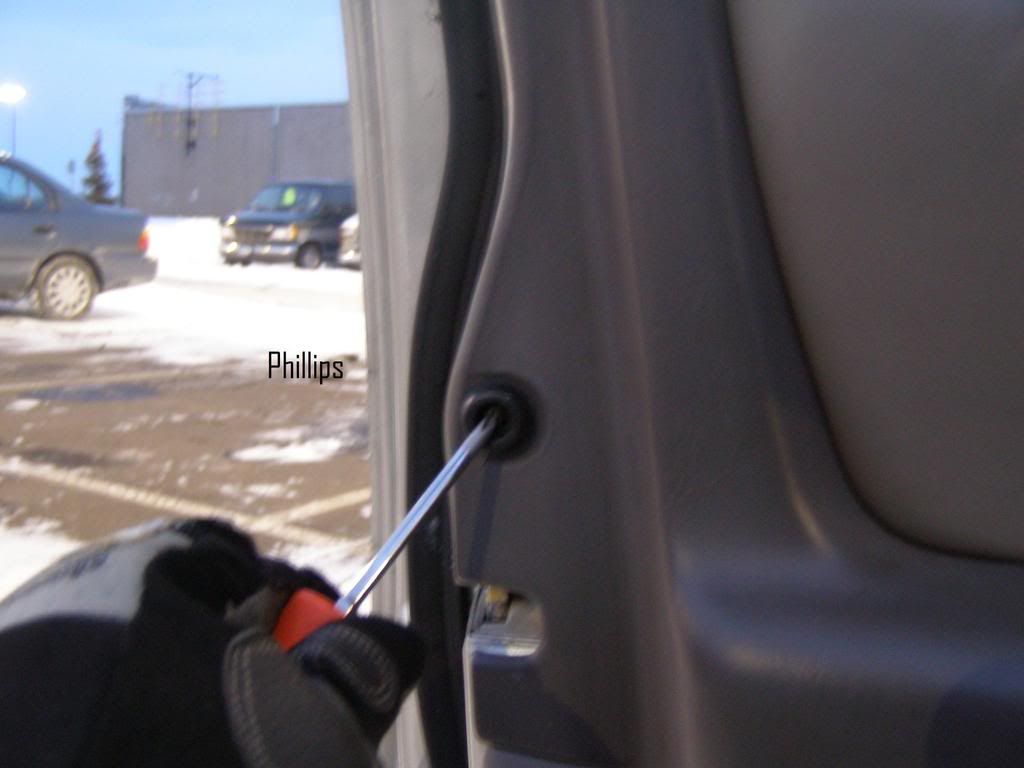
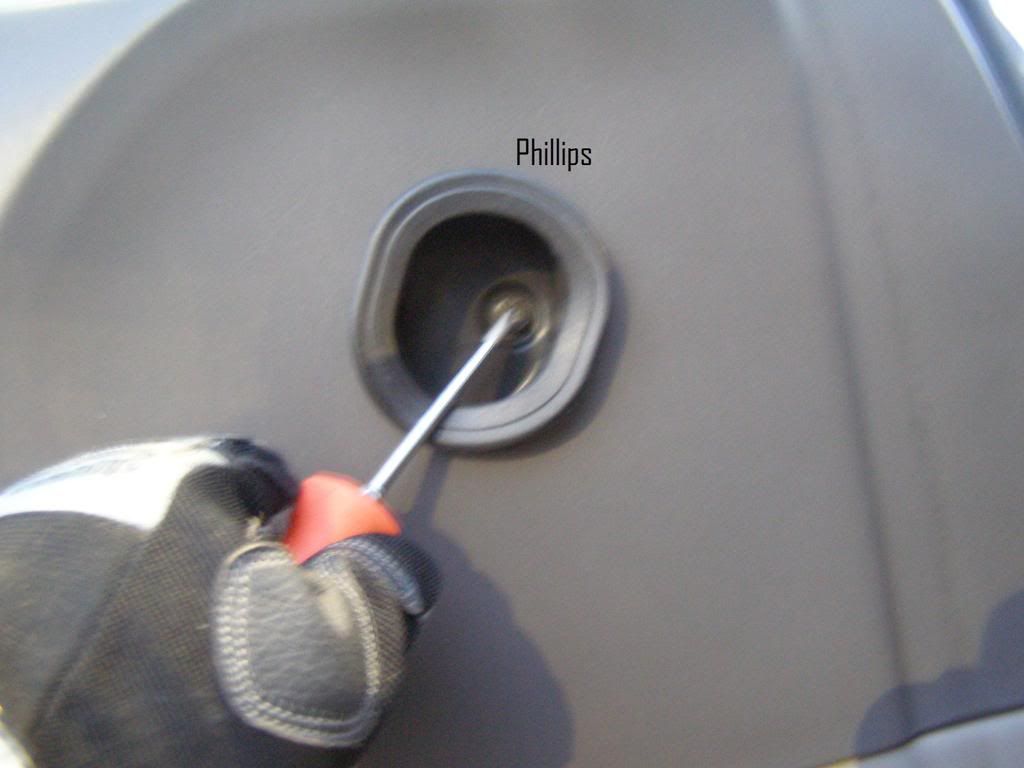
Step 3 - Phillips screwdriver, unscrew, keep track of all screws..
Step 4 - Phillips screwdriver
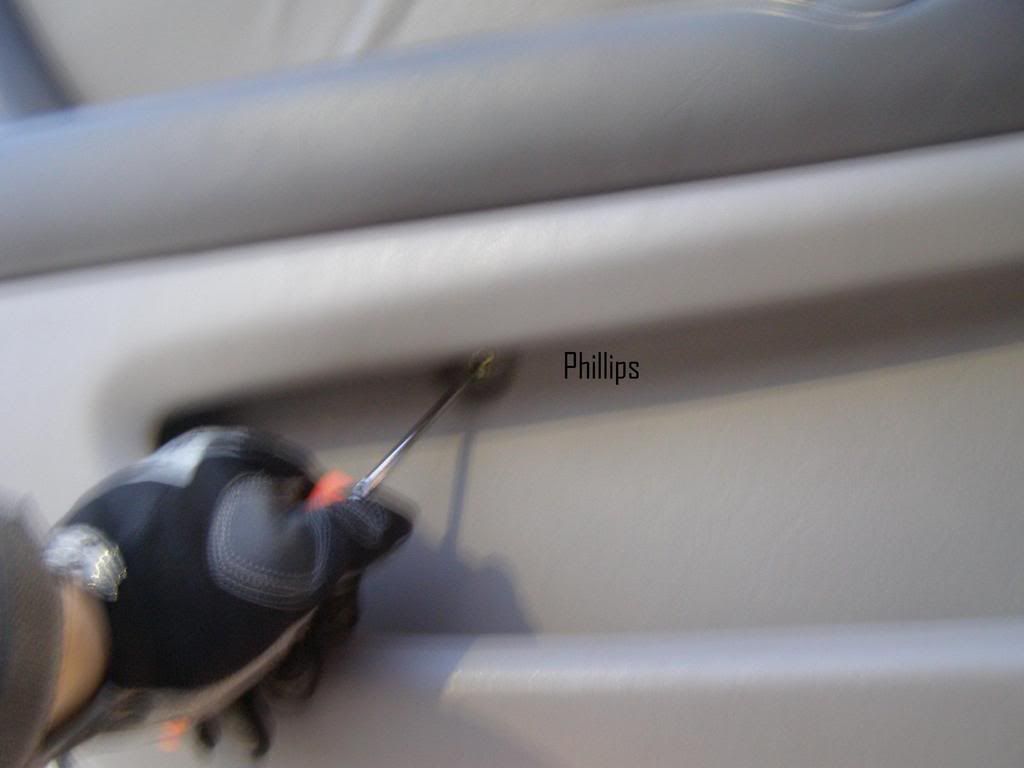
Step 5 - Phillips screwdriver
Step 6 - Phillips screwdriver
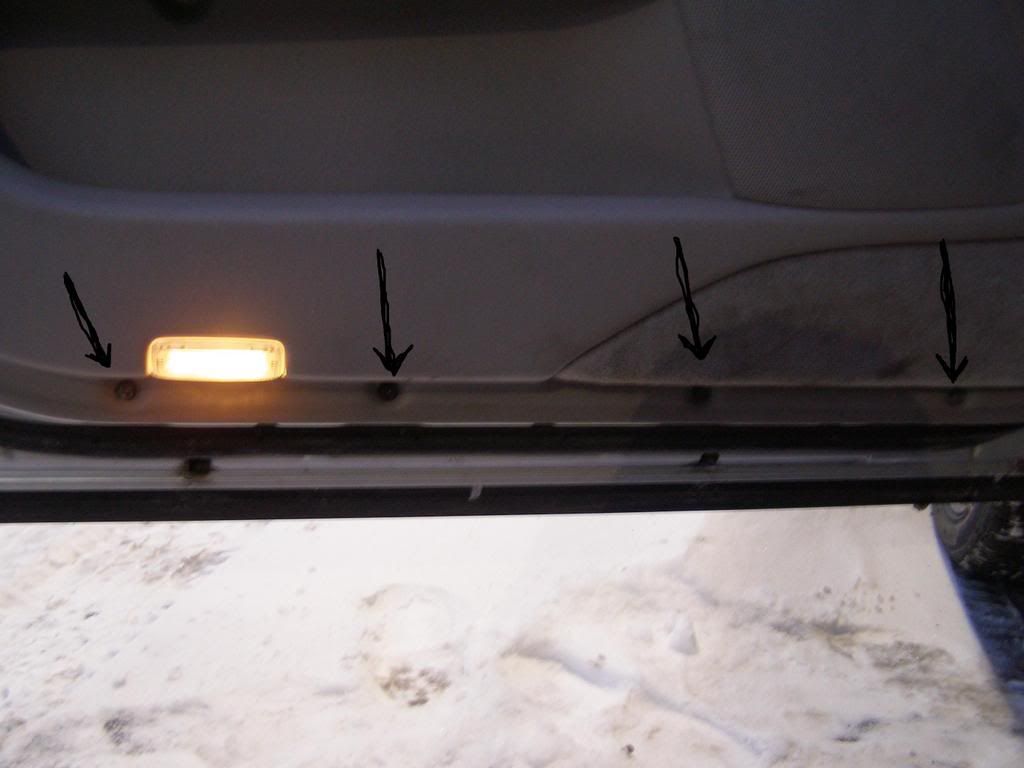
Step 7 - Remove 4 screws with phillips screwdriver
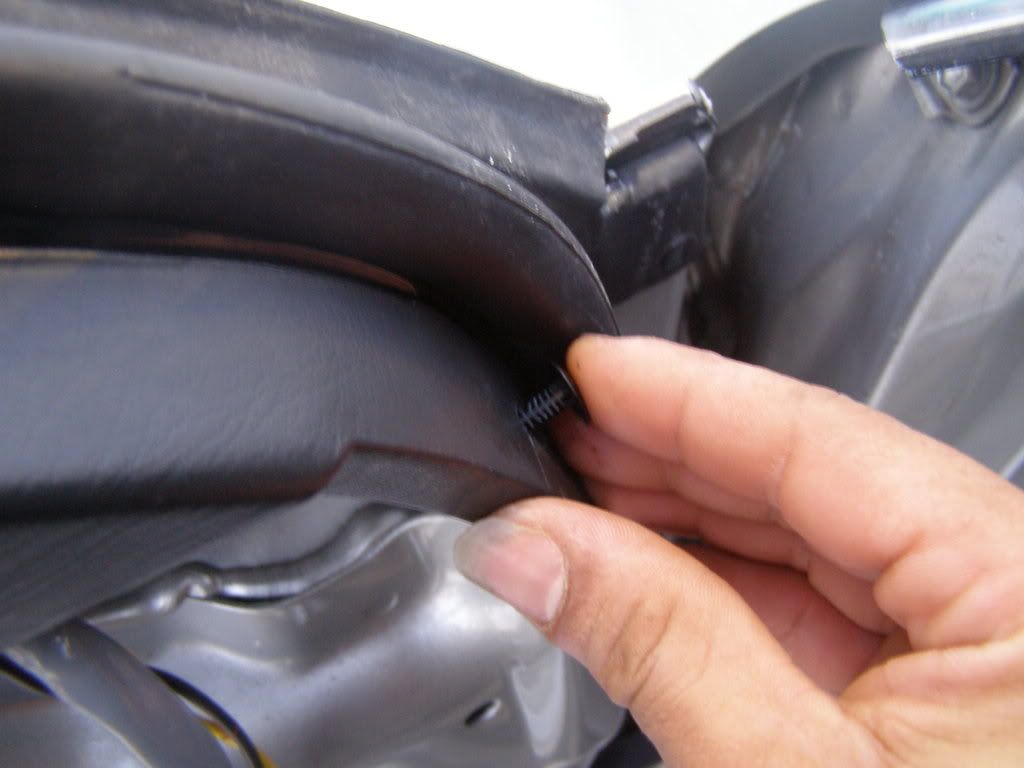
Step 8 - Pop this little black click up from around the mirror
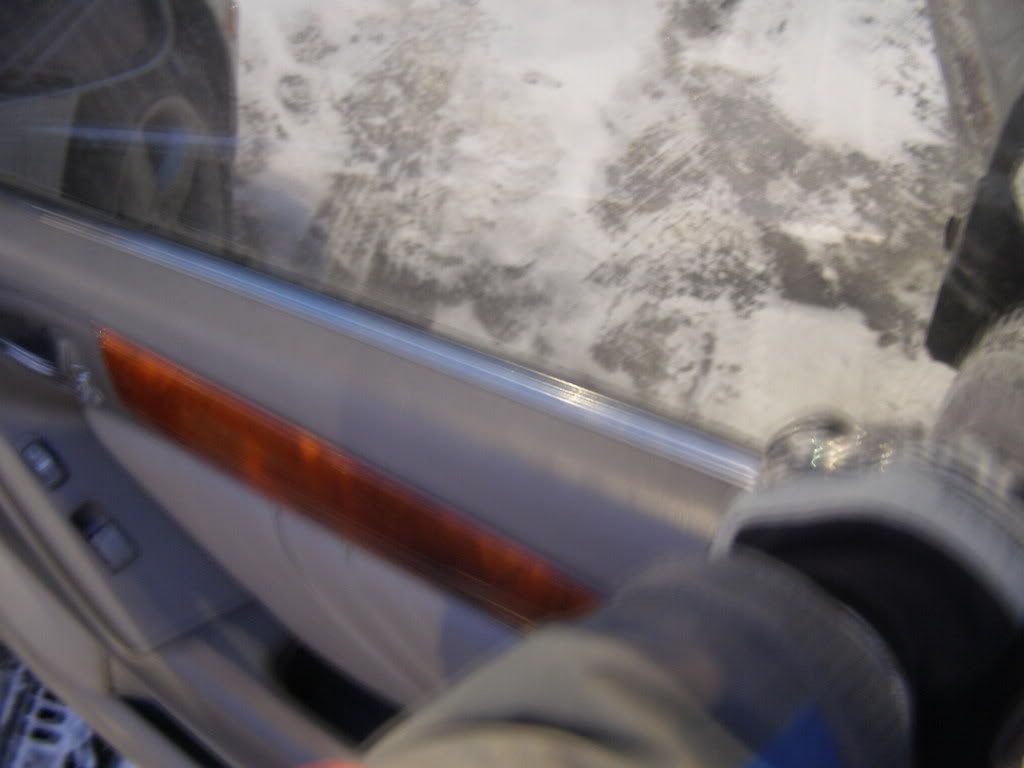
Step 9 - Pop all plastic clips around door, and pull up and out on the back of the door, by the lock assembly, not the best picture but this is where i pulled up...
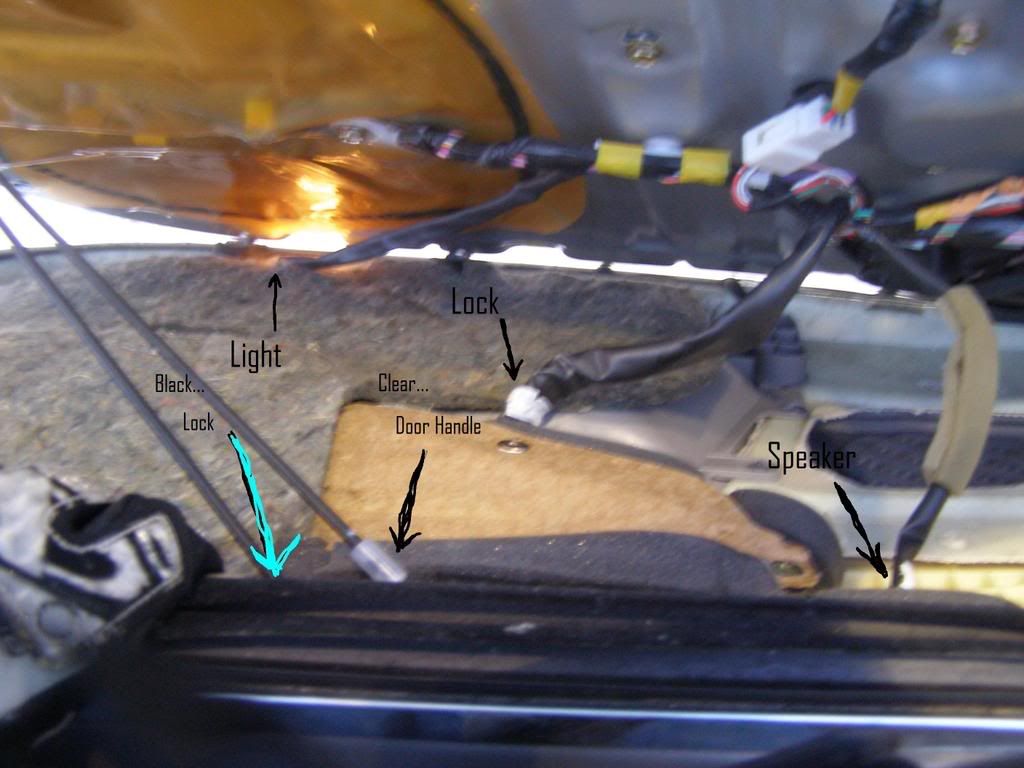
Step 10 - Backside of the door, disconnect the speaker, light, lock, connectors as well as the door and lock actuator cables... tried to be as clear as possible...
Step 2 - Pull back handle, and pop off plastic cover by prying with flathead screwdriver.Step 3 - Phillips screwdriver, unscrew, keep track of all screws..
Step 4 - Phillips screwdriver
Step 5 - Phillips screwdriver
Step 6 - Phillips screwdriver
Step 7 - Remove 4 screws with phillips screwdriver
Step 8 - Pop this little black click up from around the mirror
Step 9 - Pop all plastic clips around door, and pull up and out on the back of the door, by the lock assembly, not the best picture but this is where i pulled up...
Step 10 - Backside of the door, disconnect the speaker, light, lock, connectors as well as the door and lock actuator cables... tried to be as clear as possible...
Last edited by 3UZFTE; 02-24-08 at 06:04 PM.
 02-24-08, 06:17 PM
#2
Instructor
Thread Starter
Once the door molding is off, the tweeter is covered by a grill. The grill is part of the black plastic molding along the top of the door..
Step 11 - Remove this 10mm nut to work the molding free from the that holds the speaker and molding down.
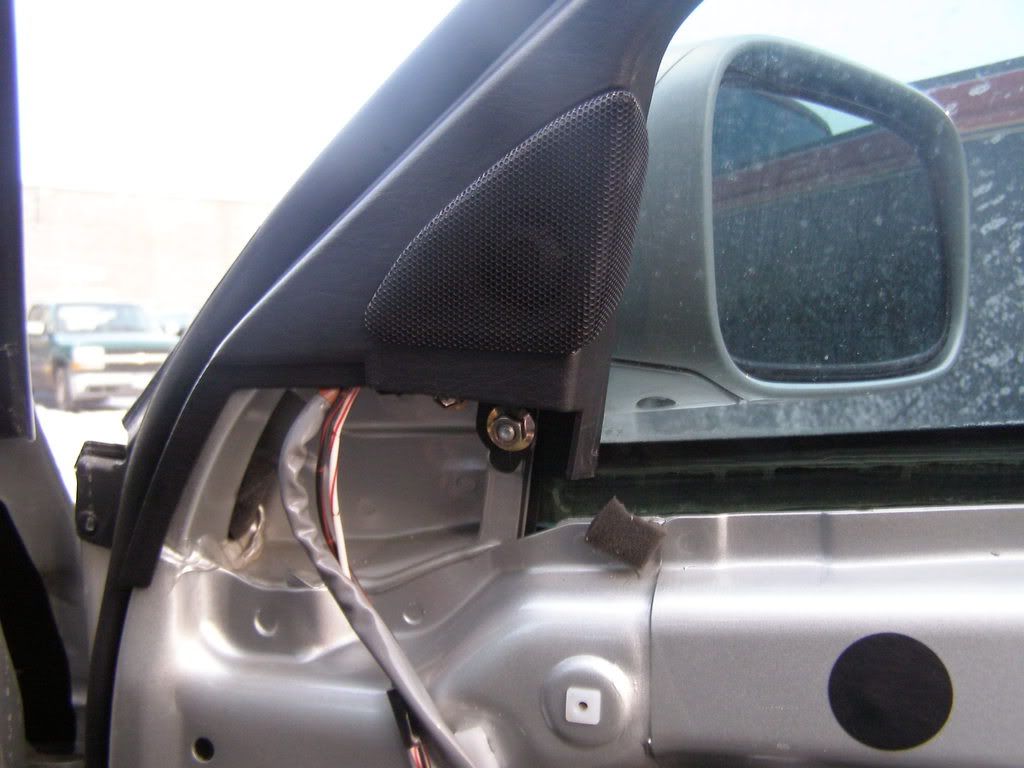
Step 12 - With 10mm nut removed, remove molding from speaker, BE CAREFUL it can be tricky..
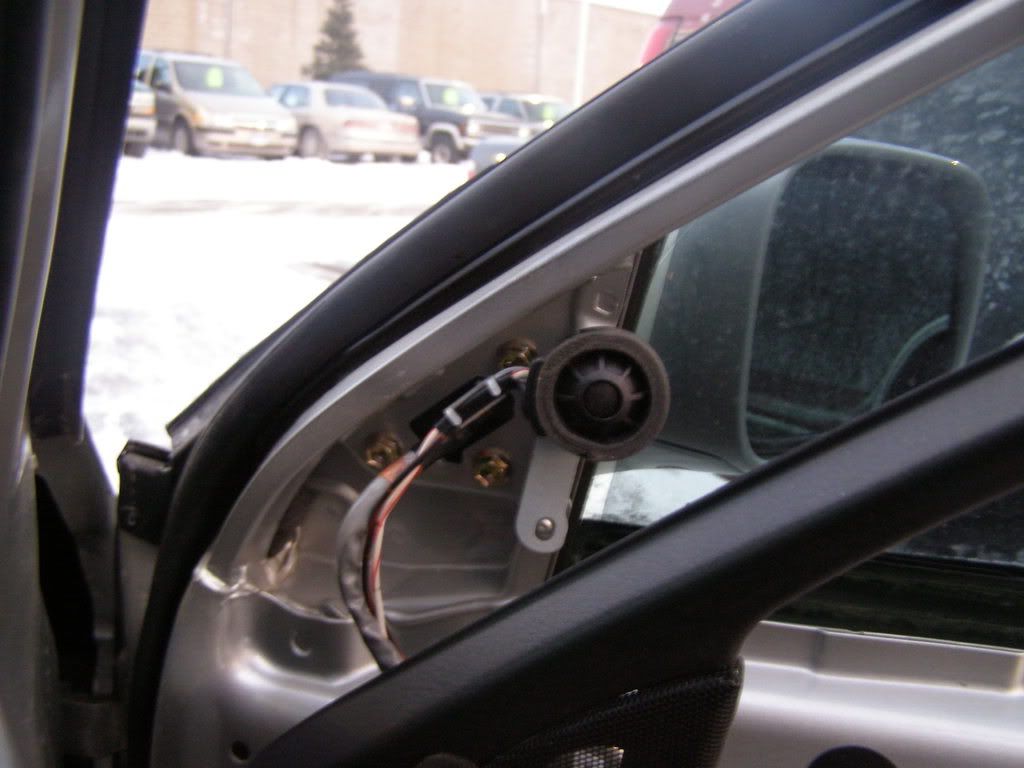 Step 13 - With molding and tweeter removed, the three 10mm bolts holding the mirror on.
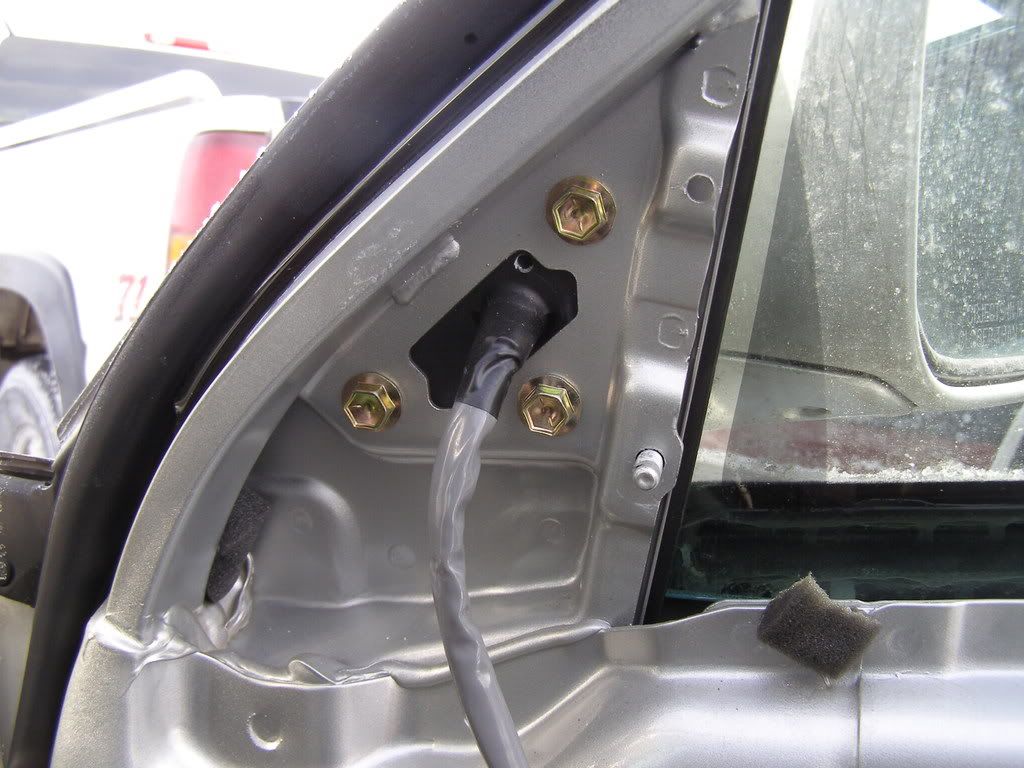
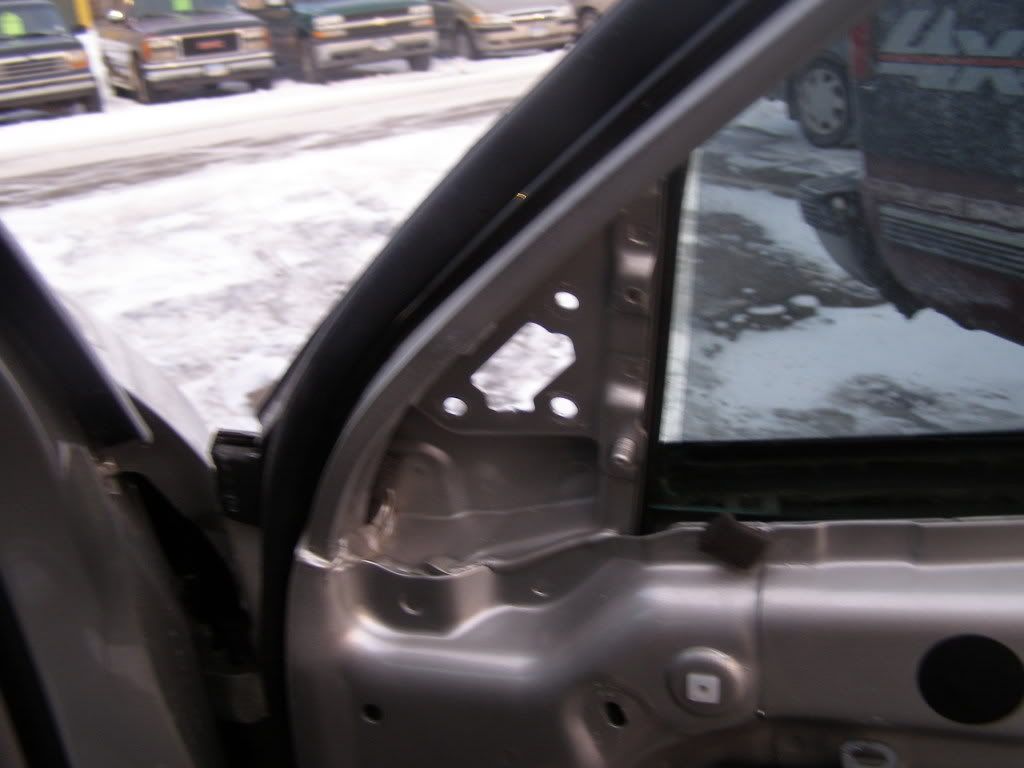
Step 14 - With molding, tweeter, mirror removed..
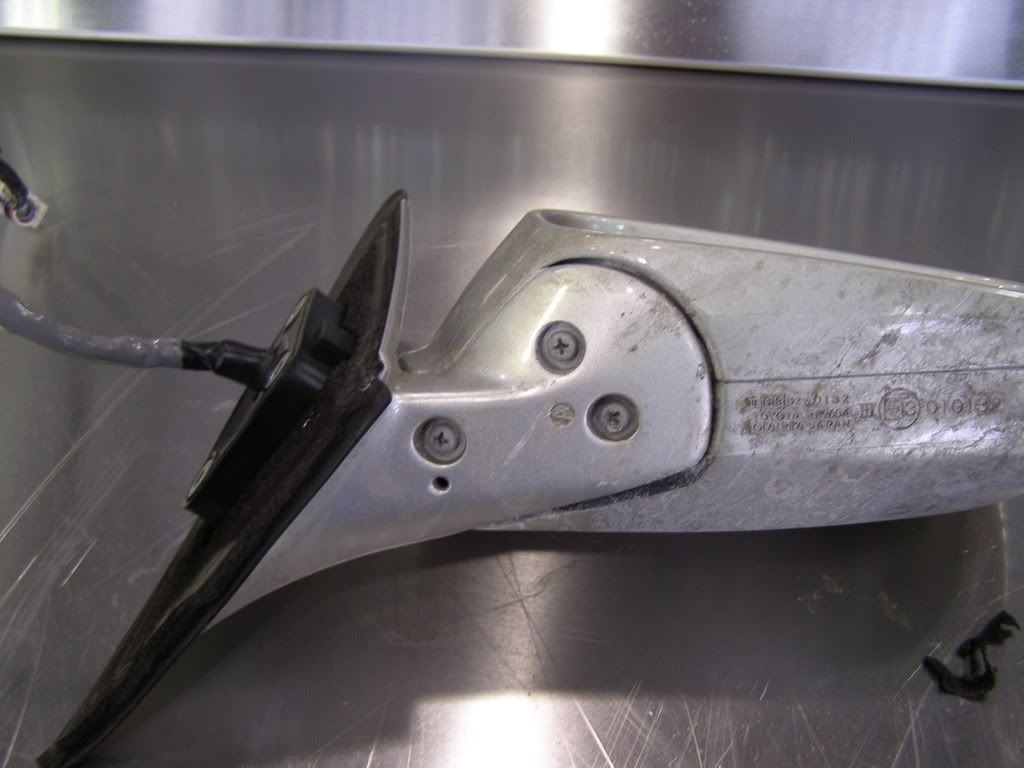
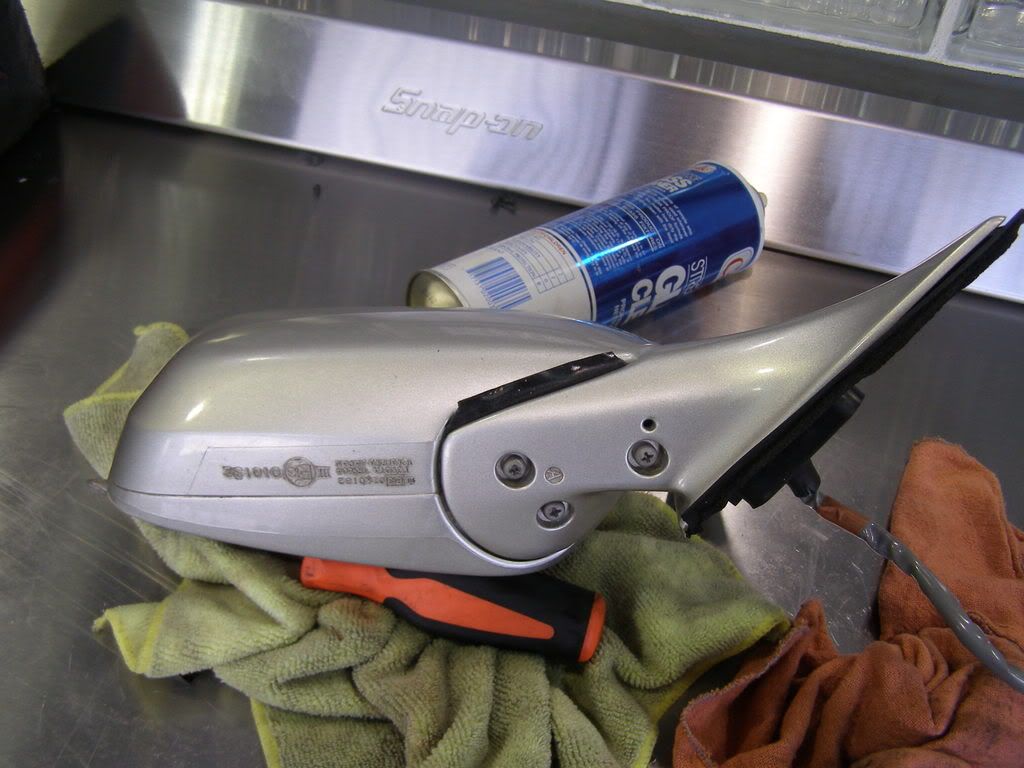
Step 15 - Morror on my bench, it's winter so that's all salt on my mirrors, Damn Minnesota...
Step 11 - Remove this 10mm nut to work the molding free from the that holds the speaker and molding down.
Step 12 - With 10mm nut removed, remove molding from speaker, BE CAREFUL it can be tricky..
Step 13 - With molding and tweeter removed, the three 10mm bolts holding the mirror on.Step 14 - With molding, tweeter, mirror removed..
Step 15 - Morror on my bench, it's winter so that's all salt on my mirrors, Damn Minnesota...
02-24-08, 07:03 PM
#3
Instructor
Thread Starter
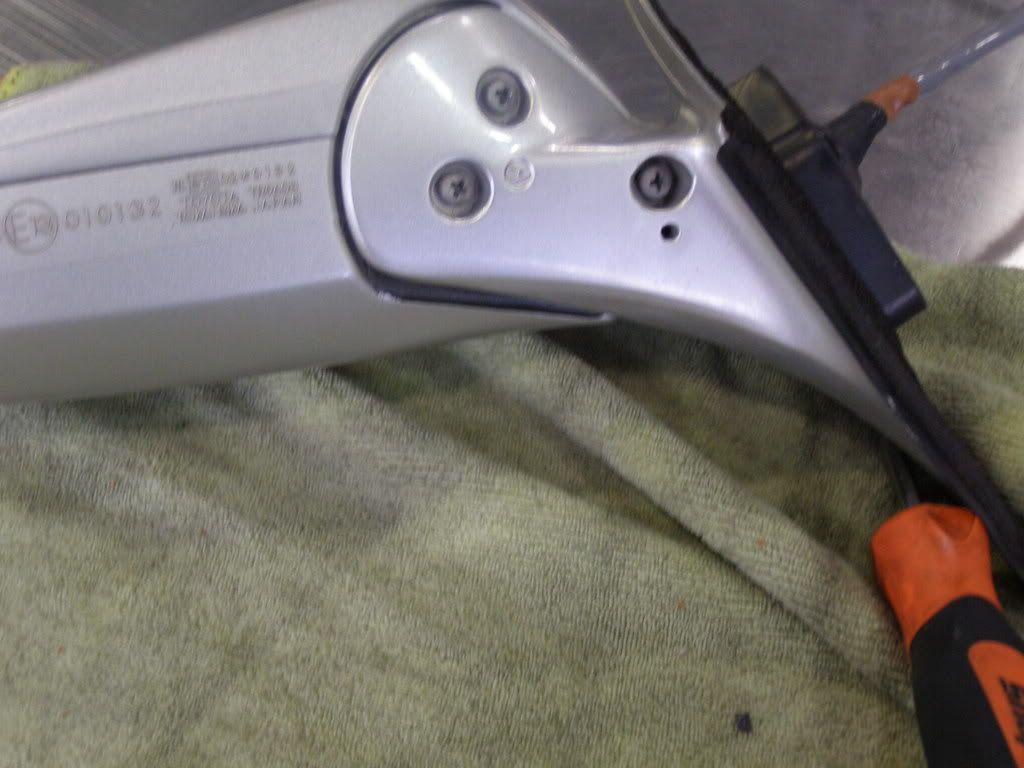
Step 16 - Once the mirror is on your bench, remove the 3 phillips screws that hold the mirror visor to the mirror stay... With the mirror seperated, carefully work the cord in the mirror to give yourself more room to work with. See the clip holding the wire in place, untuck this wire, and you will have much more room to work with...
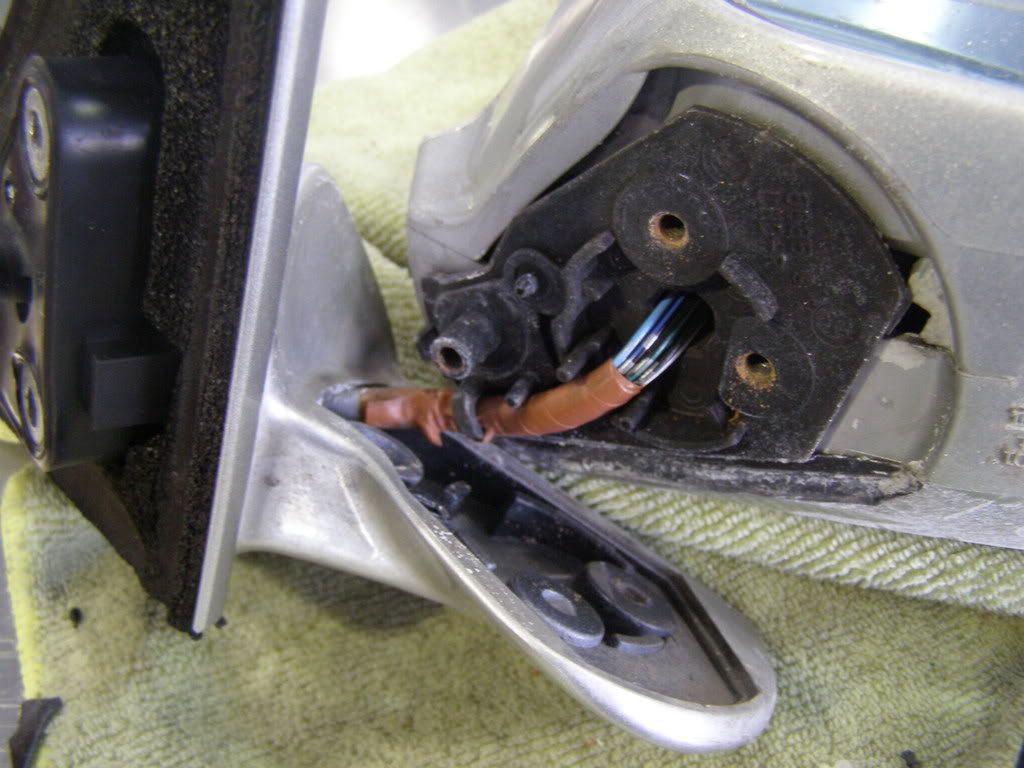
Step 17 - With the a little extra room with the cord not held tight, and the clip not holding the cable down.
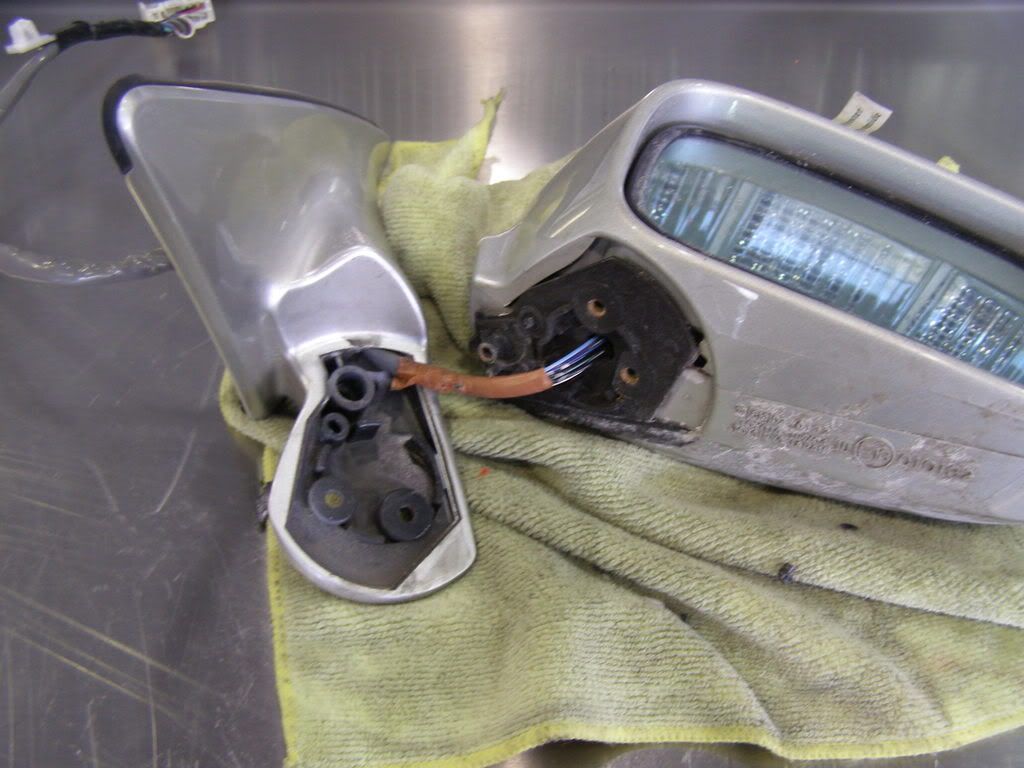
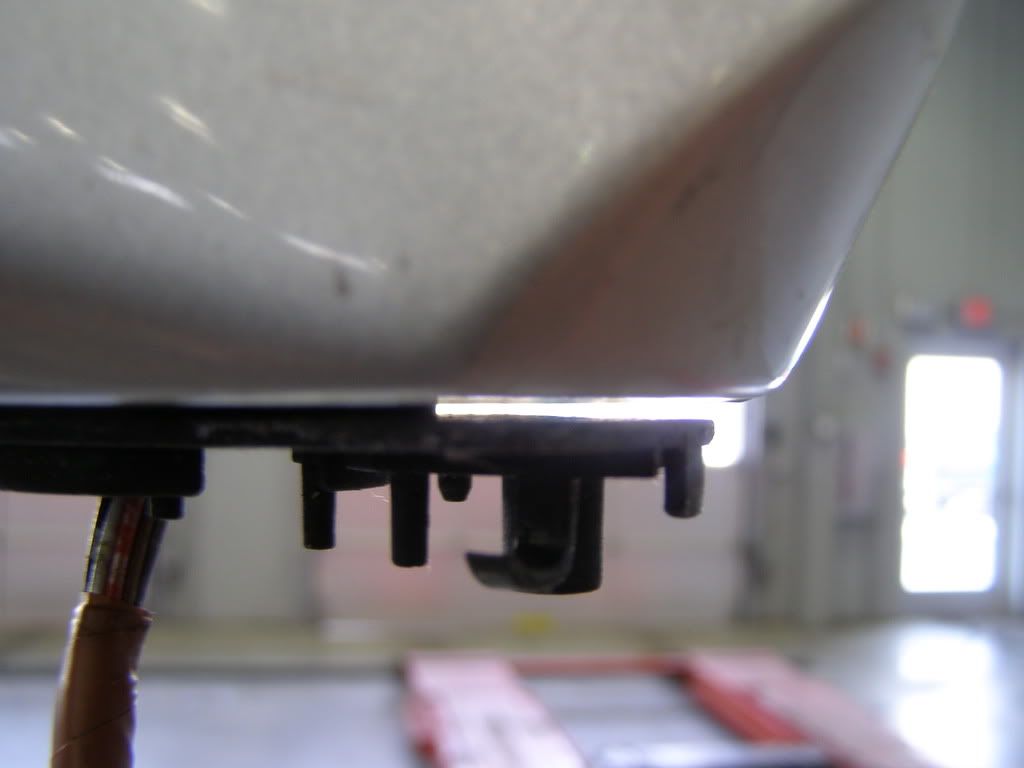
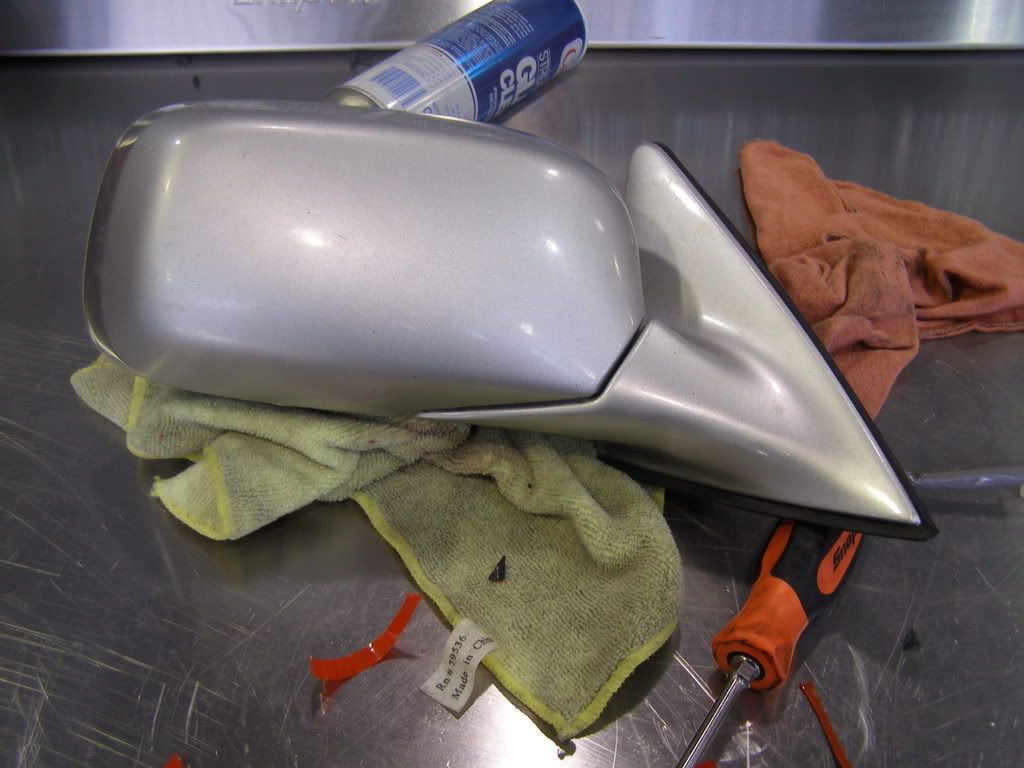
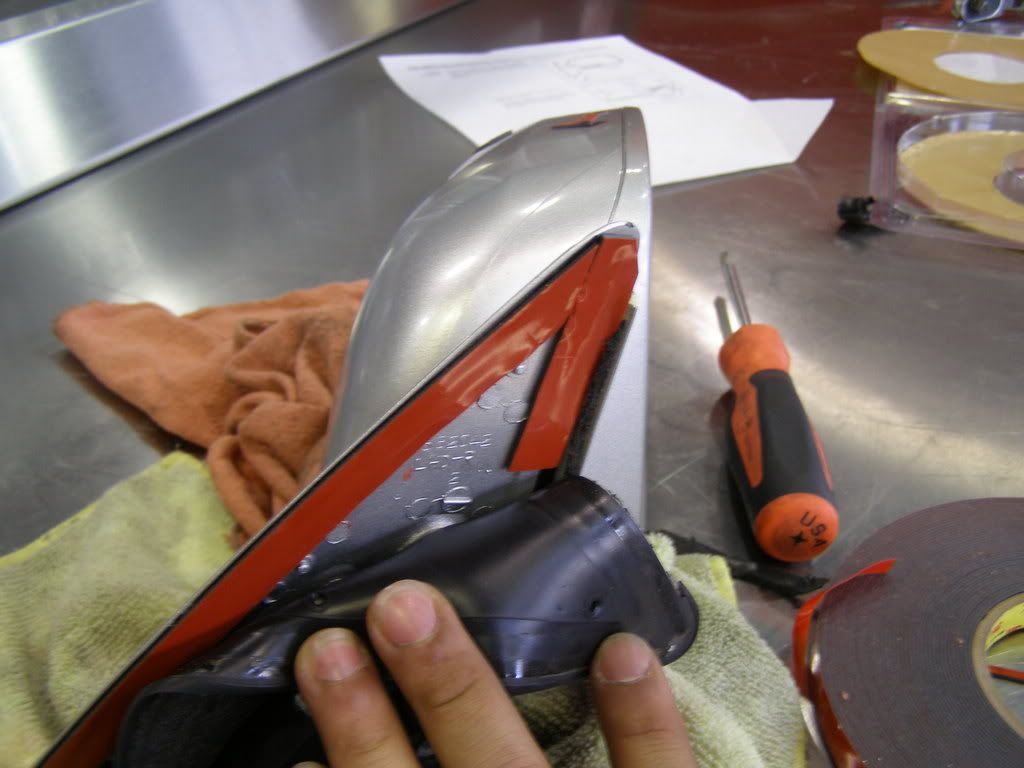
Step 18 - With the mirror removed, from the car, you can see the air gap between the visor and the stay is visible..
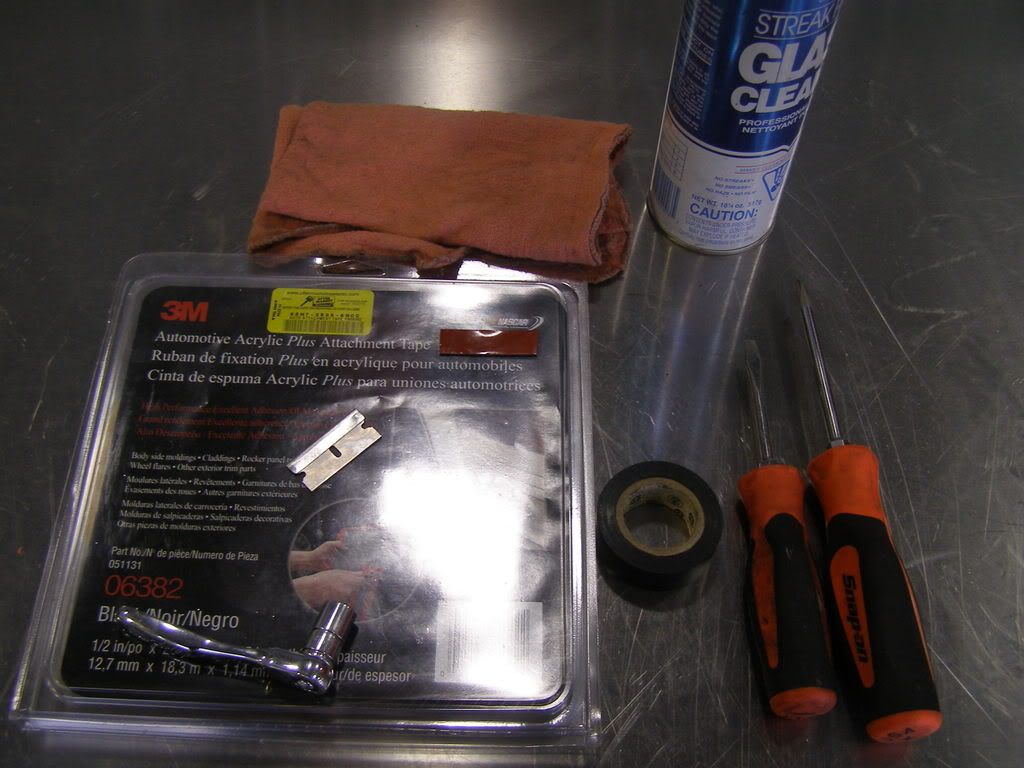
Step 19 - Clean the areas in red, this is where i placed the double sides 3M insulation tape (thin, 1/2" wide). I placed 2 layers of this pattern to make sure the gap is covered.
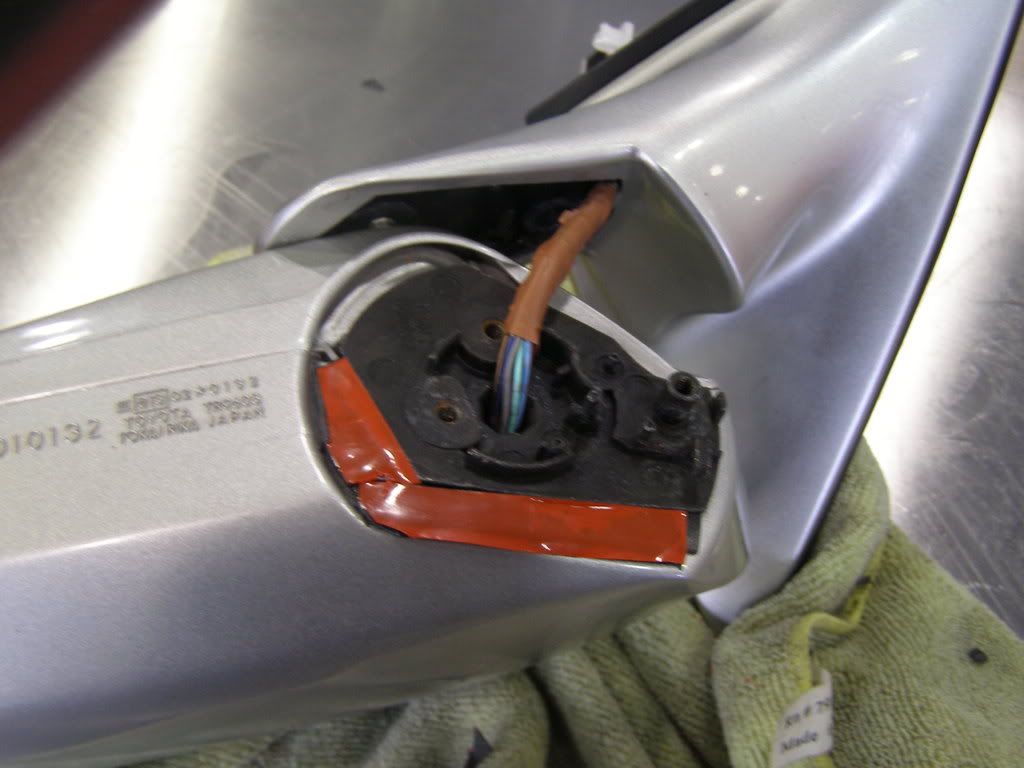
Step 20 - 2 layers of 3M tape, might not look like it from here, but it is flush with the plastic mirror stay, with the cord clipped in, ready to go back together..
Step 21 - Mirror back together, with the extra tape sticking out of the crack, this was intended so i could for sure fill the space, just use a razor blade to trim the excess off.
Passenger side
Driver side
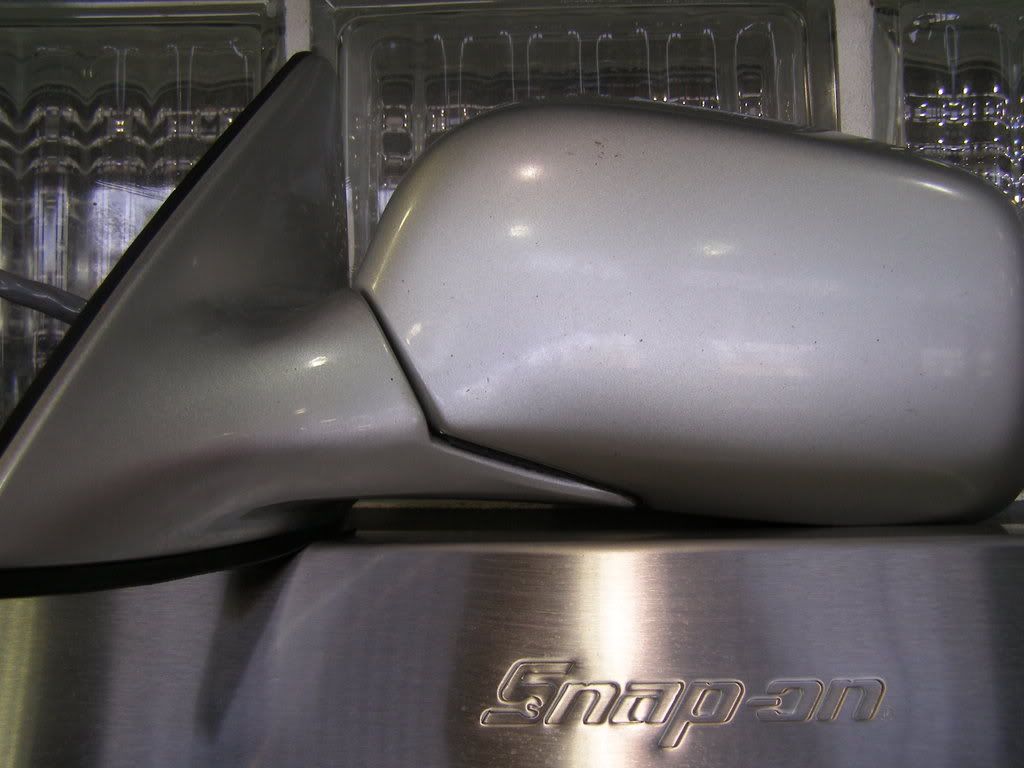
Step 22 - Make sure mirror is how you want it, mirror doesn't come off in seconds, but do it right the first time...
Driver side as well..
Step 17 - With the a little extra room with the cord not held tight, and the clip not holding the cable down.
Step 18 - With the mirror removed, from the car, you can see the air gap between the visor and the stay is visible..
Step 19 - Clean the areas in red, this is where i placed the double sides 3M insulation tape (thin, 1/2" wide). I placed 2 layers of this pattern to make sure the gap is covered.
Step 20 - 2 layers of 3M tape, might not look like it from here, but it is flush with the plastic mirror stay, with the cord clipped in, ready to go back together..
Step 21 - Mirror back together, with the extra tape sticking out of the crack, this was intended so i could for sure fill the space, just use a razor blade to trim the excess off.
Passenger side
Driver side
Step 22 - Make sure mirror is how you want it, mirror doesn't come off in seconds, but do it right the first time...
Driver side as well..
02-24-08, 07:04 PM
#4
Instructor
Thread Starter
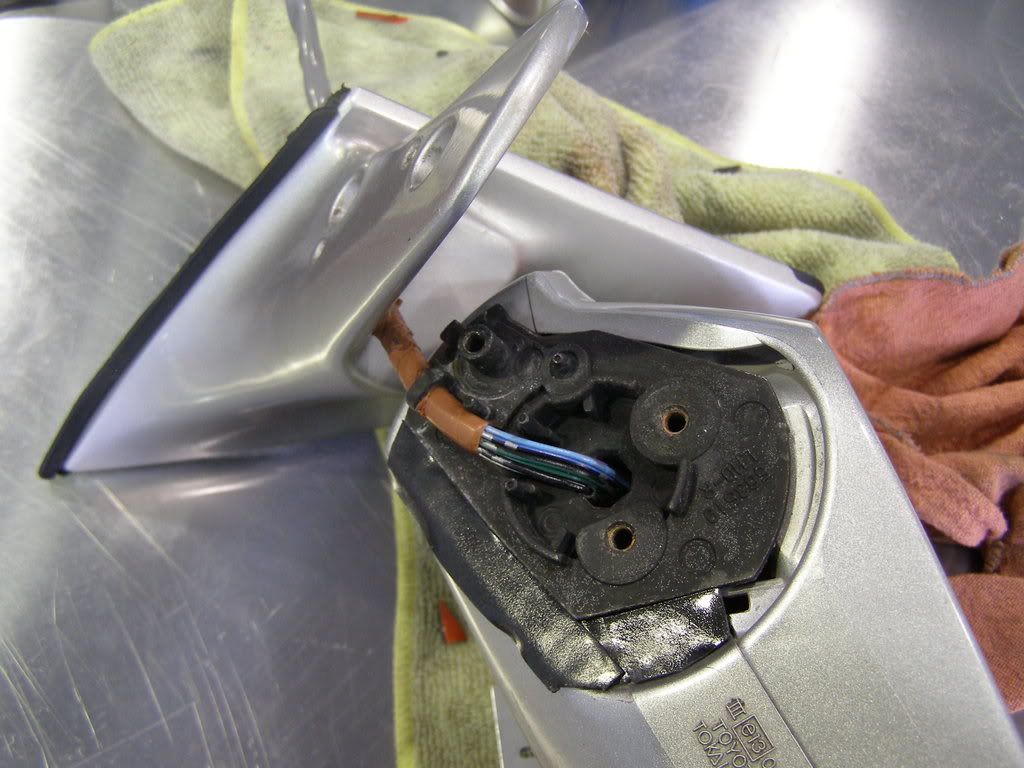
Step 23 - Decided to get crazy, i peeled back the rubber diaphram around the mirror holder, and placed a single layer of tape around the entire mirror, like so..
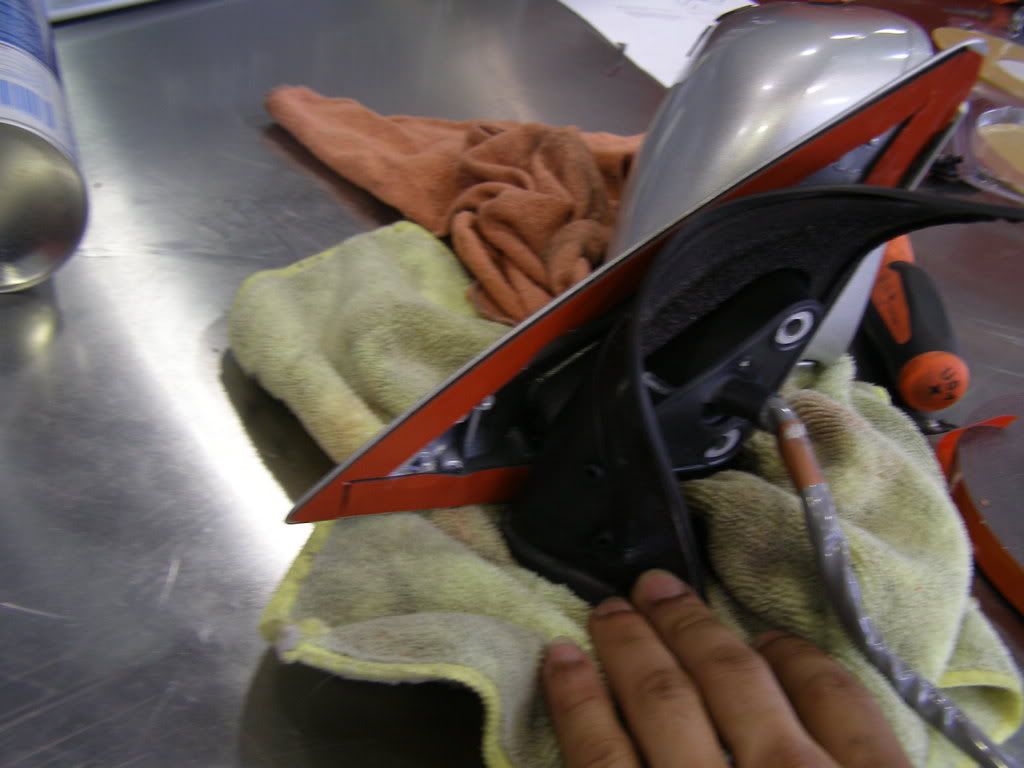
Make sure there is no over lapping, otherwise it will cause wind to come underneath if it is not even around the entire thing..
I made the front strip, 1 peice because i think it would keep more air from entering then 2 peices.. Important that you don't cover the little nipples on the back of the mirror, to thr right of the tape in the last picture, otherwise your have a hell of a time securing the rubber diaphram to the back of the mirror with the trap insulated... Remember to take of the tape, and clean the surface areas being applied...
Trending Topics
02-24-08, 08:12 PM
#8
Lexus Test Driver
iTrader: (1)

Join Date: Sep 2007
Location: GO DAWGS!
Posts: 918
Likes: 0
Received 0 Likes
on
0 Posts
from looking at my mirror you could do this without removing the whole mirror........just take out the three screws on the bottom on the mirror and leave the rest attached to the door! much less time!!!!
02-24-08, 09:31 PM
#9
Instructor
Thread Starter
Agreed, but i could not get to the screws with a small enough screw driver, so i waited til i decided to take car of some other stuff inside the door as well. Sorry for wasting your time.
02-24-08, 09:47 PM
#10
Pole Position

Join Date: Nov 2007
Location: NJ
Posts: 319
Likes: 0
Received 0 Likes
on
0 Posts
3UZFTE.
Don't take his comment as saying you wasted your time.
This is a great DIY, don't ever think otherwise.
Forums are meant to be a forum to share ideas and discuss better ways of solving problems.
Sorry to sound preachy, but we need more people to take the time out to do these DIYs.
So thank you 3UZFTE for enriching my time.
02-24-08, 10:25 PM
#11

I still feel guilty about not taking pics and showing how I converted a Toyota Stereo harness into a Lexus Factory Amp Bypass harness. Good you took the time for us.
Last edited by flipicanez; 02-24-08 at 10:29 PM.
02-25-08, 07:16 AM
#12
Instructor
Thread Starter
Thanks, i was kinda feeling like no one needed this, but i remember a few weeks back someone asked for a "how-to" to remove the door panel, and if i were to just remove the 3 screws on the underside, i wouldn't have been able to work as easily or as freely as i did. Nor could i have applied tape to the back side of the mirror, between the door and mirror holder..
Cliff- Results are noticeable, and with the window track mod makes a world of difference, now i feel like i'm driving around just looking and listening for road noises, it seems like i''m never going to be happy.... But i am, i drove a 96 Chevy Blazer before, the difference alone between those 2 is night and day...
Flip- You converted the toyota harness into a lexus amp bypass harness, for using a bigger or better amp?
Last edited by 3UZFTE; 02-25-08 at 07:19 AM.

