
DIY – GS300 – clear tails – amber removal
 01-22-11, 06:07 PM
#91
here's pics
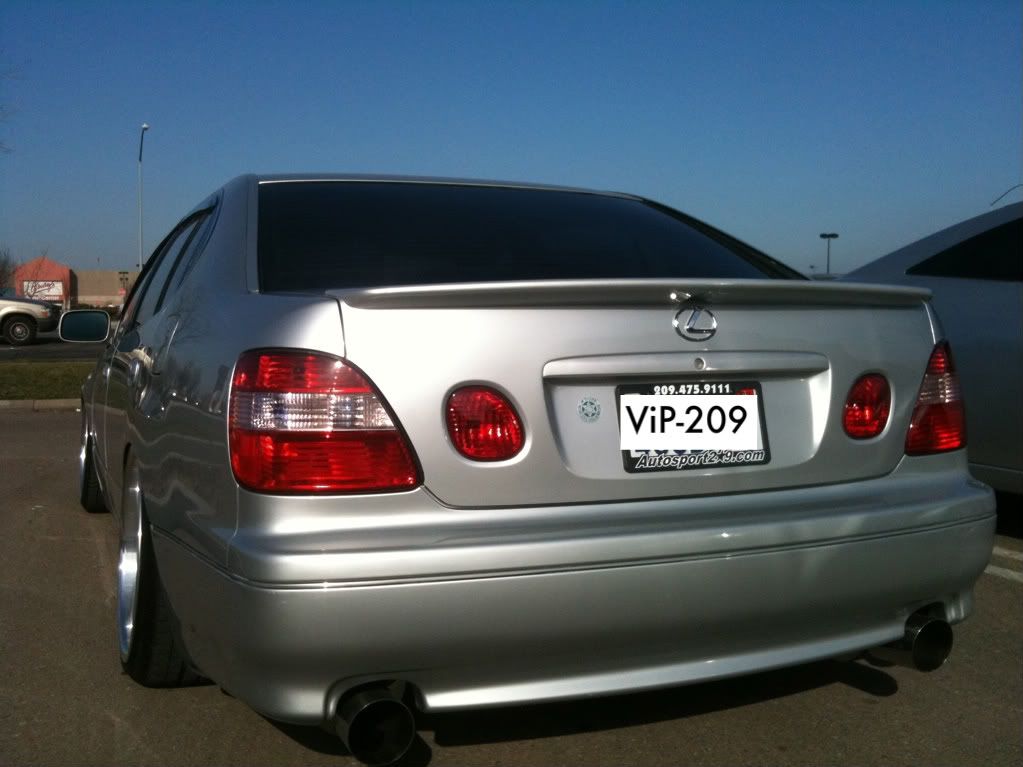
installed a hyper white 9005 bulb in the reverse light too

*update* FYI, please dont put a high wattage bulb in the reverse light. It worked for about a week, then my fuse popped and my dash lights no workie.
installed a hyper white 9005 bulb in the reverse light too
*update* FYI, please dont put a high wattage bulb in the reverse light. It worked for about a week, then my fuse popped and my dash lights no workie.
Last edited by /209JOHN\; 05-21-11 at 07:55 PM.

 02-08-11, 06:38 PM
#93

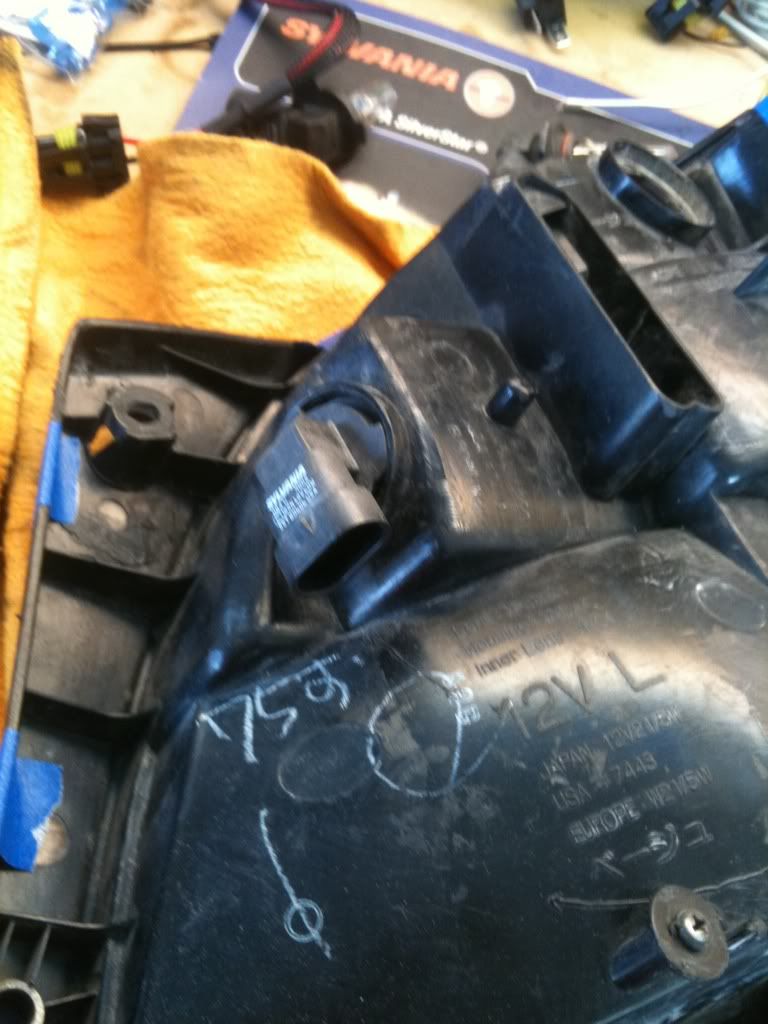
I did this today in moms oven. I put mine on a cookie sheet and baked at 200 but then raised it to 215. The first one went pretty rough. I chipped a small piece off the edge and also ended up with a few cracks. For the second I raised the temp to 215 and left it in for 20 min. I was able to get the lens off in one shot with only minor cracks.I bought these made in china tools from harbor freight to help but mostly used a flat head screwdriver. I used the pry tool as a wedge to put a little pressure as I worked it with the screwdriver. Im pretty happy over all. For a $6 dollar mod I really cant complain, just hope they dont leak. Here are the results.


02-26-11, 07:19 AM
#96
Just finished with mine and it went great! Baked them at 195 degrees for 10 minutes. The first one took a little longer with one tiny crack at the bottom, but the second took like 2 seconds to take apart with no cracks. Neither are chipped. 
Patience is key!
Patience is key!

 04-09-11, 05:53 PM
#101
01+ taillights mod, created a new thread but in short don't do it.
https://www.clublexus.com/forums/gs-...light-mod.html
https://www.clublexus.com/forums/gs-...light-mod.html


I tried to clear em , but failed..
04-09-11, 06:23 PM
#102
Rookie

Join Date: Apr 2010
Location: QC
Posts: 53
Likes: 0
Received 0 Likes
on
0 Posts
Can anyone describe how the amber piece is holding inside the light? Because when I have my MK3 Jetta, although the tail lights where smoked (Wolfsberg and K2 versions) there was an amber piece inside as well.
http://europartimport.com/shop/image...pg?osCsid=7990
But to take it out I took the headlight out, droped in a screw driver trought the buld hole, gave it a moderated hit with a hammer and the AMBER piece broke off inside the tail light. Then it was the fun part going in with a pair of long nose breaking it into small enought pieces for them to come out trought the buld hole.
is this even possible on this DIY ?
Last edited by Kozy04; 04-09-11 at 06:26 PM.