completely restored an old looking headlight to brand new looking for $5.49 !!!
 07-16-08, 06:08 AM
#1
Lead Lap
Thread Starter
iTrader: (1)
Join Date: Nov 2006
Location: JP (oki to be precise :D)
Posts: 4,918
Likes: 0
Received 2 Likes
on
2 Posts
Ummm... so maybe this is common knowledge and once again i didn't get the memo, but on a post i read last week there was a slight mention of some stuff called plast-X by Meguiar's so i looked into it and ended up ordering a bottle for $5.49... The stuff came in yesterday and I took one of those circular cloth white applicator pads that you use to wax your car with that are like 1 dollar for a 3 pack at any auto parts store some windex and paper towels and went out to my car.
I first cleaned off the old dingy looking faded plastic headlight housing with windex, then I used the applicator pad and Plast-X stuff and just put a little on and went in circles and repeated this until the thing was completely clear again about 8 mins later. I only did one side of the car then went inside to ask my wife if she knew which of my headlights was the ugly faded looking one, she said she didn't so i brought her down to my car and asked her to point out which one looked the best... she immediately pointed to the one i had just used the plast-x on after barely glancing at the 2. she claims it almost looks like brand new and much much clearer than the other, which was my good looking one prior to the plaxt-x...
bottom line i was seriously considering paying a junk yard upwards of 400$ or ebay for 1 new passanger side hid housing then i bought this plast-x and it is like new again all for under 10$ including s&h. i highly highly highly recommend this stuff to anyone wanting to bring back that complete clearness to any of their headlights, fog lights, or drl's housings...
man this stuff is the shiznittle bam bittle...! as chapelle might say.
http://www.meguiars.com/?clear-plast...Cleaner-Polish
 07-16-08, 06:14 AM
#2
Pole Position

Join Date: May 2008
Location: New Jersey
Posts: 256
Likes: 0
Received 0 Likes
on
0 Posts
Yup stuff is great, I used it with a buffer - good as new! Be sure to put a coat of wax on top of your headlights, this will help protect from the elements and re-hazing.
 07-16-08, 06:53 AM
#5
Pole Position
put some pics on- thanks

Trending Topics
 07-16-08, 07:22 AM
#9
Lead Lap
Thread Starter
iTrader: (1)
Join Date: Nov 2006
Location: JP (oki to be precise :D)
Posts: 4,918
Likes: 0
Received 2 Likes
on
2 Posts
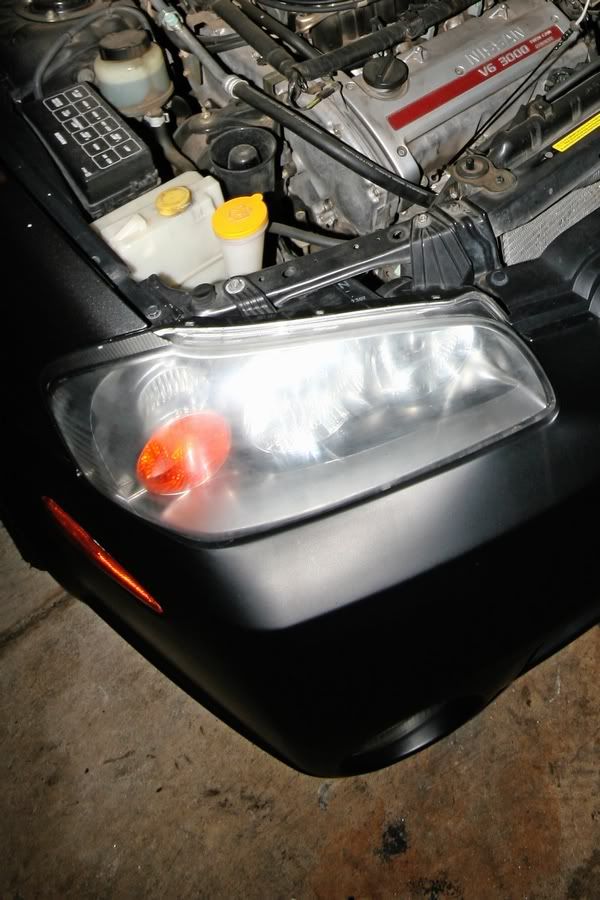
here is a pic of the old looking headlight, passenger side/ left side when looking at the pic is the old dingy looking side in this pic...

i will try to get a pic of the new and improved looking headlight housing up this afternoon or tomorrow morning so you can compare the differences your self...
i will try to get a pic of the new and improved looking headlight housing up this afternoon or tomorrow morning so you can compare the differences your self...
07-16-08, 07:46 AM
#10
If your headlight is heavily oxidized, sanding before may yield better results.
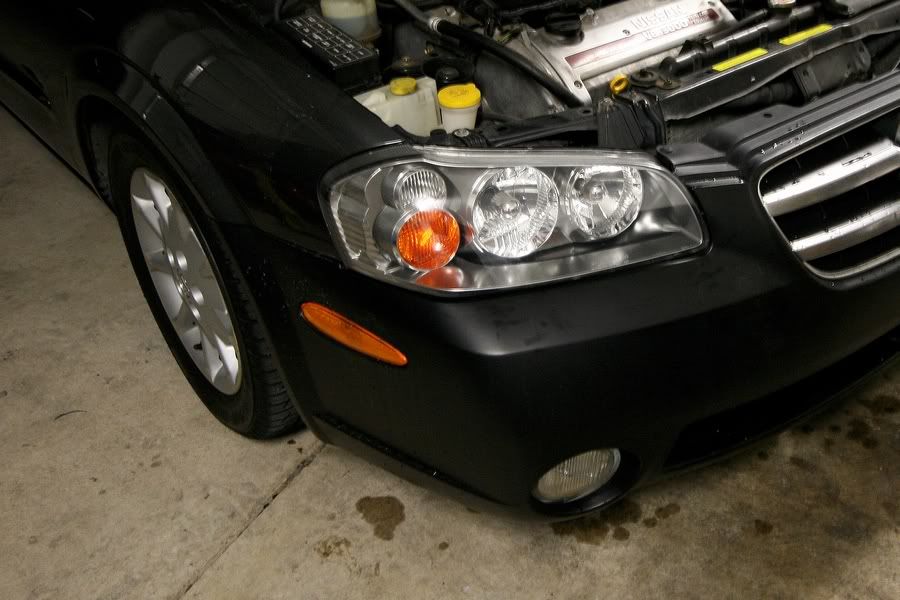
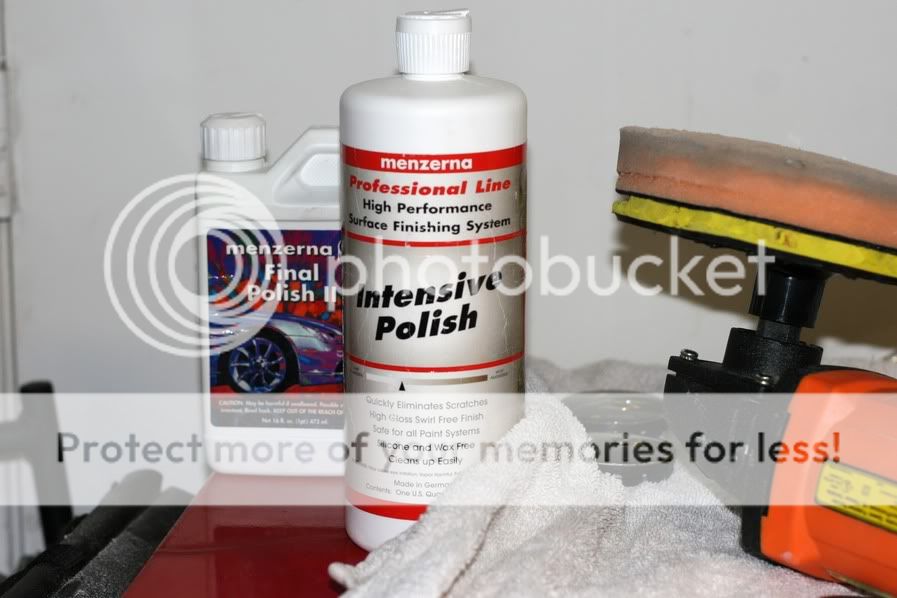
Here is an example of my friend's headlight. We wetsanded it with 800, 1000, and 2000 grit. Then Menzerna Intensive Polish (orange pad) was applied via circular polisher; followed with Menzerna Final Polish II (black pad). NXT was put on after polishing.
Before:
After:
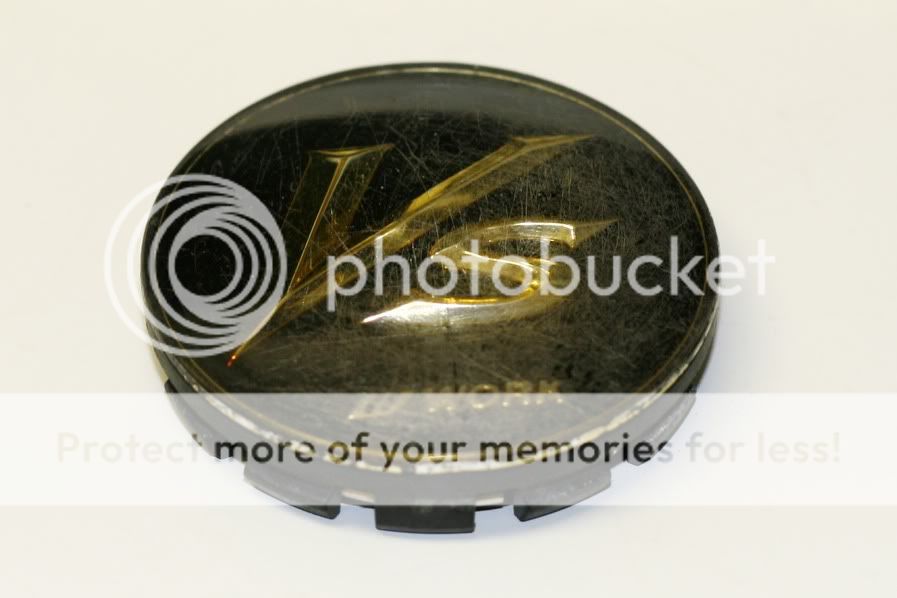
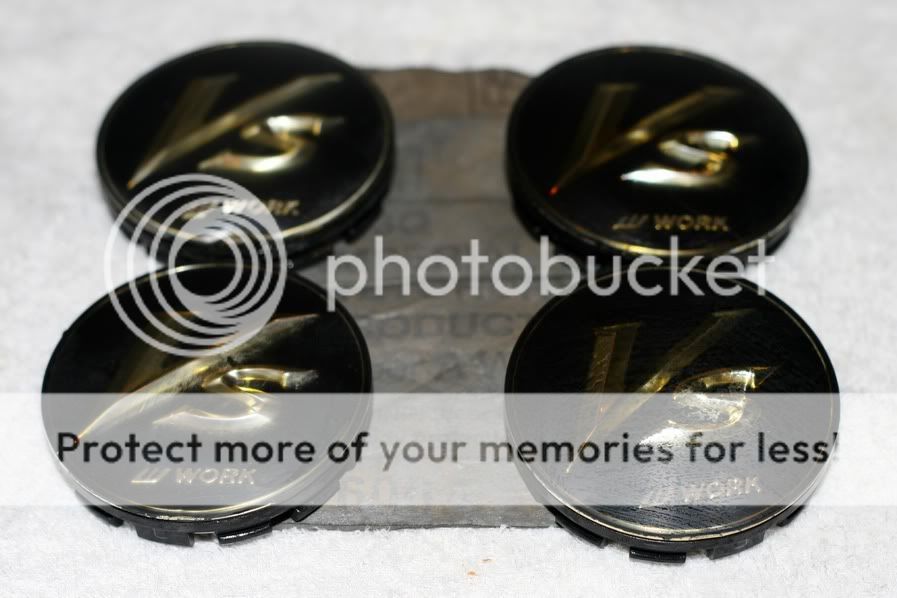
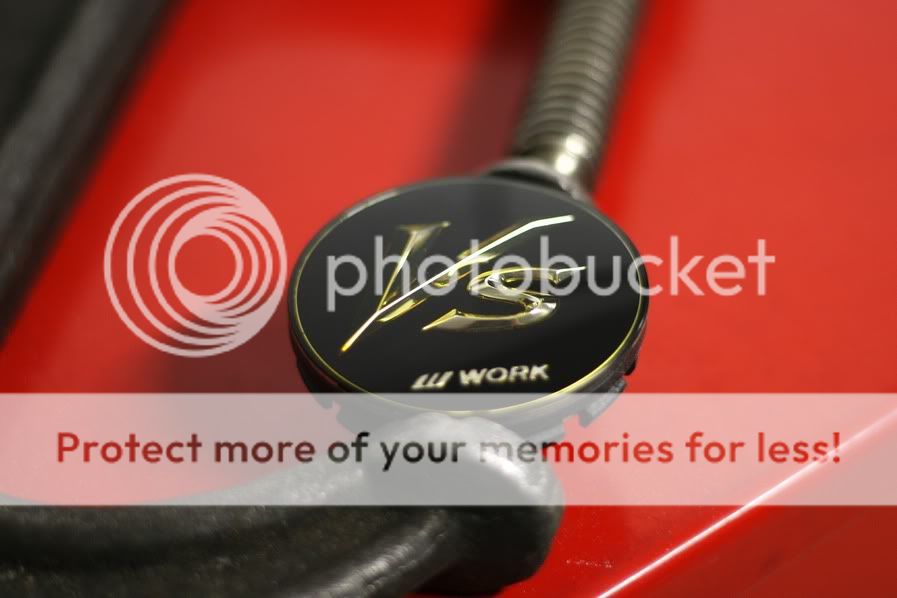
The process on restoring these centercaps are exactly the same, besides one difference. I started the with 400 grit on the centercaps (they were in bad shape). With the headlights, 800 grit was used at the beginning. Depending on the condition of your headlights (level of oxidation, pitting, scratches, etc.), different grits will be needed.
They looked terrible:
400 grit sanding:
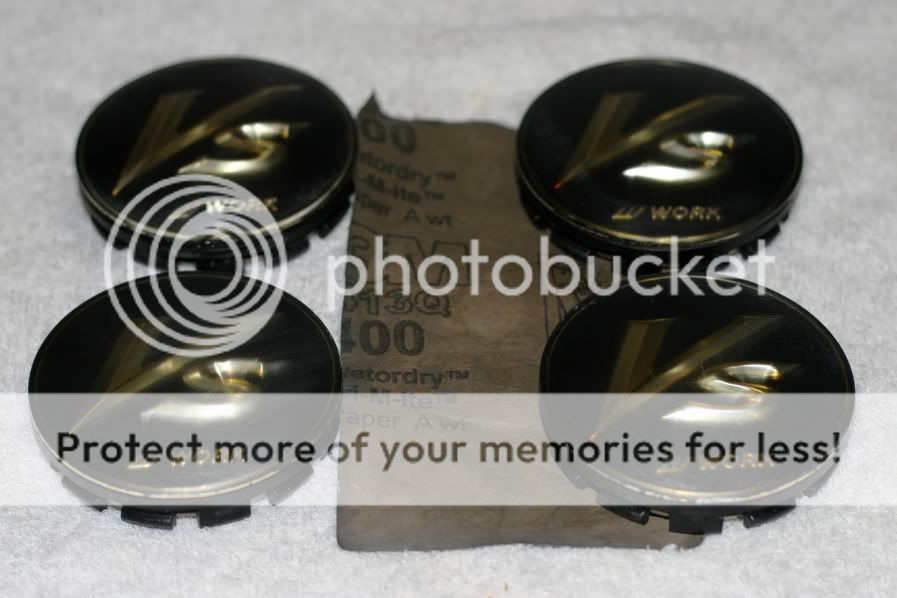
600 grit:
800 grit:
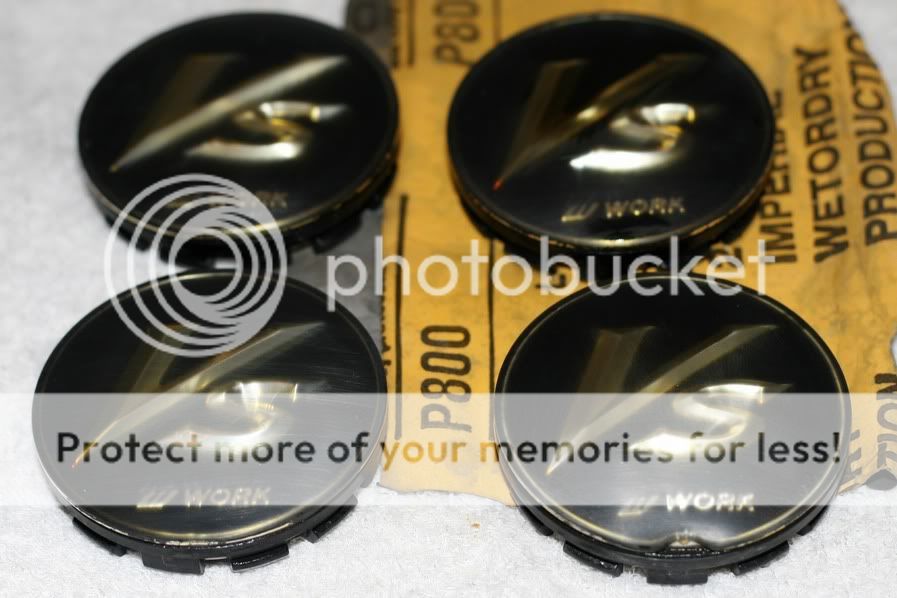
1000 grit:
2000 grit:
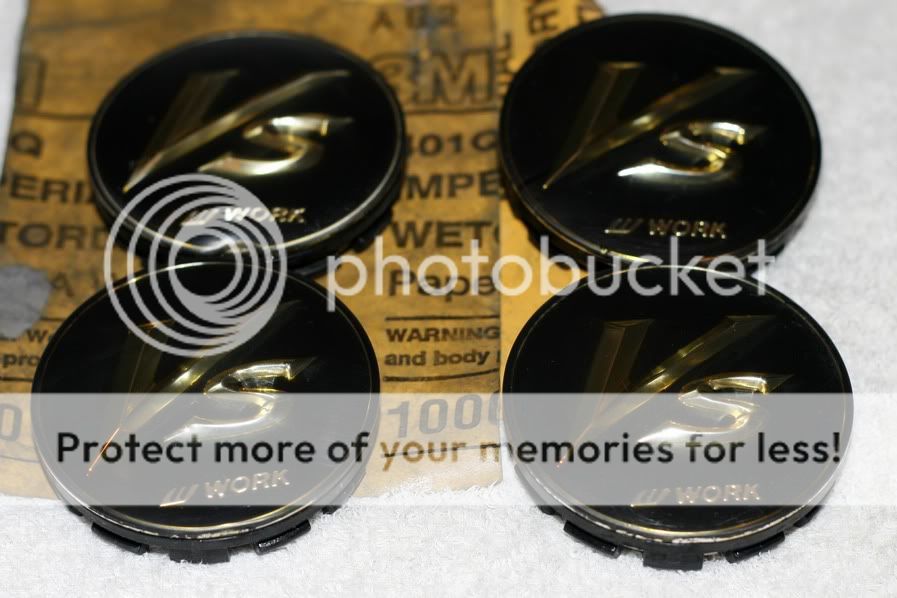
Polishes and pad(s):
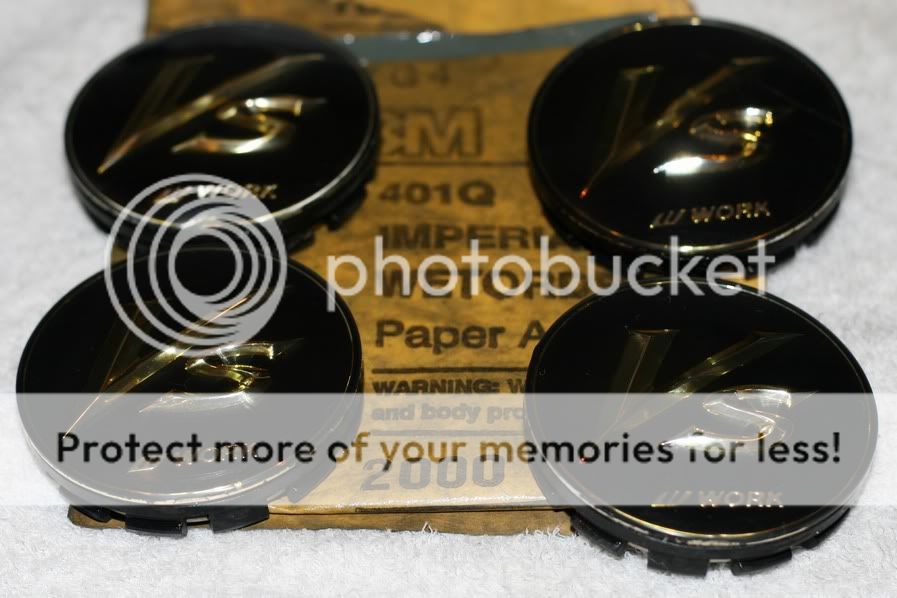
Final result:
Good luck, guys.
Here is an example of my friend's headlight. We wetsanded it with 800, 1000, and 2000 grit. Then Menzerna Intensive Polish (orange pad) was applied via circular polisher; followed with Menzerna Final Polish II (black pad). NXT was put on after polishing.
Before:
After:
The process on restoring these centercaps are exactly the same, besides one difference. I started the with 400 grit on the centercaps (they were in bad shape). With the headlights, 800 grit was used at the beginning. Depending on the condition of your headlights (level of oxidation, pitting, scratches, etc.), different grits will be needed.
They looked terrible:
400 grit sanding:
600 grit:
800 grit:
1000 grit:
2000 grit:
Polishes and pad(s):
Final result:
Good luck, guys.
07-16-08, 07:54 AM
#11
Lead Lap
Thread Starter
iTrader: (1)
Join Date: Nov 2006
Location: JP (oki to be precise :D)
Posts: 4,918
Likes: 0
Received 2 Likes
on
2 Posts
whazzuppppp,, this is an awesome very detailed step by step, i took the lazy approach and yielded much better than the effort i put in results... but if it every gets any worse i will probably have to do something like what you guys did... thanks,
 07-16-08, 09:03 AM
#13
Lead Lap
Thread Starter
iTrader: (1)
Join Date: Nov 2006
Location: JP (oki to be precise :D)
Posts: 4,918
Likes: 0
Received 2 Likes
on
2 Posts
werd, i would recommend the plast-x method to anyone who is a novice or just wants a quick and easy do it your self with still great results... maybe i'll pay whazzzuup to do mine next time... i called my rim manufacturer and they wanted like 125$ for only 3 center caps (lowenhart), maybe i could get someone to do whazzzuup's method for me and save some loot in the process. what do you think something like this would be worth for 4 center caps about 5-6 inches in diameter...?
07-16-08, 10:01 AM
#14

If your headlight is heavily oxidized, sanding before may yield better results.
Here is an example of my friend's headlight. We wetsanded it with 800, 1000, and 2000 grit. Then Menzerna Intensive Polish (orange pad) was applied via circular polisher; followed with Menzerna Final Polish II (black pad). NXT was put on after polishing.
Before:
After:
The process on restoring these centercaps are exactly the same, besides one difference. I started the with 400 grit on the centercaps (they were in bad shape). With the headlights, 800 grit was used at the beginning. Depending on the condition of your headlights (level of oxidation, pitting, scratches, etc.), different grits will be needed.
They looked terrible:
400 grit sanding:
600 grit:
800 grit:
1000 grit:
2000 grit:
Polishes and pad(s):
Final result:
Good luck, guys.
