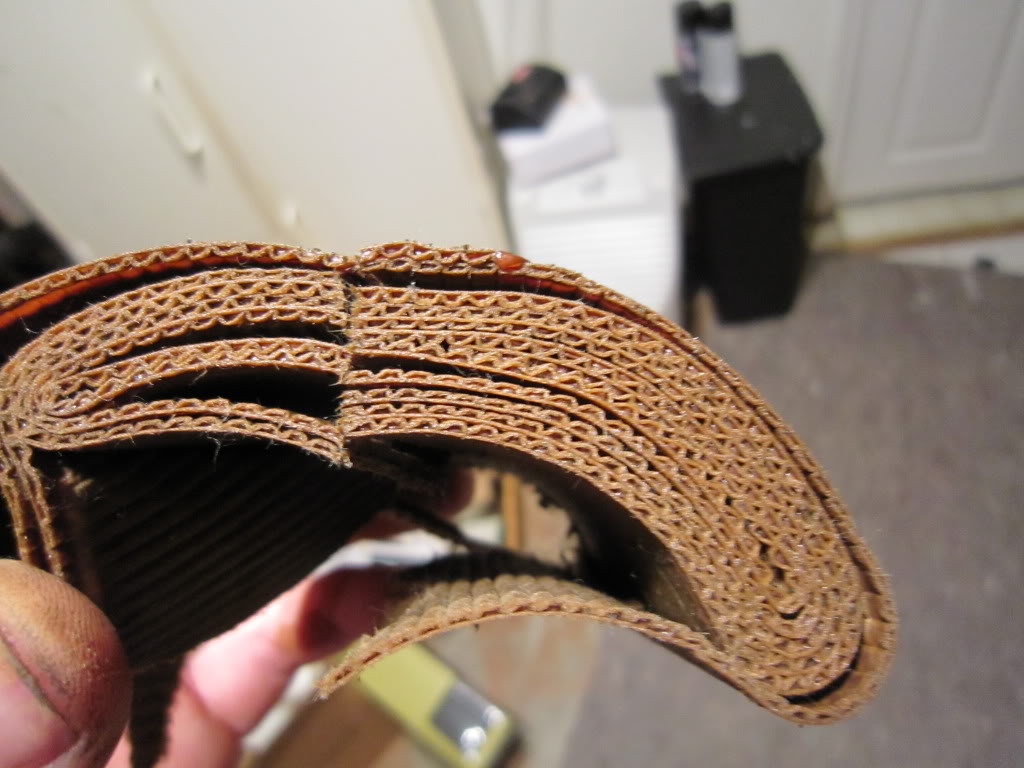
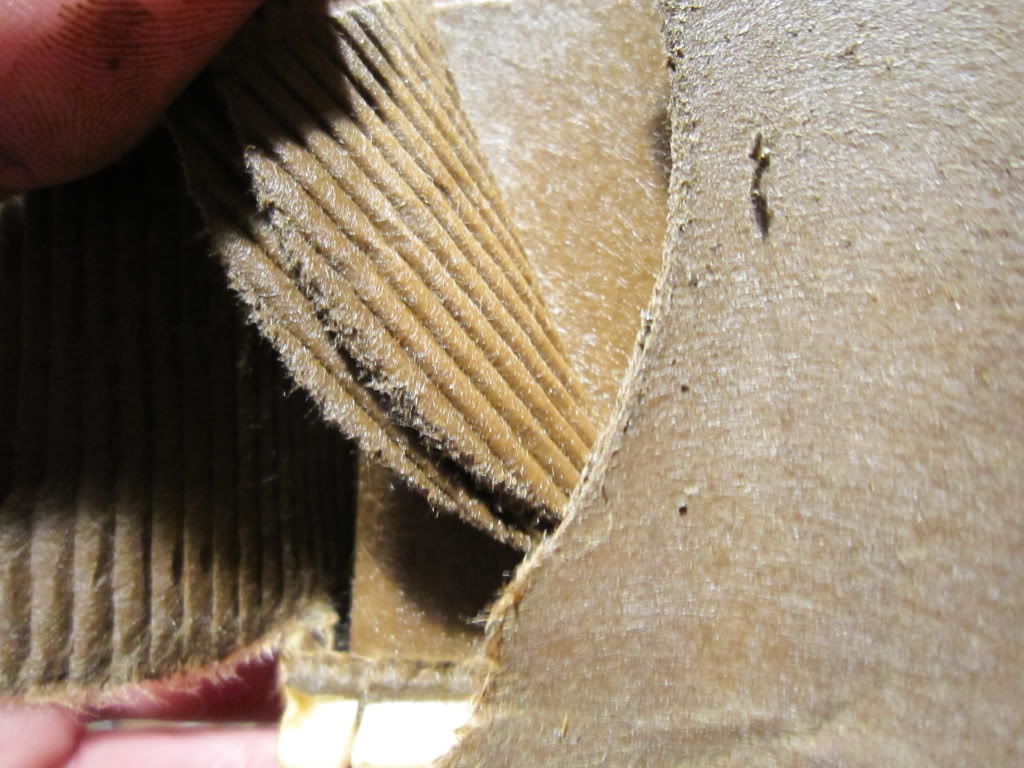
Cross-Section of GS Fuel Filter


 02-09-11, 07:23 PM
#92
Ok, if anyone can point me into the direction of a PDF compiler that I can just easily select all the pdf files i want and compile them into one PDF file, i'd appreciate it. I would share it here that way others who can't access the website would have access to the file itself.
02-09-11, 10:03 PM
#93

Ok, if anyone can point me into the direction of a PDF compiler that I can just easily select all the pdf files i want and compile them into one PDF file, i'd appreciate it. I would share it here that way others who can't access the website would have access to the file itself.
02-10-11, 12:38 PM
#96
Driver

Join Date: Aug 2009
Location: ca
Posts: 134
Likes: 0
Received 0 Likes
on
0 Posts
changed mine a few moonths ago even though lexus said no to, and wadya know, the cel is gone. milage is up a bit, maybe 2-3 mpg. the bag was cleen, the tank was sparkling and the filter was disgusting. always only used shell and mobile. interesting.
02-10-11, 06:45 PM
#98

2-3 mpg is 10% which is a huge amount. A company would kill to get 10% improvement. As seen on Mythbusters, it takes meticulous tracking to see mpg improvements. Will try to see if I can detect any changes over the next tank and report back.
02-12-11, 02:48 PM
#99

Just finished this today. It is very easy like many have said. It only took about an hour. My car is the gs400 and it seems the procedure is slightly different compared to the gs430 so I snapped a few pic while I was working. I cant say if there is any difference in mileage yet but everything went together with no problems and the car is running smooth with no codes. Thank you Mr. SAK for the excellent pics , def made this job much easier.
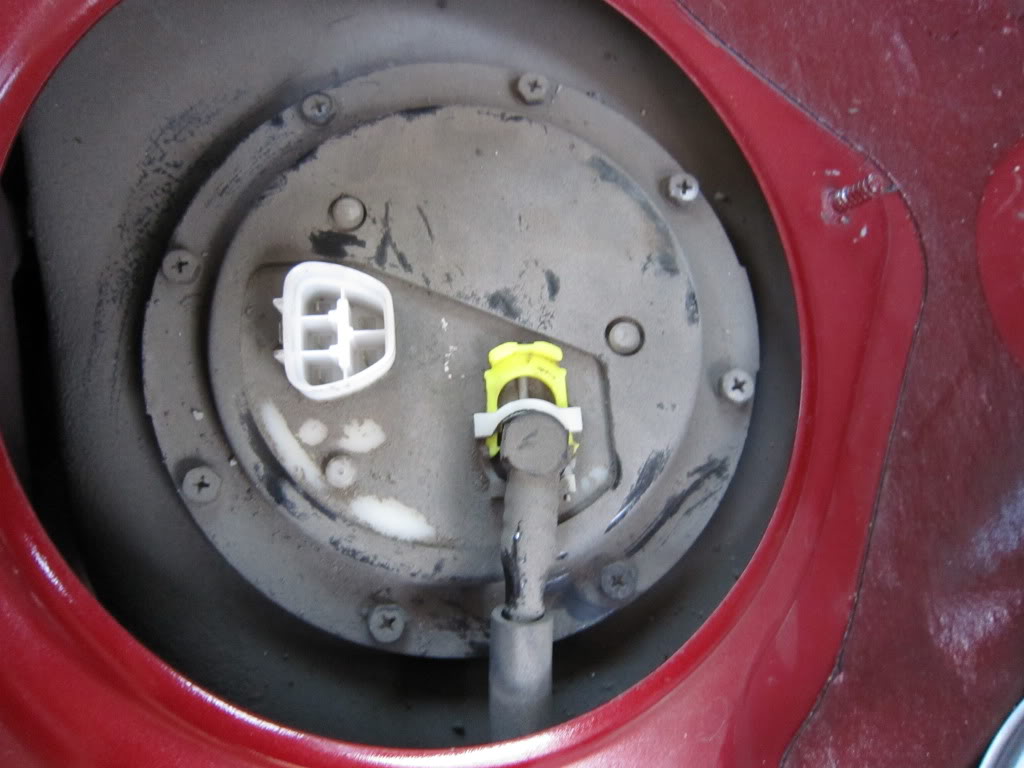
Here is a pic of the yellow plastic clip halfway out. This needs to be removed all the way before you can remove the top fuel line.
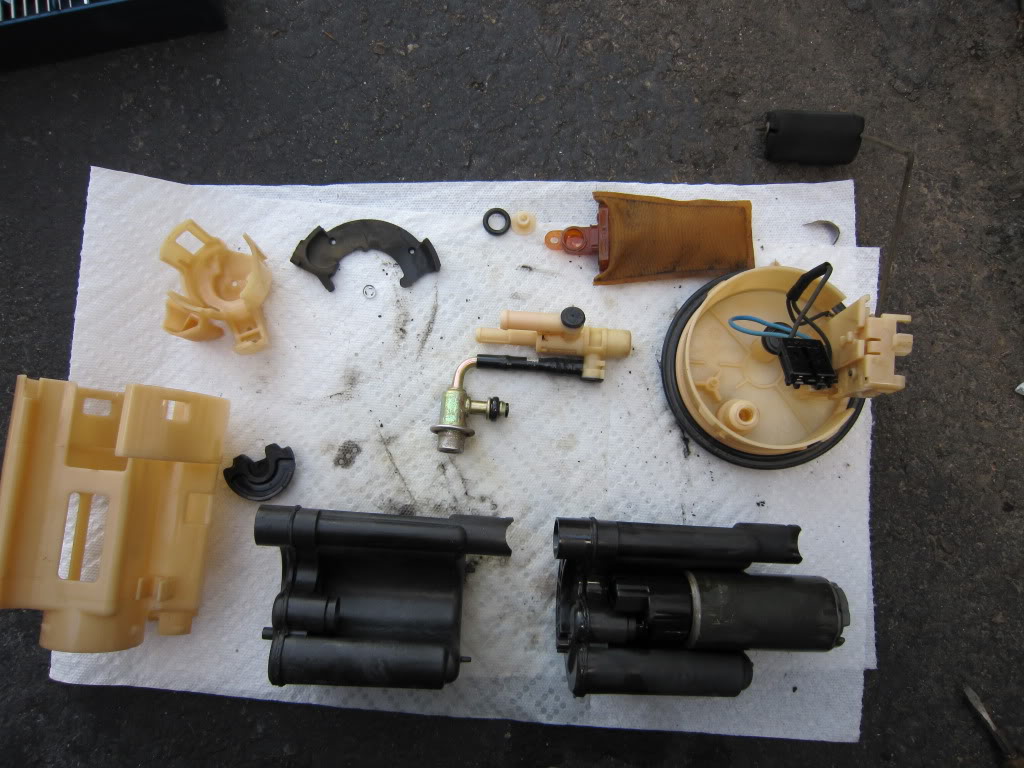
Here is an overview of the assembly completely disassembled. It looks like the gs430 filter makes up the entire bottom of the assembly while the gs400(shown here) the filter is a separate black piece that sits inside the white housing. You must take everything apart as shown here to get to the filter.
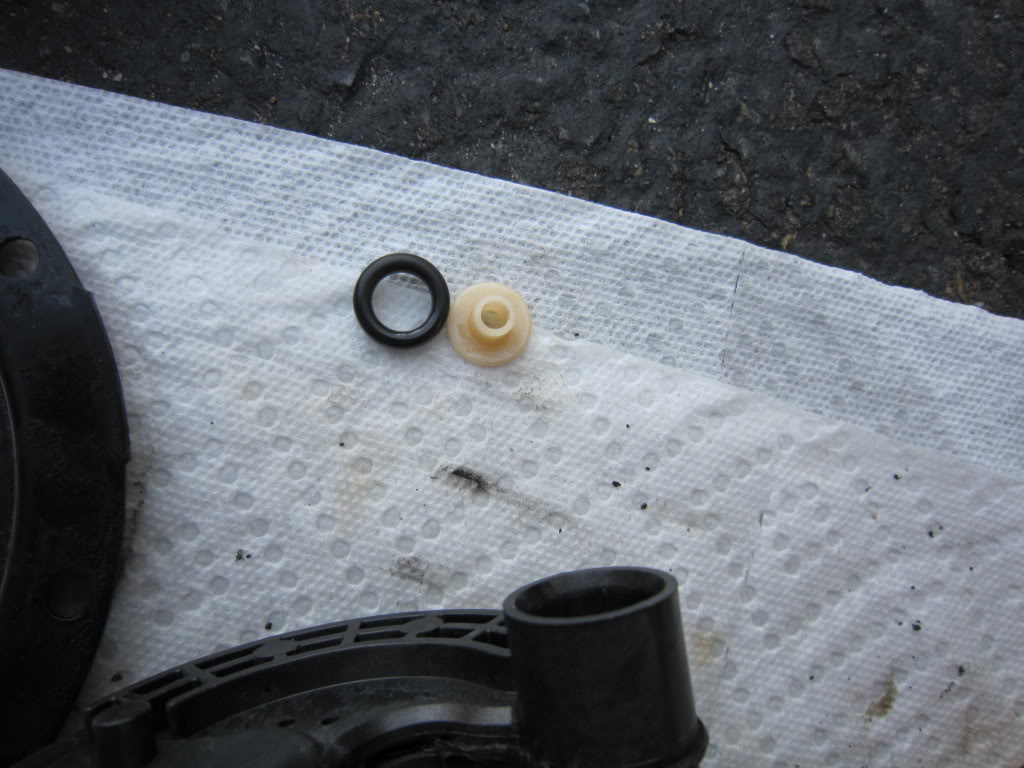
Now for the part that some had trouble with(or at least I think this is the part). The O-ring and the white plastic,,,,,,,,thingy. These small parts sit inside the top of the filter, dont throw these away by mistake! Her it is, this must be removed from the old filter and transfered to the new filter. Thingy goes in first, ring sit on top, any questions??? Good.
Assembled and ready to go bathing in gasoline.
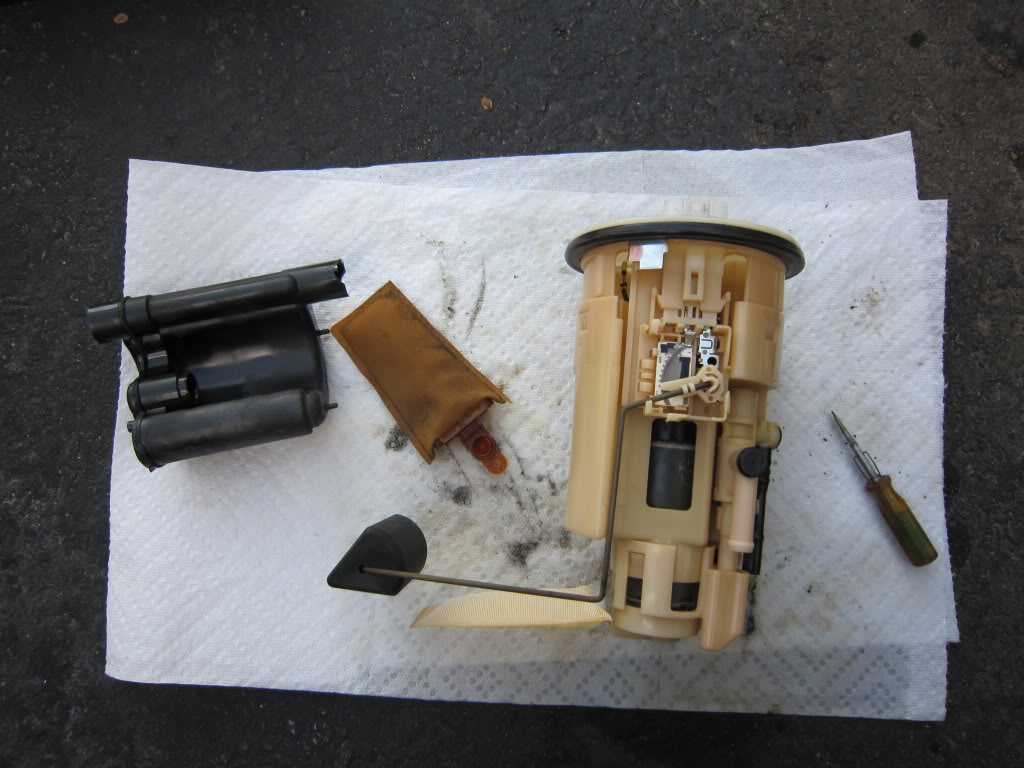
Old filter.
Here is a pic of the yellow plastic clip halfway out. This needs to be removed all the way before you can remove the top fuel line.
Here is an overview of the assembly completely disassembled. It looks like the gs430 filter makes up the entire bottom of the assembly while the gs400(shown here) the filter is a separate black piece that sits inside the white housing. You must take everything apart as shown here to get to the filter.
Now for the part that some had trouble with(or at least I think this is the part). The O-ring and the white plastic,,,,,,,,thingy. These small parts sit inside the top of the filter, dont throw these away by mistake! Her it is, this must be removed from the old filter and transfered to the new filter. Thingy goes in first, ring sit on top, any questions??? Good.
Assembled and ready to go bathing in gasoline.
Old filter.
 02-12-11, 05:07 PM
#102
This is why I posted to review the service manual. I think your procedure is not right. You should install the oring on the tube, so it is under compression on its circumferences, and forms a good seal just with the 2 tubes without the housing. This takes a little stretching, (lube with fuel) but you expect seals to be tight. Ths is how most o rings seal (as compared to a gasket or washer with a flat top). It is also the procedure described in the manual. Your car will still work but fuel is likely leaking through that seal.
02-12-11, 05:13 PM
#103
as a test, let your car sit for awhile. Then the test is if you pull the same fuel line see if it retained the pressure like the original. If it didn't you may wasn't to redo the procedure.
02-12-11, 05:24 PM
#104
This is why I posted to review the service manual. I think your procedure is not right. You should install the oring on the tube, so it is under compression on its circumferences, and forms a good seal just with the 2 tubes without the housing. This takes a little stretching, (lube with fuel) but you expect seals to be tight. Ths is how most o rings seal (as compared to a gasket or washer with a flat top). It is also the procedure described in the manual. Your car will still work but fuel is likely leaking through that seal.
Well all I can say about that is ,I put this thing together just the way it was and so far no problems. Just drove like 20 miles and running smooth as butter.
02-12-11, 05:45 PM
#105
It's your car. So if it works for you more power to you. I just want to make sure others who read this thread get all the info including what the service manual says. I made the same "mistake" and decided to redo the procedure as the manual says. The car worked, although when I pulled the fuel line it didn't hold the preassure and spray fuel like the original. After the change, pressure now seems to hold