I decided to wetsand my headlights
 11-01-11, 03:44 PM
#1
Driver
Thread Starter

This is the first project since I got the car last week, Everytime I looked at the car... It PISSED ME OFF!!! The paint isnt IMMACULATE by any measure, but this at least will help me see at night!
DISCLAIMER: THIS IS MY FIRST WRITEUP!!! DONT KILL ME IF I FORGOT SOMETHING!
Things Needed:
-Painters tape (pick a color)
-Sand paper (People say start with 100 or lower and make your way to 2000... I just used 1200. Its all the pats store had)
-Rubbing compound (i skipped this step... I was doing this at work on the clock)
-Wax
-Water (notice I said WETSAND... i used WINDEX)
-High Speed Buffer (Stole it from the Detailer at my Dealership)
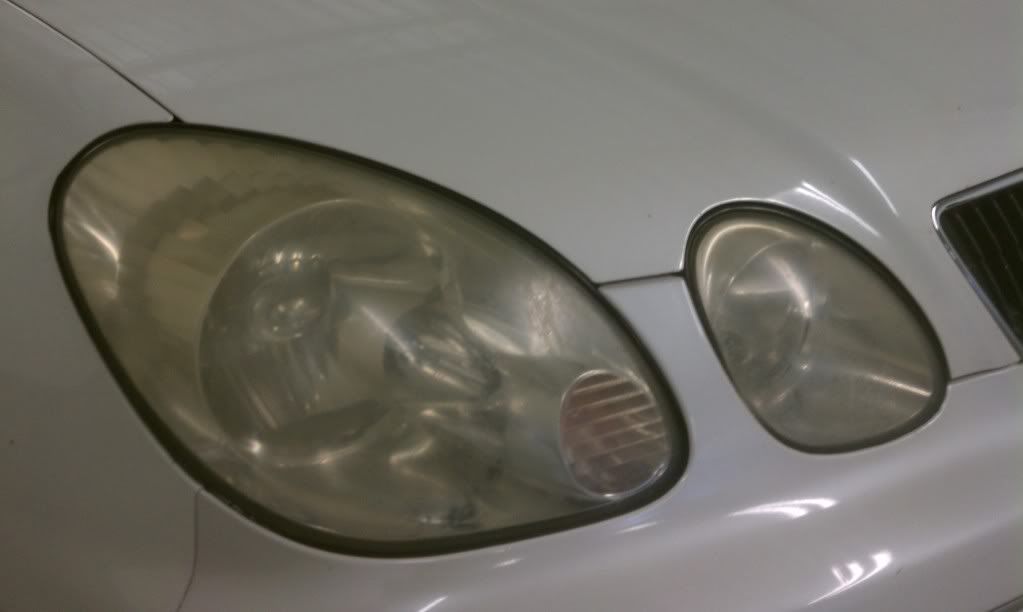
Look how terrible they were...
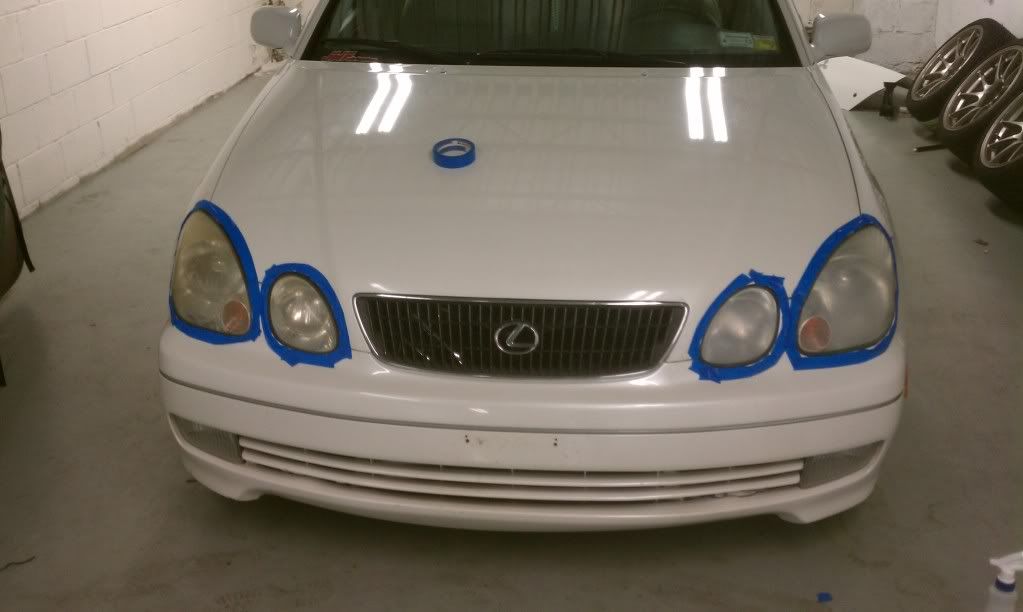
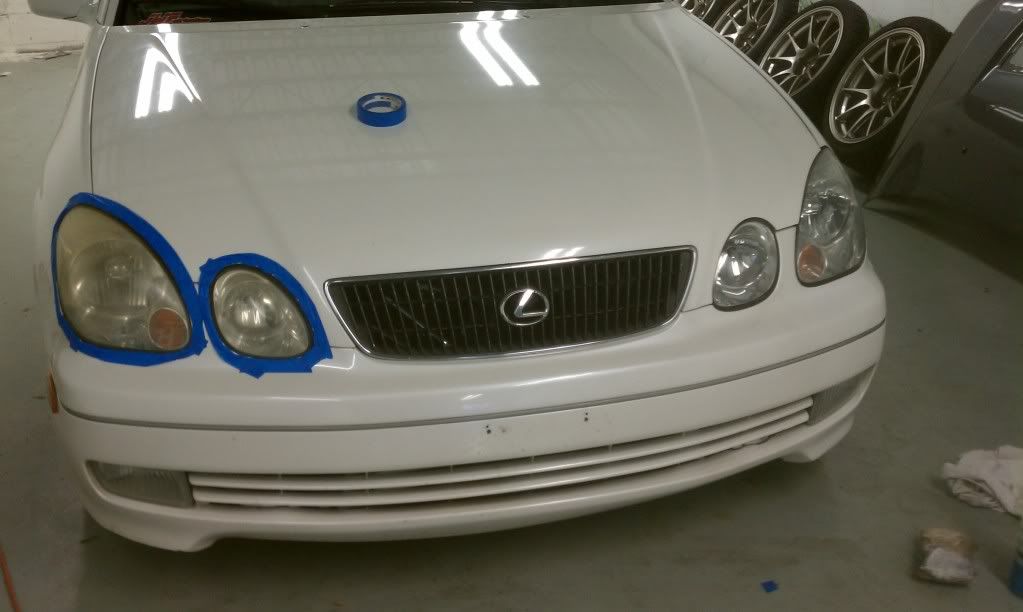
STEP 1:
Mask off headlights with painters tape. I didnt do them PERFECT... but once again... the paint isnt PERFECT on my cat. it has almost 186k on the clock!
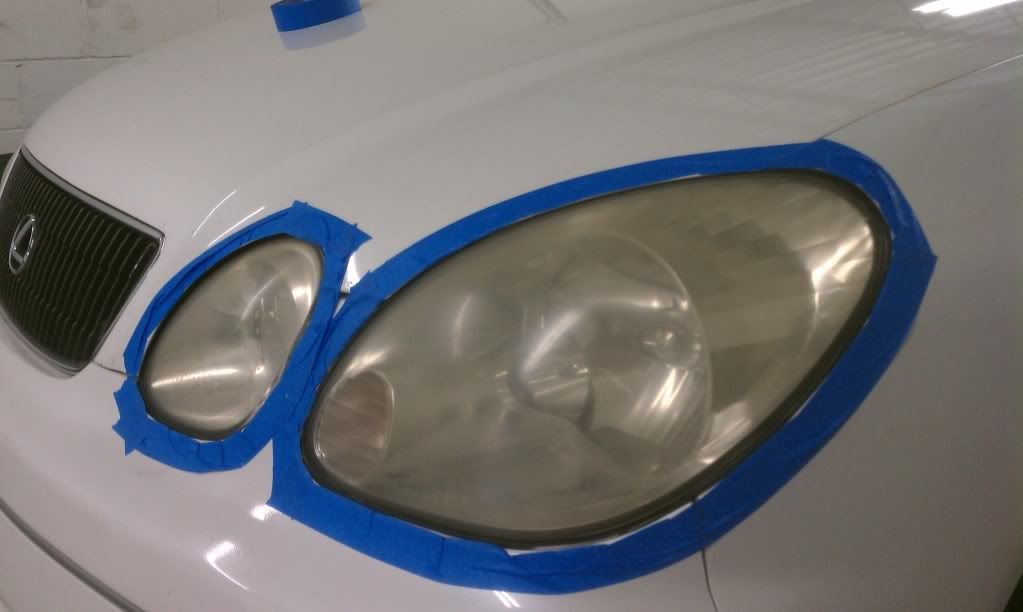
STEP 2:
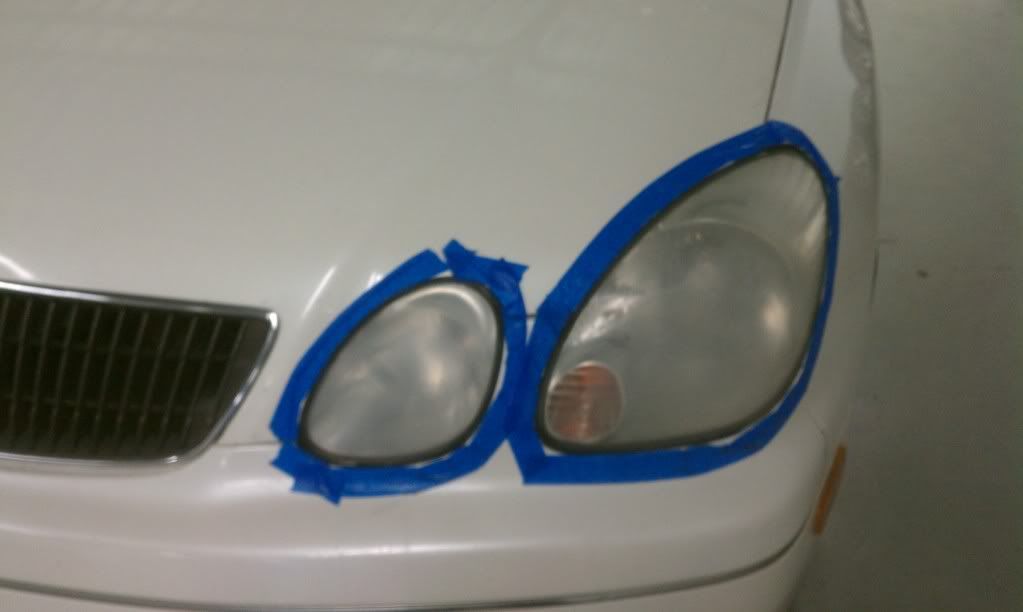
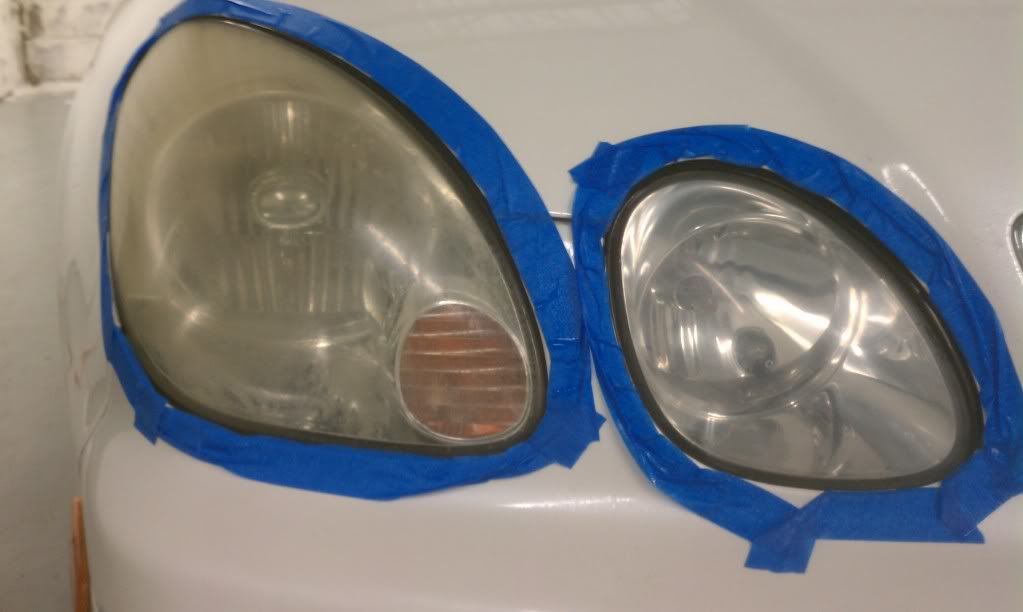
Wetsand until the lens looks really hazy... to a point you think you F****D them up! I took about 3-4 minutes per lens
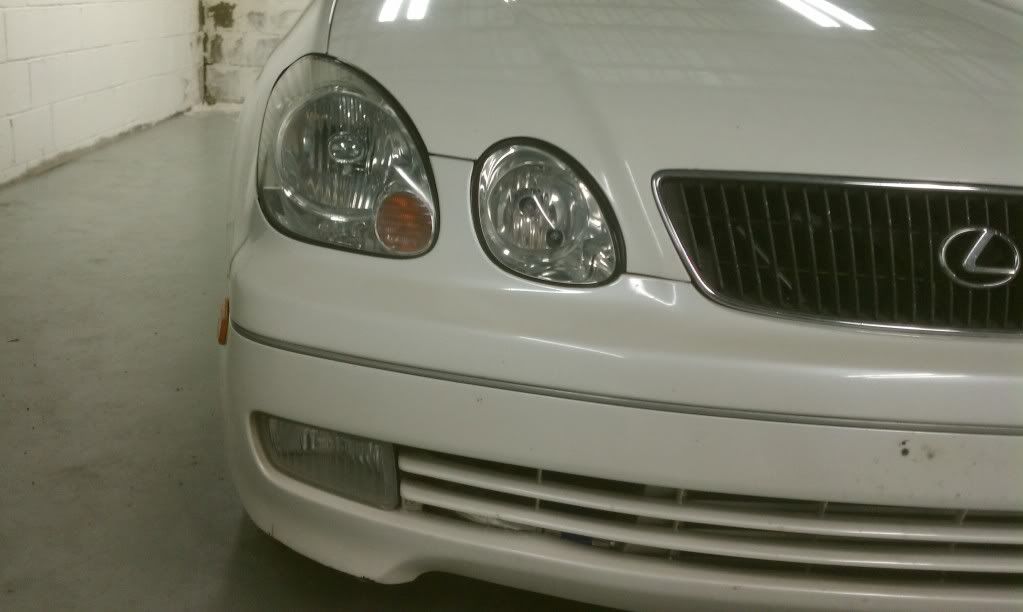
notice the difference? The smaller lens isnt touched yet.
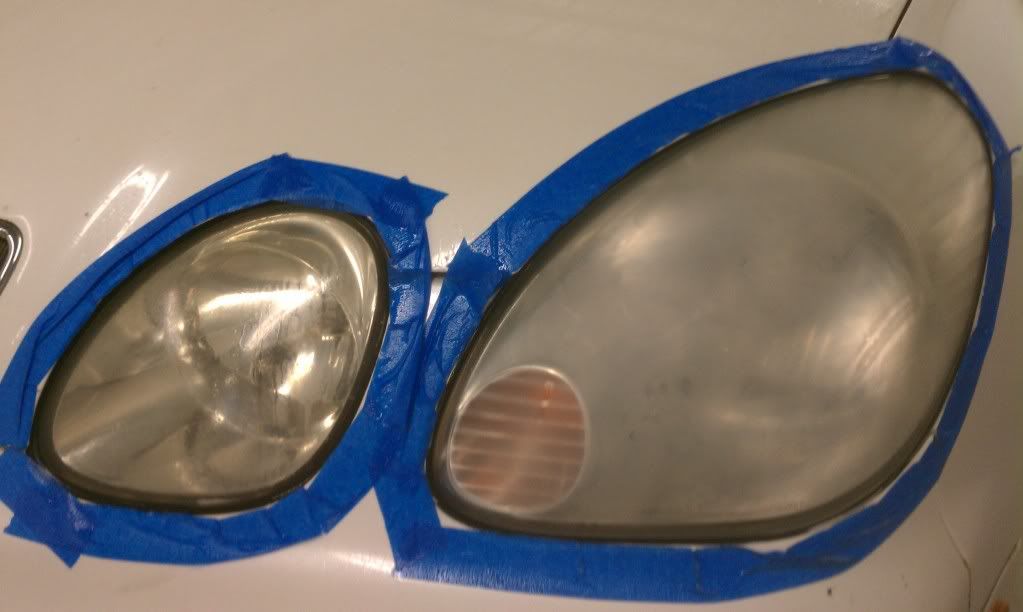
STEP 2.5:
Wetsand the smaller lens
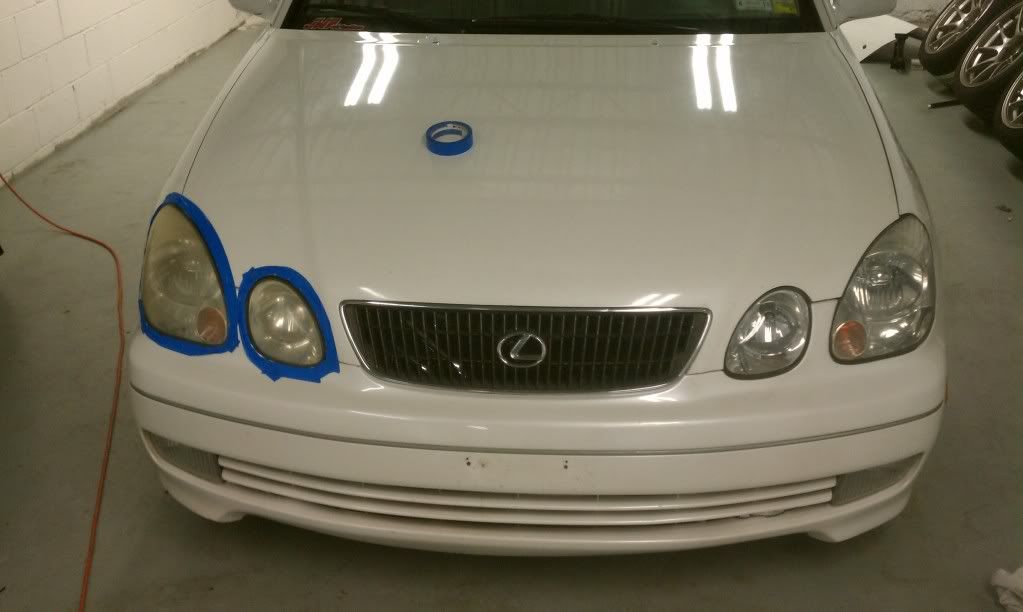
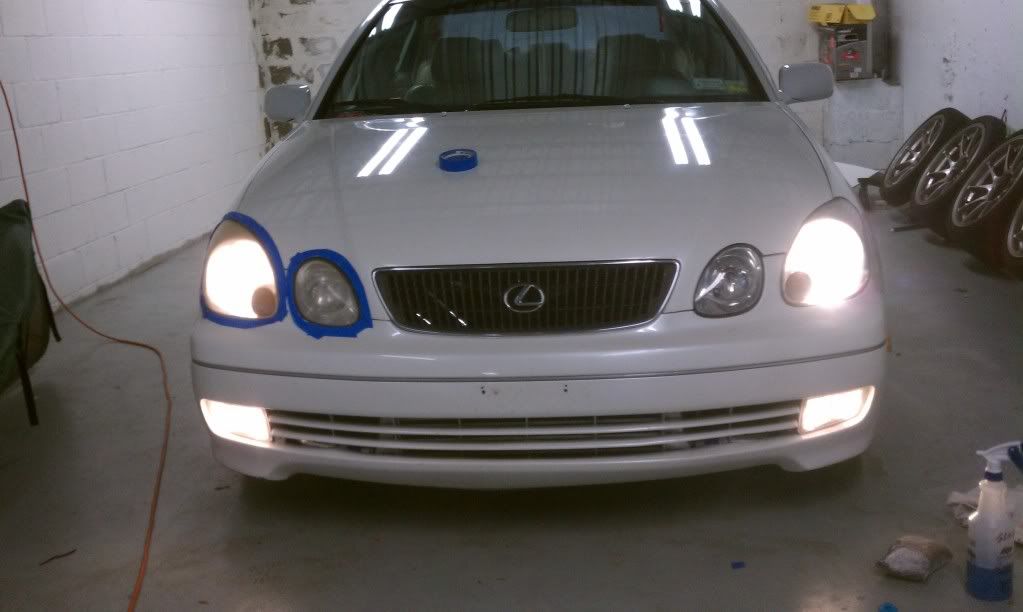
STEP 3:
Buff the lens.
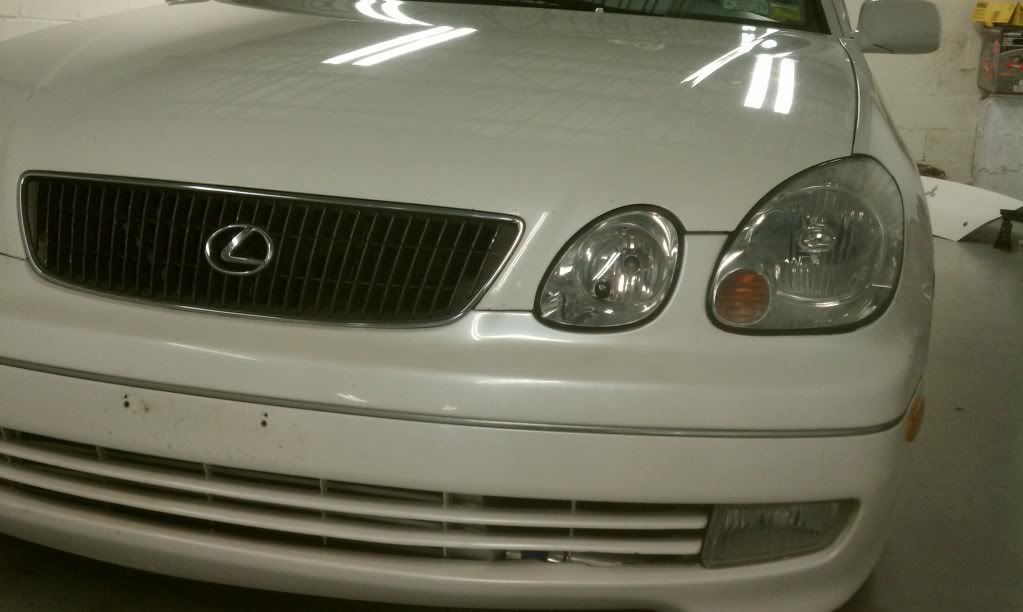
Look at the improvement!!!!
Couple more angles
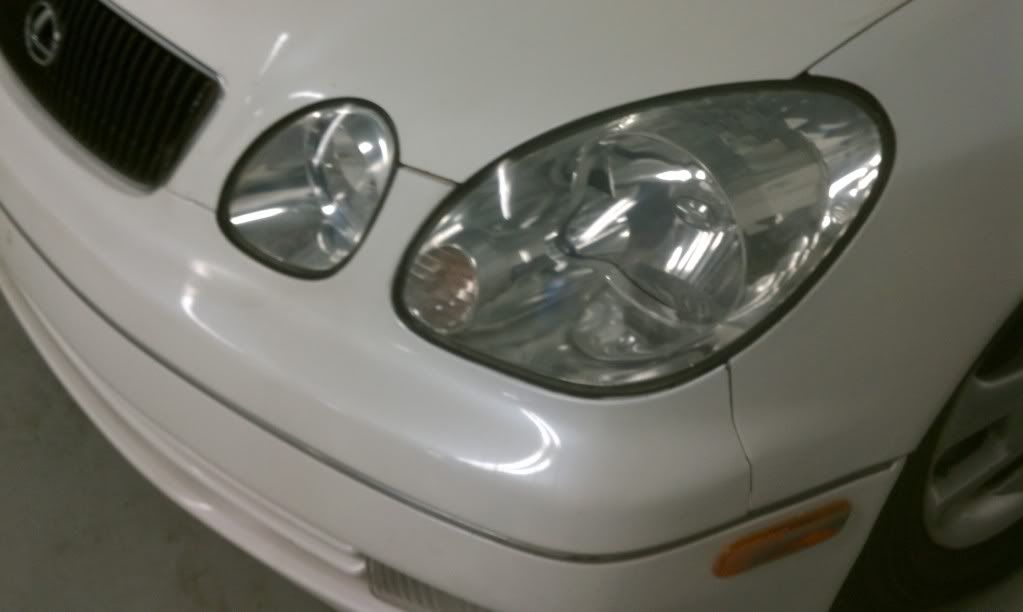
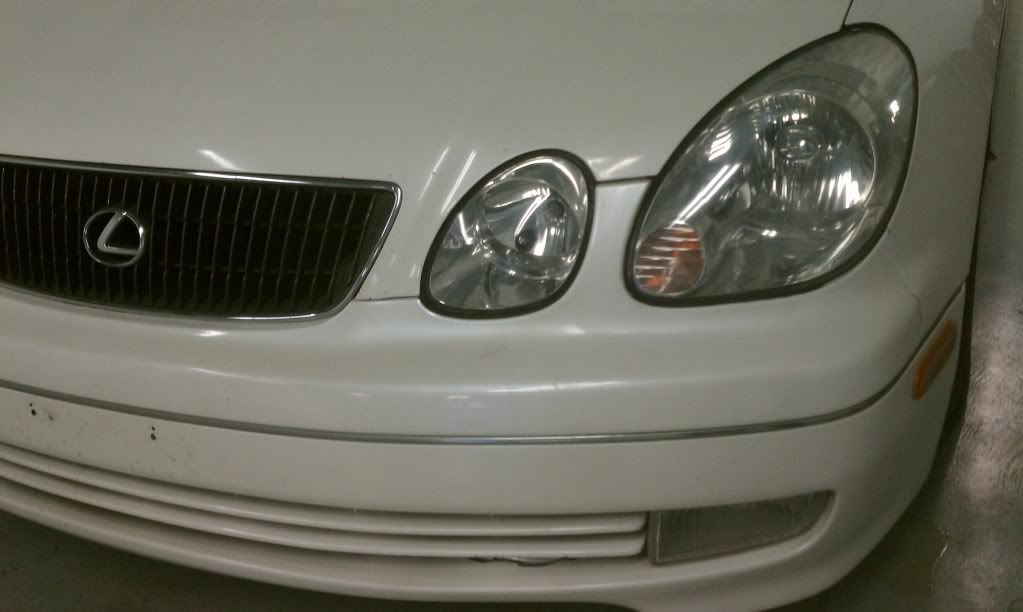
Now you see how ugly they were!
BARF!!

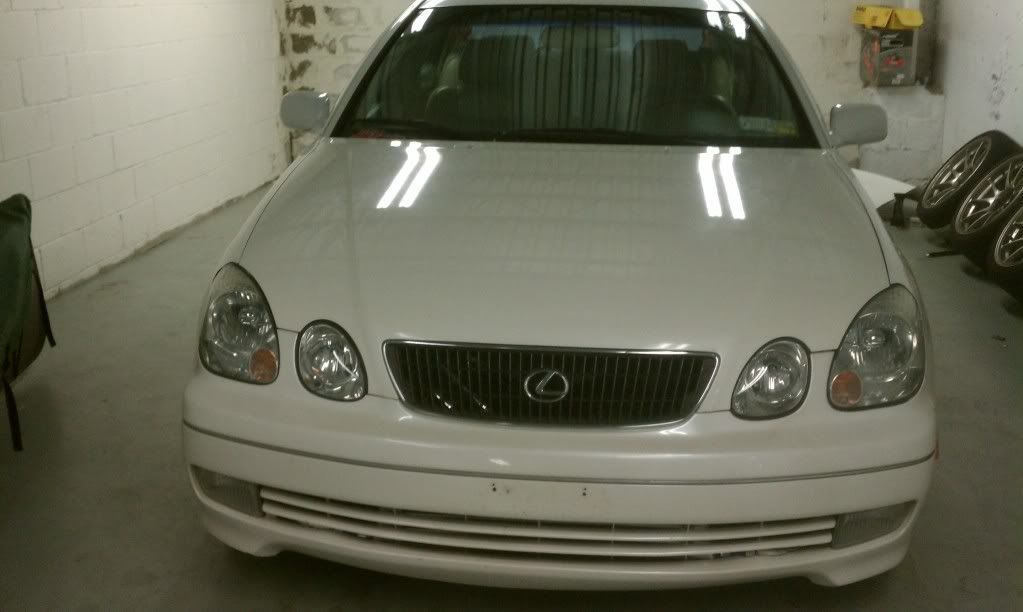
Difference in lighting... Driver side is the fresh wetsanded version!
NOW THIS TOOK ME ABOUT 10-12 MINUTES TOPS TO DO THE DRIVER SIDE. IF YOURE AN ALCOHOLIC... GRAD A BEER AND RELAX FOR A MINUTE... BUT I ASSURE YOU THAT THIS WAS A PIECE OF CAKE. (IM NOT A HANDS ON TYPE OF GUY BY ANY MEASURE!!!)
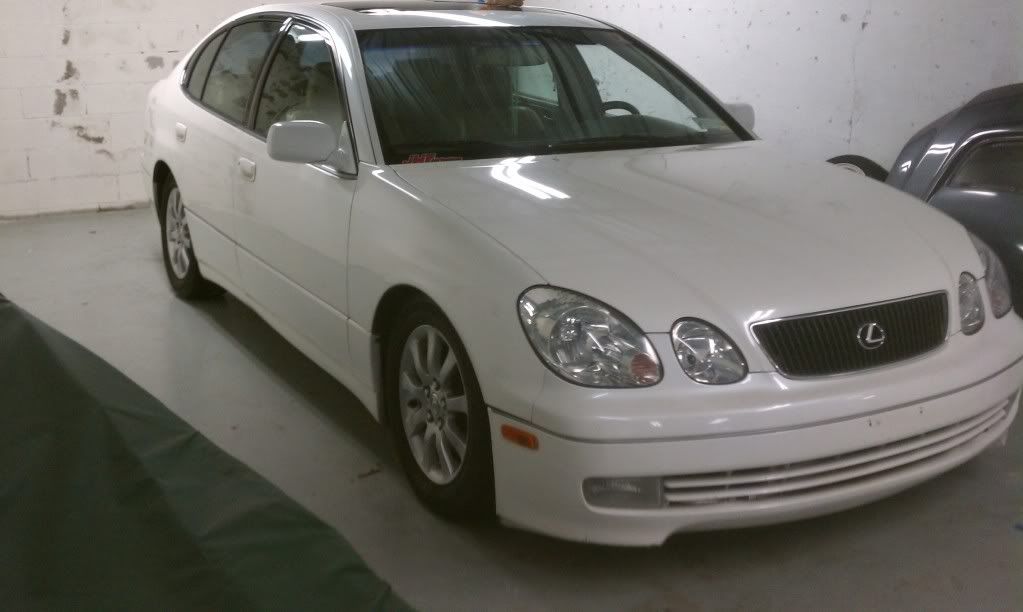
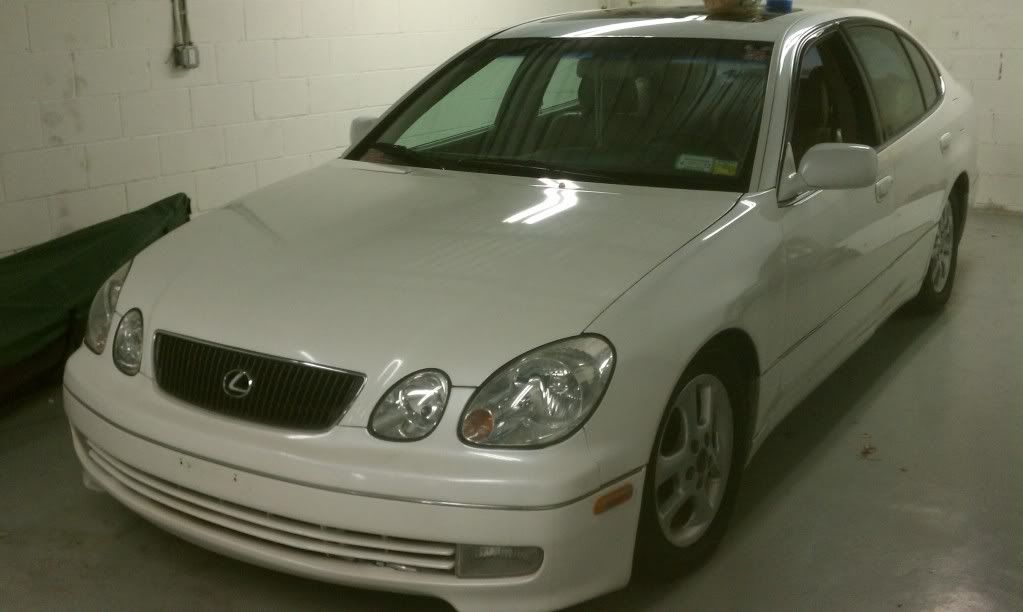
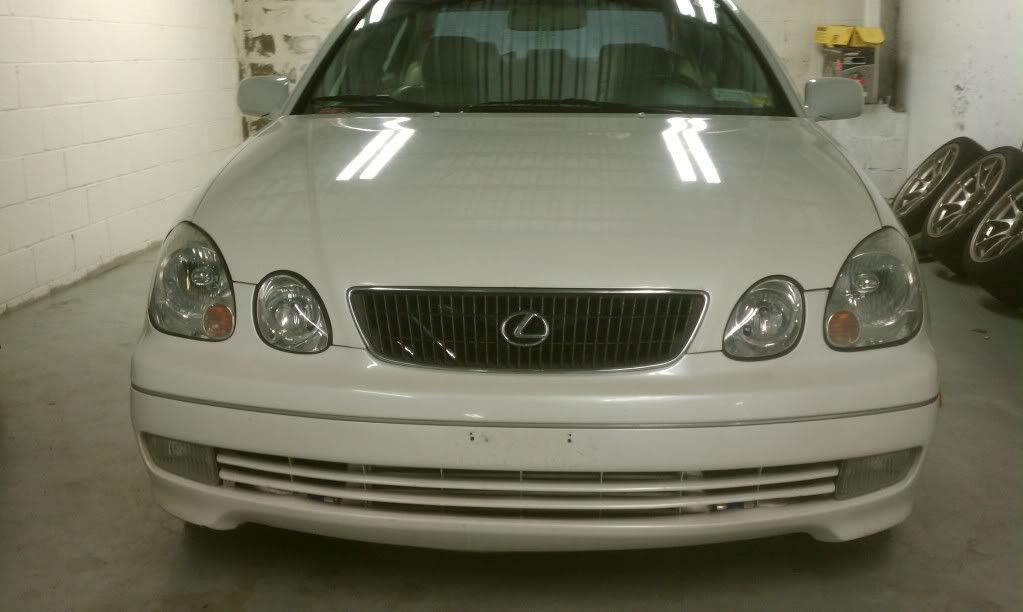
Now here are the pics of the other side done and both together,.
DISCLAIMER: THIS IS MY FIRST WRITEUP!!! DONT KILL ME IF I FORGOT SOMETHING!
Things Needed:
-Painters tape (pick a color)
-Sand paper (People say start with 100 or lower and make your way to 2000... I just used 1200. Its all the pats store had)
-Rubbing compound (i skipped this step... I was doing this at work on the clock)
-Wax
-Water (notice I said WETSAND... i used WINDEX)
-High Speed Buffer (Stole it from the Detailer at my Dealership)
Look how terrible they were...
STEP 1:
Mask off headlights with painters tape. I didnt do them PERFECT... but once again... the paint isnt PERFECT on my cat. it has almost 186k on the clock!
STEP 2:
Wetsand until the lens looks really hazy... to a point you think you F****D them up! I took about 3-4 minutes per lens
notice the difference? The smaller lens isnt touched yet.
STEP 2.5:
Wetsand the smaller lens
STEP 3:
Buff the lens.
Look at the improvement!!!!
Couple more angles
Now you see how ugly they were!
BARF!!
Difference in lighting... Driver side is the fresh wetsanded version!
NOW THIS TOOK ME ABOUT 10-12 MINUTES TOPS TO DO THE DRIVER SIDE. IF YOURE AN ALCOHOLIC... GRAD A BEER AND RELAX FOR A MINUTE... BUT I ASSURE YOU THAT THIS WAS A PIECE OF CAKE. (IM NOT A HANDS ON TYPE OF GUY BY ANY MEASURE!!!)
Now here are the pics of the other side done and both together,.

 11-01-11, 03:54 PM
#5
Driver
Thread Starter
Im not worried about the plastic polisher... I enjoy cleaning and taking care of the car. Eventually i will get the entire car resprayed, (because im ****.. No homo lol ) and have them spray clear coat on them (ive heard that its ok to do that)