When you click on links to various merchants on this site and make a purchase, this can result in this site earning a commission. Affiliate programs and affiliations include, but are not limited to, the eBay Partner Network.
I'm just adding some pictures for a better view of what is in your way when working in this cramped space.
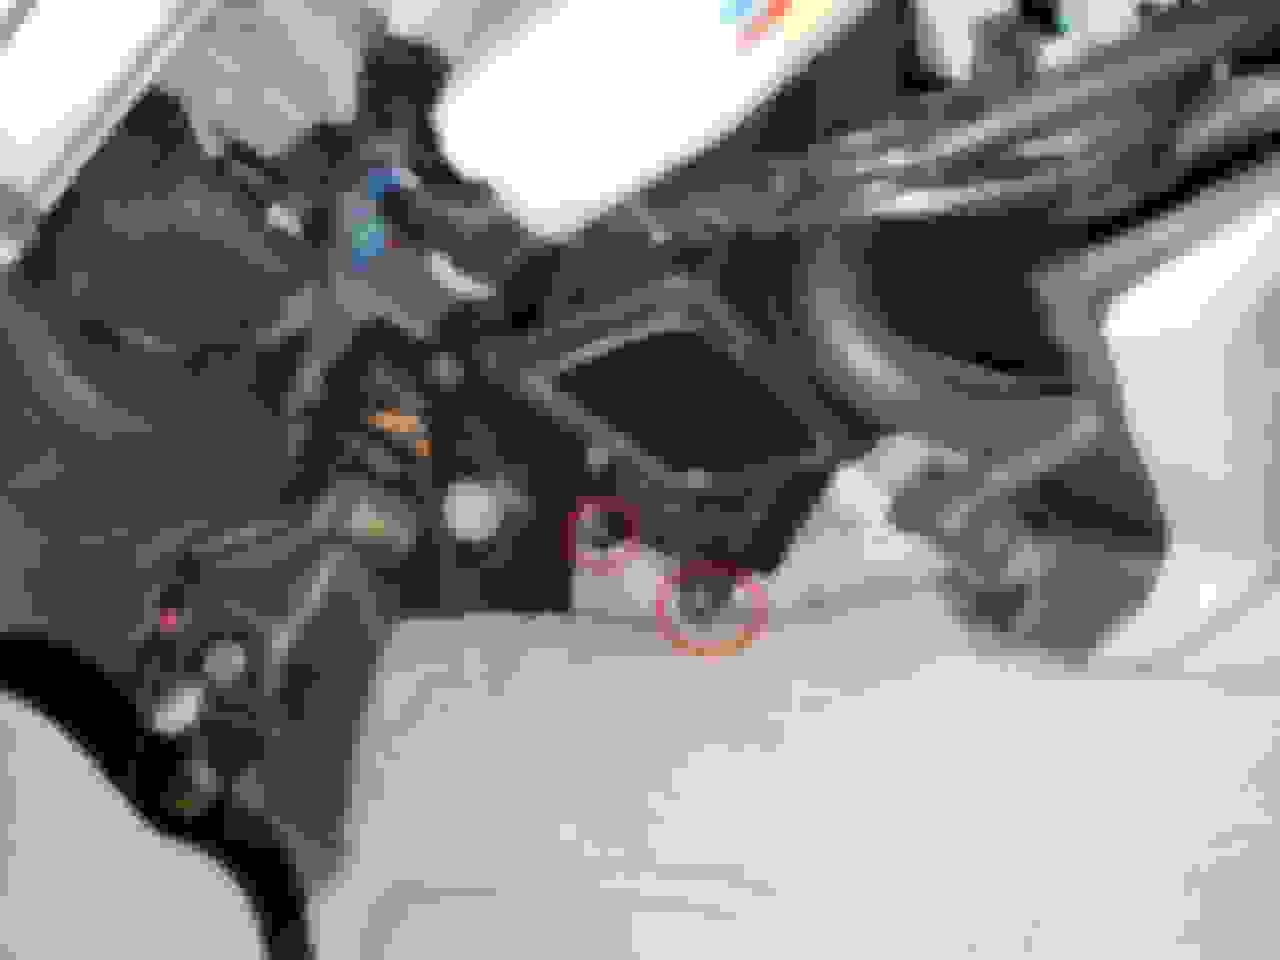
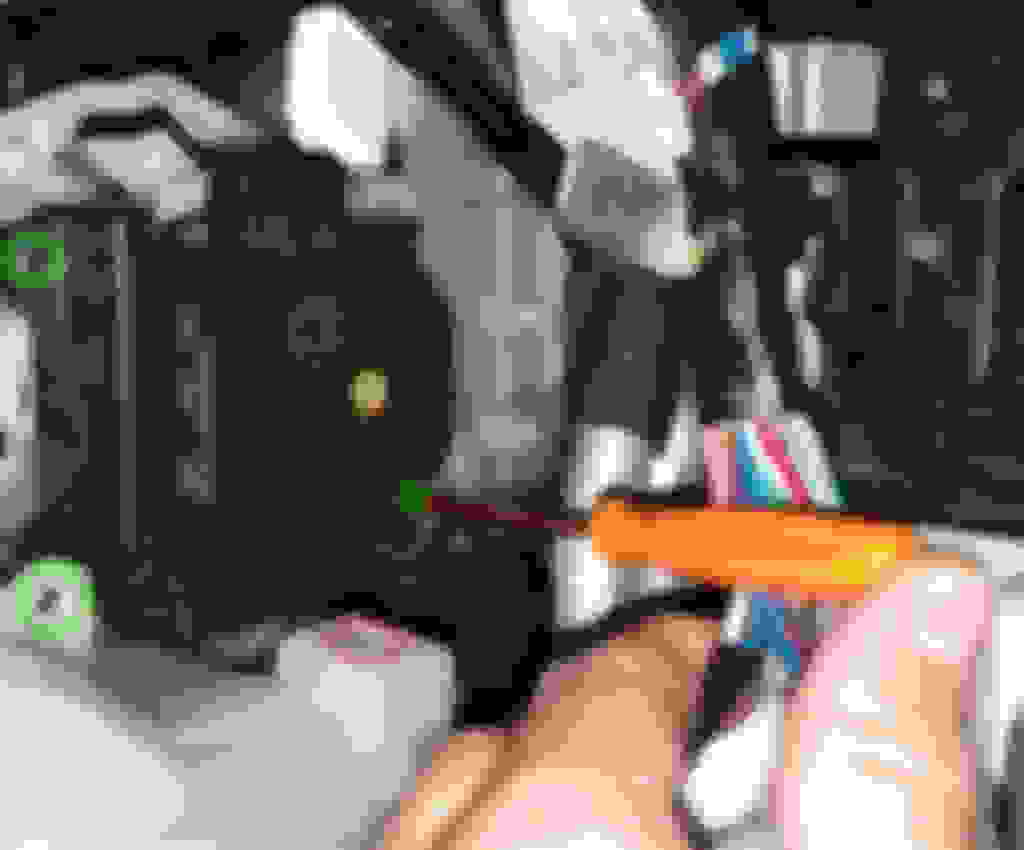
I needed to remove the rigid cable holder (1) to be able to access one of the servo screws. This is possible to snap loose poking a small tab when lifting stright up, but I chose to cut the blue tapes (carefully, not cutting the black tape underneath!).
Also, I removed the screw (2) holding the white blob fixed, so there's more wiggle room for accessing the servo itself.
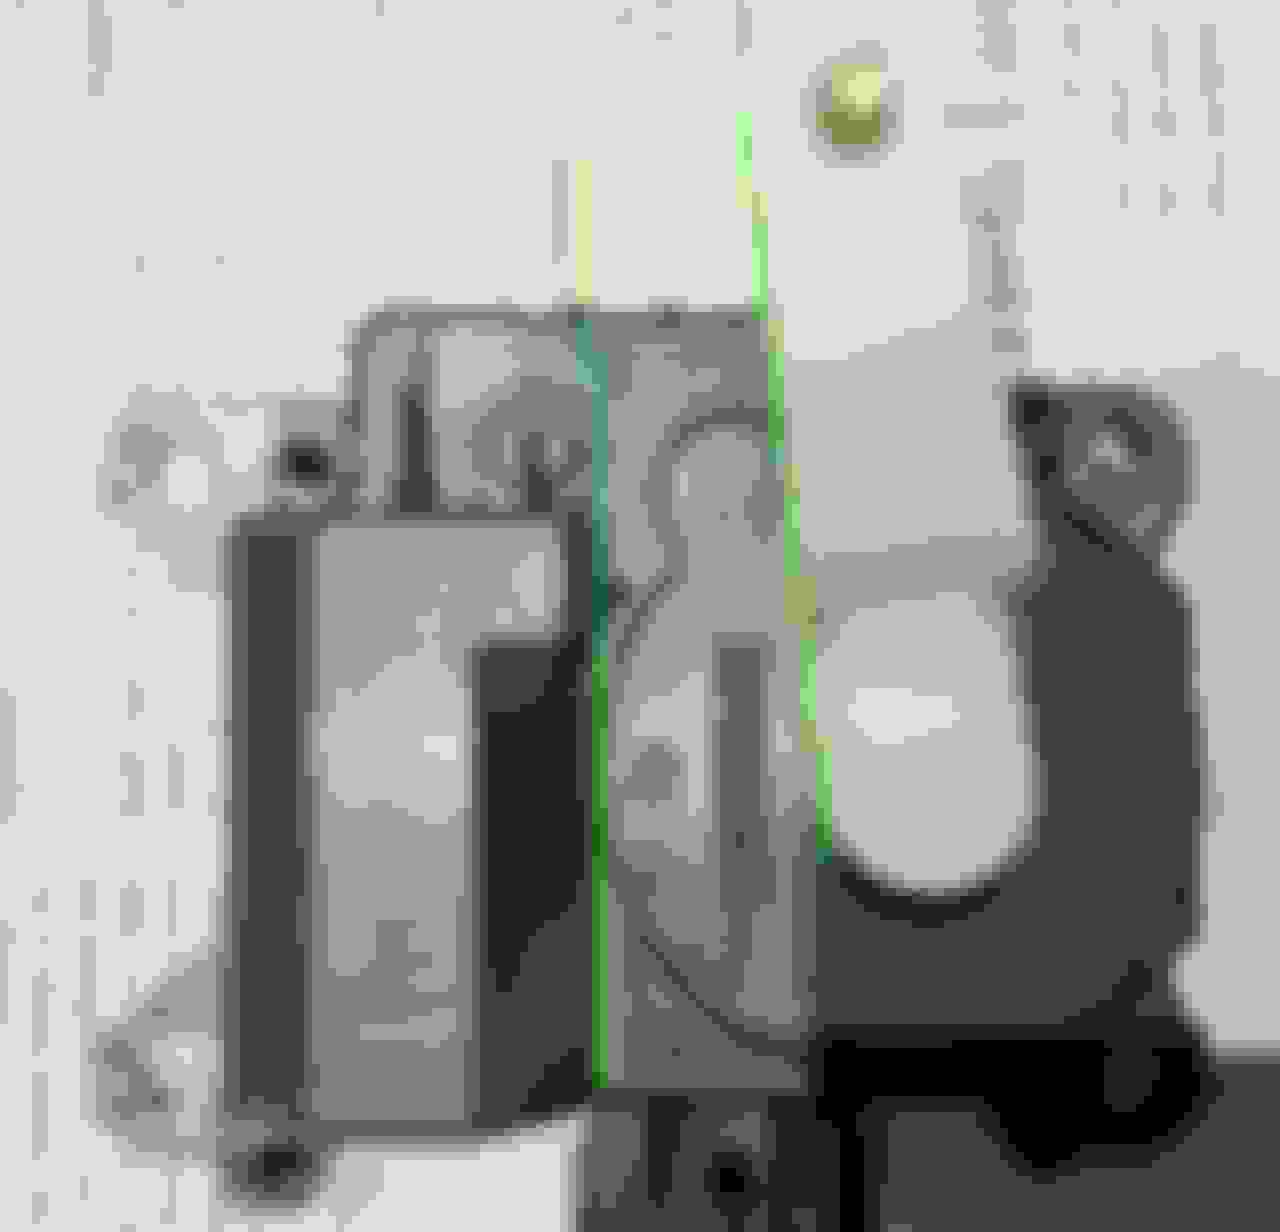
Close-up of the L-shape holder. This can cut your hands when messing around in there, so getting it out completely is a good thing.
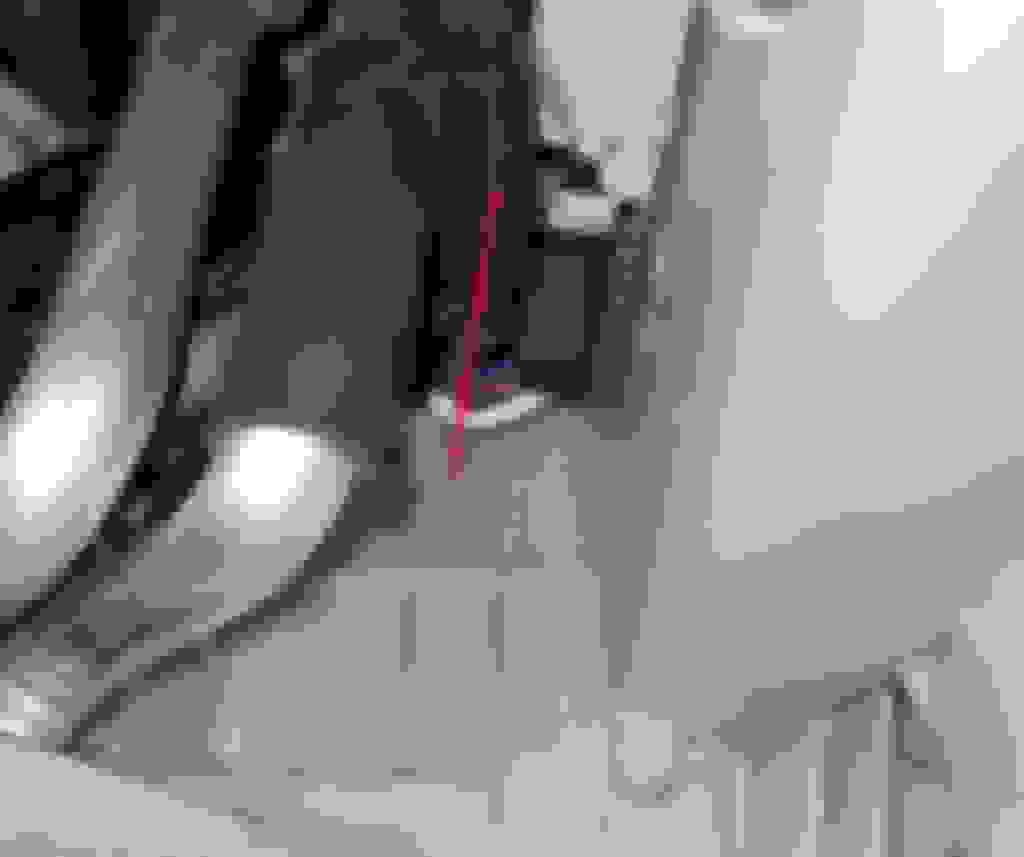
After this (or before, as you see fit) remove the connectors around there. Most important is the one in the top red ellipse.
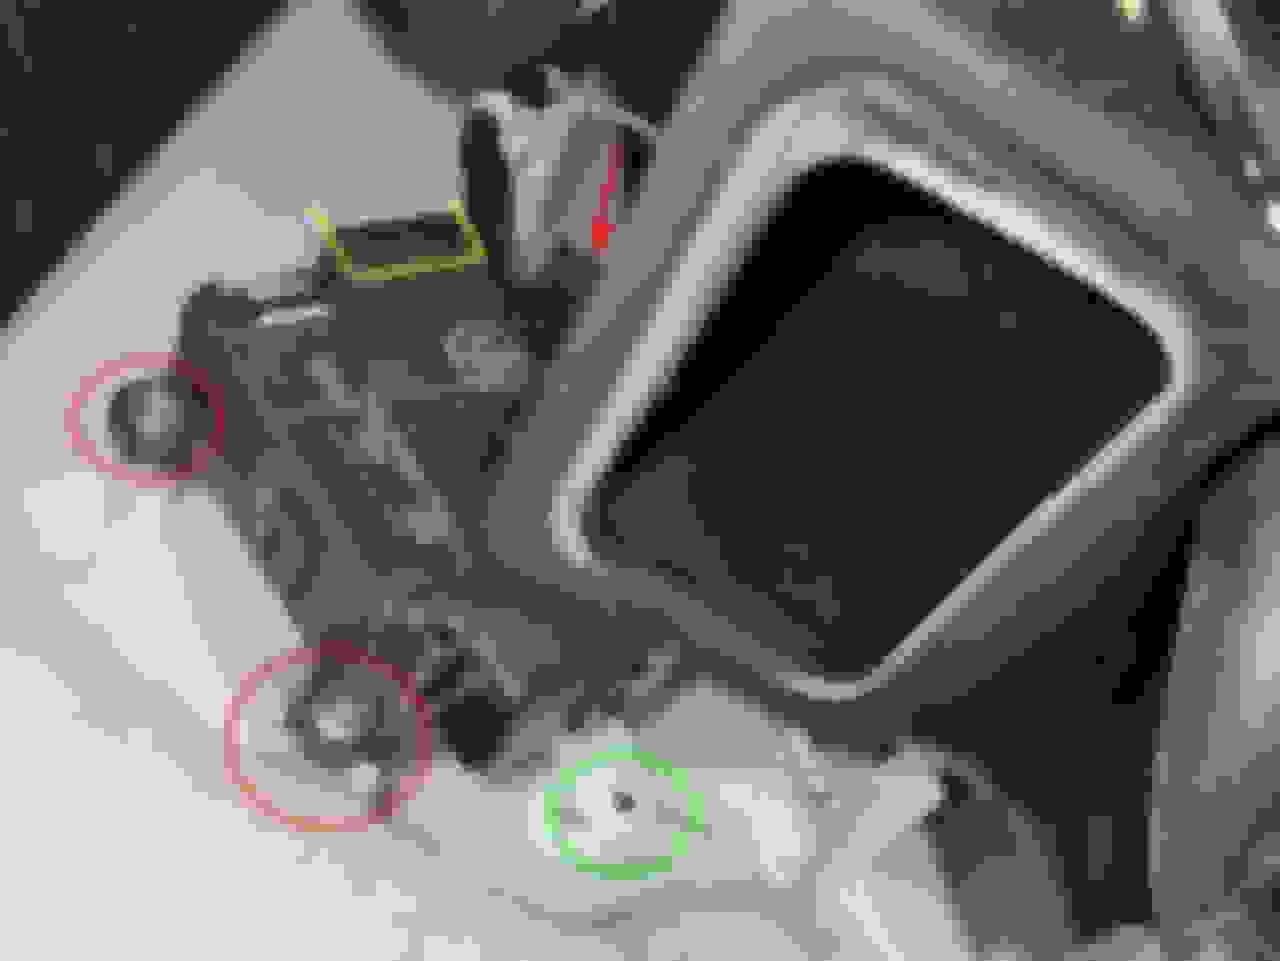
Notice the L-shape plastic holder is now gone, the square L-shaped cables well out of the way.
When putting everything back together, I inserted the L-shape holder, but didn't tape the cables back, as they rest just fine and are kept in place by everything else.
The green circles are the placements of the three screws fixing the mode servo. Both on the left are already removed here.
The lower ear of the servo goes BEHIND the ear of the white blob.
A somewhat short screwdriver (Phillips or flat in an emergency) will fit there for the third screw (green circle), located BEHIND/ABOVE the hole one would assume at first.
This is where you won't fit your head to see, but must work blind and feel the head of the screw.
Hope this helps someone.
I didn't have to lie upside down in the passenger seat, but a wide open door, on my side on the door sill, with ample lighting was needed.
I used the video above to replace both servo motors a couple of days ago. I also took everything apart in your photos in order to reach the pass damper servo. I won't EVER do this job again because it was painful and tiring. I spent almost an hour trying go get both levers to stay attached to the mode servo during installing. I've replaced 3/4 servo motors on my car, so the replacement OEM servo motors should last the life of the car now; no more chirping and grinding. Also I don't see how anyone could go through the trouble of removing these b@$trds and not install a new one lol.
I used the video above to replace both servo motors a couple of days ago. I also took everything apart in your photos in order to reach the pass damper servo.
How the heck did you reach that one? I can't access the rear screen on the passenger servo due to the pipes. 🤬
OK, so I finally did it. First of all, you HAVE to have a screwdriver that will fit. Not too long, not too short, not too wide handle.... Or use a really flat ratchet head. What fits is this flat screwdriver, it's the only tool I have in my toolbox, the other 10 screwdrivers won't work. It's 12cm long, has a 1cm wide handle with a 3mm wide shaft. Some places was exact, snug fit in one or more measures...
Another great tool is your phone. Take pictures before you disassemble stuff, note how arms are located in relation to servos. Use the phone torch to light up that dark area too.
Last edited by ungern; 07-23-22 at 08:28 AM.
Reason: Added more info, spelling
You will need to disassemble the white funnel on the left side. It has an ear on the top right, which holds a bunch of cables in - for us - a bad place. It can't really be detached with the funnel in place. There's one screw under the right edge of it holding it in place, then it can be gently snapped off from its left half.
The cables can then be detached by using a flat screwdriver and pushing in the small tabs on the rear.
The left part of the funnel can't be removed, but moved to the right and down a bit. This will be needed later. Take a picture of where your servo arm is, before unscrewing the servo.
Last edited by ungern; 07-23-22 at 08:27 AM.
Reason: Spelling
The top screw is easy to remove (remember, everything is relative).
The bottom left I could access provoking an angle in front of the front A/C pipe. Not a proud moment attacking a screw like this.
The bottom right is even trickier, I managed to lift the cables behind the rear A/C pipe...
and barely fit the screwdriver in there.
The stupid thing is that I had to place it into the head f the screw without being able to hold the driver properly, then using 2-3 fingertips, try to undo the screw.
are a bit more forgiving than mine are), and adapting the techniques to the layout of my GS and my tools available. A strong magnet will also be helpful to hold screws on the tip of the screwdriver, specifically the ones behind the pipes.
Cleaning of this servo is done a bit differently, I took a quick look at this video
You can also use a screwdriver socket bit and an electric rachet. Still not easy and getting it started again is hard but that's how I removed and fixed mine a few years ago now.
Many thanks for all people especially the landlord, I do have the problem but not sure which motor, very often if blower in two directions(face and knee) but less if I chose either one. I'll get time to read the long post
So, this week I humoured myself with the task of cleaning the driver side servo as well, ticking sound emitted for a few months. Reading the OP, I really went on to swear a lot, as it's far from that easy first time around.
You will be on your back under the steering wheel, unless you're 2 feet tall. Seat will be moved back. The only positive is that almost no disassembly of stuff is needed. Photos taken for clarity x 1000 words.
Undo two Philips screws on each end of cover, undo the snap lock right of the hood release with a finger to make the cover release a bit, then pull down until the hidden snap let's go, by concentrating force around the crotch vent area. Cover to be removed, 2x red Philips screws, green snap to pull down, turquoise snap to be forced
Just move the cover to the front, no need to undo anything from it. Cover snaps from inside
Looking to the front right, you can see the bottom of the servo, two screws visible. There is a third one though, placed by the devil himself. Time to crawl in.
Strongly recommended to leave the floor mat where it is, as screw falling down will hopefully end up easy for you, and not inside the guts of the car. What you see before going yoga position. 2 of 3 screws to remove.
The lower of the two visible screws also has two notches that will hold the servo in place then putting it back, that's some help at least on reassembly. Third screw can't be seen, barely felt low behind the cylindric bit.
The power connector is already removed here (location is the yellow), the snap is on the back side, pull it towards you and pull the connector upwards to release.
For your own peace of mind, take a photo of arm positions, you may need it. Yellow attaches the power connector, 2 screws visible, 1 (red arrow) goes on feel, green is the position of servo arm on cool temperature
Fiddle in the minimal bits holder and twist with massive finger strength (my stubby screwdriver didn't fit at all).
Where the Philips screw head hides, behind the cylindric plastic
When disassembling, be really careful with the snaps of the servo, 20+ years old plastic won't be too forgiving.
I just wiped away the old grease and smeared out a bit from the fresh lump on the untouched parts of the wheel. Note the arm position before disassembly, set to same when putting together again
Crawl back and reassemble in reverse order, by now it's "easy".
The lower ear has support from the two notches next to it, the servo won't fall down ad the air funnel holds it from the side.
 08-23-21, 09:19 AM


")