When you click on links to various merchants on this site and make a purchase, this can result in this site earning a commission. Affiliate programs and affiliations include, but are not limited to, the eBay Partner Network.
These mod’s was performed on an Australian delivered JZS160 – other markets use different harnesses due to different design standards so it may or may not be relevant in your case
In Australia, ADR standards mean that both pre and post facelift taillight housings of the JZS160 GS300 aren’t fully functional, in both cases only one of the two available elements are used. In this thread I will go over what is required on both pre and post facelift housings and harnesses.
The following is adapted from this DIY guide on bananags
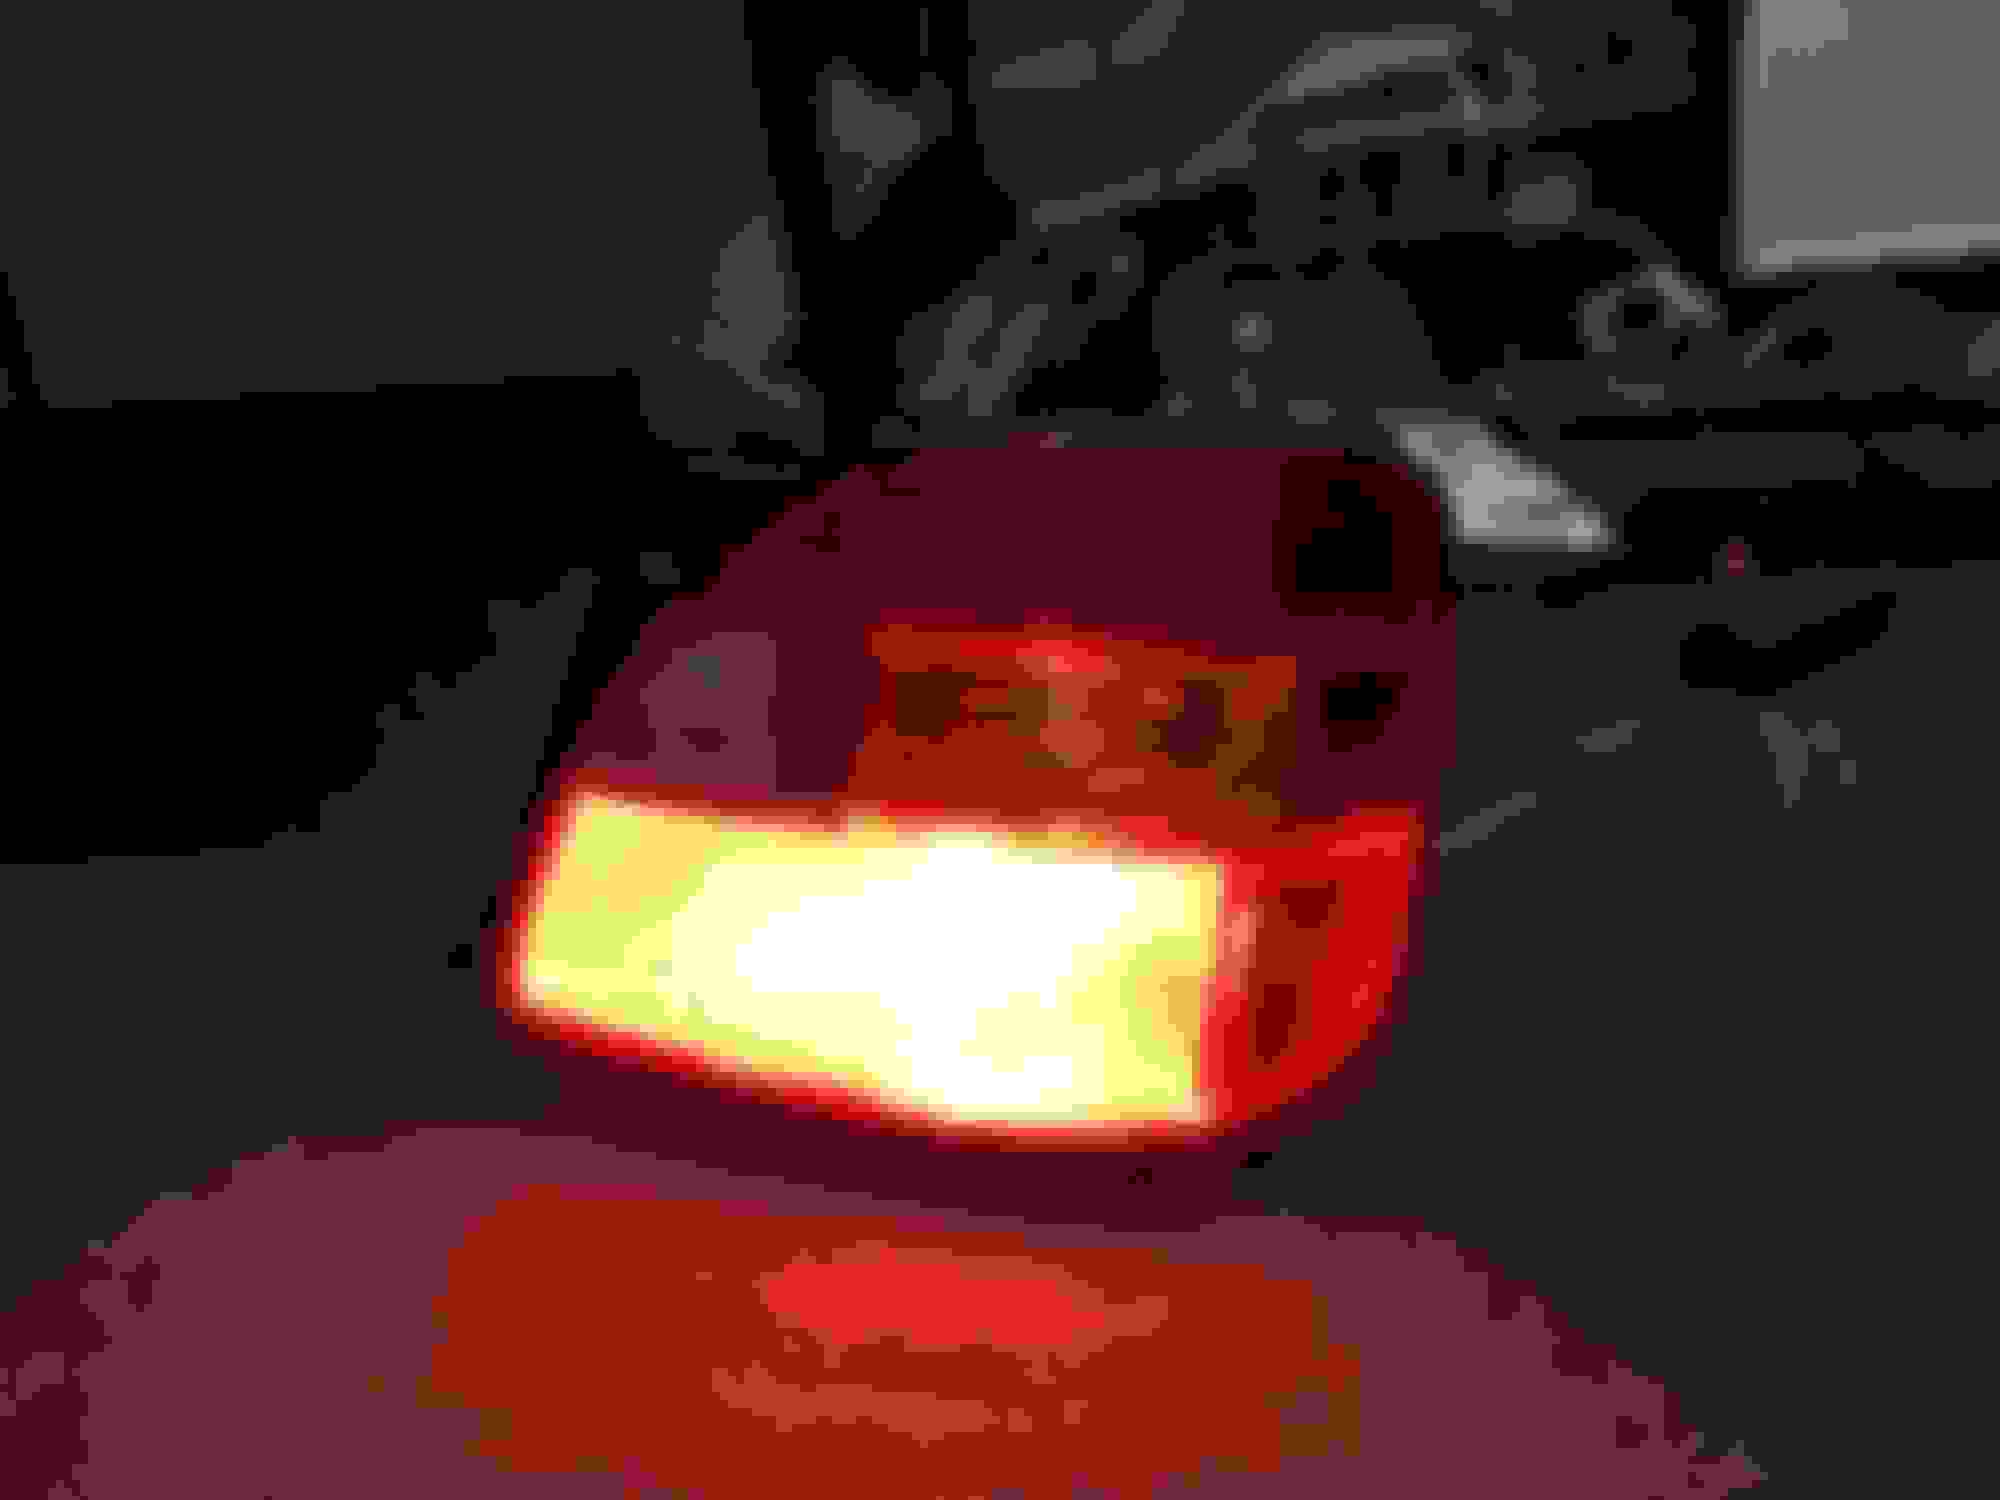
How they light up from factory:
Pre facelift (98-00)
Tools and material required:
- Drill with any sized drill bit to make a pilot hole
- Dremel or rotary tool with cutting and sanding bits
- Small hand file
- Compressed air
- Soldering iron
- Wire
- Heatshrink
- Extra pair of twist lock taillight bulb holders (source these from your local wreckers)
- Hot glue gun (if bulb holders are unsealed as mine were)
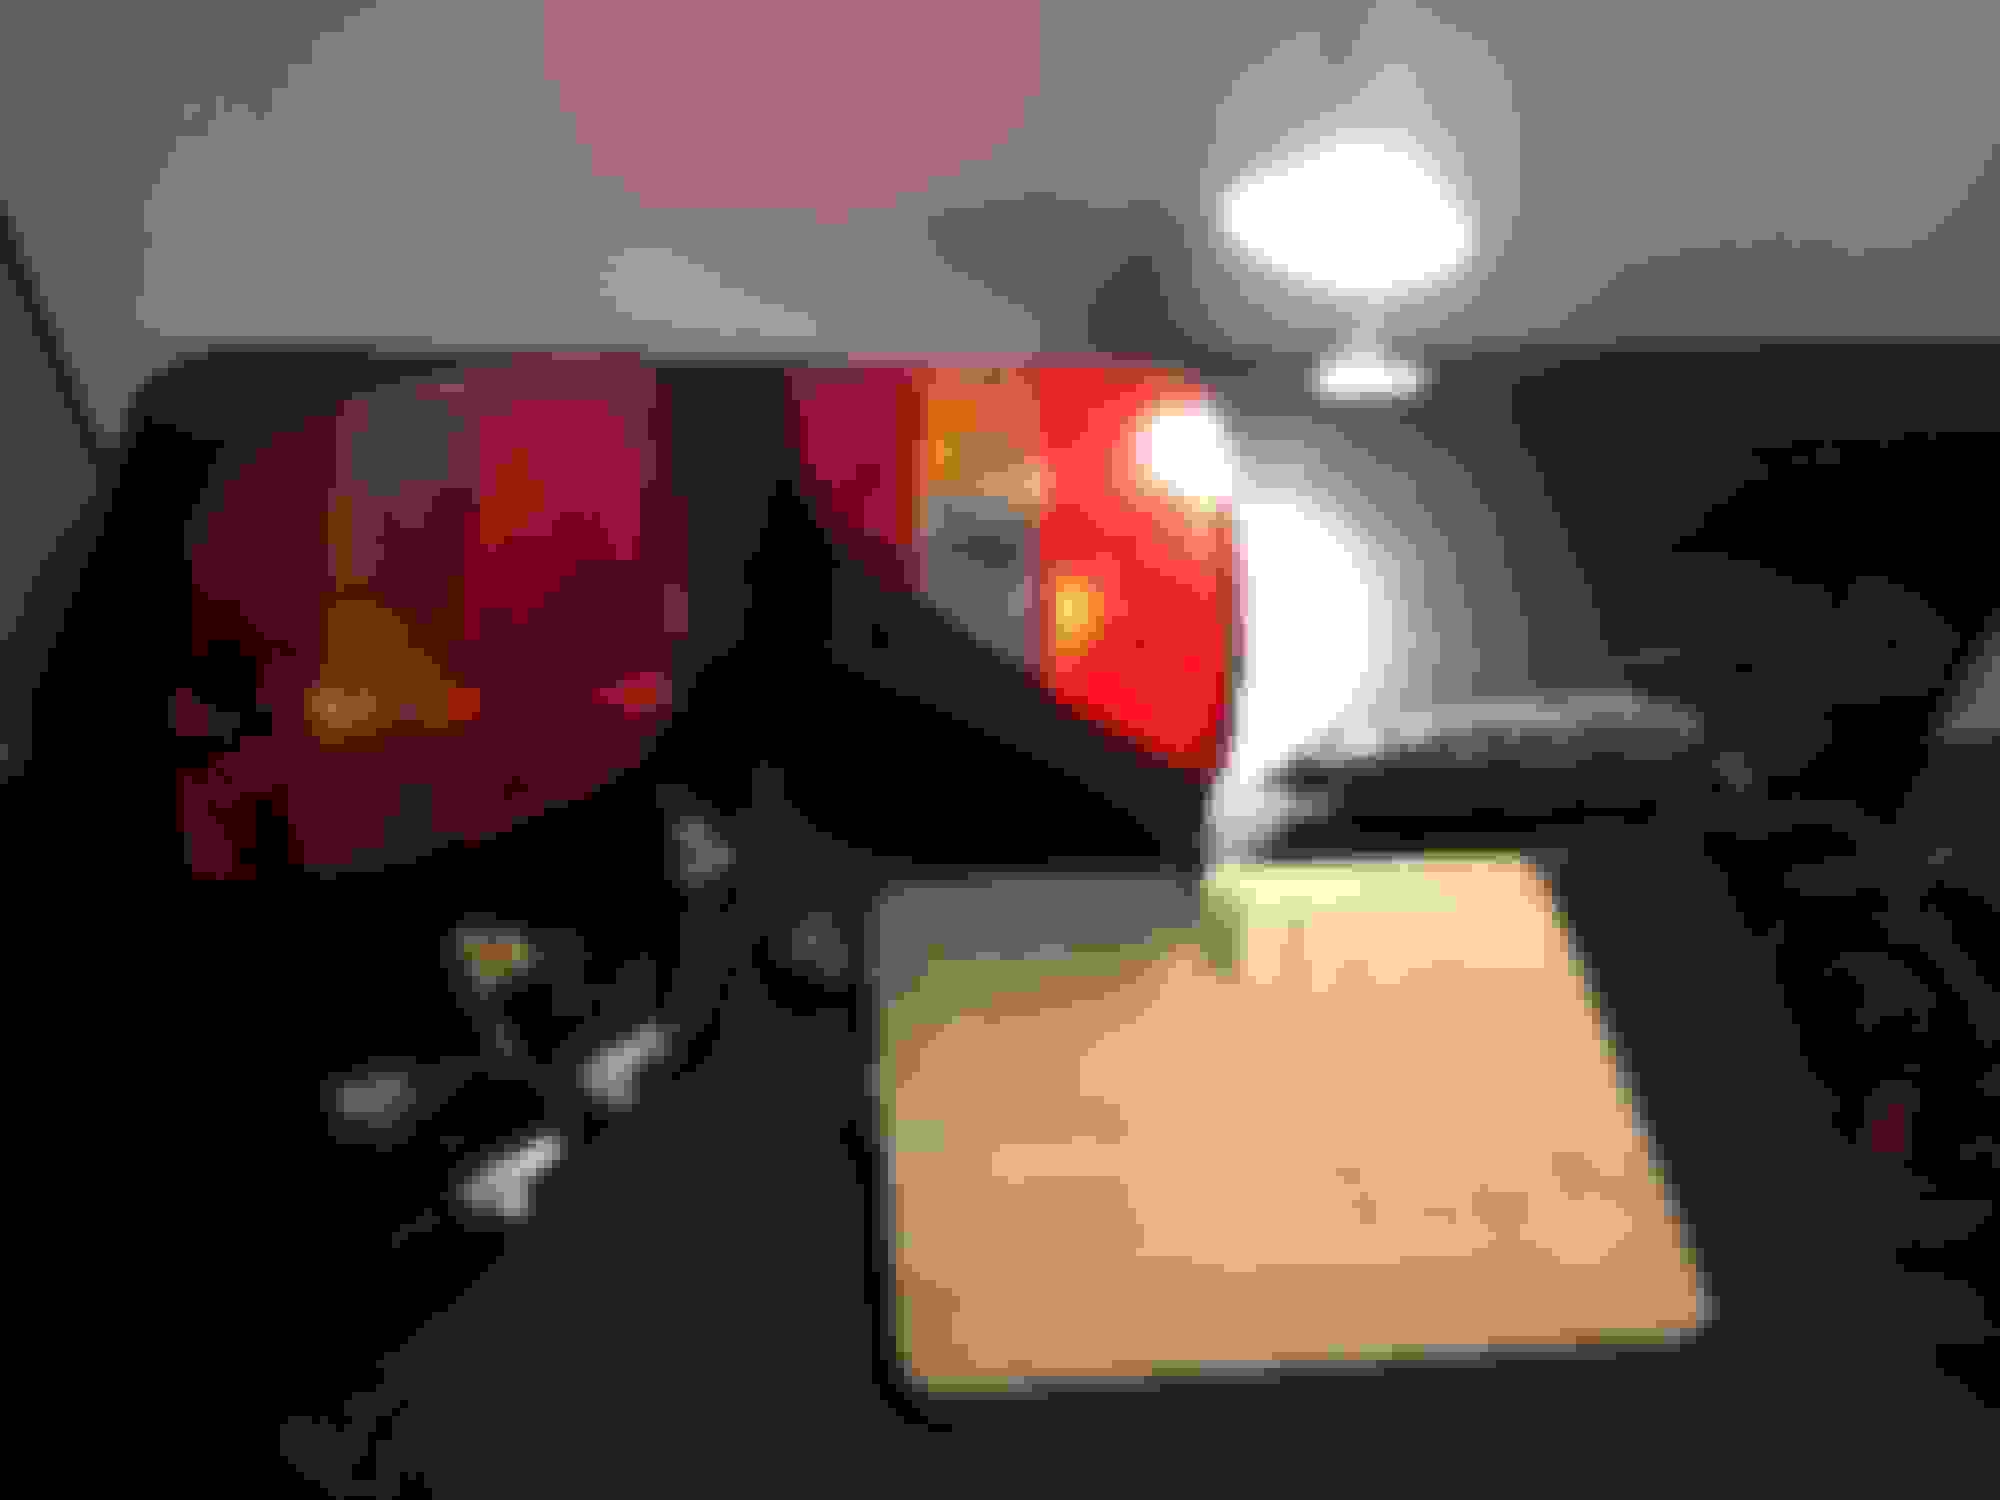
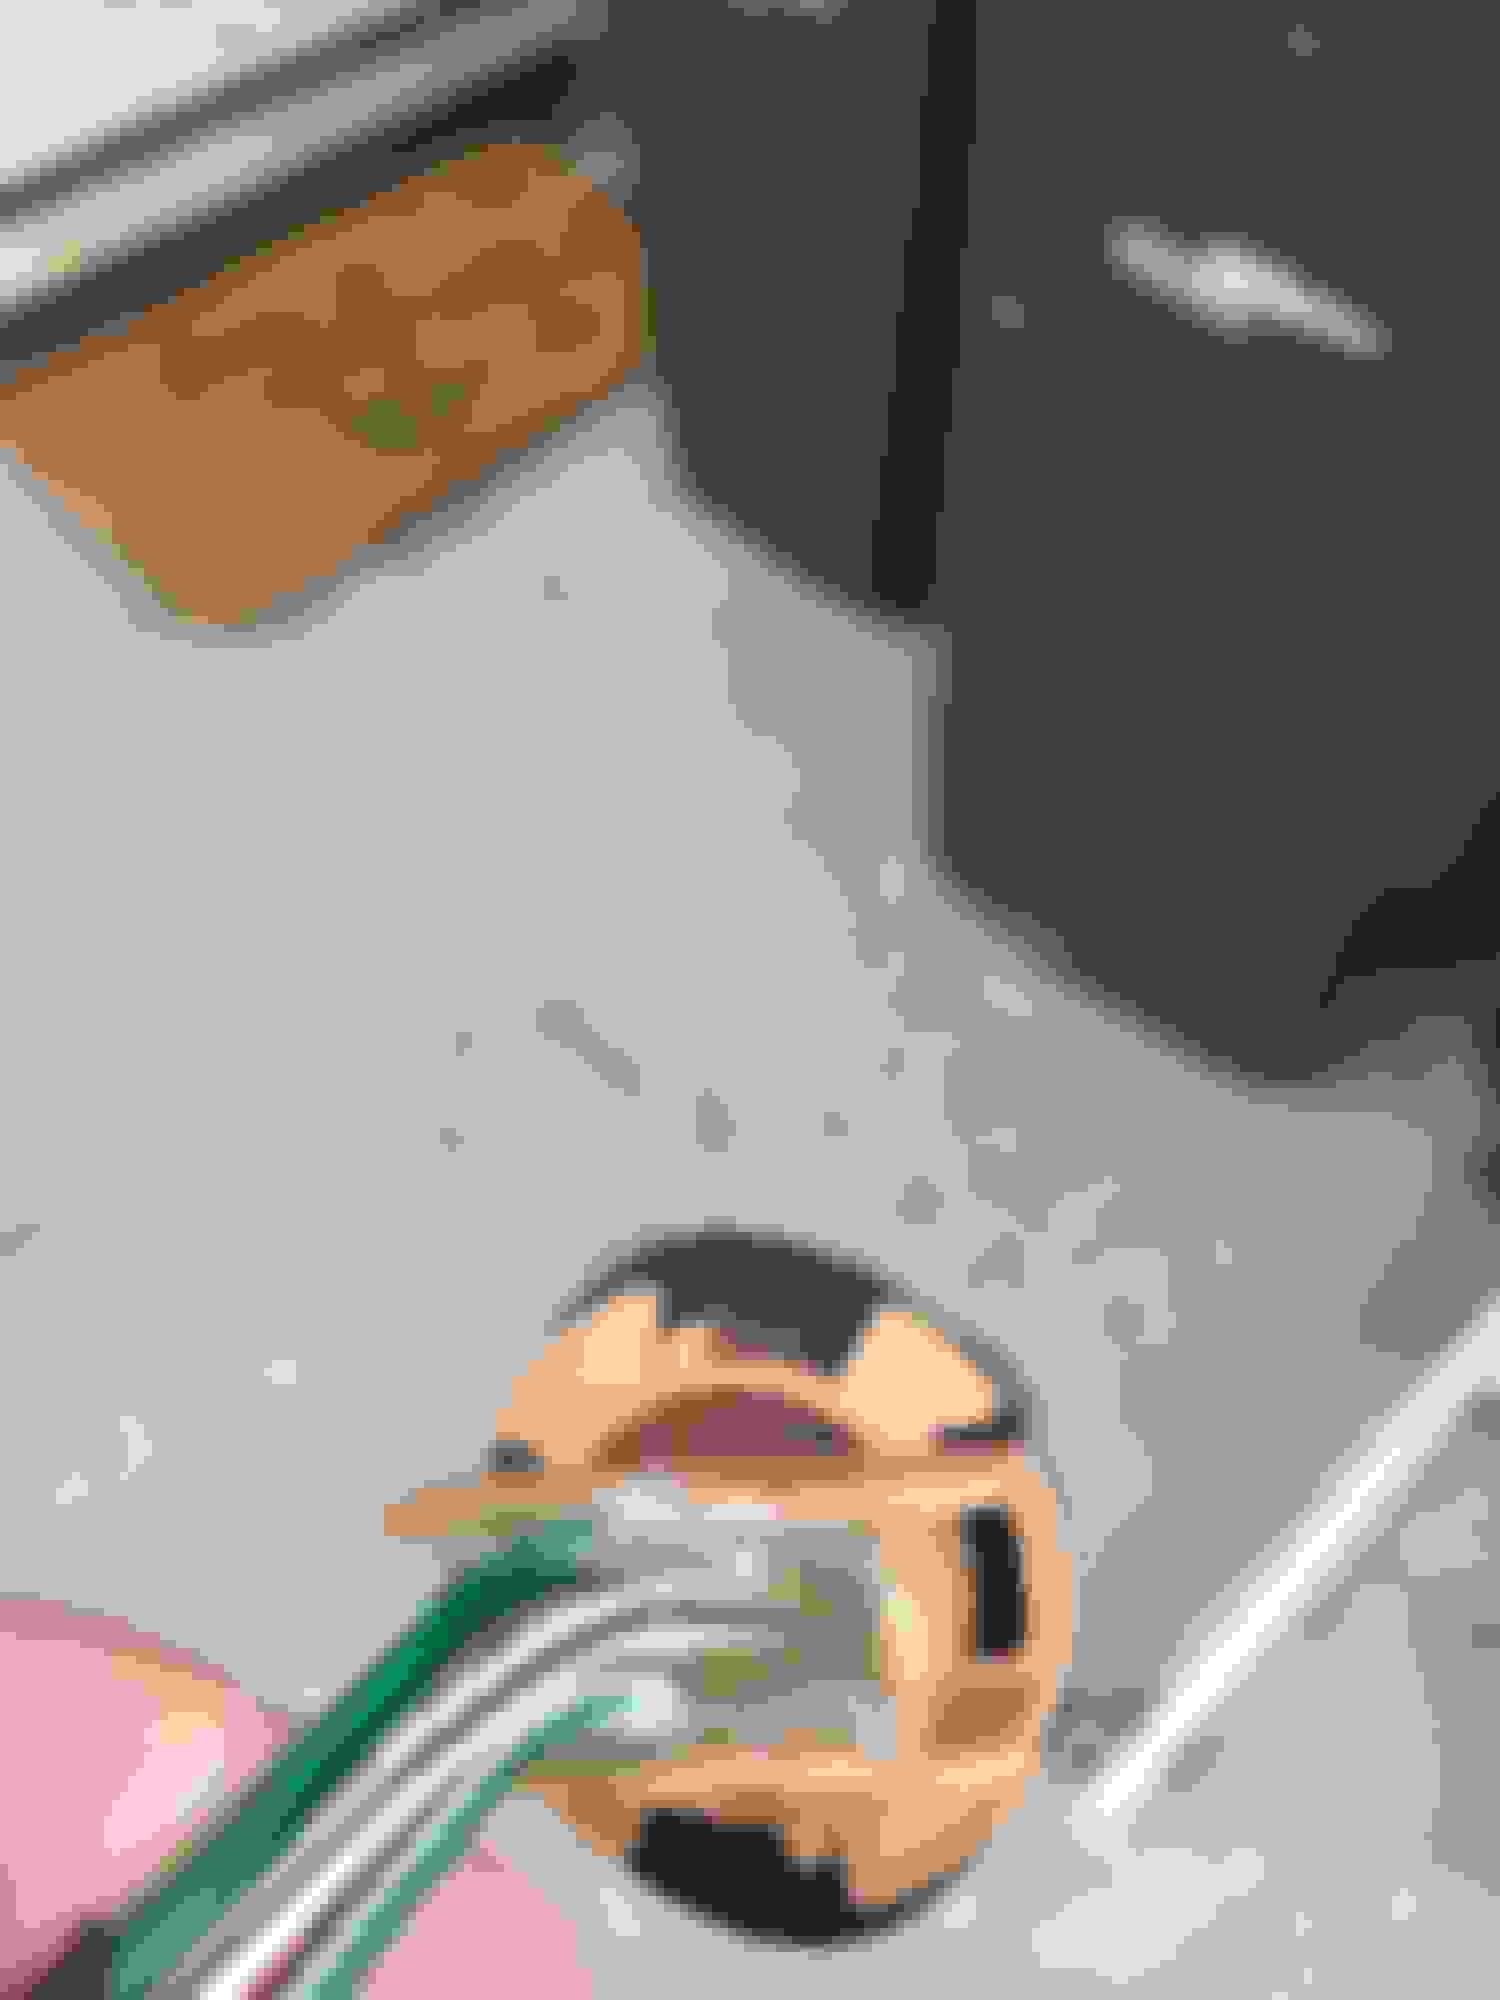
Firstly, remove both taillight assemblies from car, this is as simple as removing the covers around the studs holding the taillight in through the boot (trunk) along with the two bolts hidden by covers next to the boot lid seal. Unplug the harness from the body loom and set aside for later. Next locate the blanked out hole where the extra globe will be placed that is on the top element section, start by tracing around the extra bulb holders to get an outline of where you need to cut. Be sure to include the cutouts to allow the bulb holder to go through and lock into place
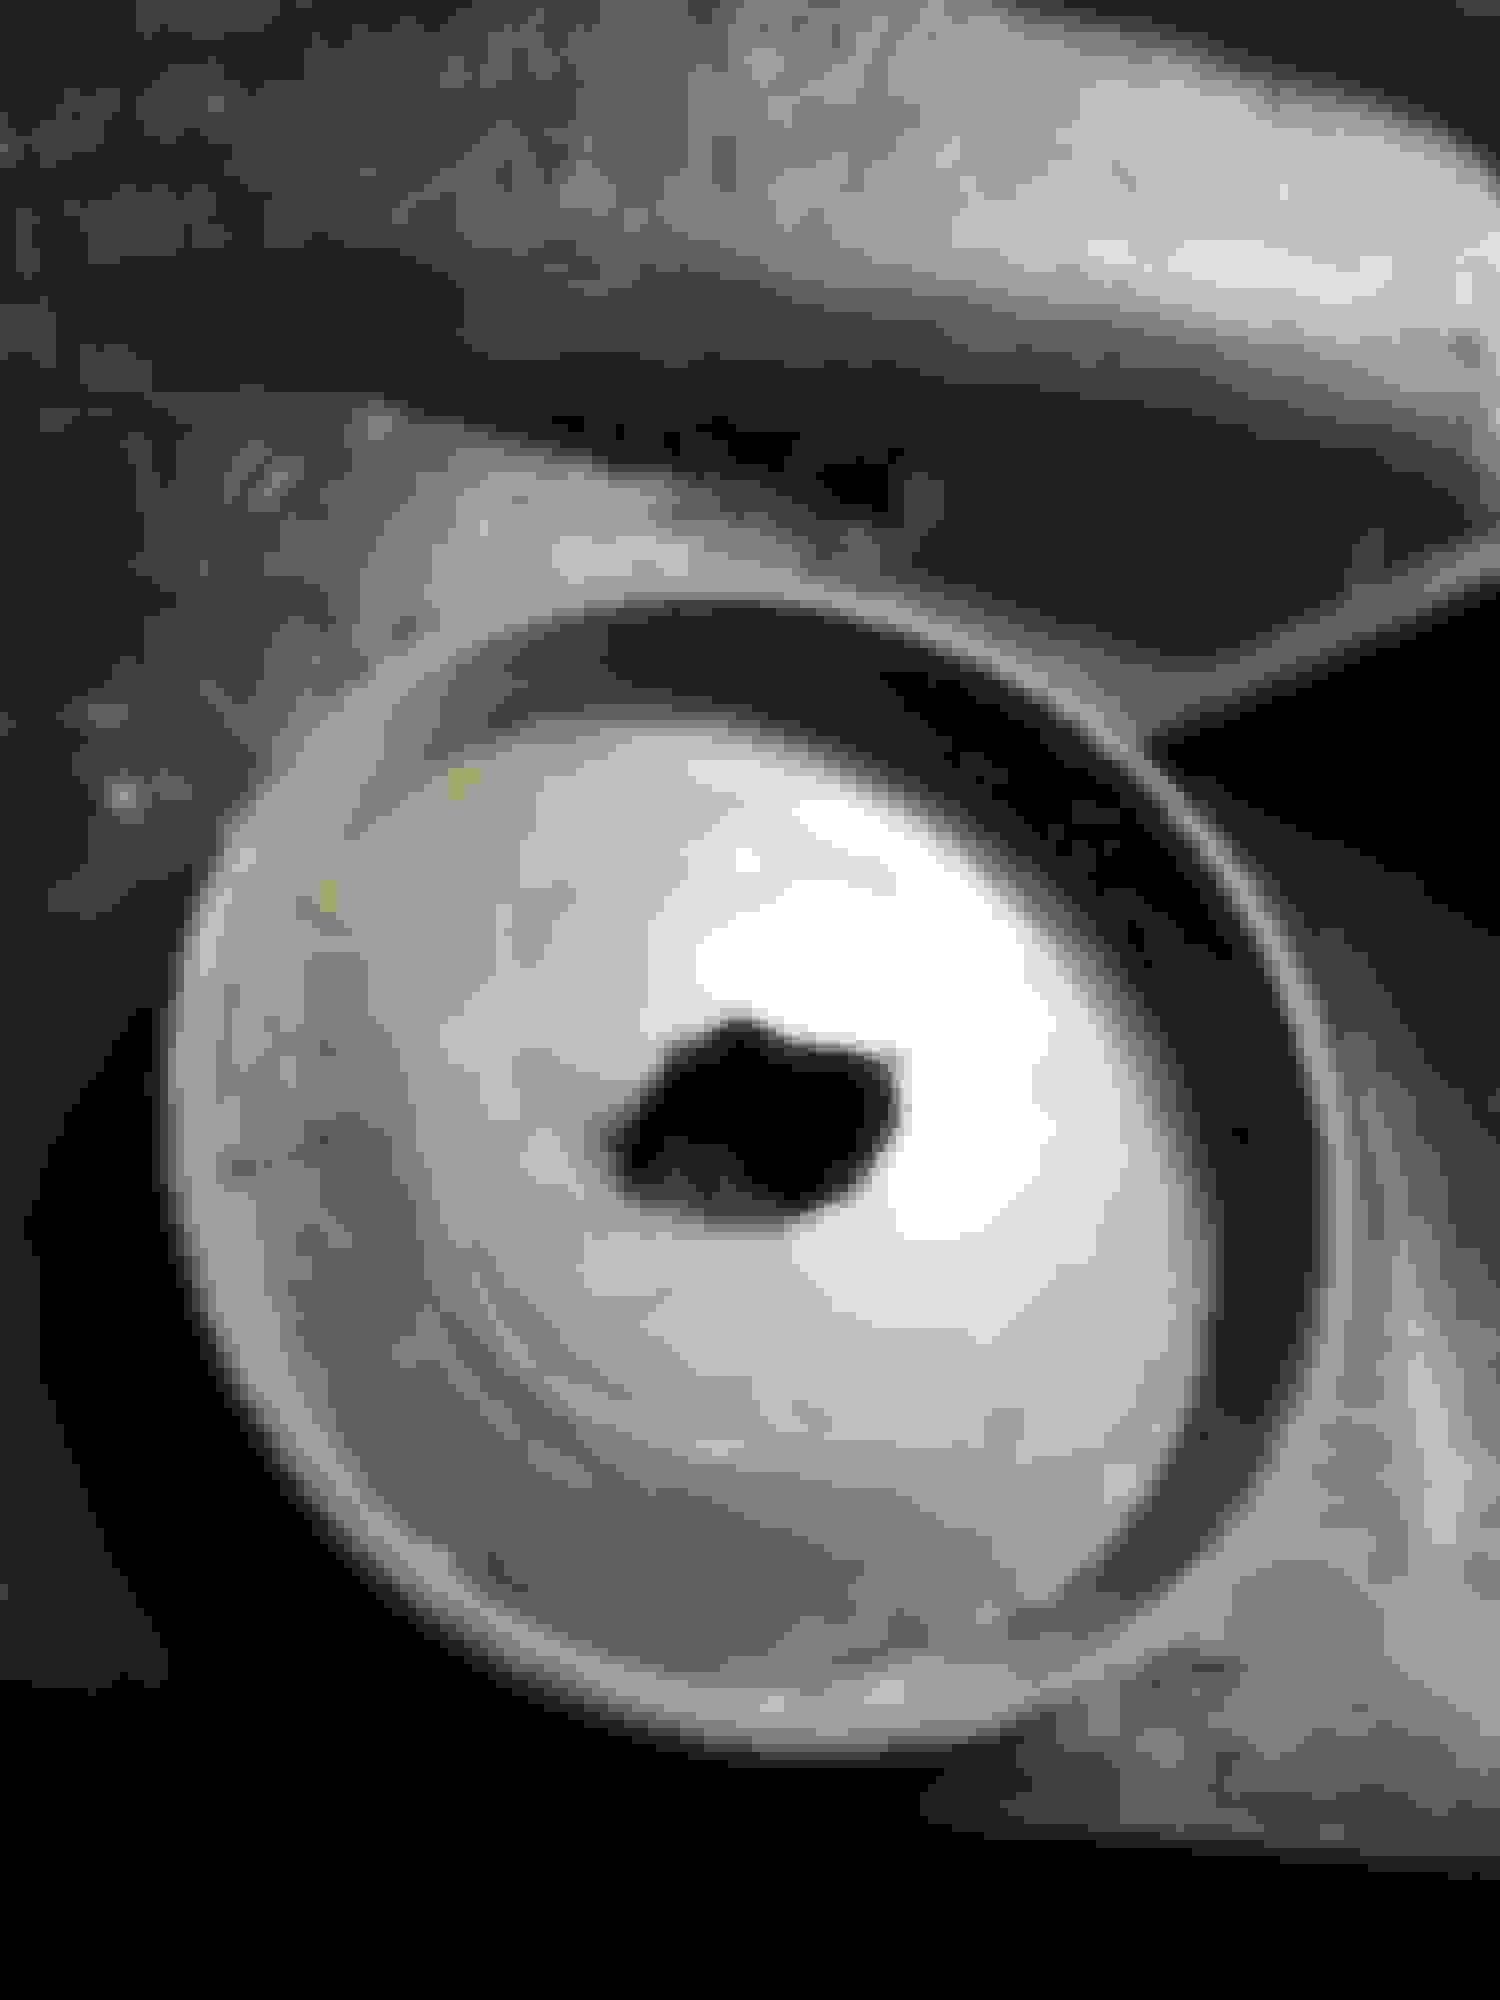
Next, drill your pilot hole big enough to get your dremel tool in and start cutting away the plastic. Once you have cut most of it away, switch to a sanding bit to tidy up the edges. To finish off the cutouts it is easiest to use a hand file to get the correct shape
Once you have finished cutting and filing you will need to blow the housing out to get rid of as much plastic debris as possible. You will need to shake it all round and potentially use a vacuum to get every last bit out.
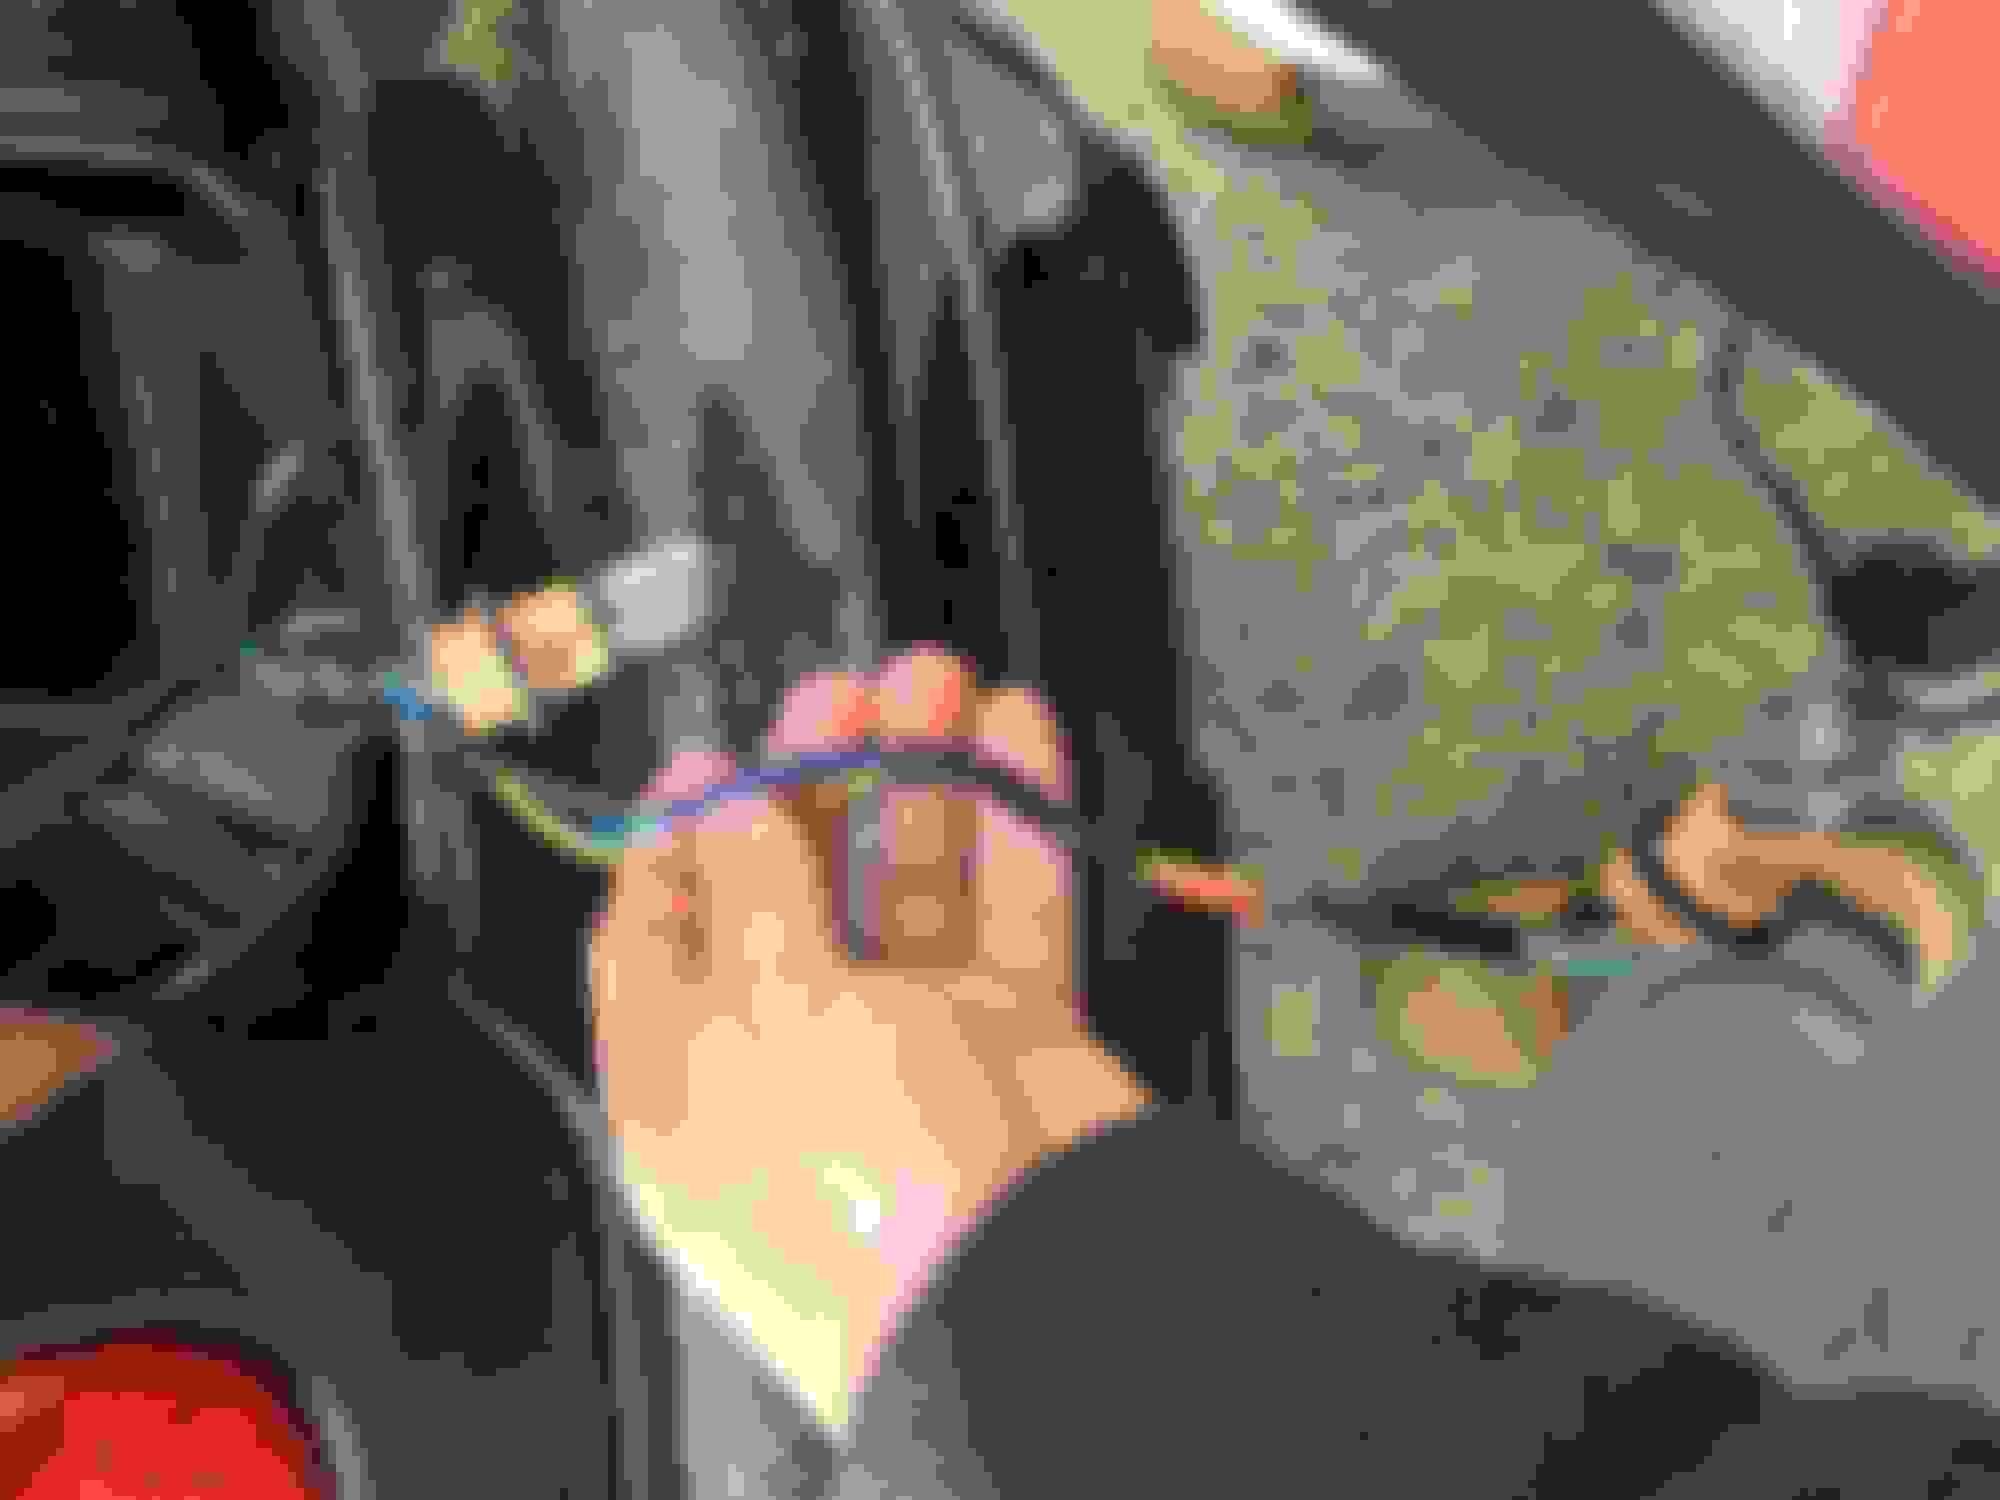
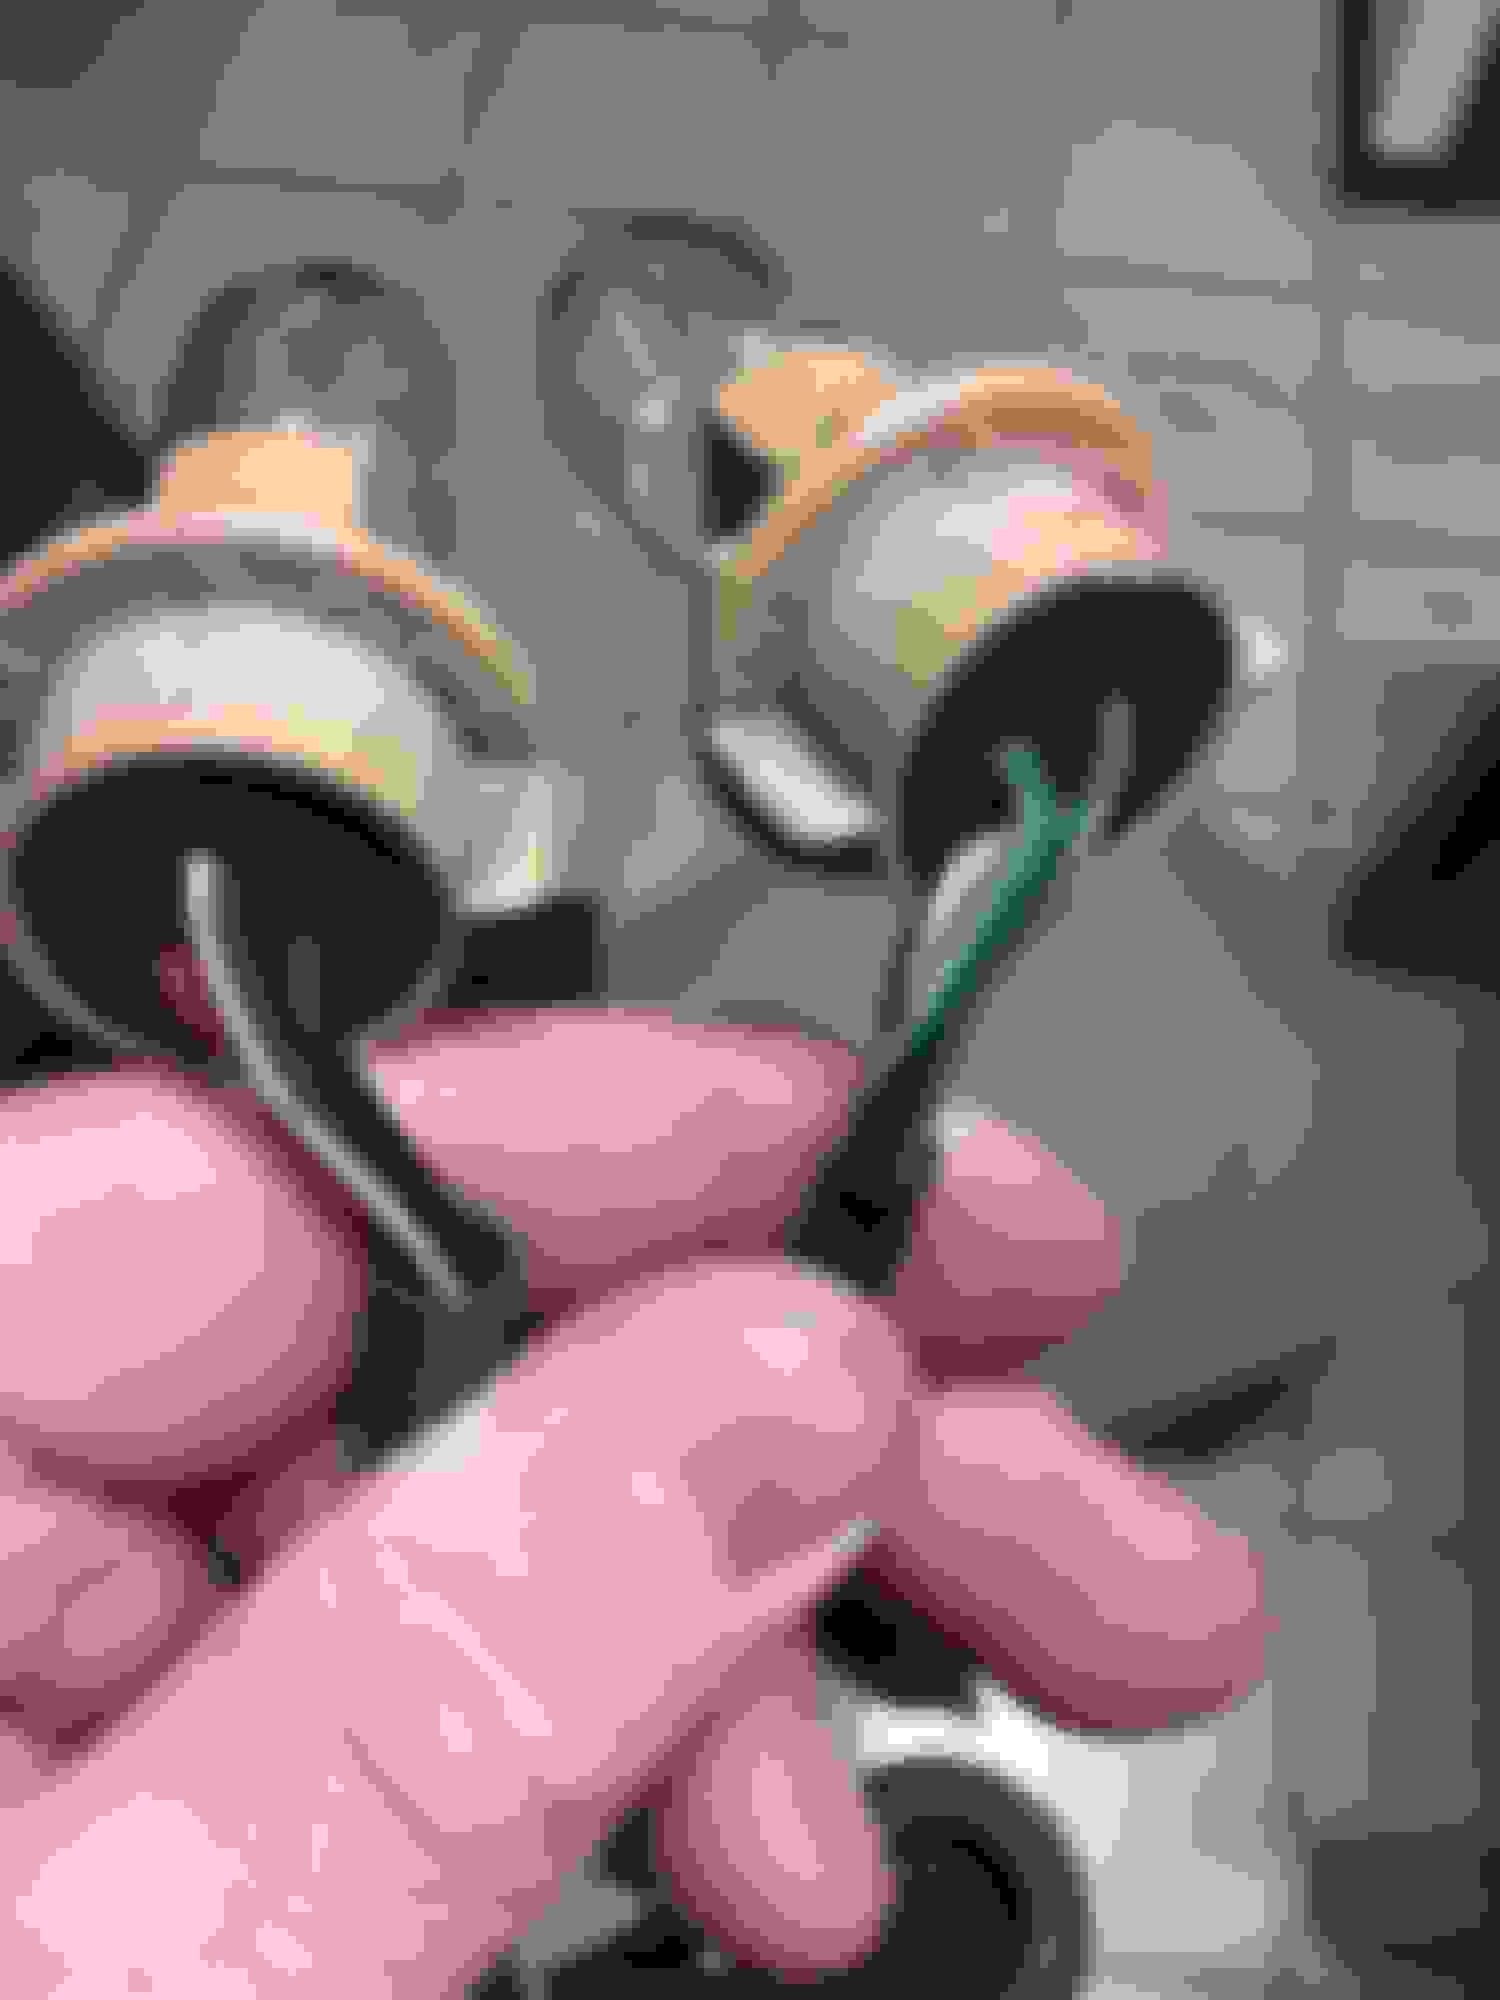
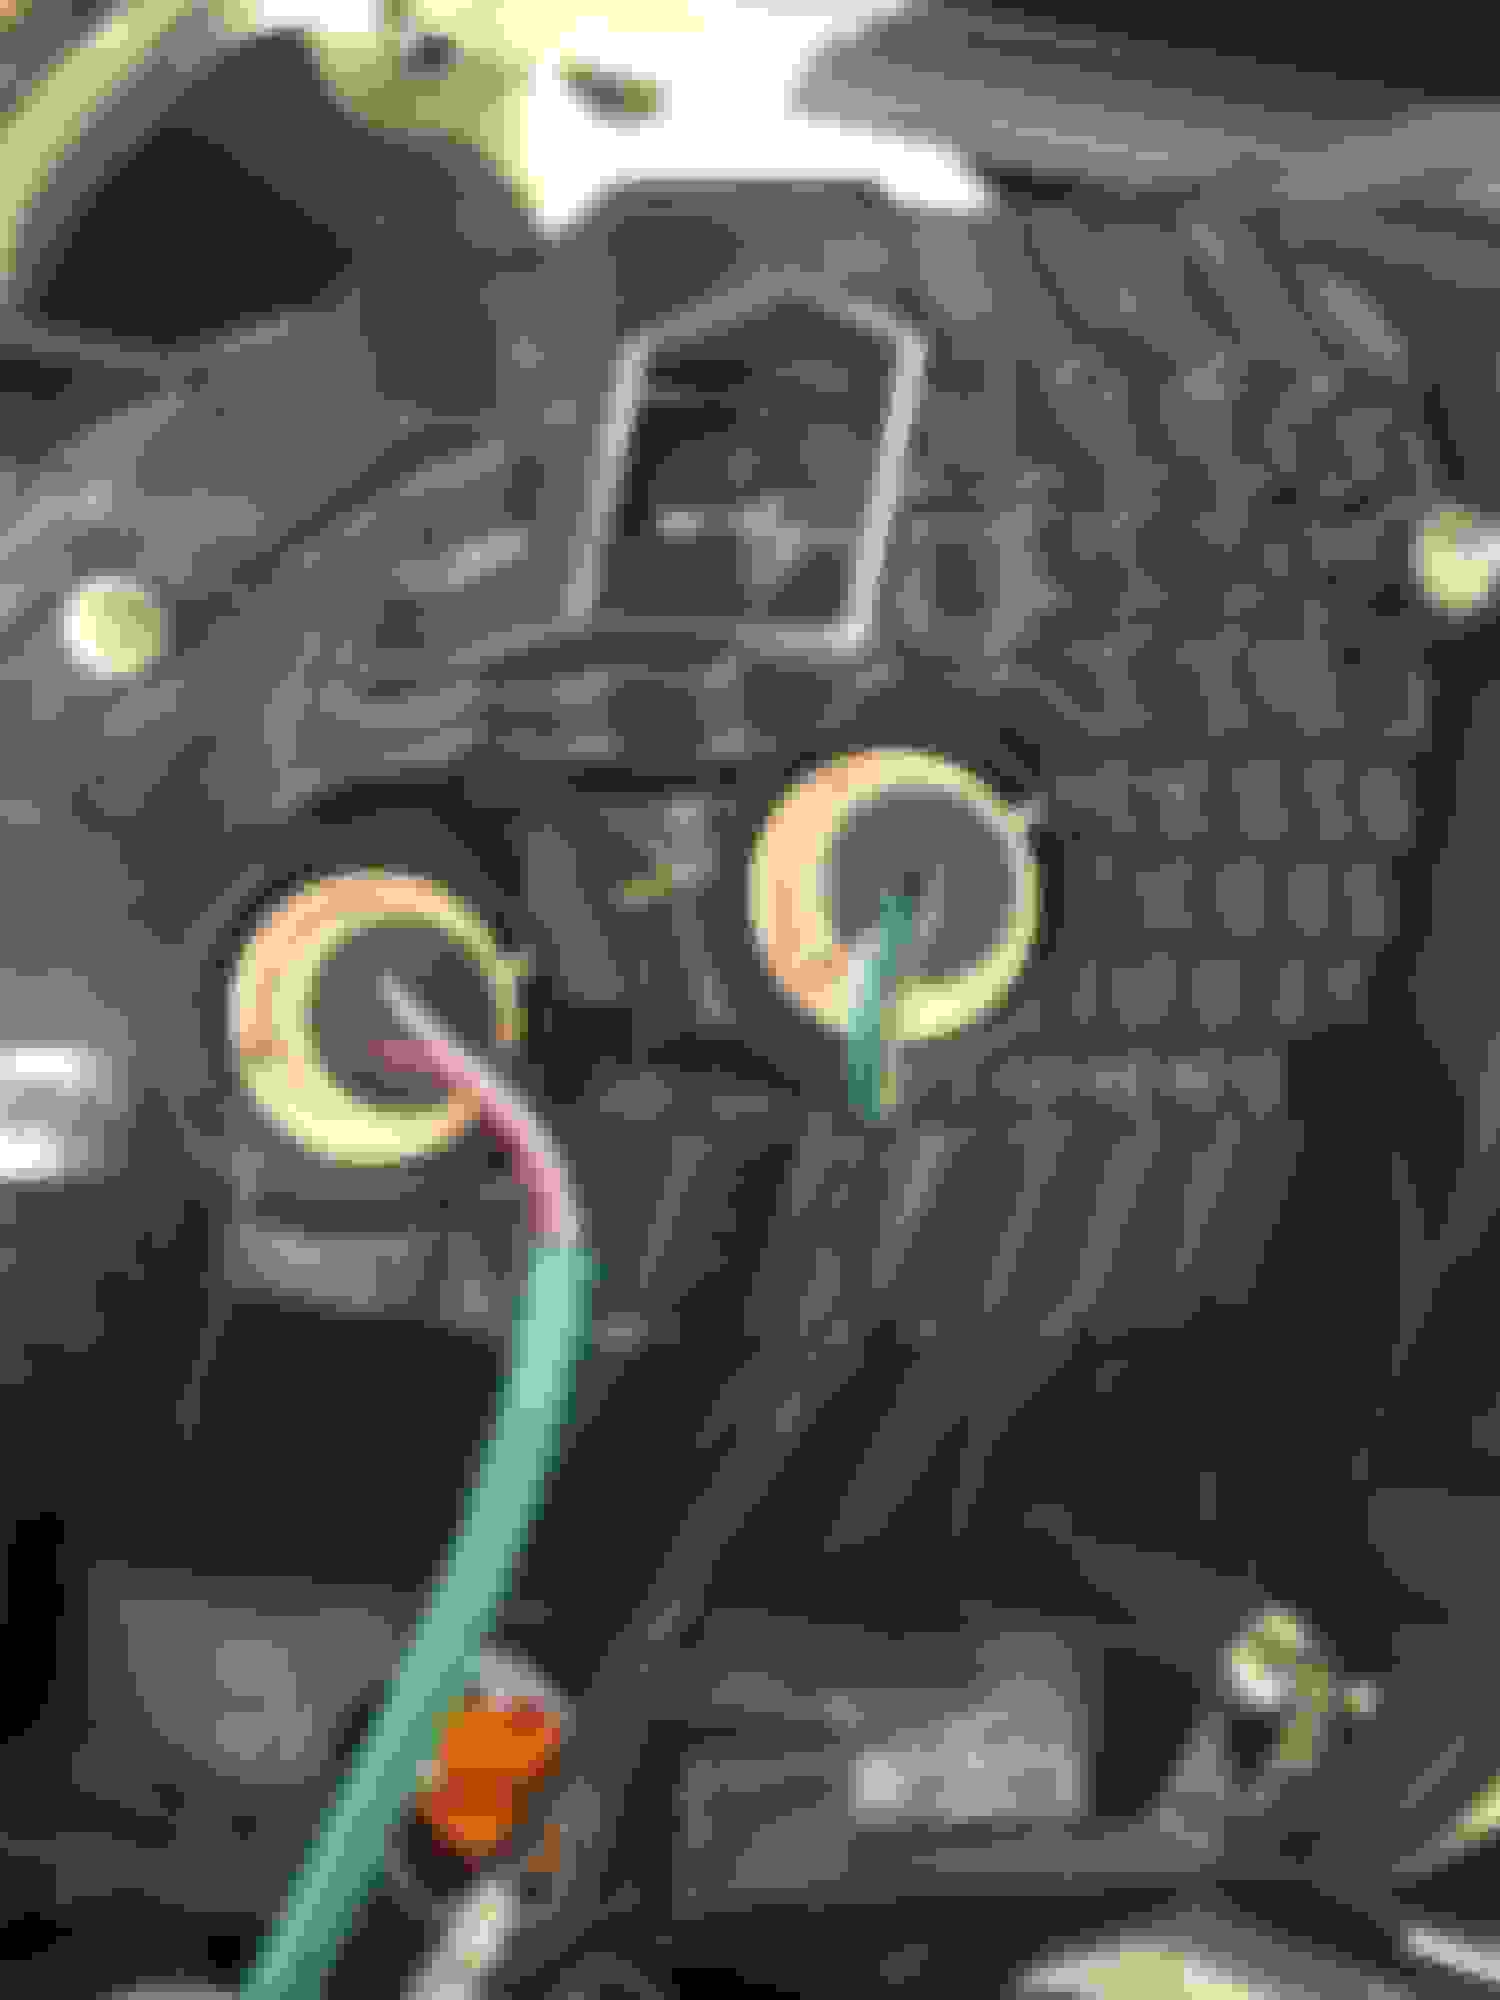
Once this is done you can move onto the harness. You will be make 3 joins going from the original brake light bulb holder to the new one. The first is a simple ground wire, Black White > Black White. The next is Green (original) to Green Orange (new), and finally Green White to Green White. Wire colours may vary depending on what bulb holder you find, if these don’t correspond to what you have, you will need a multimeter and an extra set of legs to test which wires are parker/running lights and which are stop lights. Once you have confirmed the correct operation, you can go ahead and solder up the modified harness and heatshrink the joins, finally sealing in Nitto Tape.
An extra step if you had a similar bulb holder to mine, fill the bottom of the holder with hot glue to seal it up and prevent moisture entering the housing and exposed wires causing potential shorts etc.
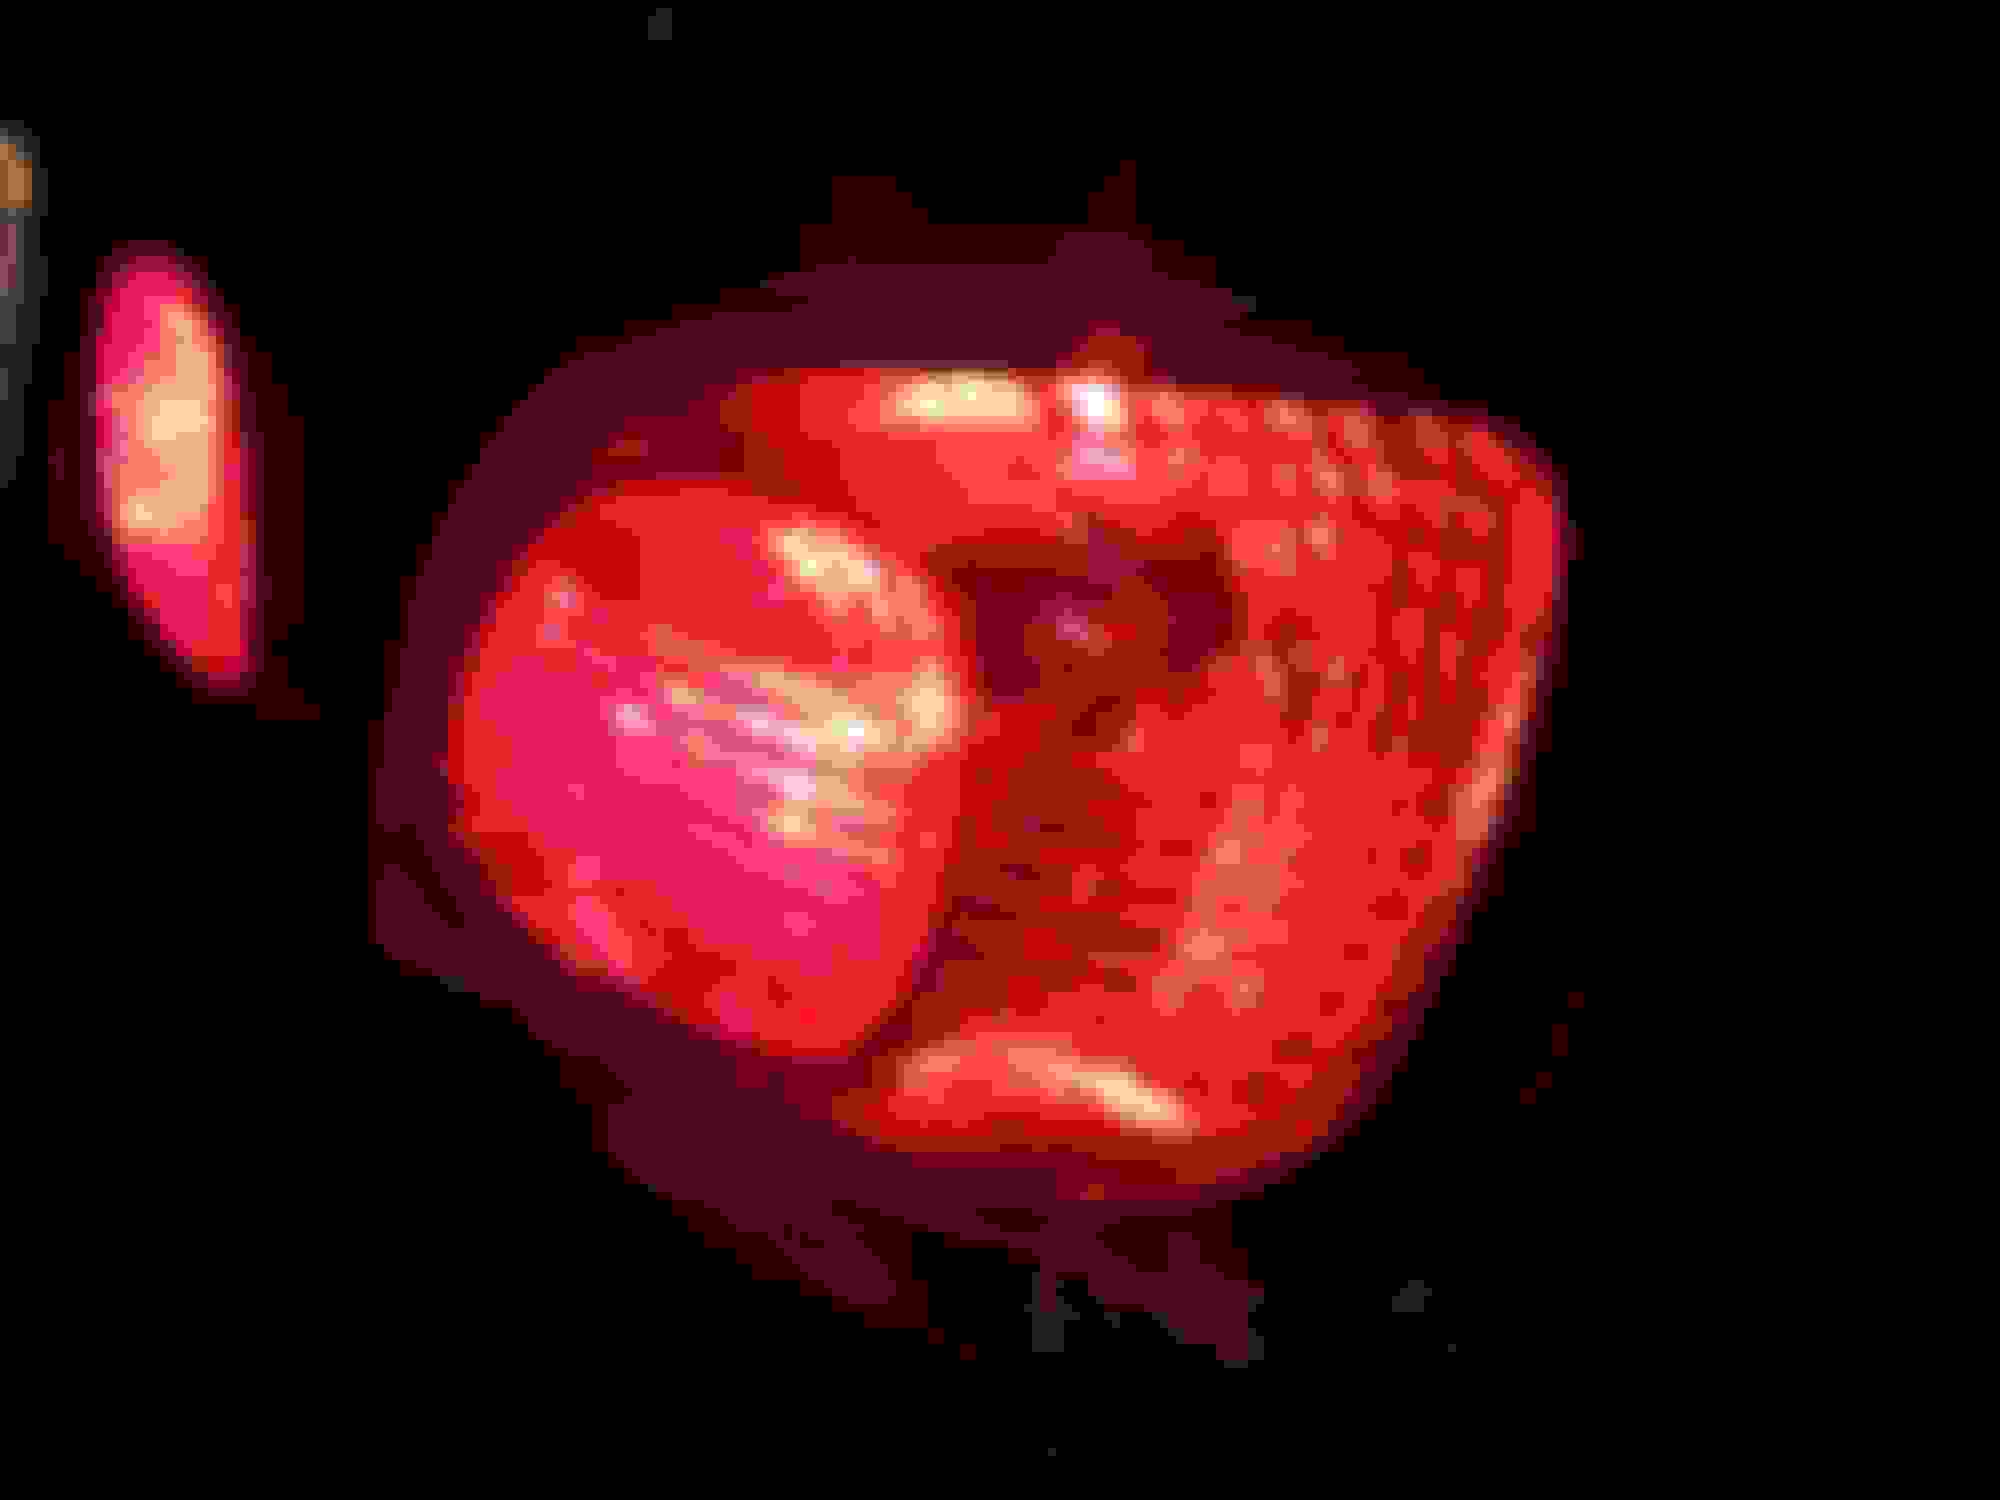
Finally, enjoy your “complete” pre-facelift taillight assemblies!
Last edited by 1JAYZ; 05-30-18 at 06:45 AM.
Reason: bananags link
(this was performed with a JDM Aristo taillight assembly + harness, others may vary in configuration, if required you may need to cutout blanked hole + add extra bulb holder as per above)
Tools and material required:
- Harness for post facelift assembly (due to different size reverse bulb)
- Wire
- Heatshrink
First start by removing the taillight assembly and unplugging the harness from the body loom. It is then a simple process of adding jumper wires so both elements light up. From the original to extra bulb holder, join the Black to Green + White, and Red to Green + Orange (as per JDM aristo harness)
Then simply seal them up and reinstall
If anyone finds their harness has differences, please post up the difference and I will update this original post with required detail.
Does our taillights light up only bottom or upper section of the housing and you made it so it lights up the entire housing or what exactly was the case in here?
I'm a little confused as you can propably tell.
Edit: Oh do you mean that with this mod you can get the fog lights to light up at the same time as the taillights?
Pre facelift taillights will only light up the lower element from factory.
Post facelift taillights will only light up the main element (not the "backround" element)
This is in Australian delivered models and possibly others
This applies to the US models too. There is a very old DIY to this buried on this site but its better that its posted on the forums. Thanks for the writeup
This applies to the US models too. There is a very old DIY to this buried on this site but its better that its posted on the forums. Thanks for the writeup
I did actually reference that guide but had to improvise a bit as our Aus spec ones don't even have the hole let along the parker illumination! Forgot all about it as I did this nearly a year ago, thanks for reminding me
 05-30-18, 05:42 AM