When you click on links to various merchants on this site and make a purchase, this can result in this site earning a commission. Affiliate programs and affiliations include, but are not limited to, the eBay Partner Network.
Hi there ,finally I got my new caliper pistons and it was time 2do it.here is few steps to make it easier to understand what I have done.remember this thread is for educational purposes only.
whatever u do u r doing it at ur own risk.
Anyway first thing first u need tools and quite place to do this task.
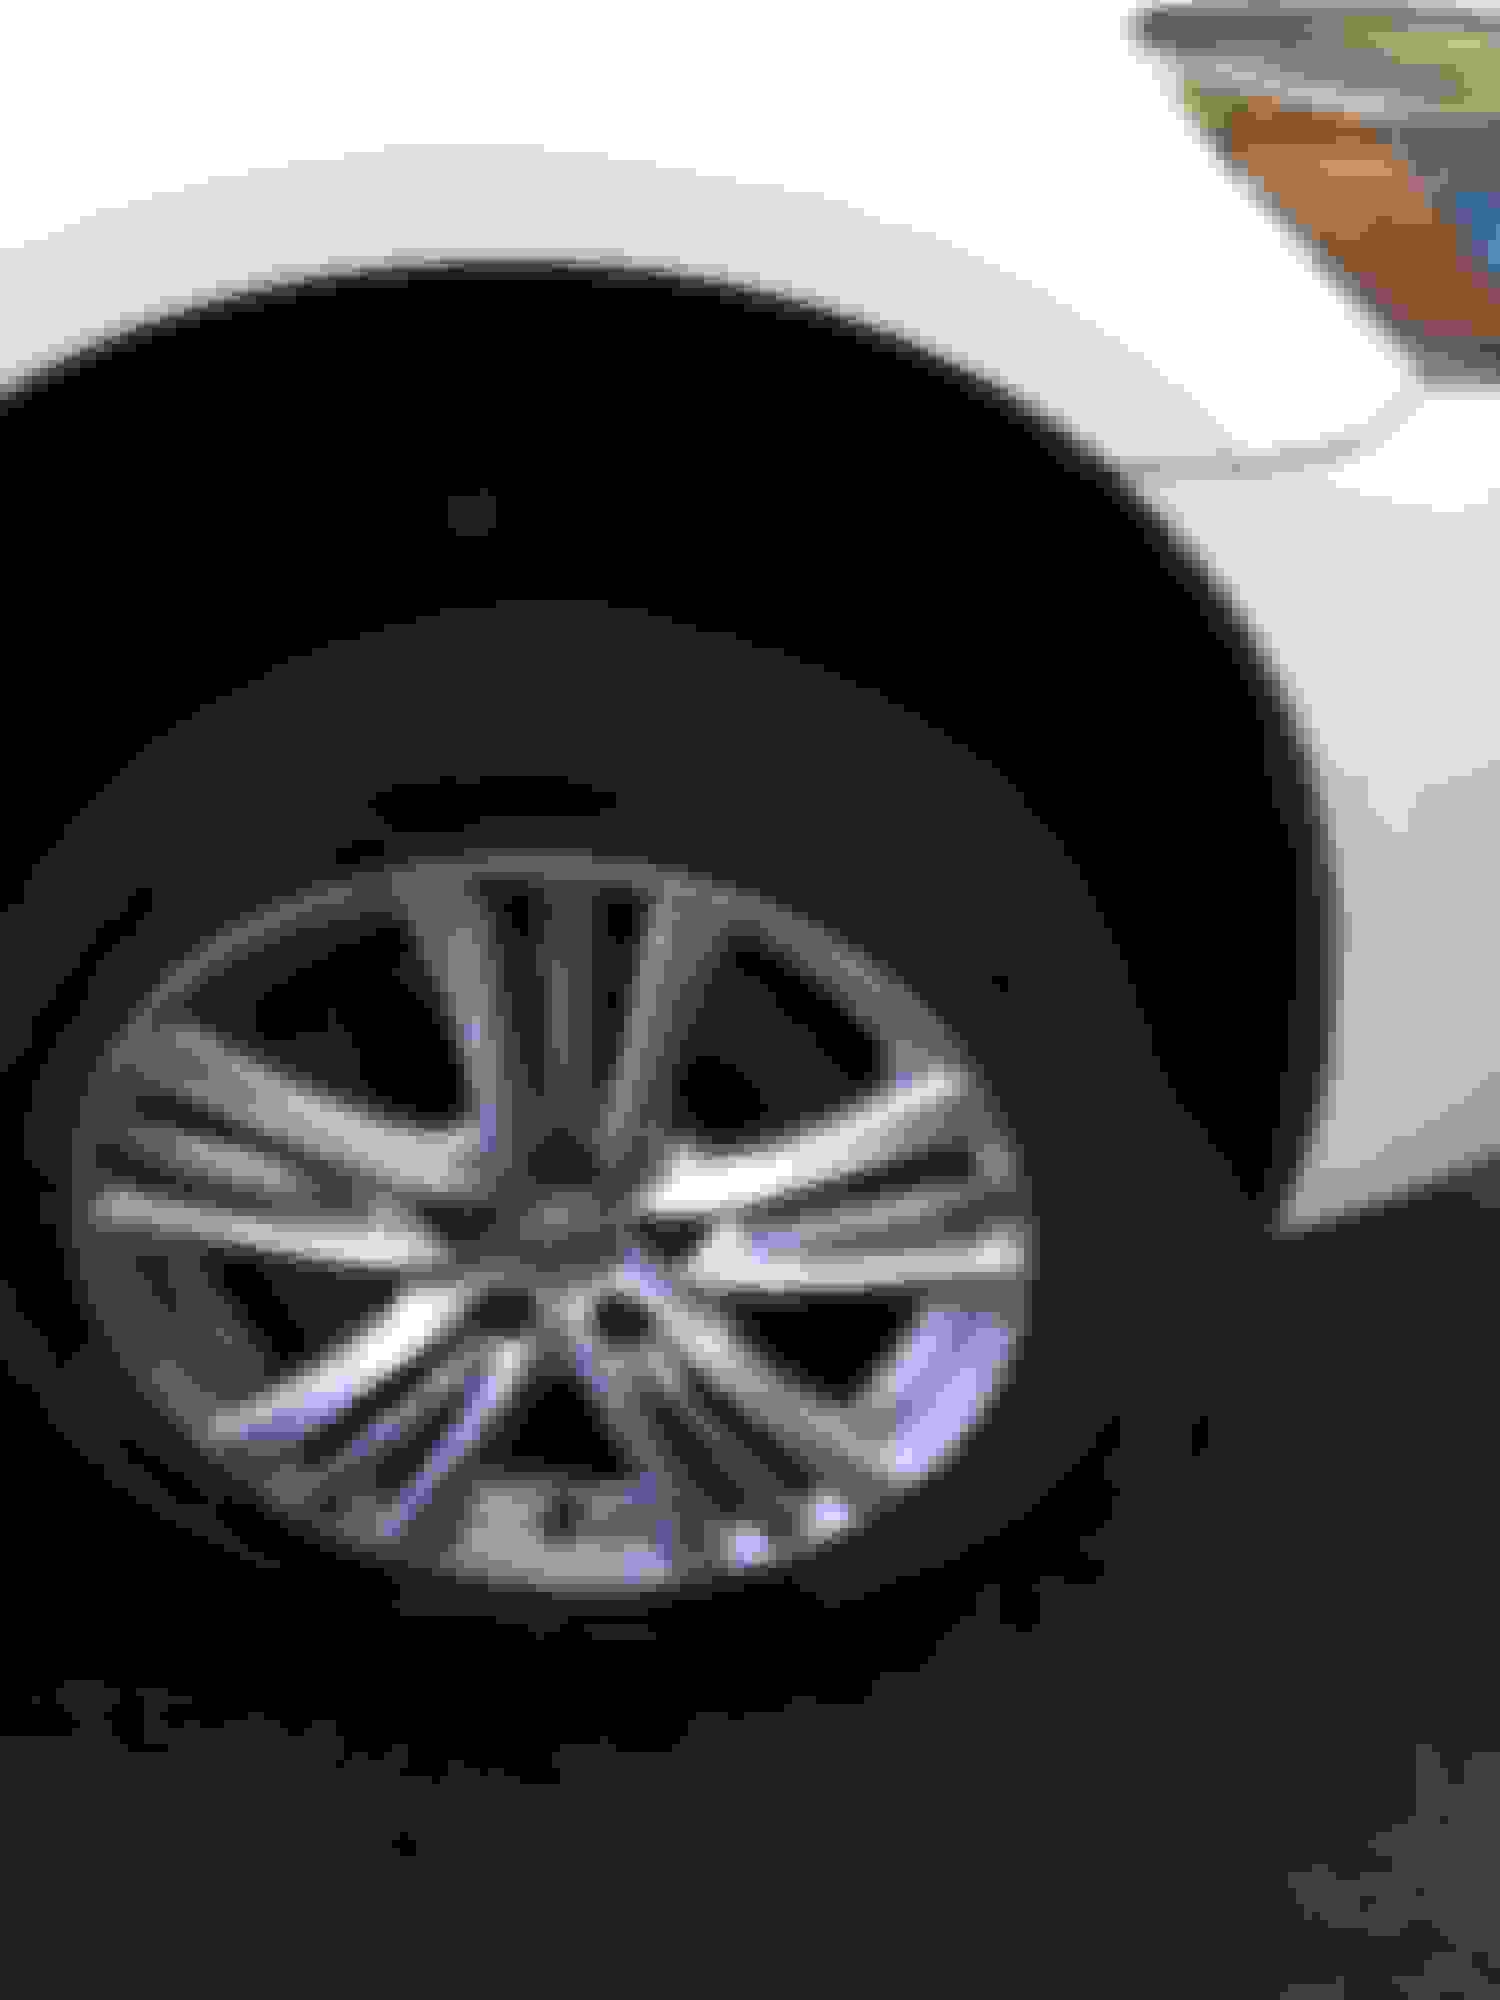
Start with removing all wheels as u can see in pics.
18inch rims with some ovation tires from China .
Next image showed some tools and product I have used in this rebuilding process.
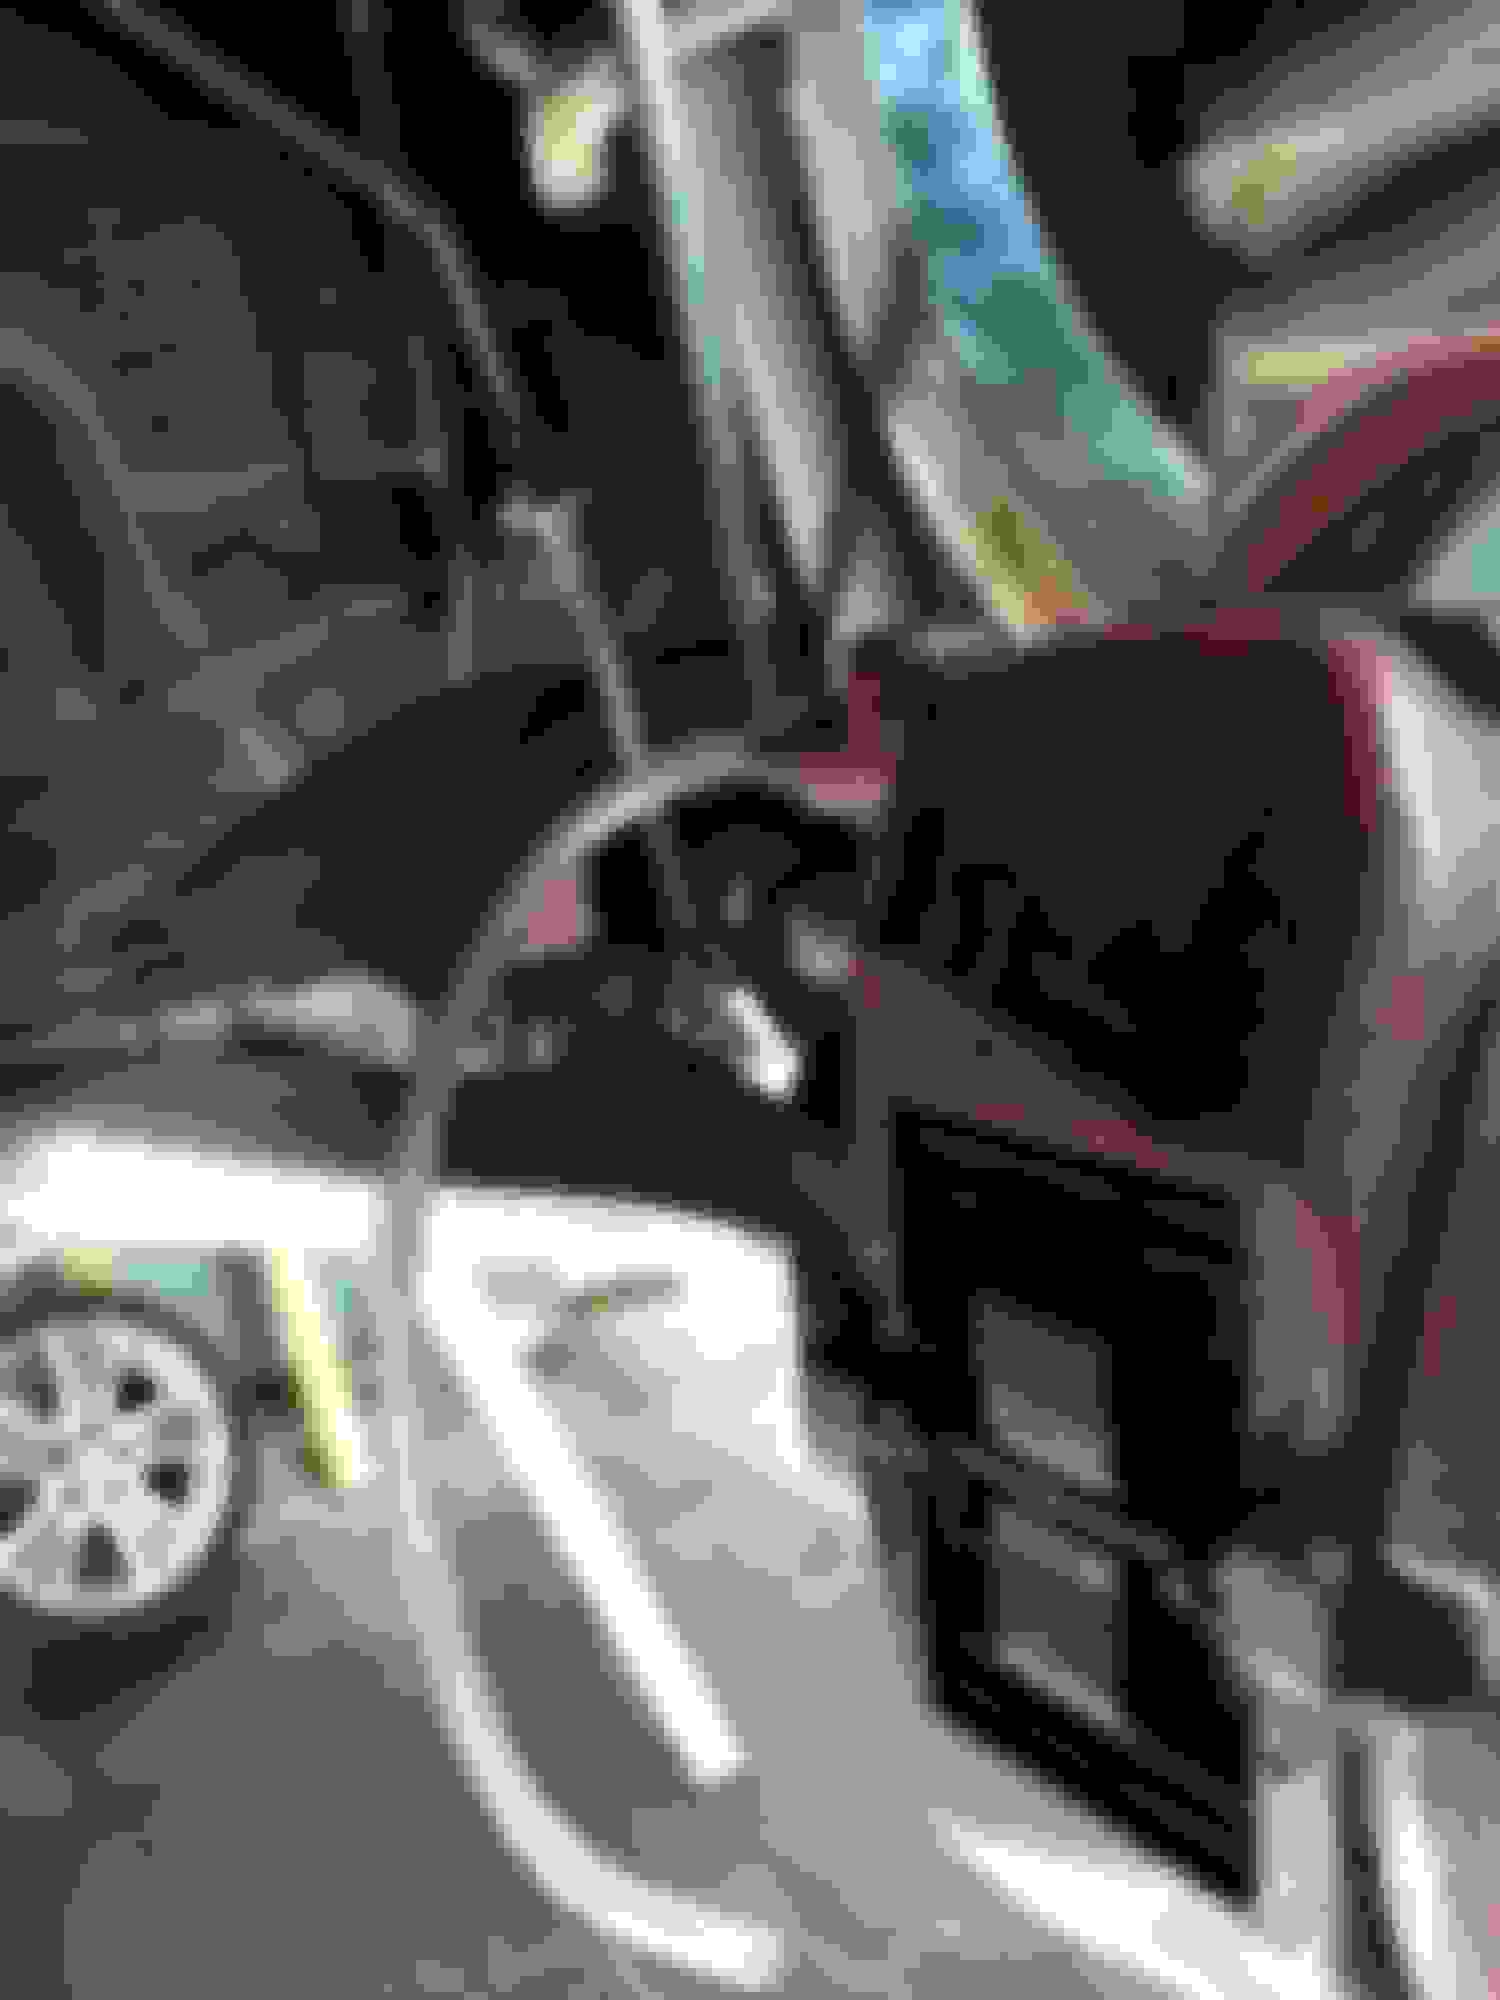
Next was removal of the brake caliper.also I was securing brake line too.
I have used 17 mm socket with braking bar here. Removal of brake pads and hardware was important too .I did some cleaning of back plate and sliding pin.
next step was to top up brake fluid just in case.if pinch of brake hose didn't work.
Next step was removal of brake line 14 mm socket.
I like to work on caliper on the table .it appears to have more room and easy access to pistons.
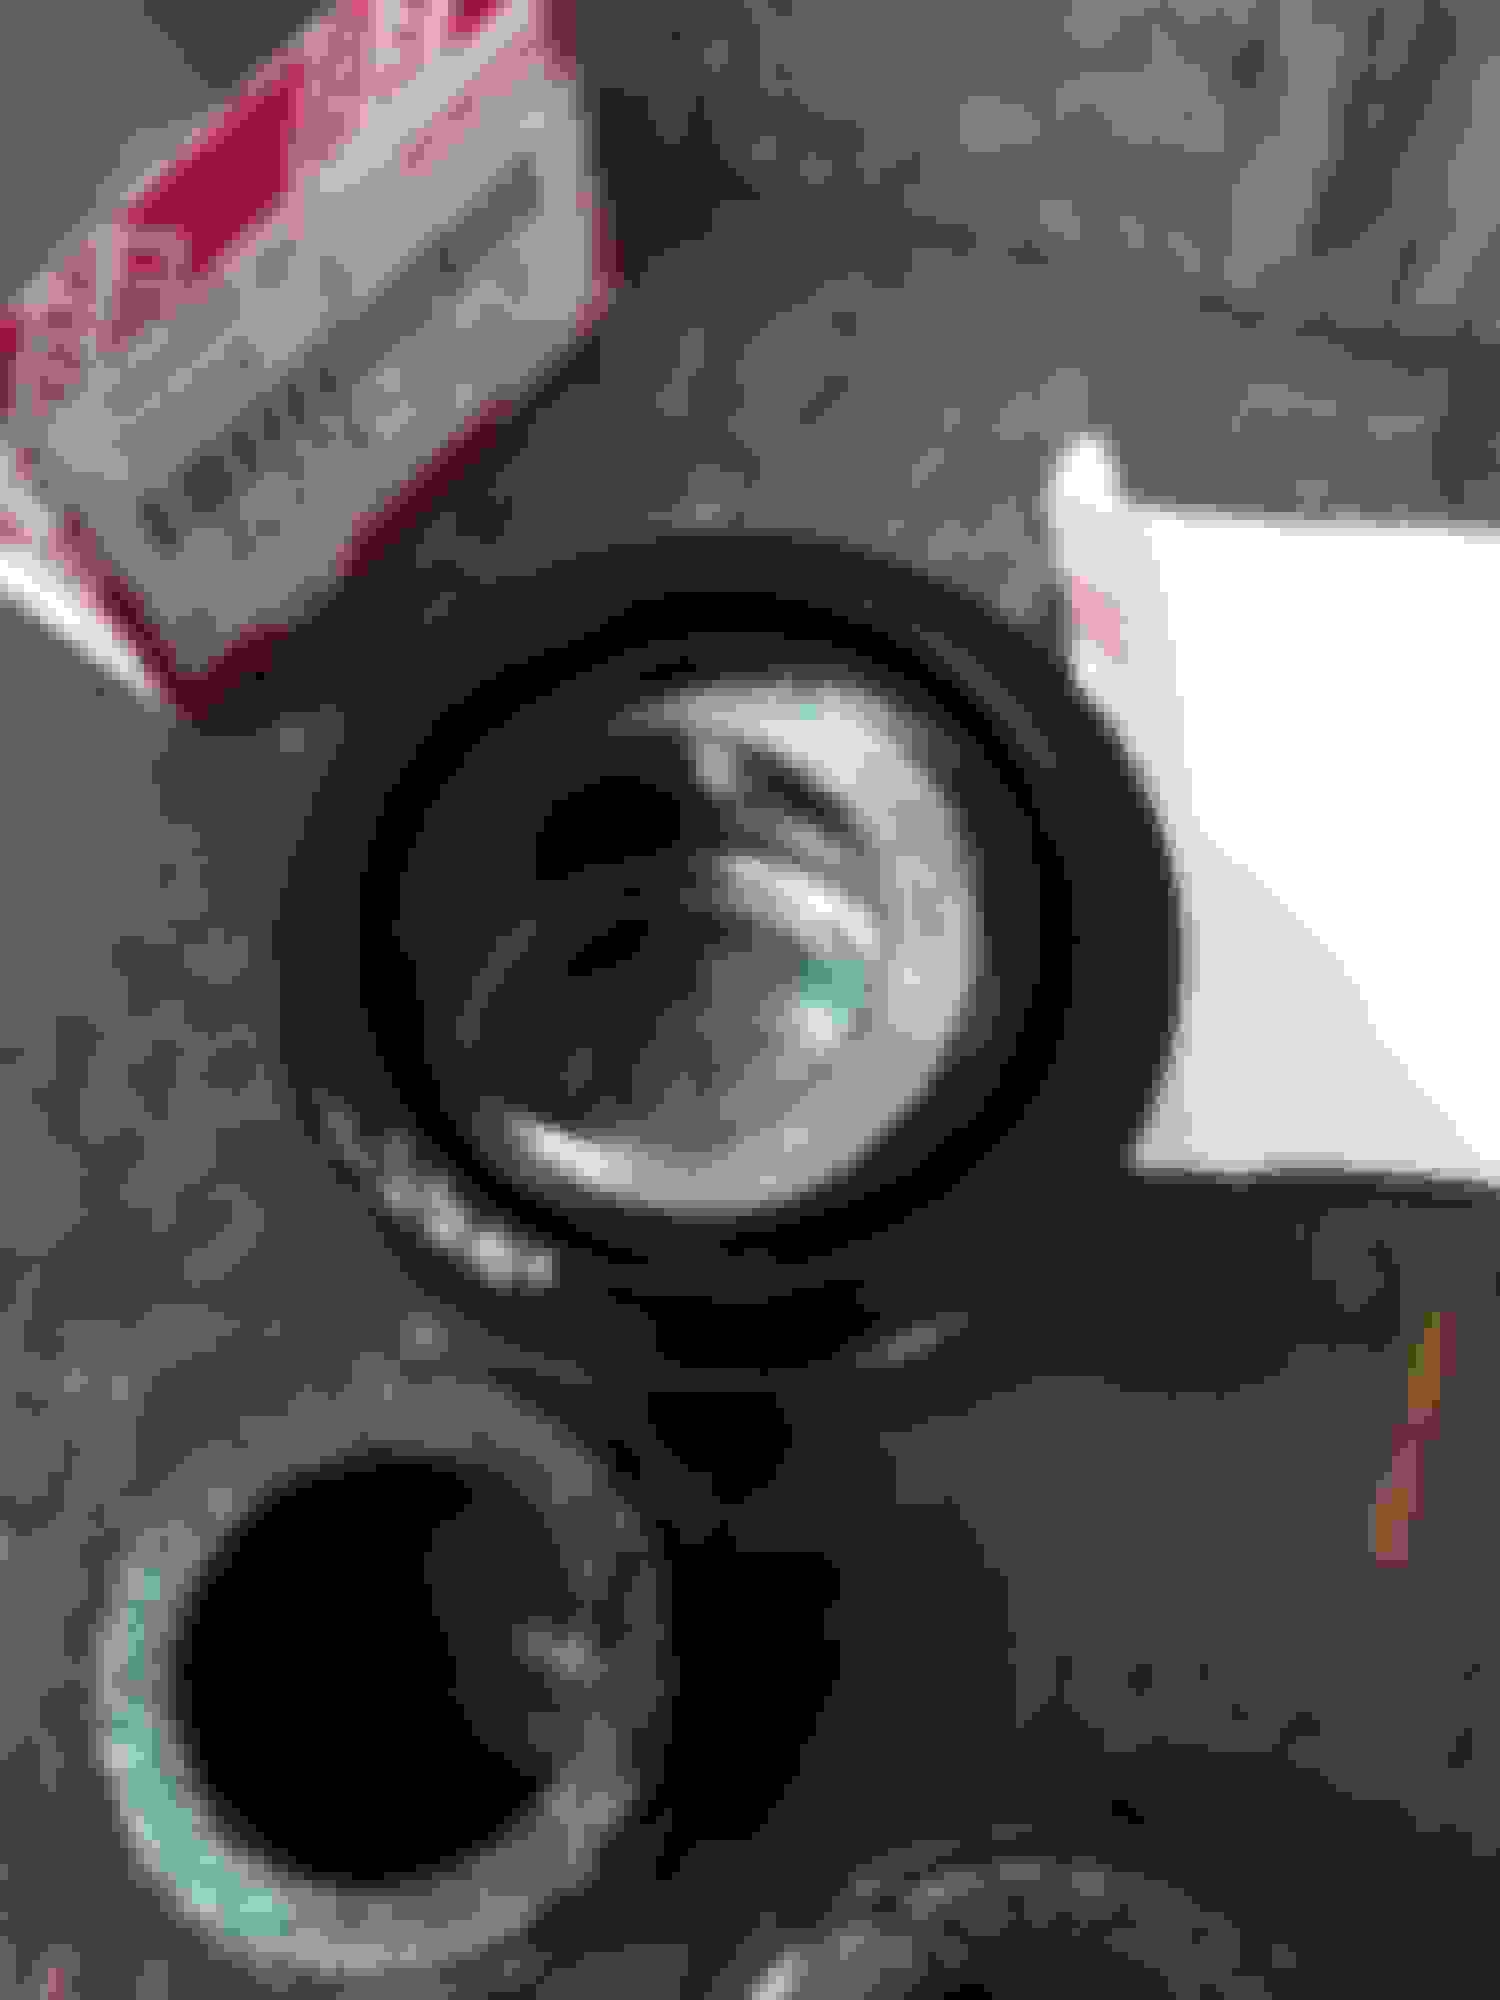
I have used compressed air to pop up pistons from bore.it was very easy in my case.be aware big bang happened when pistons completely pos out.remember before u take all pistons make sure u remove dust boot first. I did replace only 2 very bad pistons ,as u can c here it was impossible to clean them at all.please compare them to the new set of pistons.i believe u can c a difference .lol
Next step was to install rubber dust boot and o ring on the caliper/ pistons.
At this point clean bore with soft cloth and a lot of breake cleaner in the can.
because I was replacing only two pistons u can use c clamp to block other two pistons for popping out. Special dust bushing to protect my new piston.note this ..at this point check square o ring inside bore if seats correctly ,use a lot of brake fluid to lube all pistons and bushing and sq. O ring. Before I installed pistons I did put first o rings which will hold dust boot in secured way. Here on left side u can c new piston installed with protective dust boot.piston should b going smooth inside bore .I have use only fingers to push piston in.no force use here .just take ur time. Here is how to put dust boot over piston.remeber use a lot of brake fluid for lube.weare gloves to protect ur skin. Here we go second piston installed too.now next step is to put back all in reverse order.
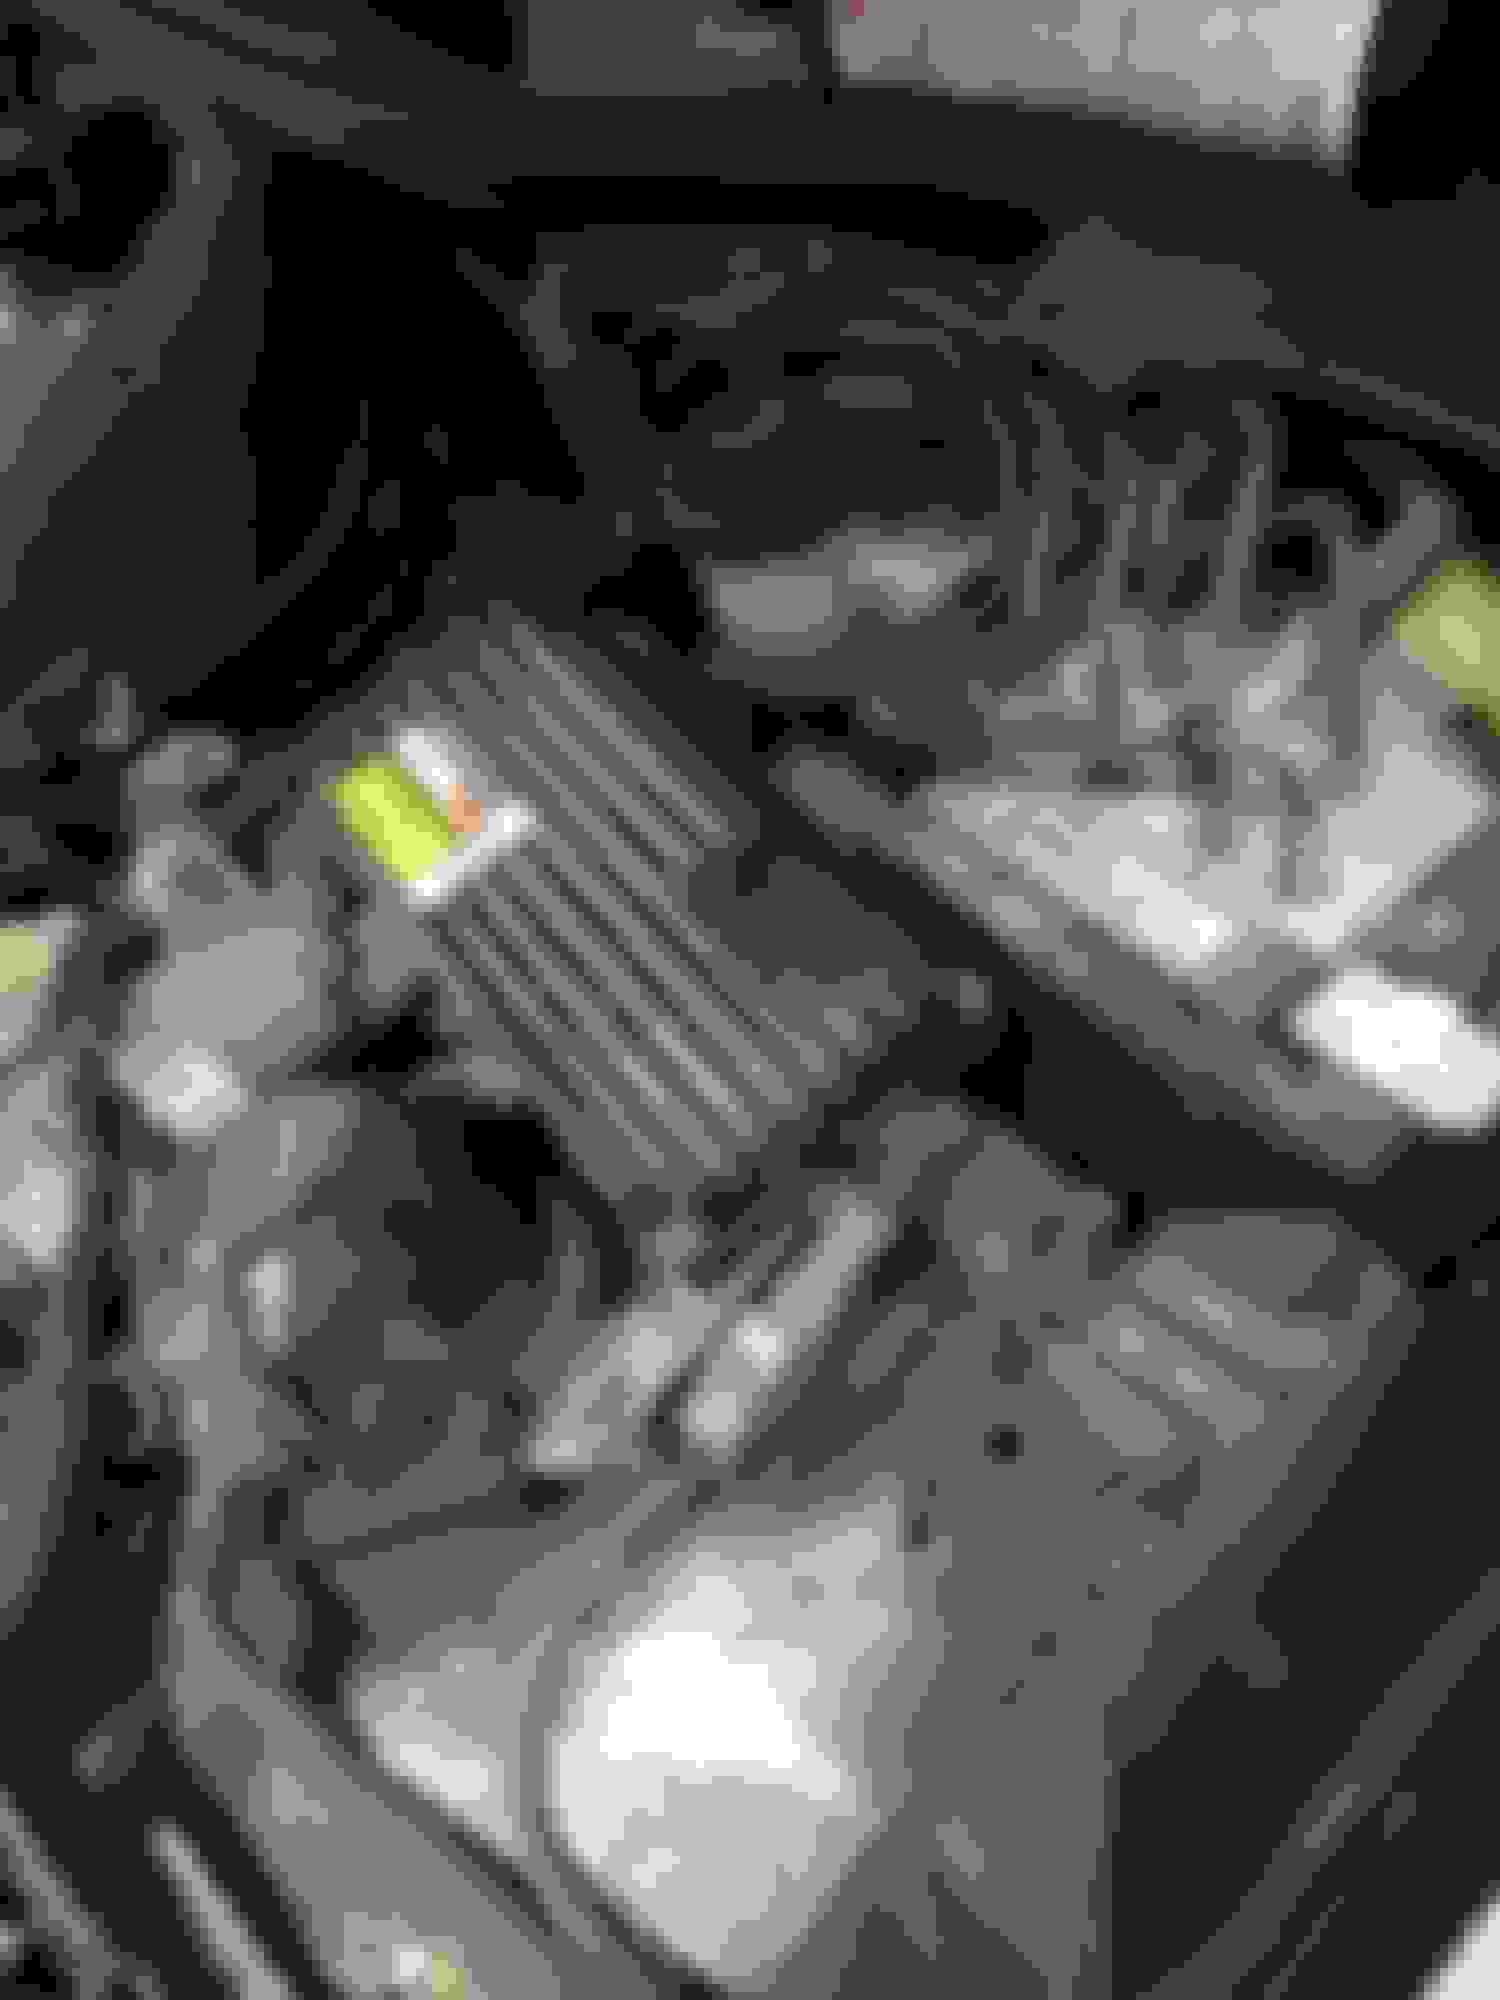
At this step I have used a support from software techstream.
remember always keep eye on brake fluid level while bleeding lines. Used small hose in order to avoid spilling all over and 10 mm wrench . There is one more black box below this computer with plastic cover.
In that box are 2 ABS relays to b removed if using software for bleeding . Last step .....put all tires back ,make sure to put rubber cap protector and all 4 bleeding screws .
Use recommended torque for wheels and top up brake fluid DOT -3 only if needed.
That was my small task for this week.
I hope it will help a bit to save money and keep us all active.

 07-05-17, 09:58 PM