When you click on links to various merchants on this site and make a purchase, this can result in this site earning a commission. Affiliate programs and affiliations include, but are not limited to, the eBay Partner Network.
I just tried to do the passenger side and I couldn't get my hands in there. About to go try the driver's side.
The driver's side you are supposed to access from the wheel well per the owner's manual. You turn the wheel all the way right and there is a small access panel you can remove.
I just tested all of the JDM bulbs and resistors again this morning and they're working fine now. But for how long? I don't know and I still think they're wonky. My VLEDS will arrive today anyway so I'll just go straight to install that one and will try to return these JDM one.
Yea for the driver's side just use that little panel on the wheel well, it's way much easier than getting ur hand stuck in the engine bay.
One of my LED module just crapped out on me, sometimes it hyper flash and sometimes it slow flash so I just removed them all and put the stock bulbs back and wait for the VLEDS to get here. This one is real junk alright. lol Hope I won't have any issue with the VLEDS cause that thing costs $200.
That's interesting you should have sent it back in could have been that one bad apple as mine still works perfectly.
I just tested all of the JDM bulbs and resistors again this morning and they're working fine now. But for how long? I don't know and I still think they're wonky. My VLEDS will arrive today anyway so I'll just go straight to install that one and will try to return these JDM one.
Make sure you turn the V3 all the way forward so the housing won't block the bulb dome. I even remove the thin tighten ring and just lock the heat dispenser with screw.
Make sure you turn the V3 all the way forward so the housing won't block the bulb dome. I even remove the thin tighten ring and just lock the heat dispenser with screw.
The screws are function as radial pins to locking the V3 to the housing. They come with 2 different length size, I use 2 on each bulb. Don't forget to put the rubber washer on will help tighten the bulb to socket and seal from moisture.
So I put in three screws - but it was definitely a pain in the ***. I didn't take much to turn them in and "lock" them, so we will see if they stay in place.
Here is a pic of mine installed - not sure if you can tell, but they barely protrude into the housing. I think they would be brighter if they were further in.
U need to remove the small locking ring and turn the bulb further in. The socket of the front kinda deep so it will block the bulb diffuser dome
Originally Posted by ItzFilyO
So how do u mount them? Do u turn and lock it like the OEM?
2 screws would be ideal. Just turn and lock like oem. The rubber gasket won't hold the bulb in place, just to seal the bulb and the socket.
Make sure the resisters are inserted (mine weren't by default)
Use 2 screws opposed to each other - don't use 3 like I did - you are just making it harder
The turn to lock is very little (to answer your question)
Do the rears first - a lot easier to do and you can see what you are up against on the front - just electric tape the stuff together and stuff it all in the side
Driver side front - use the access panel in the wheel well
Passenger side - make sure you have small, small hands and you really have to reach in there
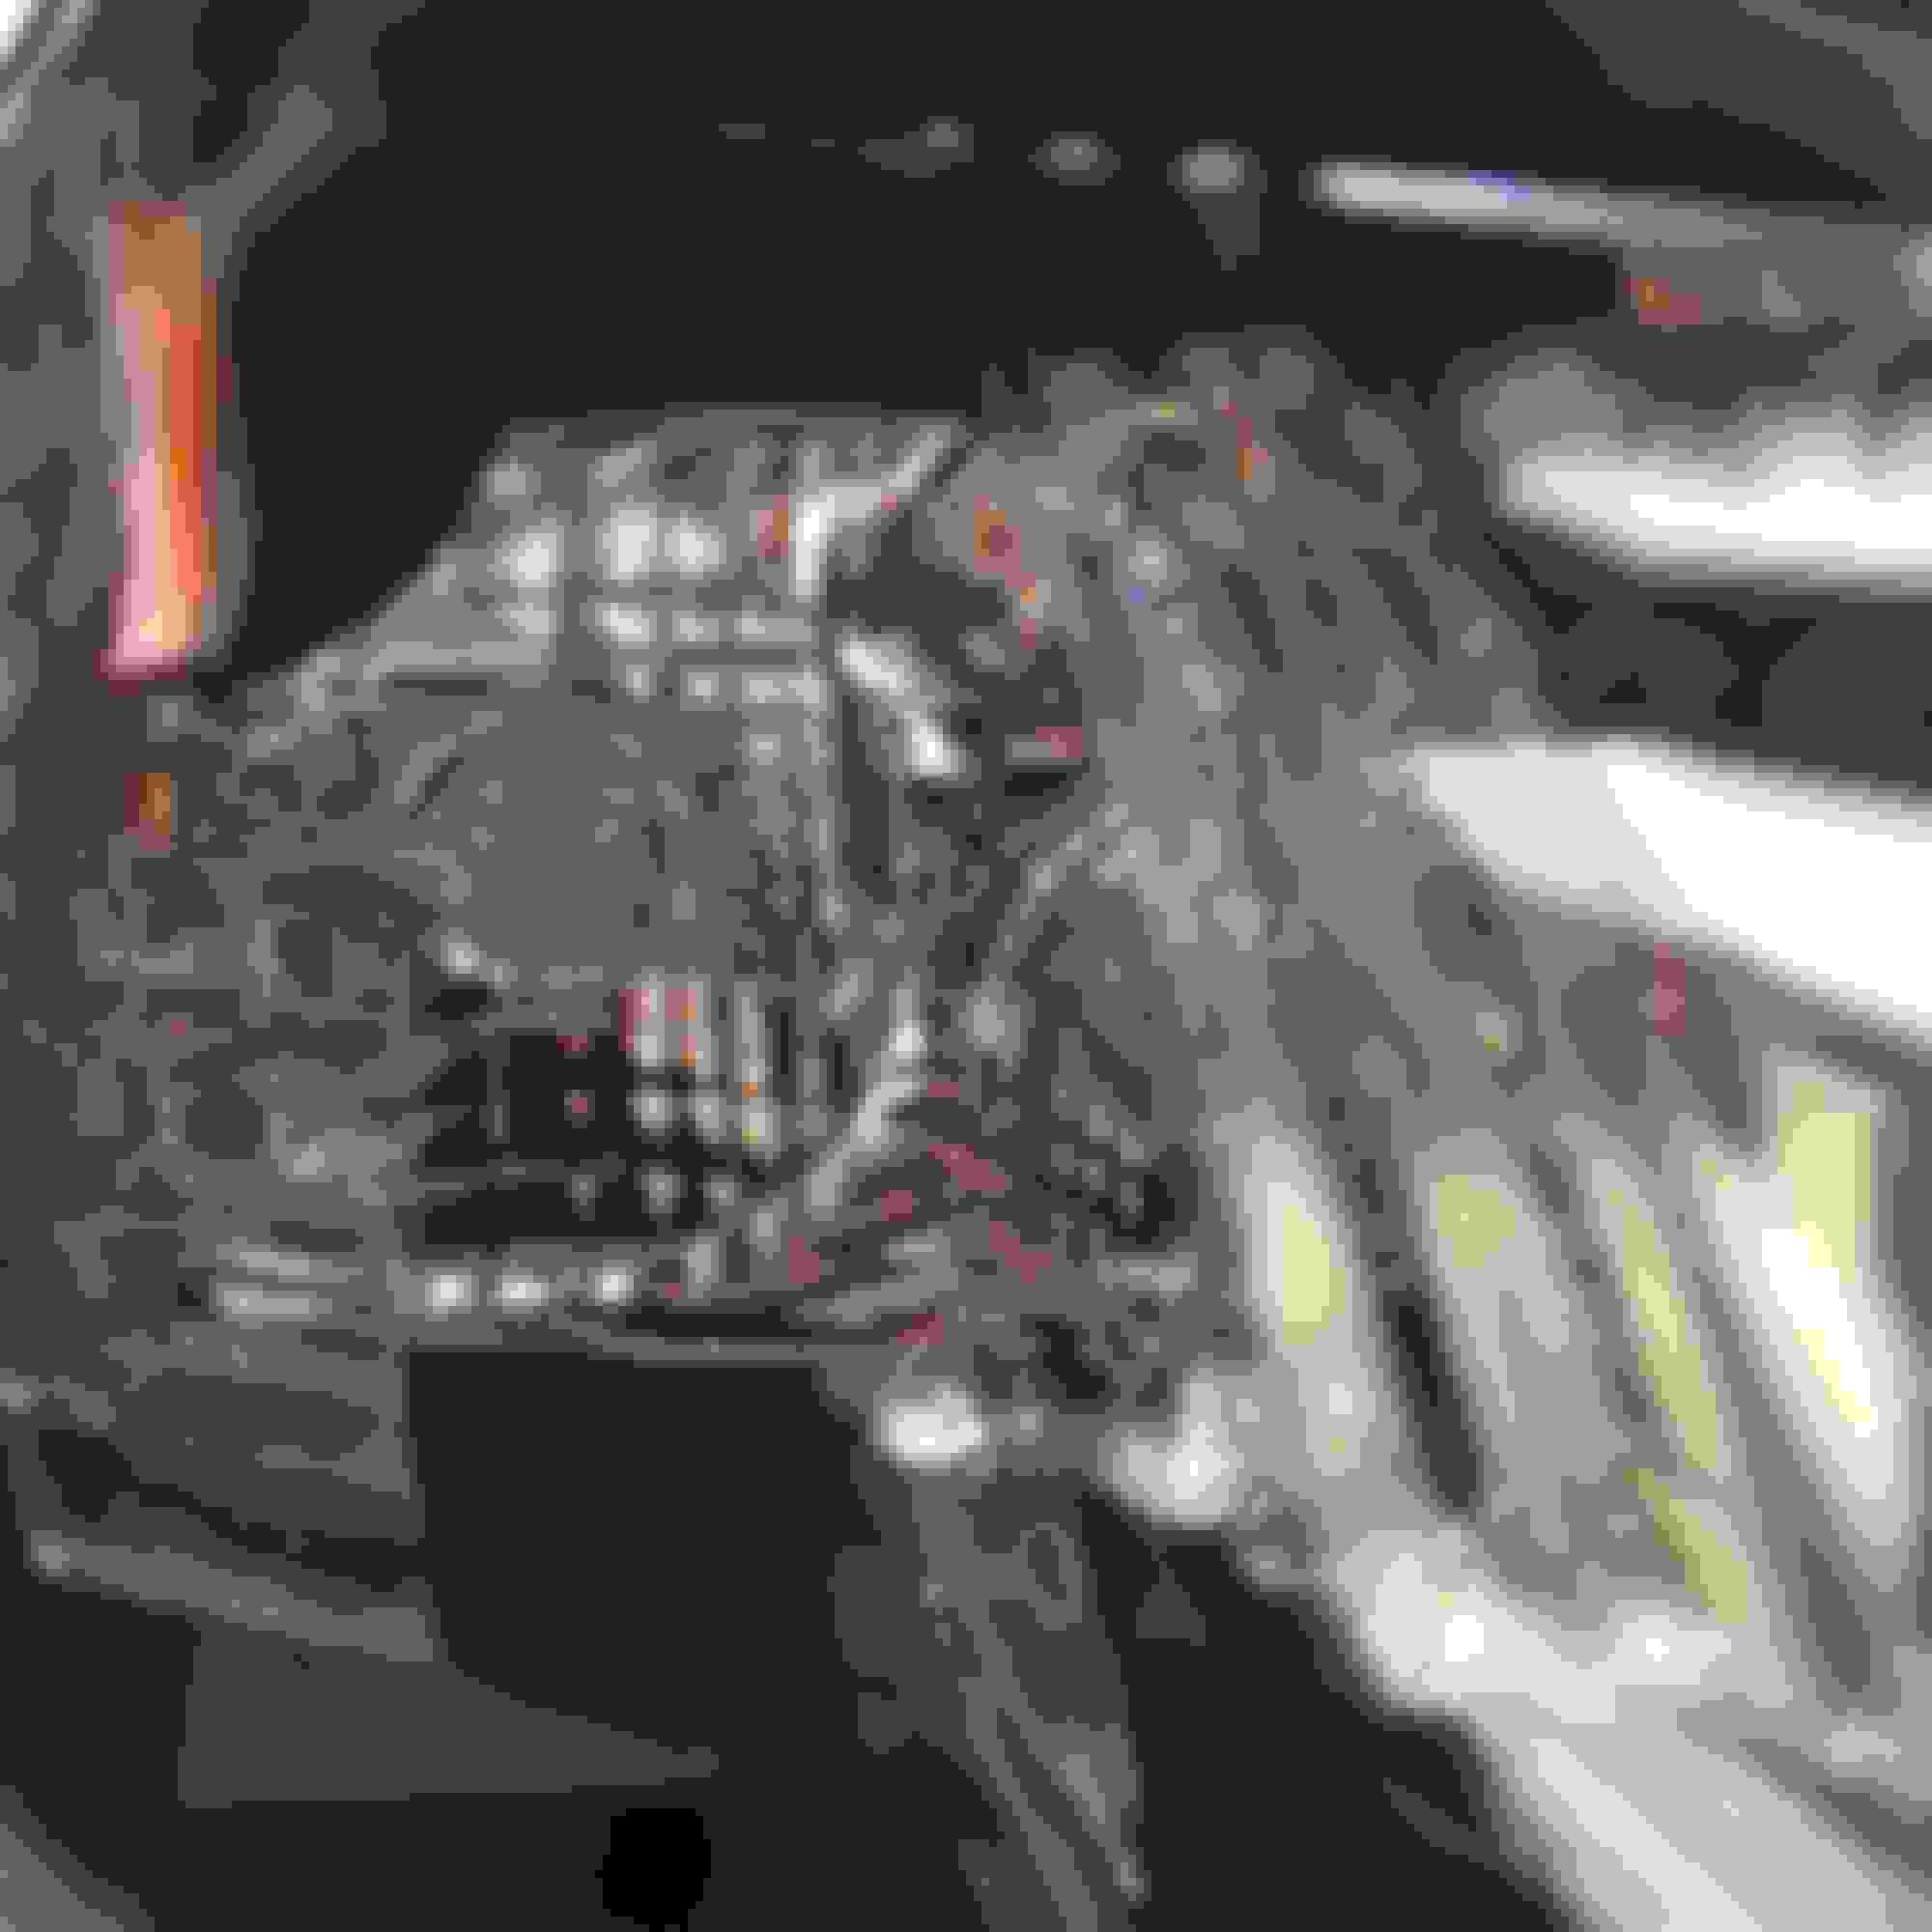
In the front I tacked down the ballasts to available spots with double-sided 3M tape - I'll try and include a photo of my ****ty tuck job.
A couple of other random bits - the rear bulbs were clear and my front bulbs were amber (since the rear is a yellow lens and the front is clear).
I think the brightness increase is significant on the rears and not on the front.
Still, overall, a meh upgrade. The amber bulbs in the front aren't noticeable, so you aren't really curing an omelet effect. Maybe if you were removing the reflector (a much bigger project).
Before anyone goes in from the wheel well (drivers side) try to pop of the (COVER ONLY) of the fuse box also unscrew the water tube then see if your hand goes in if it does then success if it doesn't then go thru the wheel well.
 12-10-14, 08:33 AM


 This one is real junk alright. lol Hope I won't have any issue with the VLEDS cause that thing costs $200.