When you click on links to various merchants on this site and make a purchase, this can result in this site earning a commission. Affiliate programs and affiliations include, but are not limited to, the eBay Partner Network.
Bossles I like it, it looks pretty good. I may do this in the future, but I am curious, how was the knifeless tape able to help you in this application which such tight edges. Where able to use it. Thanks
Bossles I like it, it looks pretty good. I may do this in the future, but I am curious, how was the knifeless tape able to help you in this application which such tight edges. Where able to use it. Thanks
I did not use knifeless tape for trim. Cleanly apply vinyl and make sure to clearly define all edges. Then cautiously use blade to cut. You don't need to apply a lot of pressure. The "guide" of the gap is where the blade would pass through. Takes a little time but no damage done.
The true safest way was to take completely apart. Doors I just layer over and cut. Same with rear console accent.
How did you remove the passenger side trim above the glovebox?
I did not take that piece apart. I placed the material over and used a heat gun (or blow dryer) to help define all the edges with a dull plastic tool. Make sure you take your time. Once all edges where clearly defined and material is set on the area, get a blade and softly cut away. Cut gently so that you do not damage the accent or the dash.
I do believe complete removal would have been safer, but it got the job done.
I tried to take it apart prior and couldn't figure it out... so I did it this way.
It's a hassle to remove this piece... glove box need to be removed and screws holding this piece facing towards firewall.
Thanks DaSyce & shurik74, i unfortunately tried taking it off by starting at the vent and now i cant put it back without removing it.
SO i have to remove the entire piece, at which point i will properly wrap it. I'll take pics and post them if i can figure it out.
I removed the passenger side trim.
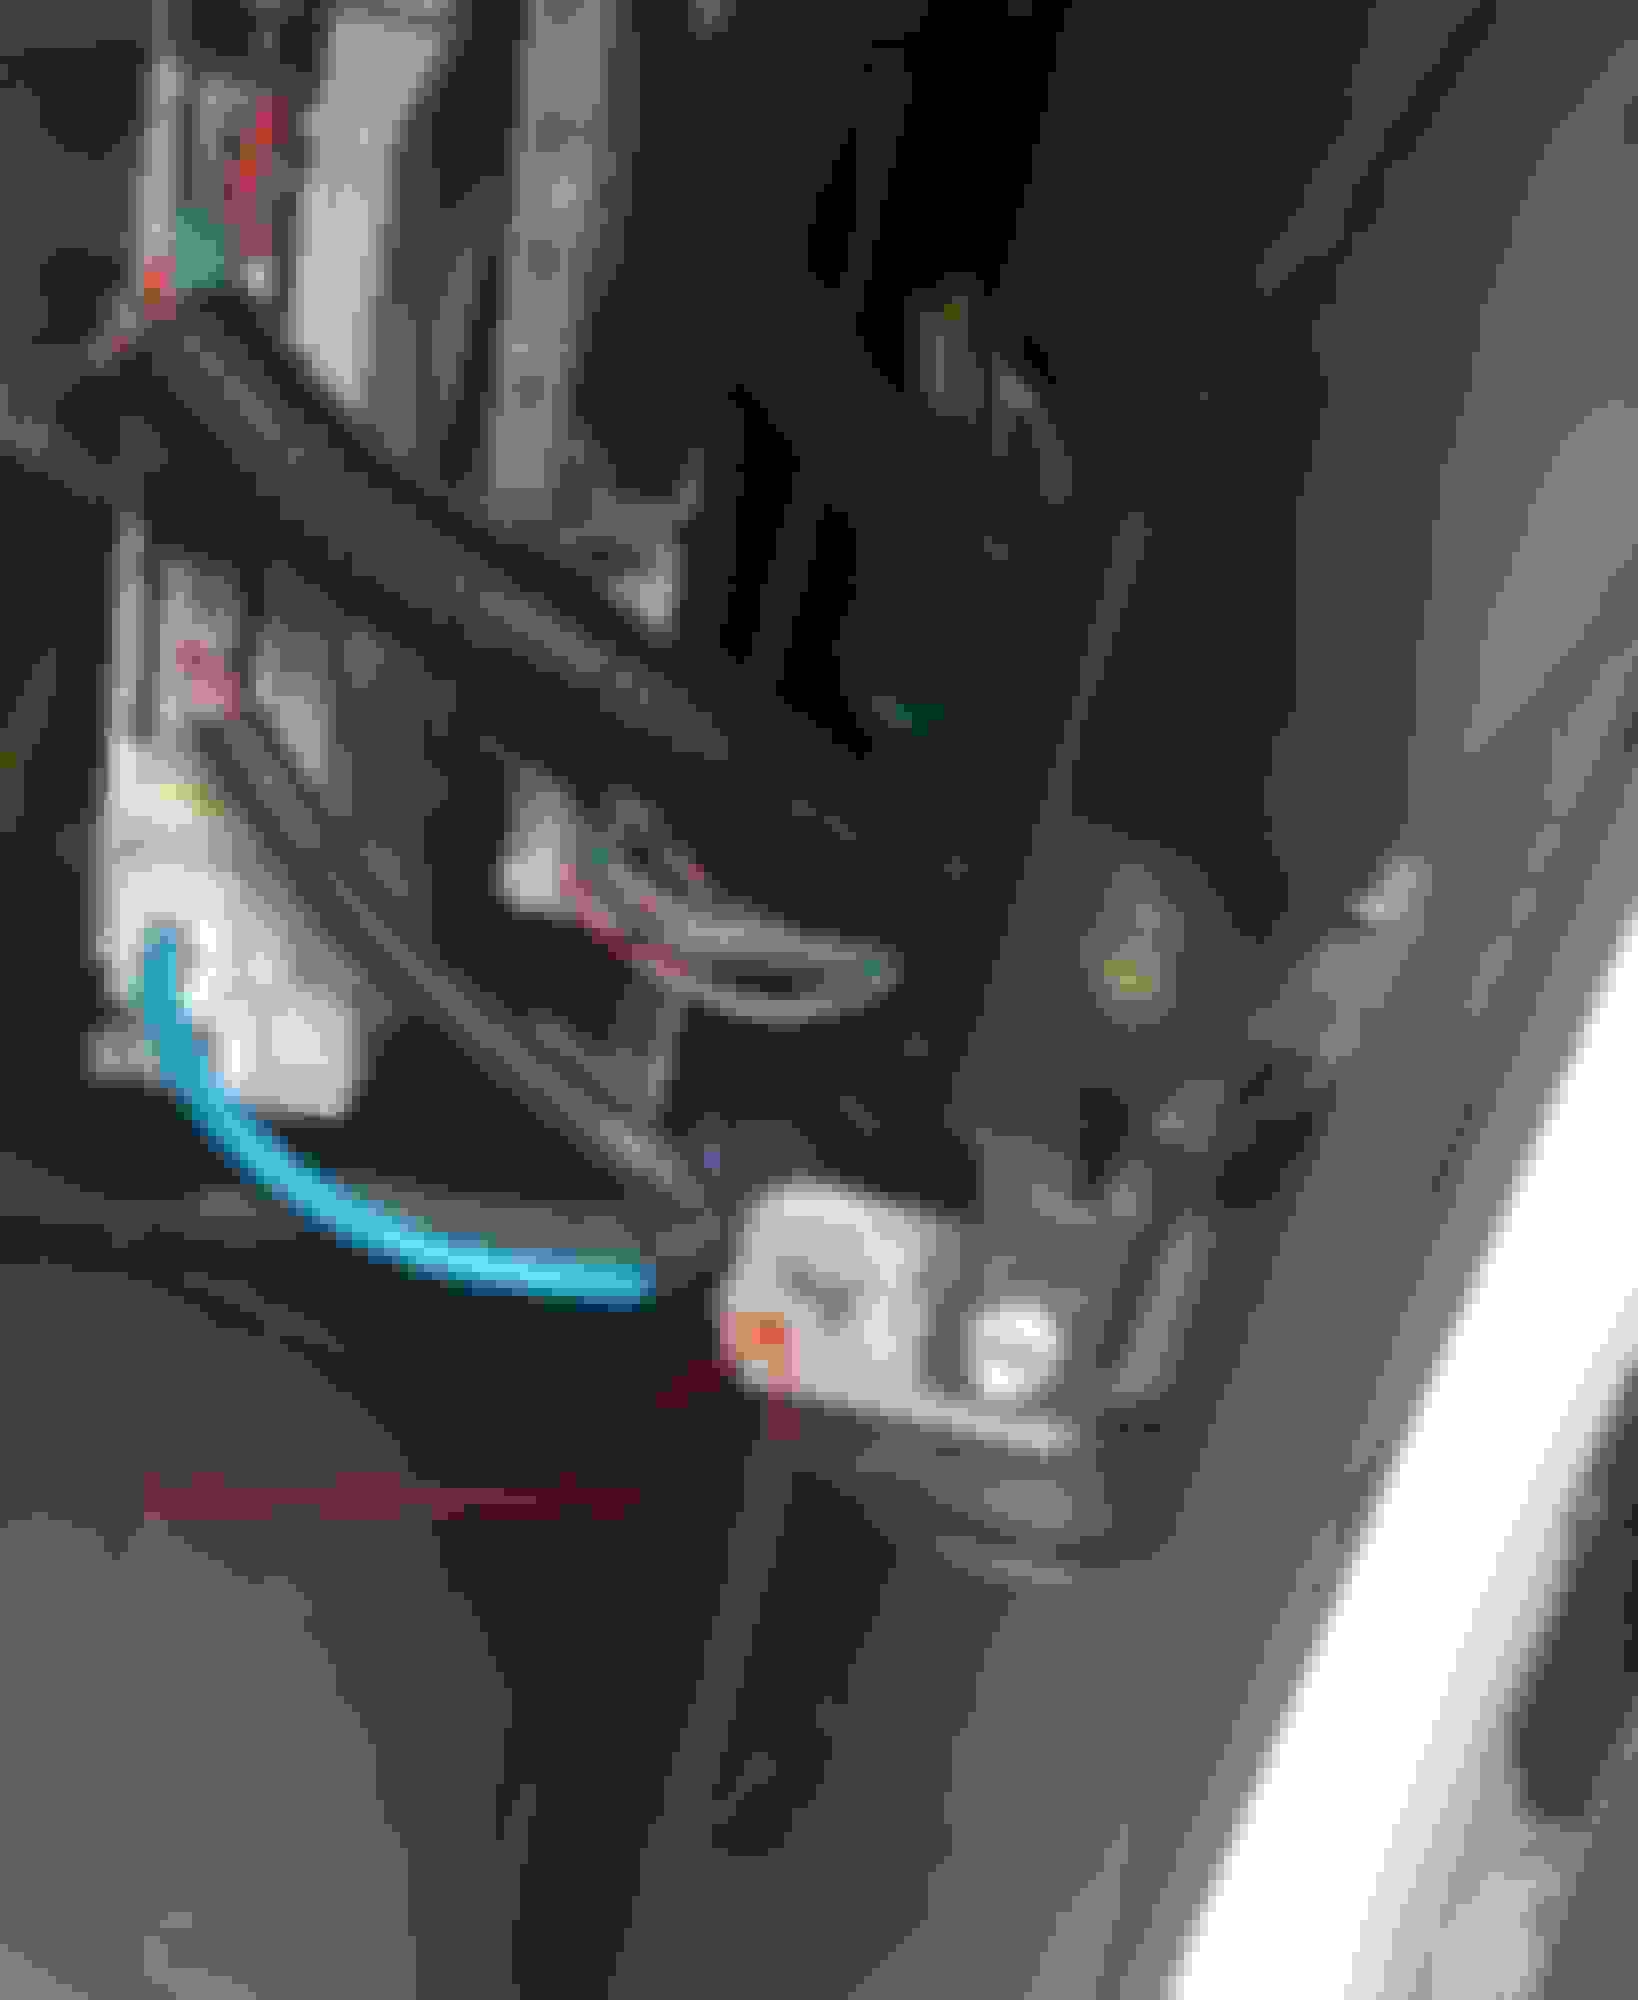
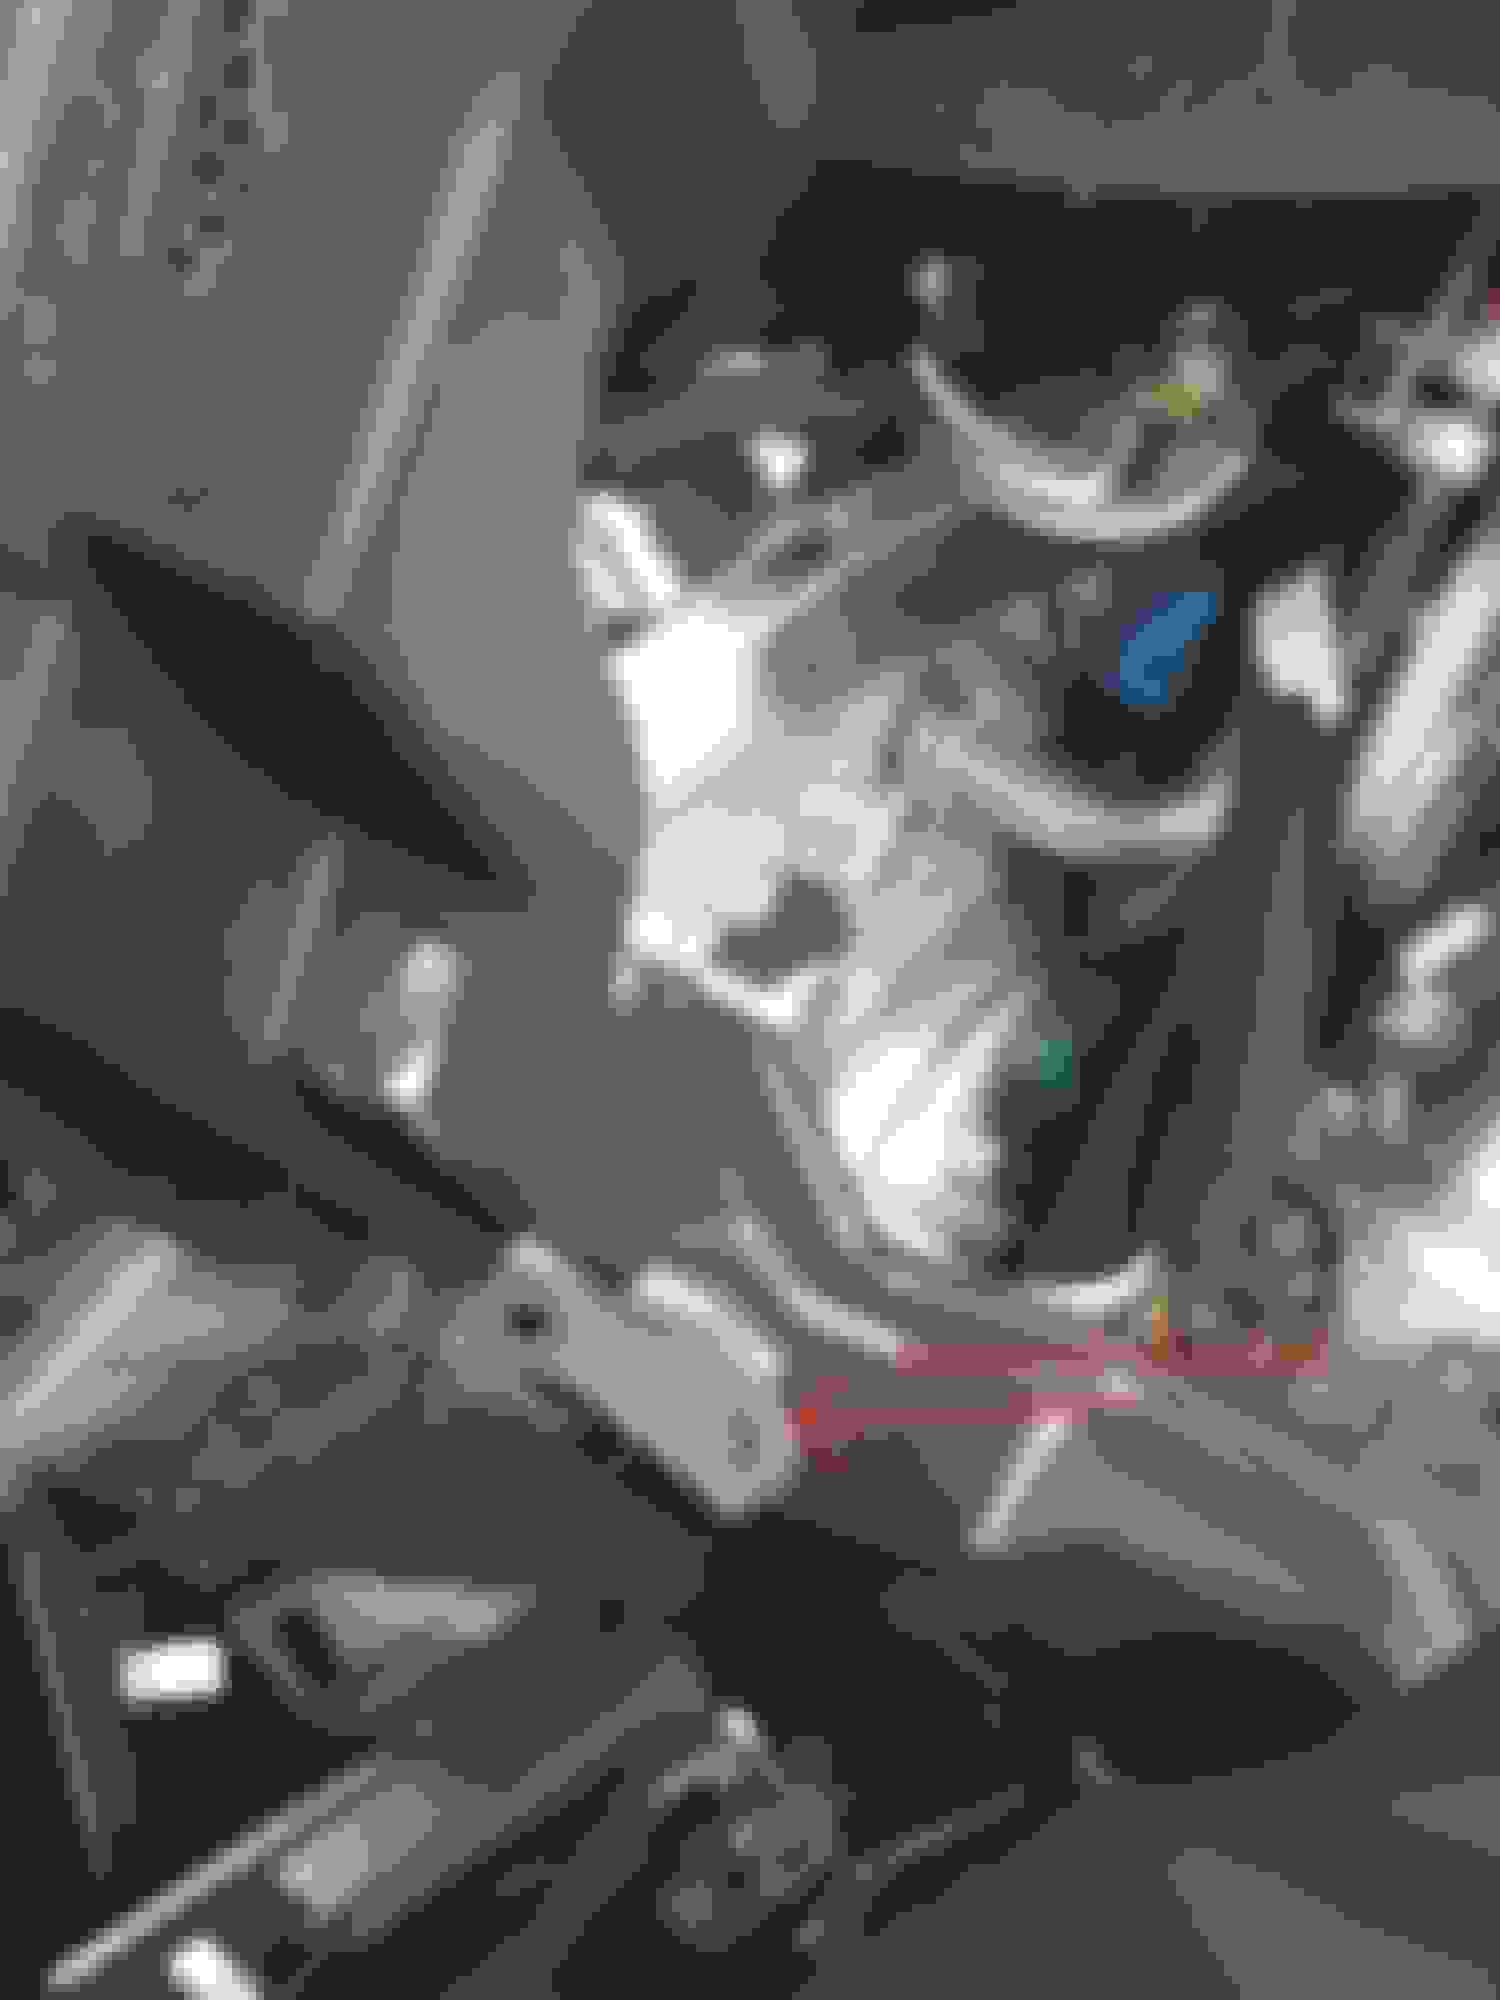
To remove the right side passenger trim, you first tneed to remove the glovebox.
There are two nuts/screws on the bottom, one on the left near the center of the car and one on the right near the door.
Then 2-3 (i forgot) screw on the top inside when u open the glovebox. once the screws are removed, pull it away with the clips.
Then you need to remove two screws from the inside that hold the trim and right vent assembly.
Lastsly remove a cable by pressing the clip on the right airvent.
Pics of wrapped trim below. 2014 GS350 right passenger side trim removal 2014 GS350 right passenger side trim removal 2014 GS350 right passenger side trim removal 2014 GS350 right passenger side trim removal

 04-06-16, 04:05 PM