When you click on links to various merchants on this site and make a purchase, this can result in this site earning a commission. Affiliate programs and affiliations include, but are not limited to, the eBay Partner Network.
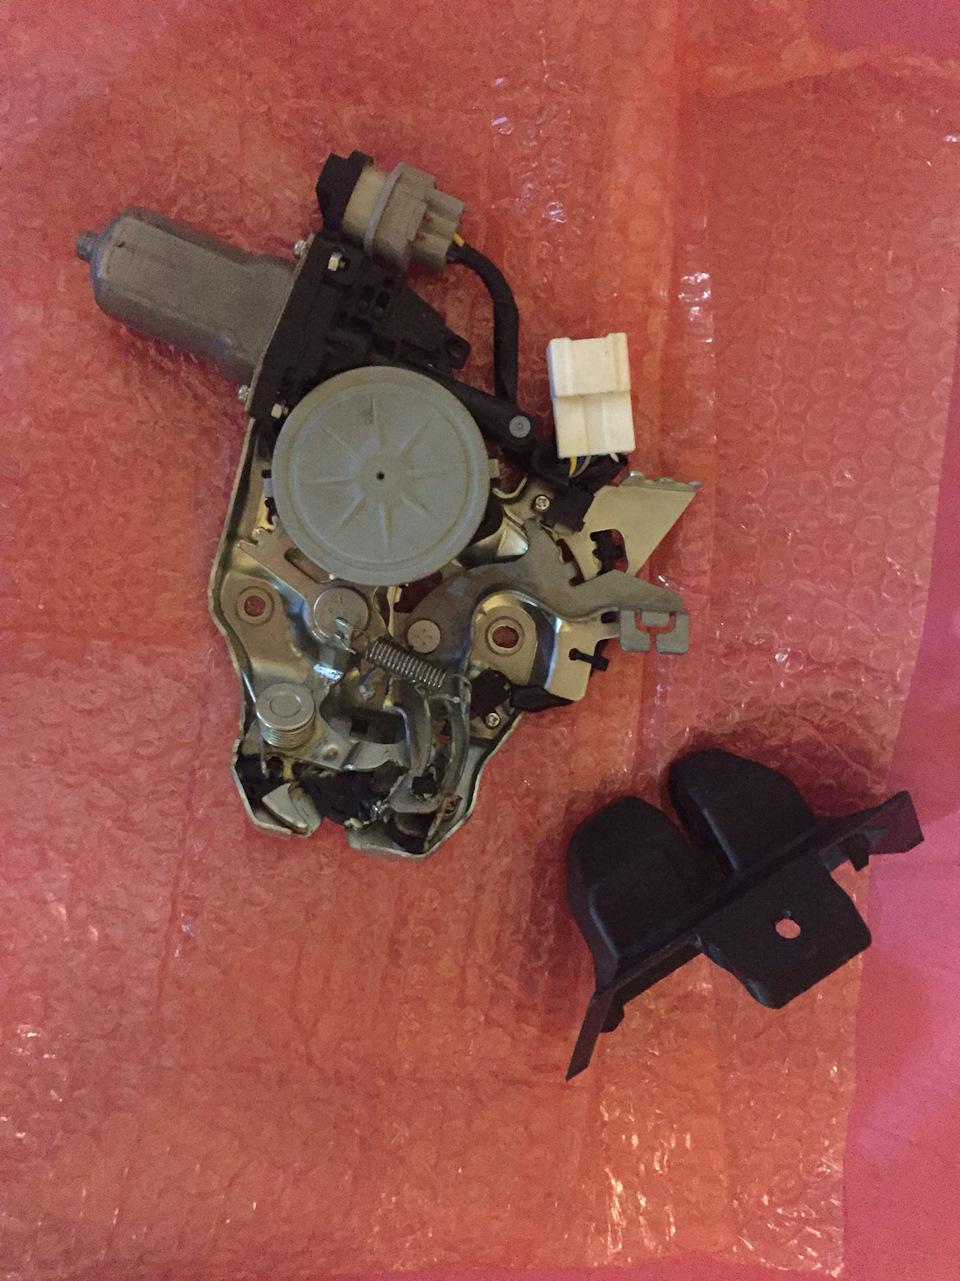
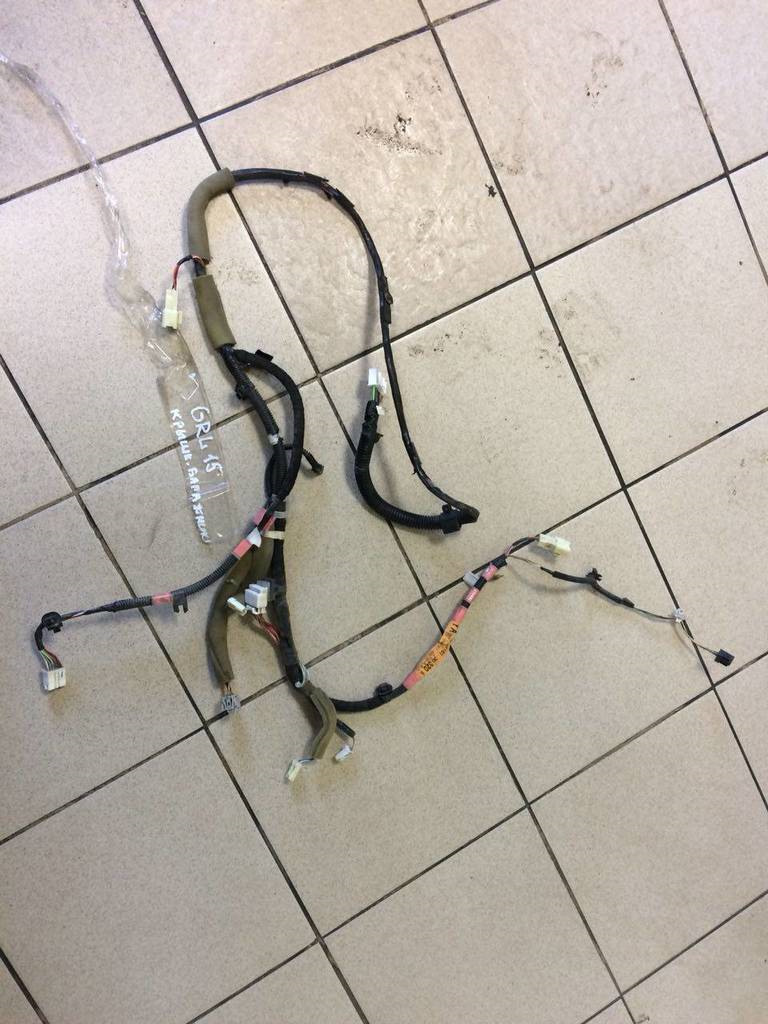
Here is all the parts. The $50 harness I scored even came with the backup camera and trunk lid open button. I plan on selling these.
This is from a 2016 so the plugs for the trunk lid tail lights are different, but I have the 2016+ tail lights installed so for me it's plug and play(currently have wires tapped to wire the 2016 tails to 2013 harness)
I finally completed the power trunk retrofit. It is definitely not a plug and play mod. I had to make a few modifications to the harness to get the power trunk to work. Also, my car is a 13 model and the carpet is different so it will rub the power trunk closer motor and on the left trunk hinge where the power trunk closer linkage mounts to, my car didn't have the bracket for it so I made my own bracket instead of buying a new hinge.
Overall it was kind of a headache but im glad I did this mod. Worth it imo.
What harness did you have to modify, the correct trunk lid harness made for the power trunk(for power trunk switch, soft close latch) or the existing plug for the power trunk motor? What modification did you actually make?
"my car didn't have the bracket for it so I made my own bracket instead of buying a new hinge." are you talking about the bracket to mount the power trunk motor?
I only took a few pics because I was trying to figure out how to make the thing work. If someone could post the wiring diagram for the 15 trunk closer, I could tell you what to cut/splice. The trunk harness is correct, but on the 13 model that I have, I had to move a pin over and also I jumped another pin straight to the harness going to the power trunk closer motor.
I only took a few pics because I was trying to figure out how to make the thing work. If someone could post the wiring diagram for the 15 trunk closer, I could tell you what to cut/splice. The trunk harness is correct, but on the 13 model that I have, I had to move a pin over and also I jumped another pin straight to the harness going to the power trunk closer motor.
What was the part number for the trunk lid harness you used?
I used all same parts that was posted in this thread. The connector on the new harness for the backup camera wouldn't plug into my camera because it had extra wires. So I just cut my old harness and spliced it into my new harness. Disregard the extra wires, as long as you connect all the wires on the old harness your back up camera will work.
So for the new harness, [aT1] I cut the wire at terminal 9 W-B and spliced it to terminal 8 P. Then at terminal 26 GR, I spliced into that and ran a wire to UT1 which is on the right side of the trunk where the mount for the cargo net is. I spliced into terminal 2 GR. This is so the power trunk closer can see when the trunk latch is at half and close the trunk.
Man you lost me, can you markup the diagram to better explain? Also how the heck did you figure it out?
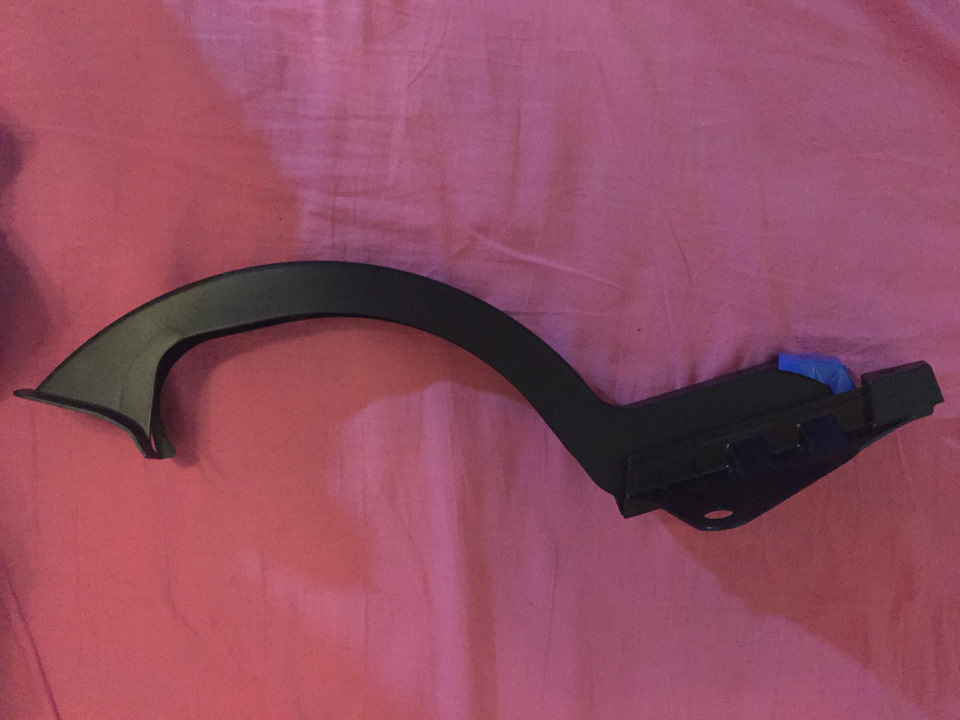
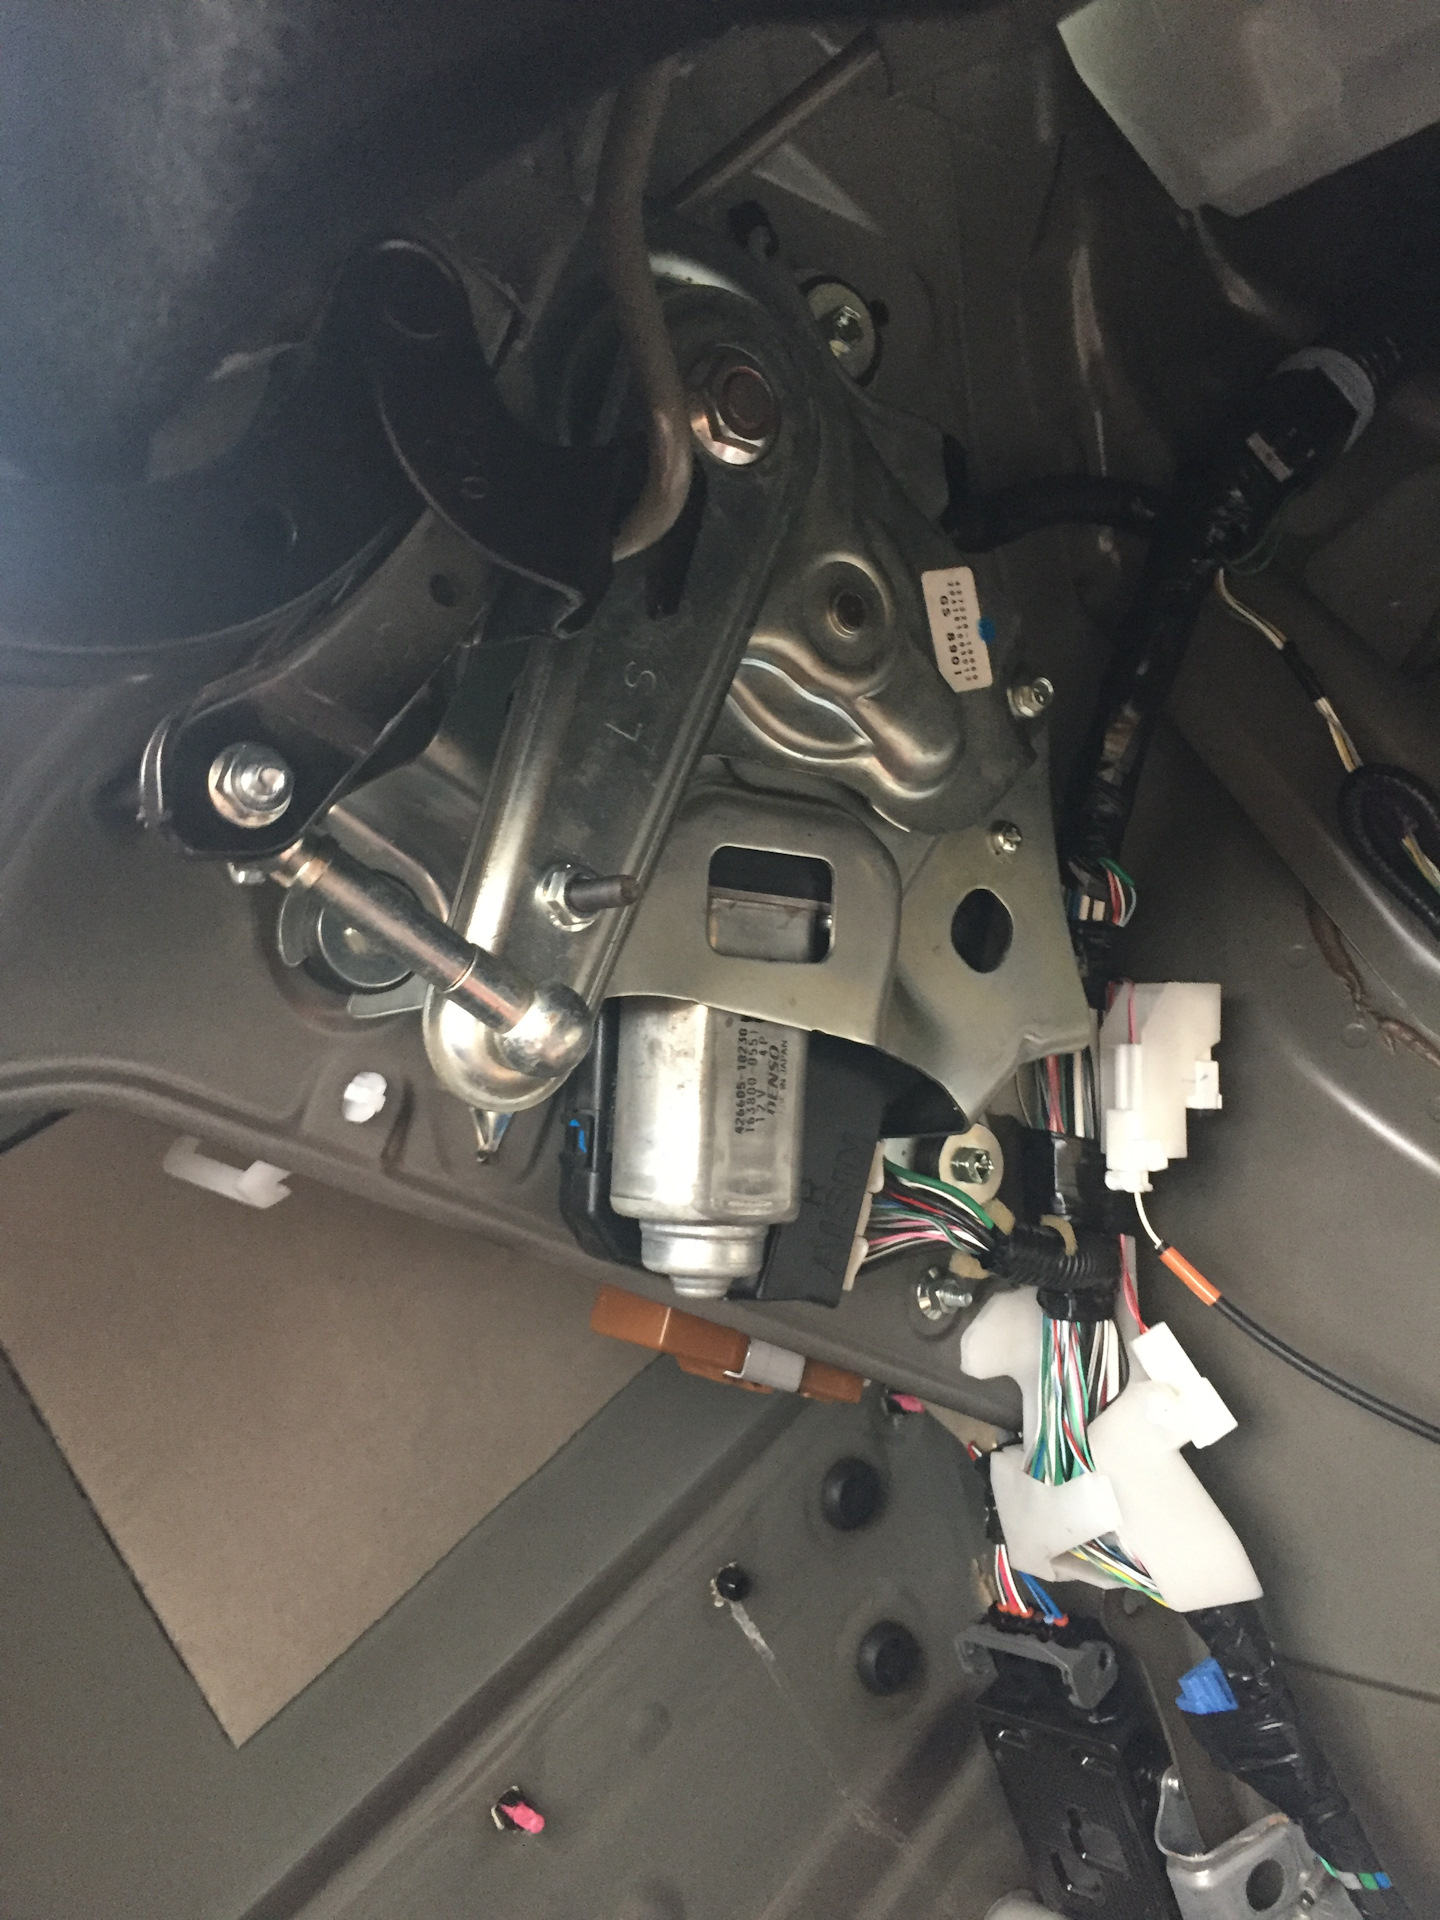
So here is the factory trunk hinge on a car with the power trunk option
Mine didn't have the hinge that I could bolt the arm to so I just made a bracket that I bolted to the hole on the trunk hinge.
Its not in the exact same position as the factory one but it doesn't seem to affect the power closer operation.
Apparently, for him it was plug and play, part number for oem left trunk hinge with correct bracket below.
Hello. Tired of clapping the trunk lid, so I decided to correct this defect in the premium car of my configuration. Purchased components, the other day I will put. Something took BU, something new. Filed around 30 thousand rubles. Need to repaint the loop
Trunk lock with a door closer. Article: 64650-30060
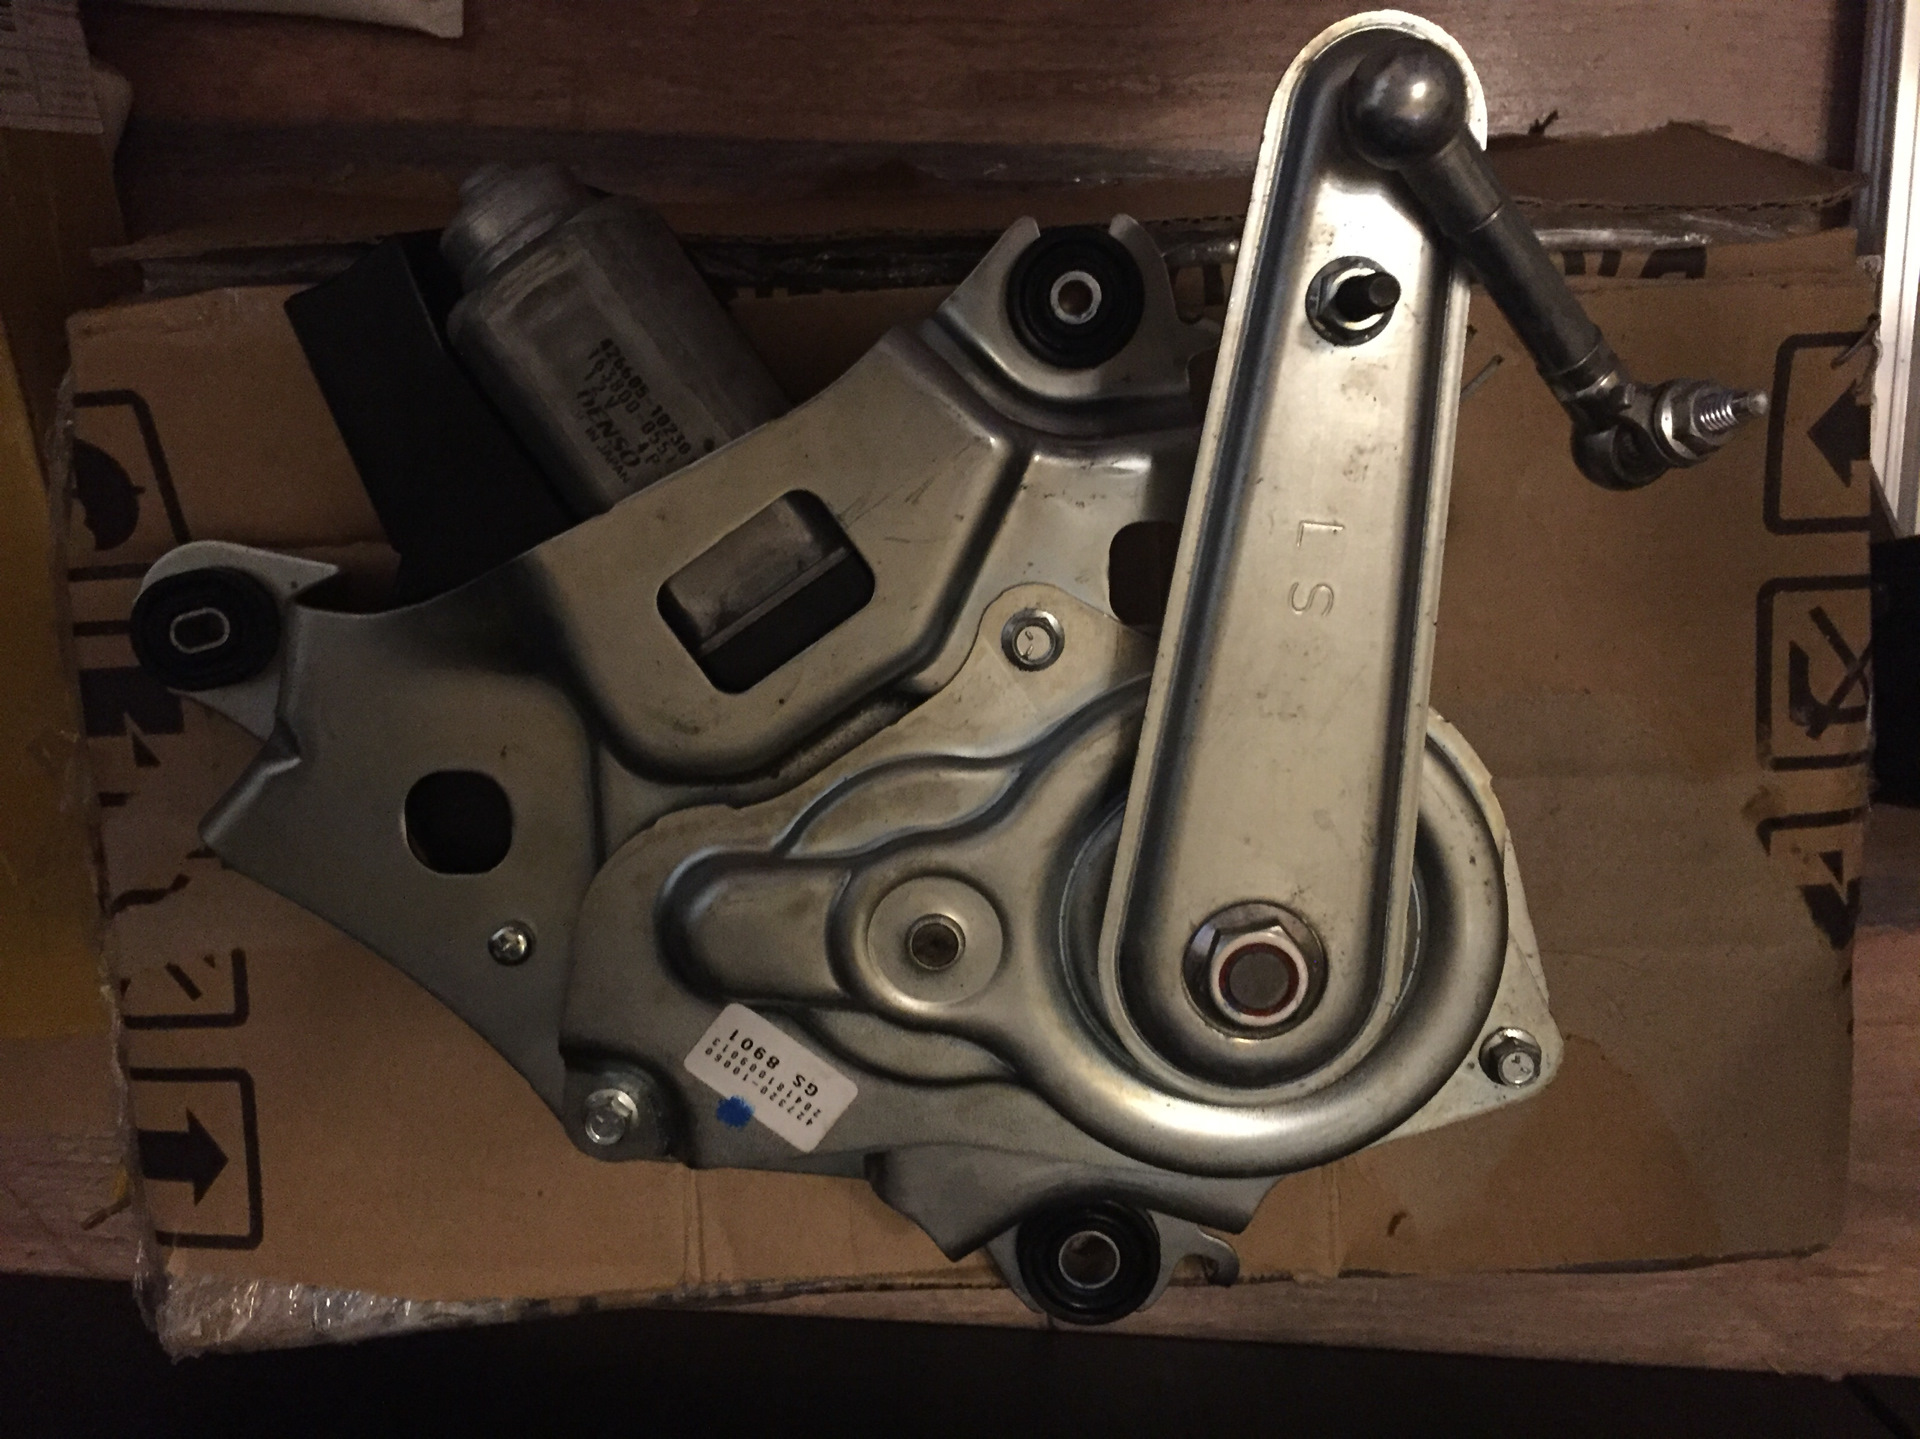
The mechanism of opening / closing the tailgate. Article: 85790-30050
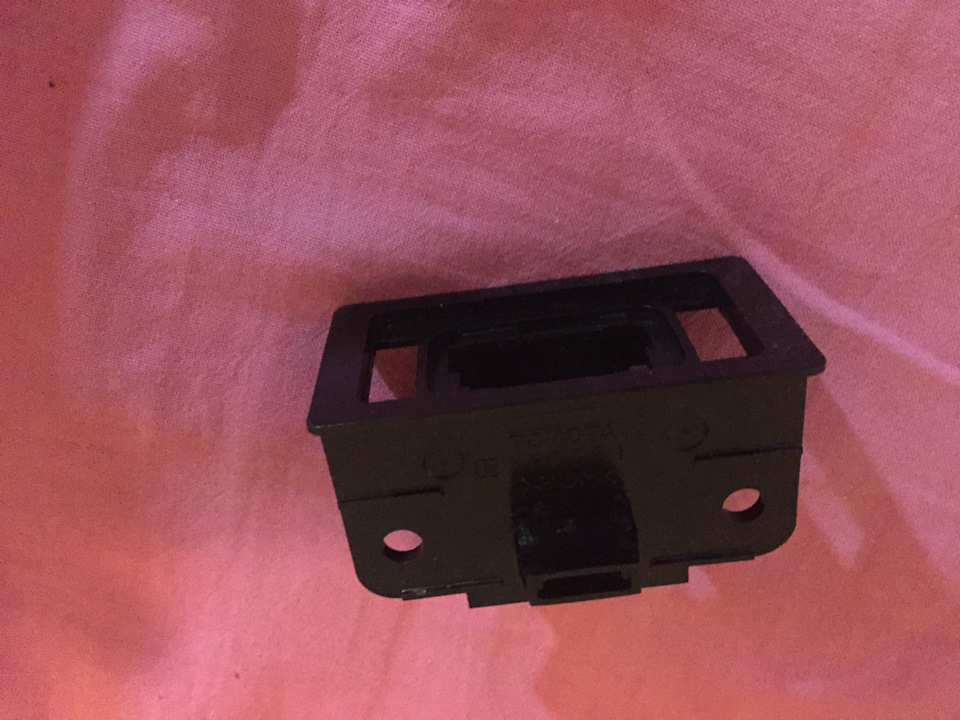
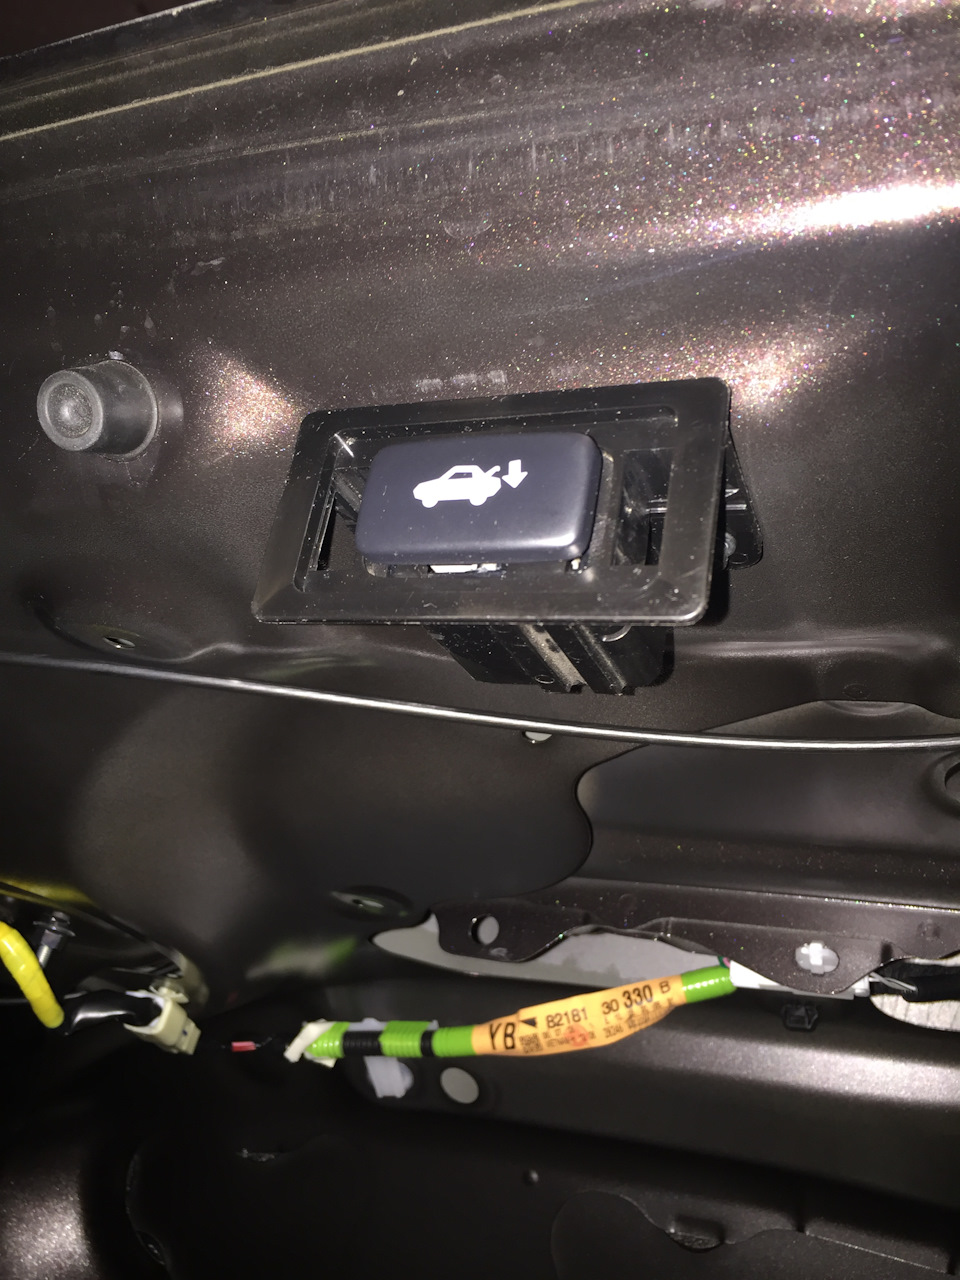
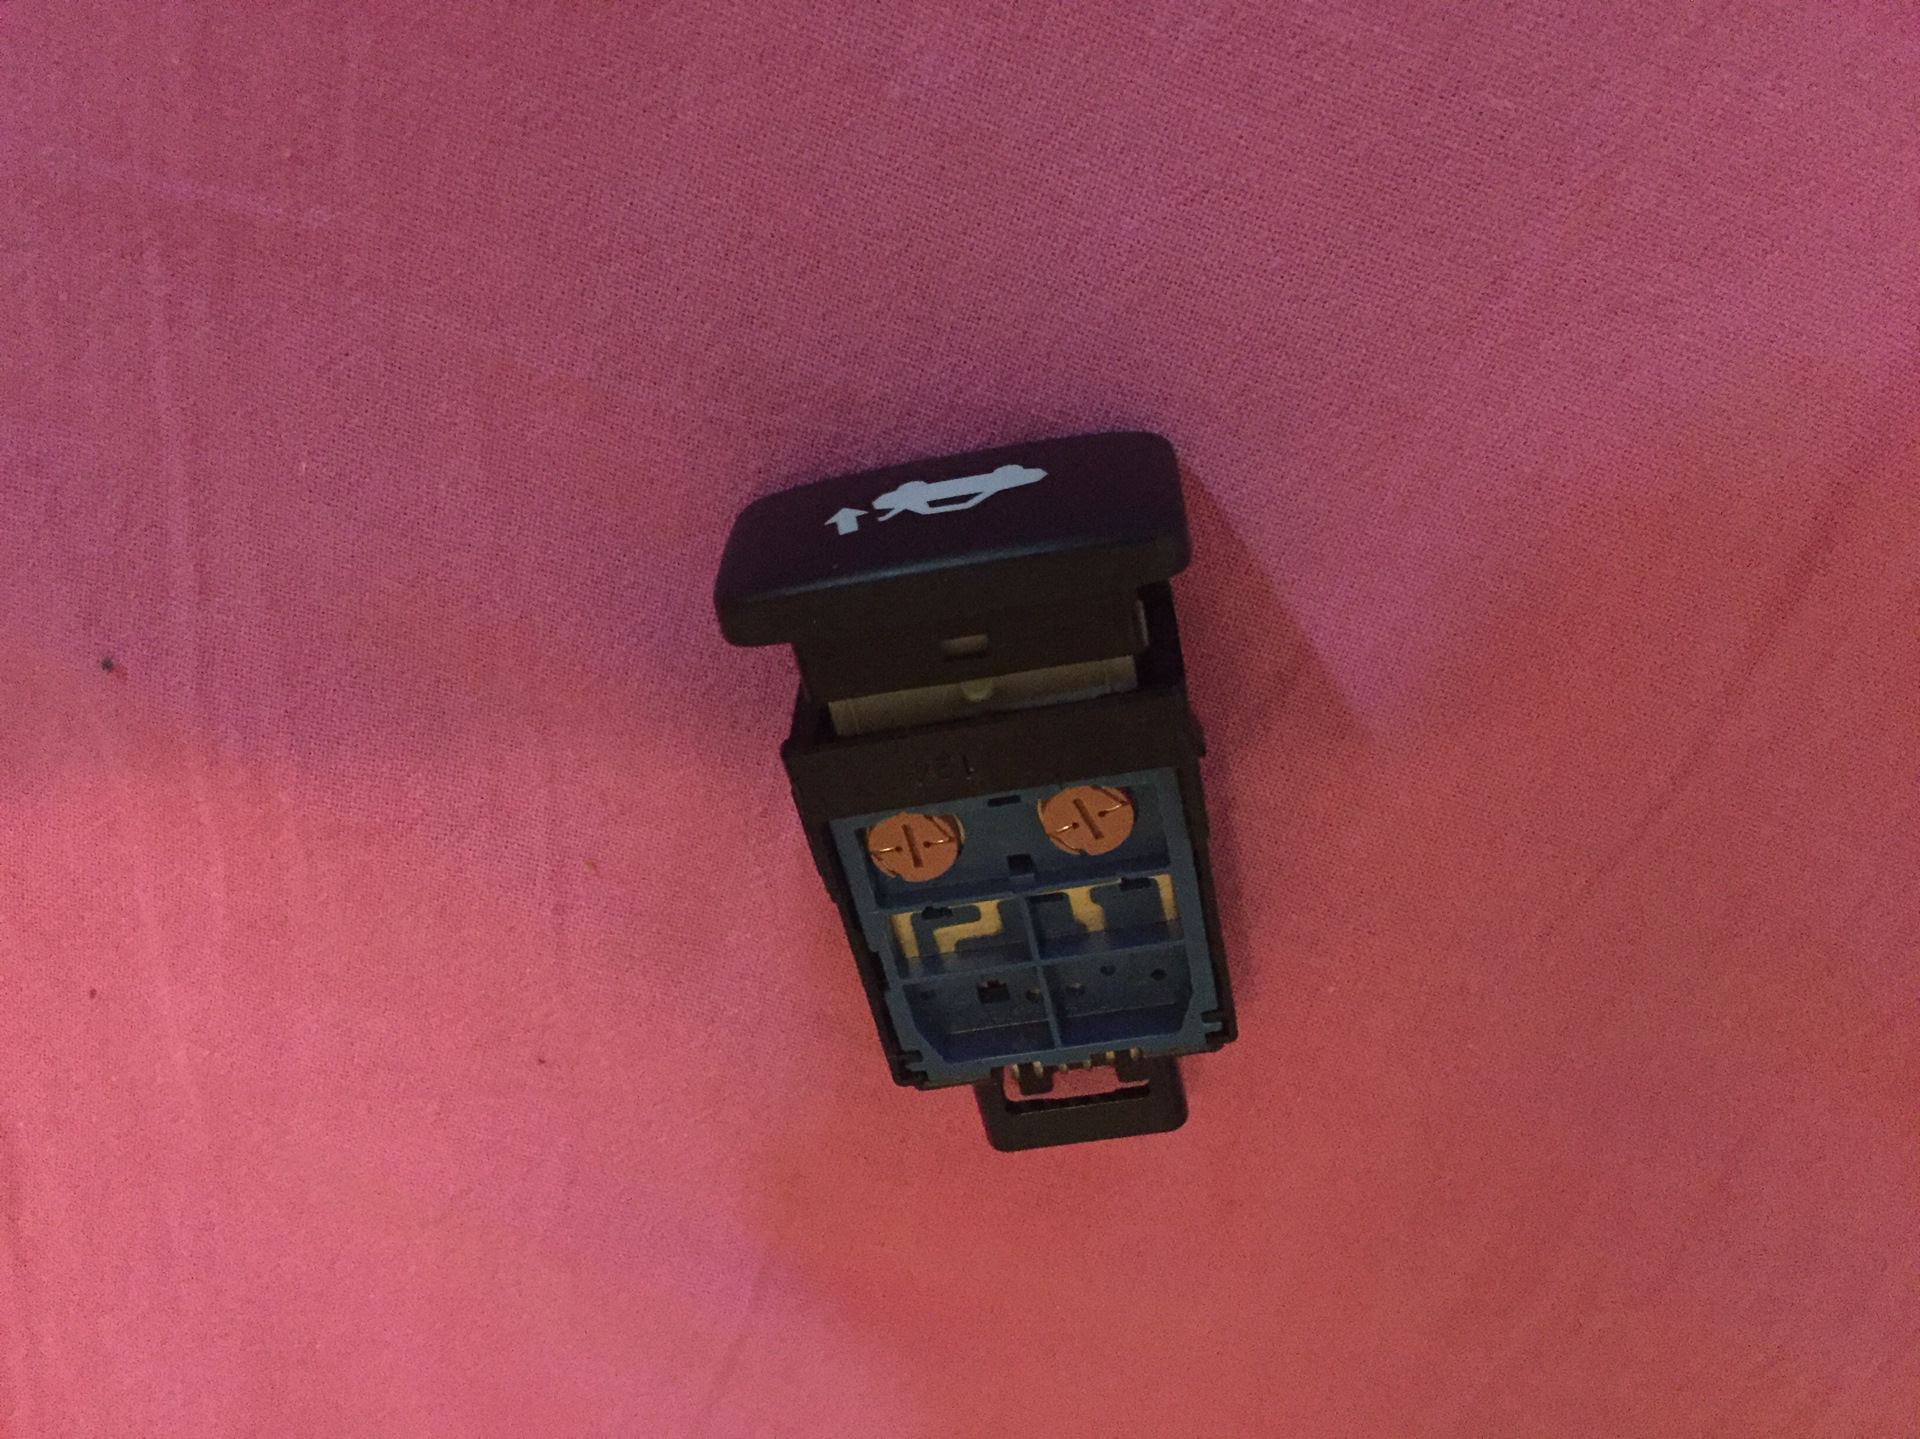
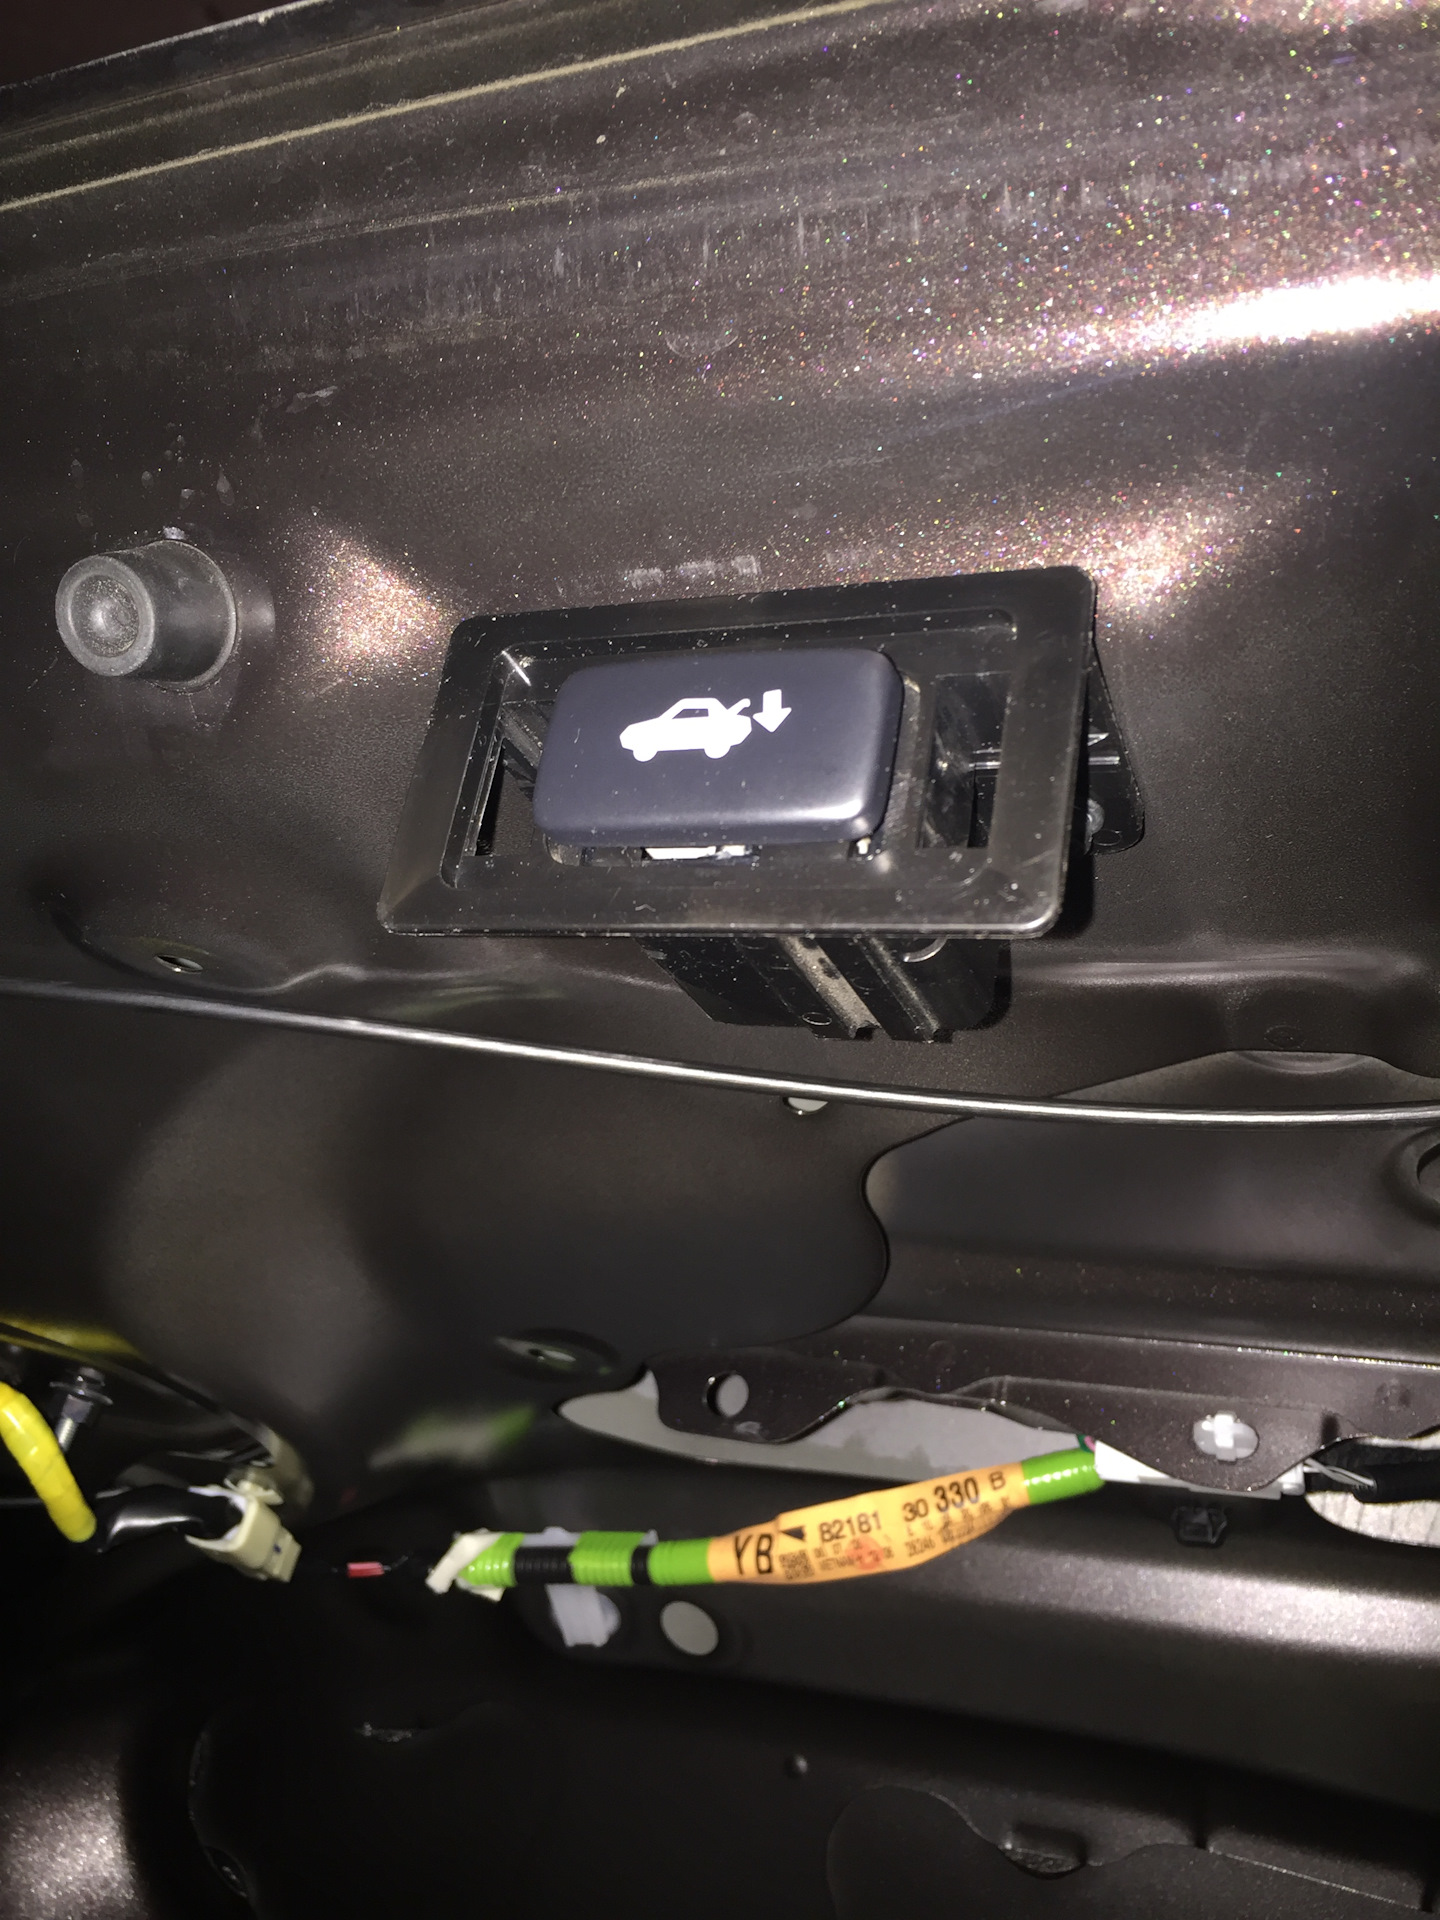
Button close the trunk. I understand it comes with a seat. Article: 84930-50050
Seat for button closure trunk. Attached to the trunk lid.
Locking pad, fixes the position of the tailgate lining relative to the button. Article: 84656-30110
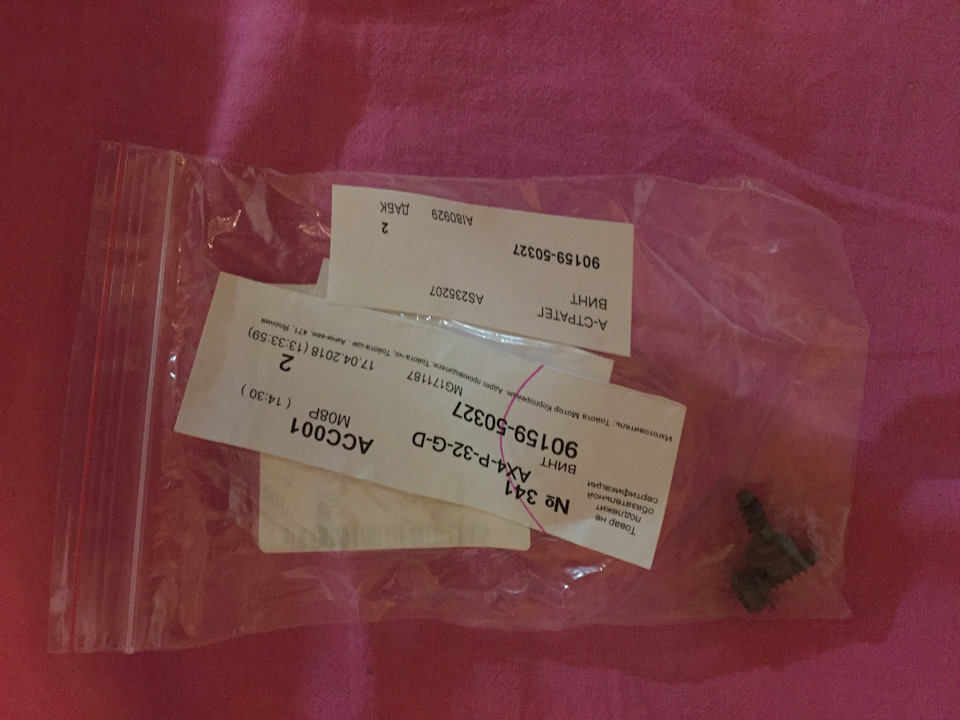
Self-tapping screws for fastening the seat of the button to the trunk lid. 2 pcs. Article: 90159-50327
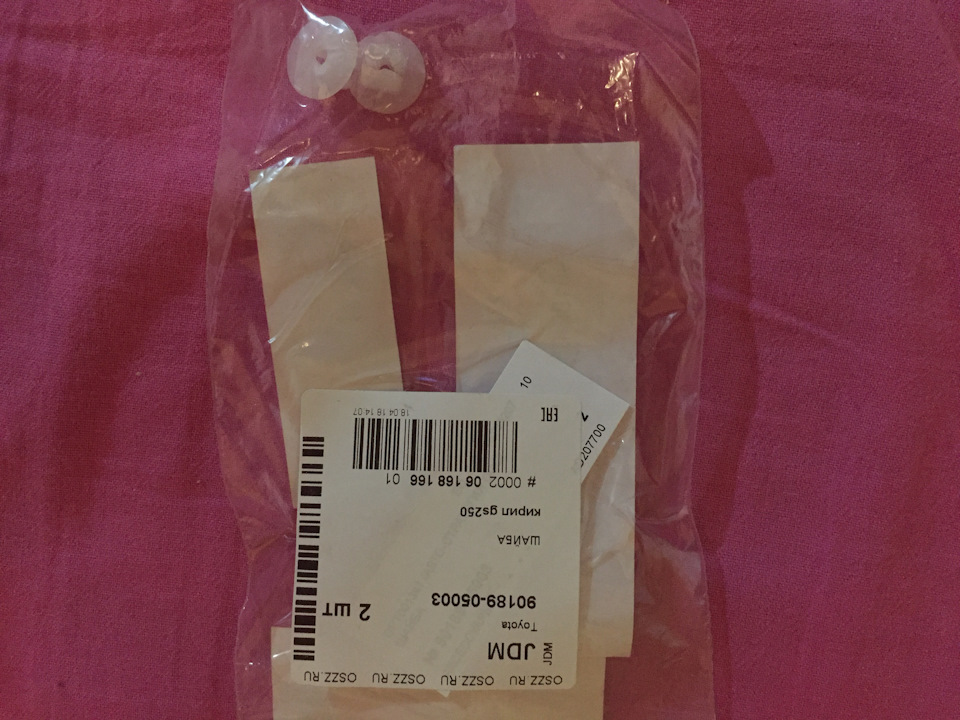
Embedded for self-tapping screws, are inserted into specialized openings. 2 pcs. Article: 90189-05003
Bashager's loop Article: 64572-30130
Loop luggage with locking mechanism for opening / closing the trunk. Article: 64520-30290
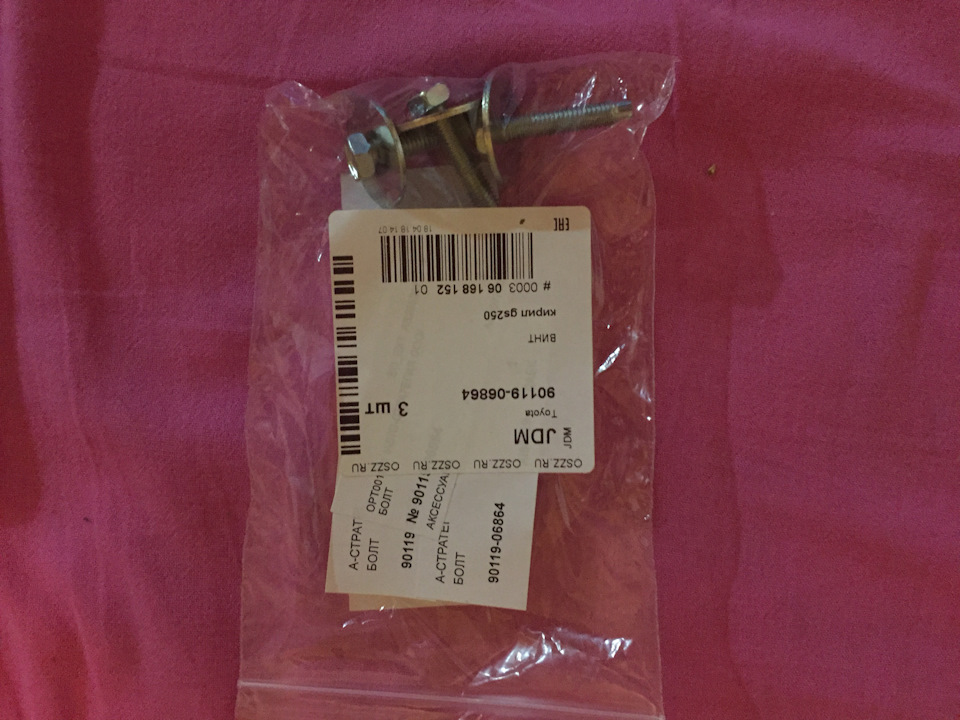
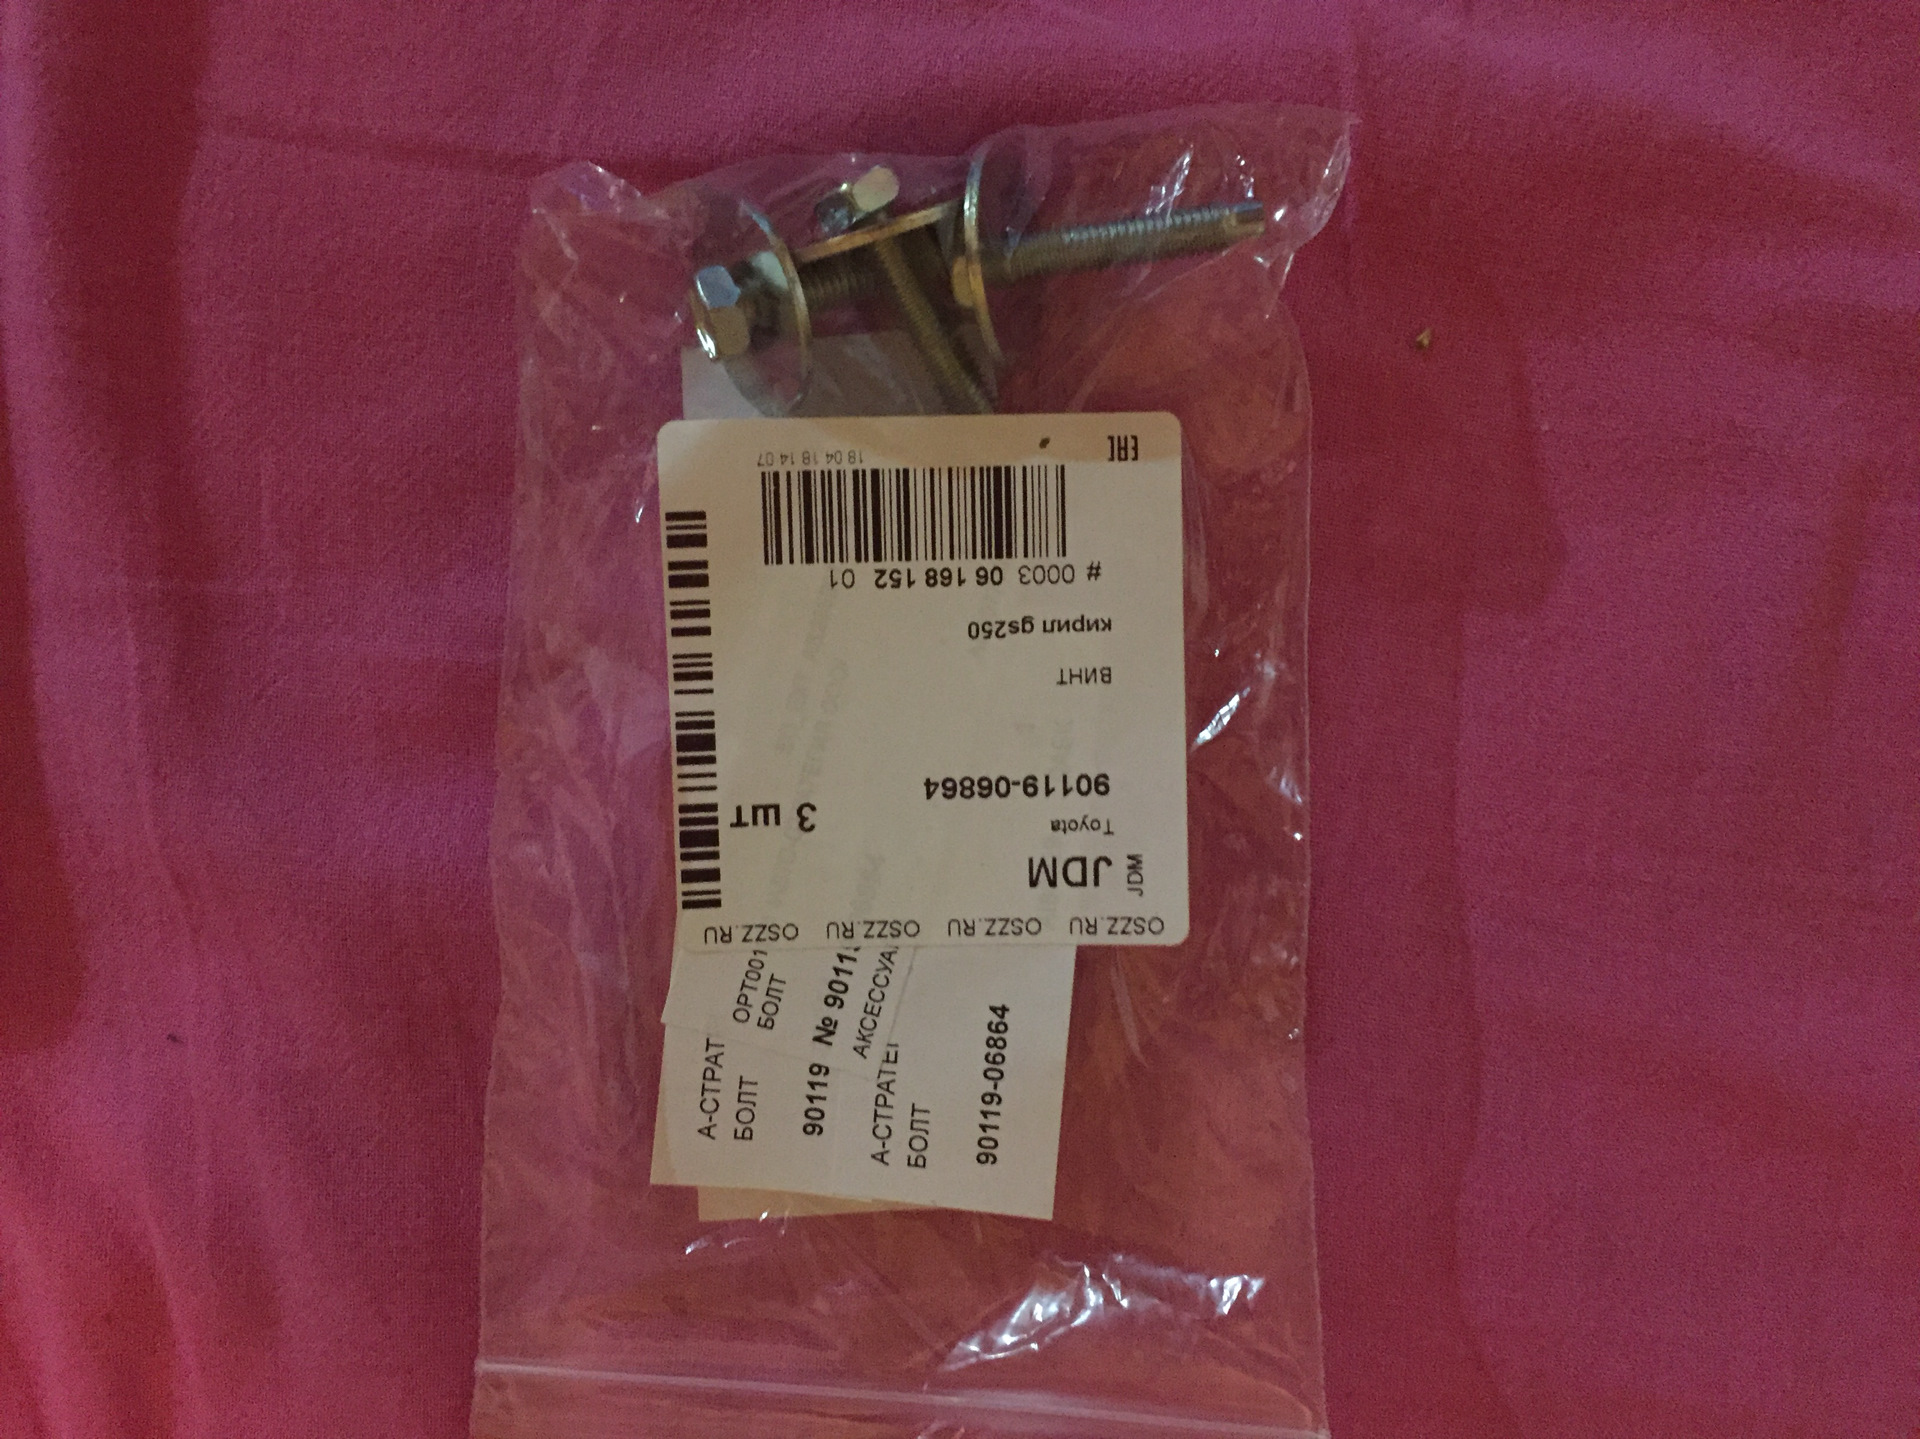
Bolts for mounting the mechanism of opening / closing the trunk to the inner wing. 3 pcs. Article: 90119-06864
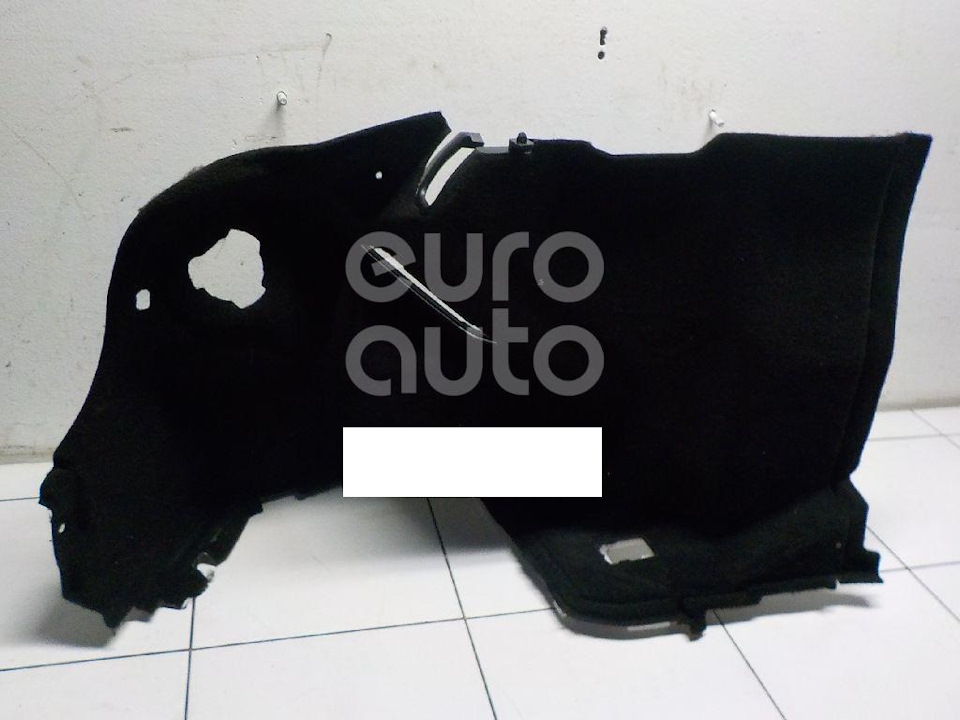
The inner lining of the left wing of the trunk. Article: 64722-30230-C1
Hello. Put the other day the automatic closing of the trunk. Very convenient)) If you know all the nuances, the installation time is 2 hours.
The process will be described below.
To begin with, we disassemble the trunk; I didn’t do everything on the clips, it’s full in the internet.
1. Remove the tailgate trim.
2. Remove plastic covers on hinge covers.
3. Remove all lower niches and side skins of the wings.
After it is necessary to remove the rear cover under the rear window, and for this:
1. Remove the rear sofa.
2. Remove the door sills.
3. Remove the lining that go along the rear seats.
4. Remove the seat back, it is solid, holds on the bottom with 4 bolts and pulls up.
5. Remove the side covers between the shelf and the ceiling. (kept on clips).
6. Remove the rear center brake light.
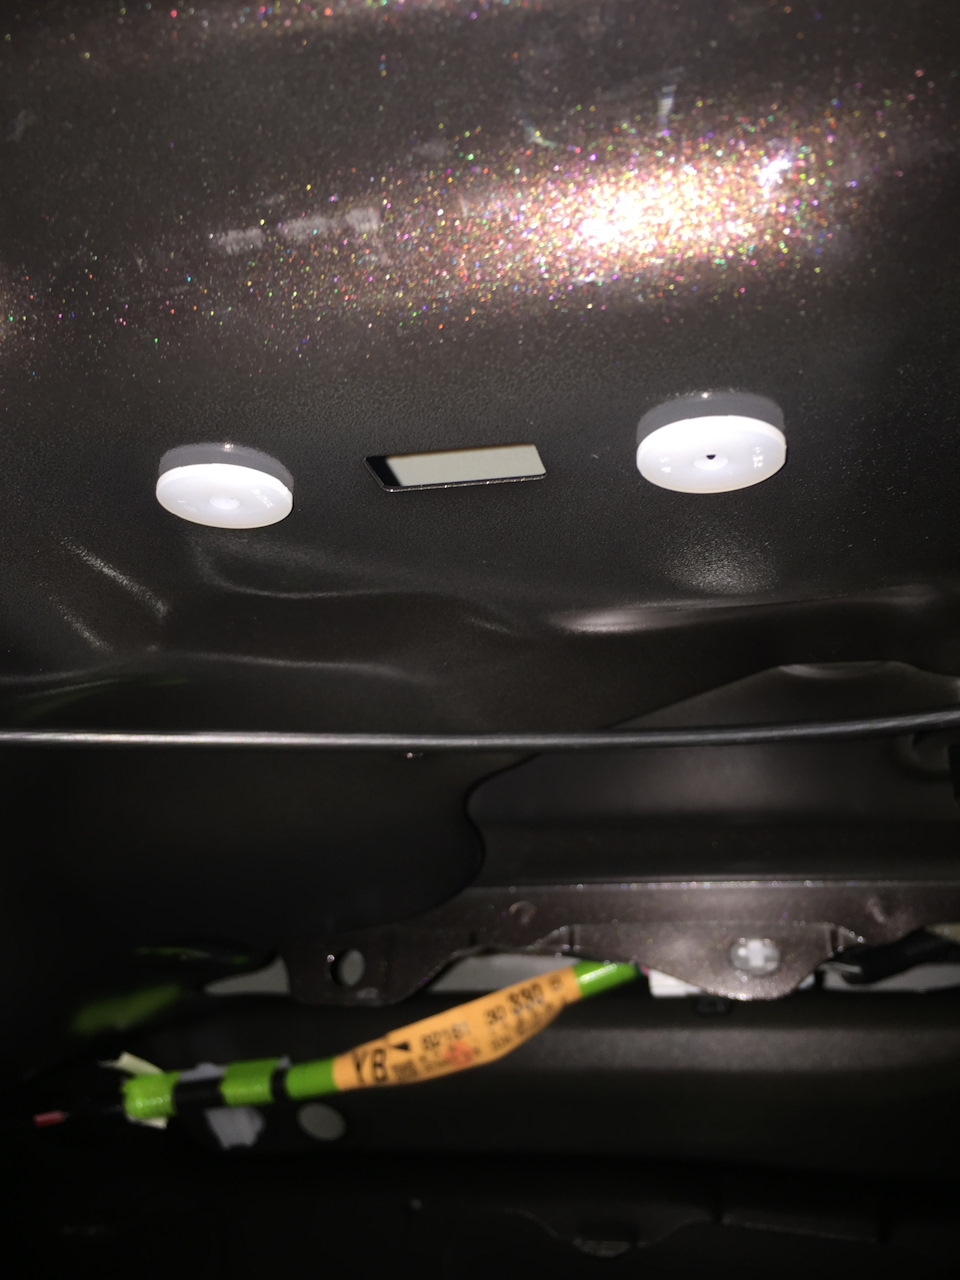
7. Remove the shelf itself. (kept on clips).
Now everything is ready for installation.
We put the clips under the screws for attaching the boot lid button.
We put the button itself. Screw on 2 screws.
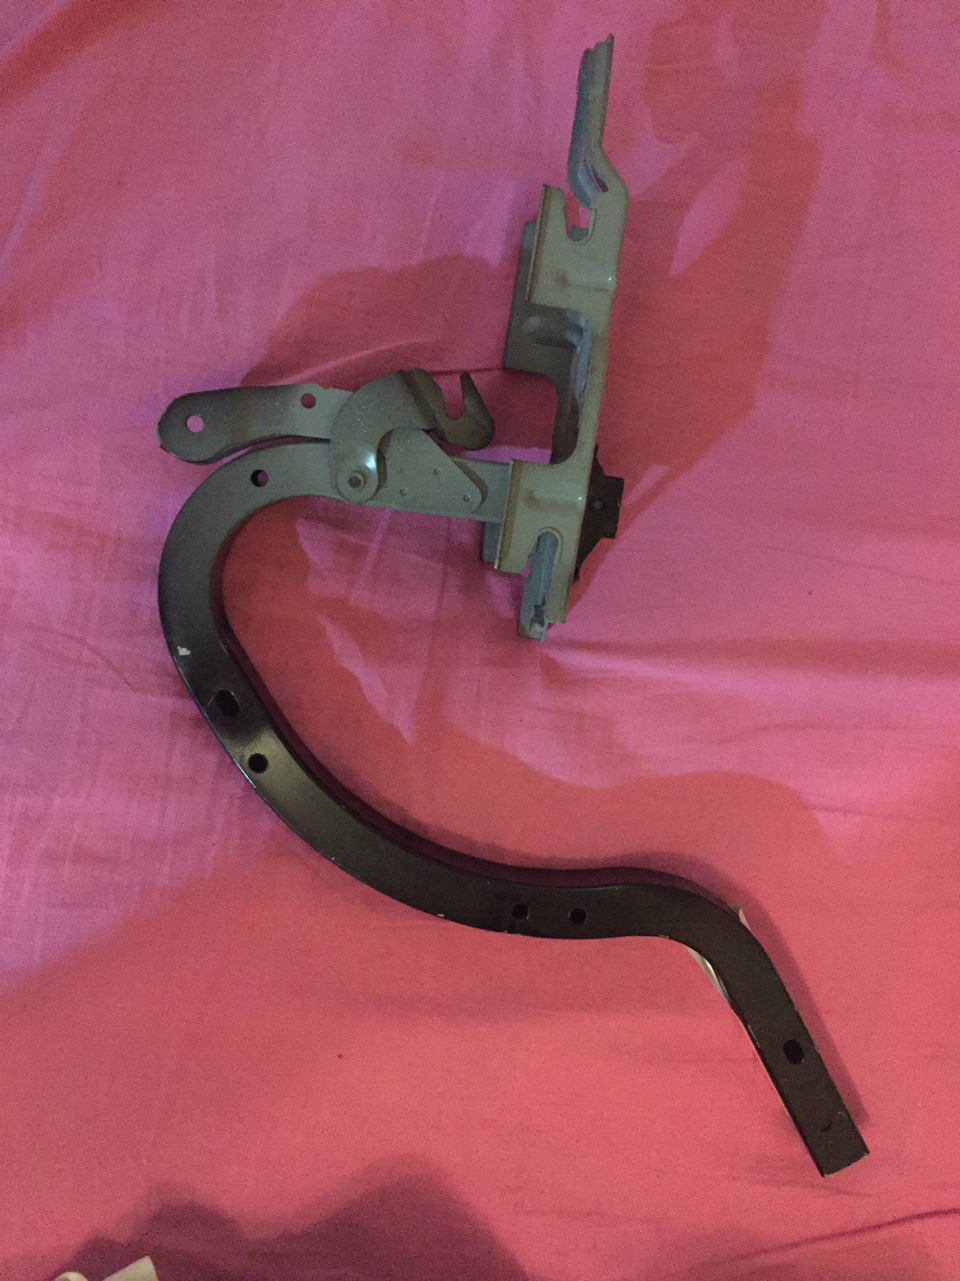
Next, we change the left loop of the trunk, on the loop with the standard fasteners for the mechanism of opening / closing.
2 bolts on the trunk lid, and 3 bolts on the shelf. Hex on 10 and 14 like.
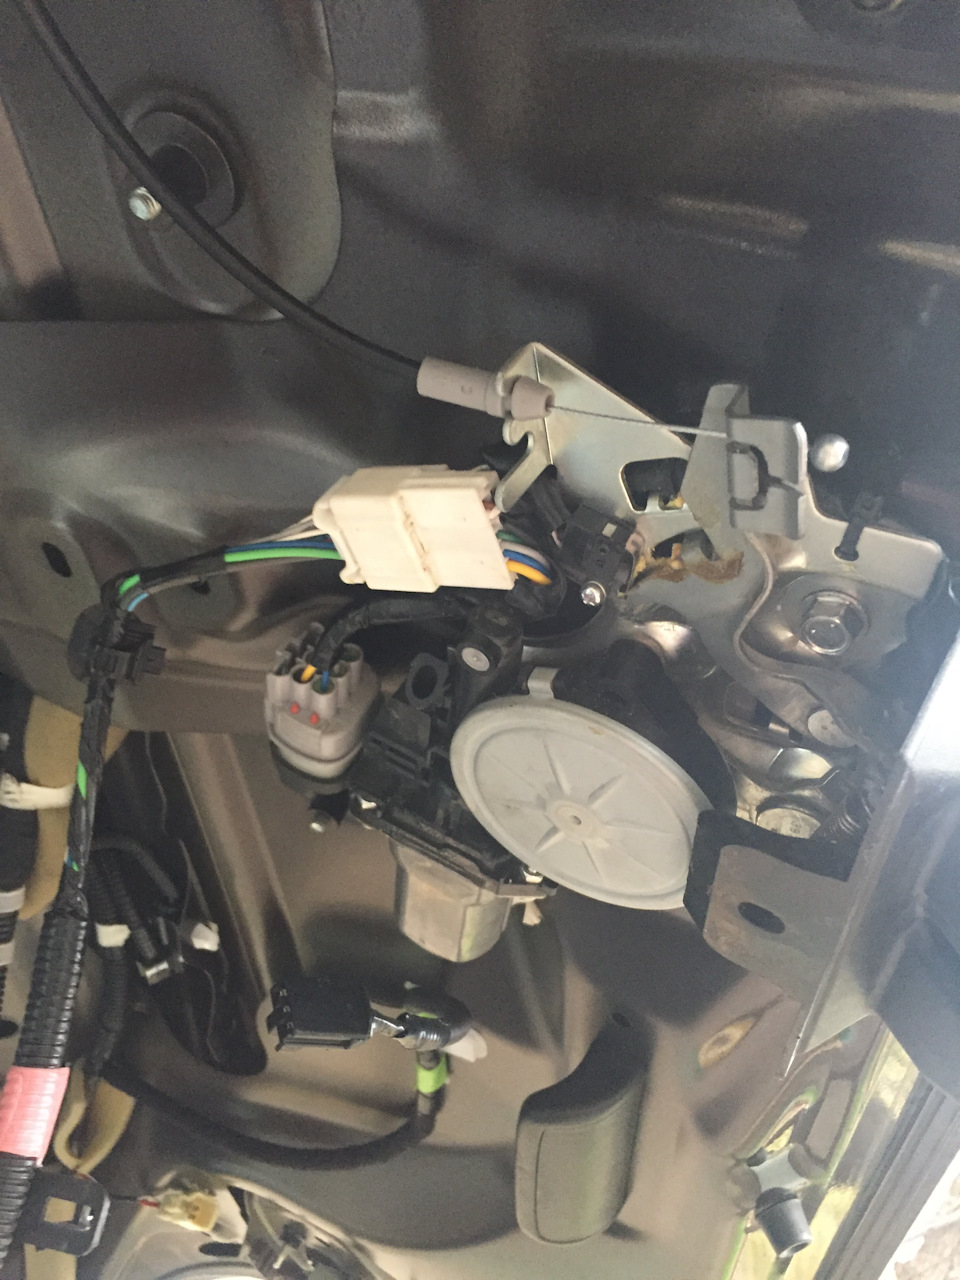
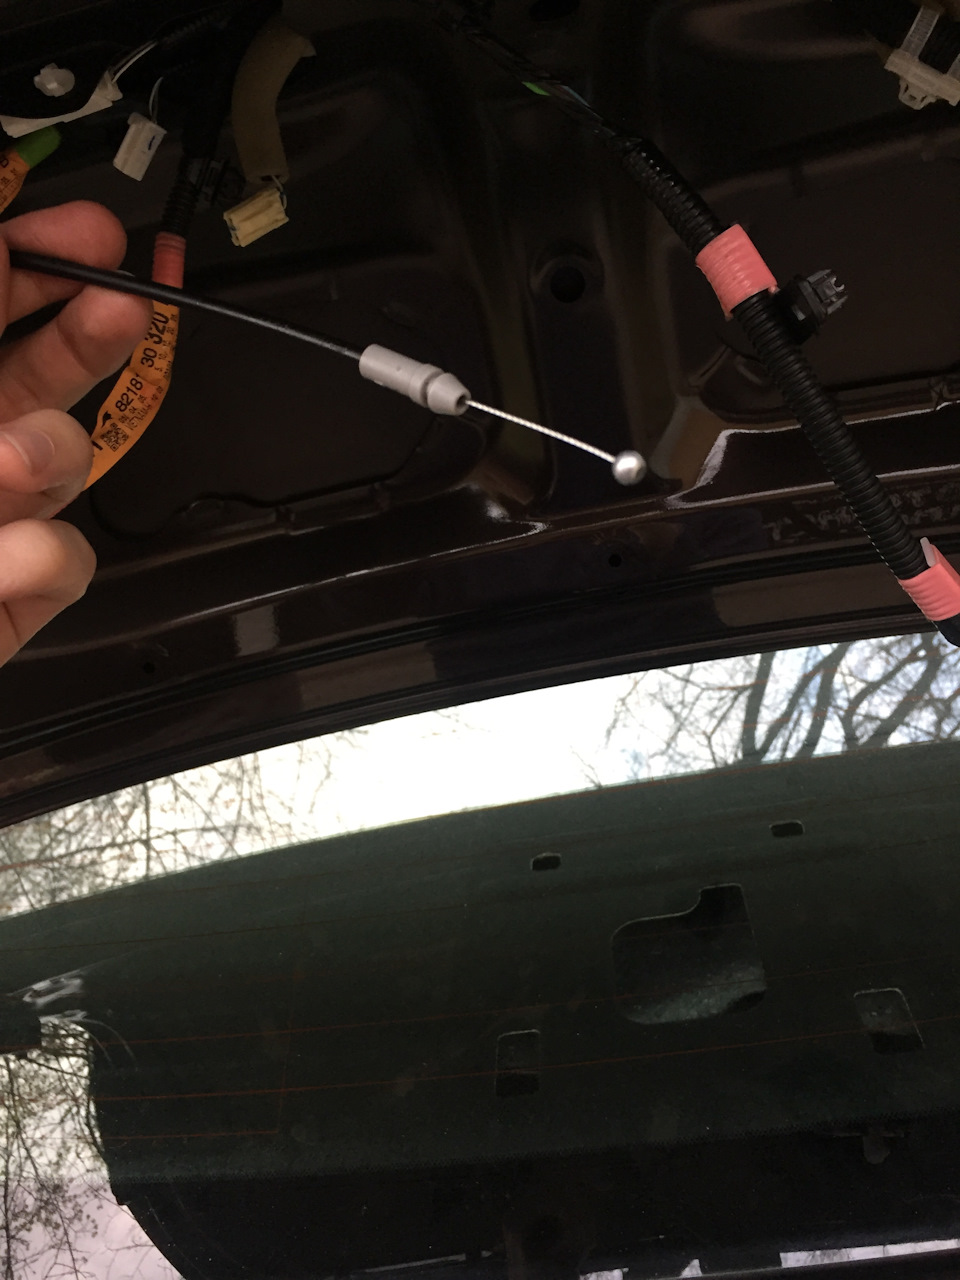
After we set the loop, set the opening / closing mechanism, fasten the ear to the loop.
The connector itself for the mechanism is already there.
Further we change the regular lock to the lock with the closer.
It looks like a regular lock without a closer, so for comparison.
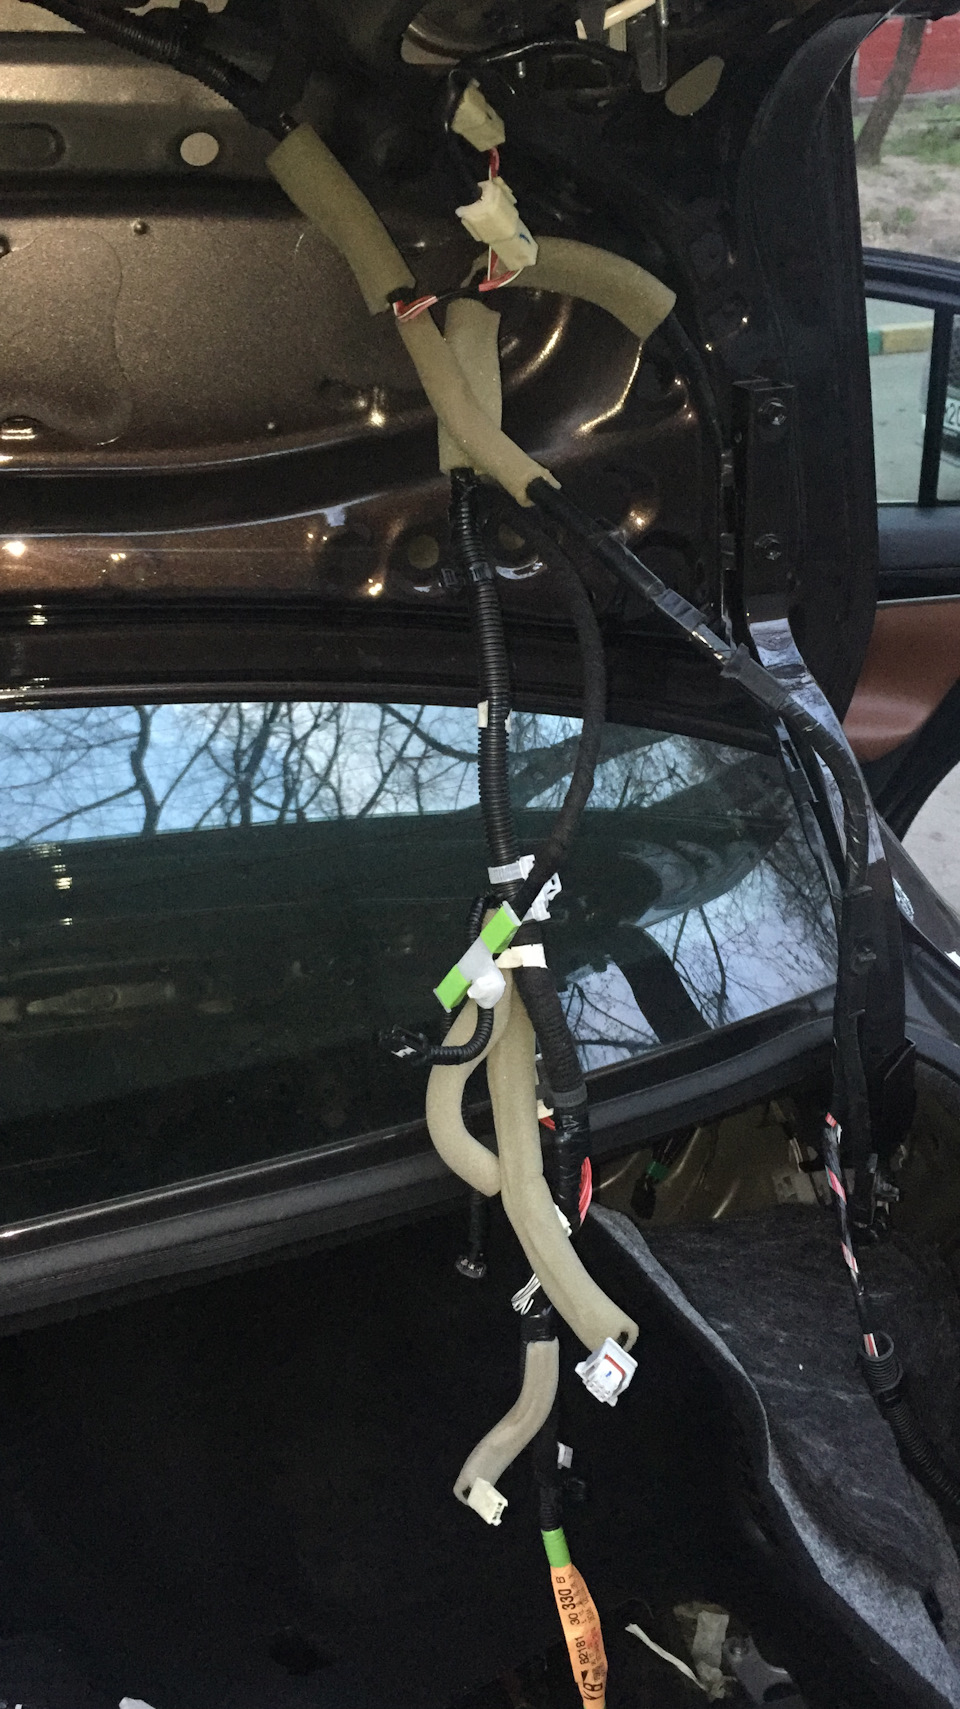
We introduce gradually a new braid of wires.
Most importantly, with this I tormented myself all day, until I realized what was going on. The bare part of the cable that goes to the trunk lock is too short. Because of what the necessary limit switch does not work and nothing works at all. Here are 2 solutions, buy a cable for disassembling the door closer, or do as I do, stupidly shorten the cover by 1 cm. Photo below.
Something like that.
The last stage, disable the standard braid, and connect the new one. And then check.
Yea I had the same problem with the cable on the lock. Used the old one and had the same issue. Finally I noticed that the linkage wasn't releasing all the way so I used the cable that came with the latch. Maybe his car is different but in mine the power trunk wouldn't work until I modified my harness a bit. The other guy from China said something about wire harness modification too I believe for his car.
Also changing that trunk hinge is a pain and apparently theres 3 different part numbers for the hinge.
The Russian guy is using trunk lid wiring harness:
82181-30320
Trunk hinge:
64520-30290
I might get the hinge to make install easier, I sourced it in Japan for $44 new, but submitted the request for the shipping quote.
Seems like as long as you have the hinge with the mount for power trunk arm you are ok. Yeah I don't understand the 3 part numbers. The description says weird things like:Hinge Assy, Luggage Compartment Door, LHPOWER TRUNK LID SYSTEM-WITH,MARK = 0
Can you explain better what has to be rewired? From the following pinouts what has to be moved? I will try and see if it works without modification, but if not I'll try what you did.
Here are the pinouts for the trunk lid wire harness:
So I jumped terminal 26 GR on the trunk lid wire harness to the connector UT1 terminal 2 GR. That is for the pawl circuit in the latch actuator.
Then I cut off terminal 9 on the trunk lid wire harness and spliced into terminal 8 on the same harness. It's kinda hard to explain. I'll try to find the diagrams and show u.
Basically u have to make sure that you get terminals 11,6 and 7 on the luggage compartment door lock assembly to the luggage closer motor assembly terminals 20, 7 and 21 respectively. On my car, my factory harness had open pins or the wire went somewhere else. So I had to make sure I got those wires to my trunk closer motor.
Hope this helps. But this is for my 13 GS350. I'm not sure if other years are different slightly. It's best to use a multimeter to find the exact wires to splice into.
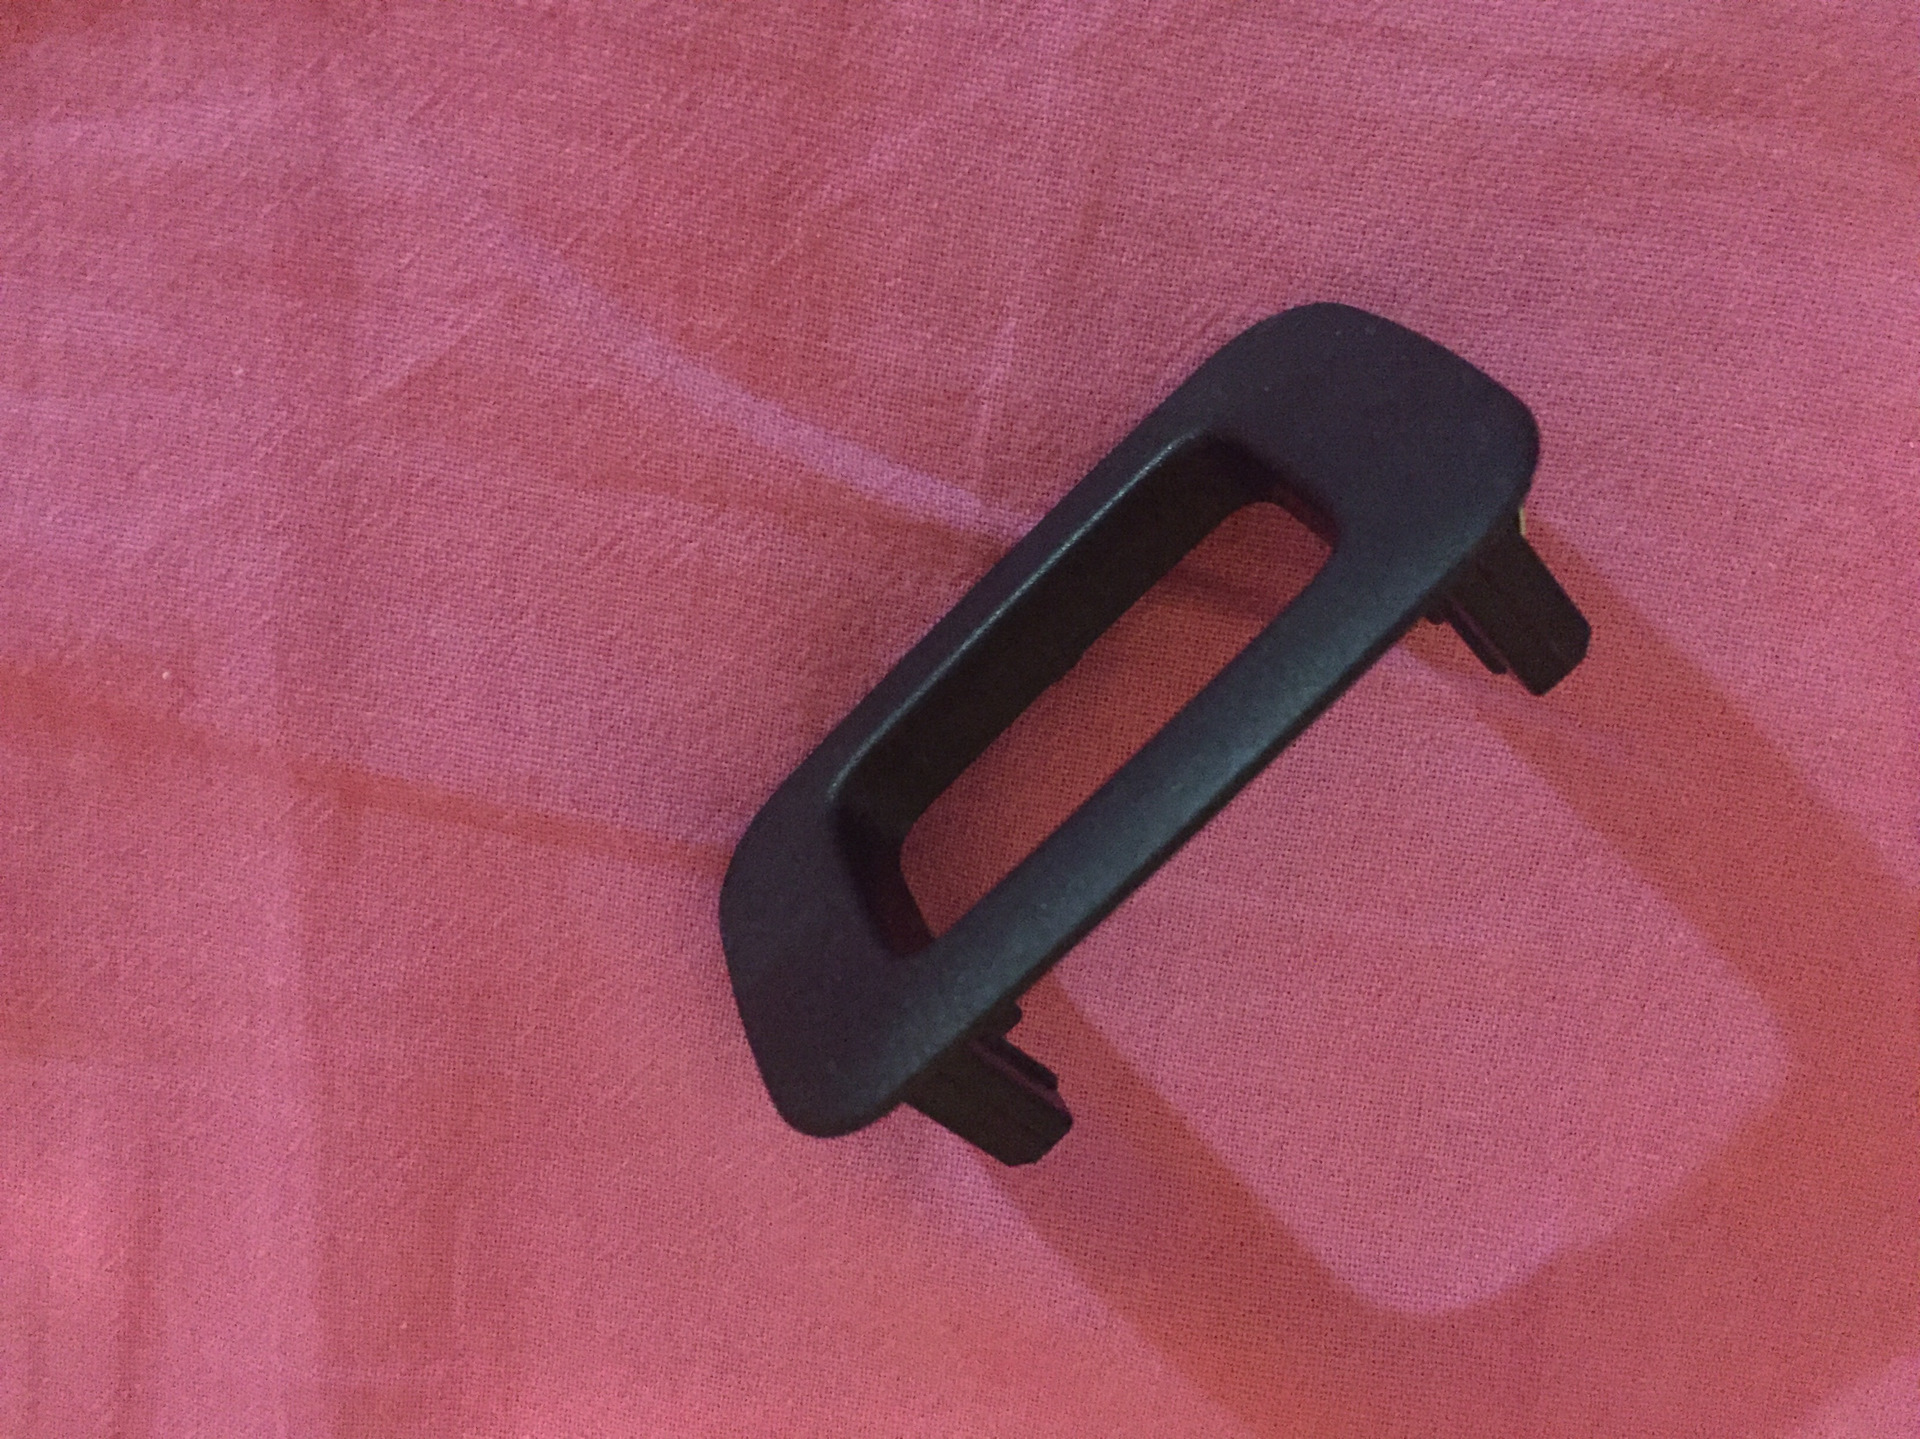
When you say "luggage compartment door lock assembly" are you talking about this?
or this
I will first hook it up and see if it works, then try what you did if it doesn't. Thanks again for helping me out.
I checked with a dealer for the correct driver side trunk hinge he said there are 3 part numbers, one hinge is marked with "+" , one with "-", and one with "0"
You have to look at your original hinge and see what mark you have.
[QUOTE=peasodos;10437525]When you say "luggage compartment door lock assembly" are you talking about this?
Yes that one. Make sure to change out the cable from the trunk key cylinder to the luggage compartment door lock assembly. You need to use the cable for the lock assembly with the motor otherwise the pawl on it wont fully release and the power trunk will not operate. The guy mentioned it too.
For the hinge, its too much work honestly to change it. Looks like you have to remove the rear decklid to get to the hinge to see the marking, which means you have to remove the rear seats etc... If my bracket didn't work due to the angle to the closer motor, then I would have went with a new hinge. I was mainly worried that the angle may cause the motor to work harder so it may detect a high current situation and think that there's a jam of some sort and reverse direction (jam protection). But its been working ok so far *fingers crossed.
But I'd say install everything and plug it in. Then see if it works. Oh make sure that in vehicle customization that PBD (power backdoor) is set ON in the Techstream. Mine was already set ON from the factory, go figure lol.
Let me know if you need more help as you go along. Its worth thee headache to have the power trunk.
 01-30-19, 01:55 PM