When you click on links to various merchants on this site and make a purchase, this can result in this site earning a commission. Affiliate programs and affiliations include, but are not limited to, the eBay Partner Network.
Any tips/tricks before I get started on this project this weekend? I have watched a number of videos and am still on the fence about whether or not to take the caliper off or leave it on when spraying. DIY Dan has a great video where he takes them off but I've seen a lot of people leave them on as well, which of course would be easier. Any input is much appreciated. Of course, I will post before/after pics as well.
It�s not too much trouble to remove them, and think it would be easier to prep, and prep is the key.
I�ve debated painting mine Gray to match my Nebula paint but haven�t got to it. I planned on removing, doing a seriously good job at prep, then painting/clear.
I couldn�t find a good source of the Lexus decal that would work perfect on the rotors though. Some of the sellers I found on fleabay scared me.
Yea I got Acetone for the prep and plan on taking as much time as needed to make sure they are perfect before I start spraying. I got some Fsport decals from fleabay that are actually pretty impressive for what I paid. Should look really good and be good to go after I spray the clear over them. I am going with red paint/black "Fsport" decal.
Yea I got Acetone for the prep and plan on taking as much time as needed to make sure they are perfect before I start spraying. I got some Fsport decals from fleabay that are actually pretty impressive for what I paid. Should look really good and be good to go after I spray the clear over them. I am going with red paint/black "Fsport" decal.
Are you obsidian black? That will look good.
I was thinking of doing mine gray to match my paint, and the Lexus decals white to match my FSport emblems (which are white/gray).
Do you recall the seller or possibly have a link to the decals? I�d appreciate it!
Did you mock the decals up to make sure they are the right size for the calipers - front and rear?
Yea I am Obsidian and Cabernet so I am hoping it turns out pretty good.
I like the idea of the white/gray look but do you think that will pop at all? You might not want it to but gray along with the gray car and grayish wheels might get lost. Just food for thought.
I thought I could find the link but having a hard time. Starting to think it was actually Amazon. if i can find it I will share a link for sure and I'll let you know how they work when i go to apply them this weekend.
It actually came in a pack of like 8 There are 2 stickers in four different sizes so you can pick what you want/like. I have dry fit them and think they will work out perfectly.
Sweet on the decals! I�ll look for them.
Yea, I�m pretty low-key, so not looking for a ton of pop. Just enough for the enthusiast cruising next to me on the freeway to notice I have Large pizza sized rotors and not a Personal-pan sized Honda Accord rotors :-)
Any tips/tricks before I get started on this project this weekend? I have watched a number of videos and am still on the fence about whether or not to take the caliper off or leave it on when spraying. DIY Dan has a great video where he takes them off but I've seen a lot of people leave them on as well, which of course would be easier. Any input is much appreciated. Of course, I will post before/after pics as well.
I will be painting mine red. Taking them off would make life easier but then I would have to prime the break lines of any air bubbles ehhhhhhhhhhhh....
I will be painting mine red. Taking them off would make life easier but then I would have to prime the break lines of any air bubbles ehhhhhhhhhhhh....
It's so easy to do that, though. You of all people should remove the calipers, mask them, and do it right.
Brake bleeding is simple: start car, wedge the pedal down, bleed right rear, check reservoir and add fluid if necessary, bleed left rear, check reservoir, bleed right front, check reservoir, bleed left front, check reservoir.
There shouldn't be any need to add fluid, but it's still good to check. I keep a piece of hose and a jar to attach to the nipples to keep things tidy because brake fluid is nasty.
Front calipers are very easy, they are larger, smoother, generally cleaner and don't really have tricky hard areas that need to be masked. Just give them a good cleaning, make sure you get the back areas too. You can just use big pieces of newspaper to cover the well area around the calipers
Rear calipers were a different story, mine were pretty dirty, took a while to clean them, had to use wire brush and work at it to clean them, they are a rougher metal so I tried to sand them a little too, also there are tricky areas to tape off like exposed shims, rubber pieces, and other spots that are going to take some time and patience. Rears took three times as long as fronts to prep, wish I would have know that. It can be tricky to spray calipers while they are still on the car. I decanted some of the spray paint so I could brush it on too in areas that I did not get or get well with spraying. You may want to budget a whole day on doing this, it is not just a real quick thing especially with the rears.
If you are going to leave the calipers on the car, in my opinion brushing is much easier.
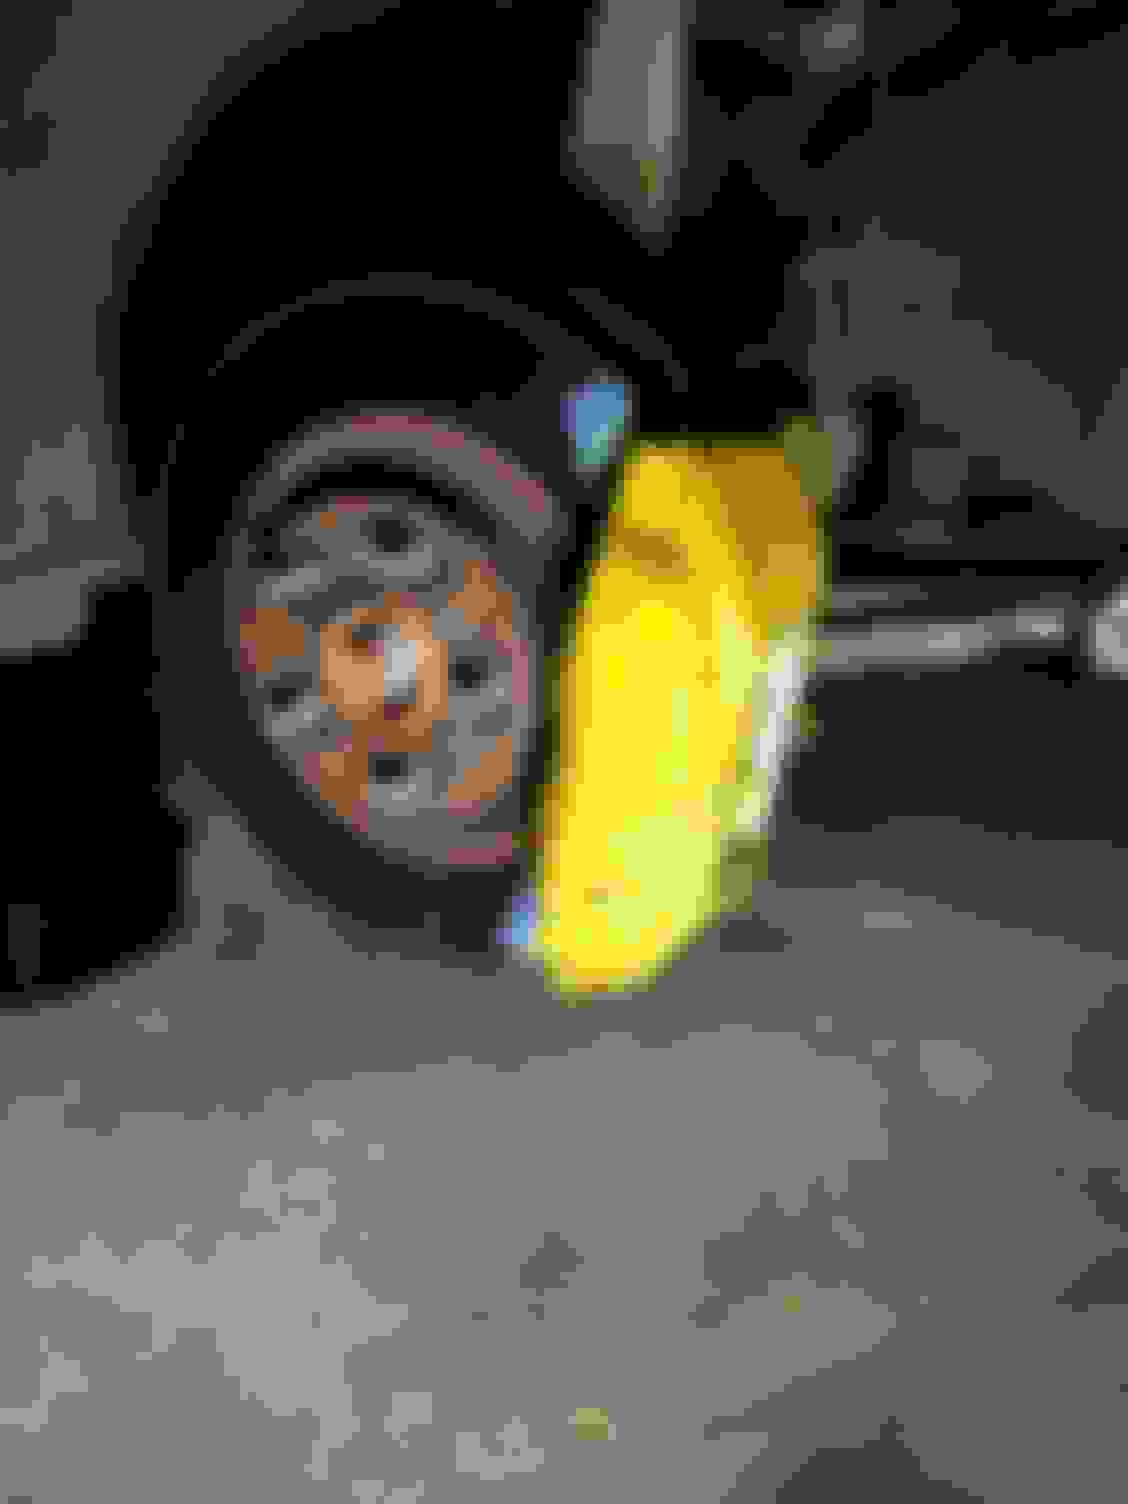
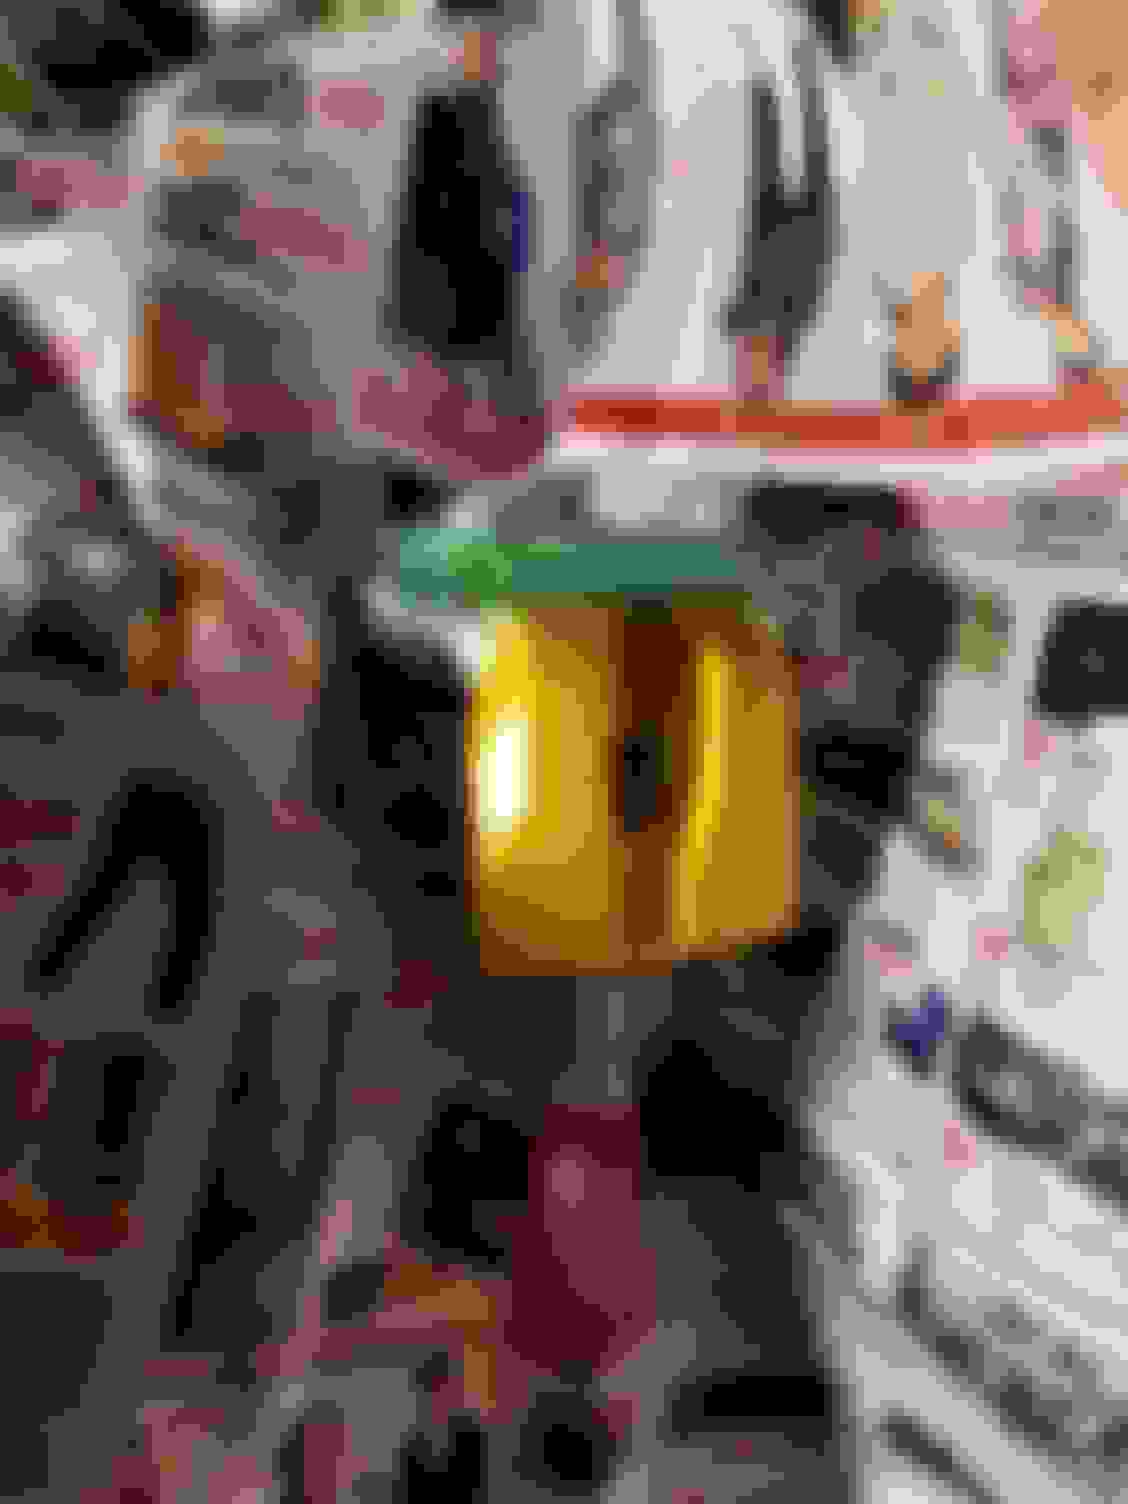
Hopefully I can share some pictures - I used the G2 caliper paint that is a brush-on application. For the fronts, I initially took them off and set it on the a box to paint them but that eventually got pretty difficult to get around some areas, so the best way was to leave them on in the end. The rears however, I took off the caliper and left the bracket on. For the clear coat I wrapped the entire area before spraying it on. Hopefully these photos can help you a bit!
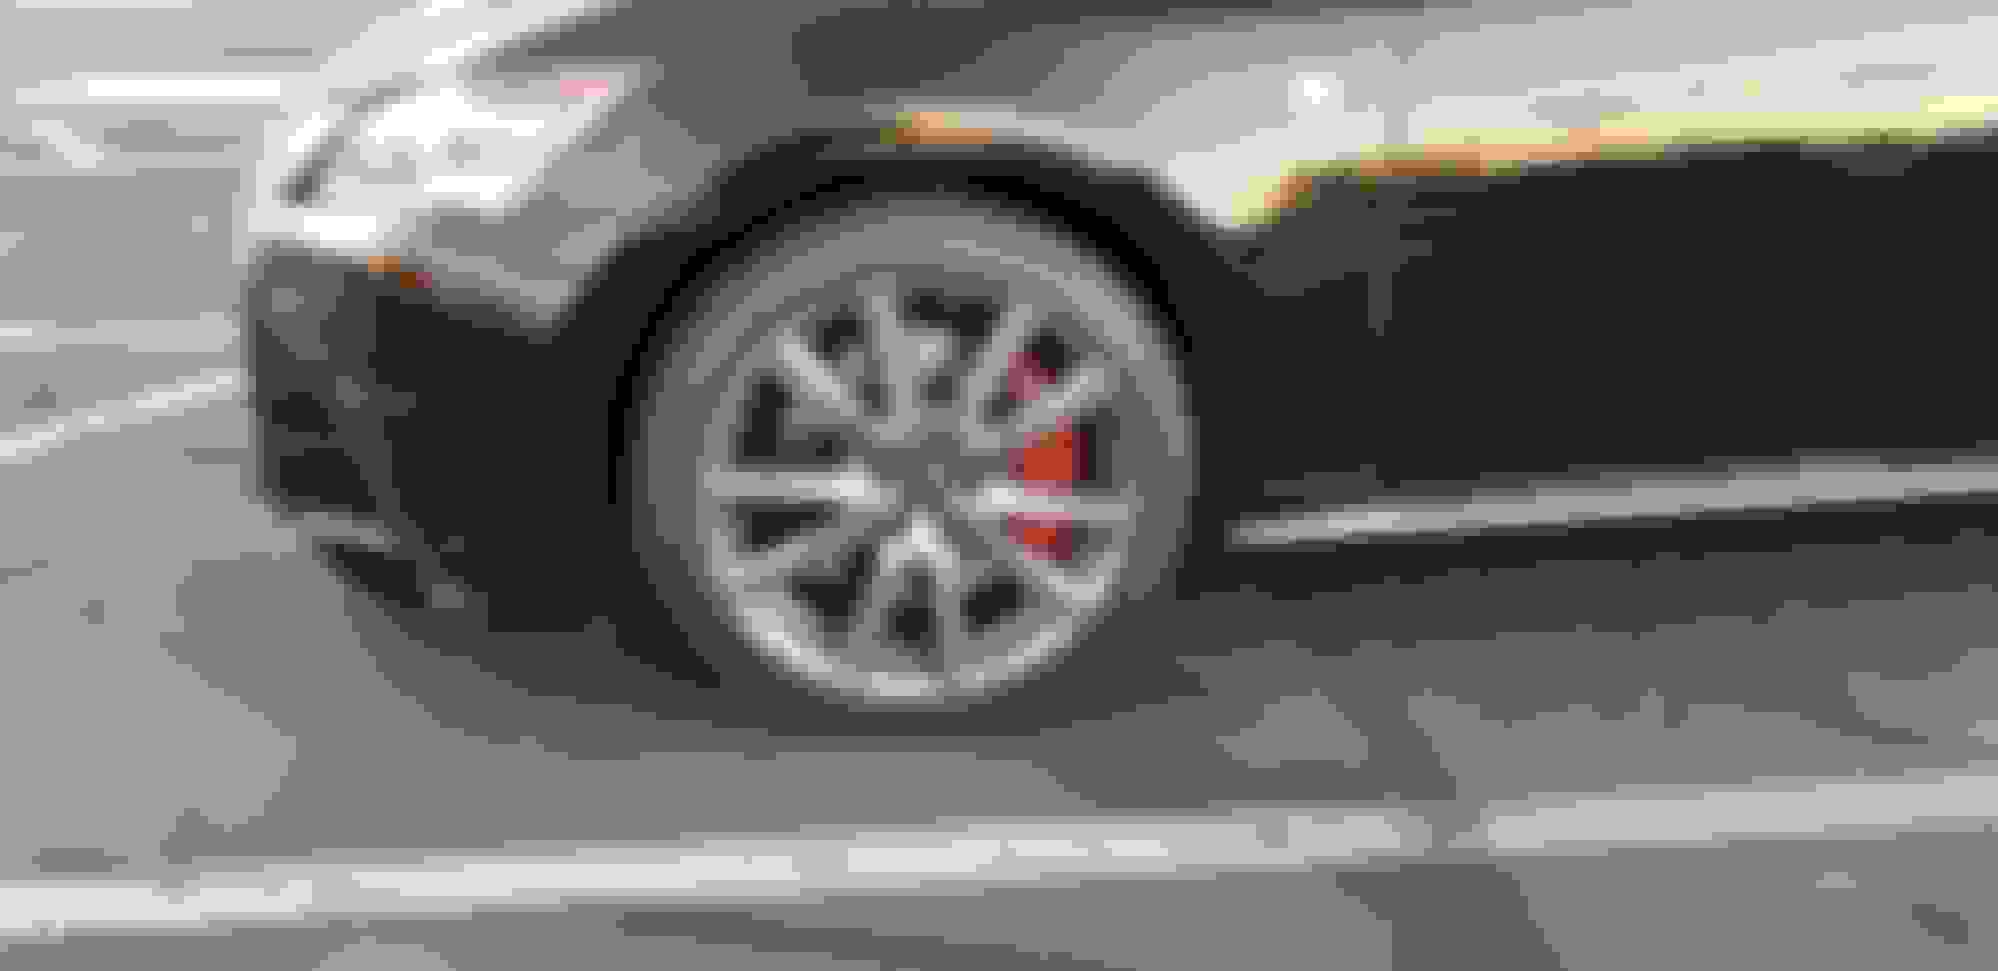
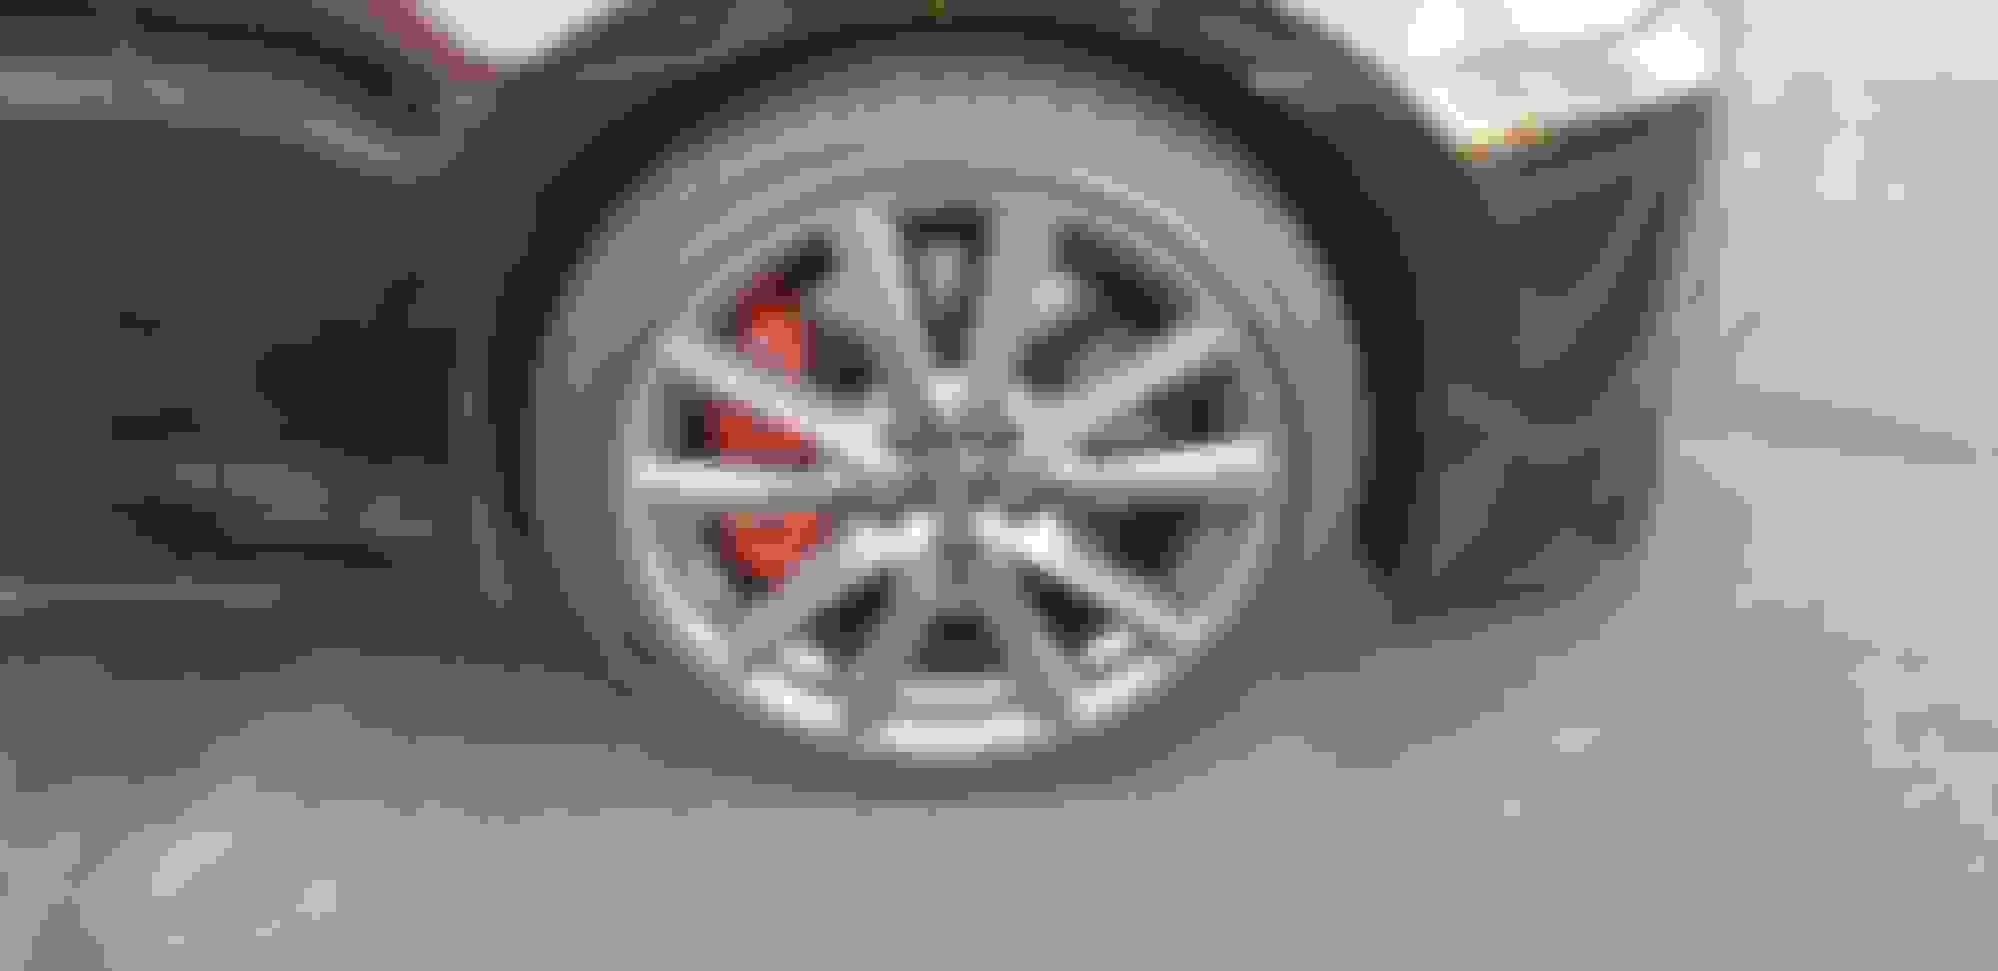
The fronts turned out perfect! I gotta say, I absolutely love how it looks with the painted calipers. The red with black Fsport is a clean look in my opinion. Didn't get to the rear calipers yet but will probably get that done in the next few weeks.
 10-04-18, 10:51 PM