When you click on links to various merchants on this site and make a purchase, this can result in this site earning a commission. Affiliate programs and affiliations include, but are not limited to, the eBay Partner Network.
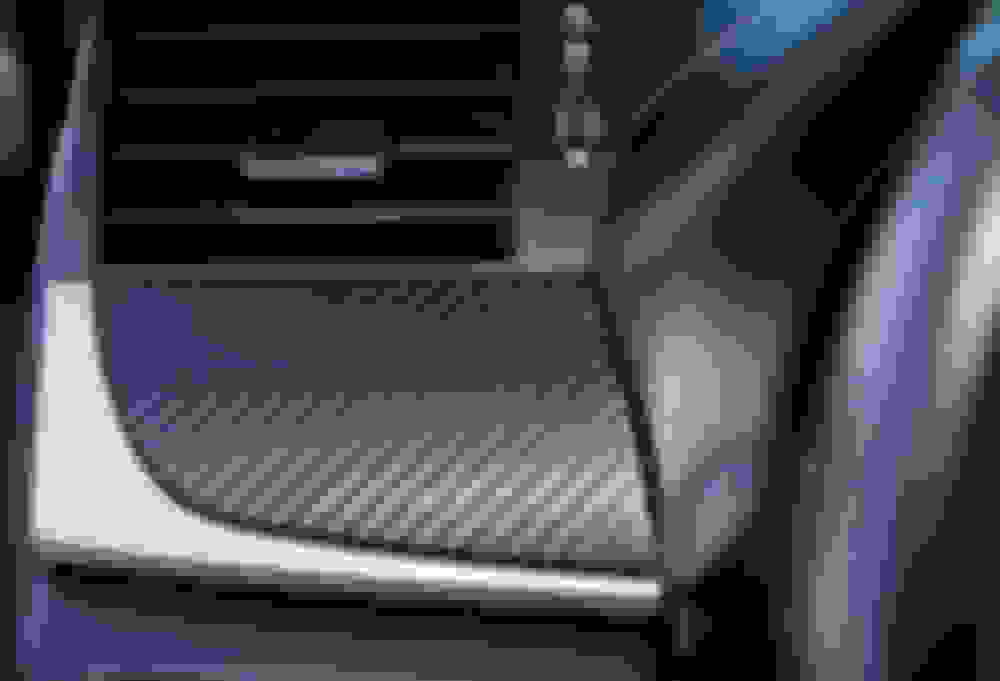
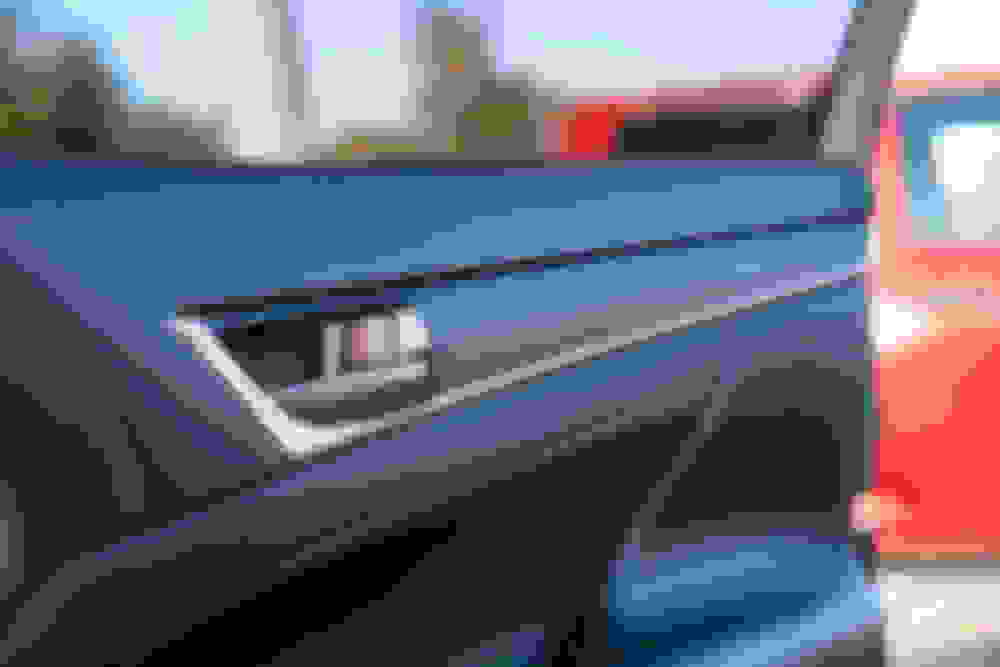
How do I remove this aluminum trim piece? Needing to wrap this piece. I tried to pry but it's held in there real tight. Do I need to remove the entire dash? Don't want to break anything.
How do I remove this aluminum trim piece? Needing to wrap this piece. I tried to pry but it's held in there real tight. Do I need to remove the entire dash? Don't want to break anything.
Here you go. Go to post #3. Basically remove glove box and a few screws from the back of the trim, comes right out.
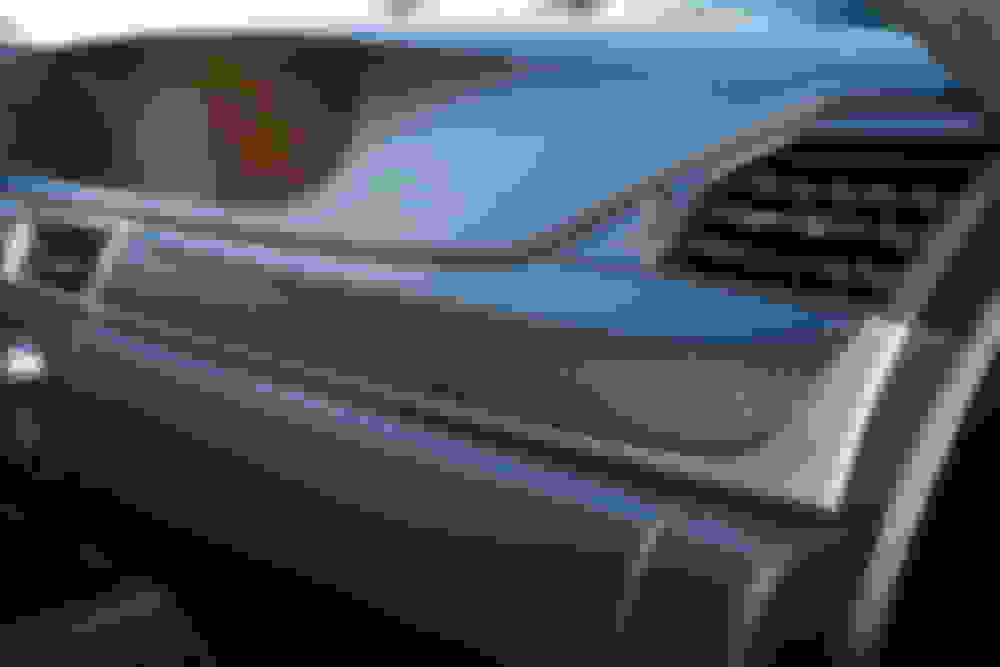
All done! Took much longer than I anticipated, about 16 hours (over 3 days!) but I took my time to do it right. I removed all panel pieces from the car to wrapped and tucked for a better look. Huge thanks to @eddie420 for the tutorial guide on how to remove panel trims. Most trims came off pretty effortlessly, but I had a heck of a time trying to fit the door panels back. They don't seem to sit flush as before. I may have damaged some clips trying to push them back. Need to purchase some replacement clips.
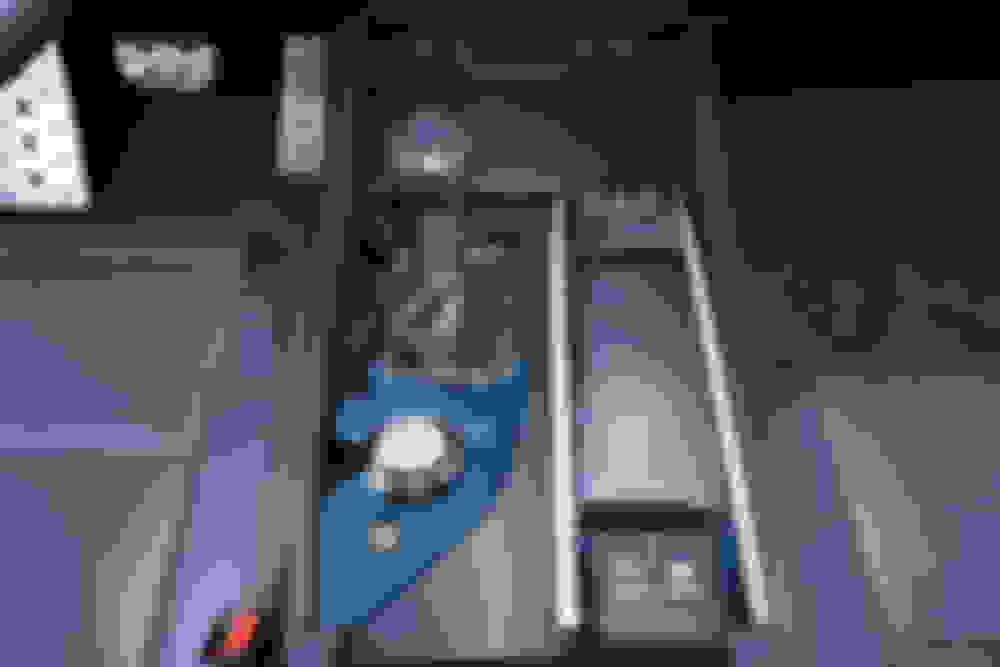
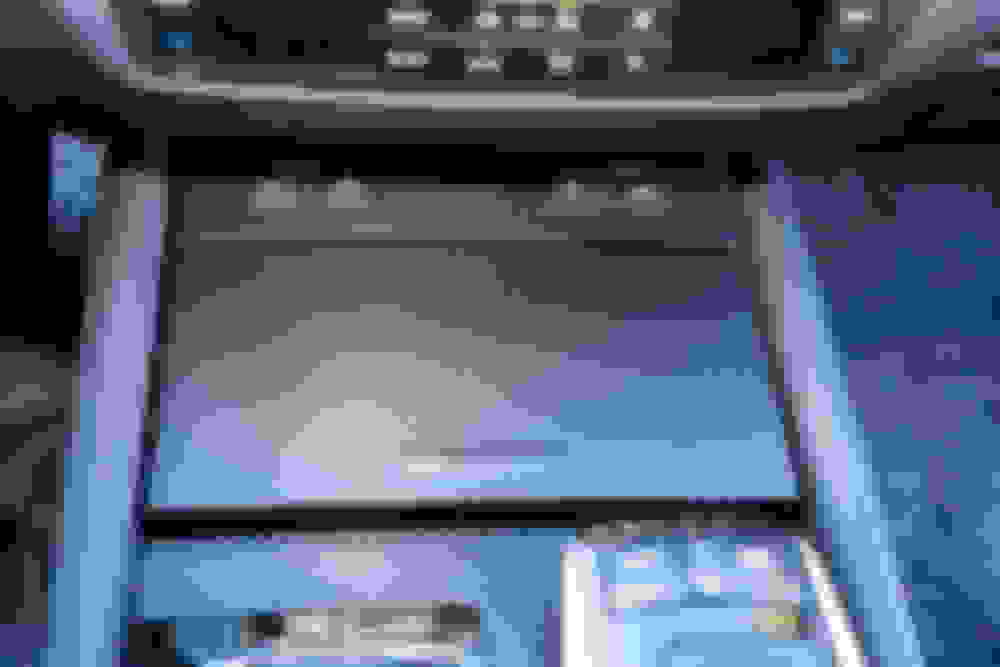
The only pieces I couldn't tucked was the cup-holder lid and seat warmer button panels...didn't know how to remove the aluminum pieces from these two panels. The vinyl is already lifting in the corners on these two pieces, so I will have to figure out something later. Maybe need to get some vinyl adhesive to secure corners for these pieces. I was a total noob doing vinyl wrap. My first time ever! Watched some YouTube videos before I started. The key is to take your time to heat up and stretch the vinyl around corners for a smooth look without bubbles or wrinkles. All materials and tools costs about $60. All purchased on Amazon. I got way too much wrap. Plenty left over. I plan to do the mirrors next.
Looks really dope man! Congrats! The door panels were initially really difficult for me also. Key is to angle them against the window as tight as possible and slide down. They will look into place and then you can just snap it in. It took me a while to figure this out lol.
Looks really dope man! Congrats! The door panels were initially really difficult for me also. Key is to angle them against the window as tight as possible and slide down. They will look into place and then you can just snap it in. It took me a while to figure this out lol.
If you remove the weather strip trim(inner belt molding) from the top of the door panel(4 clips), install that onto the top part of the door against the glass, the rest of the door panel you can easily press into the door strait on.
I did it your way the first time , discovered it's easier to do than the other way.
If you remove the weather strip trim(inner belt molding) from the top of the door panel(4 clips), install that onto the top part of the door against the glass, the rest of the door panel you can easily press into the door strait on.
I did it your way the first time , but discovered it's easier to do the other way.
Popped out all my door panels today and redid them like this. Sooo much easier! Now they all sit flushed, no more weird rattles. Thank you!
This video help too. Starting at 9:43 he show how to remove the top channel clips. Not for our GS, but very similiar.
 12-31-18, 01:52 PM


 Can't wait to see how your wrap came out!