When you click on links to various merchants on this site and make a purchase, this can result in this site earning a commission. Affiliate programs and affiliations include, but are not limited to, the eBay Partner Network.
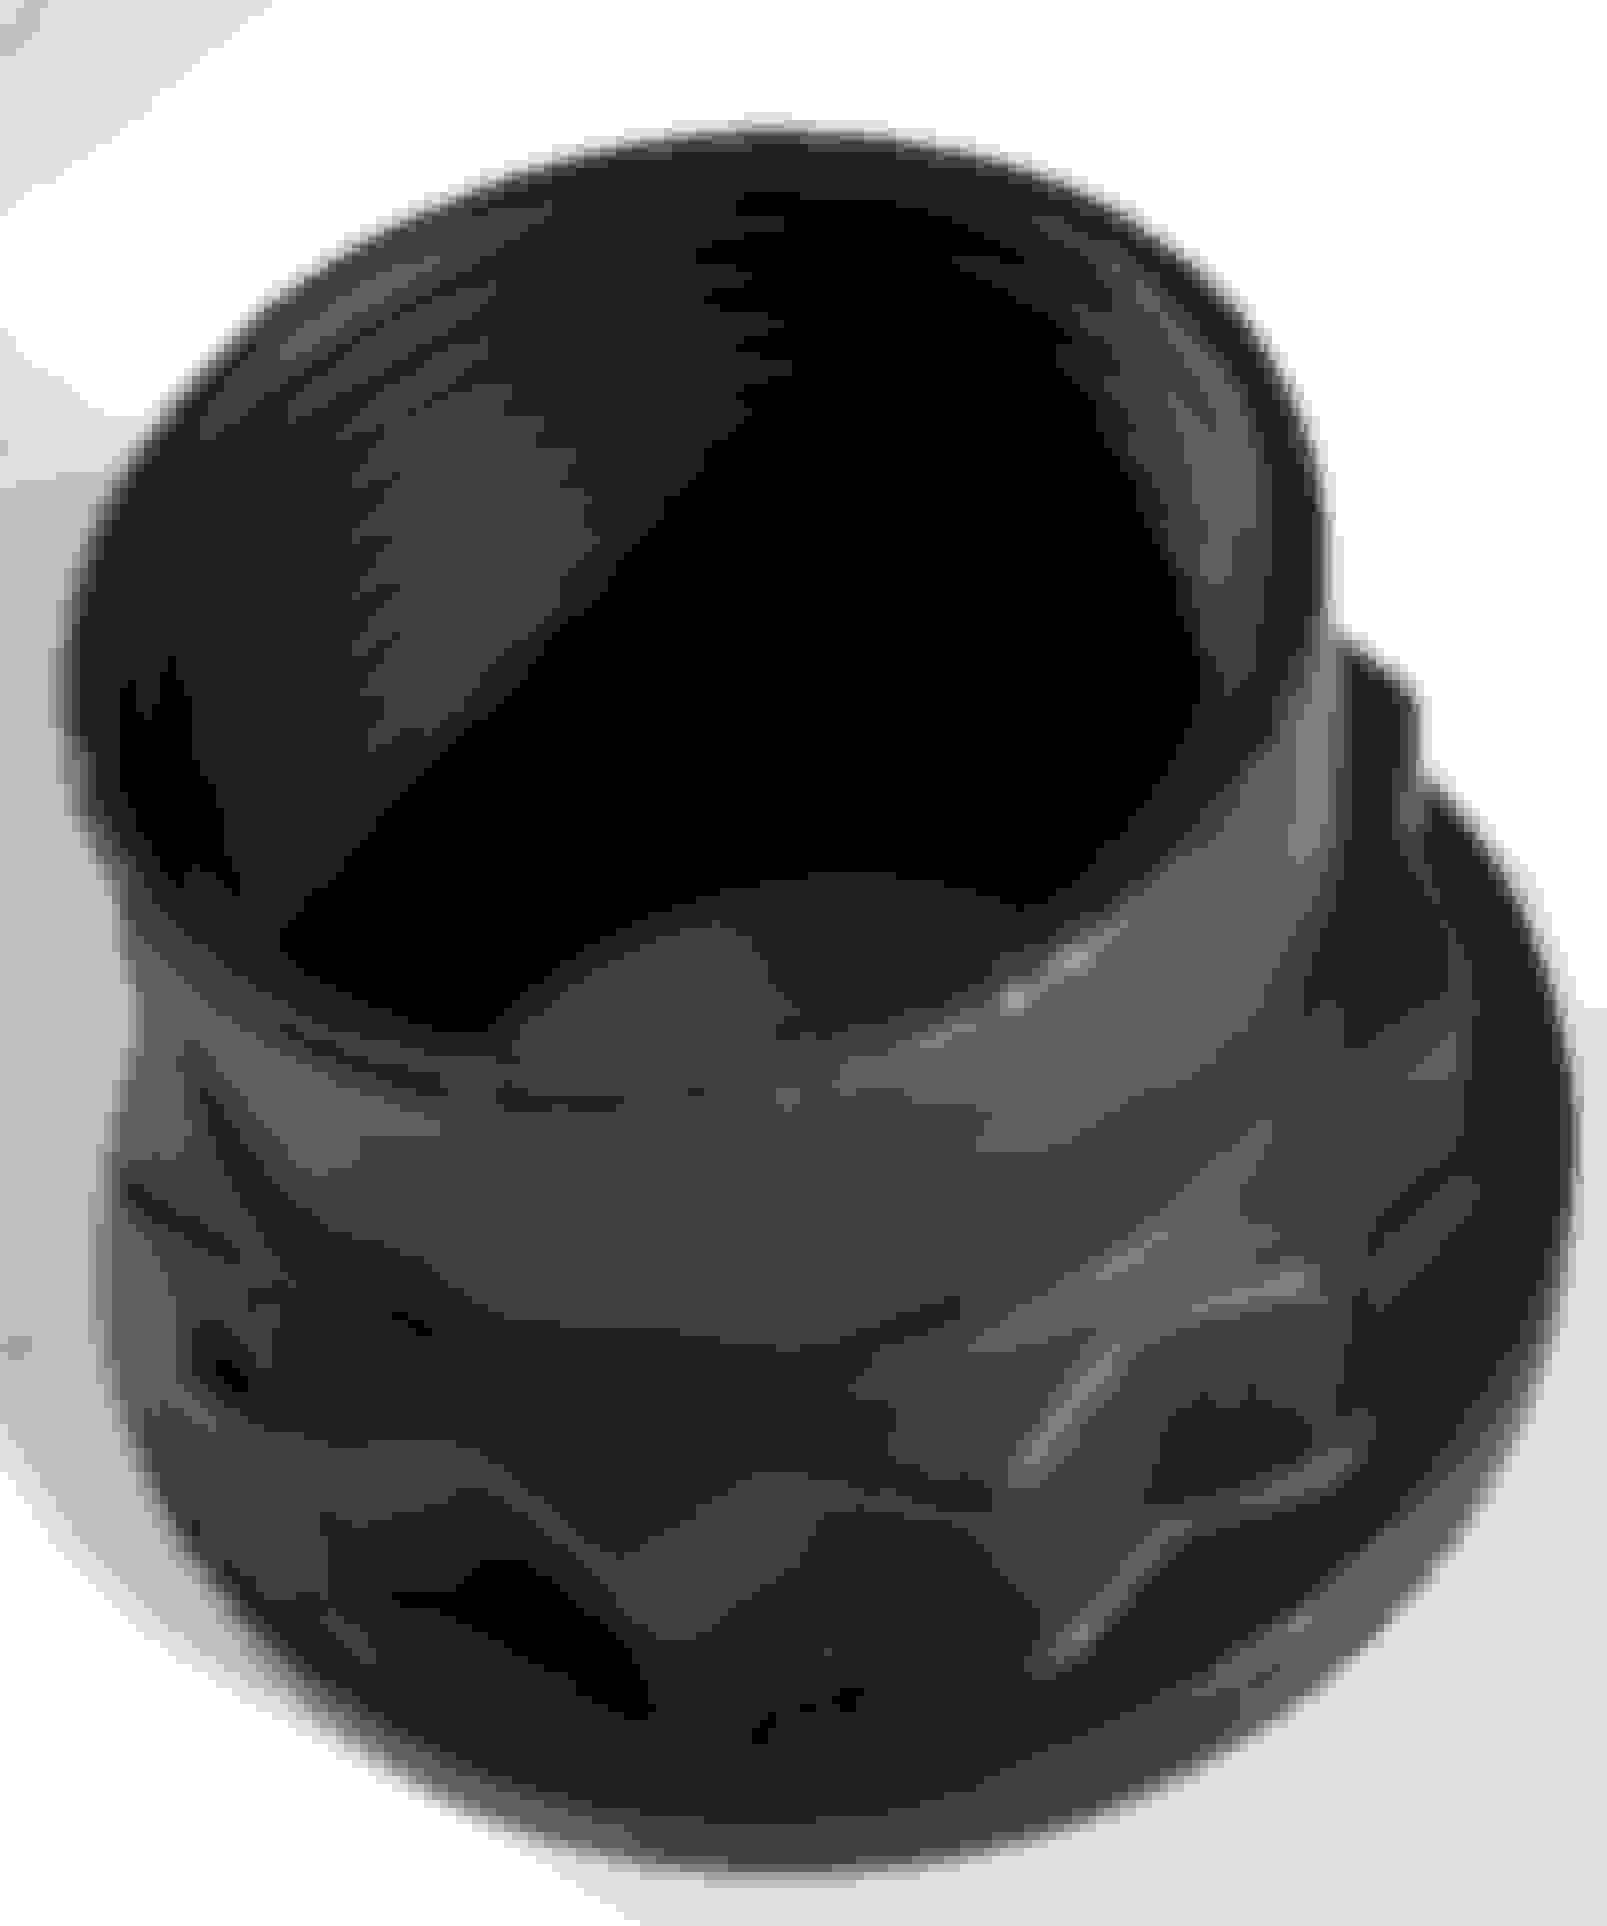
UPDATE: The dust shield must be pressed on the back of the new hub. I got lucky once and didn't have any issue. Read later posts and the Chinese hub failed and I ruined an ABS sensor and a brand new Lexus hub.
I couldn't find a decent how-to on replacing the axle bearing so I decided I'd document mine. This still may not be a decent how-to but it is better than what I found prior.
Tools/equipment/parts needed:
Lug wrench
Jack (or 2-post lift)
Jack stands
32mm 12 point socket - Rented from Advance Auto
10mm Allen socket
Axle slide hammer - Rented from Advance Auto
New axle hub
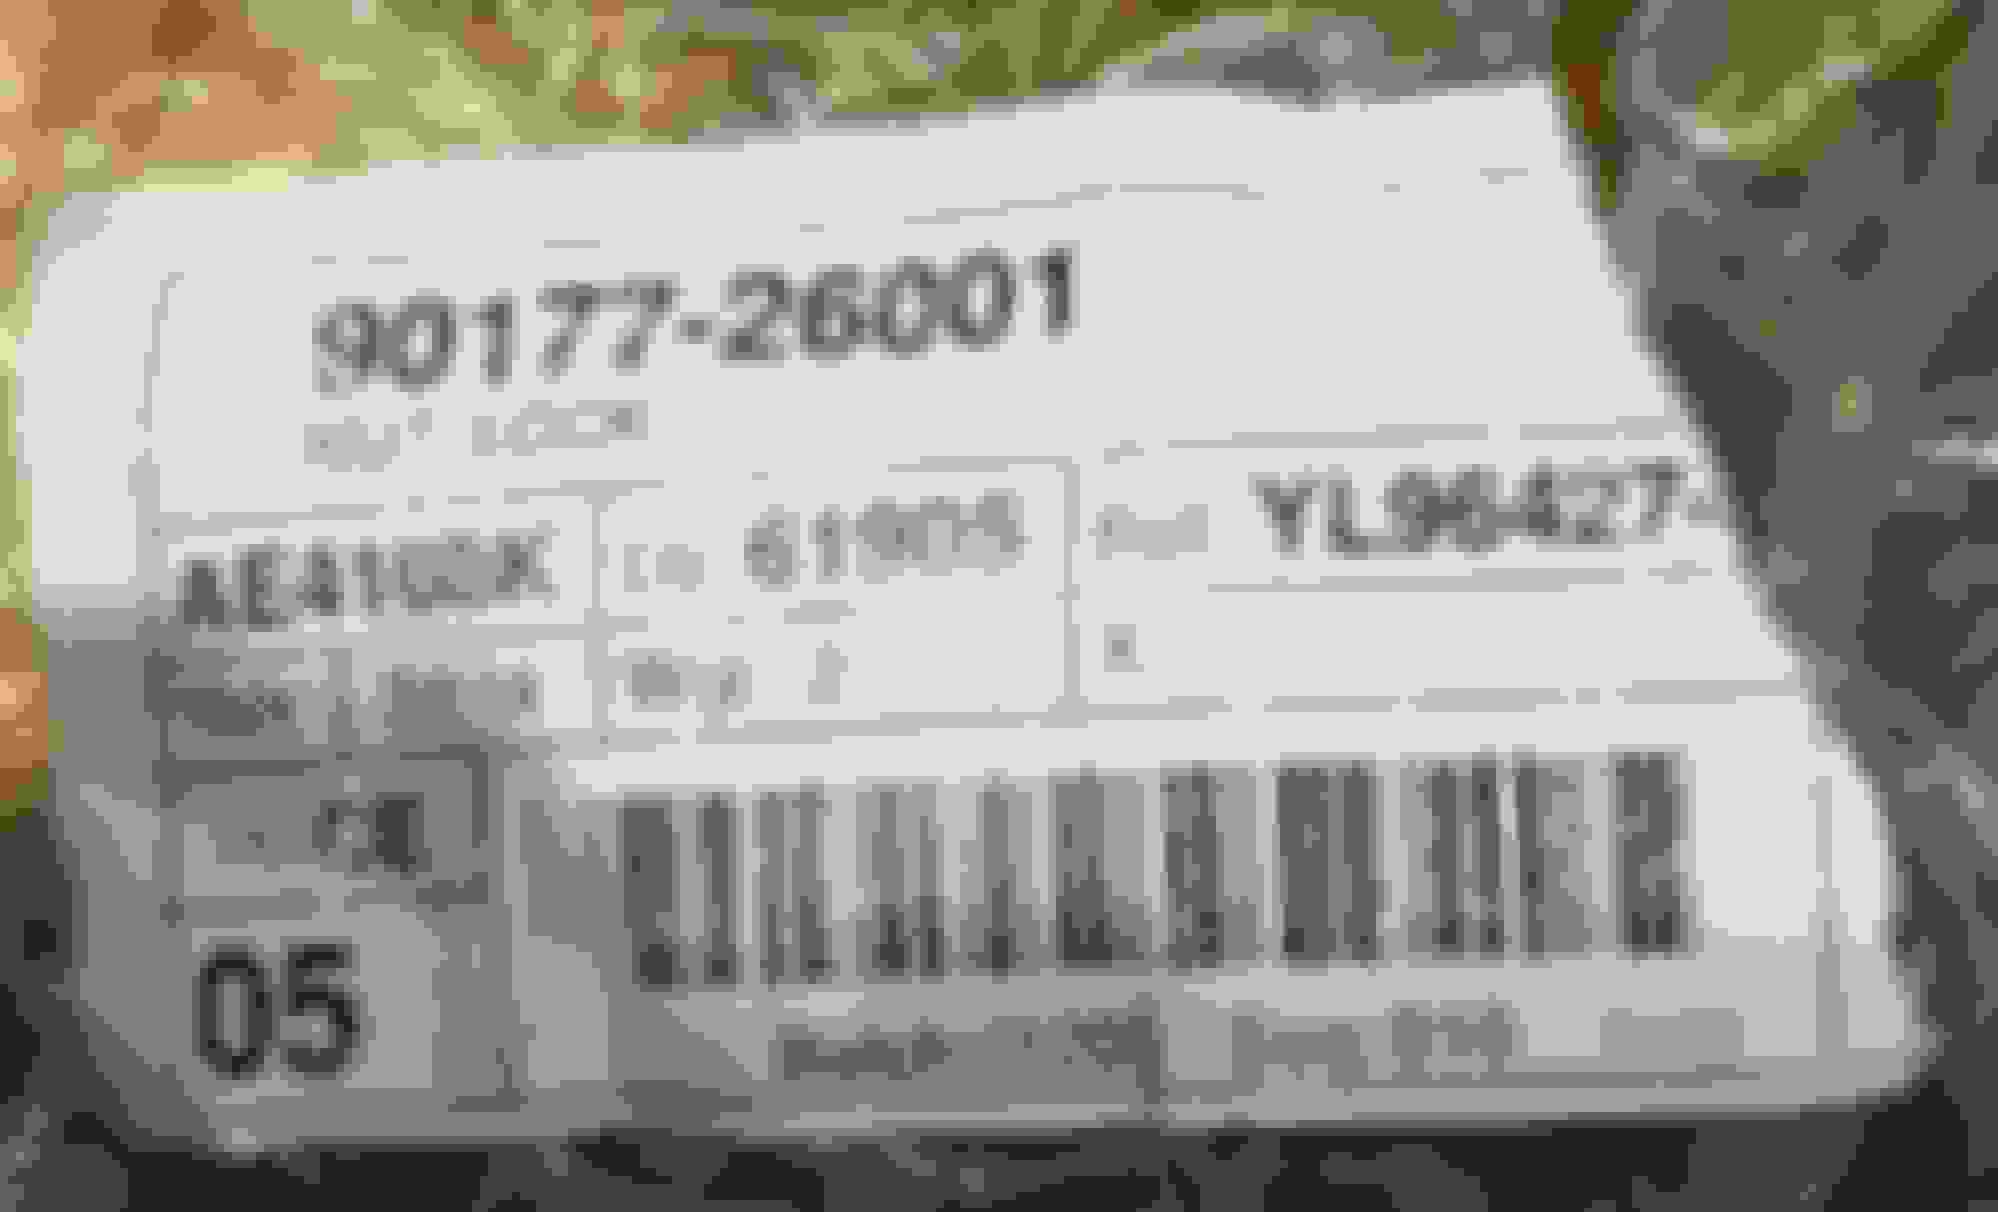
New 32mm axle nut
Impact wrench or really good breaker bar for removing old 32mm nut
Penetrating oil
Punch/chisel for new lock nut securing
Dremel tool to cut old nut
Small block of wood
Hammer
Patience
Here's the hub and nut I bought on Amazon. The hub was $78 and appears to be rugged and dimensionally identical to the factory unit. The nut claims to be OEM Lexus. Both arrived in good shape and well packed. All for less than $100 and about 3 hours of actual work time.
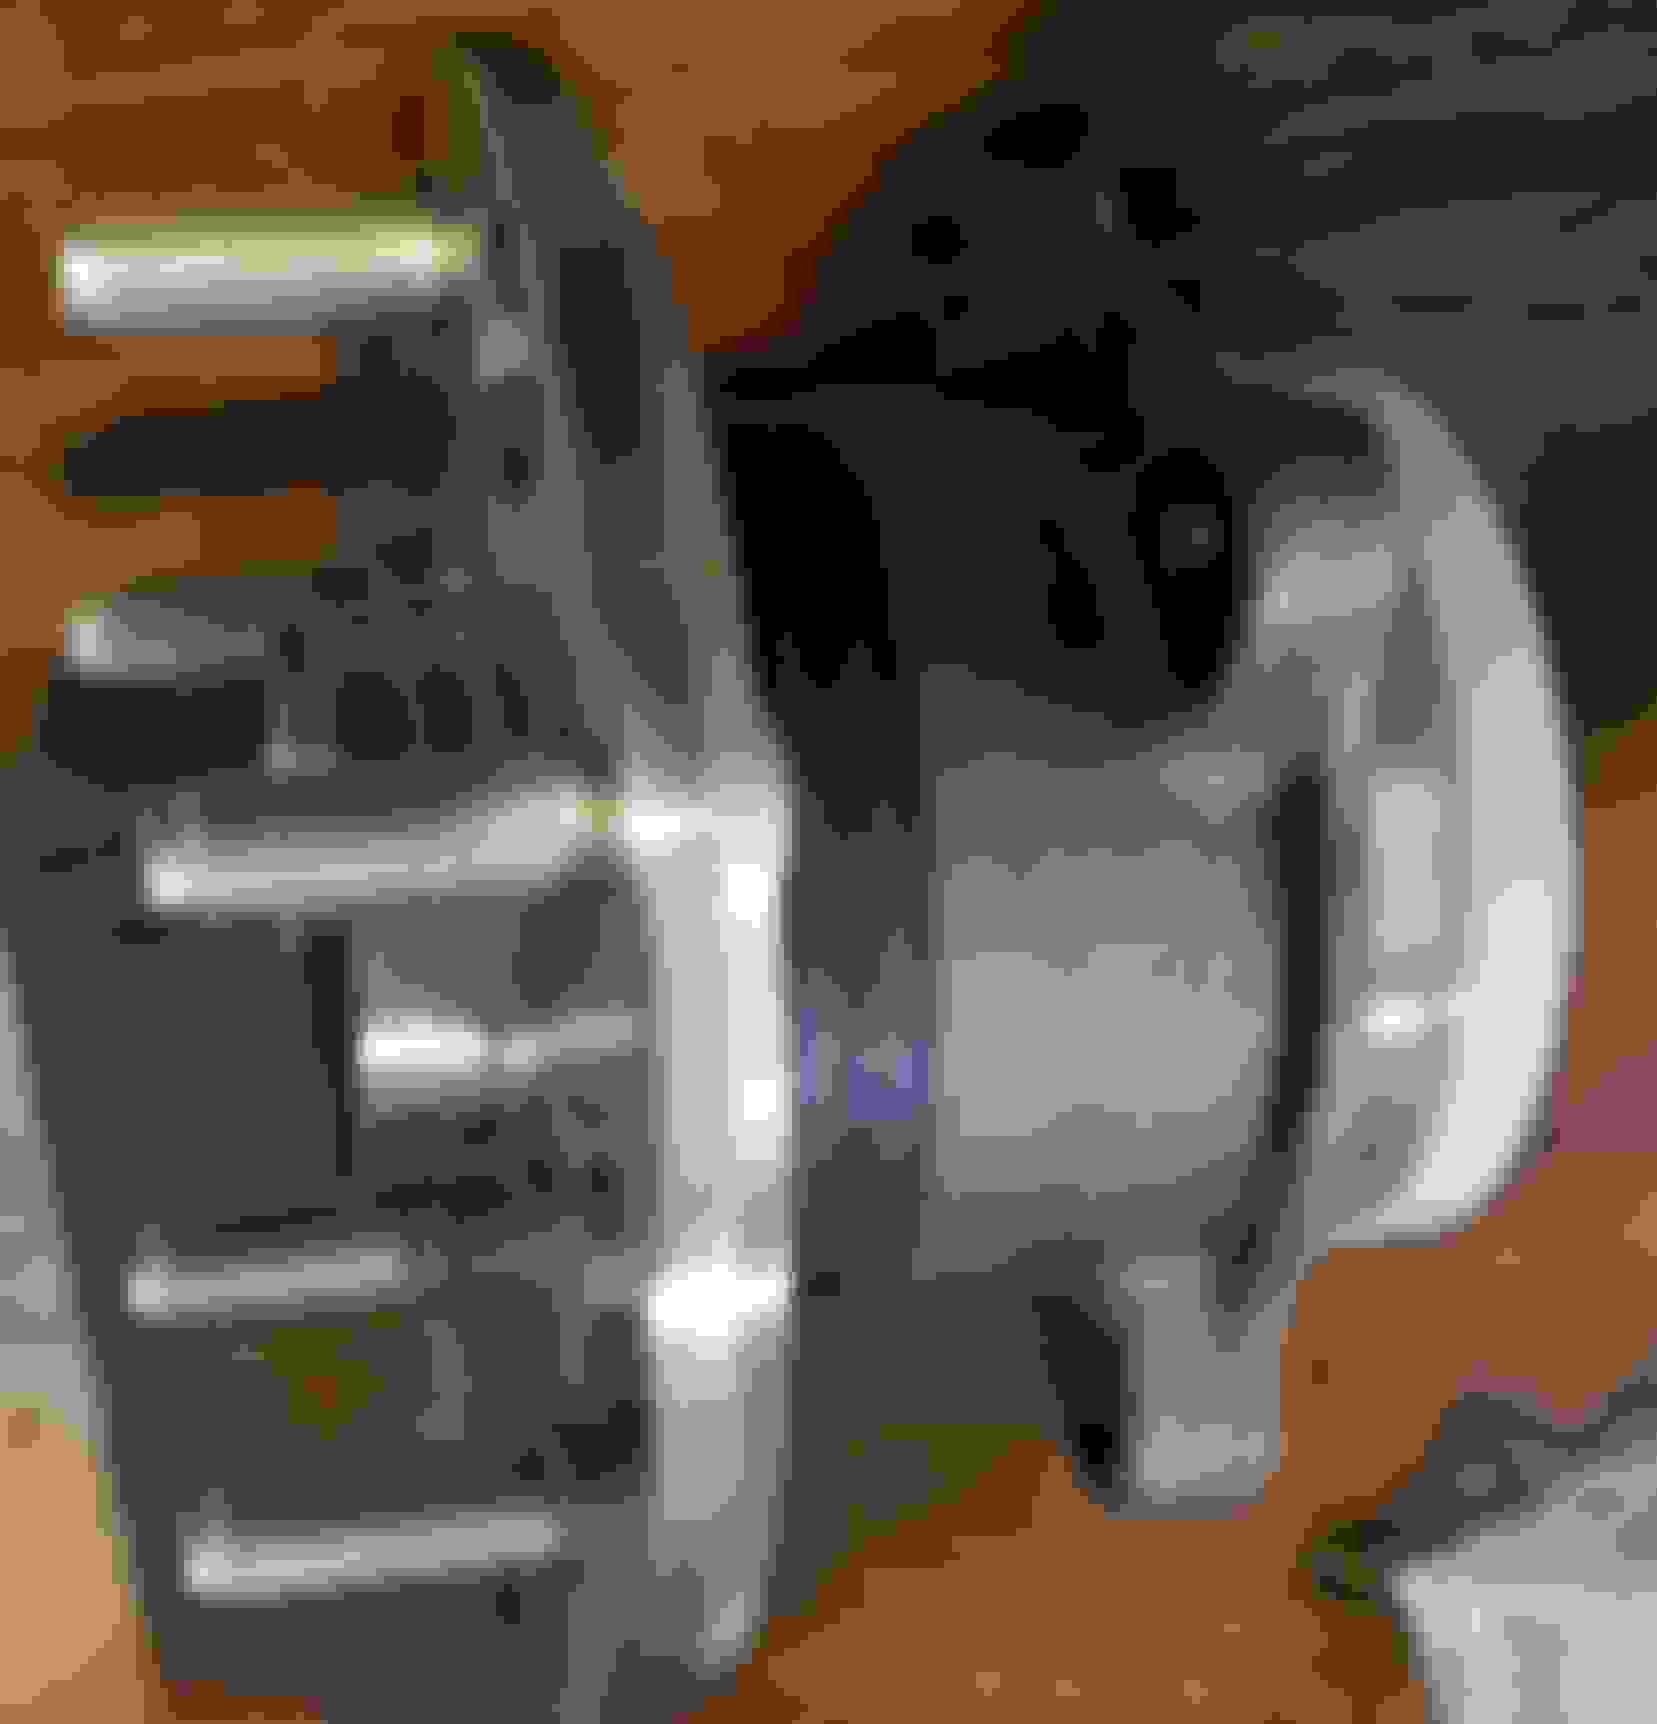
Step 1: Chock the front tires, break the lug nuts loose, then get the rear end up on jack stands and remove the wheel. Start soaking the nut in penetrating oil as soon as you can. I let mine sit for 30 minutes before continuing. Also put some on the back side of the backing plate between it and the hub knuckle. This was a place I had some trouble and more lube would not hurt.
Step 2: Remove the caliper then the caliper bracket. I contemplated removing the bracket with the caliper still attached but it was easier to do them as two parts upon reassembly.
Step 3: Bend up the lock nut safety indentation or do as I did and Dremel it out. It wasn't possible for me to bend it back up with the punches and chisels I had on hand. Take this opportunity to soak the nut and the back plate/knuckle area again in penetrating oil.
Step 4: Once the safety indent was dealt with, I used an impact wrench to remove the nut. I tried my torque wrench set to 225lbft but it wouldn't budge. I tried a breaker bar, also no joy. It took an air impact.
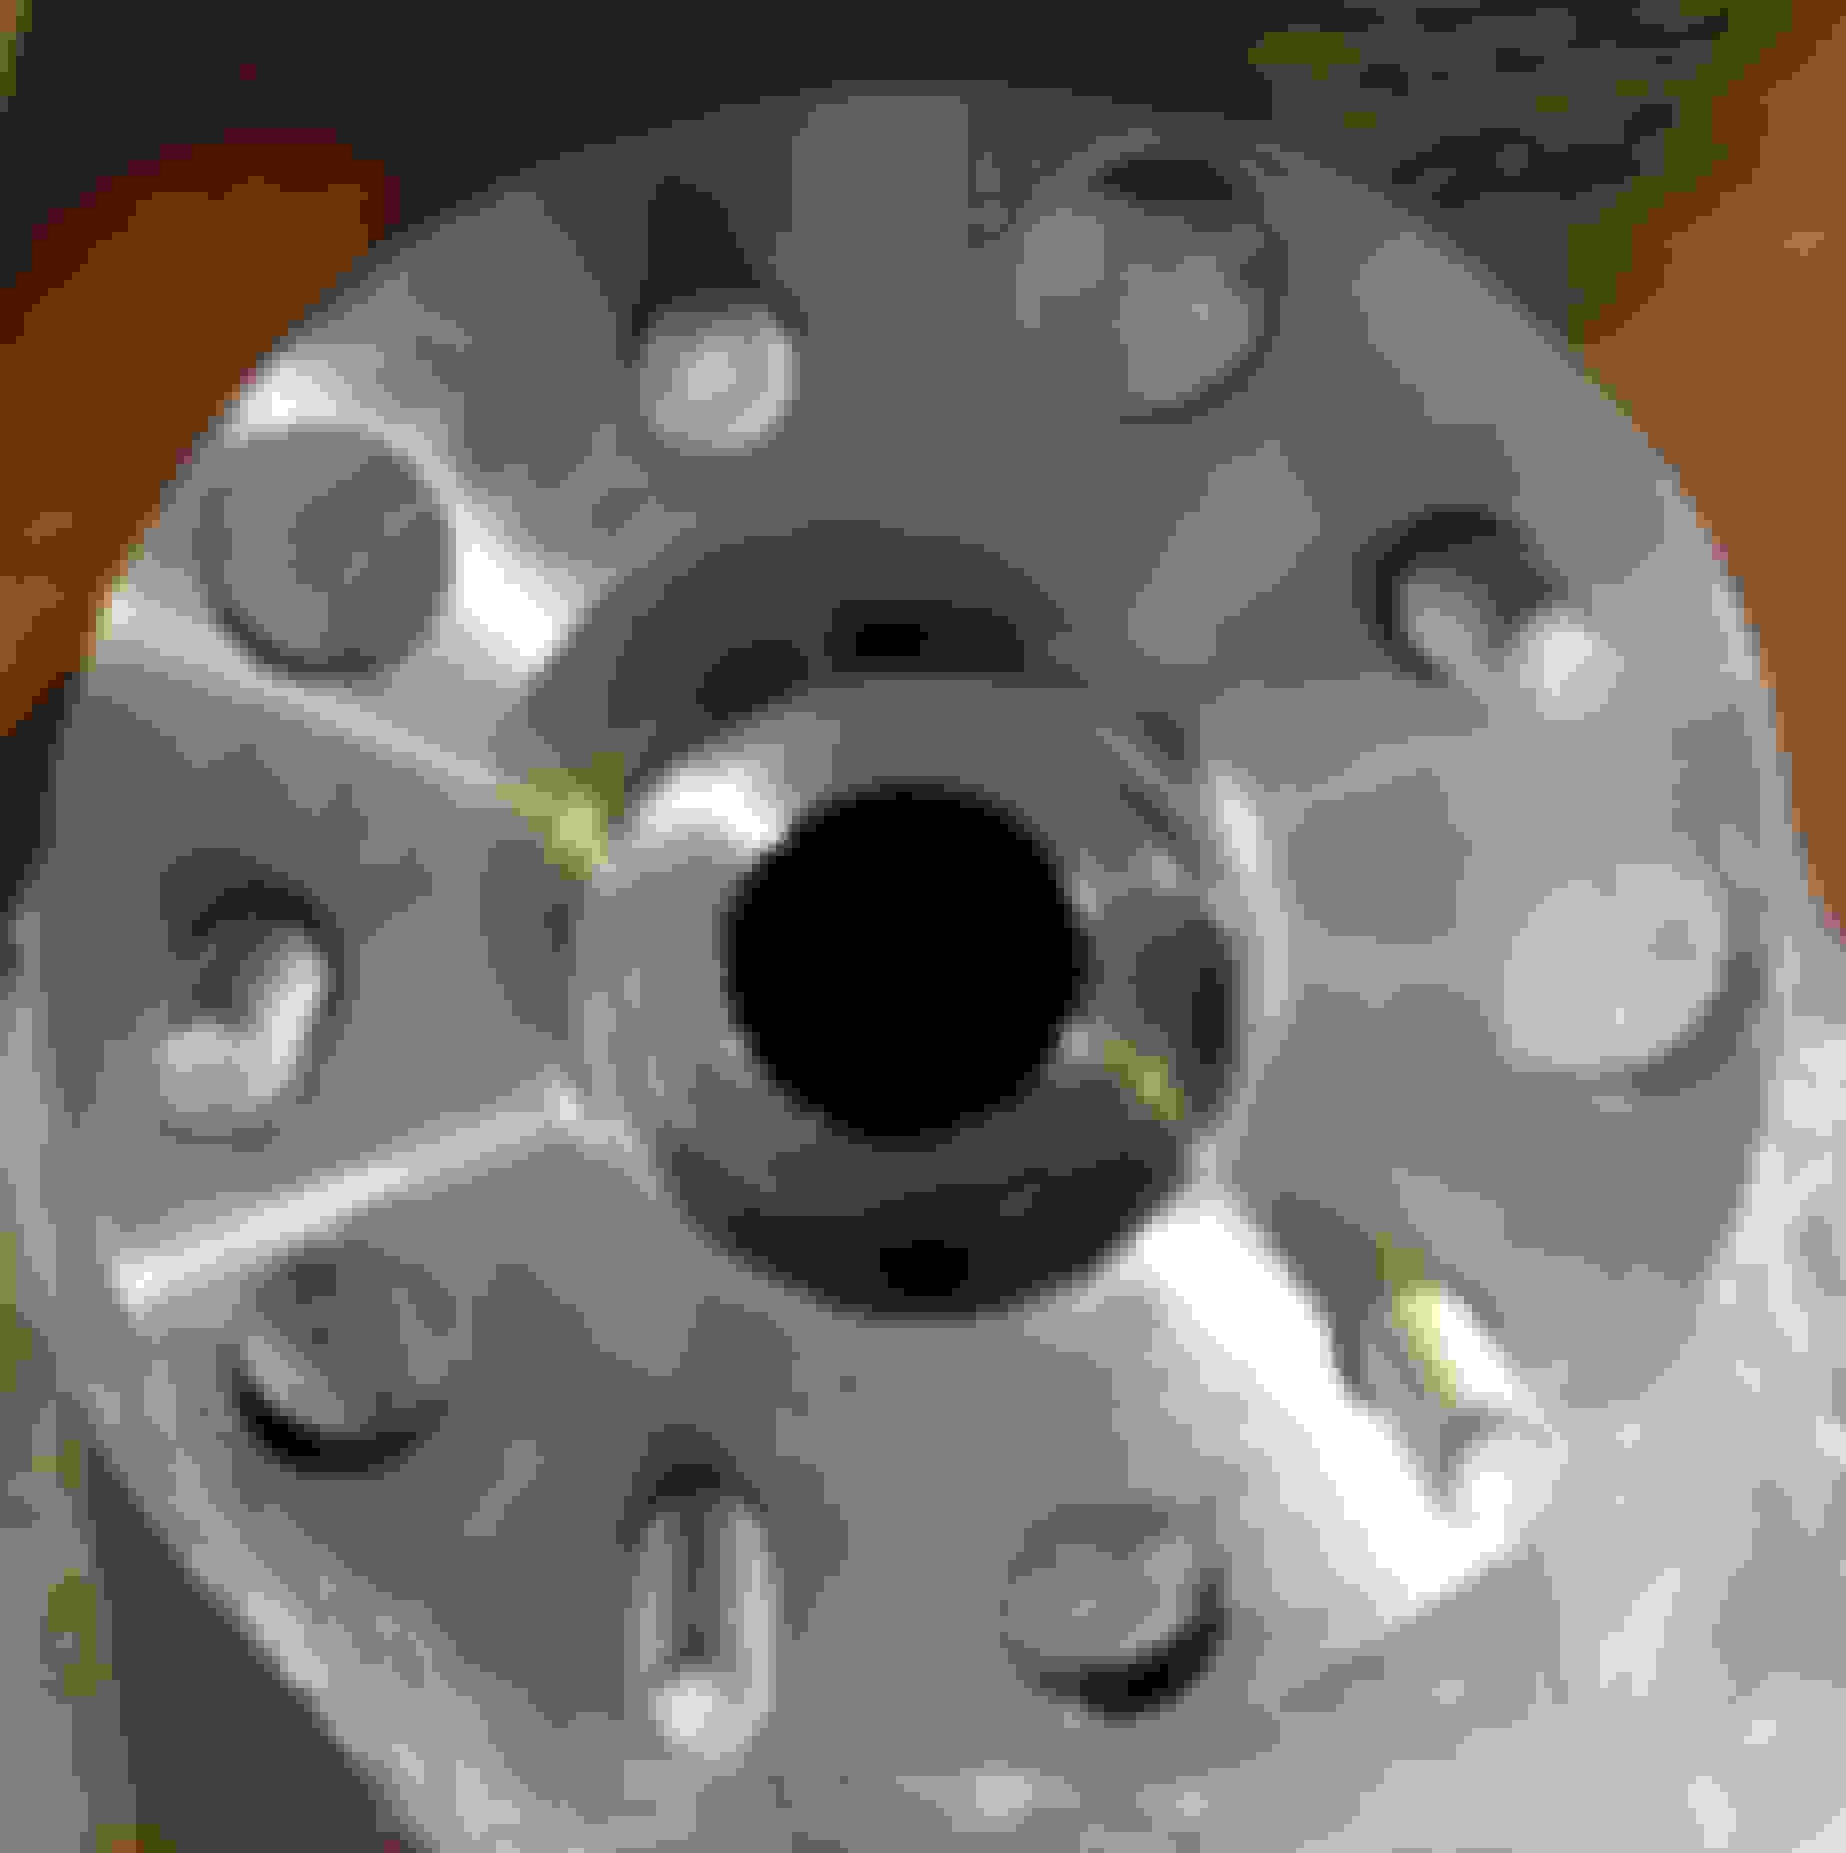
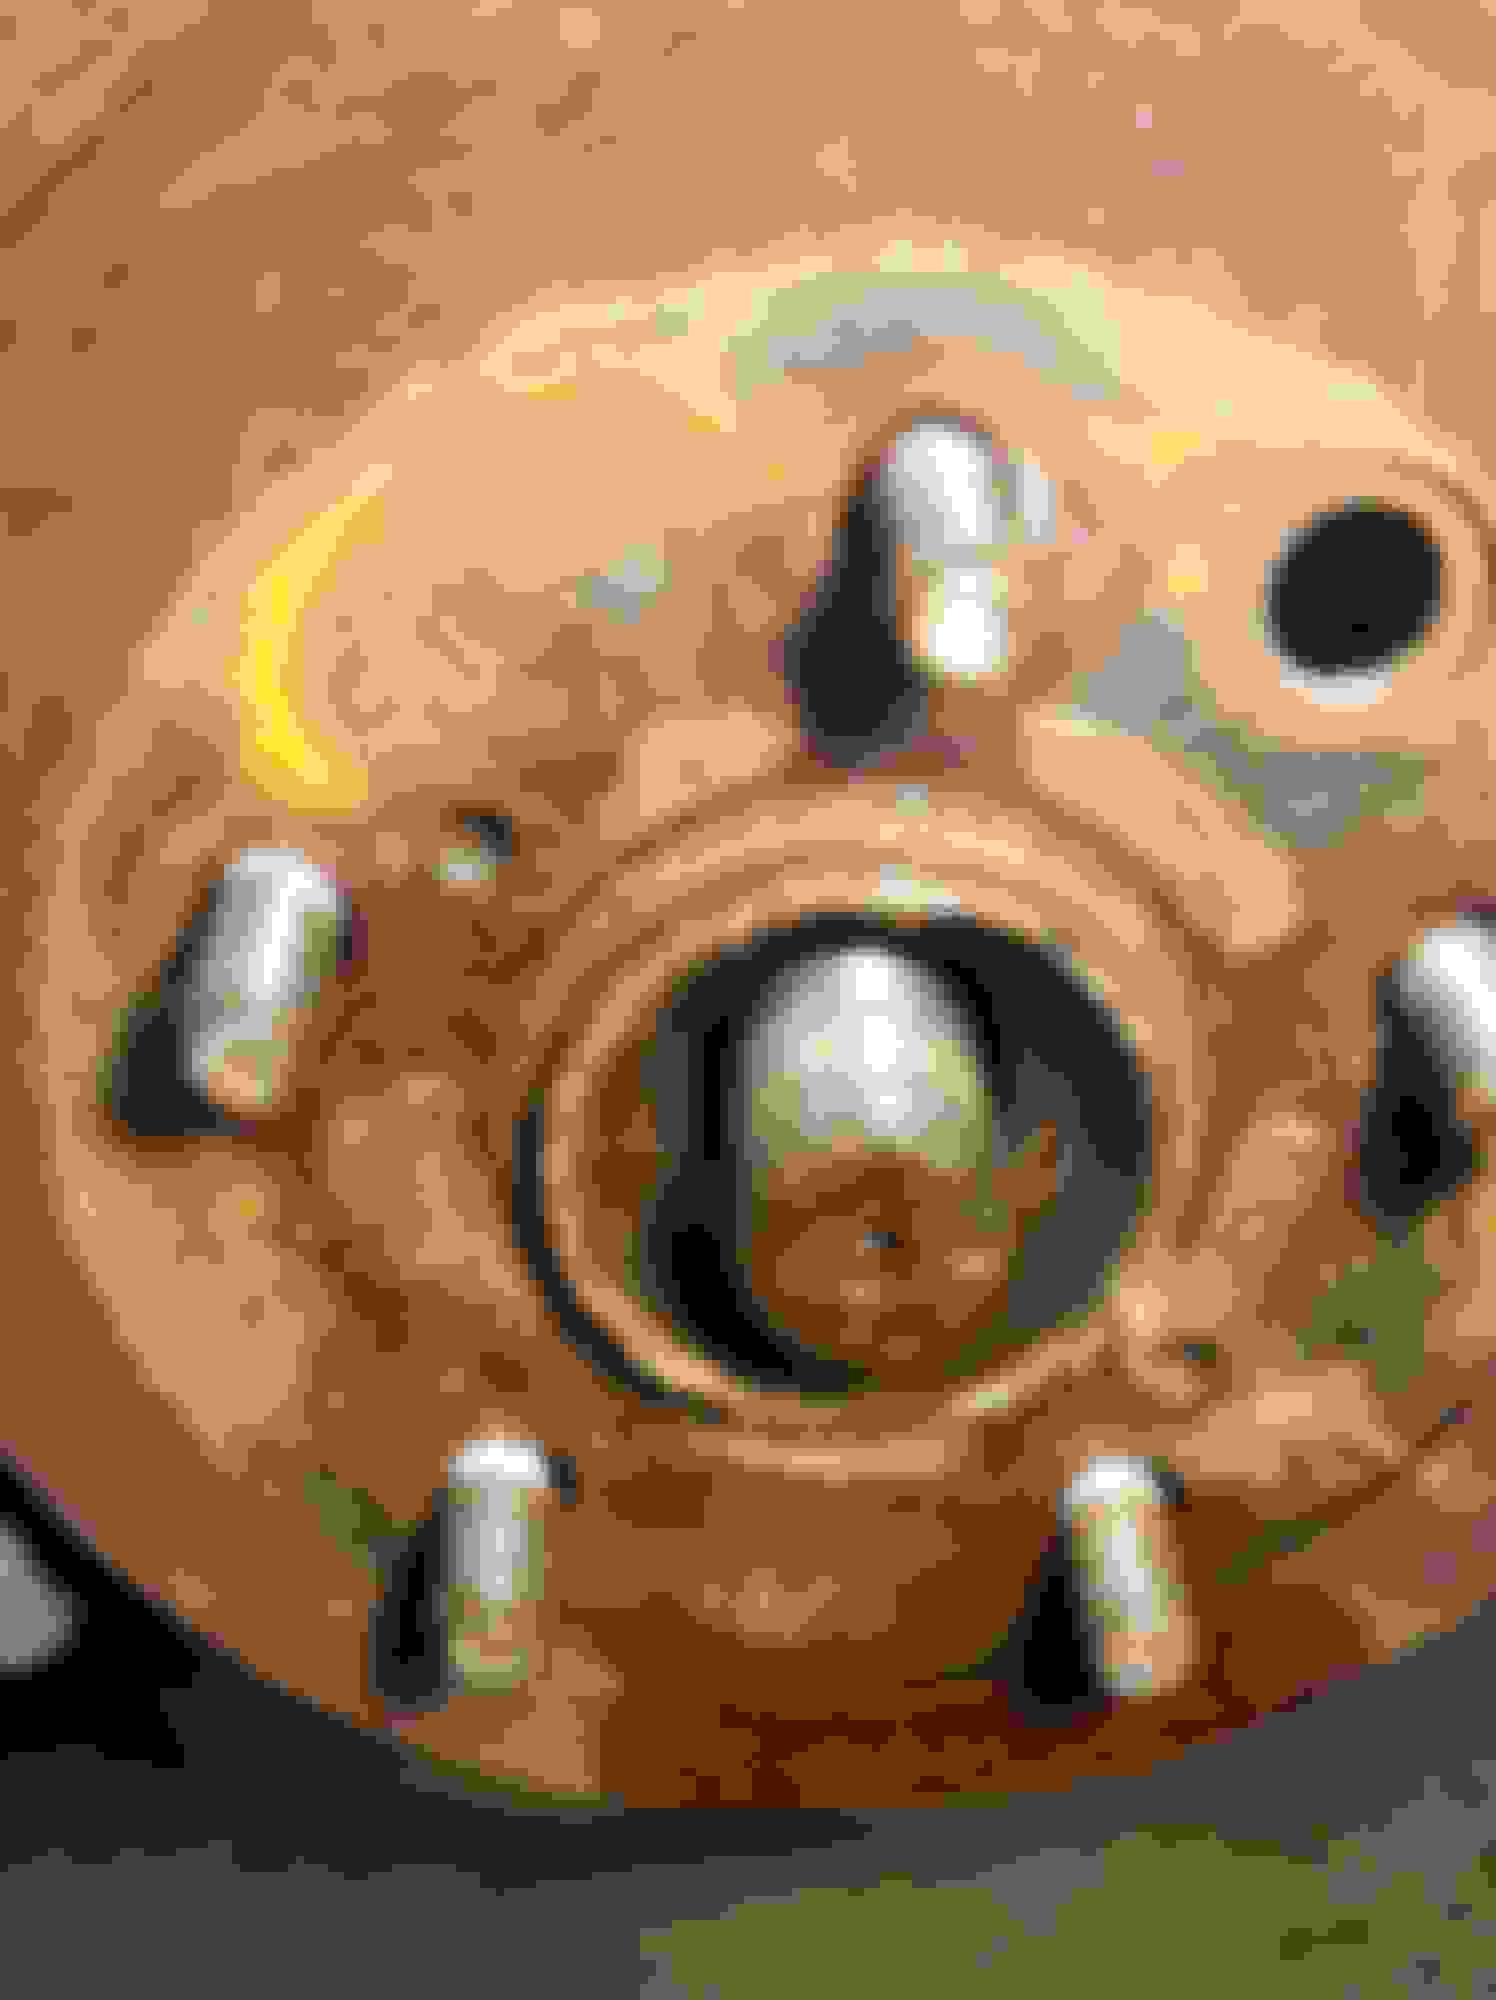
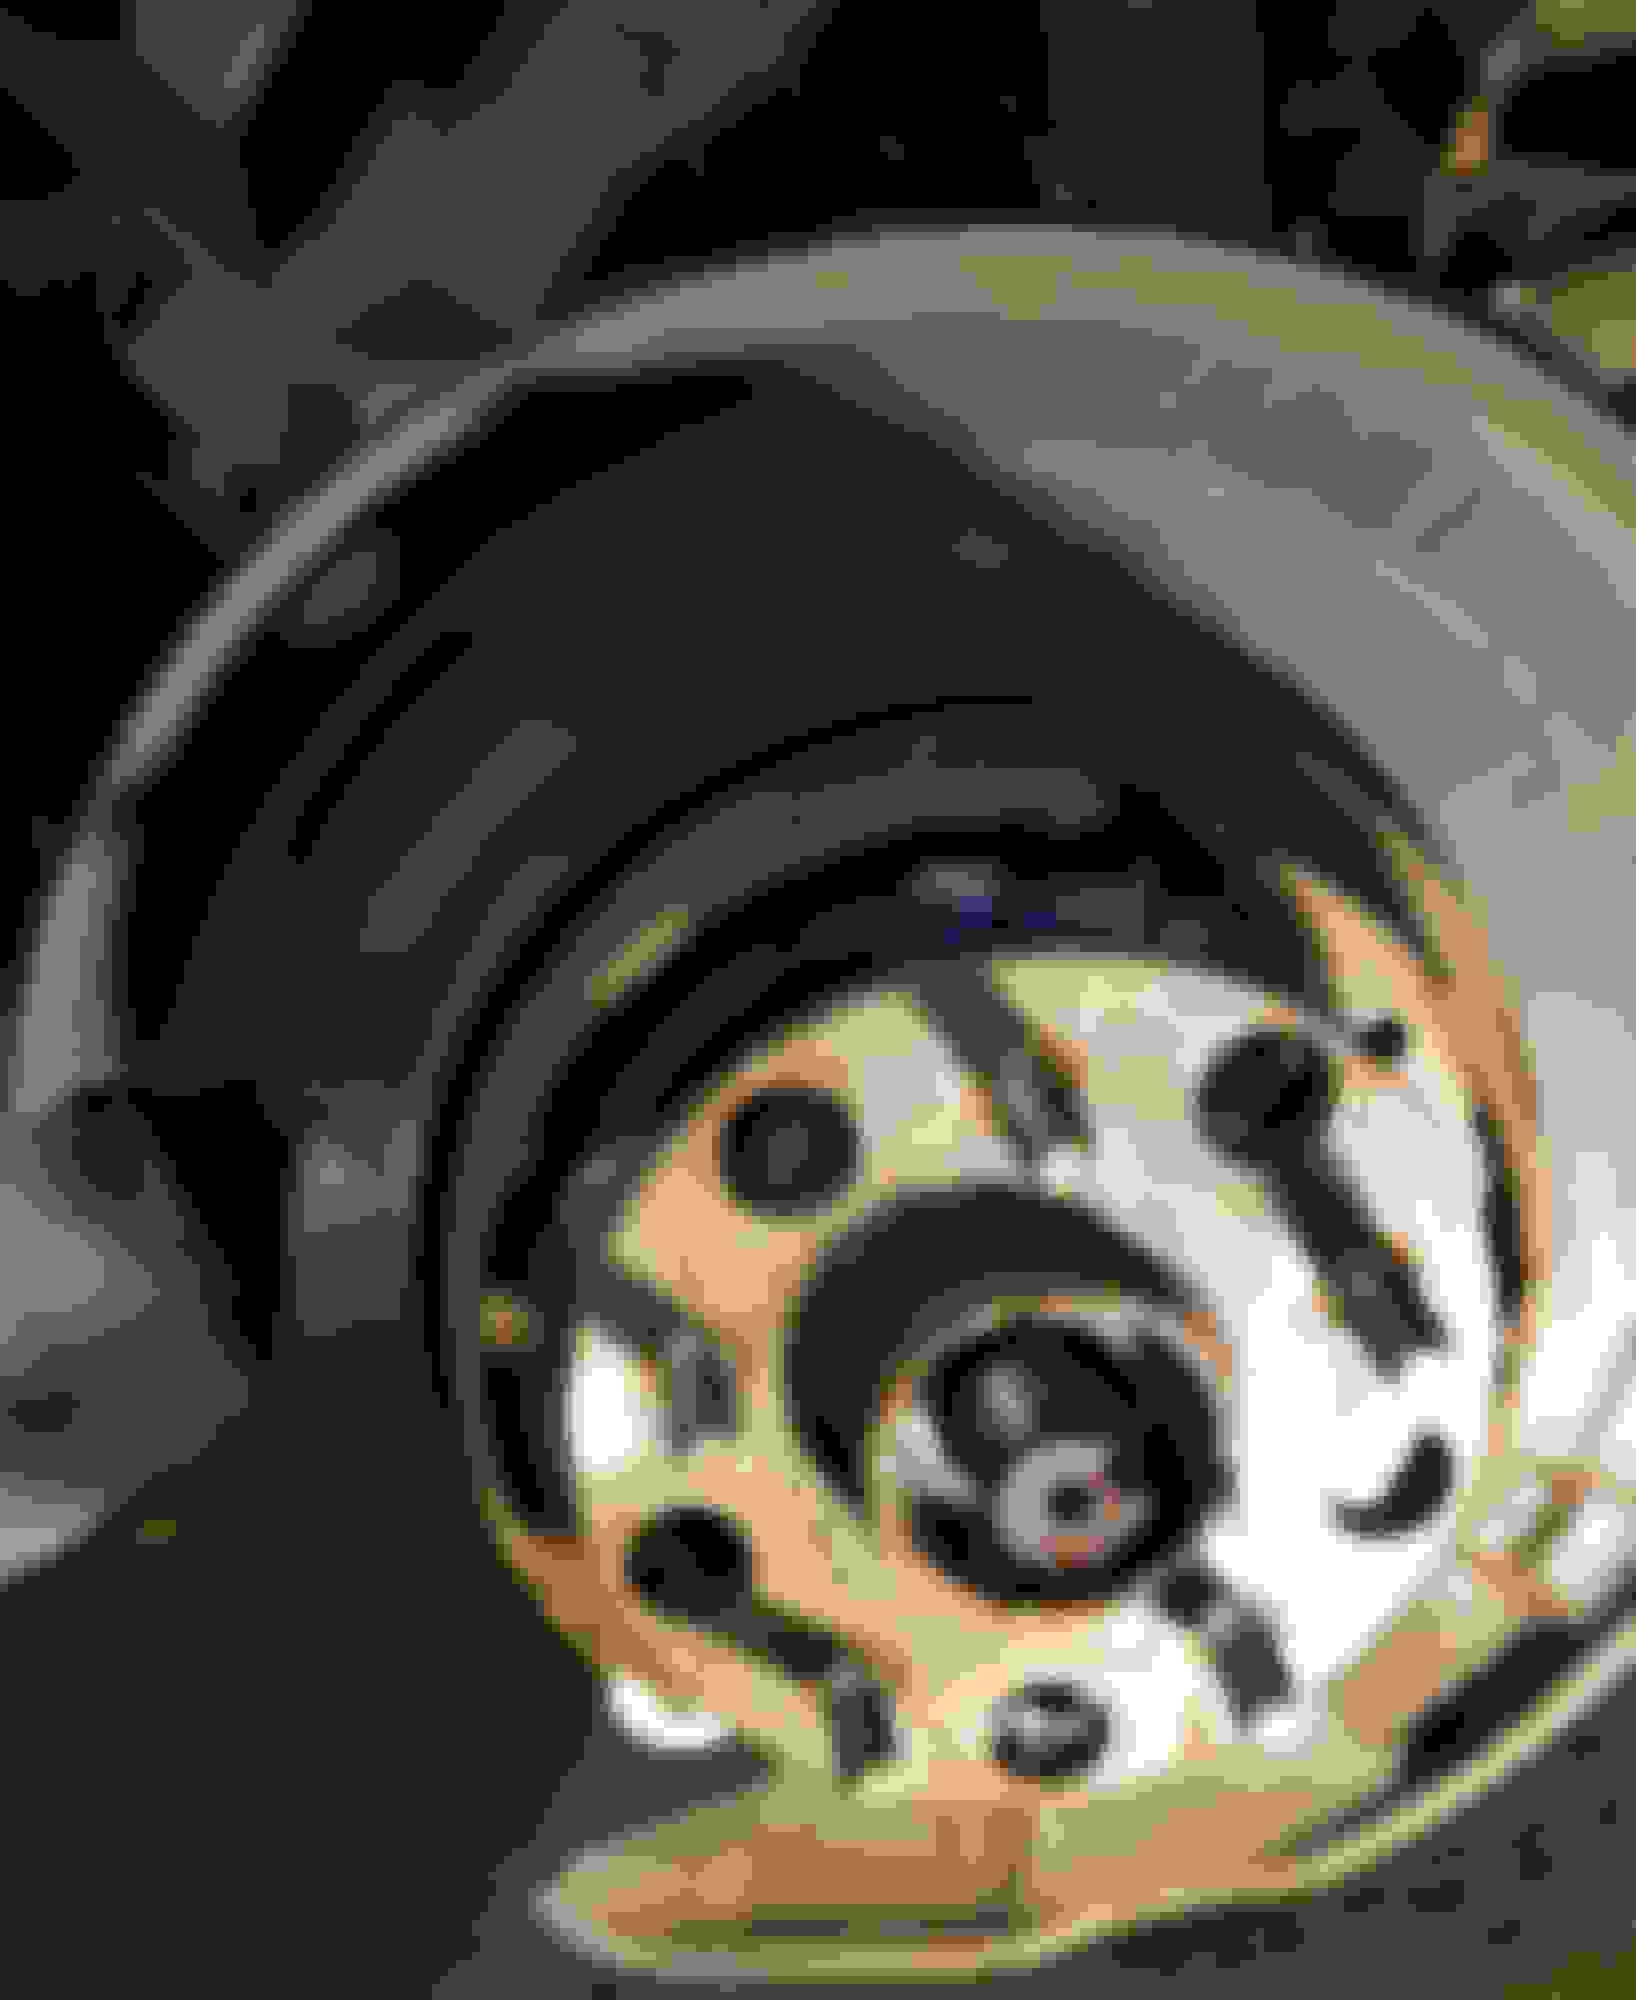
Step 5: Remove rotor and locate the threads of the hub bolts. Squirt some penetrating oil on these as well. You can see them as the round ends with that thick "I" mark. One is visible through the 2 o'clock hole in the hub.
Step 6: Put the old nut partially back on the axle. With a block of wood over it, hit it a few times with a hammer. On mine, the axle easily unseated and slid back 1/2" on the first hit.
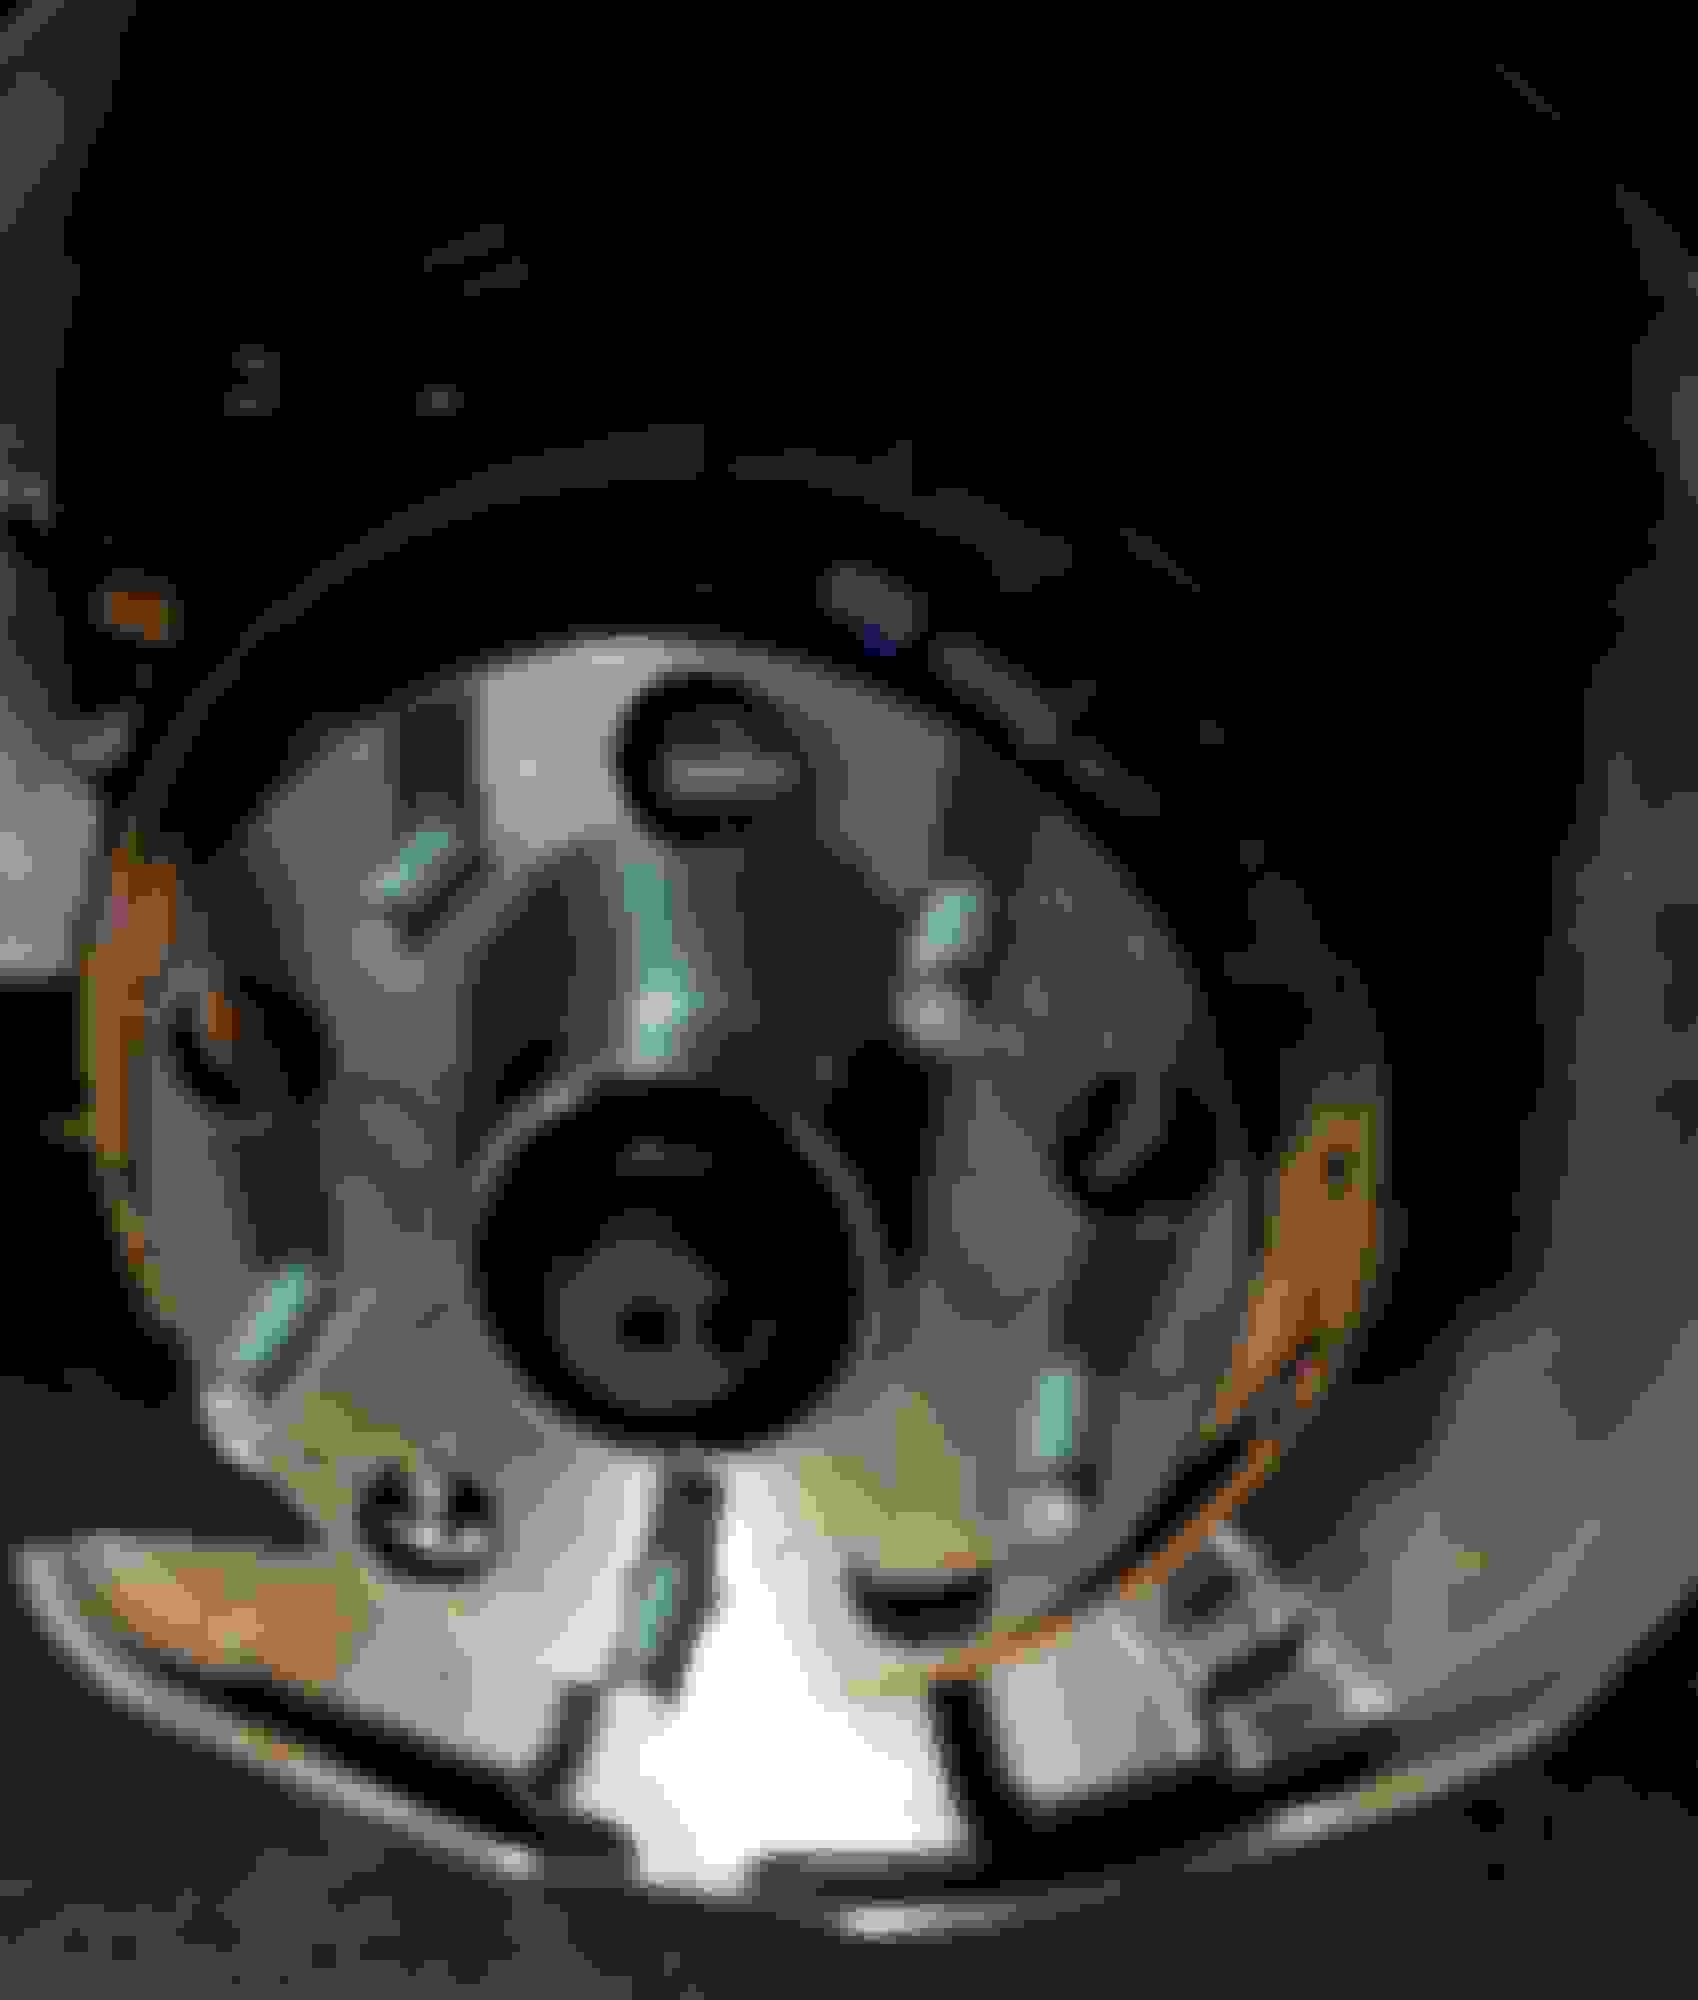
Step 7: Loosen the four 10mm Allen head bolts from the back side of the hub knuckle. I believe they are captive as they would not come out. I used a 10mm Allen socket and a 3" extension. This, and reassembling these four bolts, was probably the most time consuming portions of the task. They are impossible to see and the 2 o'clock one is the hardest to reach both loosening and tightening. They all seem to rub the axle or the knuckle and I could only swing the ratchet in short strokes. No picture as you can not see them. If your fingers are long and skinny enough, you can feel them.
Step 8: Once the bolts were out, I had to use an axle slide hammer to get the hub to unseat from the knuckle. Iron and aluminum are odd partners. I didn't take a pic of that but here's the tool I used.
Step 9: Remove the old hub and clean up the cavity where the hub will sit. Mine had some aluminum corrosion on it. I cleaned the axle splines and applied a light film of grease around the cavity, the axle splines and the outer machined surface of the new hub to ease reassembly. No picture as I was on a roll and this went quickly.
Step 10: Start the axle into the hub to get the splines engaged. Then set the new hub in place but don't attempt to seat it deeply into the knuckle until you have at least two of the 10mm Allen head bolts started for alignment. Tighten the 10mm Allen head bolts in small increments after they are no longer loose to pull the hub into the knuckle evenly. This is when you will be glad you cleaned and greased the cavity. I don't know the torque spec but they were hard to get off and I put them back as hard as I could with a 3/8" ratchet.
Step 11: Once the hub is fully installed, install the 32mm 12 point lock nut. I torqued it to 220lbft. Use a punch to make a dimple in the nut where the axle has a cavity to secure it.
Step 12: Reinstall rotor, caliper bracket, brake pads and caliper. Reinstall wheel and lug nuts. Remove from jack stands and test drive. If you are unsure of your work, have a friend you don't really like drive it first.
Makes me wonder why it needed to be replaced at such a relatively low mileage.
Who knows. Might have been flawed design on a first model year of the 4th gen. The new one said redesigned so I may be doing the right side in the future if it starts acting up.
The best I can tell these are sealed bearings and the old one looks like the seal might have failed.
Makes me wonder why it needed to be replaced at such a relatively low mileage.
Originally Posted by Knucklebus
Who knows. Might have been flawed design on a first model year of the 4th gen. The new one said redesigned so I may be doing the right side in the future if it starts acting up.
The best I can tell these are sealed bearings and the old one looks like the seal might have failed.
I understand.
I'm assuming the new hub you got was not a Lexus/Toyota OE product per se. Does it concern you that the new hub you installed was made in China?
I understand.
I'm assuming the new hub you got was not a Lexus/Toyota OE product per se. Does it concern you that the new hub you installed was made in China?
What isn't made in China these days? It seems solid, tighter than the old one for sure. It has a 1 year warranty. We'll see how it goes. I won't look forward to doing it again in a year but I could do it.
As way of an update, I notice another user having a bearing issue. I'm now 14 months and 7,000 miles in on this bearing with several spirited jaunts of several 100 miles with no issues.
I would only use bearings from one of the major bearing suppliers, i.e., Koyo, F.A.G., (both sometimes reboxed as Timken). No car makers supply their own bearings. They source from these big names. Could be the difference between getting 30k vs 150k. The labor is not fun. But thankfully these are a relatively easy install vs. BMWs which require press-in. The one OP seems generic so I think that's why some have expressed concern. Bearings are no fun to install and also are a high wear item so you get what you pay for.
A couple of tips,
As far as anti-seize, it should never be applied to wheel fasteners or wheel to hub interfaces (the flat areas). Applying it to the hub seat edge (small circular portion) is fine in very very light amounts. A wheel's friction/clamp loading depends entirely on the wheel to rotor interface. Having that part lubed up can stress the fasteners prematurely over time.
It's better to completely wire brush the rotor/hub/wheel interface mating surfaces and torquing those down dry and clean for maximum clamping strength.
 01-13-19, 06:53 AM


 Thanks for this!
