When you click on links to various merchants on this site and make a purchase, this can result in this site earning a commission. Affiliate programs and affiliations include, but are not limited to, the eBay Partner Network.
I wouldn't call this a mod thread bc I don't really plan on doing major mods. Most of what i want to do are small aesthetic things and i might play around with light performance upgrades if I get the money. Anyways, I wanted a place to document these things and maybe some of yall will find them interesting as well.
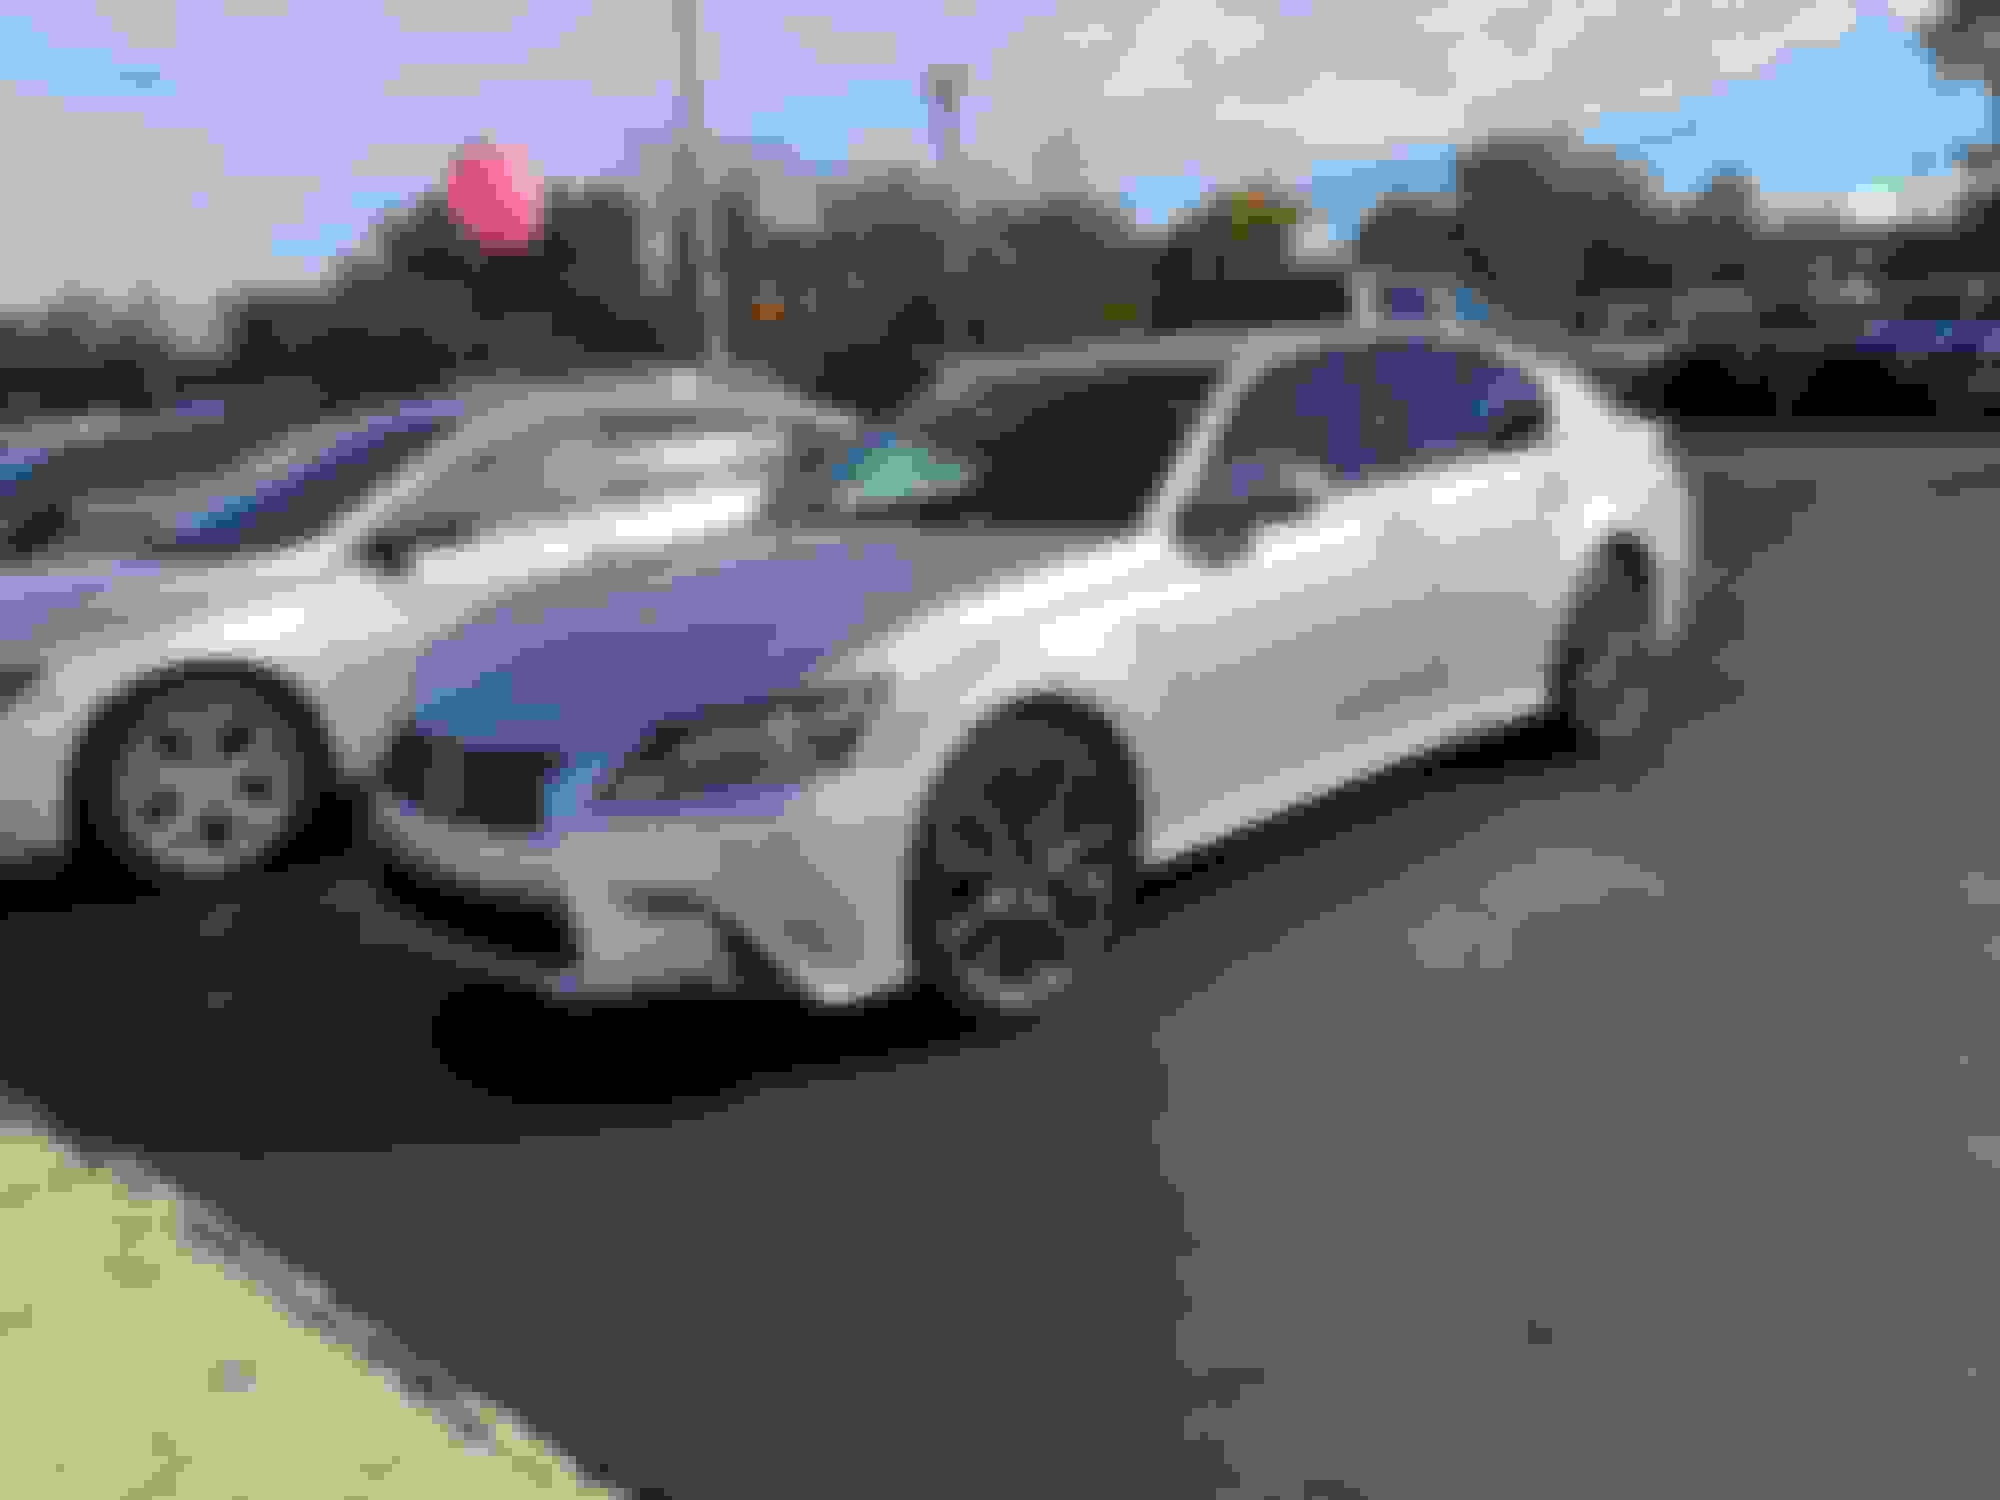
First thing I did was 5% tint around the entire car less the windshield. After driving around for a few months like this though I am deciding to look into tint my windshield too, but probably no darker than 35%.
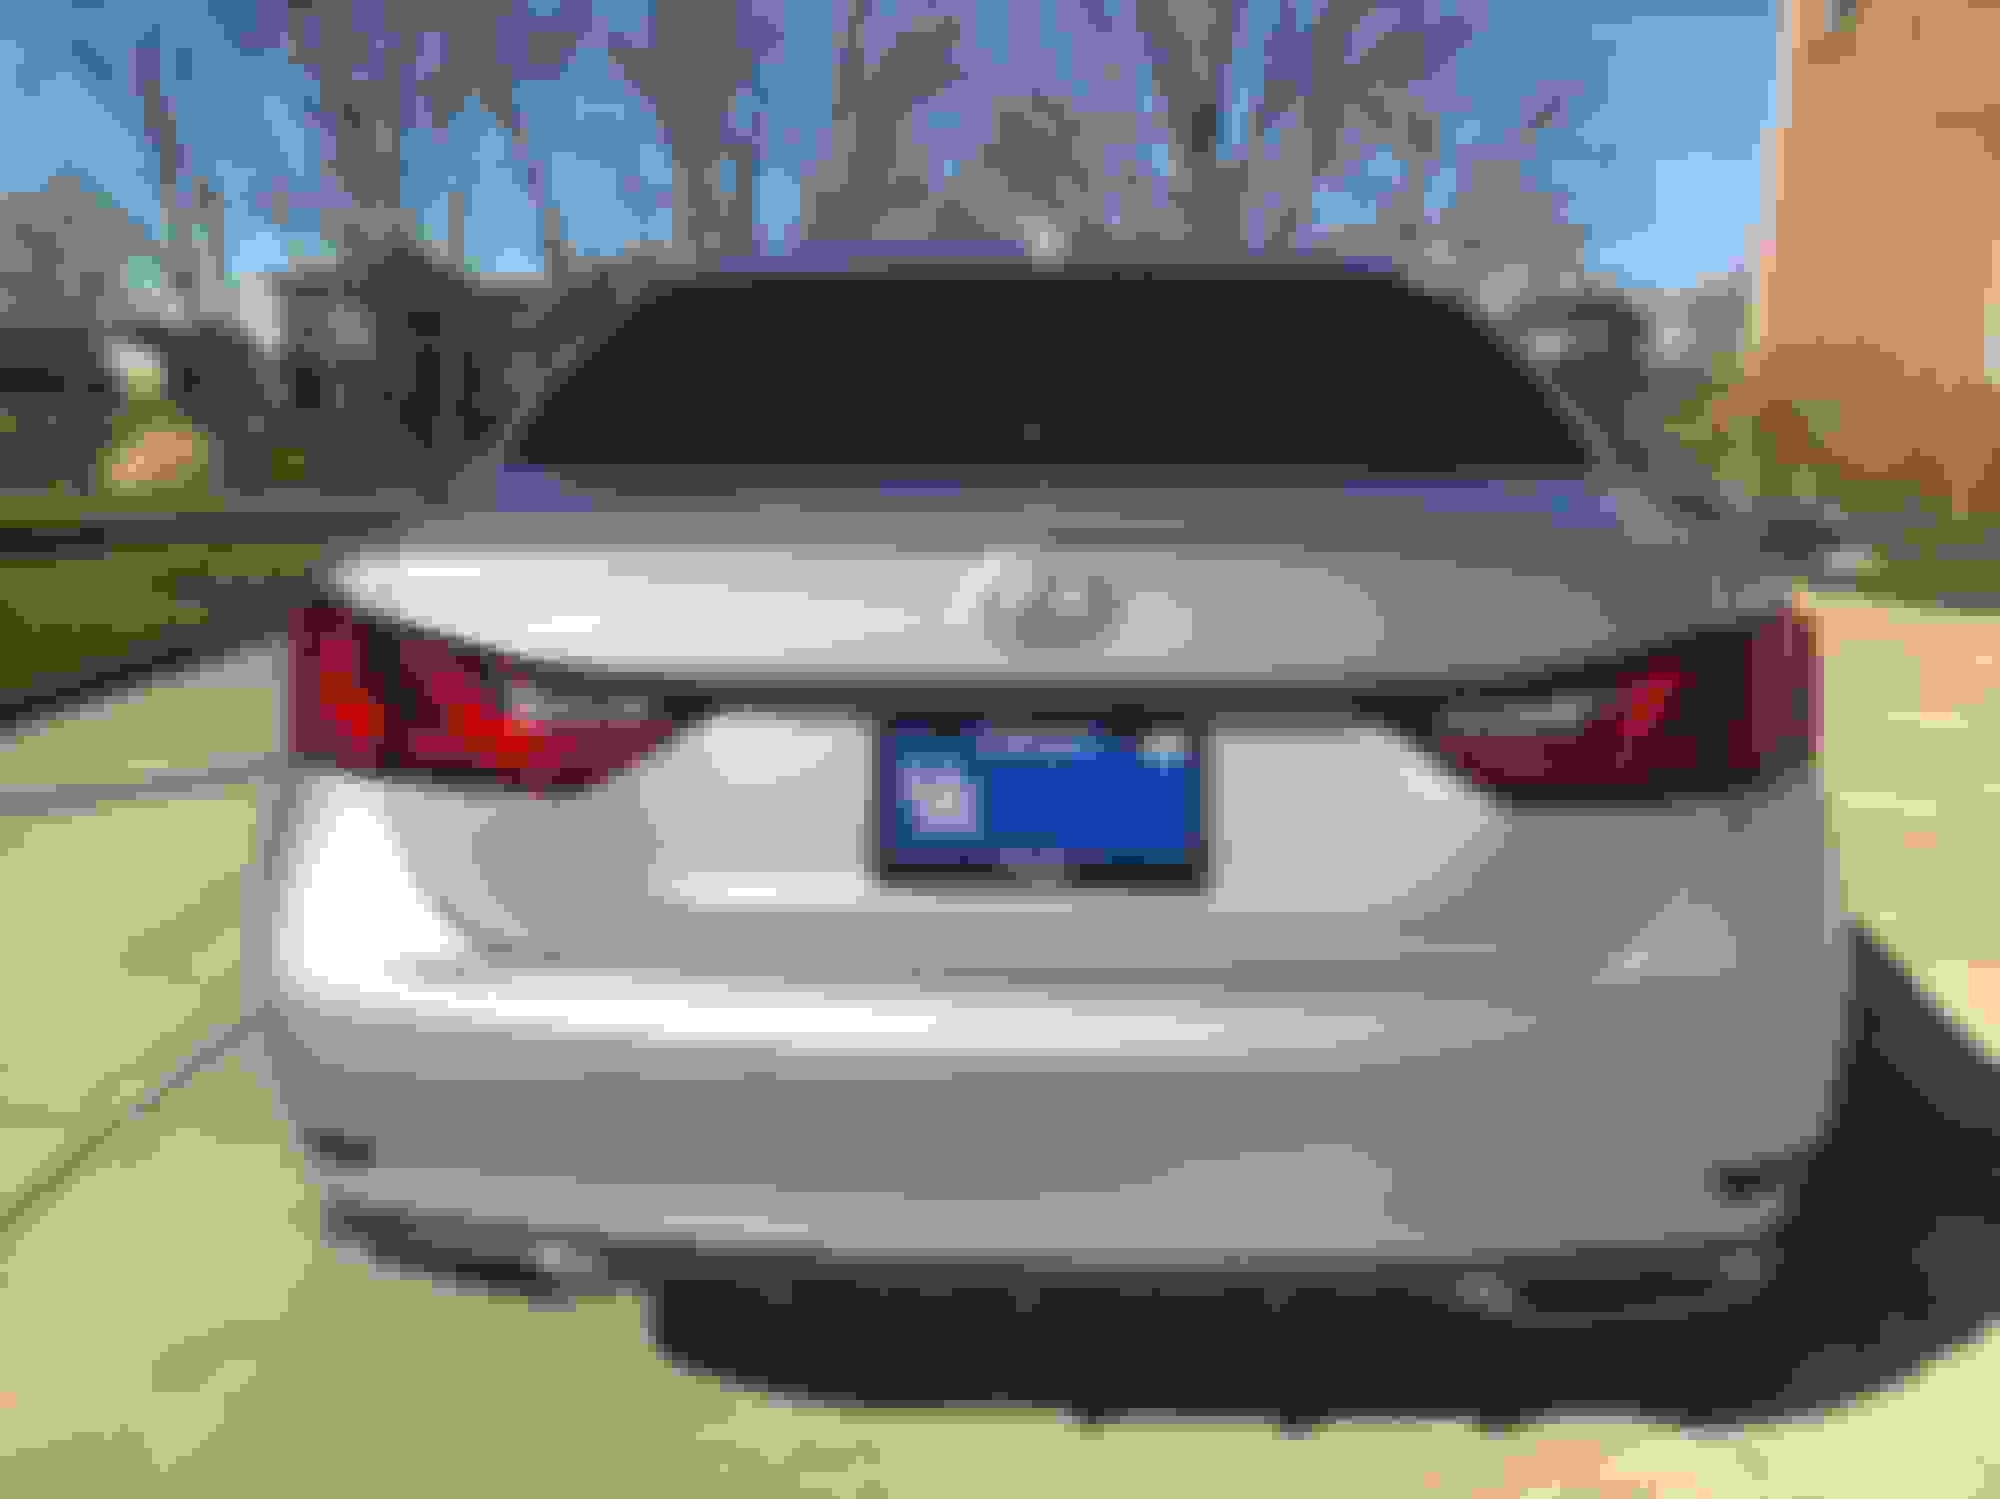
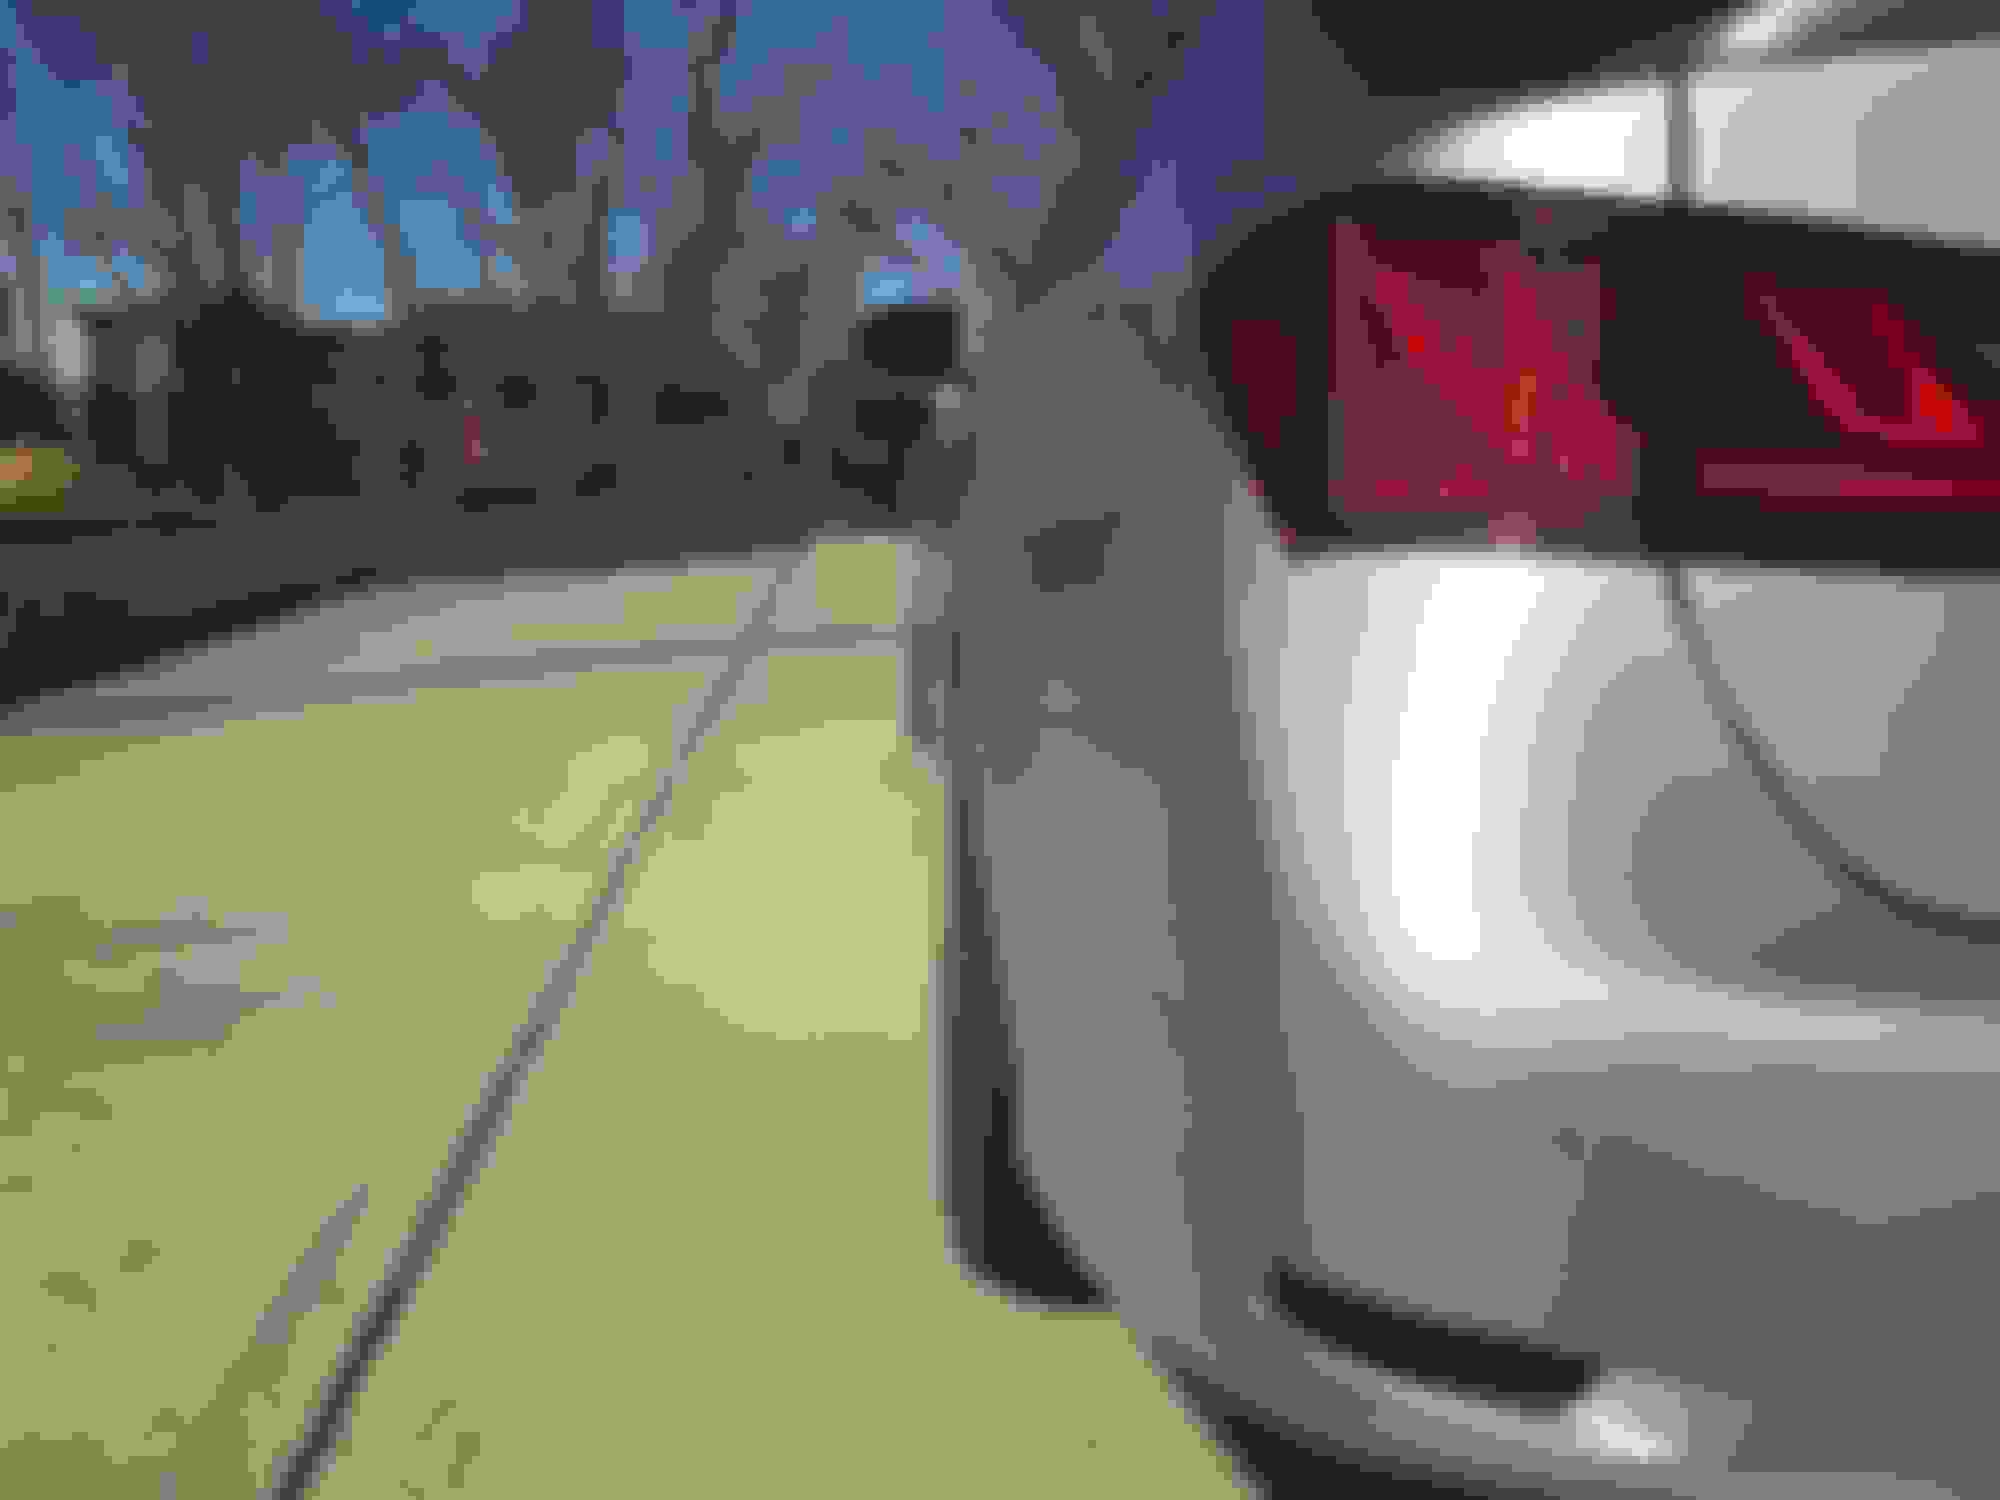
I also found this red tint cutouts that lay on the exterior of the taillights to cover up the orange turn signals. I think this is a much cleaner look and looks good at night with the turn light on too. I also blacked out the reflectors on the rear bumper with tint film too.
If you look closely at the reverse light, you can see i put LEDs in there to be a more crisp white light than the yellowed ones that come stock. I cannot stand yellow lights. I will upload a picture of them at night another time.
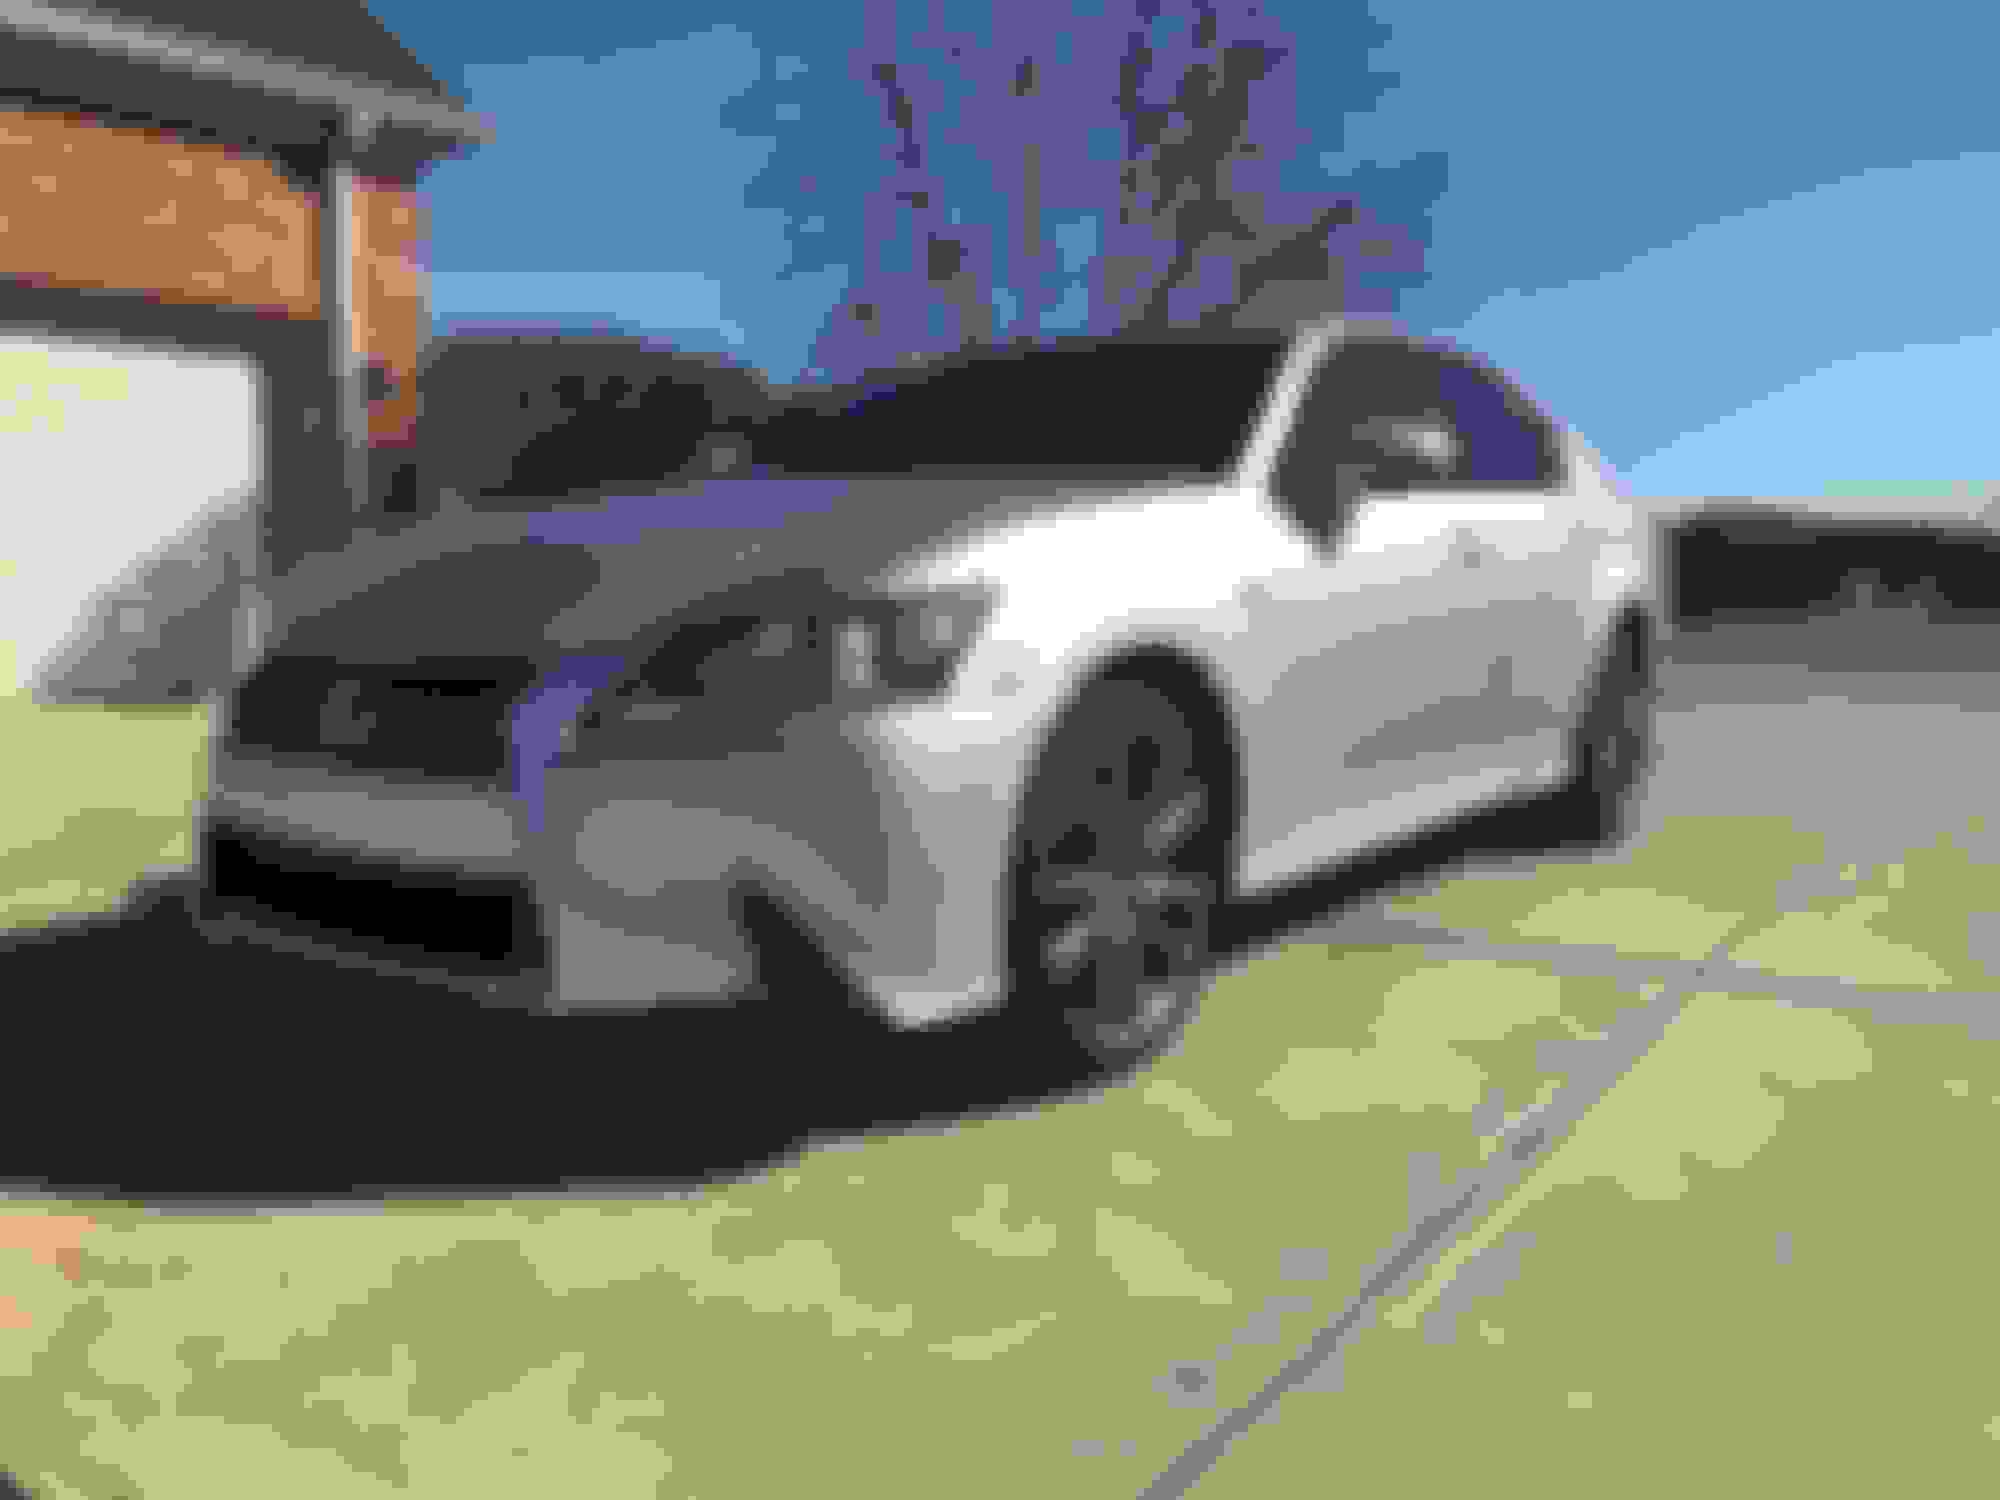
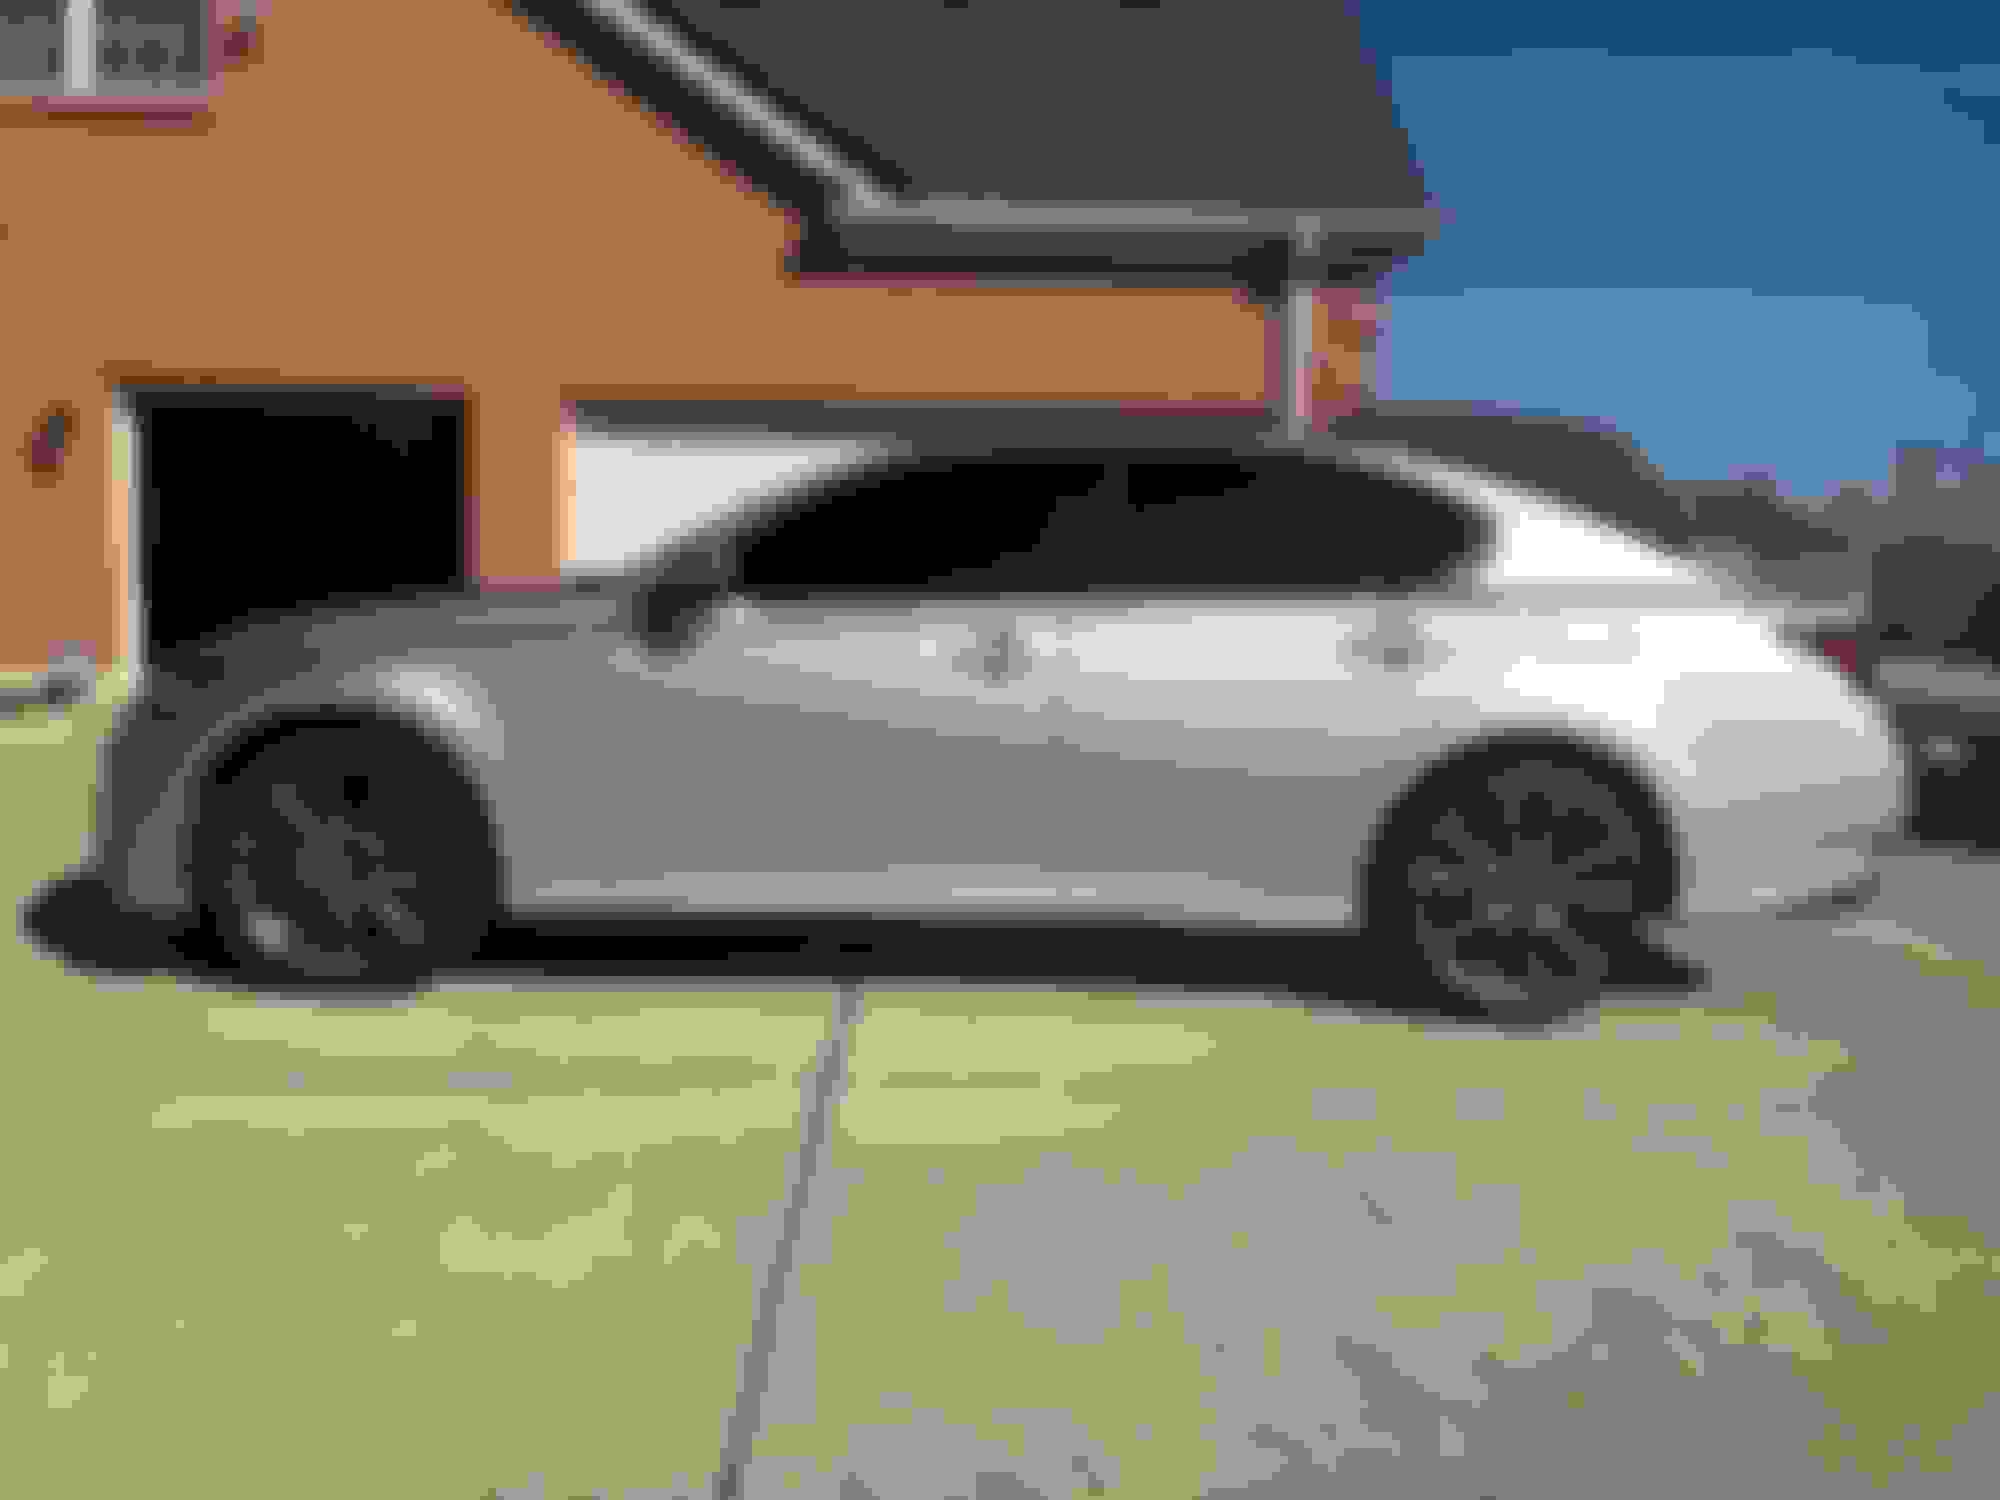
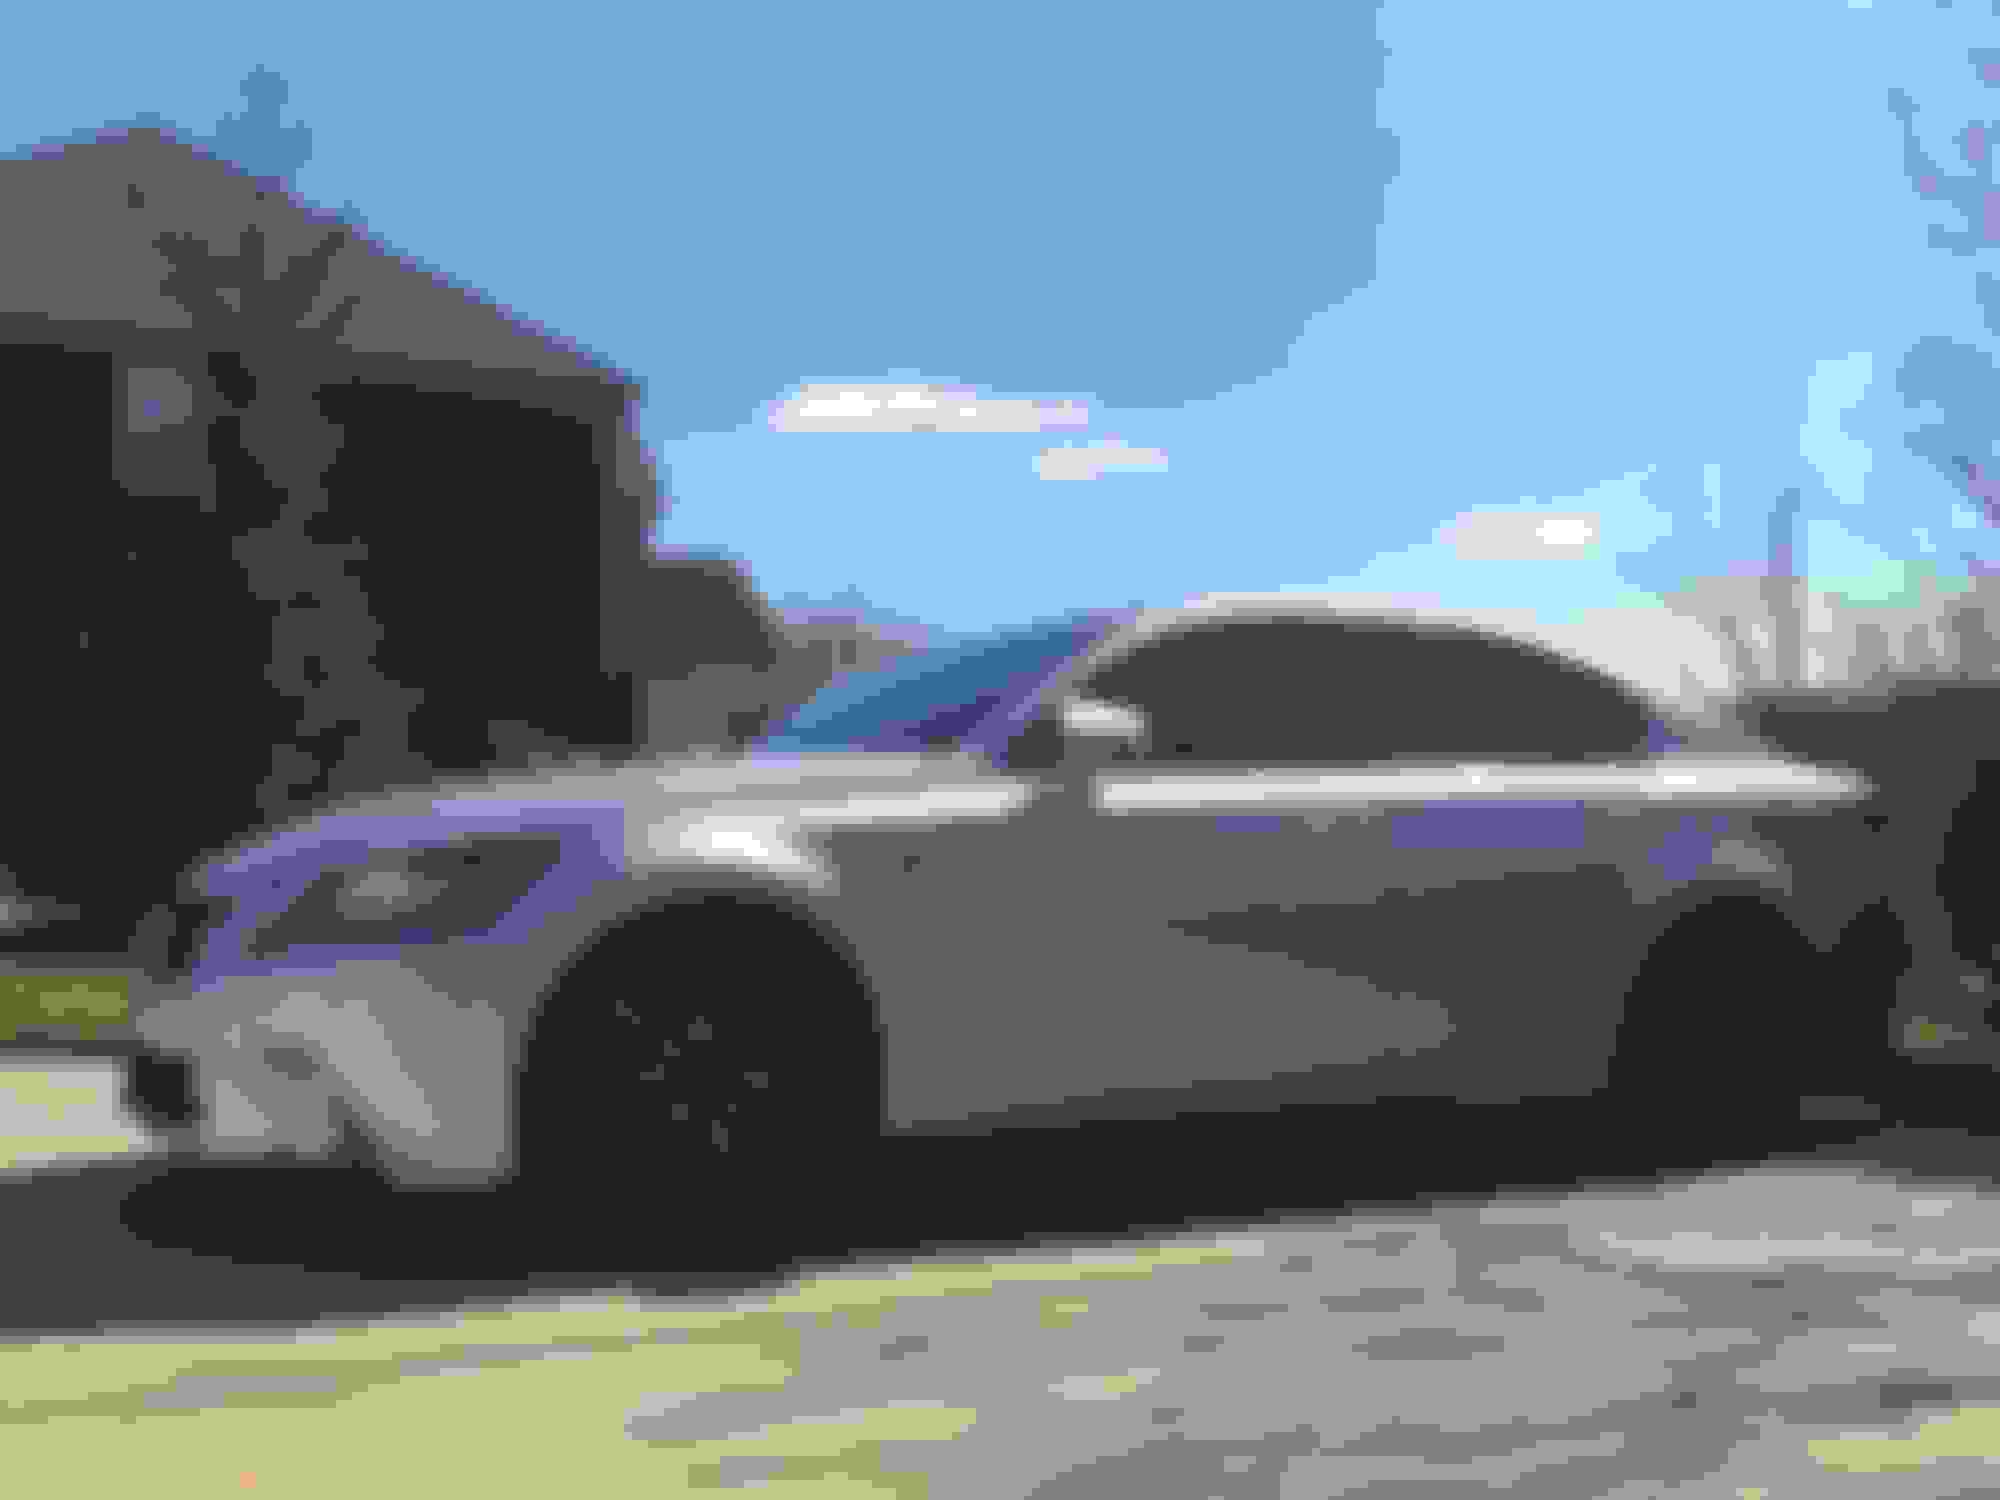
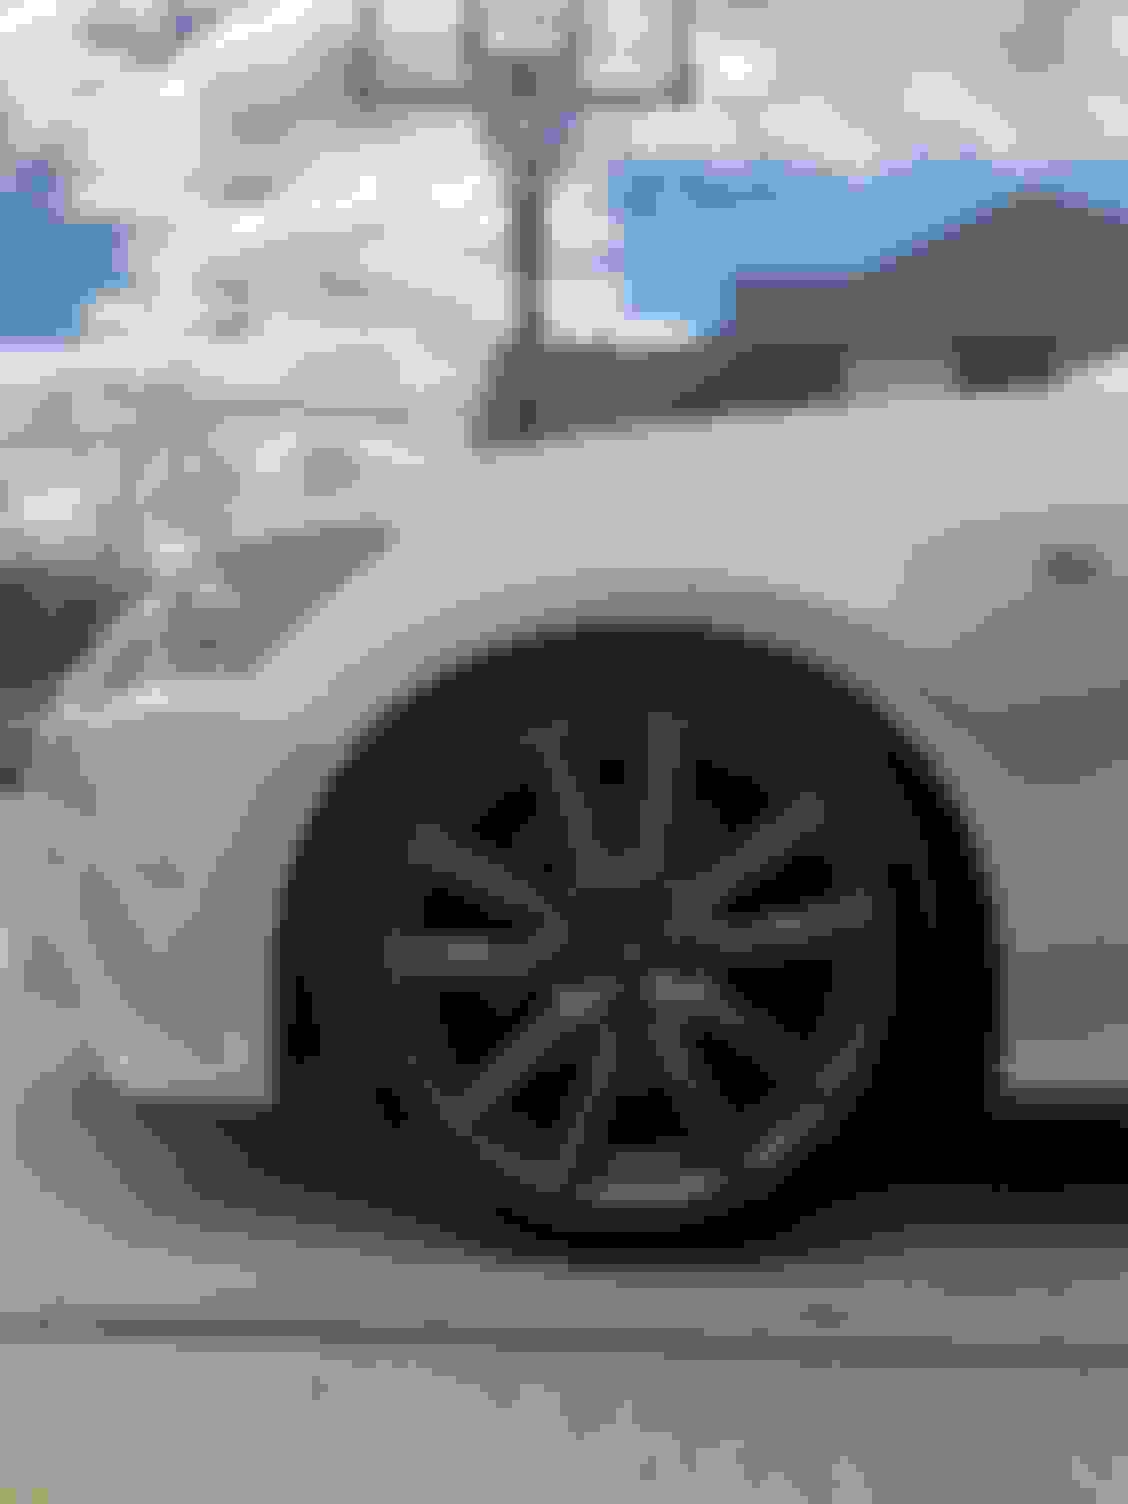
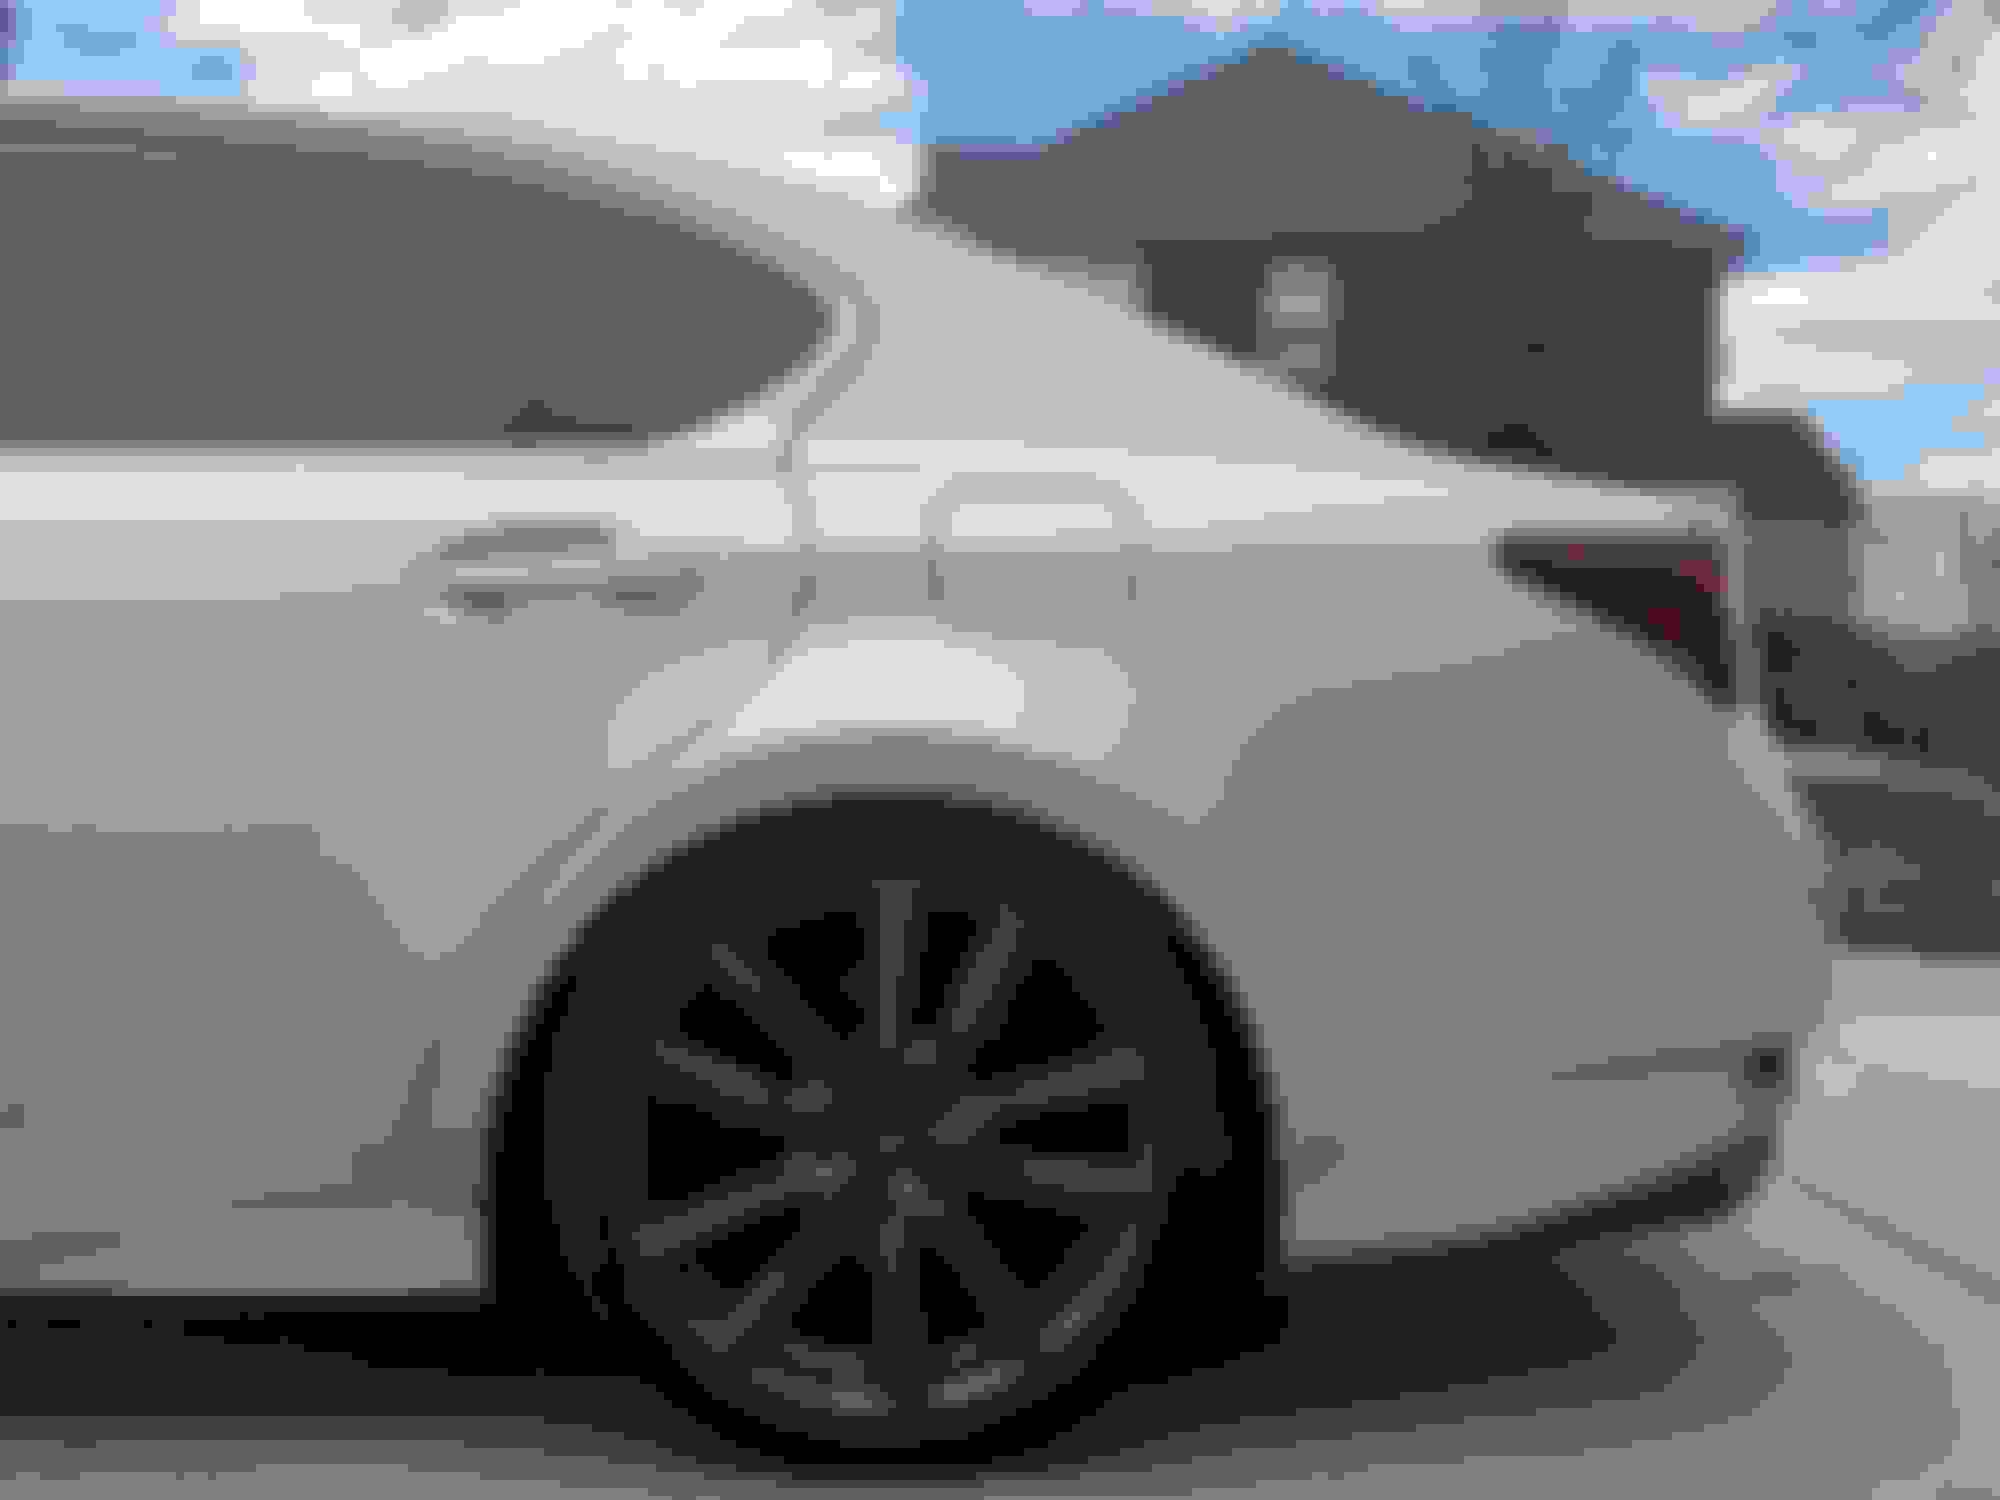
I just had the car lowered last week. I received tips from CL member @Dom87SS about how he lowered his on RSR springs and basically copied the setup because it looks so good.
RSR superdown springs (purchased on amazon)
SPC adjustable rear arms (purchased on amazon)
20mm hubcentric spacers for the front (amazon)
15mm hubcentric spacers for the rear (amazon)
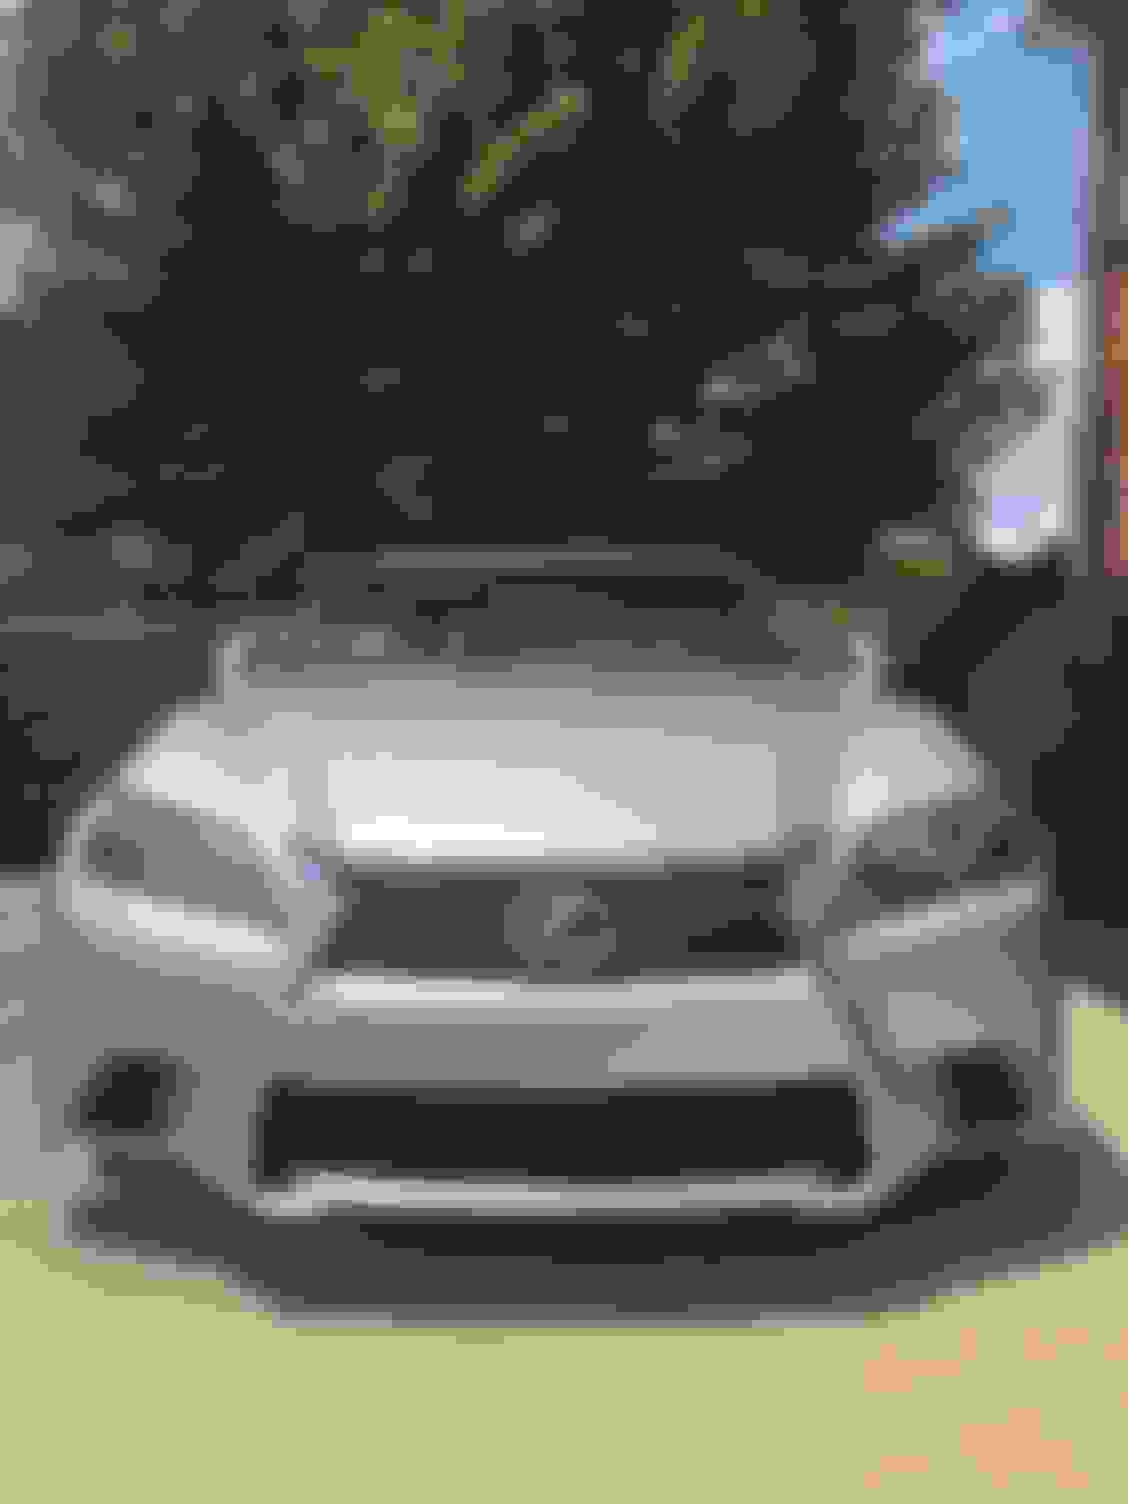
I had a local buddy of mine that i met on Instagram due to his Lexus RCF build help me with the install as he does a lot of work like that for various locals in the Lexus scene. We started on the rear bc it was the hardest to do with the multi-link suspension. Took us 2 hours to get the passenger rear corner done due to soke stubborn bolts. We continued on to the left and after 2 hours of trying to unseize a bolt on the lower hub, we gave up. We knocked the front two out in about an hour 15 total. I took the car into Lexus the next day and they installed the driver rear spring and adjustable arm and aligned all 4 corners. The results:
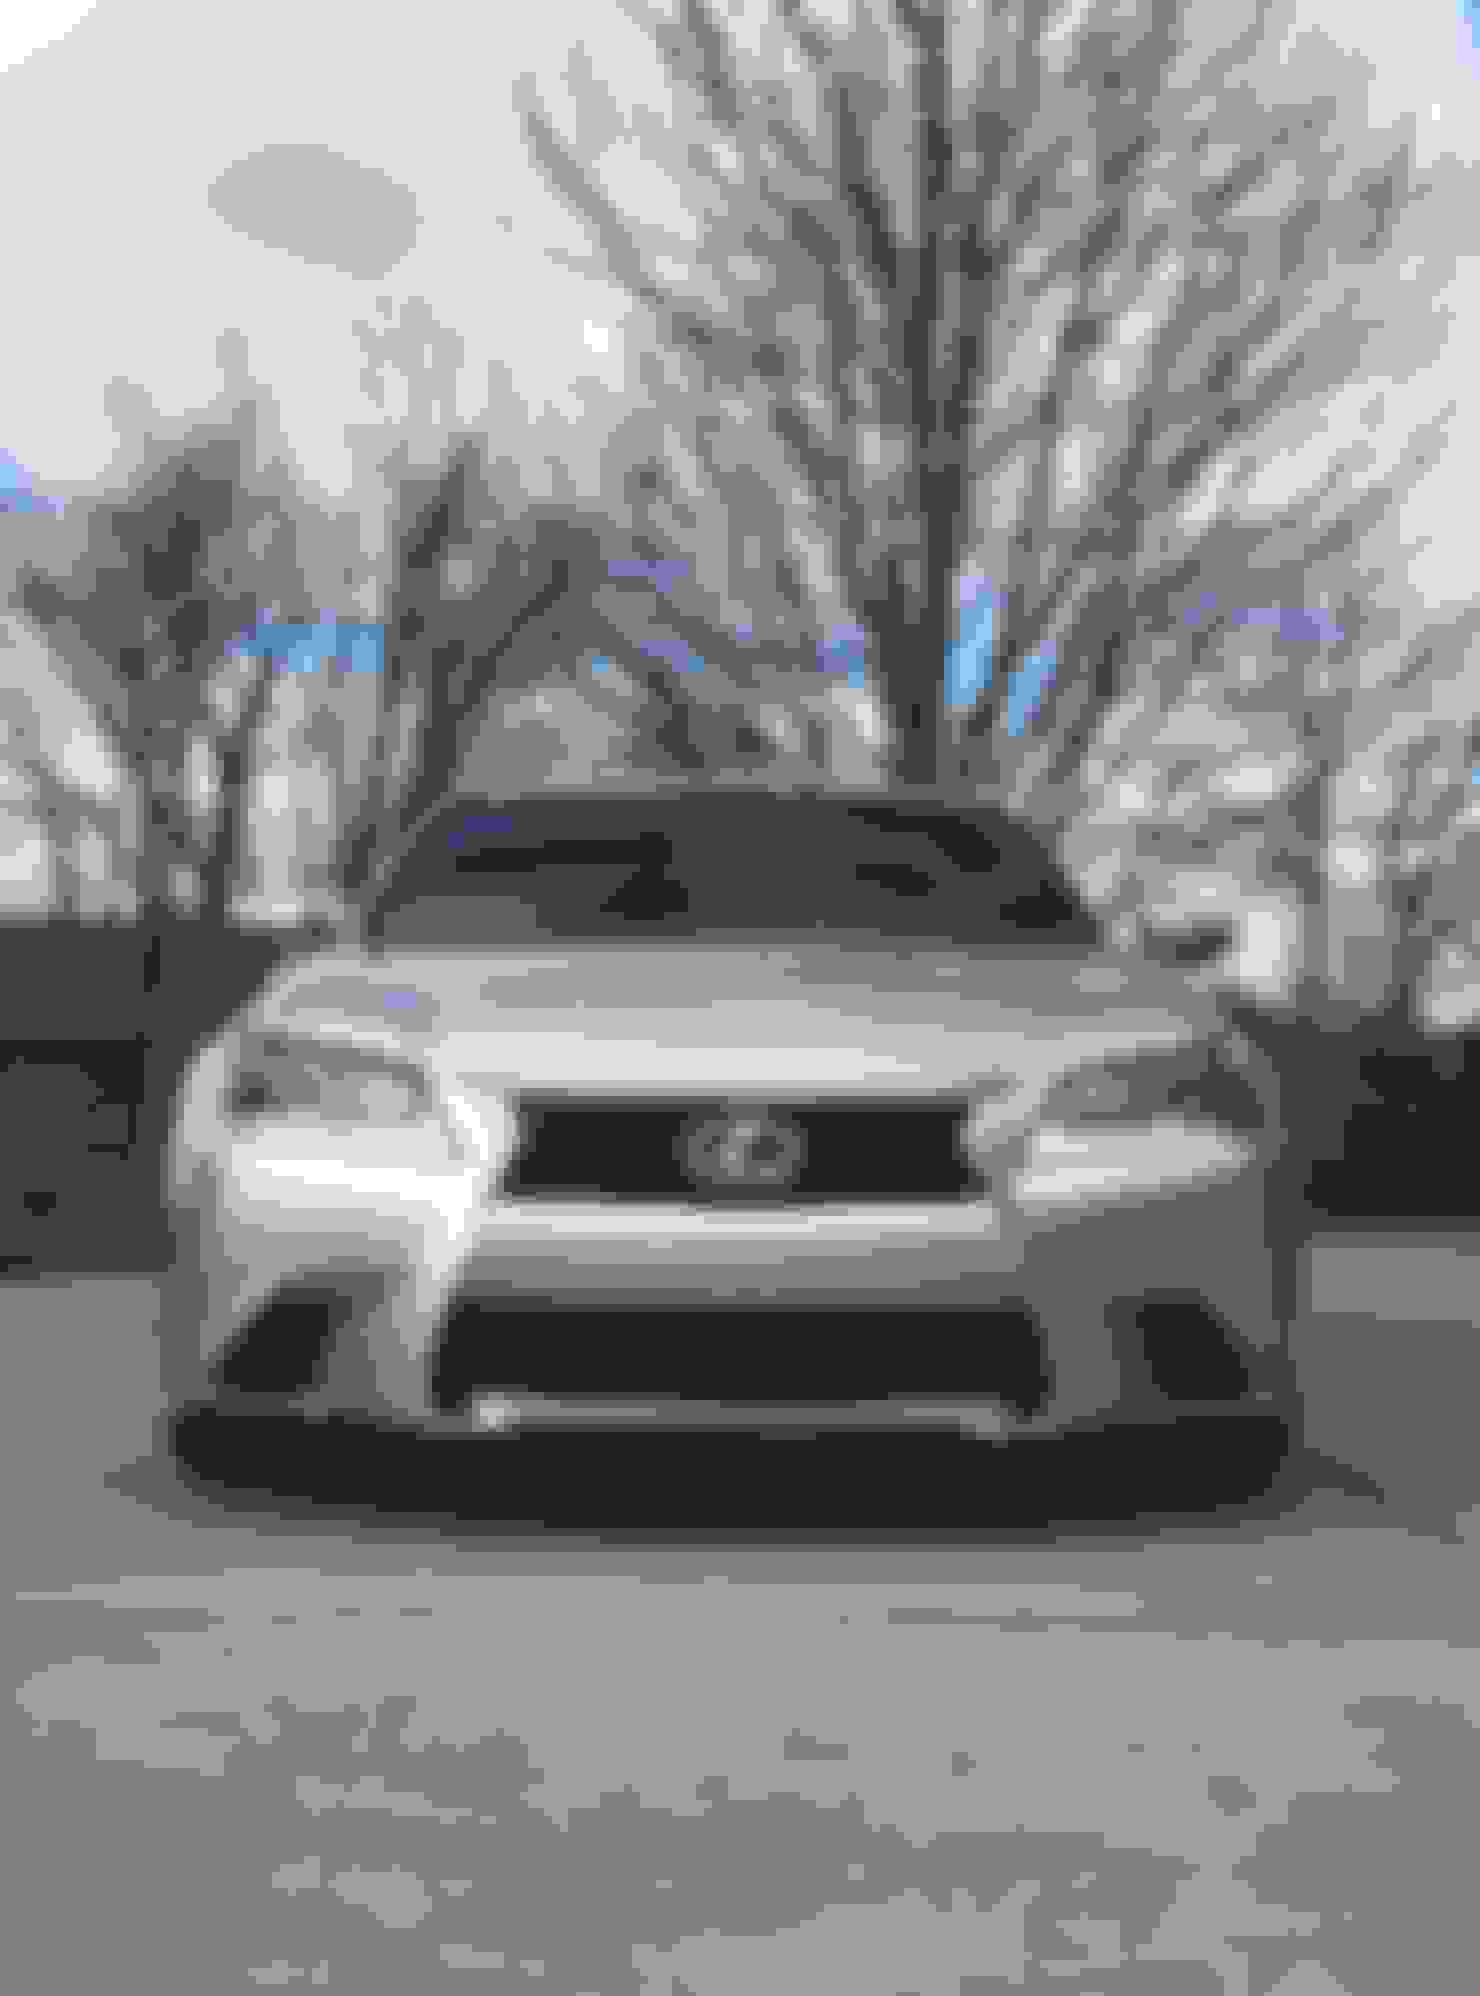
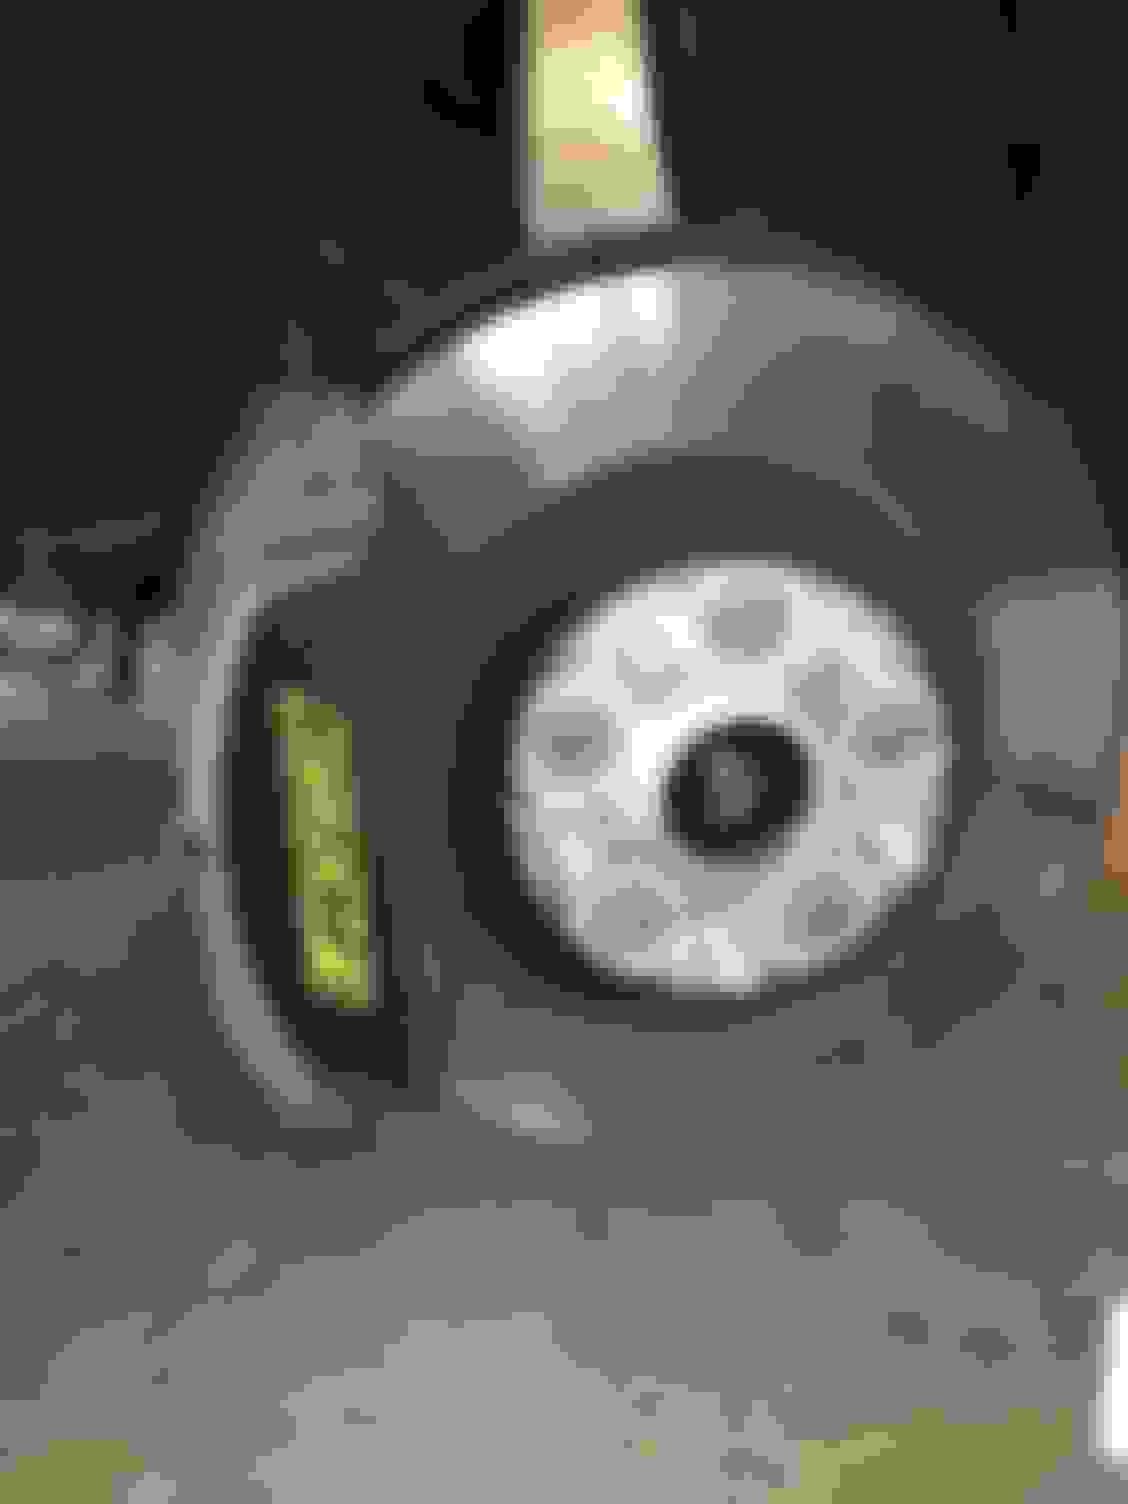
Before:
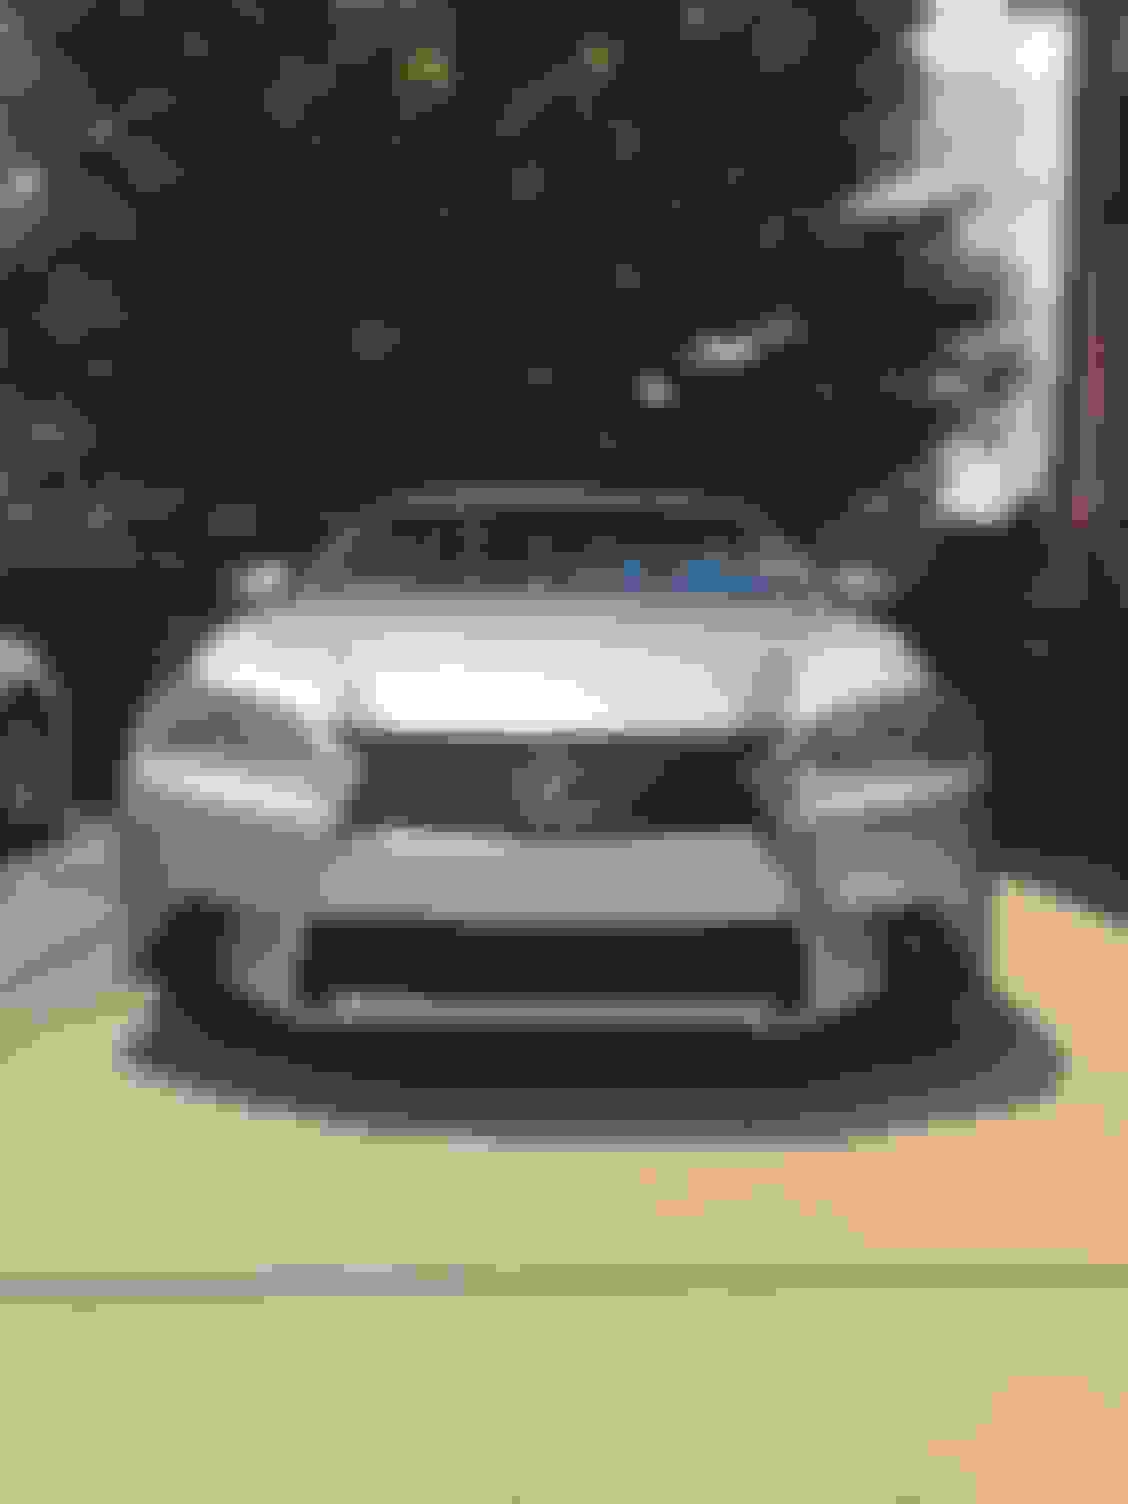
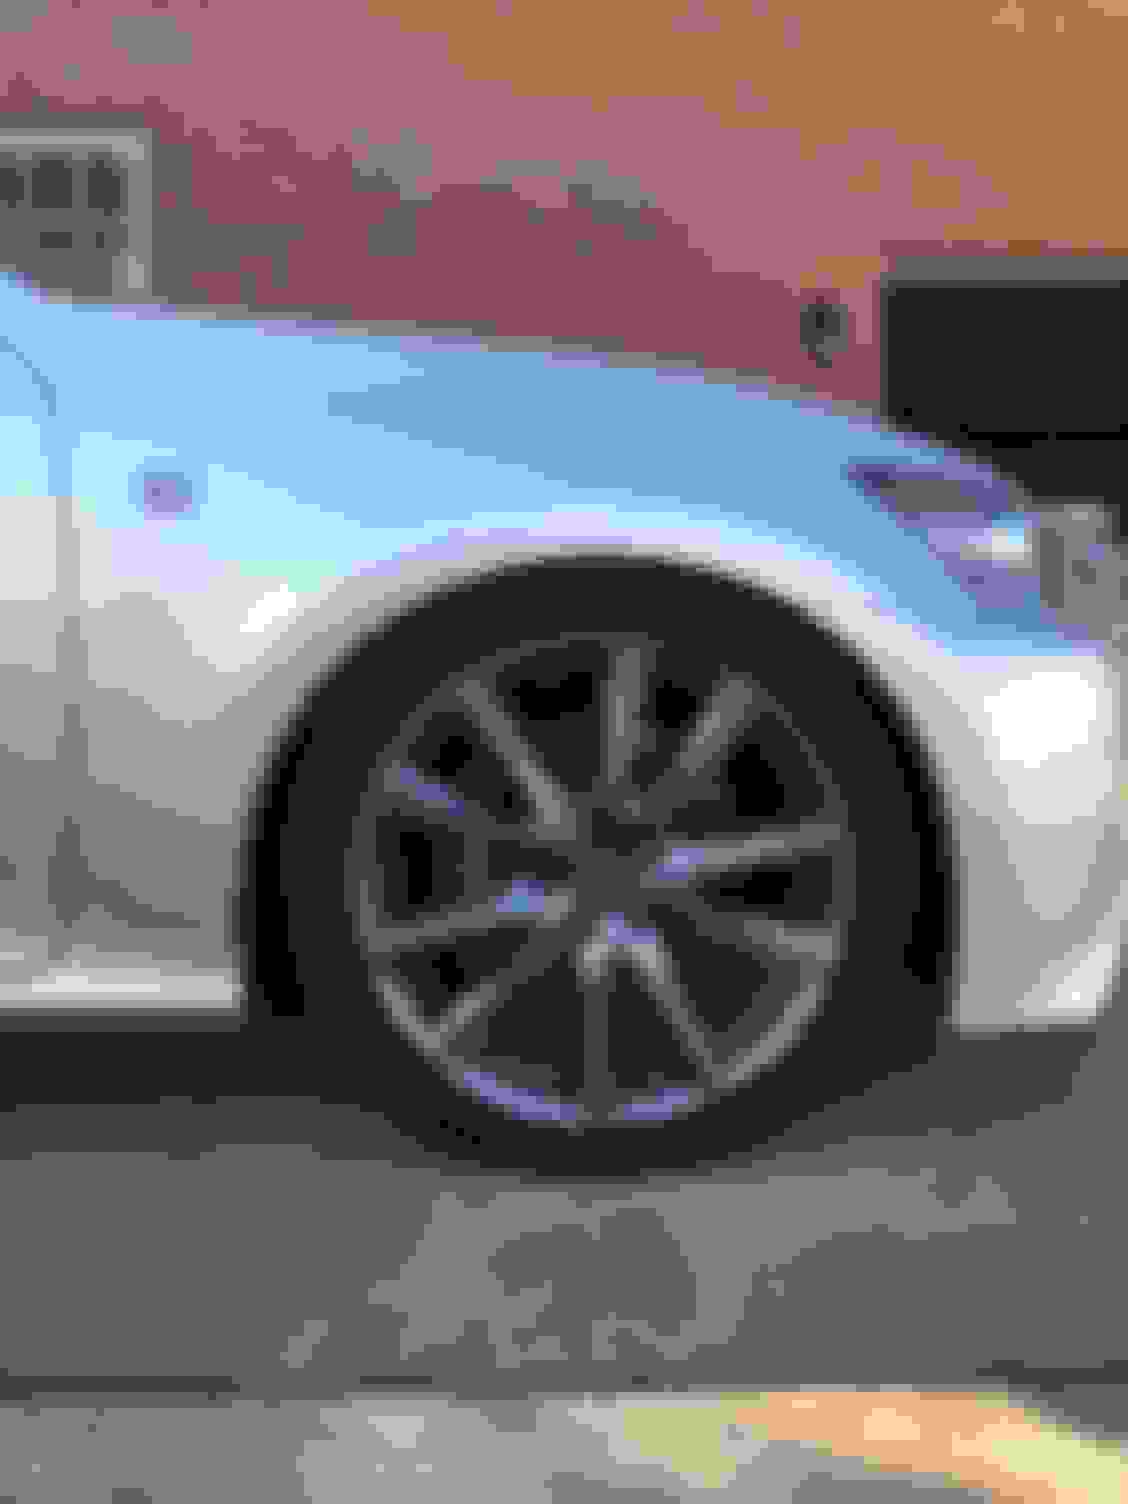
After:
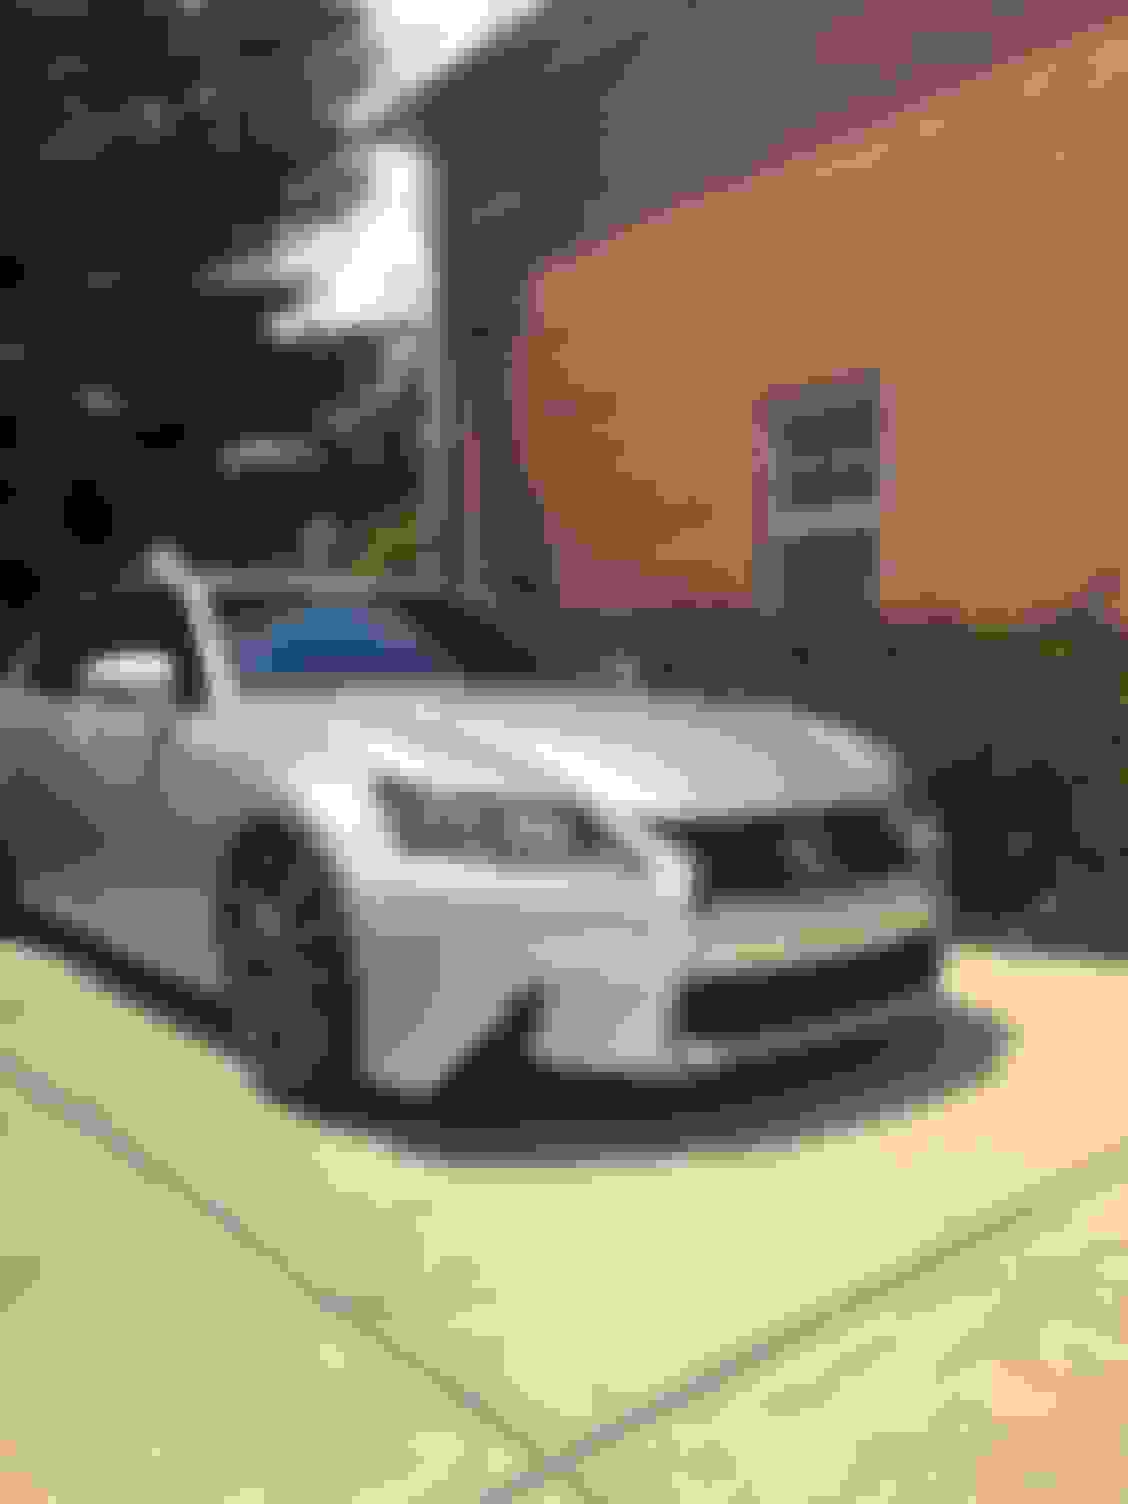
Got multiple compliments from the Lexus service departmwnt including the service manager about how good it looked and how much they preferred it over the 4x4 AWD style. Wheel fitment is pretty great and i don't experience any rubbing on bumps. Ride is a little stiffer of course but still kind of soft. A lot sportier feel when driving which is what i wanted.
Re the tinted out reflector, if you were hit from behind at night your insurer could potentially hold you at fault for having a non complaint vehicle.
While it will depend on the angle of the accident, the liability will likely also exist if he hits someone at night. If he tints the windshield and hits someone, the liability absolutely exists.
I assume everyone knows this but since you mentioned it, I thought I'd add to it.
While it will depend on the angle of the accident, the liability will likely also exist if he hits someone at night. If he tints the windshield and hits someone, the liability absolutely exists.
Thanks, this is why i've been hesitant to do it. I wish that something like a gradient tint existed near me where it could fade from a darker smoke up top to clear about 3/4 down the windshield. That way my vision wouldn't necessarily be affected but it could still have the effect I'm seeking.
I have a 2014 as well...had a borla exhaust installed and it's a great upgrade...really changes the personality of the car, and it is not an expensive upgrade at all. Cost for parts was about $700, cost for labor was about $180 (but you can avoid that cost of you DIY). Here is a video of the installed exhaust:
I have a 2014 as well...had a borla exhaust installed and it's a great upgrade...really changes the personality of the car, and it is not an expensive upgrade at all. Cost for parts was about $700, cost for labor was about $180 (but you can avoid that cost of you DIY). Here is a video of the installed exhaust:
nice! I�ve been thinking about doing something with the exhaust too. Coming from a Mustang with Roush mufflers, i can�t stand my car being dead quiet. I�m thinking about just doing a muffler delete. Got a buddy who did it on his IS350 and it sounds great
Busted out some projects that i�ve been sitting on this weekend. Tried my hand at vinyl wrapping to find out that some work should just be left to the professionals. Wrapped the chrome grille surround and chrome strip on the trunk in gloss black and did some accent work down under the fogs with matte black after being inspired by the new IS models. I like the way the grille looks but there are some wrinkles in my final product so i�m going to take it to a local wrap shop to get it done along with the middle section of the front bumper to look more like the newer GS models.
Finally installed the Morimoto XB LED fog lights today. I followed the DIY non oem stalk thread on here for the most part but wired it up my own way. Purchased the fogs from Morimoto, the wiring harness from amazon, and the bezels from ijdmtoy. Basically the wiring setup goes battery power, 30A relay fuse, down the passenger side quarter panel, passenger fog light, run across in front of the radiator to the driver side fog light, up the driver side quarter panel and into the fuse box in the engine bay right there where i piggy backed off the ignition fuse. I did this bc i found the ignition fuse is a switched relay meaning that it shuts off about 10-15 seconds after the car has been turned off, so if i accidentally leave the fog lights on upon leaving my car they won�t drain the battery. And yes you read that correctly, i do have a switch for the whole relay harness that runs from the drivers side quarter panel, thru a rubber grommet in the firewall, and ends at an on/off switch 3M attached just to the left of the trunk/hood release buttons so it�s inconspicuous to passengers but easy for me to see/get to. Overall this install took me about 5-6 hours by myself and that includes me having to run out to get extra heat shield, 18 awg wire, and wire splicers. If anyone wants pictures of the final wiring product or a more detailed guide, i�d be happy to do that for yall. It�s pretty straight forward for the most part, just takes a bit of planning and a lot of patience.
Here are some before and after pictures:
I�m pretty happy with the overall look. I meant to install the SK lip on the front too but the one i purchased wasn�t cut right so i�m currently waiting to see if the seller will provide a correct fix or if i need to buy another one elsewhere.
The light output from the fogs is actually noticeable. I can definitely see wider and it�s just generally brighter on the road. Not sure how easily some will be able to tell in pictures but here they are before and after:
Finally one last little thing I did was put F Sport decals on the brake calipers. I was thinking about painting them yellow myself or purchasing yellow caliper covers but ultimately decided that yellow lettering would be more subtle and therefore Lexus-esque. I just bought these on Ebay, they might stay on forever or they might come off in the next rain. Time will tell.
Next up will be the SK lip, roof spoiler, and getting that blackout grille area done. Next year i�m planning on buying a house so we will have to wait and see if any of my work bonuses allow for new wheels and exhaust setup. Also if anyone knows anyone selling 16+ GS tails, please PM me!
Look nice. F-Sport is nicer. My wish-list is '16-'17 GS F-Sport.
Roof spoiler can be look cool
This car was almost all that i could afford at the time i purchased it plus it has literally every package except for luxury on it, so it was a great buy imo. The 16s are real nice though, i�m looking for a good pair of 16+ tails to throw on mine.
Painted roof spoiler is next on my list. Thanks for the compliments!
Very nice! Do you have the Amazon links to the products you purchased for your suspension? Thinking of doing the same with my AWD as well, at least until I can decide if I want to go with aftermarket wheels.
RSR superdown springs (purchased on amazon)
SPC adjustable rear arms (purchased on amazon)
20mm hubcentric spacers for the front (amazon)
15mm hubcentric spacers for the rear (amazon)

 04-02-19 | 11:34 AM