When you click on links to various merchants on this site and make a purchase, this can result in this site earning a commission. Affiliate programs and affiliations include, but are not limited to, the eBay Partner Network.
I removed the head unit today and had a couple questions -
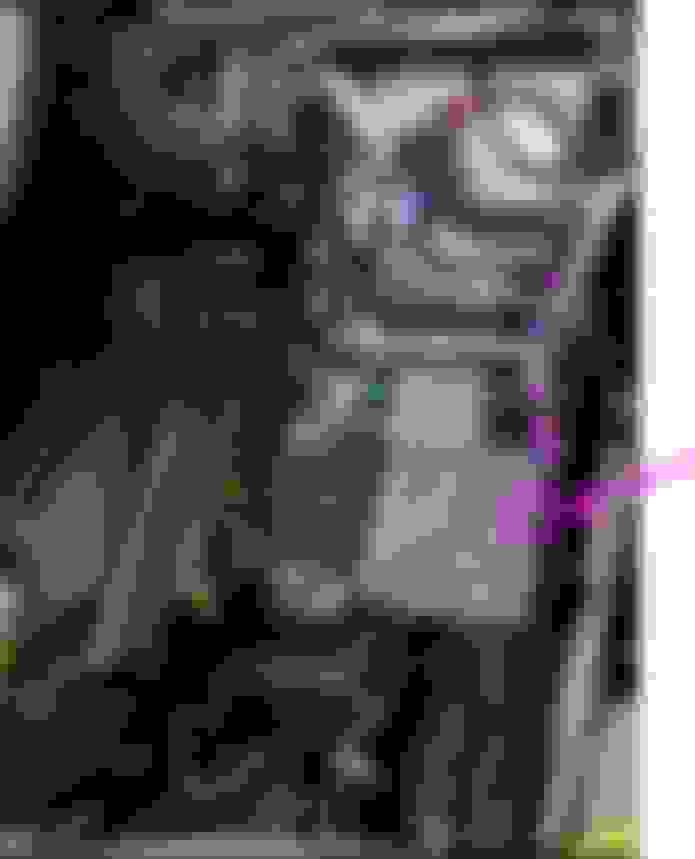
1) The circled white plug doesn't seem to fit anywhere, is that just an extra to be ignored?
2) Regarding the exposed wire (indicated by the arrow), which wire does that combine with? Did you solder this or used a crimp to connect?
I removed the head unit today and had a couple questions -
1) The circled white plug doesn't seem to fit anywhere, is that just an extra to be ignored?
2) Regarding the exposed wire (indicated by the arrow), which wire does that combine with? Did you solder this or used a crimp to connect?
Don't need that white plug.
You need two of those green antenna adapters for your car, if it's a 2013-2014 GS.
The other one goes here. circled in red:
That green plug on the back of the radio is the video output.
This has to attach to the blue plug on the back of the 12.3" display. On the back of your 2013-2014 radio you will find a blue plug(goes to 12.3" display, circled in red).
What you do is cut the wire and attach it to this green plug. I think it's only 2 wires you need to connect.
You need two of those green antenna adapters for your car, if it's a 2013-2014 GS.
The other one goes here. circled in red:
Ok I gotcha, I can attach the wire to the green plug. Maybe crimping at first to make sure everything works, then solder after.
So the grey plug I put in at the top in the antenna spot is also not needed? I did see your previous posts circling both antennas and saying that two green antenna cables are required (it is a 2013 GS)
What confused me is this other bunch of cables. I guess I'm wondering what these cables are for then? None of them seems to fit anything on the radio except this piece circled in red fitting into the antenna spot:
So the grey plug I put in at the top in the antenna spot is also not needed? I did see your previous posts circling both antennas and saying that two green antenna cables are required.
I guess I'm wondering what these cables are for then? None of them seems to fit anything on the radio except this piece circled in red fitting into the antenna spot:
You don't use that wire at all, it's from the 2016, garbage to you.
Your car has 2 antenna plugs(circled in yellow in the following pic), you just use the 2 green adapters and attach the other end to the radio.
Ok I gotcha, I can attach the wire to the green plug. Maybe crimping at first to make sure everything works, then solder after.
So the grey plug I put in at the top in the antenna spot is also not needed? I did see your previous posts circling both antennas and saying that two green antenna cables are required (it is a 2013 GS)
What confused me is this other bunch of cables. I guess I'm wondering what these cables are for then? None of them seems to fit anything on the radio except this piece circled in red fitting into the antenna spot:
Editing post since progress was made and questions answered.
Chungvatra and Peasodos have been gracious enough to give me pointers and answer my newbie questions.
Logging each step here to add more information when other people want to do this upgrade/swap.
For today, the OEM antenna cable was installed in the center console. Chungvatra gave me some pointers on opening the center console up and where to plug the cable in.
I was a little nervous to pull at the panels in case of breaking something, but it went well. I was worried I wouldn't remember how to put it all back together, but it is intuitive and most things snap together without much thought.
Now that I know how to do it, I can see this part taking about 5 minutes to do in the future.
Circled is where the 2016+ OEM antenna cable plugs in (you get to this by pulling on the passenger's side wall where the carpet and black trim is). There is a lot of space in that area to hide an Apple Carplay/Android Auto unit like Grom, Carlinkit or Lsailt.
The dotted line going up is the previous 2013 antenna cable.
Success! This is after the newer 2016 OEM antenna cable was installed and threaded through the same area as the dotted cable in the previous picture. Both the black and white plugs will connect with the back of the 2016 head unit.
The two plugs (black and white) from the previous picture fit here in the back of the head unit:
That's it for now. Tomorrow or next week I'll work on soldering the radio cable.
The upgrade to the 2016 head unit and display was a success!
There are so many improvements I can't even list them all.
Thank you @Peasodos and @Chungvatra for your help!
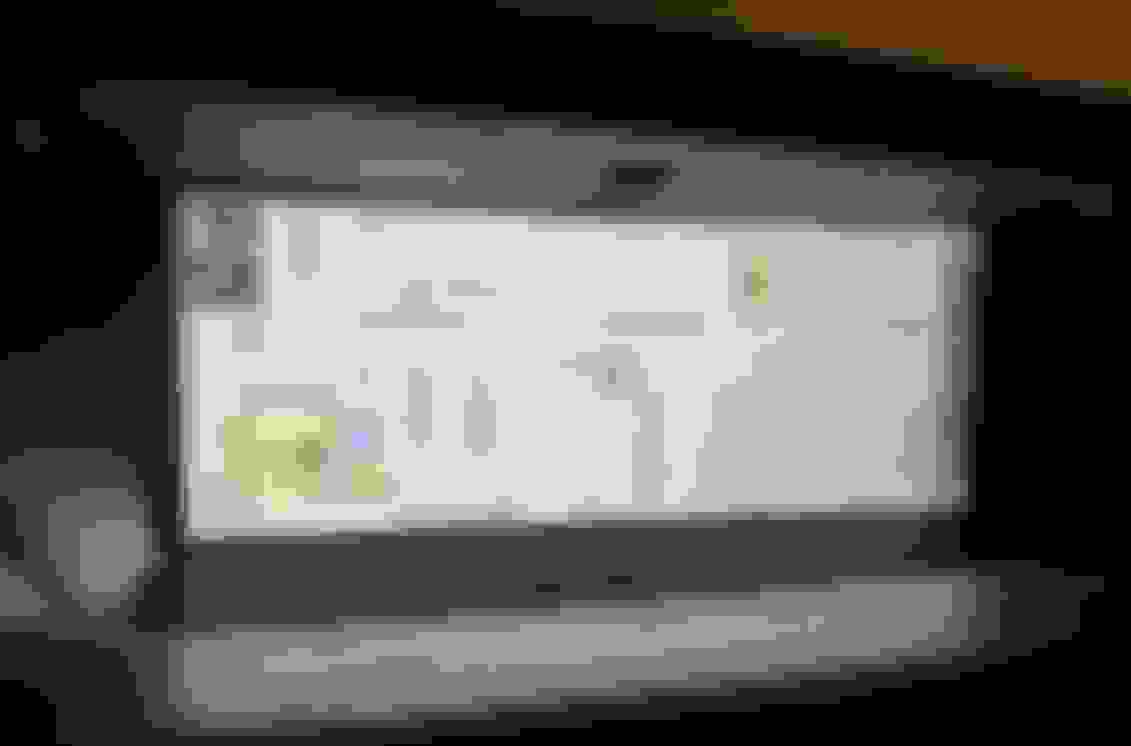
Full screen navigation looks great (ignore the blur lines from camera)...
On a side note, out of curiosity I pressed the CD player eject button... and this popped out. Luckily, I salvaged their screen and head unit... and NOT their backseats
The contrast stitching in my car is tan so I dyed the stitching black. Now I have to get use to the map and menu button being switched around, but overall I like it.
Did you cut the camera housing on the Alpine where the dotted green line is? Then basically glued that where the filled in green is
Actually I cut the original camera, the alpine was a little short, then used double-sided tape on the back of the alpine to join the two pieces together.
 05-08-20, 01:01 AM