When you click on links to various merchants on this site and make a purchase, this can result in this site earning a commission. Affiliate programs and affiliations include, but are not limited to, the eBay Partner Network.
I hate ramps, had a set but got rid of them as my last car had 315 width tires. It takes too much time and I also do brakes, tire rotations etc..
I seem to remember that there wasn�t a lot of room to have both the jack and jack stand at the same area while lifting one corner at a time. It was easier to drive up ramps, jack the center point at front then slide in the jack stands.
I seem to remember that there wasn�t a lot of room to have both the jack and jack stand at the same area while lifting one corner at a time. It was easier to drive up ramps, jack the center point at front then slide in the jack stands.
I just jack the center point at the front or rear then slide in the stands. I usually drive up on some plywood squares and rubber tiles to raise the car a few inches to get the jack under. I just always hated driving up ramps.
This may be a dumb question but where is the proper place that the jack should be applying pressure as its lifting? Is it the edge of the pinch weld itself or the area at the left and right "base" or sill of the pinch weld? As you mentioned, the oem scissor jack does not touch the pinch weld therefore the pressure is at the left and right sides of the base of the weld.
I've ordered a few rubber style adapters for both the floor jack and jack stands and they touch the pinch weld instead of the area around it. As the weight is placed on the jack and rubber puck, the rubber seems to conform but not sure if the pressure is all on the edge of pinch weld or the left or right base.
I could easily deepen the slot with a dremel but not sure if necessary or do I want to risk weakening the structure.
I changed the oil on my wife's NX with no issues but want to be extra sure before using on my GS.
You're right, the scissor jack uses the inner side of the pinch weld and not the bottom of the weld itself. I think its fine to use the bottom of the weld but you may have problems with it bending if the force was slightly offset. For that reason I would also like to use the same pressure point as the manufacturers scissor jack.
I hate ramps, had a set but got rid of them as my last car had 315 width tires. It takes too much time and I also do brakes, tire rotations etc..
Have you tried one one these?
I use Race Ramps for oil changes.
Made from the same lightweight material used in the Space Shuttle.
They come in varying sizes.
Mine are 14" in width, so they should fit your 315 mm tires.
So easy to use.
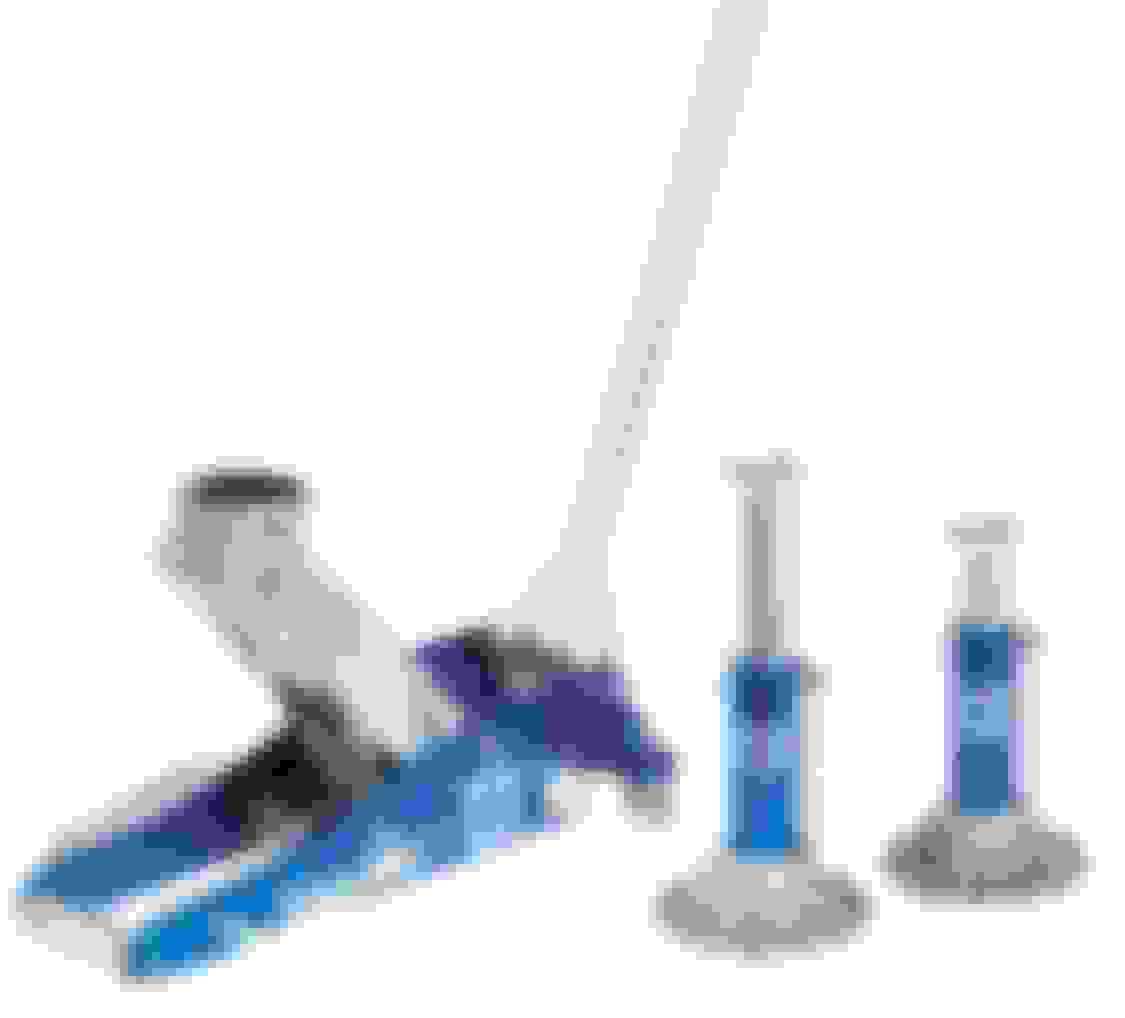
I use an aluminium hydraulic jack applied to the front cross member to raise the front end, and then slot two aluminium jack stands under the front left and right door sill pinch welds.
I then apply the hydraulic jack to the rear differential to raise the rear end, and then slot another two jack stands under the rear left and rear right door sill pinch welds.
I used to use the slotted silicone rubber puck in the photo above, but I found that it was too large, and often fell off the smaller square mount on my jack stands.
When I cut it to size, I found that the pinch welds on the underside of the door sills cut through the slot, and split the silicone rubber puck in half.
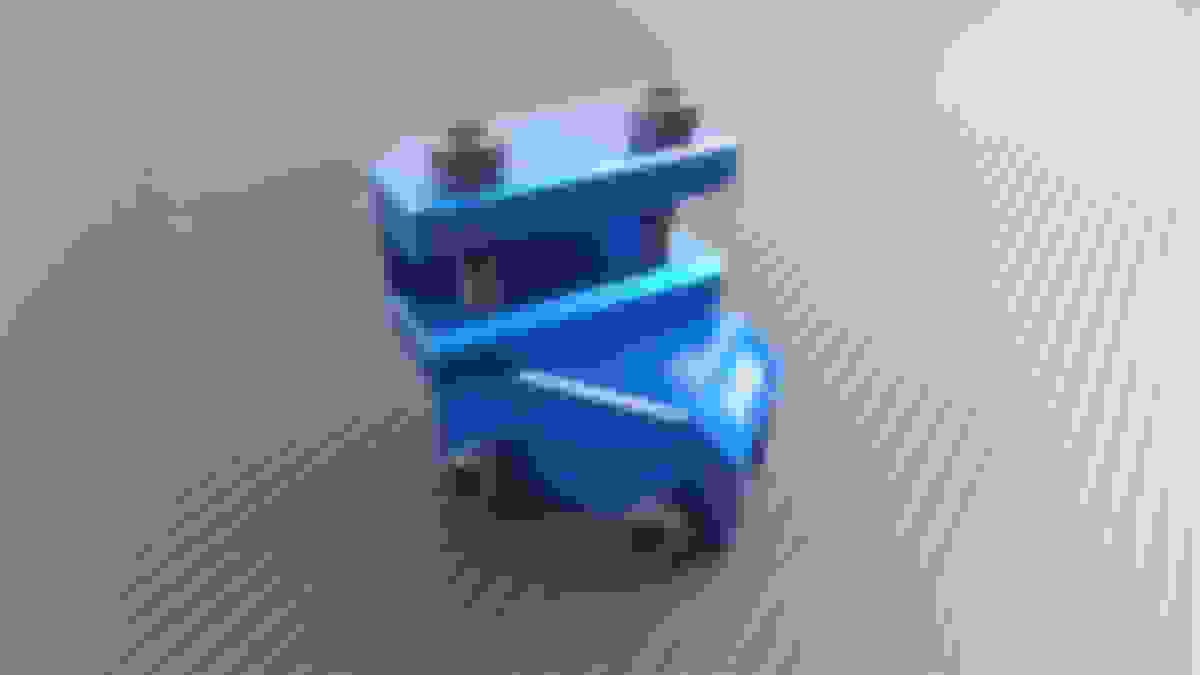
Then I purchased four (4) blue anodized aluminium rectangular pinch weld adaptors, with twin screw attachments.
They fit precisely onto the small square heads of my four (4) blue anodized aluminium jack stands.
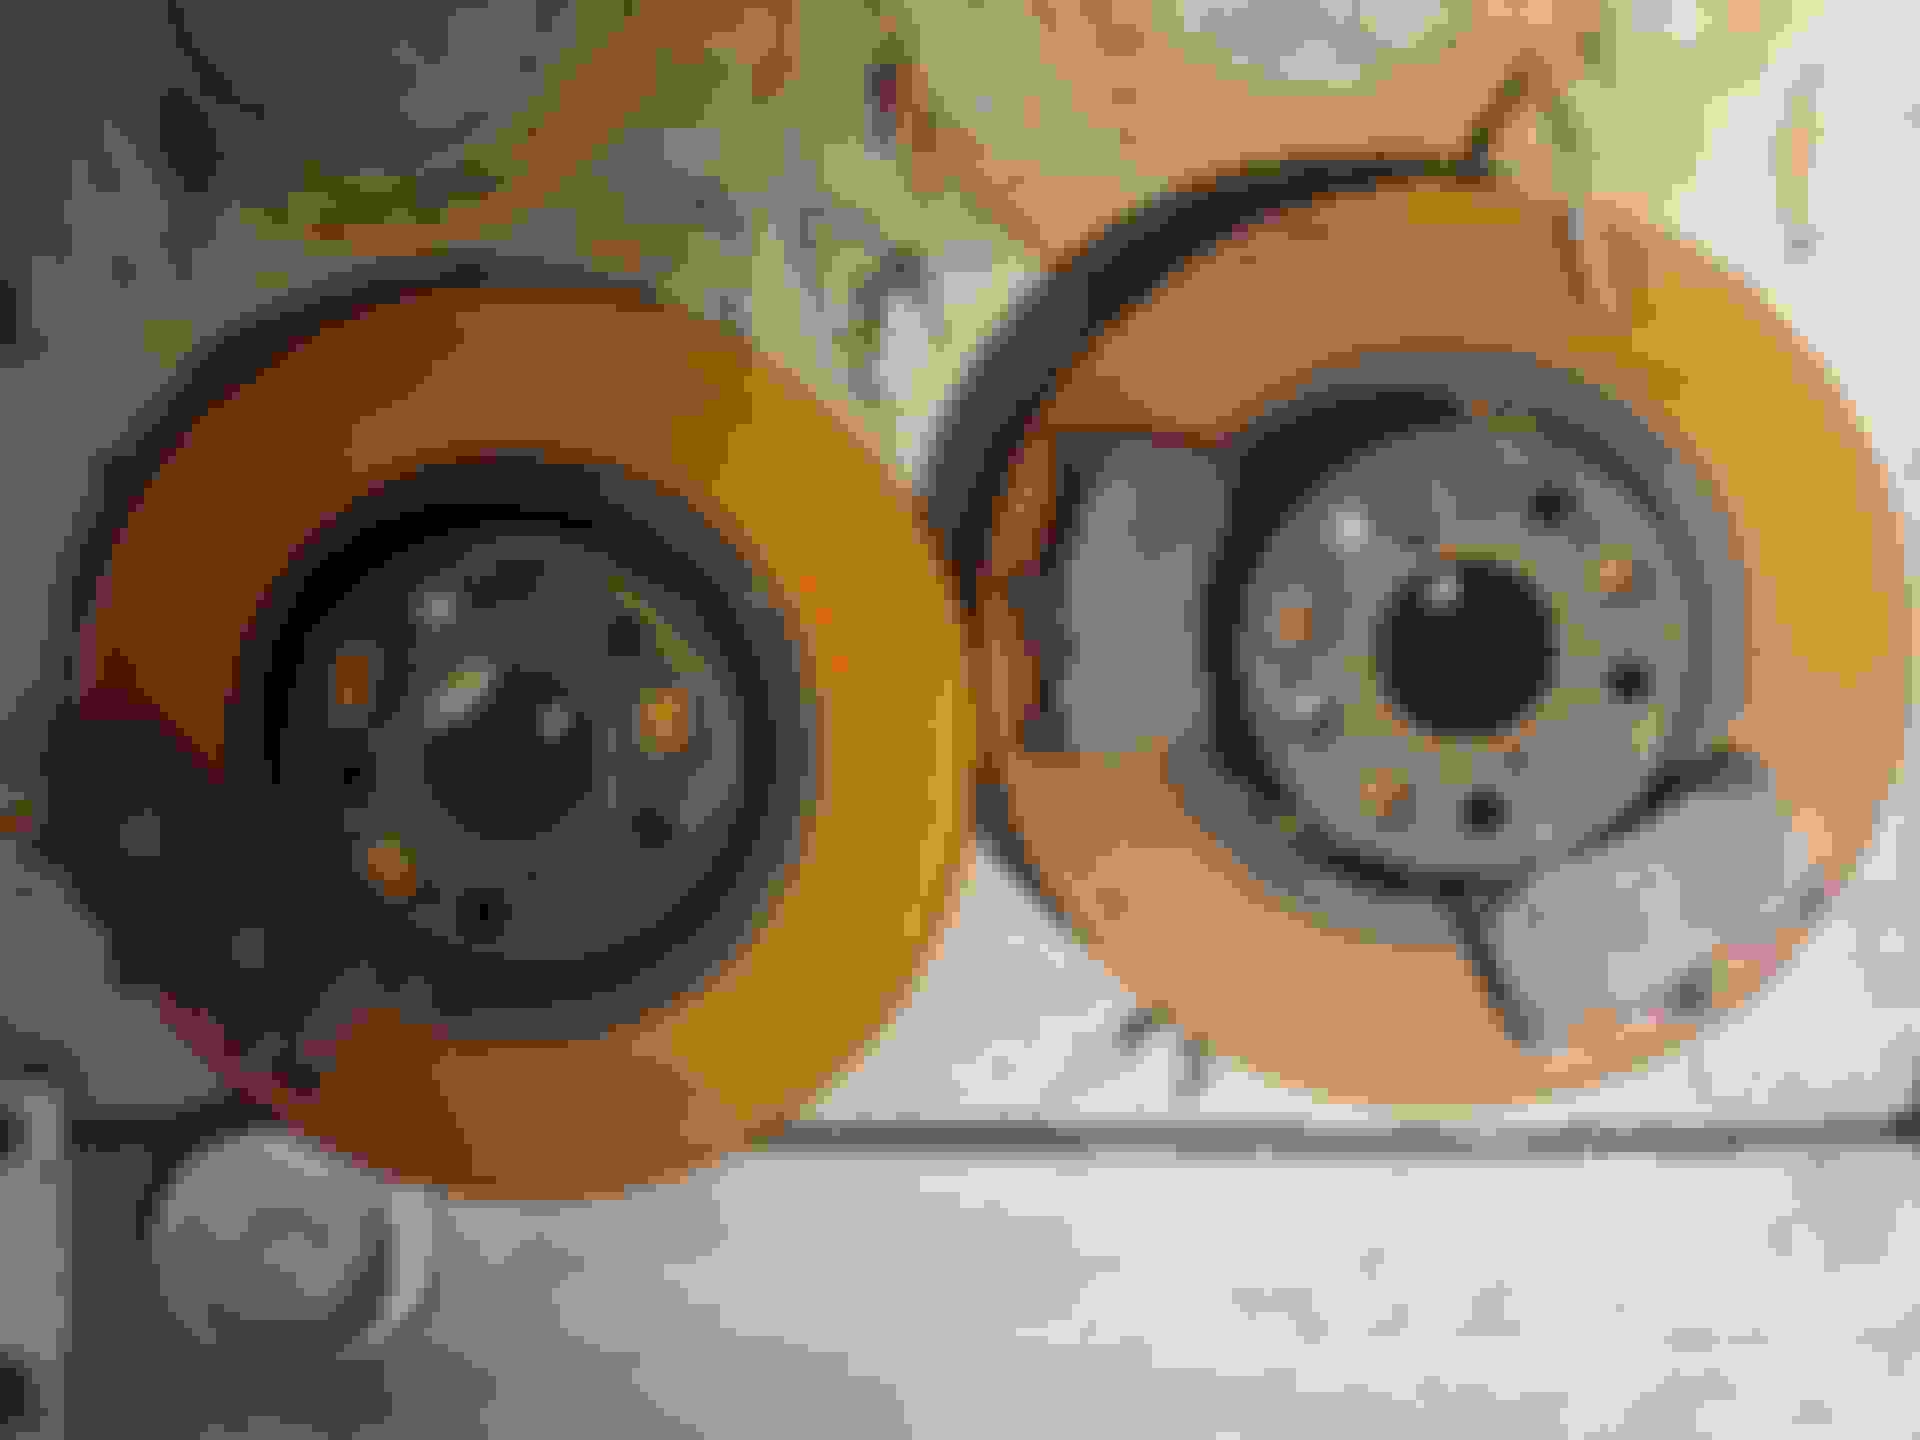
I lift all four wheels off the ground to do quick DIY wheel rotations.
I recommend you buy these for very quick wheel removal!
I use precise torque settings to tighten brake caliper and wheel bolts to manufacturer torque specifications.
Torque wrenches with 1/4, 3/8 and 1/2" head sizes.
Cold steel is harder, but it oxidizes very quickly...
Do you leave the pinch weld adapters attached or remove them when you are done?
Do you leave the pinch weld adapters attached or remove them when you are done?
I remove.
Once or twice, after a few minutes I realised I forgot, I got a heart attack and pulled over, inspected the car, and so lucky it hadn�t detached but still tightly attached to the pinch weld.
Leaving them there permanently would also disturb the airflow.
I remove.
Once or twice, after a few minutes I realised I forgot, I got a heart attack and pulled over, inspected the car, and so lucky it hadn�t detached but still tightly attached to the pinch weld.
Leaving them there permanently would also disturb the airflow.
I put one on the car last night to see how they worked. Unless I am missing something here, if you tighten them with an Allen wrench I do not see how they could come off from driving. After looking at the whole underside of the car I cannot see how those little adapters are going to impede airflow. Maybe I�m wrong
I put one on the car last night to see how they worked. Unless I am missing something here, if you tighten them with an Allen wrench I do not see how they could come off from driving. After looking at the whole underside of the car I cannot see how those little adapters are going to impede airflow. Maybe I�m wrong
If I were going to do something like this, I'd drill holes in the pinch or point the ends of the bolts so that they would effectively become part of the car.
I use Race Ramps for oil changes.
Made from the same lightweight material used in the Space Shuttle.
They come in varying sizes.
Mine are 14" in width, so they should fit your 315 mm tires.
So easy to use.
This ramp below is available in 16" or 20" width. Low approach angles are available etc...
I just jack up the driver side of the car for oil changes, use a hockey puck with a slot in it. I also put a jack stand under the car for added safety.
That way the drain bolt/oil pan is angled downwards to get as much oil out as possible.
 09-20-20, 07:11 AM