When you click on links to various merchants on this site and make a purchase, this can result in this site earning a commission. Affiliate programs and affiliations include, but are not limited to, the eBay Partner Network.
I am going to be replacing my brake pads and rotors soon. I am using Centric PQ Pro pads and Centric coated rotors on my 13' AWD F Sport. Let me know if you would like the part numbers. I will be replacing parts on all 4 corners in one session and I would like to get the car completely off the ground as I do this. I have already located floor jack jacking points using the owners' manual, but cannot find any documentation about jack stands in it or on the forum. Can anyone provide me with safe jack stand placement locations?
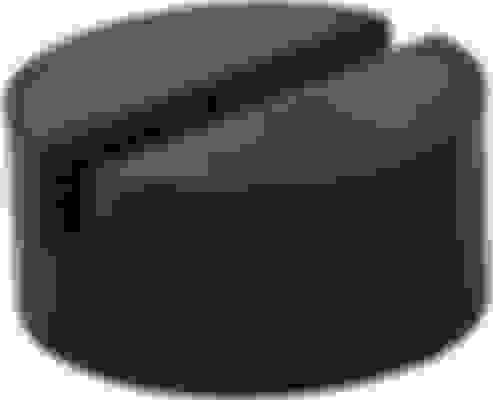
I use the spot for the factory jack stand, same position on every other car, but you need this puck for the floor jack:
Otherwise you will bend the pinch weld.
And there is a YouTube video of jack failure with a GSF, but the idiot stacked two pucks on top of each other and the puck slid off. Only use one puck, it stays in the groove of the jack.
Thank you for the information! I intend on jacking the car up from the front cross member and rear differential. Do I still need the puck?
This puck won't slide off right? Is the slot deep enough for the pinch weld?
Puck doesn�t go anywhere seat of floor jack has lip around it. Pinch weld goes into slot so puck is basically locked in from the car side and the floor jack.
I jack up my car from just the driver side with the puck/floorjack and put a jack stand under the car(for safety) everytime I do an oil change. Also the car is tilted at an angle so I get as much oil out as possible.
I also engage(it�s automatic) the parking brake unless I�m doing a rear brake job and put a rock behind one of the rear wheels just in case.
Or you can just take a wood slab, saw a slot in it and place it in the pinch weld and jack on that. Only lasts a few times until it cracks but it's cheap!
Front crossmember and rear differential should be the jacking points and then the jack stands go under the pinch welds. If you use the jack on the pinch welds, you won't have room for the jack stands. Ignore if using a post lift.
This shows where the car can be jacked up and still have room to place the jack stand on the regular jack point which is what I do, I don't use pucks but I am sure they help not bending that thinner metal tab that sticks down, I just put a folded towel between the jack stand and that tab to take off some of the pressure/metal to metal on the tabs. I would not put a jack stand in the center where he put it though in the video when he is done jacking the car up.
I use an aluminium hydraulic jack applied to the front cross member to raise the front end, and then slot two aluminium jack stands under the front left and right door sill pinch welds.
I then apply the hydraulic jack to the rear differential to raise the rear end, and then slot another two jack stands under the rear left and rear right door sill pinch welds.
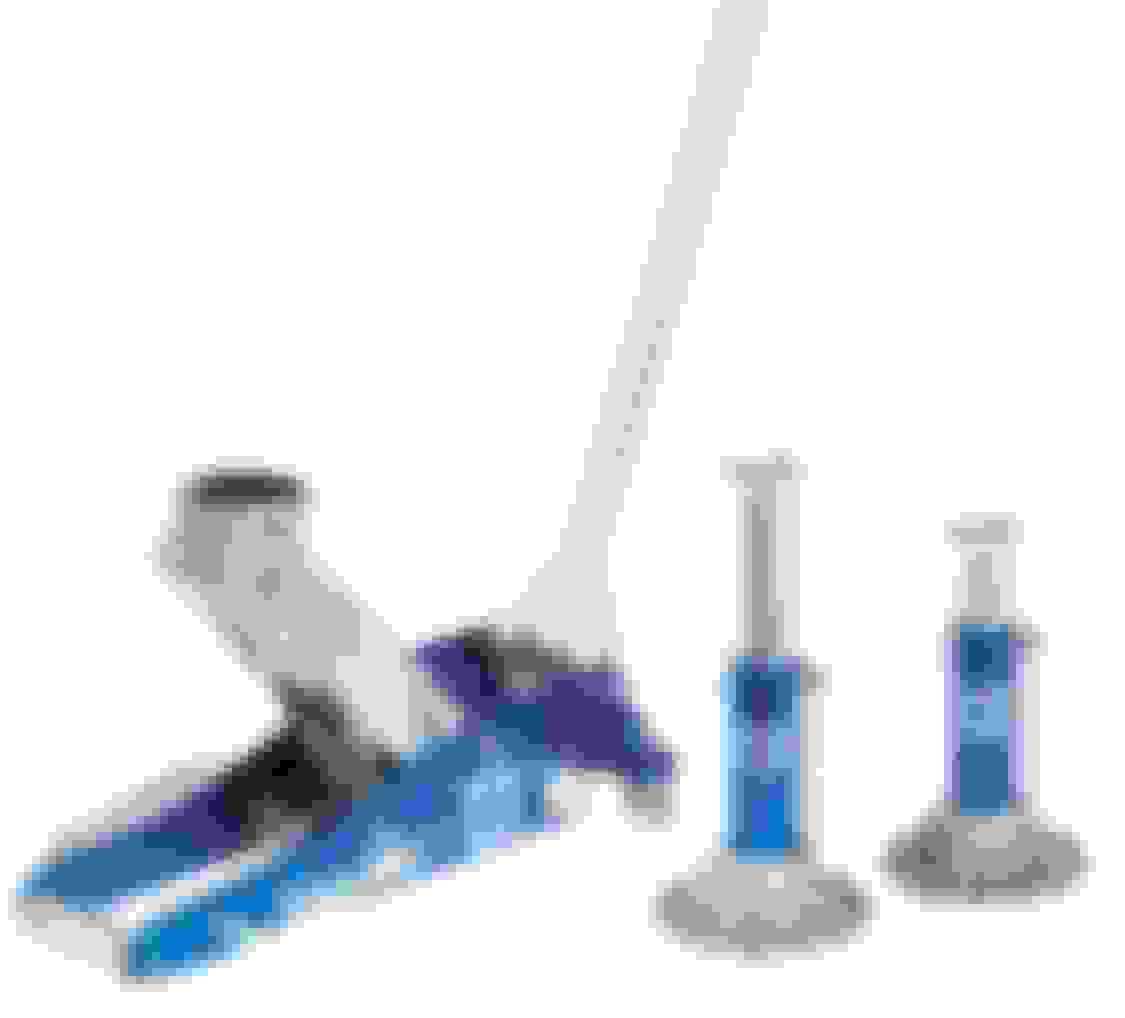
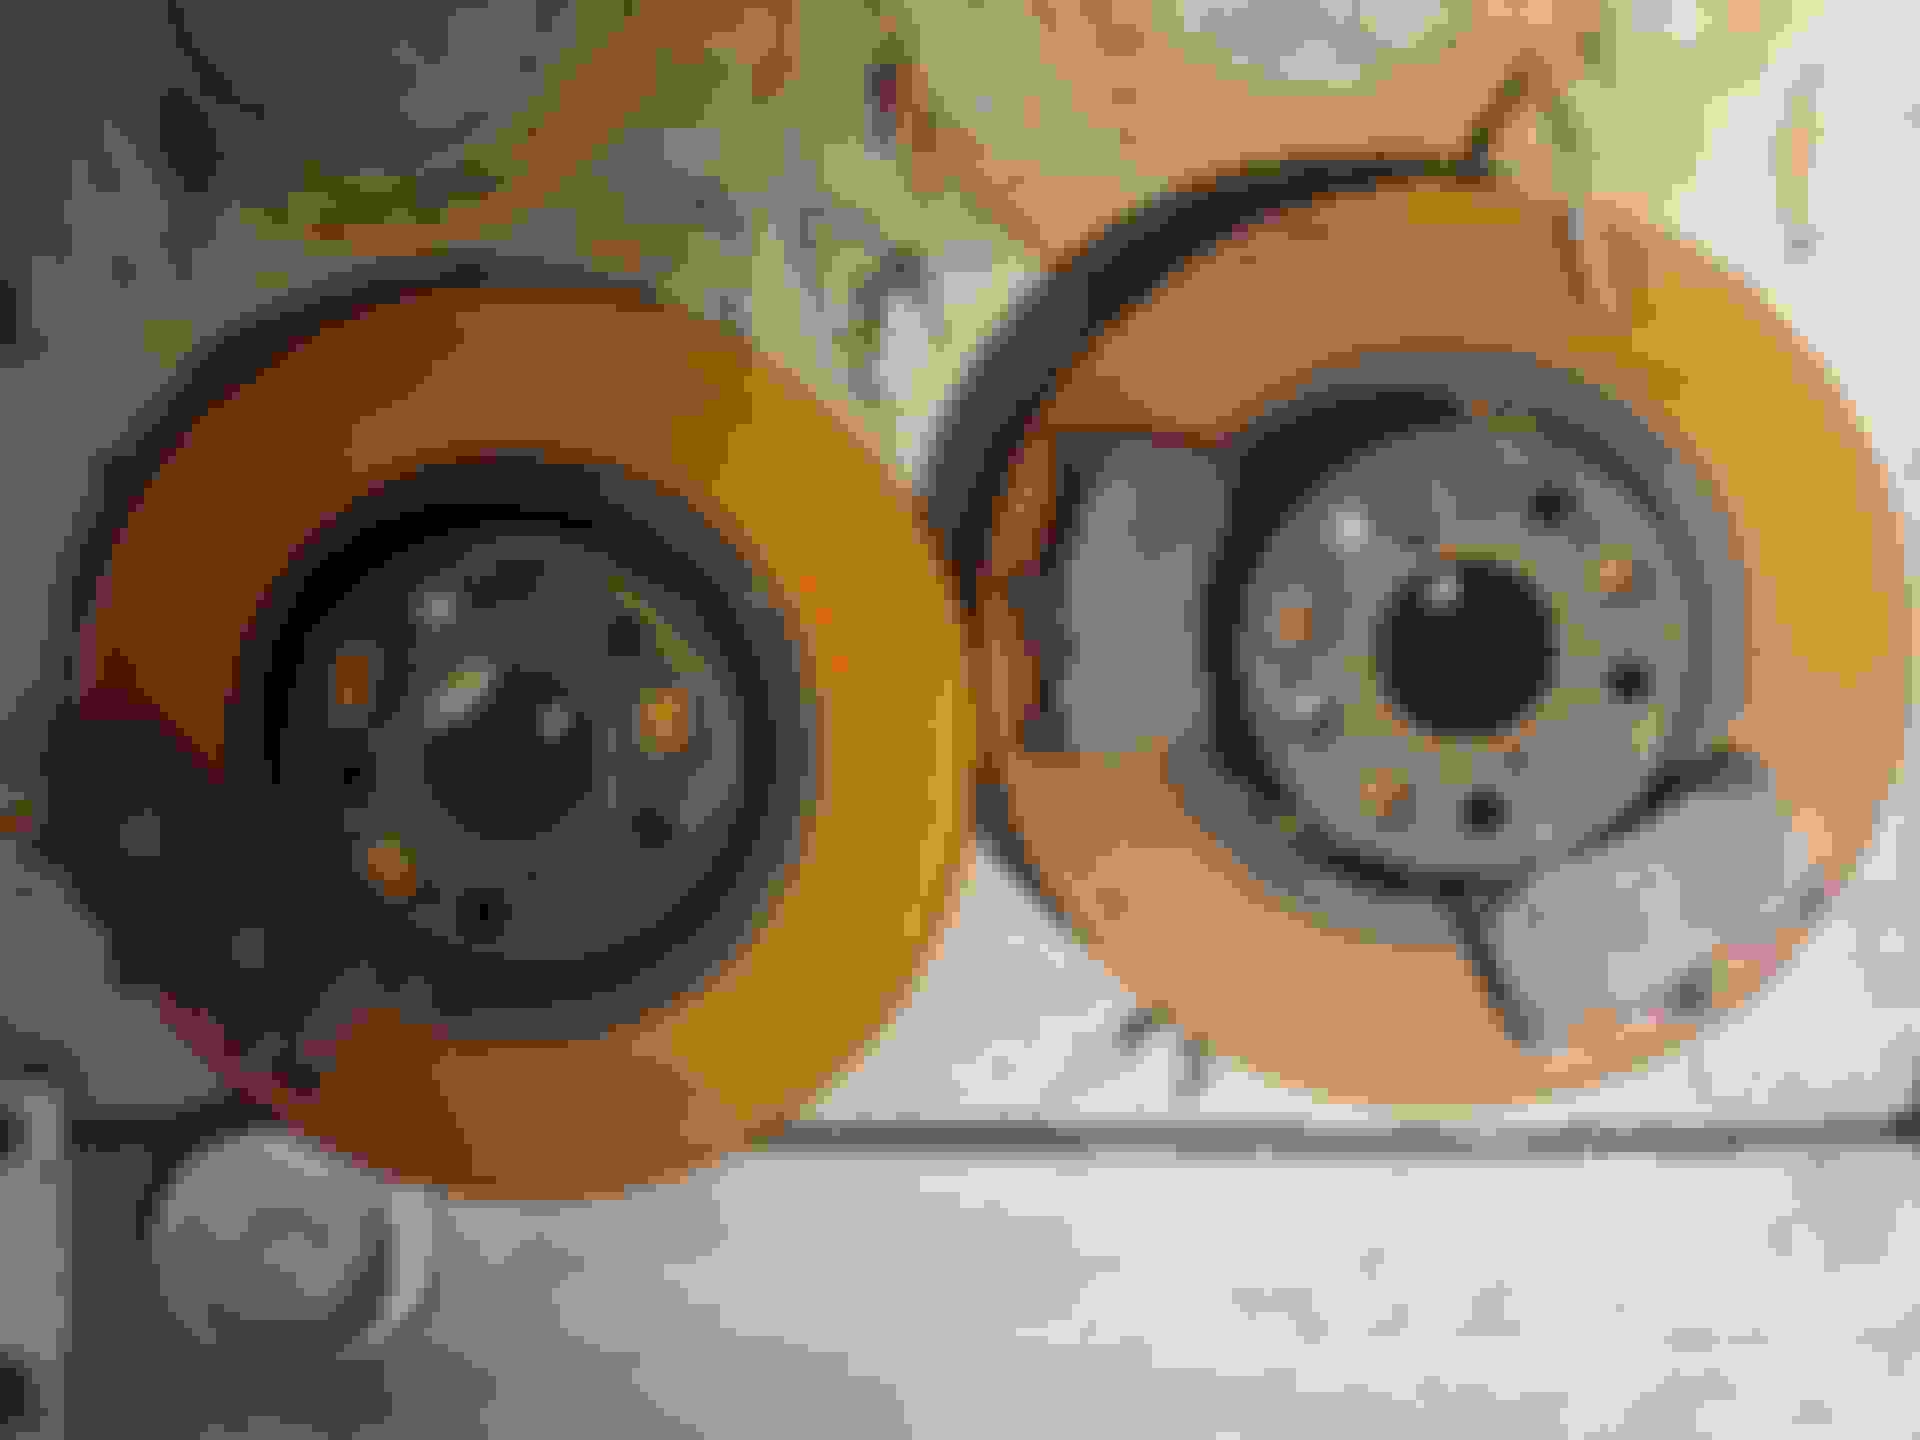
I used to use the slotted silicone rubber puck in the photo above, but I found that it was too large, and often fell off the smaller square mount on my jack stands.
When I cut it to size, I found that the pinch welds on the underside of the door sills cut through the slot, and split the silicone rubber puck in half.
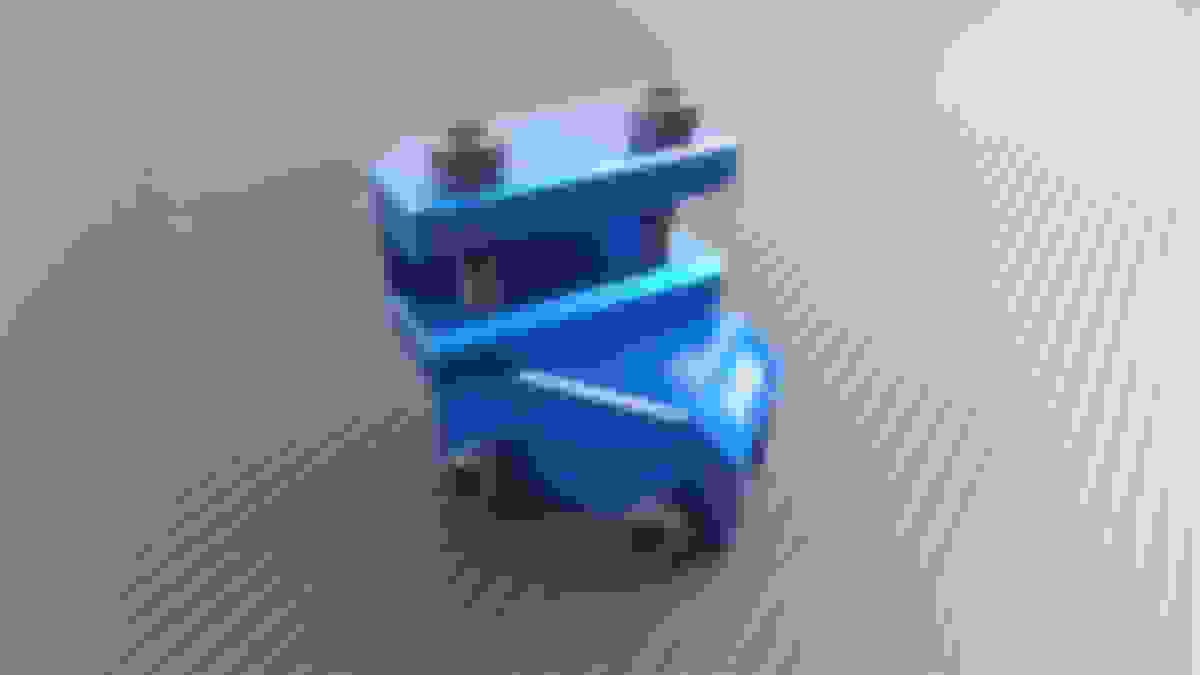
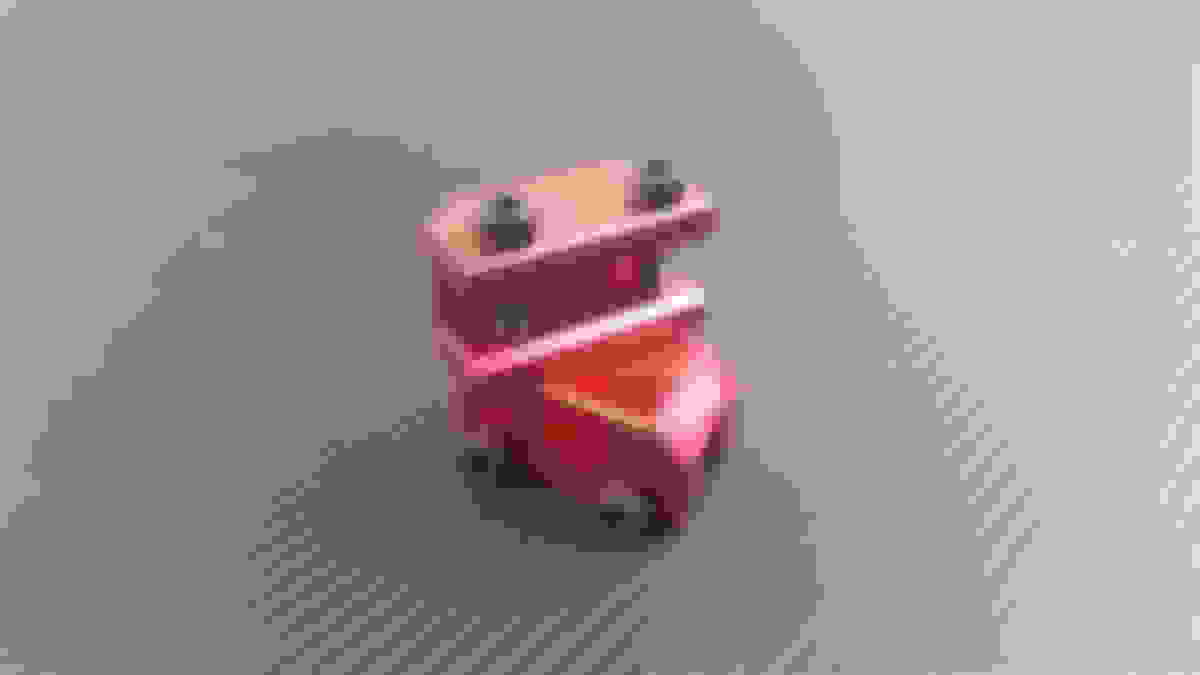
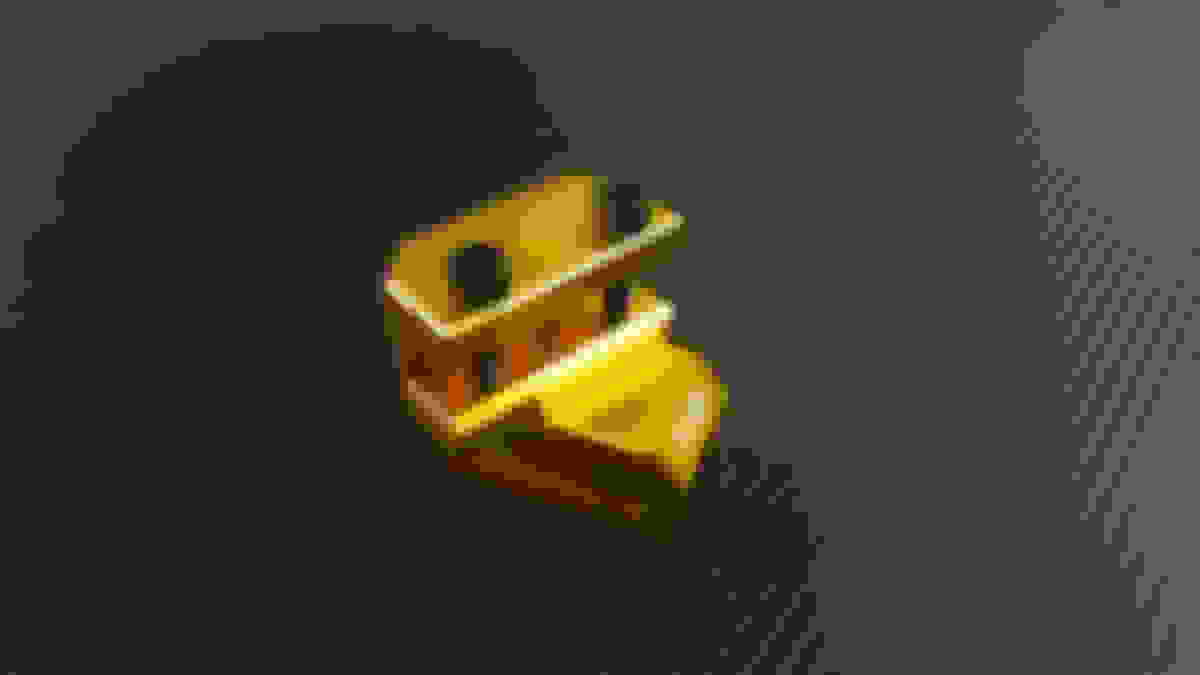
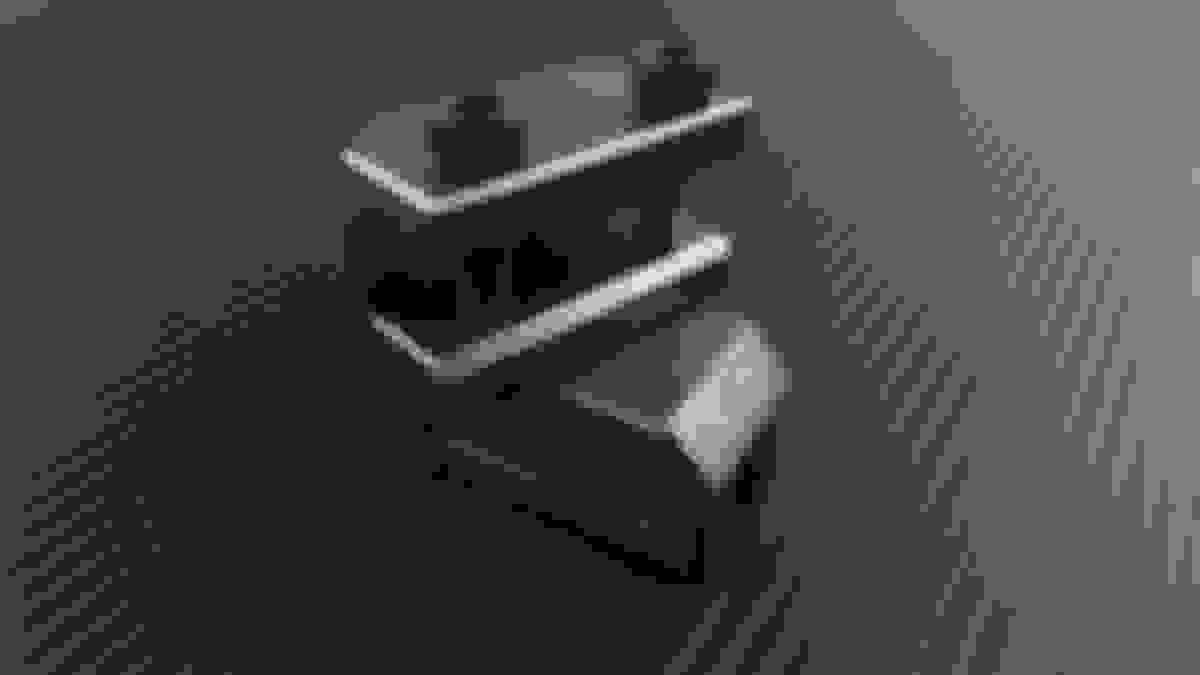
Then I purchased four (4) blue anodized aluminium rectangular pinch weld adaptors, with twin screw attachments.
They fit precisely onto the small square heads of my four (4) blue anodized aluminium jack stands.
I lift all four wheels off the ground to do quick DIY wheel rotations.
I recommend you buy these for very quick wheel removal!
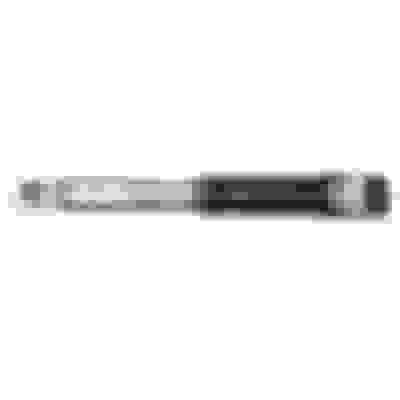
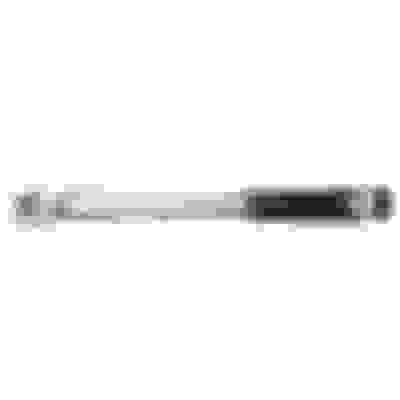
I use precise torque settings to tighten brake caliper and wheel bolts to manufacturer torque specifications.
Torque wrenches with 1/4, 3/8 and 1/2" head sizes.
Cold steel is harder, but it oxidizes very quickly...
I use an aluminium hydraulic jack applied to the front cross member to raise the front end, and then slot two aluminium jack stands under the front left and right door sill pinch welds.
I then apply the hydraulic jack to the rear differential to raise the rear end, and then slot another two jack stands under the rear left and rear right door sill pinch welds.
I used to use the slotted silicone rubber puck in the photo above, but I found that it was too large, and often fell off the smaller square mount on my jack stands.
When I cut it to size, I found that the pinch welds on the underside of the door sills cut through the slot, and split the silicone rubber puck in half.
Then I purchased four (4) blue anodized aluminium rectangular pinch weld adaptors, with twin screw attachments.
They fit precisely onto the small square heads of my four (4) blue anodized aluminium jack stands.
I lift all four wheels off the ground to do quick DIY wheel rotations.
I recommend you buy these for very quick wheel removal!
I use precise torque settings to tighten brake caliper and wheel bolts to manufacturer torque specifications.
Torque wrenches with 1/4, 3/8 and 1/2" head sizes.
Cold steel is harder, but it oxidizes very quickly...
That was seemlingly extremely expensive tools for something as simple as a wheel change....
I wouldn't want to see your tools bill for removing a transmission or similar....
Guys seriously.
It's not about the tools you have. It's never about the tools you have.
It's about your attitude.
I have very limited tools. Yet I've built a 1963 Austin A40 Farina from the ground up, restored all running parts on a 1971 Ford Ranchero and I've completely torn apart my foxbody Thunderbird for a ground up restoration.
Using what tools? I've seriously drilled out hundreds of pinch welds using a corded drill that's excentric as hell and sounds like you've thrown a handfull of gravel into your valvetrain.
Yes, they are nice tools.
They weren't that expensive.
I just enjoy myself.
I just do it for the love of it.
That was seemlingly extremely expensive tools for something as simple as a wheel change....
I wouldn't want to see your tools bill for removing a transmission or similar....
Guys seriously.
It's not about the tools you have. It's never about the tools you have.
It's about your attitude.
Two summer/winter tire changeovers for 4 cars per year, sometimes 2-3 more cars for friends.
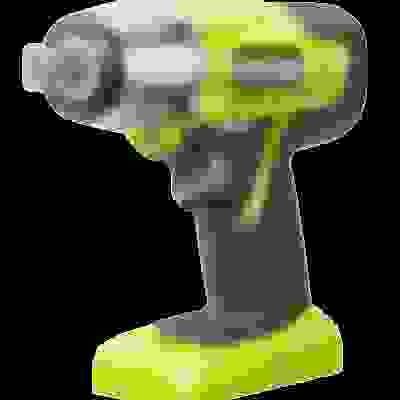
Used to do it all by hand, but spent $200 on a cordless impact/sockets few years ago - never looked back.
I save at least 15minutes per car, and my back thanks me every time.
 09-15-20, 07:09 PM