When you click on links to various merchants on this site and make a purchase, this can result in this site earning a commission. Affiliate programs and affiliations include, but are not limited to, the eBay Partner Network.
This is a half-assed DIY as someone told me to write one up while I was already half way through.
I got the Blackvue DR590X-1CH camera and also bought the hardwire kit from thedashcamstore.com. The hardwire kit was nice also pricey, but came with the fuses and the add-a-circuit kits with detailed instructions.
Tools needed:
Interior Pry Tool
Screwdriver, both
Wire crimpers
Needle nose pliers
10mm socket
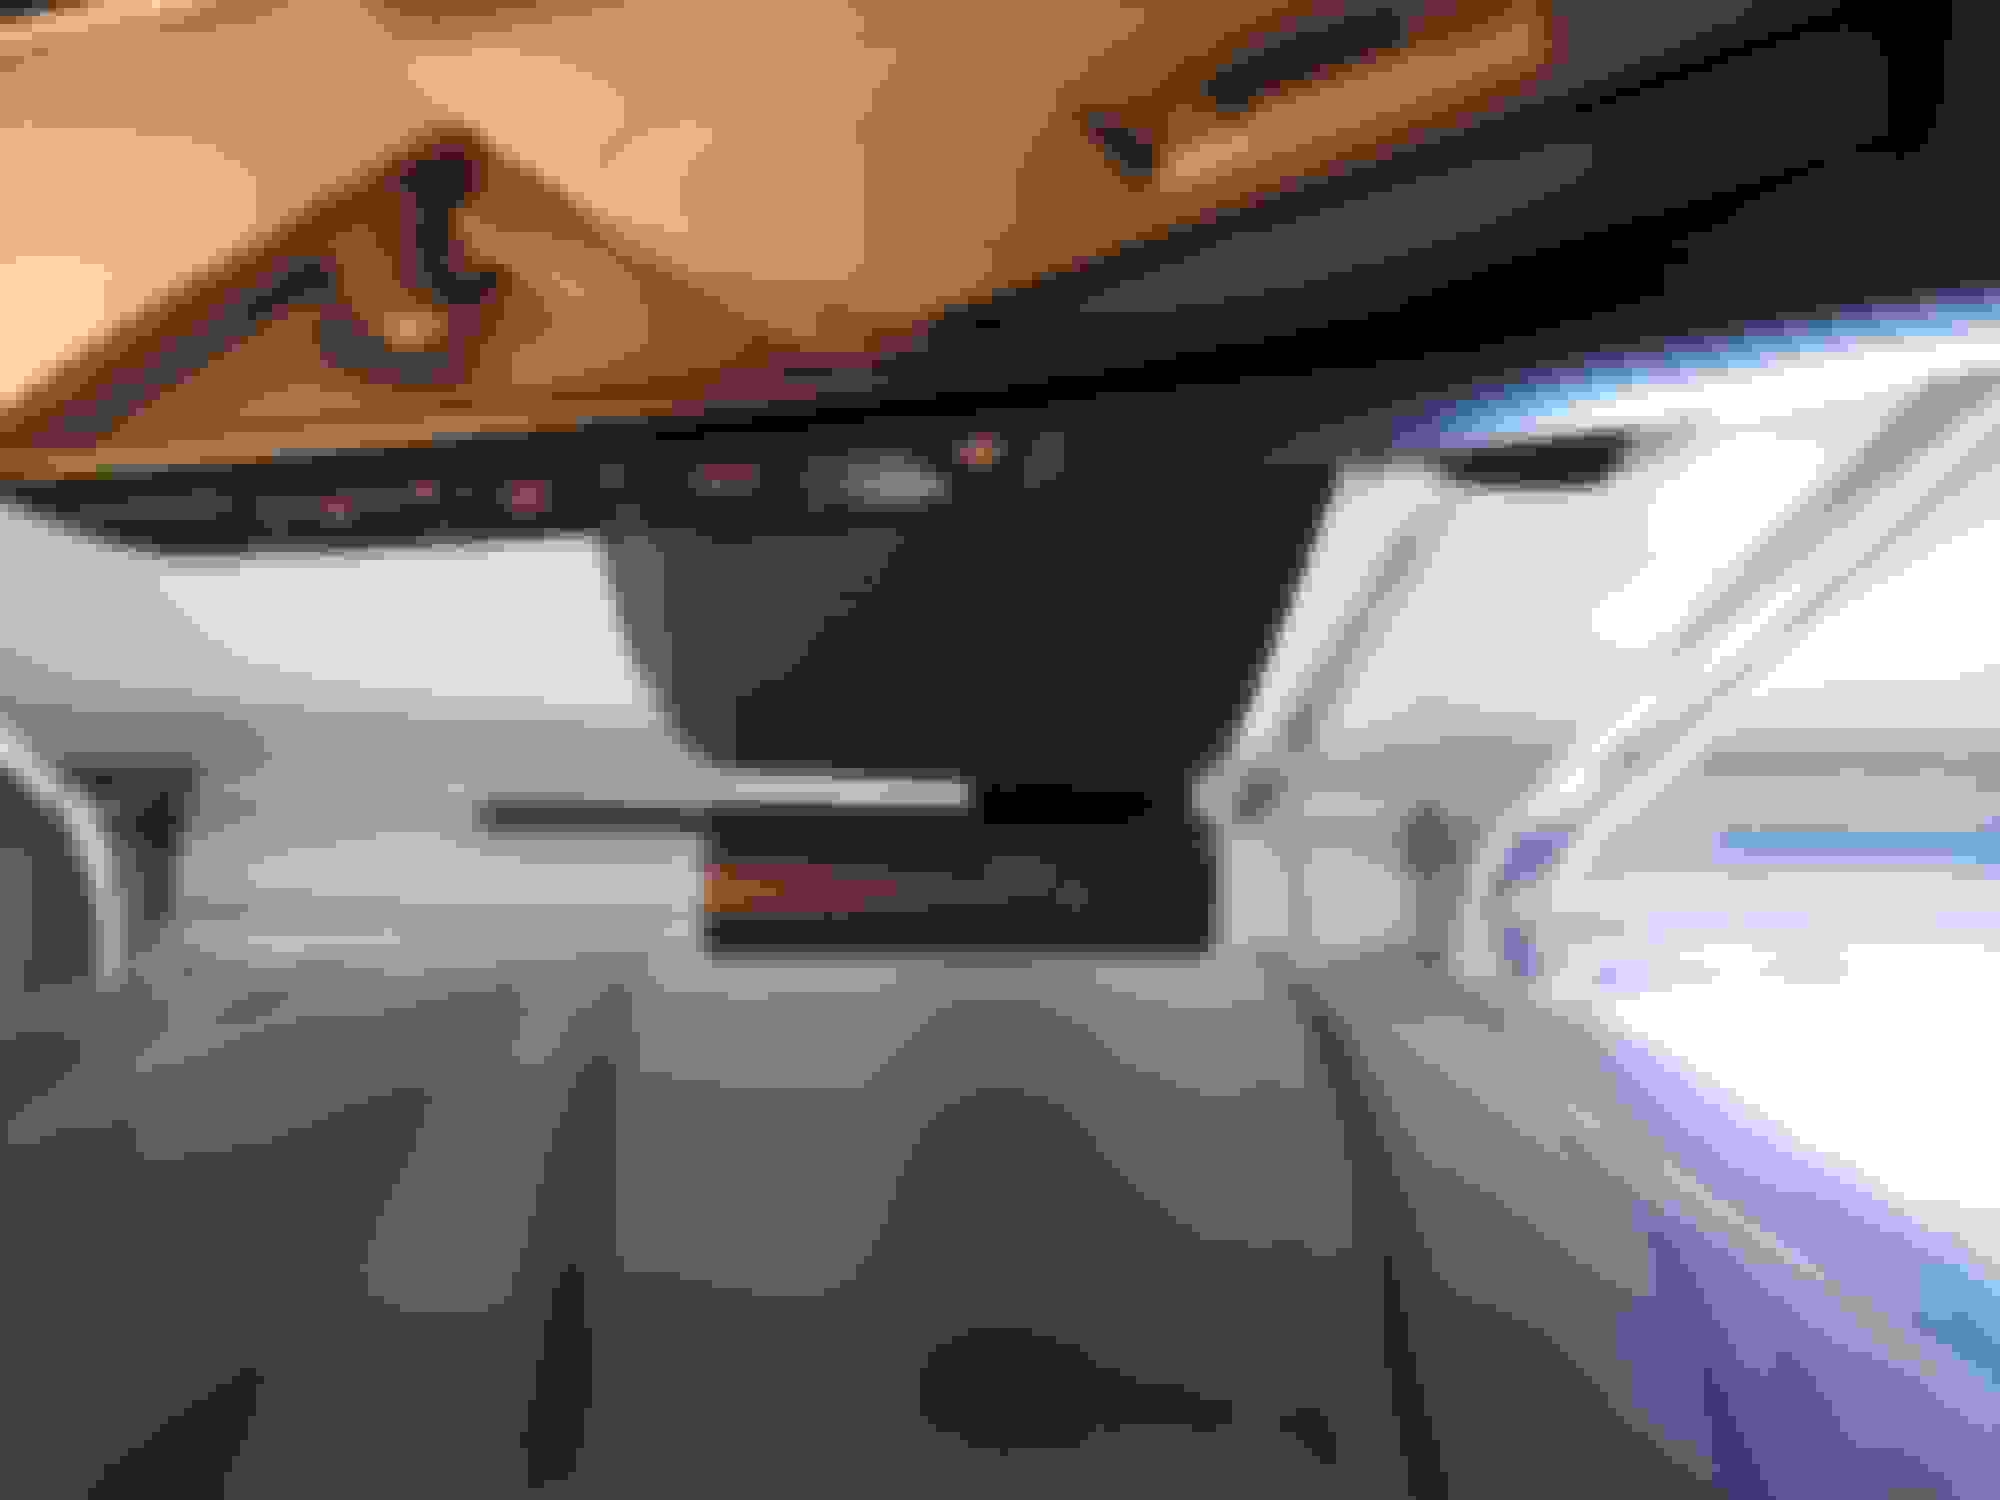
I positioned the dashcam under the rearview mirror assembly as shown below. It comes with a sticky tape, holds really well. Probably clean up the windshield a bit so it sticks better. I just got right to it, oops. Oh and at this point I realized I should probably disconnect the battery. Make sure the front seat is all the way back too before disconnecting the battery. You need the room to reach the fuse box under the steering wheel.
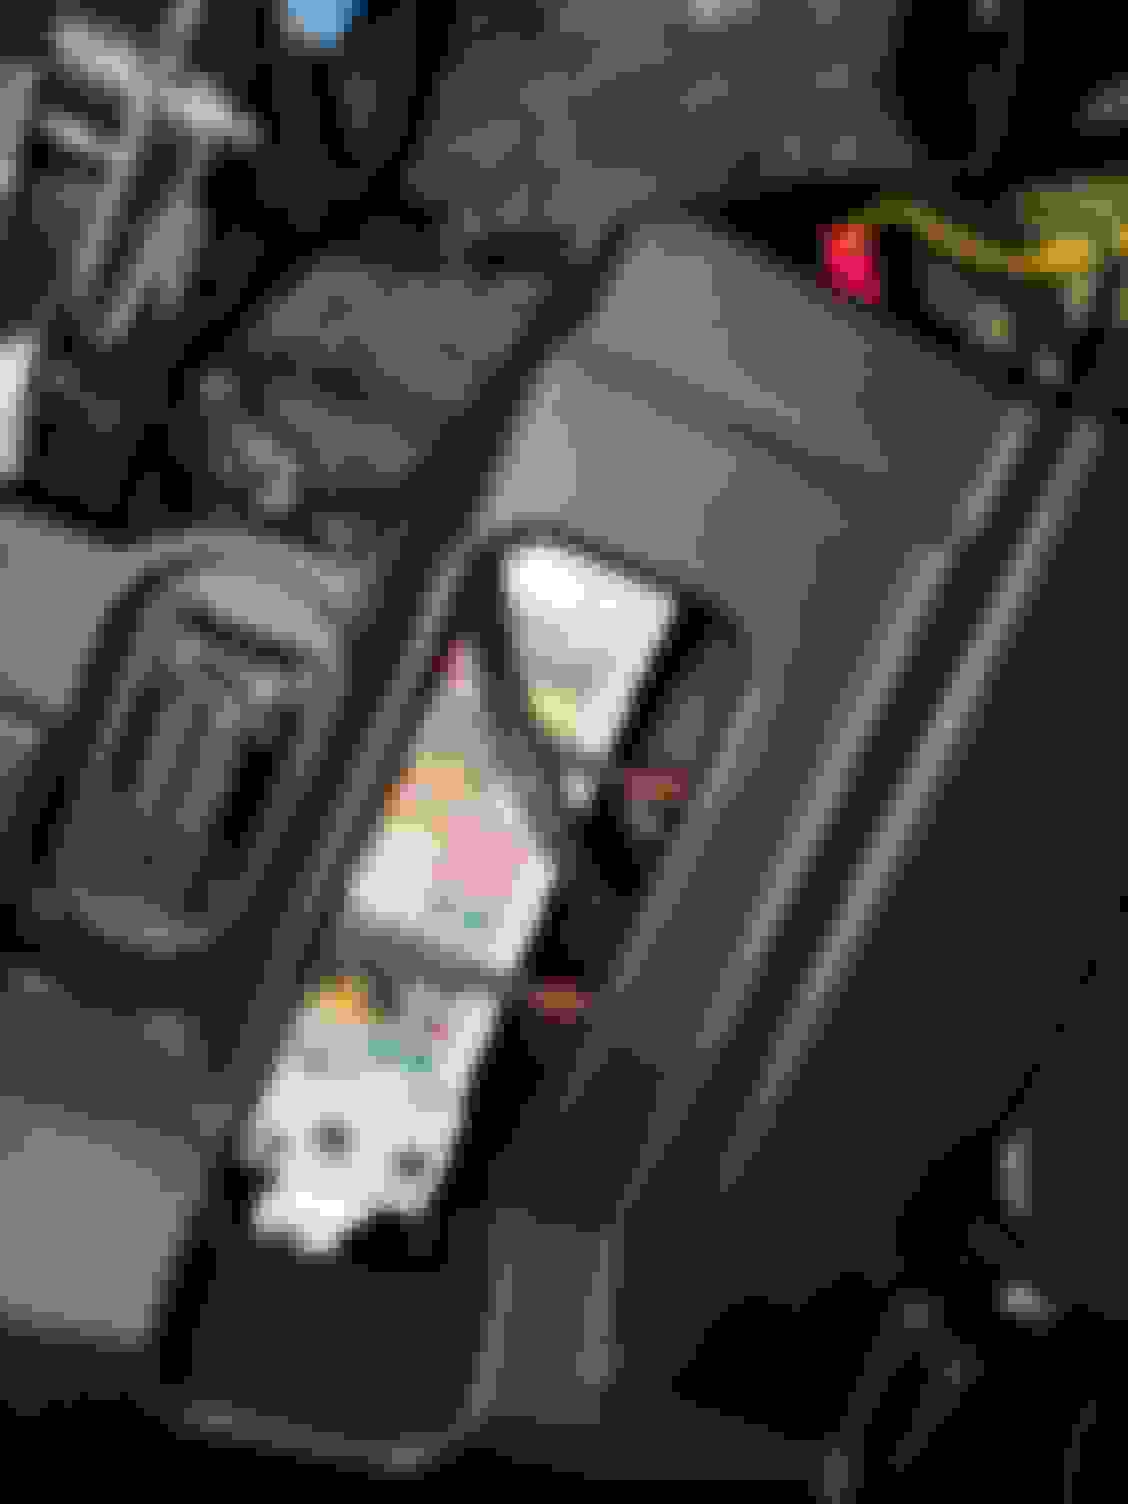
Ok, moving on to the wiring and fuses. I used the driver side fuse box because I'm already tapped into the passenger side box for my air suspension. The instructions say you need a constant power source and an accessory only power source. I used the power seat fuse for the constant power, it's a 30 amp. Then I used the windshield wiper for the accessory power fuse, 5 amp. Remove those fuses and put them into the add-a-circuit into the spot closest to the plug prongs. Take your included 5 amp fuses and put them into the other plug in spot. There is a fuse box diagram floating around. Lexus was also nice enough to label the fuse box cover you too.
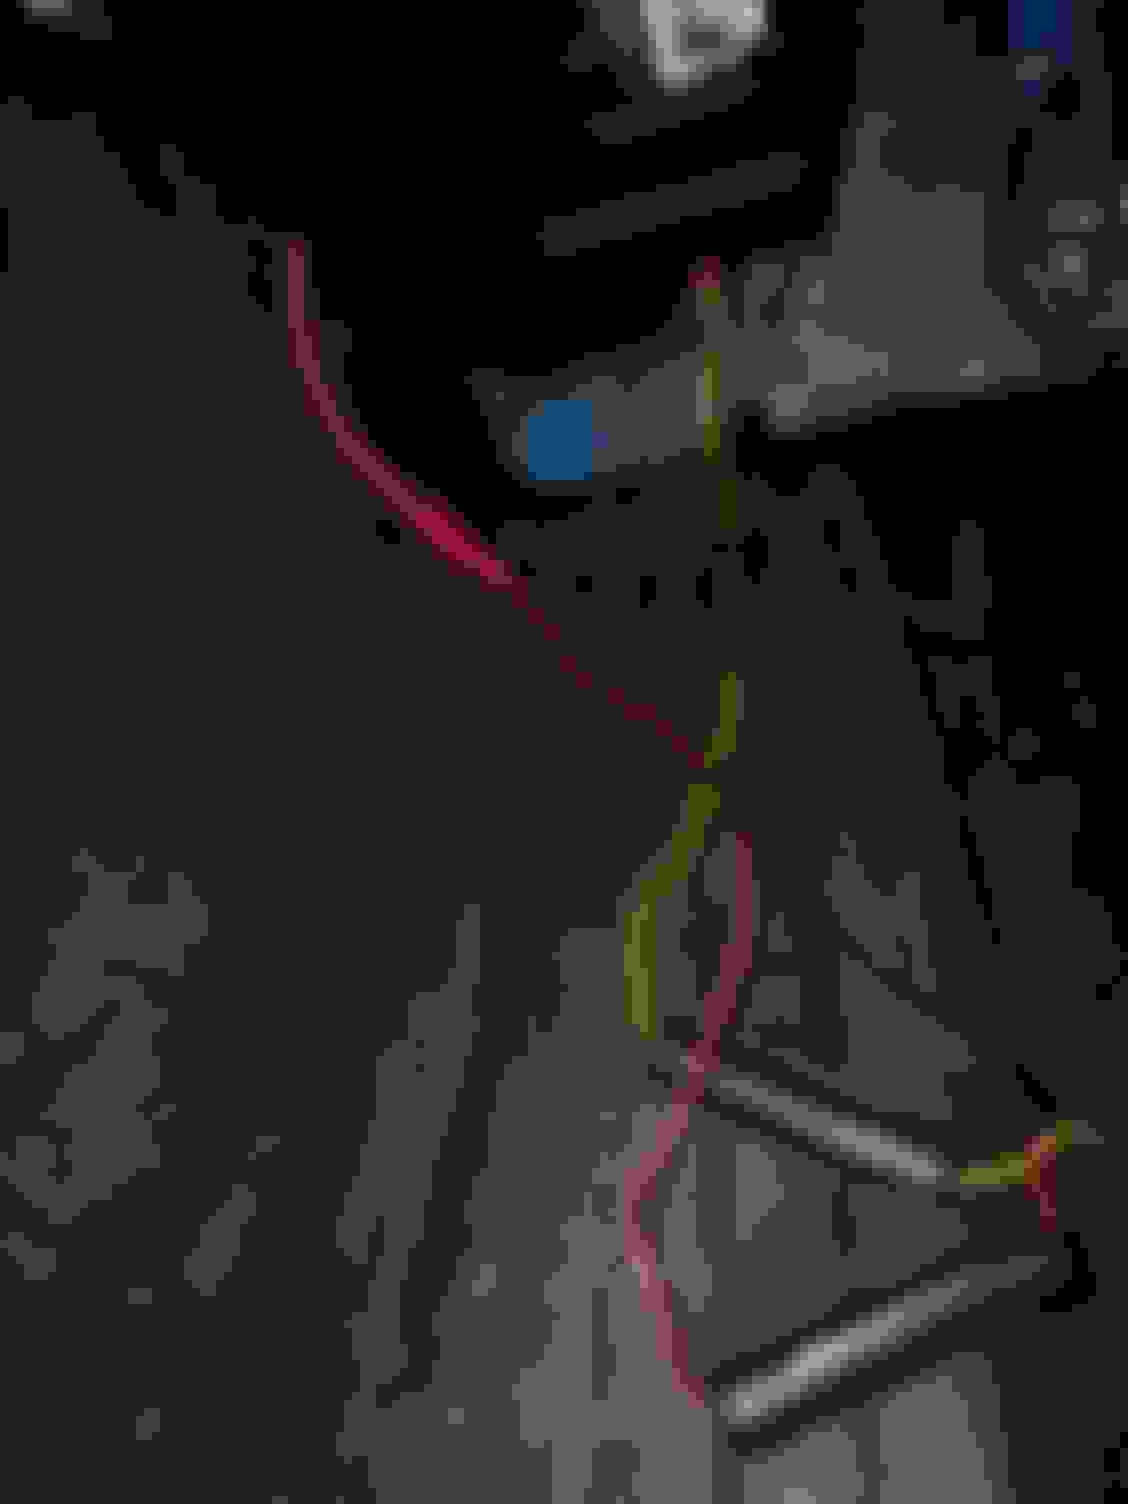
Now you can go ahead and crimp these add-a-fuses to the wiring harness. Pretty simple and the wires are already pre stripped and labeled. So make sure you connect the battery wire to the constant source and the ACC wire to your accessory source. Now you need to find a ground. There's a 10mm bolt that holds the fuse box to the chassis. That's show below at the top of the photo along with the crimped wires. Probably easier to crimp the wires prior to plugging them into the fuse box.
Your wiring is complete! Super easy and took me 15 minutes including research time. You should knock it out in less than 10. I'm timing you.
Now connect the battery again, make sure your power seat still works. If it doesn't, your fuse is installed improperly and you may need a new fuse if it popped. Start the car and make sure the dashcam works and your wipers work too. I turned off the recording while car is off feature. It scares me but it does say it will cut power if the battery falls below a threshold. Maybe one day I'll turn it back on. It's my wife's car and I don't want her to be stranded because the battery died.
So, once everything is operable, it's time to hide these wires and cables. I started at the fuse box to map out my route before tightened up the slack. Shown below, the door sills just pop straight up. Use a pry tool but I didn't need one. I'm also used to pulling these puppies off from running my air lines. Next, the little black trim piece with the door seal also just pulls out of the way. You can now run the cable through here.
Next is the A pillar. Hardest part of the install. Almost forgot to tell you to undo the battery again. You don't want to risk upsetting the side curtain airbag during this step. I tried to shove the cable into this pillar without removing it, and it just wasn't happening.
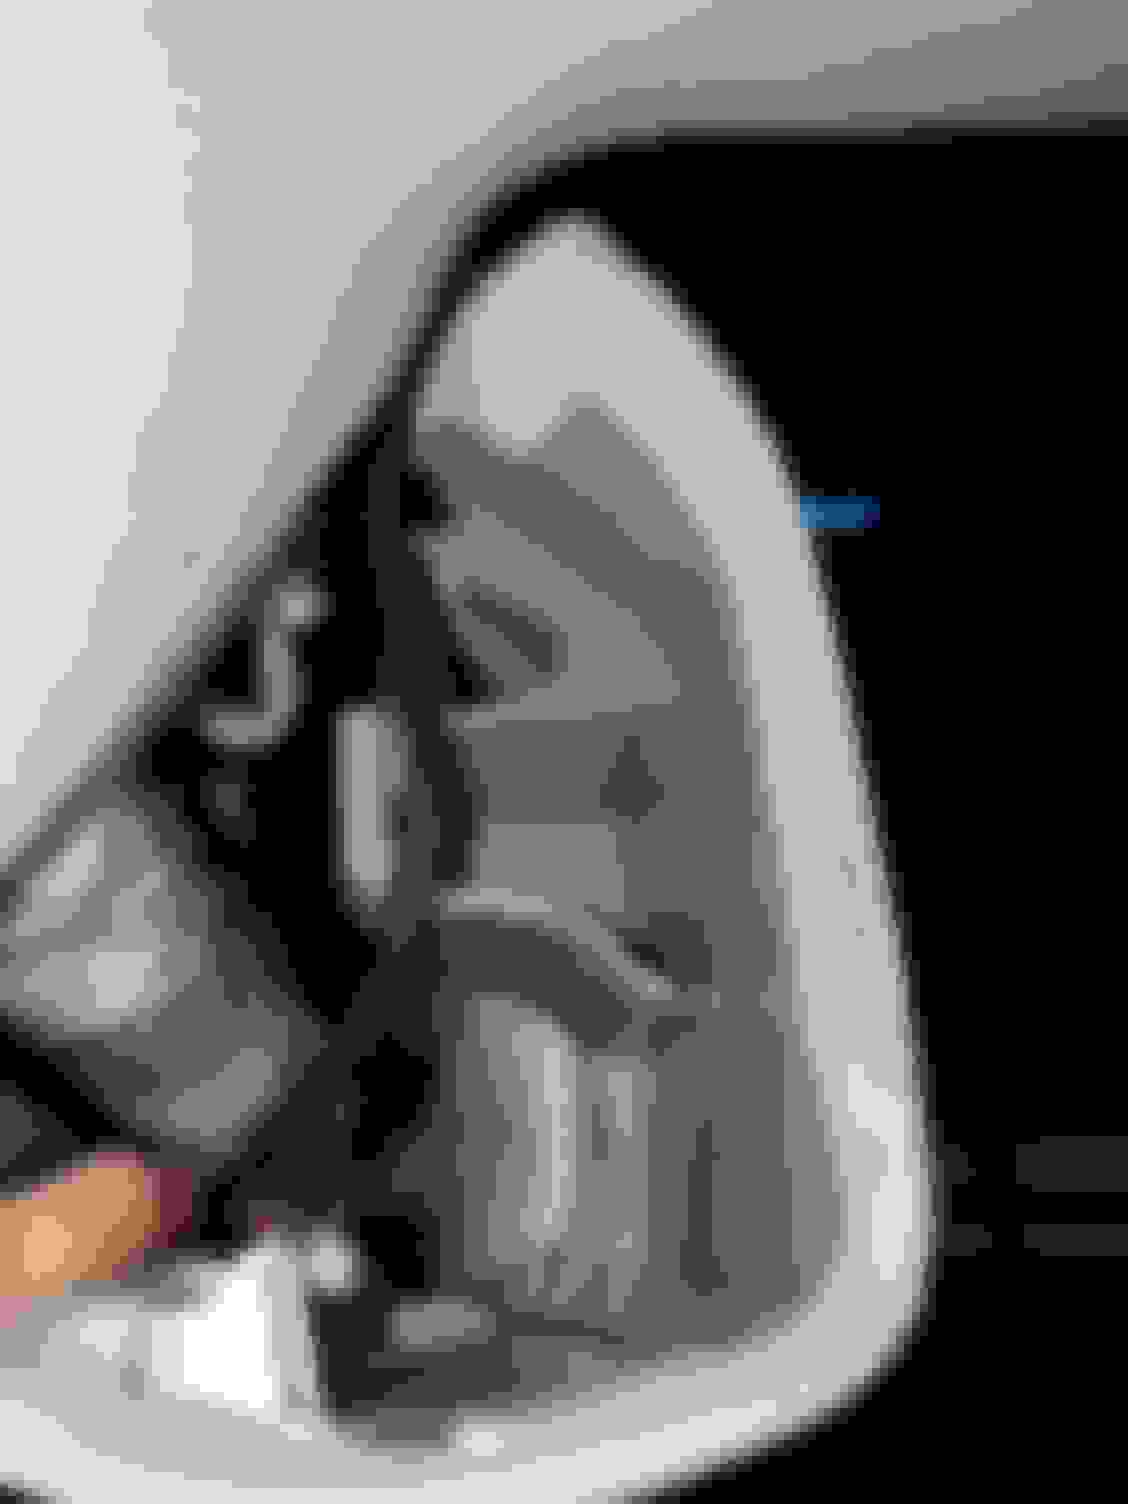
Starting at the top of the A pillar, pry a gap to get your fingers in and pull away to get the upper clip to pop. These clips are hanging clips. I made up that name but you'll see why. Once it pops, the clip holds the A pillar. I may have been able to run the cable without having to disconnect this clip completely. I would try that. It involves some finesse at the bottom because it'll still be somewhat attached.
If you can't work it, here's how your remove the hanging clip. You'll use needle nose pliers, grab the head of the clip shown below, and rotate 90 degrees. This will force the head to line up with the slot and thus releasing the A pillar. Now there is one more in the middle of the A pillar cover that looks absolutely impossible. I did not remove this one and I strongly suggest you leave it alone as well.
Run your cable up from the bottom of the door sill and into the A pillar. You'll need to pry a bit to free up some room at the bottom of the A pillar cover.
Run it under this clip.
And up the A pillar.
And out the top.
Wow this picture sucks but you can stuff it into the headliner all the way to the camera. The kit also came with some clips you can stick on the window.
Now that the cable is ran. Tighten up all the slack and start clipping everything back to place. I ziptied the extra slack and stuffed it behind the fuse box. Not really shown but trust me, that's what I did.
I hope this helps. I know it is missing some pictures, but I can always provide help if you need it. Shameless plug, I made a cheesy time warp video of the first half of the install. It is located on my Instagram which is referenced in my signature. I appreciate the follows.
 12-05-20, 08:40 AM