When you click on links to various merchants on this site and make a purchase, this can result in this site earning a commission. Affiliate programs and affiliations include, but are not limited to, the eBay Partner Network.
So what's the verdict on whether these are actual carbon fiber pieces? I have heard conflicting information.
I called a local body shop and they said since it is cracking it is no longer just clear coat but rather resin repair which is needed which they cannot do. Does anyone know a reputable shop (preferably in NJ) who can do a simple resin repair if I take these pieces off? Seriously, I can just peel the rest off with my finger now.
Otherwise I guess the only other option is replacement from Lexus... Which I'm sure will be cost effective... /s
I've been considering just doing a gloss carbon wrap since most of this carbon fiber work that's done on the interior is just an overlay on the plastic anyways.
I made a video a couple months ago on how to refinish. The pieces are definitely carbon, pretty easy to remove the flaking coat on it and then re-clear. Also I think it's more cold related than heat. My car is originally from Miami and now south Texas since 2022. Was fine until it went below freezing last winter.
I made a video a couple months ago on how to refinish. The pieces are definitely carbon, pretty easy to remove the flaking coat on it and then re-clear. Also I think it's more cold related than heat. My car is originally from Miami and now south Texas since 2022. Was fine until it went below freezing last winter. https://www.youtube.com/watch?v=LS-JnraUBQw
Nice job that looks great. I had no idea the old stuff would come off that easily. Makes sense why so many of us have issues with it de laminating.
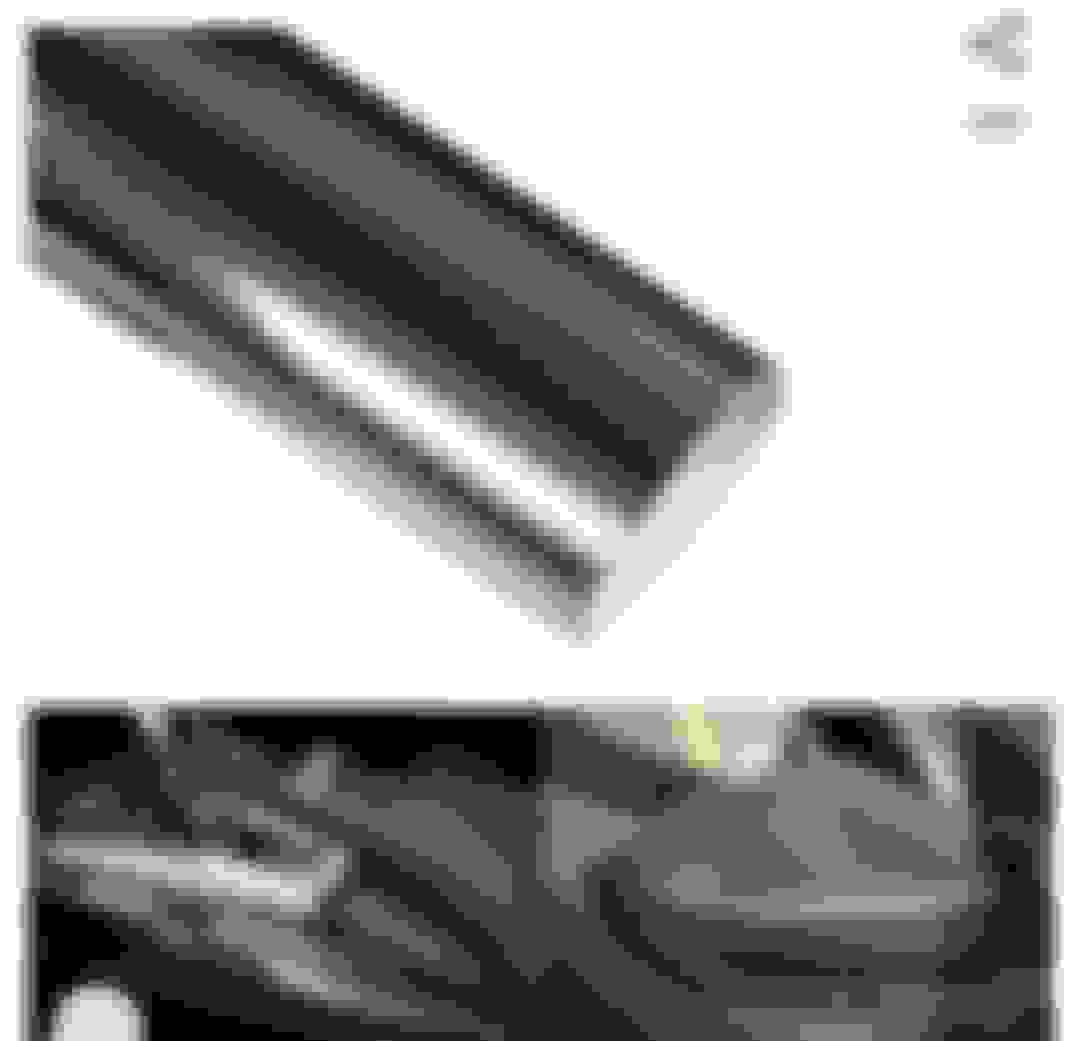
I just wanted to pitch in here. I took on this project over the weekend after ordering the clearcoat and some PPE gear. I saw on the bottle that it contains isocyanates and that you shouldn't touch or breathe it so each time I went to spray I had to put on full gear with goggles and paint respirator. Overkill? Maybe not if you weigh it against cancer. Anyway, after spraying the first piece (drivers side dash) I realized I totally activated the bottle wrong because I watched another video with a guy spraying his guitar and all he had on was a paint respirator! You are supposed to press the button on the bottom and shake for 2 minutes WITH the button pressed- oops! I had only pressed the button briefly for the 1st piece coat. The first piece came out more glossy while the second piece looks more matte. The second piece is after I activated it for 2 minutes while shaking. Anyway, here it is- my 2 pieces before and after coating.
Pieces before coating.
I have to say, getting the passengers side off was a pain. There's not much on the subject but it was almost NOT worth doing. Why? First off you have to remove a bunch of pieces on the dash in order to get to it. Second, unless your piece is mostly delaminated you will have a hard time getting the rest off.
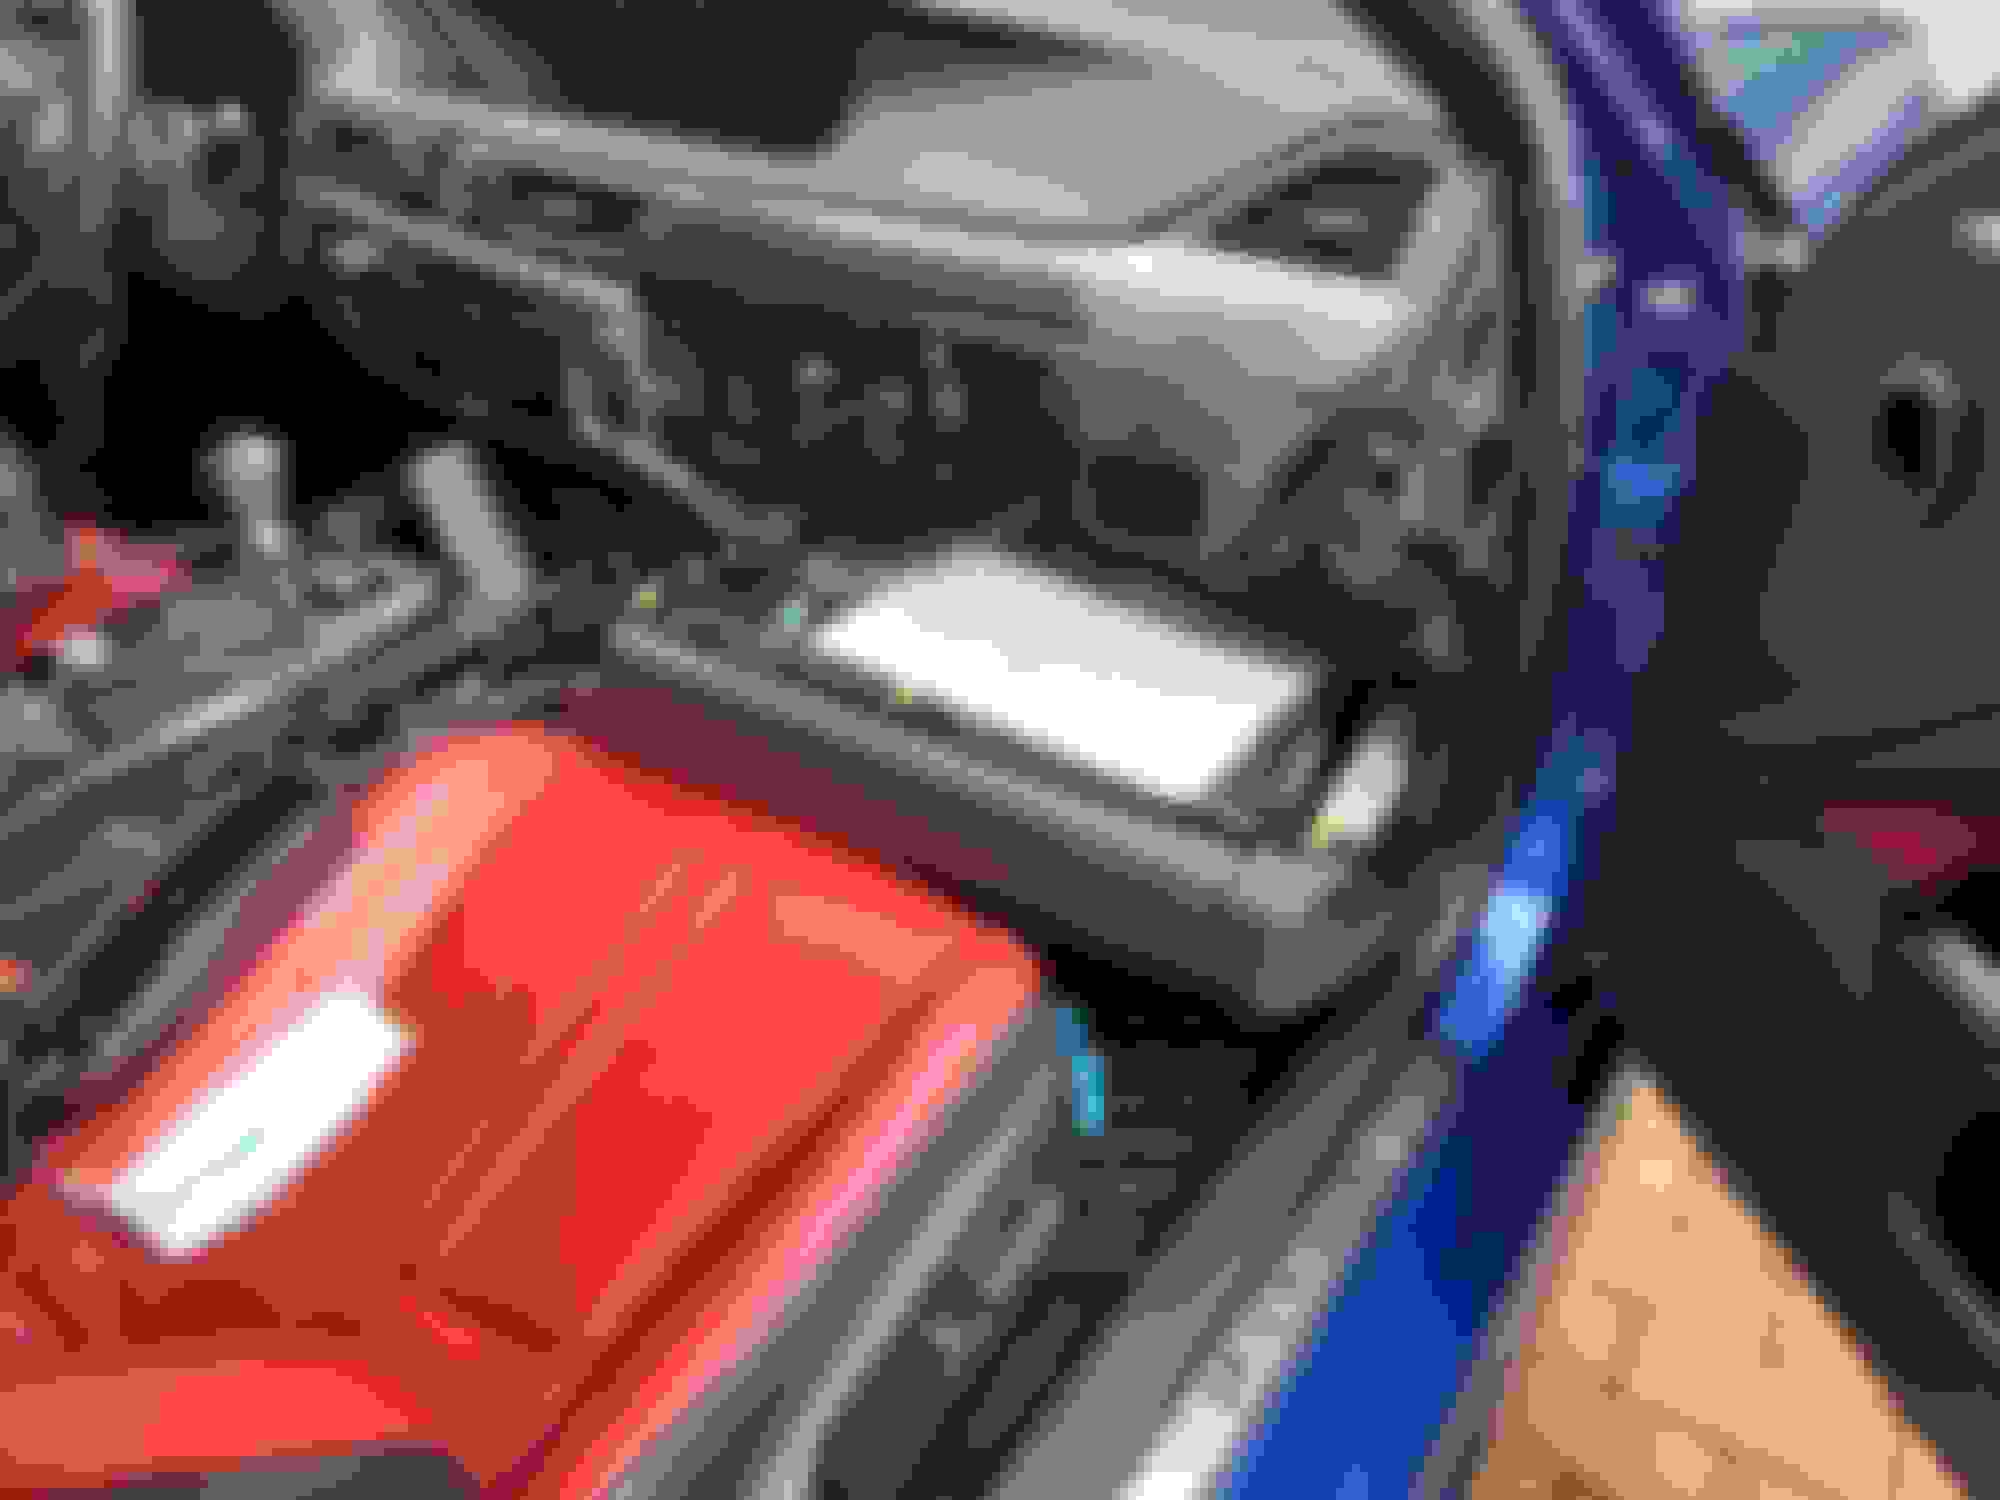
To get the dash piece off I think you have to remove: drivers and passenger side trim next to the shift boot, center console trim, passenger vent trim on the side, remove the glove box, unscrew the TWO screws with arrows pointing at them from the bottom. From there you SHOULD be able to pull the trim off but I couldn't so I ended up disconnecting the passengers side A/C wire and disconnected the whole unit. When re-assembling I left a screw off which I felt needed to be left off for future trim removal. Here it is:
Everything that had to be removed to get the trim out. This process is very similar to the beatsonic install so no tabs were broken! I removed all the screws behind the trim but there was one that's inaccessible which still held it on, so I decided to just remove everything with the A/C blower. I'm glad I did because it was a nightmare trying to find where it was stuck.
Taking the rest of the resin off of the passenger dash piece was a lot more challenging than I thought. When taking it off you can easily remove the loosened pieces with your finger. The closer I got to the "good" end the harder it was to remove, even with a plastic razor. You have to go very slowly and be careful not to scrape your skin off in the process. After realizing it wasn't coming off which was about 50% I decided to try putting it in the freezer before giving up. I was painting the drivers side dash during this time so I would periodically check on it and it turns out putting it in the cold actually accelerates the process at the edges! When I opened the freezer I literally saw the pieces delaminating from the trim and even got it on video. However, it was a repetitive process of scraping the resin with a plastic razor and putting it back into the freezer. I think I went through 5 plastic razors and put it in the freezer 8 times. Towards the end it wasn't working as well so I had to use an air blaster inverted in order to supercool the last bits starting at around here.
Freezing it in the freezer only got me this far. I had to really work hard to get the last bit of resin off.
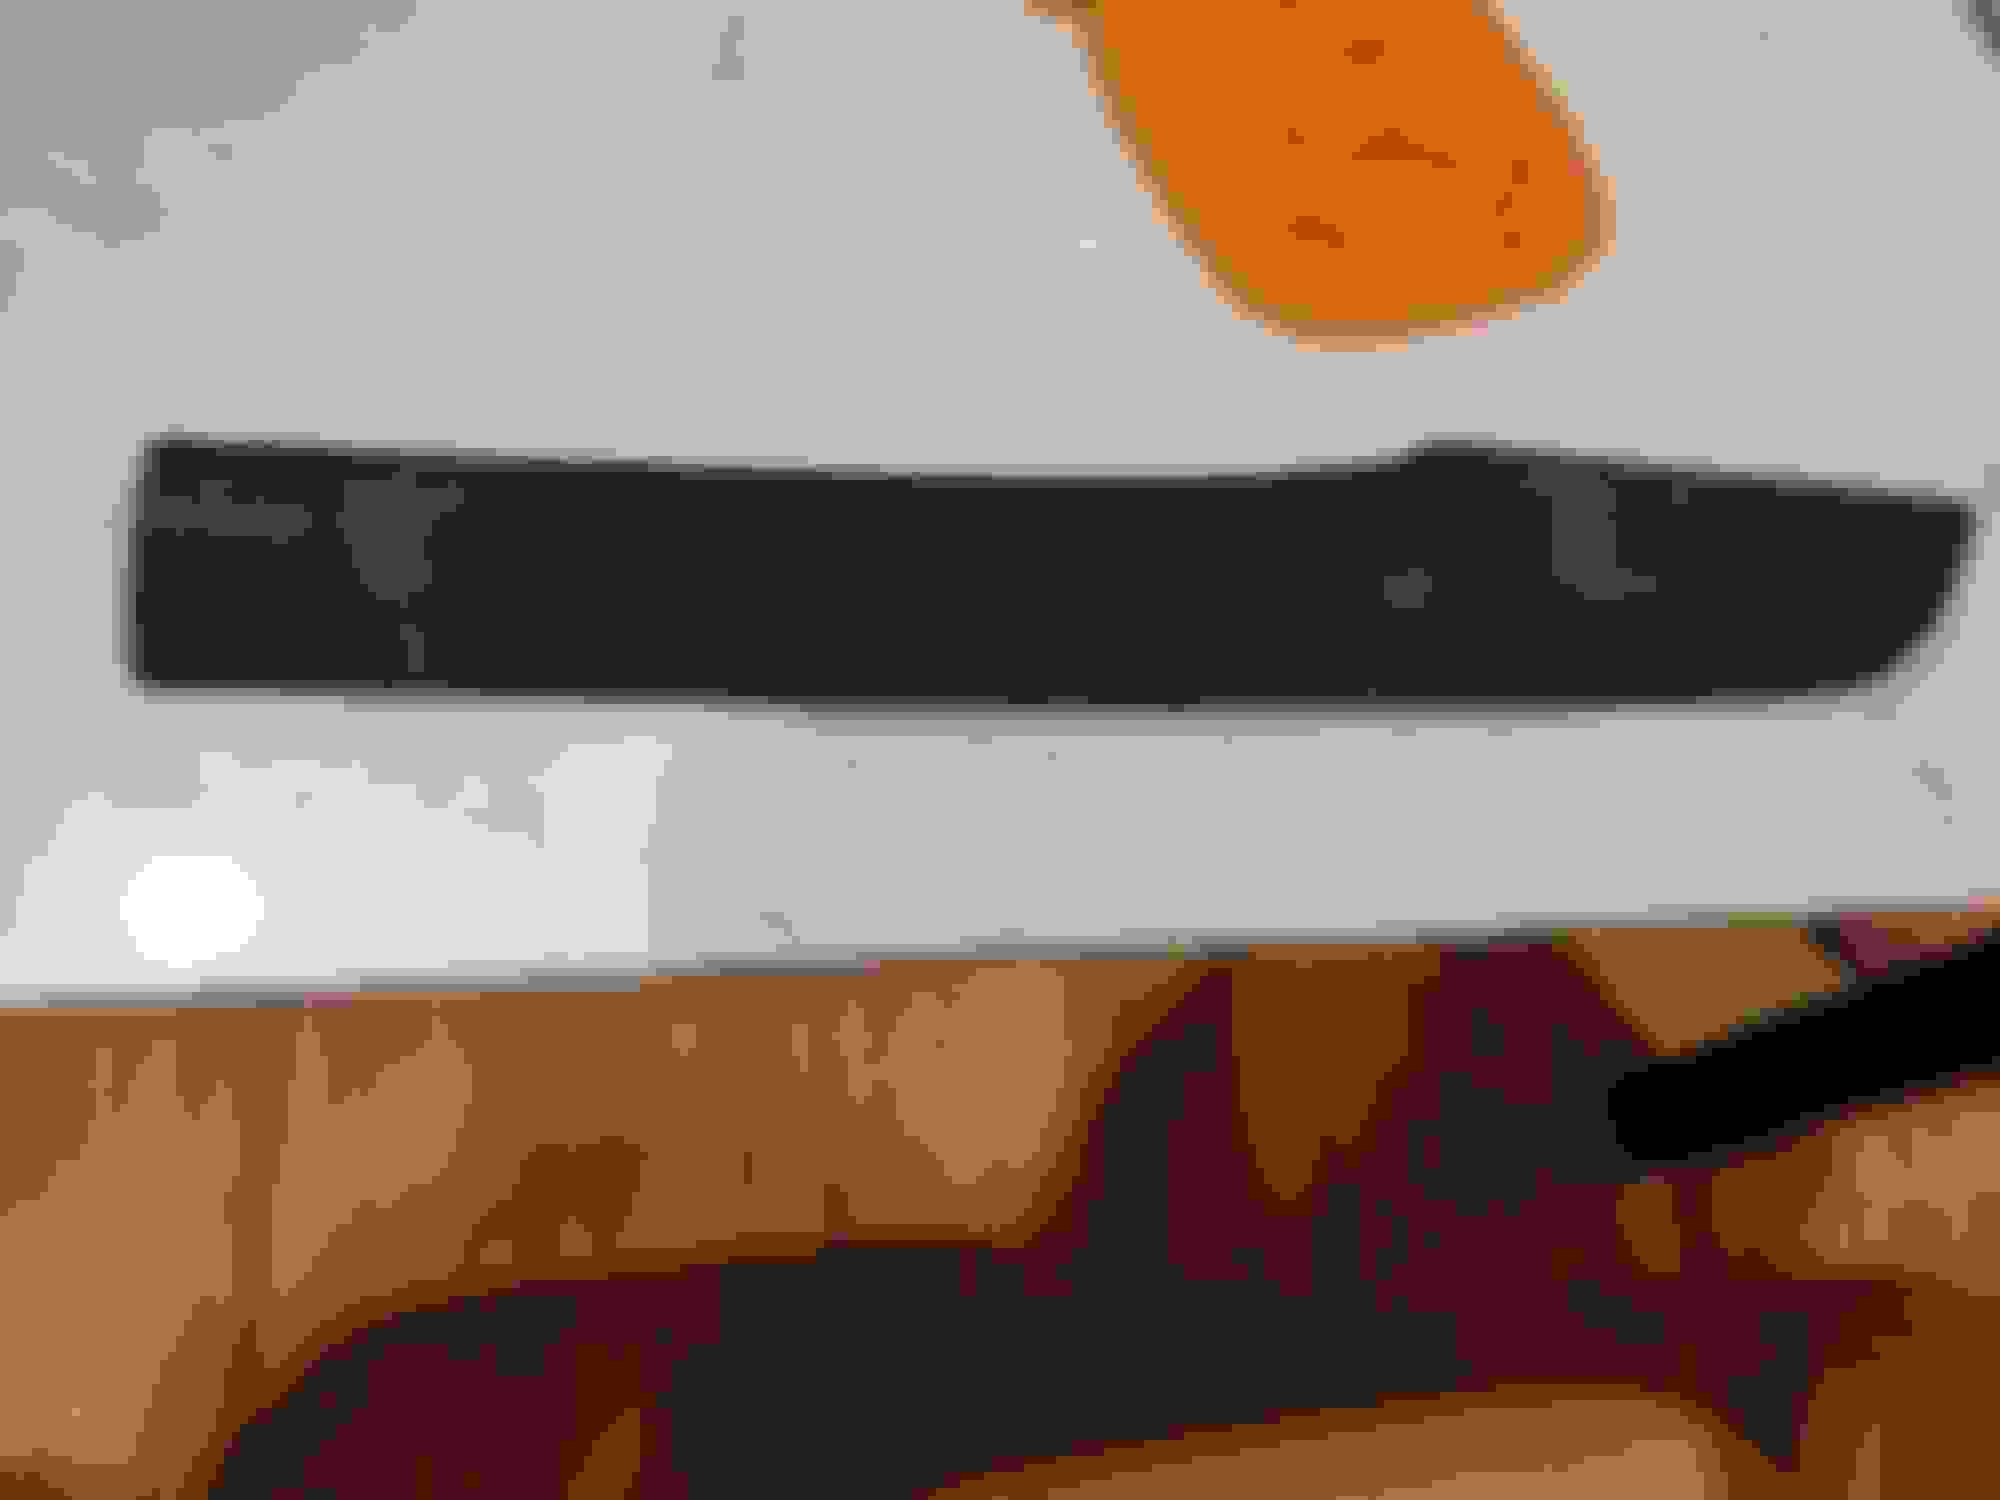
The resin mostly came off except for a small portion which is utterly painful to remove at the top of the trim. It wouldn't bother me but it would definitely bother a more picky enthusiast. This is the part that scraped up my fingers as I was using the plastic razor. I almost gave up many times as it really wasn't worth the extra hundred the trim was probably worth. I was more surprised the carbon fiber weave didn't get damaged despite me muscling the plastic razer over it repeatedly. I got it off and it definitely is REAL carbon.
99% of the resin is off. What you see is my chilled carbon which I wiped off with some isopropyl alcohol. There is a small bit of resin still stuck to the top which you CAN see even after re-coating.
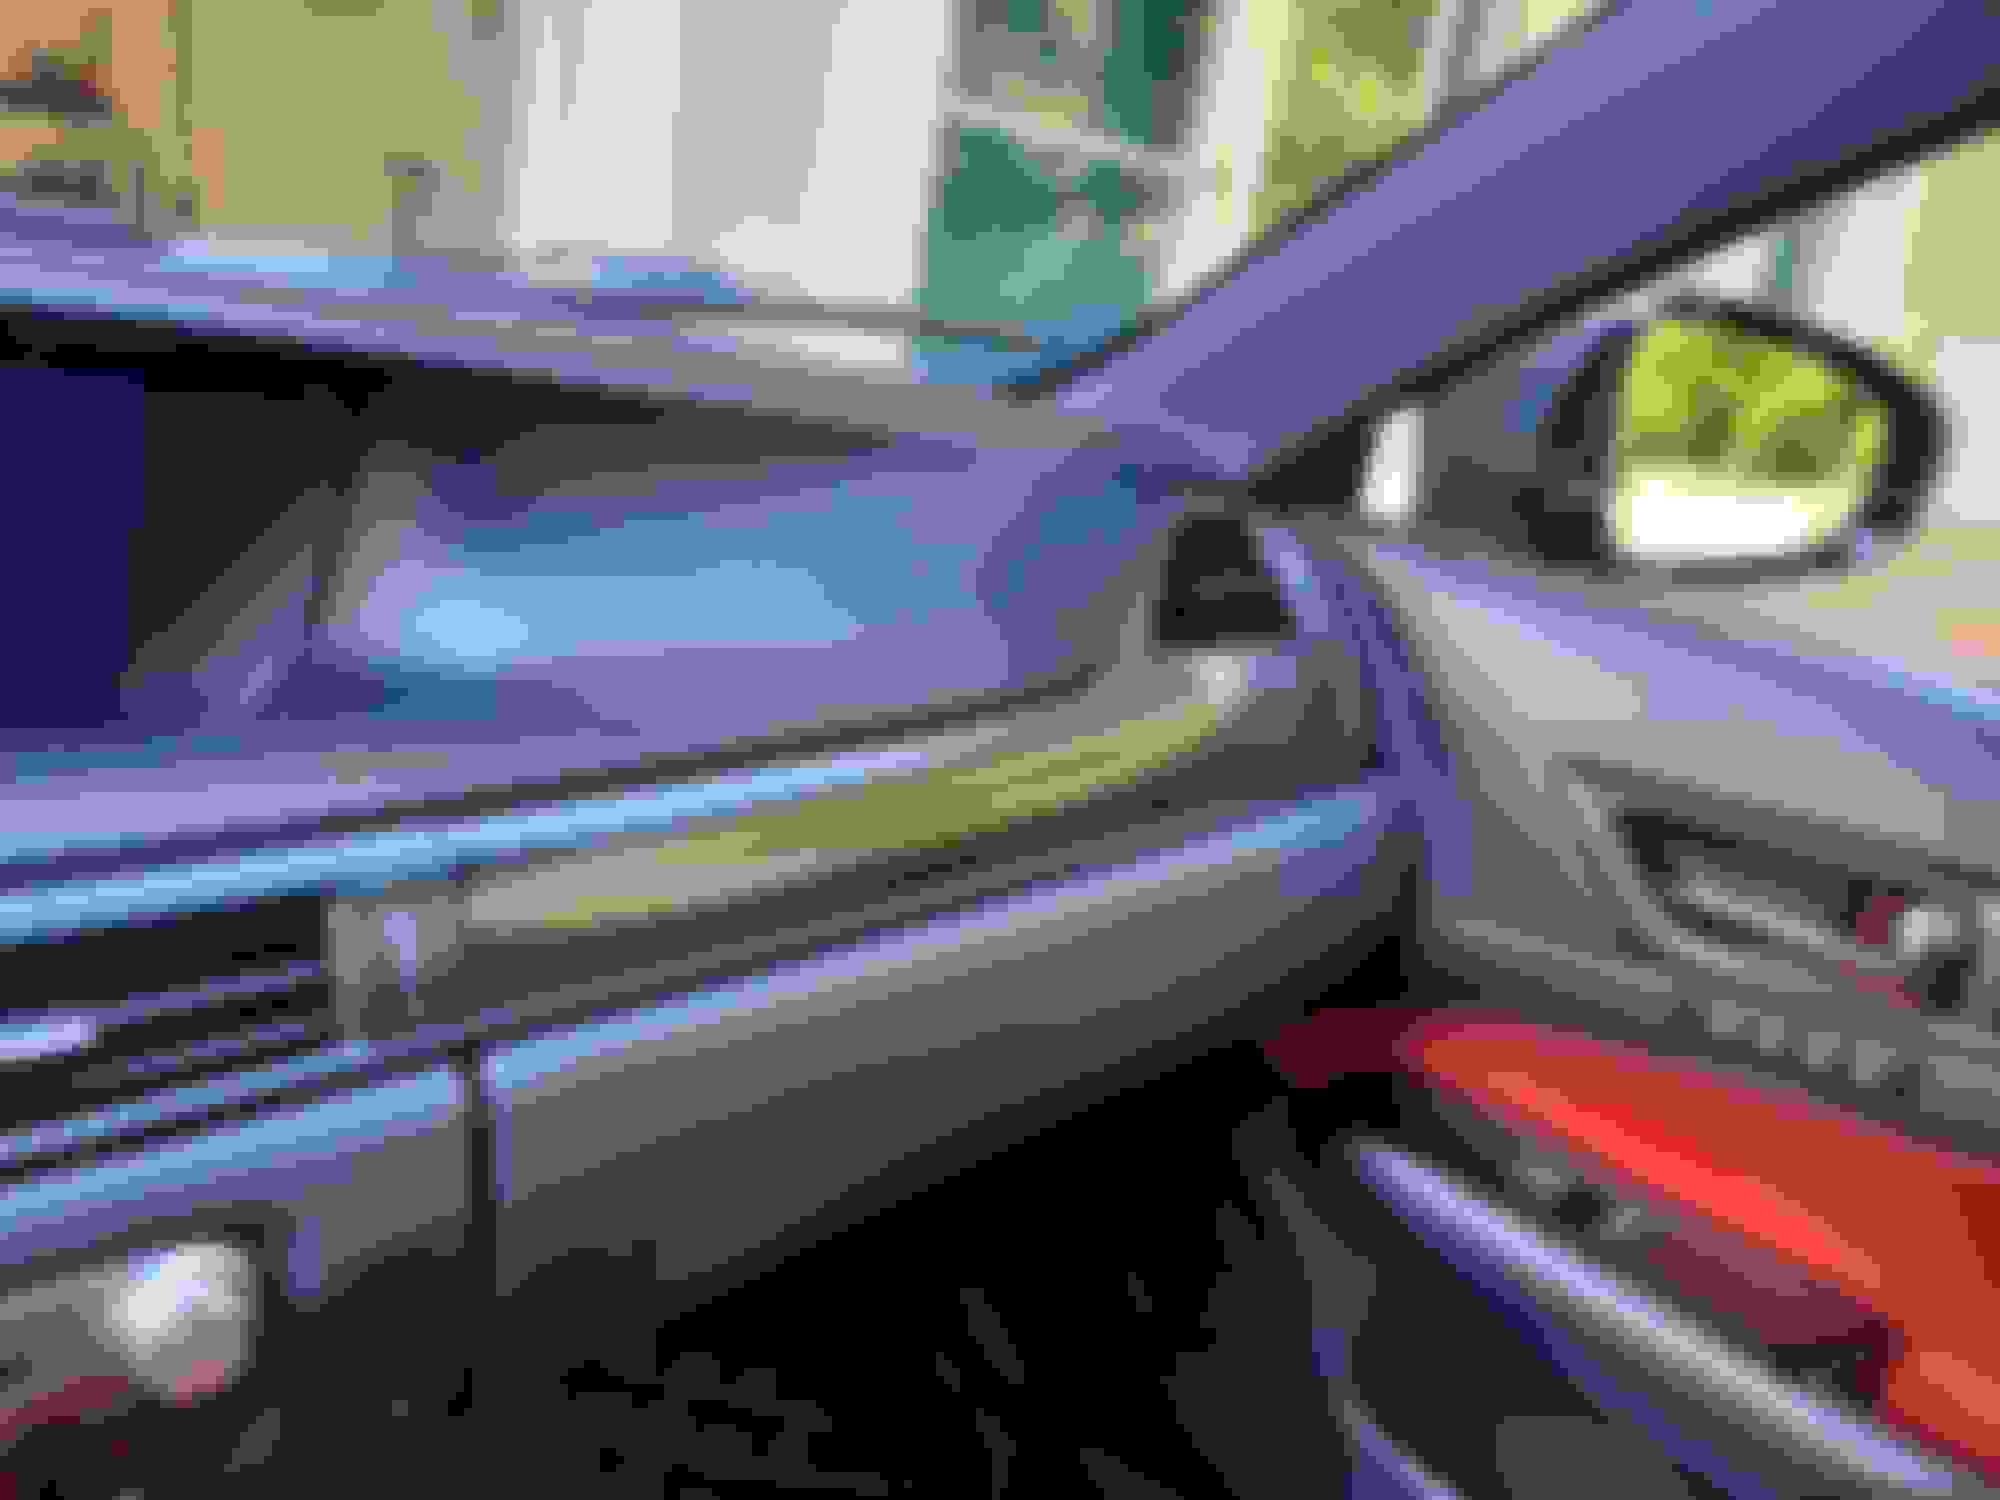
Here are the results after 5 coats on each one. For some reason the improperly activated sprayer was glossier on the drivers trim compared to the activated sprayer on the passenger trim: Piece after 5 coats Piece after 5 coats
OK this post has largely gone on longer than I think anyone is interested in. If you aren't up for this just buy the trim and have the Lexus dealership do it. The clear coat I used is the one in TXMeatball's video: USC SprayMax 2K Glamour High Gloss Aerosol Clear. My garage was nice and humid from the rain that day so the conditions weren't great. I waited 10 minutes between coats and shook the can 2 minutes before each spray. In the end it looks better than before but certainly there is some orange peel on the application so if you want it to look real nice you'll have to polish it which I didn't have time for since you have to wait 24 hours.
TLDR? Cold is the cause of the delamination and you can recoat it with a spray but you're better off getting someone else to do it or just replacing it.
If anyone is thinking to order replacements, my local Lexus just quoted $5700 to replace the CF dash pieces, front doors, and center console. Mine isn't that bad yet, so it's a hard pass for now. I like the repair suggestion above. Thanks for sharing in detail!
Was able to find the carbon fiber door panels for about ~$200 each. So you could probably replace all four door panels for $900 with shipping. I asked for quote for the front dash panels so will see if they have it in stock for cheaper
Amayama doesn't carry the US parts. Neither does Megazip. I get no results when I search for these validated part numbers:
55474-30420-C0 is the "garnish" on the left side next to the instrument cluster. Low price appears to be $352.24 from an Internet seller. 55461-30210-C0 is the one over the glove box. Brace yourself.$1,049.92. (!?!?!?!#%#!?!?!)
My car lives inside most of the time and it doesn't get terribly cold here. Crossing my fingers, but I guarantee you, I can find someone to refinish the existing units for a whole lot less than Lexus wants for new ones.
Yup I'm aware they don't have it "in stock". I've contacted them to see if they can source it, they have in the past for other US only pieces so I'm still hopeful!!


 07-26-23, 10:14 PM