When you click on links to various merchants on this site and make a purchase, this can result in this site earning a commission. Affiliate programs and affiliations include, but are not limited to, the eBay Partner Network.
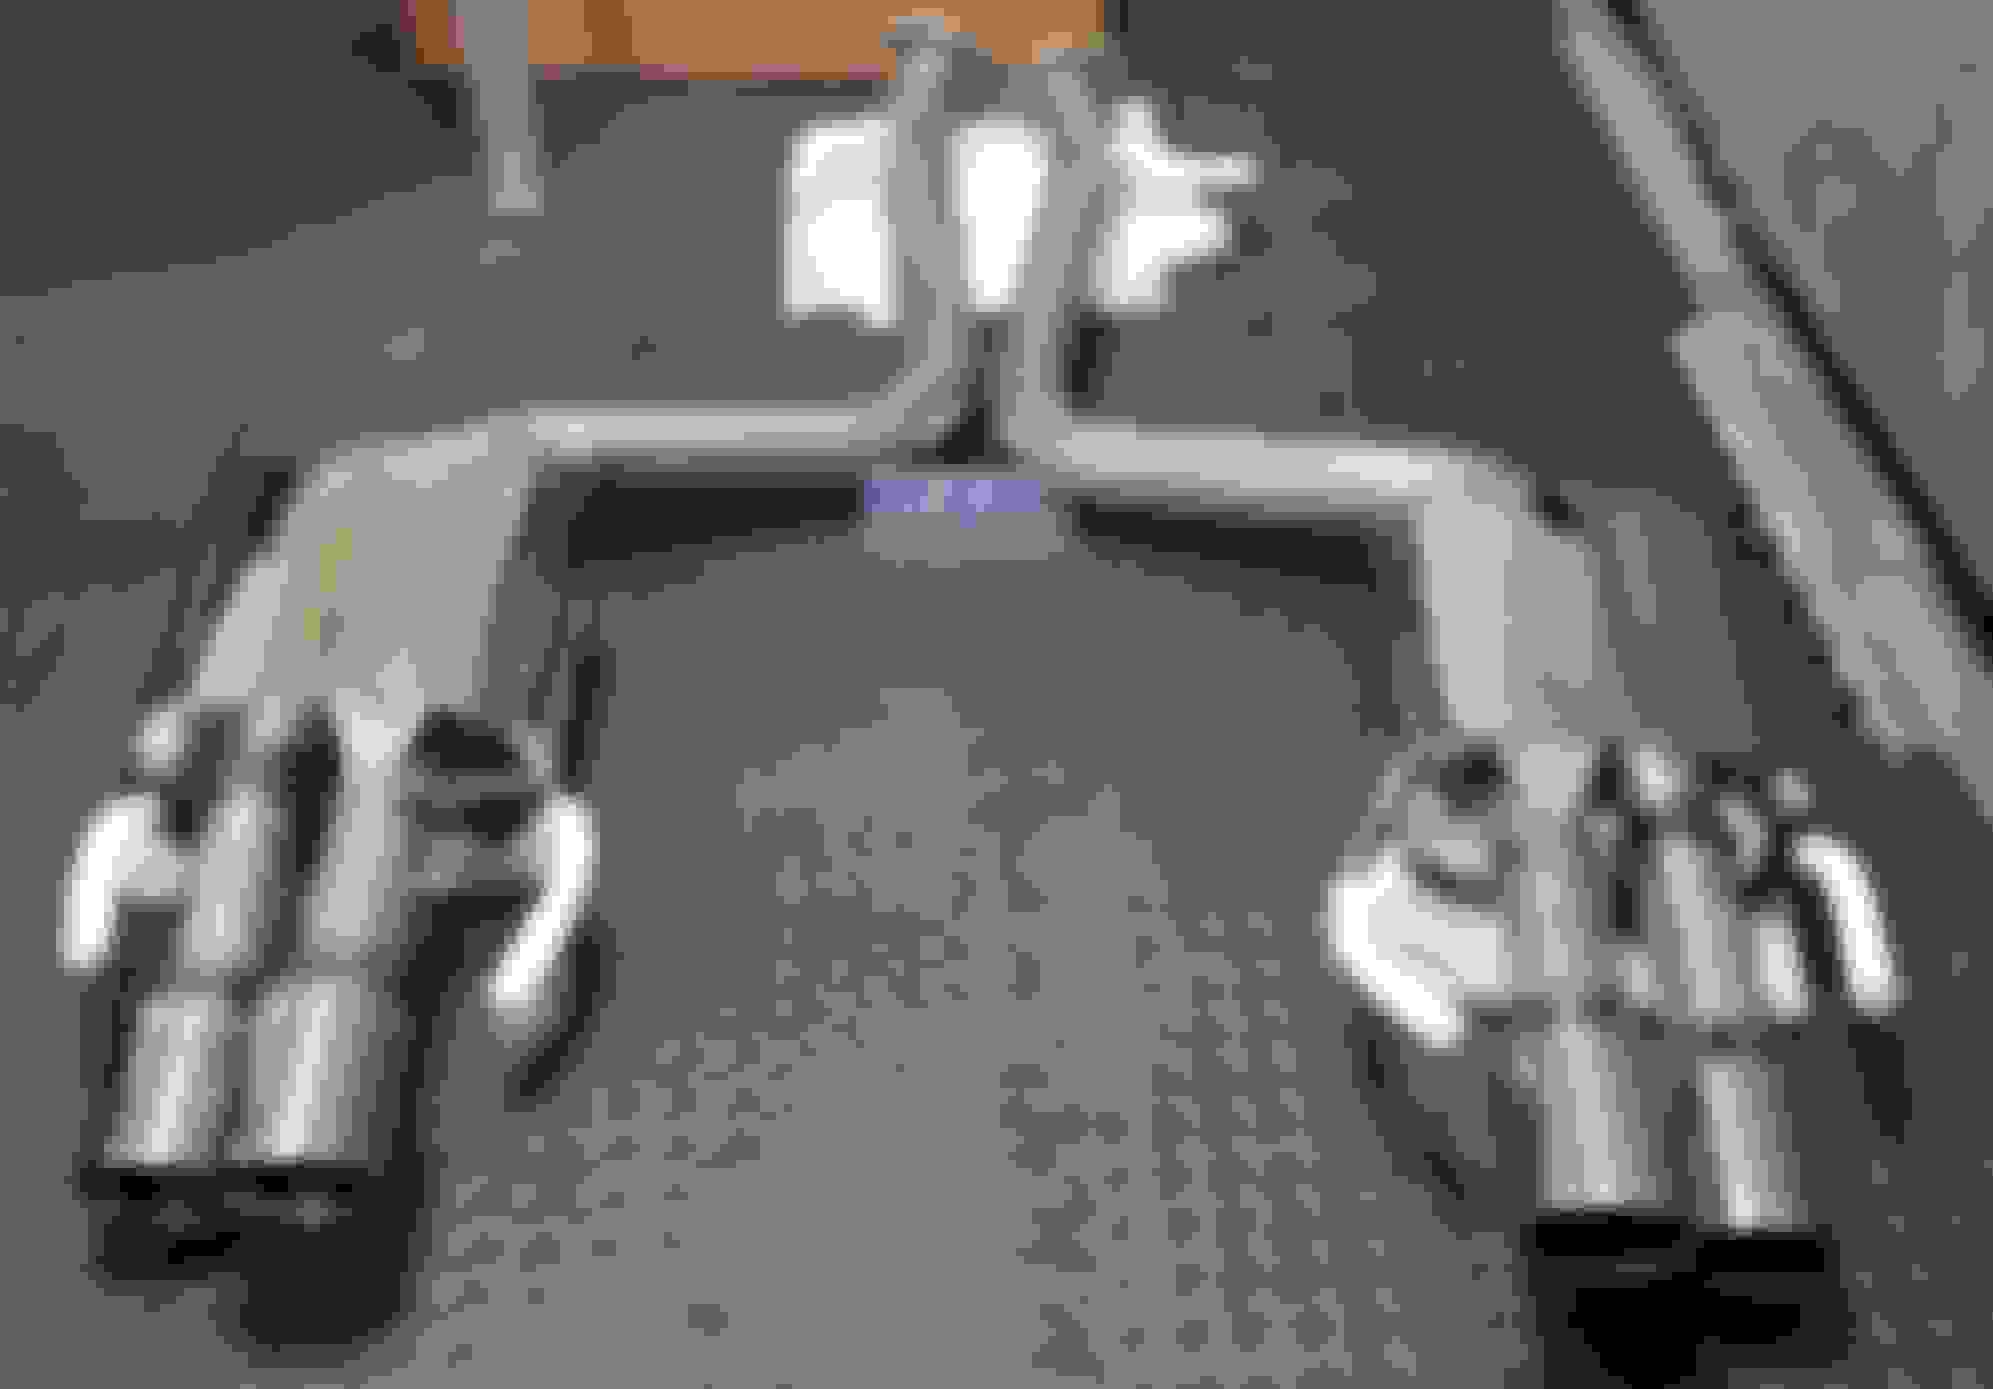
Finally pulled the trigger on getting an axle back for my GSF. After going back and forth between multiple setups on youtube, the REVEL's sound and overall look seemed like the optimal choice for what I wanted. I'm going to do the install myself this weekend.
Then by the end of summer I'll pick up the APEXI N1 Resonated Midpipe.
Went ahead and got the GSF set up off the ground and did a quick look around underneath.
Might go ahead and swap out TVD and rear diff fluid since I have amsoil 75w90 and WS ATF once I get the front off the ground and leveled. With the axle back out of the way, should make it easier to access.
Really enjoyed having these RaceRamps for the last 5yrs. Have come in handy on multiple vehicles.
If anyone is curious they are Race Ramps RR-56-2 (2 piece, 56" length, 8" lift height, 10" height, 12" width, and 1500lbs rated each. Also 10.8* angle). They clear stock height GSF front bumper without issue.
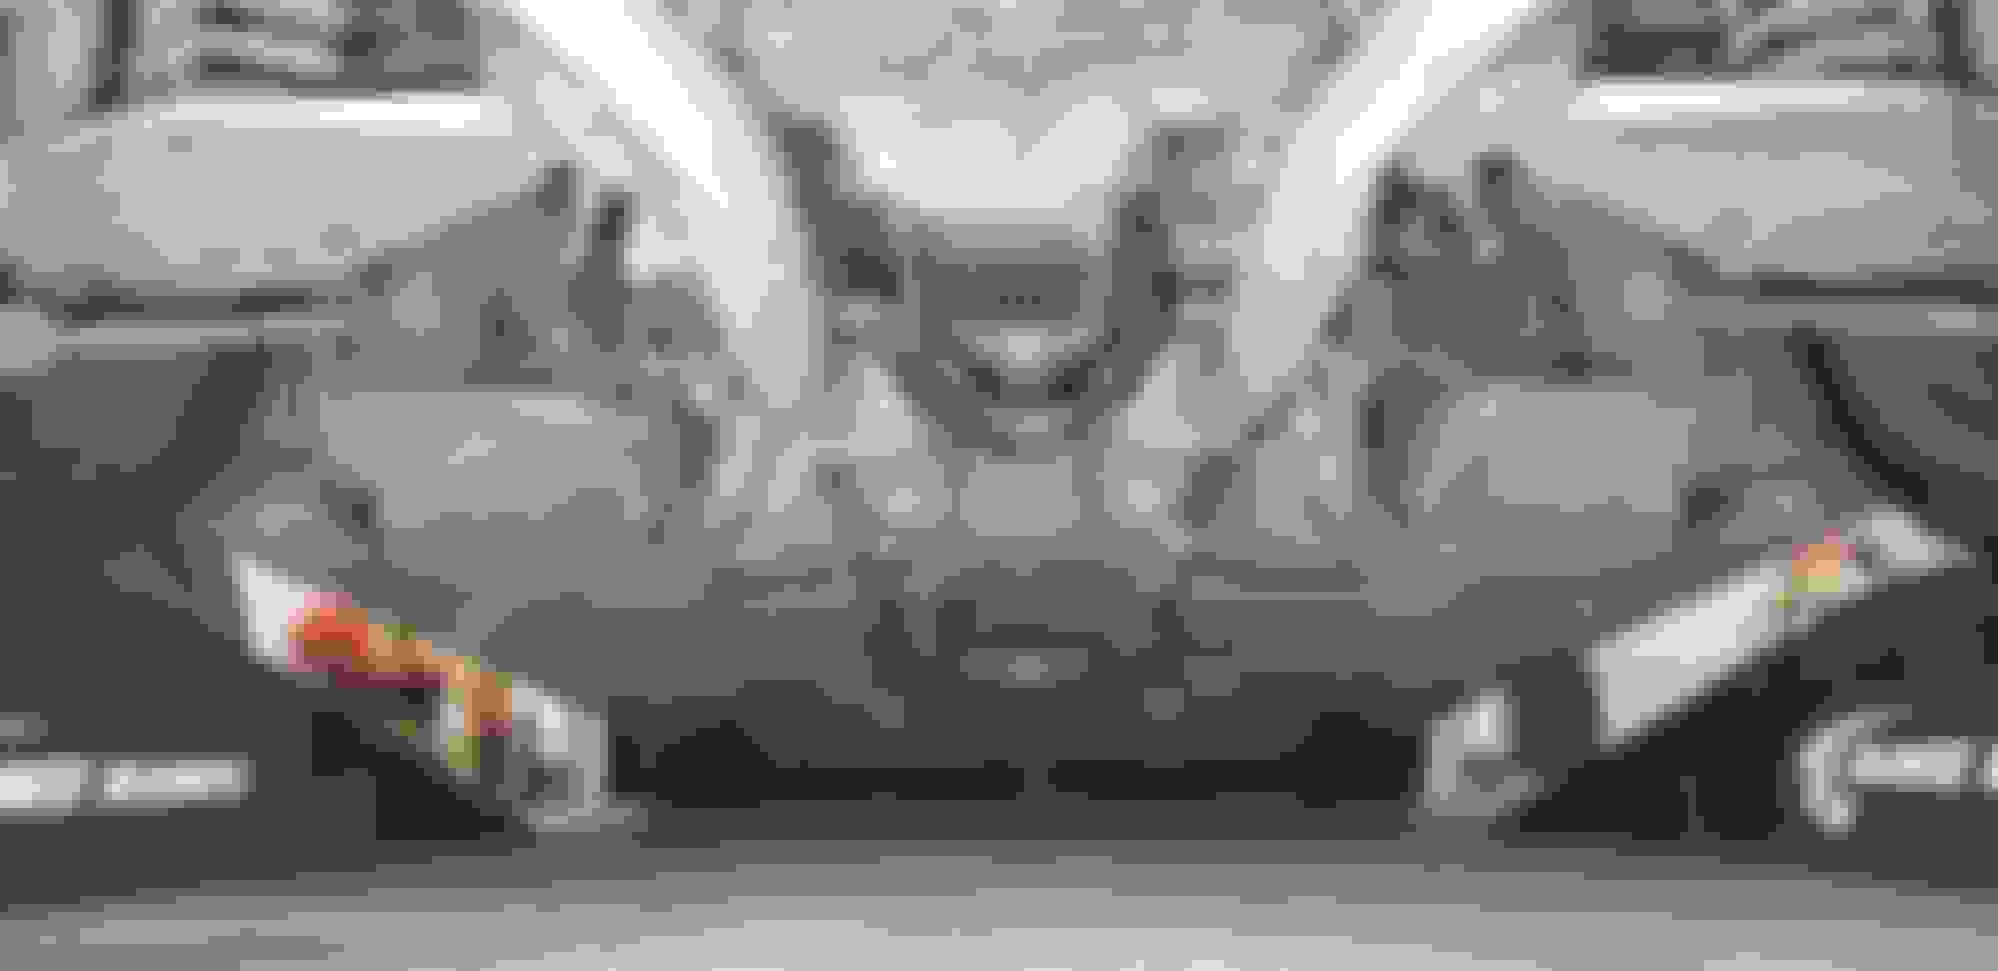
First time I've really looked underneath, this 16 GSF spent many years in INDIANA prior to my ownership here in FL. So I was expecting more rust/corrosion from salt on the roads. Glad the car was taken care of, so it seems.
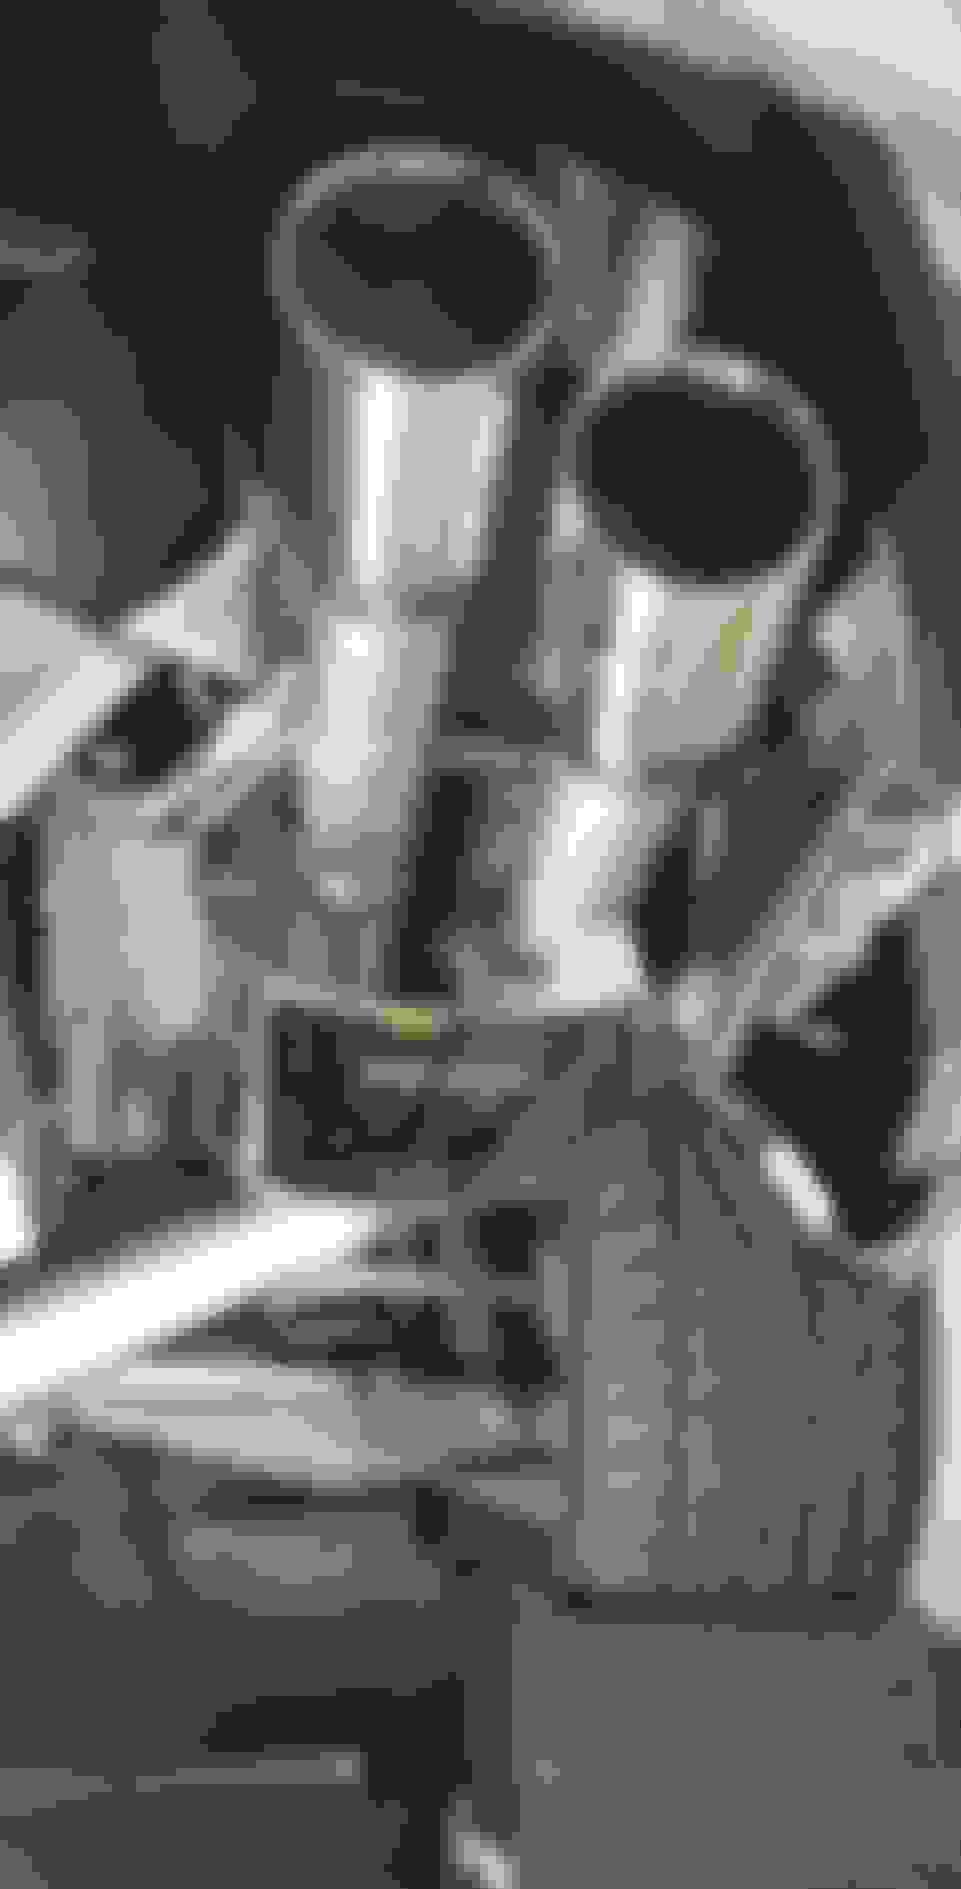
Looks like there are 6 exhaust hangers total. 2 per muffler and 1 per midpipe connection. Bought an exhaust hanger removal tool/pliers as well.
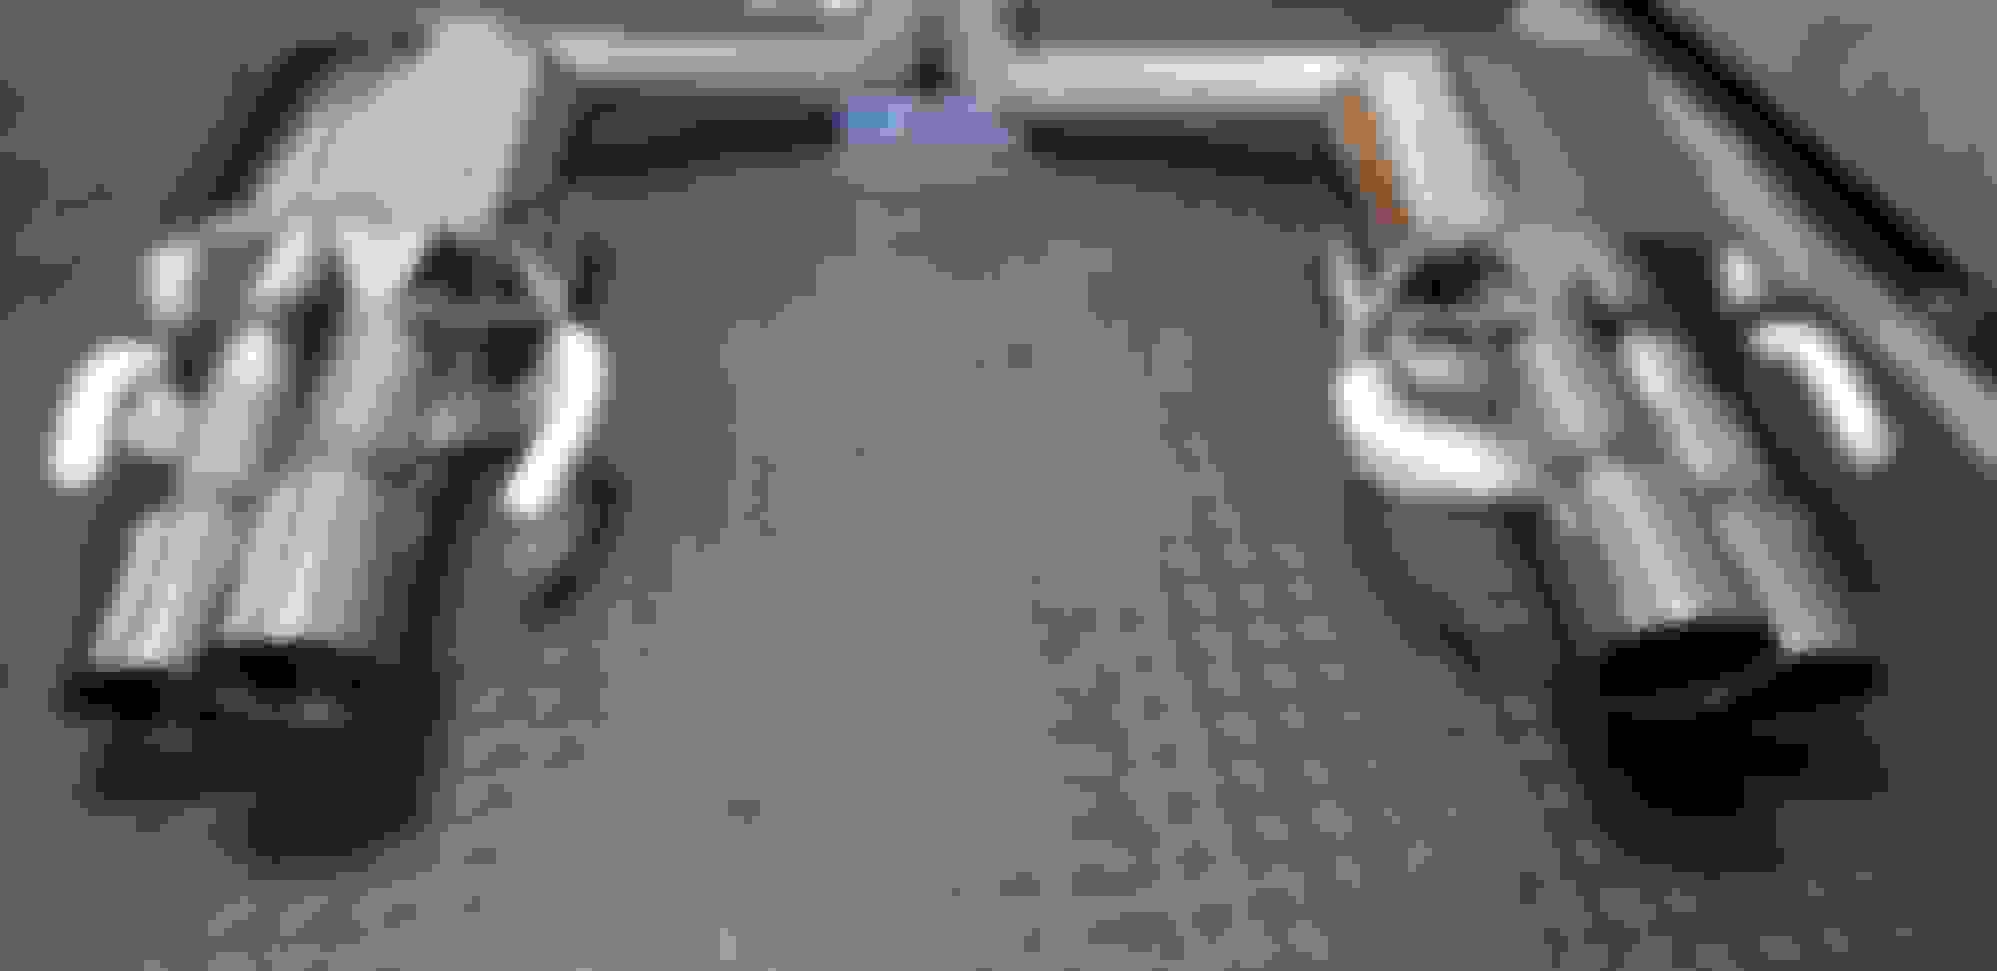
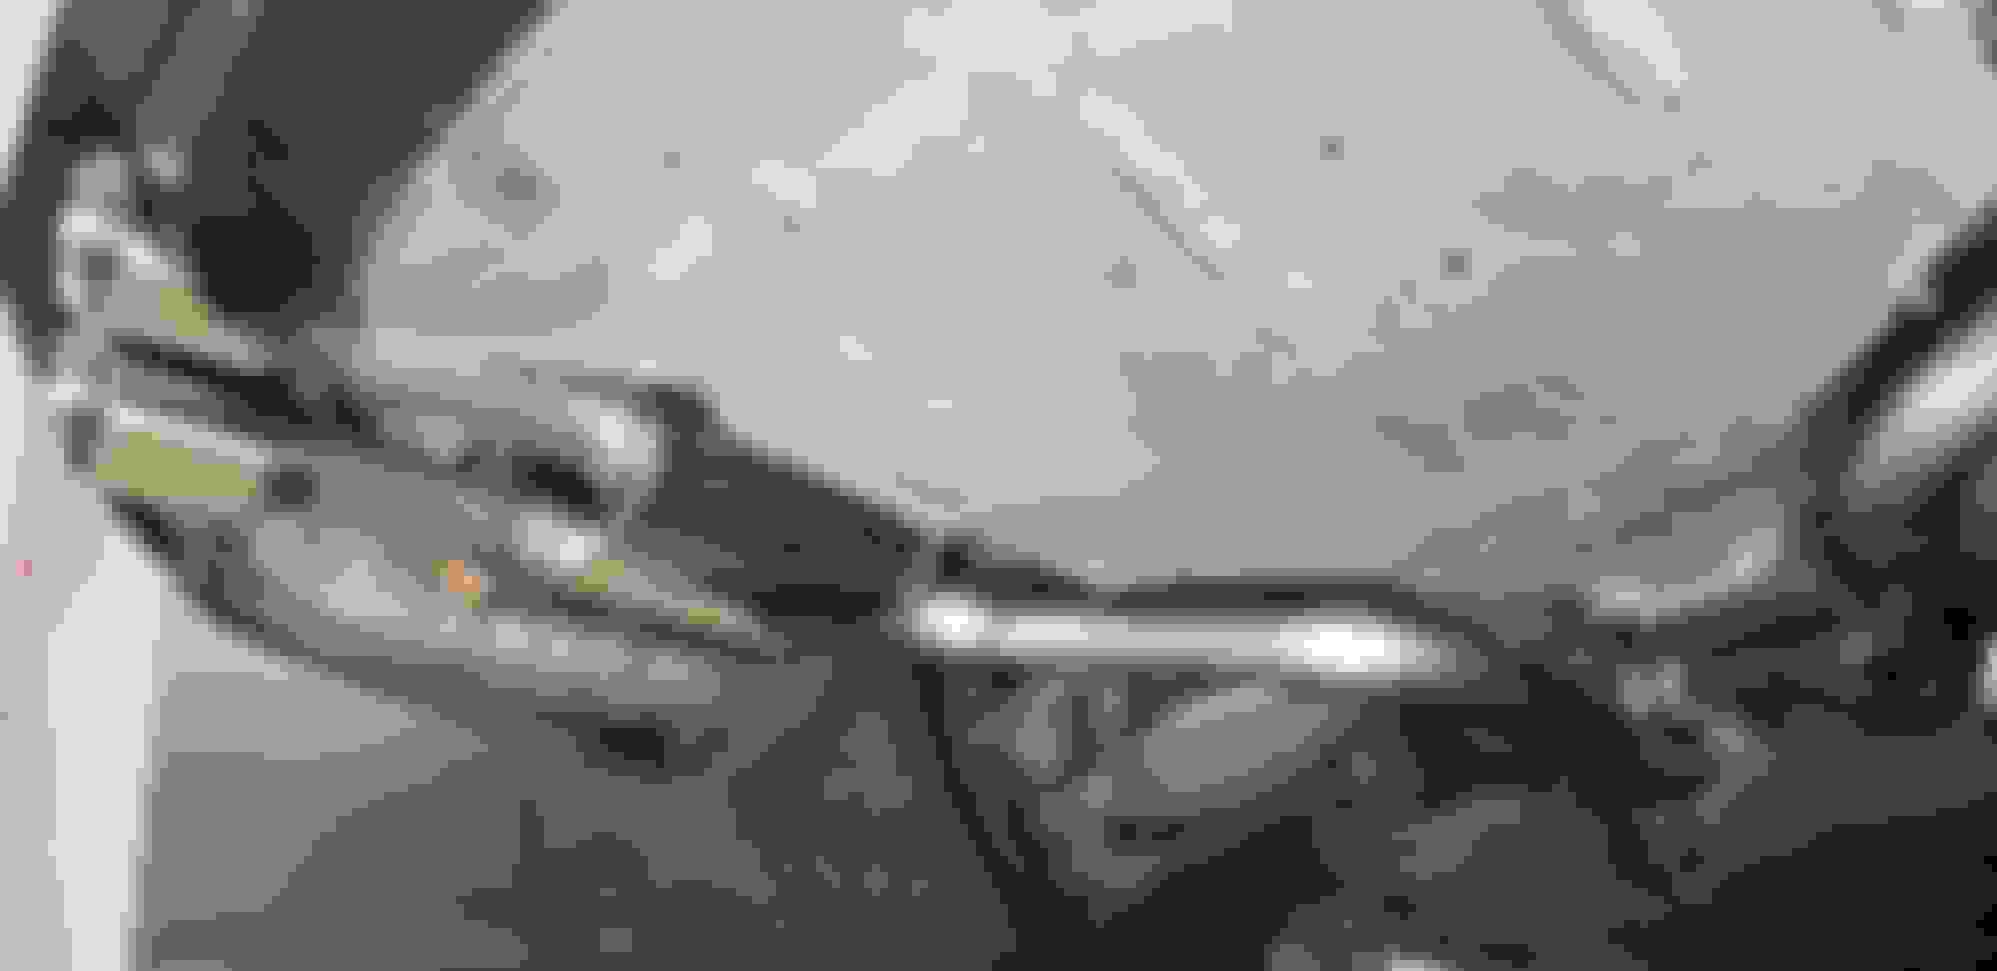
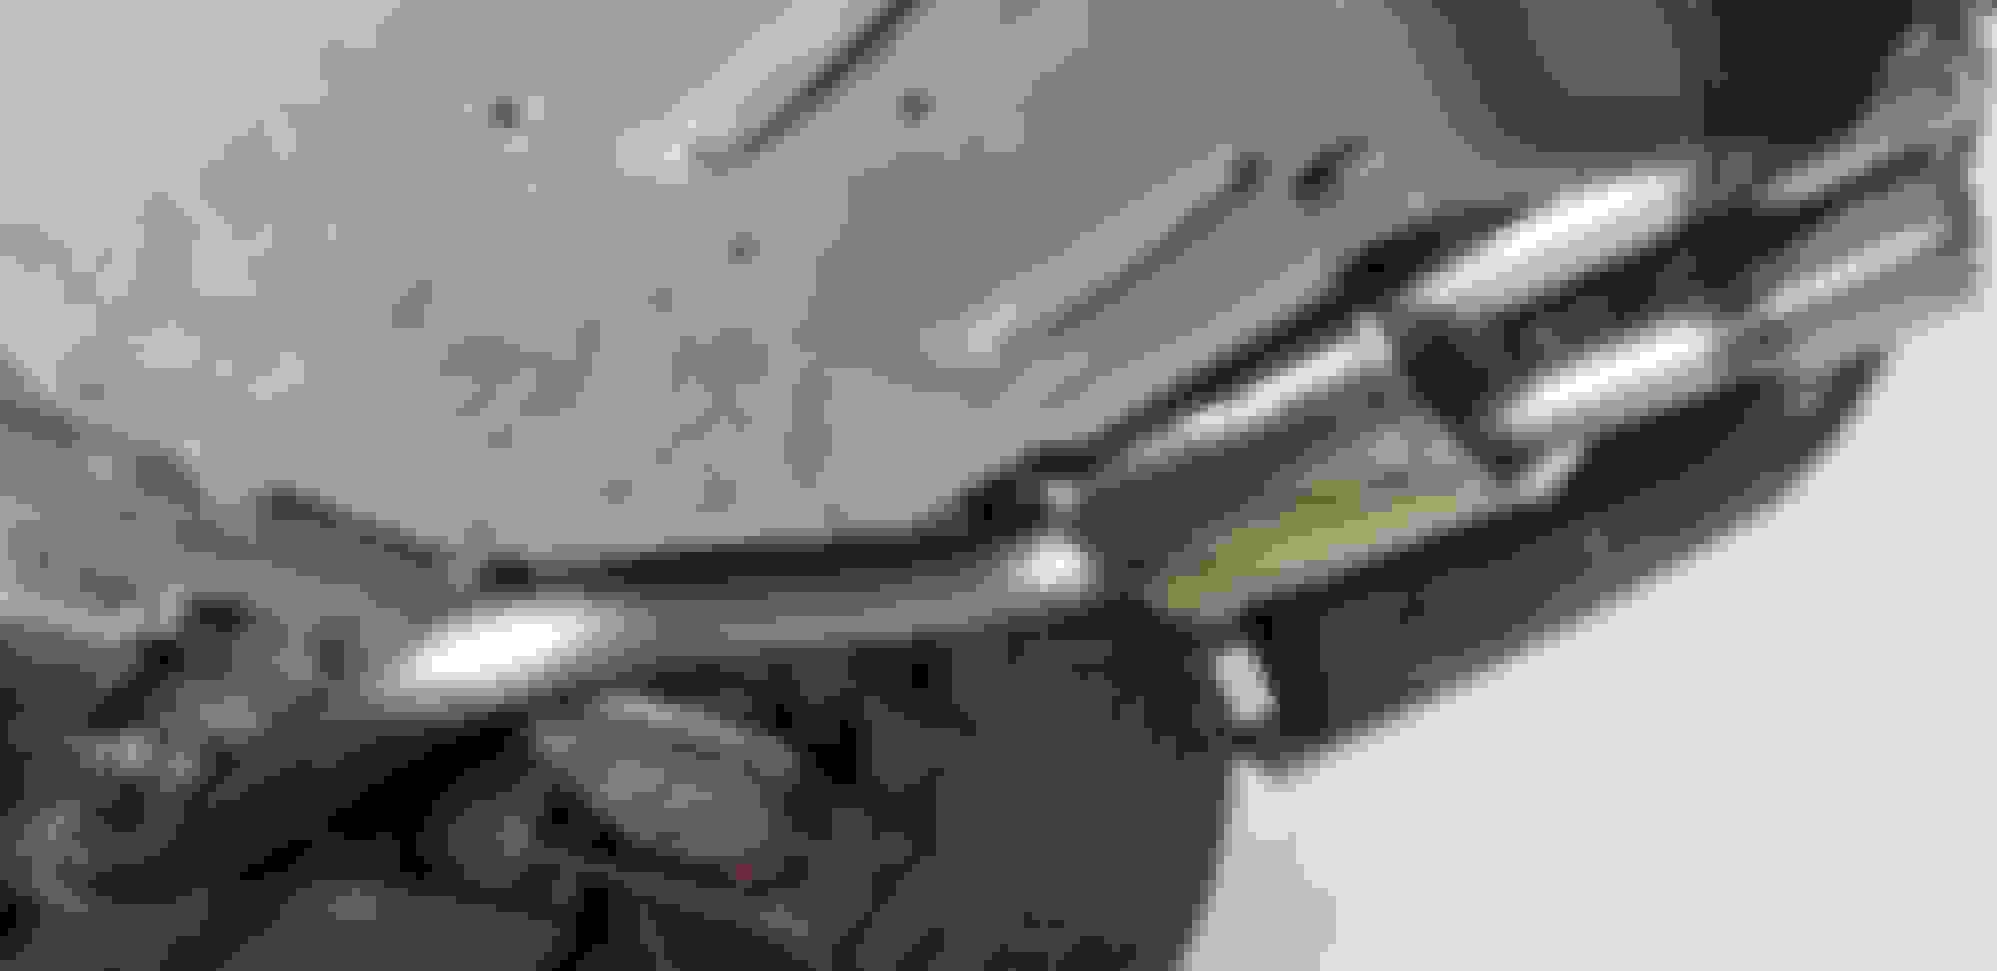
Also, I noticed how the axle back piping section is crimped/crushed down from the factory for clearance.
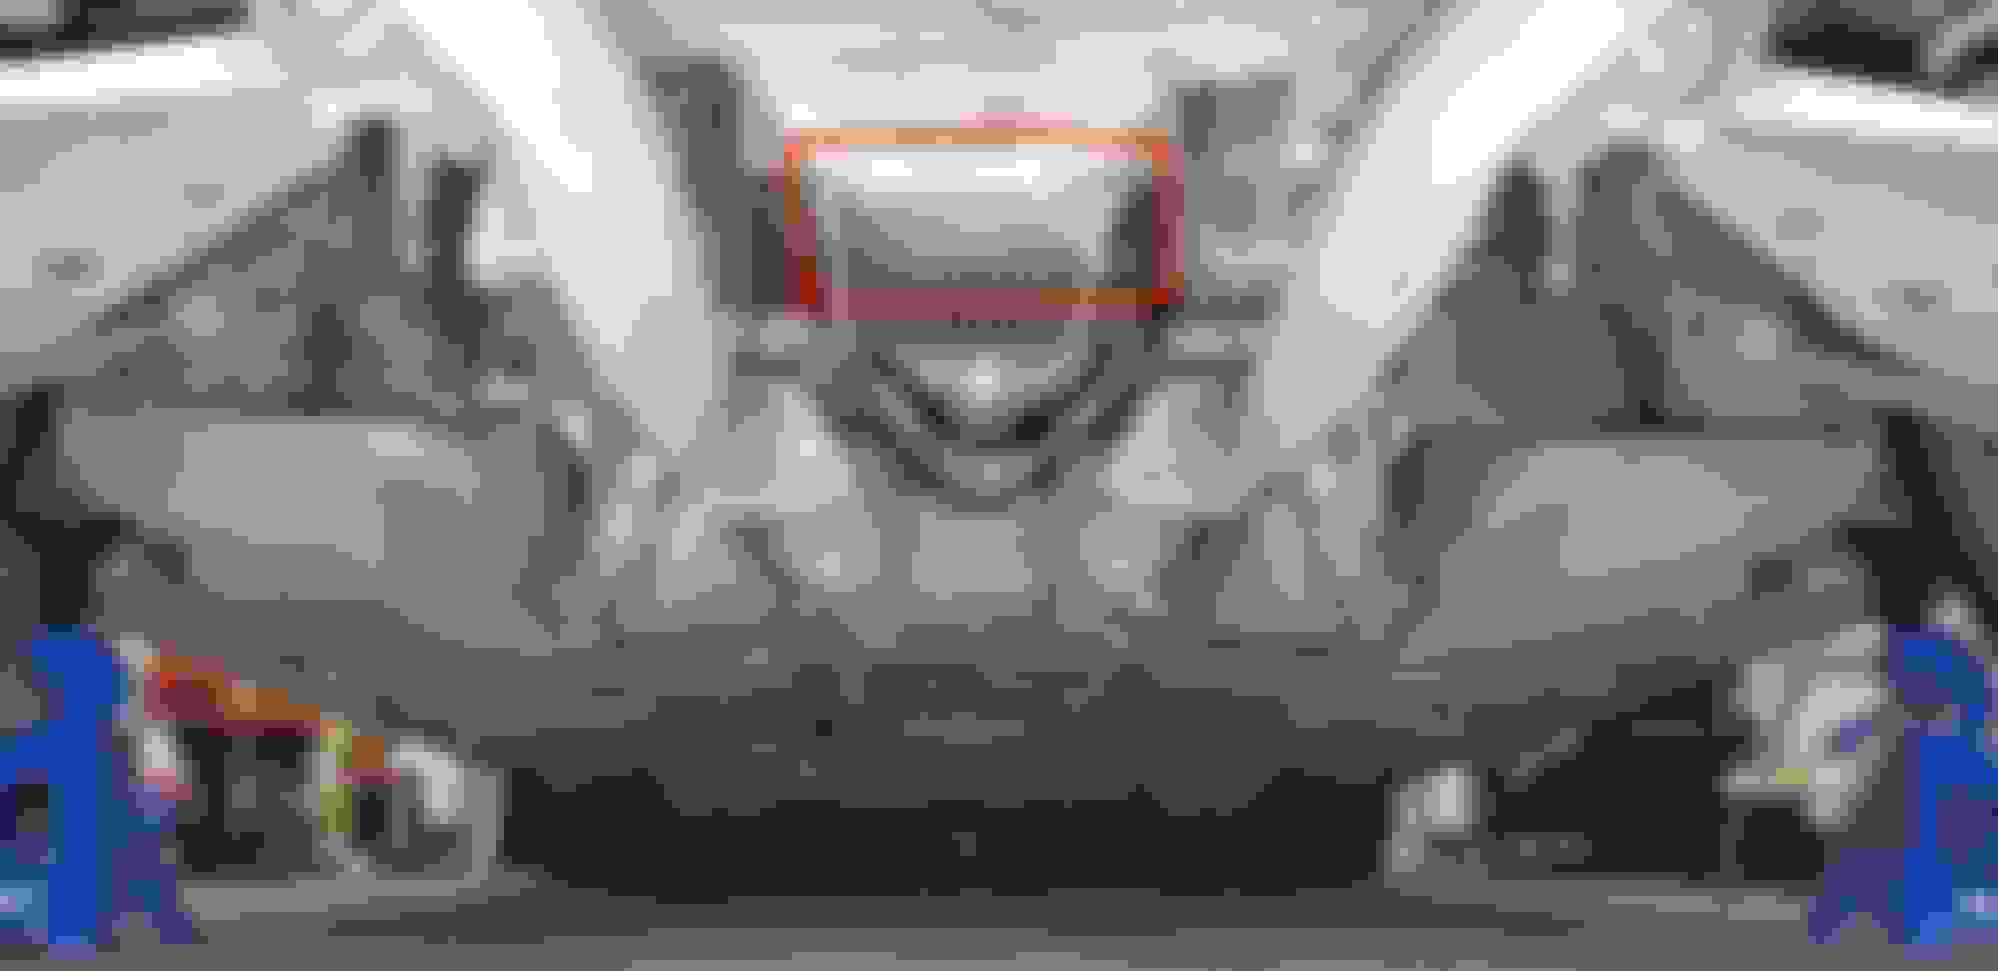
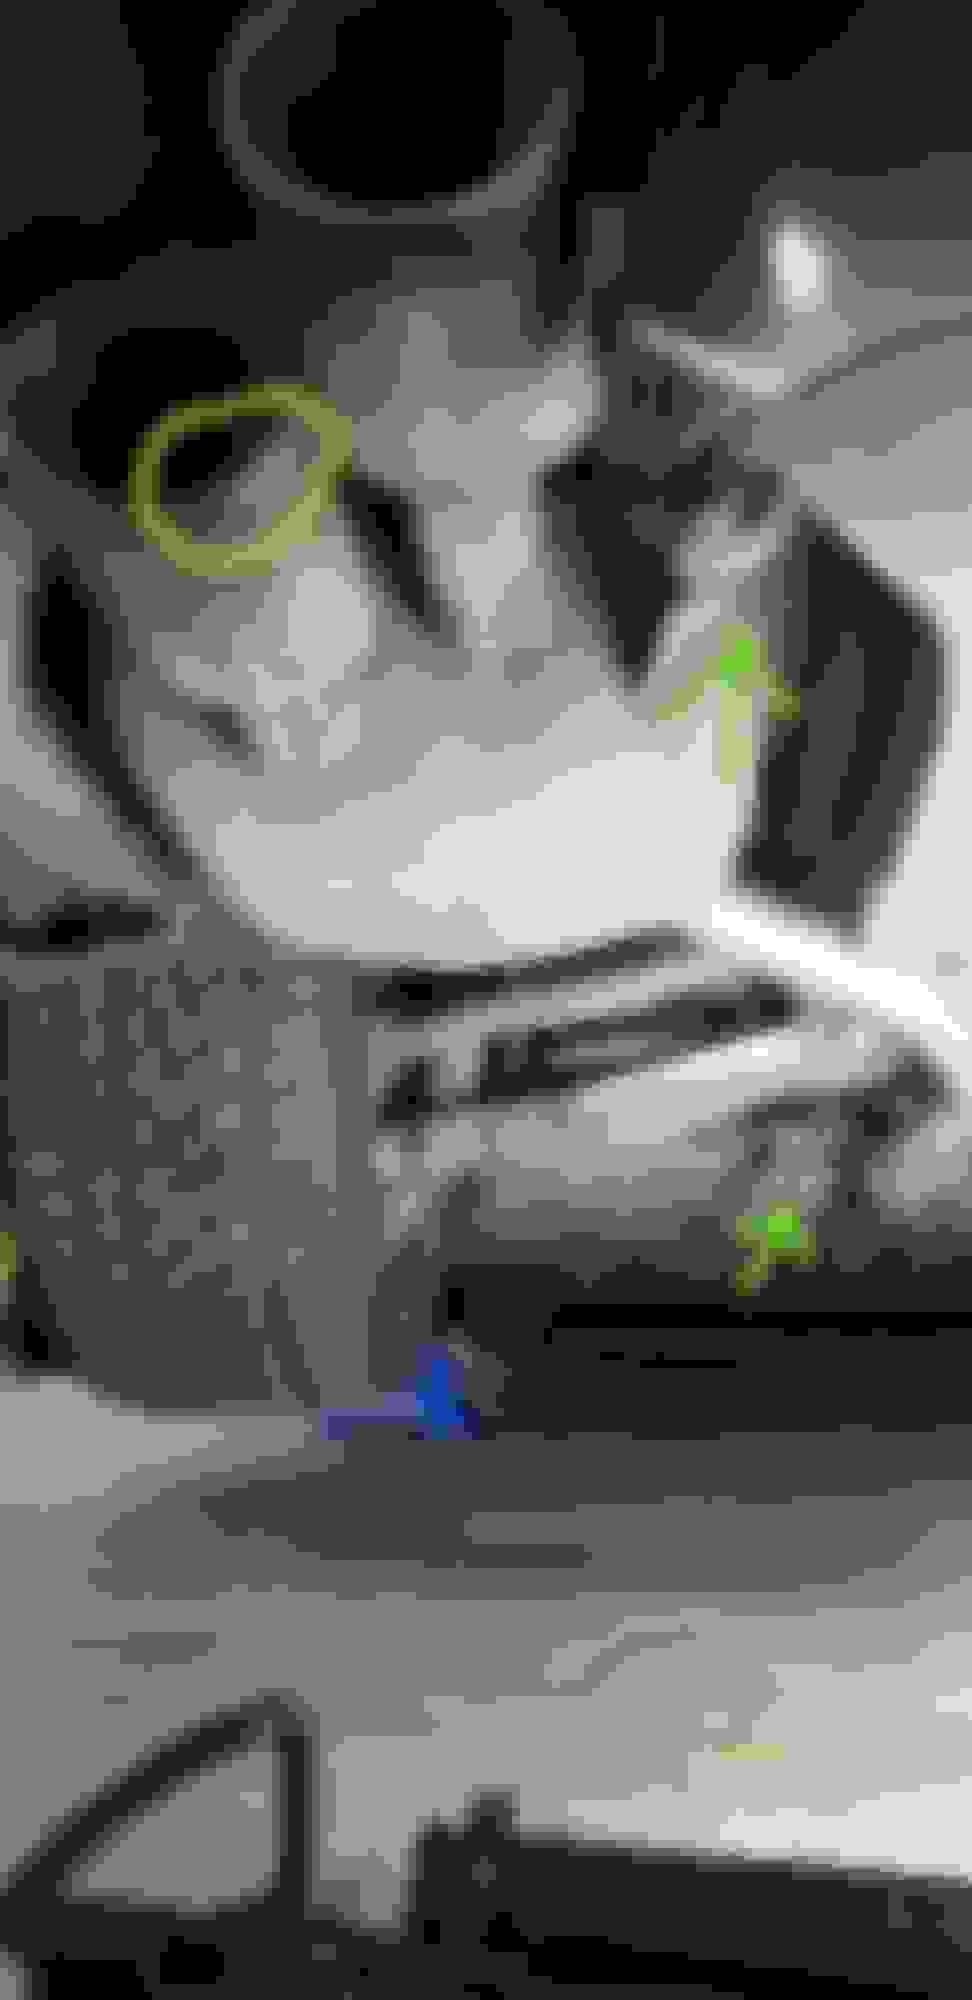
I've read some threads/posts where people are asking for clarification on rear lifting and jacking points. The red square under the differential is the location as called out within the owners manual.
Also, the blue jackstands are at the pinch welds indicated by arrows/triangles under the rocker cover/side skirts.
My pinch welds were all but mangled and bent to hell from previous owners or shops...
I know a lot of this has been covered on other threads, but if my pictures can get a different view and potentially help someone out in the process, its a win win.
3 hangers per side, 2 above the muffler and 1 at the midpipe connection.
I went ahead and installed the Revel last night, I couldn't wait any longer. The install was a lot easier than I anticipated. Only need a 14mm ratcheting wrench, wd40 or similar for the hangers, and exhaust hanger removal pliers. The factory donut gaskets were in great shape too. I might replace those later this year when I install new midpipe though. Took less than an hour even with all the road gravel falling off the top of the oem muffler onto your face/body when you drop it down.
Its a easily a one person job if you don't have help, I hung the midpipe/axle back connection at the hanger first, then slid the muffler section into the rear two hangers, bolted it all up and good to go. The fitment is excellent as is the quality of the Revel. Also, a good idea to use either the packing or towel to cover the muffler/exhaust tips while hanging to avoid scratches or damage.
I will get better pics and videos this weekend, for now here are some of the installation photos. Hope it helps anyone doing this job in the future.
Small point, but good to know. WD-40 may cause the rubber hangers to degrade more rapidly than you'd like. I use soapy (Dawn) water in a spray bottle for those mounts. It rinses off and leaves everything a little cleaner too. I've never needed a special tool for the hangers with this.
 05-13-24, 10:30 PM