When you click on links to various merchants on this site and make a purchase, this can result in this site earning a commission. Affiliate programs and affiliations include, but are not limited to, the eBay Partner Network.
DIY Hvac evap drain blockage(Leaking water in car)
This is a TSB for 06-07
GS 300, 350, 430
IS 250, 350 https://www.clublexus.com/forums/att...n-blockage.pdf
I noticed water inside the passenger side of my car and thanks to GS350LEXUS he told me what the problem was. So to help others with this unpleasant job I took pictures of a DIY.
Tools needed
1 )floor jack and 4 jackstands( you will need floor jack to lower transmission)
2) 10,12,14,17mm sockets and open end wrenchs
3 ) very long needle nose pliers
4) flashlight
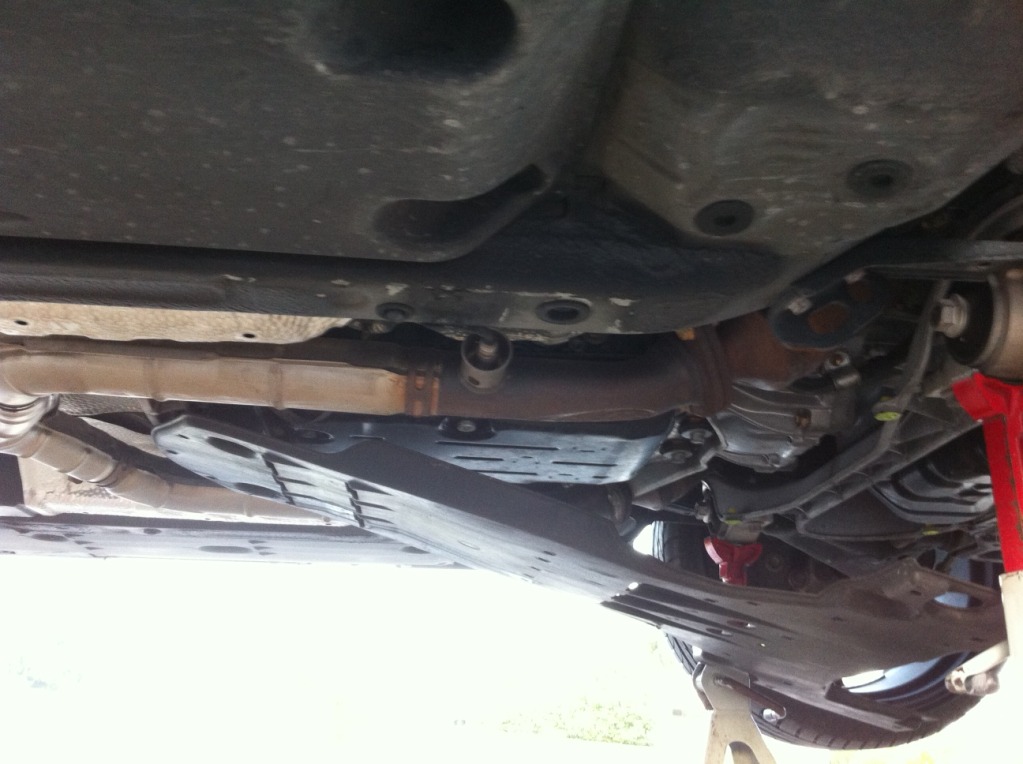
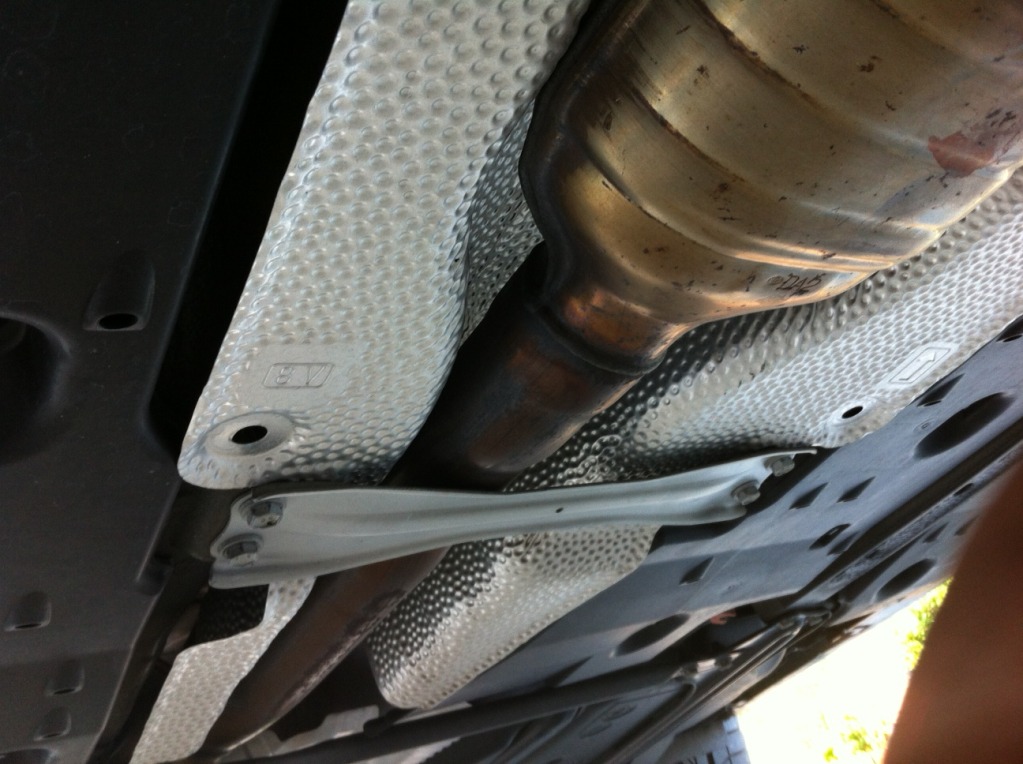
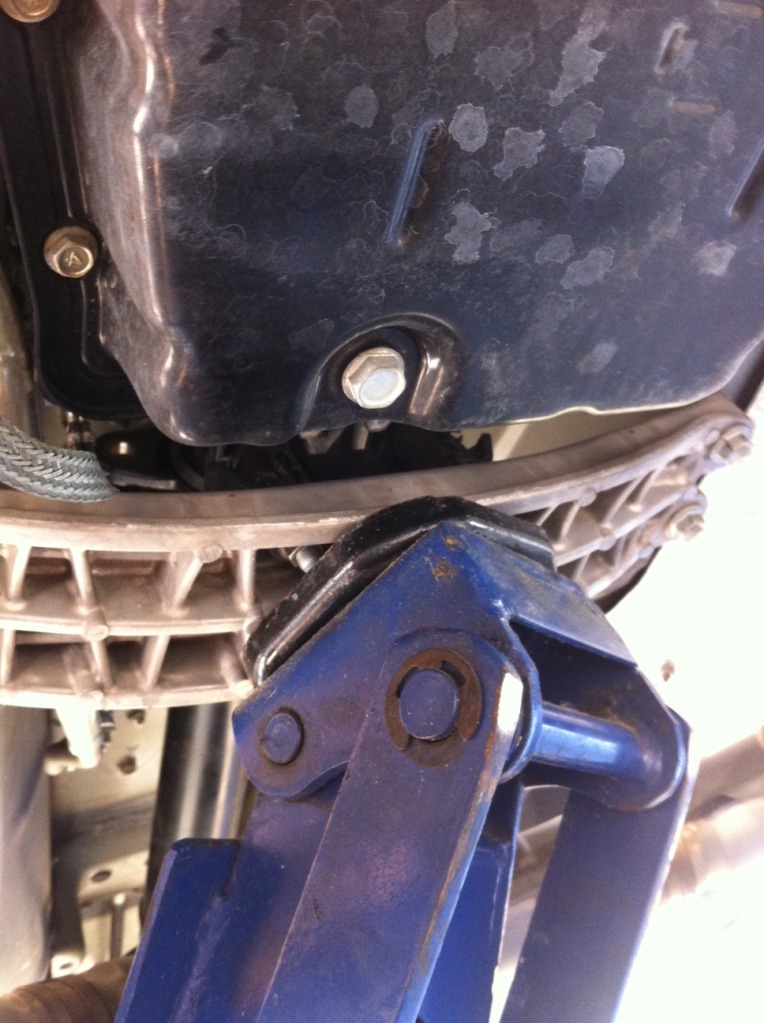
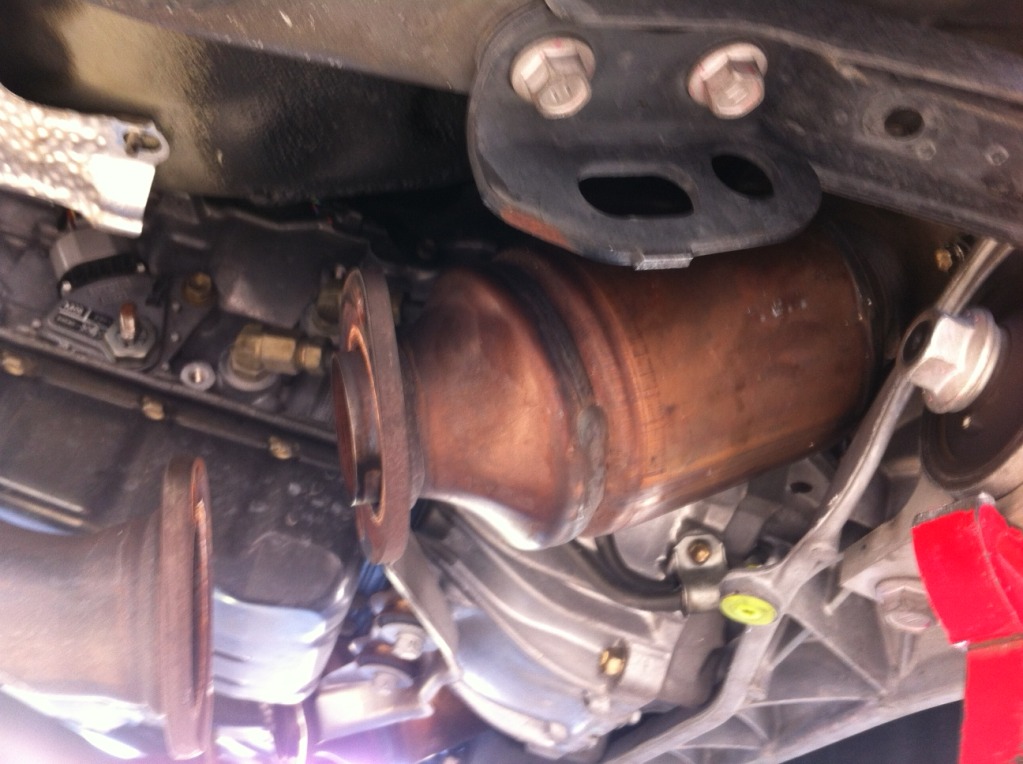
Once the car is jacked up you will will need to remove the cover along with the heat shields around the drive shaft and heatshield on passenger cat coming off header
Next disconnect both sides of exhaust and unplug grommets that secure O2 sensors to car to you have more slack in the wires once you lower the exhaust. It is recomemended to prop up the exhaust so avoid tension on the O2 but i didnt since it wasnt pulling on them and would get in the way
remove heat shied if you have not already and also remove brace so exhaust can be lowered
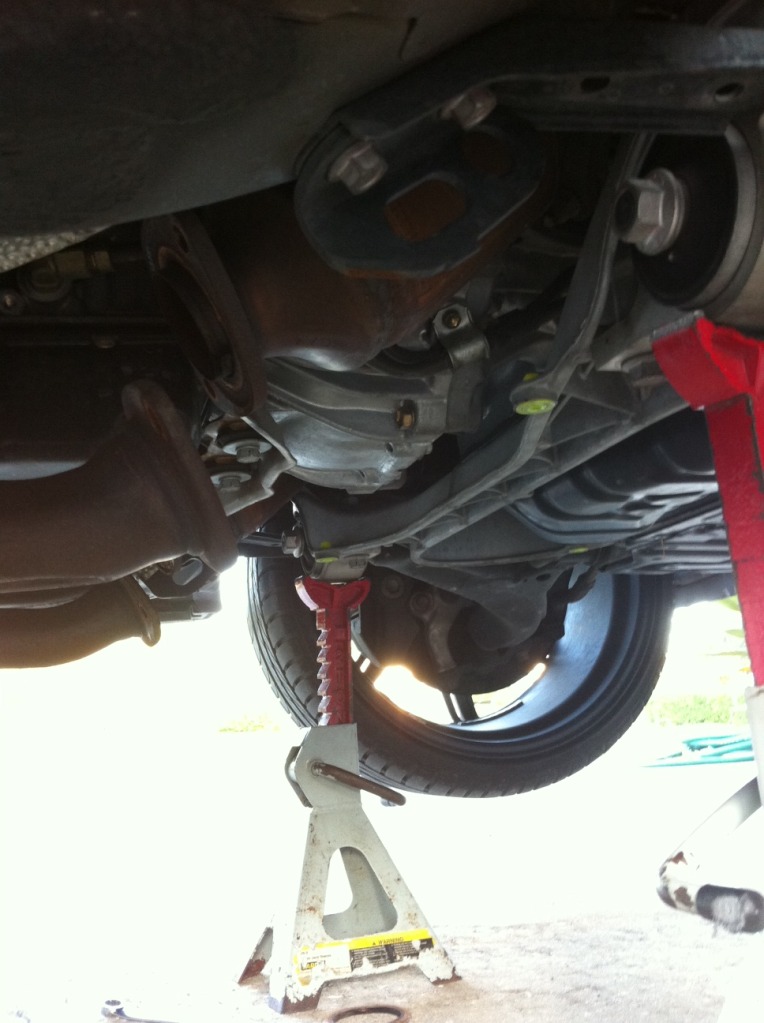
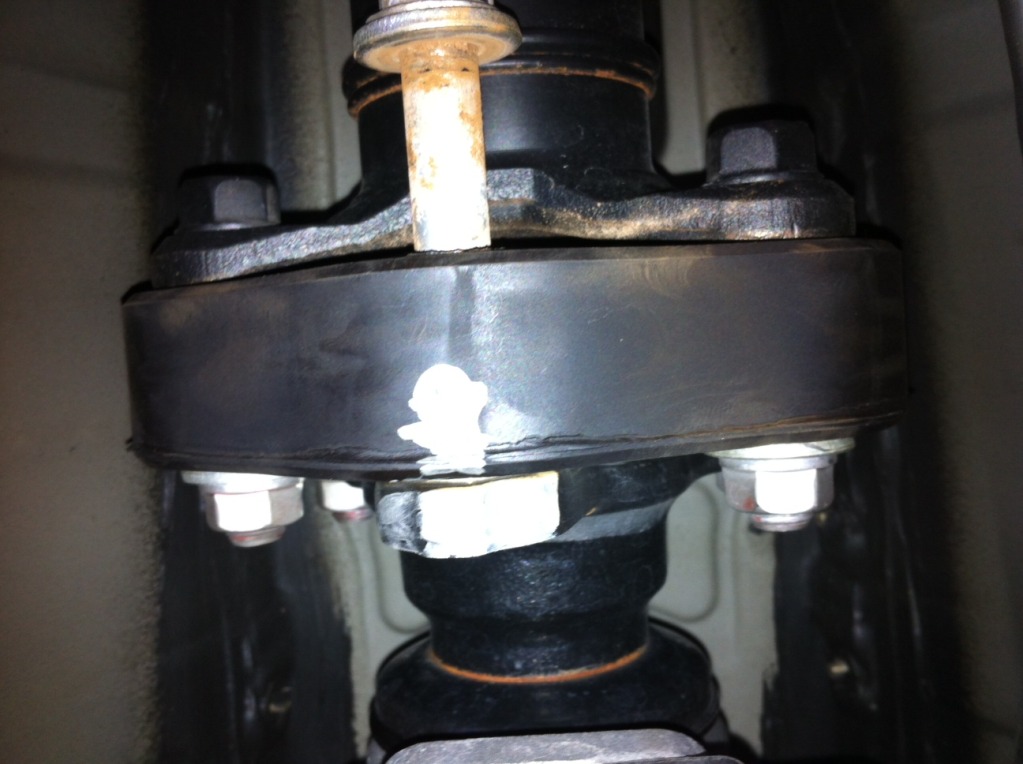
now you have to unbolt the driveshaft. You will see both black and silver bolts. You want to remove the silver ones only and you will nedd to put the car in neutral so you can spin the shaft and access the blots. I marked it on one spot so i could put it back in the exact position since some driveshafts are balanced at the factory( good idea to be safe even though i dont think this model is)
Next you will need to unbolt the brace in the center of the driveshaft so you can lower it and be able to disconnect the shaft from the transmission.
Now you need to unhook the shift linkage which is located on the passenger side for RWD(AWD is on the drivers side)
Place a jack under transmission brace and make sure it is pressing against the brace to no tension will be on the 4 bolts when you remove them. Once you remove the 4 bolts VERY SLOWLY lower the transmission(4-6 inches) or as far as it will go. Trust me you will need as much room as possible!
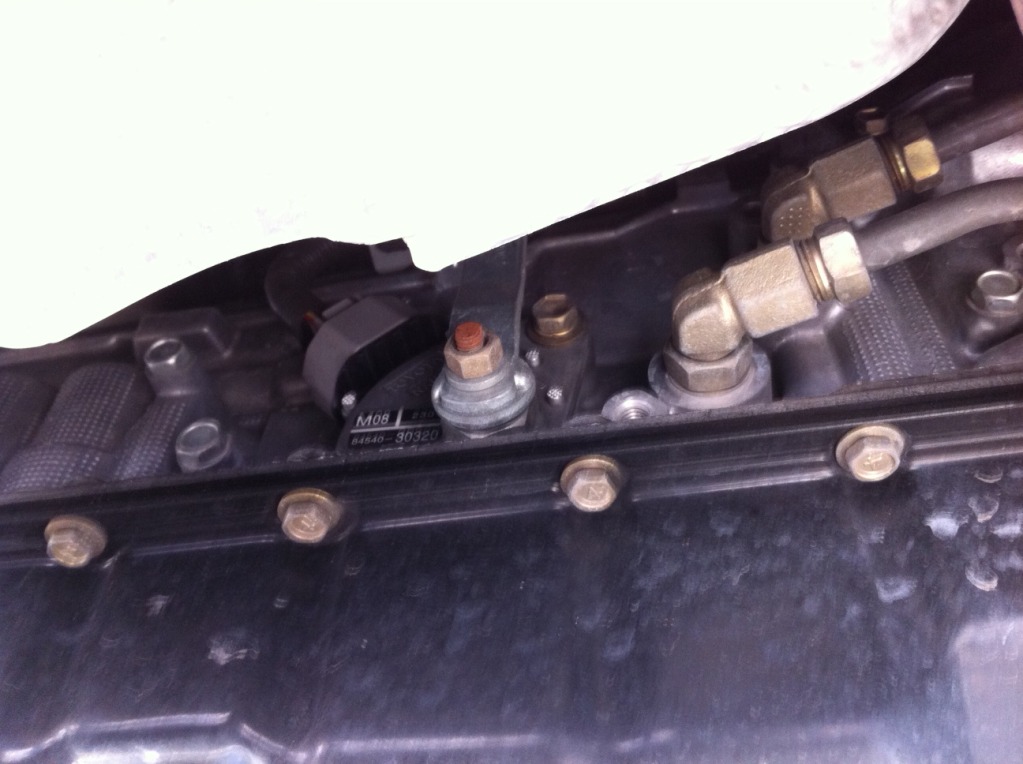
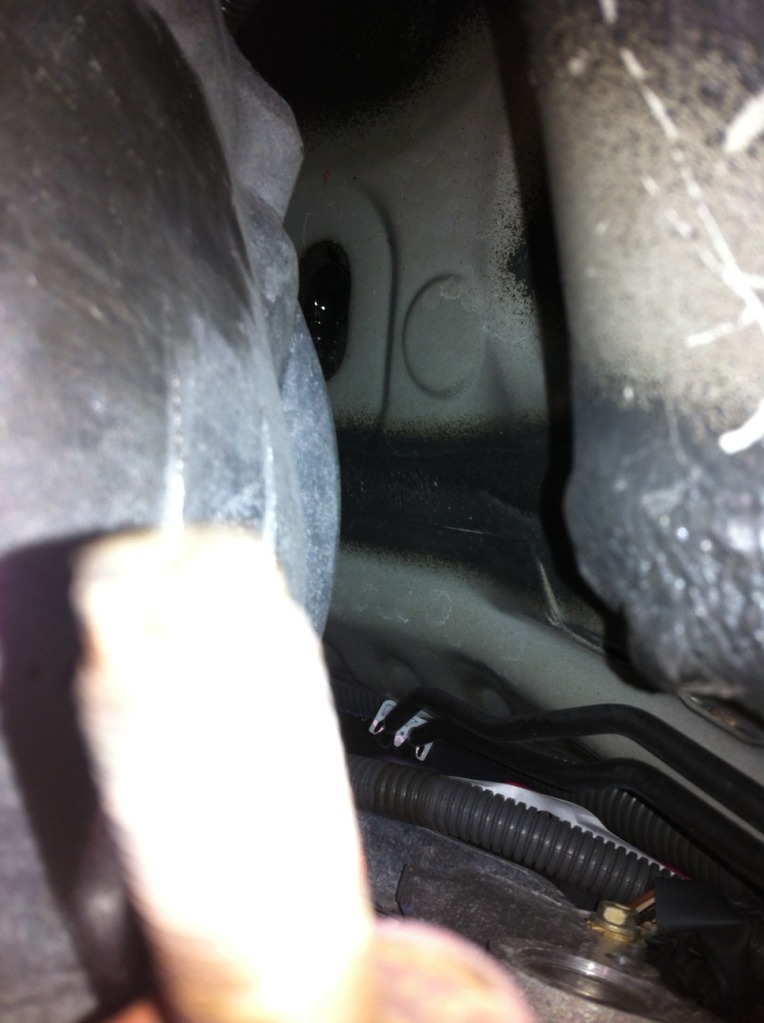
This is what you are looking for and its located towards the front of the car and hard to see. Probably want a flashlight at this point
I was unable to get my arm up the tunnel with my very long needle nose pliers but i have big arms so i had no choice but to remove the passanger side cat(which i recommend) you will see why when you realize how hard the grommet is the reach. The problem causing the back up is there is foam around the grommet and a very small piece was logged in the hole. Its very easy to unclog. As soon as my needle nose poked the hole water came pouring out. Now just put everything back together in reverse order. This job took me 3hrs from start to finish with Air Tools. Nothing about this job is very difficult except reaching the clogged grommet. It just is a lot of work and time consuming. I would imagine the dealer would bill this job $400-500 easily. Hope this helps others .
Very nice work, i am actually very suprised you got around to do it, i hope you did not just poke the hole with your noise pliers, as tsb suggests to remove the foam part completely. Would hate for you to do it again.
Very nice work, i am actually very suprised you got around to do it, i hope you did not just poke the hole with your noise pliers, as tsb suggests to remove the foam part completely. Would hate for you to do it again.
I had no choice. I live in FL its hot and very humid. I had about a gallon of water in my car literly before i knew since the mats are rubber on the bottom. The TSB says only trim foam around it and not to yank on it. There is no way you could trim anything its so tight. I removed the foam blocking it and trust me after all that work i was very sure it wont get clogged again. You would be amazed how little the piece was blocking it. Its more of a slit than a hole. Thanks again for the TSB. It was something i had to fix immediately. There was water all the way into the back seat area
No problem at all, always good to help a fellow clublexus member out. The mystery is still out on how I had water in the back, but its been dry ever since. I feel like me and you both been scarred, and well keep a close eye on it from now on. You had it worse then I did, but now you have eliminated the problem.
Does this "blockage" have anything to do with the occasional stale smell that comes from the HVAC when first turned on? I dont have any water in the car yet, but was wondering if the smell is the first sign of standing water in the drain and im about to have a lake in my car soon!
No, that's microbes colonising your core - you need to kill them off with one of the various mists that exist or foam sprays with the lance/tube.
Plenty of videos on YT showing how to do it.
^^^^^^^^^^^^^^^ http://www.lysol.com/cleaning-produc...ir-fabric-mist
Kills 99.9% bacteria and trust me it works smells great too
Spray into outside fresh air vent under windshield while A/C is on high then heat on high
This is a TSB for 06-07
GS 300, 350, 430
IS 250, 350 https://www.clublexus.com/forums/att...n-blockage.pdf
I noticed water inside the passenger side of my car and thanks to GS350LEXUS he told me what the problem was. So to help others with this unpleasant job I took pictures of a DIY.
Tools needed
1 )floor jack and 4 jackstands( you will need floor jack to lower transmission)
2) 10,12,14,17mm sockets and open end wrenchs
3 ) very long needle nose pliers
4) flashlight
Old post, but still a very nice write up. I just wanted to add that I just went through this as well. I found it unnecessary to disconnect the drive shaft from the transmission, but did release the carrier bearing as you did.
I released my gear selector further back where the shifter came through the tunnel because it was easier to access.
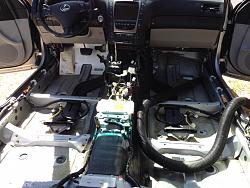
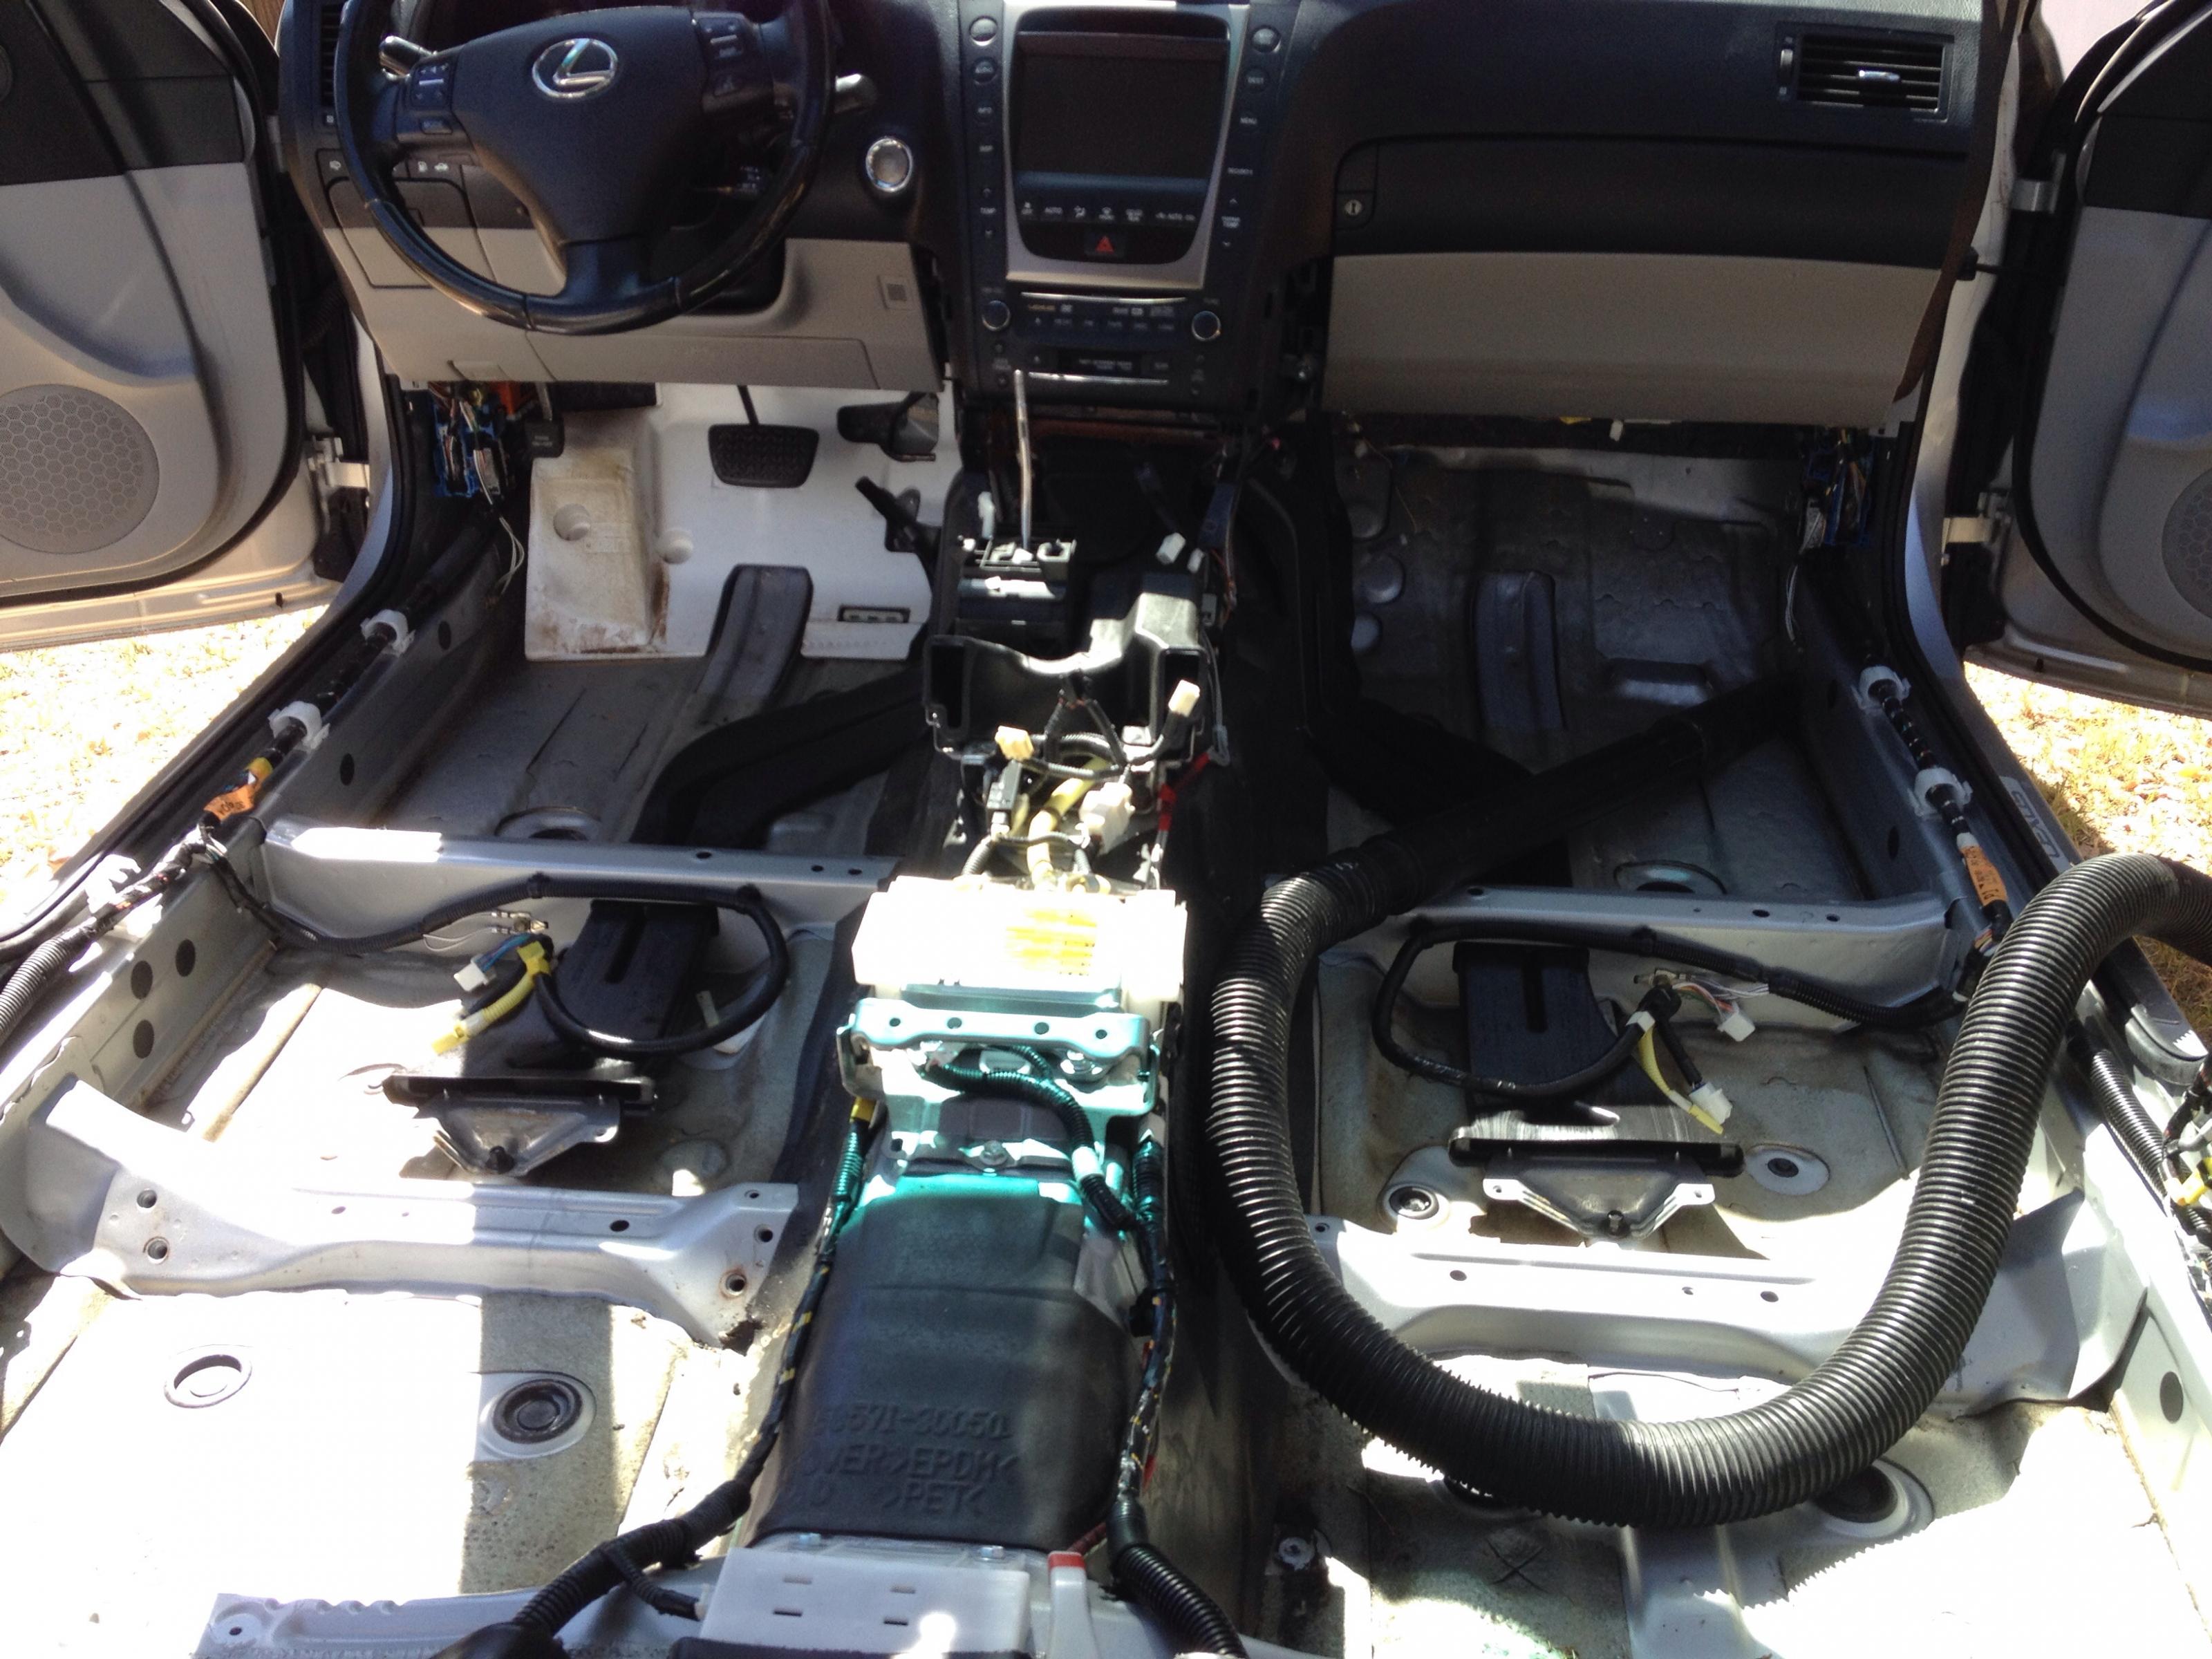
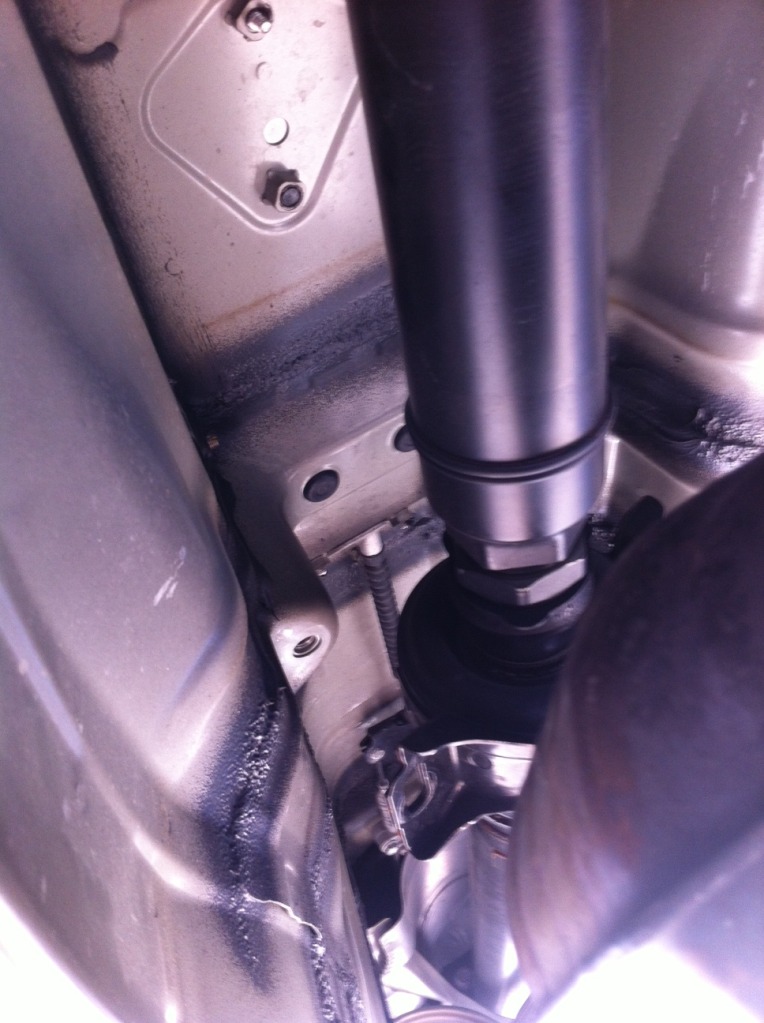
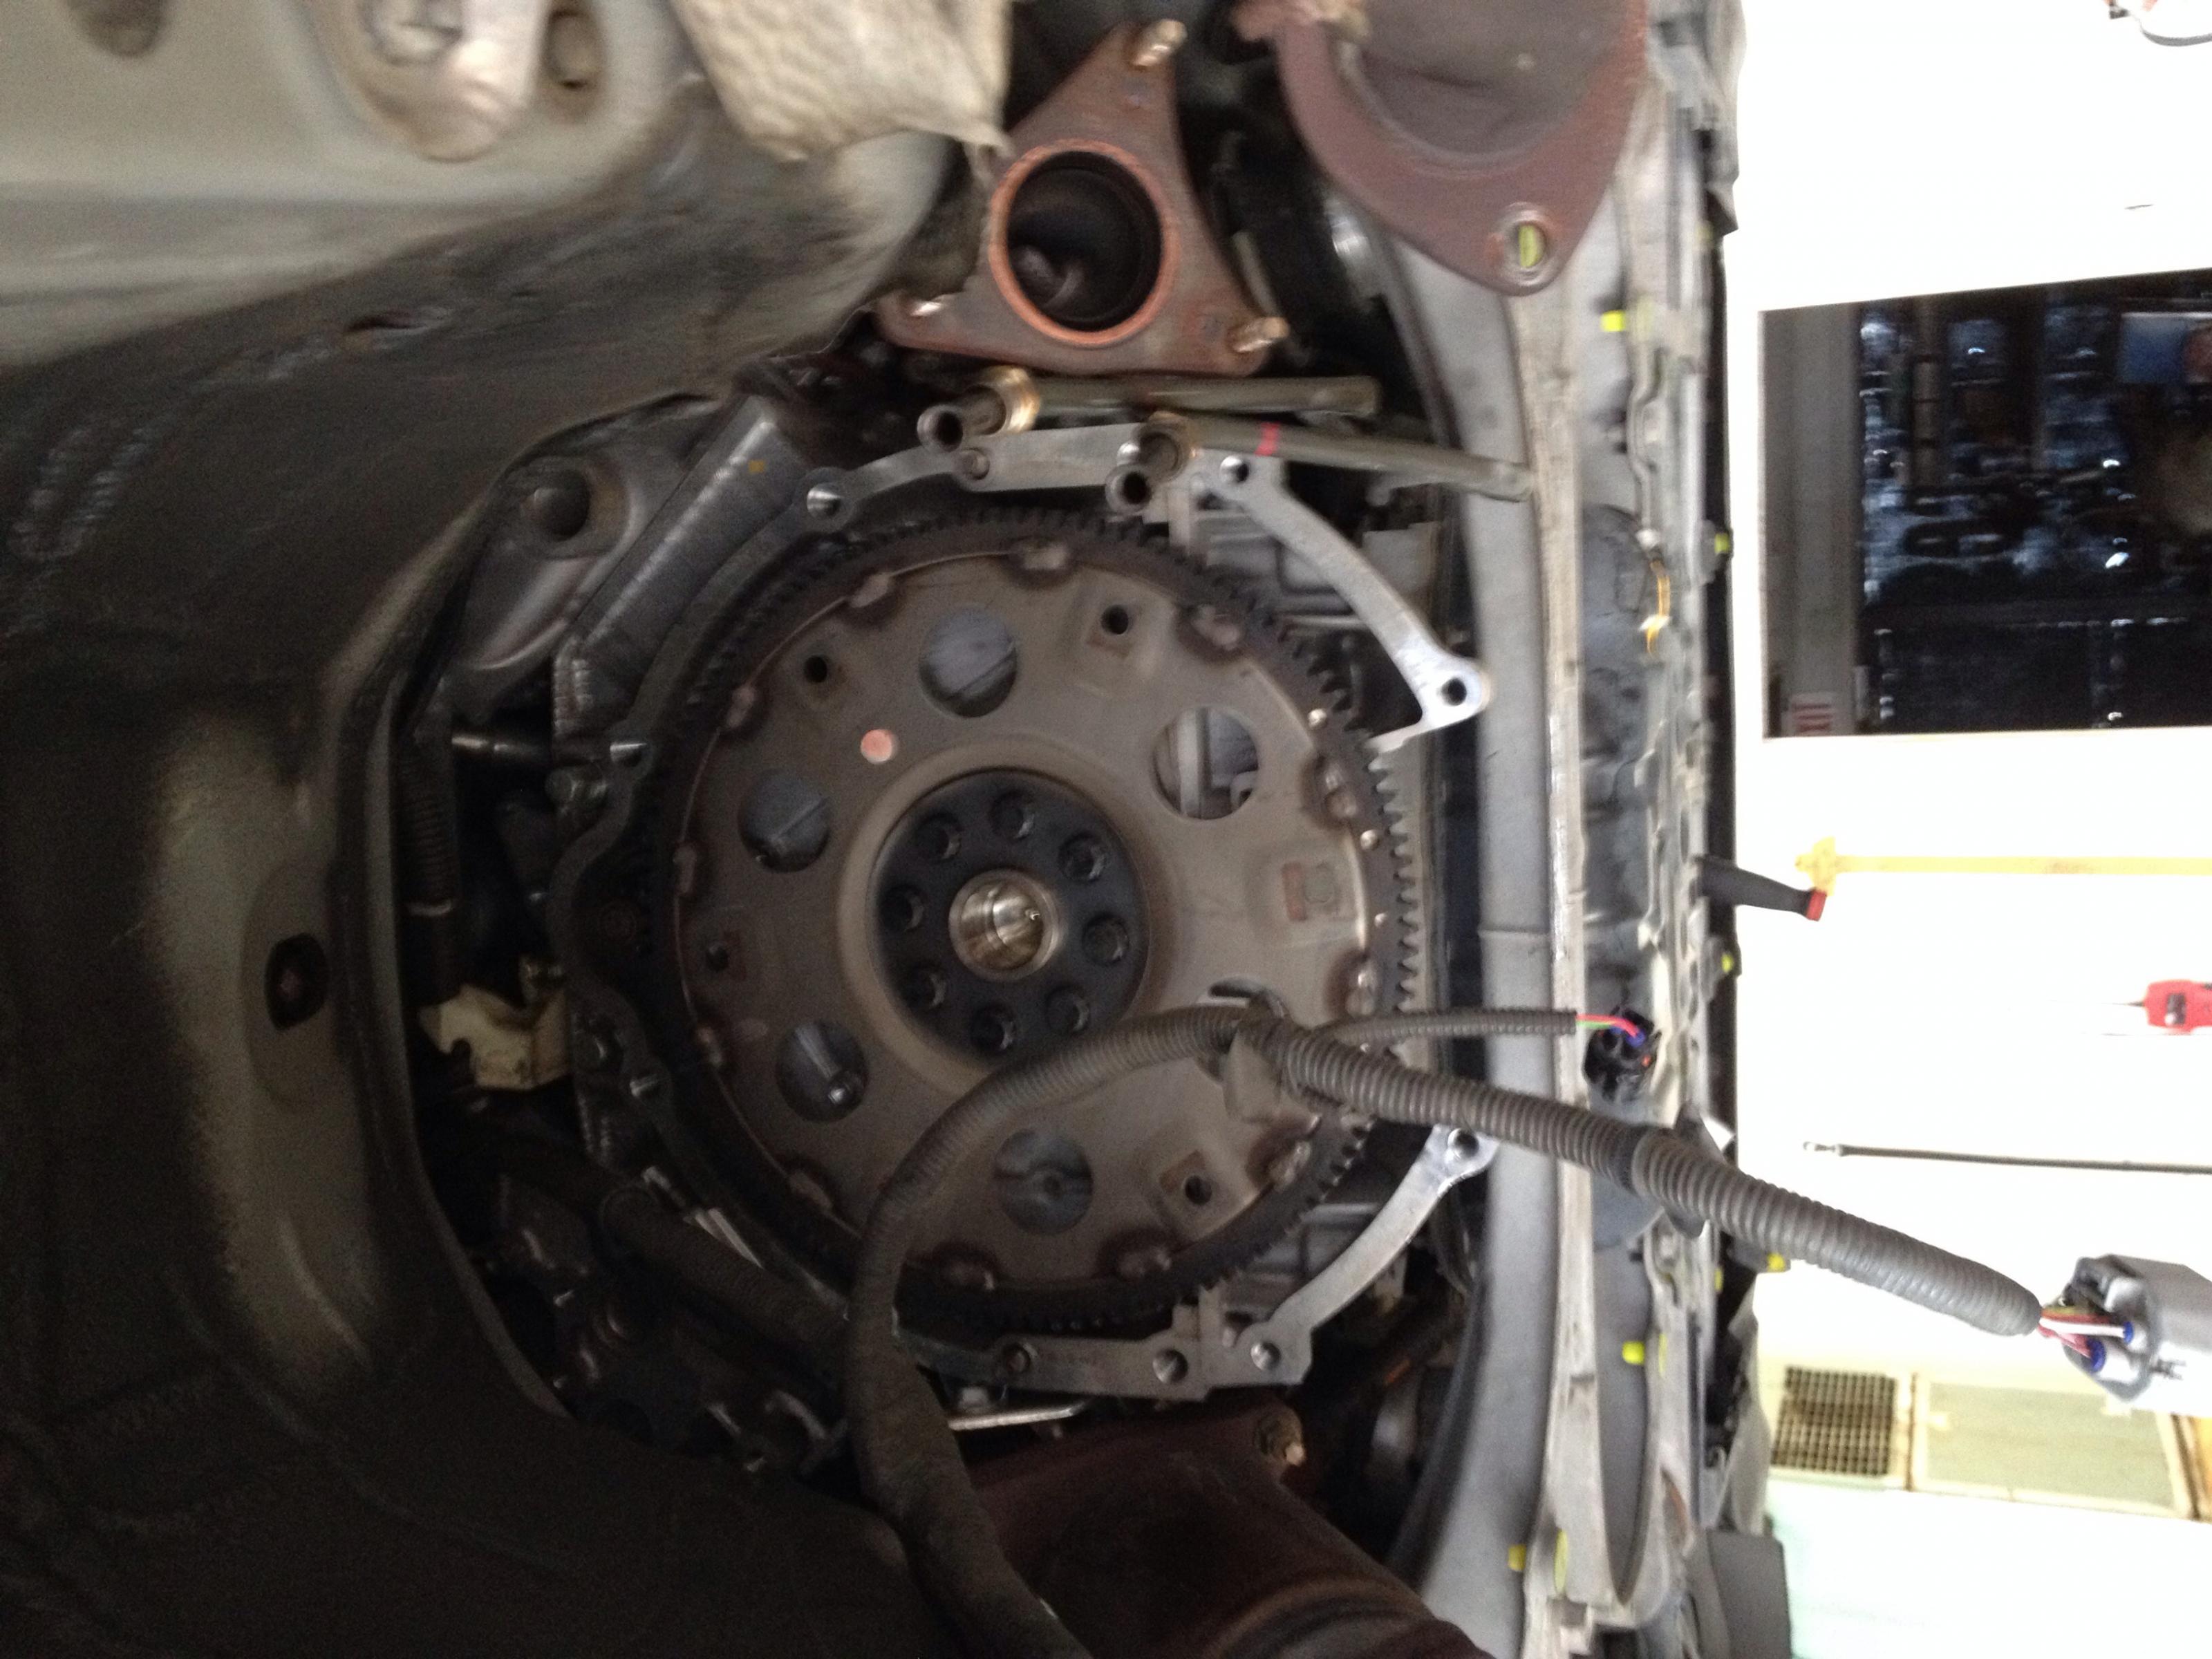
I also wanted to add a picture of what it looked like with the transmission removed. Sorry for the twisted pic, I couldn't change it on my iPad to appear right in the post. I also can only post one pic per post,, so I will follow up with another.
The grommet we are all looking to access is where the clean spot at the top of the tunnel is.
No I didn't remove the transmission for this post, I had to have a torque convertor, filter and solenoid replaced 4 weeks prior to this discovery and snapped this pic at that time. I just lowered the transmission a few inches and used a remote operated claw with a light to reach up and grab a chunk out of the grommet. A quart of water gushed out on my face. This was about a 3 hour job.
Since the interior was soaked, In about 2 hours, I also removed the seats, center console, carpet and under pads, then treated with an anti bacterial cleaning solution used in hospitals and then an odor control to eliminate all smells in the pads and carpet. I hung them on a fence in the sun to dry all day after vacuuming them as dry as I could get them. By late evening, I had to move the thick pads into the wife's dryer before she got home to finish drying them so that I could reassemble. I reassembled the car in about an hour and then smell was gone, even into the next morning.
The interior was simpler than I expected to remove and clean. The rear seat just pulls upwards with a protected wedge tool. There were 4 bolts and the 1 seat belt bolt for each front seat with 3 electric plugs. The center console came out with about 8 screws & bolts and 6-8 plugs, the underseat air vents unscrewed with 2 screws and it all came out. There are 6 thick sound pads under the carpet on each side that get soaked and need to be wrung out or they will mold.
Is there seriously no way to get up in there without unbolting ALL that ****? I have never had this problem so either the climate here and our very light use of the car doesn't facilitate the issue or it was already fixed prior to my getting the car? Still I would like to check.
Seems to me a tool like this would make it easier without unbolting stuff (which I happen to already have)?
F... wasn't thinking about it but I should have had them check this while the effin' transmission was out of the car for the piston rings job.
That is the claw I used except with a light in it. I still had to lower the transmission a few inches to see where I was going. The only other way would be the same tool with a lapriscopic camera on it.
When I gained access, it looked like a brown mucky mud plug made from dust and moisture that just stopped up the slit. I did not have the foam some have talked about. I did put a tear in the rubber slit to help prevent clogs in the future.
After driving a few times, I noticed hearing the AC dripping on the exhaust when we stopped and it was a nice feeling to hear that. I haven't noticed it in a long time.
I live in Texas and we have humid days, which is when it condensates more, sometimes producing a steady stream of water while idling.

 10-03-12, 03:25 PM

 .
.


 to finish drying them so that I could reassemble. I reassembled the car in about an hour and then smell was gone, even into the next morning.