
DIY- GX illuminated door sills- 56k will self destruct!!!
 03-22-07 | 10:06 PM
#1

Well, I finally finished putting this together. Here it is Capirato
This is basically a transplant of the SC430 illuminated door sill into the GX. It was too big to fit into my GS door sill.
Disclaimer:
I'm not responsible for any damage or accidental amputatation
I apologize for the poor engrish, grammer, punctuations:smile:
*illum=illuminated
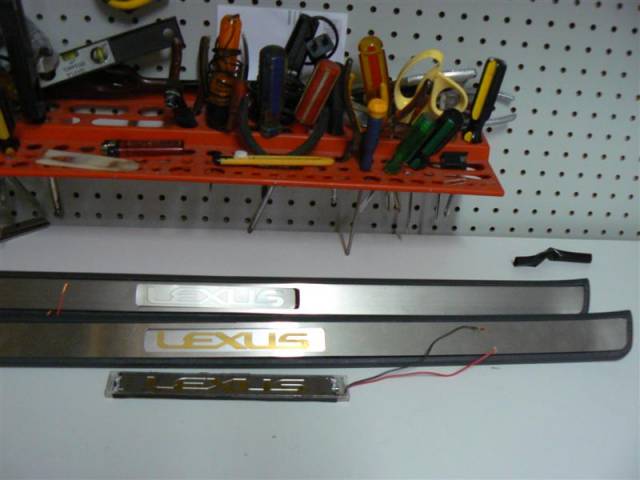
1. oem SC430 door sill

2.

will be removed with box cutter. metal sill is held with very sticky black adhesive
3

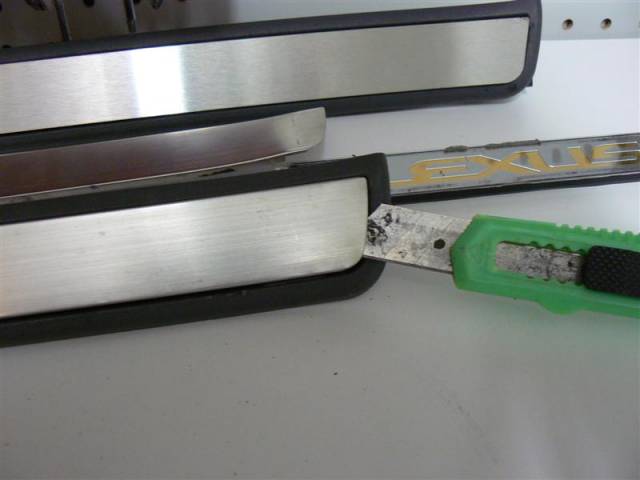
sill is clipped onto black tab. push it up on both sides w/ flathead screwdriver so the boxcutter can remove the sill
4
continue sliding the cutter with firm pressure
5

illuminated piece off, held w/ double sided tape
6
slide the cutter only at edge. don't worry about the scratch b/c it will be covered by the metal sill
7

8

This is basically a transplant of the SC430 illuminated door sill into the GX. It was too big to fit into my GS door sill.
Disclaimer:
I'm not responsible for any damage or accidental amputatation
I apologize for the poor engrish, grammer, punctuations:smile:
*illum=illuminated
1. oem SC430 door sill
2.
will be removed with box cutter. metal sill is held with very sticky black adhesive
3
sill is clipped onto black tab. push it up on both sides w/ flathead screwdriver so the boxcutter can remove the sill
4
continue sliding the cutter with firm pressure
5
illuminated piece off, held w/ double sided tape
6
slide the cutter only at edge. don't worry about the scratch b/c it will be covered by the metal sill
7
8
Last edited by GS3Tek; 03-22-07 at 10:31 PM.
03-22-07 | 10:07 PM
#2
9.illuminated pc removed, top view

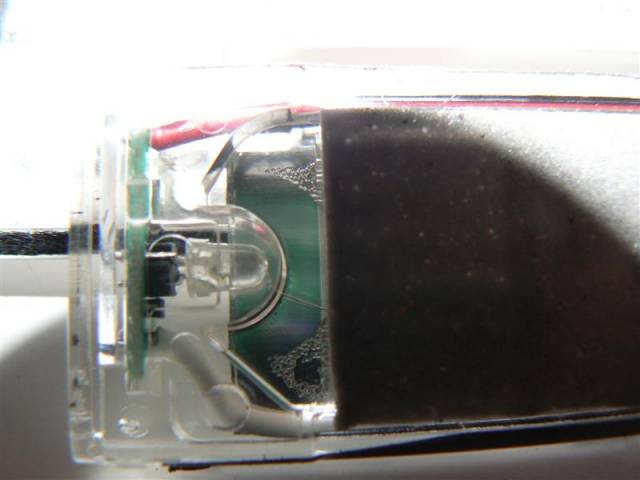
10.close up view of led on each end

11.
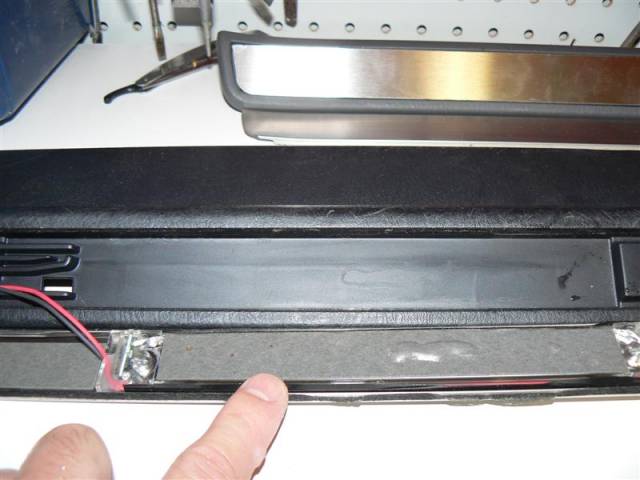
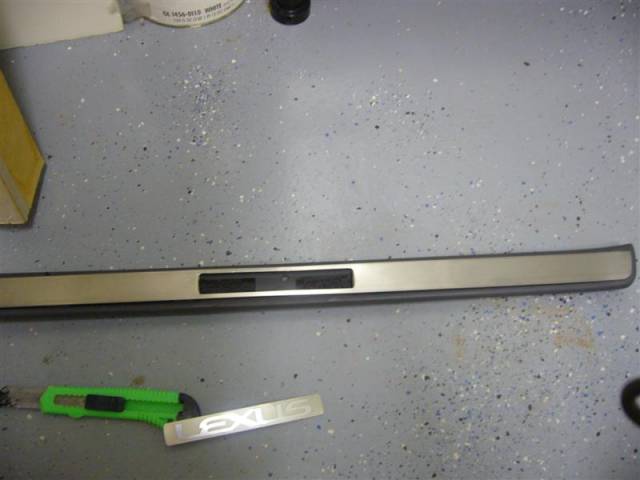
12.GX sill. that logo will be removed by sliding the cutter underneath. it was already removed so I was holding it there with my hand.
13.Top:logo removed and shaved. Middle: finished sill Bottom: illum logo
14.push up the plastic tab where the metal sill is clipped into so the box cutter can slide under the metal sill for removal

15.
16.metal sill removed.notice the black adhesive.top shows the door sill measured and cut out for the illum logo to sit in

10.close up view of led on each end
11.
12.GX sill. that logo will be removed by sliding the cutter underneath. it was already removed so I was holding it there with my hand.
13.Top:logo removed and shaved. Middle: finished sill Bottom: illum logo
14.push up the plastic tab where the metal sill is clipped into so the box cutter can slide under the metal sill for removal
15.
16.metal sill removed.notice the black adhesive.top shows the door sill measured and cut out for the illum logo to sit in
Last edited by GS3Tek; 03-22-07 at 10:20 PM.
03-22-07 | 10:09 PM
#3
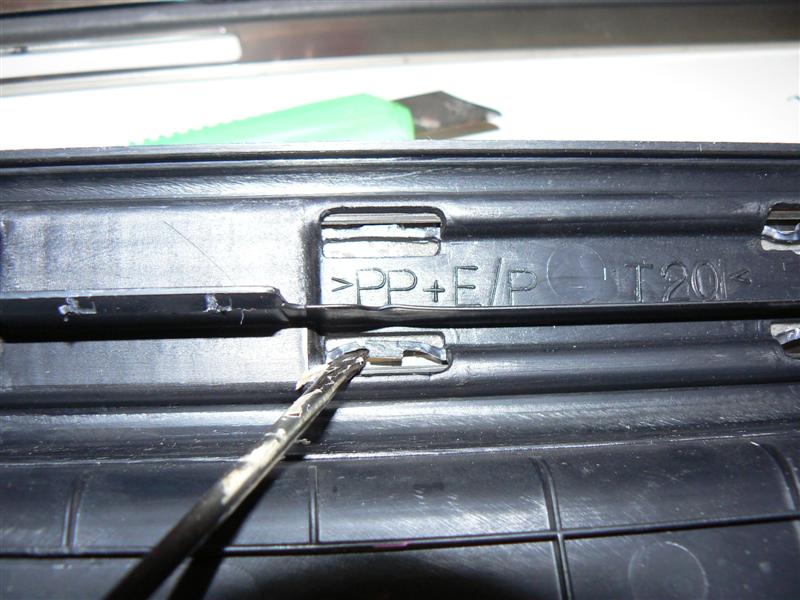
17.after removing the Lexus logo, time to cut the metal insert where the
illuminated logo will show through.
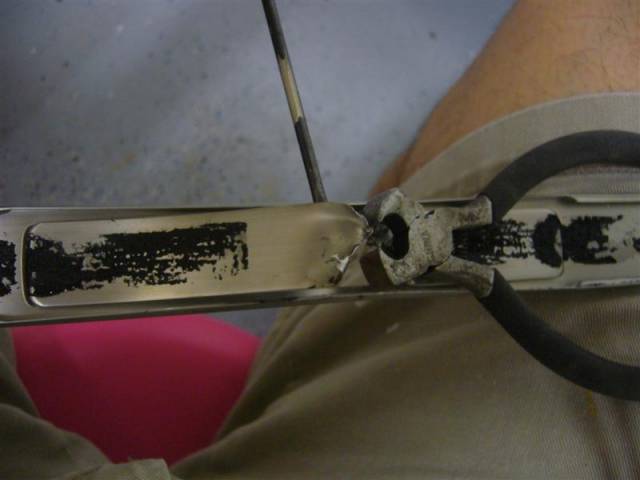
18.Red: already cut by the factory, it's not attached. Green: needs to be cut.Cut right in the center

19.Each side is bent back. Gently bend it back and forth and it will snap/break off.

20.Inside metal is broken, but the edge is jagged and not clean

21.shave/sand it down. I used a metal carbide to grind it down.
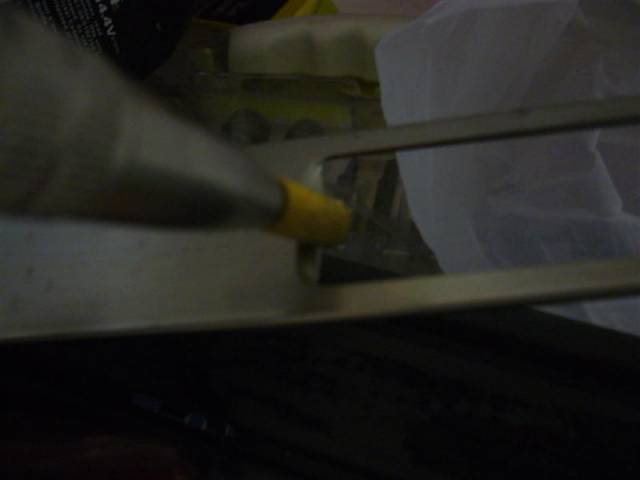
22.Nice and clean

23.ready for the illum logo to show through
24.plastic sill is cut with the box cutter for the illum logo to sit in

25.illum logo sits b/t exactly between both plastic tabs (left tab shown with my finger-right tab shown with the screwdriver head) that snaps on the car

illuminated logo will show through.
18.Red: already cut by the factory, it's not attached. Green: needs to be cut.Cut right in the center
19.Each side is bent back. Gently bend it back and forth and it will snap/break off.
20.Inside metal is broken, but the edge is jagged and not clean
21.shave/sand it down. I used a metal carbide to grind it down.
22.Nice and clean
23.ready for the illum logo to show through
24.plastic sill is cut with the box cutter for the illum logo to sit in
25.illum logo sits b/t exactly between both plastic tabs (left tab shown with my finger-right tab shown with the screwdriver head) that snaps on the car
Last edited by GS3Tek; 03-22-07 at 10:22 PM.
03-22-07 | 10:10 PM
#4
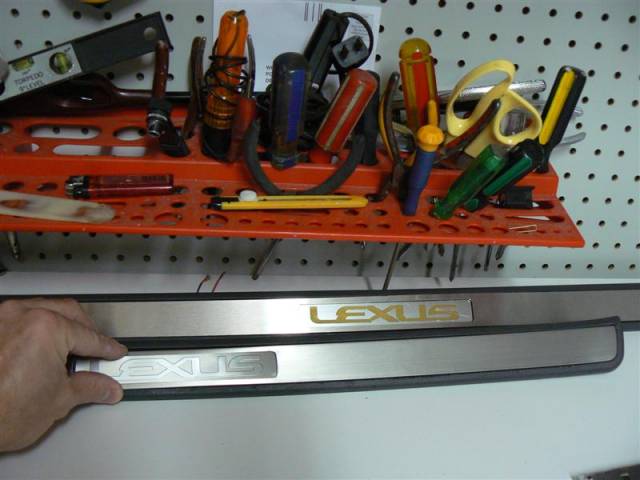
26.nice and perfect fit, lit up too. metal sill is not attached yet.

27.
Voila! End product. Not wired up to the car yet, but will run the wires from the running board to the illuminated sills. It will light up whenever the door is open like the running boards.

27.
Voila! End product. Not wired up to the car yet, but will run the wires from the running board to the illuminated sills. It will light up whenever the door is open like the running boards.
Last edited by GS3Tek; 03-22-07 at 10:23 PM.

Trending Topics
03-23-07 | 02:10 PM
#8
Thank you for the compliments
Both oem sc430 door sills were $80.
My first one took 2 hours b/c I took my time. 2nd one took about 1 hour. The long part was shaving down the metal clips at the edge.
I know that this a bummer b/c the catch was to buy an SC430 door sills .
.
There's hope:
Here's what you can do if you can't find any lexus illuminated sills.
(If I have the time, I will try to do the rears from scratch.)
This is what I plan to do to fabricate a new illuminated logo piece:
Follow steps 12-23, then proceed to these steps:
Both oem sc430 door sills were $80.
My first one took 2 hours b/c I took my time. 2nd one took about 1 hour. The long part was shaving down the metal clips at the edge.
I know that this a bummer b/c the catch was to buy an SC430 door sills
.There's hope:
Here's what you can do if you can't find any lexus illuminated sills.
(If I have the time, I will try to do the rears from scratch.)
This is what I plan to do to fabricate a new illuminated logo piece:
Follow steps 12-23, then proceed to these steps:

 04-04-07 | 11:04 PM
#12
Thanks for the compliments everyone.
My gx is a lease, so I'll change them out when the lease is up.
Here are updated pictures, but only the driver side so far. Haven't wired the other side.
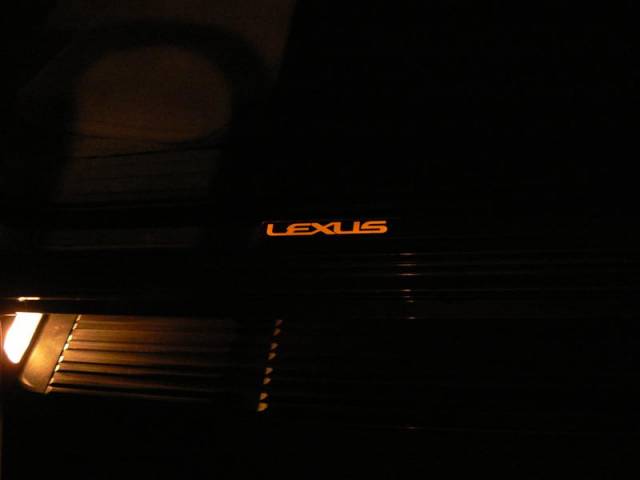
up close

My gx is a lease, so I'll change them out when the lease is up.
Here are updated pictures, but only the driver side so far. Haven't wired the other side.
up close
 04-10-07 | 10:51 PM
#14
When my lease is up, expect to find them here 
Wiring was pretty easy...just have to get under the gx.
I spliced into the front running board lights, then through the inside. If you crawl under, you'll see rubber grommets that lead into where the door sills are snap onto.
I'll try to get pictures when I do the other side.
Wiring was pretty easy...just have to get under the gx.
I spliced into the front running board lights, then through the inside. If you crawl under, you'll see rubber grommets that lead into where the door sills are snap onto.
I'll try to get pictures when I do the other side.