When you click on links to various merchants on this site and make a purchase, this can result in this site earning a commission. Affiliate programs and affiliations include, but are not limited to, the eBay Partner Network.
Does anyone know the OD of the factory air suspension poly line for the air bags and pump lines? Is it 1/8 or 5/32? I am unable to tell by looking with my tape measure in there.
Does anyone know the standard riding pressure for these bags on the different setting? Min-Max PSI,etc.
For springs my friend at the local Toyota dealer gave me some brand new 2017 4Runner takeoffs for free. I don't know if they typically sell those, but it may be a good option if you're on a budget. Worst they can say is no.
Pulling the red Air Sus relay under the hood and TEMS fuse in the dash turned off all lights, and stopped the compressor from firing up when I parked.[/QUOTE]
Late to the party here but my 05 had a total failure.Reas is all the way down and so bouncy as to be unsafe to drive. I have a set of 2018 4Runner TRD take off shocks and springs. I haven't been able to find out if they will work in my GX and this is the first post referencing that gen 4Runner as replacement parts.
How did they work and how was the install? I've seen said that 4Runner aren't engineered for the weight of the GX.
Finally found a fix. I took out the arnotts and went dobinson springs front and rear with Bilstein shocks. The car rides like a dream and doesn�t bounce all over the place. I also installed the pick kit which has changed the handling dramatically. The Firestone airbags will help if I need to tow a heavy load but the Dobinsons alone don�t show any sag with the car fully
loaded with passengers.
Hope this helps anyone looking for fix to this madness
I figured I would finally write this up. After extensive research regarding swapping coils and differing opinions on whether to keep the stock setup or ditch it altogether I decided to attack this in a different way.
I decided to keep the air ride suspension setup (which is one of the nicities of owning a lexus) but made it much less involved with the ride height control and all the other sensors and points of failure. This solution ended up costing just around $400 for all new parts and equipment relating to the rear air suspension on these SUV's and still gives up and down control of the rear end using the same factory console button.
I ended up replacing the existing air springs with arnott air springs... I cut out all the existing 6mm air lines and ran all new 1/4in lines in their place. I went from the factory 6mm lines right at the air bag to 1/4in with an adapter made of brass. The replacement arnott bags have a 6mm connector which is why I adapted it at the bag to 1/4in. (all the air line quick connects I used are made of metal because they are rated for temperatures below 0 degrees whereas the plastic ones start to fail at 32 degrees)
I cut in an air pressure gauge in the console right next to the factory up and down button which lets me know where the pressure is in the system at all times. I would recommend using a dremmel for this as the wood grain is plastic and can chip.
You will need a multimeter and a fair understanding of electrical circuits and relays...
I pulled the existing up and down switch out of the truck and metered it to find which wires close when the buttons are depressed up and also down. I ran my own wires from the engine compartment to the console to bring power from the battery essentially down to the switch which would then in turn, turn on a 30amp relay which carries the current to the compressor and the dump solenoid. This protects the factory up and down switch from burning up due to carrying to much current to the compressor.
I also ran wires from the engine compartment to the back trunk location where I mounted the compressor and dump solenoid. I mounted the compressor and solenoid in the compartment that typically carries the truck jack.
Here is a basic non comprehensive list of the parts I used for this project. Some ingenuity and mechanical ability is required.
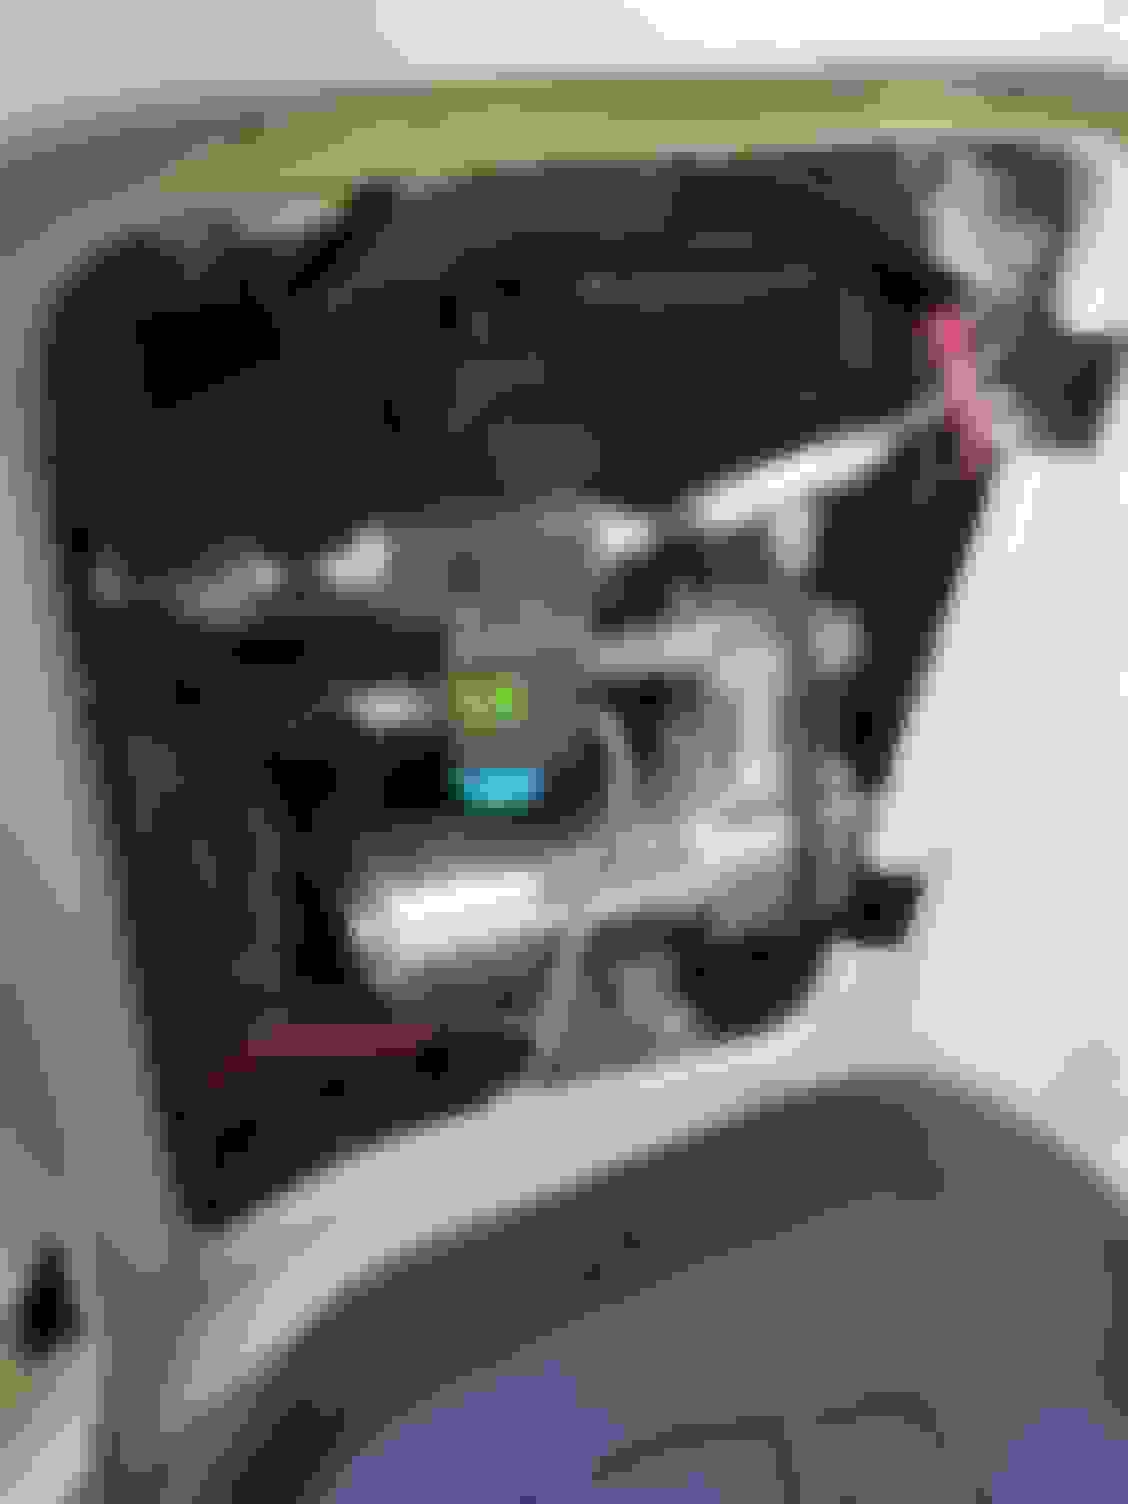
Compressor and Dump Solenoid in Truck Jack Location This is the air flow regulator for when the dump solenoid activates so it releases the air slowly. This is a schrader valve to override the compressor with a bike pump or other air pump. Use as many metal connectors *** possible 1.5 inch air pressure gauge. Up button turns on compressor and down button turns on the dump solenoid. This is where I take fused battery power down to the factory switch and back up to the relays to send the higher current load back to the compressor and solenoid. This is sitting around 55 to 60psi in this picture... I can run the rear end up when I have a load or towing and can run it down when we are light and just cruising for a more comfortable ride. I went with 1/4in line because it is a very standard size for a lot of shops in the united states. 6mm is super rare and near impossible to find connectors and parts for. This compressor is kinda loud so make sure you use the rubber bushings when installing.
I have a 2005 Lexus GX 470. I was looking to do a coil conversion and needing to find an inexpensive option. The cheapest stuff I found on the Internet was the Suncore kit. I couldn�t really find any reviews that I trusted. I saw a couple threads were other people asked about it but no one knew. I bought the kit and had it installed. I just had to put on today and so far I am blown away! we will see how this thing holds up over time but as for now I am super satisfied with the ride quality and height of the vehicle. It�s sitting nice and high and drives great. I seriously don�t even notice a difference between this and the airbags. I�m glad to know I�ll never have to deal with those BS airbag problems again! For anybody looking to do the conversion I highly recommend the Suncore kit. I bought it online and even got a 20% discount so the whole thing only came to $145!!! and had everything I needed for it. I didn�t have to buy any other products. Again I have no idea how this thing is going to hold up But my initial satisfaction with it is very high! I hope this helps anybody in the same situation!
Finally found a fix. I took out the arnotts and went dobinson springs front and rear with Bilstein shocks. The car rides like a dream and doesn�t bounce all over the place. I also installed the pick kit which has changed the handling dramatically. The Firestone airbags will help if I need to tow a heavy load but the Dobinsons alone don�t show any sag with the car fully
loaded with passengers.
Hope this helps anyone looking for fix to this madness
I would not assume 1 hour for everything. I would expect to pay between 4-5 hours labor.
My son did mine and didn't charge me (he's good to me that way) but it was about a 4 hour job. Some here claim the old bags just fall out, and the places that sell us the parts want us to know the parts fit, so often we interpret it like it's as simple as changing a flat (which I bet takes most of us an hour or more). Trust me it is not that simple. 4-5 hours labor is very fair IMHO.
I'm about 3 weeks into the conversion and very glad I did it. My biggest issue now is figuring out what to do with the space that will be vacated on the console when I remove the switches.
Finished the rear coil conversion this past Saturday. I went with the Southern Style Offroad conversion kit, ICON 2" coils, and ICON 2.0 rear shocks. The ride is sooooooooo much better than before with the leaky bags.
I went with a 2" lift because I plan on lifting the front as well.
I don't understand how some of you guys did this conversion with that strutmasters or arnott kit. It looks like you all just have your coil spring sitting on the metal of the axle and just metal on metal of the top of the coil spring resting underneath the frame. These coil springs were not made to just rest on the metal of the axle and frame. You should have upper and lower spring isolators holding the coil in place. These isolators not only help to hold the spring, but they provide secondary shock absorption. It looks like those cheaper conversion kits do not give you either isolator which may come back to bite some of you in the butt as you may not experience as good a ride quality as you should. Or you can end up getting a metal on metal rub which creates a horrible noise.
For those of you who have used either the arnott or the strutmasters kit, how is your ride quality holding up?
I�m trying to covert my 2004 GX to springs. I see that you did yours in 2017. I have the same red and black spring seats you have. I�ve started with the passenger side, I released the bottom of the shock and the sway bar and I still can�t get the spring in over that seat. What was you secret? Did you use compressors? Thanks
I�m trying to covert my 2004 GX to springs. I see that you did yours in 2017. I have the same red and black spring seats you have. I�ve started with the passenger side, I released the bottom of the shock and the sway bar and I still can�t get the spring in over that seat. What was you secret? Did you use compressors? Thanks
Get the top of the spring as far into the bucket as you can, have a helper put some weight on the opposite side of the axle (step on it) to articulate the suspension and open up the side you're working on (watch you don't overextend the brake hose, might help to put a floor jack under the pumpkin to limit the down travel), and should be able to get the spring in there without a spring compressor.
I still prefer the OEM airbag setup. Comes in handy if you tow stuff too. I not knocking springs & fixed shocks, just my preference, etc.
Arnott replacement bags are way less $$ than spring & shock replacement.
Tip: The Arnott bags do not require the OEM plastic shroud.
The OEM air lines are metric sized btw. Arnott bags come with sae sized fitting, but the oem hose still locks in. I have been on Arnott bags for years now.

 04-01-19, 05:13 PM