When you click on links to various merchants on this site and make a purchase, this can result in this site earning a commission. Affiliate programs and affiliations include, but are not limited to, the eBay Partner Network.
How on earth did you get the bulbs out??? I've tried the tape method that I read and tried pulling. I can't find anywhere a detailed description on how to remove the whole assembly. Any help would be appreciated.
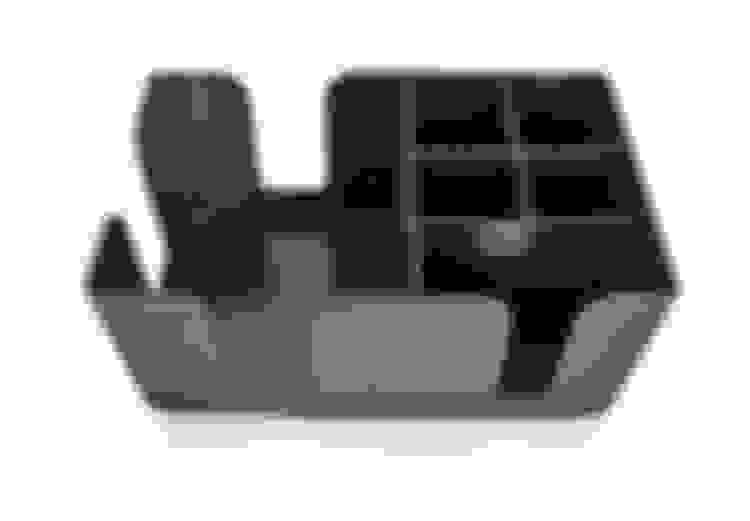
Not really a mod, but I put one of these bar caddys into my armrest box to help with organizing things a little bit. The caddy is a little bit too long, so I used a dremel to remove ~ 1/4" off of one end (the open end) and now it fits perfectly.
Too funny.. I missed this post and go to try to put it in and am like.. did they change the size of the console '14+? :-)
No problem I'll Dremel off what is needed. This will make that space far more flexible for me than a pit of misc items.
Originally Posted by Chasin
Not really a mod, but I put one of these bar caddys into my armrest box to help with organizing things a little bit. The caddy is a little bit too long, so I used a dremel to remove ~ 1/4" off of one end (the open end) and now it fits perfectly.
Someone asked so just wanted to mention that I also have the little top tray with coin slots and everything fits perfectly fine, no obstructions. But at the end it depends on what you're keeping in this box.
Will take a picture when I get the truck back. The dealer wanted to keep it overnight as they didn't have a chance to work on it today.
Others focus on the safety side. Three years ago a Dr. purchased a new one and was driving home from Dallas. When son must stop he pulls off on west or opposite side of road with head lights on wrong side business. First driver hits him.
Did not entend to take it over.Luke Good looking trusk.Nice looking rig and would place the on mine.
Michael
Not today but this weekend... broke in my BB skids. Still need to complete the install. Really going to try getting the center brace and mid skid over TC installed this weekend. There are 3 skids that cover from front to fuel tank, then a brace, and then the 4th fuel tank skid. It's the 3rd and brace I haven't installed yet.
Nothing dented but some powder coat blemishes. Looks like I need to pick up a little rattle can black for touch up. I expected as much but like a first scratch.
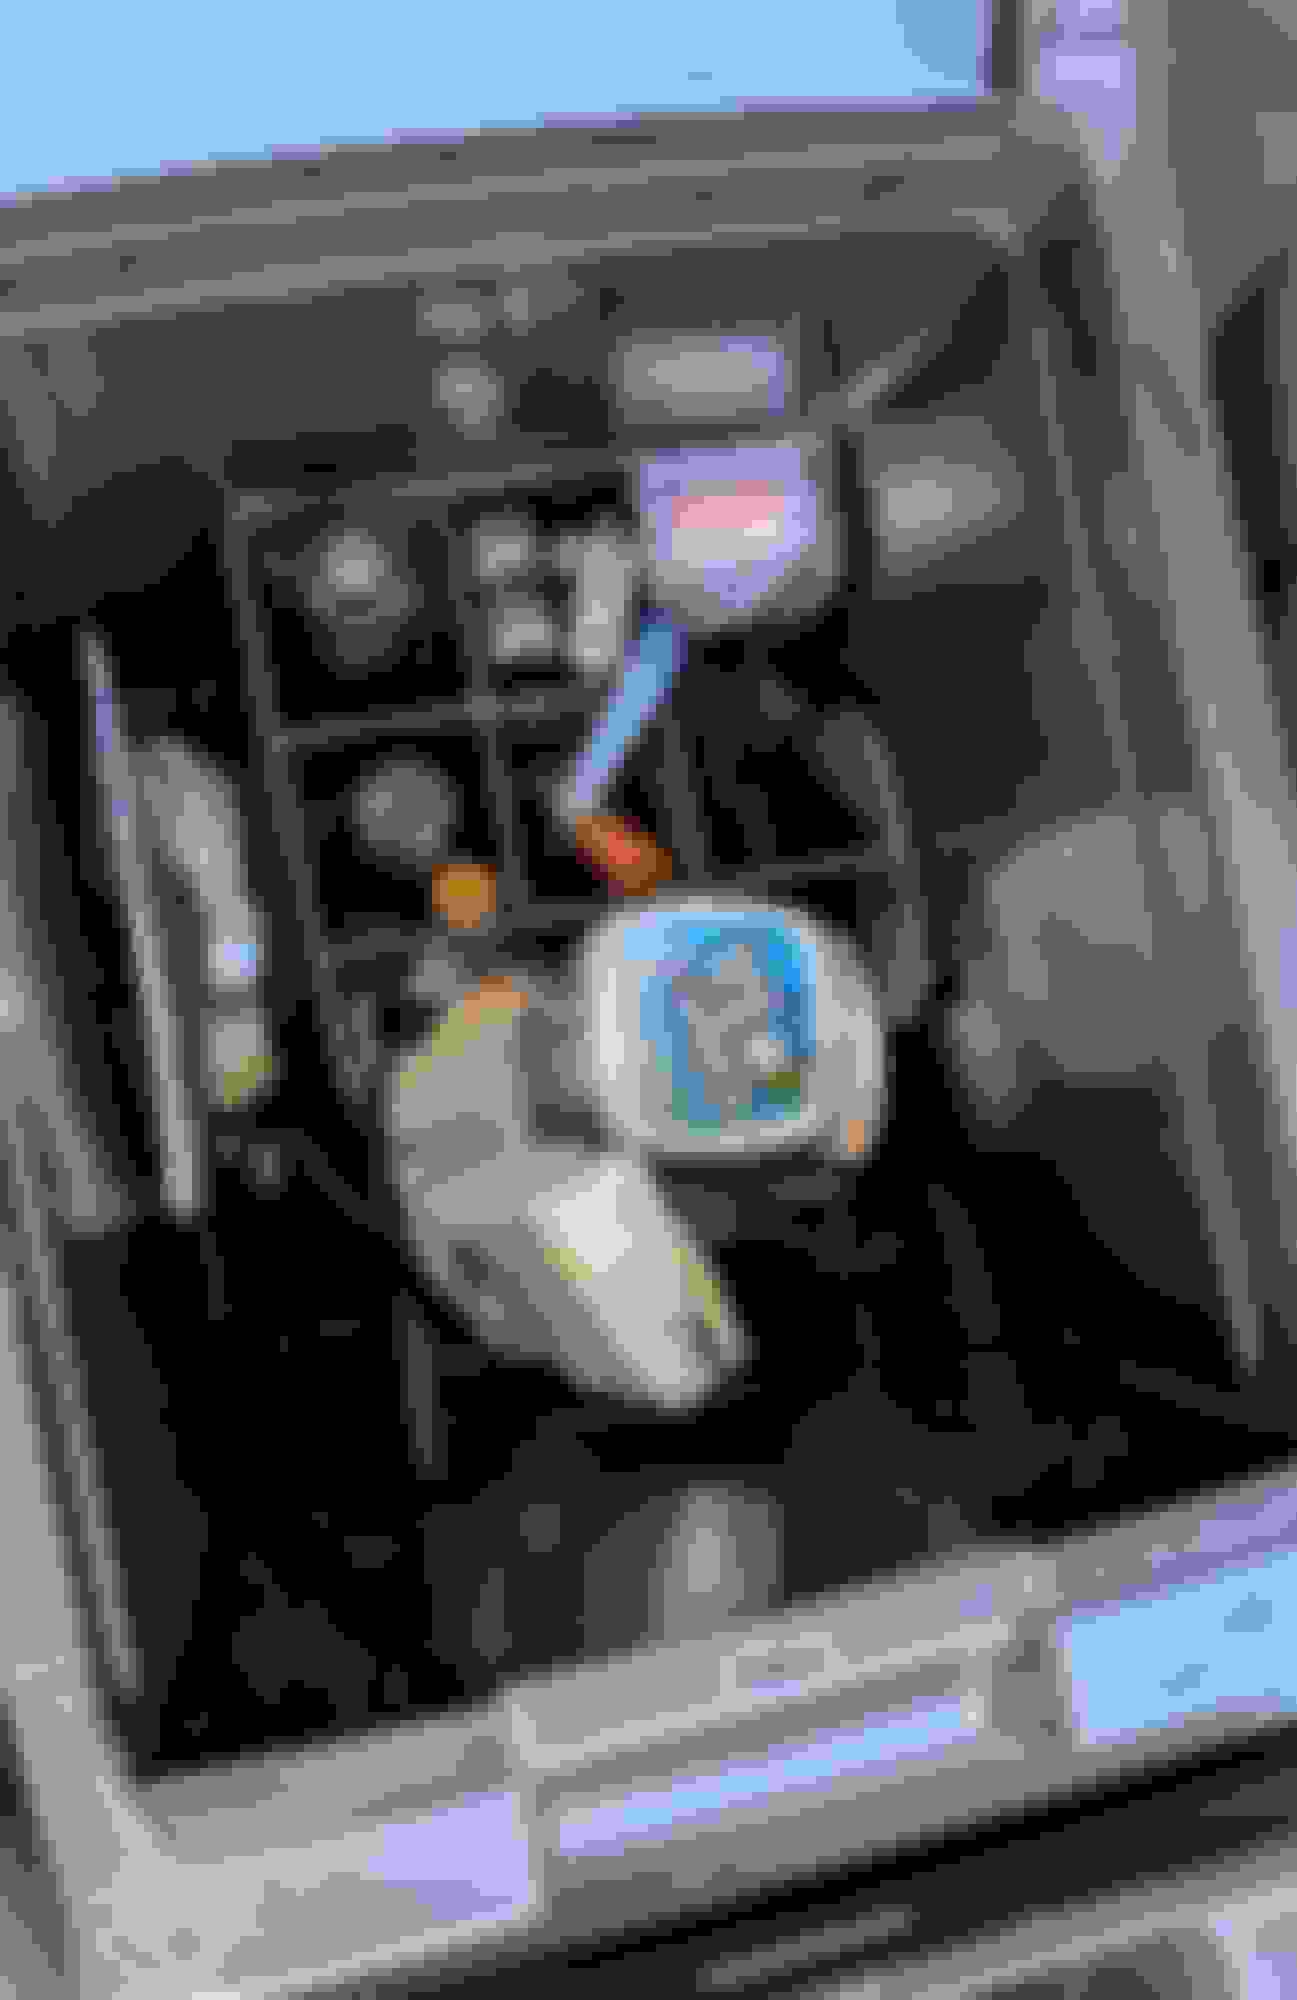
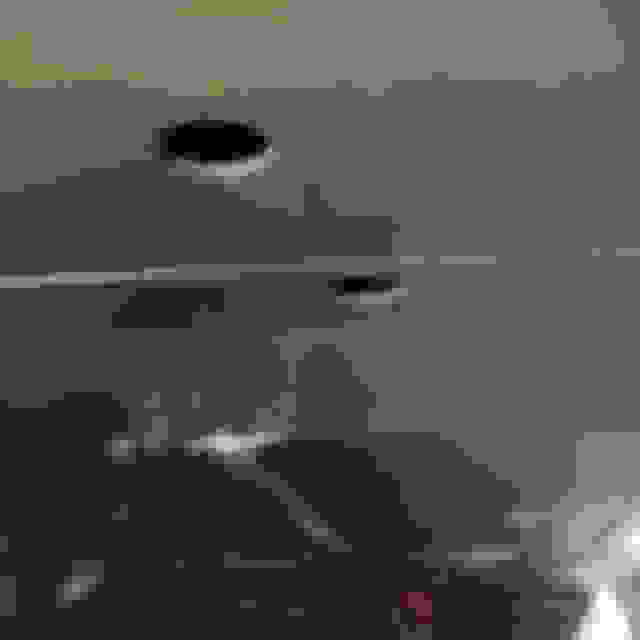
After reading your DIY post I decided to order LED's(AUXITO T10/194 led bulbs on Amazon for $20 for 10 lights (glad I ordered 2 packages of 10). The only problem I had was with the driver's map light. The bulb was difficult to pull and slipped out causing the bulb and plastic housing it fits in up onto the top of the console out of sight! Nothing but a hole in the metal housing. If this occurs just pull down with your fingernails on the front of the sunglass holder side of console. It will eventually pop out. I would caution you to pull down from the other side right in front of you as there are 2 plastic hook clips. The front part of the console just has 2 straight plastic mail clips so pull down on the side farthest away from you first. When I removed the console out popped my light bulb and plastic housing it fits in. I just reinserted it in the metal housing with the new led bulb in it and it worked. If it does not work turn the bulb 180 degrees to change the polarity as I had to do. Replace the housing with the hook end(that will face the front seats first then push in the side closest to the windshield next.
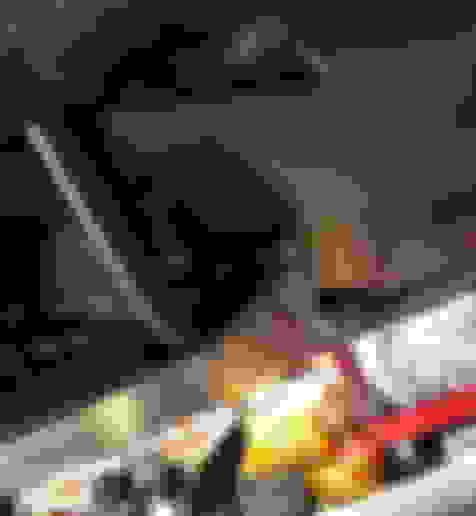
I noticed it was stated by someone they were unsure on how to remove the door lights. Pop out the lens with a small screwdriver as you probably did for the map lights and pull out the wired housing with bulb attached inside. You cannot just pull the door light bulb out like the map lights. Pull the little clip away from the bulb if front of bulb. I think there is another clip in back of it also. After you release these pull the protective cover off of the bulb and replace it along with the covering. If the entire light housing does not fit tight in the door gently pull the clip on the outside out a little being careful to not break it. The hardest part is releasing the clips to remove the covering (not the outside lens covering) to the bulb. I am not a mechanic at all and I was able to replace all 11(6 overhead incl. 2 map lights, 1 passenger cosmetic light, and 4 doors).
It has been about a week since I replaced the bulbs and they are very bright and all are still working fine.
Finished up the install of my Budbuilt skids. I hadn't done that crossover brace that supports the rear skid as well as the 3rd skid that covers the transfer case. A few bolts were missing but contacted them about replacement. I have some temp bolts in easy to swap places that aren't stainless steel until I can replace. The brace is used because skids without them will collapse in this area if weight is applied to it. Budbuilt told me this could support the vehicle weight. I didn't get pics of the brace ends but solid thick steel that supports on the bottom of the frame rails. Someday I'll do a small lift but not in the cards for several years. Just want to protect what I have now at stock height.
One of the bolts that holds the KDSS actuator is used for one one of the brace bolts and the others are captured nuts in the frame rails. You also have to remove the bolts that attach to those two braces around the AT pan area that go from the frame rails to that center brace ahead of the transfer case. Floor jacks go a long ways to make this an easy task for a solo act. Only thing left to do is my C4 rear diff skid. I'm gonna paint or have it powder coated first though.
I am taking a very long road trip in a couple of days, to keep the kids occupied and not staring down at their laps I got a pair of these tablet holders.
The Lexus branded ones were insane $ so I perused amazon to find a pair. I chose these ones cause I liked the head rest post clamps better then the others I looked at and the cost is very reasonable. very easy to mount and seem pretty sturdy. I mounted a 9.5" iPad air and it held it nicely without wiggling or adjusting. I will find out this weekend how they do on a long trip
 07-29-19, 08:58 AM