When you click on links to various merchants on this site and make a purchase, this can result in this site earning a commission. Affiliate programs and affiliations include, but are not limited to, the eBay Partner Network.
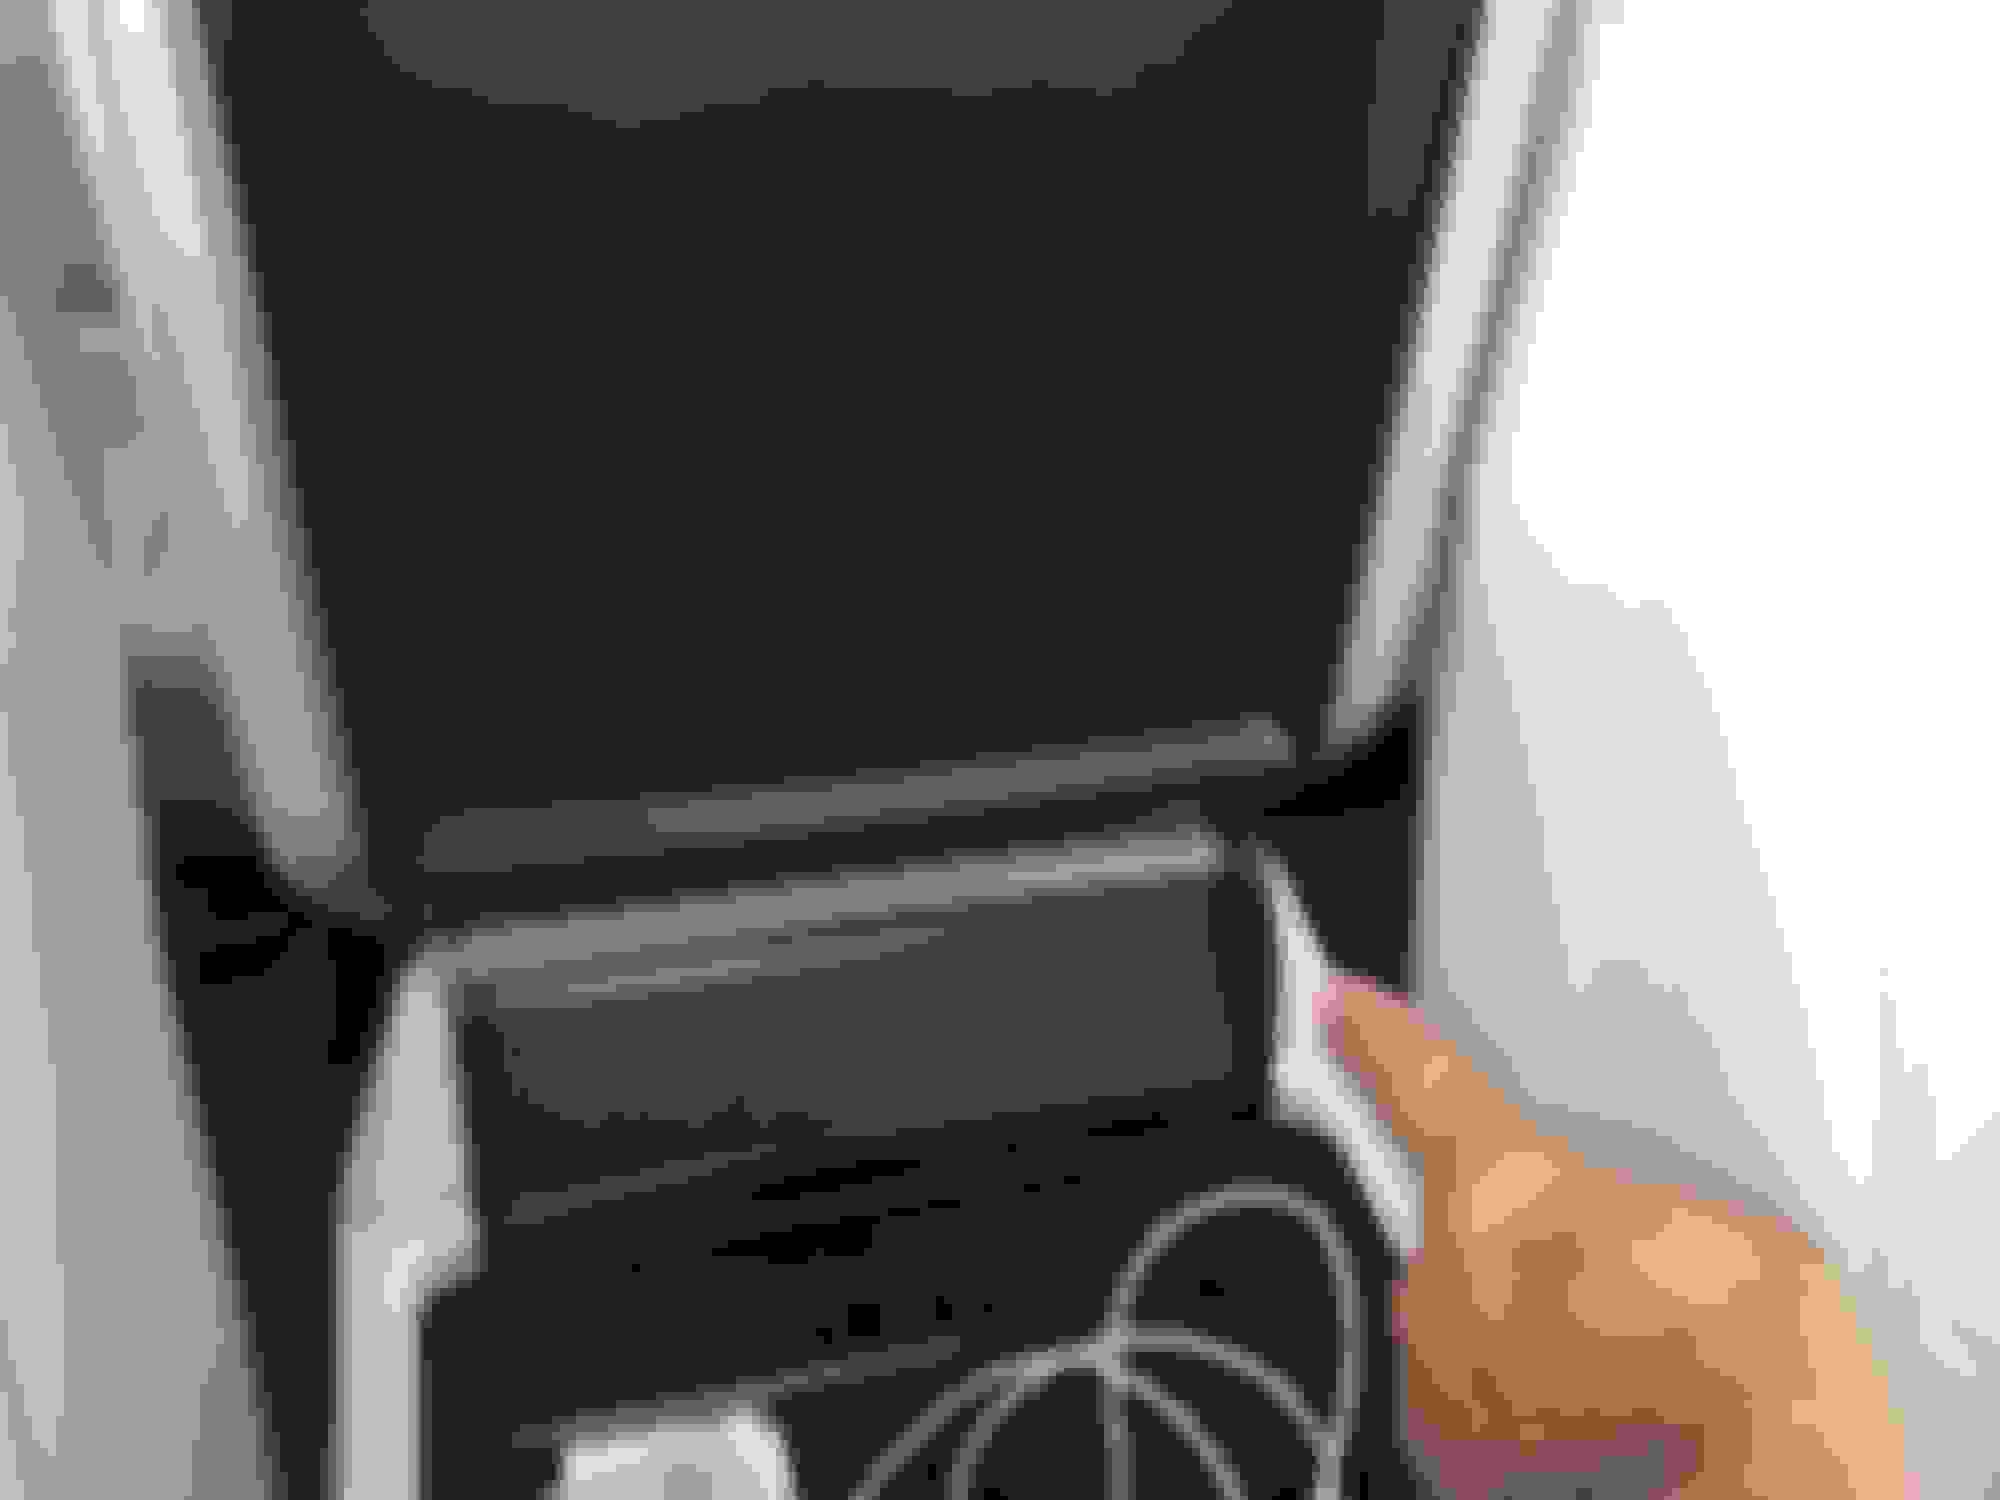
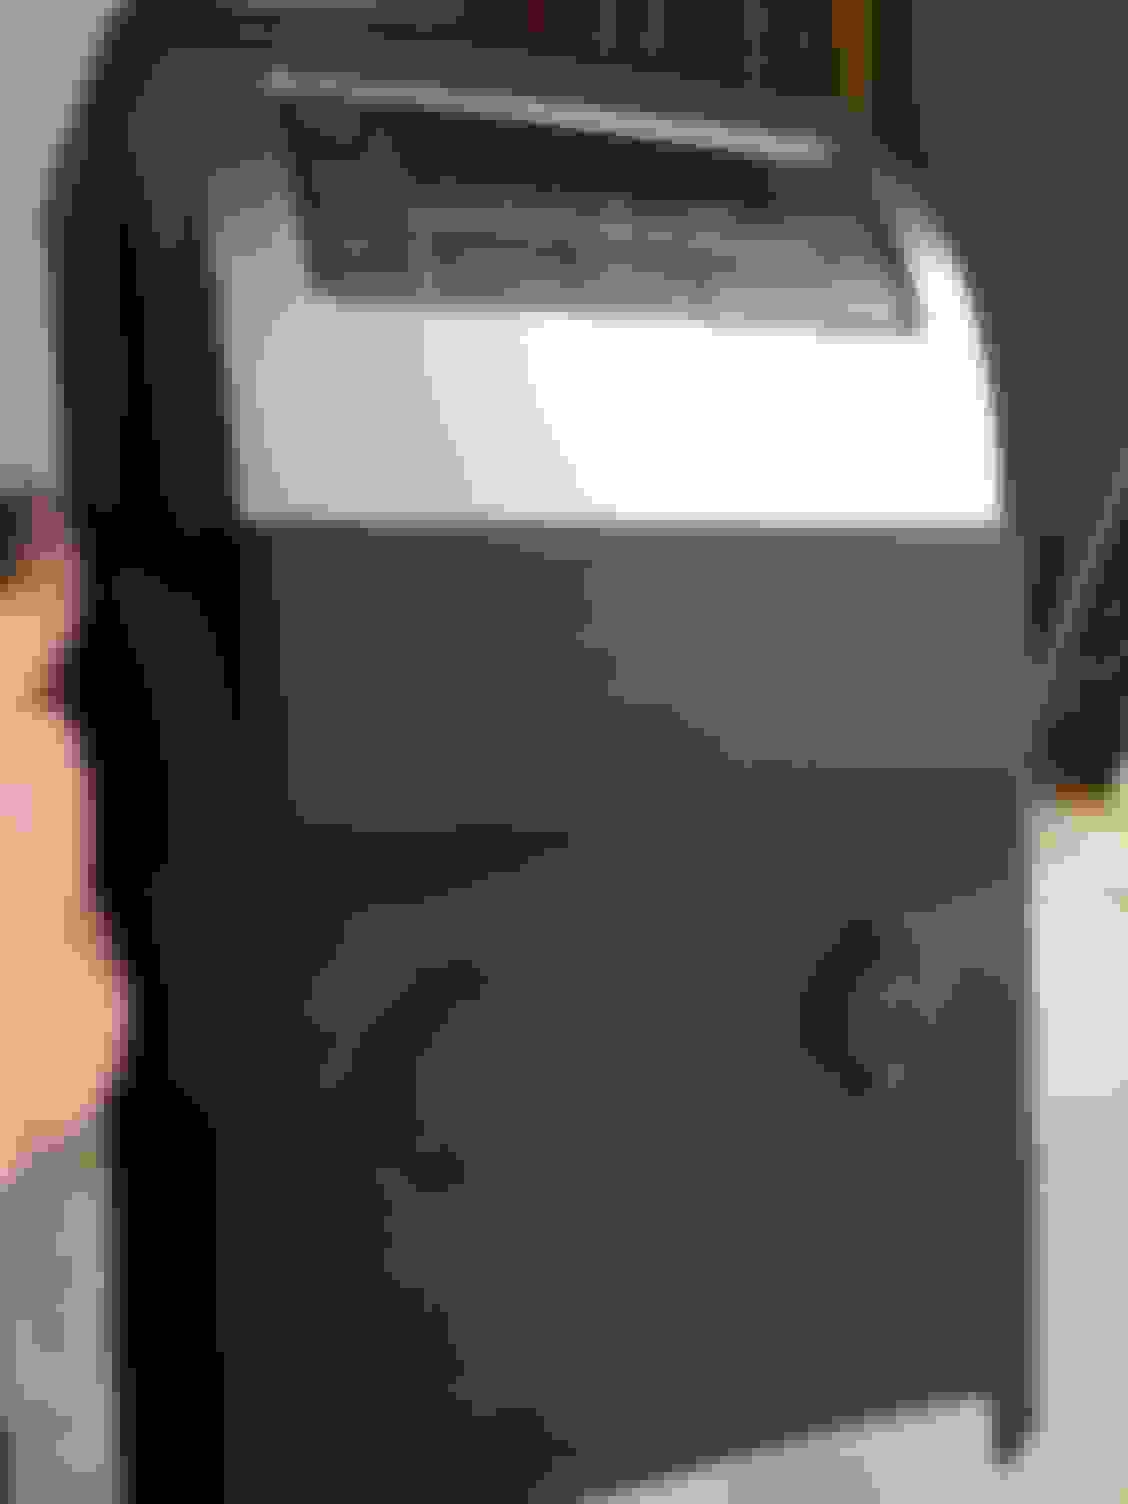
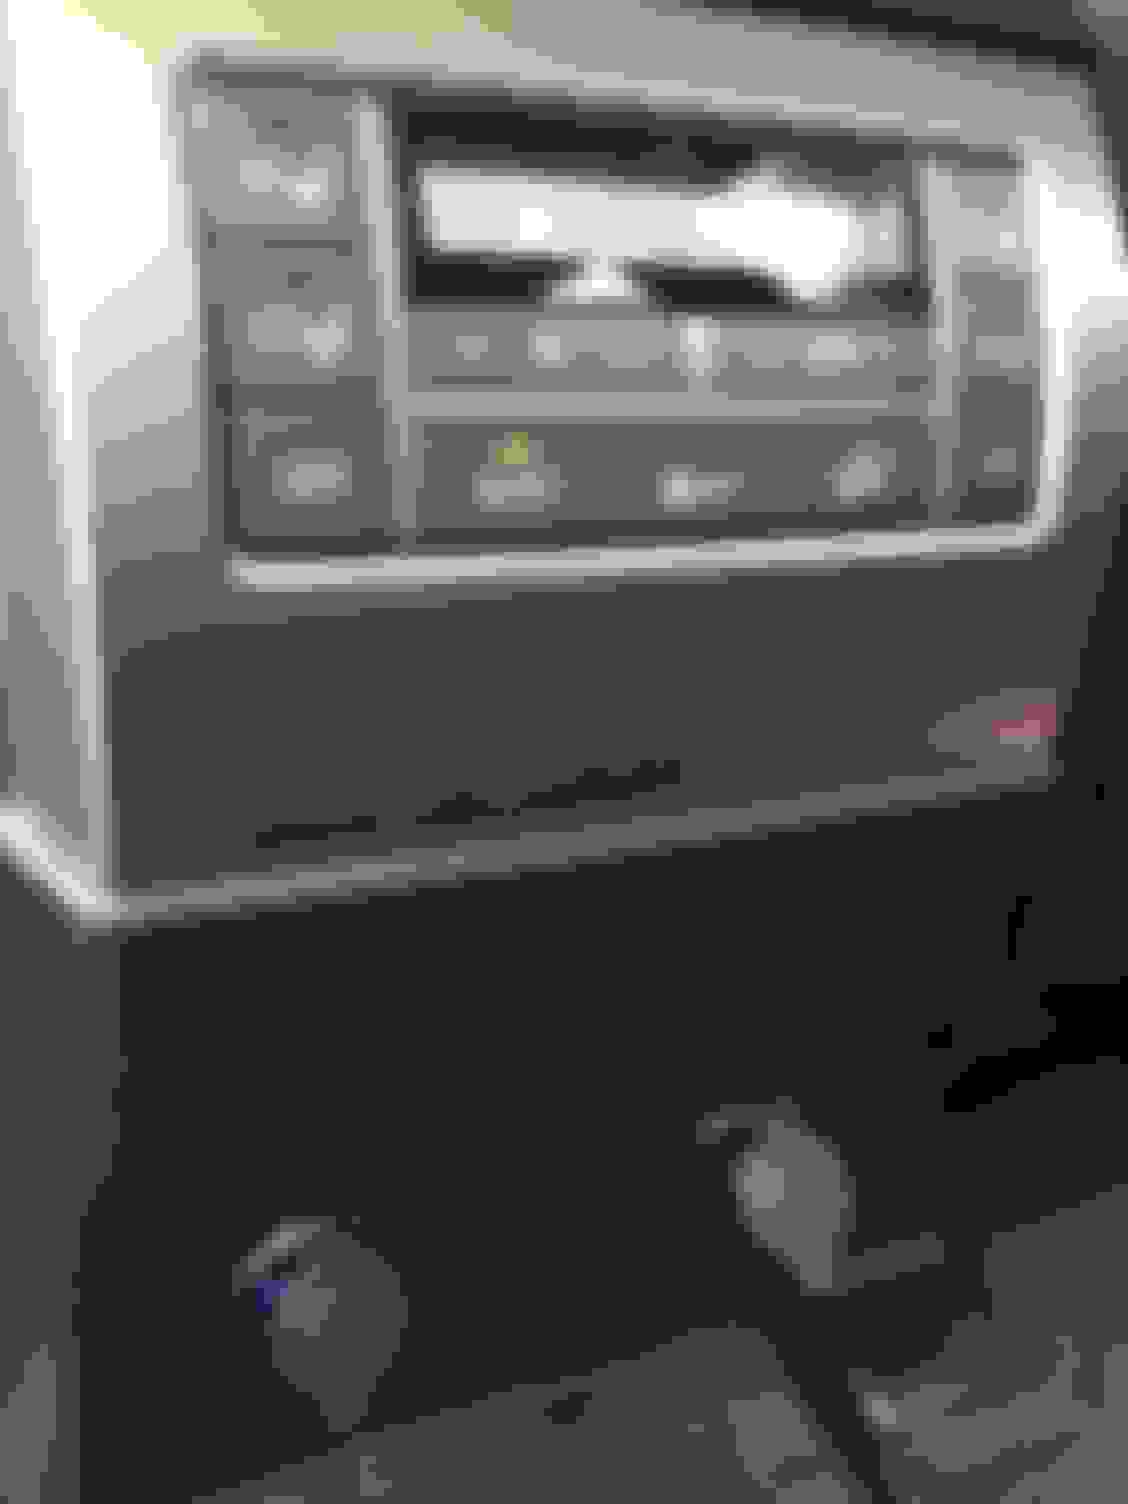
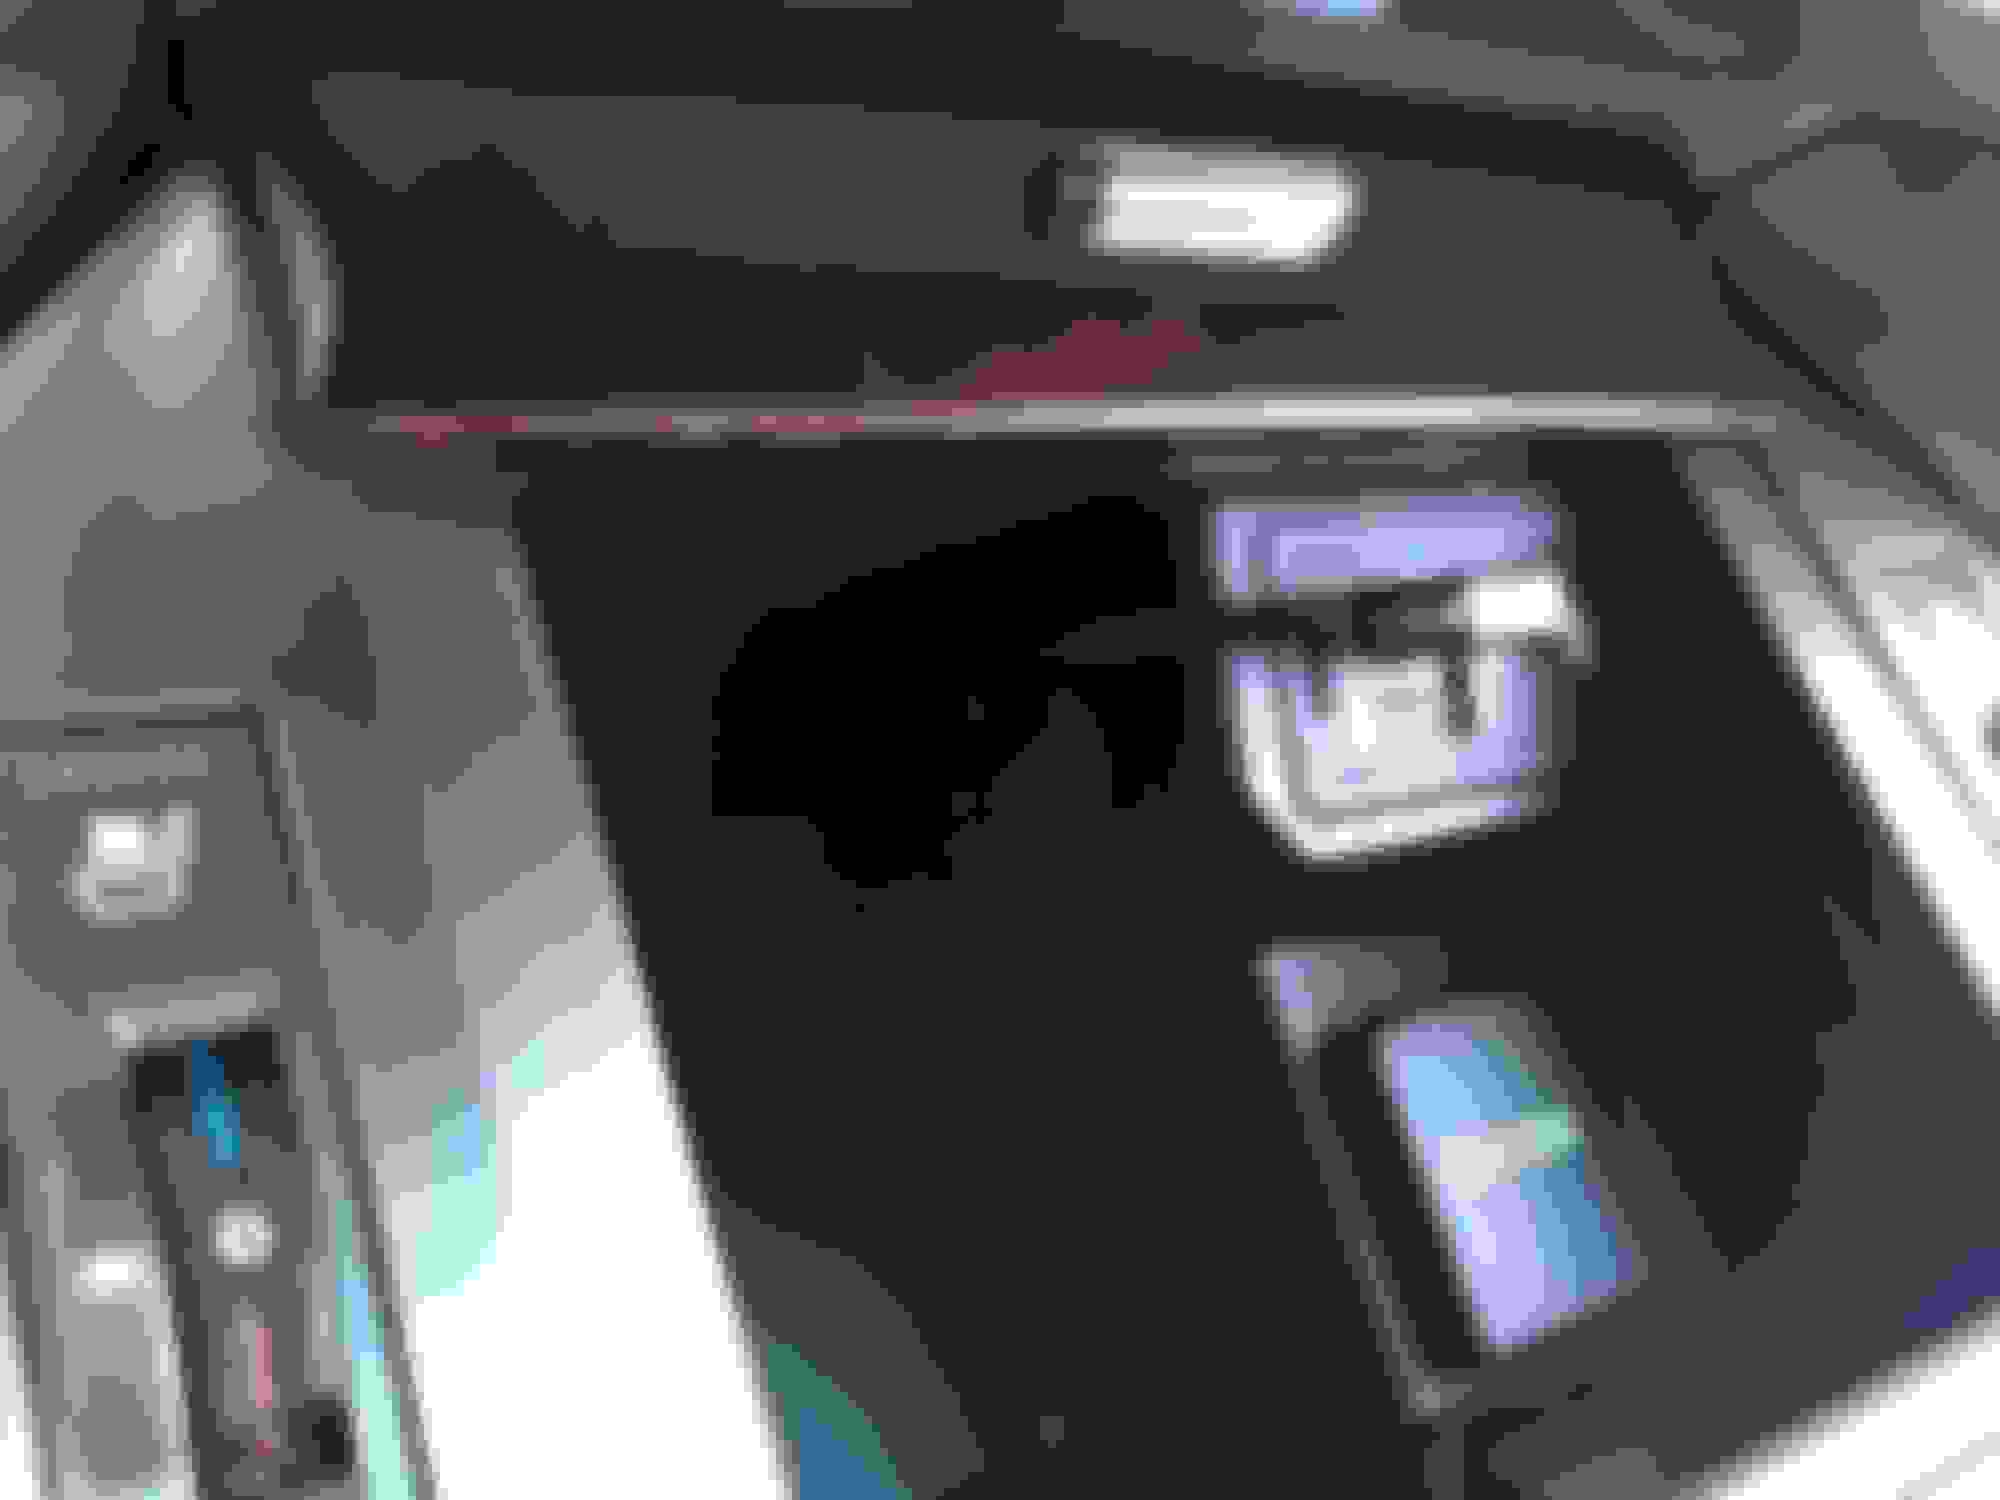
From either front seat, open the center console door all the way up. Notice where I am pointing, that's the area you will push on - towards the rear of the vehicle.
While pushing (towards the rear) you will feel/see that the top part of the panel releases (like this photo).
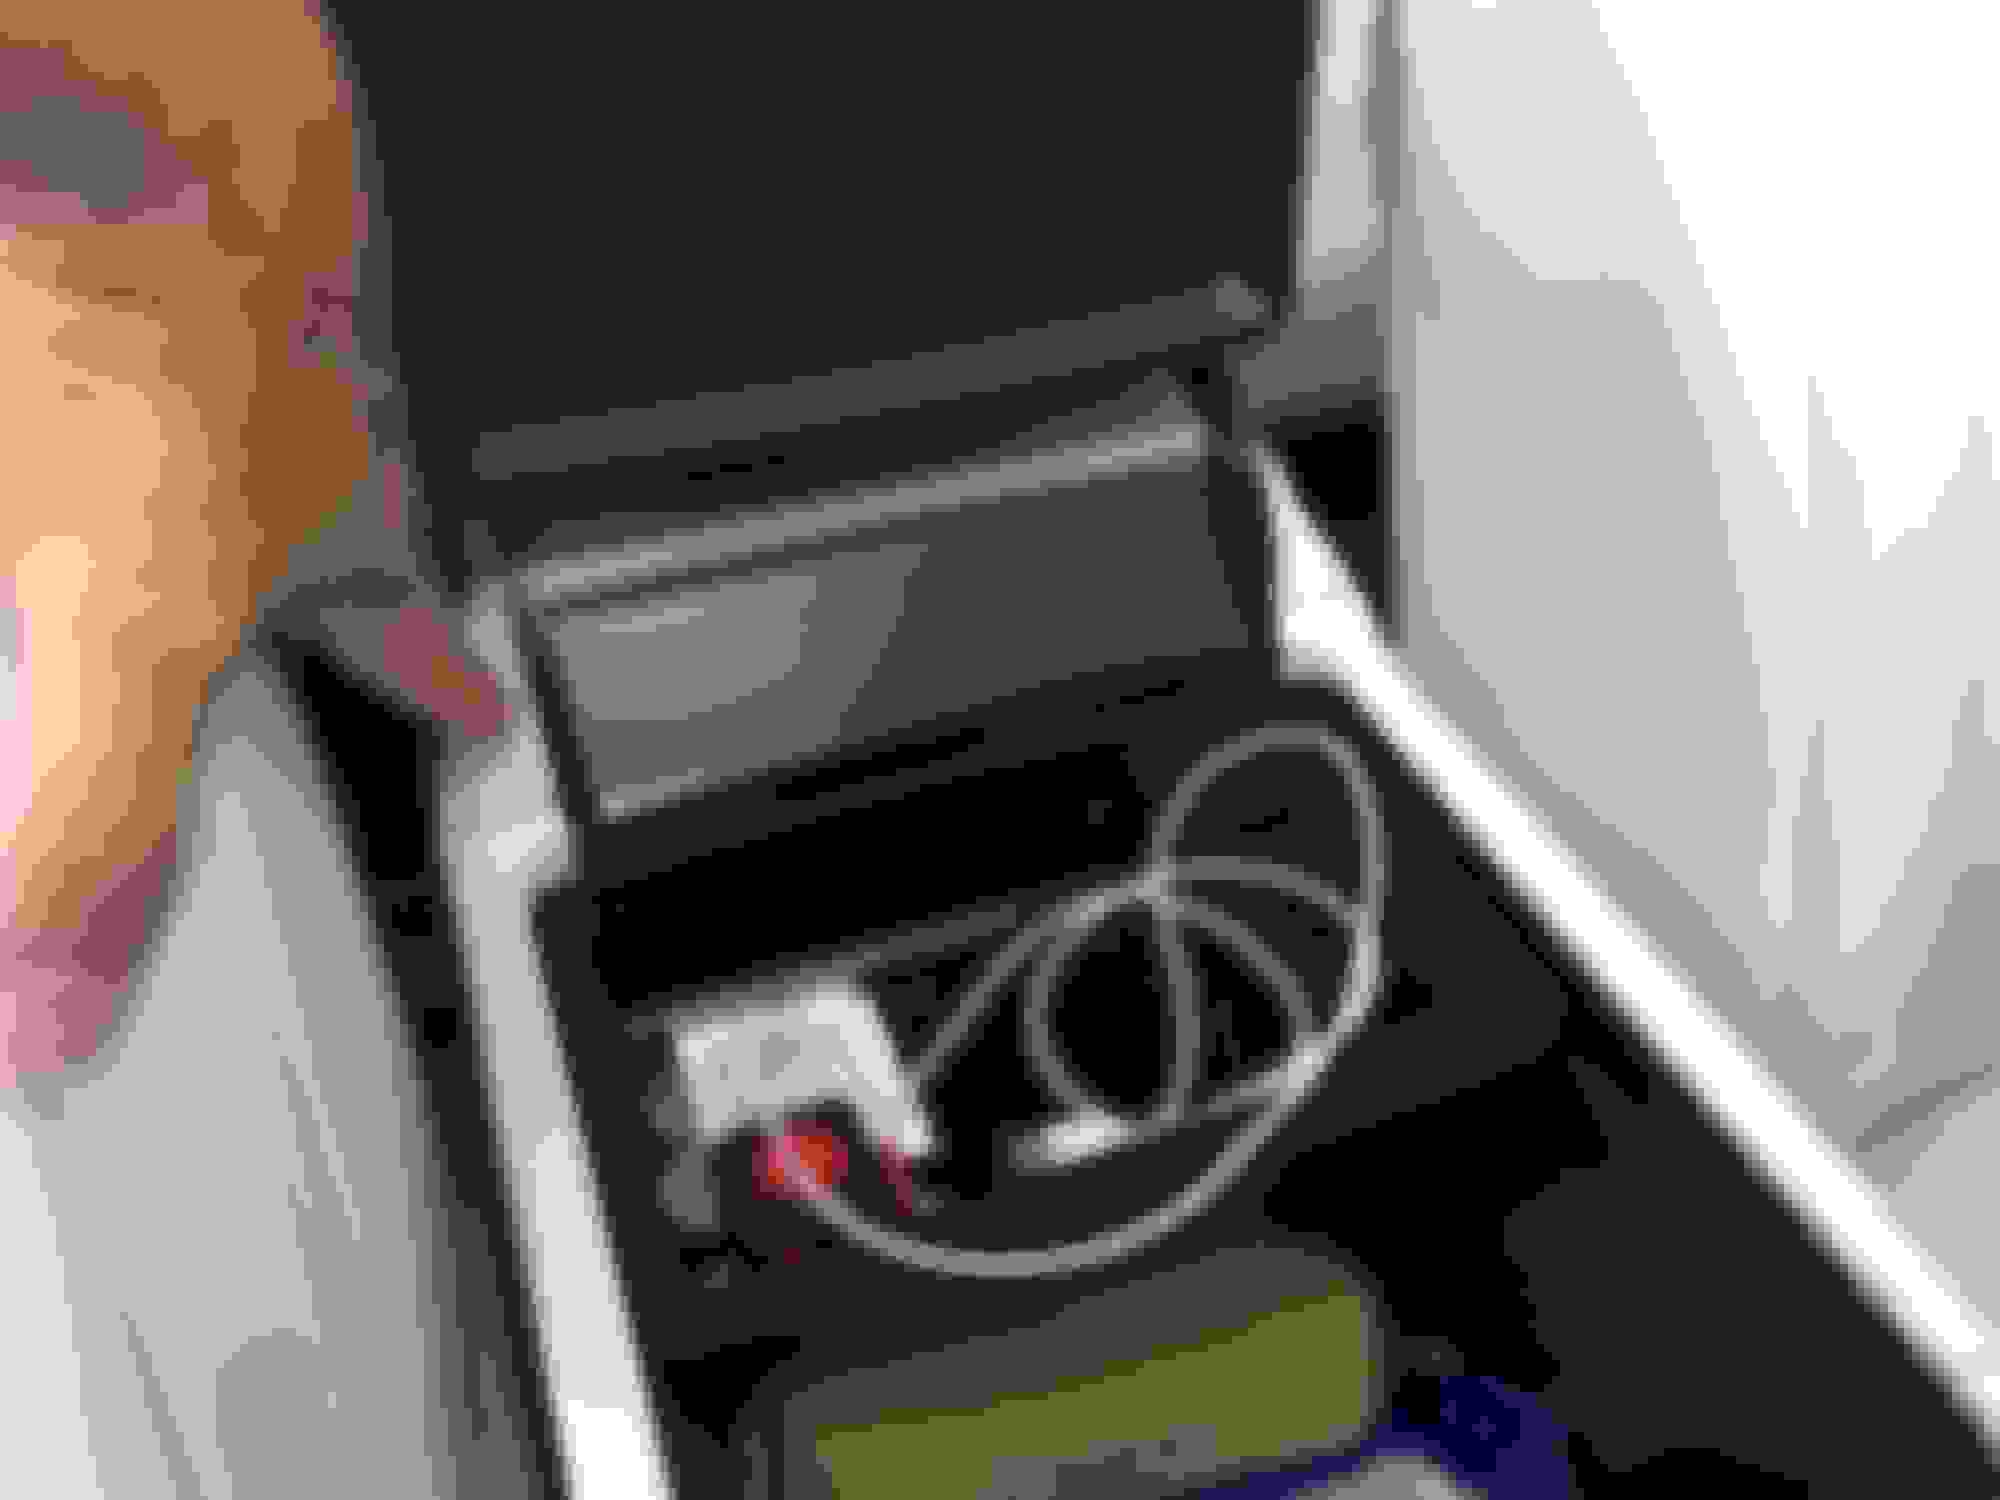
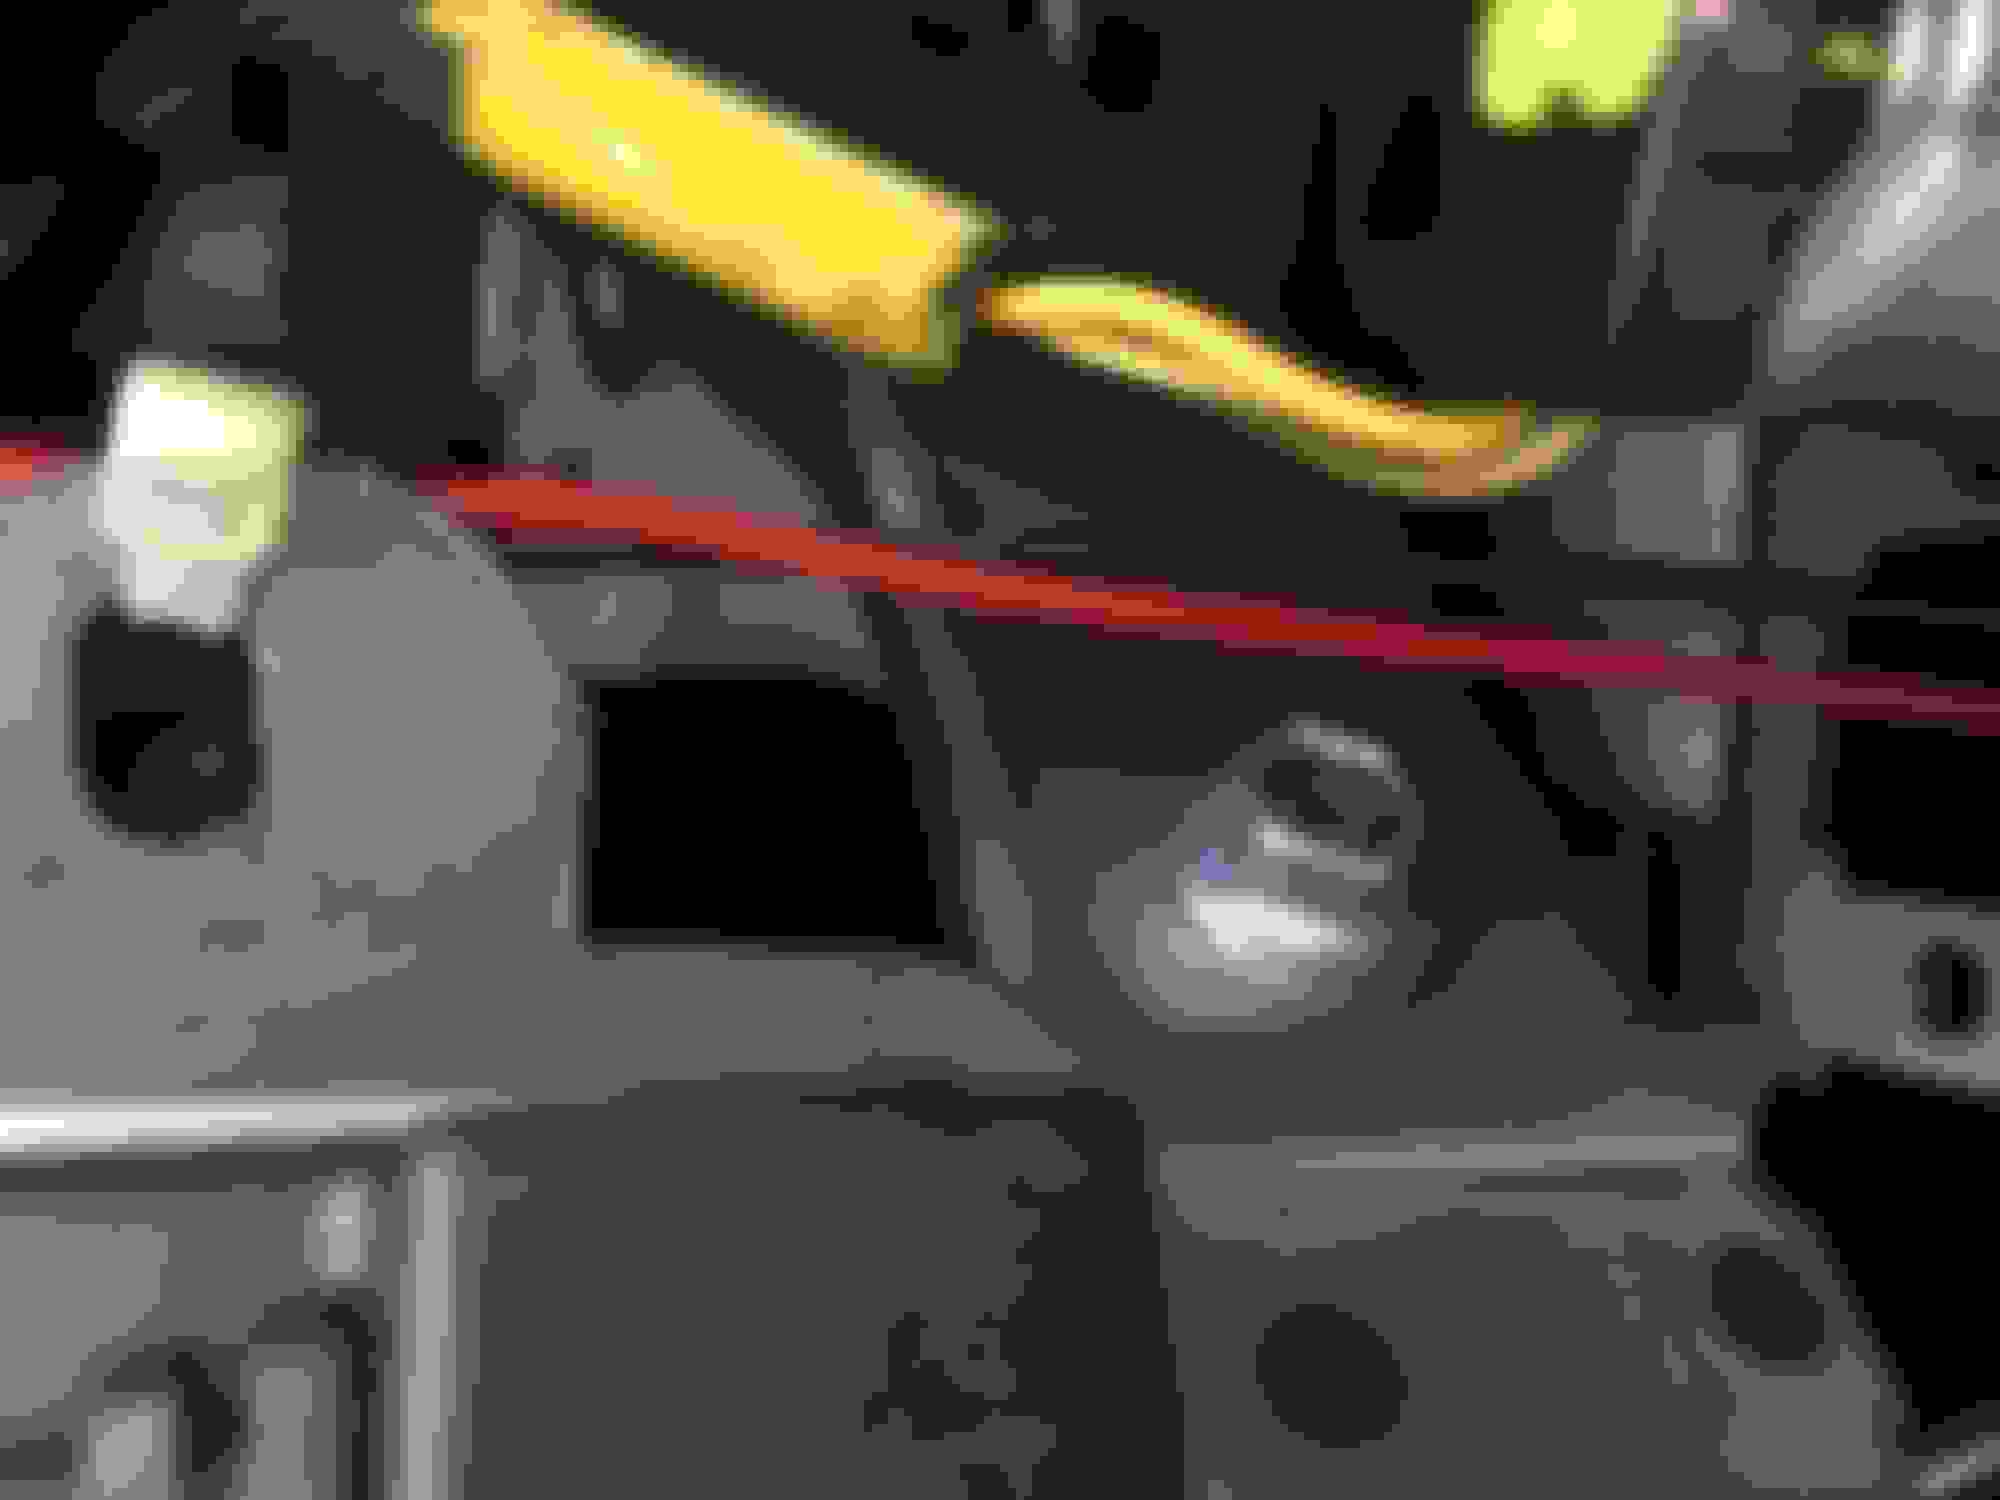
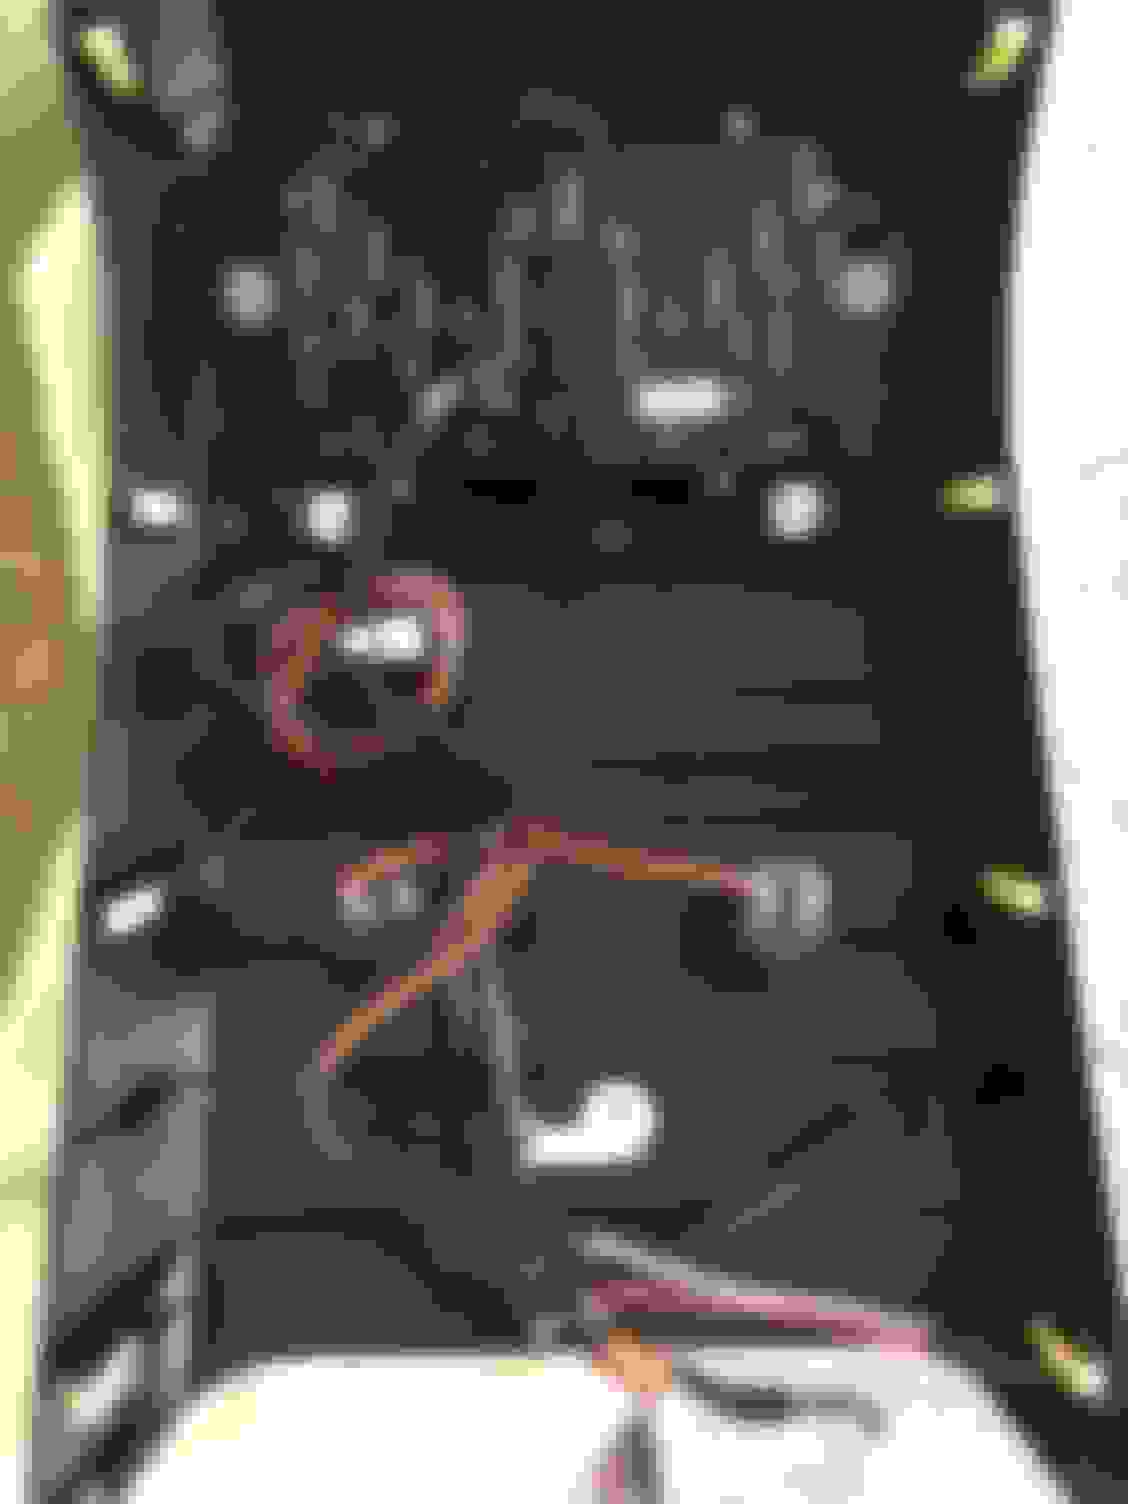
Now close the center console door. From the rear seat, you should be able to easily remove the rest of the panel by gently pulling it in the direction of the rear of the vehicle. There are two cable harnesses that are very easy to remove too. From a birds-eye-view it will look like this when first released.
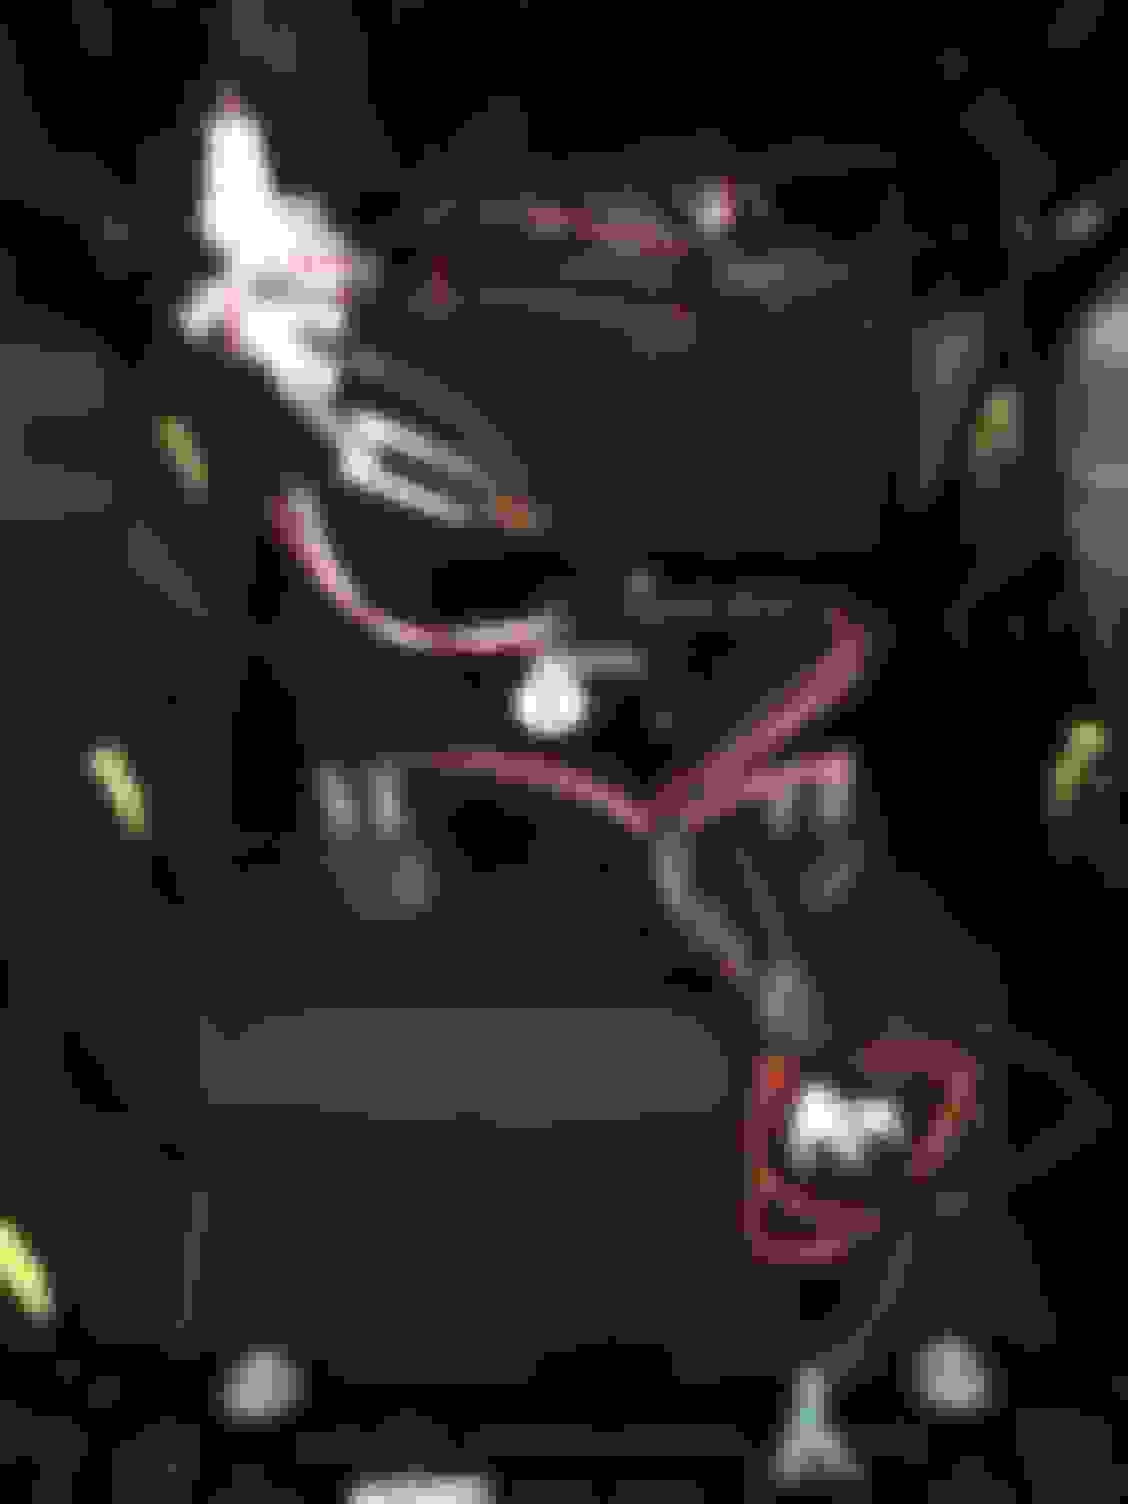
Remove the wiring from the two lowest harnesses (not from directly behind the display panel). Once you do that, the panel can be removed - easy peasy.
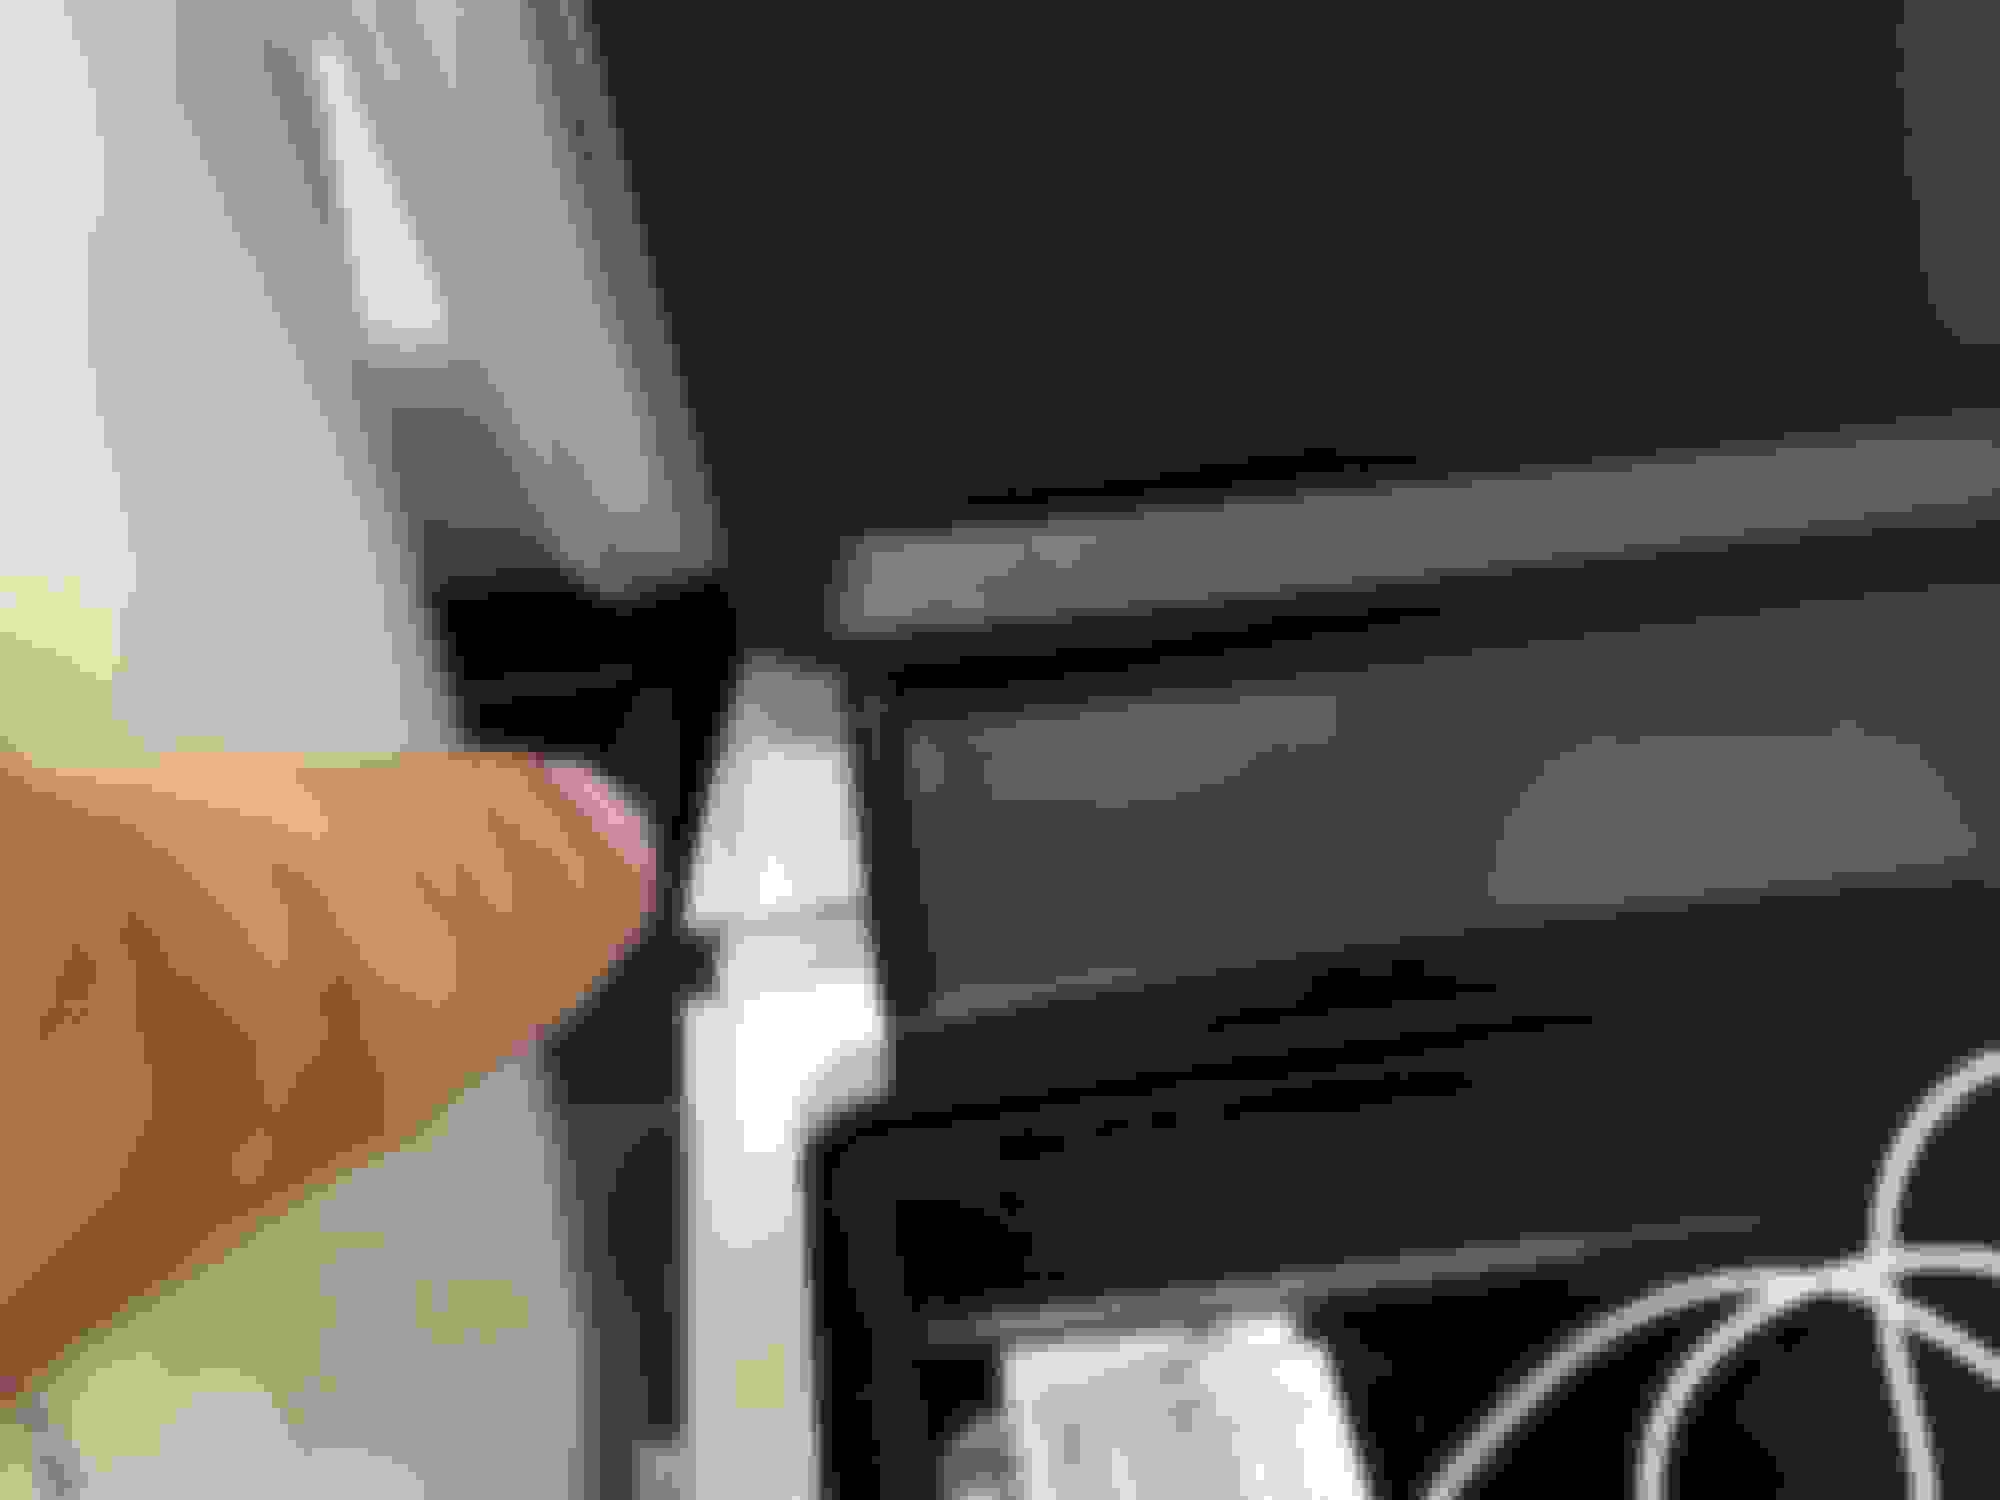
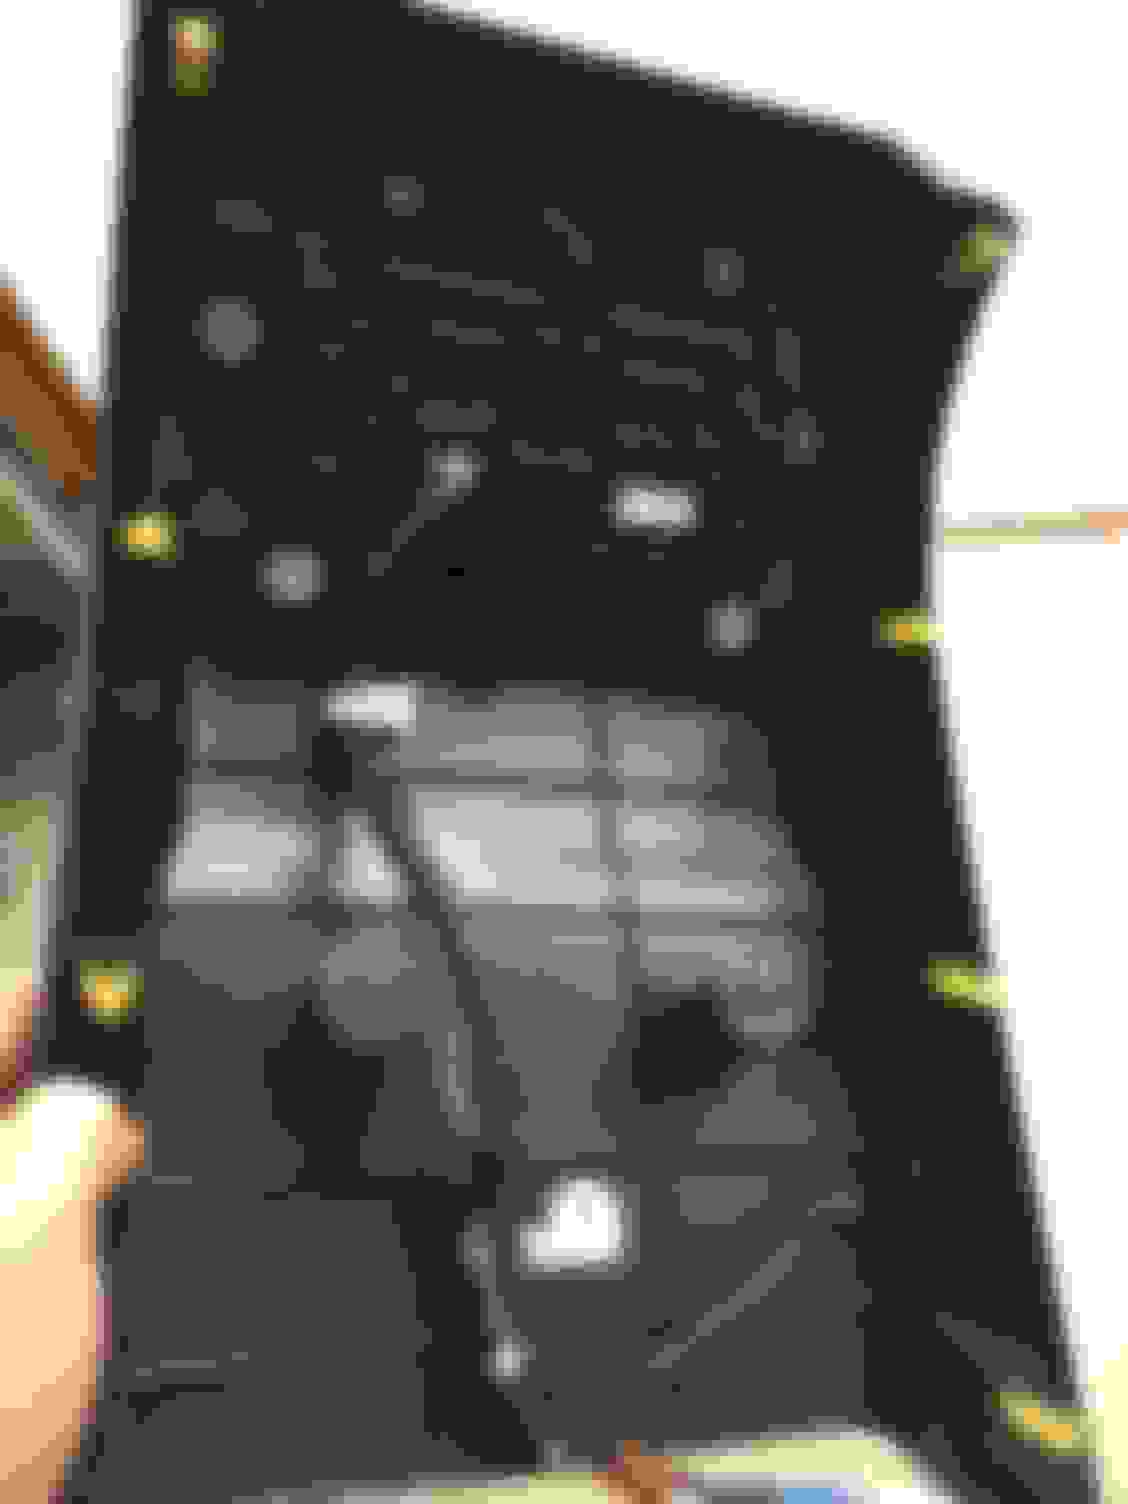
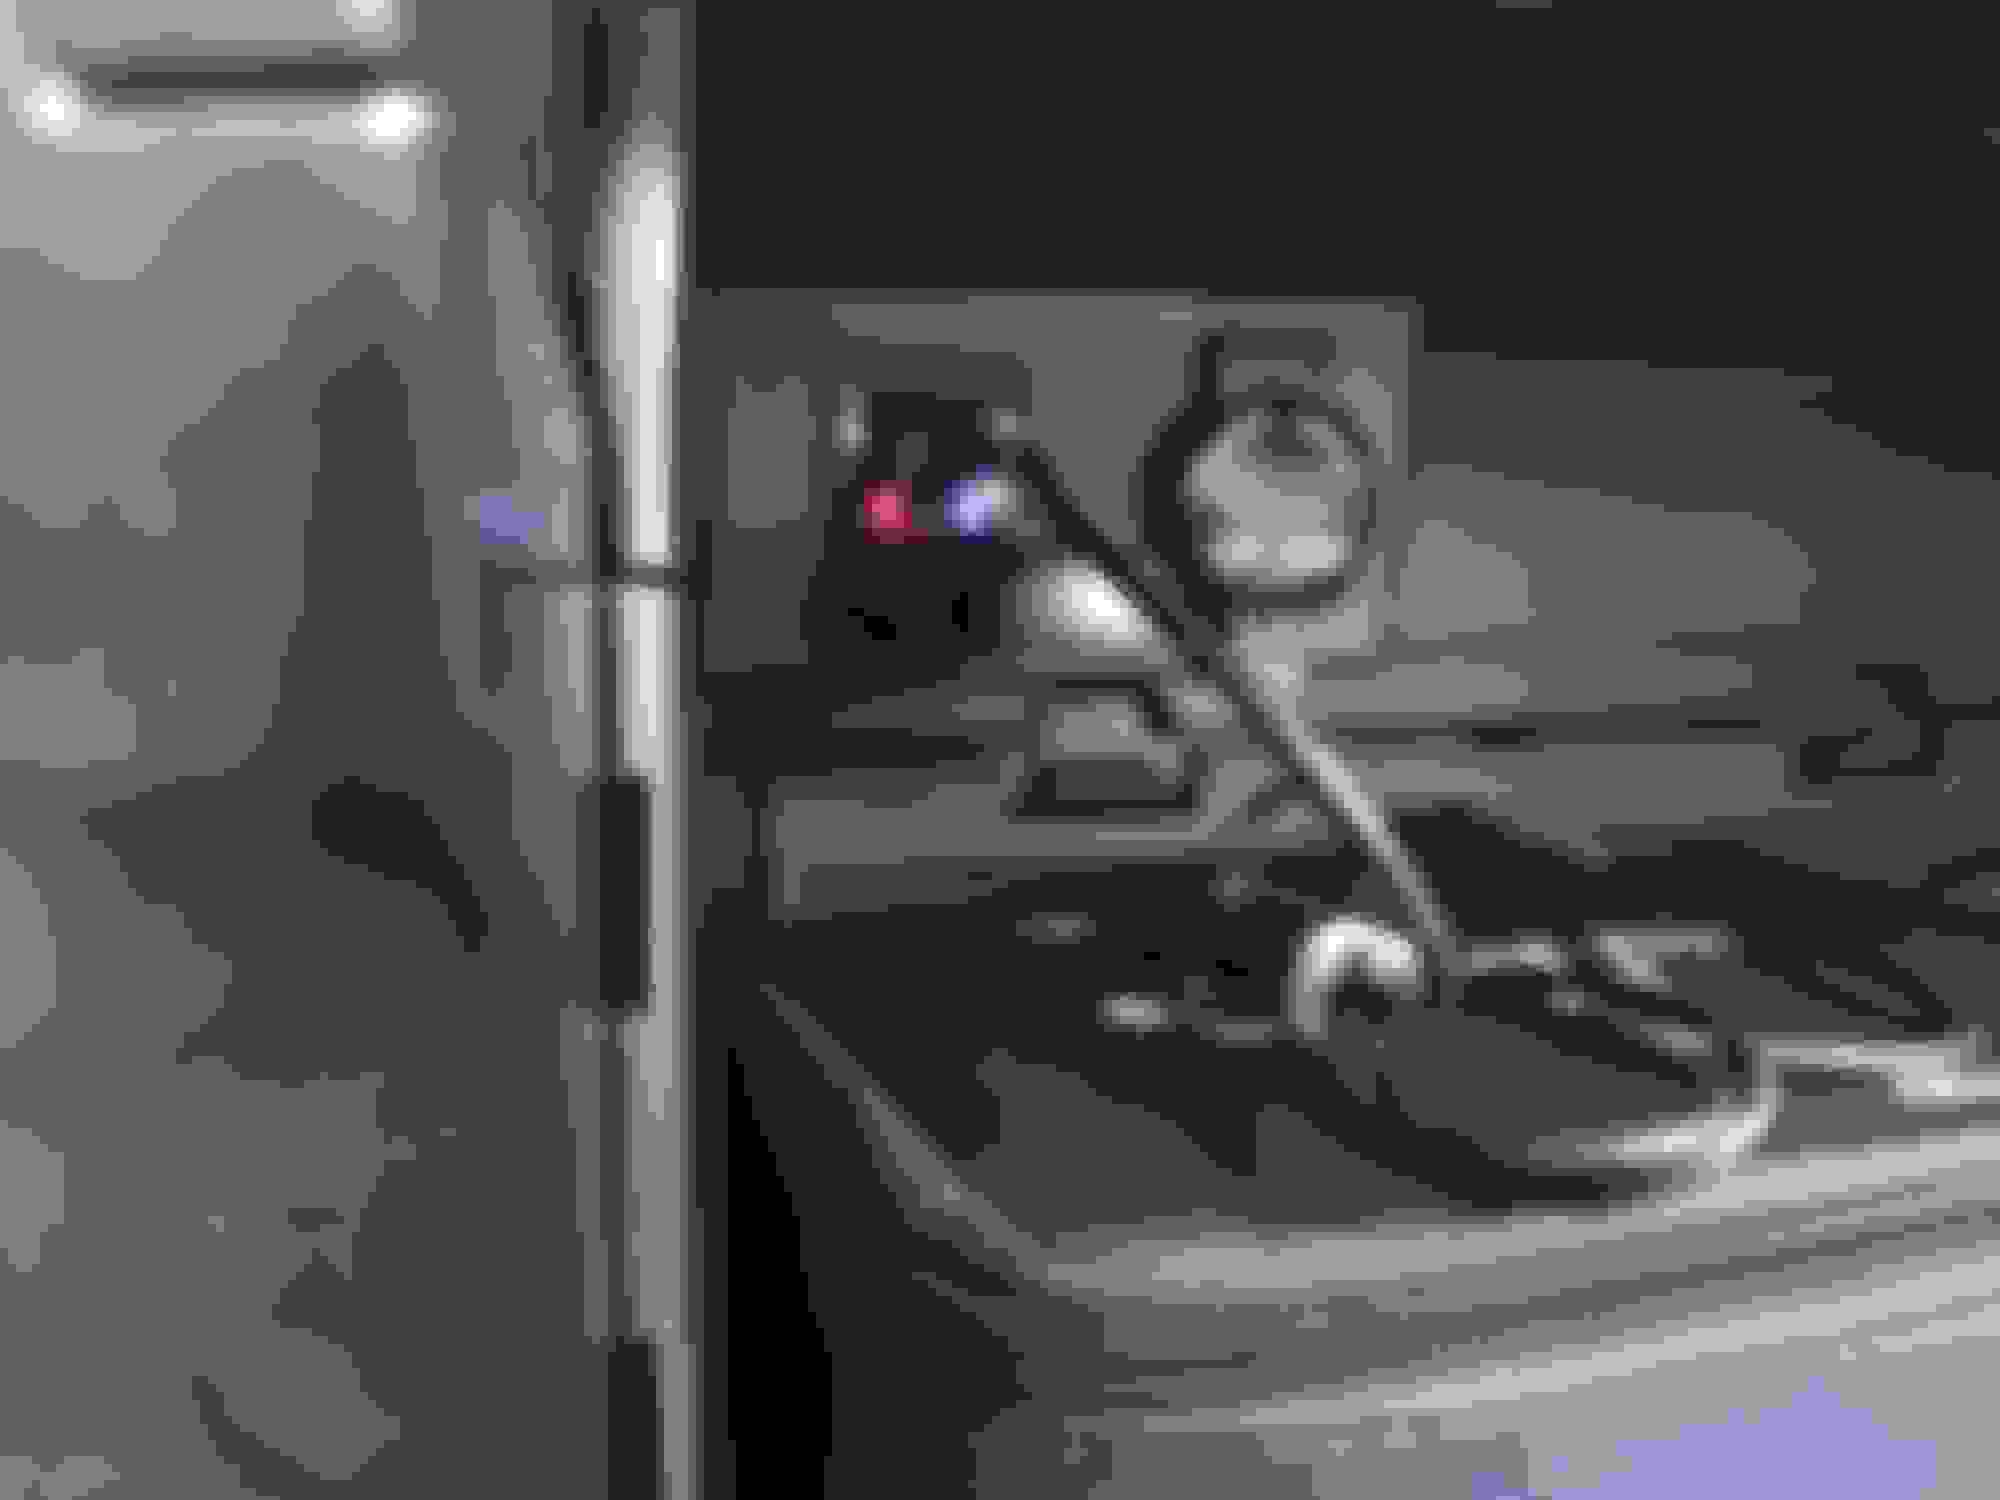
I don't have any pics, but my brother mounted his USB charger higher on the panel than I did. If you look at the last picture above, you can see exactly where I mounted it. It is centered in the section where there is no plastic ribbing. I assumed that's where an OEM unit would be located.
As you can see, there's plenty of room if you decide to add two charging ports (like the OP did).
Remove the wiring from the two lowest harnesses (not from directly behind the display panel). Once you do that, the panel can be removed - easy peasy.
I don't have any pics, but my brother mounted his USB charger higher on the panel than I did. If you look at the last picture above, you can see exactly where I mounted it. It is centered in the section where there is no plastic ribbing. I assumed that's where an OEM unit would be located.
As you can see, there's plenty of room if you decide to add two charging ports (like the OP did).
Thanks, DallasDave! Excellent write up and illustration.
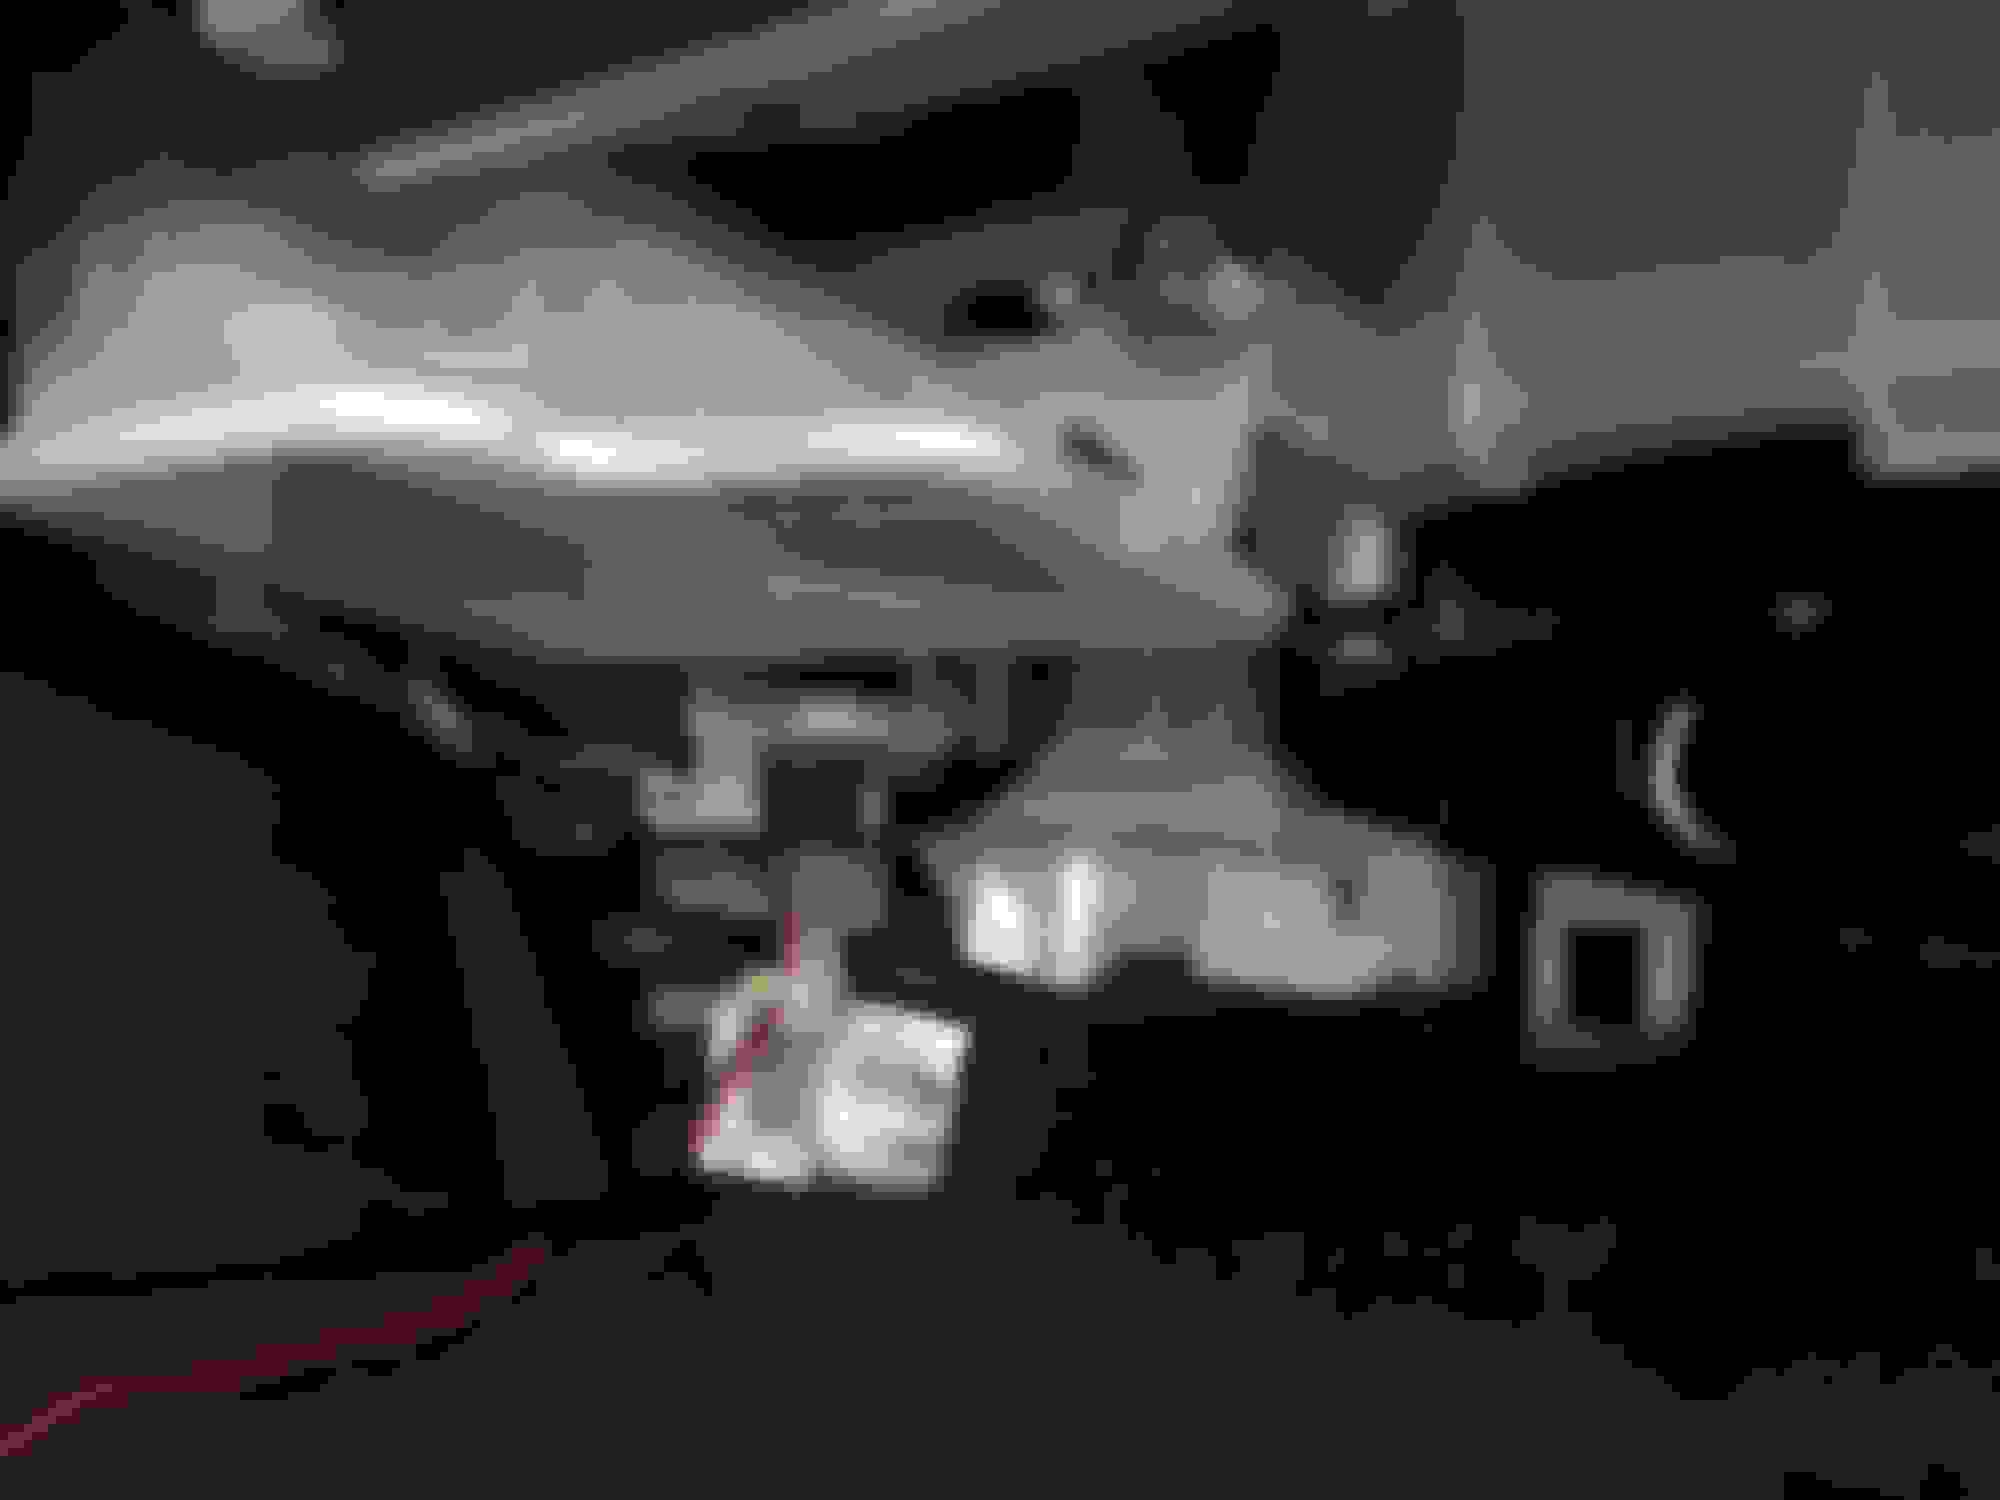
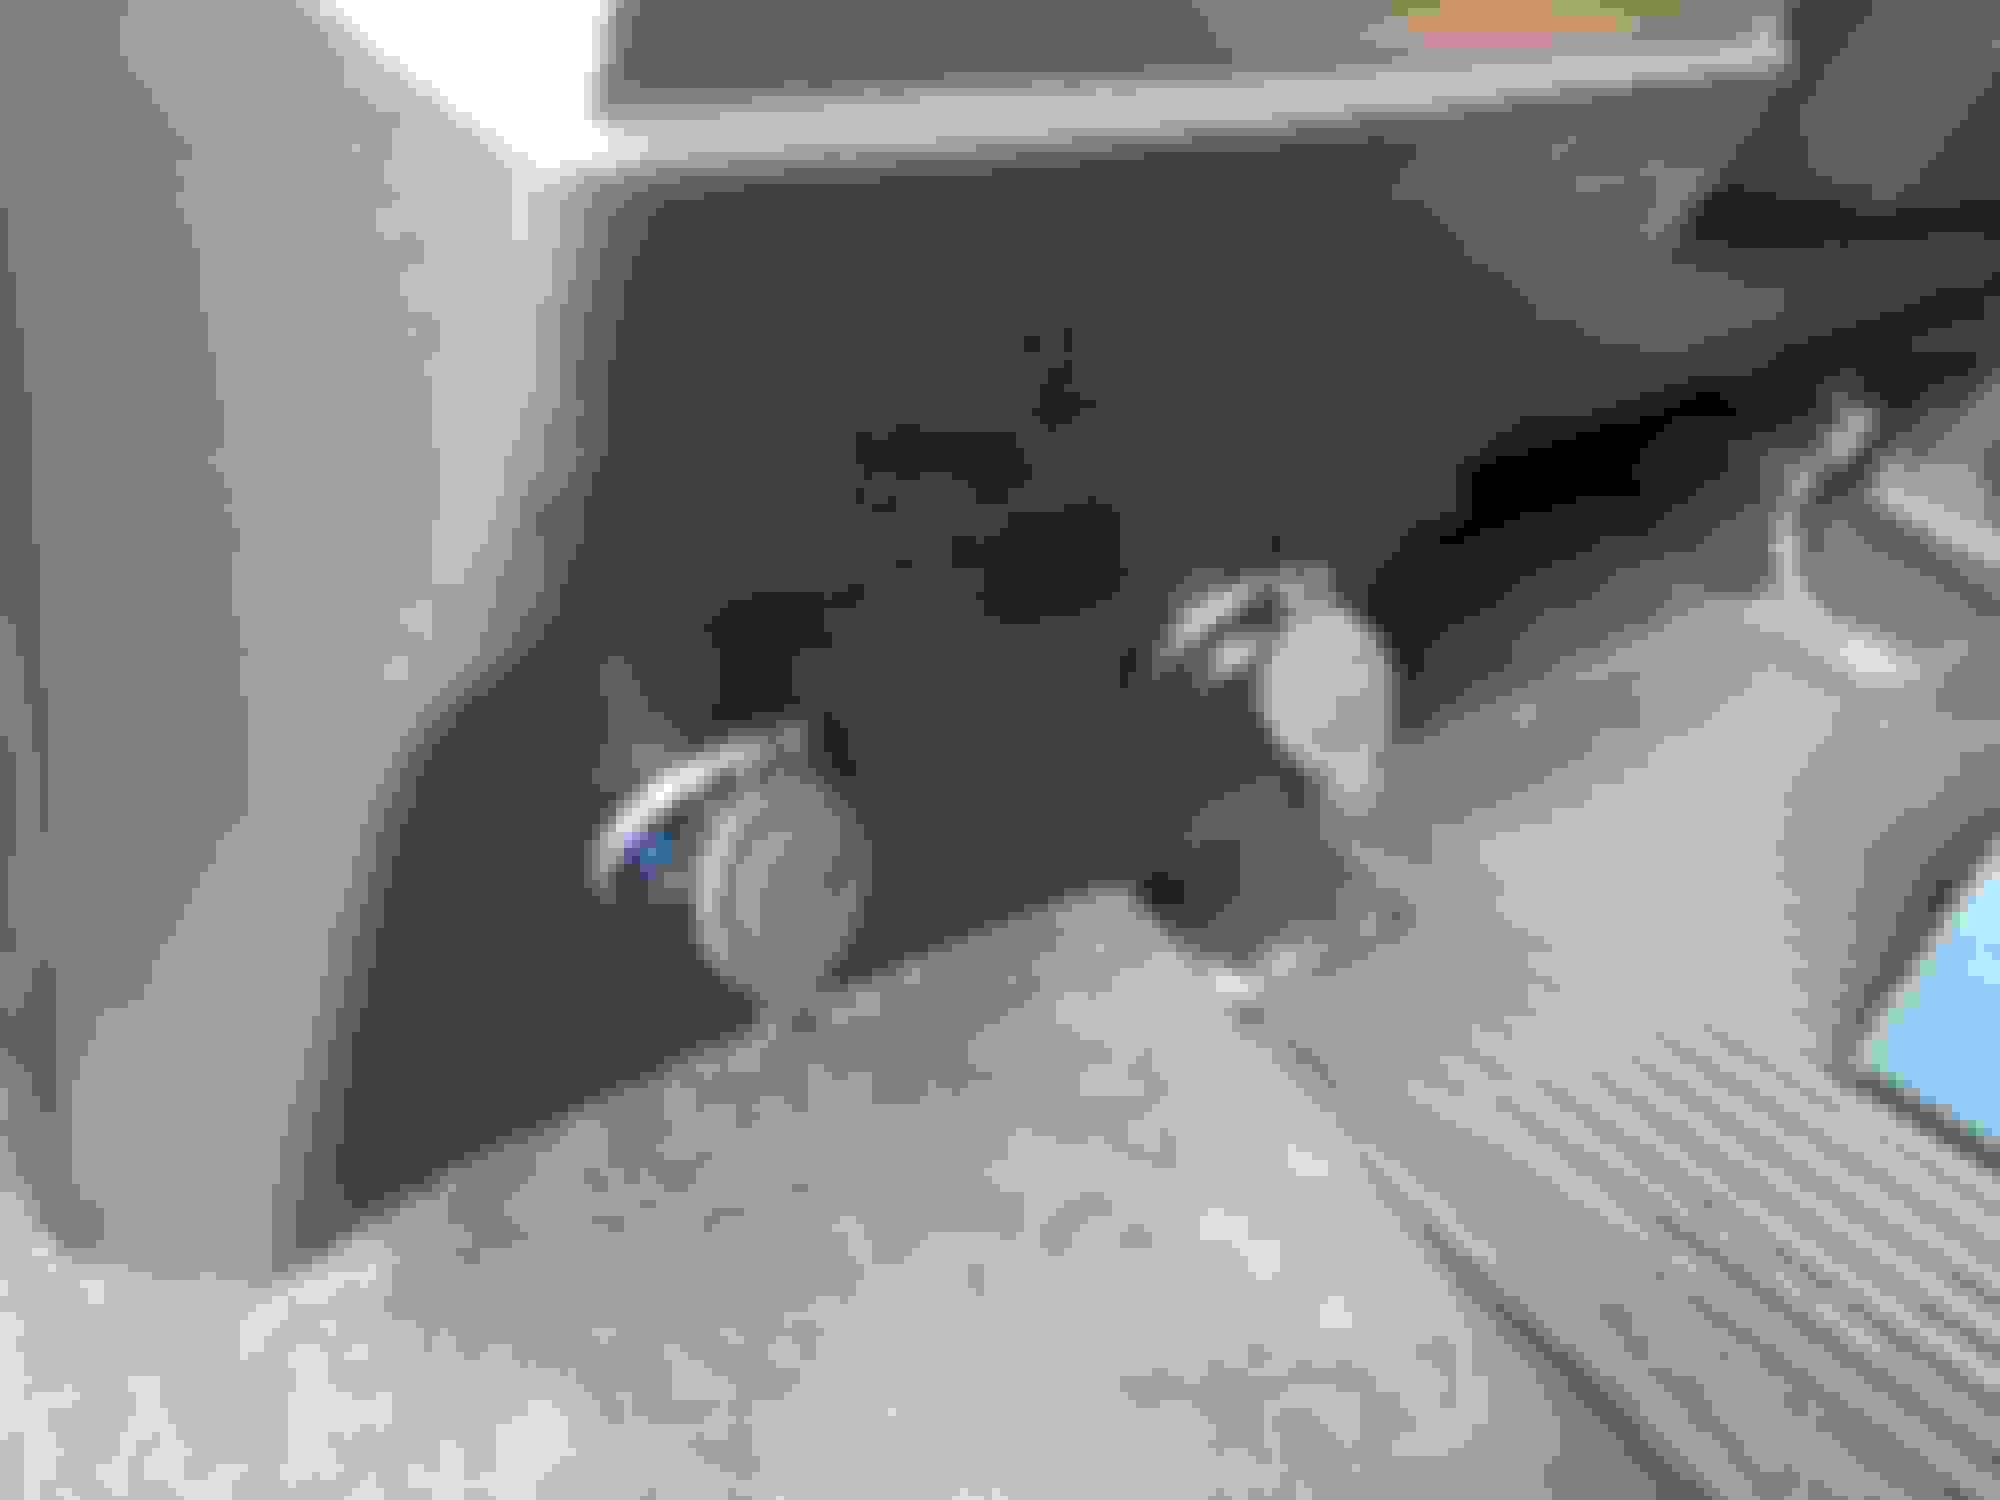
I installed in the flat part towards the AC control panel. Only issue was there was a plastic rib in the center on the back side that I had to trim to tighten the Large threaded nut around the 12V outlet. Best $10 upgrade so far. Sorry for the Bad pics with lighting. I don't have the GX sitting in the garage at the moment
Thanks for all the information and tips, as well as great write ups from many members here, I spent an half day complete power outlet and USB mods for the back seat passages, as well as the outlet and USB ports in glove box to fill the blanks. Following are few pics that referenced the mods. Since other members has many details on how to remove panels for wires, I will skip those parts. One specific out come related to glove box. The blank plug for power outlet is a one way plug, which means in order to take it out without damage the plug, you will need to remove the glove box. I figured it is not worth the efforts, so I choose to tap in a two inch screw and put it out with a little force. At the end, it basically will brake the holding tabs on the plug. That is the only piece that will need to be broken in order to complete the mod.
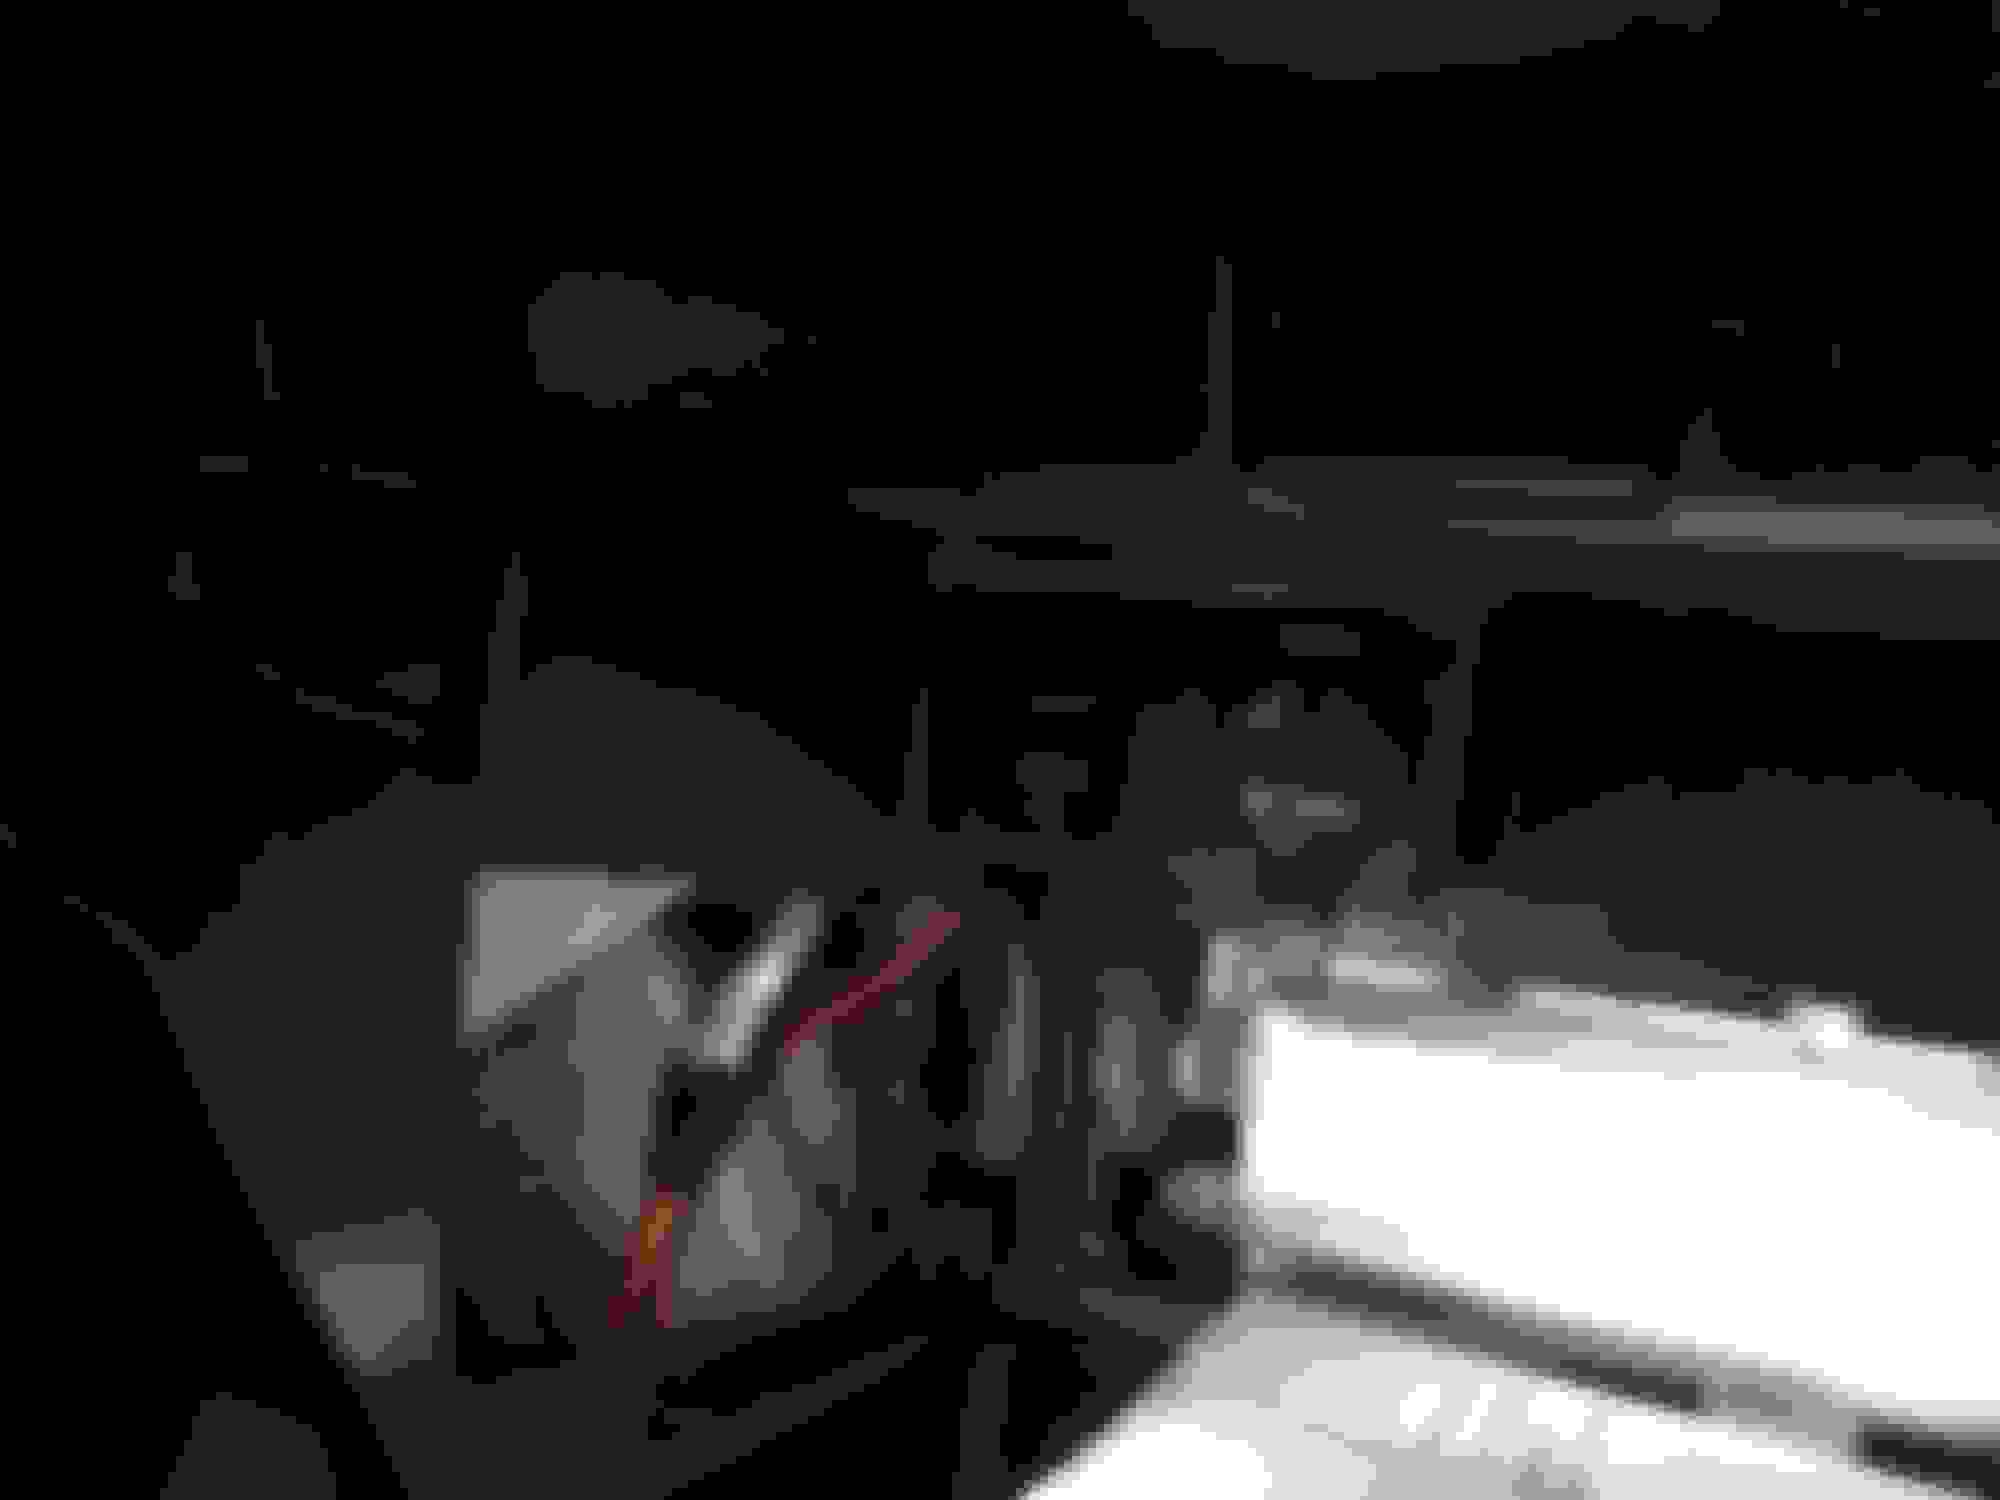
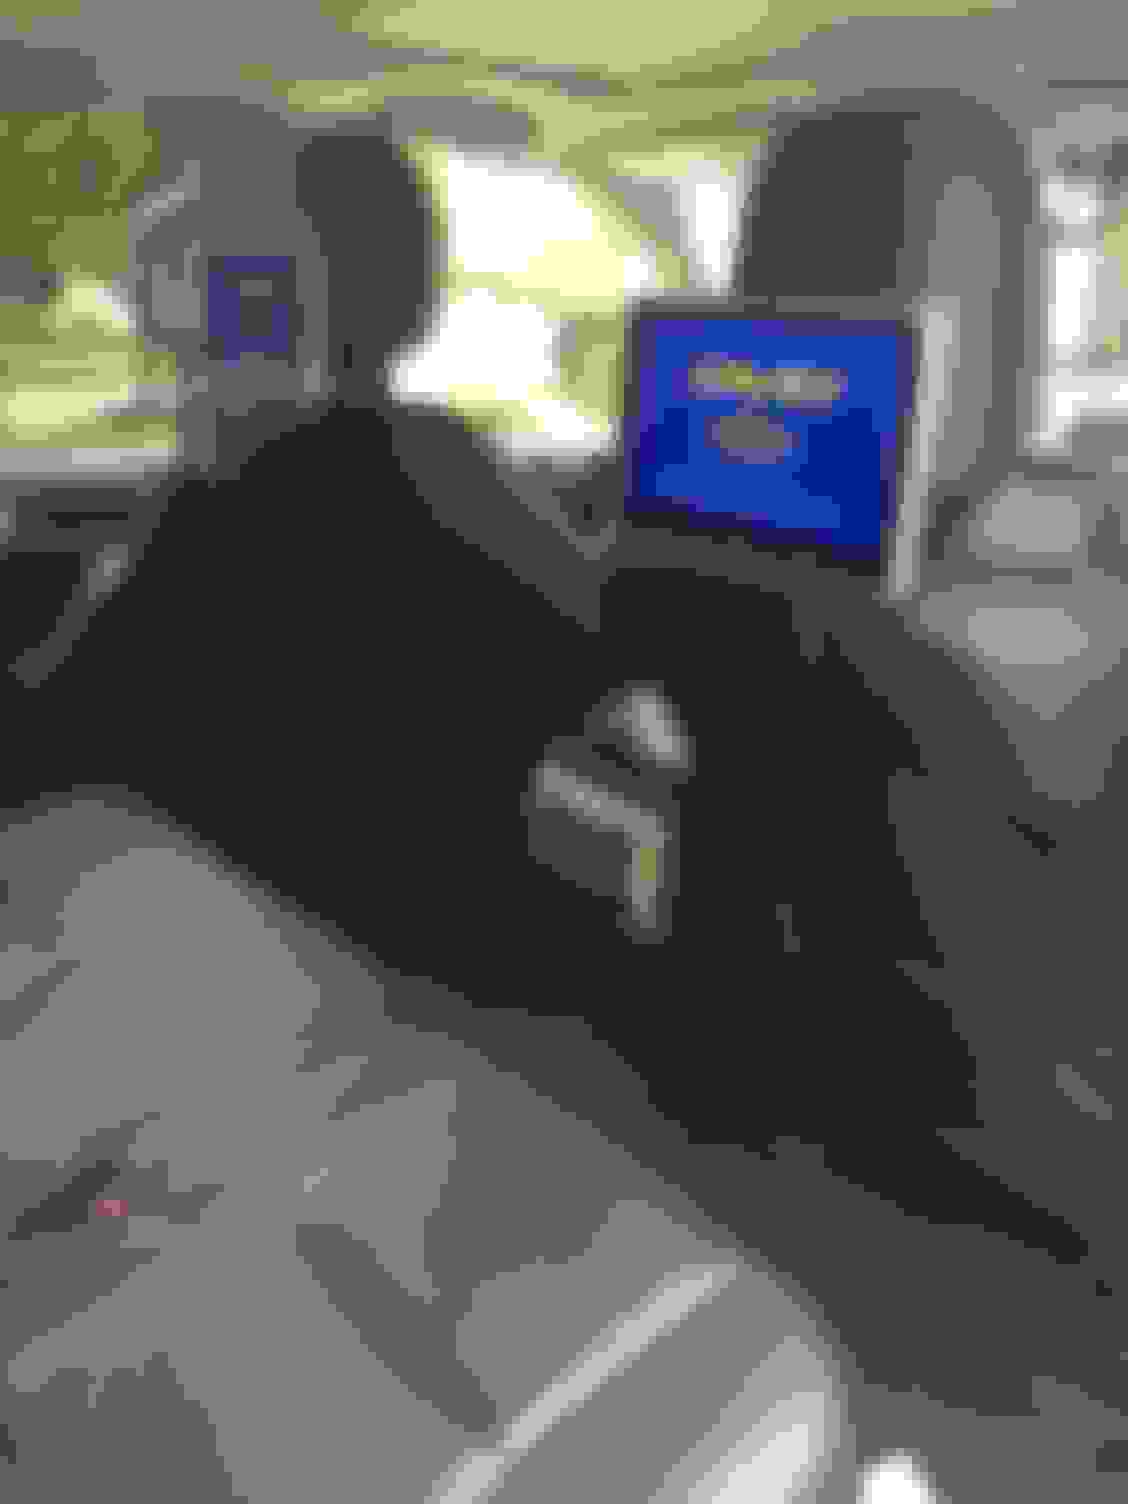
I ran the power line from the fuse block under the dash near parking break pad, as described in first post. then ran the wires on both sides the center console. While I am at it, also installed headrest DVD units and stuffed wires and power under same area where I added USB and power outlet. Here are few reference pics:
Looks great and inspired me to mount the 12V socket in the glove box too. It was a serious pain to get the plug out, but once that was done the rest was easy.
I tapped into the 12V source in the console instead of going directly into the fuse box.
Looks great and inspired me to mount the 12V socket in the glove box too. It was a serious pain to get the plug out, but once that was done the rest was easy.
I tapped into the 12V source in the console instead of going directly into the fuse box.
Good to see you get all done. It was a real pain trying to get the plug out. I ended up tapping a two inch screw on it and pull it
Yep, me too...thanks for the tip. I thought for certain I was going to break/crack the glove box itself! I plan on wiring the glove box audio port later this week (for audio, not just charging). I have a crafty idea that may work well AND not mandate some Frankenstein modifications.
Yep, me too...thanks for the tip. I thought for certain I was going to break/crack the glove box itself! I plan on wiring the glove box audio port later this week (for audio, not just charging). I have a crafty idea that may work well AND not mandate some Frankenstein modifications.
Very much looking forward to your audio port mod. I might revisit this and do the same.
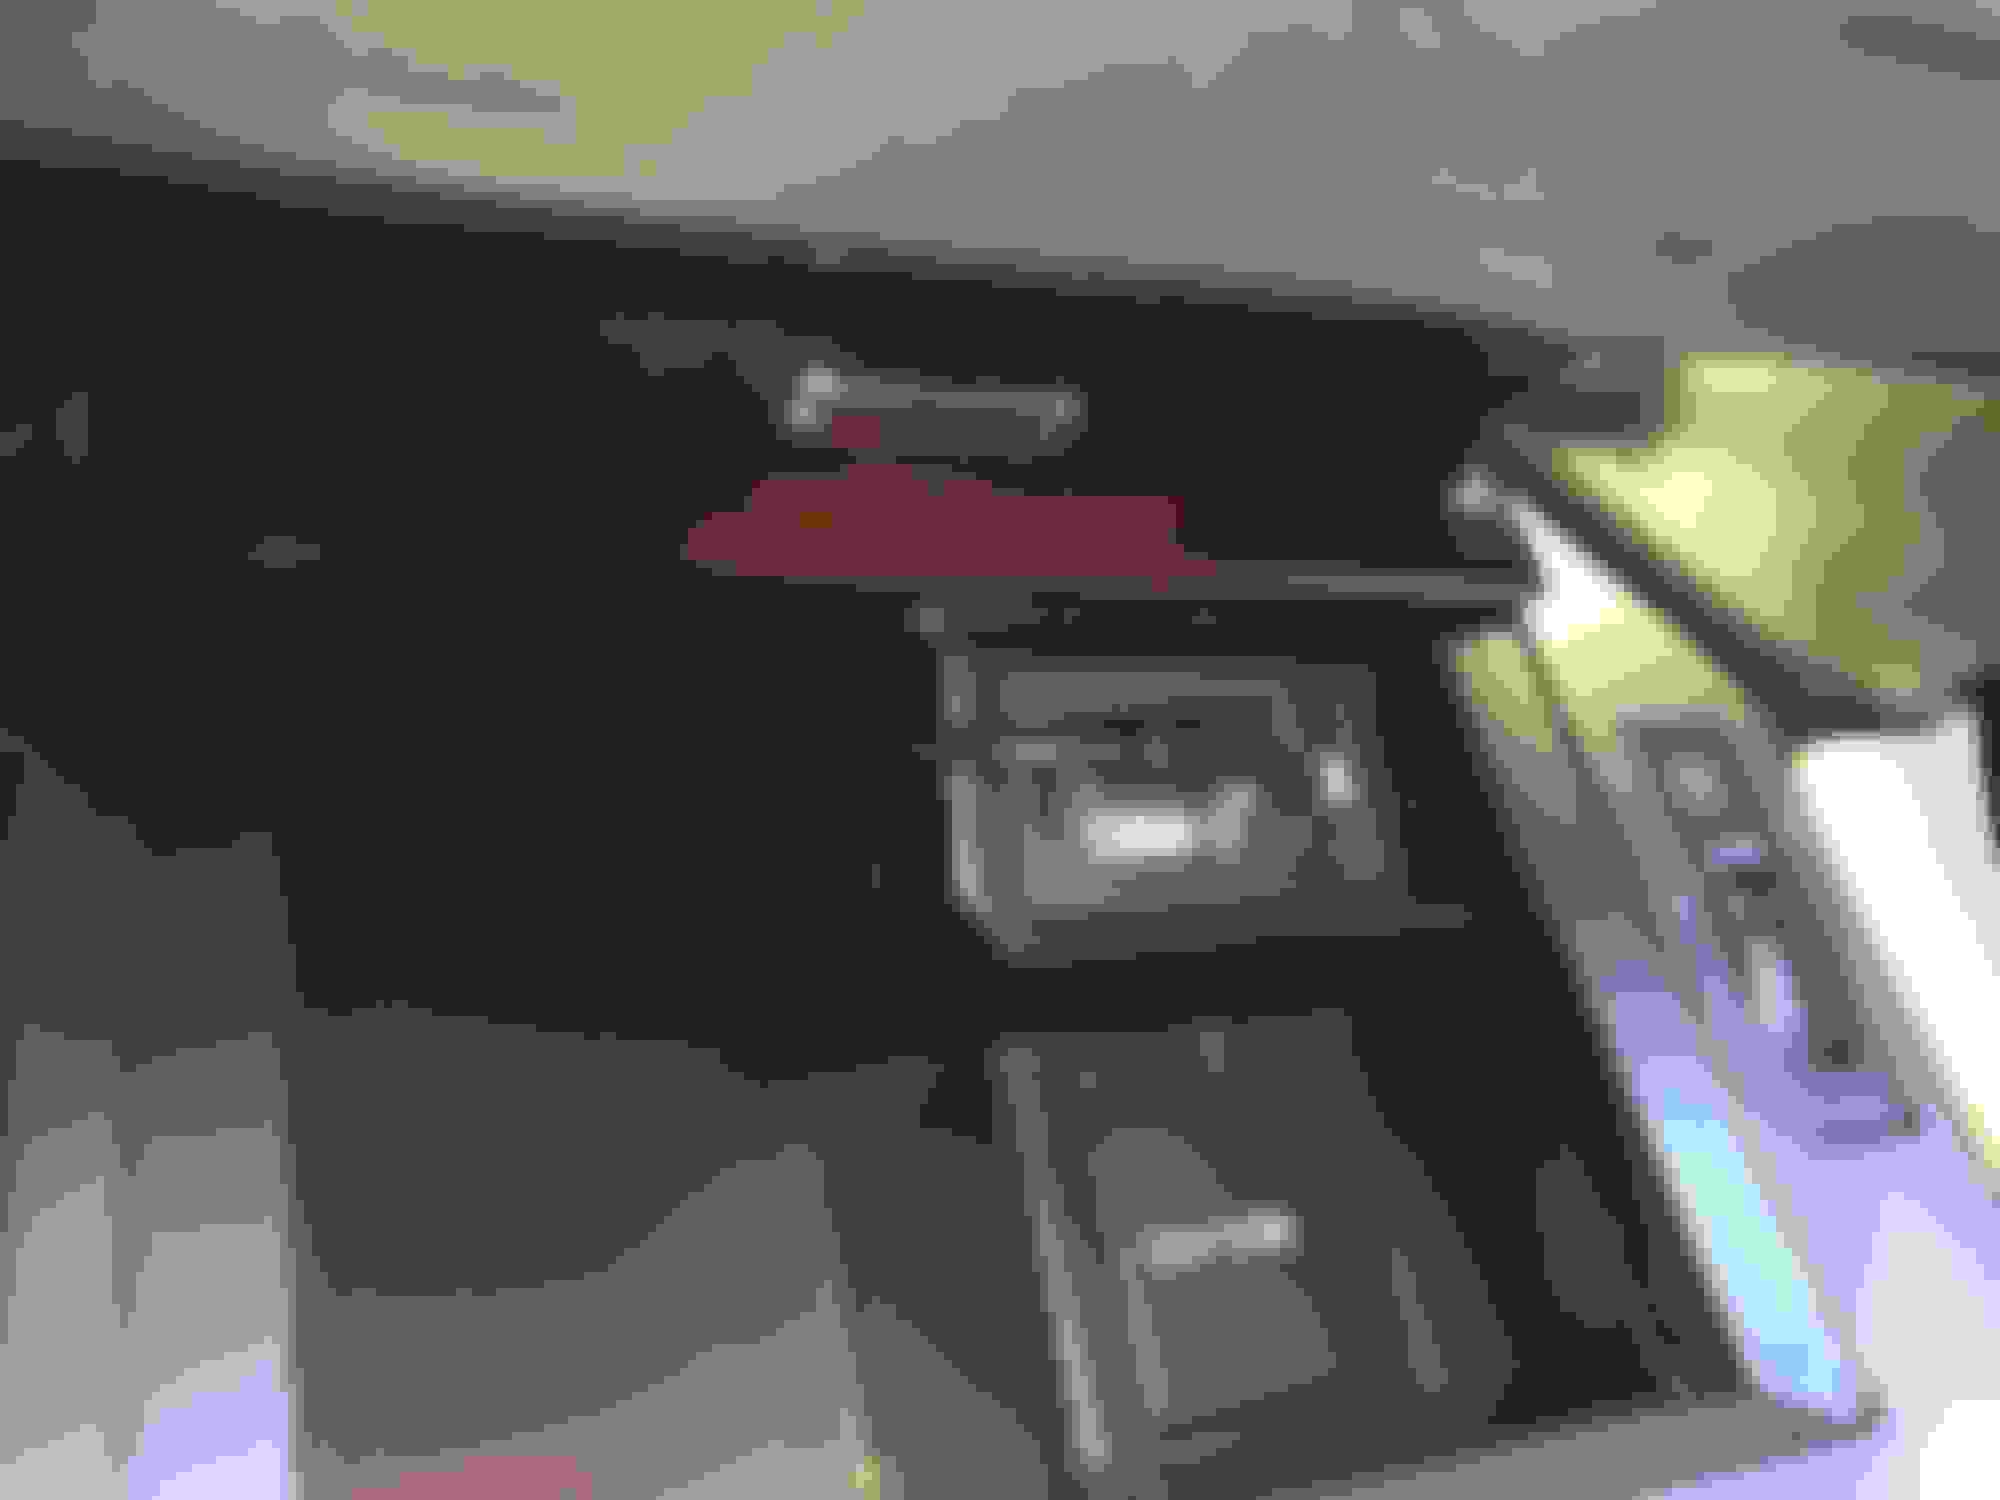
YES! It's nice when something goes according to plan. So my challenge was how to get the glove box audio port to function properly without splicing wires and/or making a modification that couldn't be "undone". So here's what I came up with. I purchased a left angle USB extension cable and made a hole in the console storage compartment adjacent to the two USB ports. I routed the USB cable through the hole and under the console, where it connects to the USB cable for the glove box's audio jack. I then modified a black "hole plug" by making a small relief cut/hole for the cable to pass through (the hole in the console had to be large to fit the USB "cable head" through it). Now I can connect an audio source in the glove box (USB memory stick, iPod, etc.) instead of the console. Actually, I can use either now.
This picture is with the camera flash on. Things are much more subtle without the bright light.
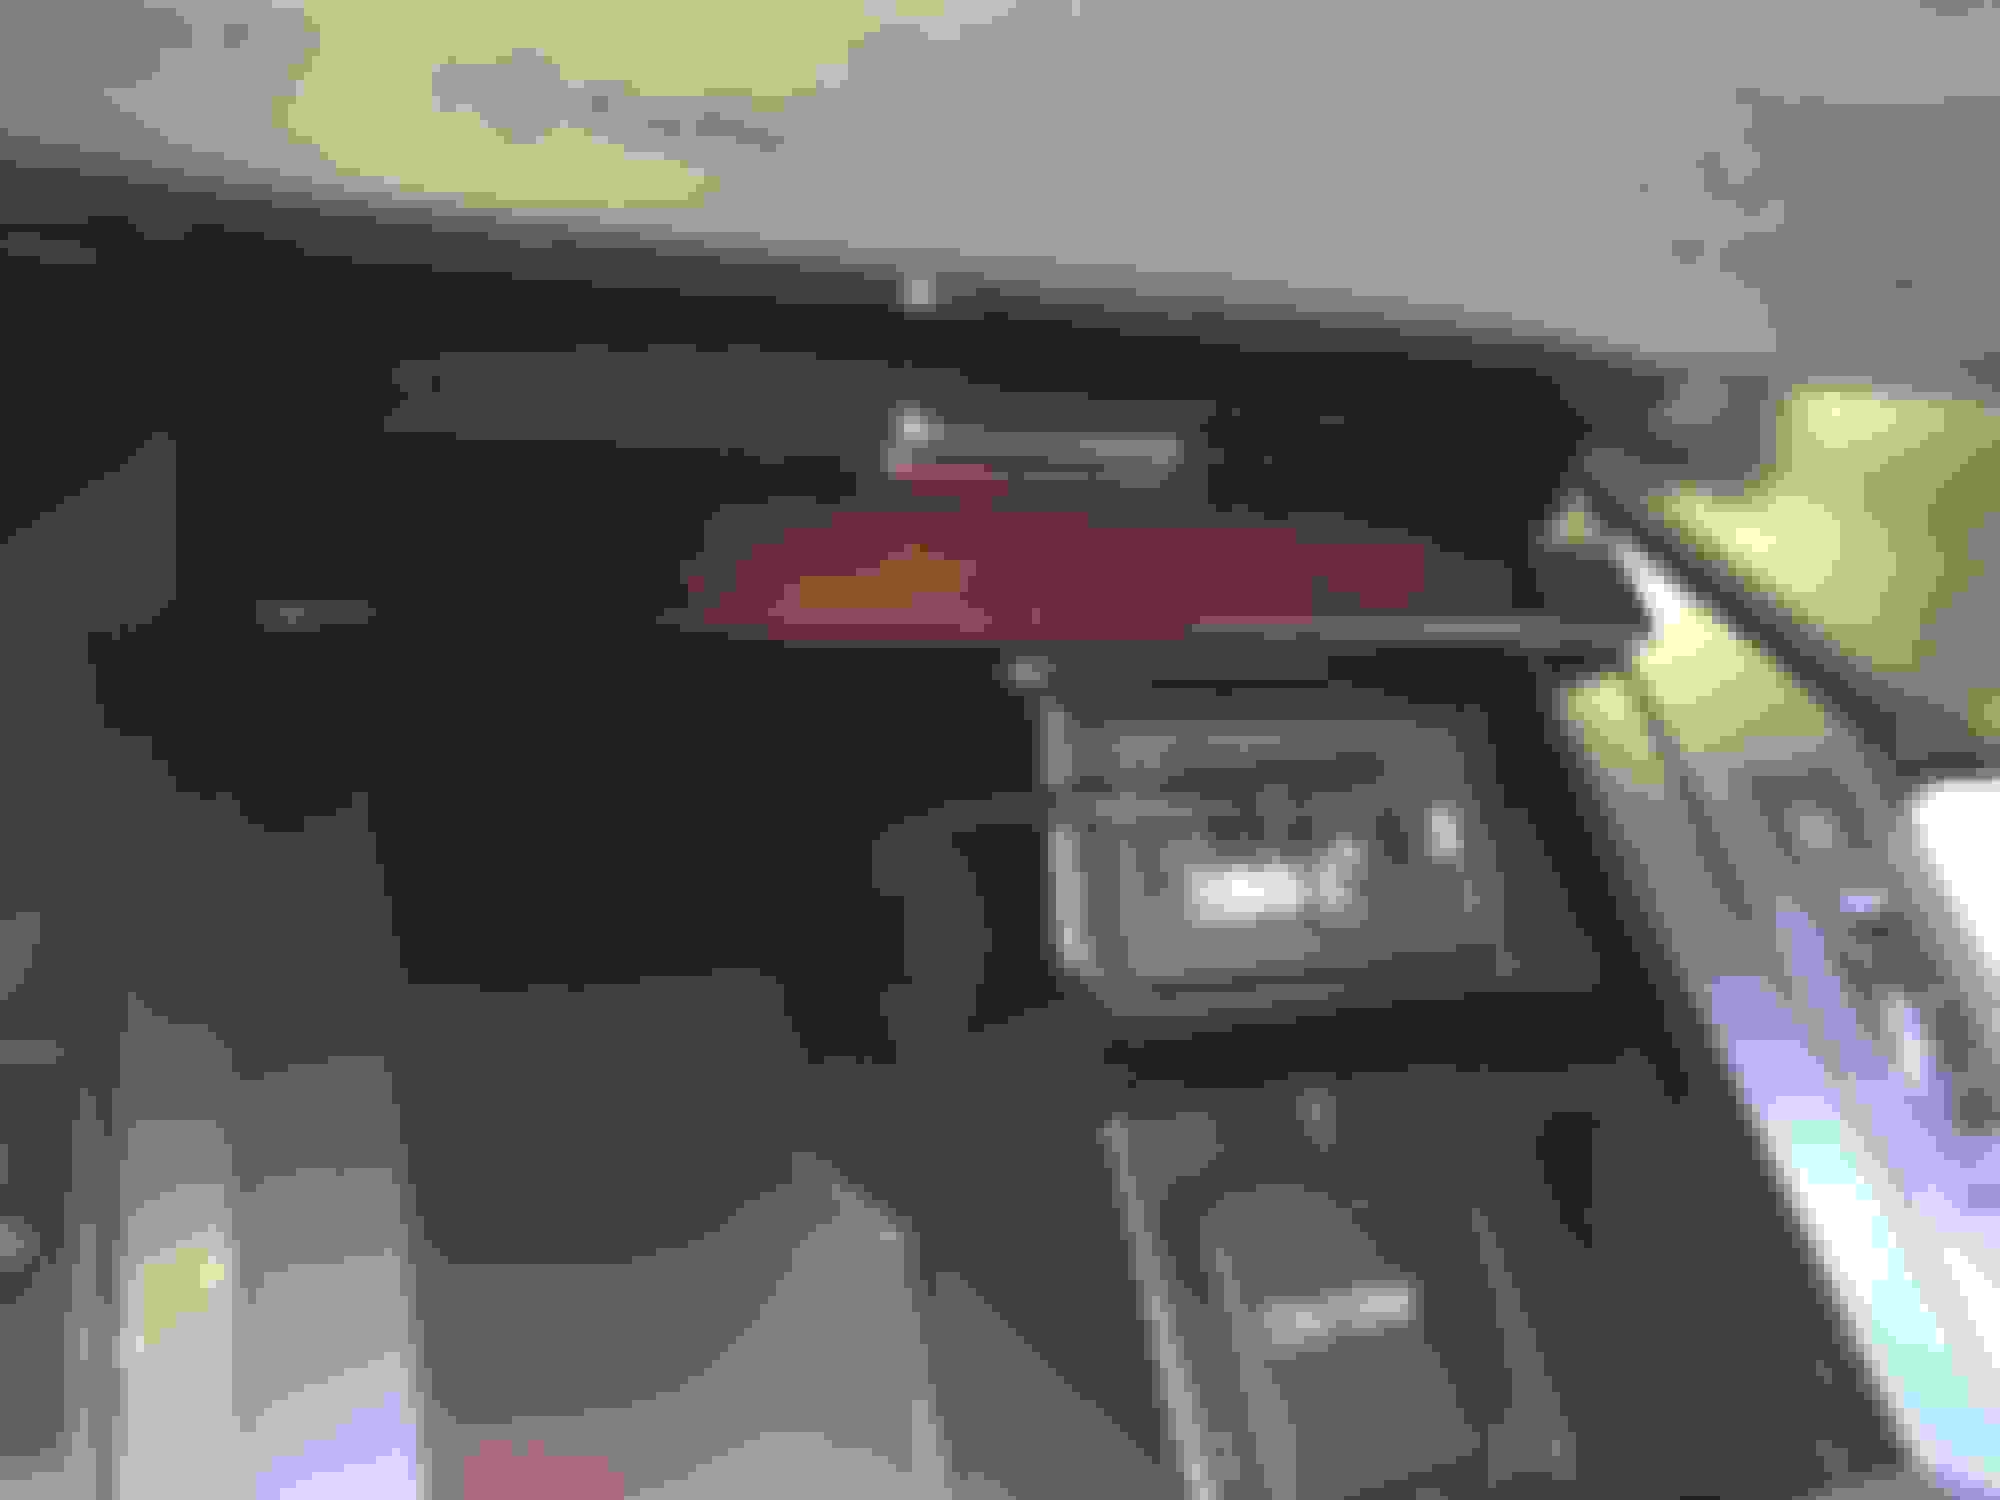
Without the camera flash:
And in the glove box with the music memory stick connected to the Audio port (plus a spare charging cable to the top/charging port):
Another great benefit, is the USB music sound quality is great. When I copied the CD's, I didn't use any compression. Even the wife noticed the improvement in sound quality.
In fairness, we normally listen to XM. I understand the sound difference between the USB and FM might not be as drastic.


 09-03-17, 08:34 AM