When you click on links to various merchants on this site and make a purchase, this can result in this site earning a commission. Affiliate programs and affiliations include, but are not limited to, the eBay Partner Network.
What drill bit are you guys using to drill the hole large enough for the 12v socket? I don't think I own a bit that large in diameter.
like @Jacket mentioned, a hole saw is typical. if you don't have one a dremmel works. I used a dremmel on mine. mark it off and go slowly until you get it to fit. I did this on both inside the glovebox and in the rear
I bought all the parts a while ago but haven�t given this a shot yet afraid that I will mess something up. Lol.
One of these days.
I got my USB 4.2A socket and 12v cig socket on order. Should be here by tomorrow. The only part I need to pickup is the 1 1/8" hole saw from Lowes. I don't want to use a dremel as it won't be accurate the first time around.
Do you plan to add onto the front 12V or add a fuse?
I got my USB 4.2A socket and 12v cig socket on order. Should be here by tomorrow. The only part I need to pickup is the 1 1/8" hole saw from Lowes. I don't want to use a dremel as it won't be accurate the first time around.
Do you plan to add onto the front 12V or add a fuse?
Let's do this!
dremmel can be accurate if you go slow and make a template. I used one and mine fits perfectly and snug.
I put one on the rear and one in the glovebox
you definitely want to add its own fuse. that way if anything goes wrong only this is affected
This is probably gonna be my winter project on the GX along with running the ARB wire kit from the battery to the back for refrig. I need to see if I can find a post here, on mud or the wiring manual for a key switched fuse or relay in the engine area. I will add in a relay off of the circuit once I find one. I'm sure there is a post somewhere on this.
I want to give the ARB run keyed power since not doing dual battery anytime soon.
So I did the rear dual USB and I used a simple kit from Amazon with rear clip. Not near as clean as the custom installs but I wasn't wild about drilling into that console plastic.
While I was installing a way to mirror my Android phone with a USB C to HDMI I figured I'd go ahead and slap on the rear USB ports.
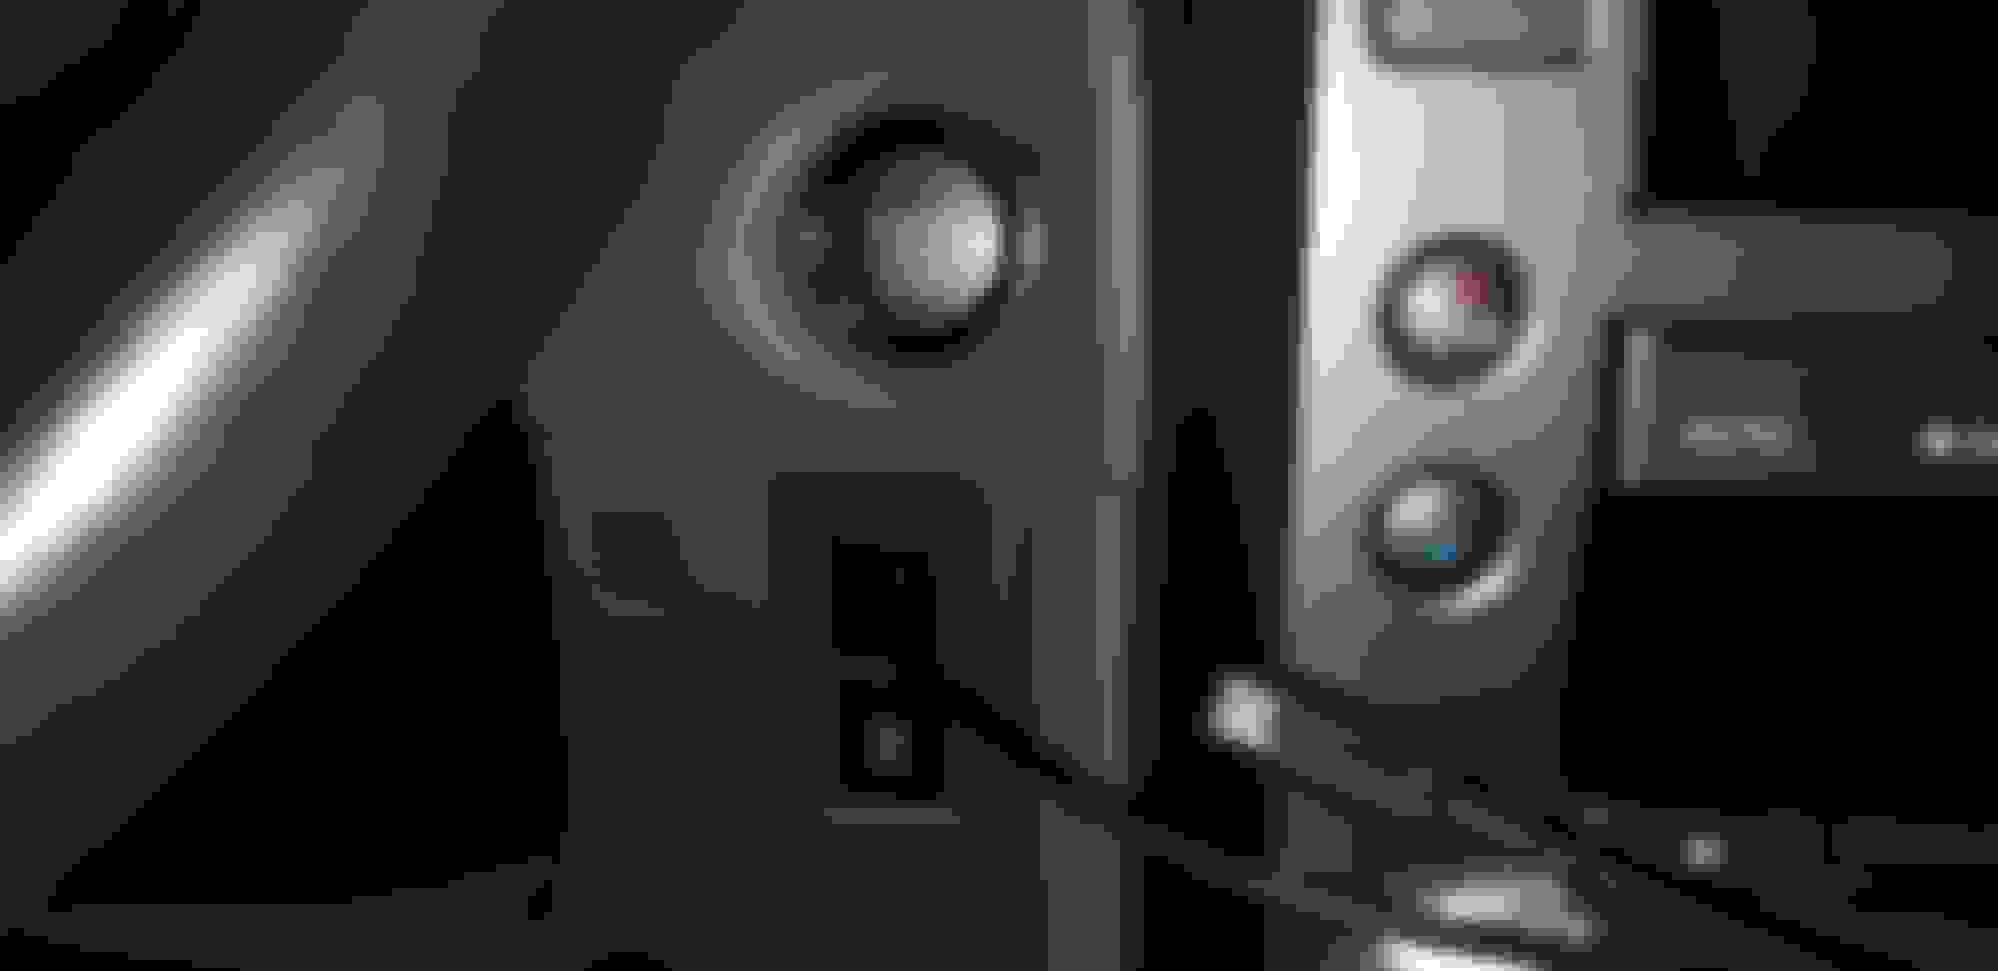
I did drill through the blank below my start button (cheap and easy to replace if needed) to run a USB C. This is coupled with a rear install of a Beatsonic DVD bypass and AV input to hide wires. The system works very well, the phone can be finicky with sound when mirroring (Bluetooth needs to be off) otherwise works great. The dual USB both support fast charge and work well with my Android Note. The wire is well hidden, if you have black interior it would likely be very difficult to spot. The wire runs out from the center console and through the carpet wire hide on the side of the passenger seat. The wire is small and doesn't show. Curious assistant. USB C which is rather short but due to the HDMI conversion the longer cables failed to make a reliable connection. But it reaches to the passenger seat and vent phone mount. From the passenger seat you cannot see the wire coming from the console for rear USB The main reason I took the console apart. Install a USB c to HDMI converter and run the AV directly into the head unit for clean look. Used a USB C converter with HDMI USB 2.0 and USB c. This way I could power the HDMI to composite box (white) and power them both with a USB c cable that is plugged into the 12v cigarette lighter under the center console. Pull up the center console starting at the cup holders. Also removed the side leather for easier access. Remove the center console for wire access. Plenty of space here. I used electric tape and padded tape to reduce any rattling of installed components. Stereo comes out with 10mm socket. Here I connected the Beatsonic AV kit and their DVD (GPS) bypass. I keep this cubby closed as it looks aesthetically clean with the wood trim. As a result though I do not use the USB and the 12v is dropped into the console so all wiring is hidden. The sacrifice was the 12v in the dash compartment, but the goal again was is to keep it closed 90% of the time. Closer look at the USB port.
That is a nice option, since I needed the power for the phone (so it can charge while streaming media) the powered option want to bad, but would have saved some room. Other thing is that because of the power the HDMI conversion unit gives a signal regardless of the phone being connected.
Really only took about 30 minutes but I have to go get the fuse expansion wire to finish it... so right now it is unpowered. I just ran the red power wire loosley up under the driver's side of the center console, popped out the top near driver's shin, and across the black plastic panel over to the fuse box. All ready to go, just need that final fuse expansion cable. I unscrewed one of the bolts in the bottom rear of the center console and connected the end of the black wire to that as ground.
Took these yesterday at the dealership. I think the panel will fit our 2017 Luxury. Once I can confirm that, we will decide if we will use the oem USB ports (preferably) or if we will fit an aftermarket one. At first glance it doesn�t look like the ports light up in any way, so that might make it easier to wire in (I�m no expert when it comes to wiring). I will post an update when I have more info. (Sorry, I just realized my wide photo doesn�t show the top of the panel. I�ll add another photo if necessary once I update.)
Acrad (10-27-19),bbqsoup (10-27-19),Chasin (10-27-19),dwh13 (10-27-19),hzhao (10-27-19),Mistaken (11-11-19) and 1 others liked this post. (Show less...)
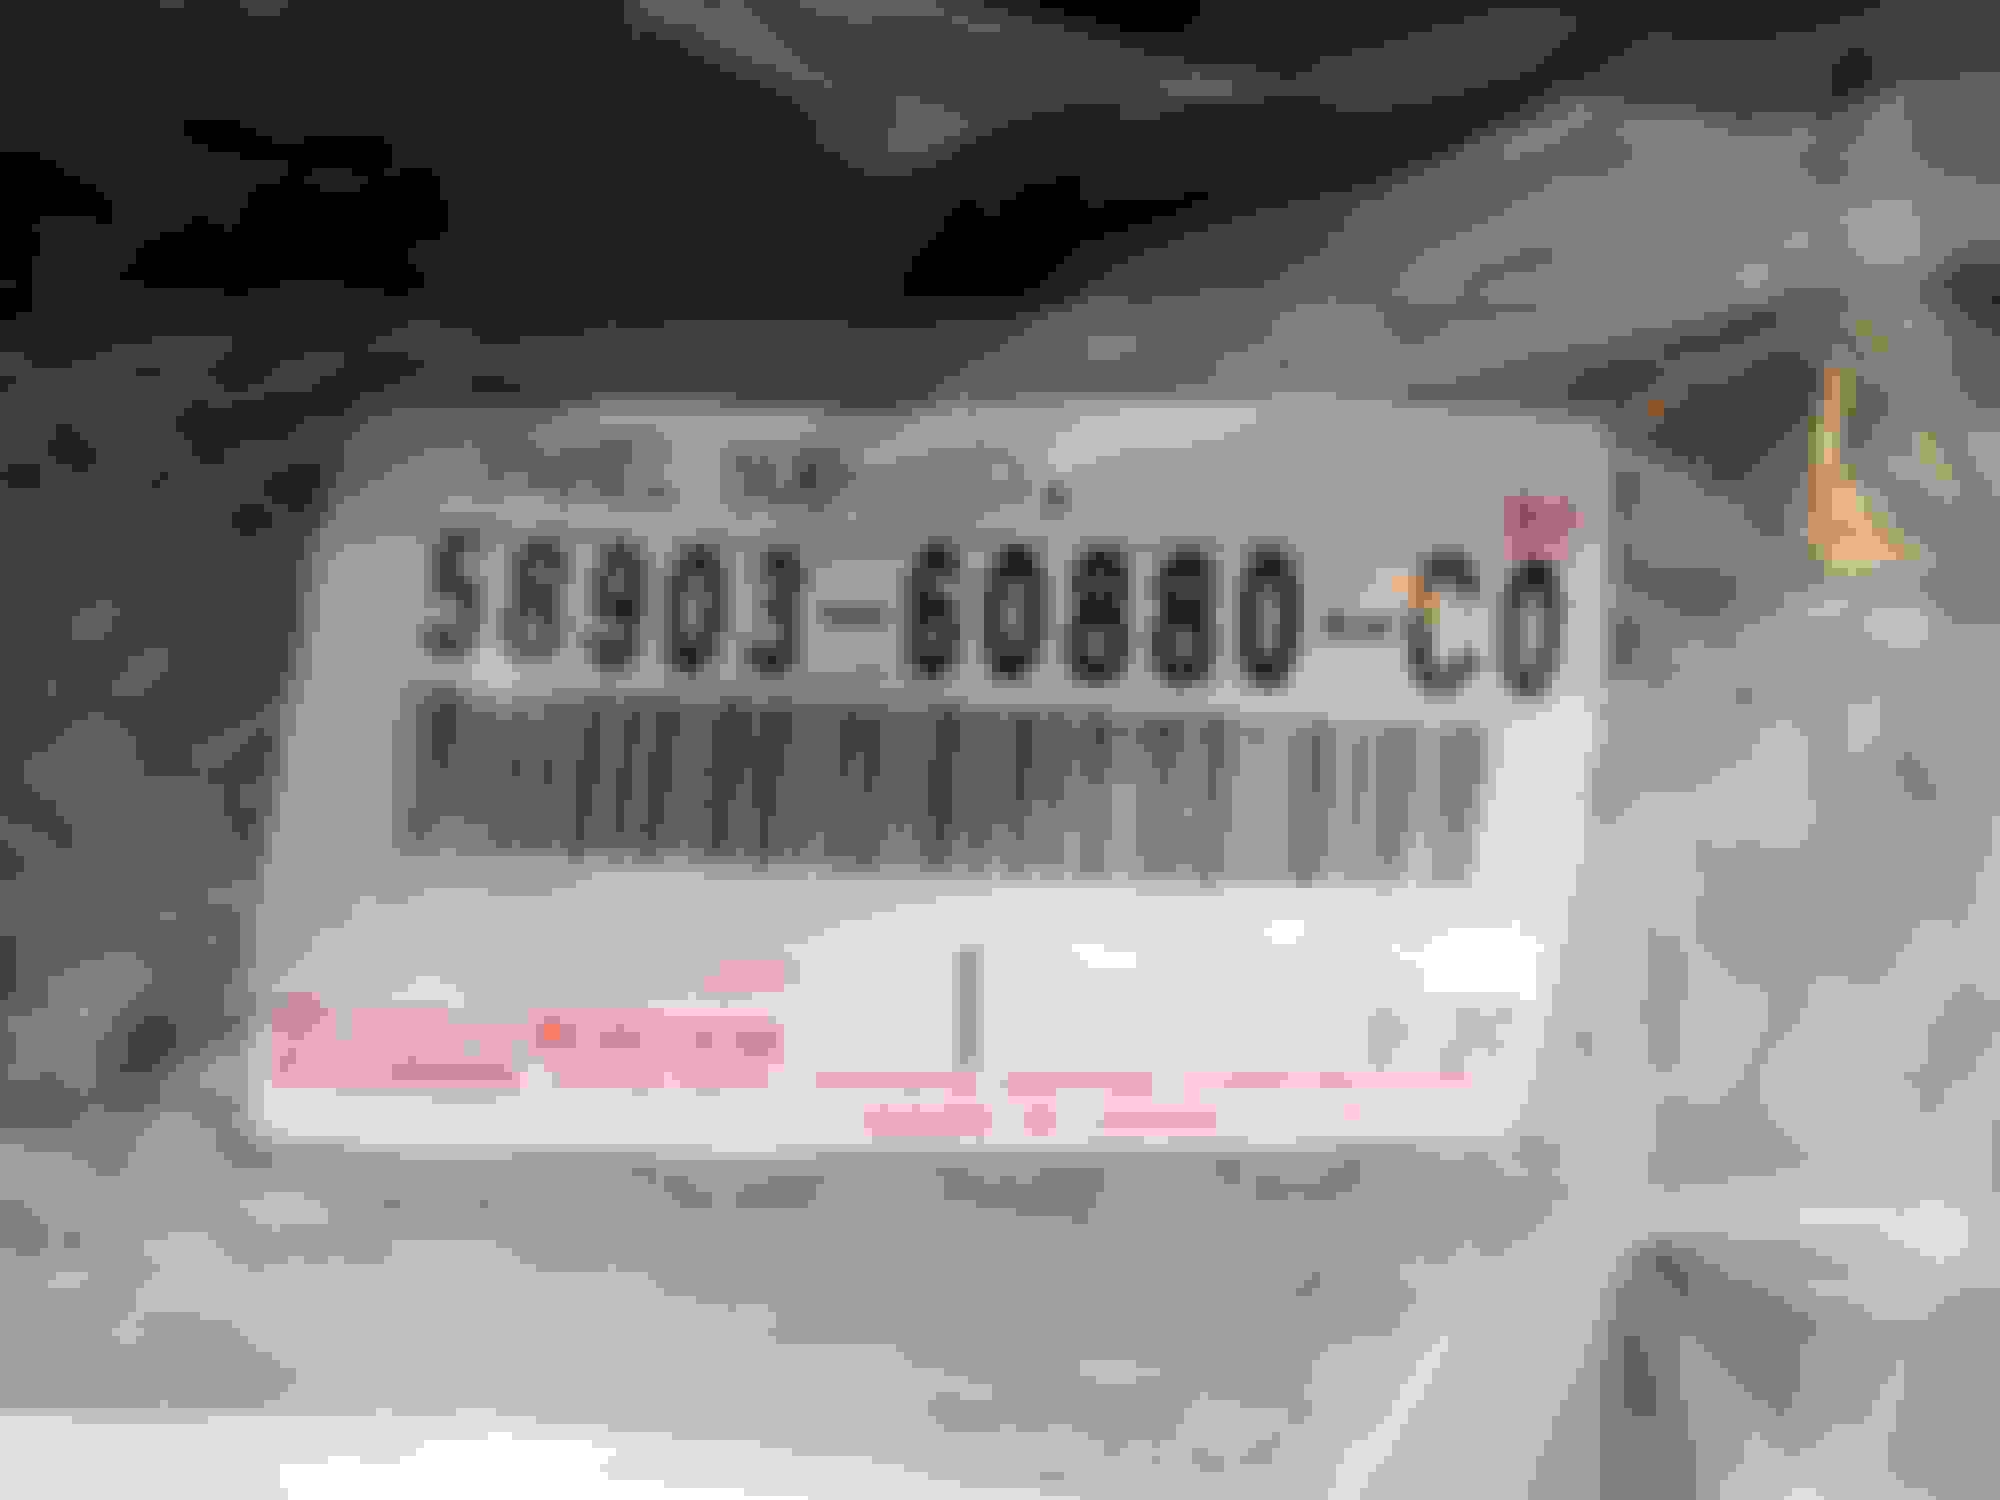
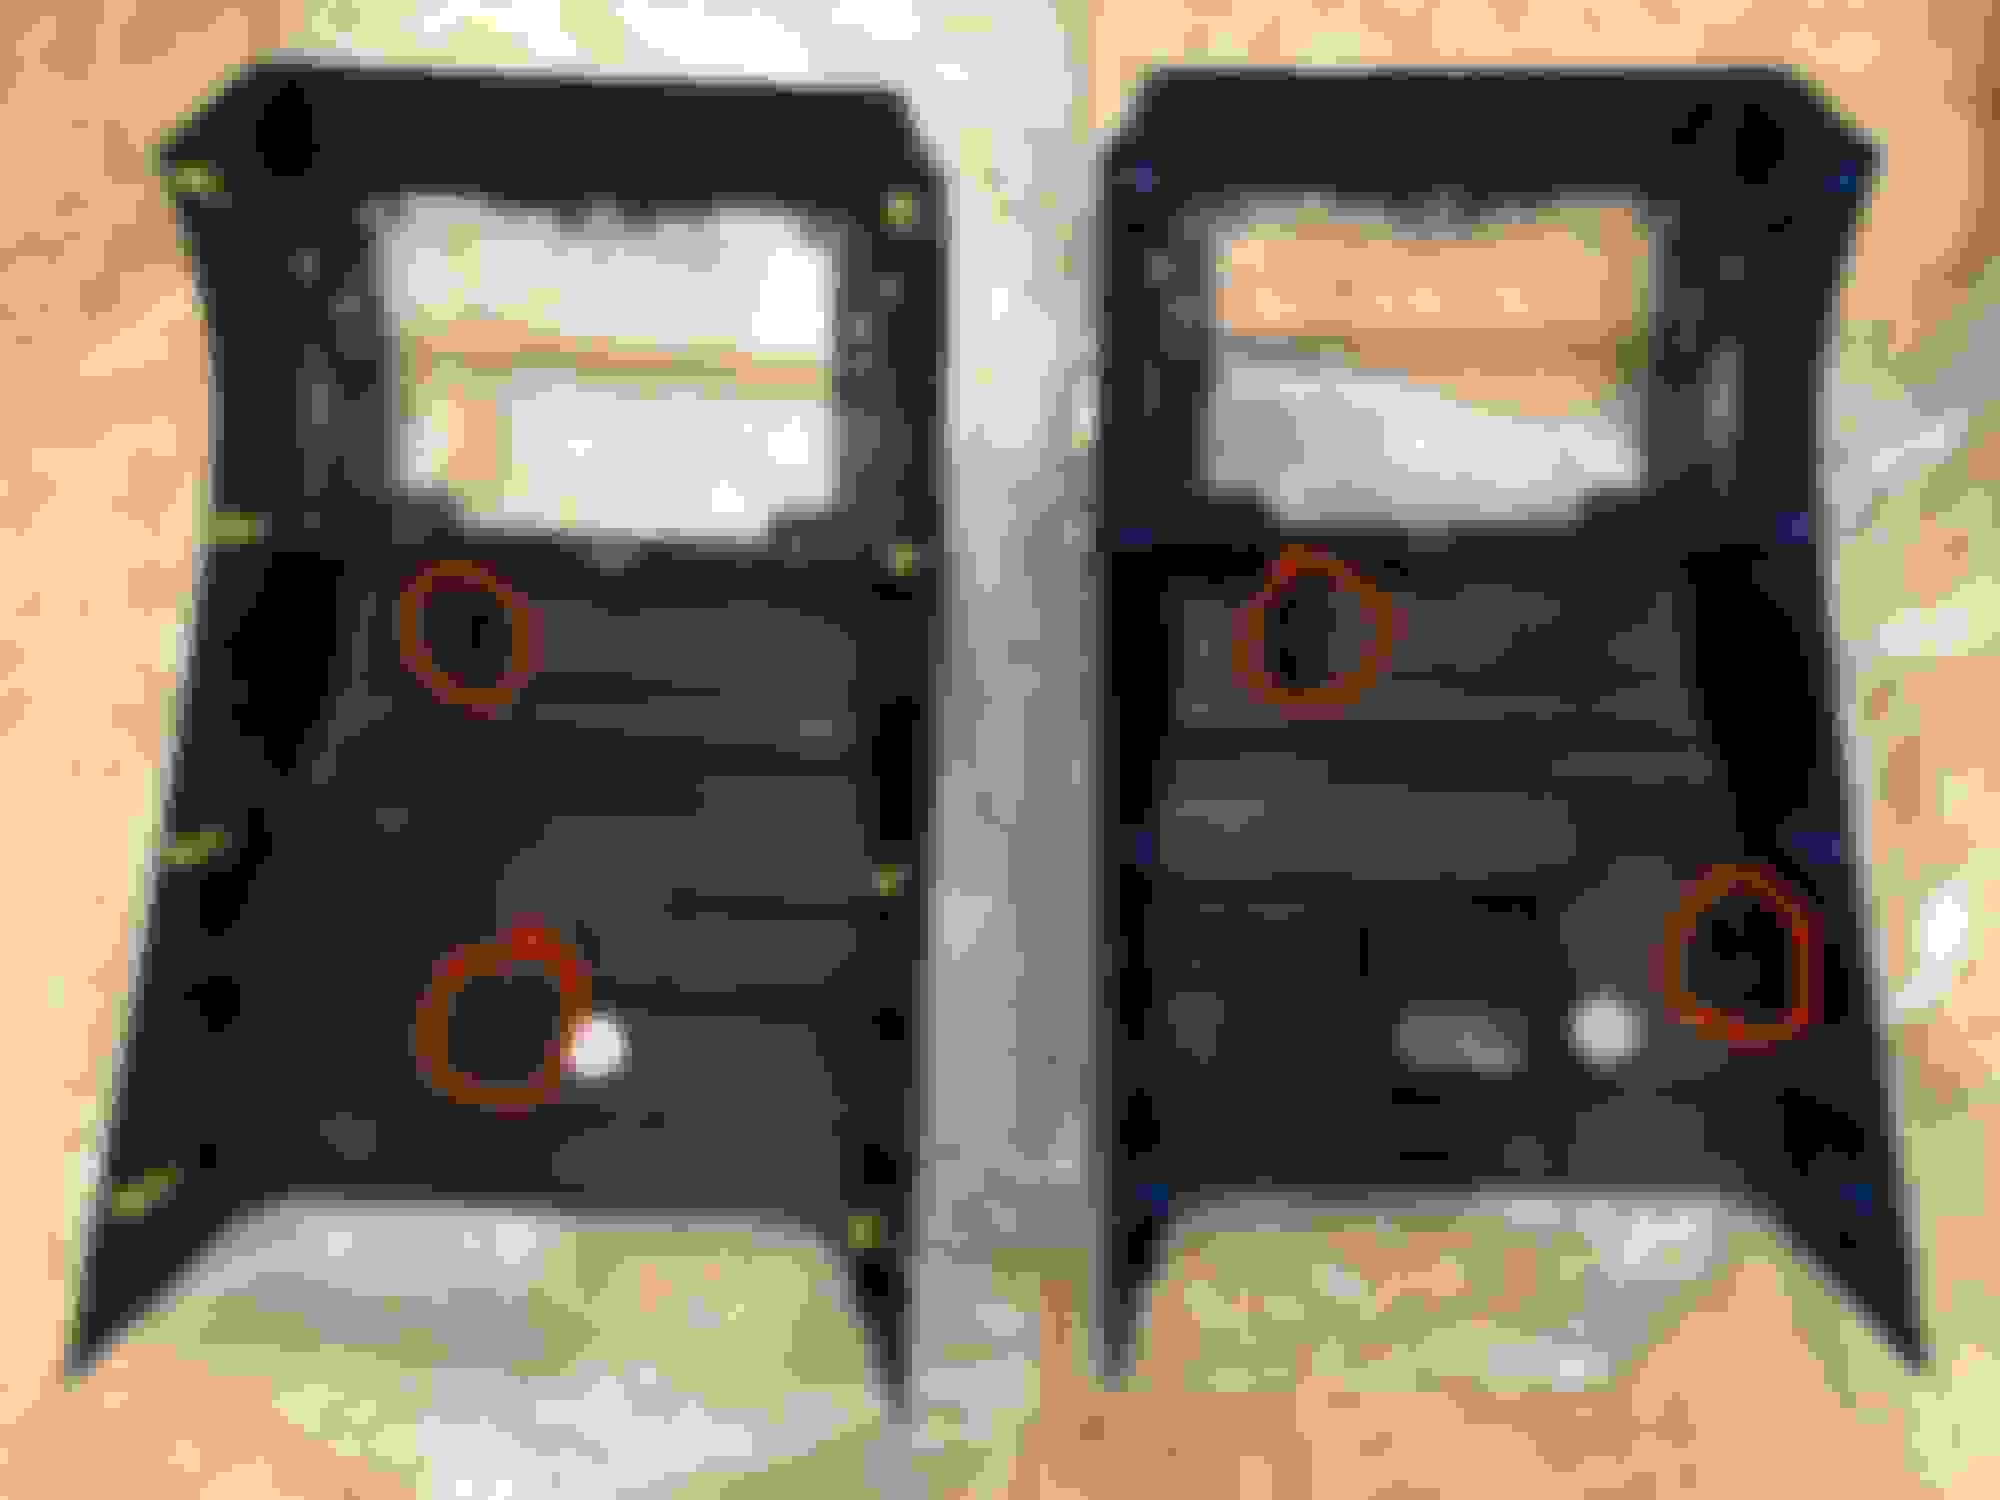
The color matches and it�s a direct fit. The new panel provides new mounting points for the harness. Since it reroutes it around the opening I was only able to use the lower mounting point. There might be a way to get a little more slack. I will check again once I go back in to install the USB port. I haven�t decided yet on whether we�re going to use the OEM part (see number below) or aftermarket.
Panel PN: 58903-60880
USB Port PN: 85532-50020 (doesn�t include wiring harness)
Sorry, I should have mentioned that if you buy the OEM USB port it doesn�t include a harness. According to the parts department guy, the wiring for the USB port is part of another larger harness.
Unless I find out otherwise, I will be running my own wiring to whichever port I end up using.
That oem panel looks real clean. It might be low enough that weathered mats may not fit because they have a lip at the edge. I'll try to get a pic of mine in that area

 08-26-19 | 06:38 PM