When you click on links to various merchants on this site and make a purchase, this can result in this site earning a commission. Affiliate programs and affiliations include, but are not limited to, the eBay Partner Network.
No update yet. I ordered the OEM USB port on eBay but the sale fell through. I�m probably going to buy it locally. Once I get it I�m going to need help figuring out how to wire it up. It�s a two prong connection but I�m going to need to figure out what wires to hook up where.
Finally finished the rest of my power outlet installs. The third row was the last spot I wanted to add a single 12v outlet, for a powered Coleman cooler / or whatever else. I used Power outlet and trim piece from a 96-02 4Runner Rear 12 Volt Socket trim (64753-35010). Color was a perfect match.
Can I tap the yellow and brown on front 12v socket (with an inline 10a fuse) for adding a rear socket?
Brown seems negative and yellow positive?
I tried, but I couldn't get it to work. I don't know if maybe the wire isn't a thick enough gauge to run two outlets, but when I tapped into it, both outlets stopped working.
I tried, but I couldn't get it to work. I don't know if maybe the wire isn't a thick enough gauge to run two outlets, but when I tapped into it, both outlets stopped working.
Oh... so what did you finally tap? Direct from fuse box?
No update yet. I ordered the OEM USB port on eBay but the sale fell through. I�m probably going to buy it locally. Once I get it I�m going to need help figuring out how to wire it up. It�s a two prong connection but I�m going to need to figure out what wires to hook up where.
Any update on this? seems like this is an interesting mod for all 2010+ gx
I think you may had hit a wrong spot. i tapped power using Positap from the yellow and brown and split it on 2 sockets (one 12v socket and other 2 usb quick charge port) ans it all worked perfectly fine. Very happy with end result.
I'll be trying this soon with the 2020 console piece and USB for my 2018. If the USB is two prong, then that would be similar to any switch like for a UTV with one positive and one negative. If that's the case, then I will positap them into the 12v by the gear shifter.
I'll be trying this soon with the 2020 console piece and USB for my 2018. If the USB is two prong, then that would be similar to any switch like for a UTV with one positive and one negative. If that's the case, then I will positap them into the 12v by the gear shifter.
^ that off centered would drive me nuts.
I am not a fan of those plates either. a simple hole that does not require screws or any additional damage. if you cut the hole smaller and just snug enough it will not go anywhere.
otherwise, good video. helpful for those who have not taken theirs apart.
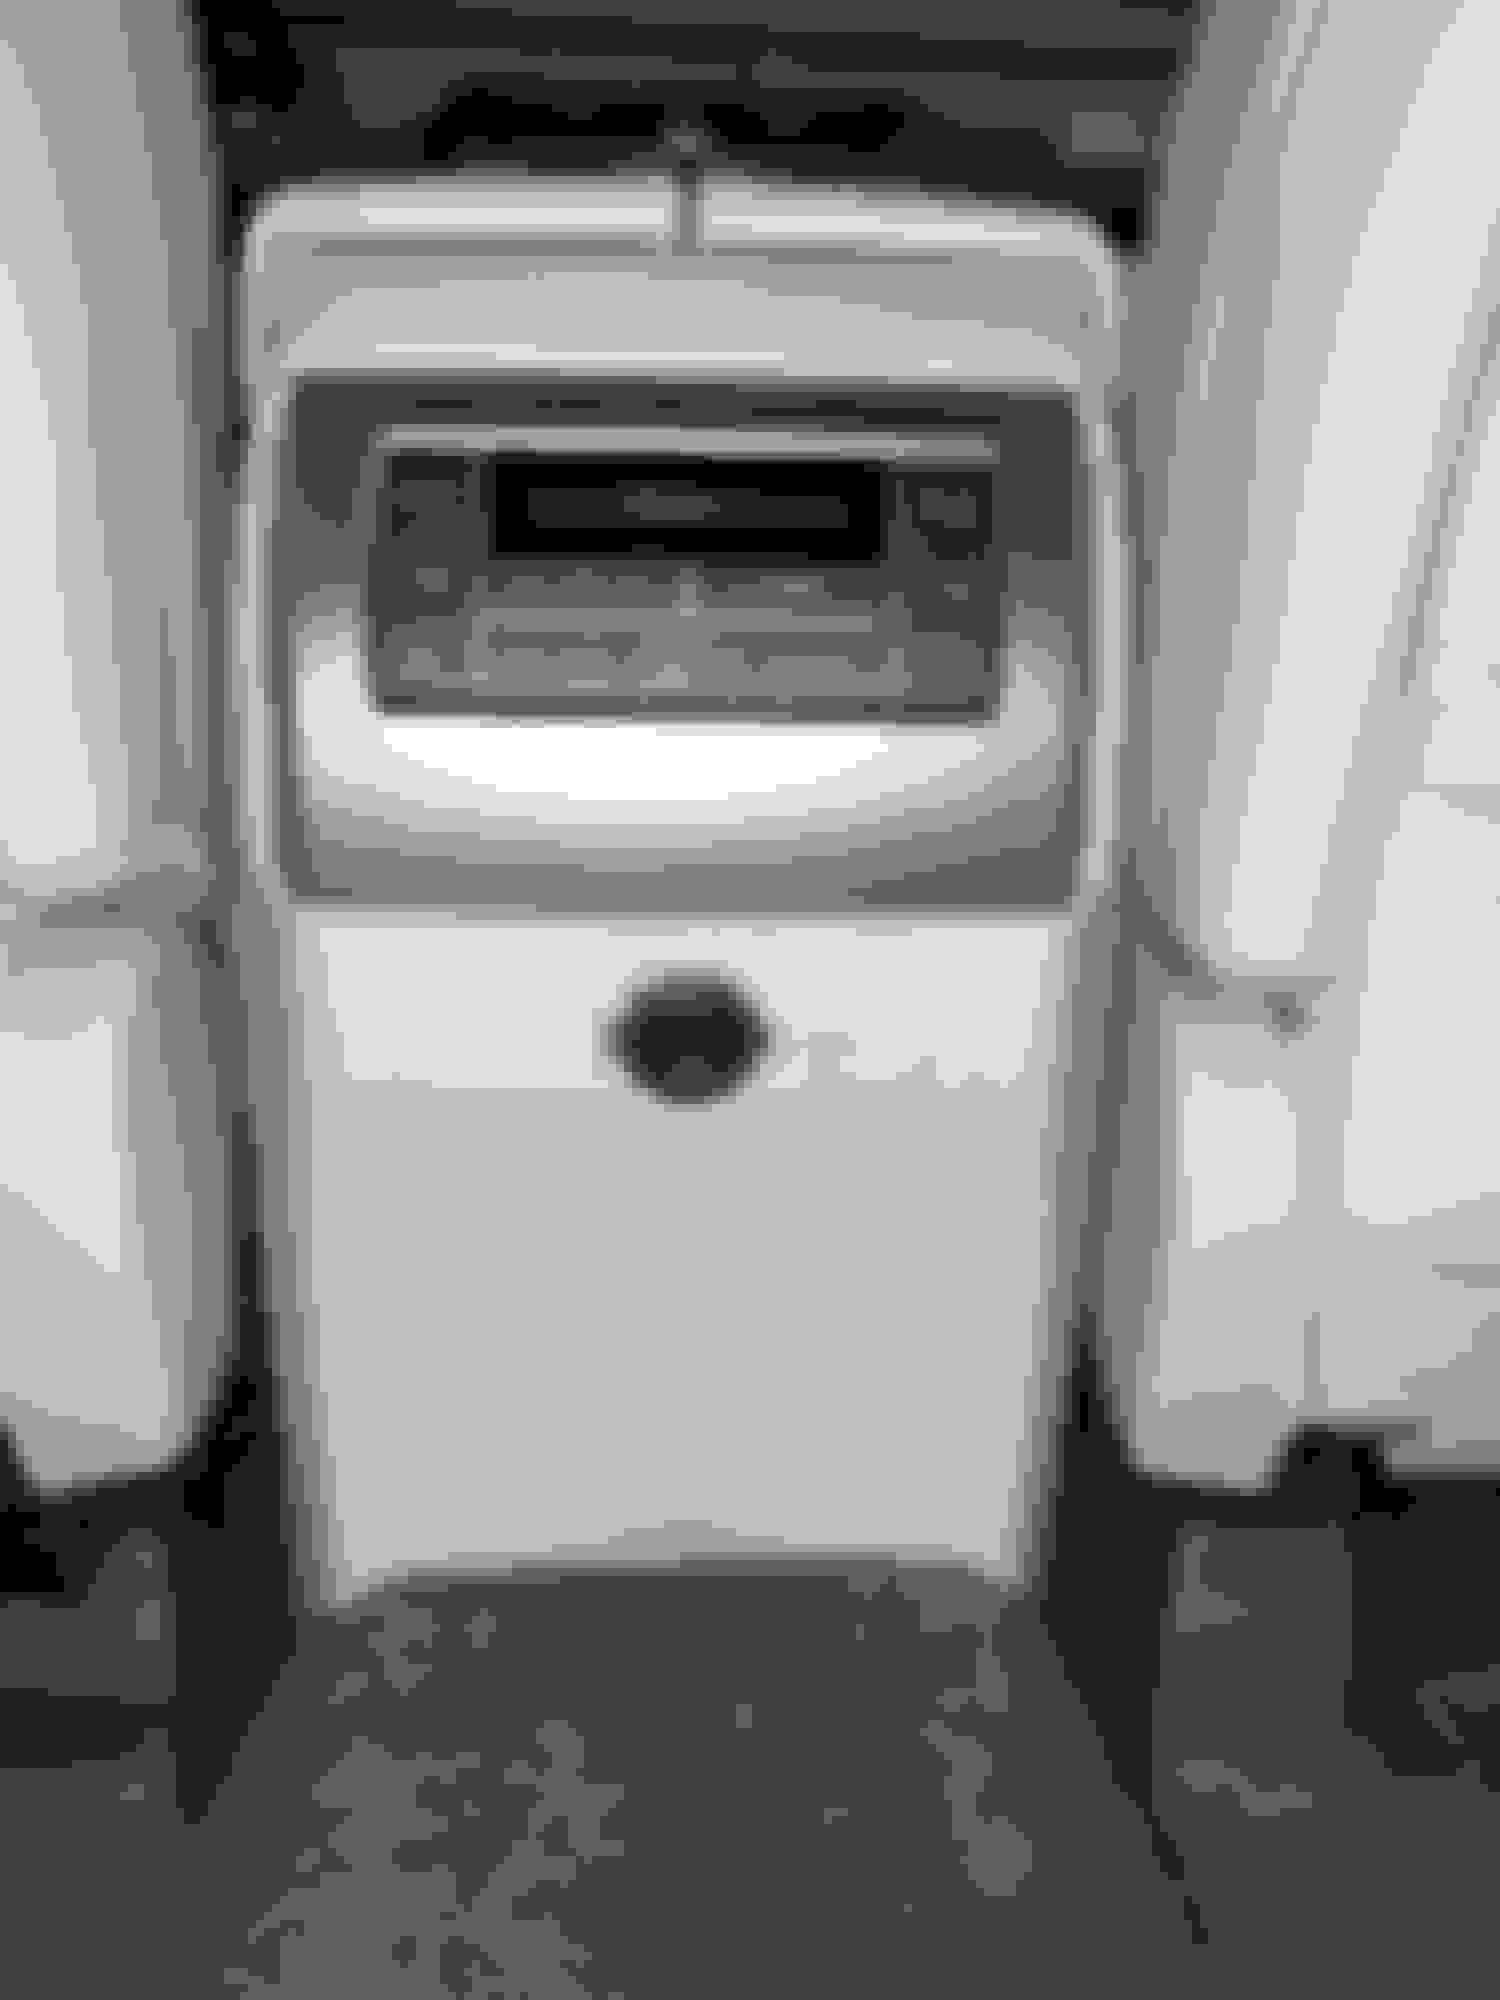
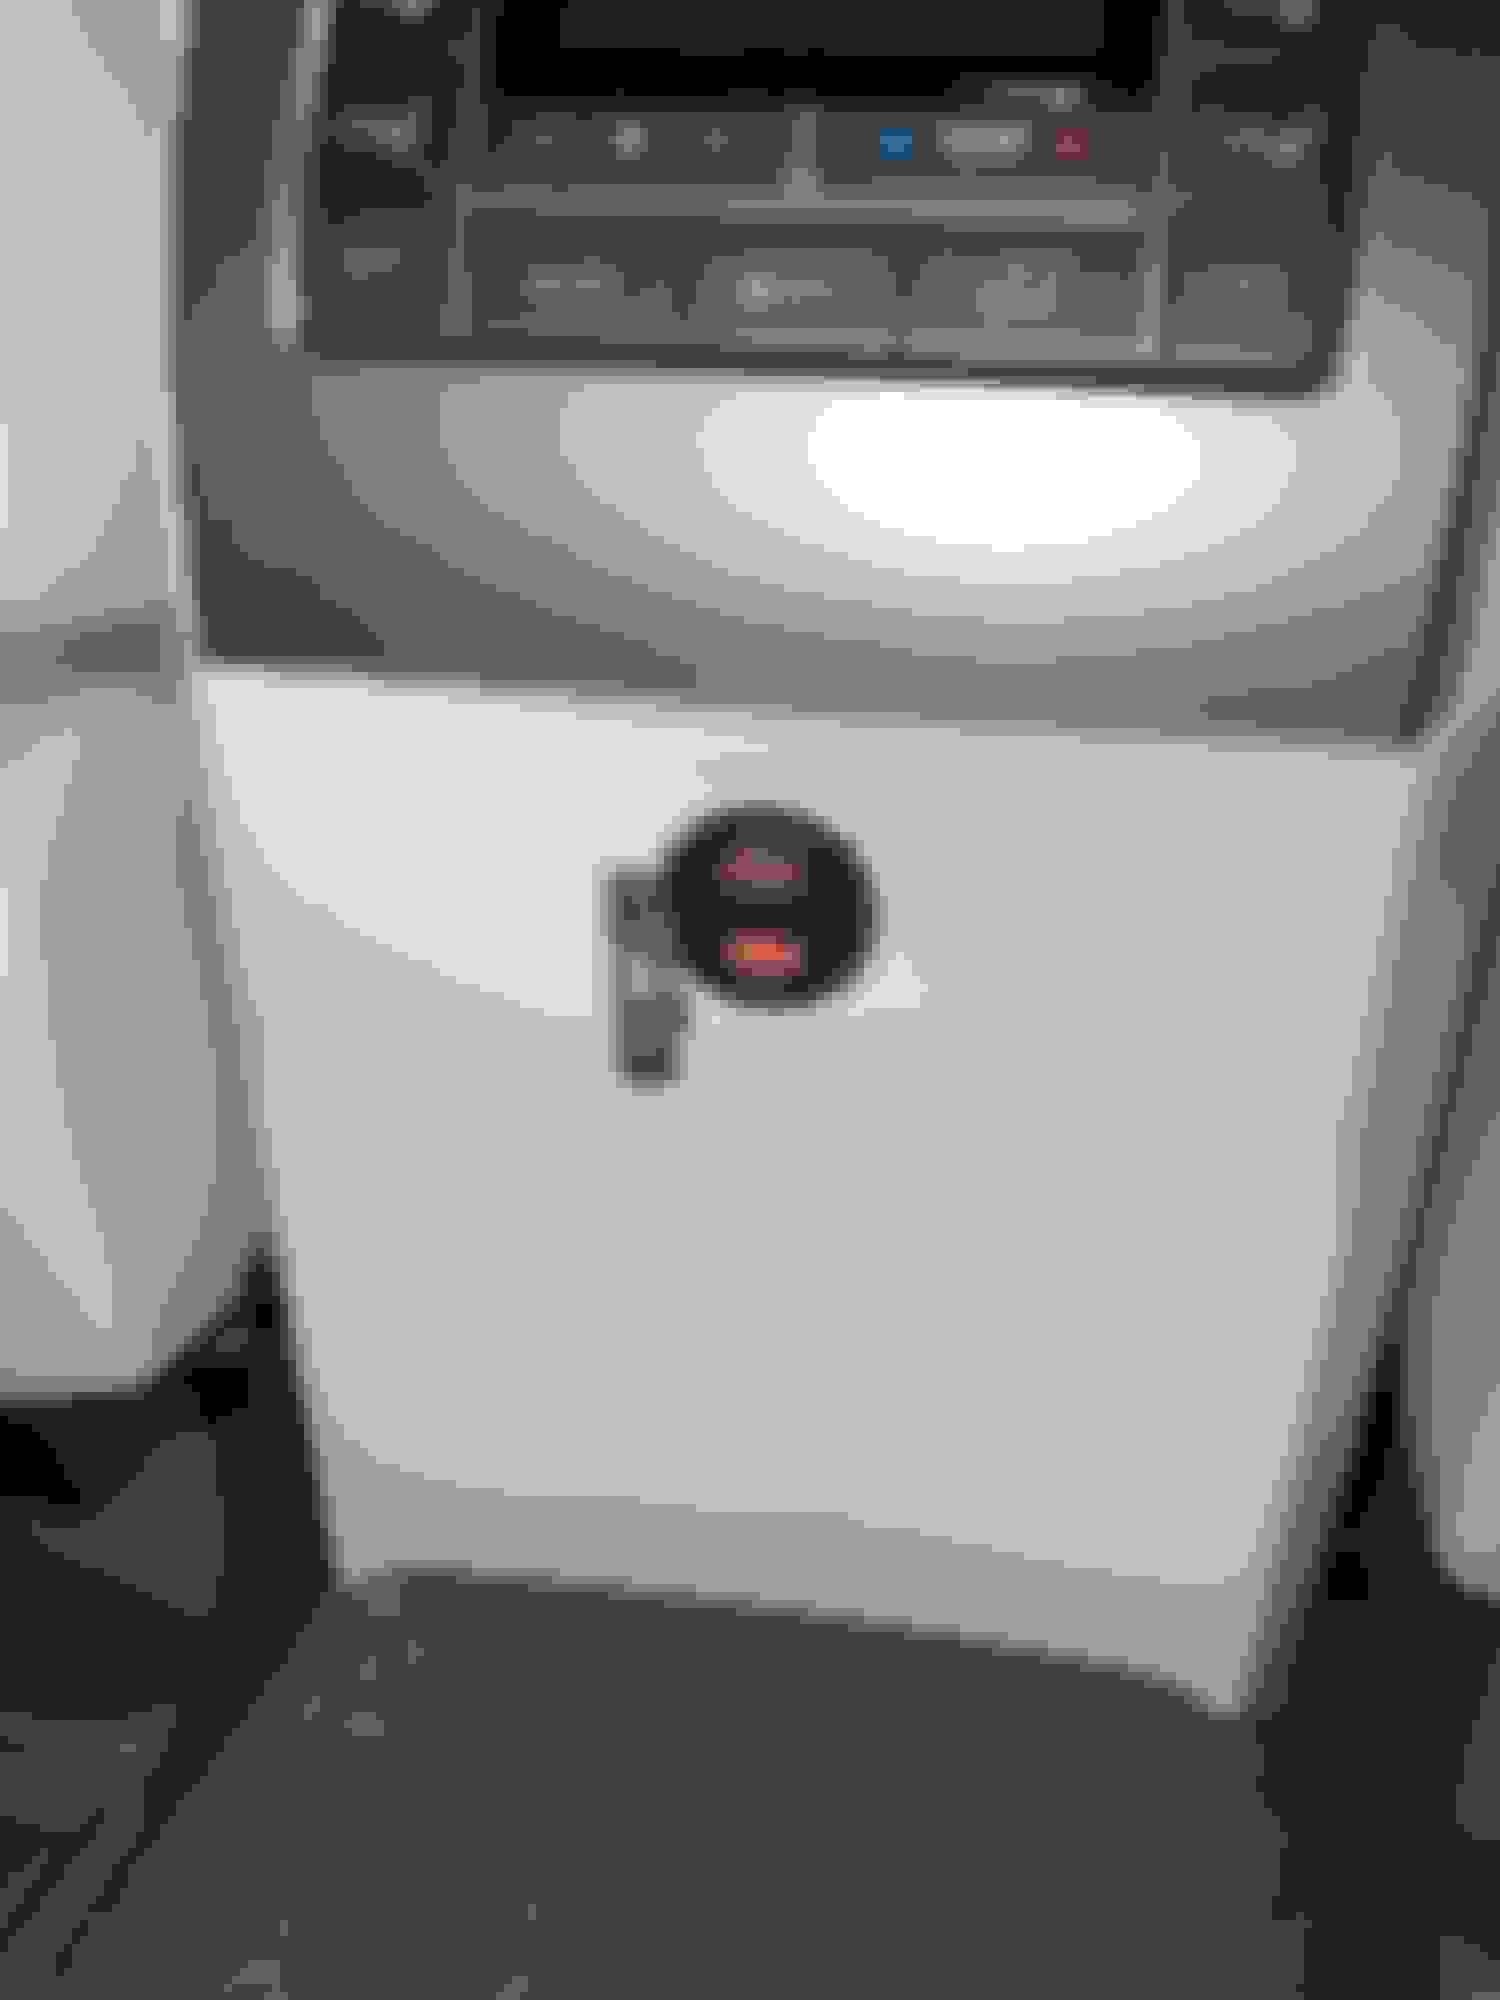
I finally got the courage to tackle adding a USB QC3.0 outlet to the rear of my center console. I also added another to the lower inside of the center console to support a wireless charge pad on a one off custom console tray I am fabricating. Note that I added felt to the back interior wall of the center console, remembering to cut the square hole for the light as well as the USB outlet.
It has a smoked clear cover that side mounts. While it does not match the colors on the aft climate control panel, it is close enough and doesn't look as stark or out of place against the ecru interior as some of the black ones do.
I T-Tapped power from the from console 12v Outlet Yellow and Brown wires and ran the wires down the passenger side of the console.
Yellow is Positive and Brown is Negative.
Since I'm adding a total of 4 QC3.0 USB ports and the front 12v outlet, where I also have a dual QC3.0 USB, is only rated for 10 amps (by the owners manual) I added an inline 10 amp fuse behind the aft console cover where I can easily get to it by just removing the aft panel. I then T Tapped a set of wires to the lower inside USB running the main wires to the aft panel USB. I forgot to take pictures of the aft panel wiring but there are no surprises there.
Here is where I mounted the internal USB. I was a little concerned about the space for it but it fit fine even if there is not much room left to spare.
Note that before I tried to install the outlets, I stole some of my wife's very expensive red nail polish to mark the positive terminals since my eyesight is following my hairline. I was very glad I did.
Lastly, here is the finished console interior (minus the wireless charge pad which gets here in a few days).
I used a 8x5x2 plastic tray that has no lip and a slight taper of about a 1/2 inch to the bottom. It is an unusual size and I got lucky because I happened to have one as a component of cheap cooler I already owned. I wrapped it in adhesive backed felt and gorilla tape and secured it with velcro on the three sides that contact the console wall. It fits perfectly for my intended use. The OEM tray sits at the rear and I can slide it over the custom tray giving me full access to the large area below.
I'm really happy with how it turned out. Thank you to everyone here because I could never have done this without y'all.

 07-16-20, 07:55 AM