When you click on links to various merchants on this site and make a purchase, this can result in this site earning a commission. Affiliate programs and affiliations include, but are not limited to, the eBay Partner Network.
Amazing thread. I was looking for ignition controlled supply in the engine bay, but I guess this is much much simpler. I plan to run a 45W fridge, so 15A is plenty! Thanks for this.
thanks, i'm also a subscriber of GX*Bob, I call him Jedi-GX, somehow my rear panel won't come off as easy as in Bob's video, I was wondering maybe its mounted different since i have the control panel instead of the AC vent. really appreciate the quickreply. I also bought the ODB plug and now my side mirrors fold up automatically, thanks to Bob also
how easy was it to remove the rear panel? i have the same setup as yours with the control panel instead of the AC vent.I'm trying but kinda hesitant to yank it with my pry tool and break it. thanks
how easy was it to remove the rear panel? i have the same setup as yours with the control panel instead of the AC vent.I'm trying but kinda hesitant to yank it with my pry tool and break it. thanks
The easiest way for me (we have the control panel as well) was how a previous post suggested:
- open the console lid
- place your thumbs on the top left and right of the panel
- apply pressure downwards and at the same time push towards the back of the vehicle
- it will pop out slightly, then continue prying little by little until all the clips loosen
Please keep in mind that I�m not an expert and my work may be a bit shoddy. I took a few chances when testing and got lucky.
Everything went as planned except we used a different Toyota part with a USB-C port as well. I wired the positive lead to an add-a-fuse connected to the power outlet fuse location in the footwell fuse box. I used one of the shifter bracket bolts as a ground.
EDIT: I forgot to take a picture but I used Bob58�s photo to show which bolt I used:
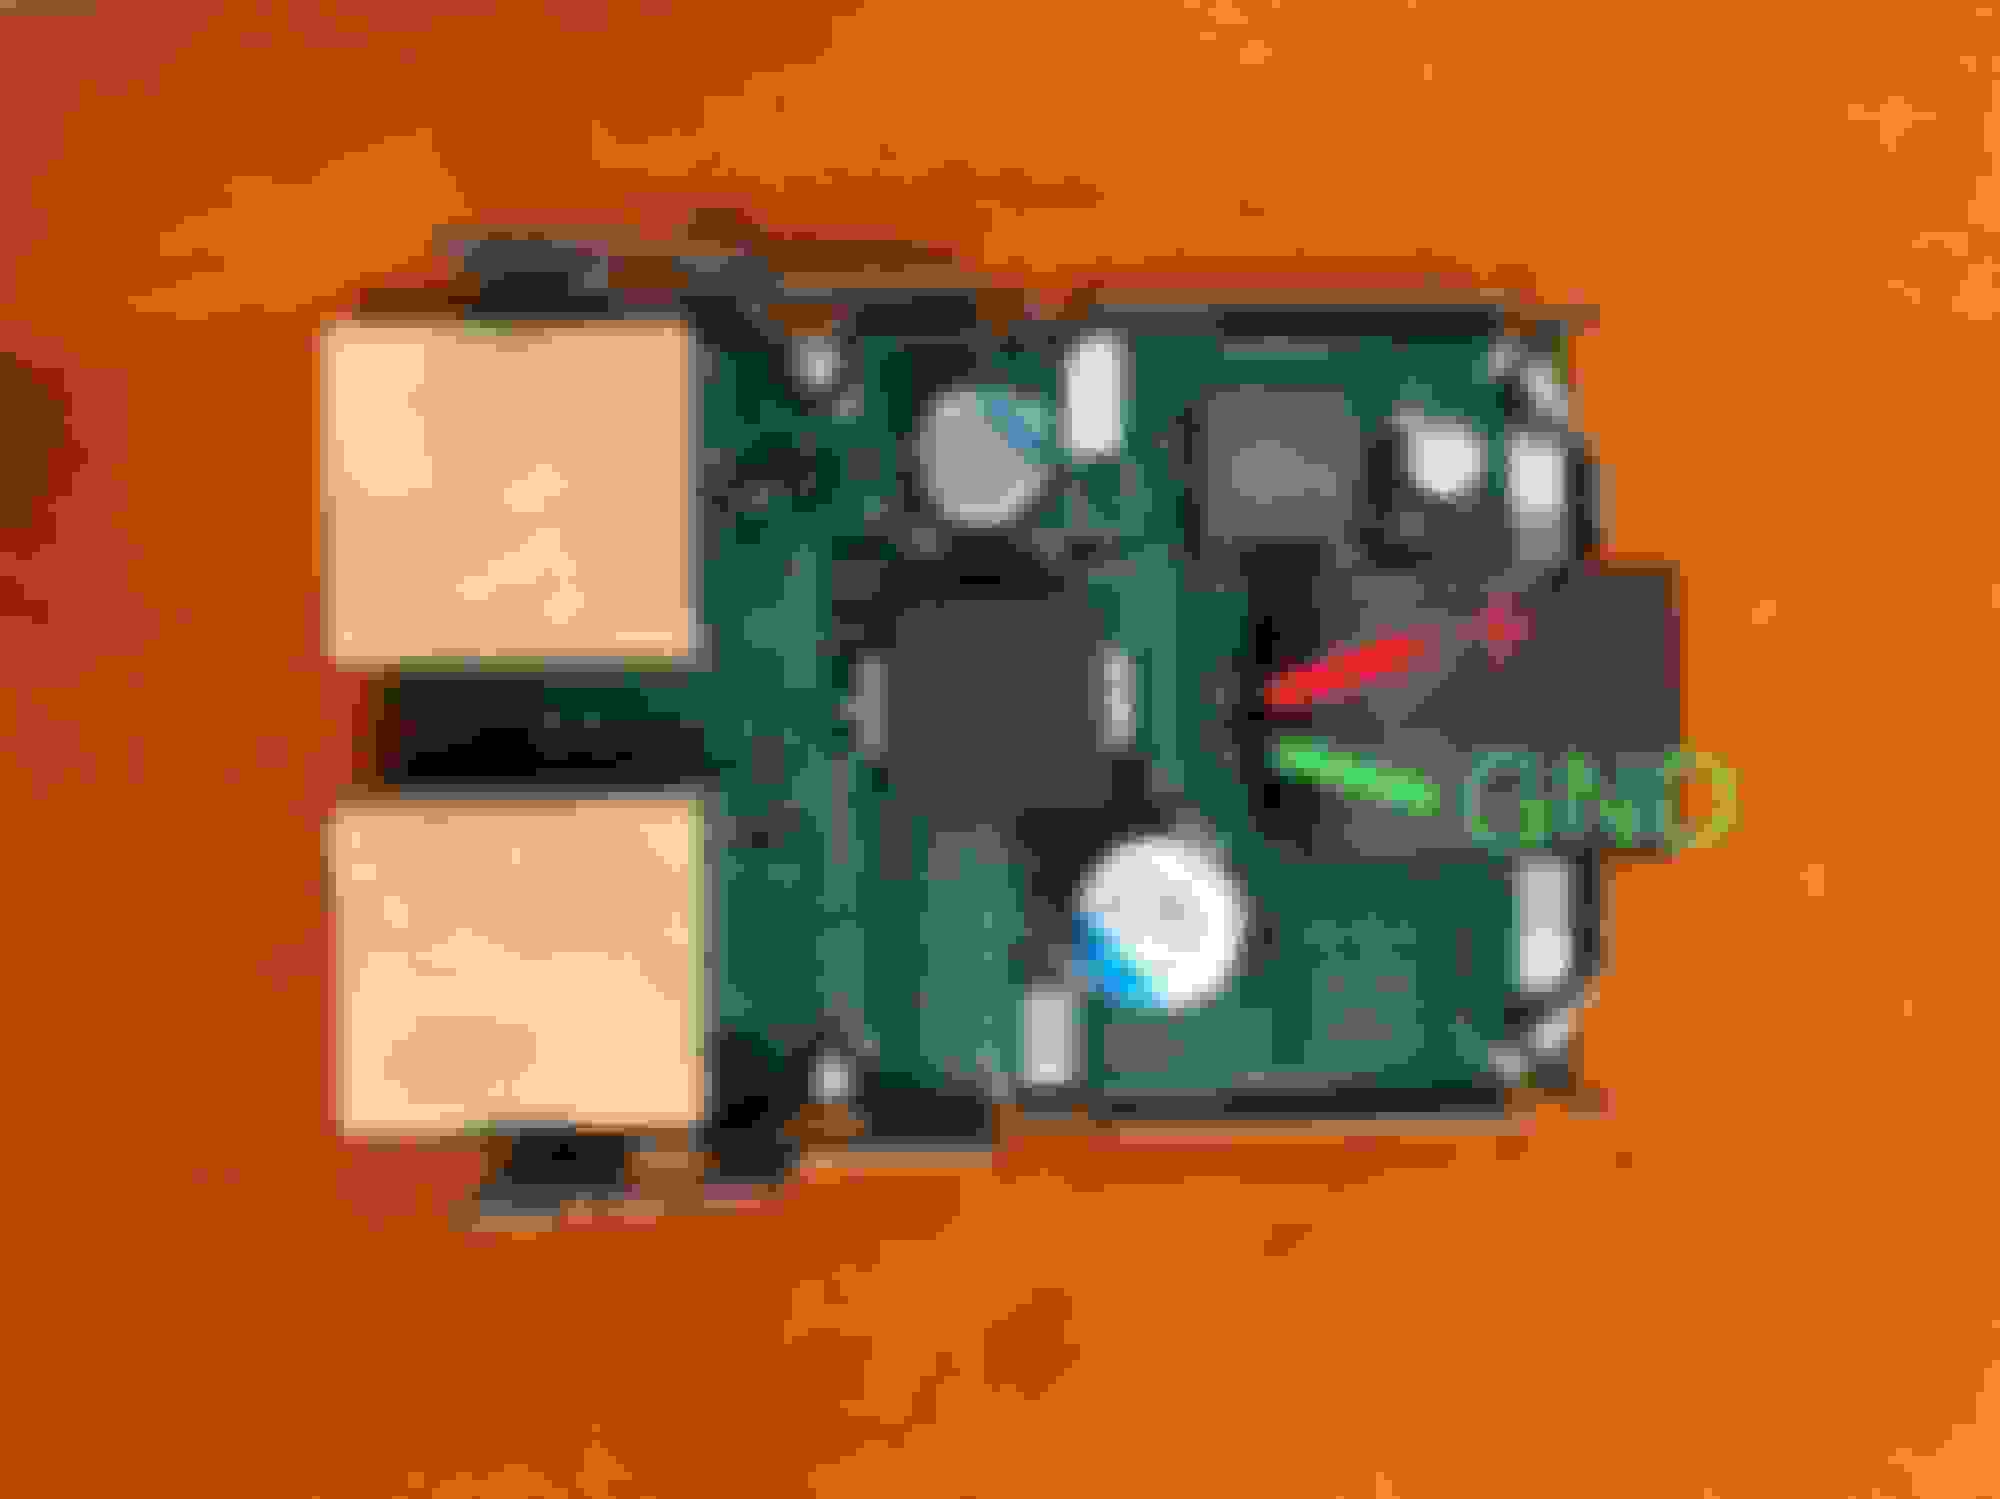
I used a multimeter to determine which one of the harness leads on the port was ground and power. When testing for continuity, one lead was connected to the chassis of the housing and I figured that was ground. I connected the port to a jump pack and it worked fine.
One of the ports I bought included a harness but my original plan was to solder leads directly to the pins.
In addition to the wiring for the harness I also added a pigtail for 12v and ground and ran them into the console for a future 12v socket.
According to the ebay post, the Toyota part I used is out of an Altis: 85532-08040
It doesn�t have the springs on the covers and the housing is plastic instead of metal.
Another one from from a Sienna included a bezel so I�ll use that one to add USB ports to the third row: 85532-06010
I hardwired a usb/12v socket thing we got from Amazon to the pigtails I ran into the console. I attached a single Qi charging coil to the underside of the tray and it holds an iPhone 12 Pro pretty well. Even though the space is wider, once the phone tethers is can slide around and it keeps charging. The charging rate isn�t fast but good enough to increase the battery life slowly even if the phone is being used. I�m using duct tape to secure the coil and circuit board until I figure out a more permanent and safer method. I�m thinking of using plastic spacers, a plastic panel and epoxy.
That�s great! Can you tell me where you got it and the brand/model?
Thanks!
I got it from Amazon. It has been few years since I did it, not sure if that particular one still listed, but there are few similar one that you can use. Just make sure get a direct wire micro usb cable I drilled at the bottom, then tap into the cigarette light which is ignition controlled power source.
Please keep in mind that I�m not an expert and my work may be a bit shoddy. I took a few chances when testing and got lucky.
Everything went as planned except we used a different Toyota part with a USB-C port as well. I wired the positive lead to an add-a-fuse connected to the power outlet fuse location in the footwell fuse box. I used one of the shifter bracket bolts as a ground.
EDIT: I forgot to take a picture but I used Bob58�s photo to show which bolt I used:
I used a multimeter to determine which one of the harness leads on the port was ground and power. When testing for continuity, one lead was connected to the chassis of the housing and I figured that was ground. I connected the port to a jump pack and it worked fine.
One of the ports I bought included a harness but my original plan was to solder leads directly to the pins.
In addition to the wiring for the harness I also added a pigtail for 12v and ground and ran them into the console for a future 12v socket.
According to the ebay post, the Toyota part I used is out of an Altis: 85532-08040
It doesn�t have the springs on the covers and the housing is plastic instead of metal.
Another one from from a Sienna included a bezel so I�ll use that one to add USB ports to the third row: 85532-06010
I�ll post any updates if anything explodes.
--------------
All of these mods are amazing. I am very tempted to add a USB C port as they are becoming more common. Currently, I am looking at having a local Overland Mod shop here just outside of Philadelphia, PA, add a second battery (Car Battery) to power accessories, like an inverter, extra headlamps, and of course, more usb ports!
Just installed 12V back seats USB port, I bought OEM panel from Bell Lexus and USB socket from eBay (Part # 85532-08040). I connected them into the 12v by the gear shifter. Works perfect and looks OEM.
Just installed 12V back seats USB port, I bought OEM panel from Bell Lexus and USB socket from eBay (Part # 85532-08040). I connected them into the 12v by the gear shifter. Works perfect and looks OEM.
Looks great. Do you have the part number for that OEM panel?
Looks great. Do you have the part number for that OEM panel?
Panel PN: 58903-60880; -a0: Ecru, -c0: Black; -e0: Sepia.
The whole project costs ~$120. Wiring harness for the USB socket is not included. I just soldered hot and ground pins to red and black wires and connected them to the 12V cigarette lighter socket.

 01-10-21, 08:22 PM