When you click on links to various merchants on this site and make a purchase, this can result in this site earning a commission. Affiliate programs and affiliations include, but are not limited to, the eBay Partner Network.
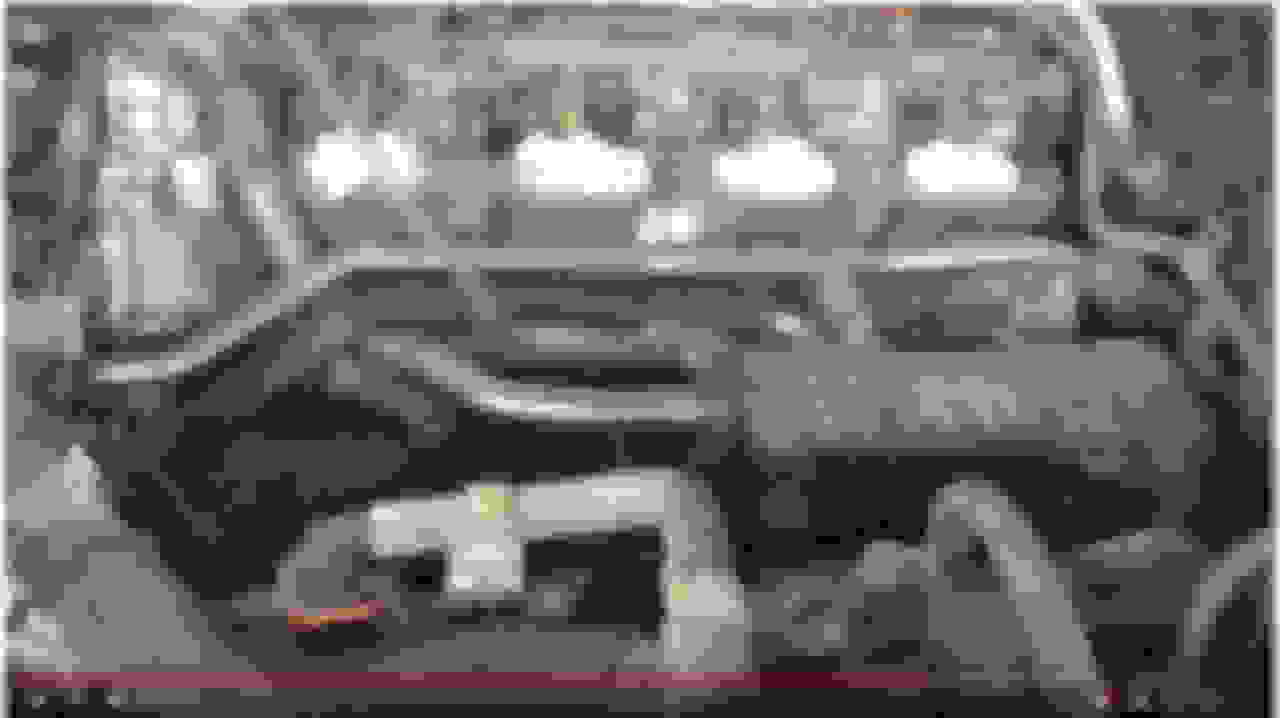
I have determined that this job is just not possible unless you remove the intake manifold or if you just rip out as much of the foam as possible. I believe the foam is on top of the bottom clamp that secures the hose to the PCV. If you pull on the hose, it may come off but I think you would have tremendous difficulty in reinstalling it and seating it properly with the foam still being in the way. I wish I could see what the foam piece looks like as a whole and to know what purpose it serves. It should be noted that on my 2012 Texas GX, the foam is starting to fall apart due to heat exposure.
Comparing this to the Tundra video, our cars have more foam in the way which makes it more challenging. I pulled pretty hard on the hose today and it didn't give, at which point I threw in the towel.
Maybe someone else will have better luck or have a photo of the PCV with the intake manifold off of the vehicle?
Fair attempt sir. At 100K mileage an intake manifold, throttle body, and MAF cleaning likely would do wonders for fuel economy.... it does take time and a few parts (cleaners and gaskets) and while doing that job you could replace the PCV...
My assessment is the foam piece is not critical to engine function, it's doesn't protect anything from heat, all the hoses and cabling within the engine are rated for the environment....
My guess is it's there for Lexus noise deadening of some sort since the Tundra doesn't have it.
Found this on a YouTube video. If you look, you can see the orientation of the lower portion of the PCV hose and clip. The way the clip is, it is going to be blocked by the foam piece(s). If you tear the foam out, then I think it would be pretty straight forward with the manifold still in place. The video shows the GX with the intake already off, so I wasn't able to see what the foam looks like as a whole piece(s).
I also bought the PCV Valve and chickened out on replacement. I am wondering if there is way to clean in place, like pouring carb cleaner and let it sit then run the car or pouring in seafoam in the hose leading to the valve. Any thoughts on that. I am very worried about not able to change the valve at 105k
Is this sound deadening foam worth more than the issues caused by the stuck PCV. I am even thinking to gently cut the foam, replace PCV and just glue back the foam.
Completed PCV Valve replacement without intake removal
Ok , so answering my own question but I think this will help any one else out there. GX460 107k , 2011. Valve was really gummy and hardly making that classic tik tik sound on shaking. Definitely needed replacement. (I had 3 MPG improvement after this replacement.... no , this is a joke)
Just replace the PCV valve using the following steps:
1. Using 10 mm socket remove 2 bolts holding the bracket with wire harness that goes to some sensor (dont know what sensor that is) this almost above the PCV valve hose and in the way. Unplug the harness and get it out of the way.
2. Disconnect air hose that is coming from the to Secondary injection pump. This had the small plastic portion. This is simply to get better access.
3. Remove the upper side or PCV hose by moving the hose clamp.
4. Wiggle the bottom end of the hose and see if it comes out, mine came out easily along with the clamp with no issue.
5. Remove the foam , this foam is attached to the rest of the foam block with only a small portion.
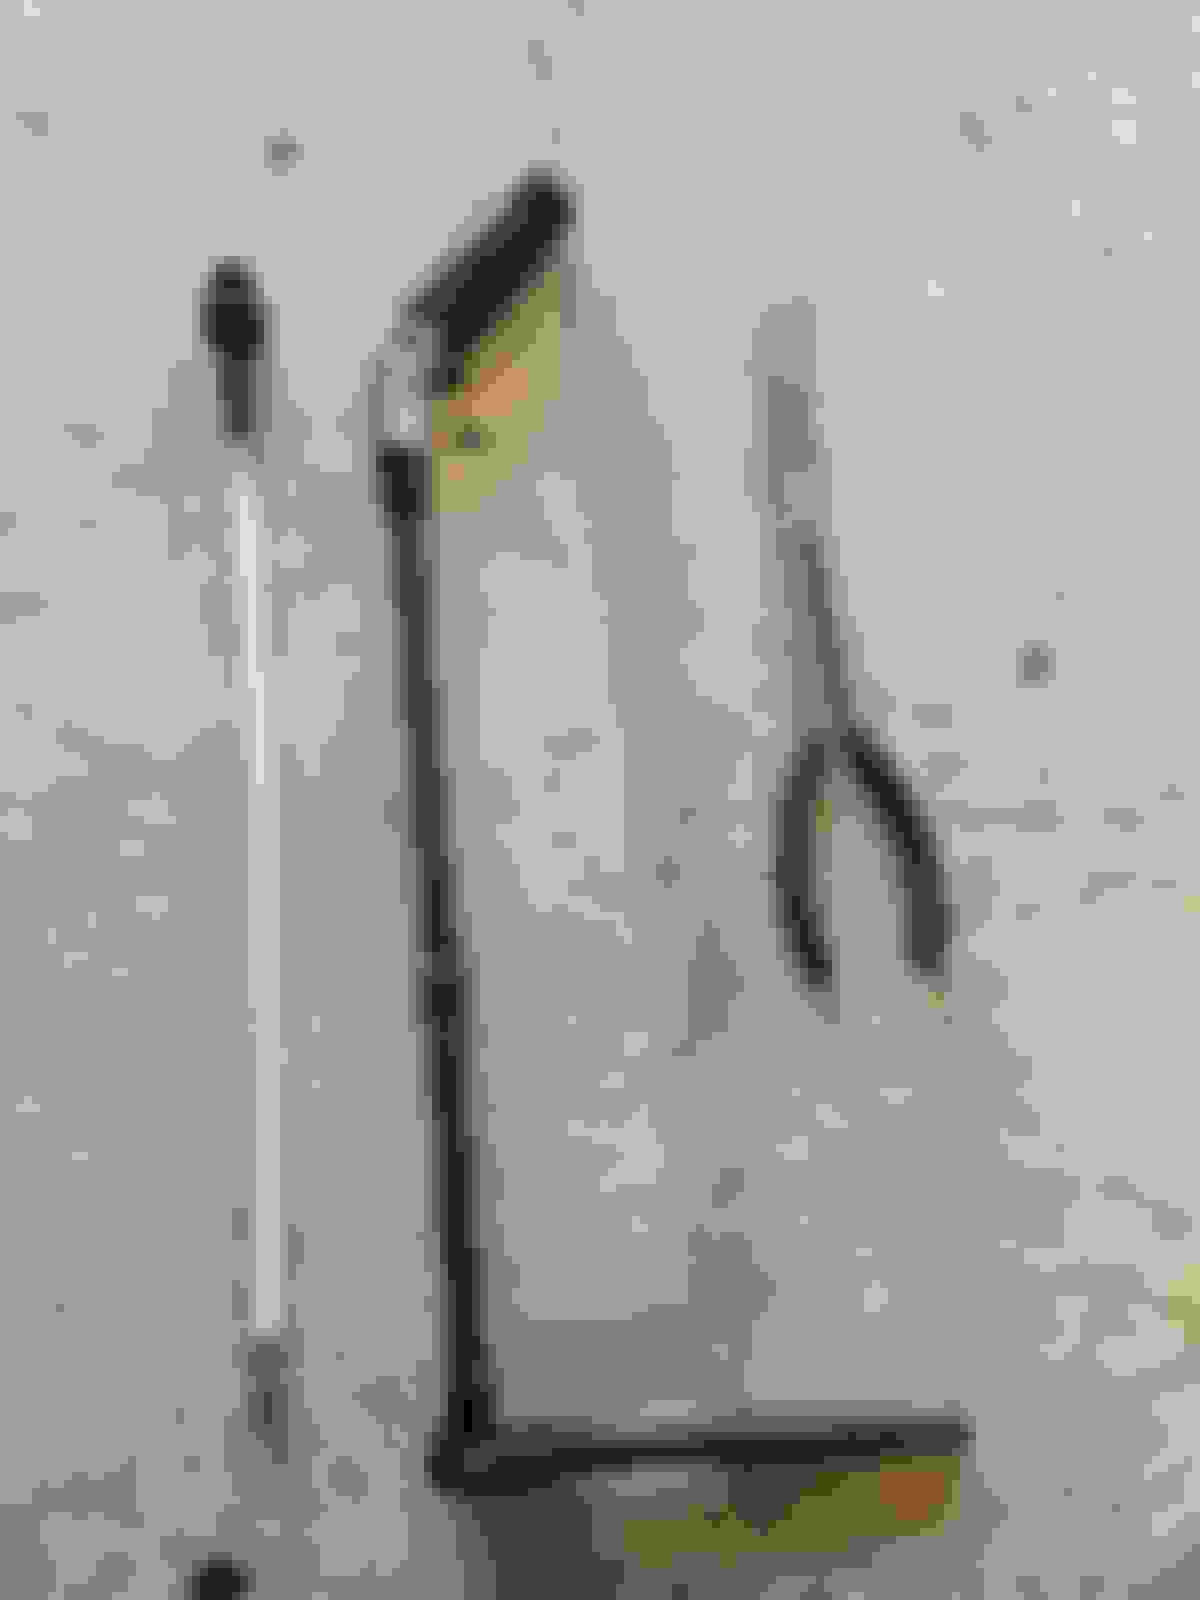
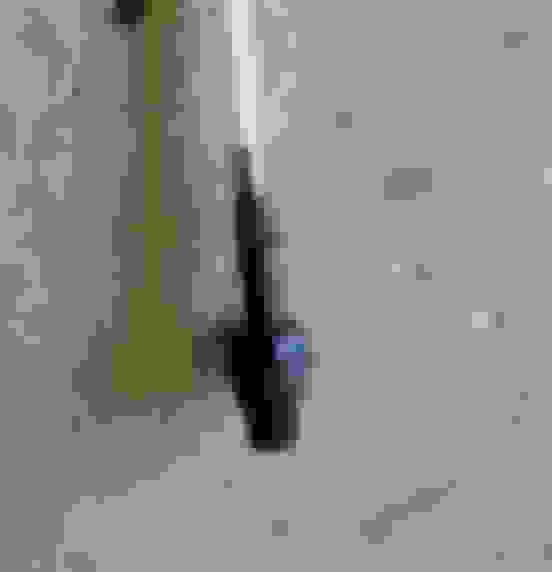
6. Once the foam come out, remove the PCV (real PITA), using the tools shown in the picture. The key is to patiently position the "DEEP" 22 mm socket (this is the hardest part and require multiple attempts). Some one mentioned to use wobble socket. That did not work for me , I had to use the U joint (1/2 drive with 22 mm deep Harbor Freight 6 pointer). I sprayed liquid wrench and let it sit for a bit. You need a good light pointing at the PCV or it will be near impossible to know whether you are on the PCV or not.
7. Now the worst part of the job: Starting the PCV valve threads in the hole. After spending multiple attempts and cursing out Lexus engineers, I taped the PCV valve to a flexible plastic rod. If you tape the end to the rod with good amount of electrical tape , it will would work as a U joint. This trick worked and I was able to thread in a large portion of PCV. [BTW , this rod is from dryer vent cleaning kit I bought from amazon. I think any rod or tubing will work]
8. With good lighting, position the deep 22 mm socket with U-joint and an extension to the PCV (see my setup in picture below). Then attach your ratchet drive with extension and slowly rotate PCV till it is snug tight. Do not go King Kong on it, it a plastic valve.
9. Attached the hose on both ends, re attach rest of the hoses and wire harness bracket. Shove the foam back in place, it would go back easily with some pushing one the bottom and wiggling.
10. Start the car , let it idle to make sure you did not forget some thing. Boast to your wife that you saved a bunch of money and convince her that buying another socket set paid itself off with just this job.
I got the 22mm deep socket and I also have a set of wobble extensions. I'm going to order the universal joint because I don't have one in 3/8ths, but I'll see if the wobble extension will give the socket enough play to get the PCV out. I'm curious to see what my PCV looks like at almost 127k.
Will update this thread once I try this, probably next weekend...
The foam block around the PCV valve came out as a whole, it is part of a large foam block. So a large section around the PCV hose will brake off fairly clean and go back in fairly easily. No need to glue back in any thing. It fit backs snuggly. As I understand, the foam is for sound deadening and I did not observe any sound changes before and after the PCV changeout.
Did the foam block come out whole? If so, that will really bolster my confidence as far as attempting this repair...
Great info and thanks for sharing! I still have the new OEM PCV sitting on my workbench in the garage...
The foam block around the PCV valve came out as a whole, it is part of a large foam block. So a large section around the PCV hose will brake off fairly clean and go back in fairly easily. No need to glue back in any thing. It fit backs snuggly. As I understand, the foam is for sound deadening and I did not observe any sound changes before and after the PCV changeout.

 03-14-20, 07:26 AM