When you click on links to various merchants on this site and make a purchase, this can result in this site earning a commission. Affiliate programs and affiliations include, but are not limited to, the eBay Partner Network.
With no way to get the above Prado kit shipped to the correct coast, I ordered the full 2021 update from a supplier. To save shipping, I ordered the headlight, grill, tail light update for my wife’s 2017 as well. It’ll be roughly 60 days before they arrive but I’ll document it when they arrive. My 13 is Knights Armor in color. Should look pretty sweet when done. I’m going to pay a body shop to do the work as my manual skills are rather cavemanesque.
OK, my name is not Bob so this won�t be to his thoroughness but I wanted to let the folks with a 2010 - 2013 that the update packages sold on Alibaba do work.
Upside - it looks about 95% like it should if I had used OEM parts. Downside - No instructions challenged my lack of mechanical reasoning.
This is what was delivered. This is more than just one vehicle�s though, contains two sets of headlights, tail lights and two grills.
This is what I bought in Oct of 2020
Impeccably maintained radiologist�s car - always garage kept but looked like soccer mom�s car with no tint!
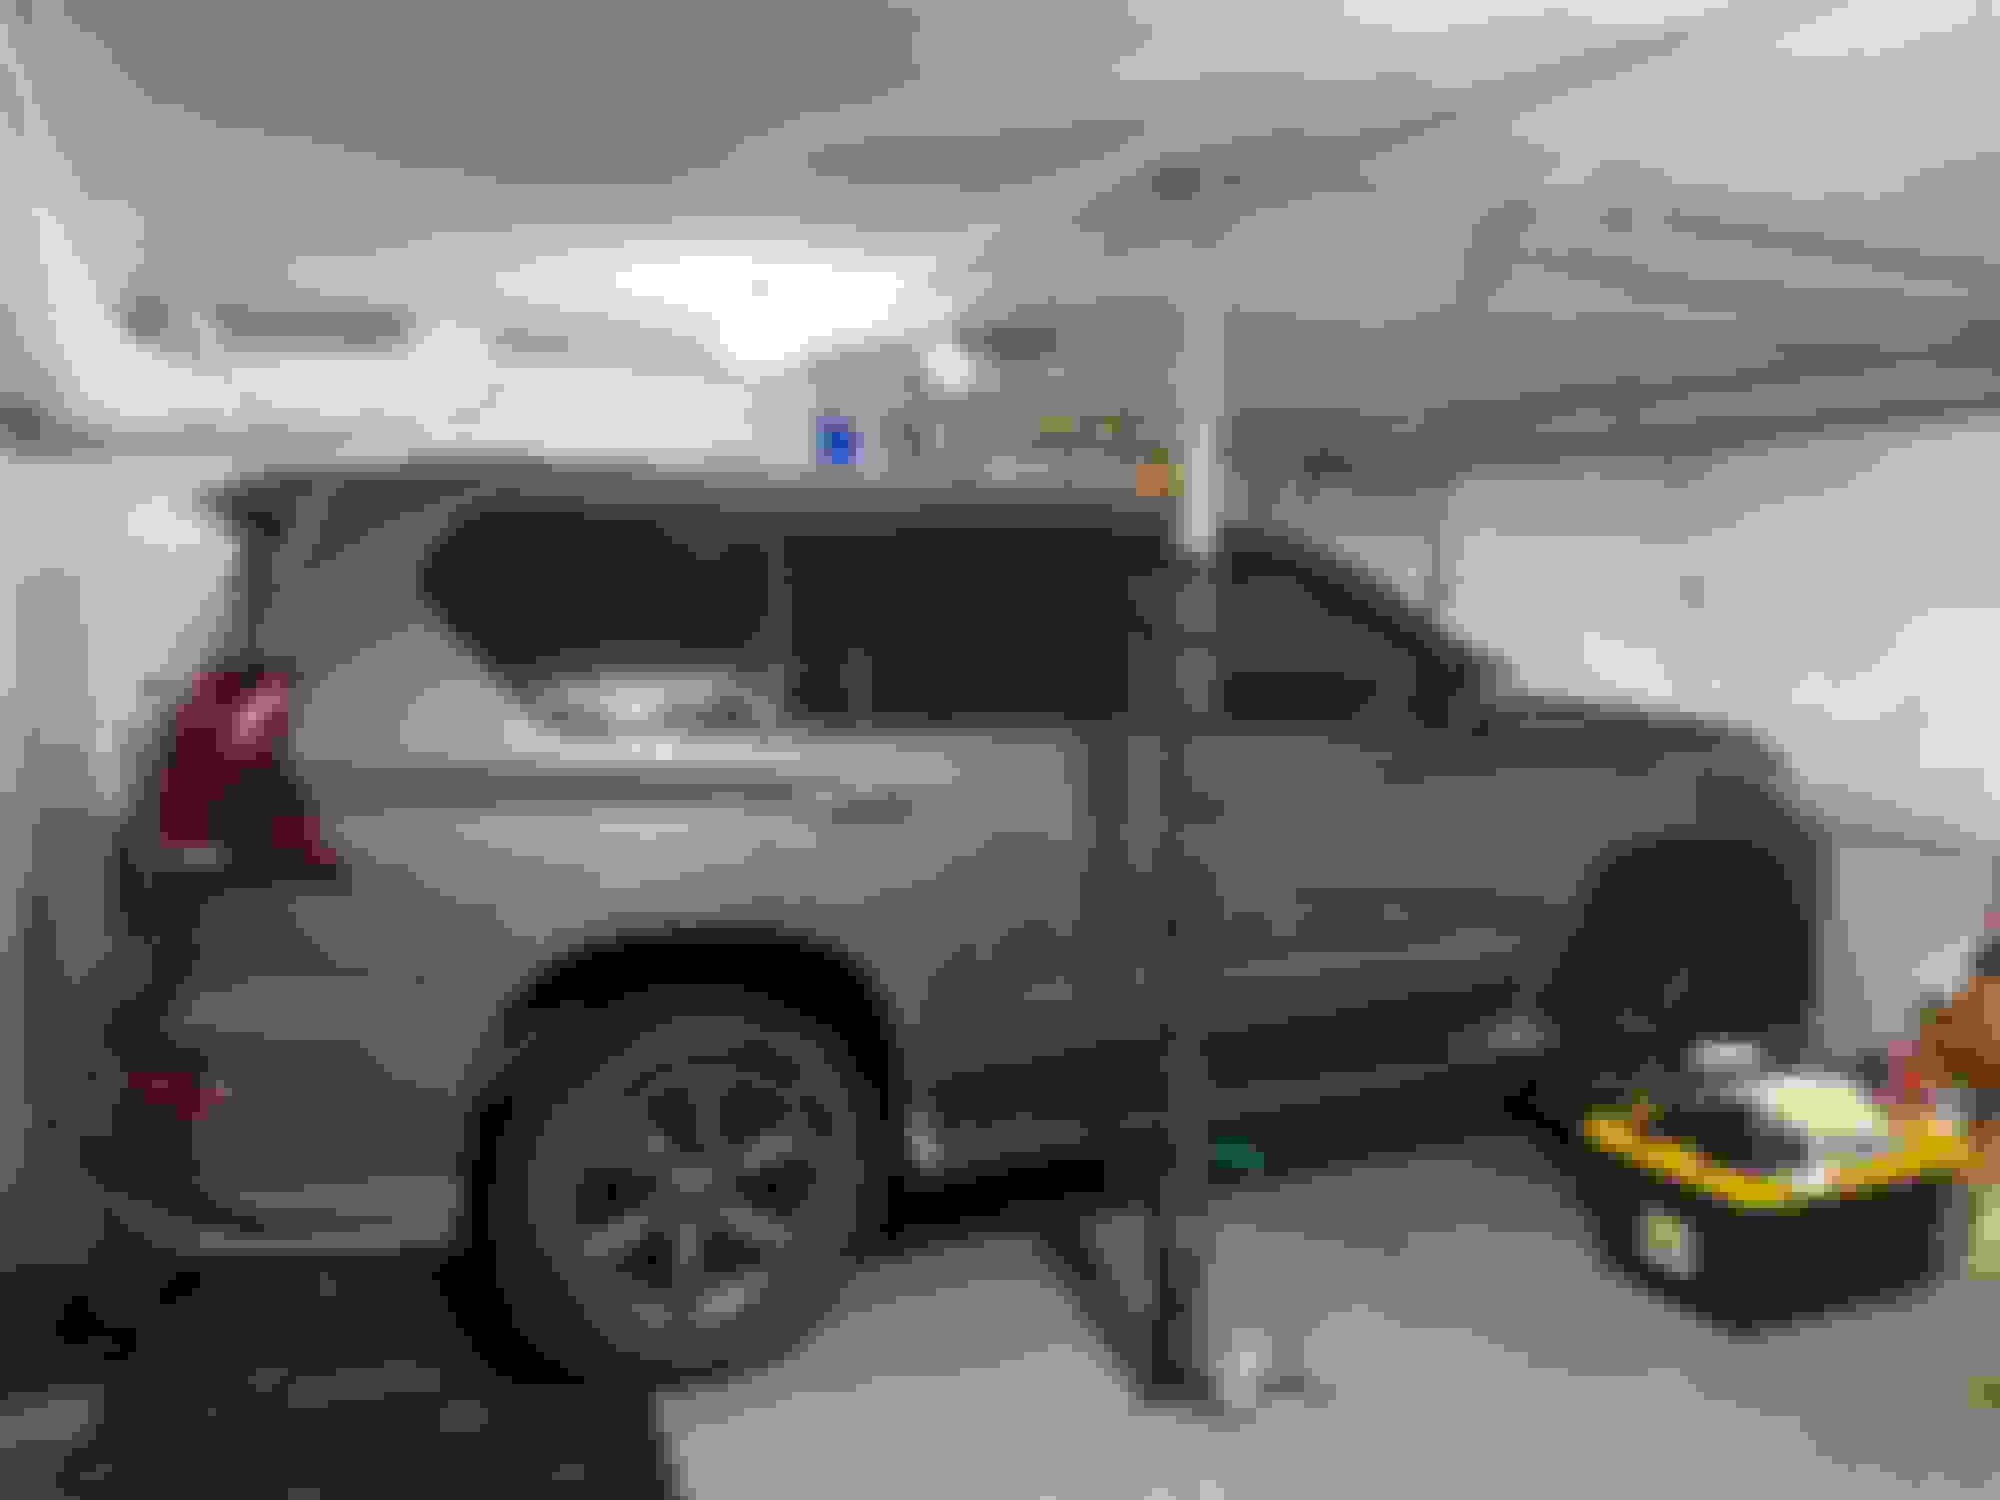
Pre-assembly on garage floor. Rear bumper pre-assembly
Yep, headlights work!
You will want to spray paint or cover that white styrofoam bumper support black as it will show through the new grill.
Old and new. Hood latch support bracket.
Hood latch support bracket location
Old on left, the new on right. They support the longer nose. This is where the cross member bracket goes. This is where the cross member bracket goes pt 2
This is the base for the cross members that is being replaced.
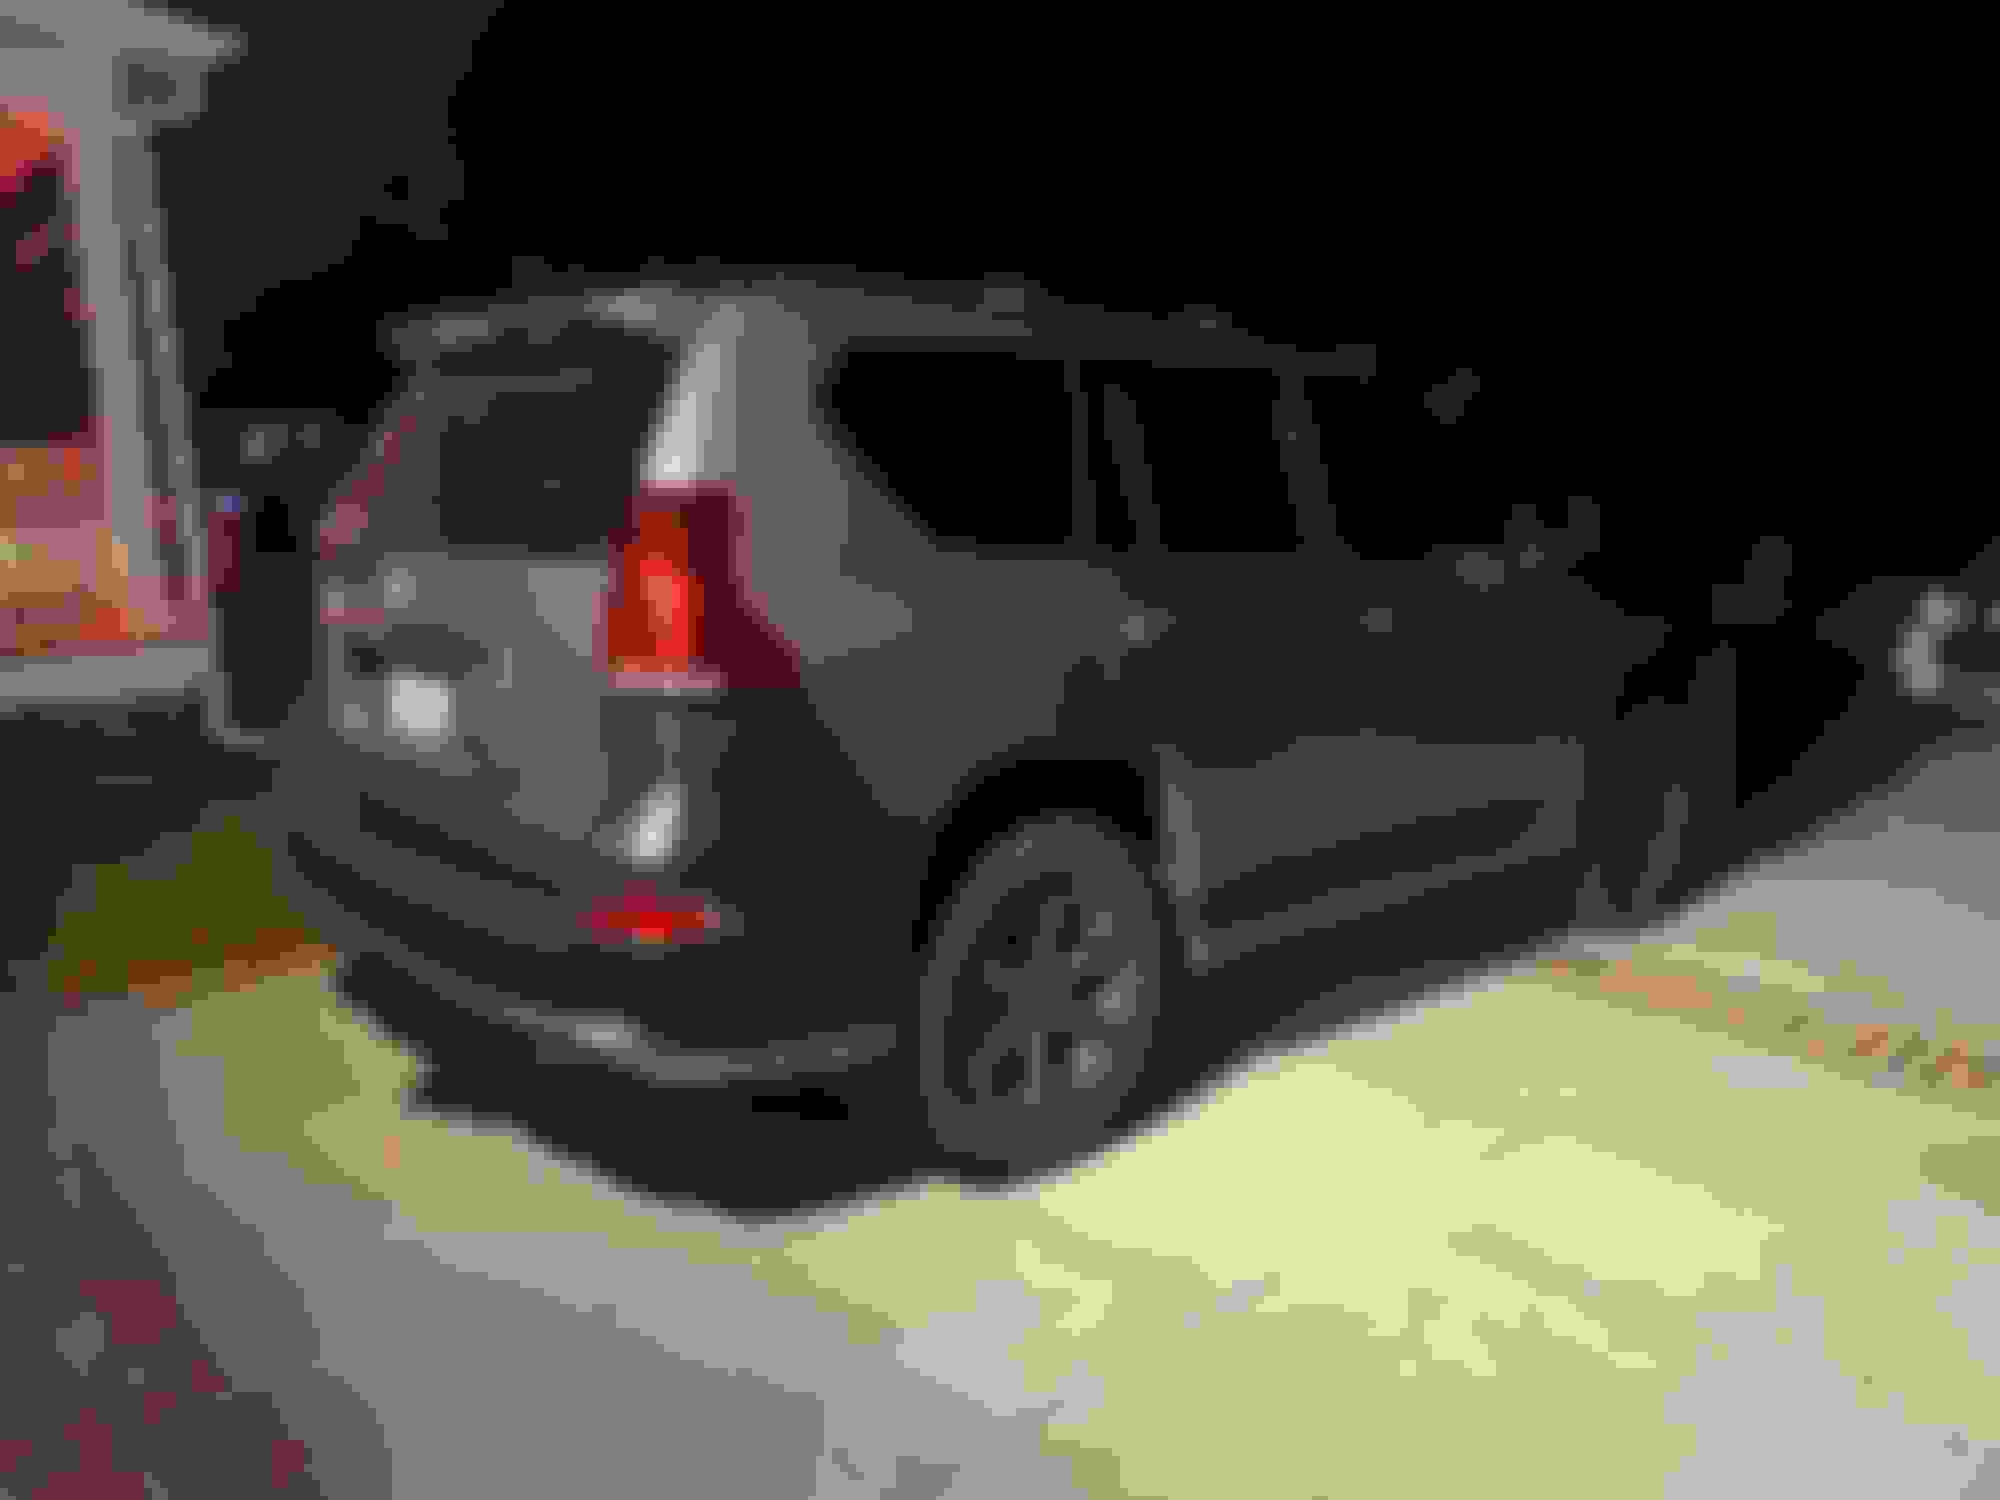
Rear bumper and lights on. Front end on and everything working.
Original, before and after.
Couple of cautionary items - the wiring harness it came with for the 13 was for a HID equipped so it had to get some instructions from the seller. The seller�s support was far better than I expected.
The fit and finish on the tail light trim was not great. I heated them and took the black trim off and affixed that to the bumper with 3M double sided after putting the lights in. The fit is near perfect.
The front spoiler lip that came with the package I could not figure out so it is still in the garage. The rear one is on and it looks good. You will want to mount the spoiler before mounting it. You will want to order OEM fender liners. The ones with the package are terribly flimsy and poor fitting. Those were $220. You will also need to order You�ll need a left and right side ones of these as the OEM from the 2010-2013 are not large enough to fill the gap. Not necessary other than aesthetics for those laying on the ground as you pass by.
The kit came with zero, make that ZERO instructions. I grew up in body shops and know cars but am not mechanically or electrically inclined, making memes and snarky comments are my forte, not mechanical stuff. Two people reasonably skilled could knock the whole project out in a weekend. You�ll want to get them pre-painted or the body man will have to disassemble it to paint. I did this myself and took to the body shop. If I was not held up trying to figure out the wiring, it would have taken about 3 days total.
All in, it ran about 4k, maybe $4,300. Have some OEM part that I�ll part with so that�ll offset it some. Considering that I got the GX for $20,500 before prices went hog wild, I�m pretty happy with the outcome.
Not sure of the forum rules on recommending vendors so, if you want to know who, just PM me.
Shipping was about 9 weeks and it came in via Miami to SC. Delivered right to my door. Packaging was very well done.
I saw some videos on this being done in a language that I do not know and was wondering if it was legit. Am here to tell y�all that it works.
New rear emblem, it was OEM so that means not cheap. Rear spoiler visible here.
Hey how did you get it to work the oem module
i know it 2 wires in positive and negitive and return
The update came with a wiring harness that had more parts to it than needed. When I inquired about what is what, they told me it was a �universal� one and that not all the connectors were needed. I followed the instructions they said by pulling the two wires out and plugging them into the factory part for the lights. I�m presuming that the other stuff that was still connected handled that part you are asking about.
I had sent them pictures of all the connectors that I had and they sent back instructions on what went where. Thankfully I had figured it all out except for the low beam. Once I got their response, it was good to go.
That is how it was done but those guys did it a lot quicker than I did it!! I went with the red LED tail lights. Could not get the front spoiler to work but will try now that I saw how they did it. Thanks for sharing!!
Just wanted to know how did you make your light connections. For example:
How did you connect existing day time/ low beam (2013) H11 pig tail harness connector to the required low beam/DTR (LED light) pigtail harness connector of the 2014.
How did you connect the existing high beam (2013) DS4 pig tail harness connector to the required high beam H9 pigtail harness connector for the 2014.
How did you connect the existing fog light (2013) H11 pig tail harness connector to the required led fog light pigtail harness connector of the 2014
Does anyone have any experience with replacing the front clip from a 2010 to a newer looking front clip? I've looked at this website, 2010-2020 Lexus GX400 GX460 Upgrade Conversion Body Kits (car-act.com) and I am interested in knowing if this is a legit company anyone has used and if so, what their experience has been.
Has anyone changed their front clip? What was your experience and what all was involved? If you have done it, do you have any before and after pictures you can share?
Anybody have any pictures of the wiring harness that comes with the kit. Or a wiring diagram on how to to connect the four plugs from the 10-13 headlights harness to the two plug on the 14-19 headlights.
The update came with a wiring harness that had more parts to it than needed. When I inquired about what is what, they told me it was a �universal� one and that not all the connectors were needed. I followed the instructions they said by pulling the two wires out and plugging them into the factory part for the lights. I�m presuming that the other stuff that was still connected handled that part you are asking about.
I had sent them pictures of all the connectors that I had and they sent back instructions on what went where. Thankfully I had figured it all out except for the low beam. Once I got their response, it was good to go.
Can�t private message you, but can a you share the instructions and pictures you they sent you. I�ll try and see if I can splice the wires together.
Can�t private message you, but can a you share the instructions and pictures you they sent you. I�ll try and see if I can splice the wires together.
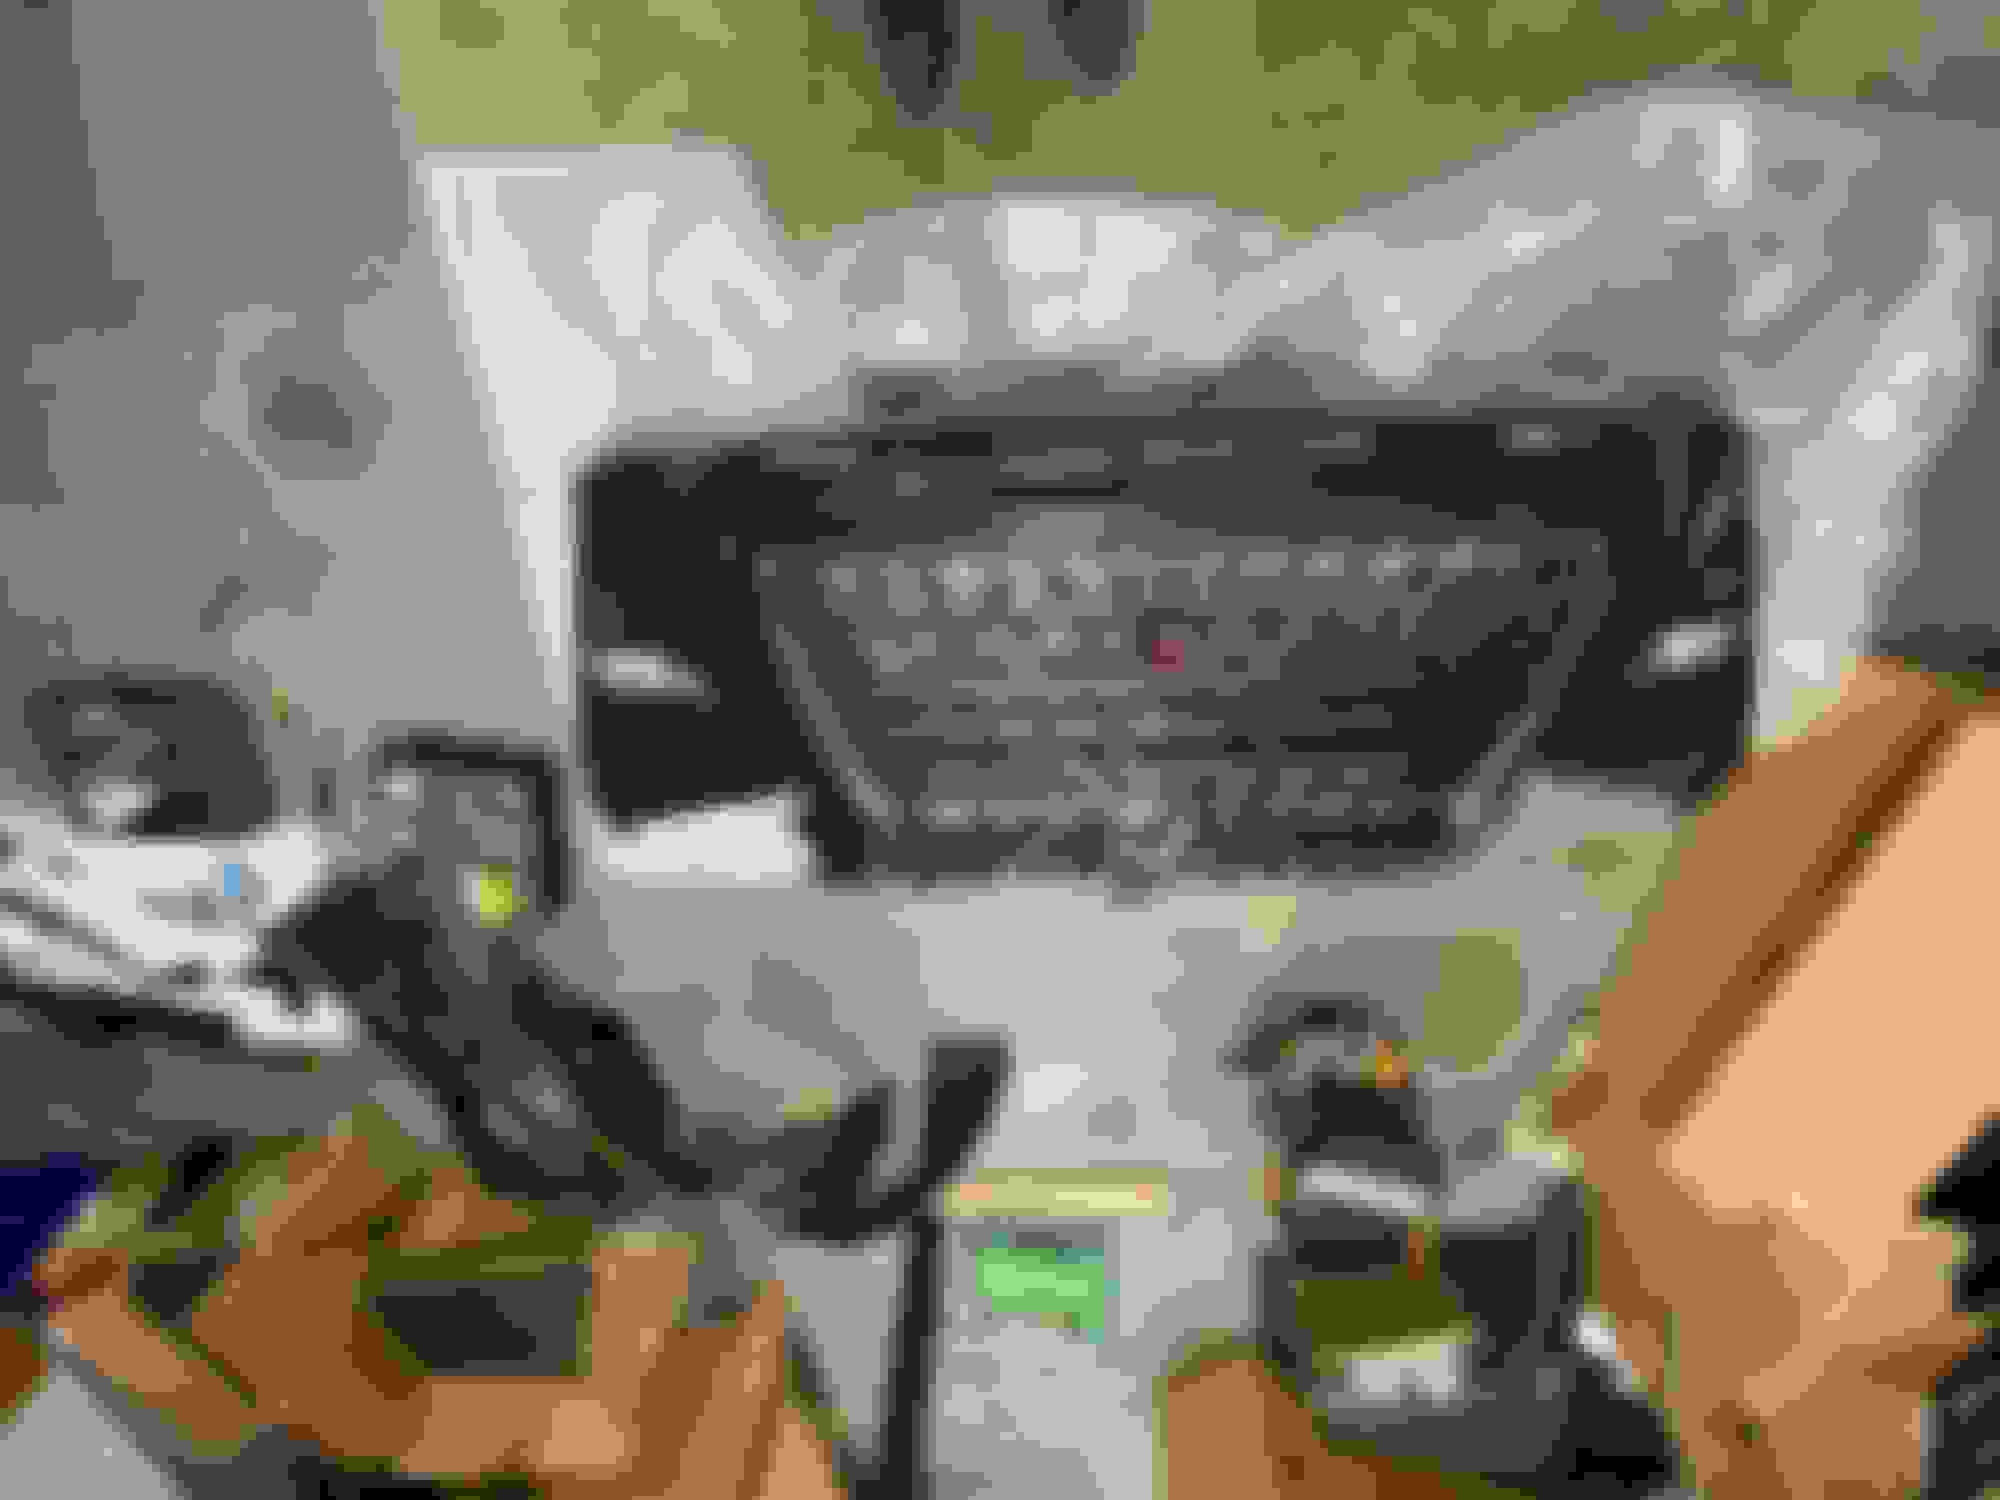
Daunting I know but it will work. I�d copied the pics with their replies. The confusing thing is that you don�t use all of the plugs. Their tech support answers are the ones with the typed answers.
This is the least easy part of the process. You have to thread these into the socket.
Came out of church on Sunday to see a 2013 that was exactly what mine looked like when I got it. The guy had seen me around town and then again on Sunday. Nice fella. He bought his with 97k on it. His has that caramel colored interior - it was very clean. I’m so glad that I did the update!!
I just completed the GX460 2012 to 2020 upgrade.
However, I have one massive issue.
Could someone share the wiring details for the headlights?
Thank you all so much
I'm new to this forum and therefore I want to thank you for your contribution.
Because of inspiration like yours, I managed to do the full body upgrade.
However, I'm stuck on the headlight and not getting the timely feedback from my seller.
Considering that 2011 GX approach angle is 28 deg. while 2014 GX is only 21 deg., I cannot see any reason why converting 2011 GX to 2014 GX...
Originally Posted by MrTorgue
Wow I’m glad I found this thread and seeing these side by side comparison pics. It’s pretty insane how much front approach angle / clearance you lose with the 2014+.
You can gain it back by using the CBI half bumper, which is the best looking bumper for the GX 460 by far of any year. And it only works on 2014+ front bumpers

 09-22-21, 02:56 AM