Interior and Running Board LED Upgrade
The following users liked this post:
sfuad (03-07-17)
#32
Thanks for the input. Ordered two sets. Still confused on the running board lights. The picture says access the bulb from top, don't open up the housing. I would look in details this evening when my wife returns from work.
#33
https://www.clublexus.com/forums/gx-....html#&gid=1&p

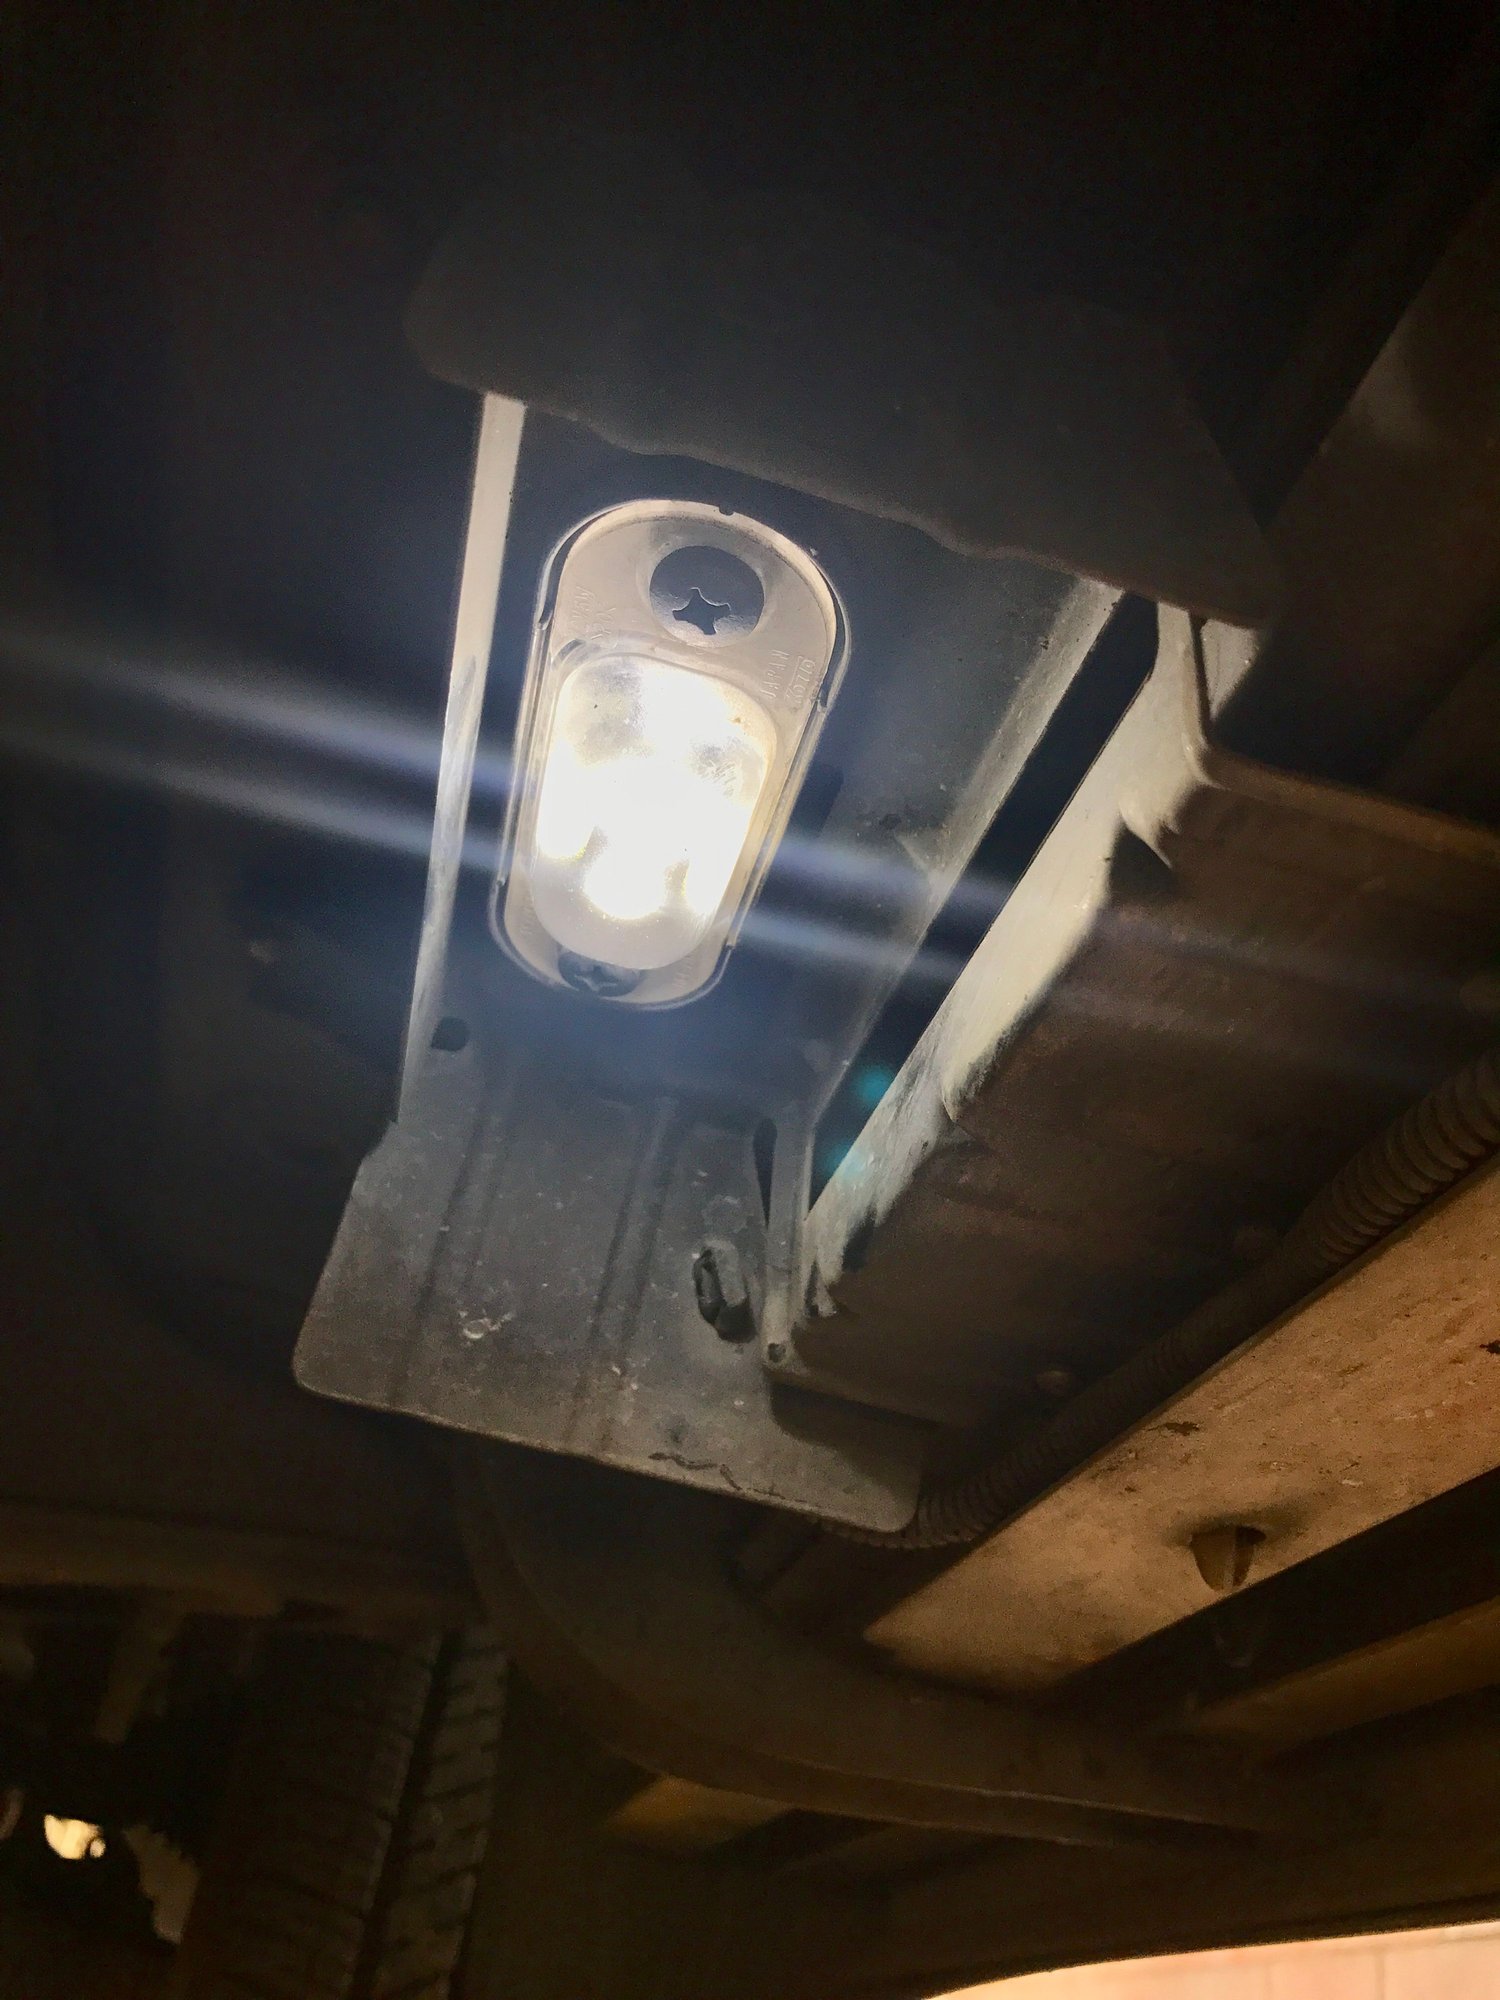
Here is a pic I took directly of the lens cover itself after I installed the LEDs.
#34
Just to see how it works, I was able to remove the harness from top. However it took me awhile to get the connecter back in to housing. I knew from which position it come out, but it is hard to seat it back as you cant see it, only feel with hands. Is there as simple way?
The power cable is attached to bracket by some connector. I think if we can remove that connector that would give us some room to turn the bulb easily but I could not figure out how to do it.
Once I receive my bulbs, I would attempt again this weekend . One we remove the connector, do we have to simply pull the bulb out to remove it?
Thanks
#35
Just to see how it works, I was able to remove the harness from top. However it took me awhile to get the connecter back in to housing. I knew from which position it come out, but it is hard to seat it back as you cant see it, only feel with hands. Is there as simple way?
The power cable is attached to bracket by some connector. I think if we can remove that connector that would give us some room to turn the bulb easily but I could not figure out how to do it.
Once I receive my bulbs, I would attempt again this weekend . One we remove the connector, do we have to simply pull the bulb out to remove it?
Thanks
The power cable is attached to bracket by some connector. I think if we can remove that connector that would give us some room to turn the bulb easily but I could not figure out how to do it.
Once I receive my bulbs, I would attempt again this weekend . One we remove the connector, do we have to simply pull the bulb out to remove it?
Thanks
#36
Unfortunately, there is no simple way. I just had to guesstimate where to position the harness myself. It might be easier if you loosen/cut one of the factory ties that hold the wire loom in place, but fortunately I had just enough slack to get mine back in. The trick for me was to use one hand to apply enough pressure to push the socket down, while the other twisted/positioned it in place. Regarding the bulb, yes, you can simply pull it out by hand. Hope this helps and good luck!
#37
I received the bulbs today and started to do the mod. I was able to replace the four door bulbs. I was able to remove the lens from all four cabin lights, two front, one middle and one back. I am unable to remove the bulbs. I tried to pull them without success.
I would appreciate if any senior member who has done this can guide me .
Do we have to twist these or pull these?
Next would be replacing the running board lights
Thanks
I would appreciate if any senior member who has done this can guide me .
Do we have to twist these or pull these?
Next would be replacing the running board lights
Thanks
The following users liked this post:
ktranne9 (03-08-17)
#39
I received the bulbs today and started to do the mod. I was able to replace the four door bulbs. I was able to remove the lens from all four cabin lights, two front, one middle and one back. I am unable to remove the bulbs. I tried to pull them without success.
I would appreciate if any senior member who has done this can guide me .
Do we have to twist these or pull these?
Next would be replacing the running board lights
Thanks
I would appreciate if any senior member who has done this can guide me .
Do we have to twist these or pull these?
Next would be replacing the running board lights
Thanks
Last edited by tecman; 03-08-17 at 02:47 PM.
#40
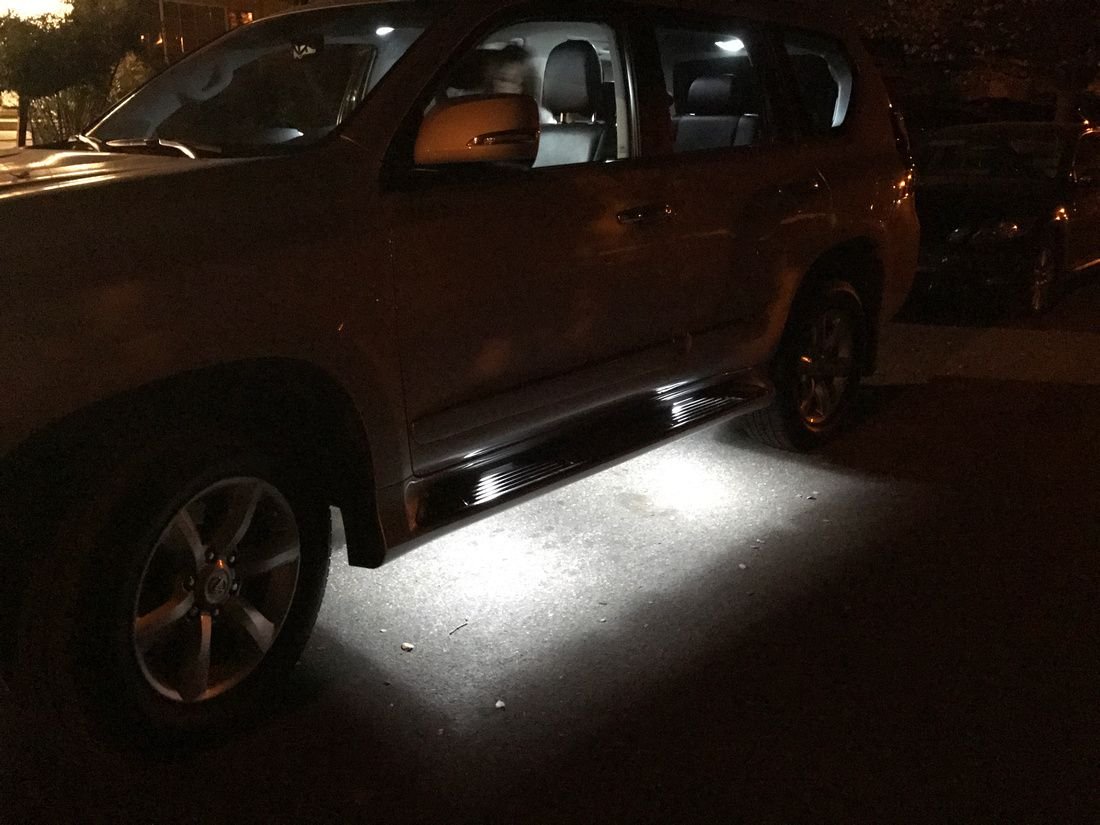
Finally I was able to upgrade the interior lightening to led. This would not have been possible without the help of you all. Initial step by step instructions with pictures, link to purchase the bulbs and all the great advices during the process. I am grateful to all our members who provide great input.
Regards
The following users liked this post:
Richie7 (08-26-19)
#41
Latex gloves worked like a charm.
Finally I was able to upgrade the interior lightening to led. This would not have been possible without the help of you all. Initial step by step instructions with pictures, link to purchase the bulbs and all the great advices during the process. I am grateful to all our members who provide great input.
Regards
 I agree, there are a lot of great and very helpful folks on here. Let's see some pics
#43
https://www.amazon.com/LUYED-Lumens-...rds=luyed+7440
Just a thought for anyone interested in replacing the front and back turn signal, plug and play, no hyper flashing, best one I have research so far, really damn bright.
Just a thought for anyone interested in replacing the front and back turn signal, plug and play, no hyper flashing, best one I have research so far, really damn bright.

#44
No problem, I am sure you will happy with it. I put 4 in mine, before I didn't signal often when changing lane or making a right turn, but since I put those in, I always put them on when necessary, lol, so damn bright.
#45

I upgraded all to LEDs too and used both Yorkim and generic bulbs I have left over from my previous car. The interior ones are generic and the running board are Yorkim. They are very similar and work the same but the generic is much cheaper. Both are pretty bright.
Beside latex gloves, I found that use tape is easier to pull the bulbs out. Just wrap the bulb in tape and pull. The first one of the running board was a bit confusing but once you get it, the rest were easy.


