When you click on links to various merchants on this site and make a purchase, this can result in this site earning a commission. Affiliate programs and affiliations include, but are not limited to, the eBay Partner Network.
Looks great. What was the net lift front and rear? Any pics from the side?
Thanks. I didn't have time to measure before/after. There is some slight rubbing on the passenger side fender well, but nothing I can't fix when I install the sliders.
Looks really good Nickk6! How's the CV angle with the lift? Are the fins on the outside boot rubbing against each other? The Icon control arms look so cool
Thanks. I didn't have time to measure before/after. There is some slight rubbing on the passenger side fender well, but nothing I can't fix when I install the sliders.
Damn - I'm not normally a fan of aftermarket wheels but that looks really good. I imagine once you get the sliders mounted the extra ground clearance will be pretty noticeable. Nice job!
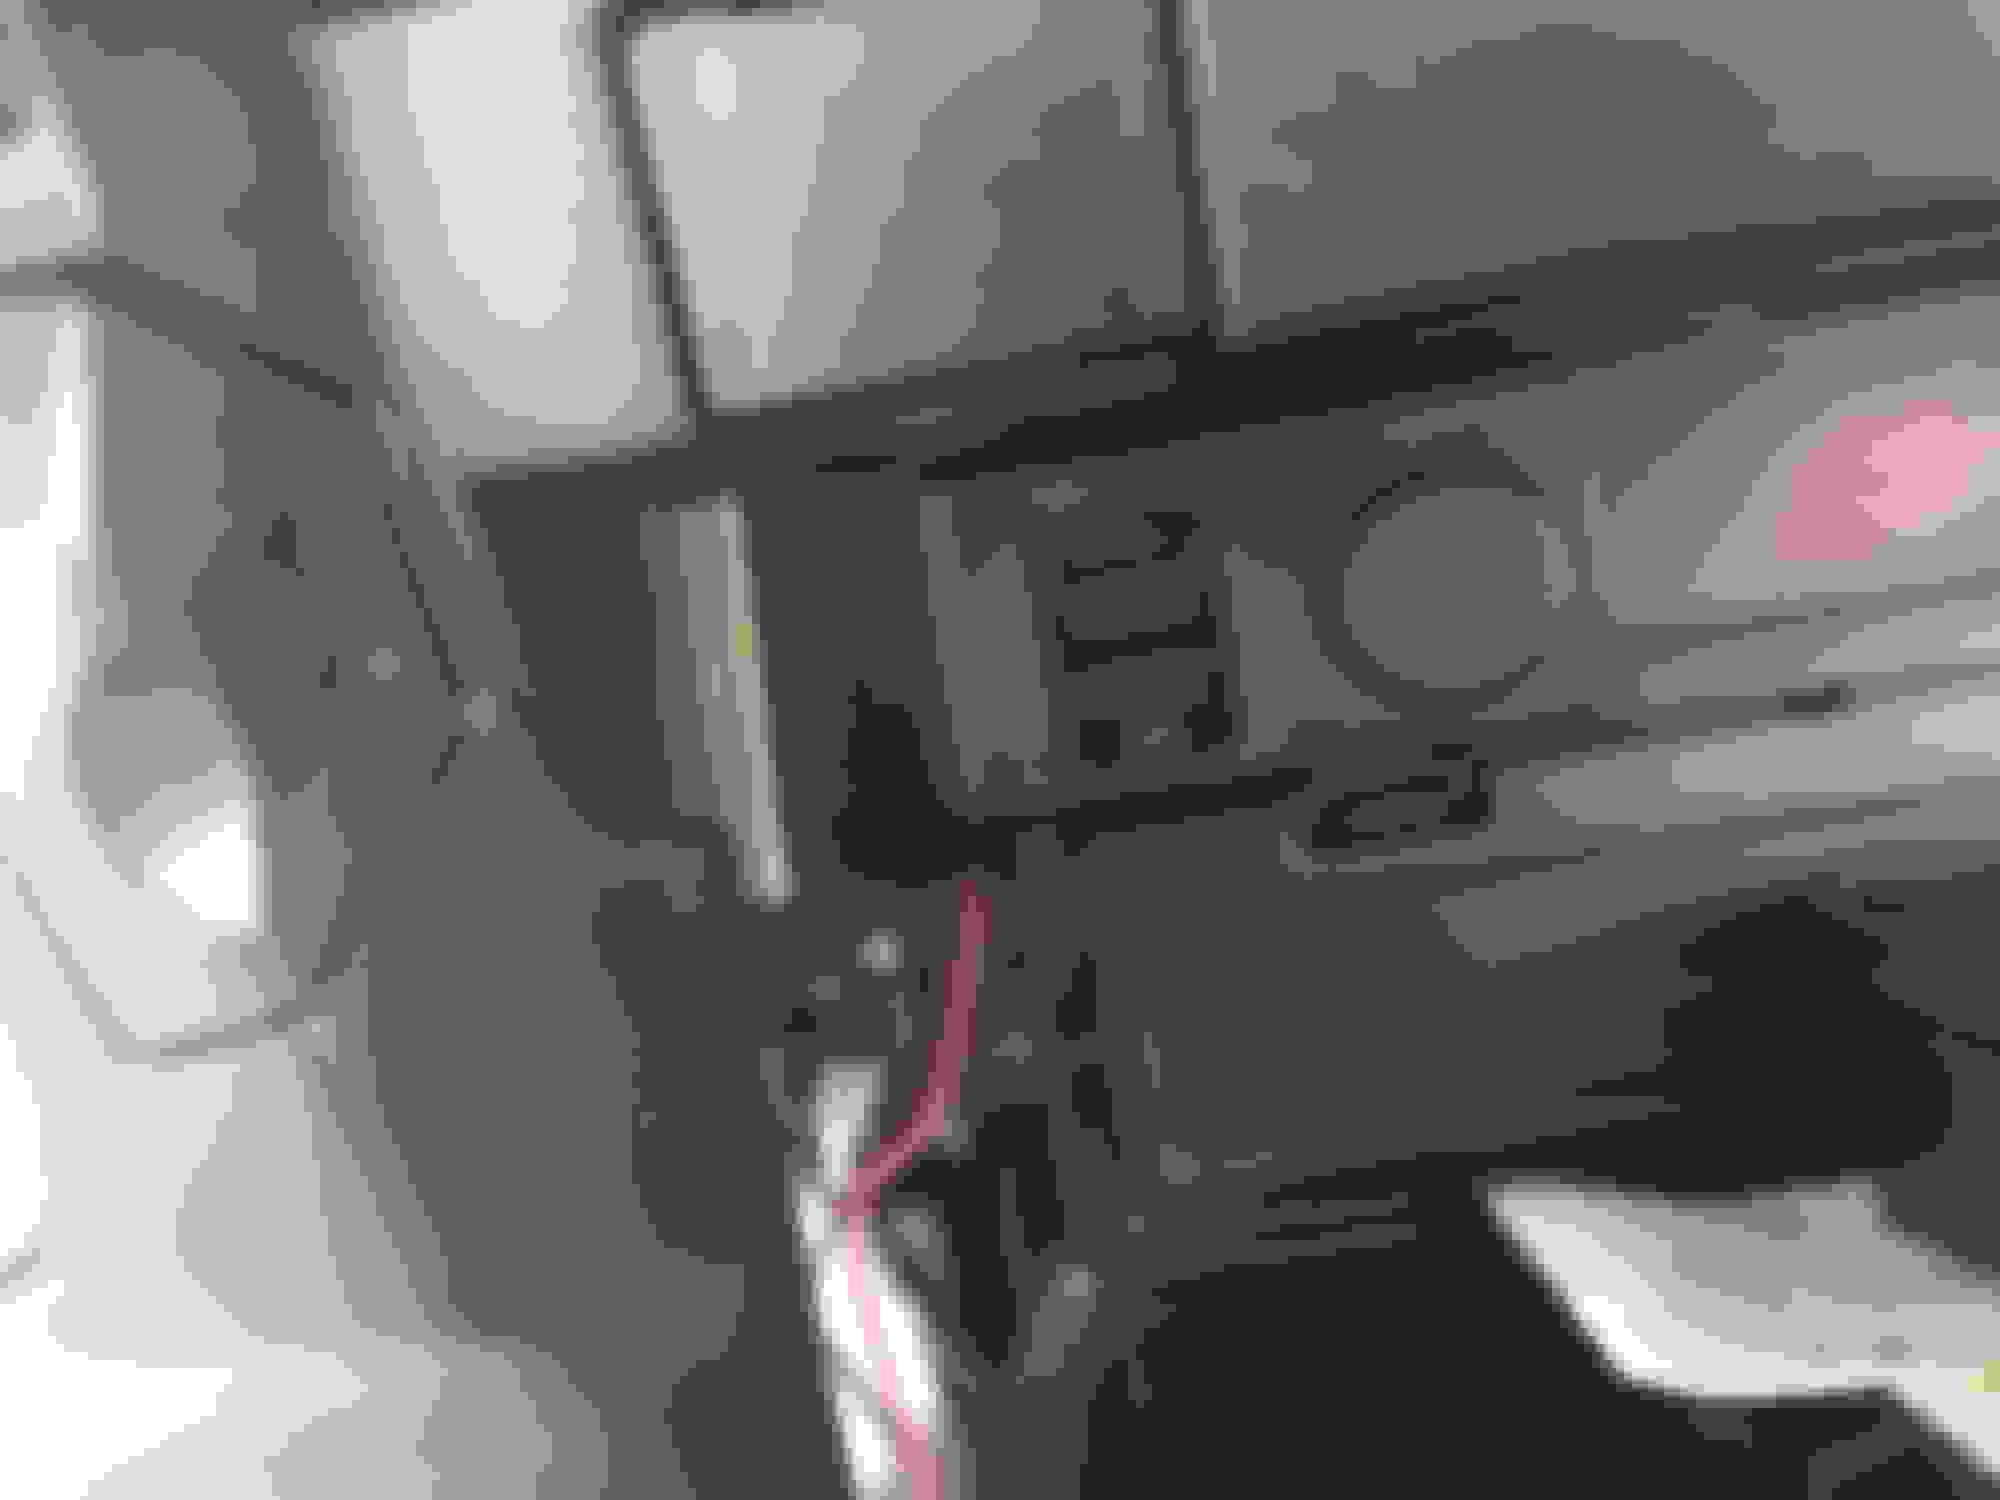
Yes, my OCD is kicking in again. For some reason, I just cannot stand "blanks". To me, it screams that "something is supposed to be here but it's NOT!" So I found the missing square part that belongs in the glove box. Now I have to figure out how I want to wire it! The 12V socket will also be replaced within a few days.
Yes, my OCD is kicking in again. For some reason, I just cannot stand "blanks". To me, it screams that "something is supposed to be here but it's NOT!" So I found the missing square part that belongs in the glove box. Now I have to figure out how I want to wire it! The 12V socket will also be replaced within a few days.
Uhm..... never paid any attention there was the blank piece in glove box where did you find the square parts? was two USB ports or one USB and one AUX?
My plan is to wire them like they are labeled - one USB charging and the other AUX. My brother just finished the modification on his 2017. I like the idea of being able to leave my iPod and/or USB memory stick in the glove box instead of the center console. This is a very common modification for 4Runner owners too.
I did took a look of the glove box, and by removing the air filter, there is plenty room behind the two blanks that can easily put socket in and run the wire through. I went ahead and ordered two items as I saw on Amazon and planning to run the wires in a same fashion as the earlier posts. I opted for two USB as I only need some charging ports will be good enough for me. Will give a try and see how that goes.
Looks really good Nickk6! How's the CV angle with the lift? Are the fins on the outside boot rubbing against each other? The Icon control arms look so cool
The CV angle looks very minimal, I'll try to snap a picture of it.
This was done yesterday, but here are the MetalTech sliders installed!
Dealer put one of their emblems on the back after purchase yesterday so I had to remove that before the adhesive set it. While I was at it, I removed the "GX460" off the rear. Used a plastic razor to pry them off, then a decal removal wheel to tackle the adhesive material which was left over. All of it was left on the car rather than on the emblems themselves. Once that was done, I hit the area with a touch of polish to get the areas where dirt had accumulated over the years. Overall, a much cleaner look. The chrome exhaust tip was also pretty nasty, so I hit that with the steel wool and got it looking more presentable. Will have to wash the GX next because in standard dealer prep, the car is covered in shiny dressing on all the exterior plastic surfaces.
 08-25-17, 08:59 PM


 where did you find the square parts? was two USB ports or one USB and one AUX?