When you click on links to various merchants on this site and make a purchase, this can result in this site earning a commission. Affiliate programs and affiliations include, but are not limited to, the eBay Partner Network.
Adding Smart keyless entry and locking/unlocking system to rear two doors
As I started discussion on another tread about possibility of adding smart access to rear two doors, I decided to give a try. Today, after nearly 8 hours of work, mission accomplished Now I can lock/unlook all for doors by touching the door handles. Here is the final result in video clips. I will post all the detail in a little bit as I am getting organized with all the photos and informations. Sorry for the background noice as my neighbor was mowing the lawn
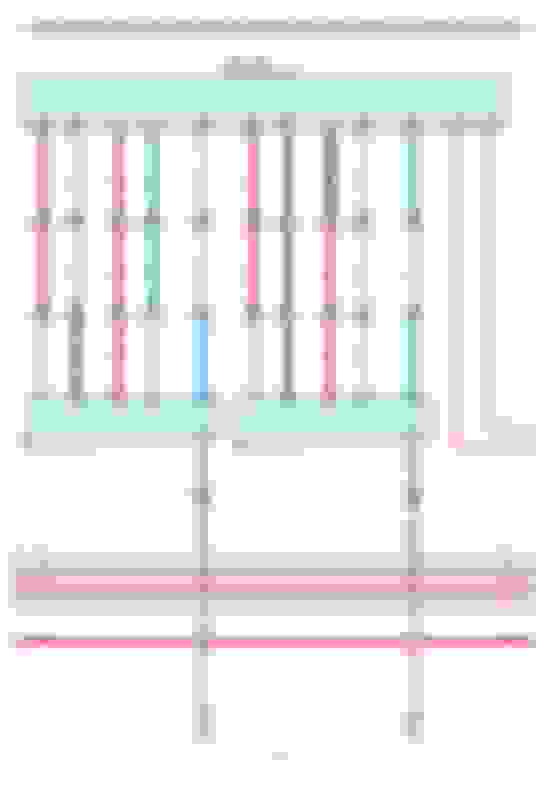
Since GX is still built under old platform which only front doors are equipped with Smart Access (keyless lock/unlock) function. The Certification ECU has only two inputs for the antennas for key fobs, and two sets of touch sensor switches. However, from the principles of how those antenna and touch switch work, there is no reason that you can not adding two more by parallel connecting addition antenna and switches to the existing inputs. Physically, all the door handles have same physical size, all we need to do are replace rear door handle with the one has antenna and switches built-in as same as the front one. Before I started this project, I have done fair amount of researches, and make sure that I will have all the necessary parts and accessaries to complete the project.
Parts needed:
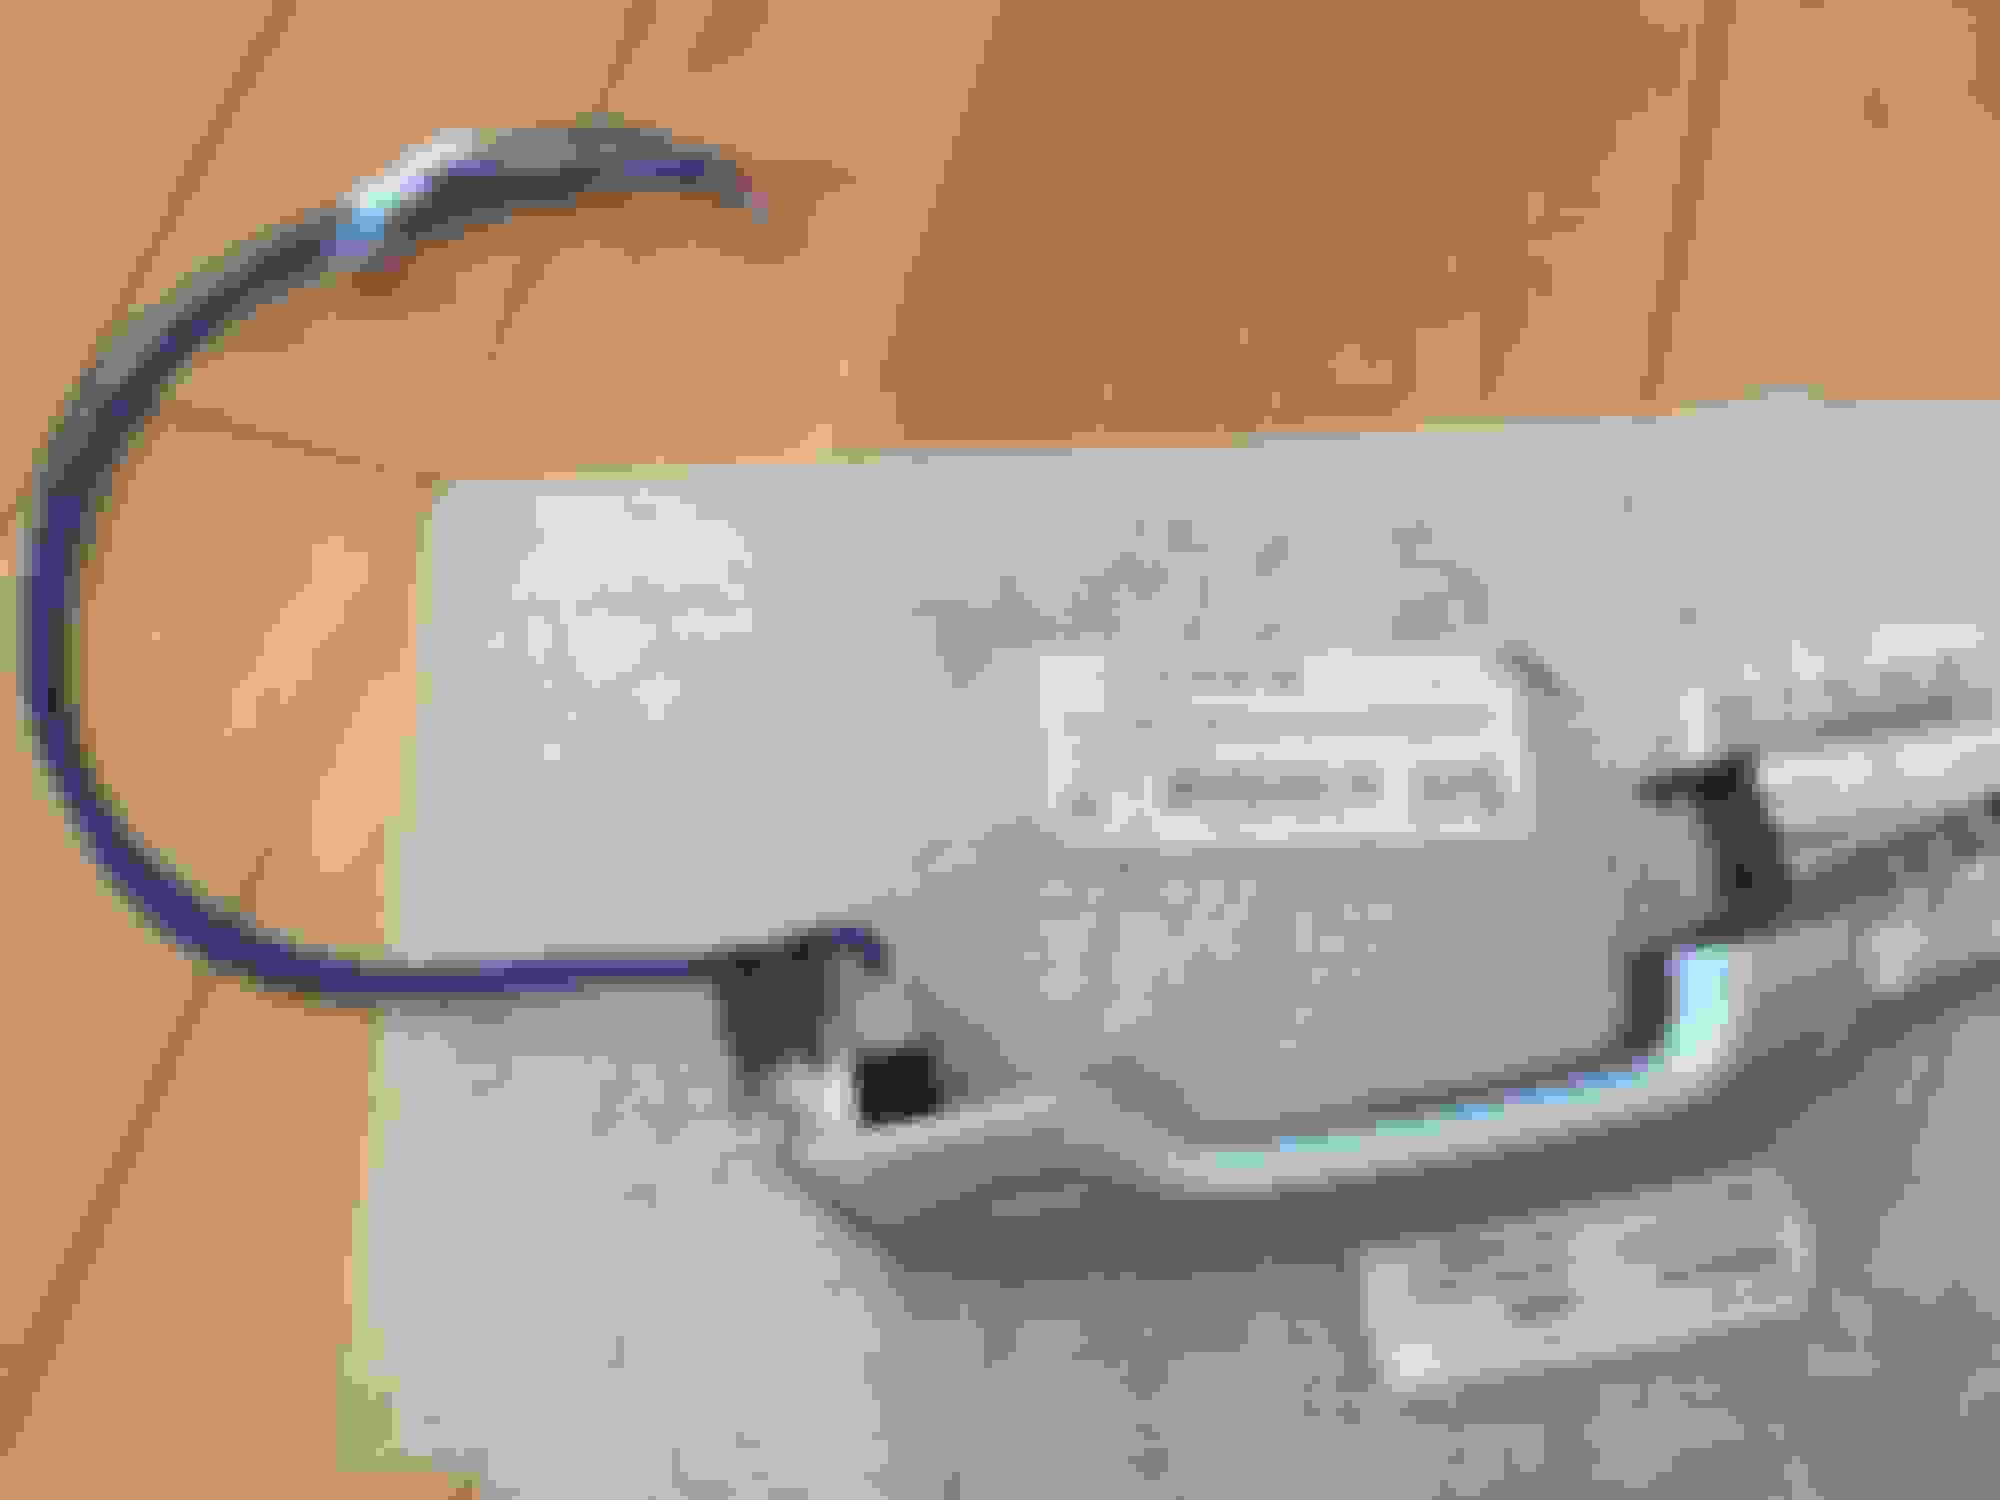
Basically, all we need are two door handles (Part #: 69210-60160-<your color match code>), the connector which attached to the handle (Part #: 90980-12790), and Pins for the connector housing, you will need 6 for each side (Part #: 82998-24250).
Preparation:
Making the harness is pretty straight forward. Pins only goes in one way, make sure that you are not force to push it. Ironically, my first pin had a slight out of spec and had some difficult to get into the housing, I was a bit concerned if everyone of them would be like that. Thank God? the rest of them went in without any problem.
Another point on the harness. since OEM one that come with a bracket that hold the wire in place to reduce the stress on the connect because the handle is a moving part. To have the same effect without the bracket, I drew a small hole one the top of the handle and using the zip tie to secure the connector and wire.
One last thing, since wires only come with one color, make sure that you label them properly
Install process:
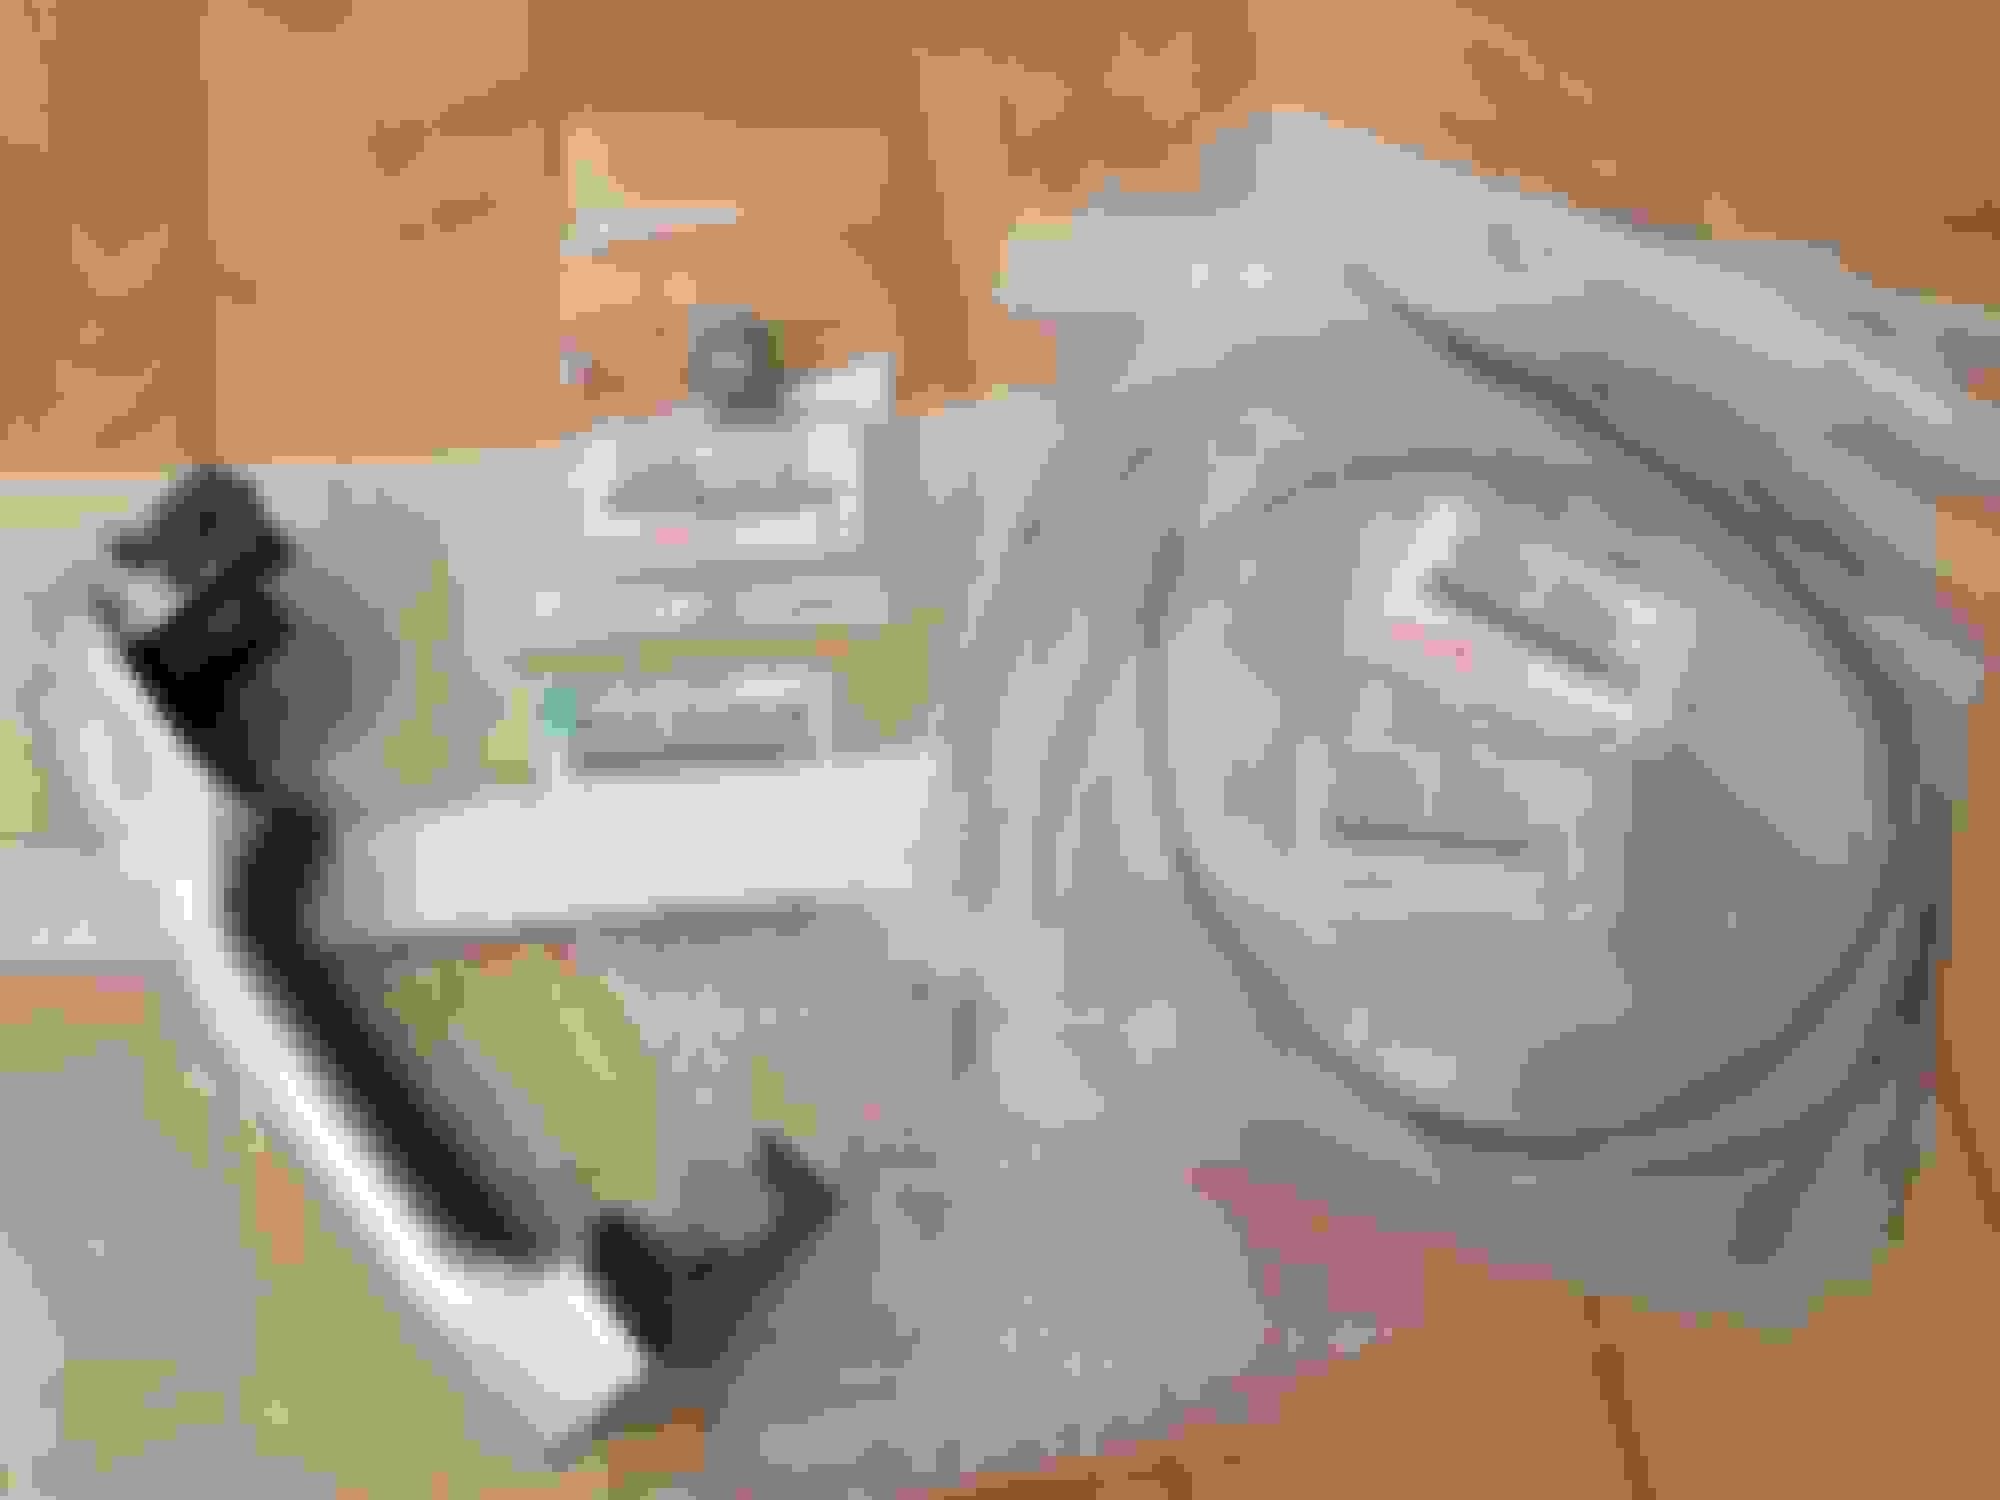
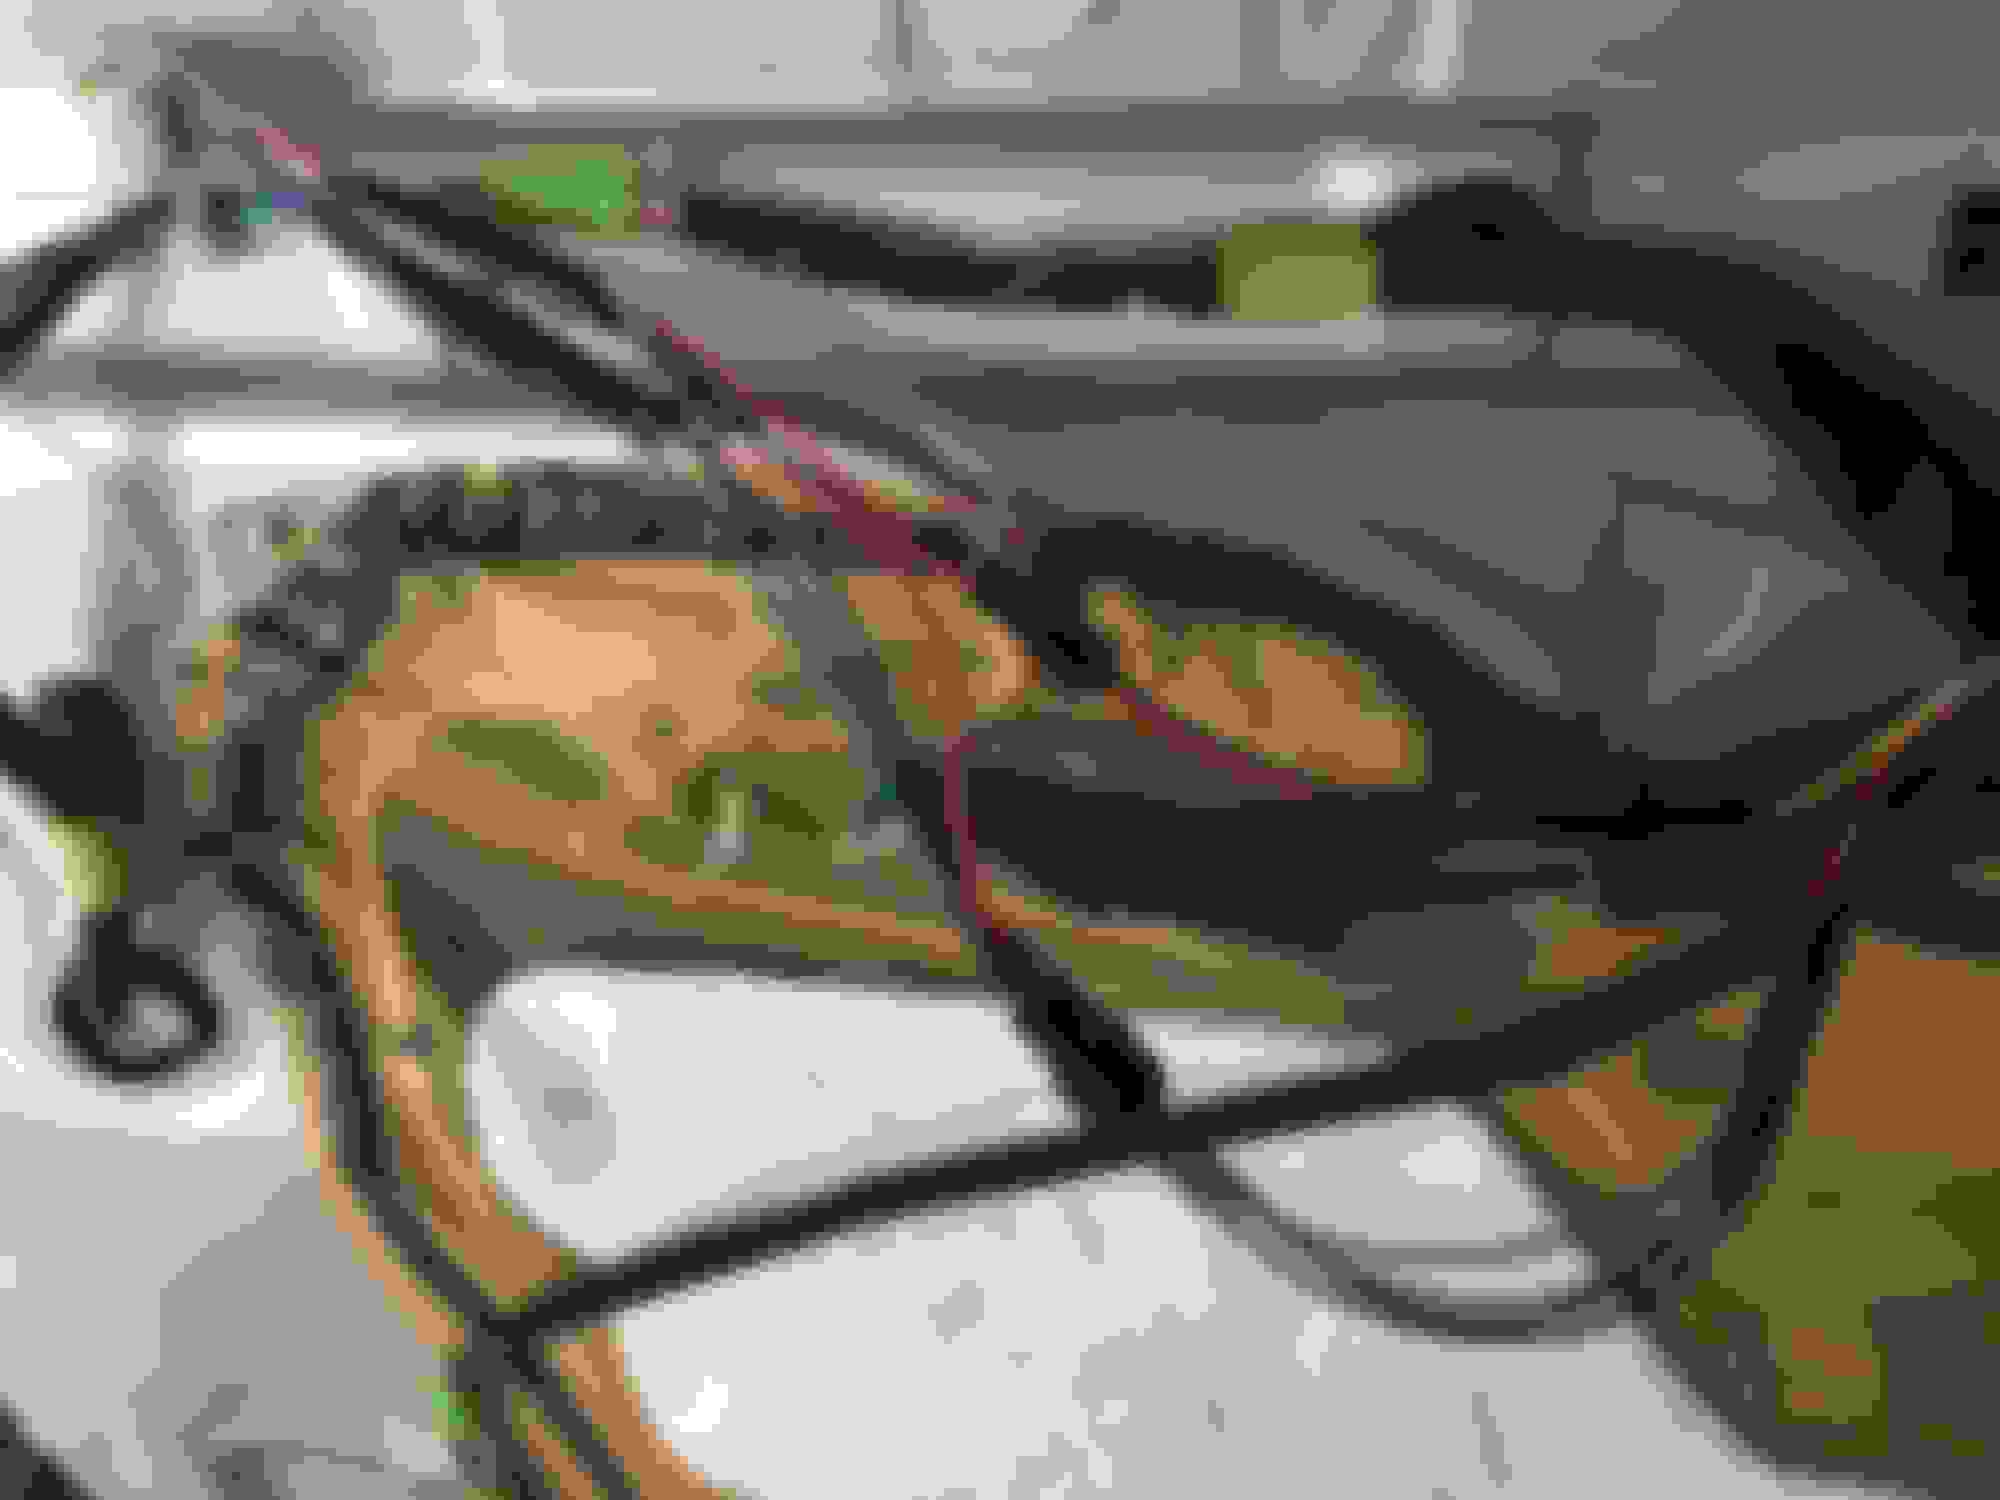
Physically replace the handle was not too difficult. All you have to do is remove the door panel, loose the lock actuator, then you will be access the T-30 screw which holds the small piece at rear of the door handle. There are several videos on YouTube which gives pretty good references. One thing the I ran into was the handle with harness, has the ridge one both sides of the connector, which will not slide into the the proper position. Since those ridges are designed for bracket, I just use the knife and trimmed them off. After handles in place, the hardest work would be the run the wires from the front door handle to the rear one. Since there are 6 wires to run, and the application is very small current, I choose 30ag wires, so bundling together is still relatively thin and easy to get though tight places. There are tow 10mm bolts hold the weather boot at front lower edge of front door, take them off and unwrap the OEM electric tape. will provide enough space to fish the wires. The area goes into the rear door is the hardest place to work with. The weather boot is actually a big plug with very tight space to work with. Patience will eventually pay off. I was so concentrated and completely forgot to take the photos for that part
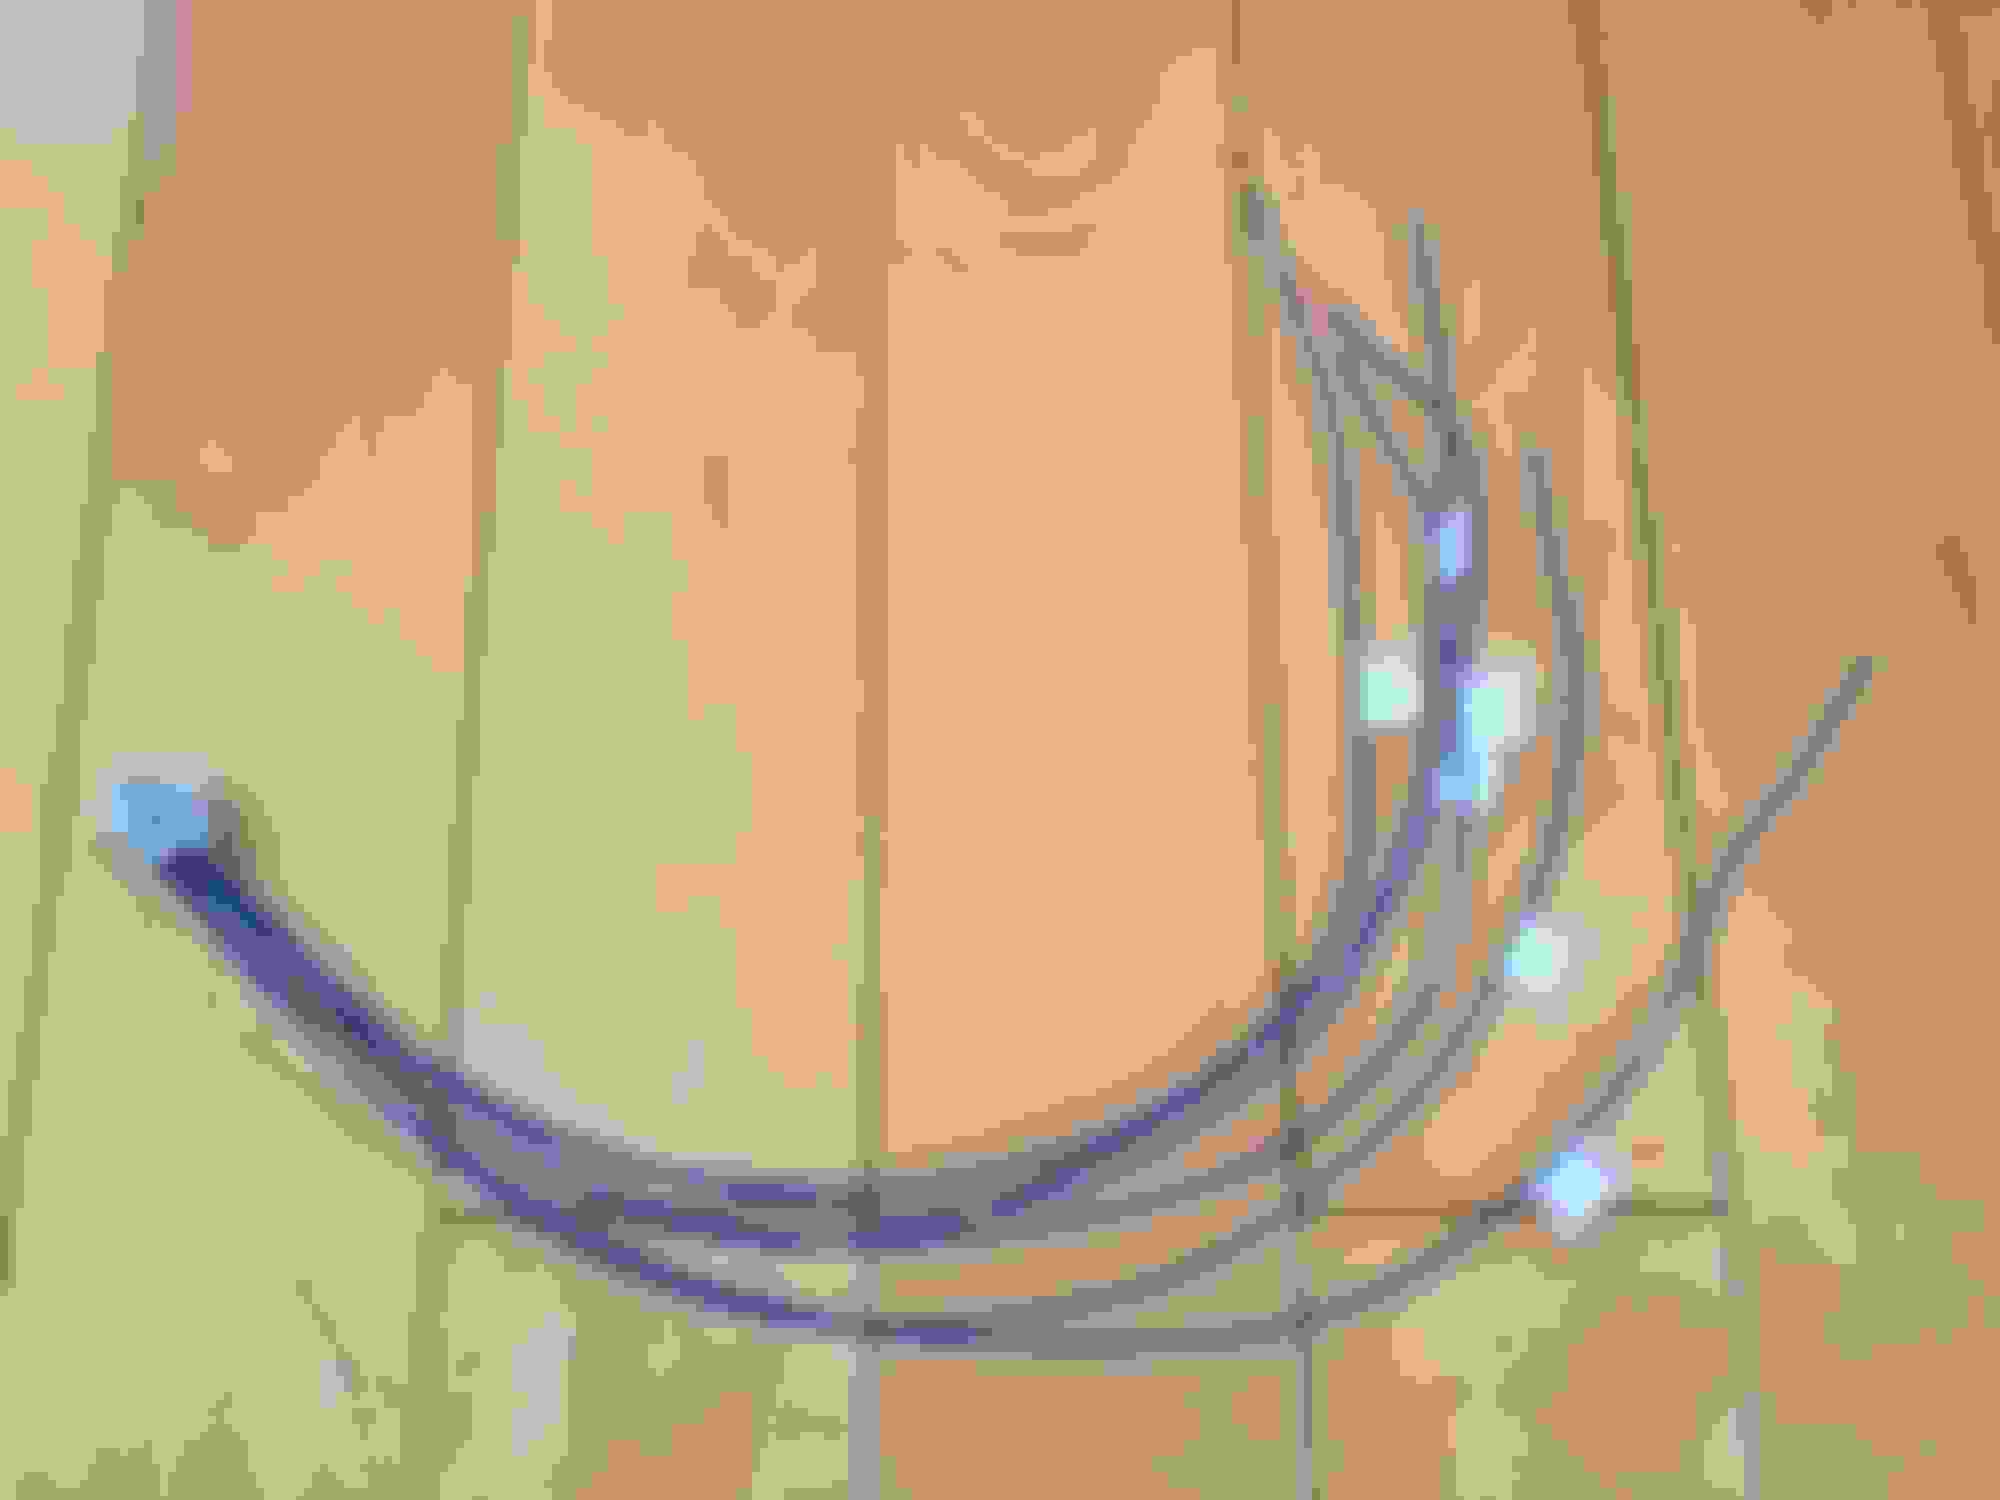
Since I had secure the connector on the handle, I decided to add couple of quick connectors at wires end. For one if i need to replace or service, I can have a quick disconnection. I have also separated antenna wires onto separate connectors. Since each handle has two antenna which generate a pulse pattern for key fob detection. I was not sure if extended original ones to rear door might create interference. Although considering the wave length in such application shouldn't be any issue. But by add a separate connector, I can always disable the antennas at rear door if it became necessary.
Last, I cut piece of form to secure connectors and wires inside door area to avoid any possible noises.
After that, just put everything together! Of course, always test it before putting everything to the permanent place and close everything up
Since GX is still built under old platform which only front doors are equipped with Smart Access (keyless lock/unlock) function. The Certification ECU has only two inputs for the antennas for key fobs, and two sets of touch sensor switches. However, from the principles of how those antenna and touch switch work, there is no reason that you can not adding two more by parallel connecting addition antenna and switches to the existing inputs. Physically, all the door handles have same physical size, all we need to do are replace rear door handle with the one has antenna and switches built-in as same as the front one. Before I started this project, I have done fair amount of researches, and make sure that I will have all the necessary parts and accessaries to complete the project.
Parts needed:
Basically, all we need are two door handles (Part #: 69210-60160-<your color match code>), the connector which attached to the handle (Part #: 90980-12790), and Pins for the connector housing, you will need 6 for each side (Part #: 82998-24250).
Preparation:
Making the harness is pretty straight forward. Pins only goes in one way, make sure that you are not force to push it. Ironically, my first pin had a slight out of spec and had some difficult to get into the housing, I was a bit concerned if everyone of them would be like that. Thank God? the rest of them went in without any problem.
Another point on the harness. since OEM one that come with a bracket that hold the wire in place to reduce the stress on the connect because the handle is a moving part. To have the same effect without the bracket, I drew a small hole one the top of the handle and using the zip tie to secure the connector and wire.
One last thing, since wires only come with one color, make sure that you label them properly
Install process:
Physically replace the handle was not too difficult. All you have to do is remove the door panel, loose the lock actuator, then you will be access the T-30 screw which holds the small piece at rear of the door handle. There are several videos on YouTube which gives pretty good references. One thing the I ran into was the handle with harness, has the ridge one both sides of the connector, which will not slide into the the proper position. Since those ridges are designed for bracket, I just use the knife and trimmed them off. After handles in place, the hardest work would be the run the wires from the front door handle to the rear one. Since there are 6 wires to run, and the application is very small current, I choose 30ag wires, so bundling together is still relatively thin and easy to get though tight places. There are tow 10mm bolts hold the weather boot at front lower edge of front door, take them off and unwrap the OEM electric tape. will provide enough space to fish the wires. The area goes into the rear door is the hardest place to work with. The weather boot is actually a big plug with very tight space to work with. Patience will eventually pay off. I was so concentrated and completely forgot to take the photos for that part
Since I had secure the connector on the handle, I decided to add couple of quick connectors at wires end. For one if i need to replace or service, I can have a quick disconnection. I have also separated antenna wires onto separate connectors. Since each handle has two antenna which generate a pulse pattern for key fob detection. I was not sure if extended original ones to rear door might create interference. Although considering the wave length in such application shouldn't be any issue. But by add a separate connector, I can always disable the antennas at rear door if it became necessary.
Last, I cut piece of form to secure connectors and wires inside door area to avoid any possible noises.
After that, just put everything together! Of course, always test it before putting everything to the permanent place and close everything up
The handle costs about $175, the connector housing is about $6. The pin with wire is considered most expensive since you will need 6 per connector, which is about $6 each. So, roughly $200 per door.
Those costs are for all the new parts. You could, however, shopping on eBay if there is the match color as used for lot less.
Thank you for all your contributions. I'm pickup up my GX tomorrow, but already thinking of the little things that will get annoying and want to do almost every mod you've done. Do you think its possible to rewire the rear gate handle to unlock when opened instead of having the use the unlock button?
Thank you for all your contributions. I'm pickup up my GX tomorrow, but already thinking of the little things that will get annoying and want to do almost every mod you've done. Do you think its possible to rewire the rear gate handle to unlock when opened instead of having the use the unlock button?
Congratulations on your purchasing of GX!
In theory, as long as you can add the sensor and antenna to anywhere that you could create the lock/unlock points. However, in reality, the tail gate door handle is a completely different structure as other door handles, nor Lexus has the replacement parts just for the sensor and antenna components. I don't think it will be practical to do for the tailgate. I never open the door handle itself and see how many components actually packed inside in terms of sensors and antennas, even it was possible to take it apart, to try fit into the tailgate door handle will be another question.
The handle costs about $175, the connector housing is about $6. The pin with wire is considered most expensive since you will need 6 per connector, which is about $6 each. So, roughly $200 per door.
Those costs are for all the new parts. You could, however, shopping on eBay if there is the match color as used for lot less.
Is it still working well for you?
did you use 30 awg wire for the entire project or only where the wires pass through the door grommet?
which quick disconnect plugs did you use?
thanks
Is it still working well for you?
did you use 30 awg wire for the entire project or only where the wires pass through the door grommet?
which quick disconnect plugs did you use?
thanks
Still working and strong. This was my wife’s favor mod and function, as accessing the rear door is pretty much the first thing when you have the hands full of shopping bags I did use the 30 awg wires all way through. The quick connectors are from Amazon, just simple 5 or 6 pins low power connectors, any type should work. This is what I have used:
Hi hzhao, thank you for great write up. I bought all the parts and will be using CAT5 cable for wiring the rear doors. As I installed one of the rear door handles today I realized I do not where to connect the new wires to... This maybe a stupid question but where is the "certification ECU" so I can connect the rear door wires? Thank you!
Hi hzhao, thank you for great write up. I bought all the parts and will be using CAT5 cable for wiring the rear doors. As I installed one of the rear door handles today I realized I do not where to connect the new wires to... This maybe a stupid question but where is the "certification ECU" so I can connect the rear door wires? Thank you!
You will need to purchased the �front� door handle to replace the rear ones. Also the harness connectors for your wires. As for the connection, you will route the wires to front door as I have pictured. You basically connect the rear handle sensor to the front door handle sensor (the fifth pic from the last) Hope that answered your question.

 05-08-18, 05:51 PM
 Now I can lock/unlook all for doors by touching the door handles. Here is the final result in video clips. I will post all the detail in a little bit as I am getting organized with all the photos and informations. Sorry for the background noice as my neighbor was mowing the lawn


 I did use the 30 awg wires all way through. The quick connectors are from Amazon, just simple 5 or 6 pins low power connectors, any type should work. This is what I have used:
