When you click on links to various merchants on this site and make a purchase, this can result in this site earning a commission. Affiliate programs and affiliations include, but are not limited to, the eBay Partner Network.
It cannot be Installed standalone. I have talked to WAT. The valve body is required.
As WAT told you CB restated the same. I emailed some inquiries off to a few other Australian companies that just sell switches with what appears to be stock VB.
"The Valve body is required for the installation of the lock up kit. Without the modified VB, the lock up kit does not work."
I have posted this in other threads but if you have a '14+ (PID not available previous model years) you can check your ATF Thermal Degradation via Techstream or OBD Link.
The radiator sprung the usual leak. So this weekend was the project to replace the water pump, thermostat, hoses, radiator, and install the OEM cooler. Like some others have stated, to replace radiator, you have to remove the bumper Hidden bolt behind bumper lower hidden bolt. Finally, at the end. the cooler installed.
The parts pile.
I did do a baseline reading of the transmission temperatures before installing the cooler. The reason also for the cooler was because I had the transmission replaced and I wanted some protection for my investment. I'll data log and see what the difference in the before and after.
It seems most folks have been able to complete this in about 3 hours, is that right? I am trying to gauge a quote I received from a local shop for $775 install labor plus an additional $100 in fluids, so grand total is $875++. That seems pretty rich to me. Thoughts? I already purchased all of the parts myself, so that is only for labor and fluids.
I installed everything without removing the front bumper cover or grill. This isn't ideal but I wanted to see if it was possible for those not interested in removing these components....
Here are my notes/ lessons learned from performing the install in this manner.
0) I removed the battery. Had to in order to get enough access to reach the stock hose clamps to remove them.
1) Unlike my prep picture above, install the hoses on the cooler prior installing the cooler (I had to remove them from the hardlines pictured above because I was unable to push the hoses on the cooler fittings with it installed (not enough room to get ample leverage reaching down inside the grill)
a) With the cooler held in place with alignment tabs (along with the metal pass-through hard lines temporarily/loosely bolted in place) get a feel for proper cooler hose orientation before setting the hose clamps on the cooler. If you don't want to go thru this staging substep to verify hose orientation so long as the yellow and white hose markings are parallel to the ground you'll be good to go.
1.c) Install the cooler with hoses installed and clamped in place.
2) Before bolting the hard pass thru lines 1) Install the new short hose on the bottom of the radiator outlet fitting and clamp it in place and 2) Clamp the longer hose to the appropriate metal pass thru (inboard) line (you will not have enough access to push the hose on the hard line and clamp it once it is permanently bolted in place).
3) Install the hard line pass thru piece with the bolt. (with the new long hose clamped in place, step 2.2 above)
4) Install the top of the new short hose (step 2.1) and clamp to the outer hard line
[AT fluid flows up from the bottom radiator fitting, thru this new short hose, in the right side cooler fitting, out the left side cooler fitting, down thru the new long hose, and back to the AT thru the existing lines)
5) Install the hoses from the cooler on the hard lines (installed in step 3), and clamp them in place. [These are the blue and pink marks which line up in my previous post.]
6) Go underneath (need to have the front skid bottom plastic gap piece removed) and install the bottom of the long hose to the hard return line attached to the radiator support (old hose removed).
7) Install the foam piece last
Now everything should be buttoned up, all hoses connected and clamps in place. Double check everything is secure with no possible chaffing (if you follow the clamp orientation direction everything will be good to go).
-Doing the install this manner would have been a lot easier (and saved substantial time, an hour at least) with the longest possible needle nose pliers to reach stock clamps in weird (originally installed) orientations that need removed and install new clamps on the new hoses in the correct orientations.
-I'm glad I bought 2 extra clamps because I needed to remove the ones installed in the pictures above and I didn't want to reuse the clamps once I released the tension to install them once.
Thanks to @Acrad and everyone who contributed to this thread.
Thanks for this great info, very helpful, although getting the existing clamp off for step 2.1 like to brought me to tears - I apparently don't have the right pliers for that situation. But I did get it eventually, and the job is done. Huzzah.
I would not dispute the lines at bottom here near the KDSS shock are a bear
I already had the aftermarket skid plate off, so the very bottom one wan't too bad, only drew a little blood.
Of course nothing is ever easy, while taking off the skid plate I found that one of the capture nuts had broken off in the radiator crossmember, so I had to grind off the bolt and will have to figure out a through-bolt in its place. But that is for tomorrow.
Thanks for this great info, very helpful, although getting the existing clamp off for step 2.1 like to brought me to tears - I apparently don't have the right pliers for that situation. But I did get it eventually, and the job is done. Huzzah.
No, it is not the pliers. The clamps are unusually hard to remove.
Completed, on the 2015 there is no need to remove the fender / grill. I did remove the battery just like nuclearn8, I don't see how you can get around that, maybe if you cut off the old clamps with a dremel and you use screw clamps that don't need a plier..
I took a bunch of pictures of every step, if someone is interested I can upload them here.
Special thanks to our fellow forum member who sold the entire set below market value !
Lay out the parts, connect the hose with a yellow mark to the left and the one with the white mark to the right side inlet/outlet.
Remove the plastic cover in the engine pay by pushing the center parts in and removing them, then the cover itself.
Install the lower bracket into the predrilled nut in front of the radiator.
Install the side bracket. The spongy thing is covering the holes it goes into.
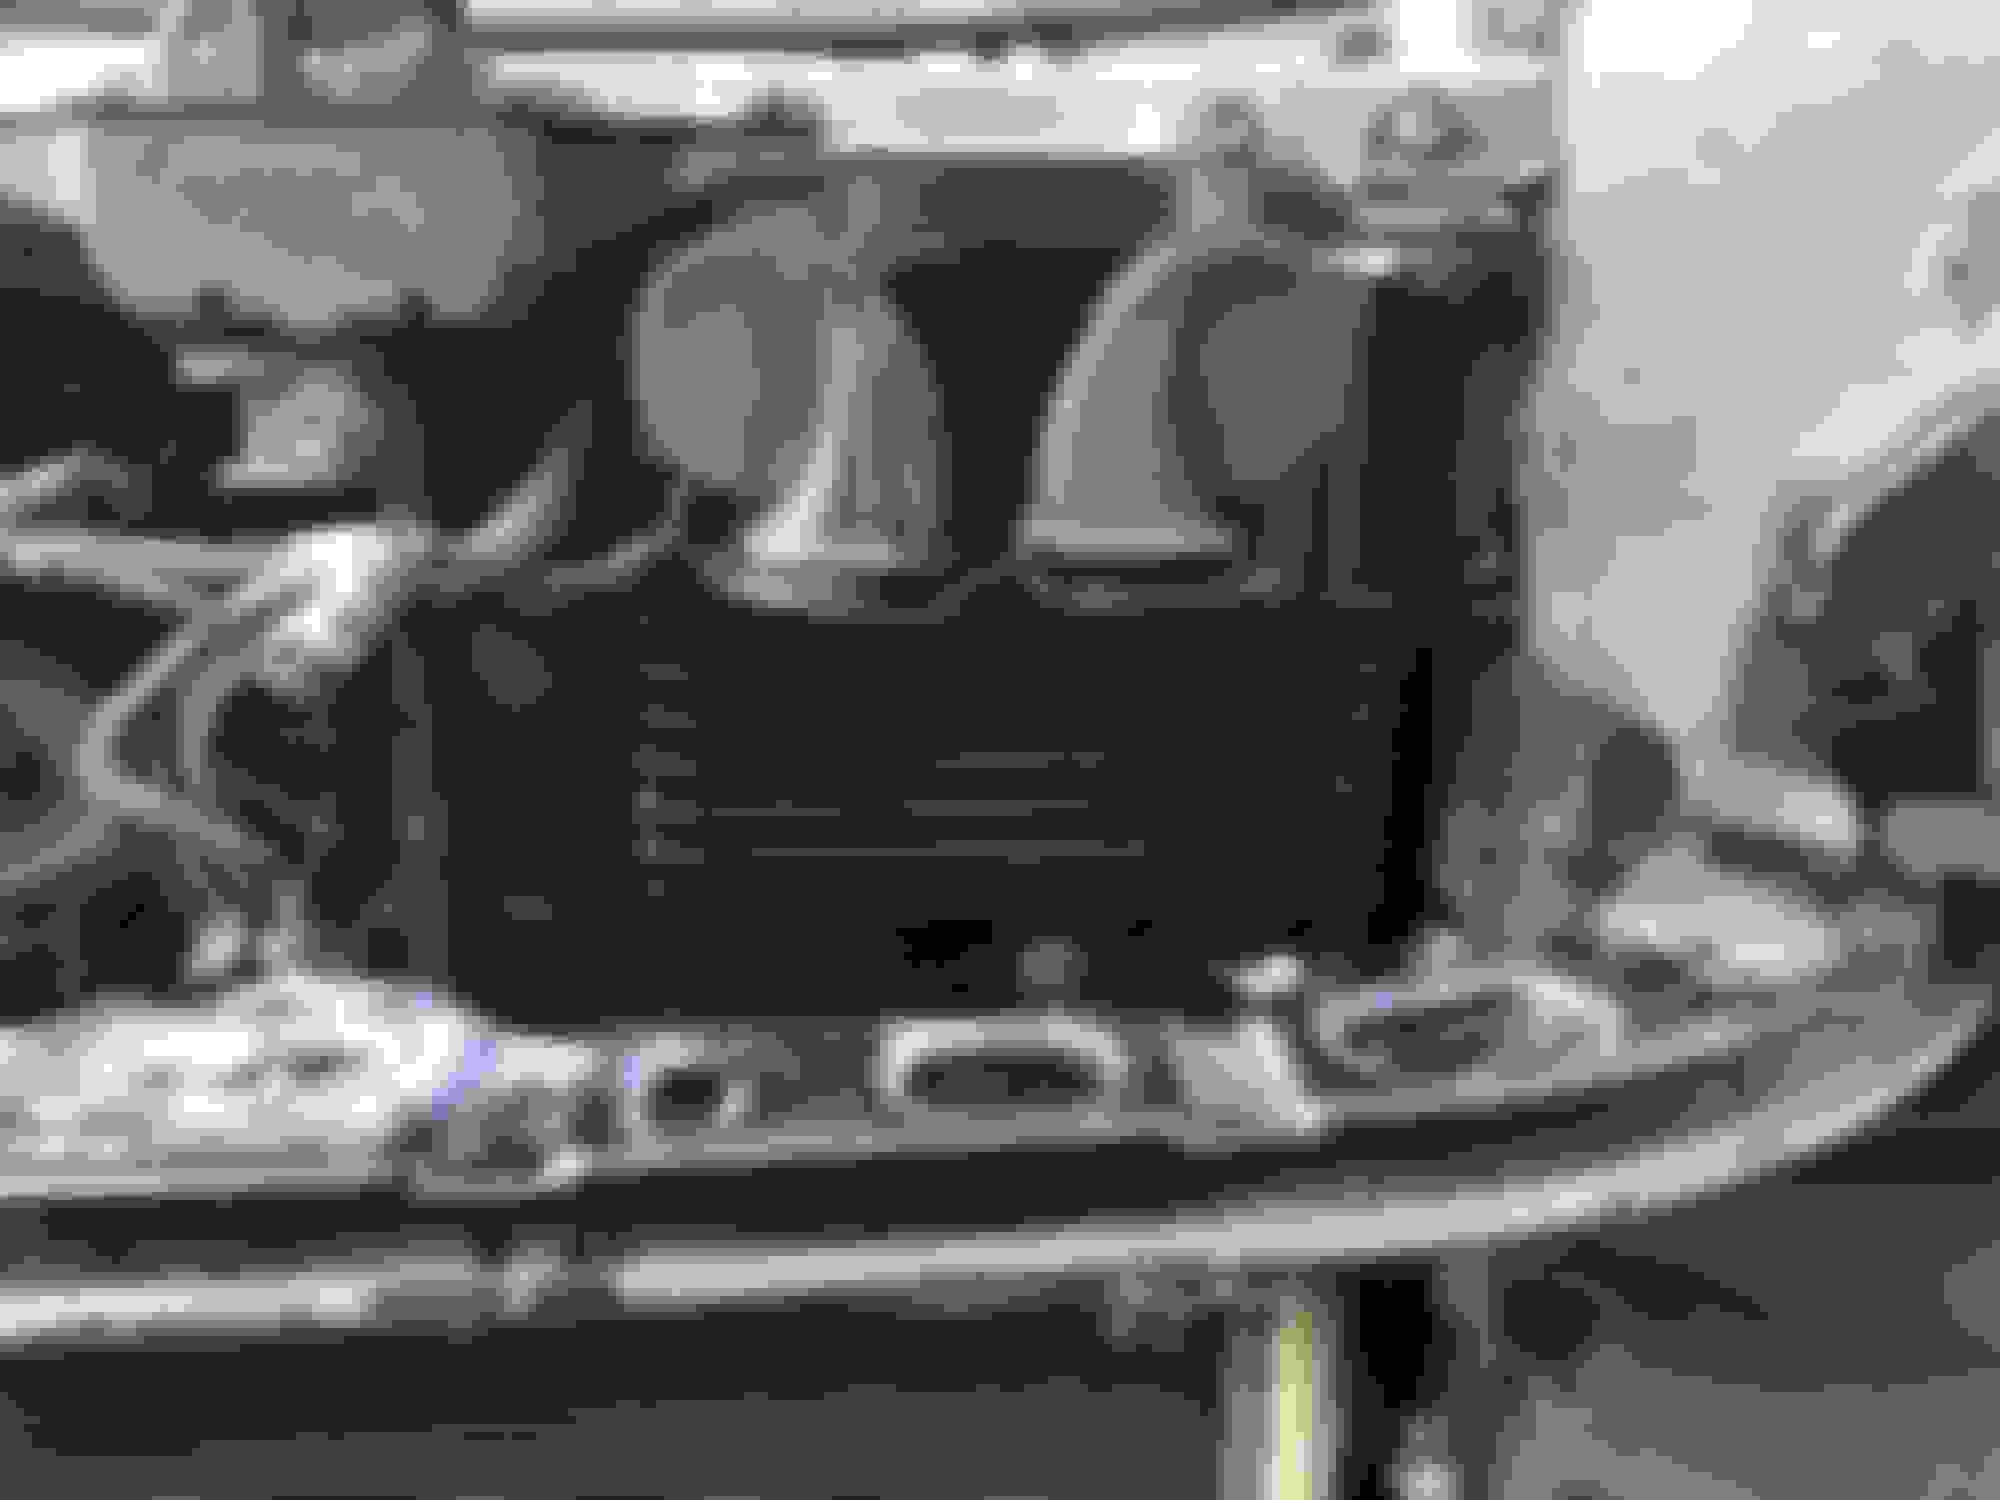
Slide in the cooler, the hoses go through the hole on the rubber cover on the side.
Bolt in the cooler now, all bolts are 49 in/lbs per the instructions.
Stick the pipe connector through the lower spongy cover and bolt it to the bracket. You will need to cut a whole on it and connect the hoses to the color coded pipes.
The other side looks like this. Now remove the battery. There is a piece of rubber holding the 2 hoses together, you need to carefully cut it off.
Now disconnect the marked hose from underneath and the marked one on the radiator, you will not reuse this hose. I also disconnected the other hose to have better access but it is optional.
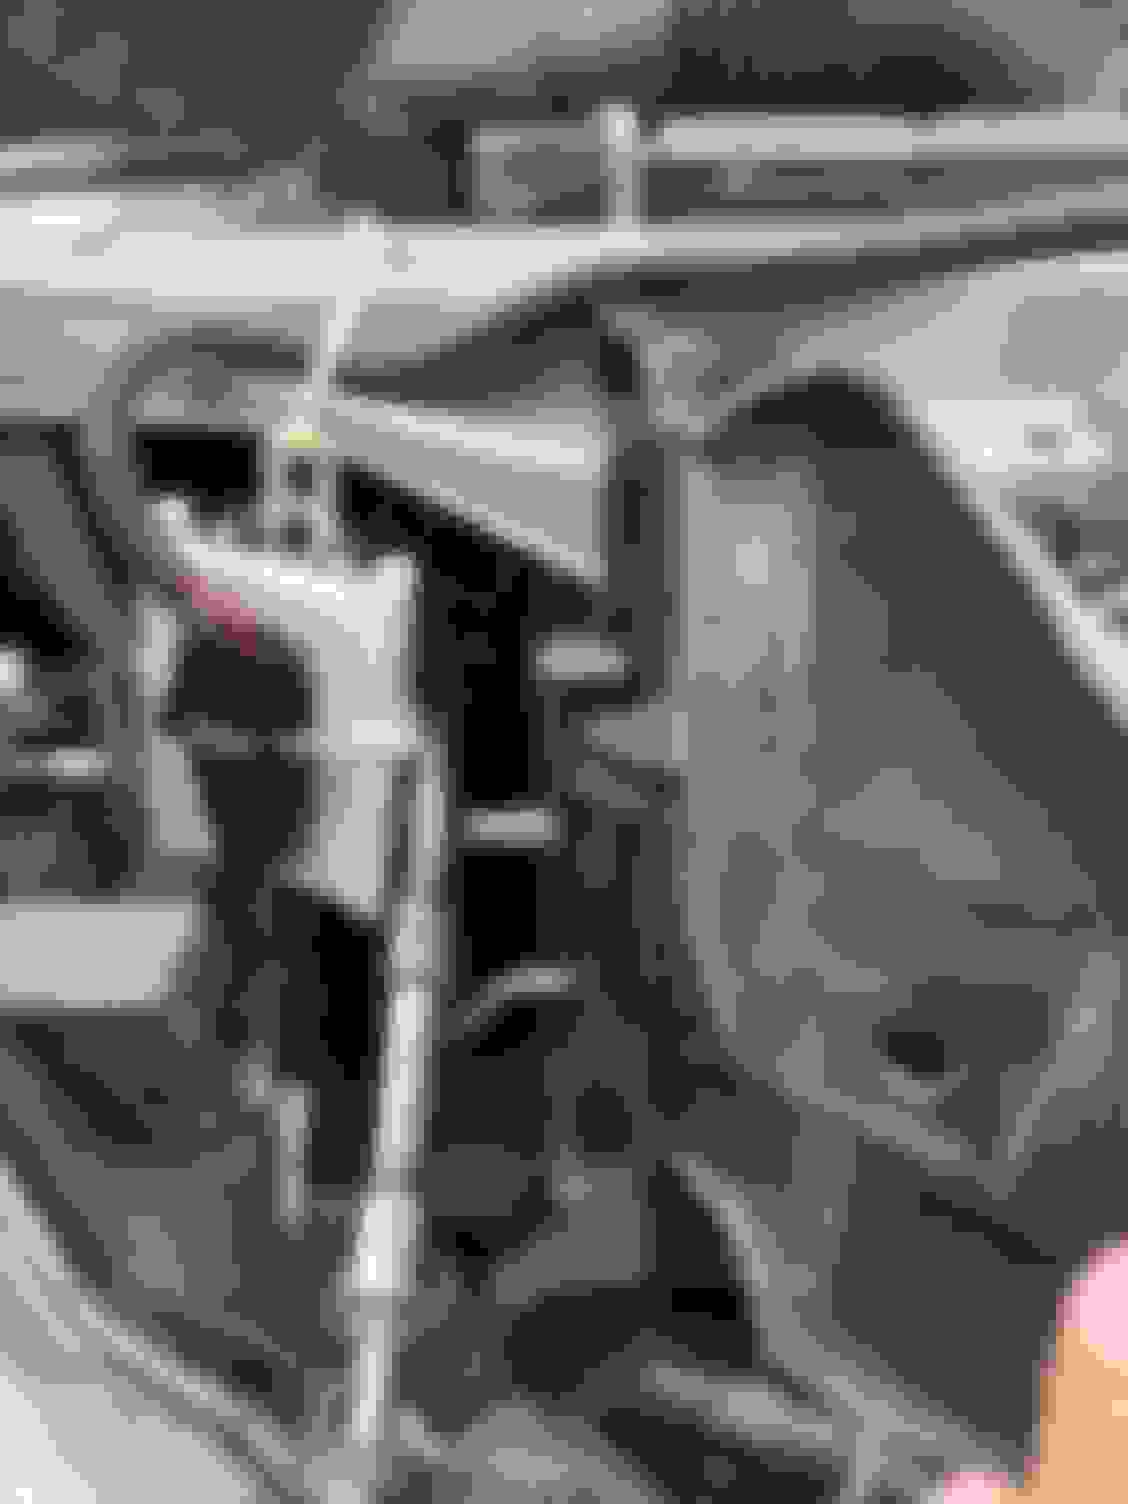
Now connect the short hose as shown on the picture, pay attention to the yellow dot's orientation.
The long hose has a marking just like the old one you removed, make sure you pay attention that it goes back the same way.
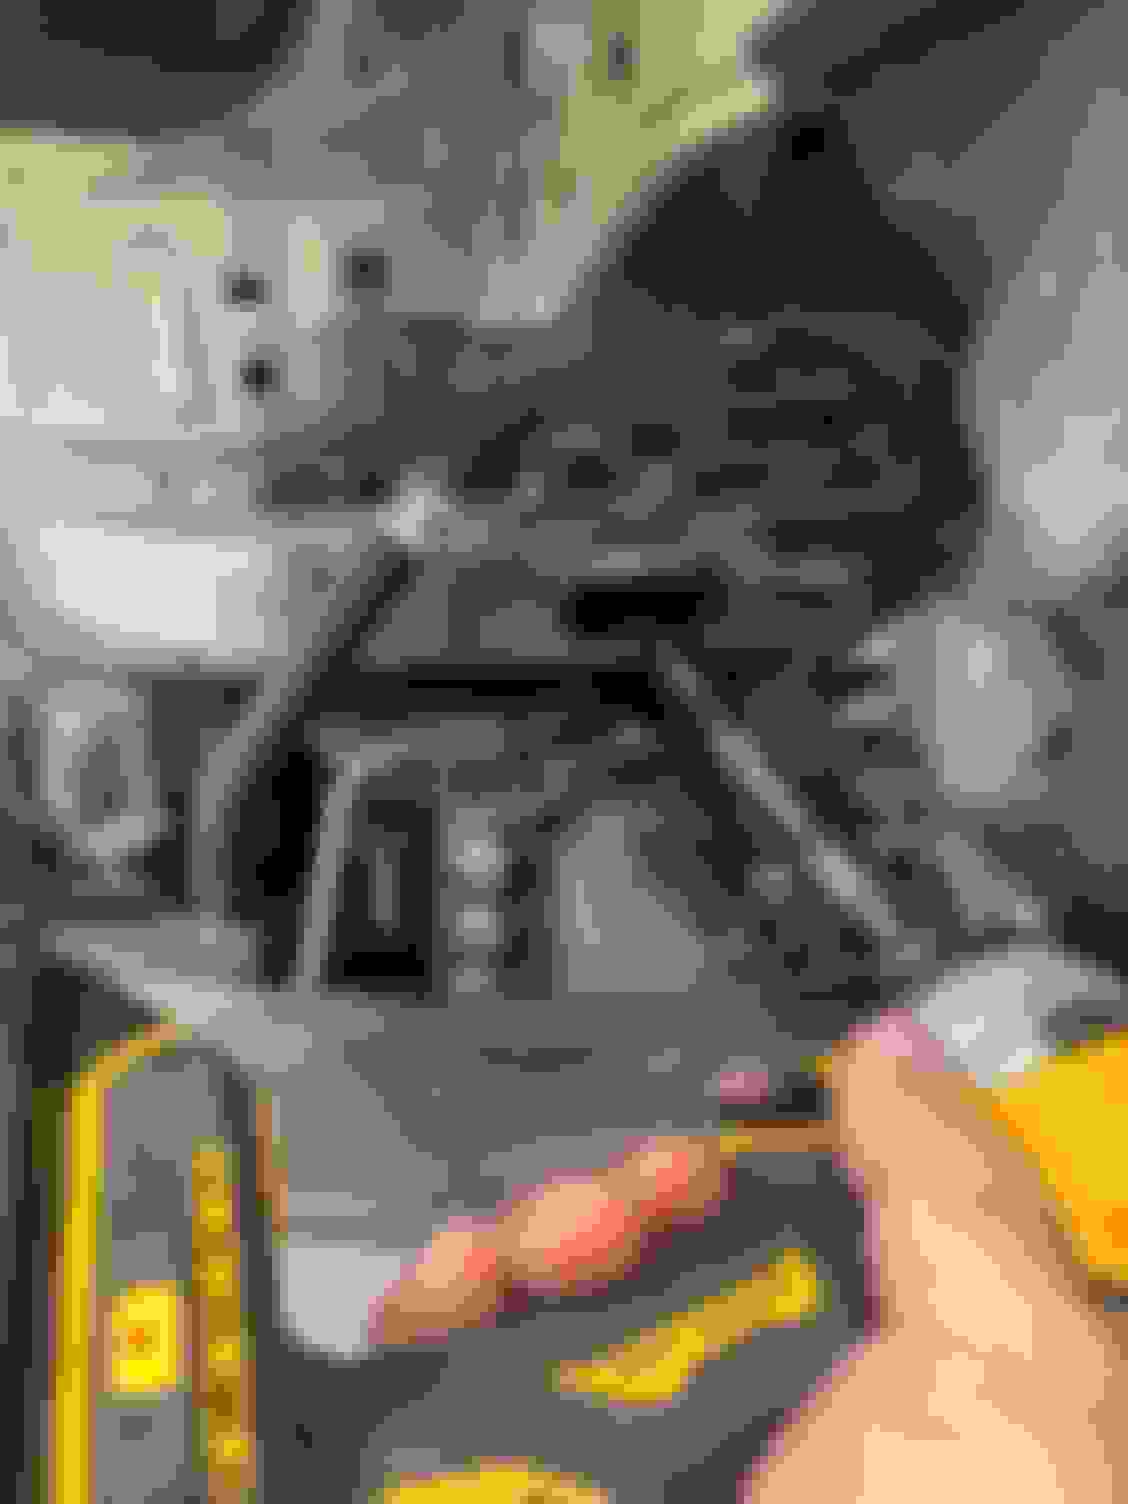
Connect the long hose on the top also. If you have trouble with the clamps falling while reaching with the pliers use some painters tape to hold then in place.
Before reconnecting the inlet hose to the radiator you may add some ATF. I don't think it is necessary but I added 4 ounces.
Put on the new sponge cover where the pipes come through (not on the pic), put back / reconnect the battery, put back the plastic cover and the plastic skid plate on the bottom and you are done.
Open the well deserved beer of your choice and enjoy the lower AT temperatures in the summer heat.

 08-04-21 | 09:47 AM


 !
!