GX - 2nd Gen (2010-2023) Discussion topics related to the 2010 + GX460 models

Installing front and rear Luxury trim lip Thread

Thread Tools
 
Search this Thread
 
Old 05-24-19 | 06:39 AM
  #1  
GX763's Avatar
GX763
Thread Starter
Driver School Candidate
 
Joined: Feb 2019
Posts: 46
Likes: 17
From: MN
Default Installing front and rear Luxury trim lip Thread

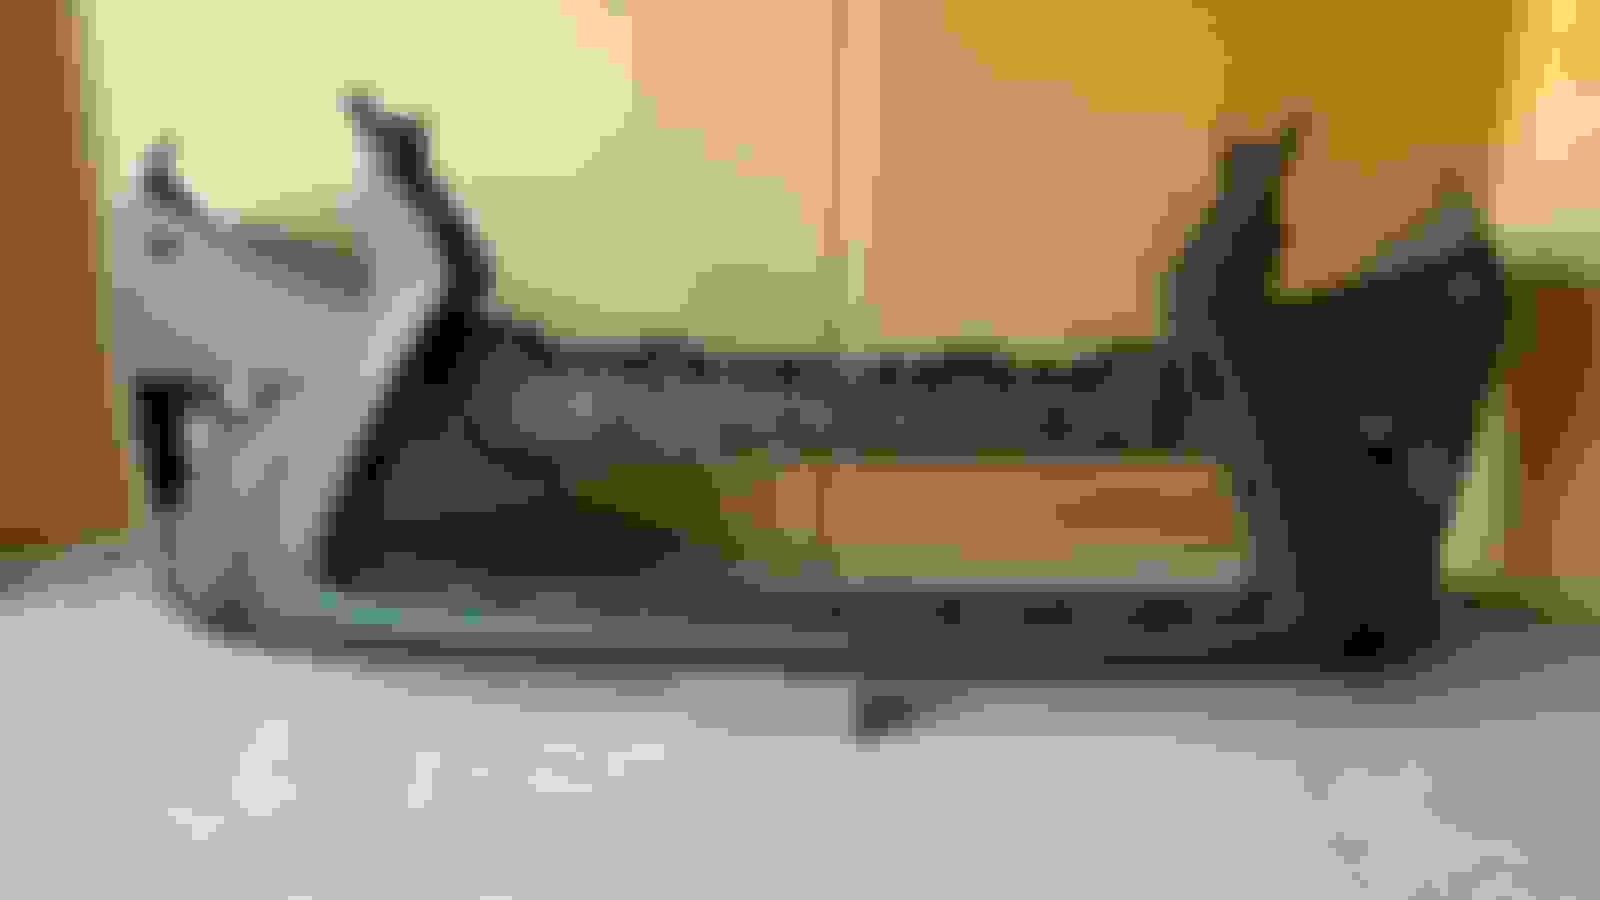
I have a MY15 Lux which unfortunately did not have an option to add the lip package at the time. Through months of research on eBay, Facebook, etc..I finally acquired a set of used front and rear lips with mounting hardware. Little did I know, you have to drill into the front and rear bumper for this install. So this is where things get a little tricky. I am thinking about doing the playdoh or double sided tape trick on the 1st dry fit test then drilling. The next issue is the center mounting area of the underside, would someone with the lip installed take photo's for me underneath where the lip attaches to the bumper? I'll take photo's later today to explain the differences, the photo below is for reference of a bumper that is pre drilled for the front lip.

The following users liked this post:
BillWill87 (04-09-22)
Old 05-27-19 | 05:41 AM
  #2  
Bigjoed96's Avatar
Bigjoed96
Driver School Candidate
 
Joined: May 2019
Posts: 5
Likes: 0
From: GA
Default Yes!

So glad someone is doing this! Been on my wishlist since i bought the car!

Have you tried this thread. One person for sure has done it.

https://www.clublexus.com/forums/gx-...t-numbers.html
Old 05-28-19 | 08:51 AM
  #3  
flexthatdx's Avatar
flexthatdx
Intermediate
iTrader: (9)
 
Joined: Jul 2009
Posts: 306
Likes: 8
From: CA
Default

I remember seeing a template used as a guide to drill the holes for the lip. For the trim pieces, i would just double side tape them.
The following users liked this post:
BillWill87 (04-09-22)
Old 05-30-19 | 12:26 PM
  #4  
GX763's Avatar
GX763
Thread Starter
Driver School Candidate
 
Joined: Feb 2019
Posts: 46
Likes: 17
From: MN
Default

Originally Posted by flexthatdx
I remember seeing a template used as a guide to drill the holes for the lip. For the trim pieces, i would just double side tape them.
If you can find that, it would be great!
Old 06-06-19 | 05:58 AM
  #5  
GX763's Avatar
GX763
Thread Starter
Driver School Candidate
 
Joined: Feb 2019
Posts: 46
Likes: 17
From: MN
Default

Before

Last edited by GX763; 06-06-19 at 05:59 AM. Reason: title
The following users liked this post:
BillWill87 (04-09-22)
Old 06-06-19 | 06:02 AM
  #6  
GX763's Avatar
GX763
Thread Starter
Driver School Candidate
 
Joined: Feb 2019
Posts: 46
Likes: 17
From: MN
Default

Tabs in back of lip

Tabs on back of lip, if buying used, make sure tabs are there. A couple was broken or missing from mine from previous owner
The following users liked this post:
BillWill87 (04-09-22)
Old 06-06-19 | 06:05 AM
  #7  
GX763's Avatar
GX763
Thread Starter
Driver School Candidate
 
Joined: Feb 2019
Posts: 46
Likes: 17
From: MN
Default


Magic marker the drill area and angle. Drill about 3/4 inch from last magic marker mark, one area was 1 inch
The following users liked this post:
BillWill87 (04-09-22)
Old 06-06-19 | 06:06 AM
  #8  
GX763's Avatar
GX763
Thread Starter
Driver School Candidate
 
Joined: Feb 2019
Posts: 46
Likes: 17
From: MN
Default


Example drill area front driver side
The following users liked this post:
BillWill87 (04-09-22)
Old 06-06-19 | 06:07 AM
  #9  
GX763's Avatar
GX763
Thread Starter
Driver School Candidate
 
Joined: Feb 2019
Posts: 46
Likes: 17
From: MN
Default


Example front middle
The following users liked this post:
BillWill87 (04-09-22)
Old 06-06-19 | 06:08 AM
  #10  
GX763's Avatar
GX763
Thread Starter
Driver School Candidate
 
Joined: Feb 2019
Posts: 46
Likes: 17
From: MN
Default


Example front passenger side
The following users liked this post:
BillWill87 (04-09-22)
Old 06-06-19 | 06:10 AM
  #11  
GX763's Avatar
GX763
Thread Starter
Driver School Candidate
 
Joined: Feb 2019
Posts: 46
Likes: 17
From: MN
Default


Lip installed, total time was about an hr

Needed a beer and sake afterwards
The following 3 users liked this post by GX763:
Acrad (06-06-19), ltsr (06-09-19), Slprciv (09-26-21)
Old 06-06-19 | 06:25 AM
  #12  
GX763's Avatar
GX763
Thread Starter
Driver School Candidate
 
Joined: Feb 2019
Posts: 46
Likes: 17
From: MN
Default

The installation was fairly straight forward. I would suggest at least two people or having something to prop the front lip up so you can bolt the screws first. Trying to list the steps I did below while it's fresh in my mind

1. Use magic marker to mark all the tabs on the front lip
2. Measure the distance from the screw to top, I think there was only 2 area's that had 1 inch and the rest was about 3/4inch.
3. There should be two metal brackets on each side of the lip, there should be existing 10mm screws on the bottom to unscrew. Loosen those scews and attach your front lip. Make sure there's support to the front middle of the lip.
4. After installing the front lip with support, you can use masking/painters tape to hold it up or with the assistance of another person, hold the lip and mark the area to the bumper with the magic marker since you will measure the depth on the last contact point after lip is removed.
5. Once all areas of tabs are marked on the front bumper, unscrew the two side 10mm bolts and drop the front lip.
6. I forgot what drill bit size but make sure it's a size or two larger than the screw, proceed to drill with measurements depths
7. After drilling, there are two side screws that goes into the bumper, install these first then the two 10mm bolts on the bottom
8. After the side bolts and 2 bottom 10mm bolts are installed, I screwed one bolt in the front middle to have support so I can install the rest easier.
9. After middle bolt, you can install the remaining bolts, the trick is to push the bolt in all the way and use a small 1/4 drive with a 10mm socket to install the bolts. The side bolts are a bit tough to get into since you have to "Crouching Tiger" your hands to bolt in


I'll be installing the rear bumper lip soon. Any questions, don't hesitate to post here
The following users liked this post:
BillWill87 (04-07-22)
Old 06-06-19 | 11:48 AM
  #13  
leftyguns's Avatar
leftyguns
Intermediate
 
Joined: Feb 2018
Posts: 303
Likes: 92
From: CO
Default

to each their own. it separates us apart, but I am not a fan of it. looks like you did a good job on the install
Old 06-06-19 | 05:22 PM
  #14  
Luninox's Avatar
Luninox
Driver School Candidate
 
Joined: Jun 2016
Posts: 16
Likes: 1
From: FL
Default

Did you have to remove the old small spoiler?
Old 06-07-19 | 07:08 AM
  #15  
GX763's Avatar
GX763
Thread Starter
Driver School Candidate
 
Joined: Feb 2019
Posts: 46
Likes: 17
From: MN
Default

Originally Posted by Luninox
Did you have to remove the old small spoiler?
Yes, I didn't want to drill into the old spoiler


Quick Reply: Installing front and rear Luxury trim lip Thread


All times are GMT -7. The time now is 01:40 AM.